Alain Mauer
-
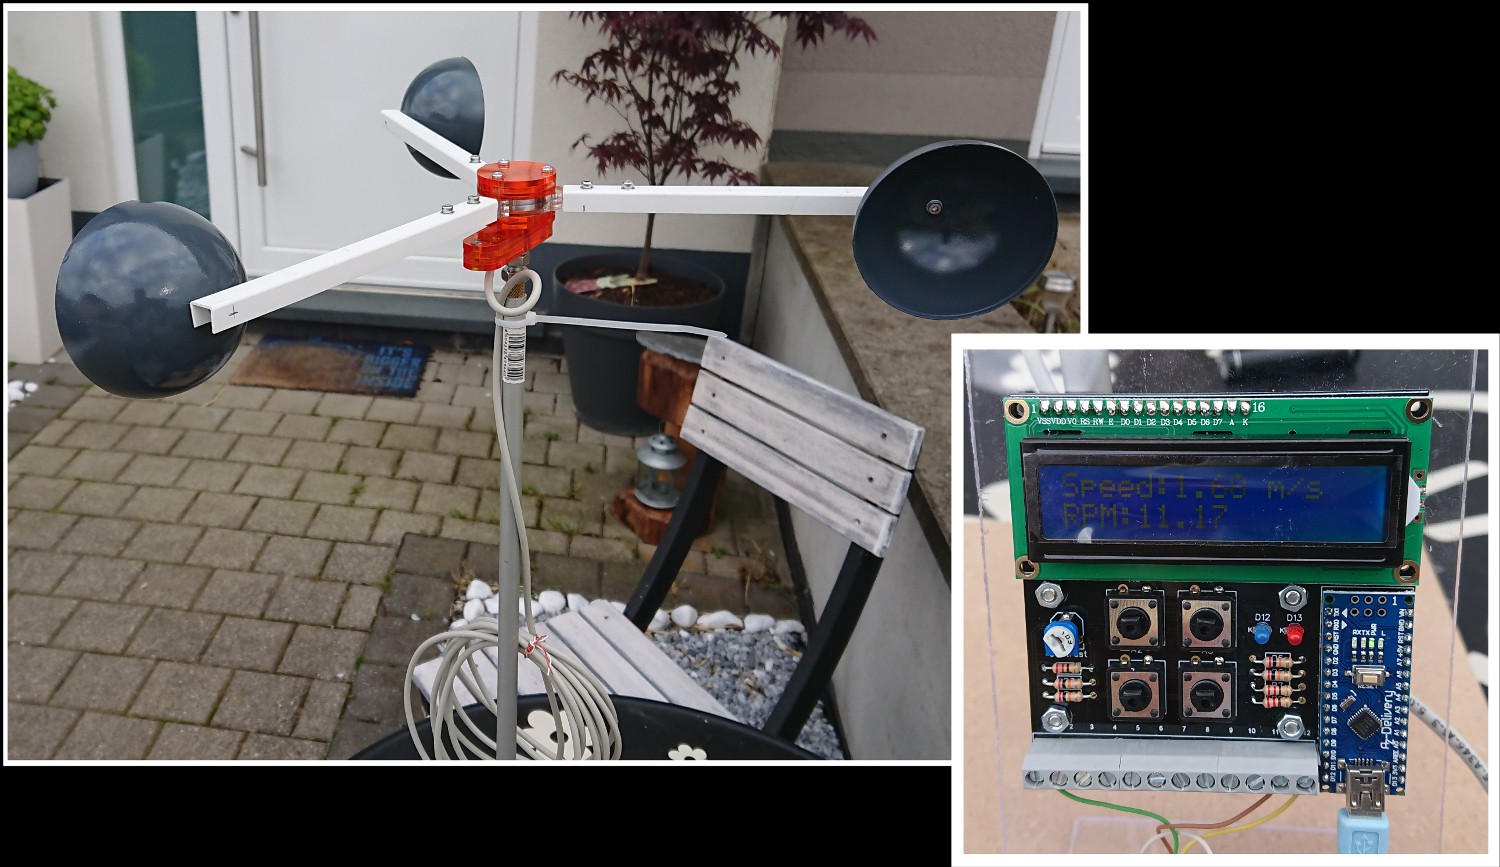
Ver 2.0 in action as Anemometer
06/01/2019 at 20:03 • 0 comments![]()
-
Changed the design with community Input
07/17/2018 at 16:43 • 0 commentsWorking on a better version. A few people inspired me, to create a better version.
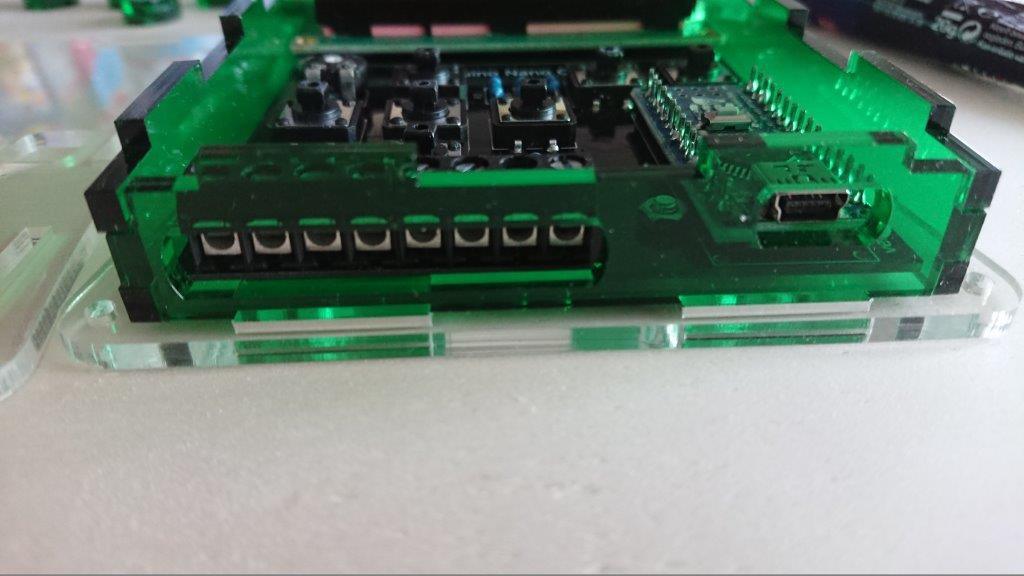
Here is the next PCB. Smaller, less buttons, more I/O, two LED's and Serial
![]()
![]()
![]()
-
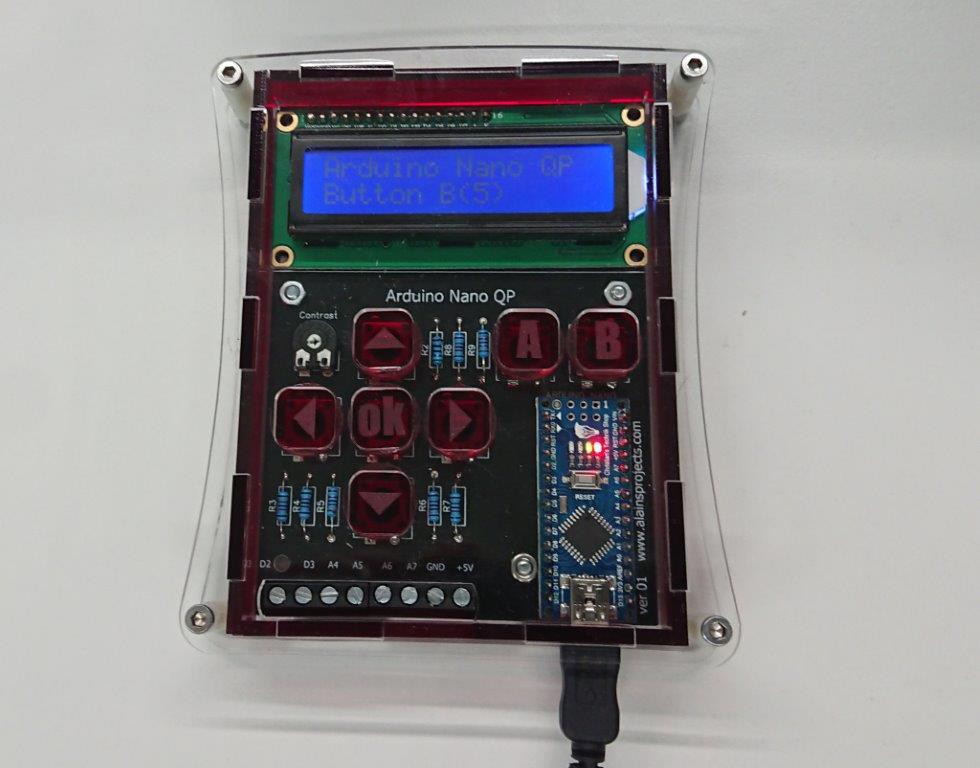
The final Touch
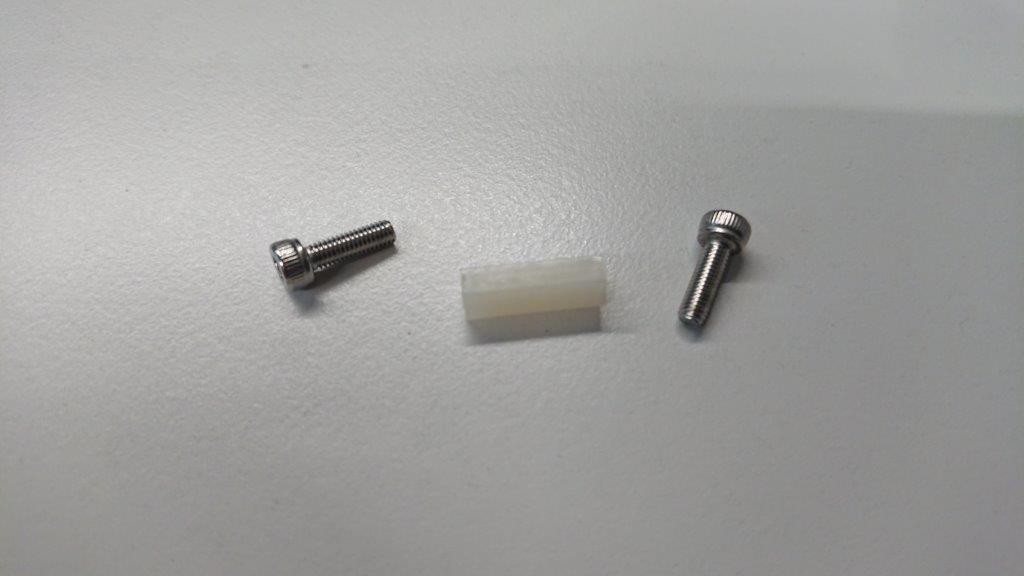
07/06/2018 at 08:23 • 0 commentsThe screws and the spacers are finally here.
![]()
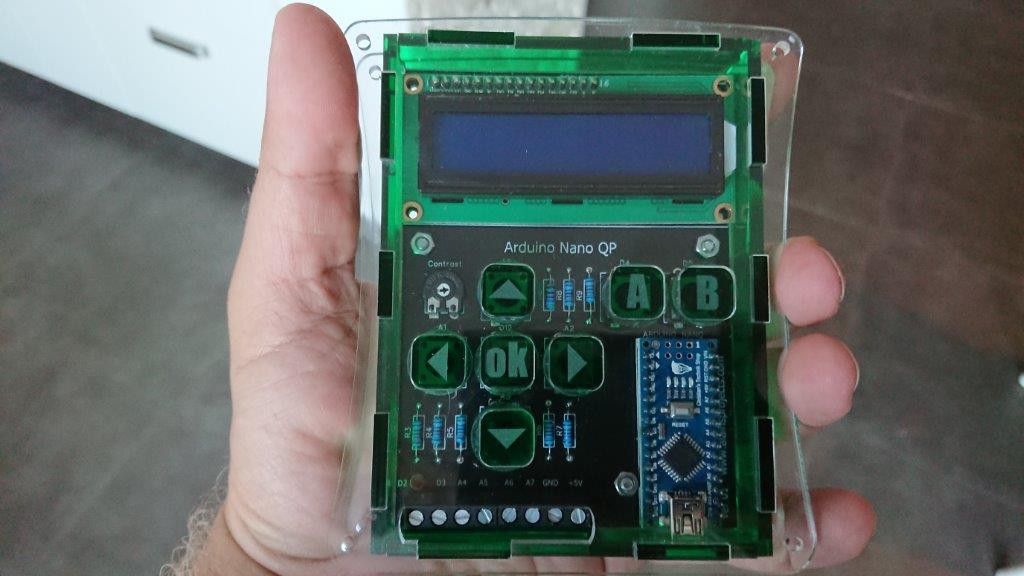
So let's mount all together and start with the first project.
![]()
![]()
![]()
-
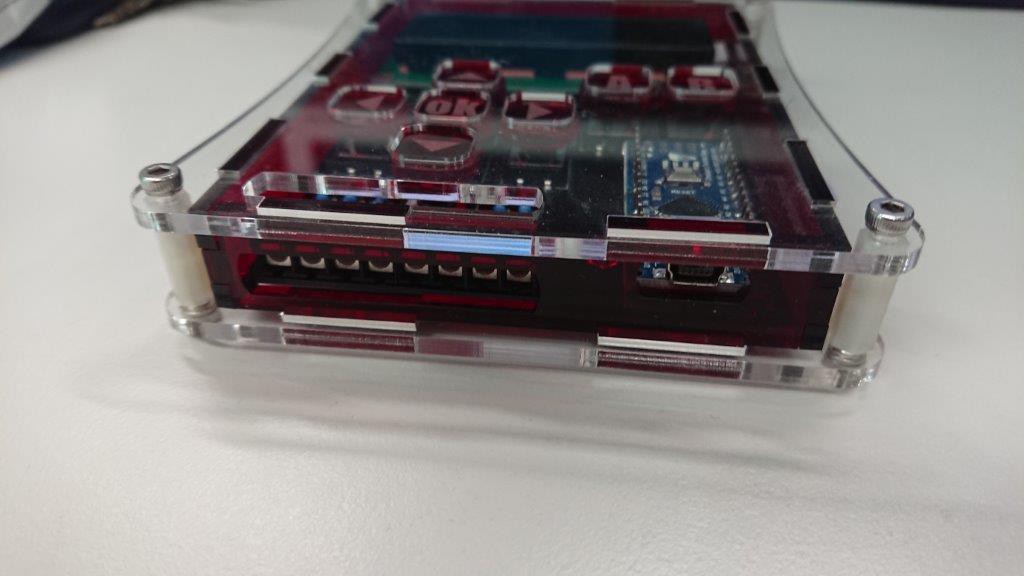
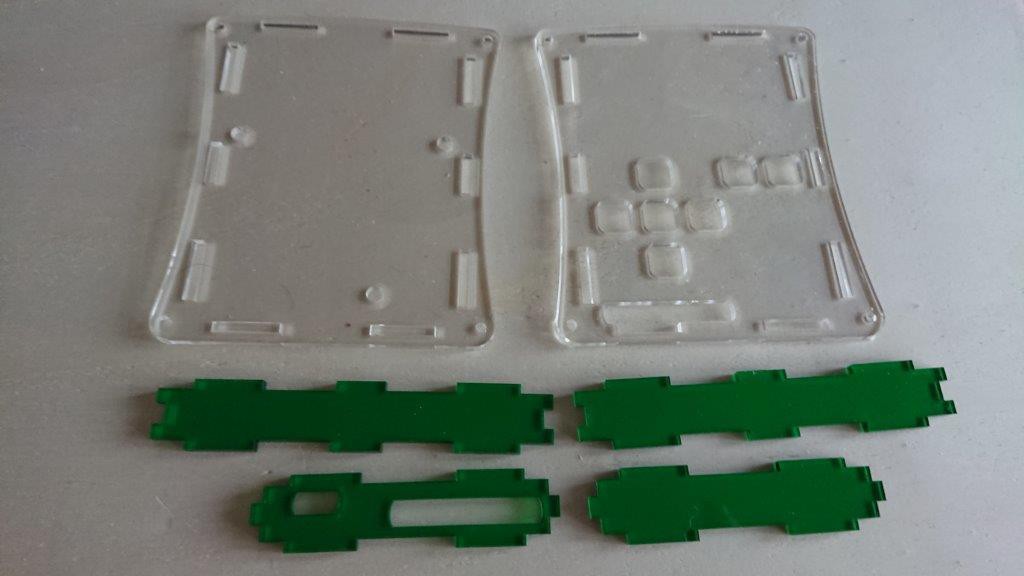
Lasercutting and Assembling
07/03/2018 at 11:41 • 0 commentsAnd now to the workshop, powering on the 30W lasercutter. I use 3mm Arcylic.
![]()
![]()
![]()
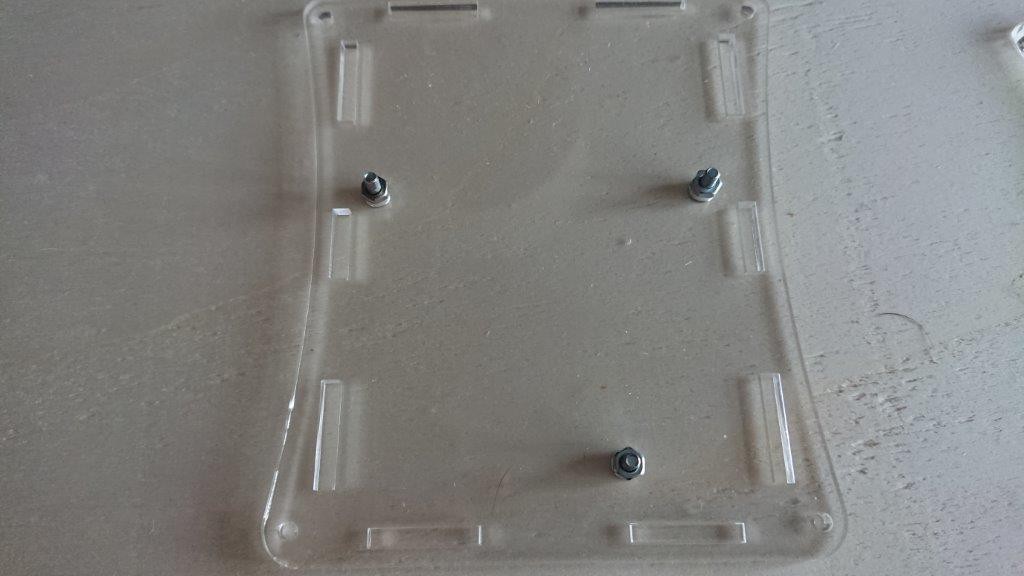
Screwing the PCB on the Back Part with 3xM3 screws
![]()
![]()
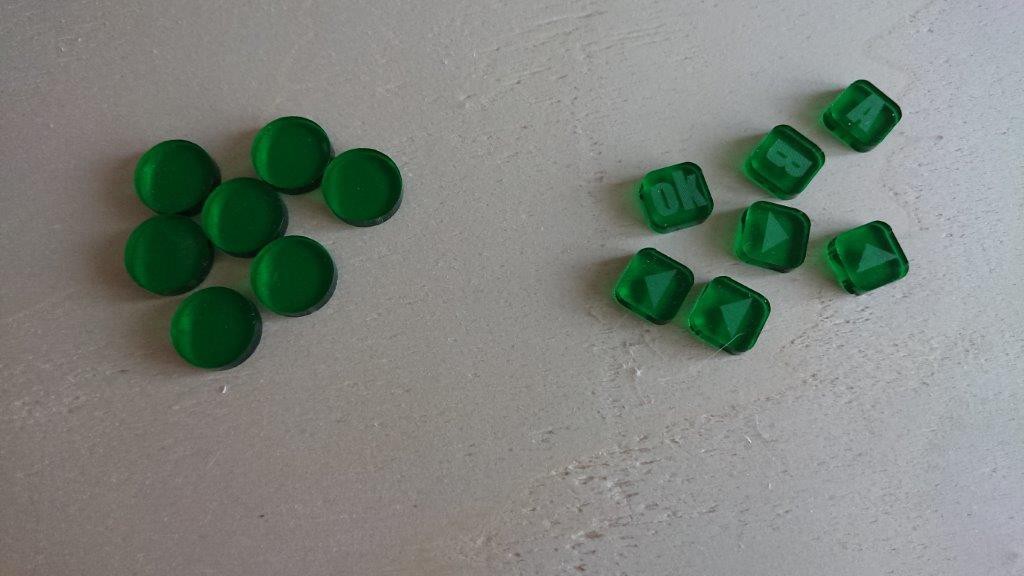
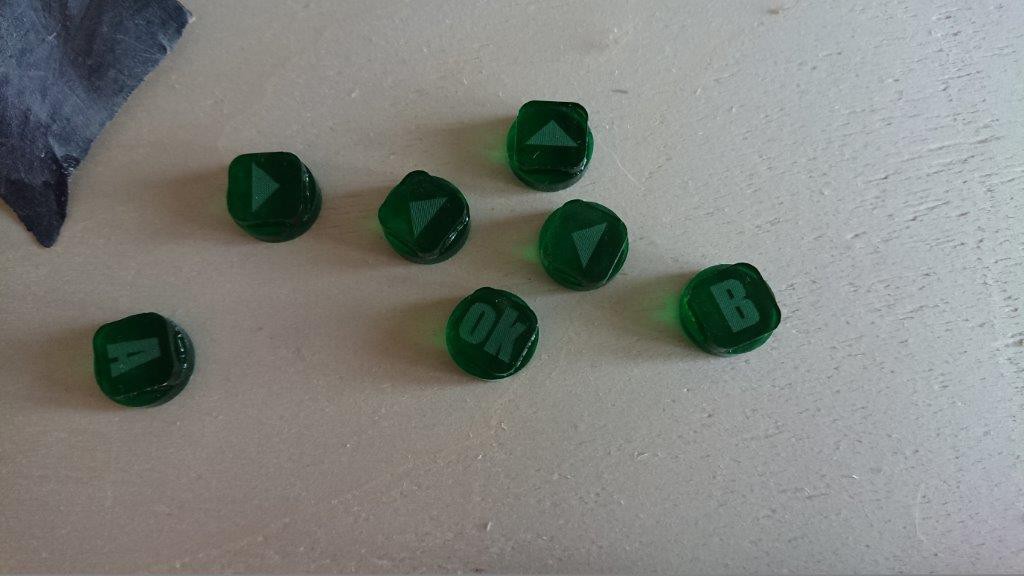
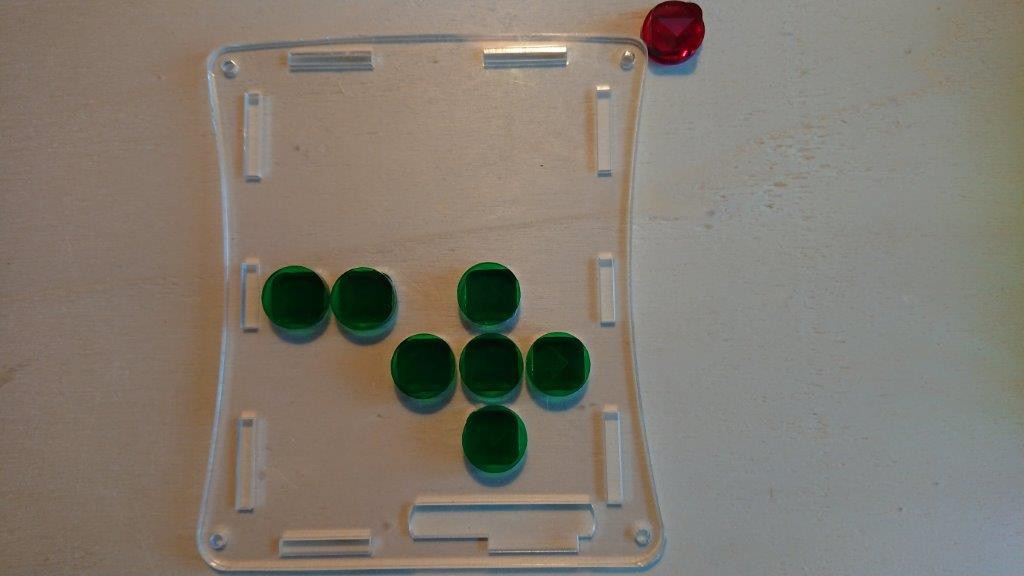
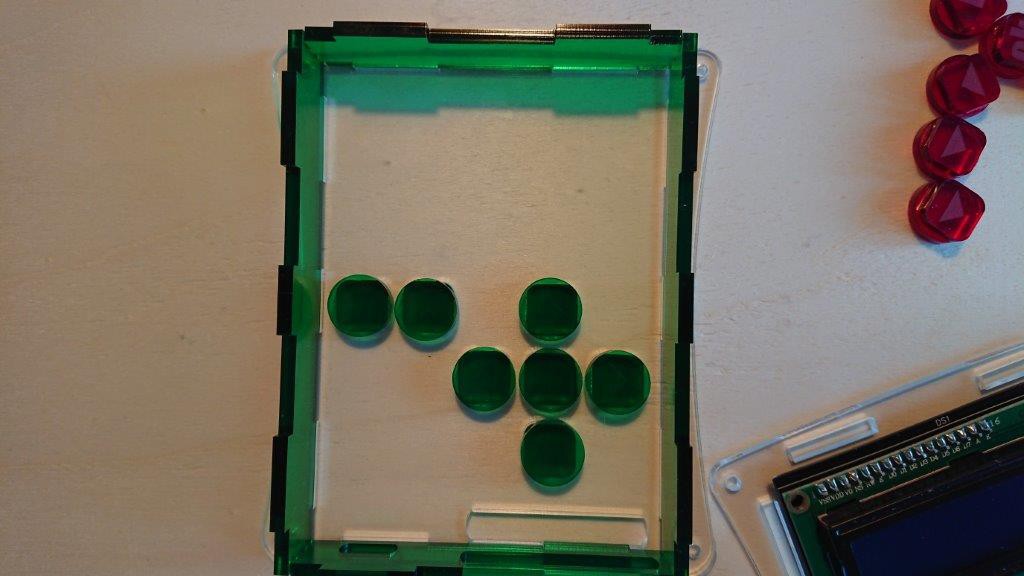
Now the buttons in the frontpart and insert the frame parts
![]()
![]()
Now insert the back part on it. Just the 4 mounting screws are missing, they should reach me by friday.
![]()
![]()
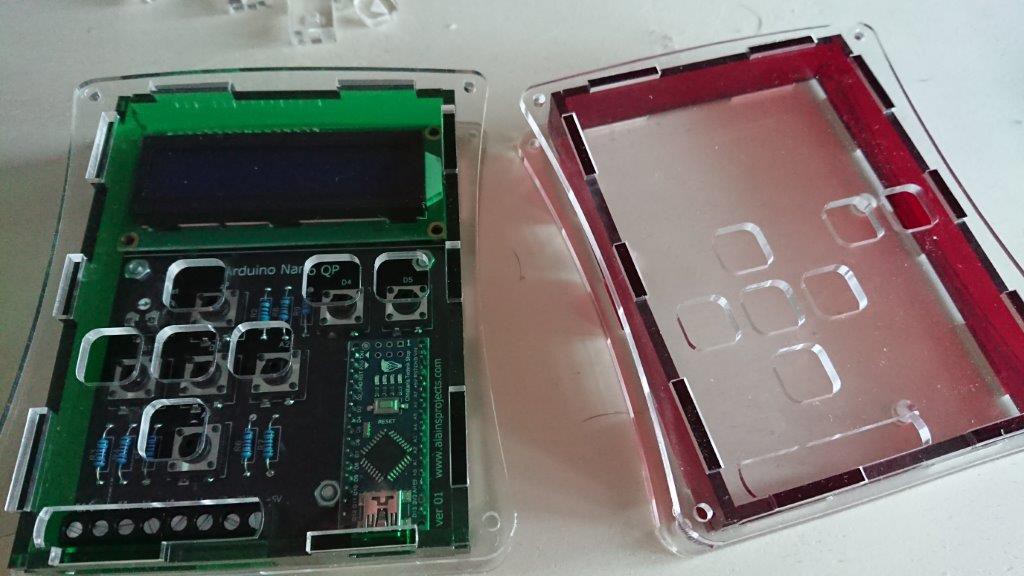
And I can do it in more colors :)
![]()
-
The Enclosure
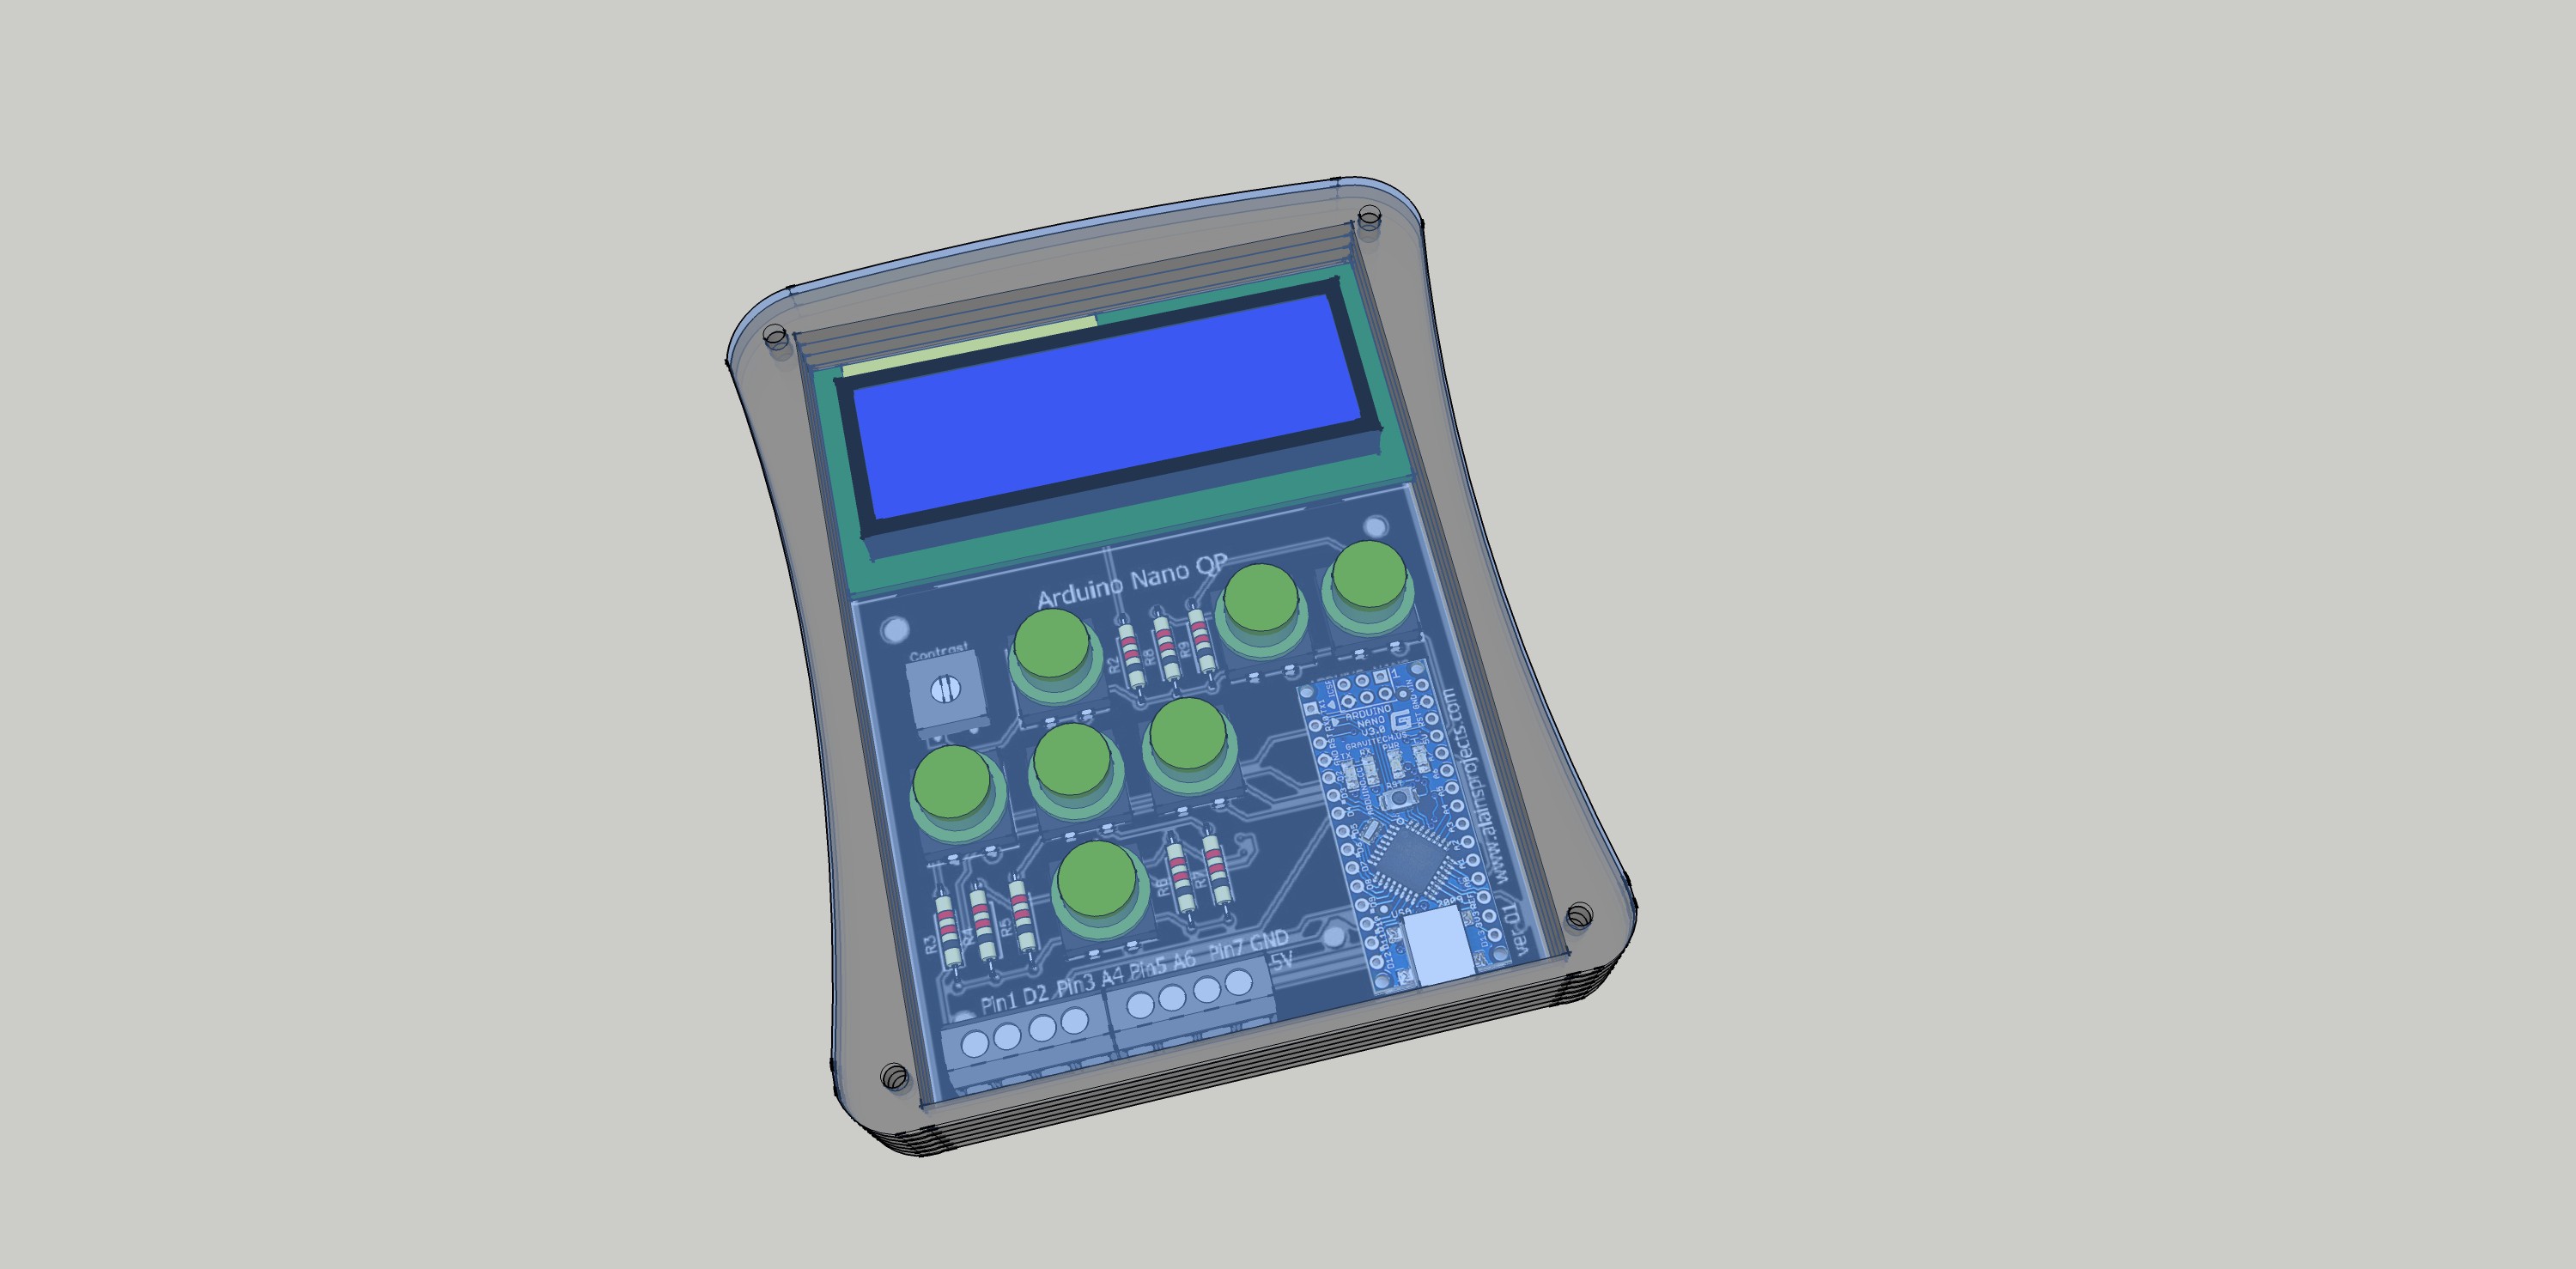
07/03/2018 at 11:28 • 0 commentsIt is not necessary, but with an enclosure it's cooler. Now the Arduino Nano QP, can even be used ass a finished project, or as part of a bigger project.
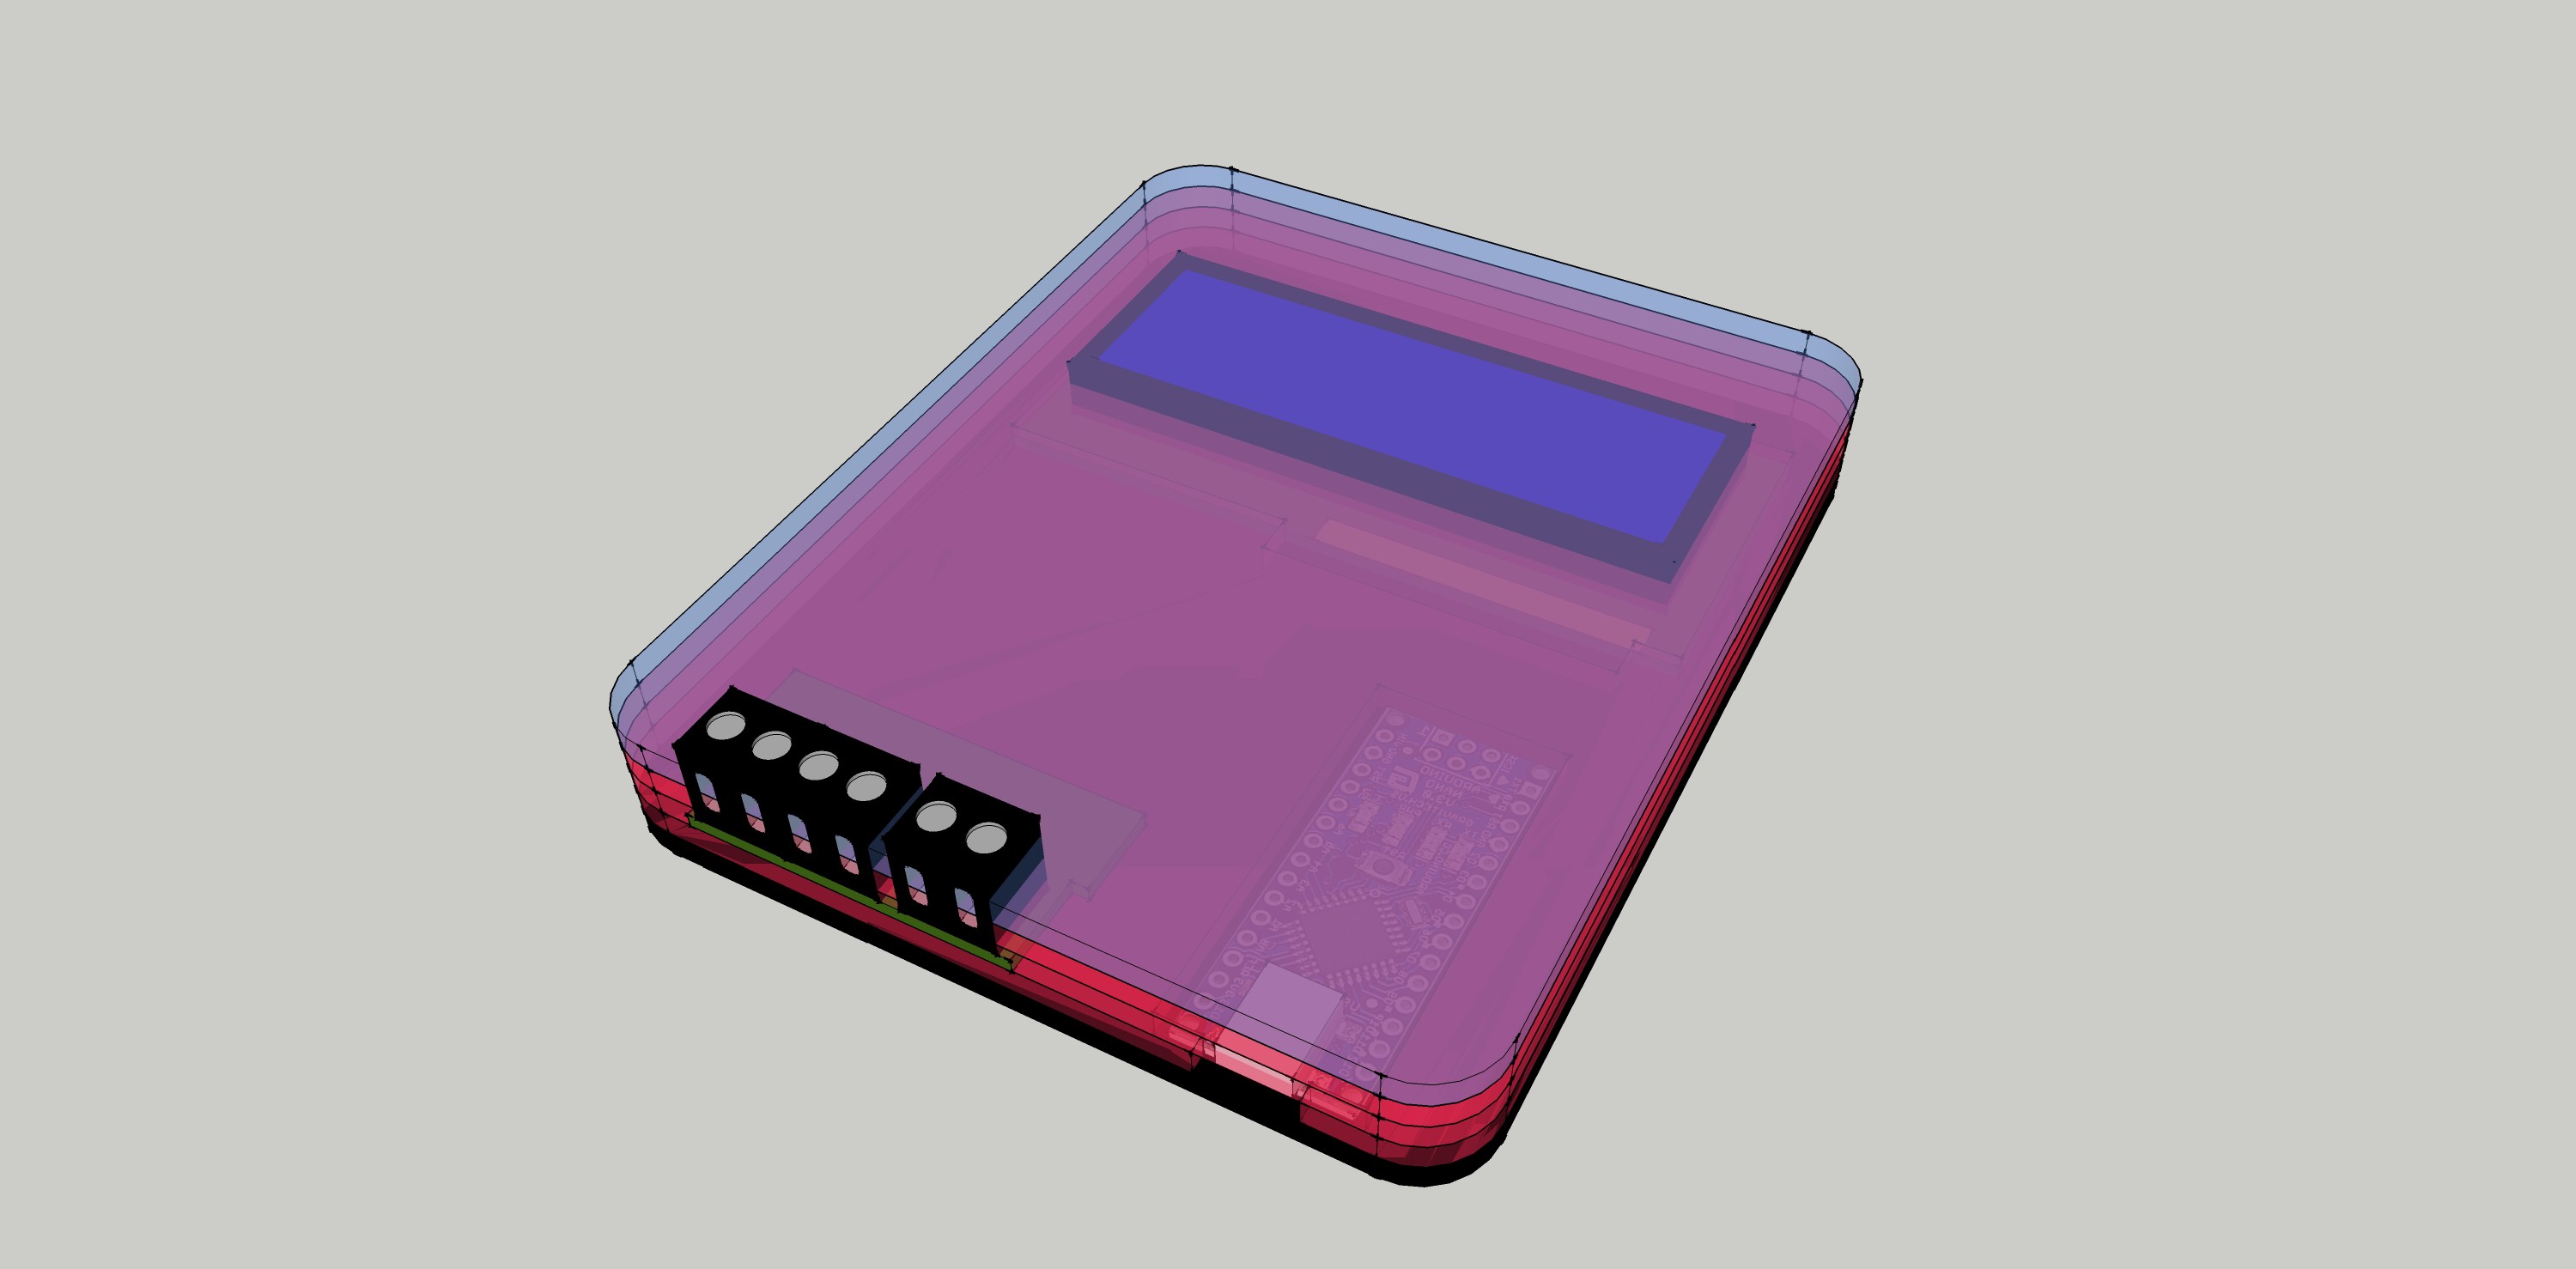
Designing an enclosure.
![]()
![]()
![]()
And here is the design I took:
"Picture is comming"
-
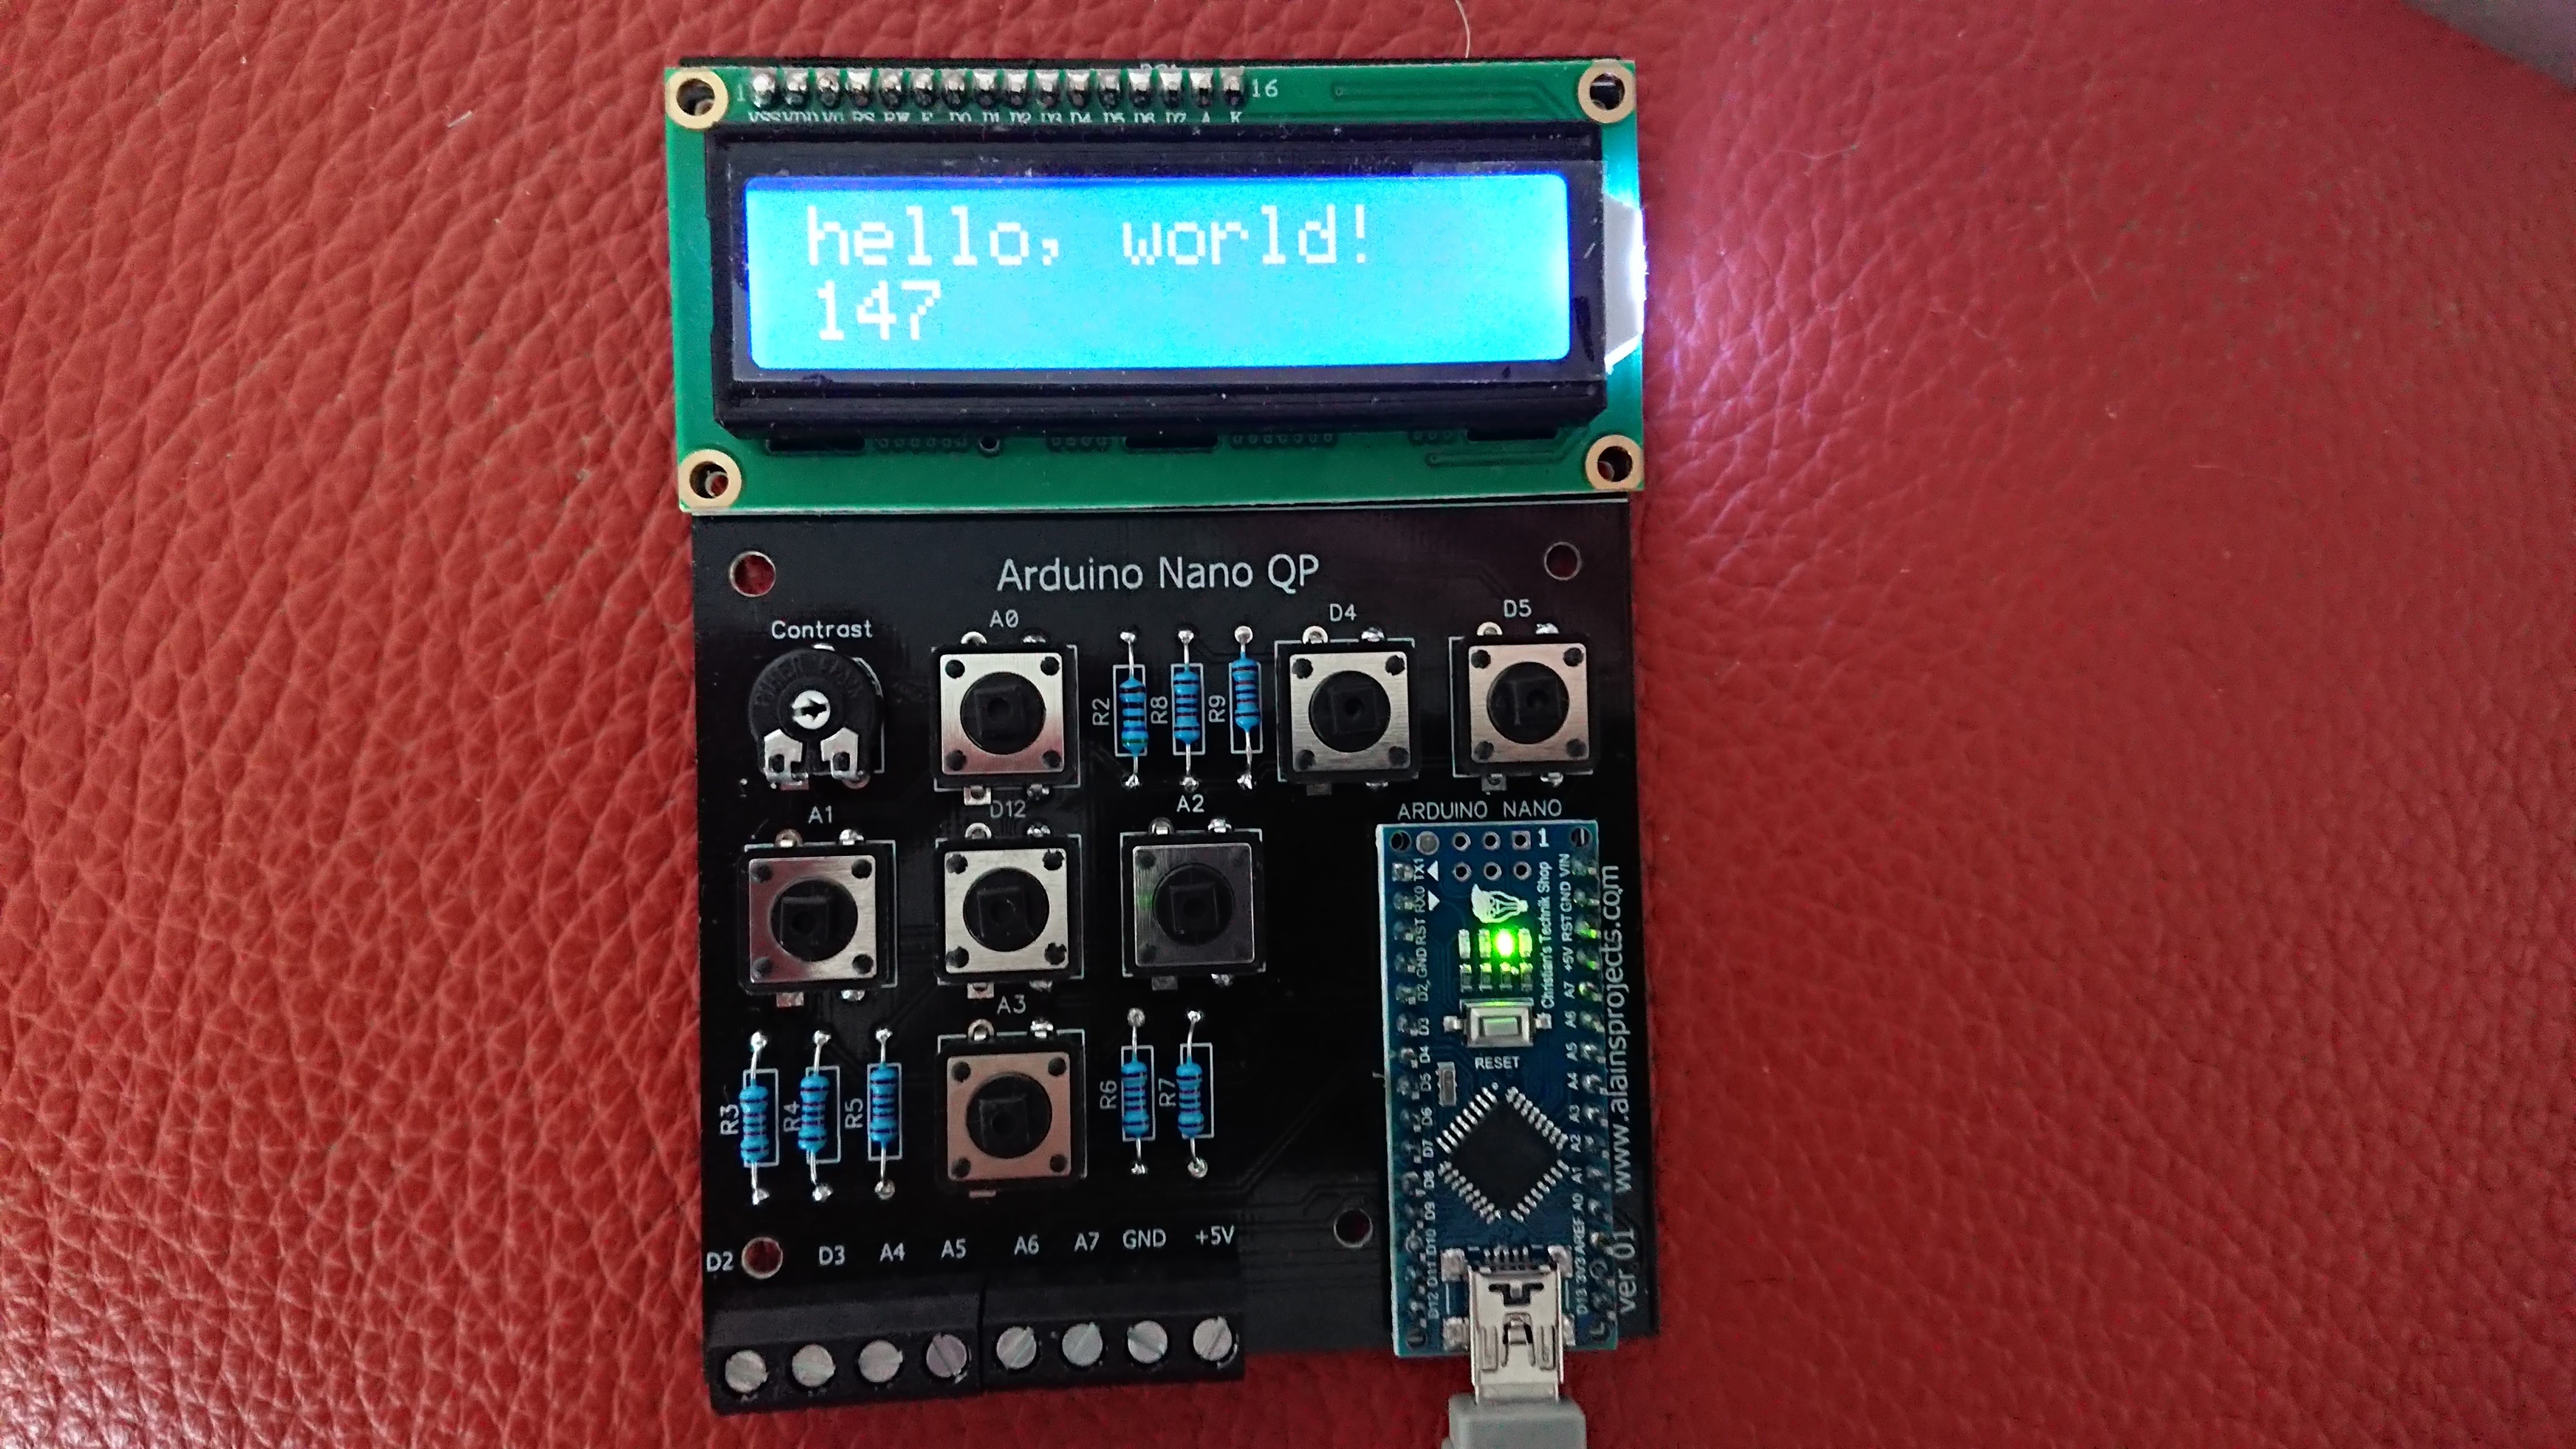
First Running Test
07/03/2018 at 11:22 • 0 commentsI wrote a small Software, to test the Display and all the I/O's of the board,
Seems to work :)
The test software can be found on Github
![]()
-
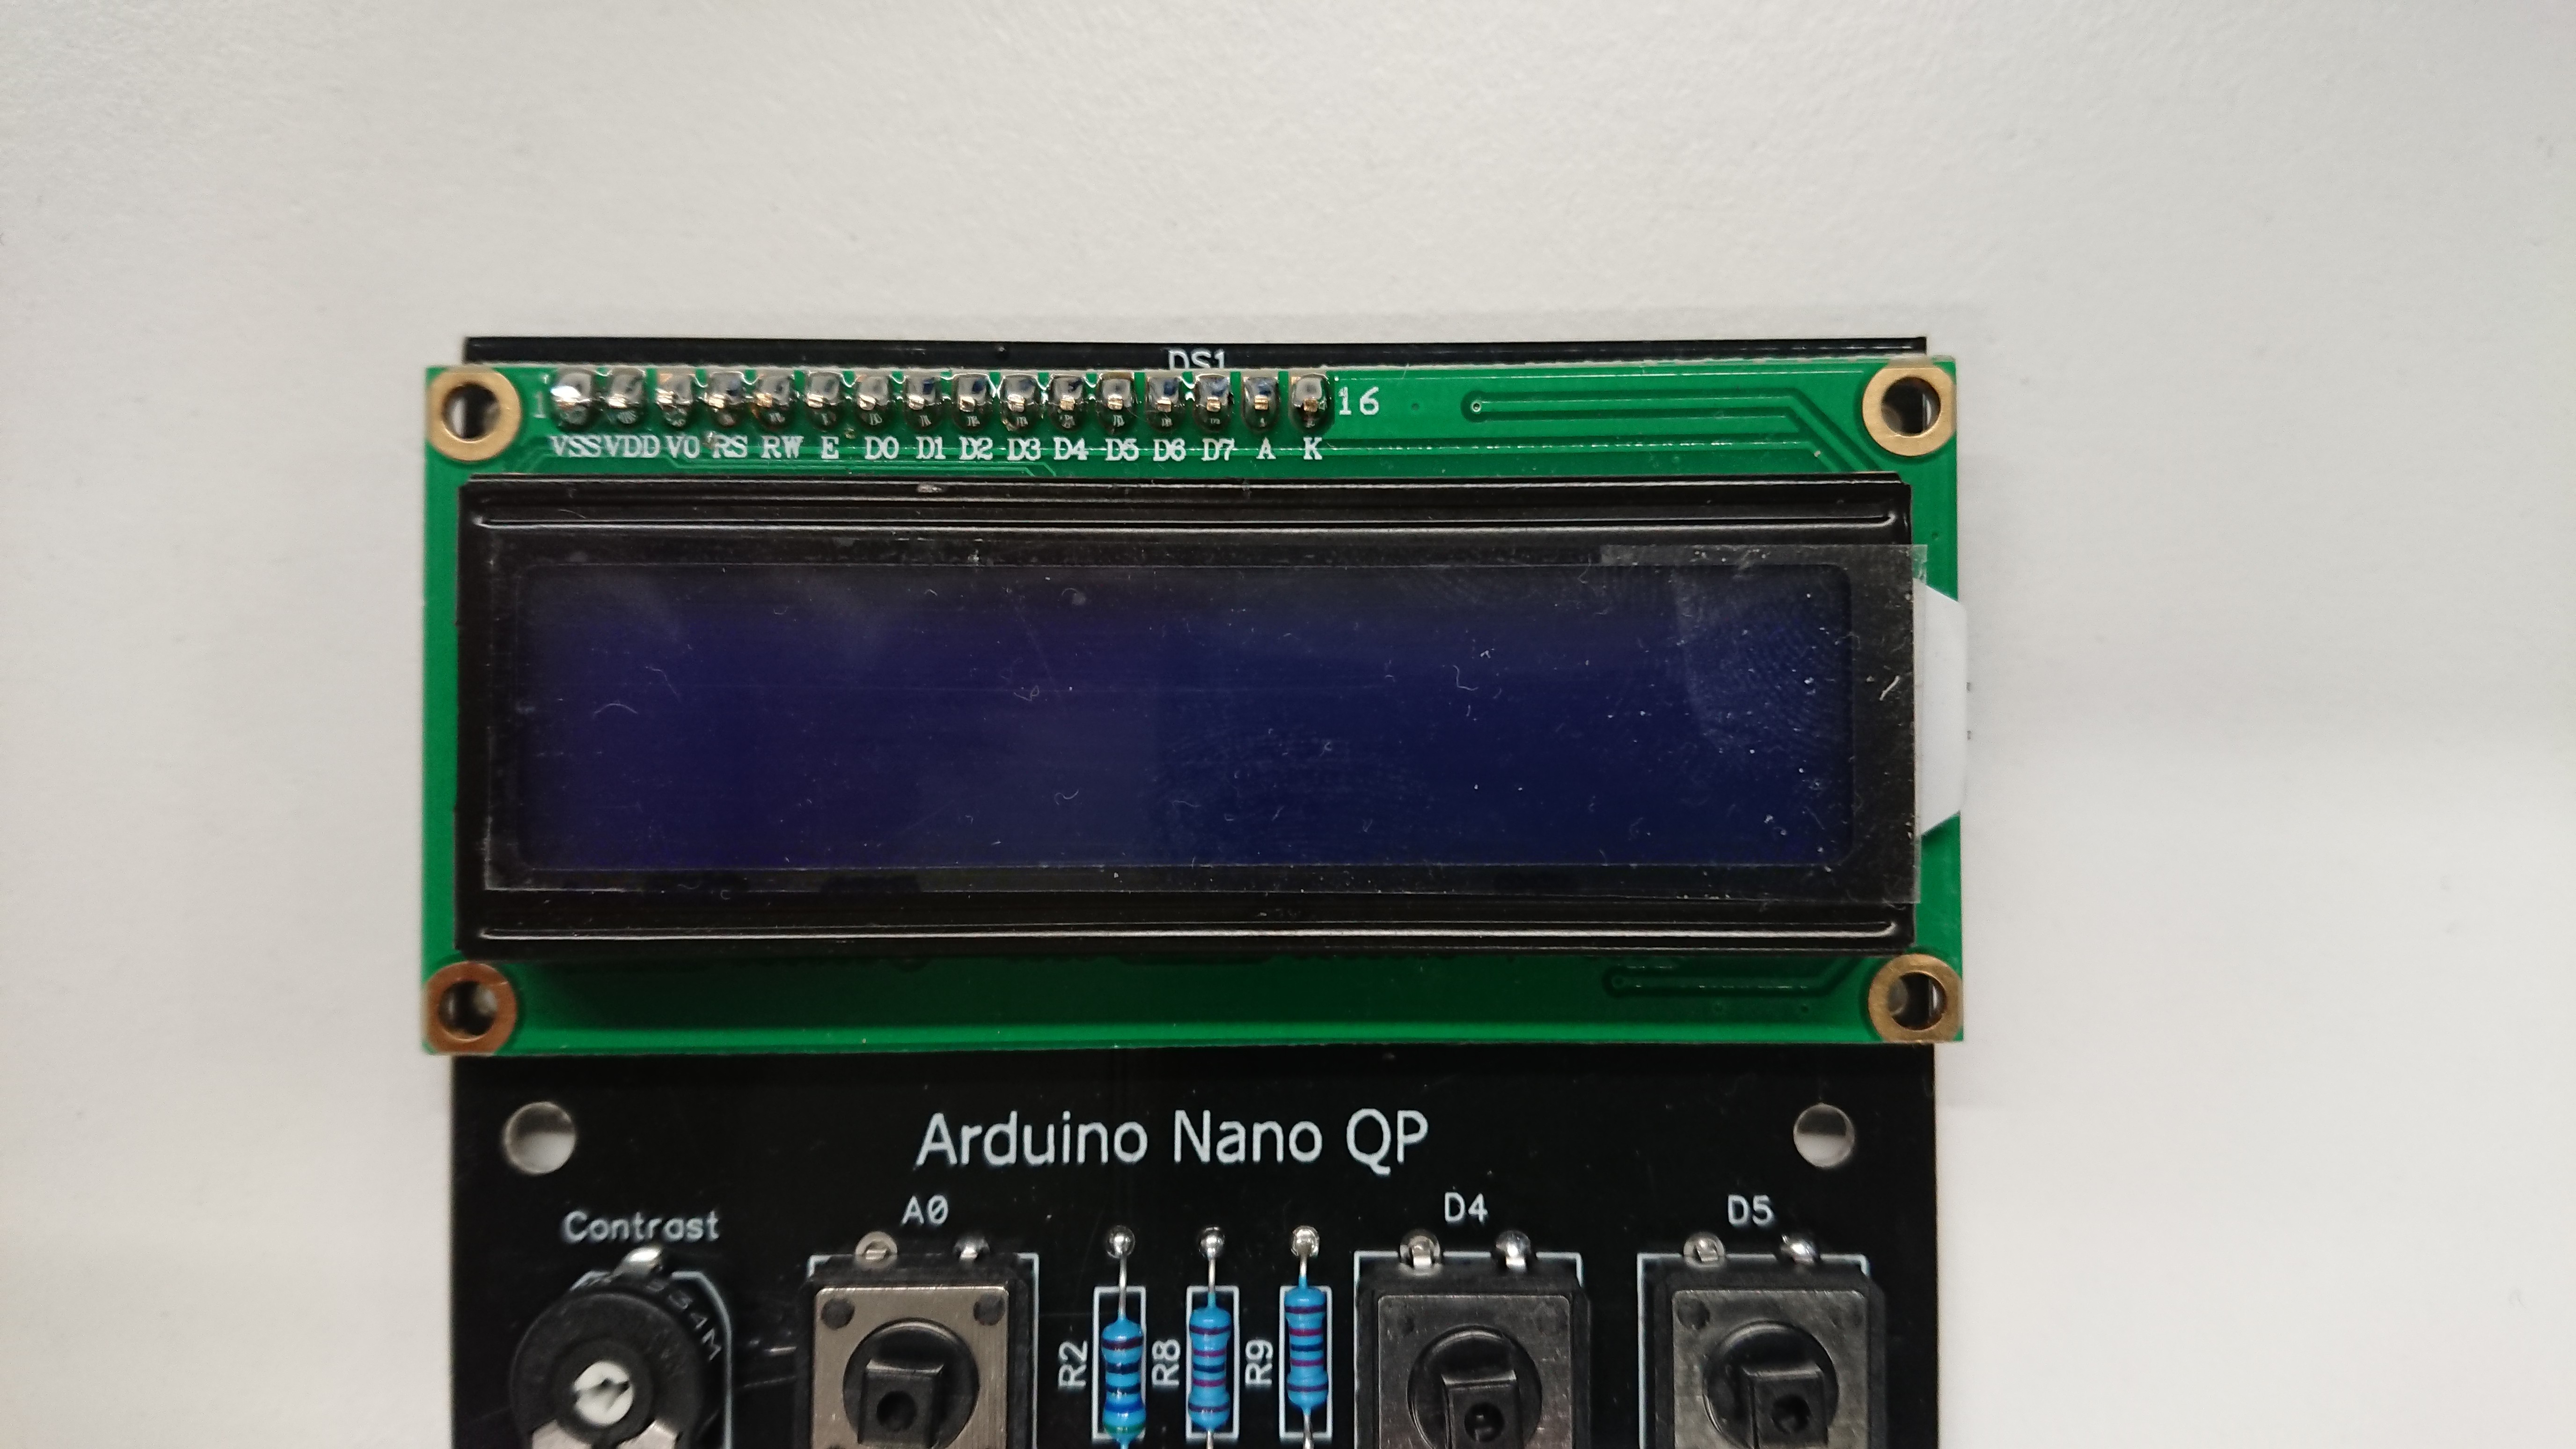
Soldering
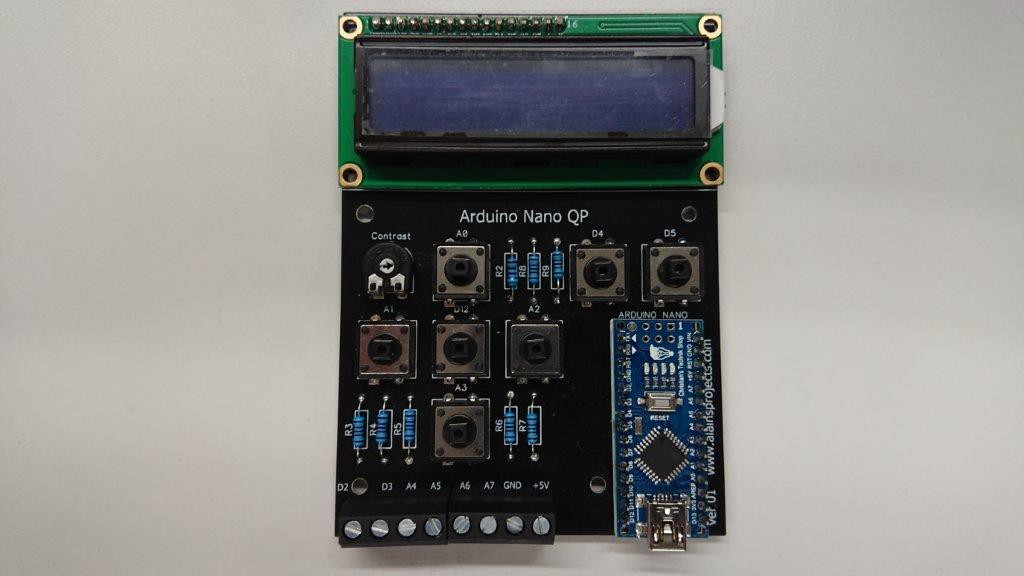
07/03/2018 at 11:18 • 0 commentsNow I solderd all the parts to the PCB
![]()
![]()
![]()
-
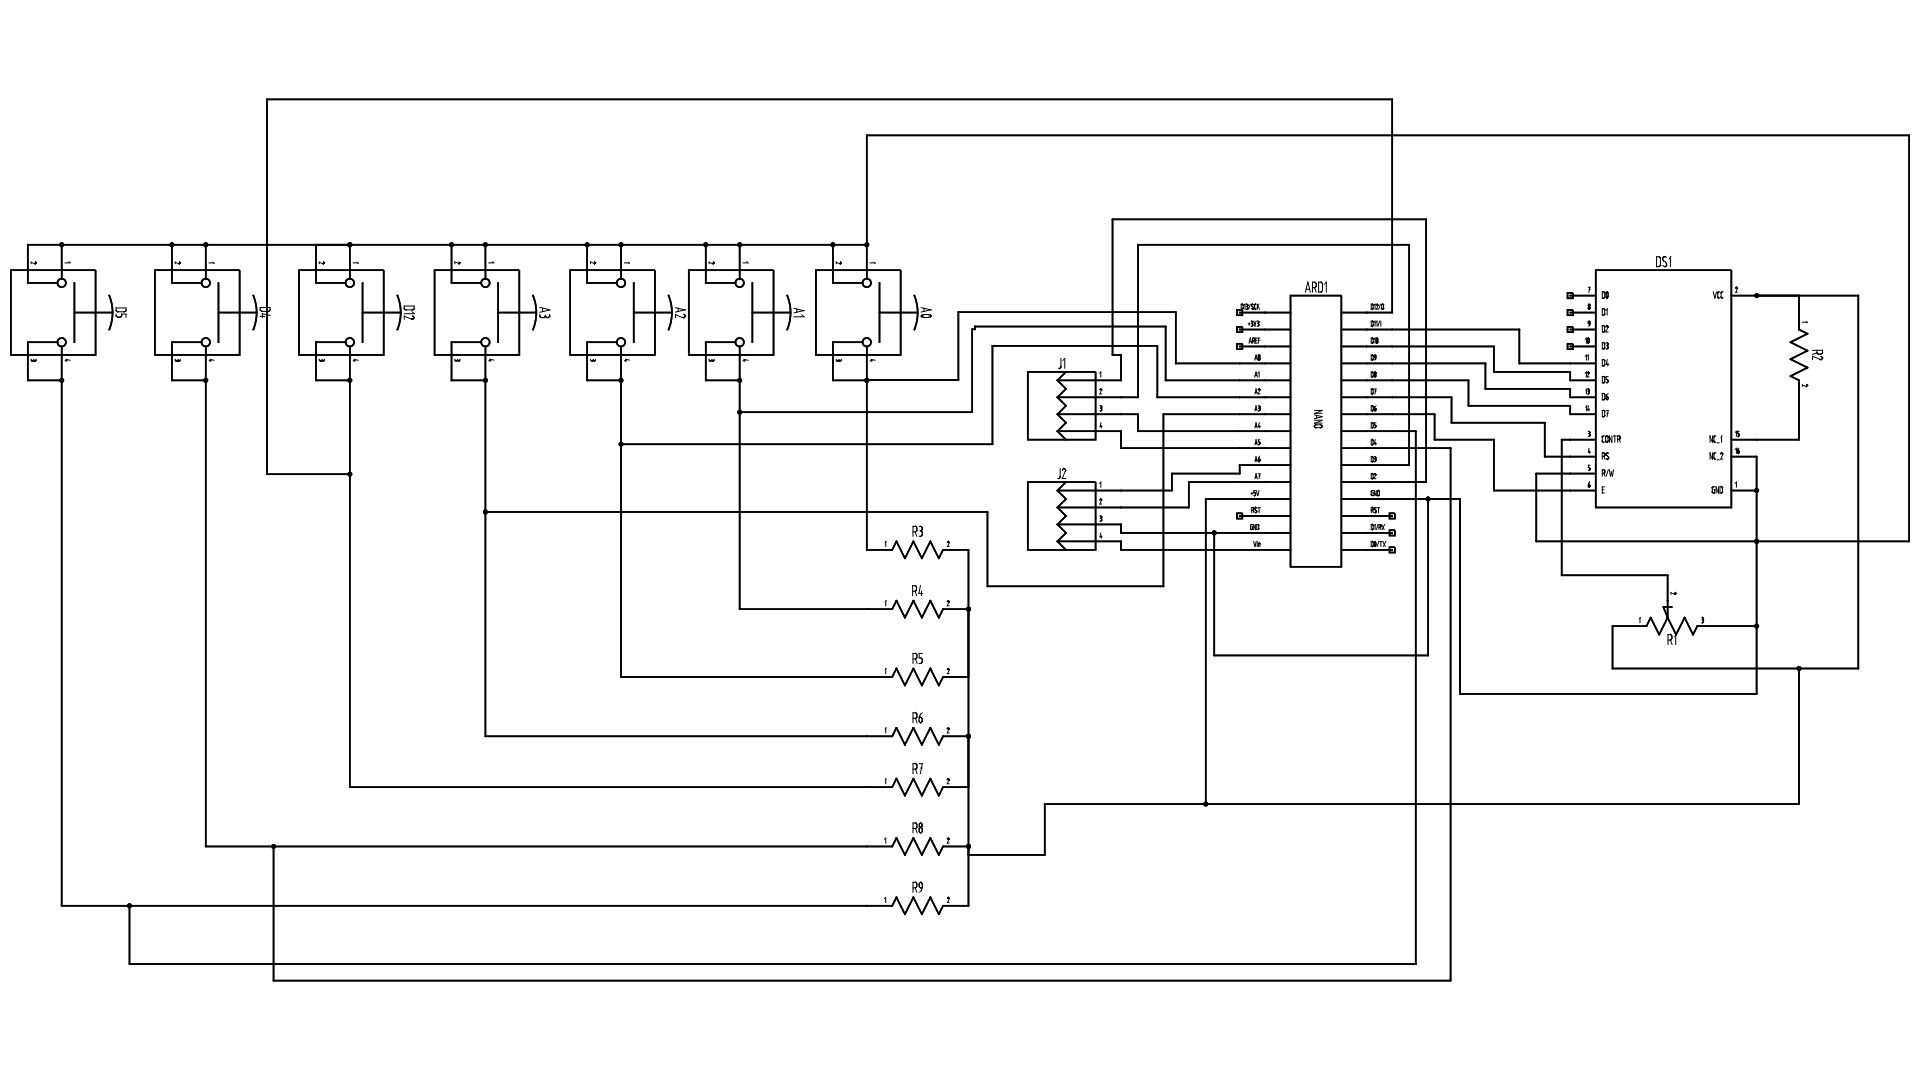
The PCB
07/03/2018 at 11:13 • 0 commentsAll starts with a circuit diagram. It's not very complicated, everything has just to be connected to the Arduino
![]()
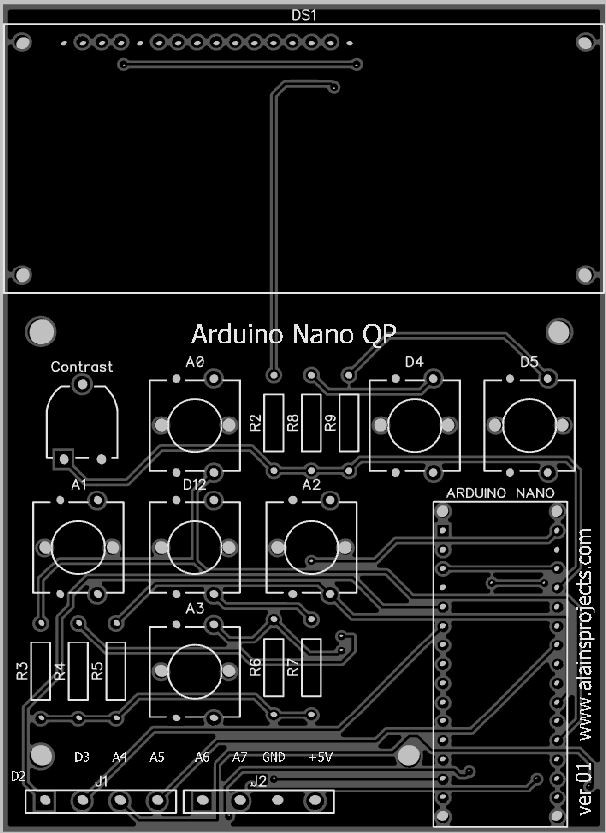
Then place the parts and autoroute all
![]()
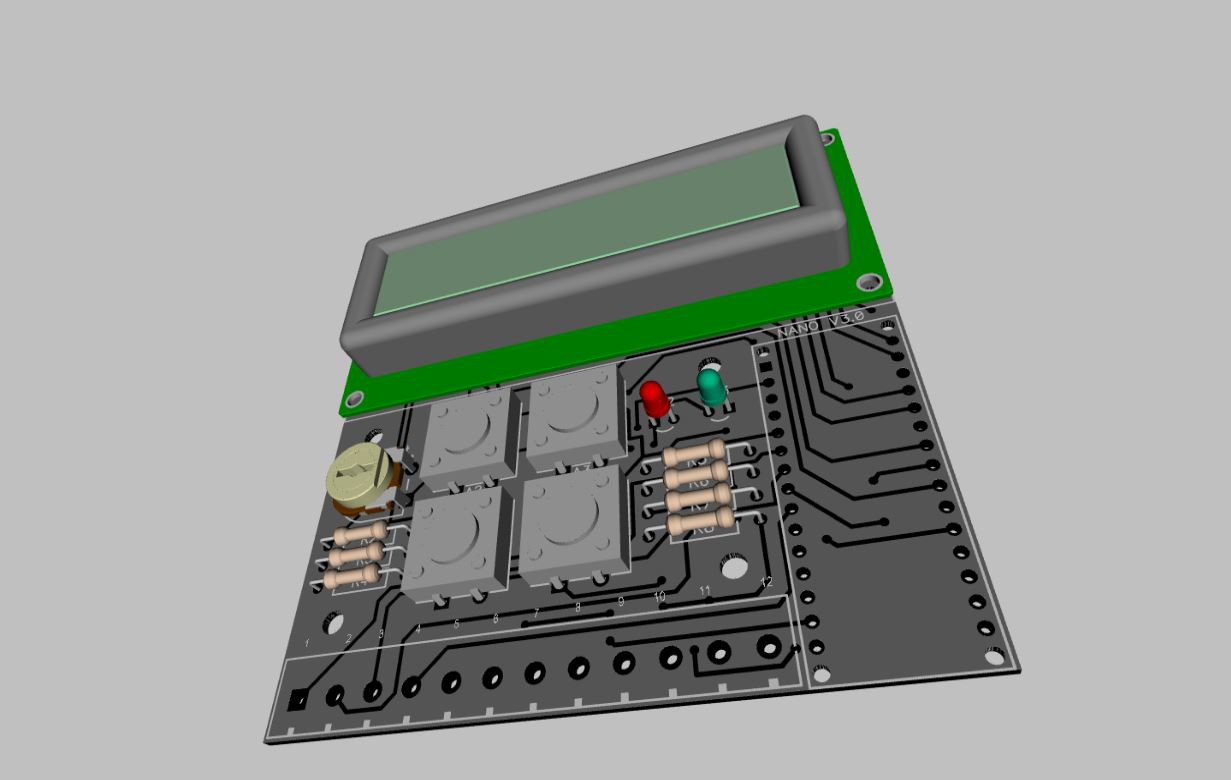
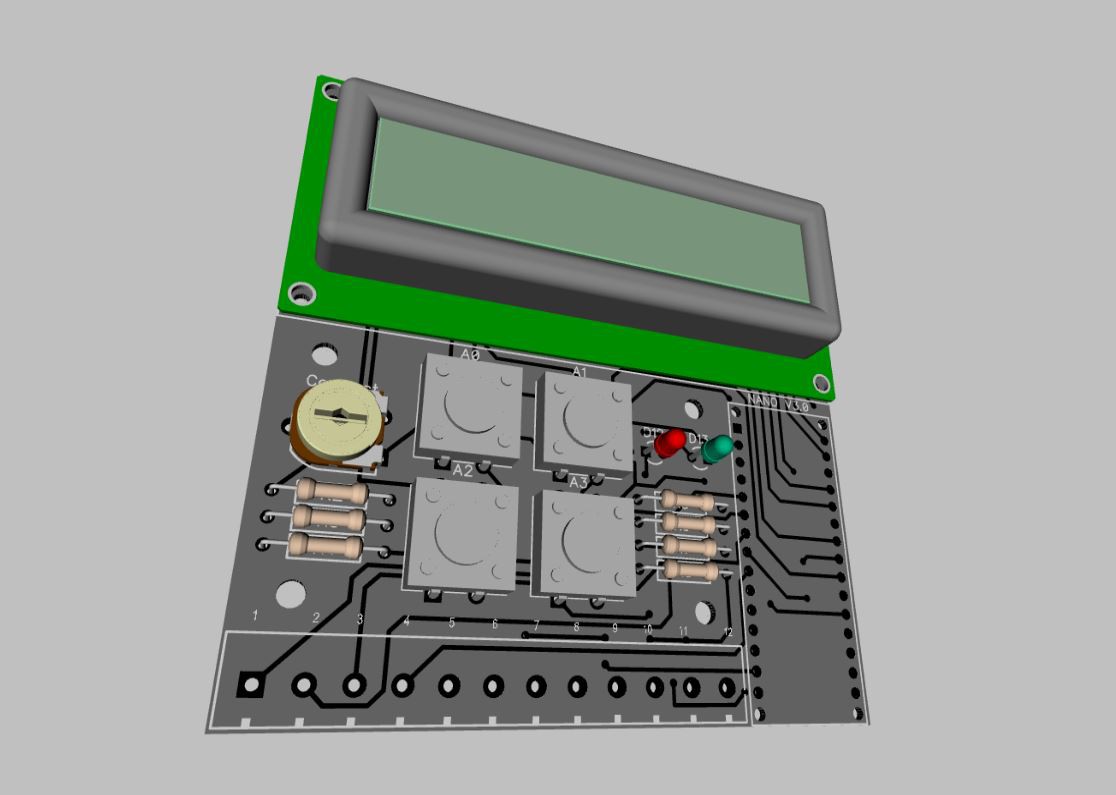
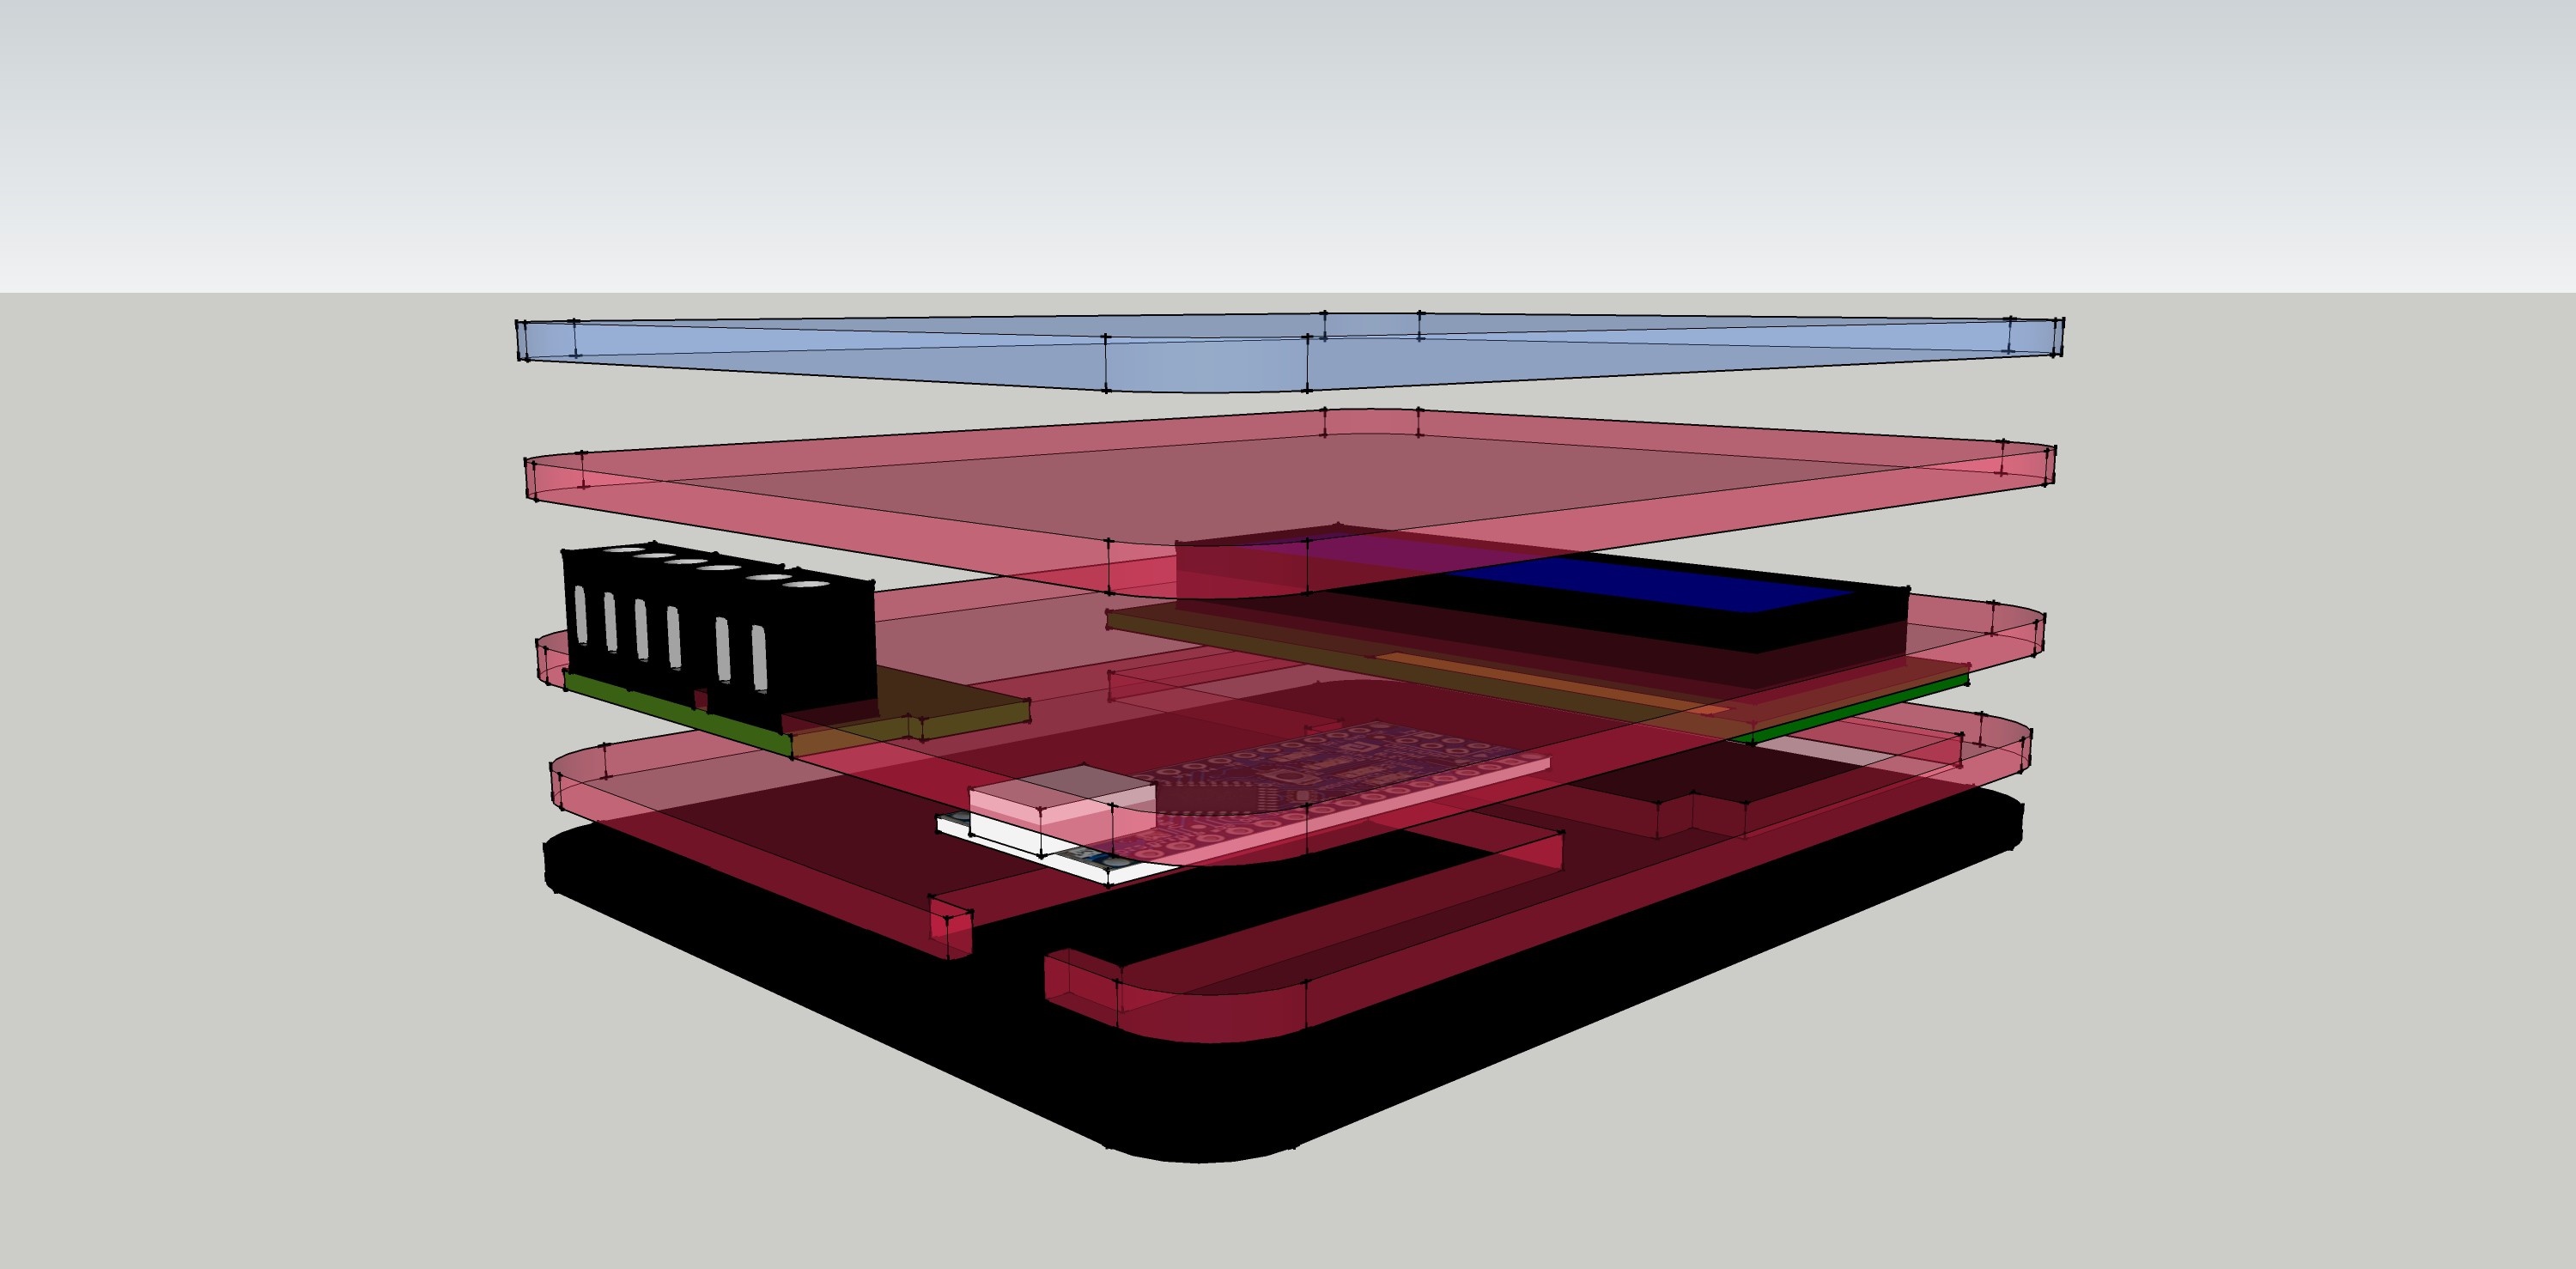
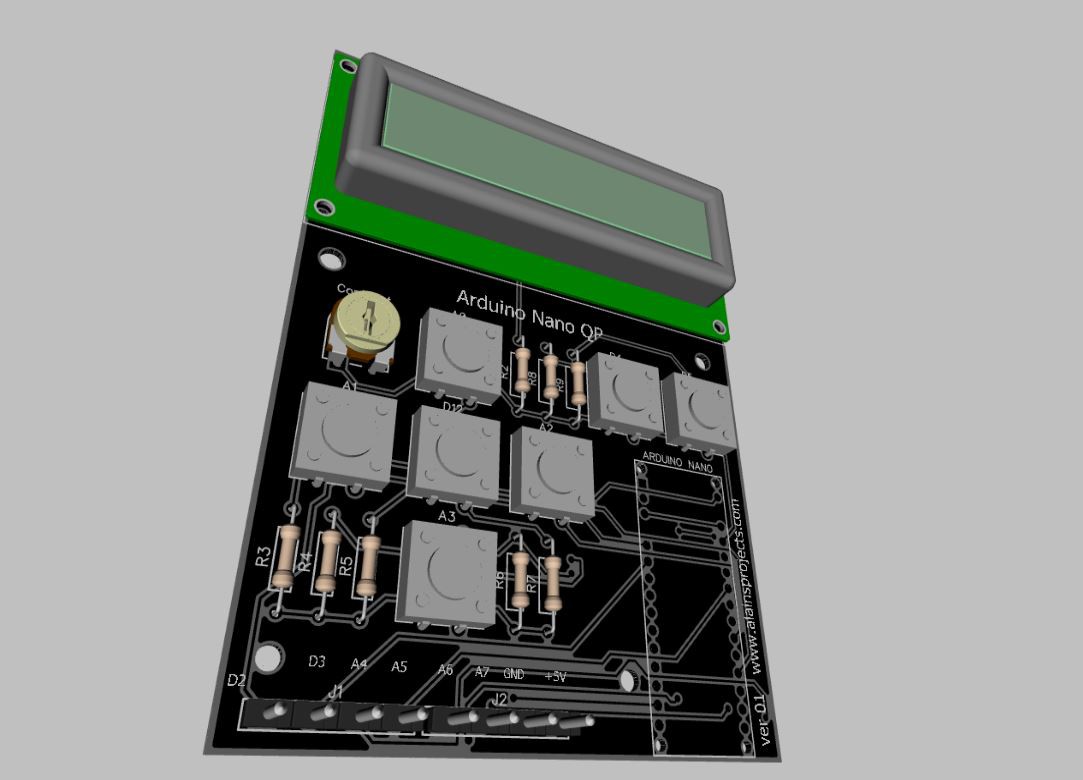
Even in 3D
![]()
Now upload the files to a pcb manufactor and wait for the result
![]()