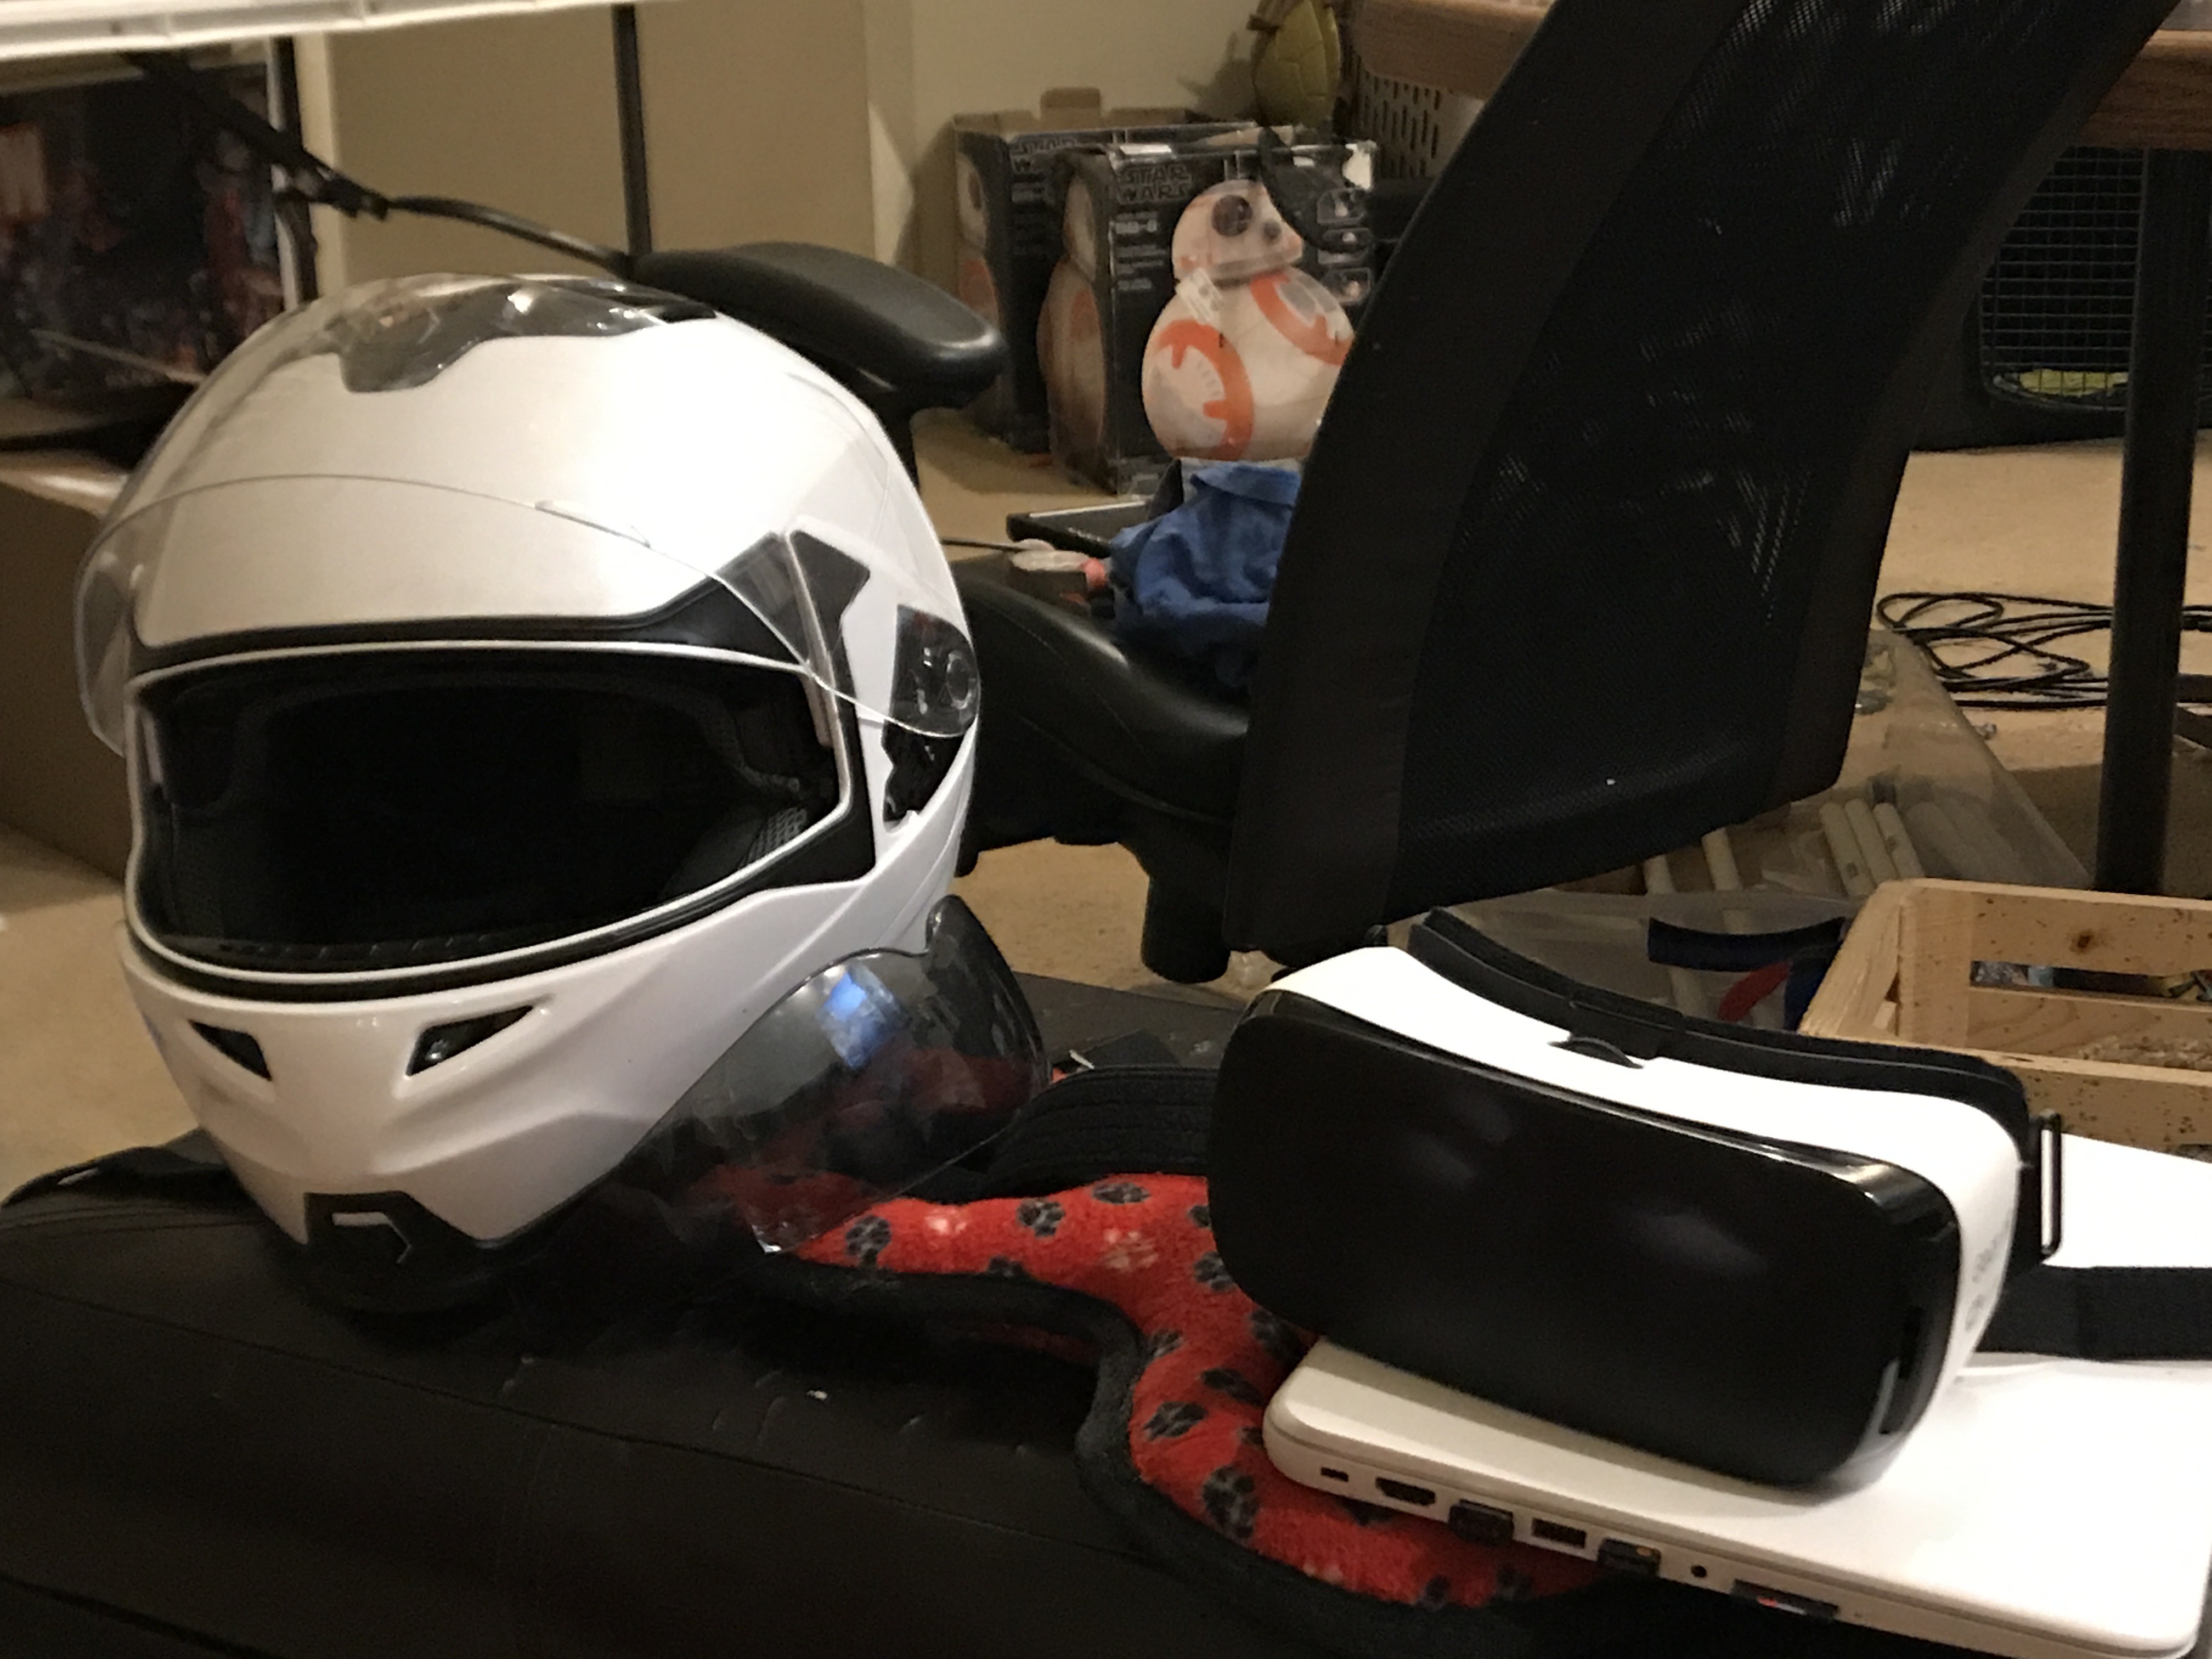
-
Tiny update
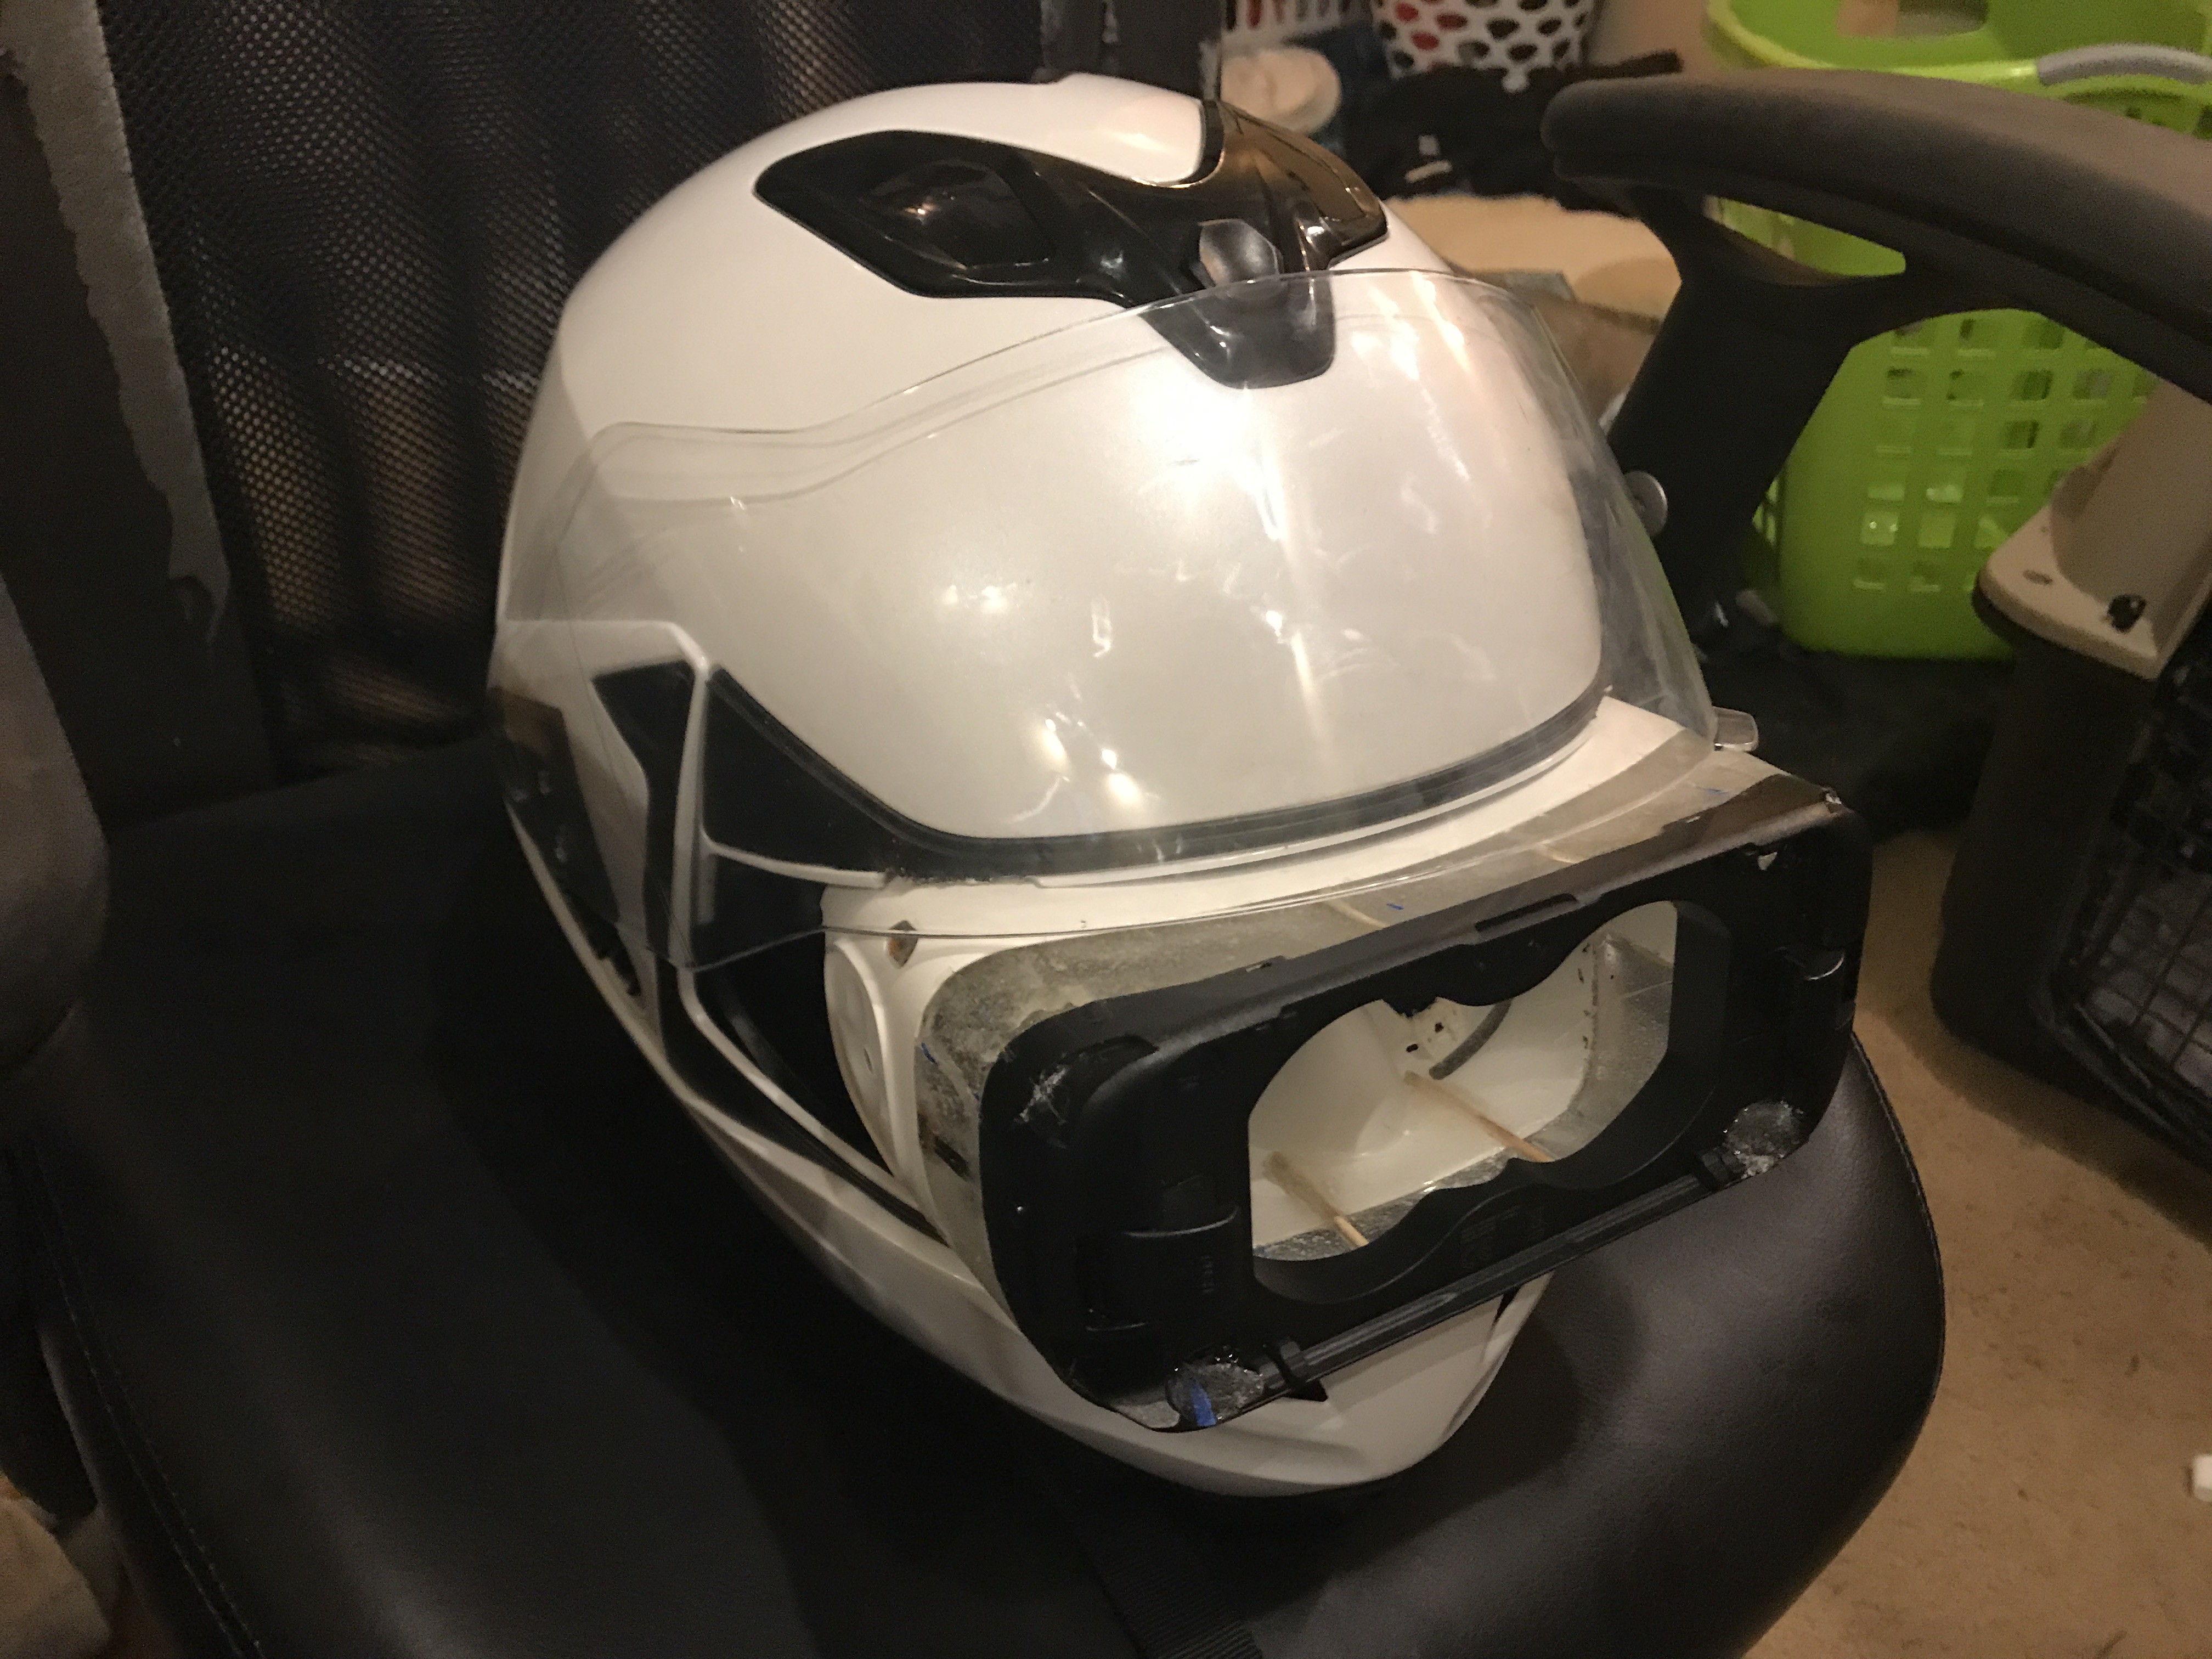
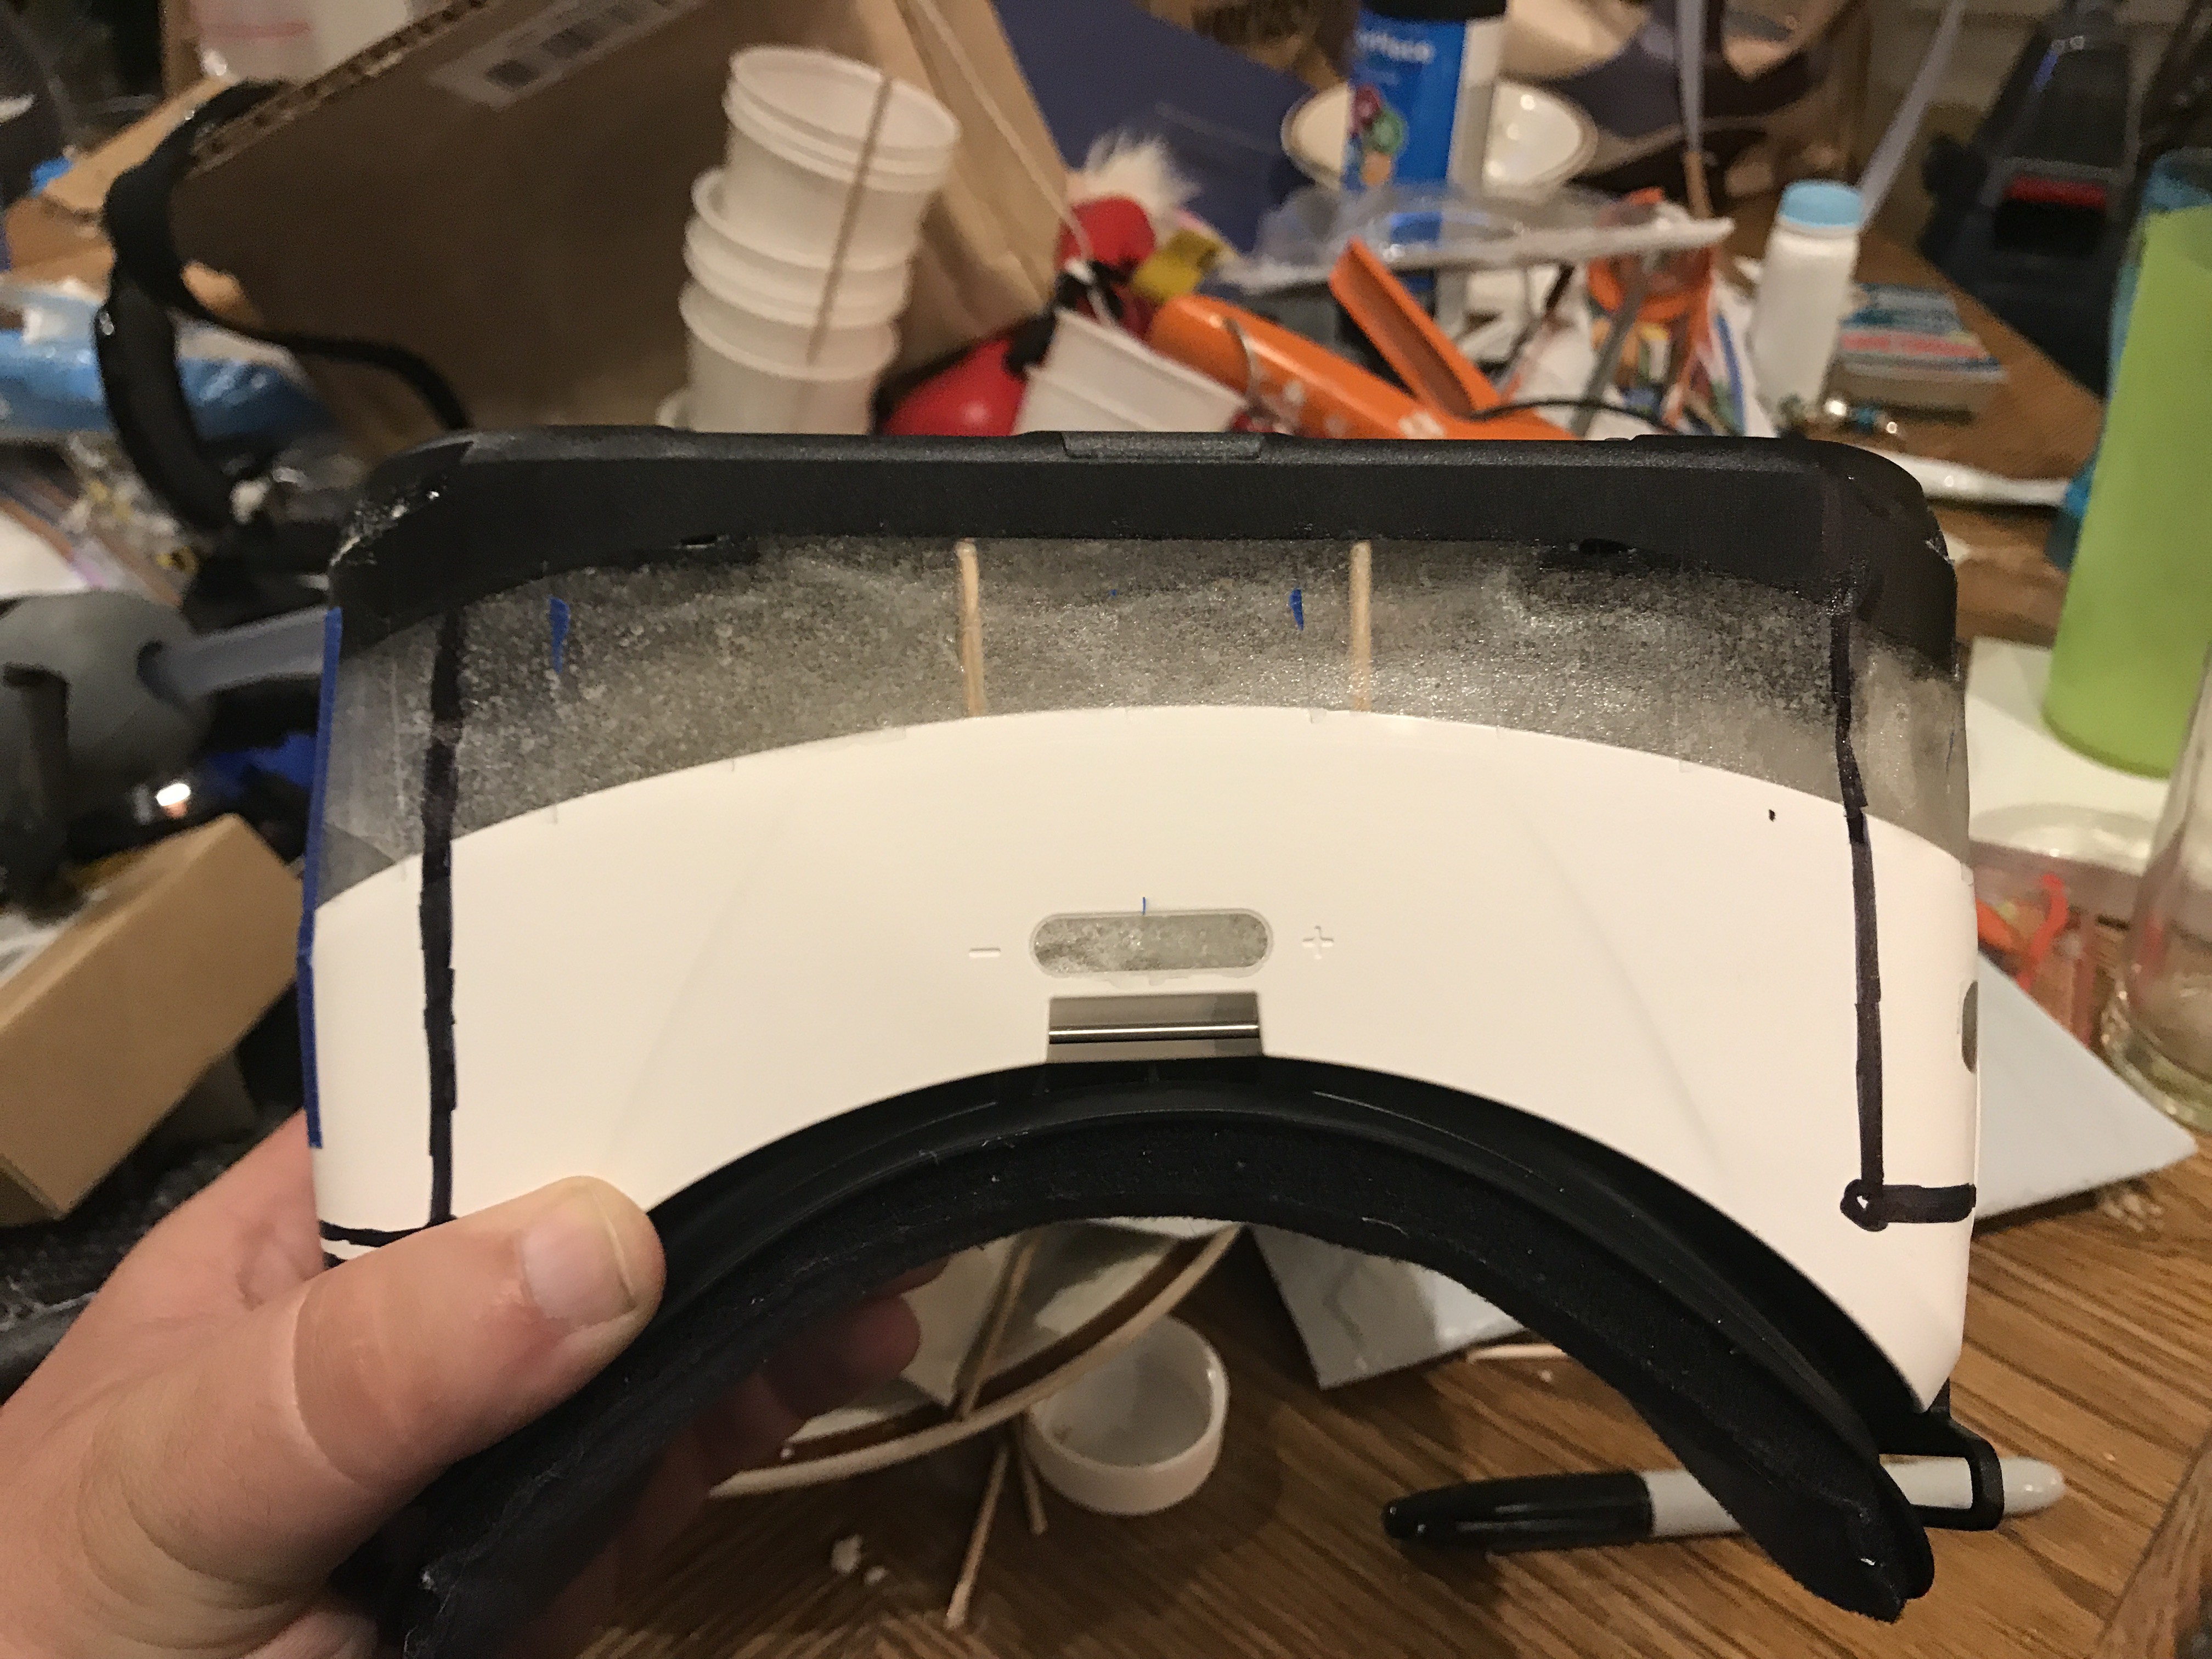
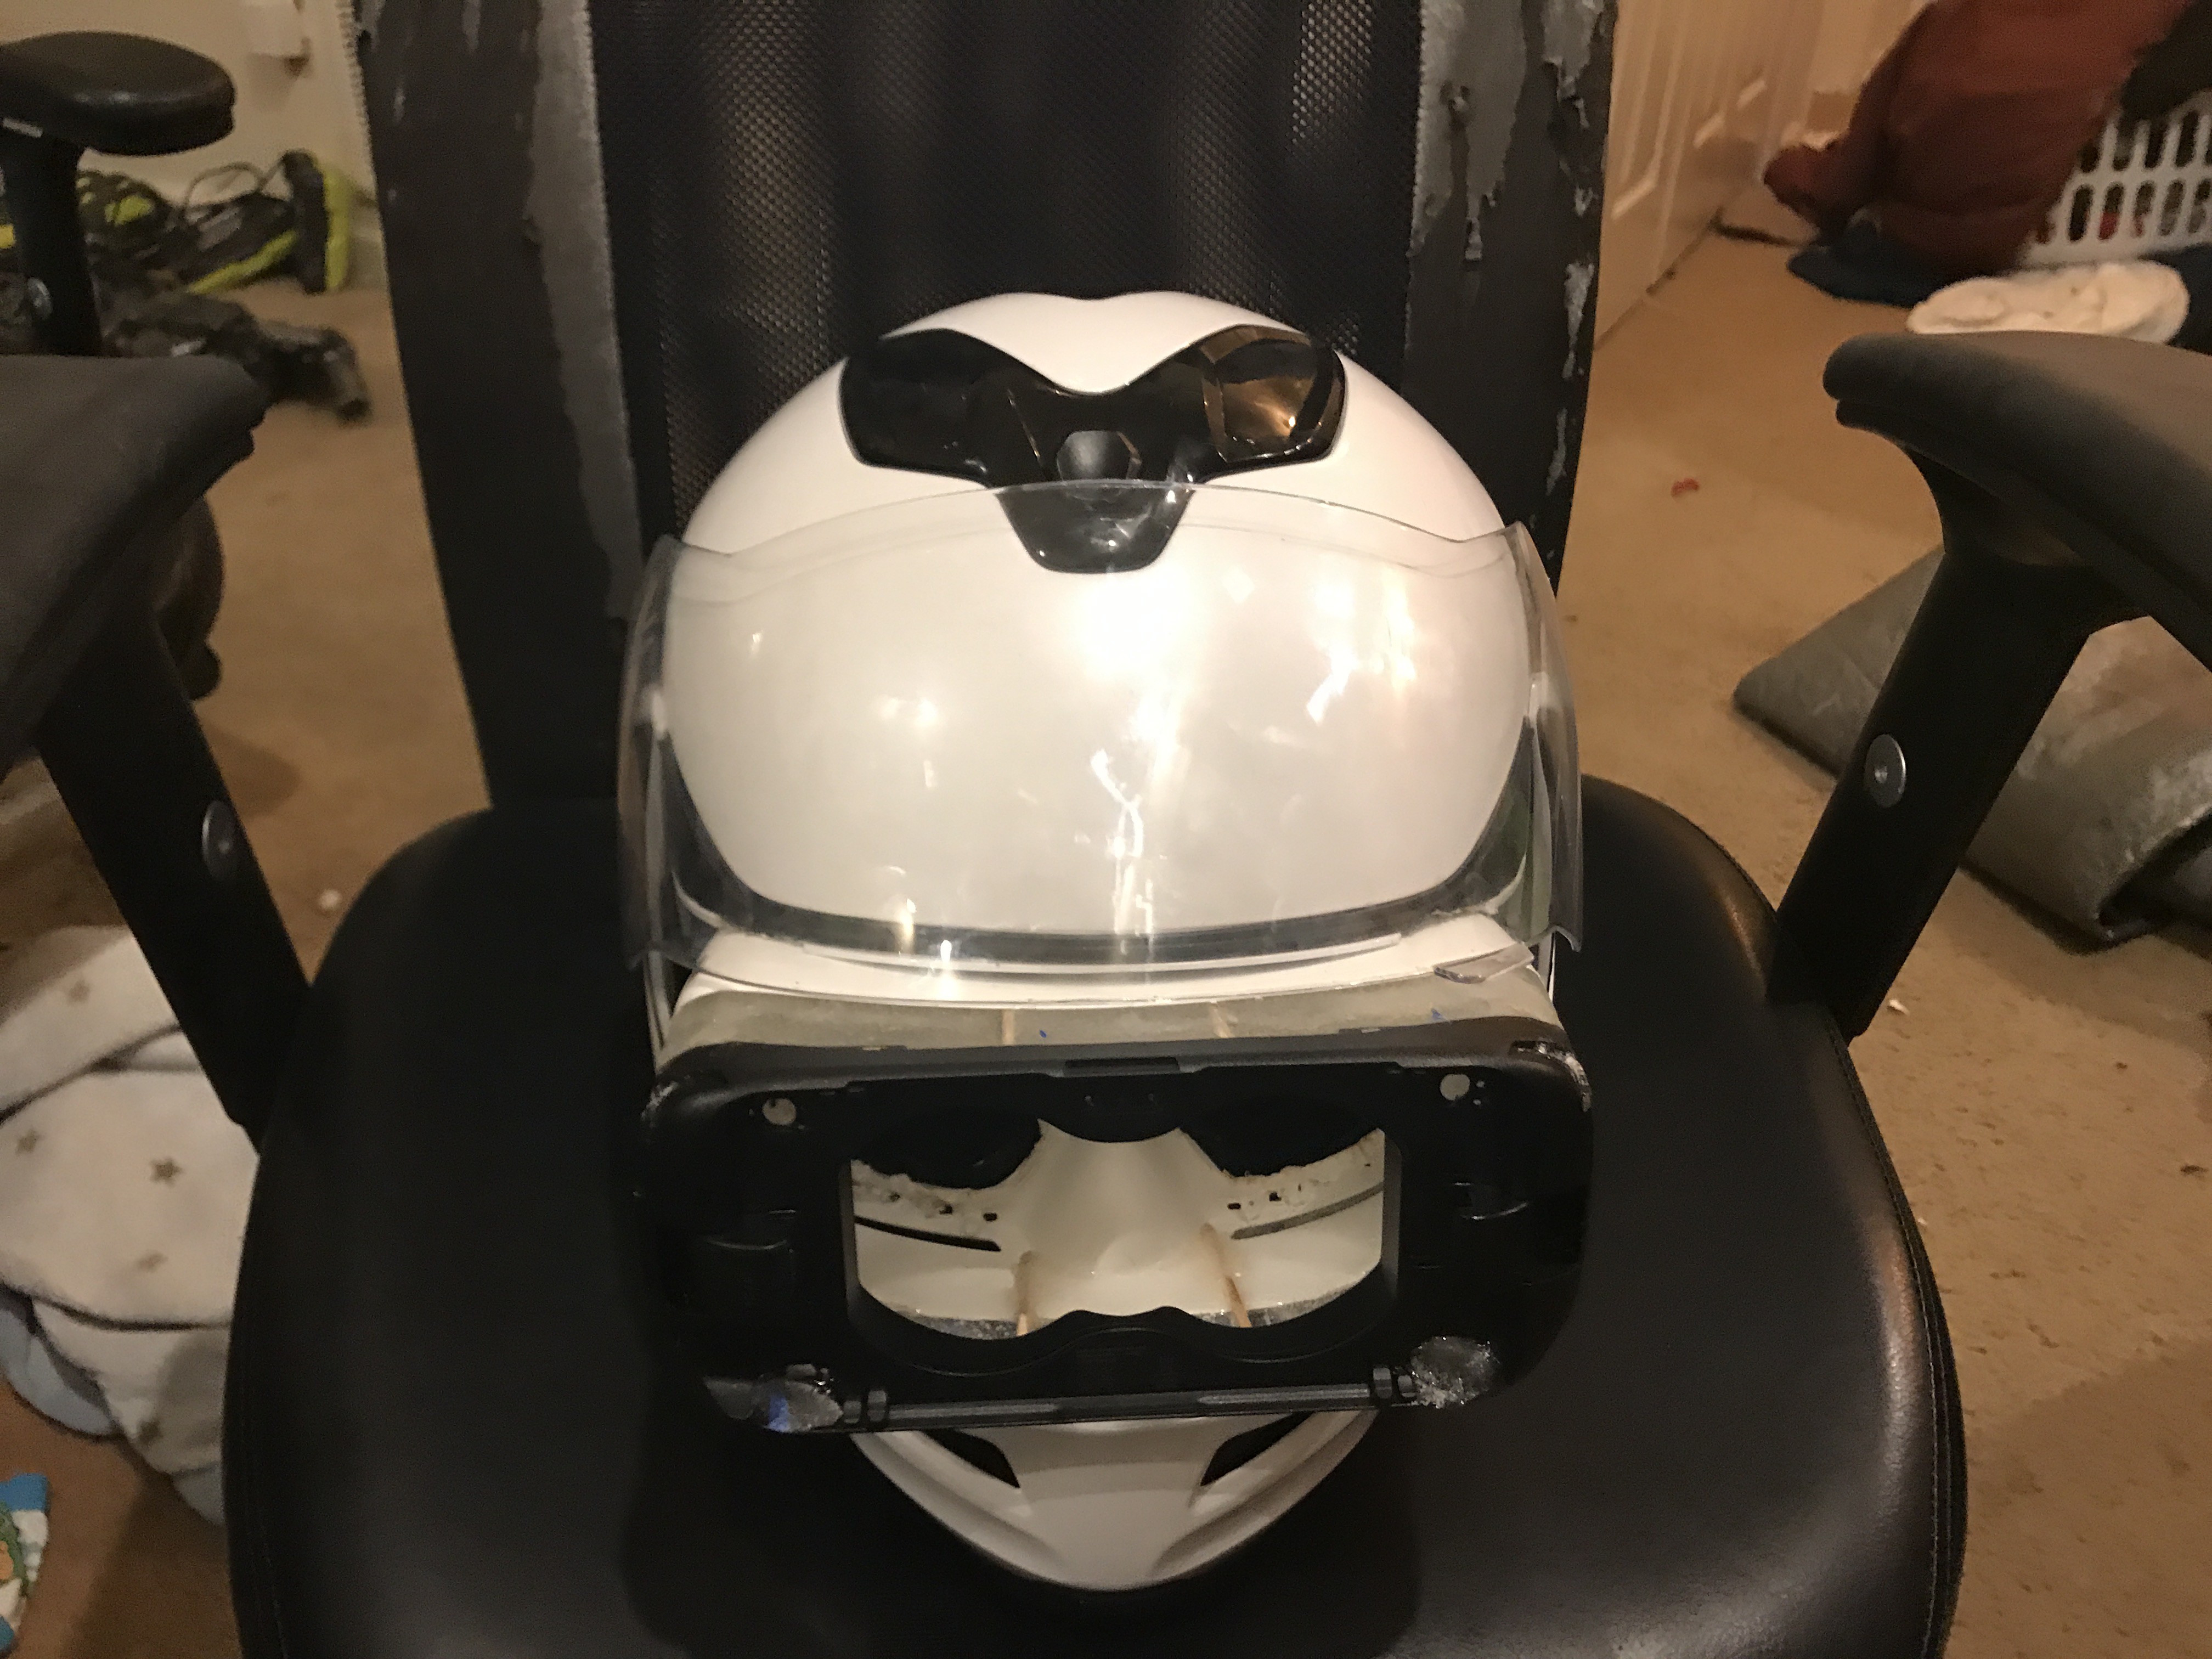
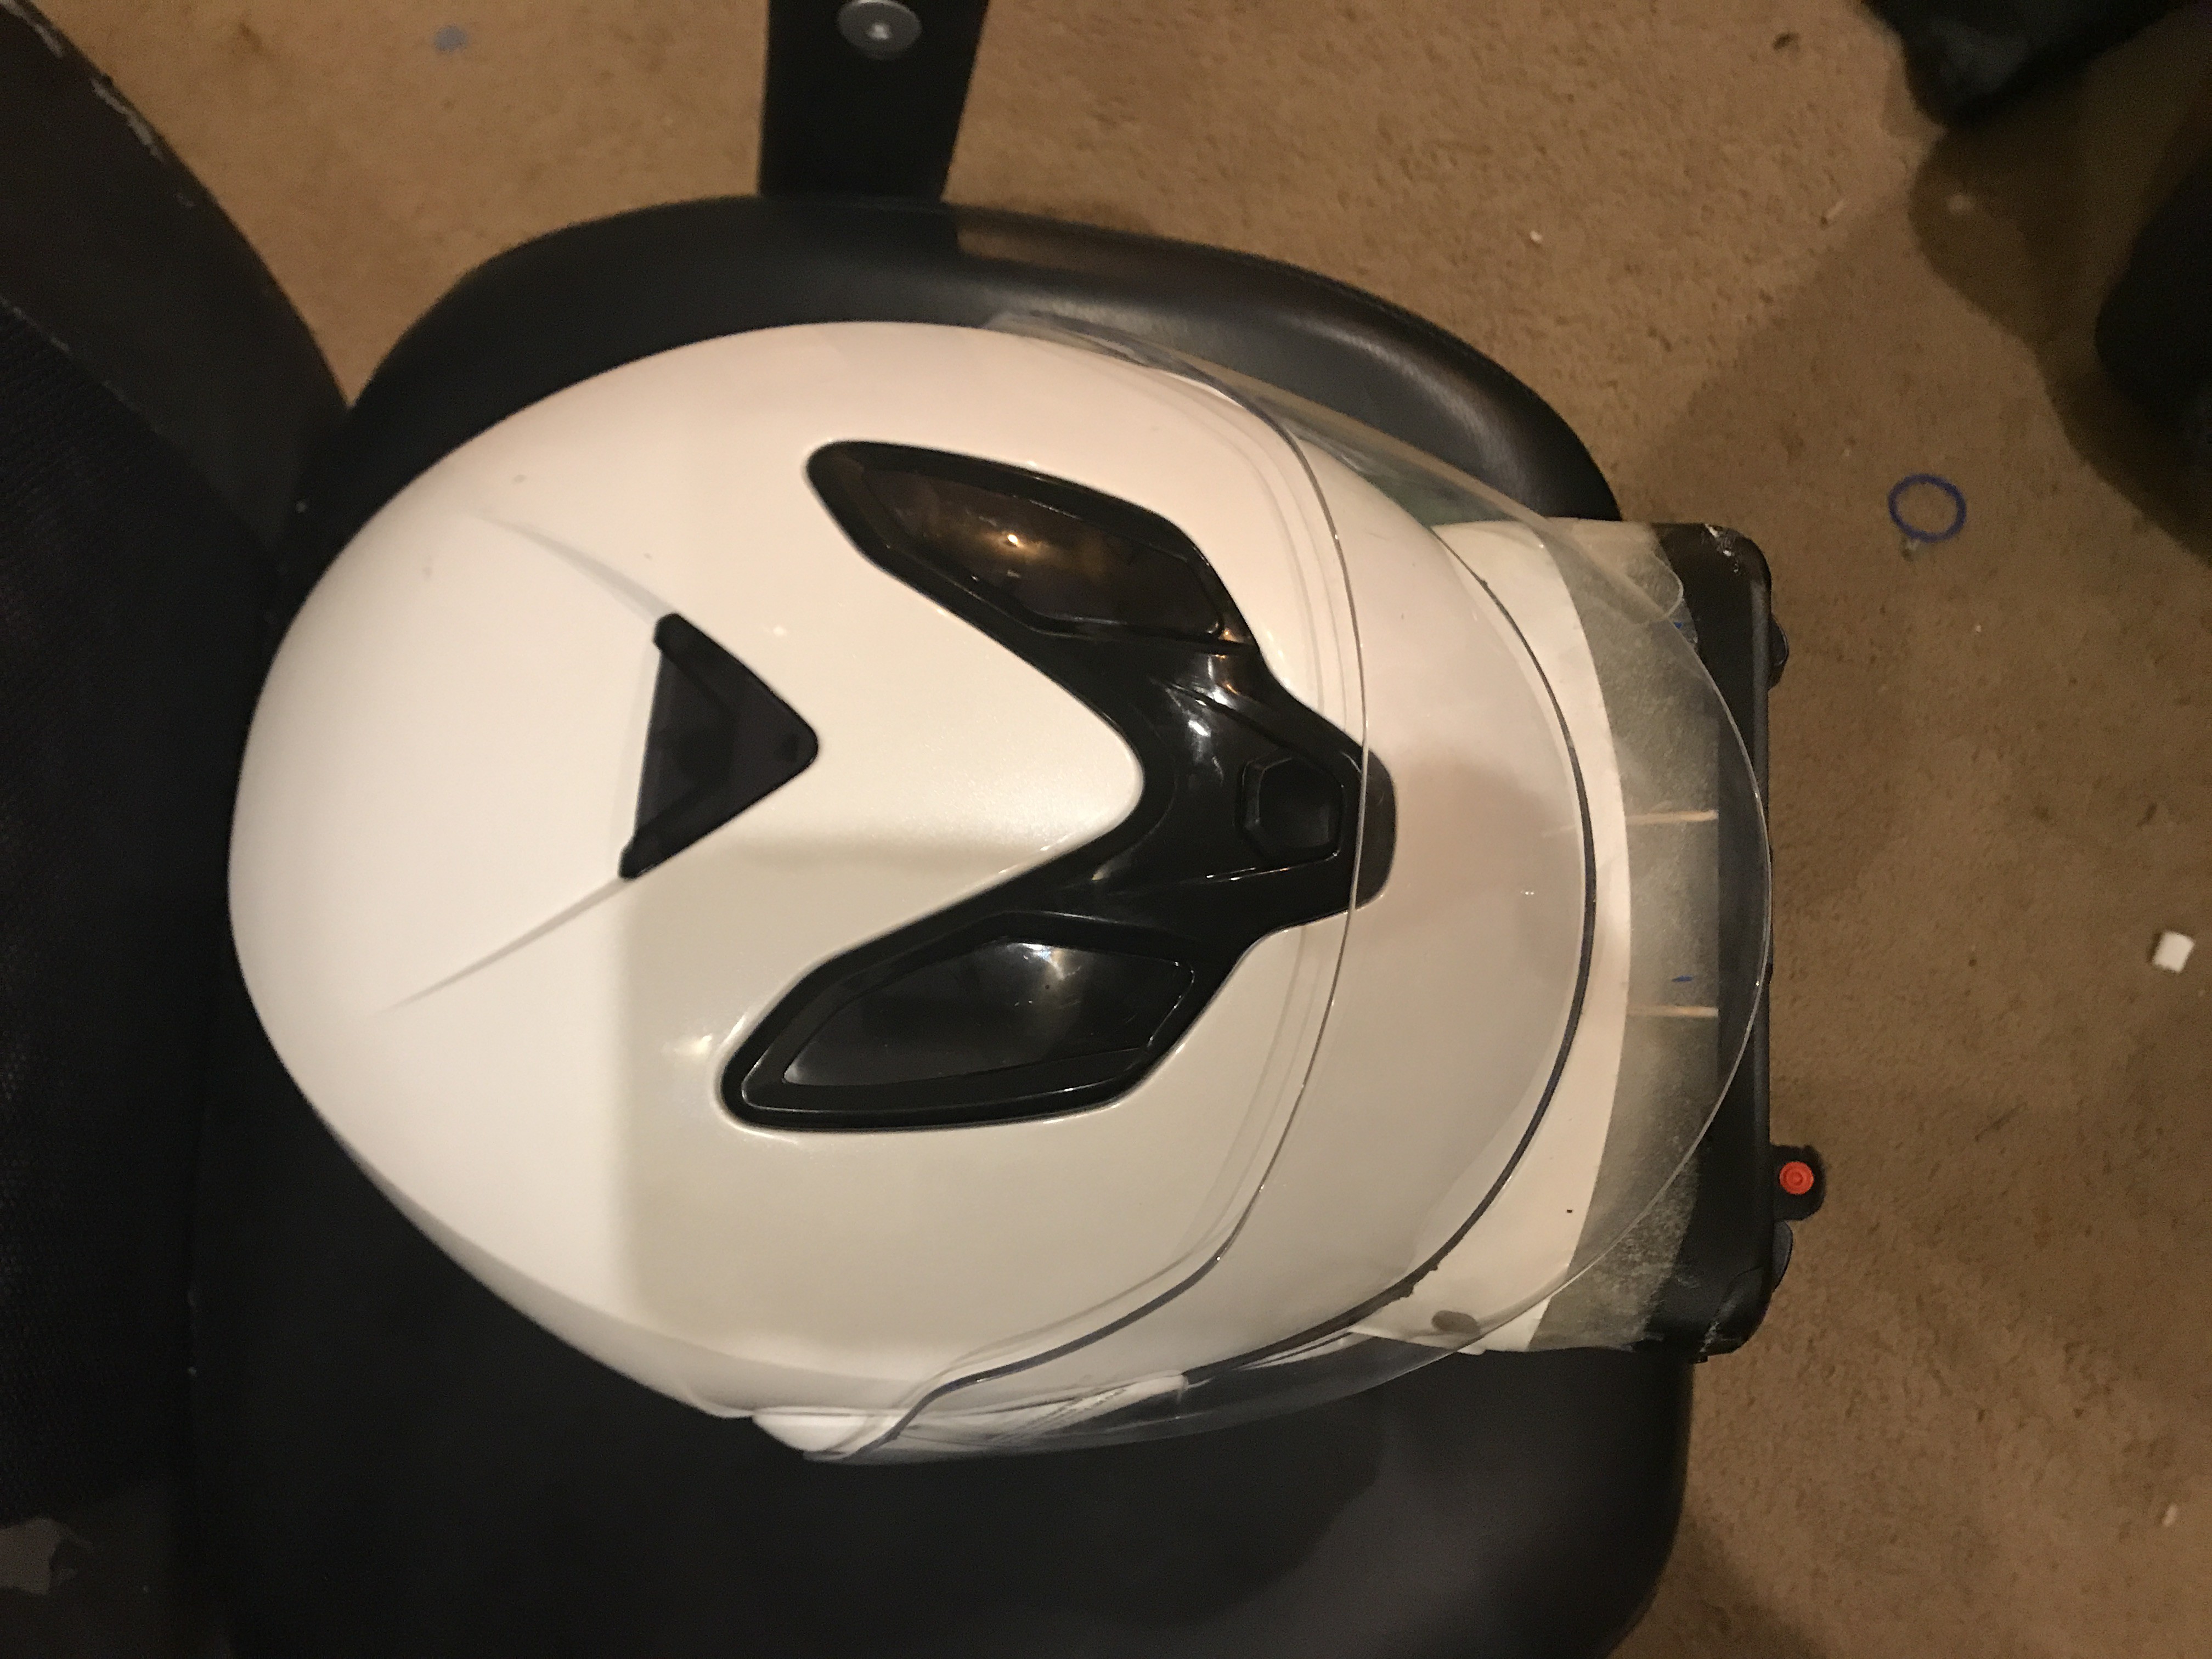
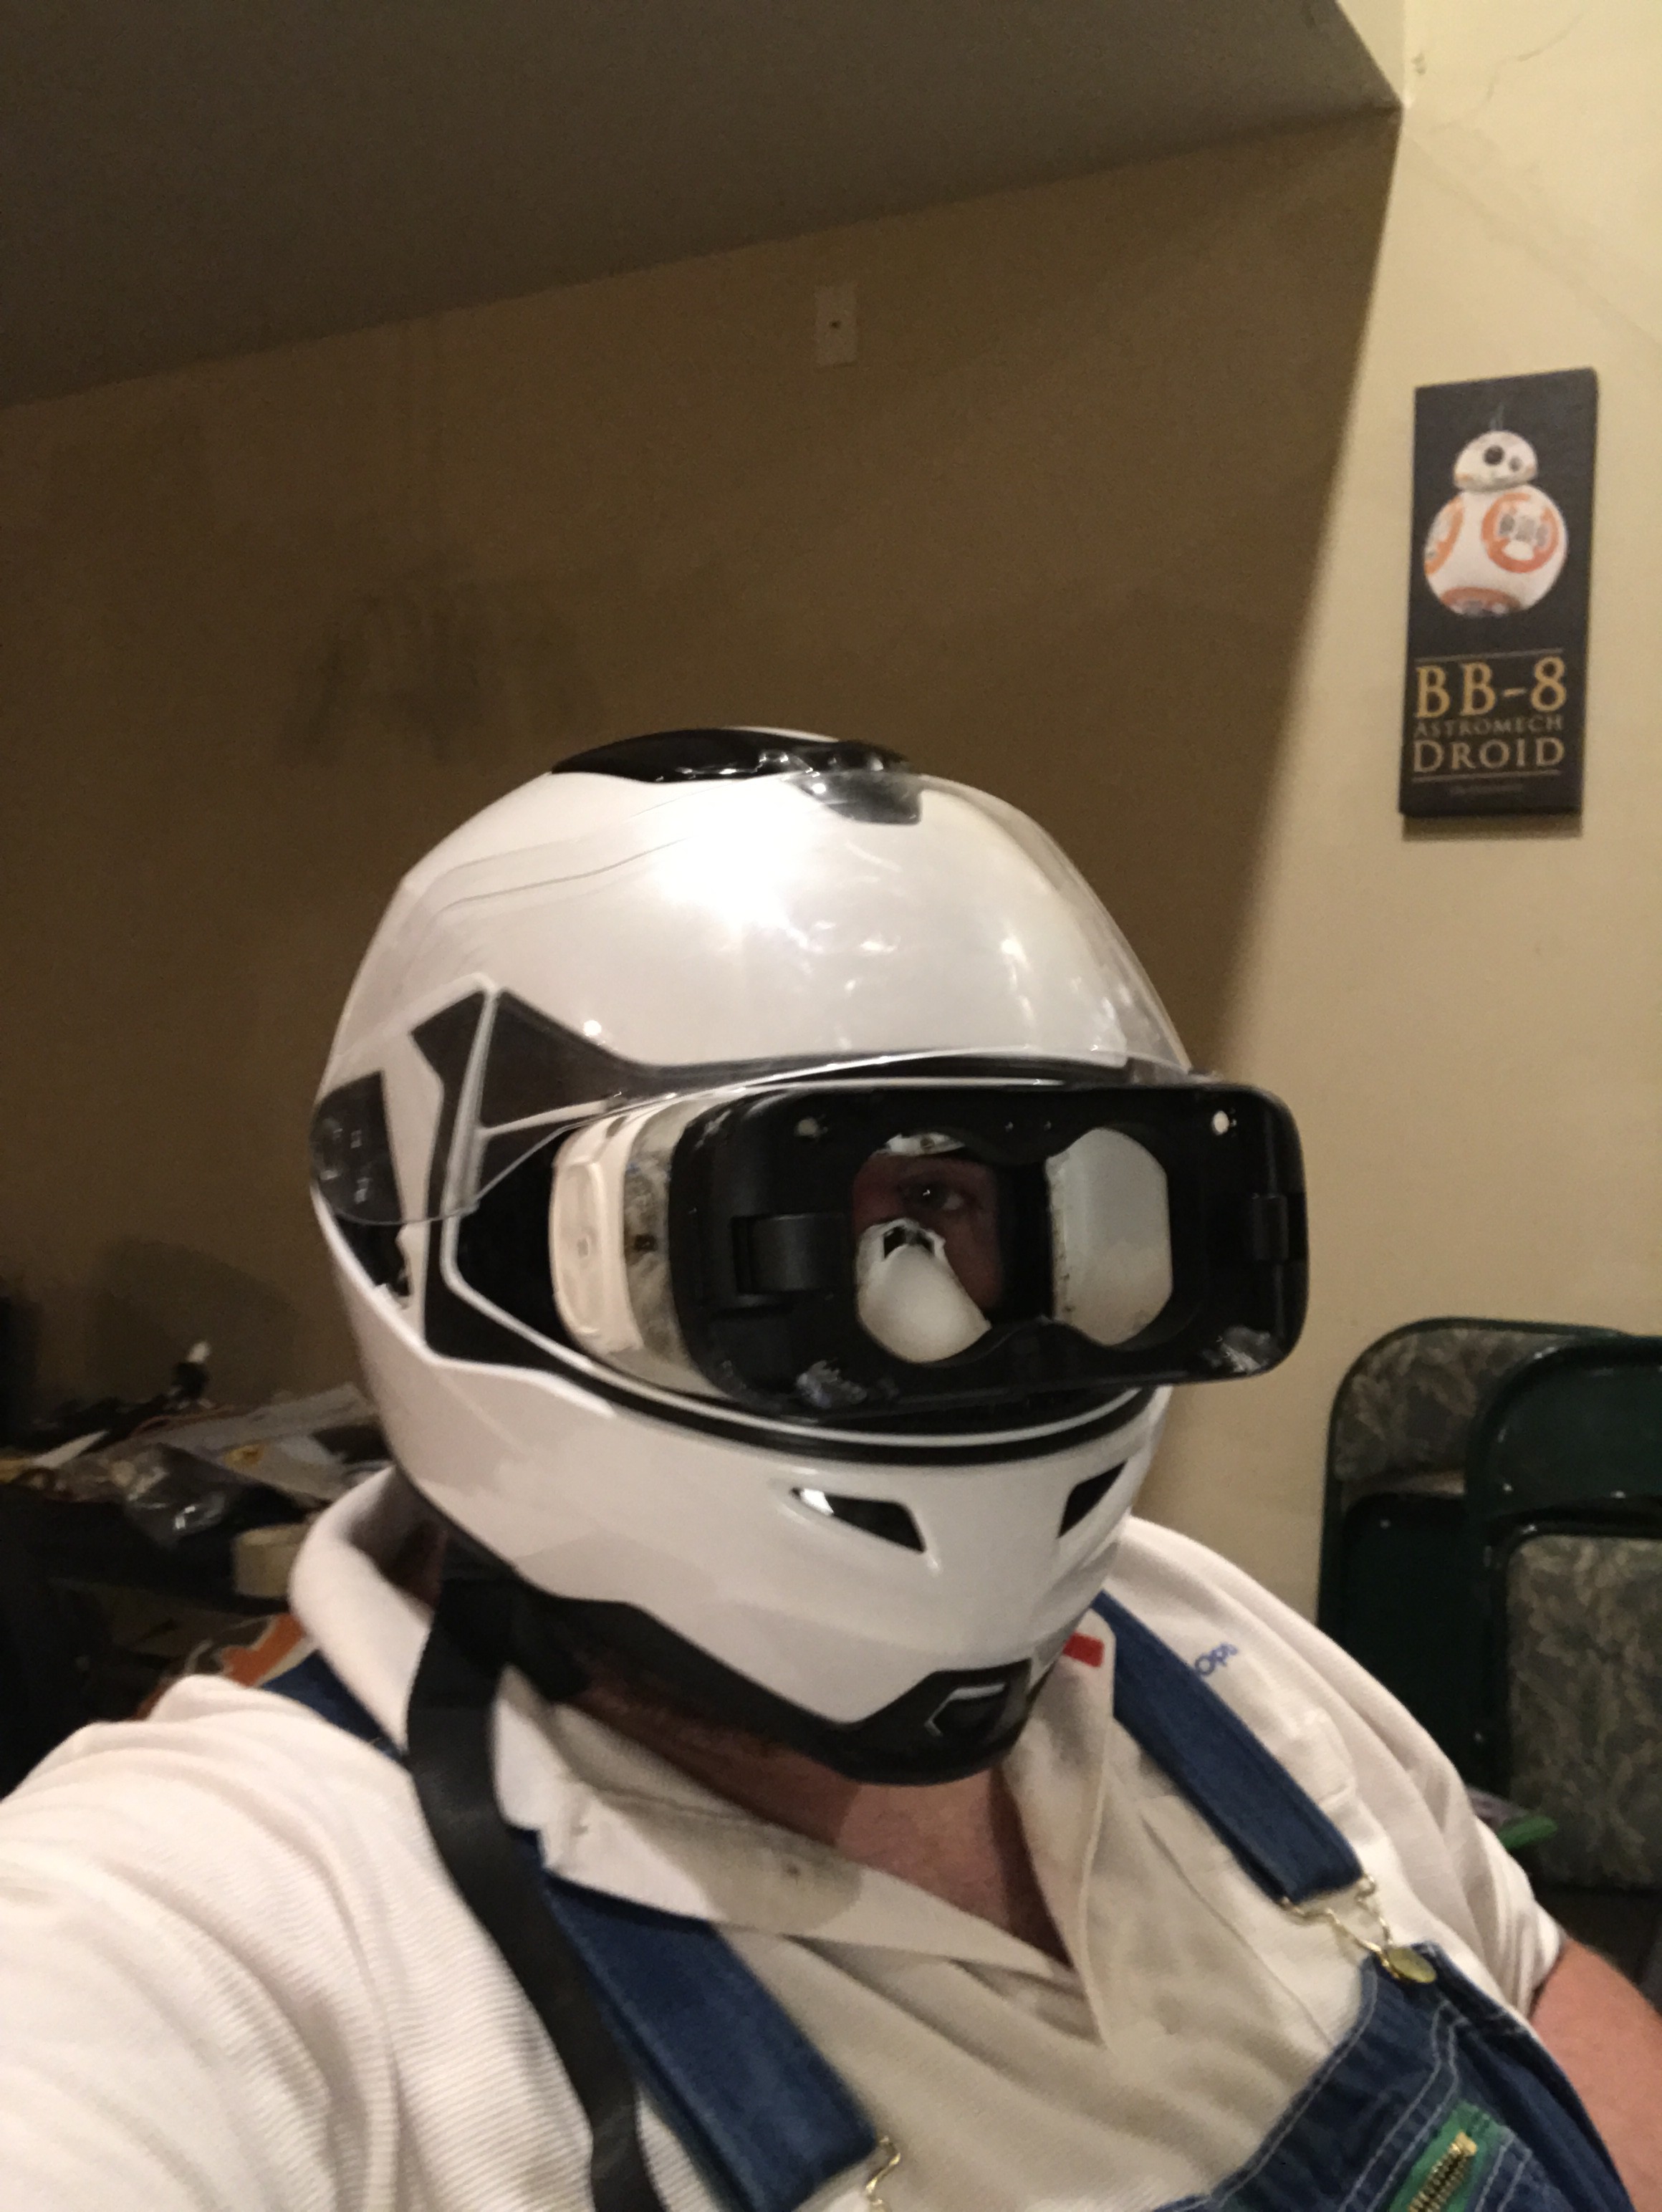
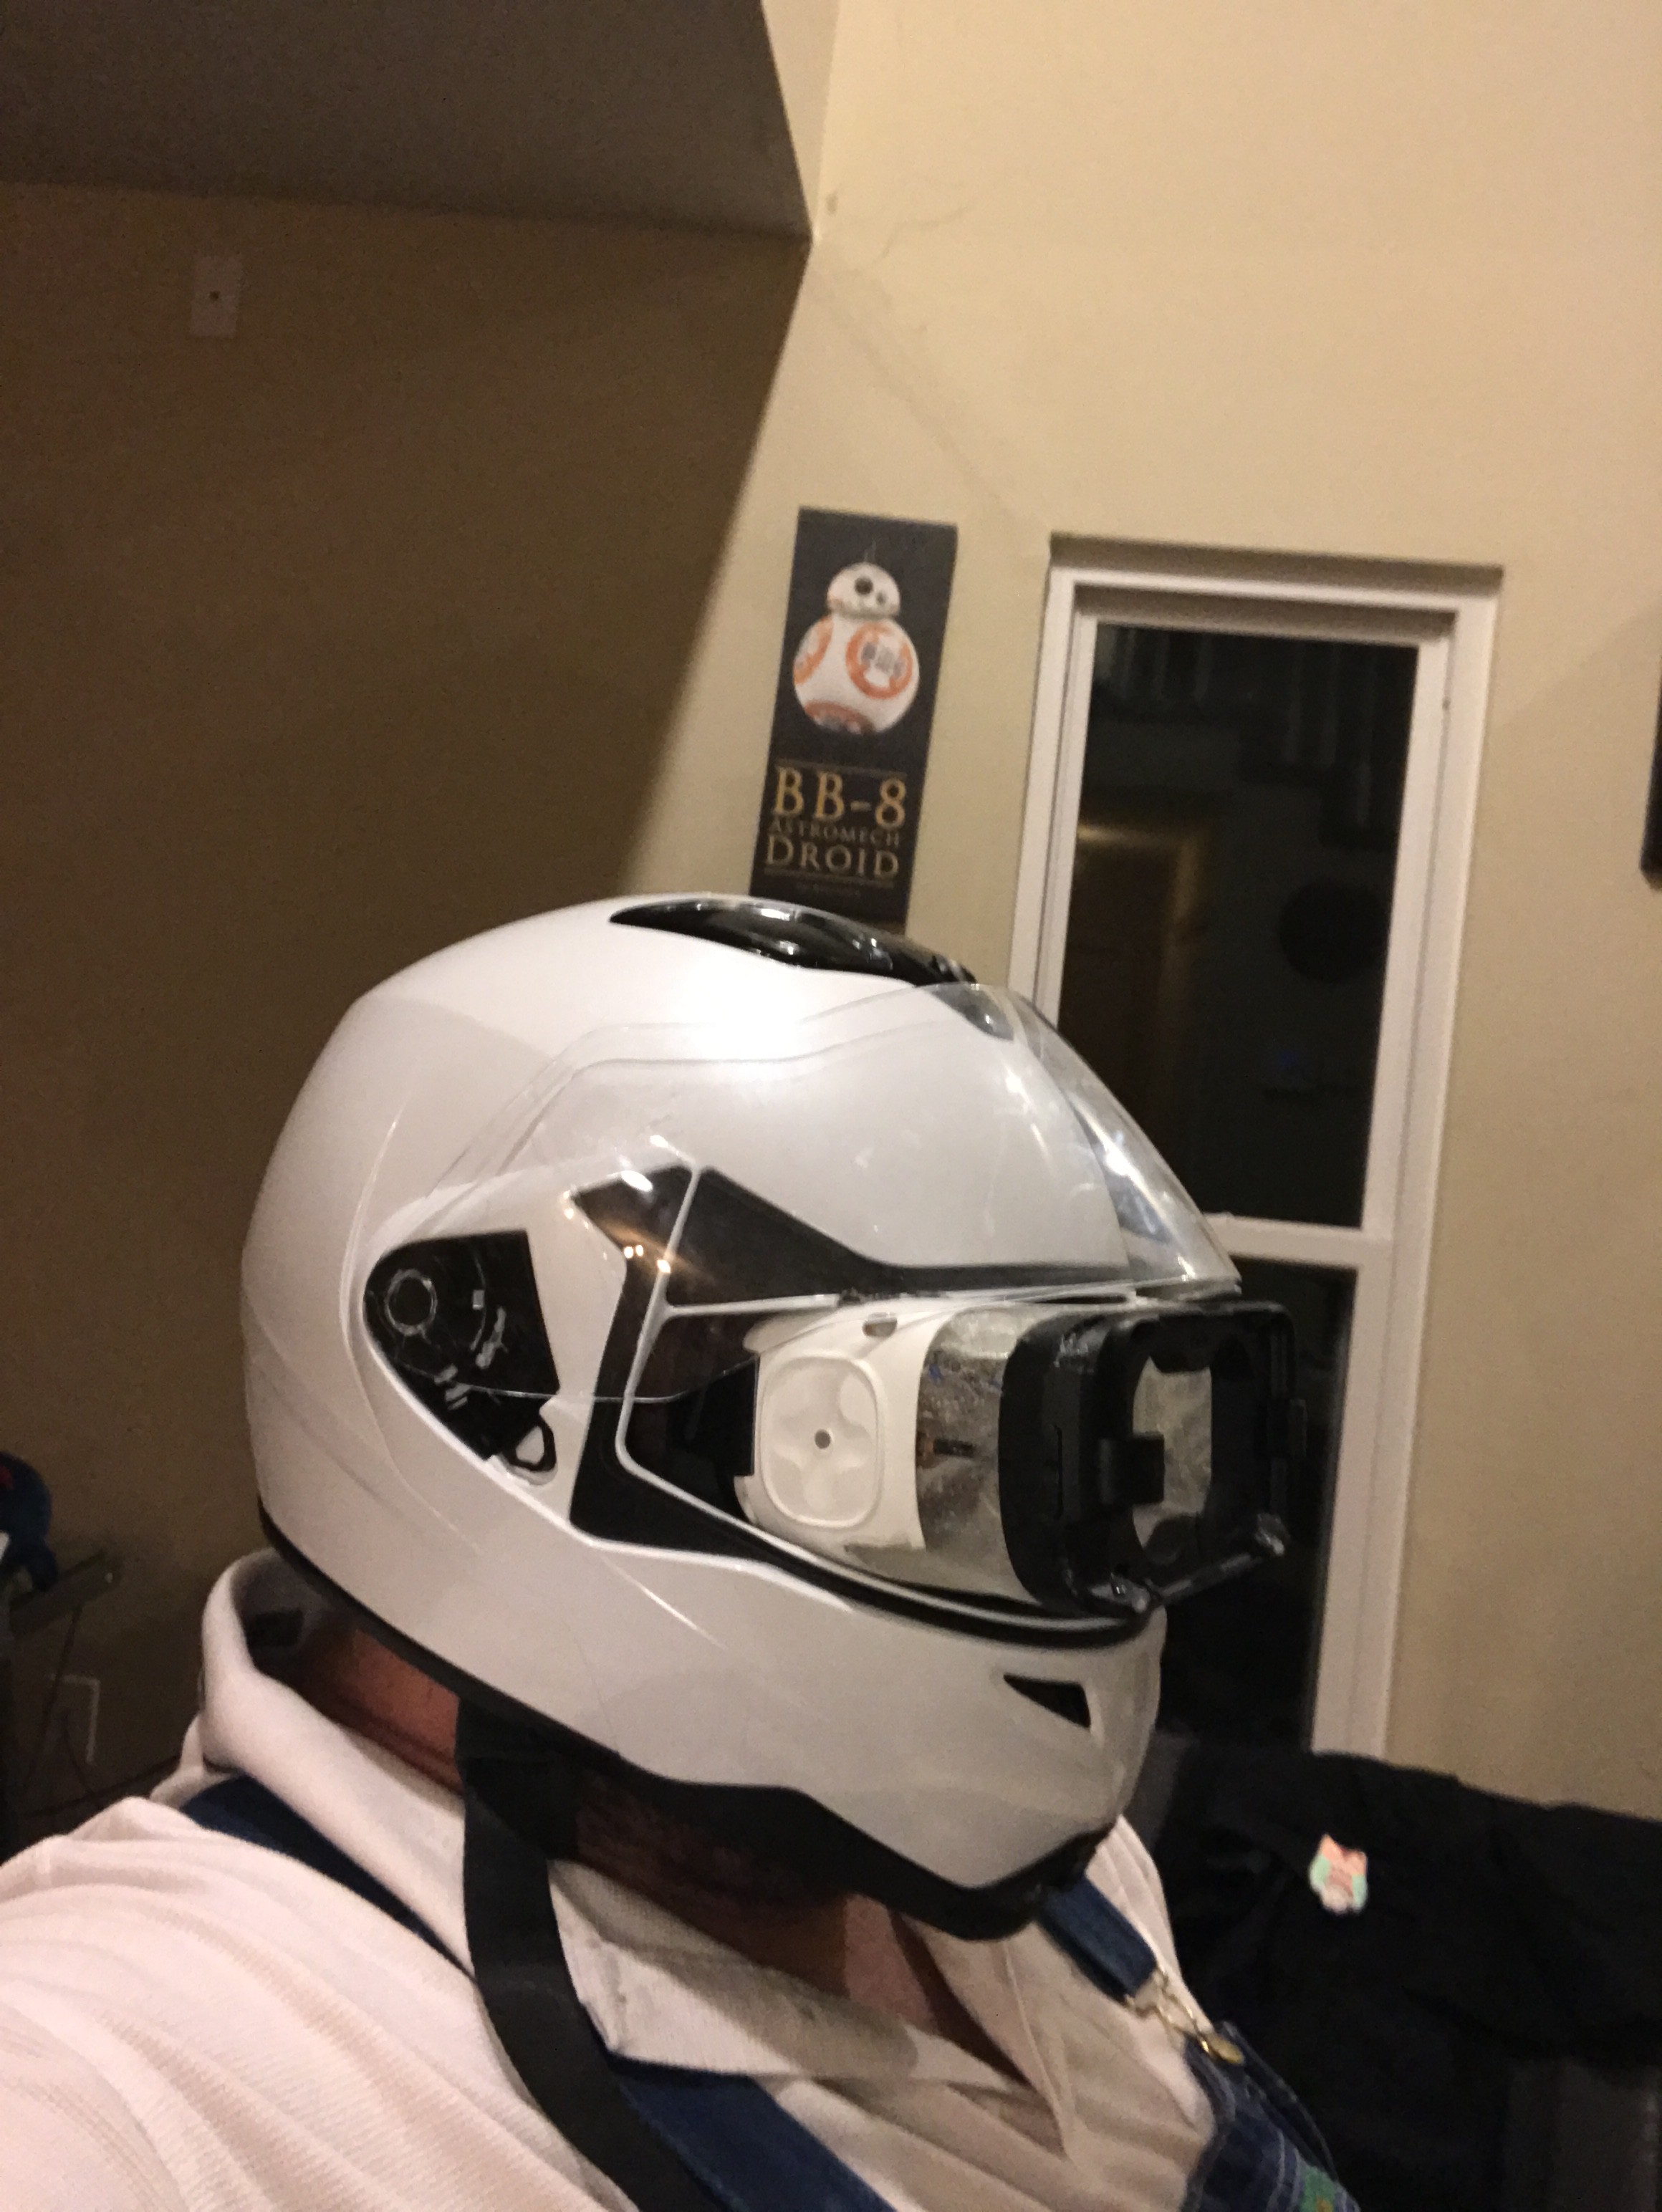
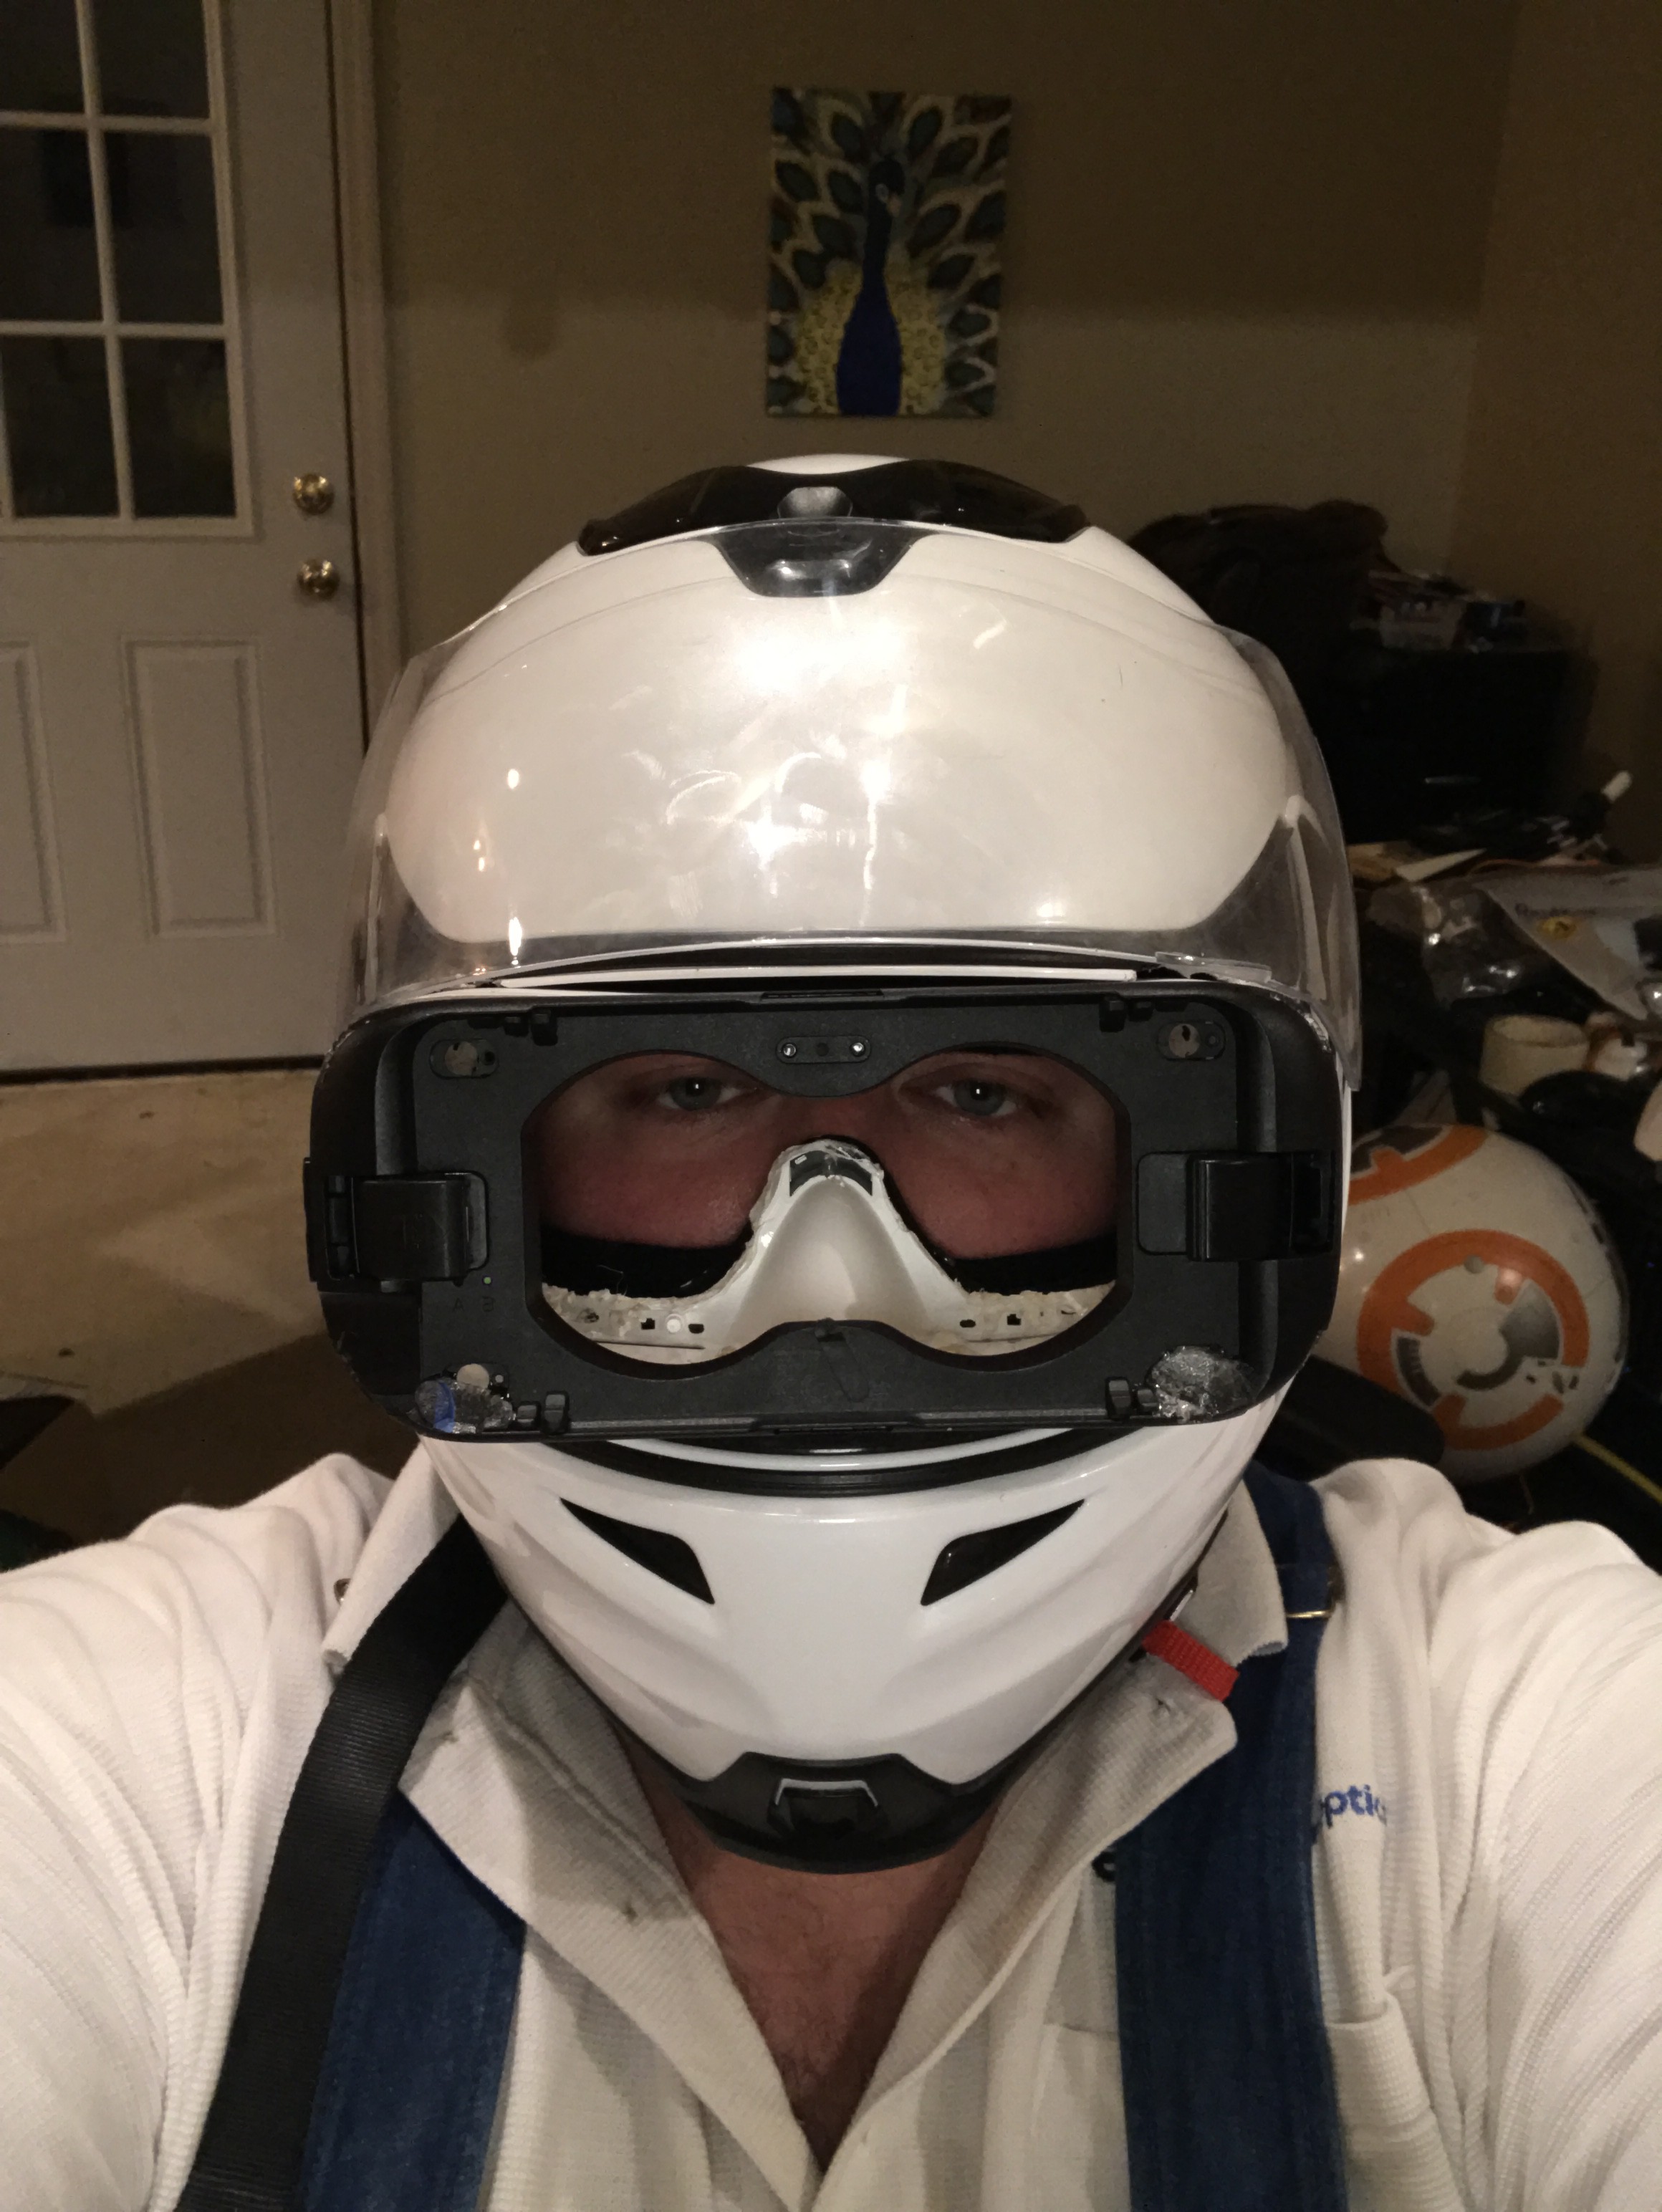
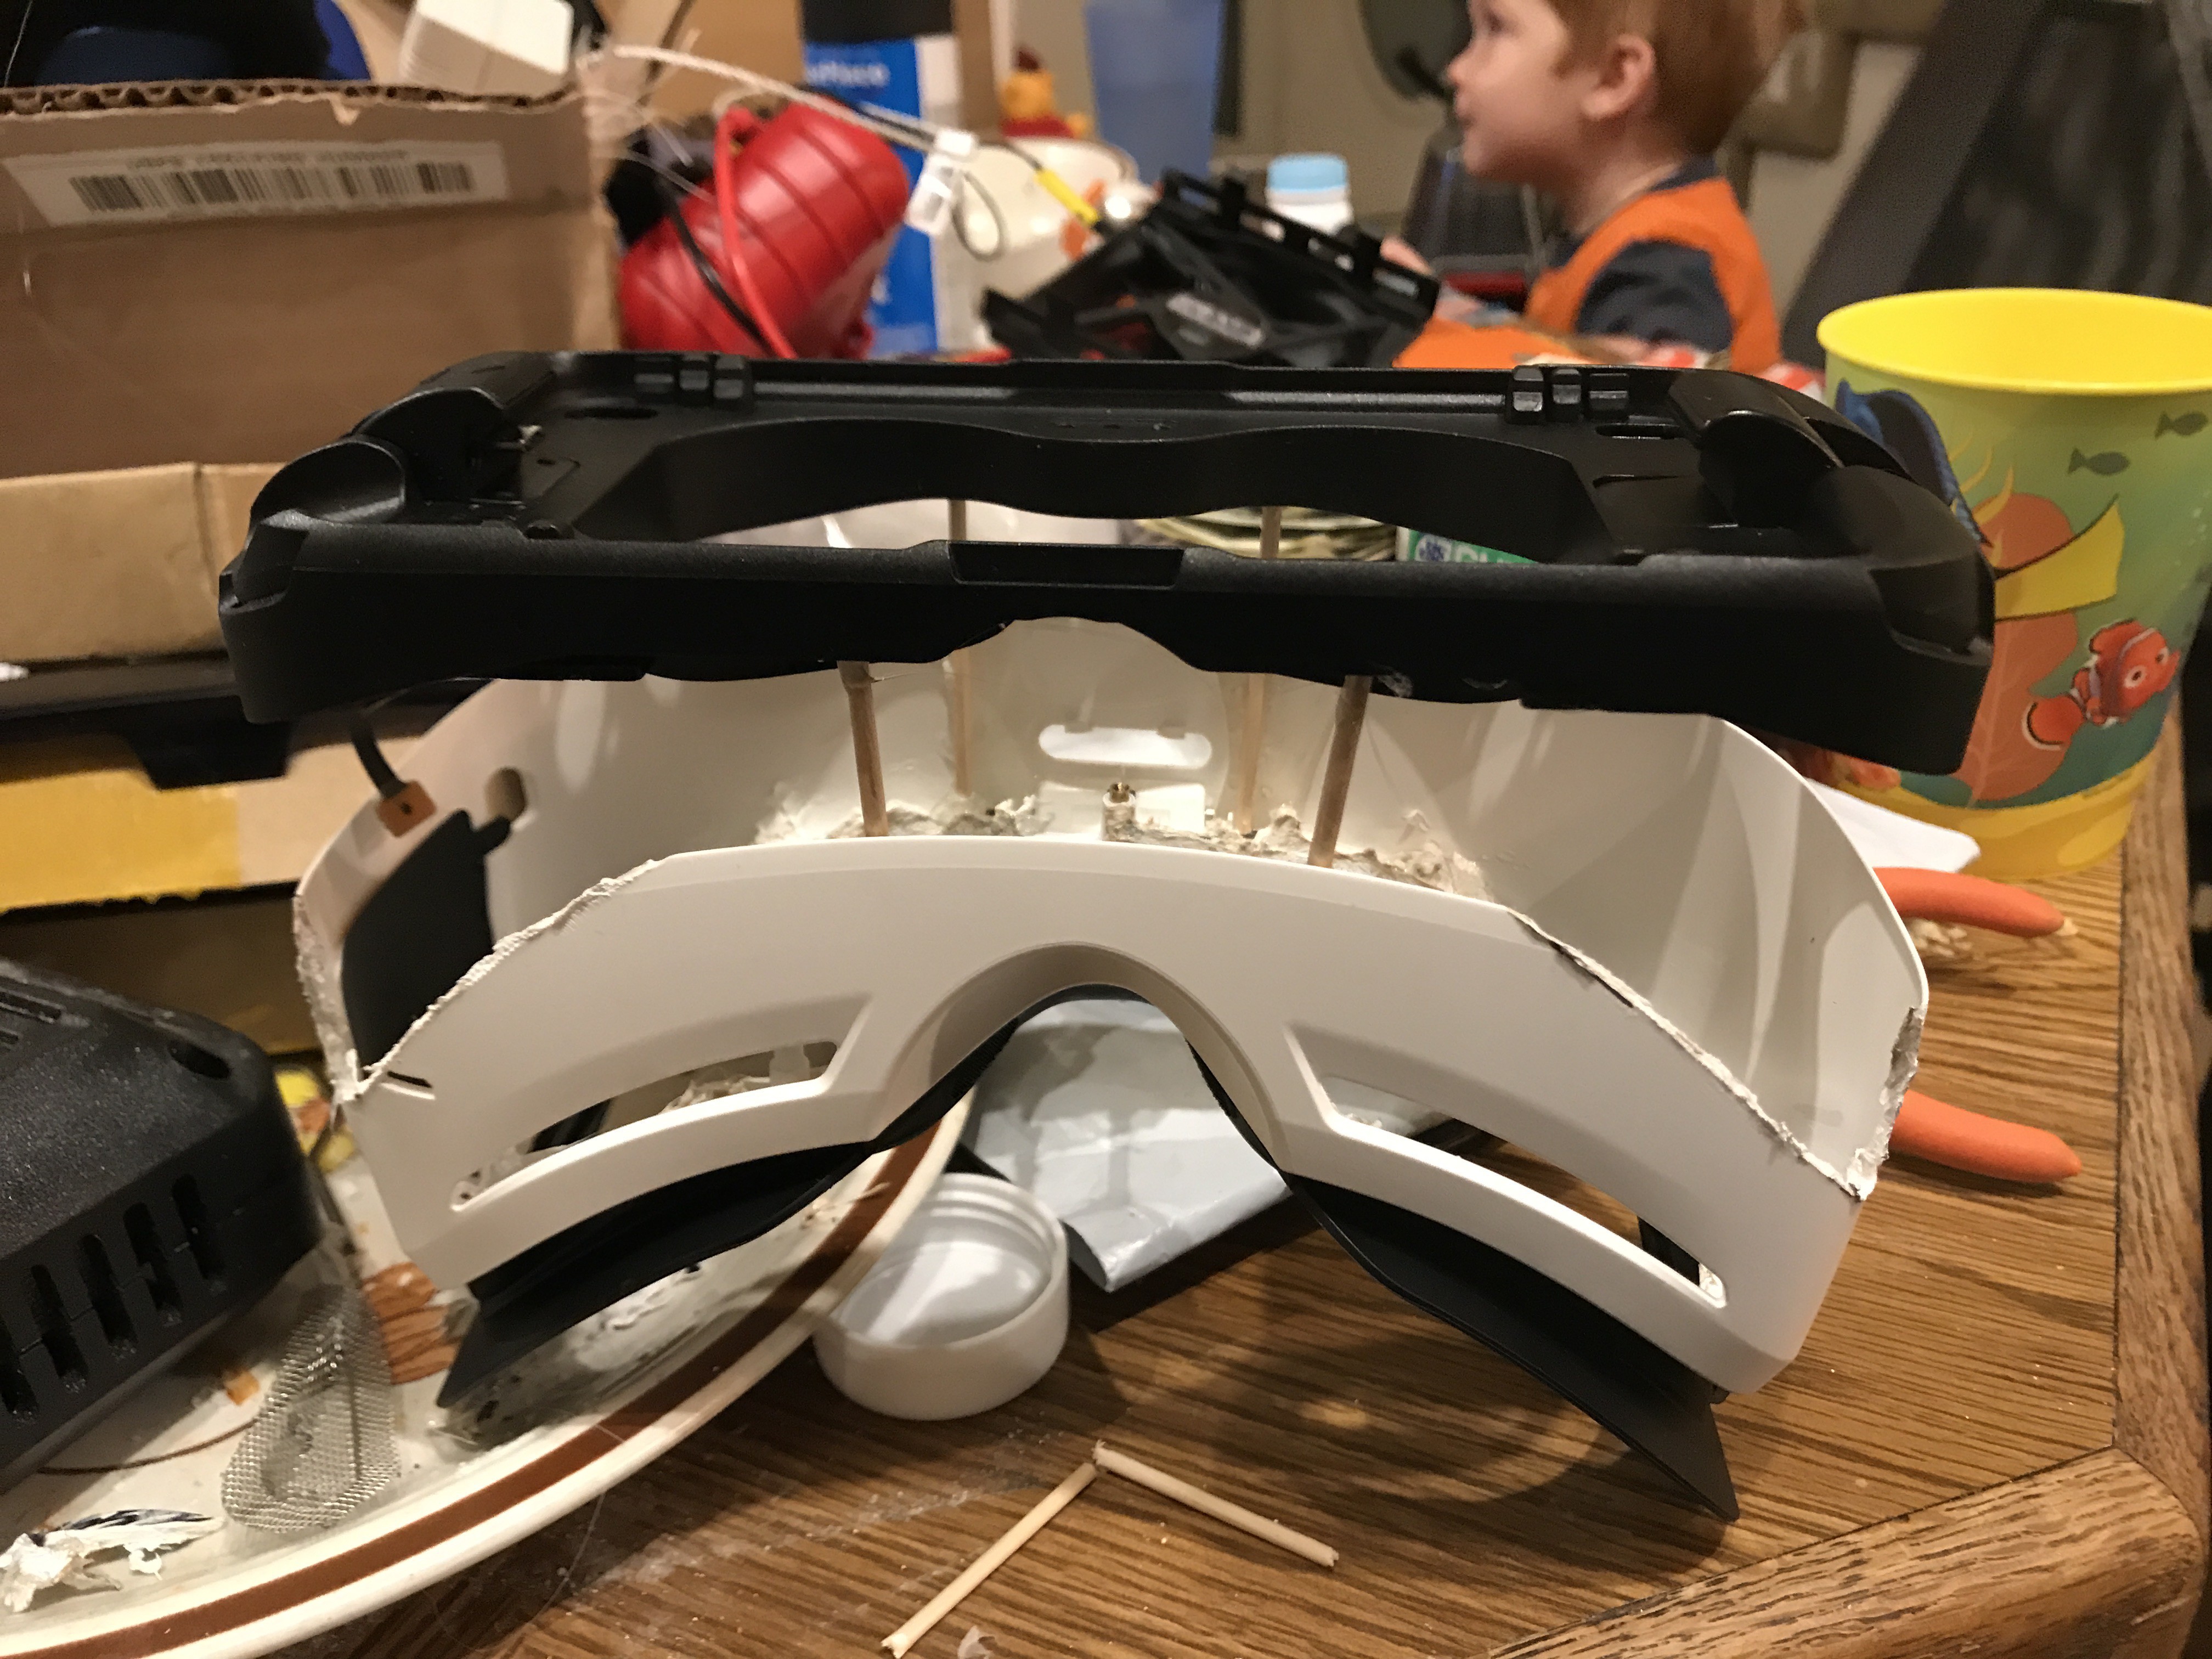
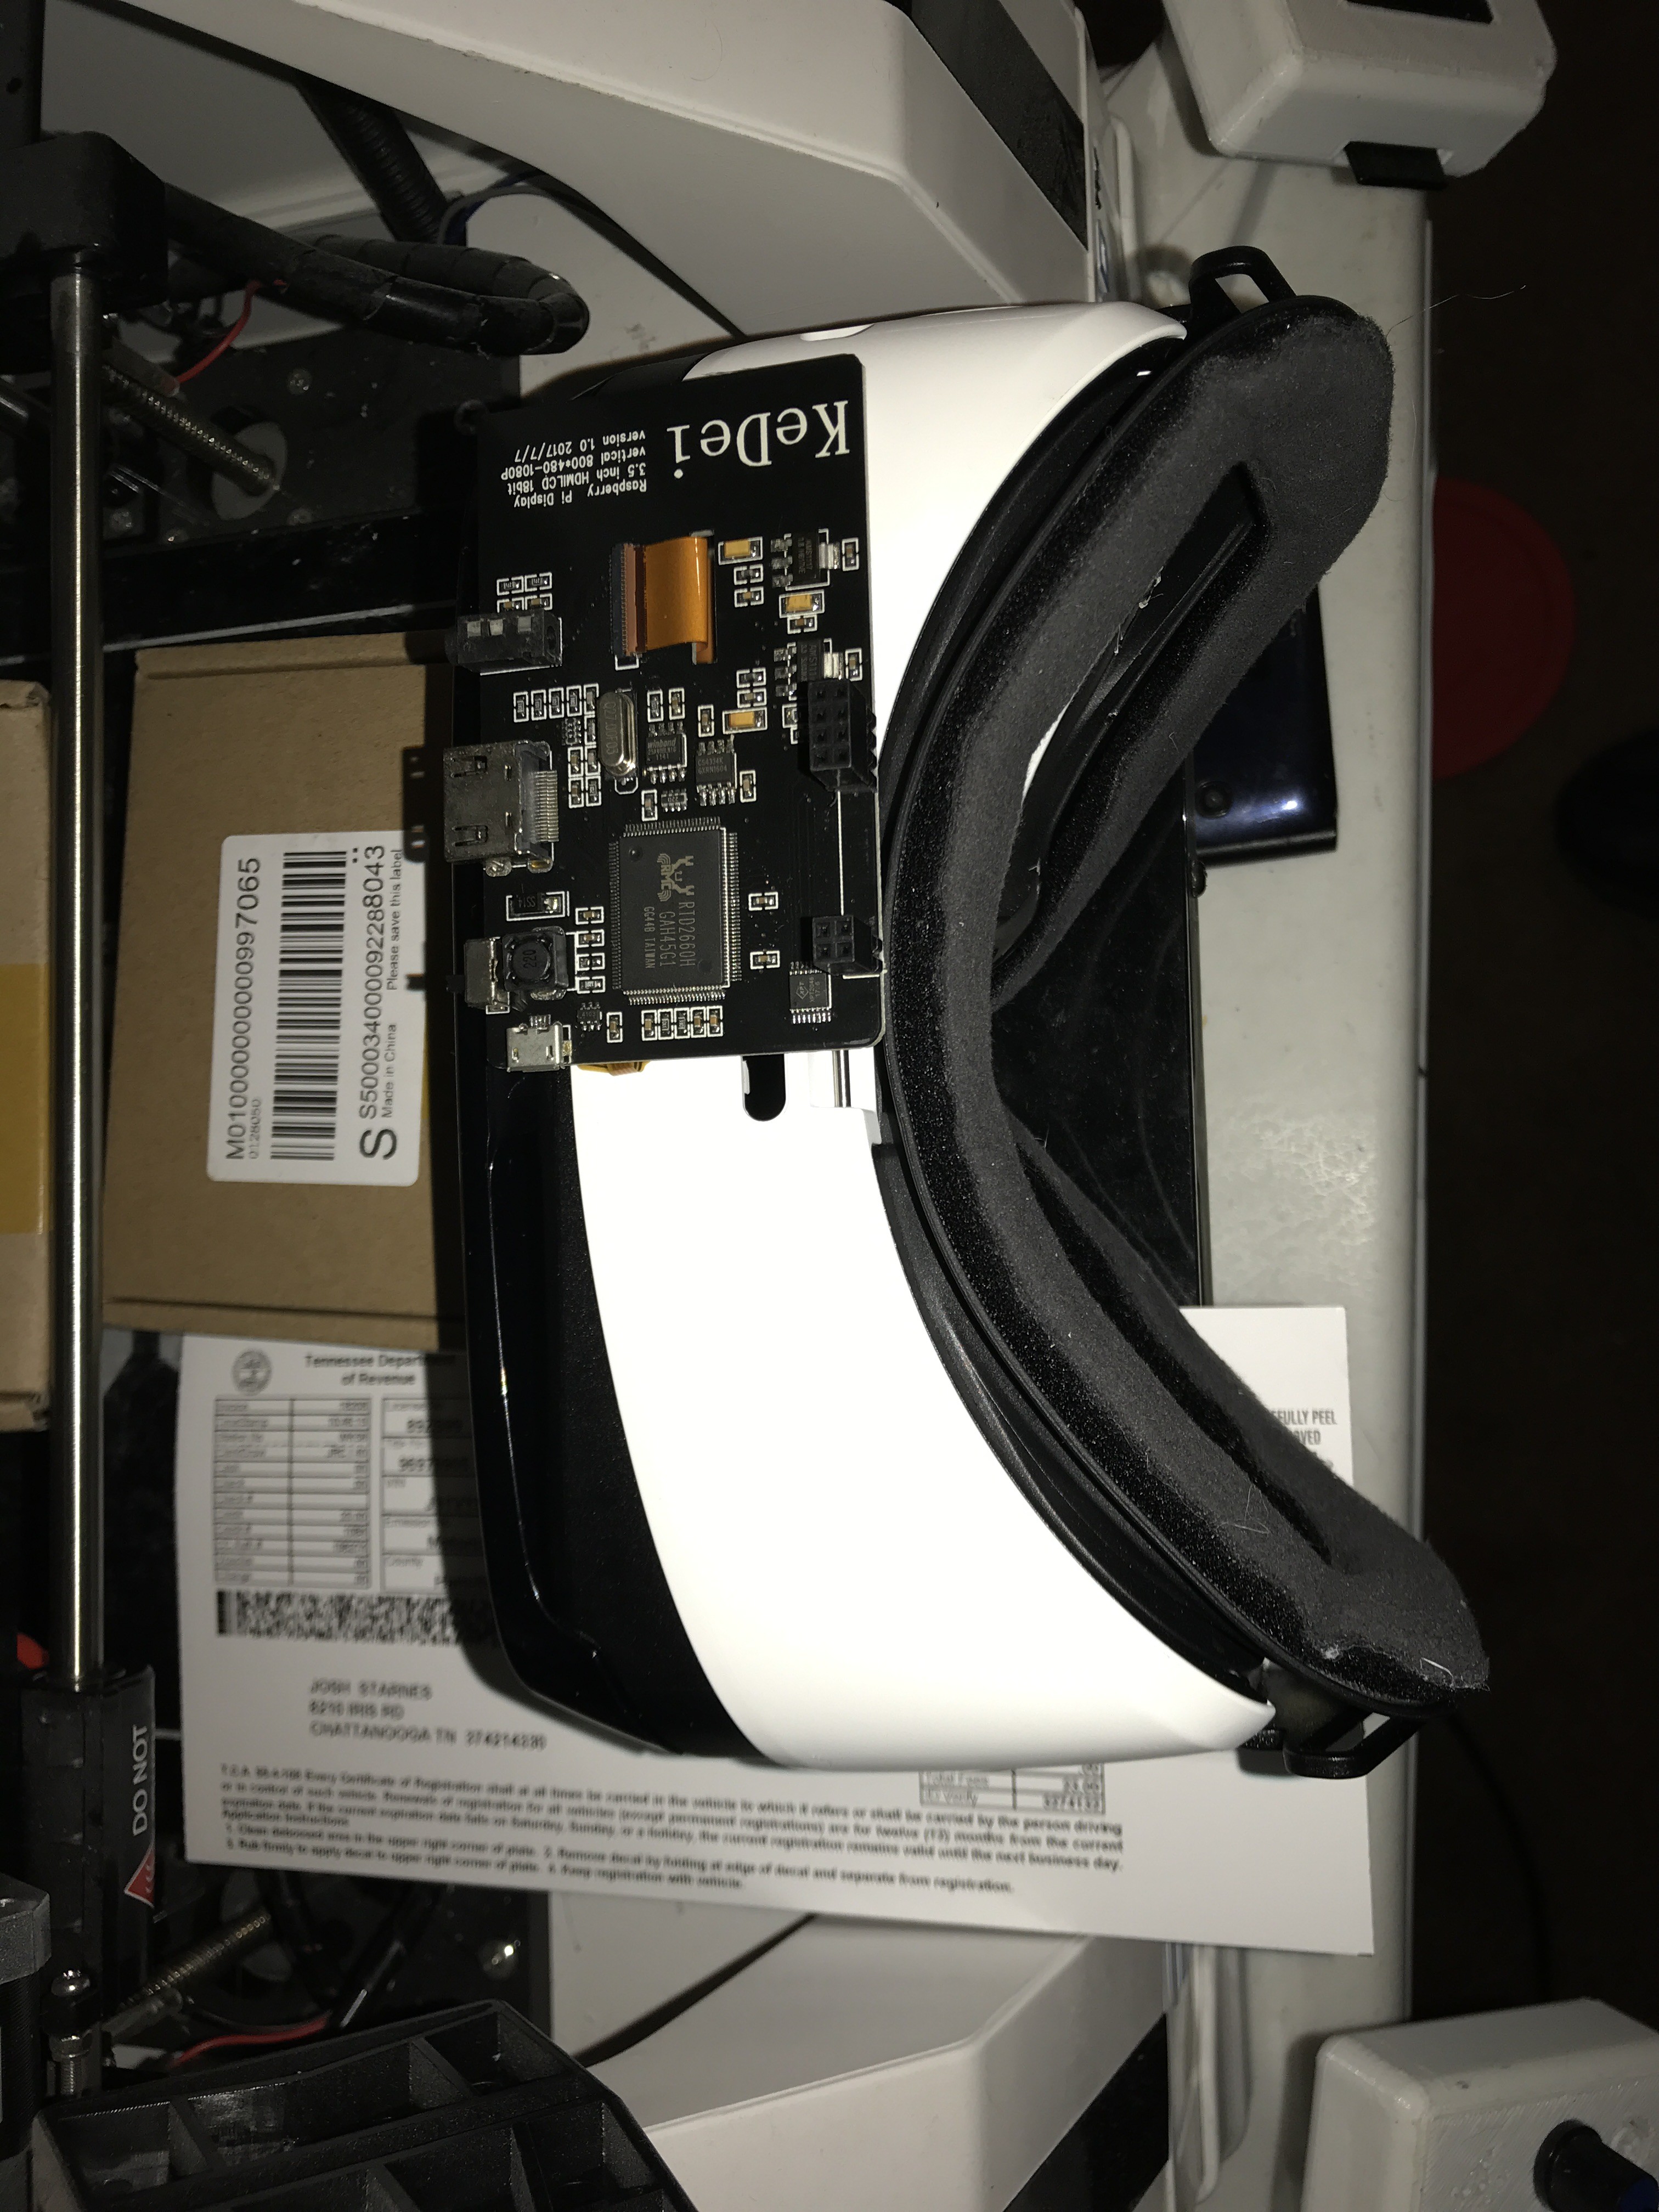
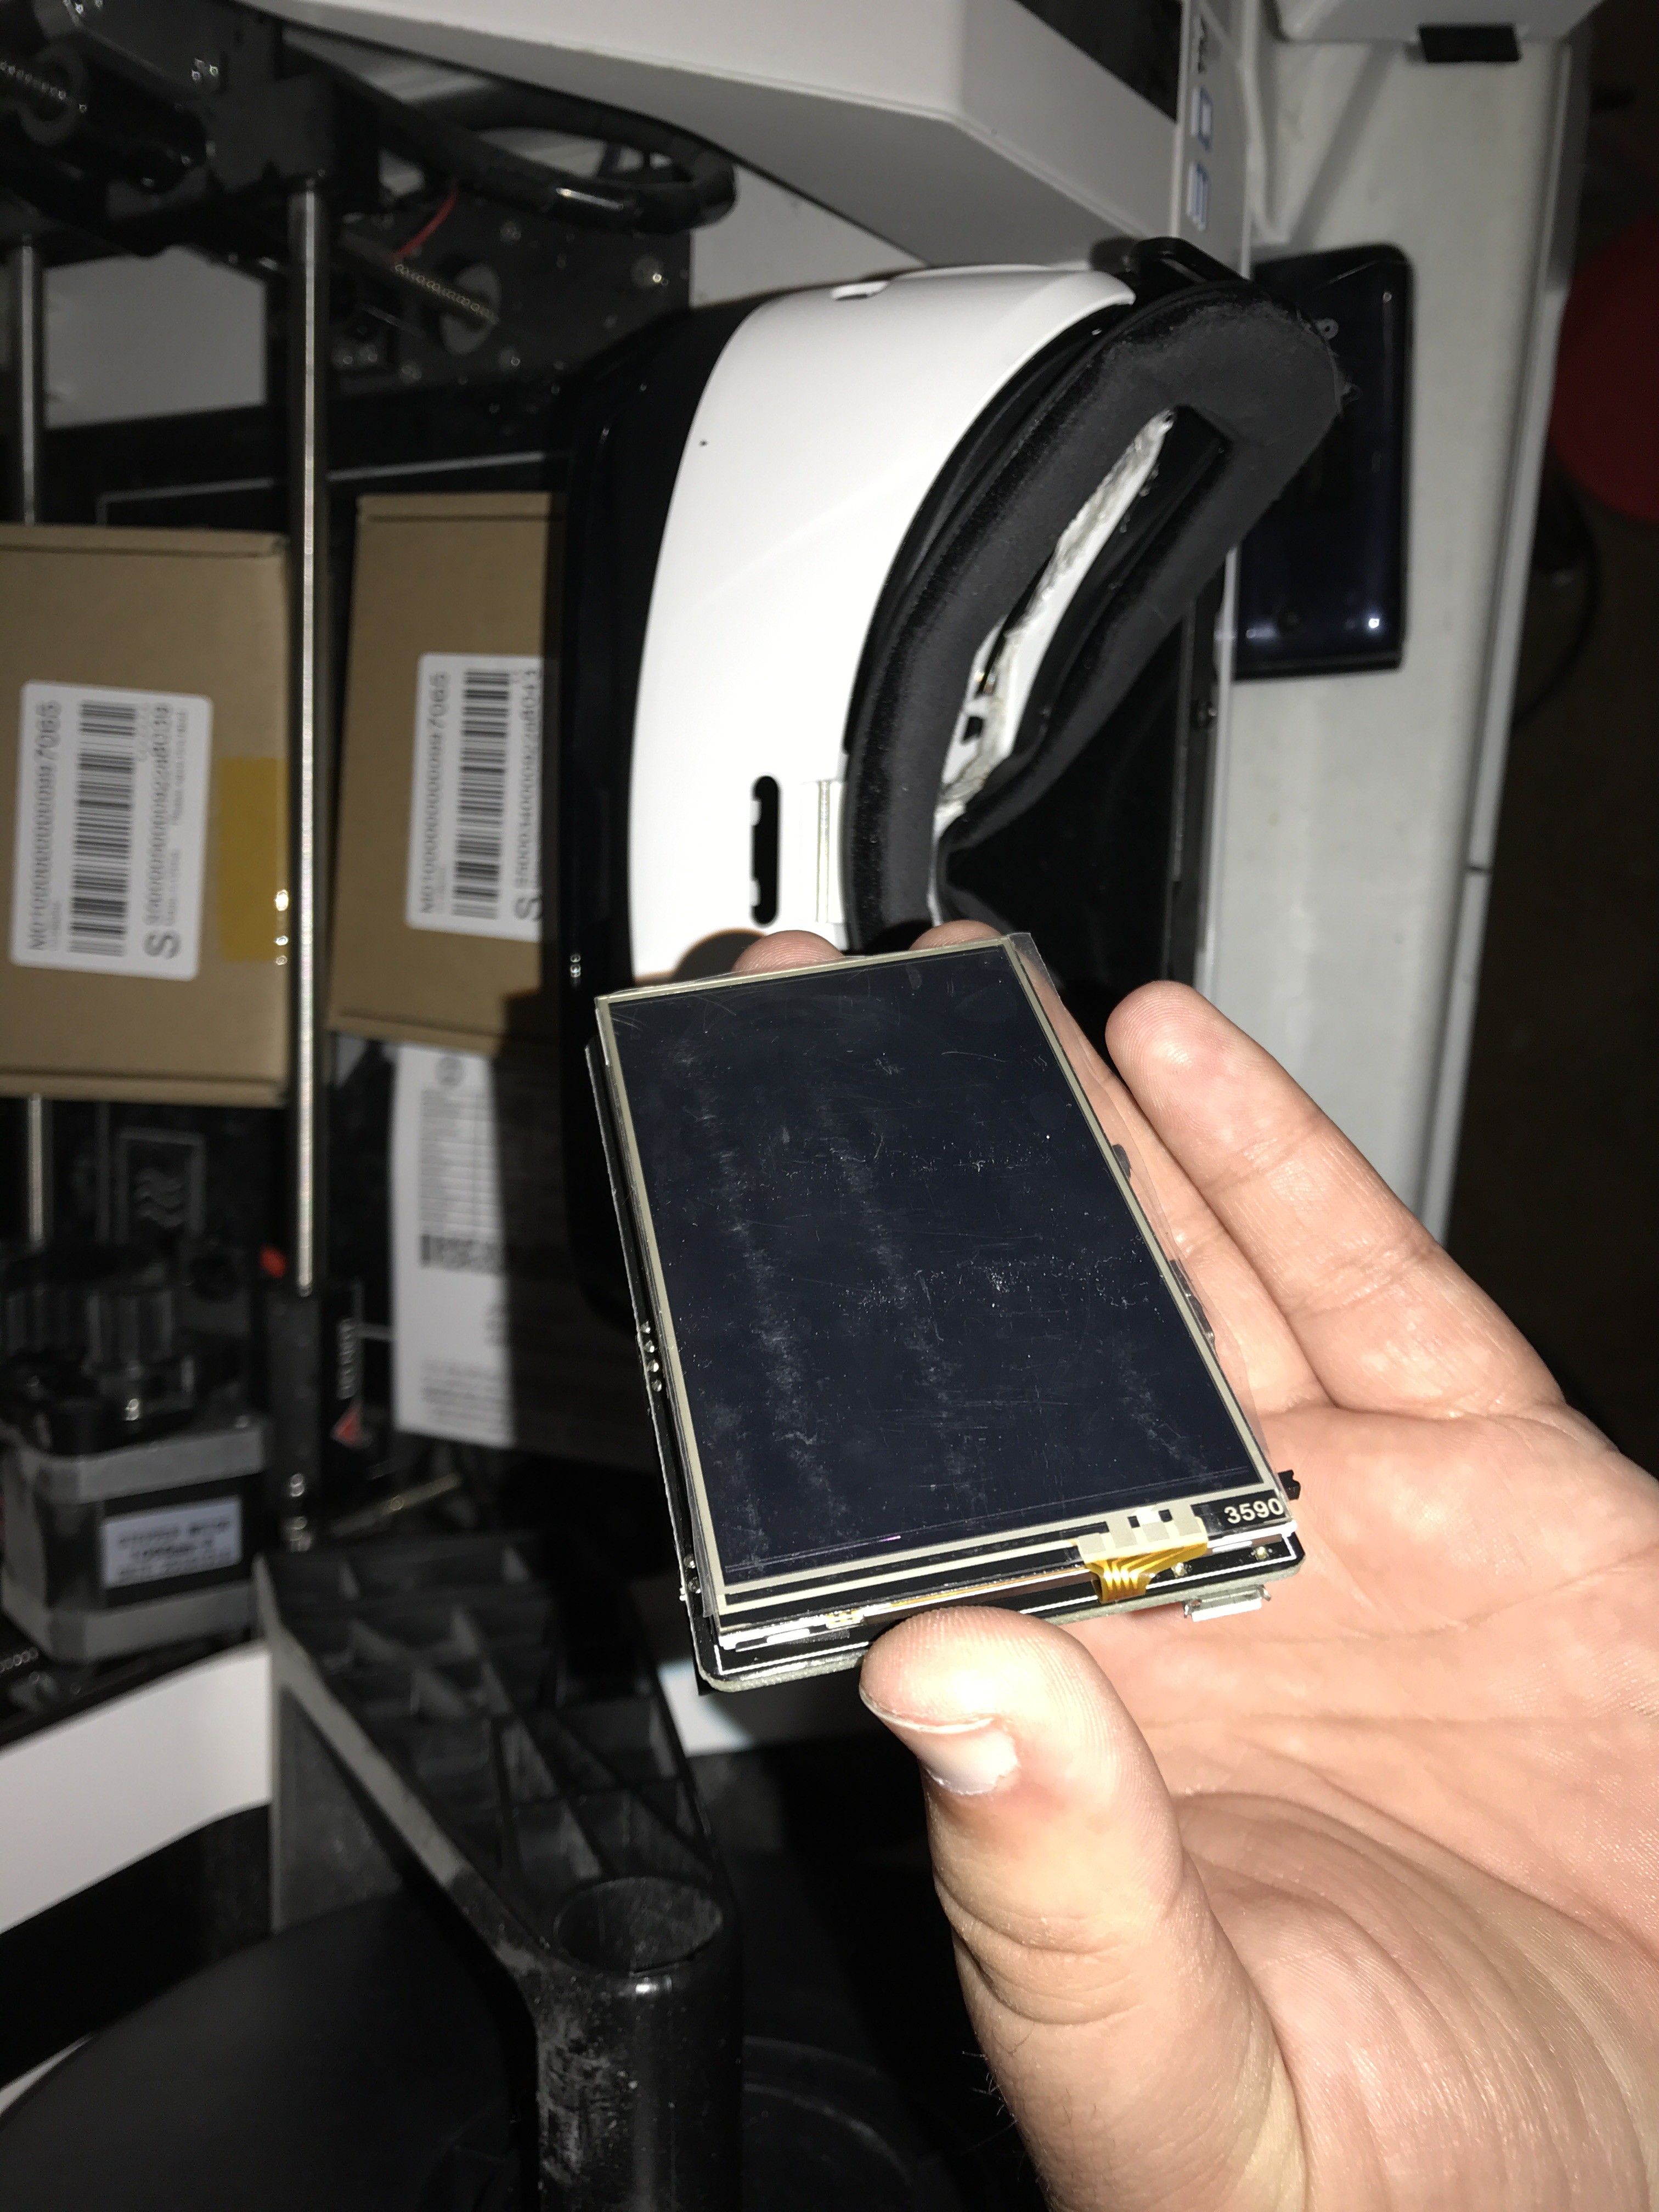
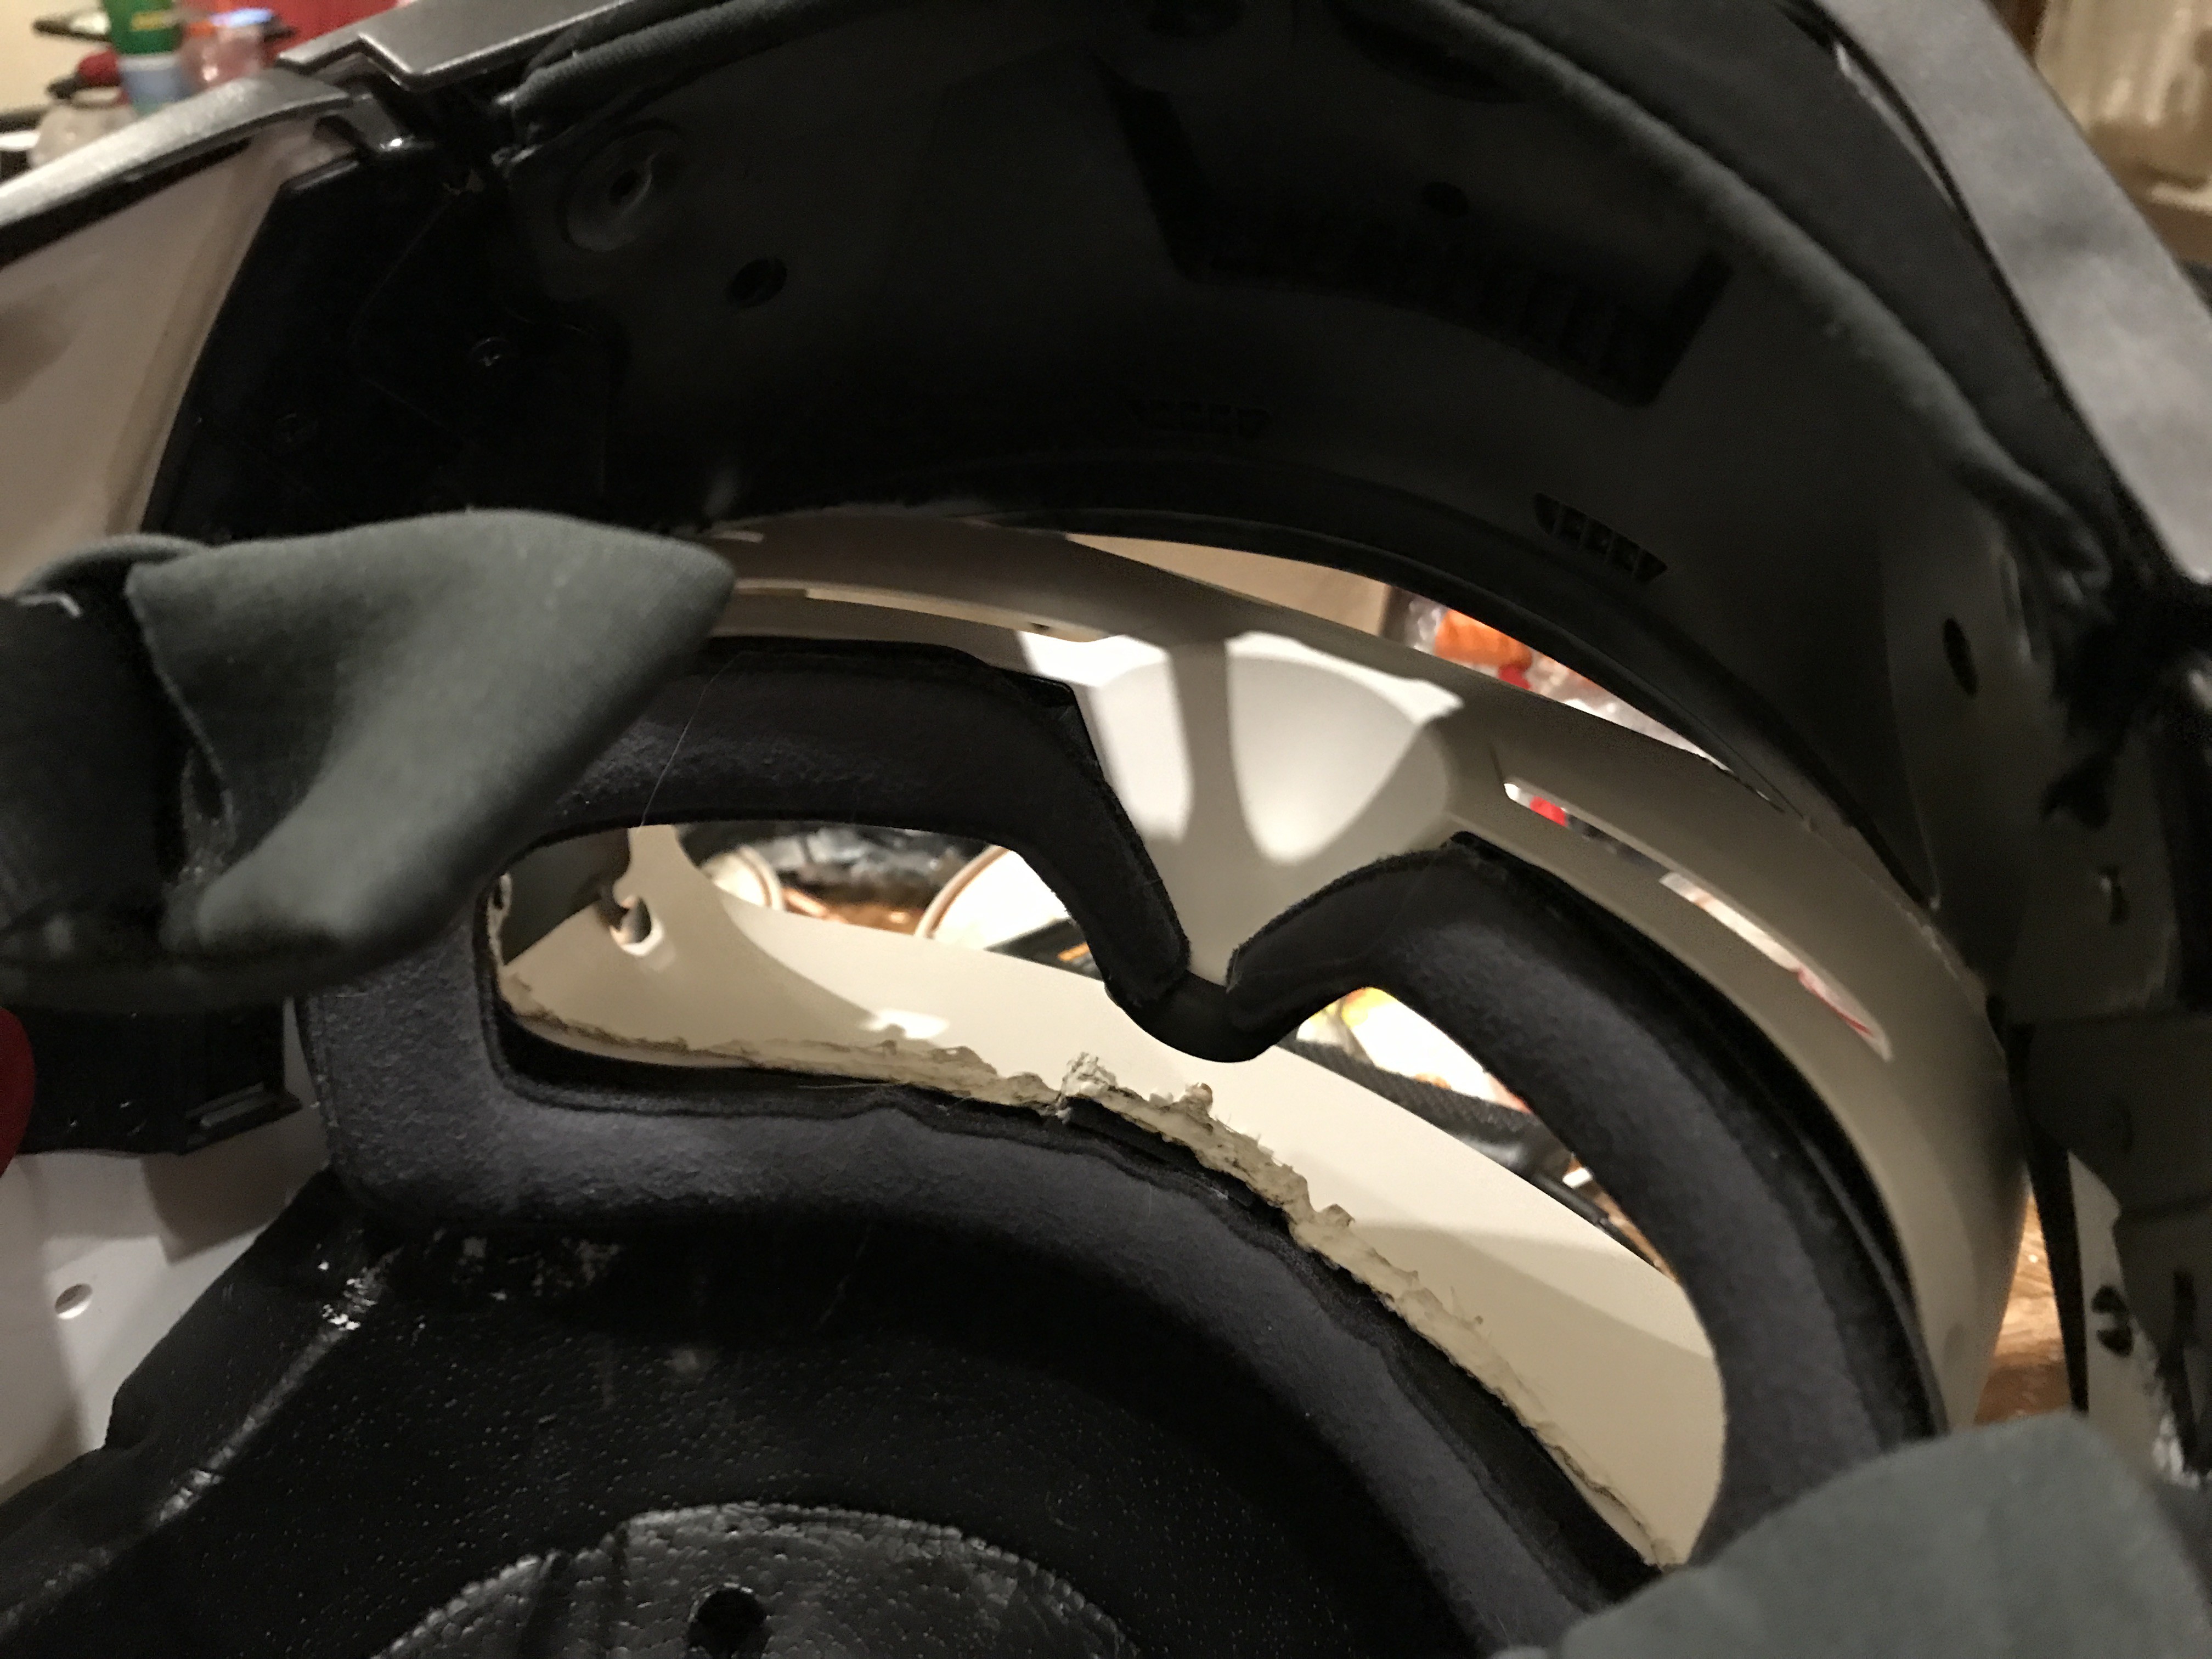
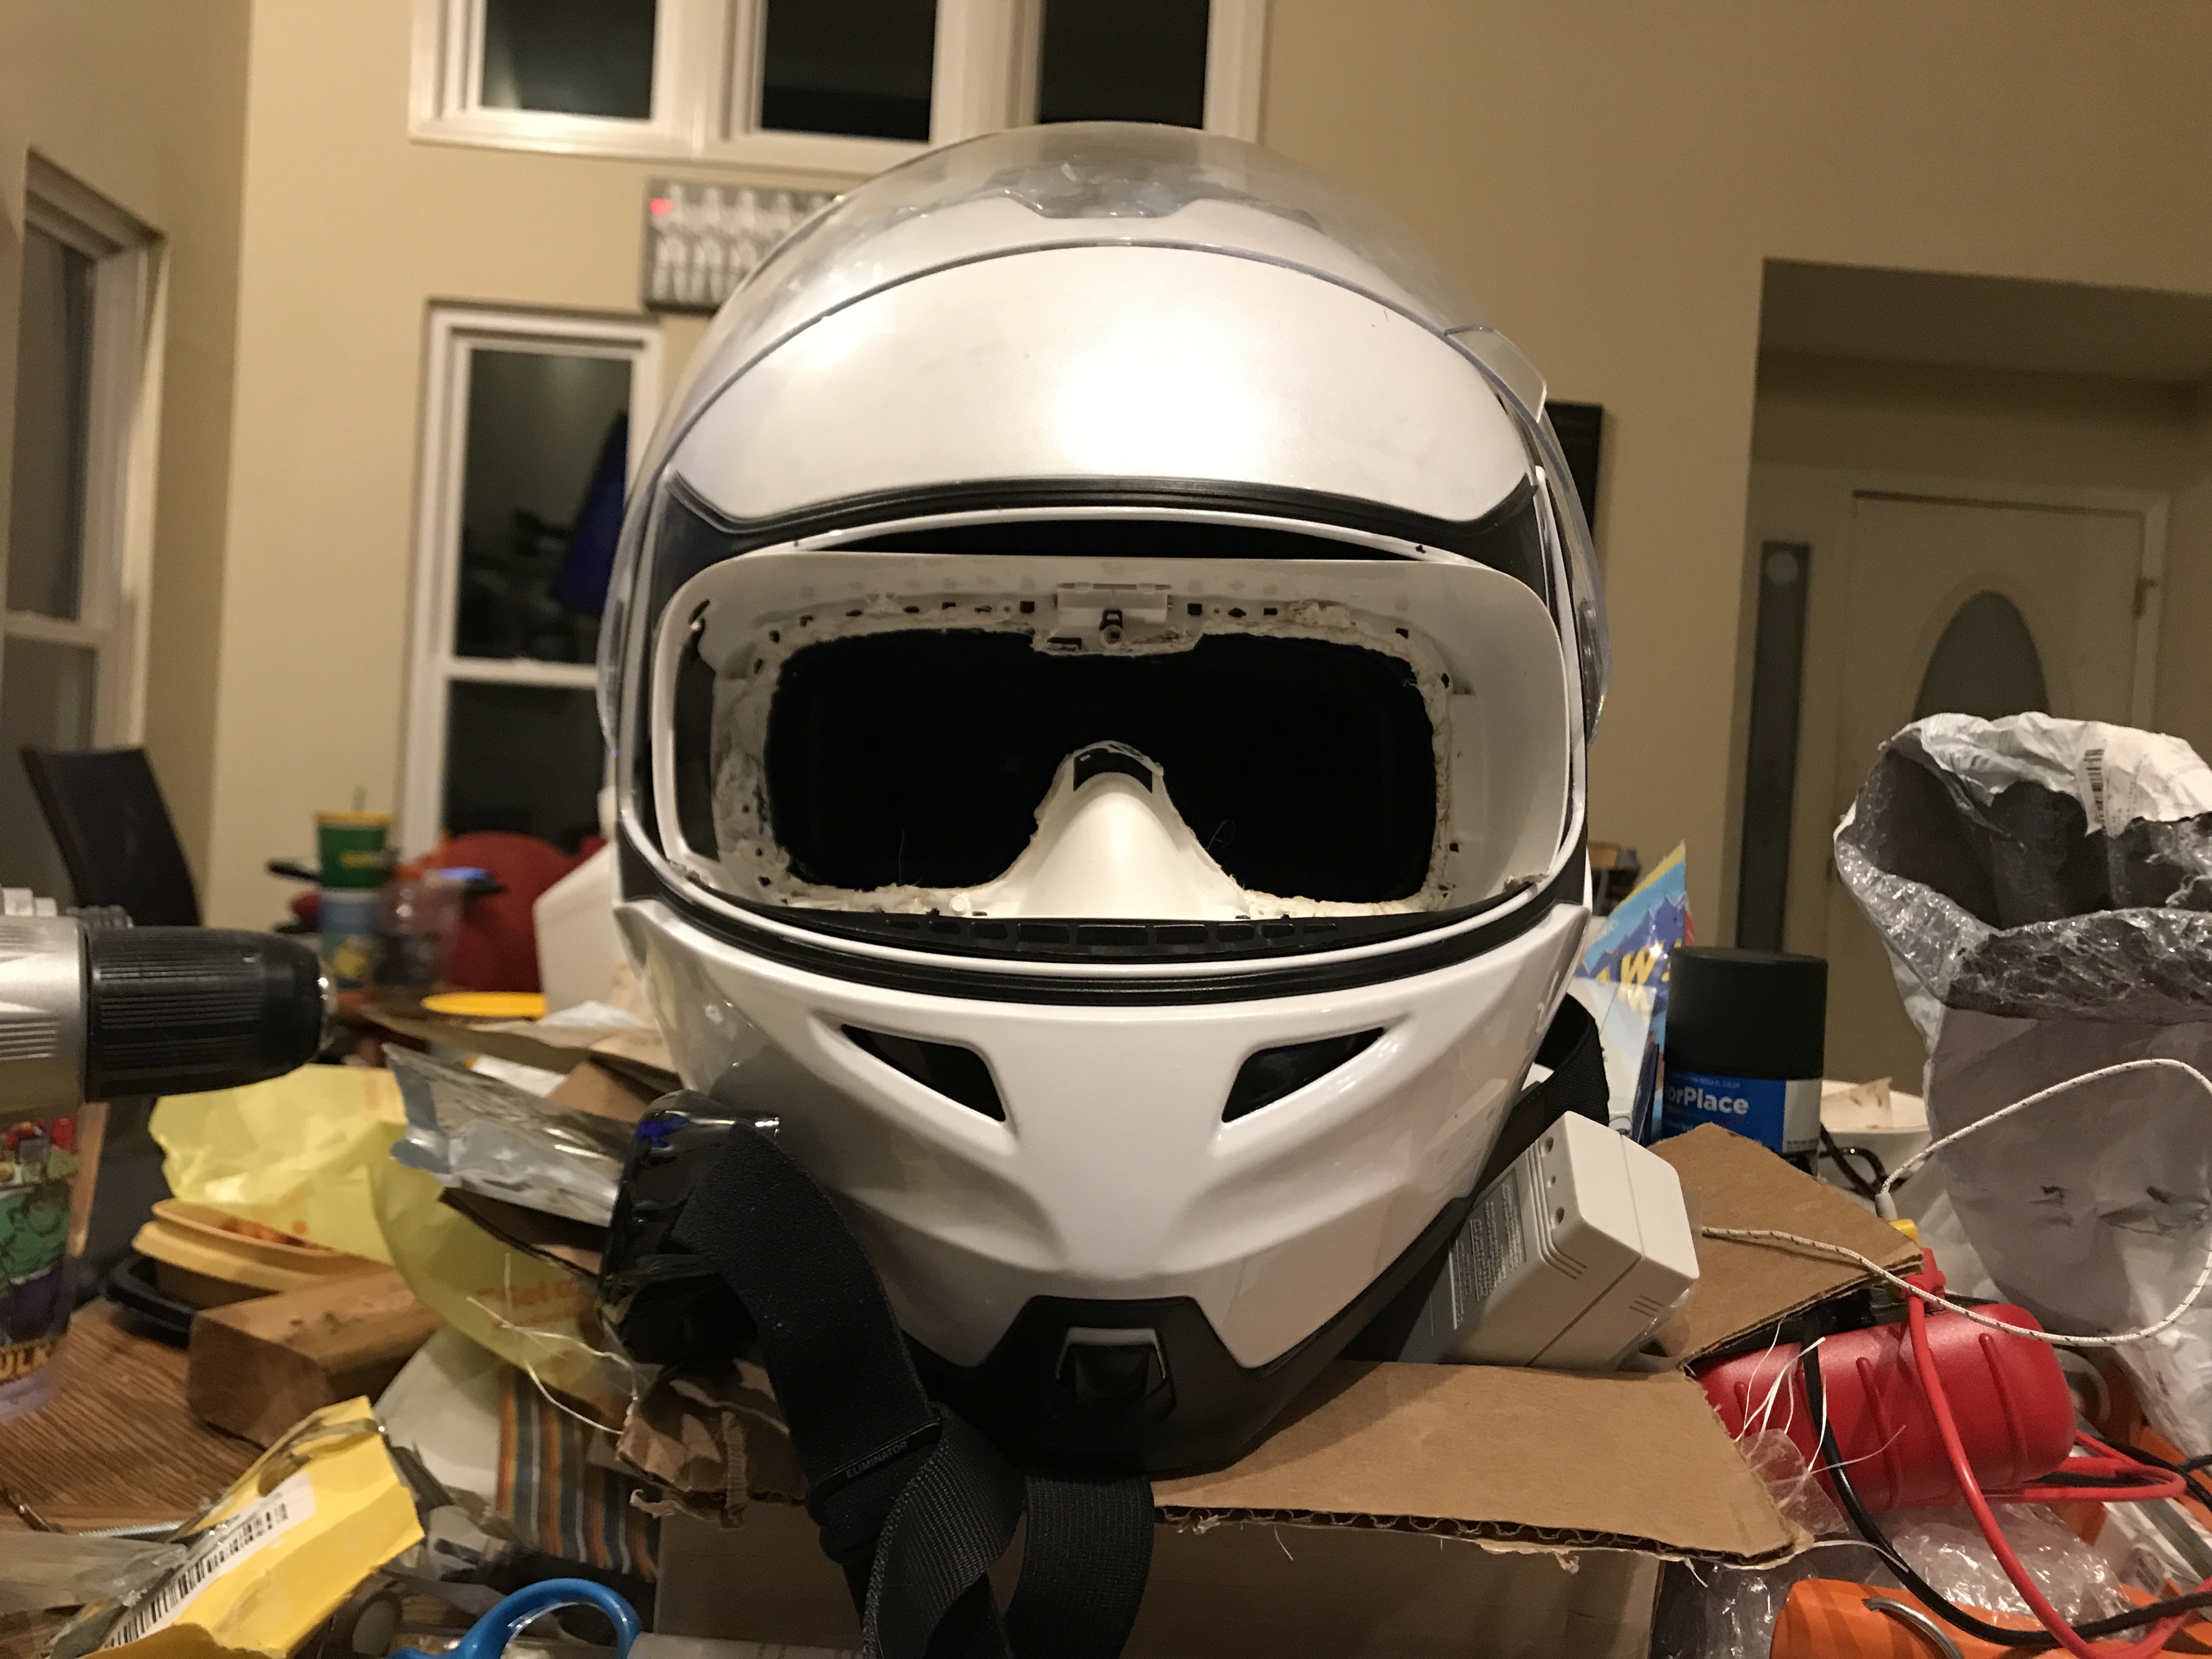
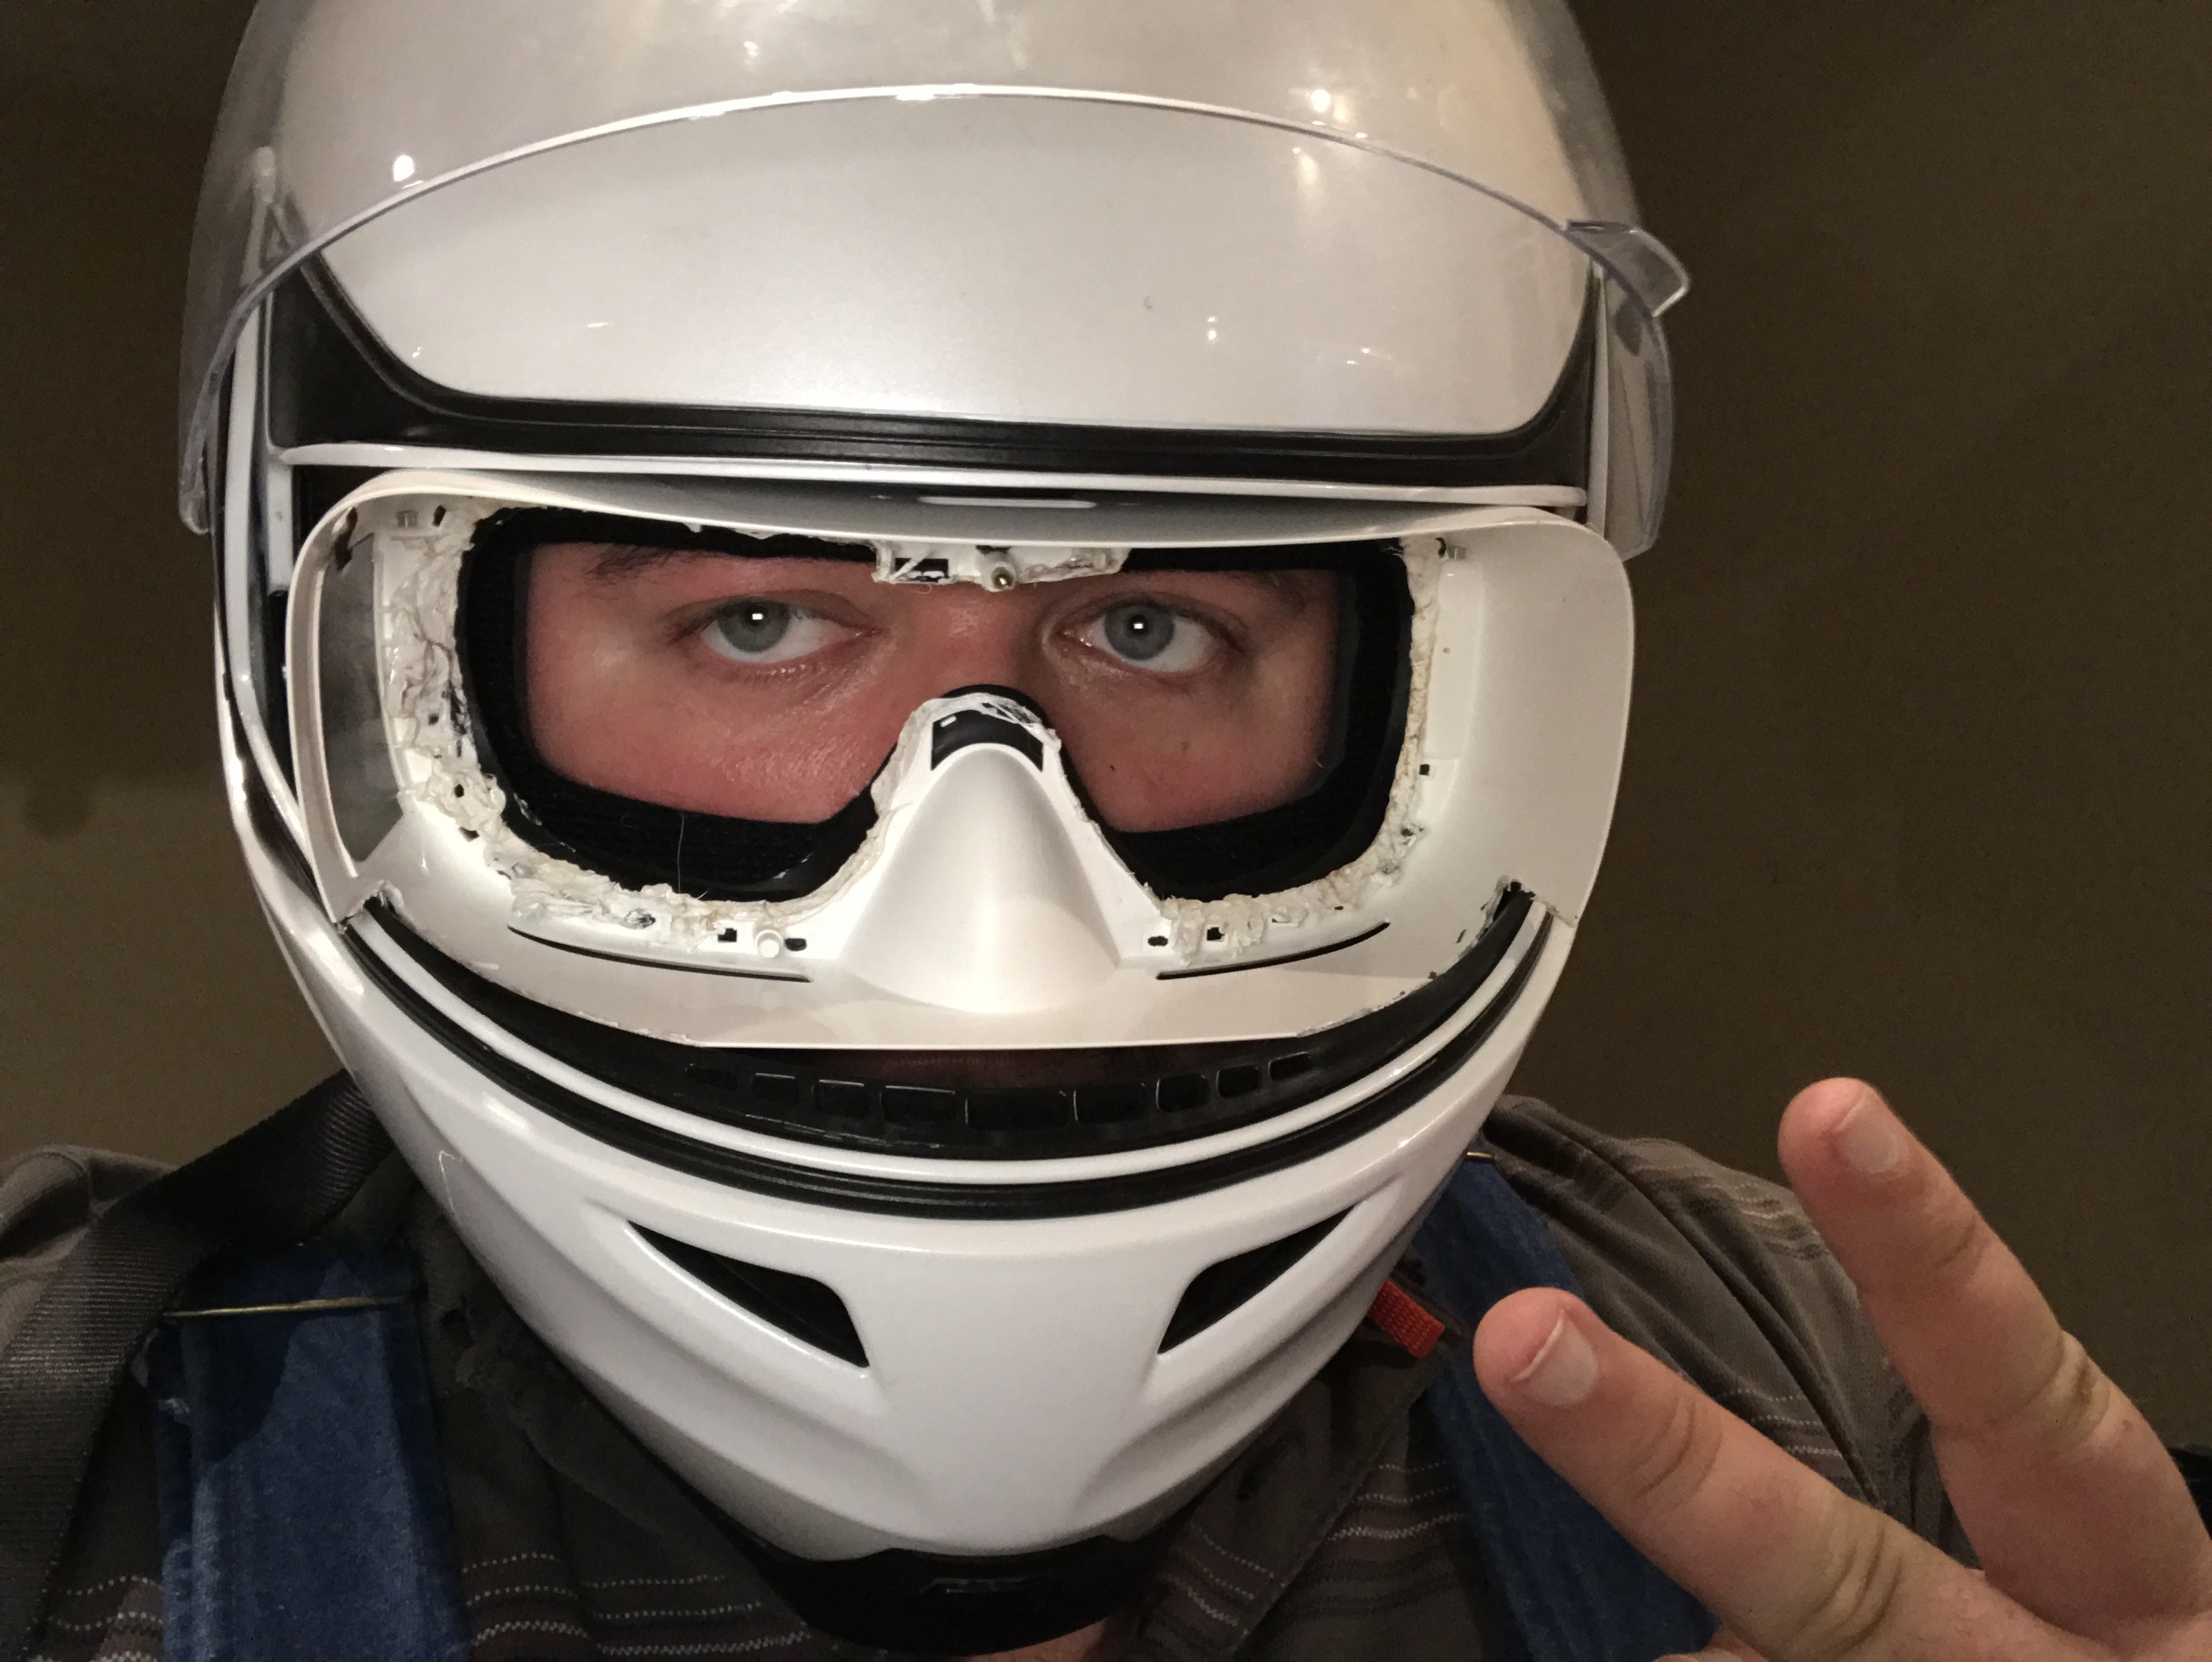
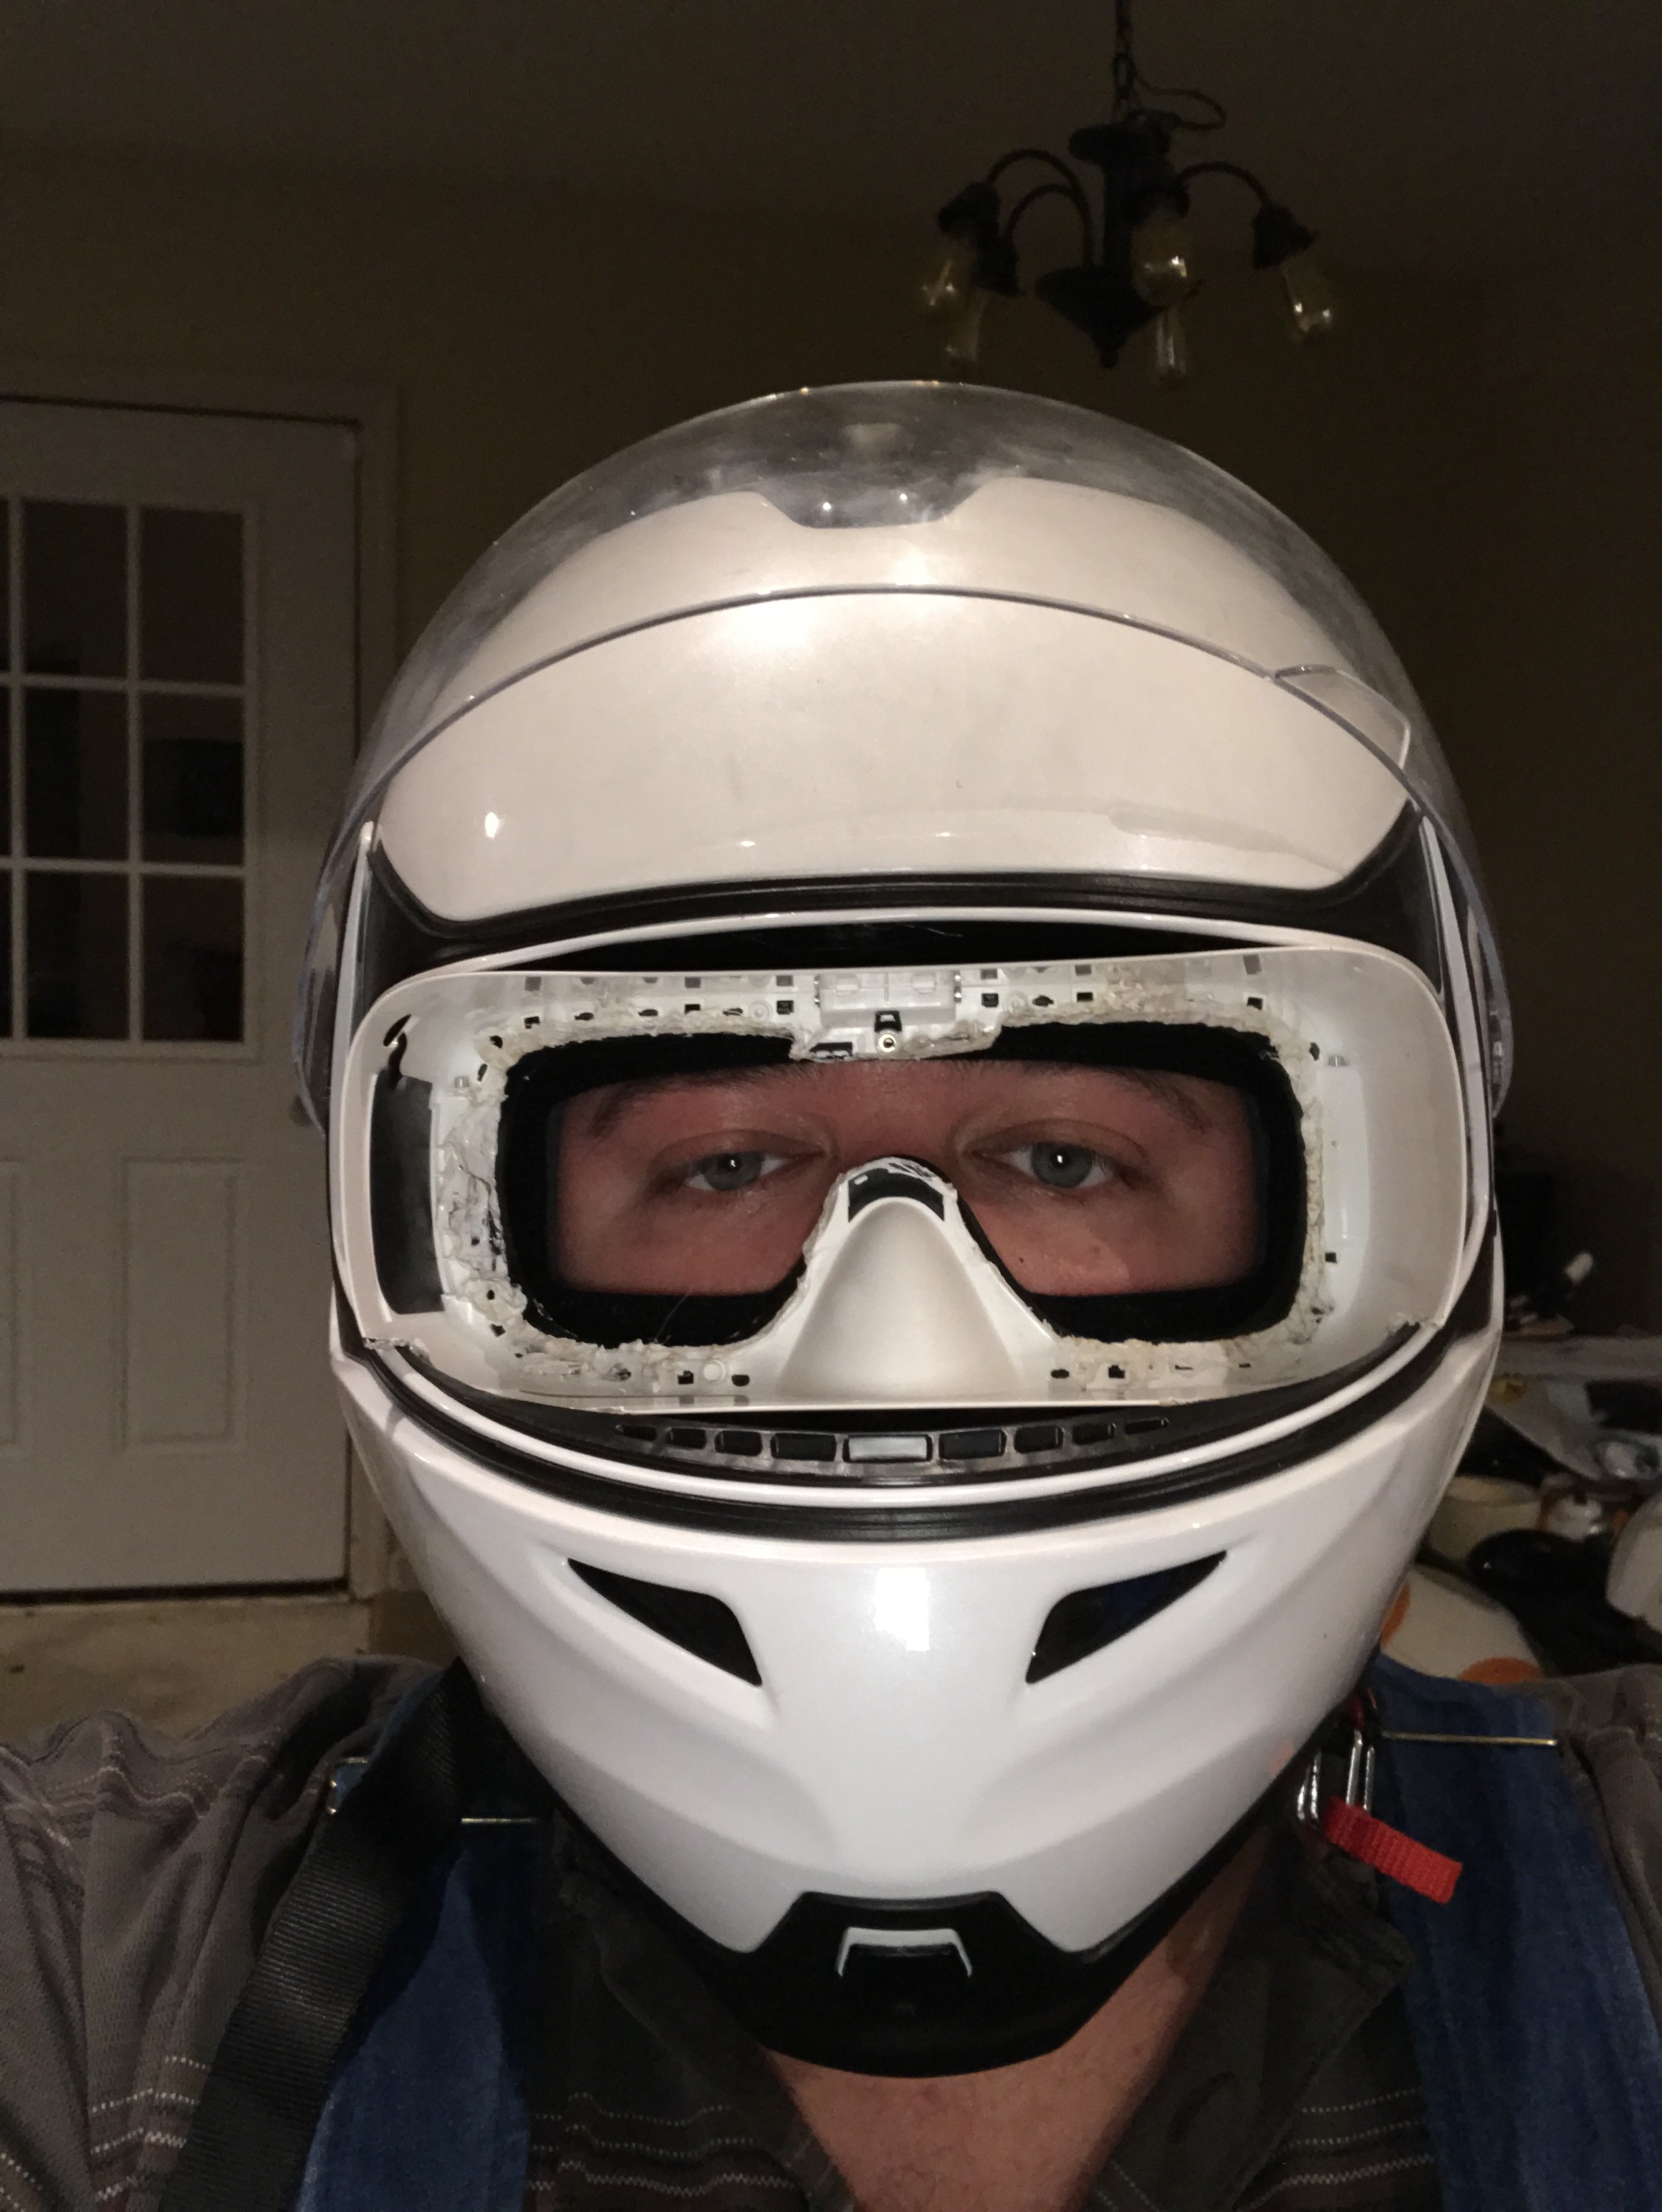
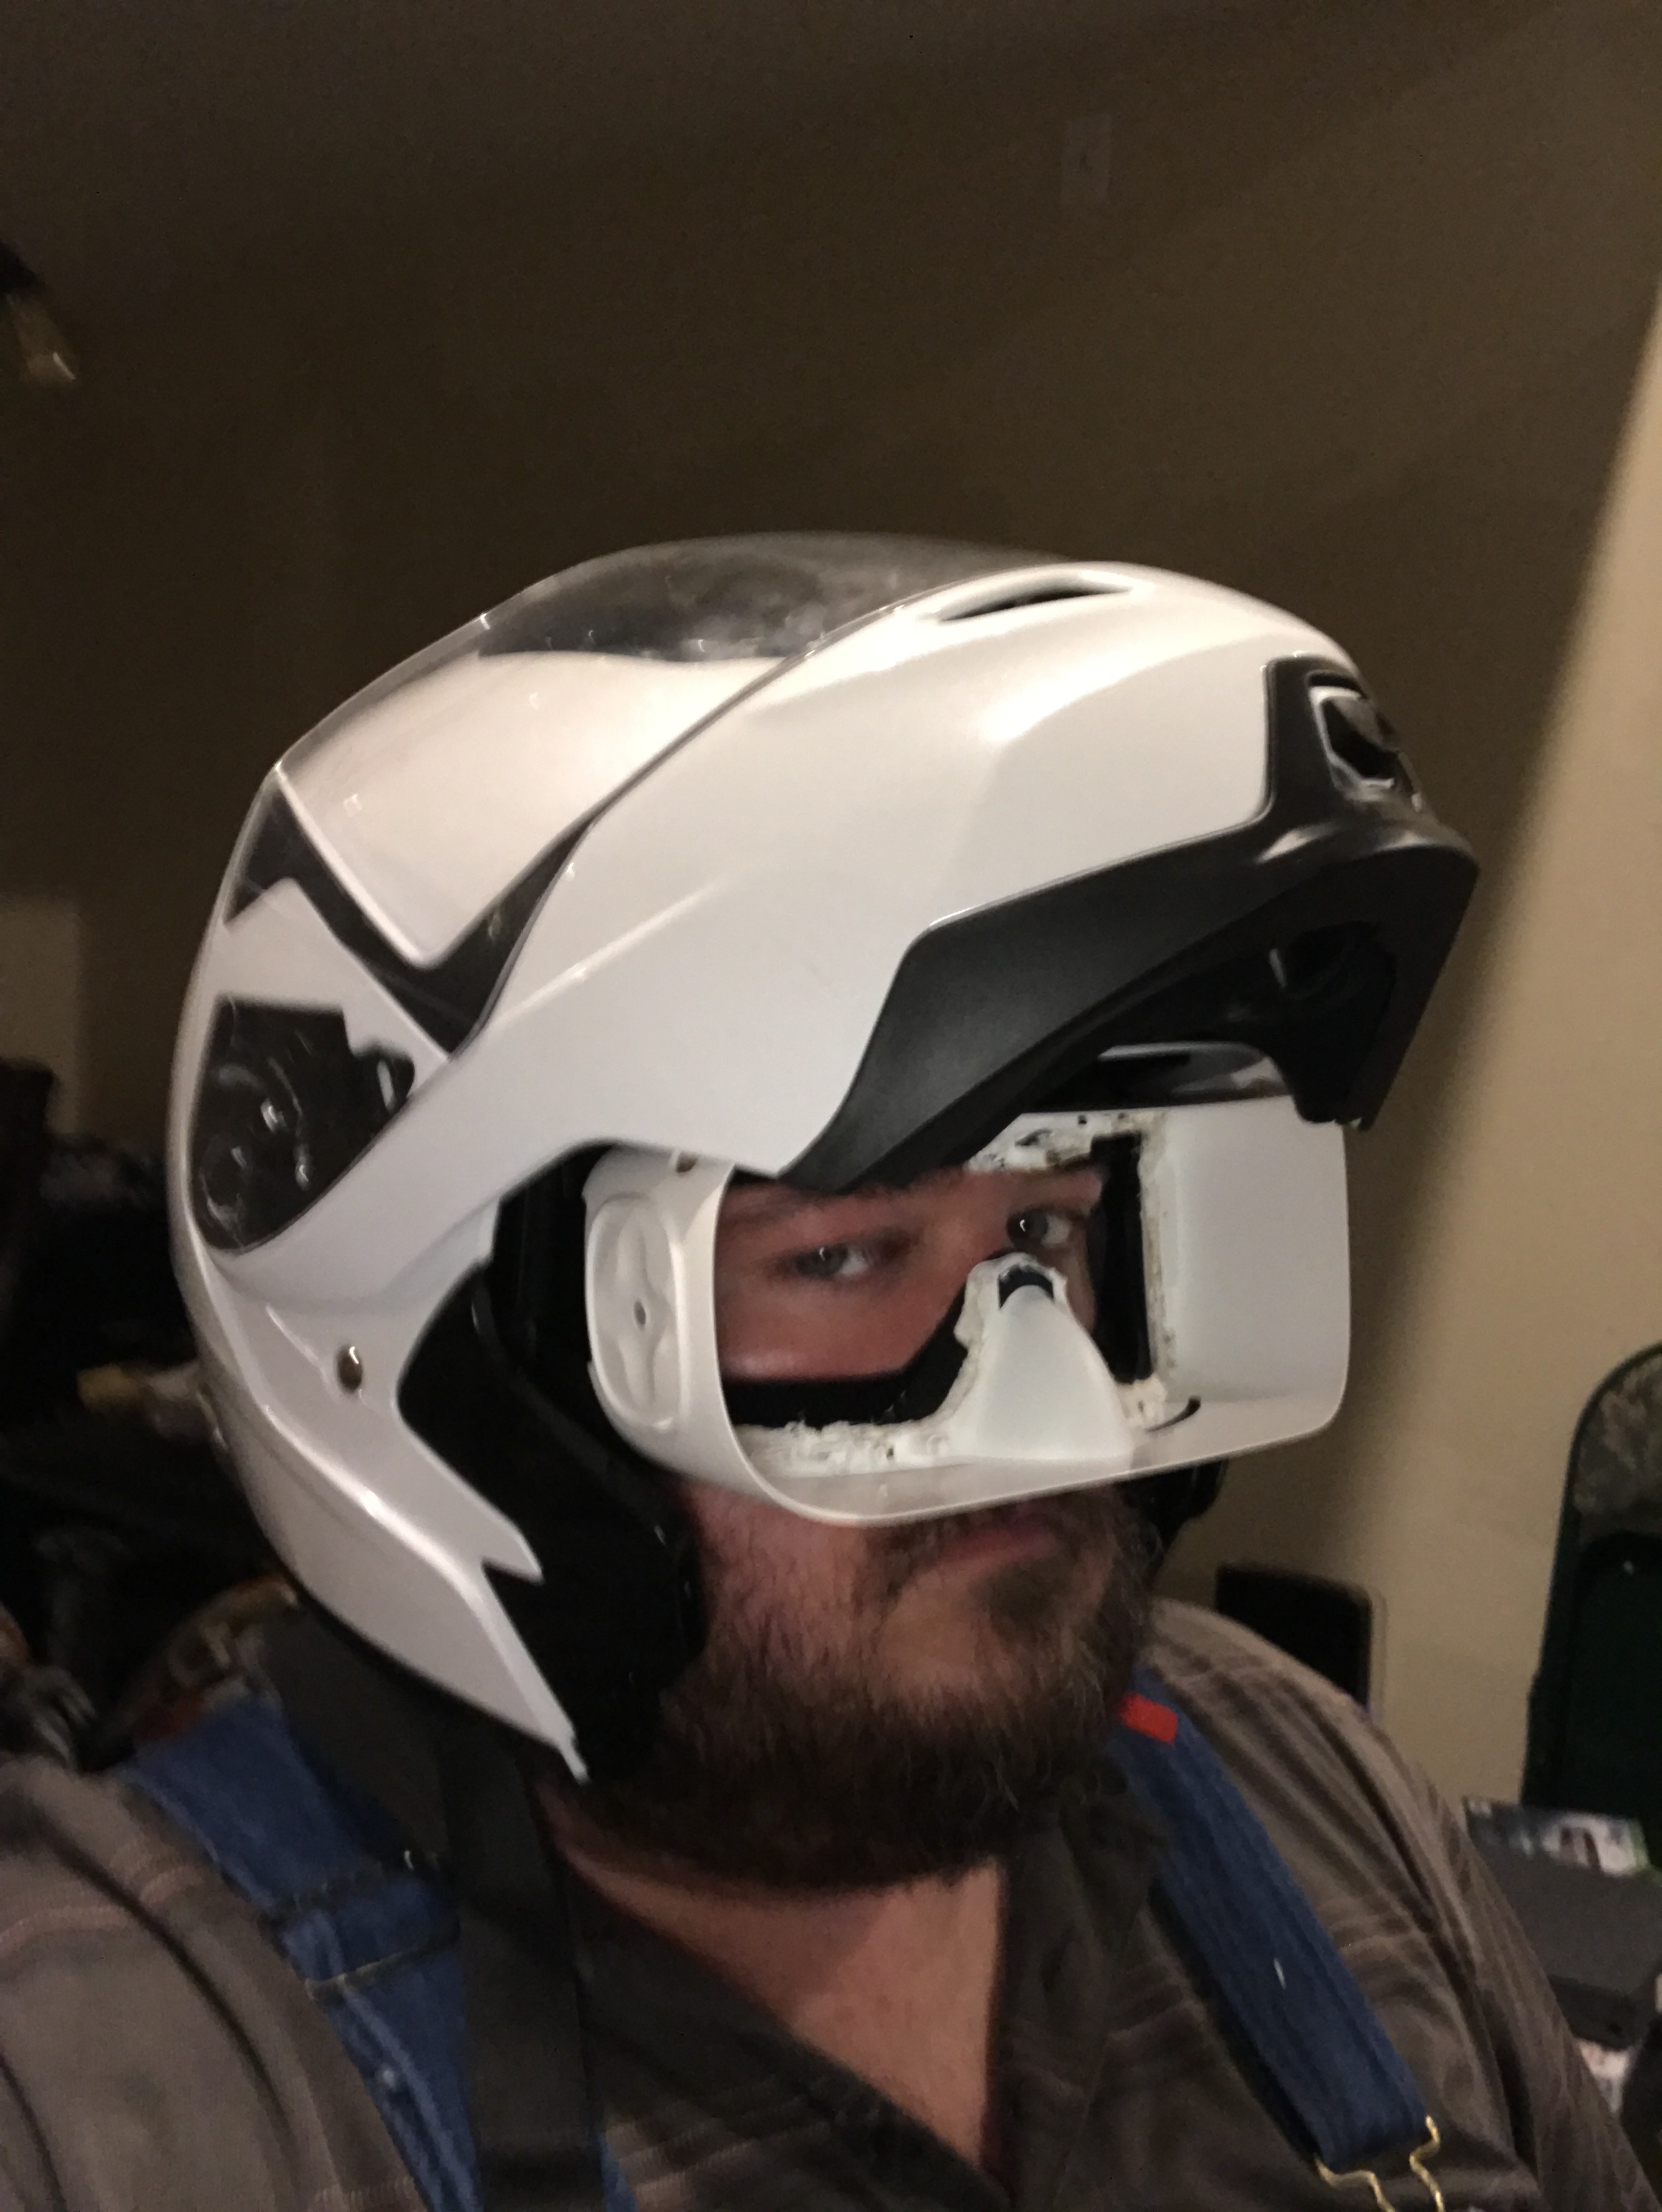
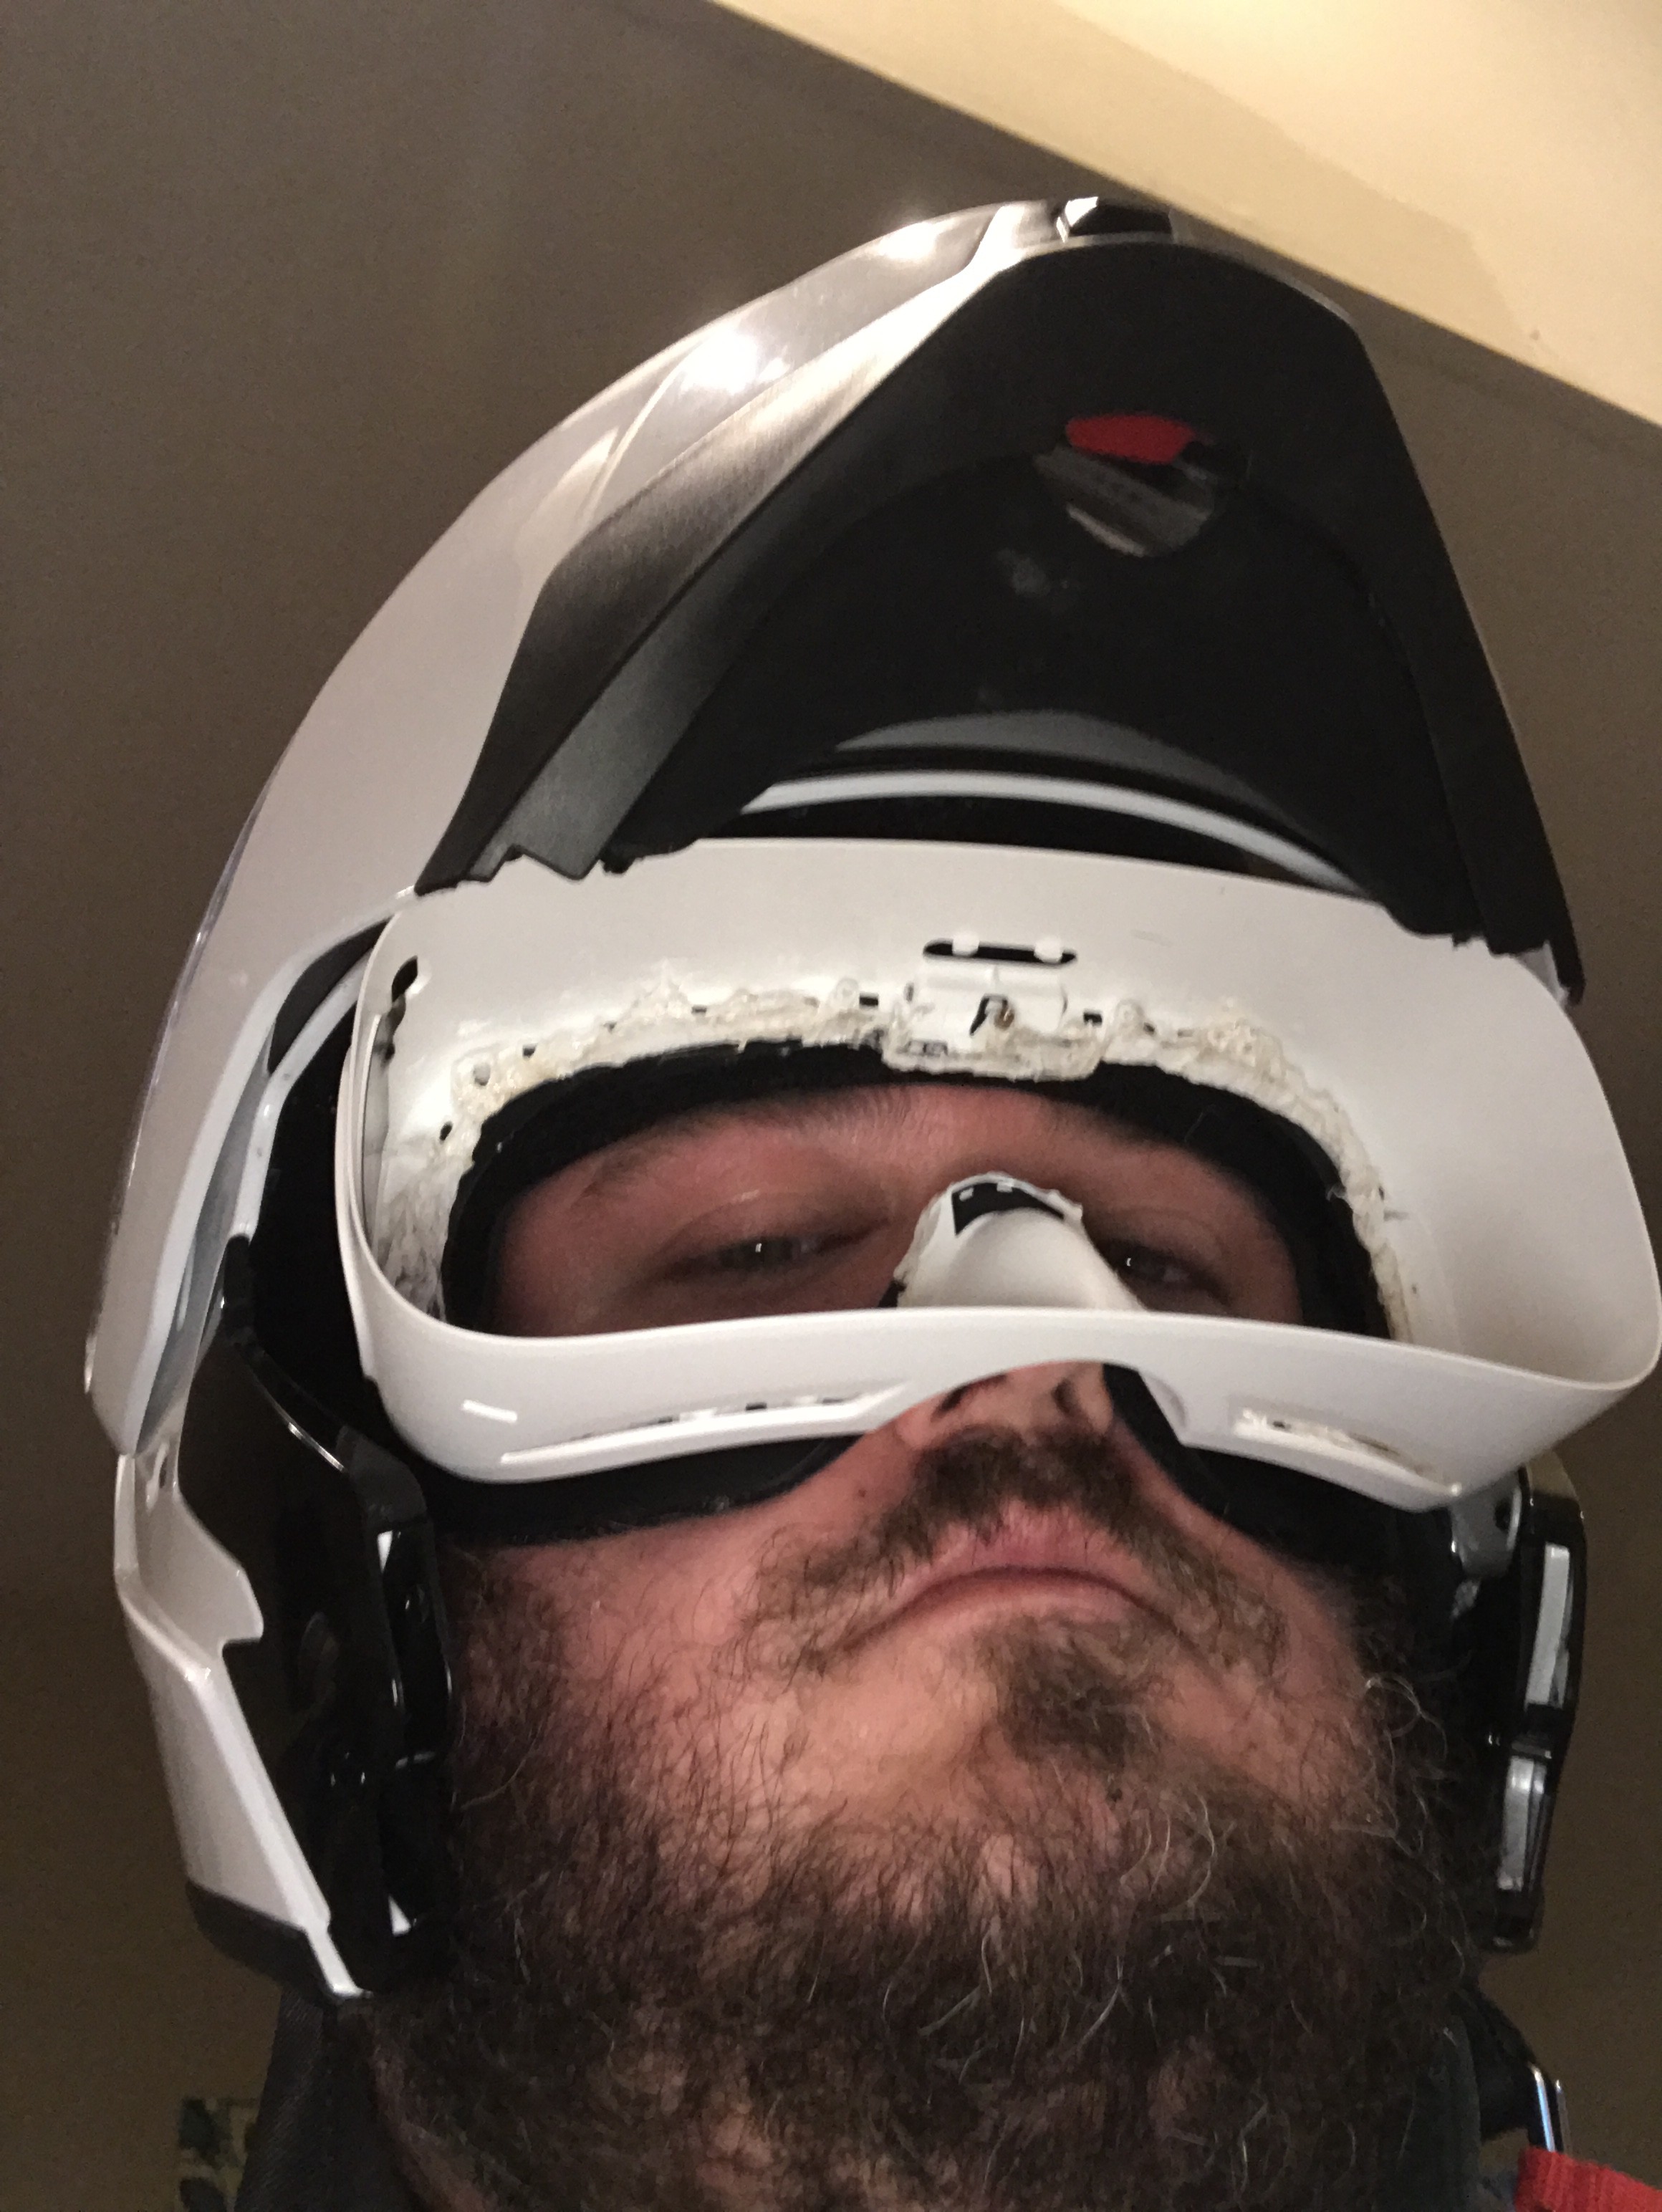
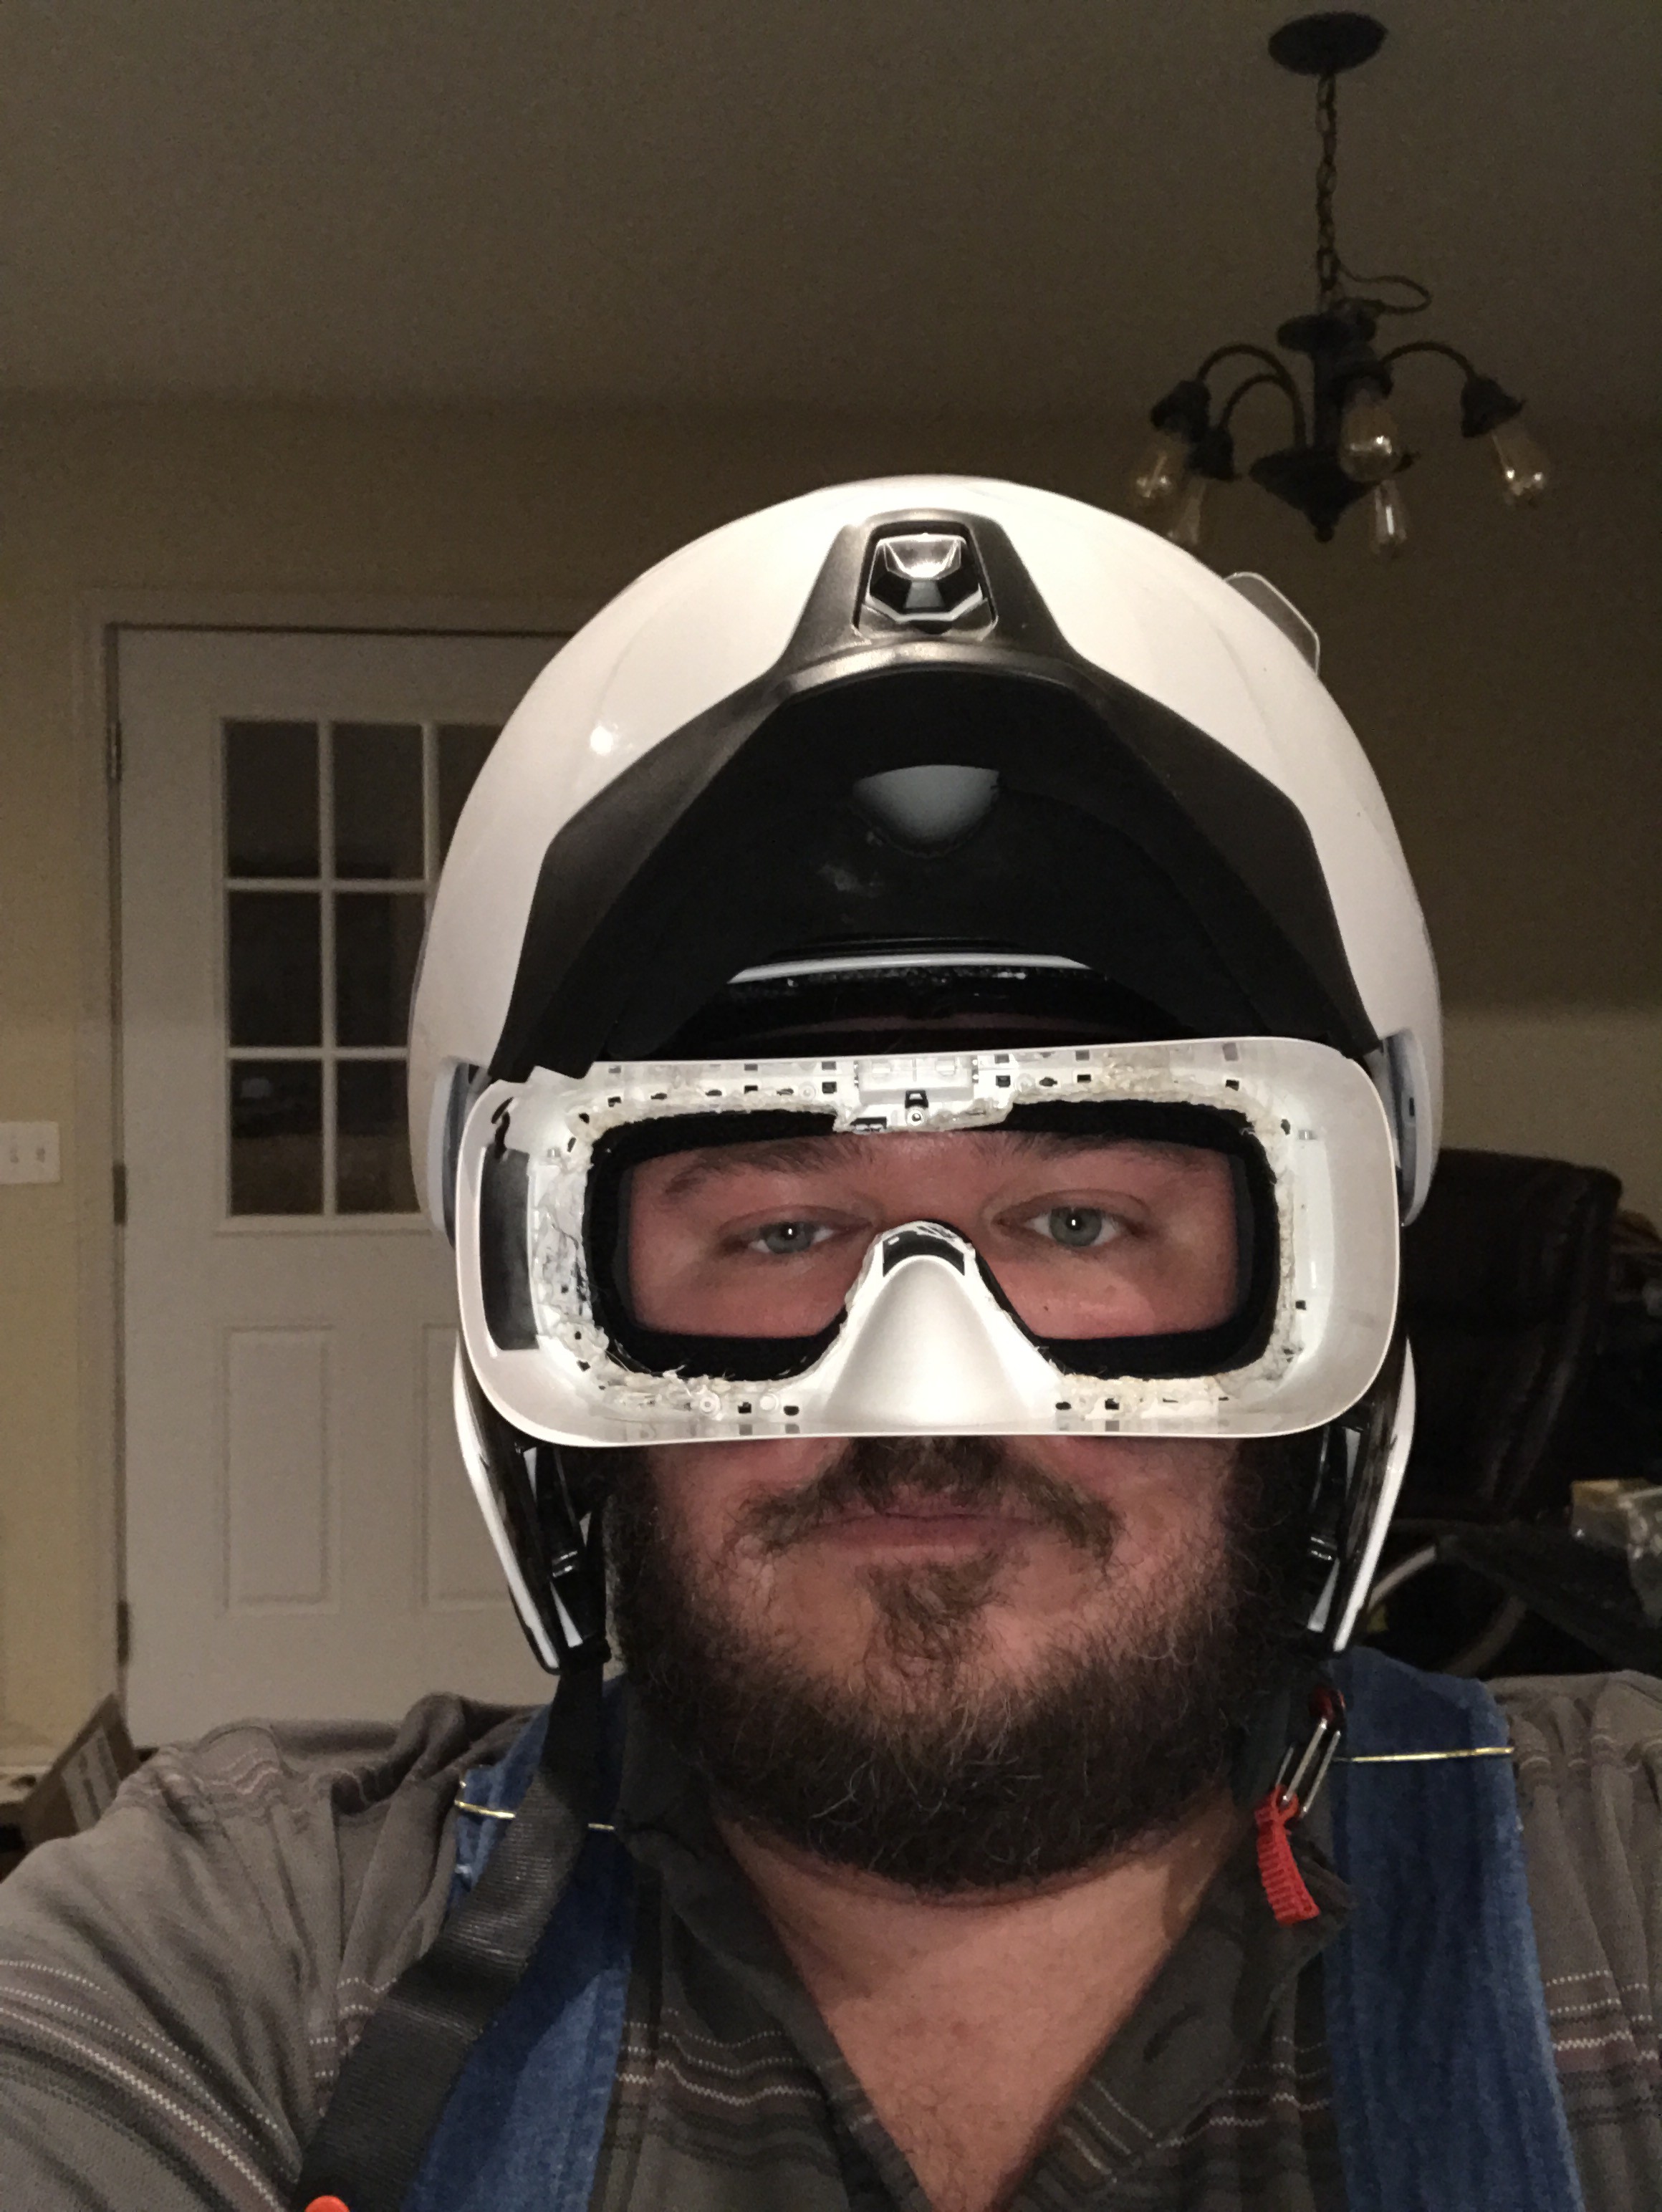
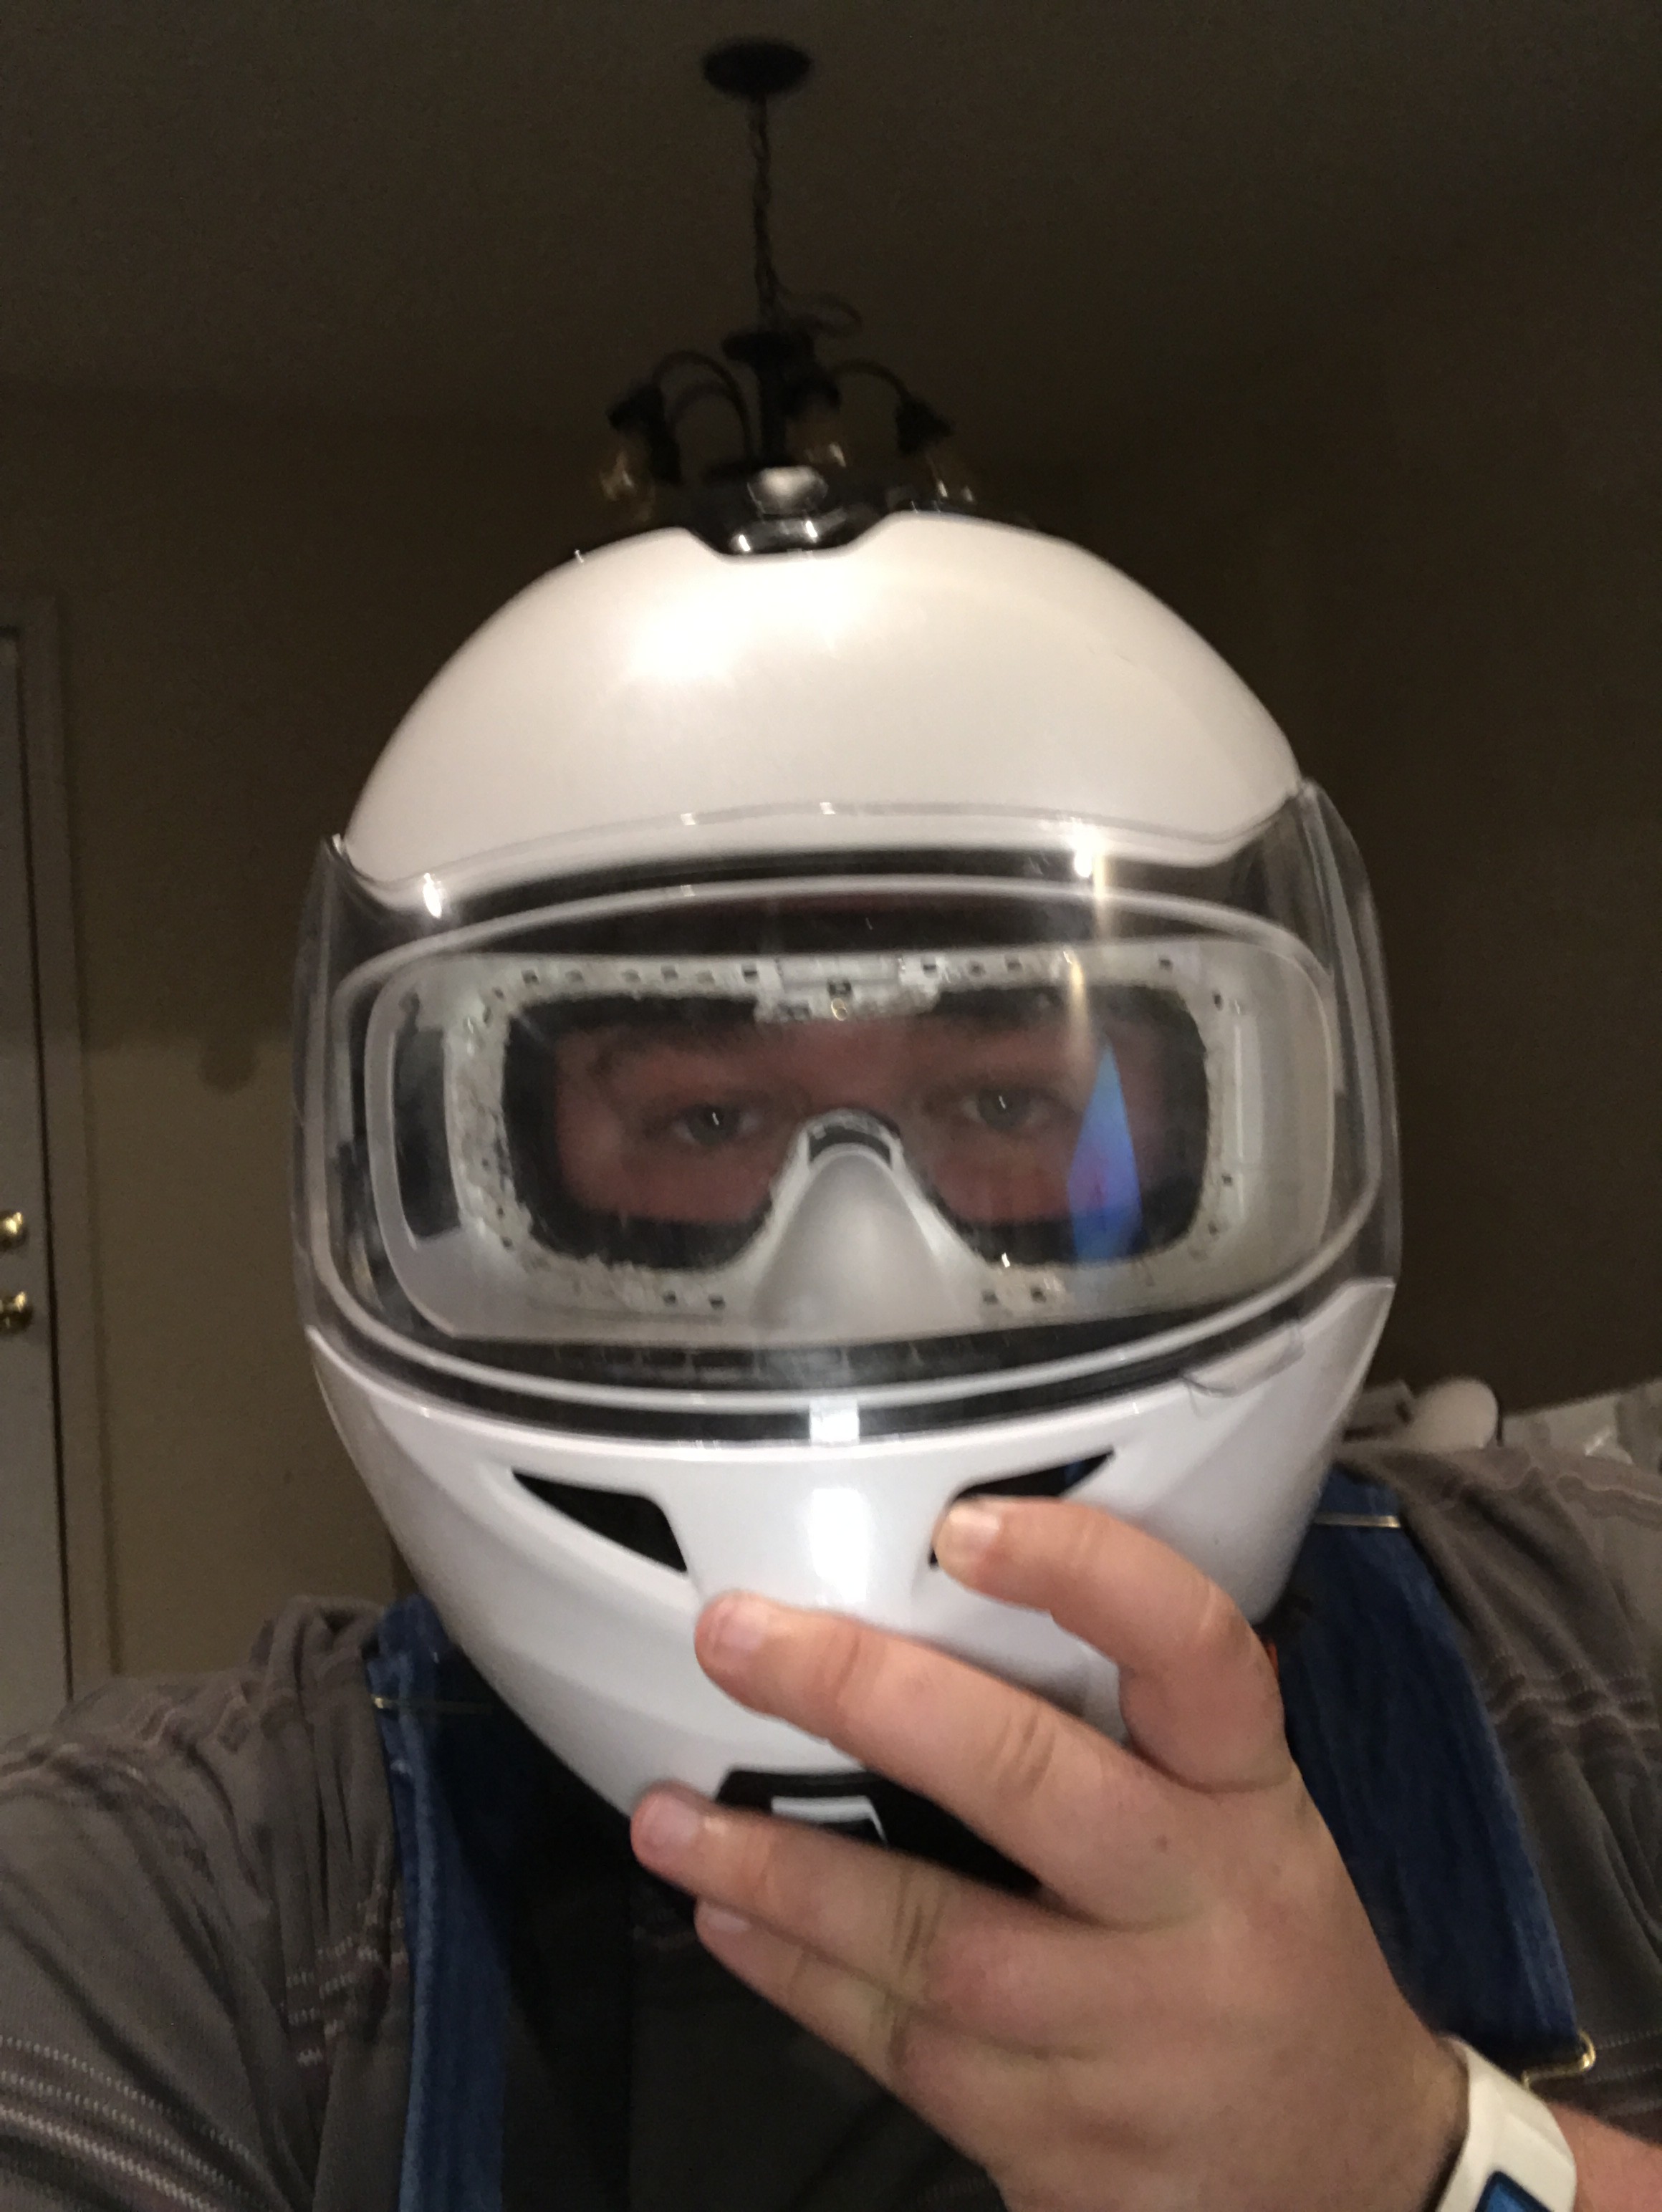
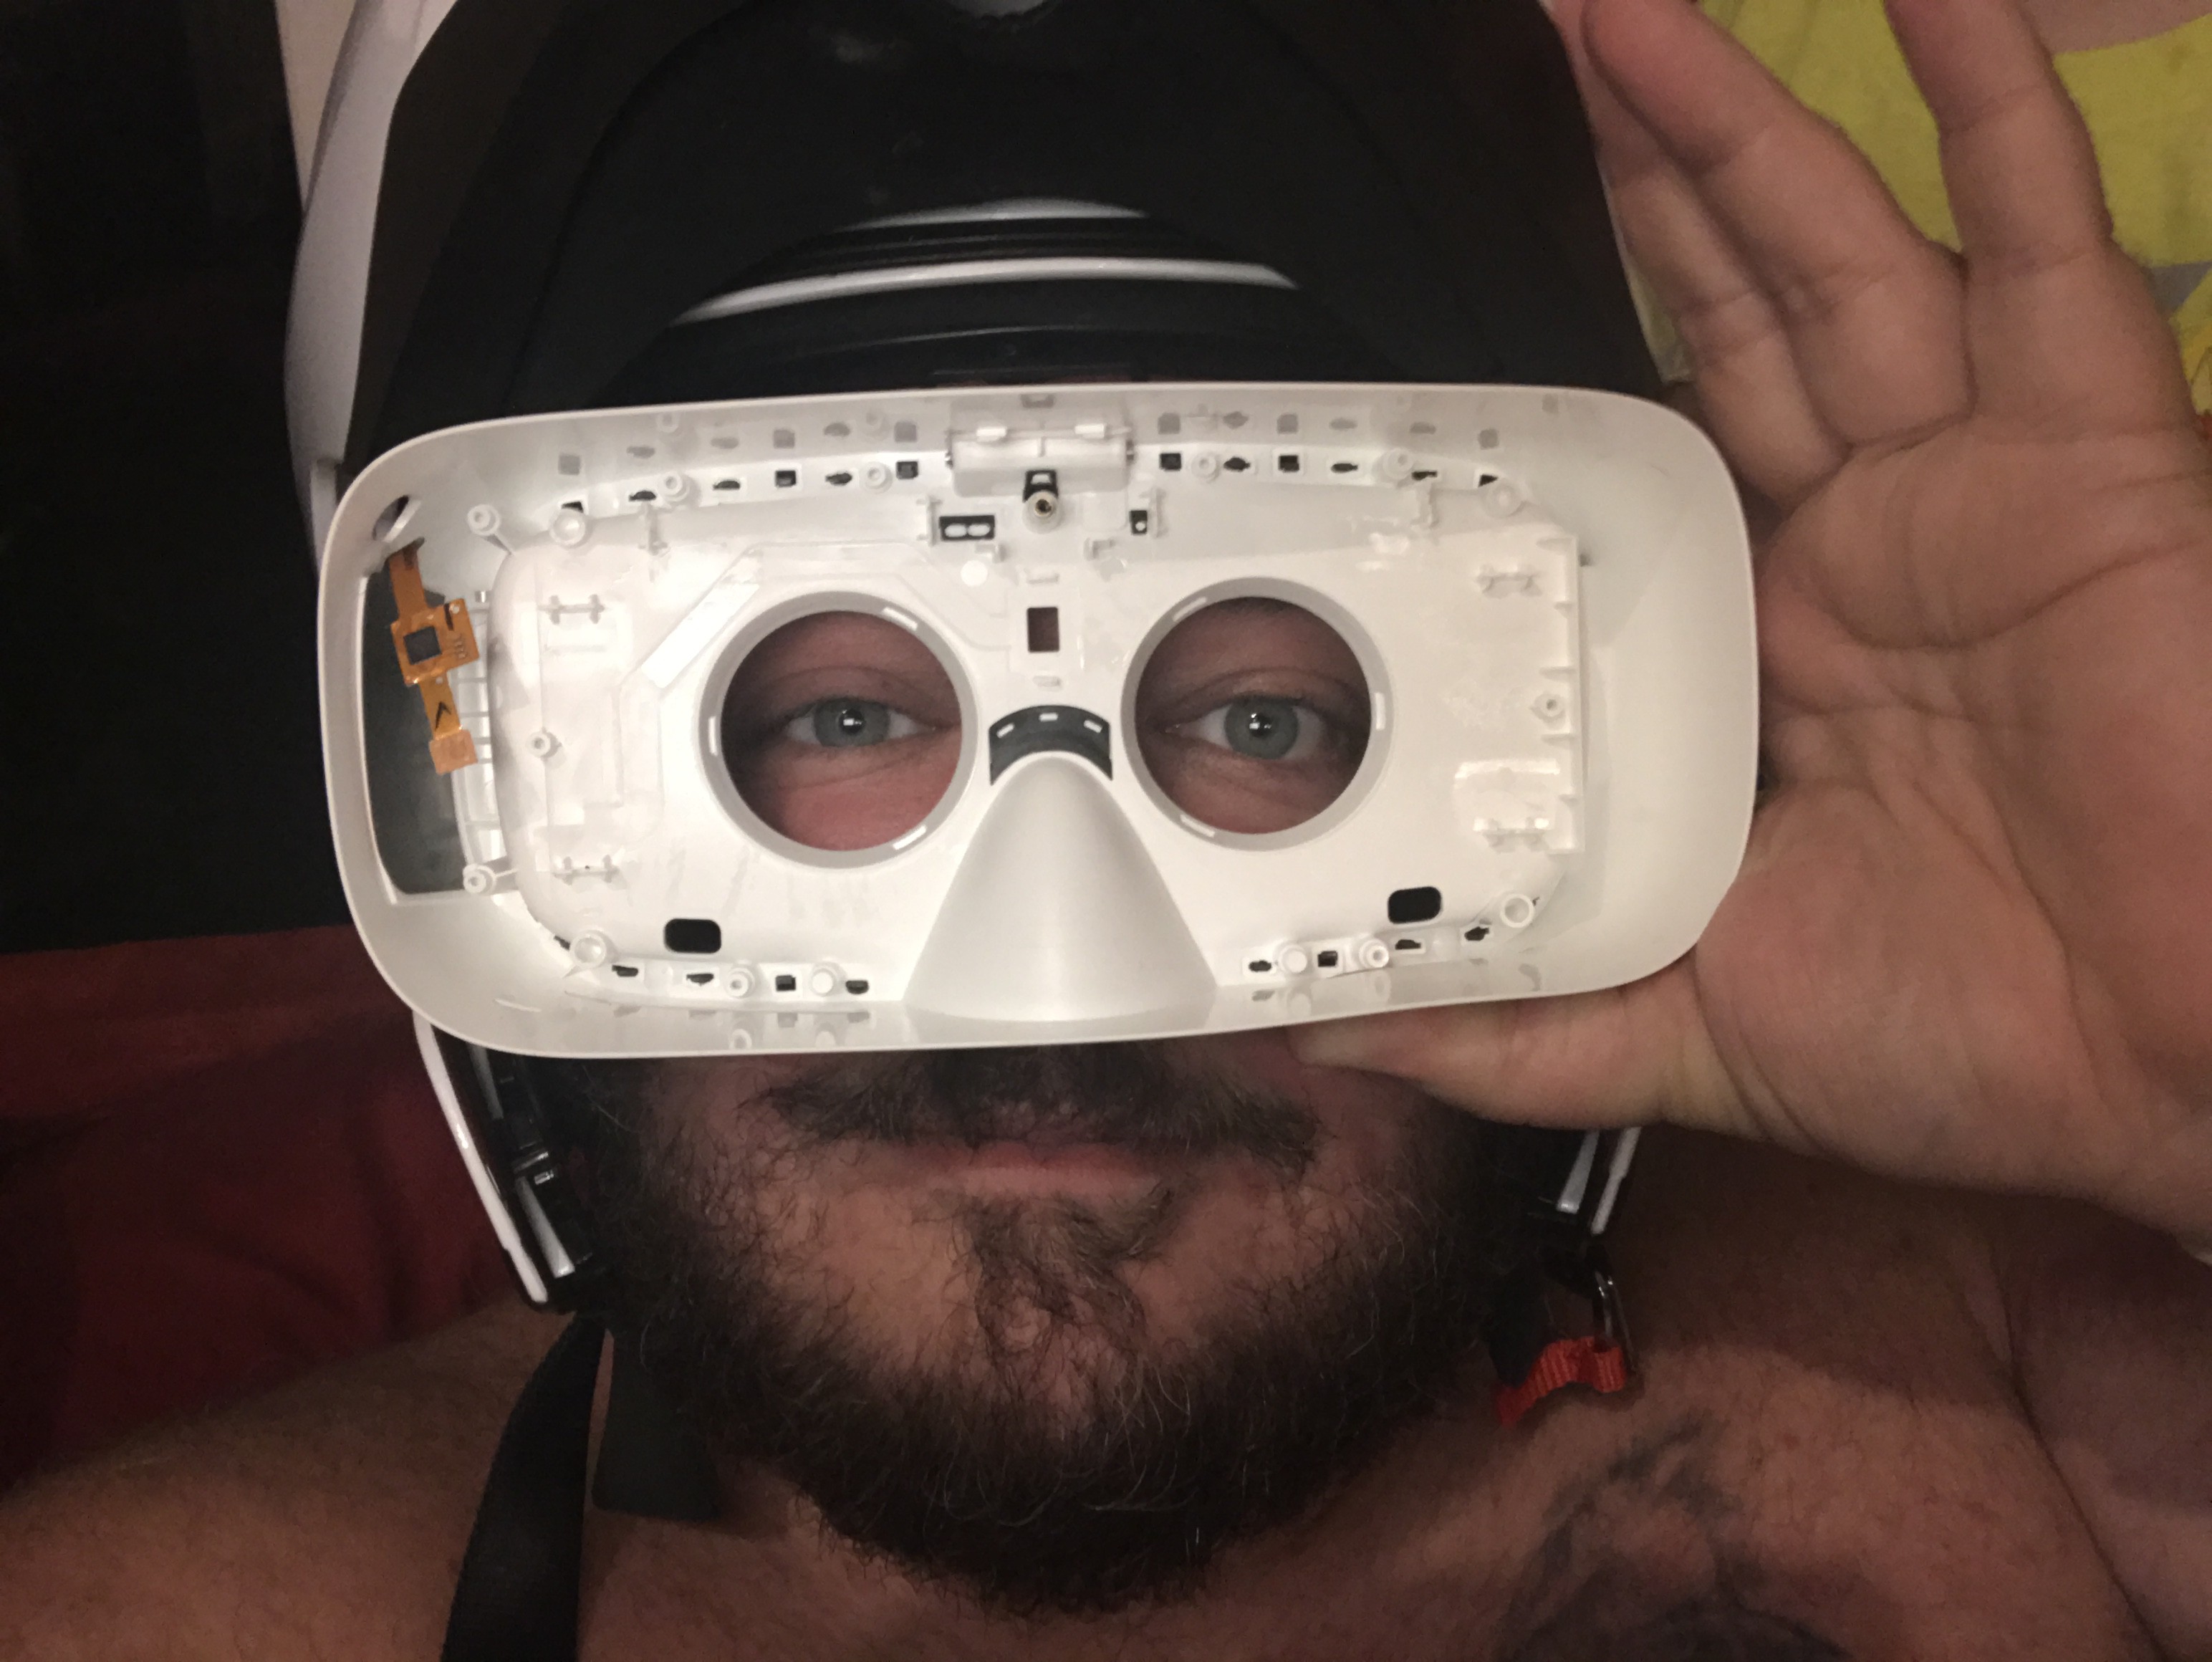
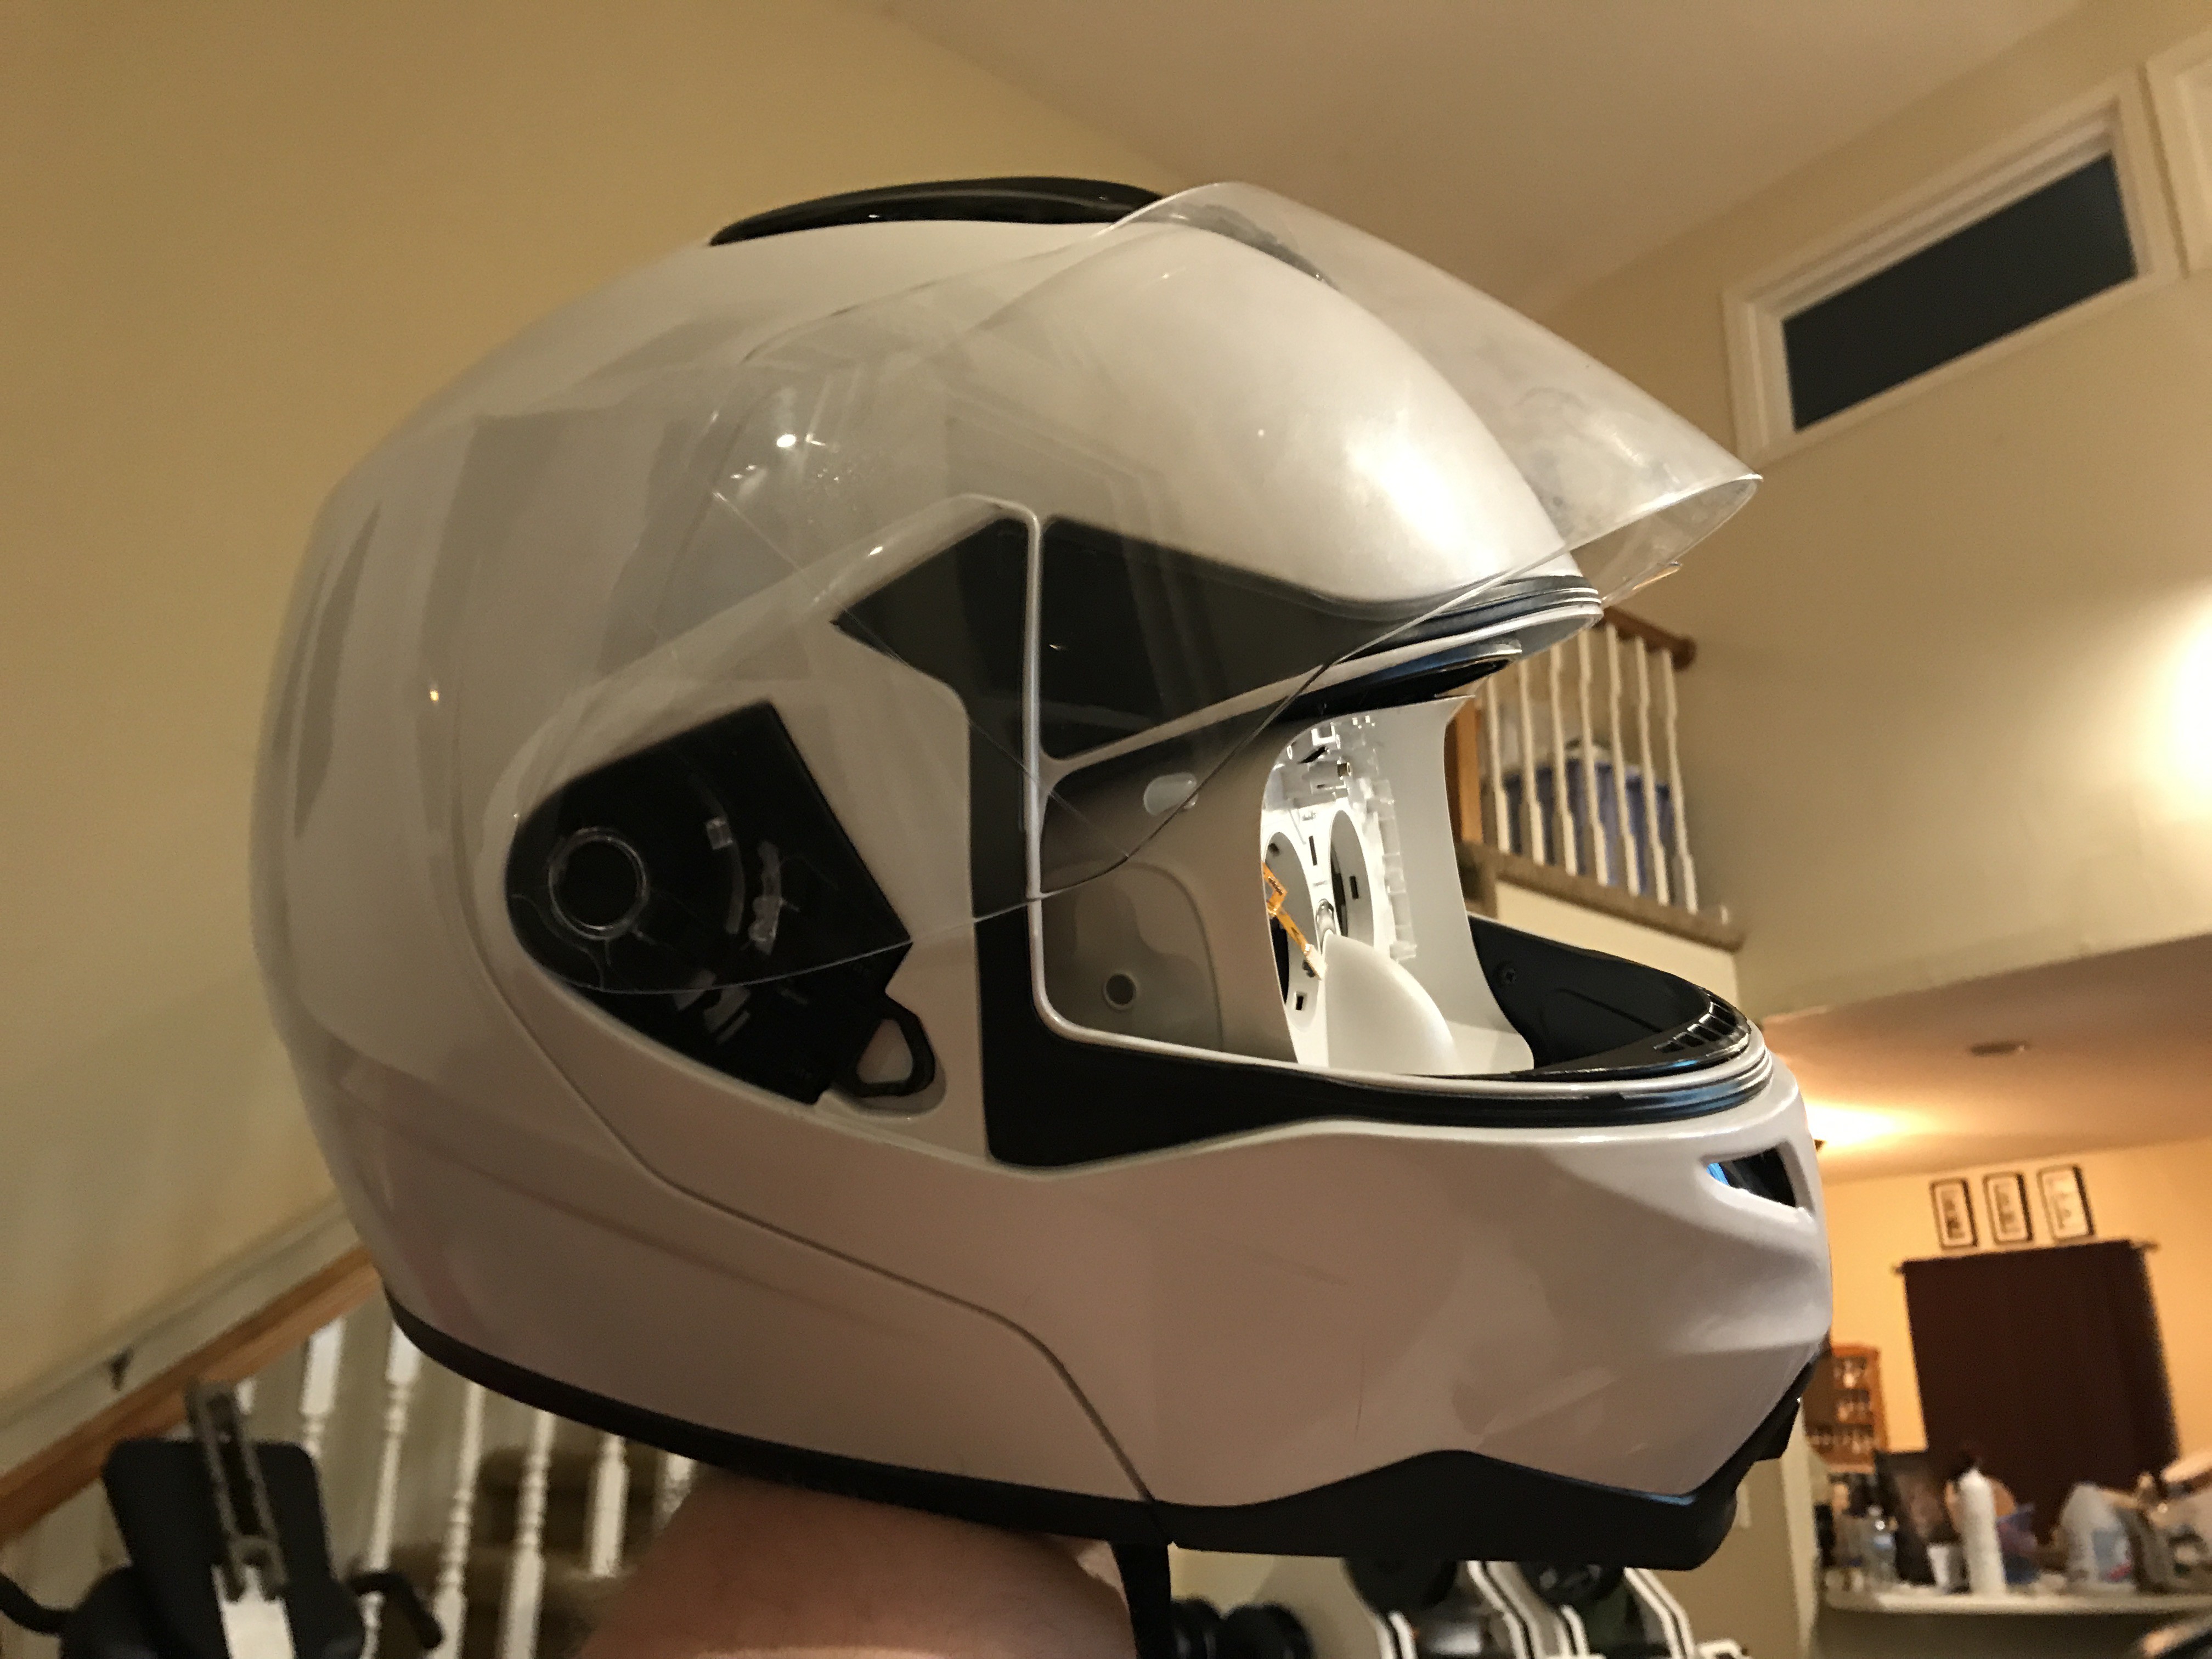
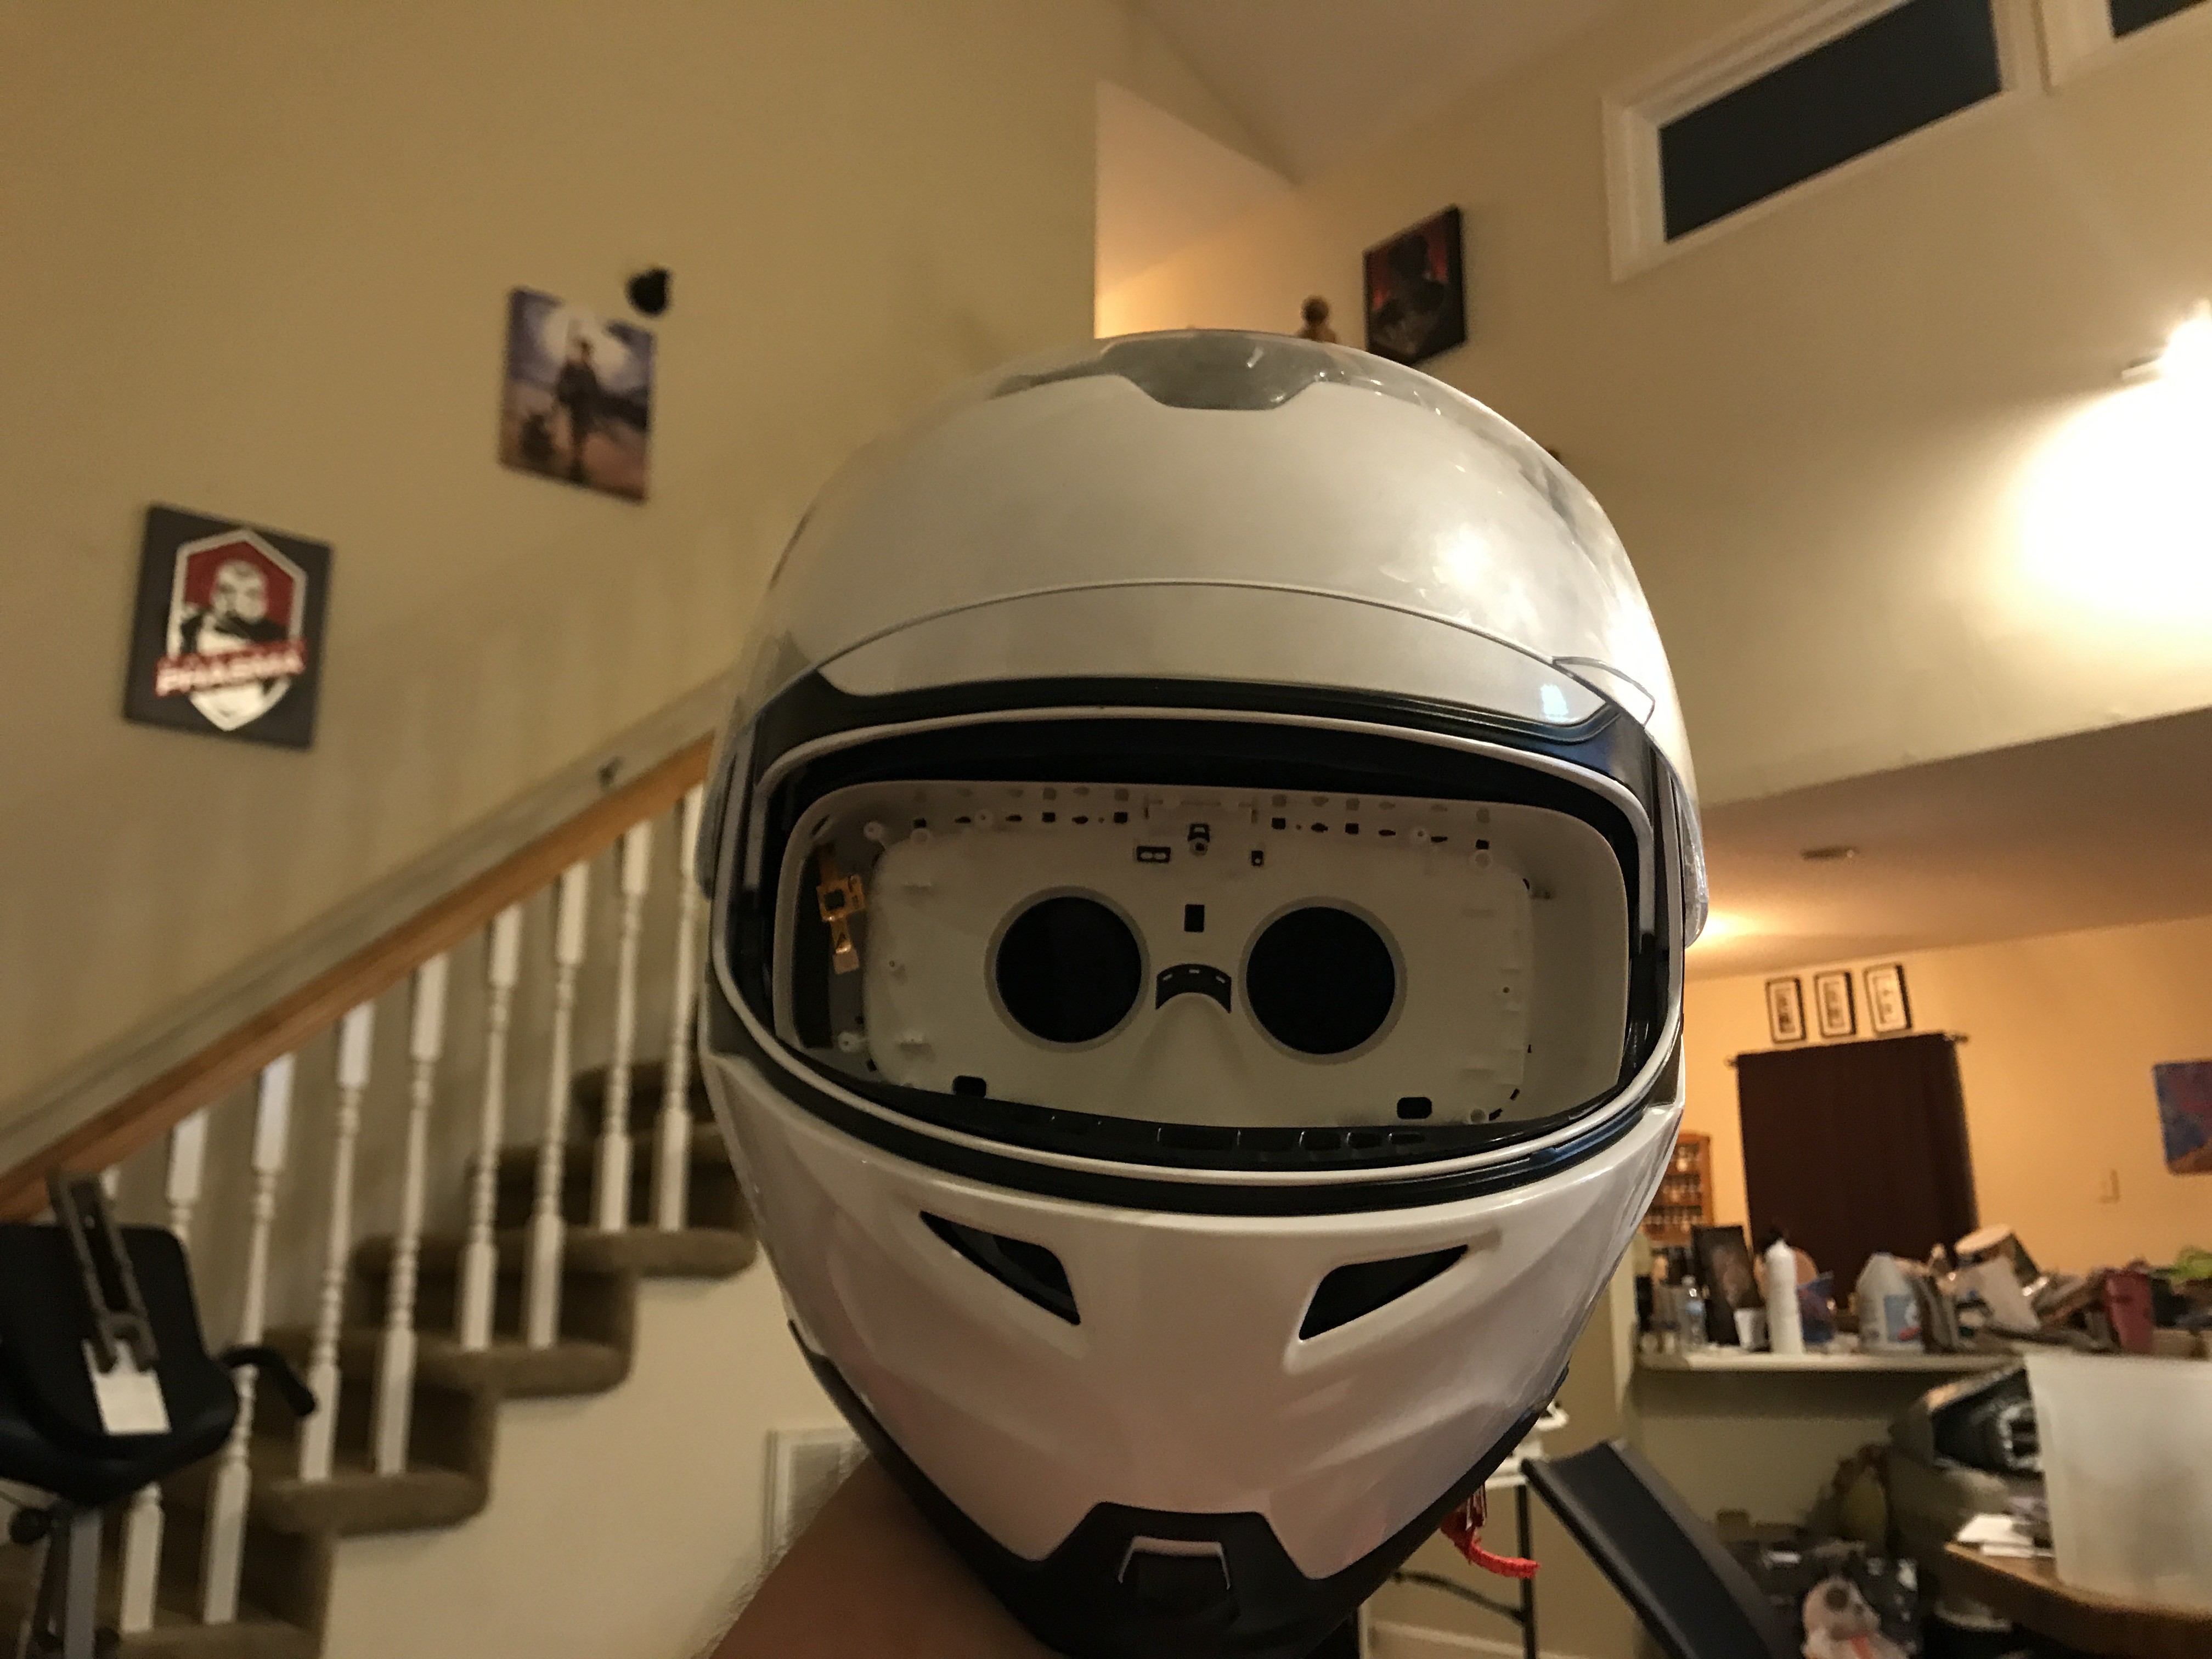
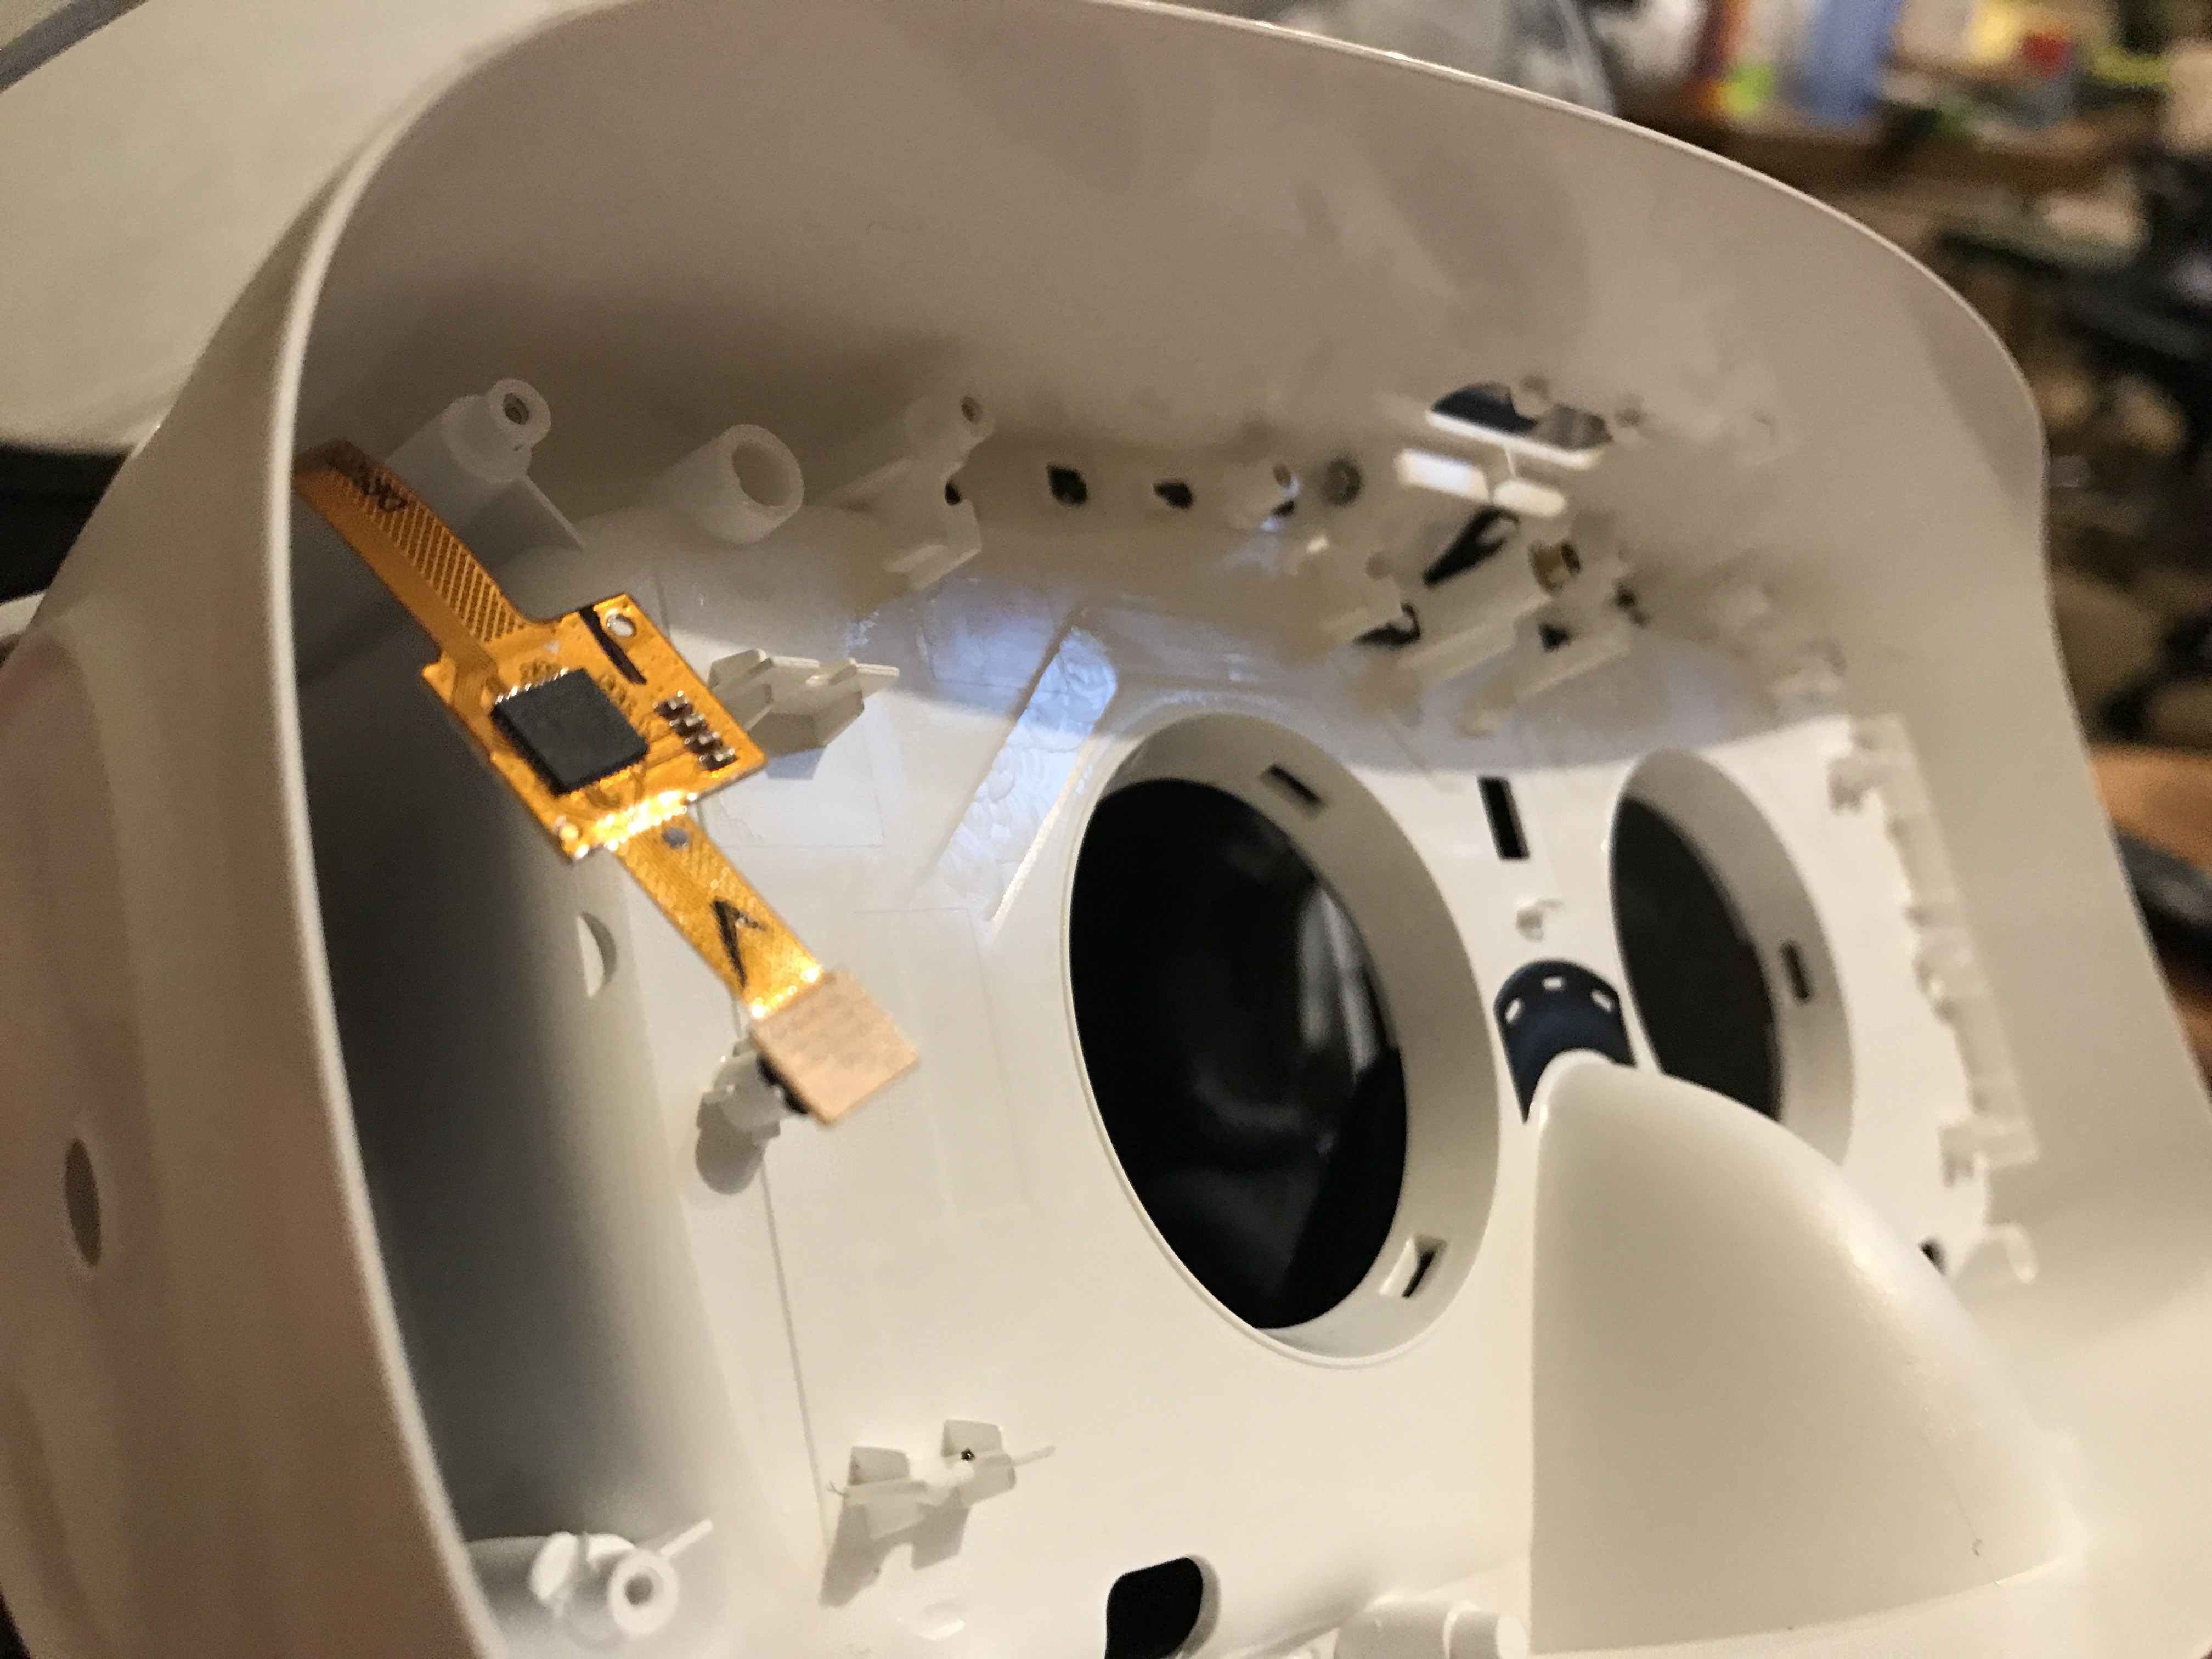
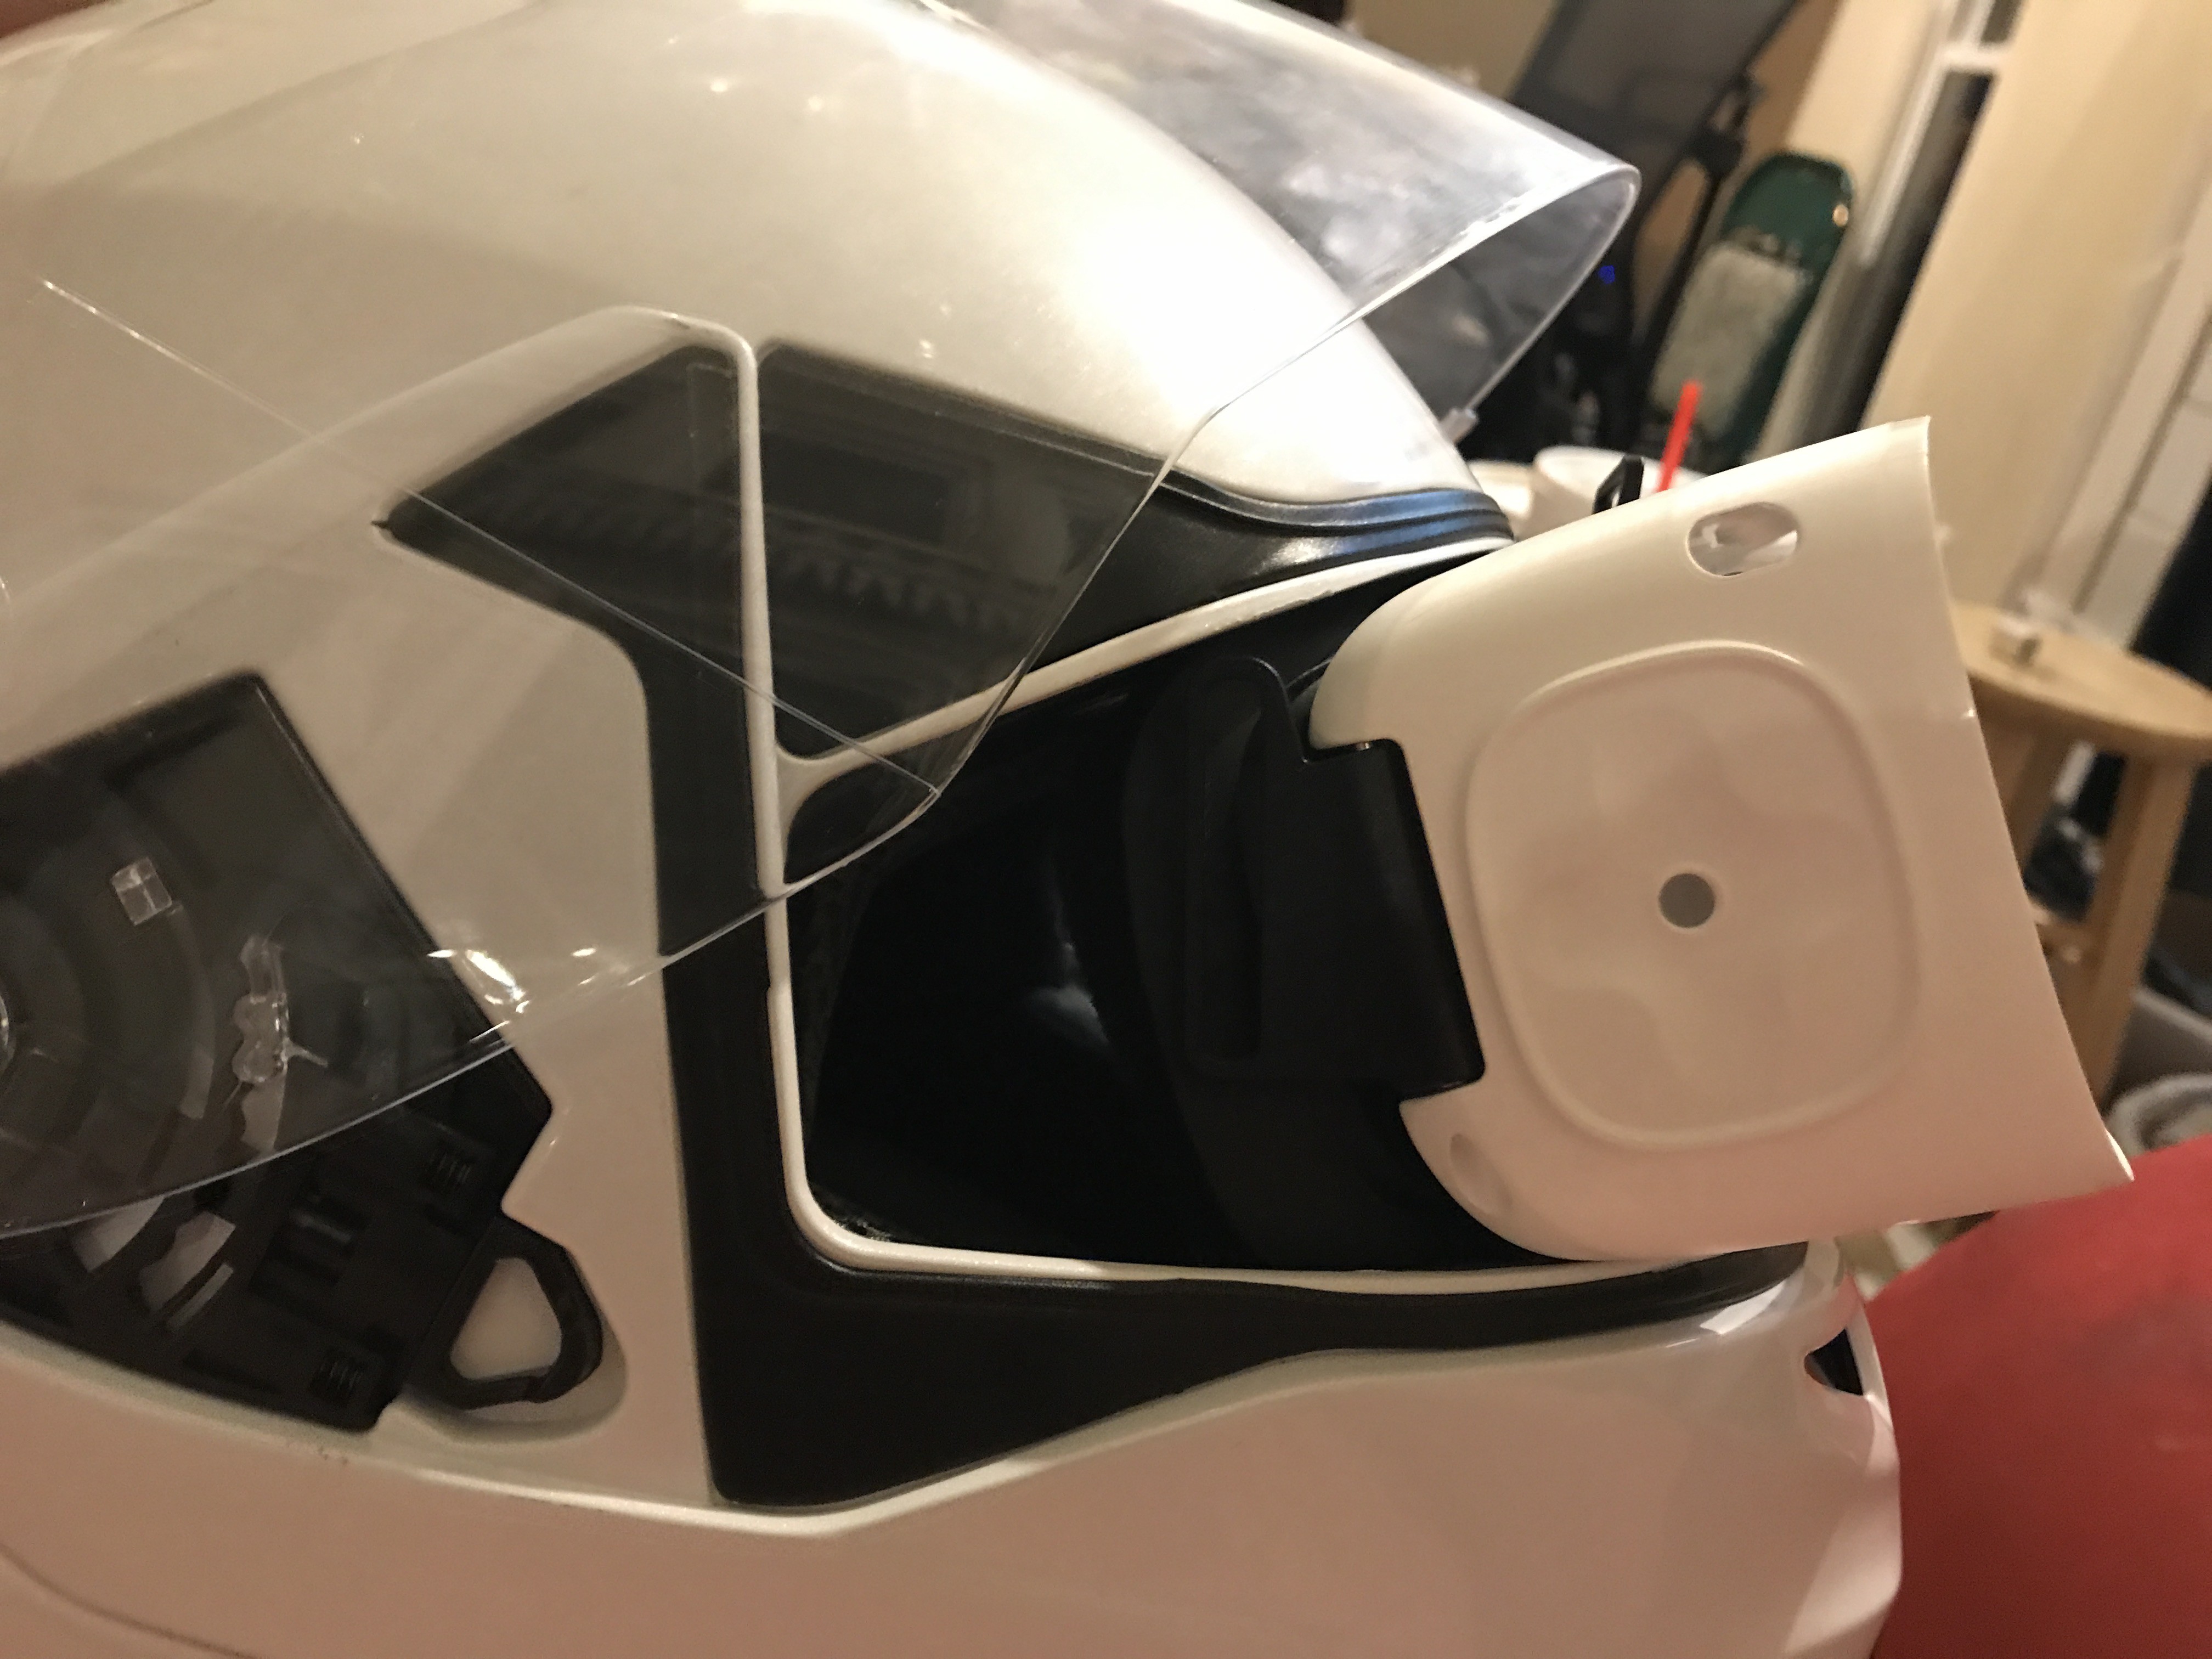
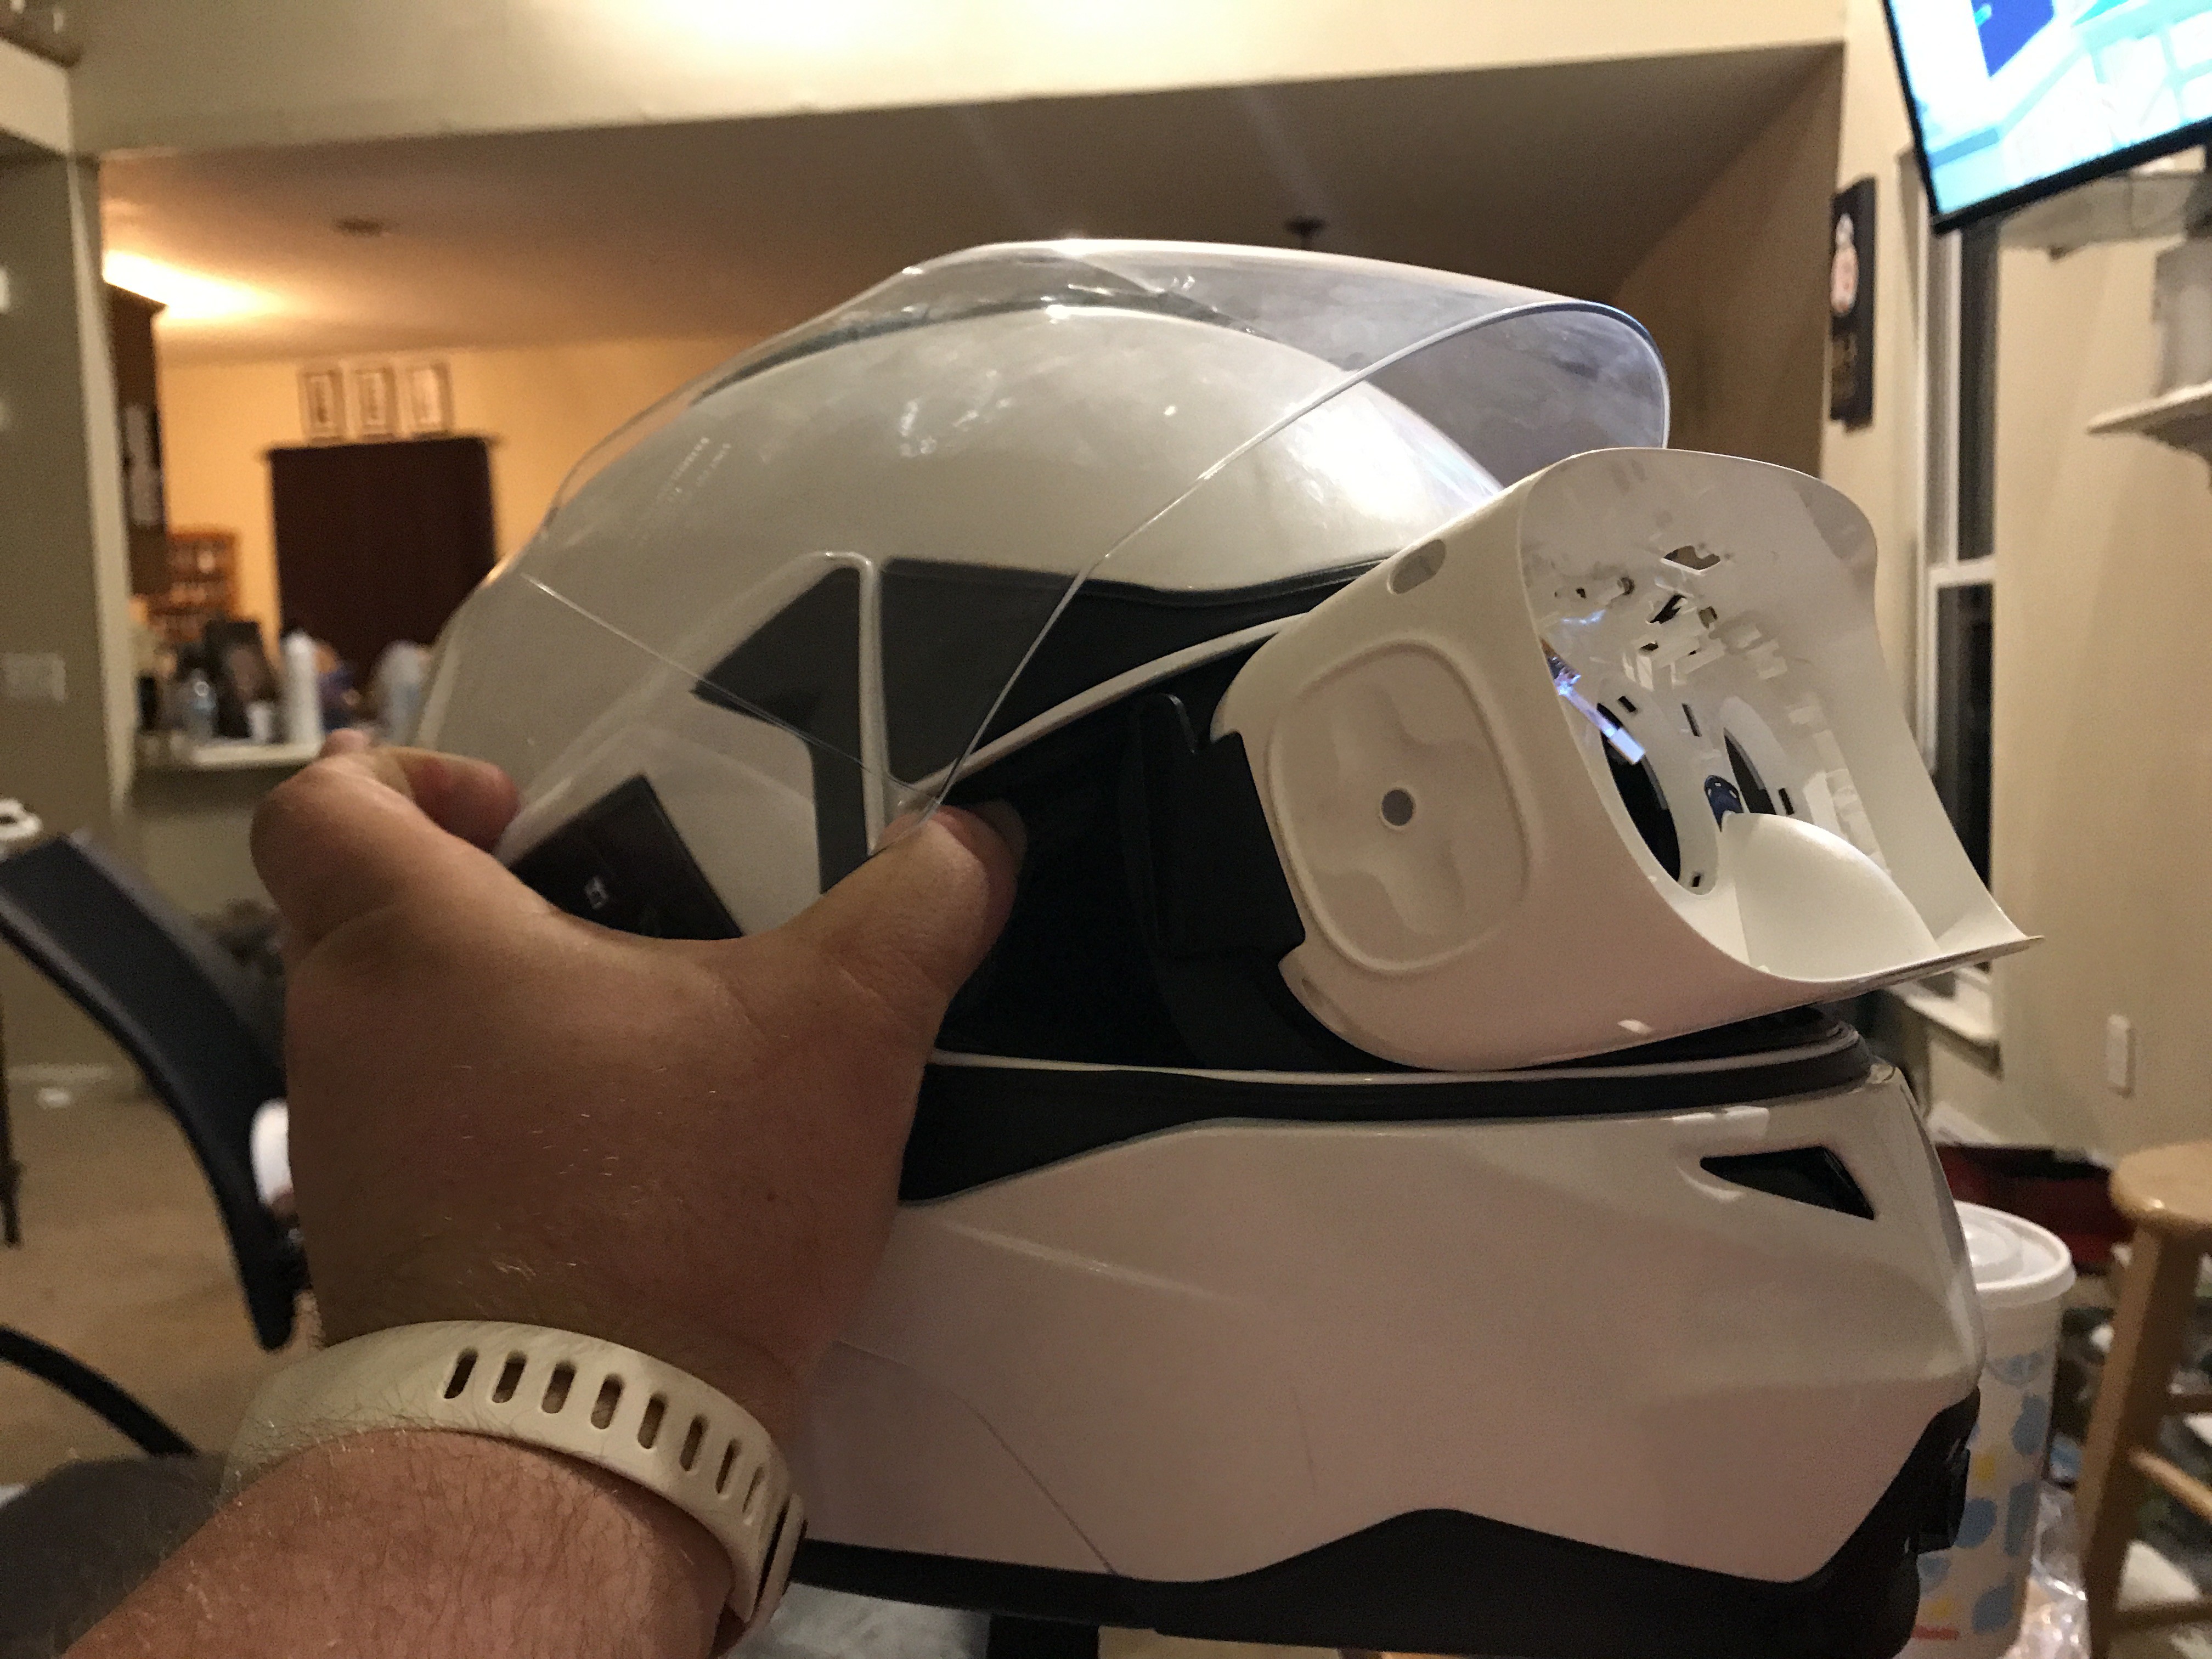
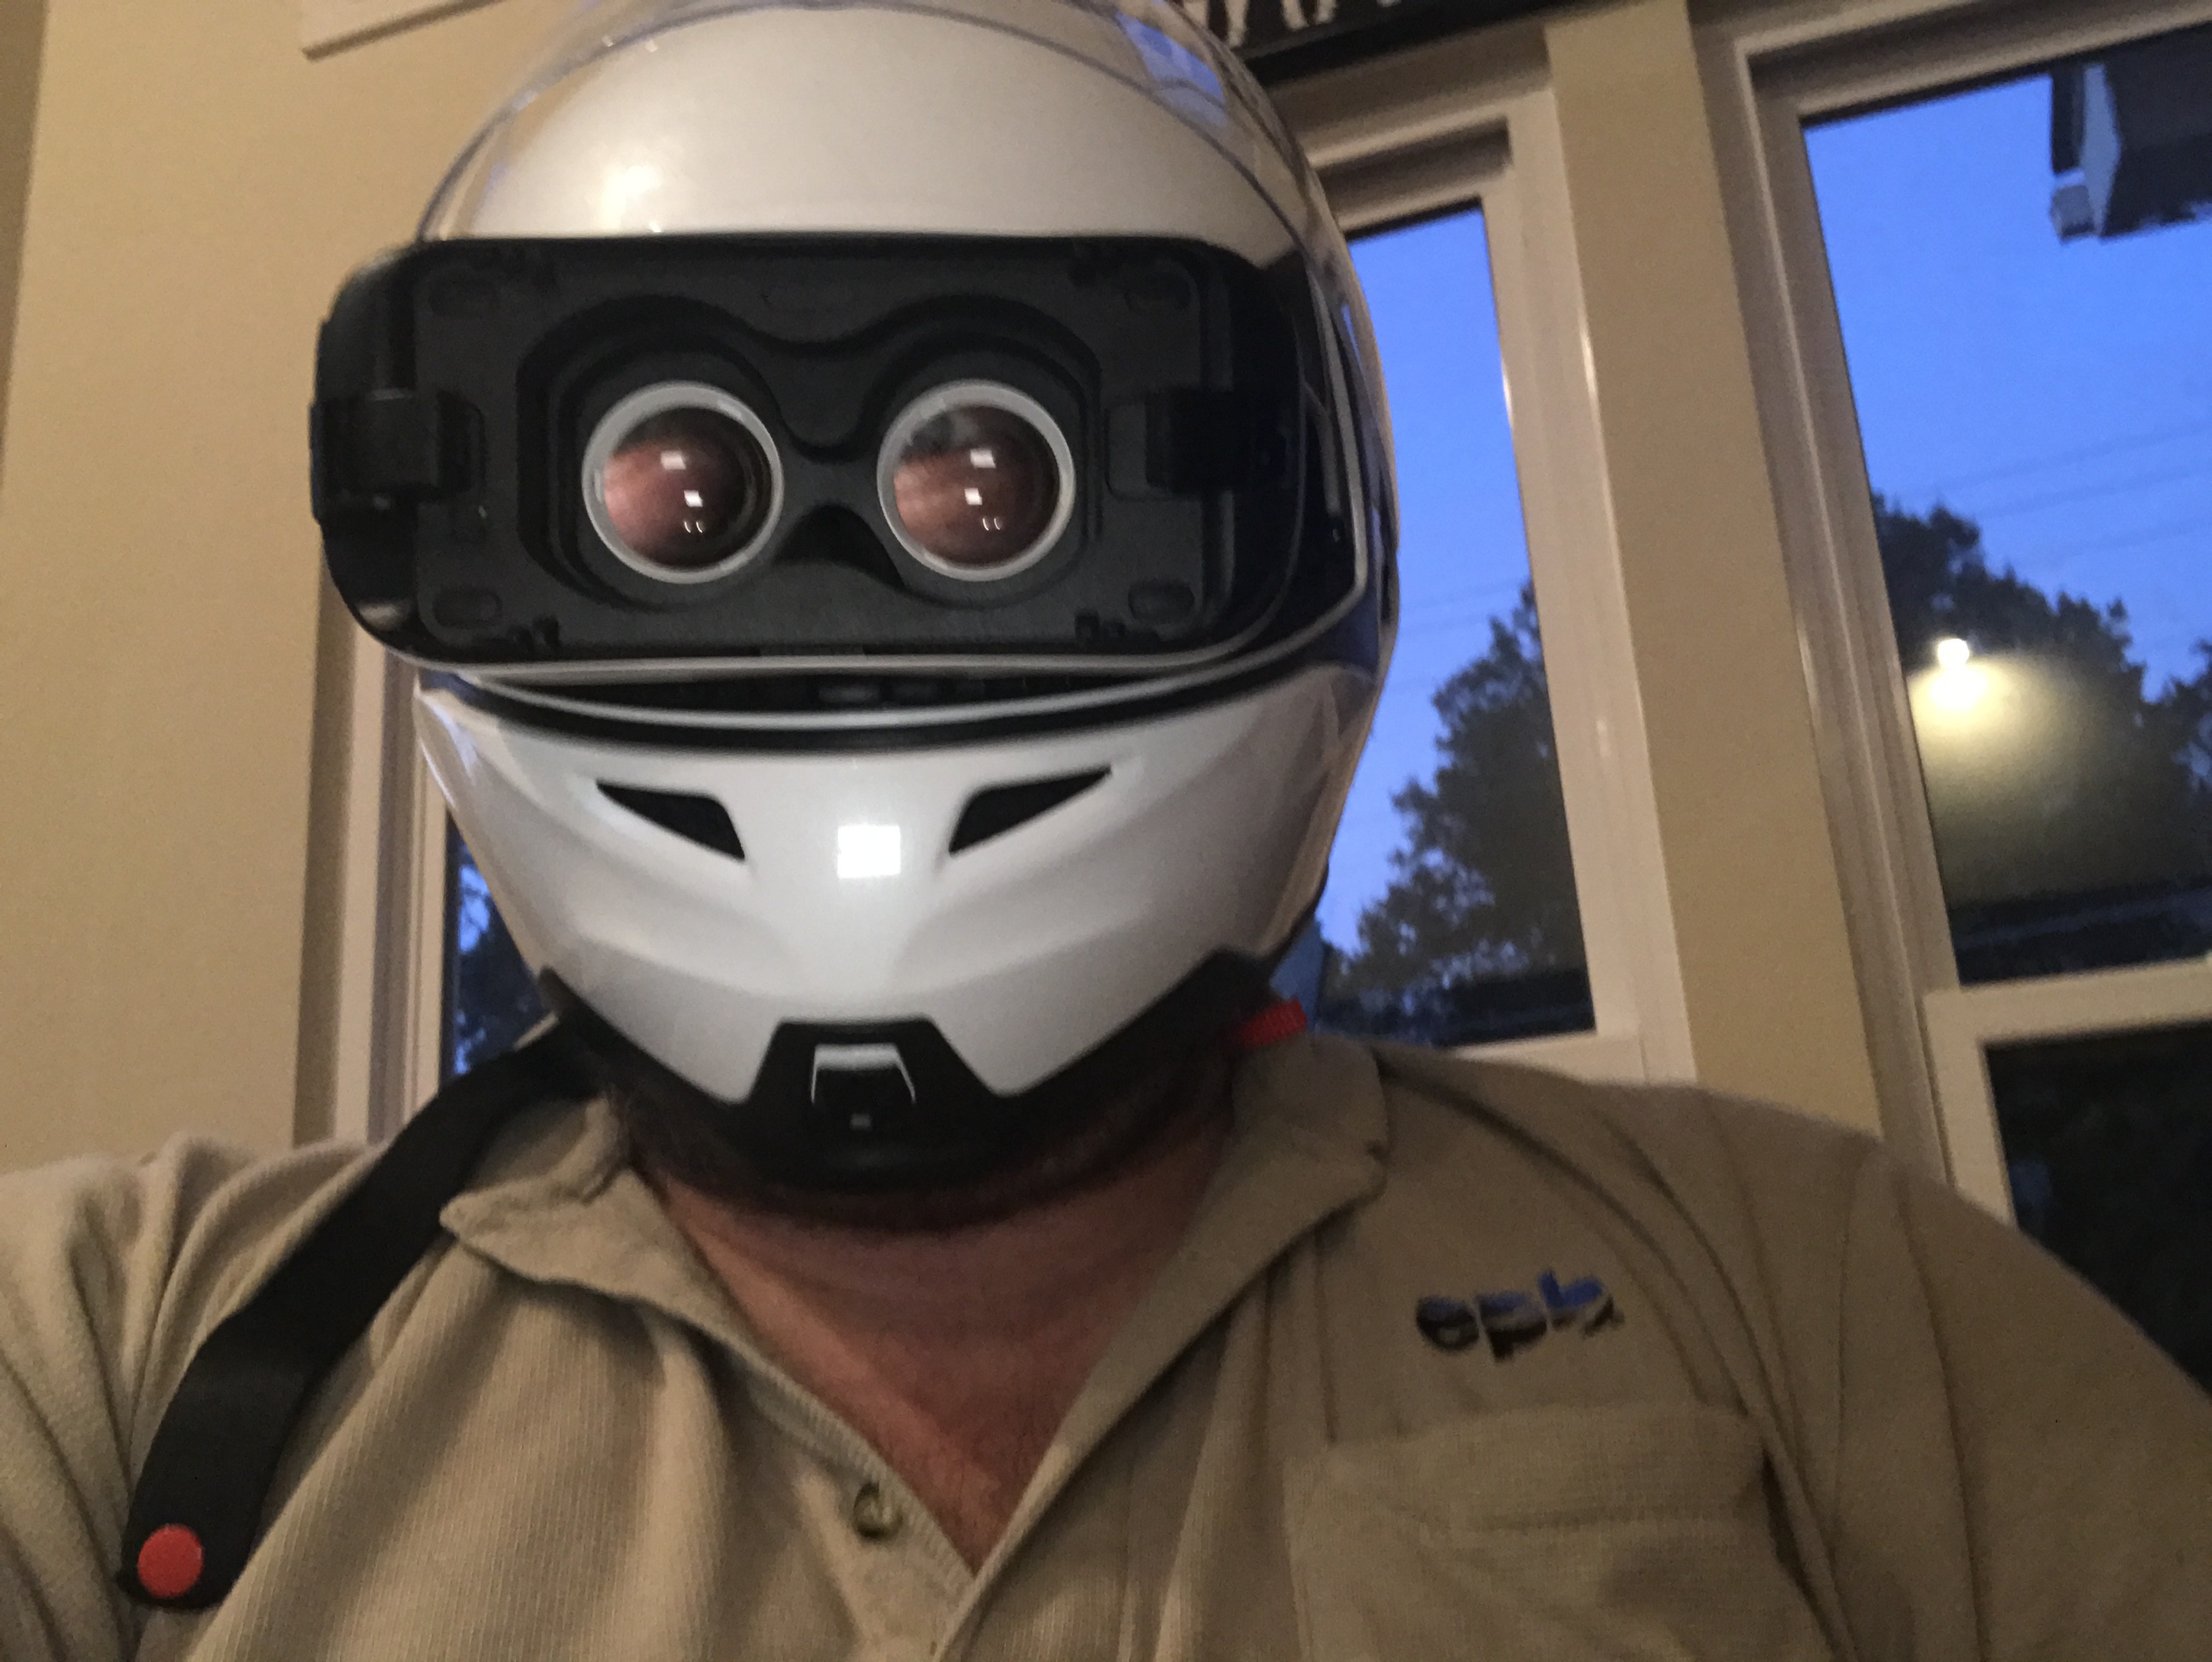
08/03/2018 at 13:21 • 0 commentsOK so the body of the goggles have been extended here, I do have one crack I need to fix that I caused by accident, but it is a simple repair. The front black area will need to be hollowed out. I am still considering using the outside protector as a sort of a visor mount for 1/8" plexi to protect the riders eyes as well as the inside components.
![]()
![]()
![]()
![]()
![]()
![]()
![]()
-
360 deg coverage plan sensors, view and cams
08/01/2018 at 16:34 • 0 comments![]()
-
Extending the Gear VR
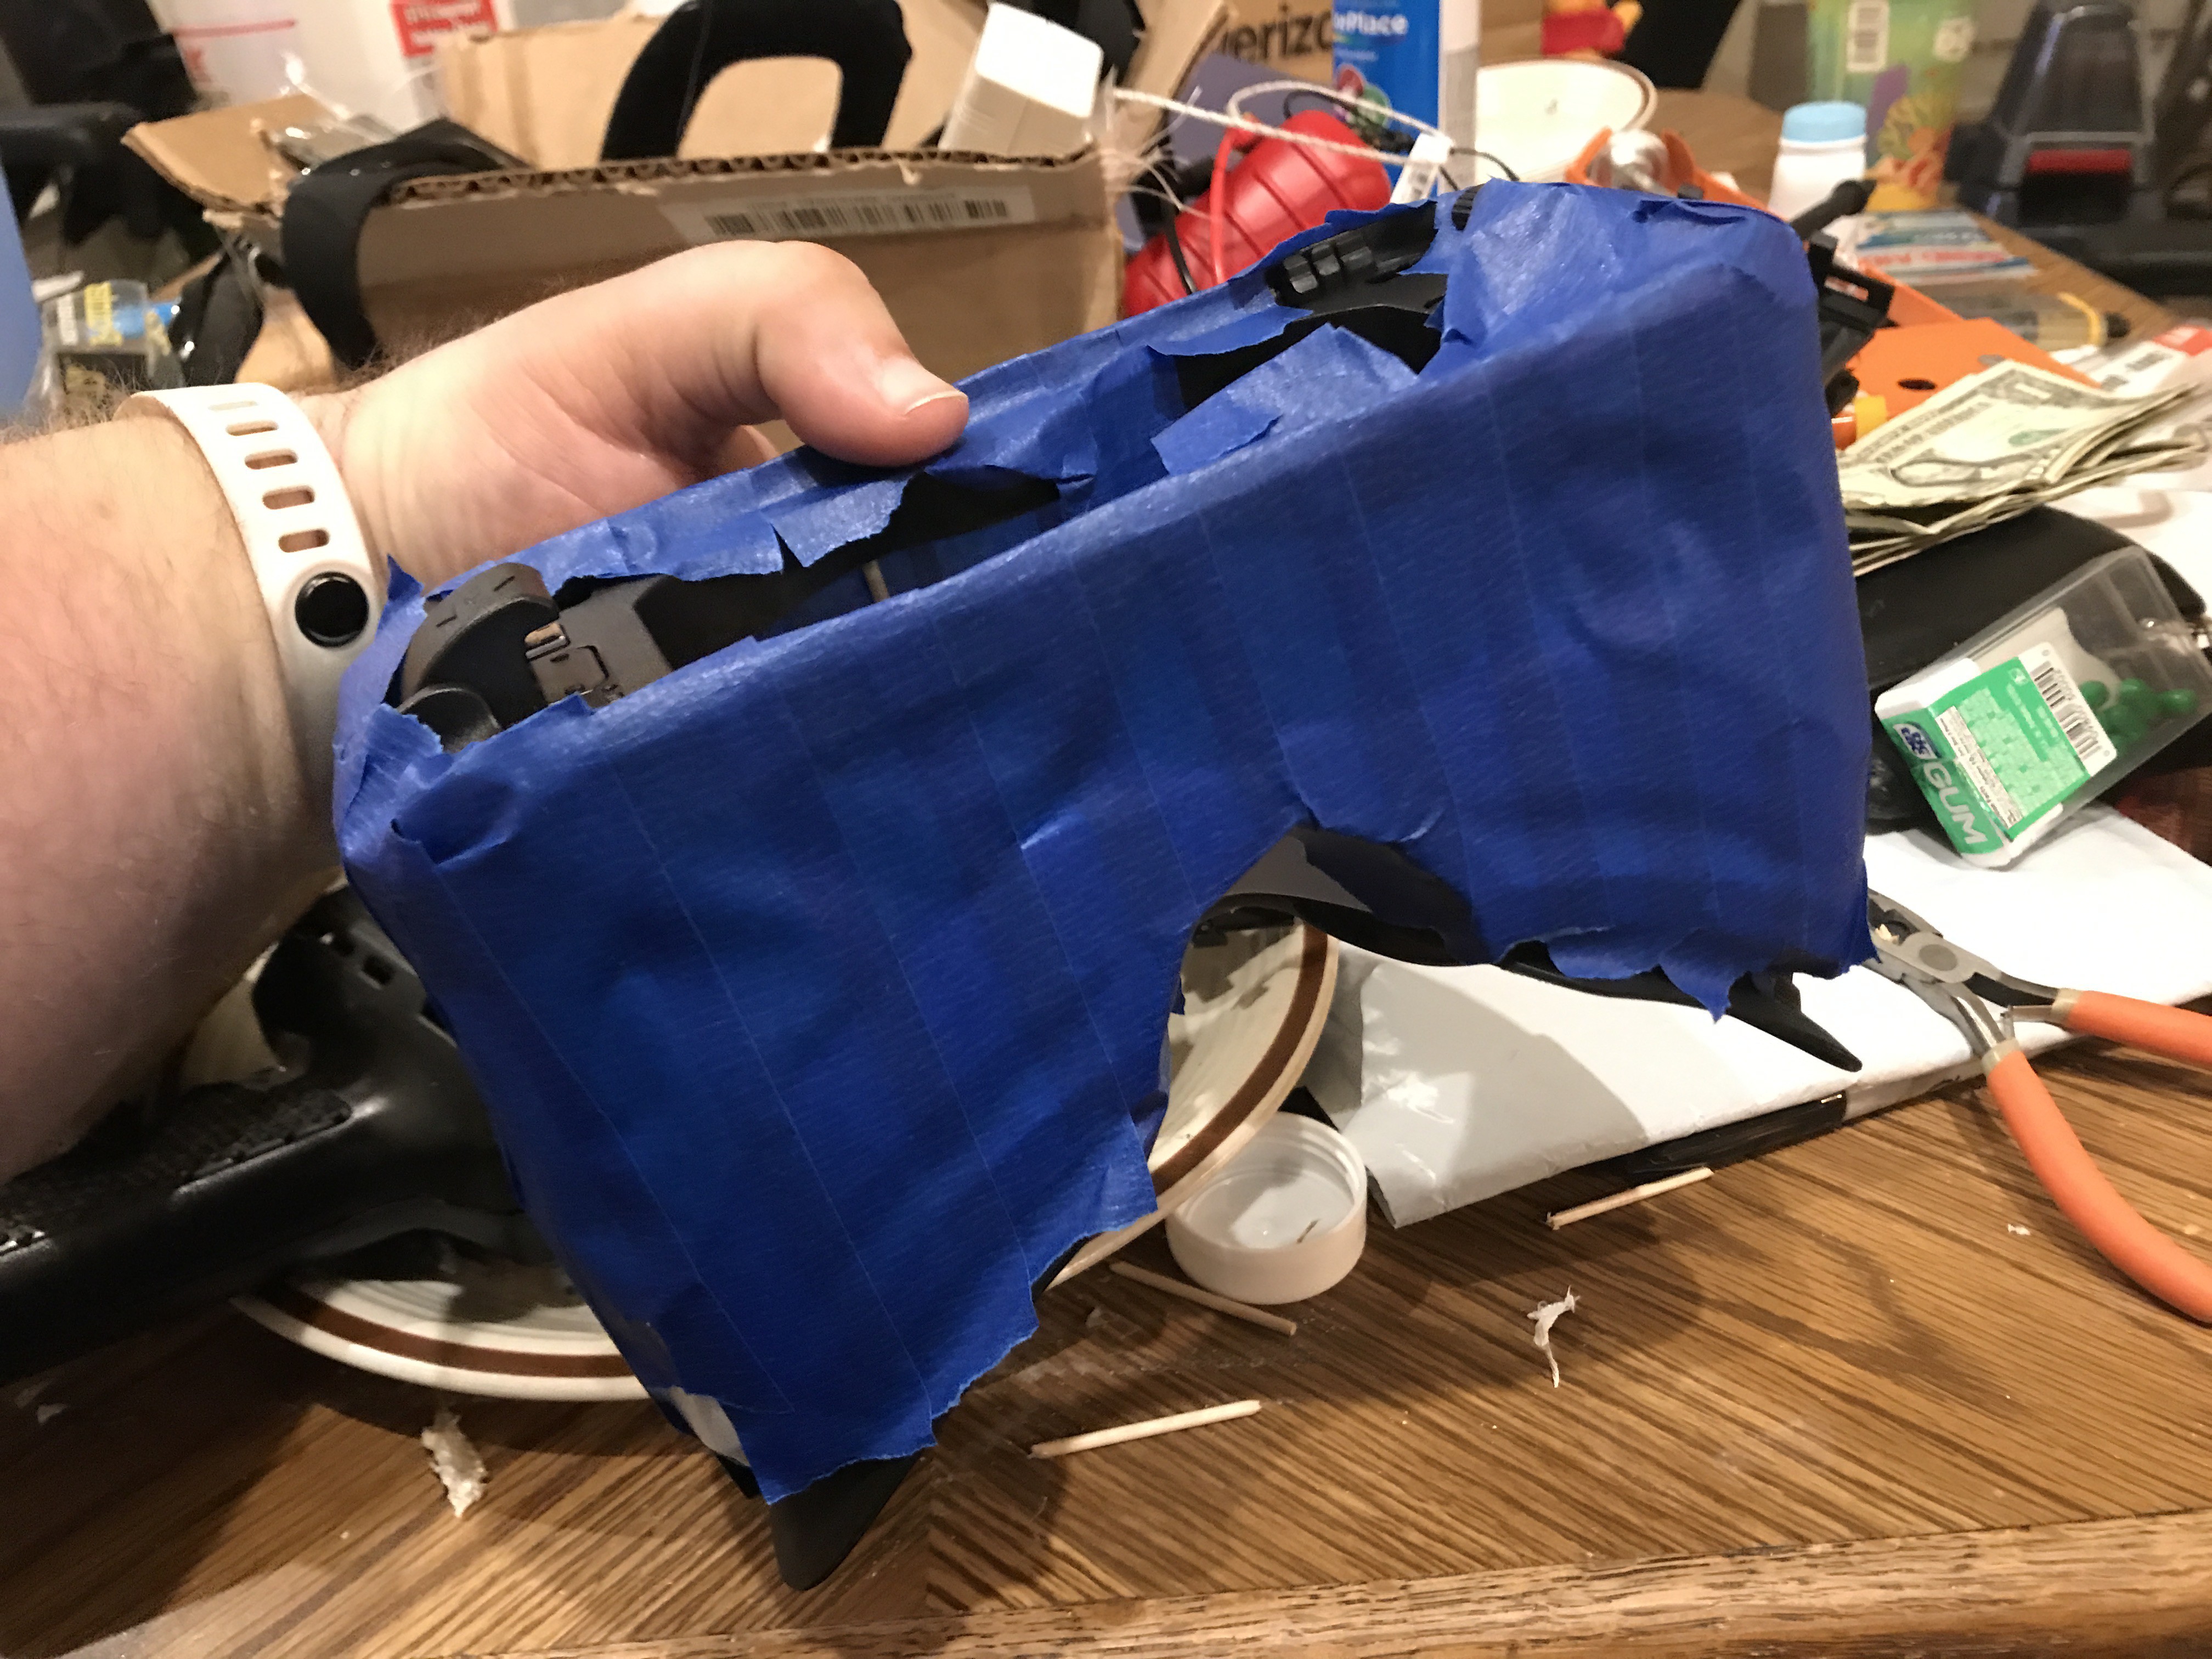
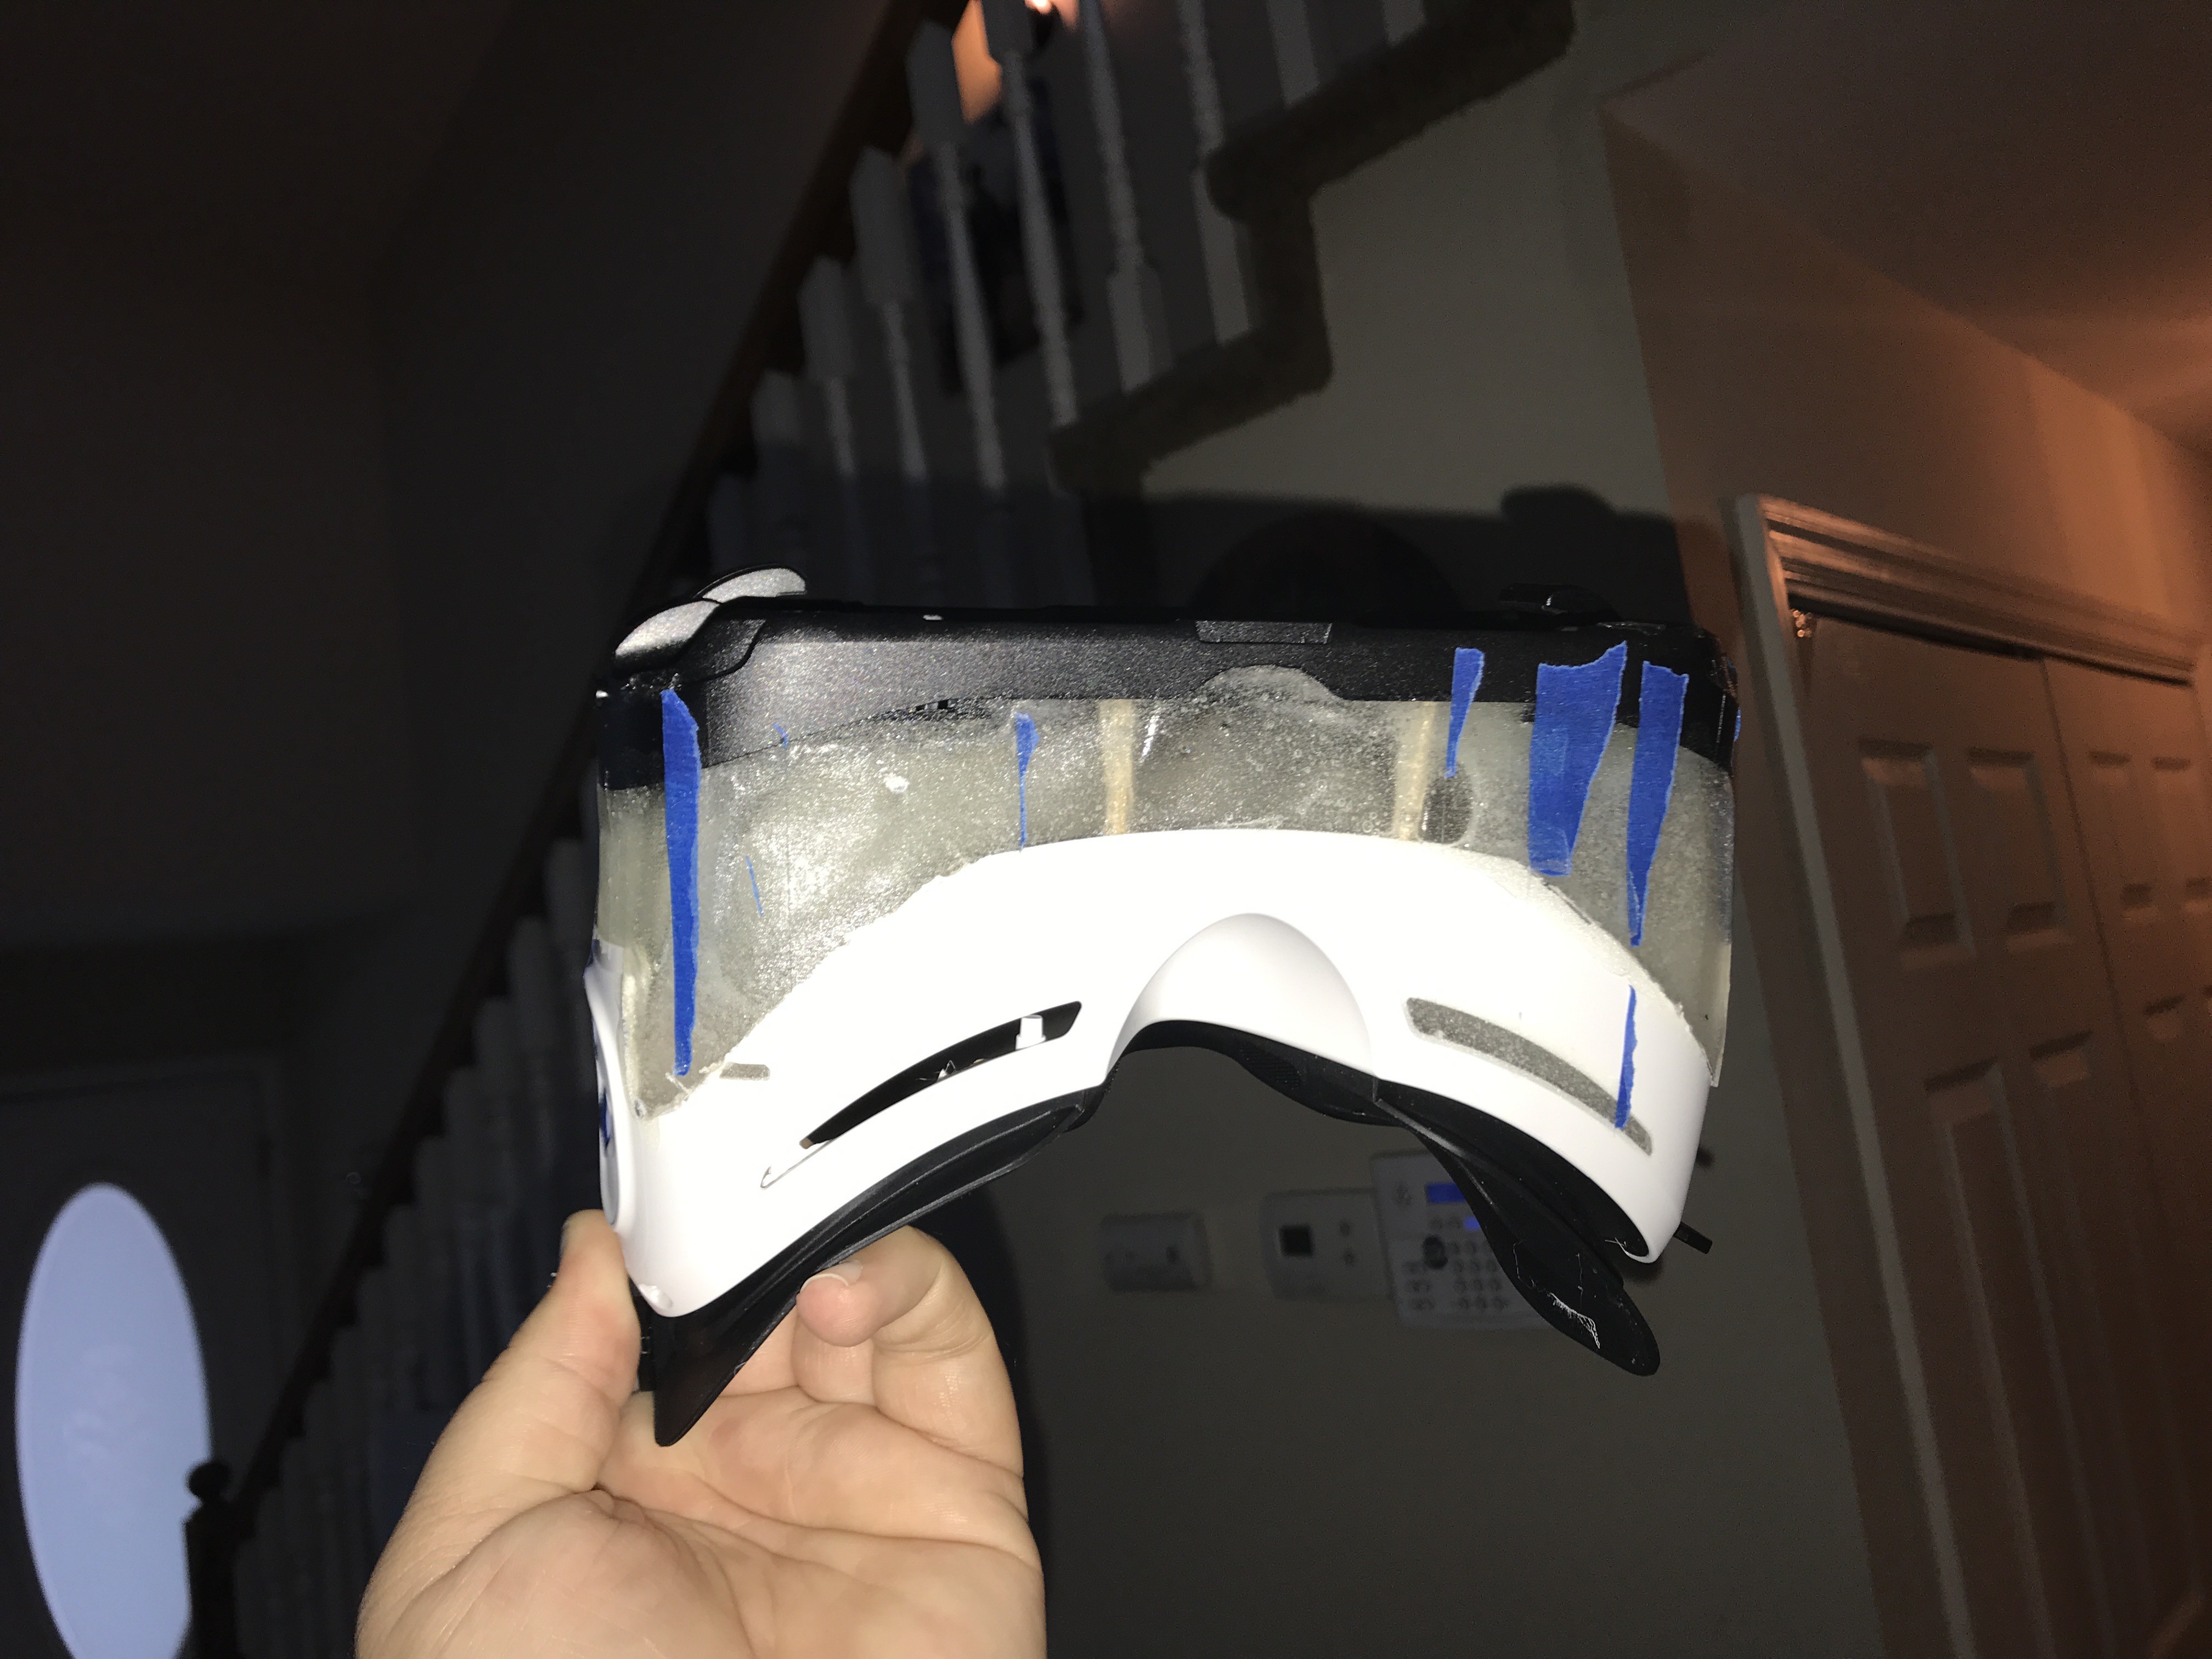
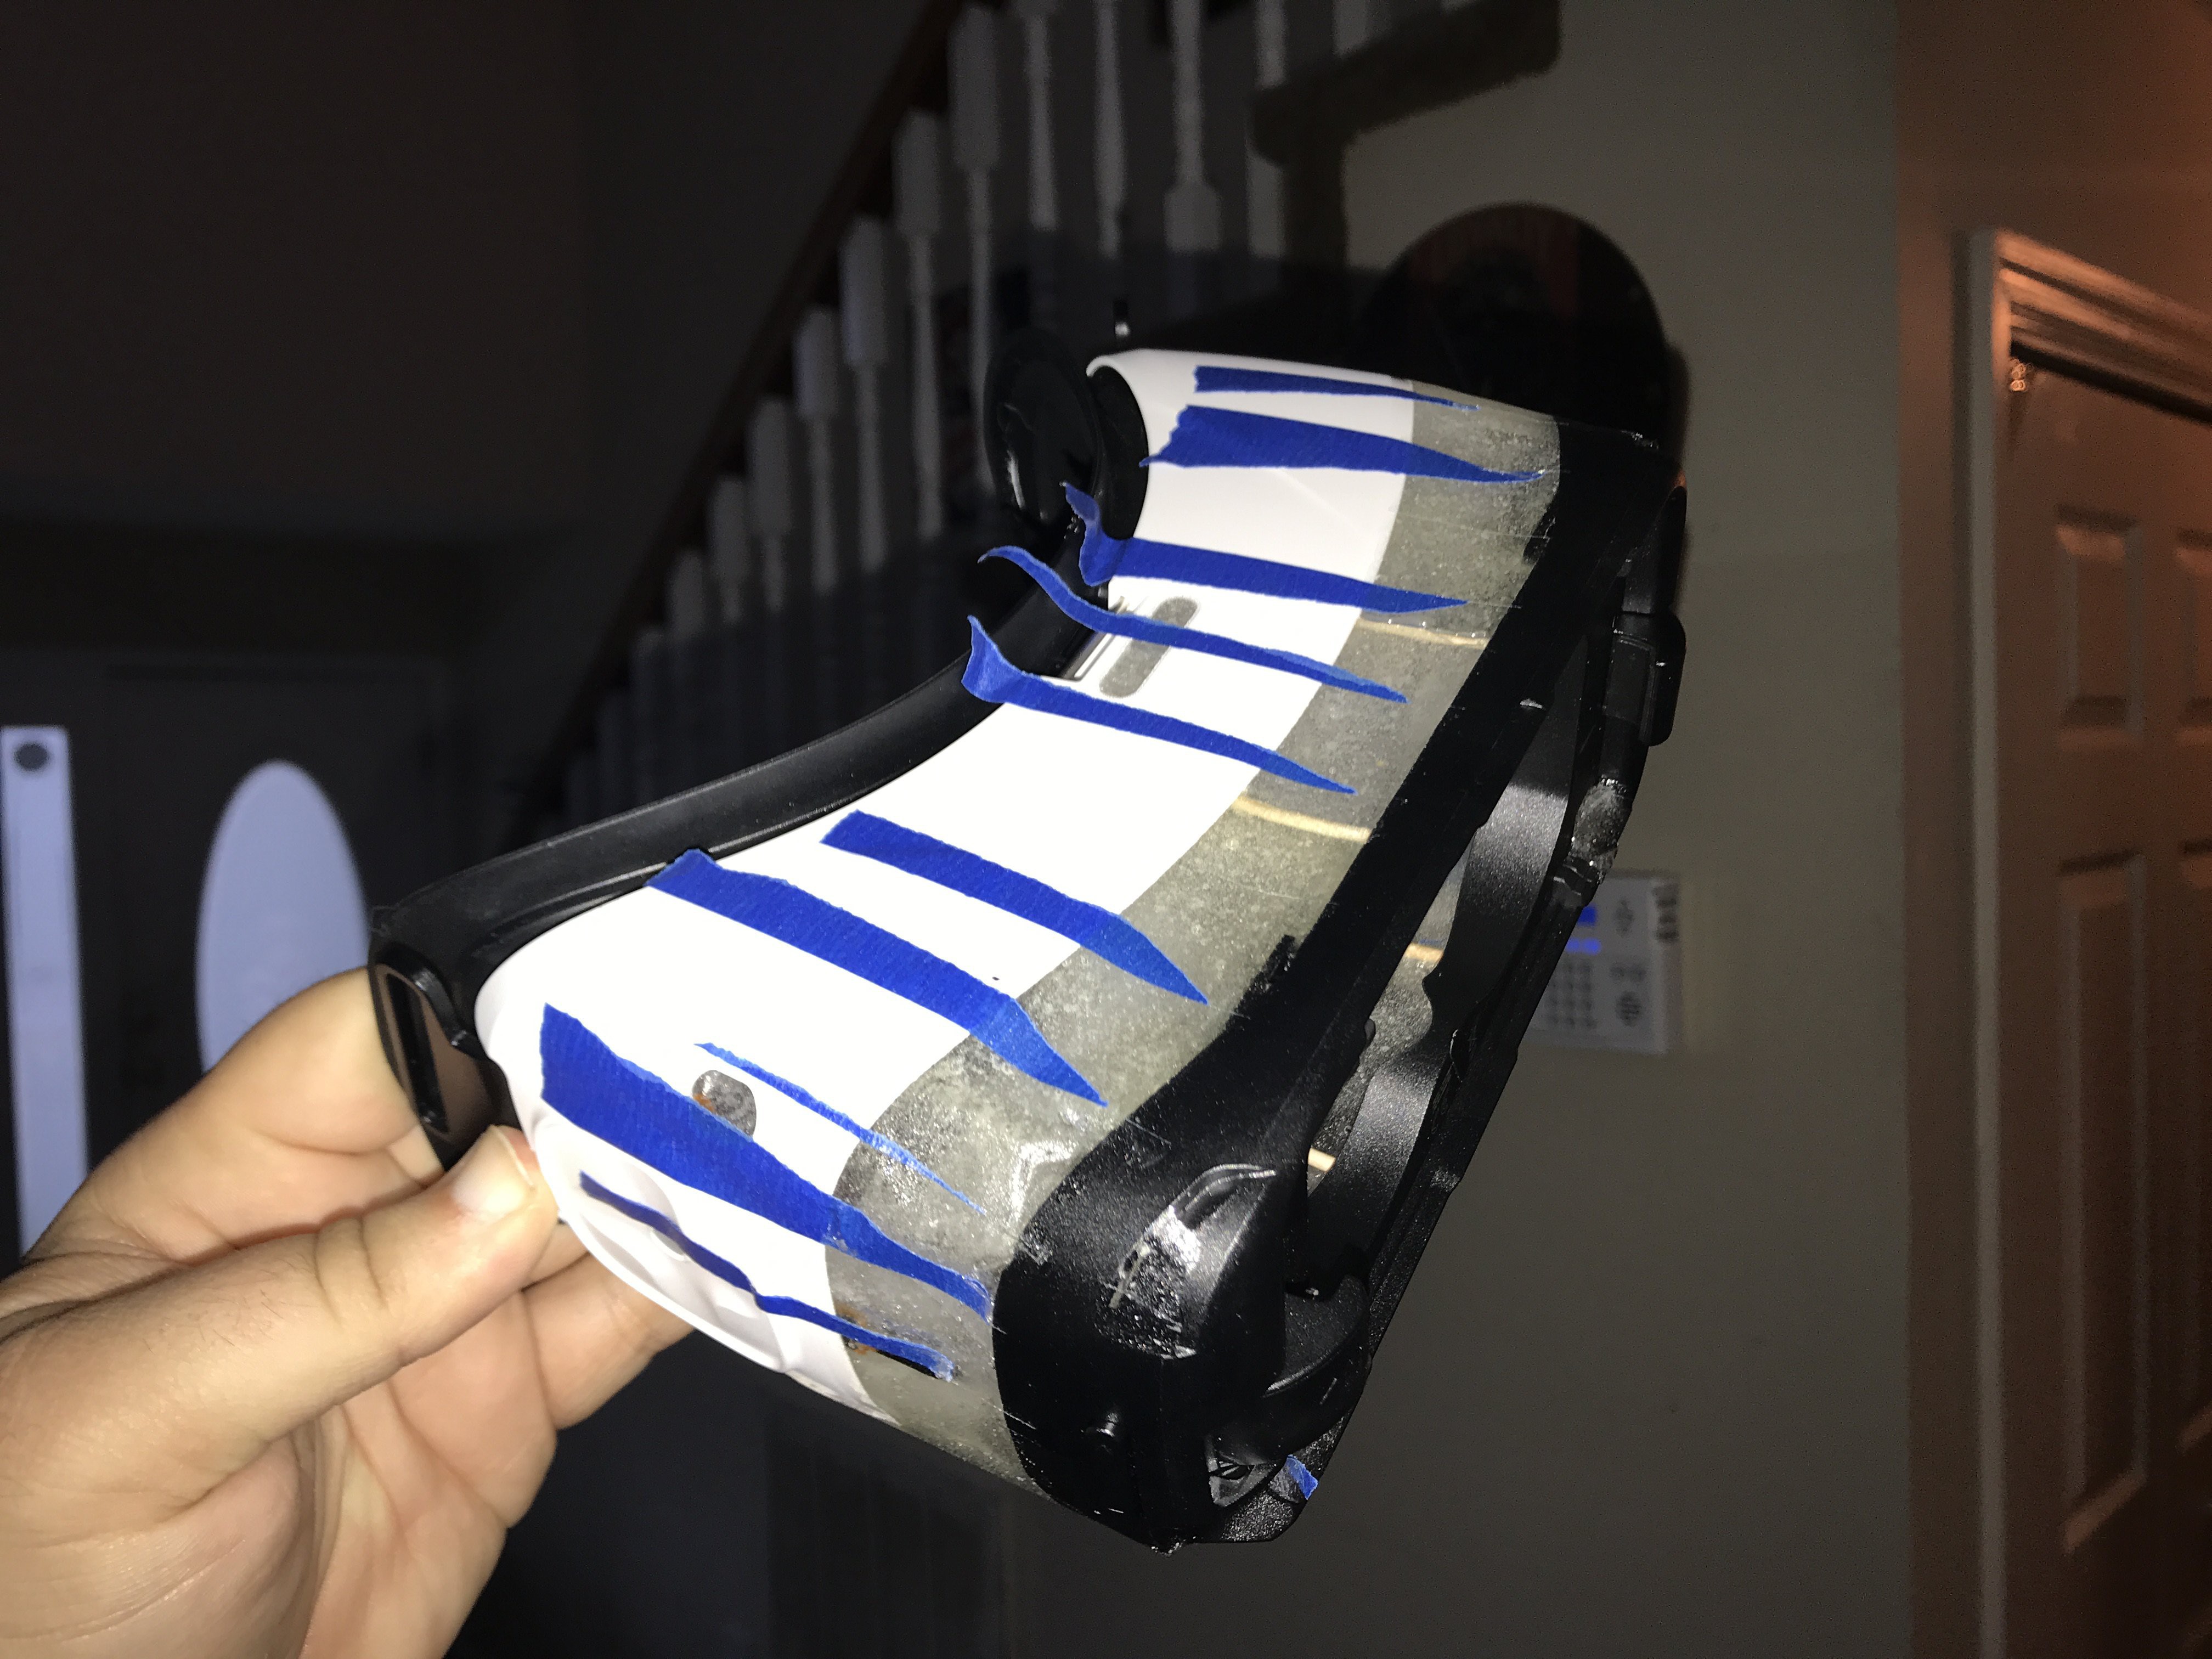
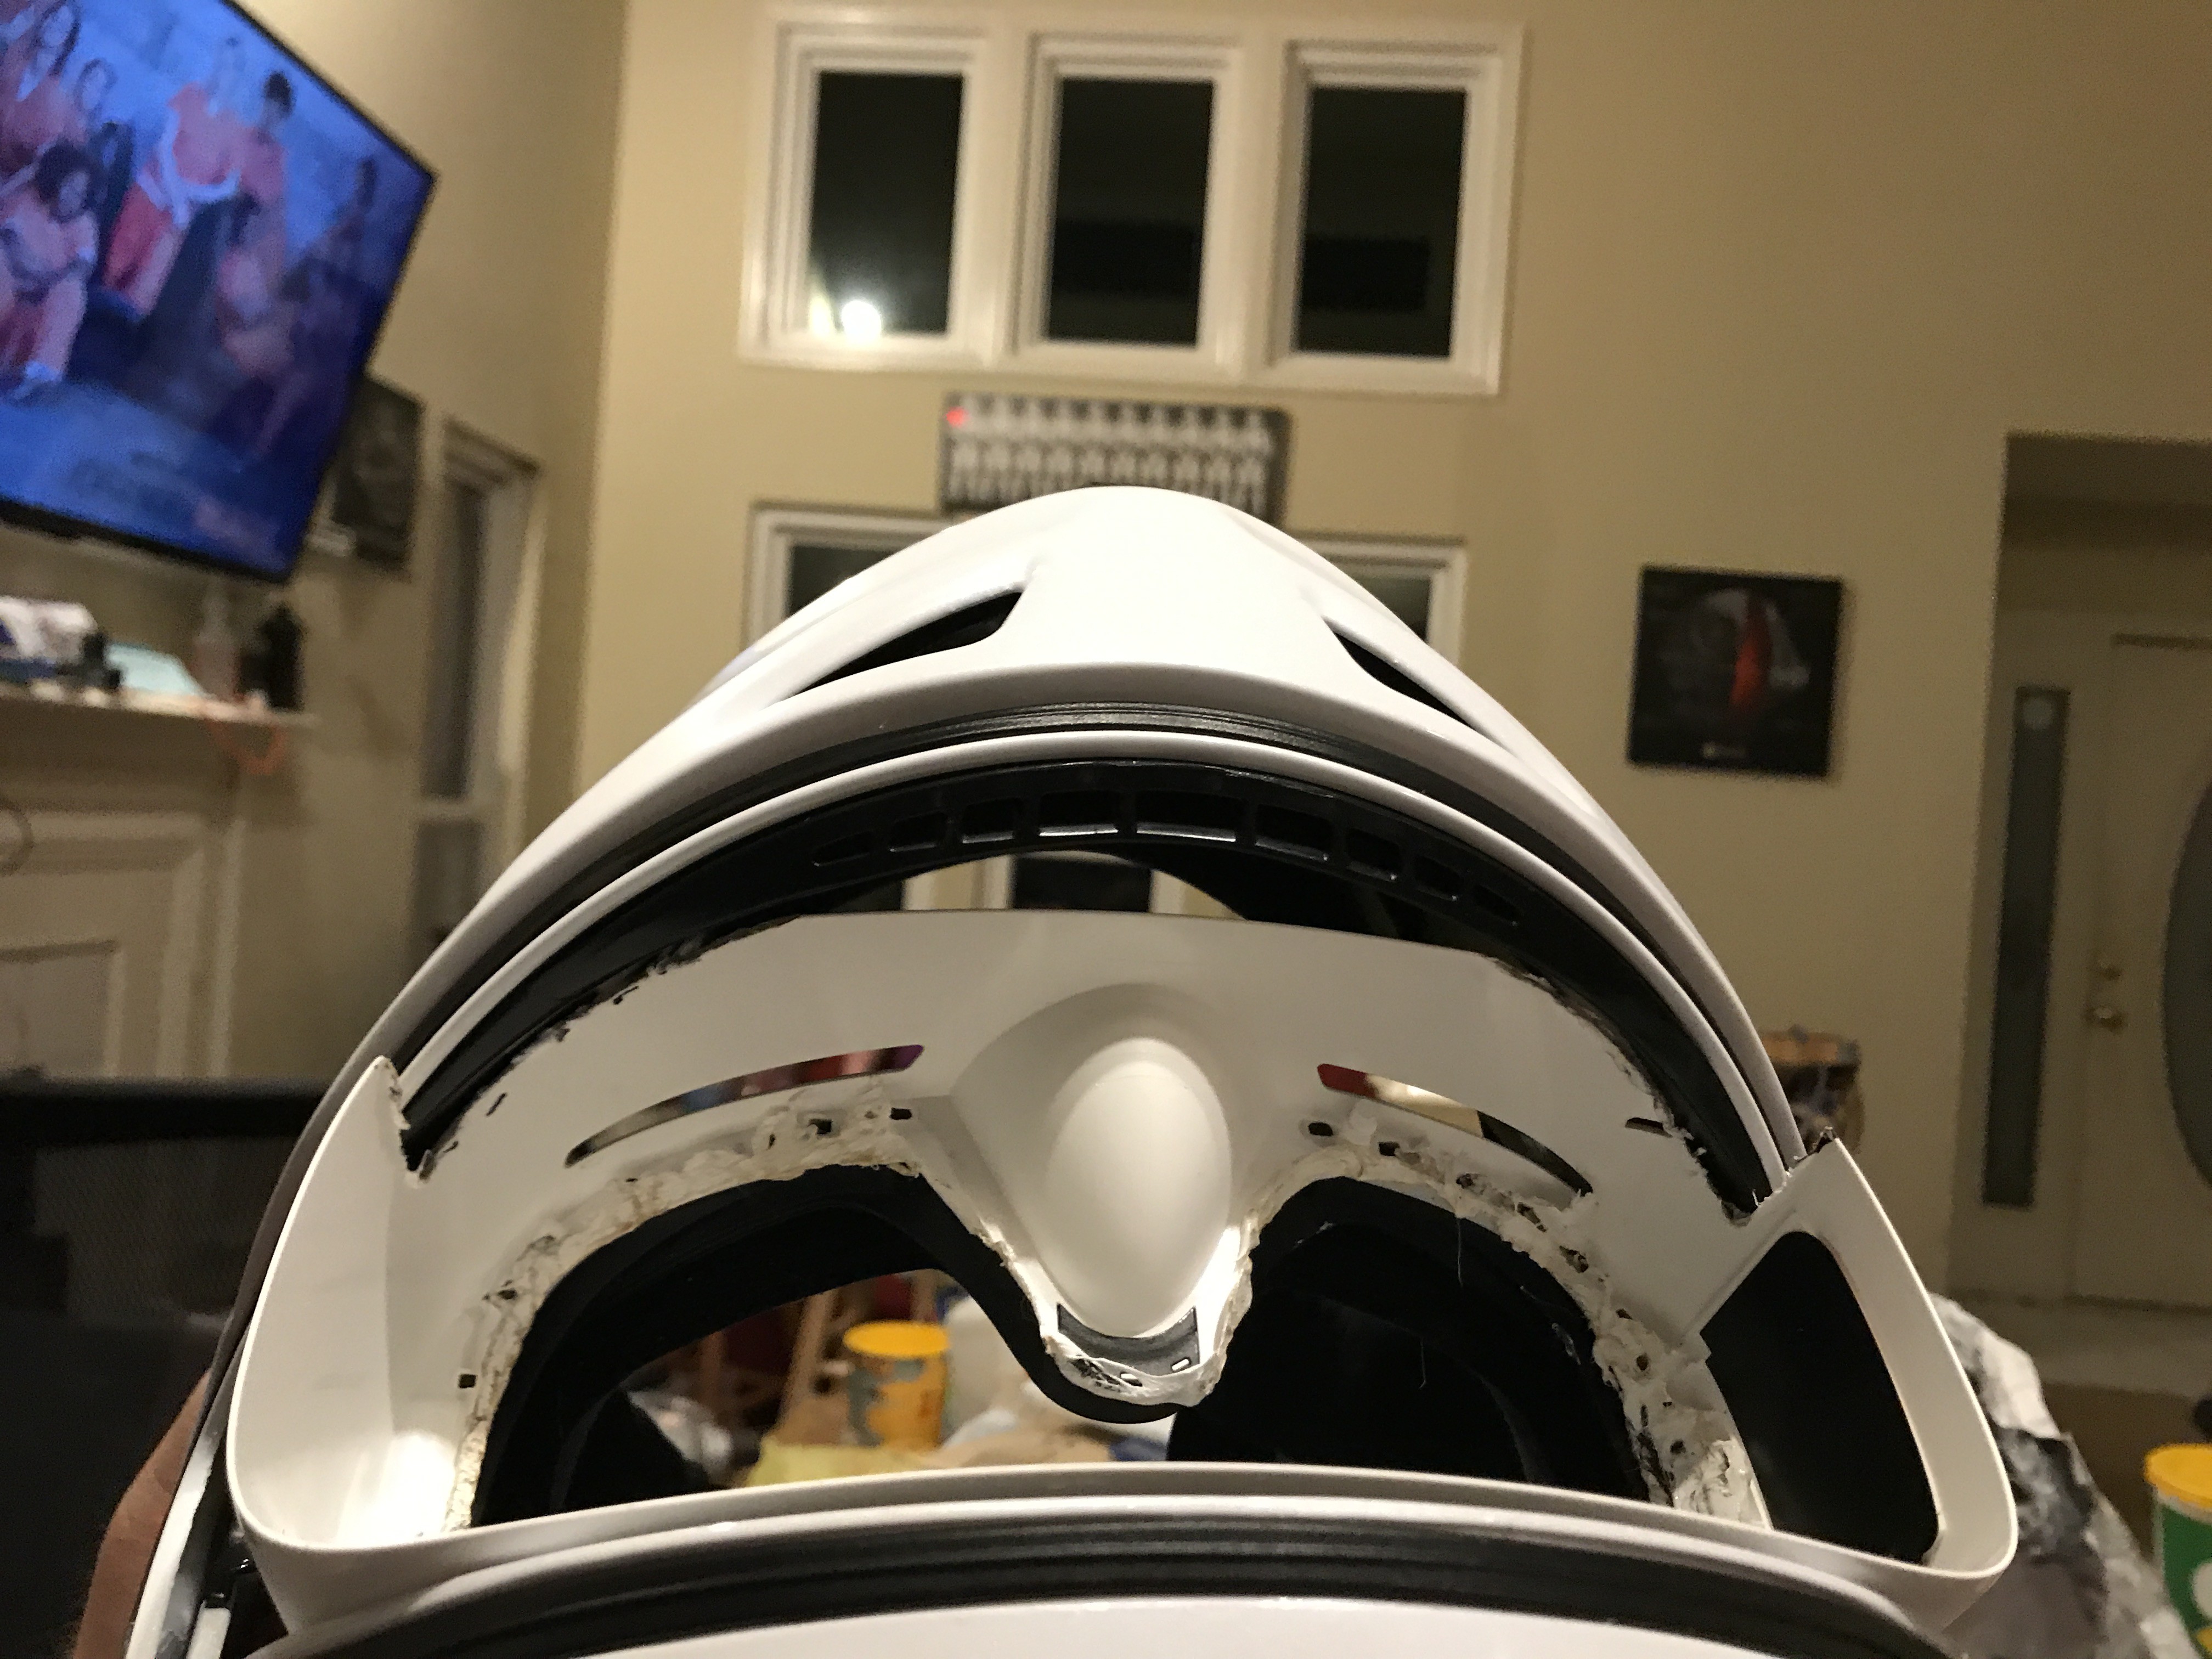
08/01/2018 at 12:48 • 0 commentsThe screens needed about 1/2 inch more room to try to fit the screen on top of the goggles. I did this by propping up the outside piece and taping it over with blue masking tape. On the inside I drizzled 5 min quick set epoxy in sections on the inside of the goggles overlapping edges of the existing pieces to make a whole. Once it has cured for 12 hours I pulled some tape off before heading out to work. It is normal for tape to sorta stick to the epoxy and usually it needs to either be scrubbed with water and dish soap or hit with a sander to remove the excess. In test fitting I do see as a whole there is a bit of a tunnel effect losing about 10 percent of the side view on each side. I look to widen the goggles side to side to fit three screens later and eliminate this. Widen the view will also provide room for a third screen which is the original intent of the project.
![]()
![]()
![]()
![]()
You can see this is going very well. The next step is to make some cuts measured so they are equal on each side. once there are cuts the ends will be turned out 45 degrees eliminating the forward blind spots and also widening it enough to fit the 3rd screen as originally planned.
-
Ver 1. Trimming to fit
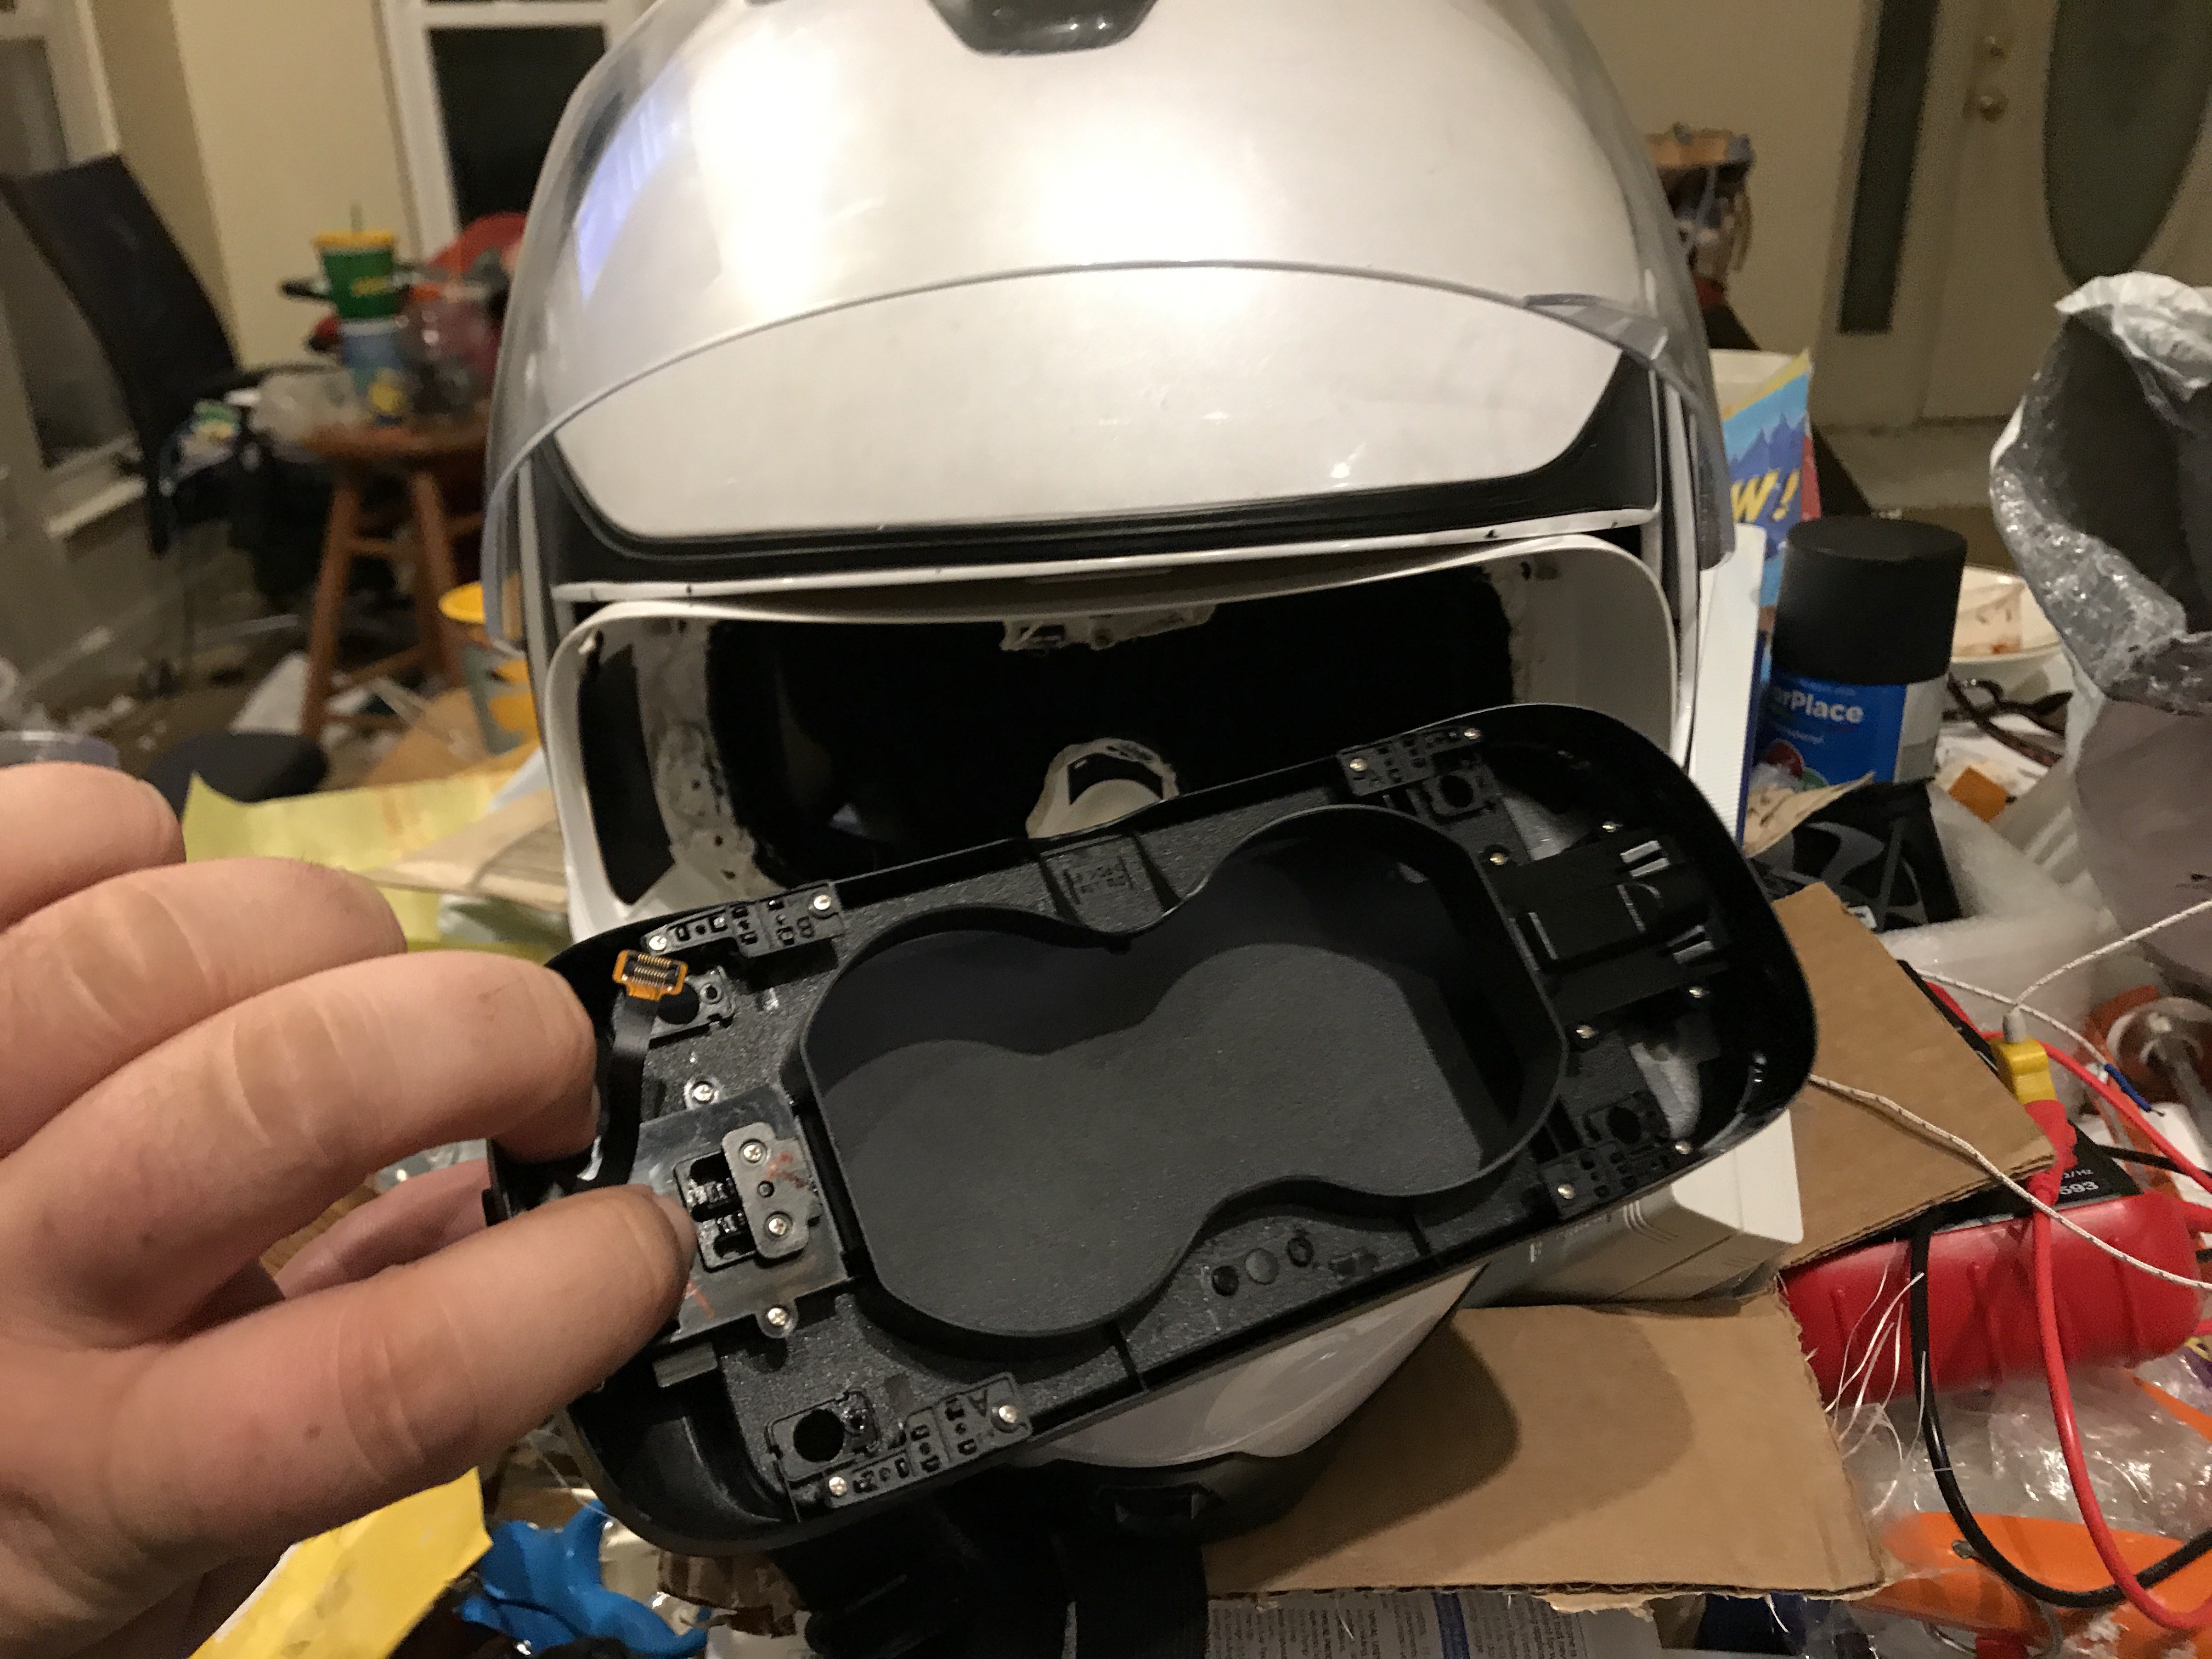
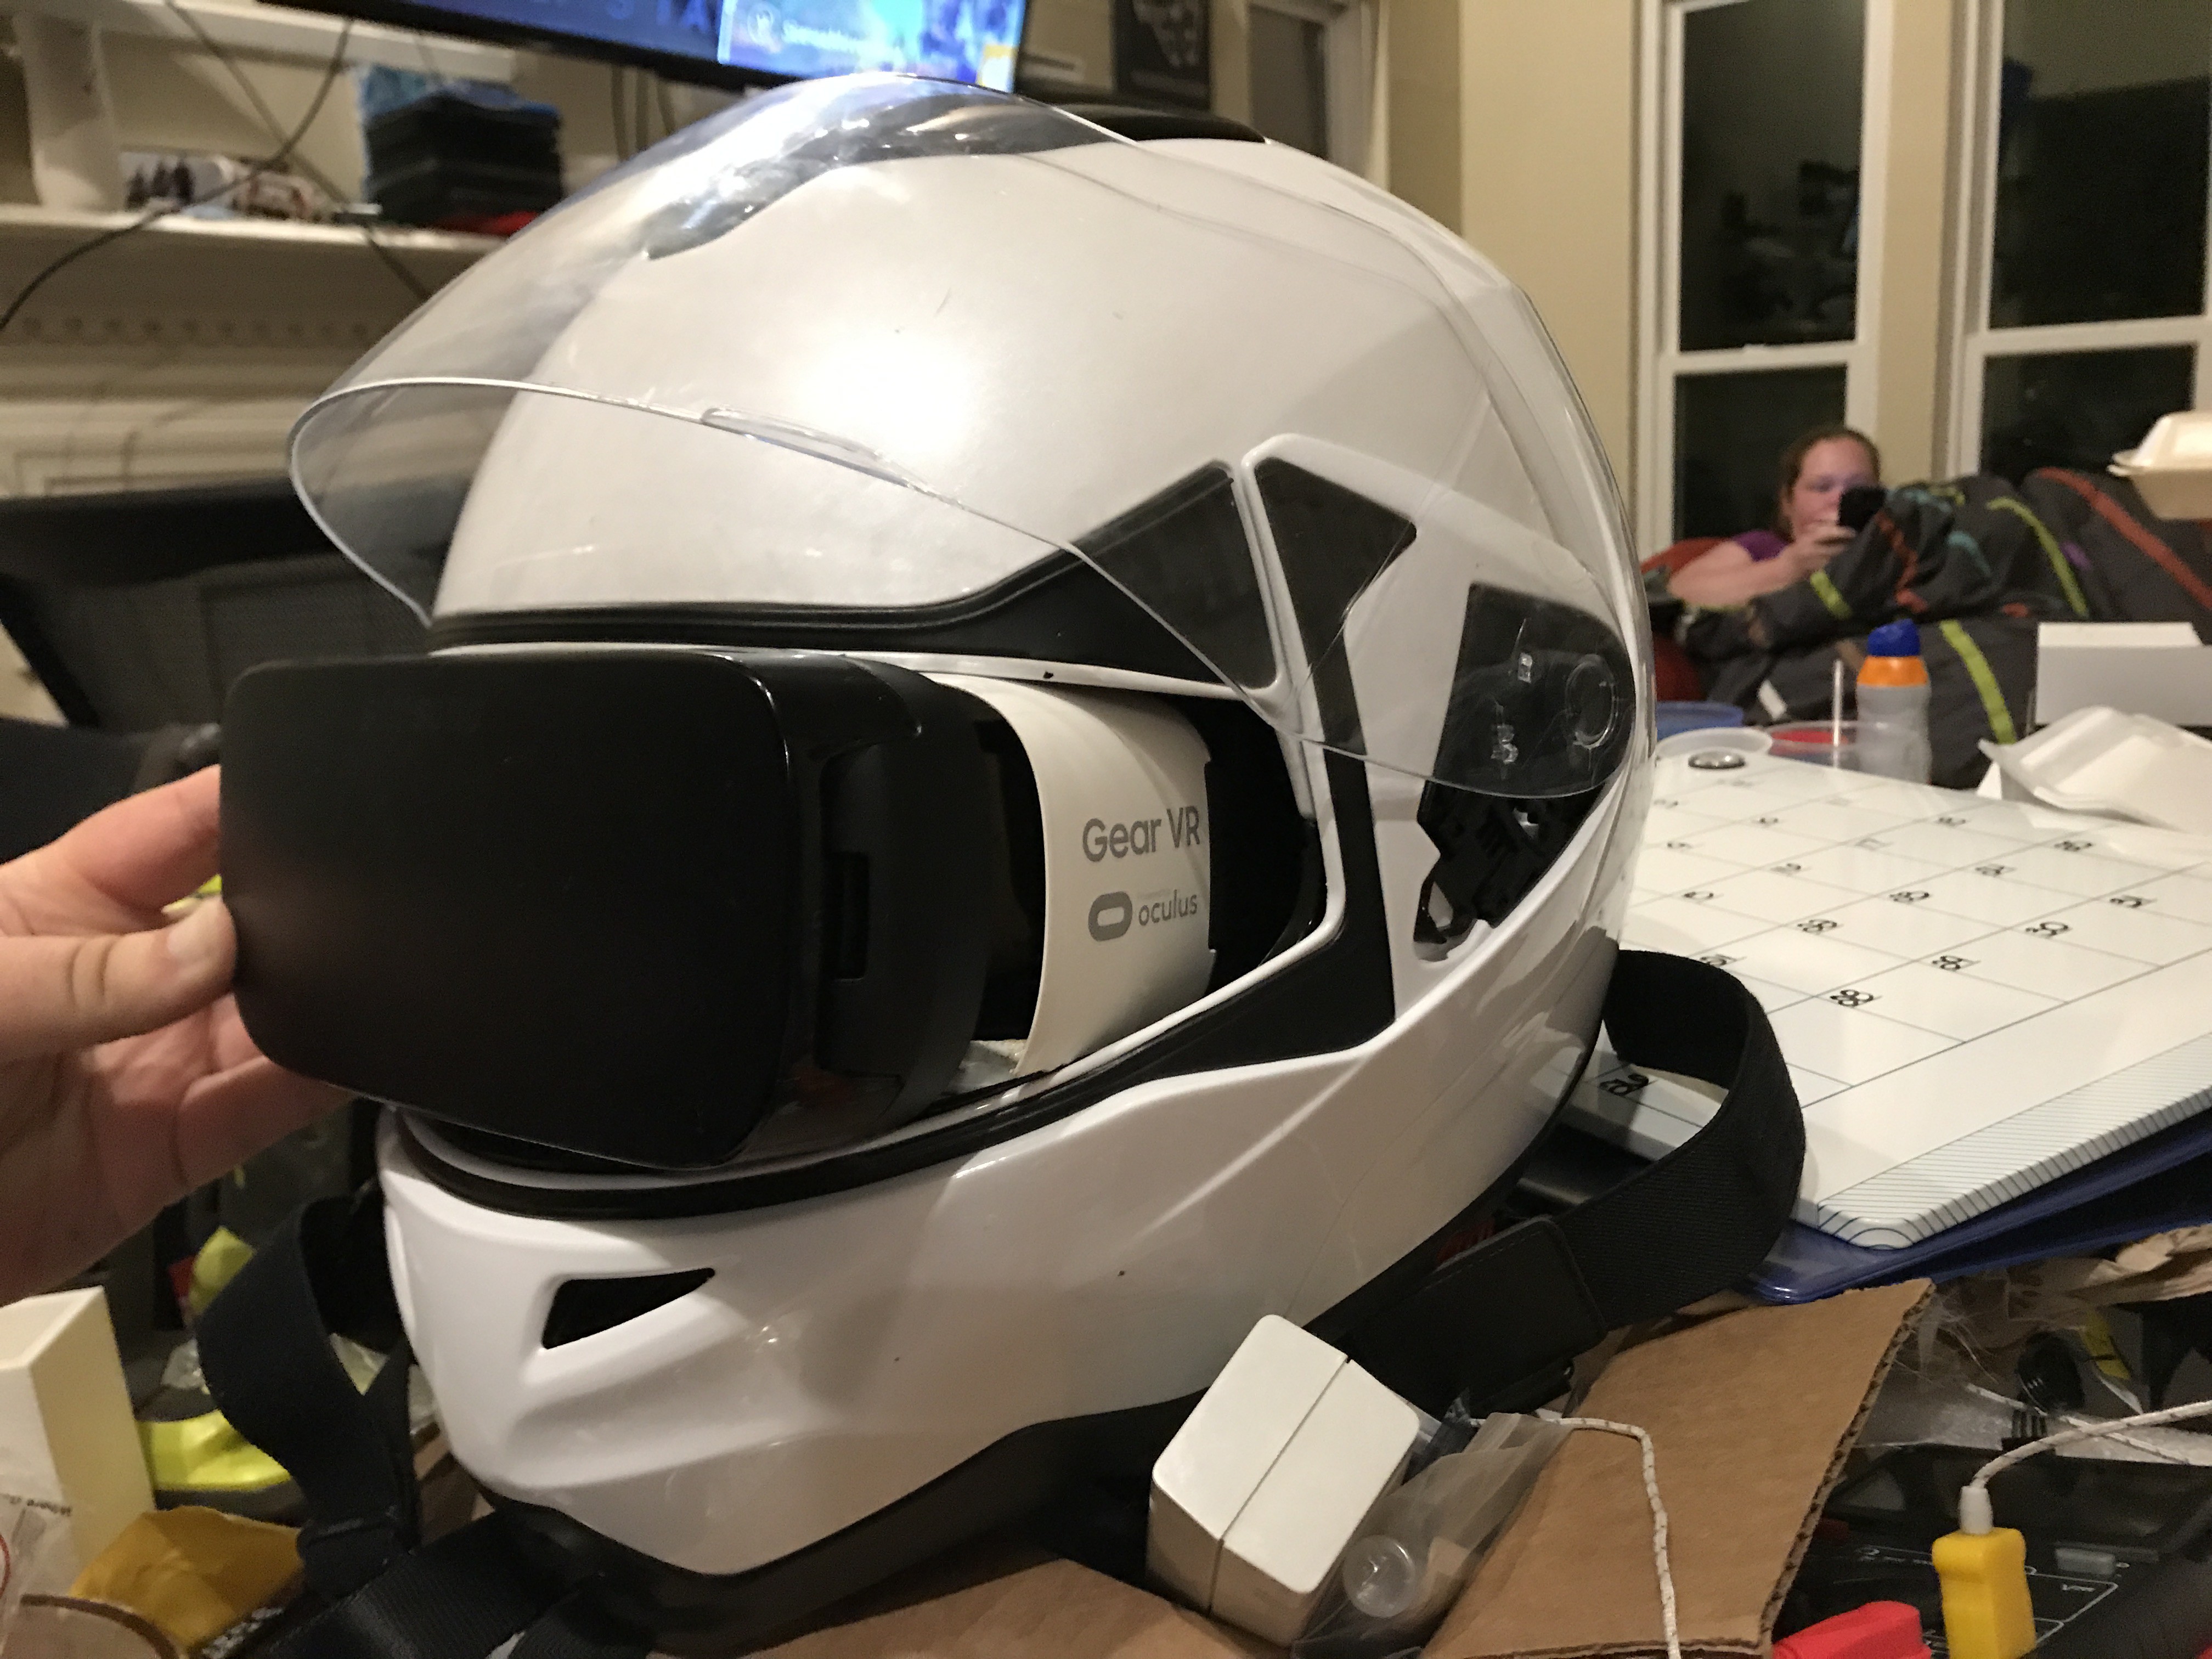
07/30/2018 at 05:05 • 0 commentsso one of the many challenges is to get the Gear VR goggle casing to fit into the helmet opening and still align on a humans face. Me being that human. I took the helmet completely apart to see what I could ditch. I removed the drop down tinted visor as that will no longer be needed. It took several adjustments, but after careful trimming the Gear VR case will fit into this area. Next I need to extend the body at least an inch to accommodate a outside cover , the hud parts and the screen parts as well.
![]()
![]()
![]()
![]()
![]()
![]()
![]()
-
Ver 1 , hacking up a old Gear VR for the case
07/30/2018 at 04:58 • 0 comments![]()
![]()
![]()
![]()
![]()
![]()
![]()
-
Hacking open the Gear VR headset
07/27/2018 at 03:16 • 0 comments![]()
![]()
![]()
![]()
![]()
![]()
![]()
![]()
![]()
-
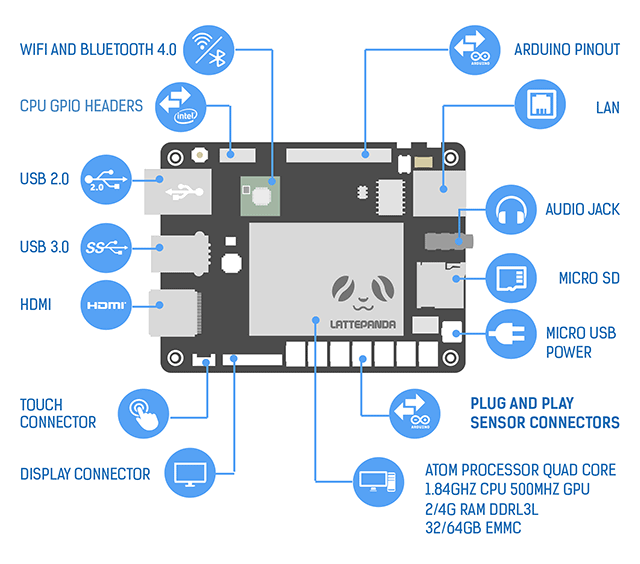
Latte Panda brain of the project.
07/24/2018 at 19:58 • 0 commentsThe raspberry PI I imagine I will dedicate to video recording but the latte panda is x86 so I can run the EZ-Builder software and have the availability of some awesome free tools as well. LIke voice recognition , video processing and other fun stuff. right now I am looking for options that allow me to display 3 monitors, otherwise I will dedicate a pi to each of the side screens for the 360 Live view.
![]()
- Processor: Intel Cherry Trail Z8350 Quad Core 1.8GHz
- Operation System: Pre-installed full edition of Windows 10
- Ram: 2GB DDR3L
- Storage Capability: 32GB
- GPU: Intel HD Graphics, 12 EUs @200-500 Mhz, single-channel memory
- One USB3.0 port and two USB 2.0 ports
- WiFi and Bluetooth 4.0
- Built-in Arduino Co-processor: ATmega32u4
- Video output: HDMI and MIPI-DSI
- Onboard touch panel overlay connector
- Supports 100Mbps Ethernet
- GPIO:
- 6 GPIOs from Cherry Trail processor
- 20 GPIOs from Arduino Leonardo
- 6 Plug and play Gravity sensor connectors
- Power: 5v/2A
- Dimension of board: 88 * 70 mm/ 3.46 * 2.76 inches
- Packing Size: 110 * 94 * 30 mm/4.33 * 3.70 * 1.18 inches
- N.W.: 55g
- G.W.: 100g
-
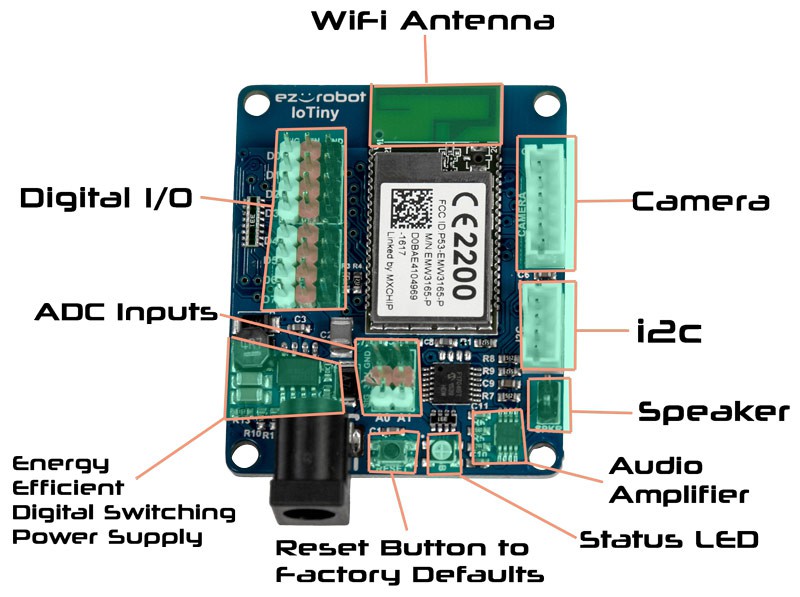
Ez Robot software and board
07/24/2018 at 19:53 • 0 commentsIOTINY board from EZ-Robot, wireless or through USB this little guy can connect to a PC so that I can read data from the motorcycle like turn signals, brakes, speed ect and display inside the helmet. The iotiny can also use a on board cam to collect data too.
![]()
-
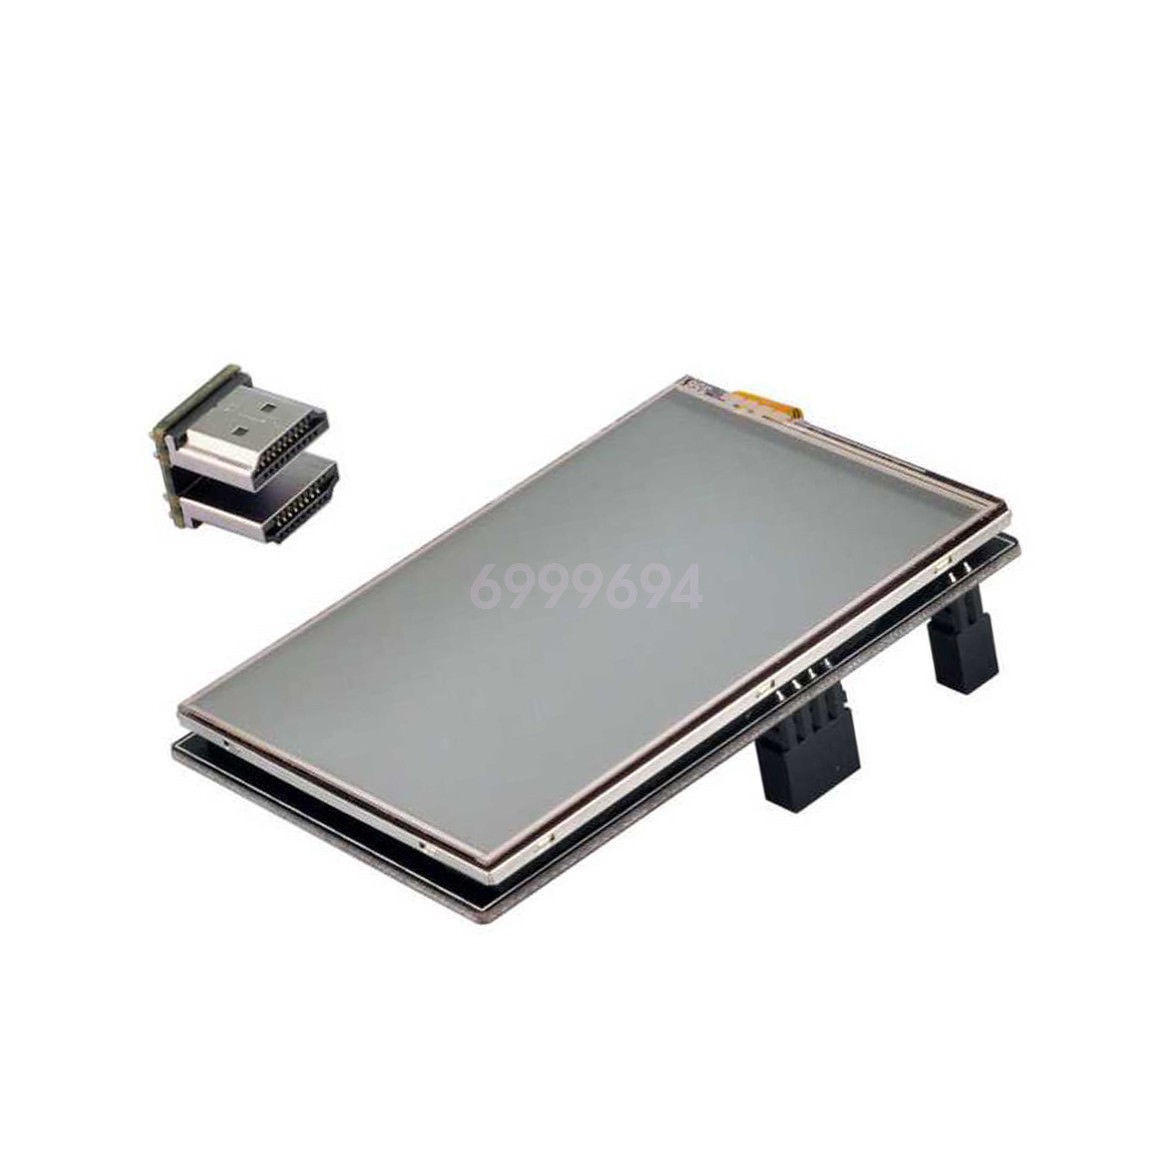
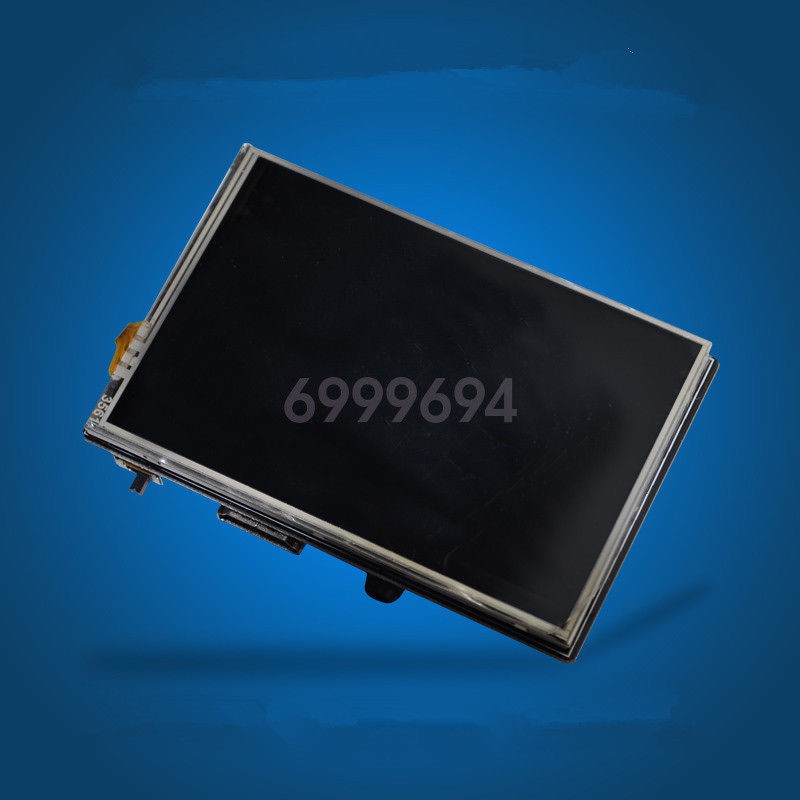
800 x 480 267ppi IPS Display on the way !
07/24/2018 at 16:51 • 0 commentsAfter a great deal of sifting through LCD options, I have decided on a compromise between size , cost and pixels per inch, aka high resolution! I was going to do a single 7 inch , but I prefer a wrap around approach where I can have side screens dedicated to the 120 degree blind spot cameras. Three were ordered, so I can potentially have one centered and one on each side. High resolution and refresh rate are very important when your eyes are only 2-4 inches at focal length from the screen.
![]()
![]()
-
Influences and research examples
07/21/2018 at 21:45 • 0 comments
Cyborg 360 Flir AR HUD Motorcycle Helmet
Worlds Largest 7" Diagnal personal AR display in a motorcycle helmet, see 360 degree view, smart interface. Flir, IR and Ultrasonic
 Josh Starnes