-
1Donor Helmet
![]()
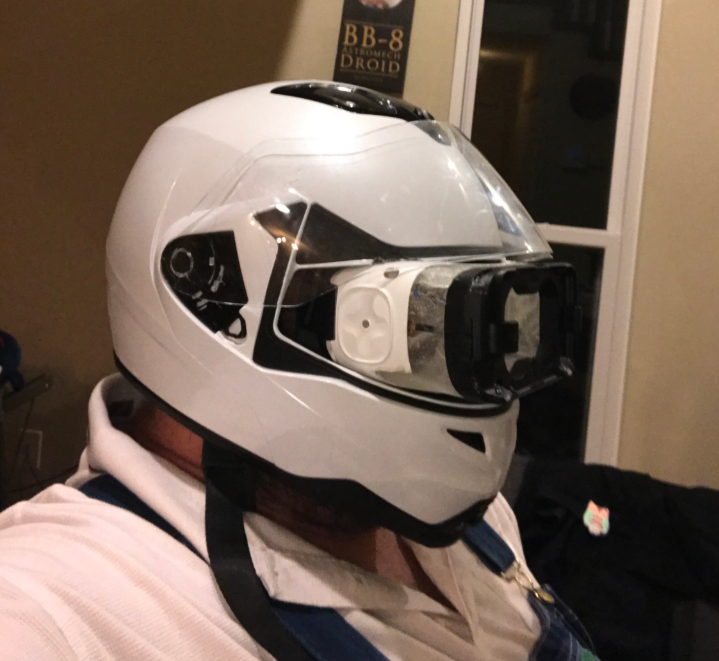
remove the padding and foam shell, do so carefully so they can be put back later. They are usually hot glued in or velcro. Remove the windshield visor as well. This was a samsung vr headset modified for AR use, but I wanted to have better peripheral vision, so I gutted a AR lenovo headset which the frame already had open sides accomplishing this goal.
-
2Donor AR Optics
Open up the donor AR helmet, IN my case I used a Lenovo Mirage from the star wars game to rob the optics. I removed all teh electronics to leave and empty frame with the mirror and lenses.
![]()
-
3Measure the opening you have for your donor optics
In my case I have about 7.25 inch opening diagnal.
-
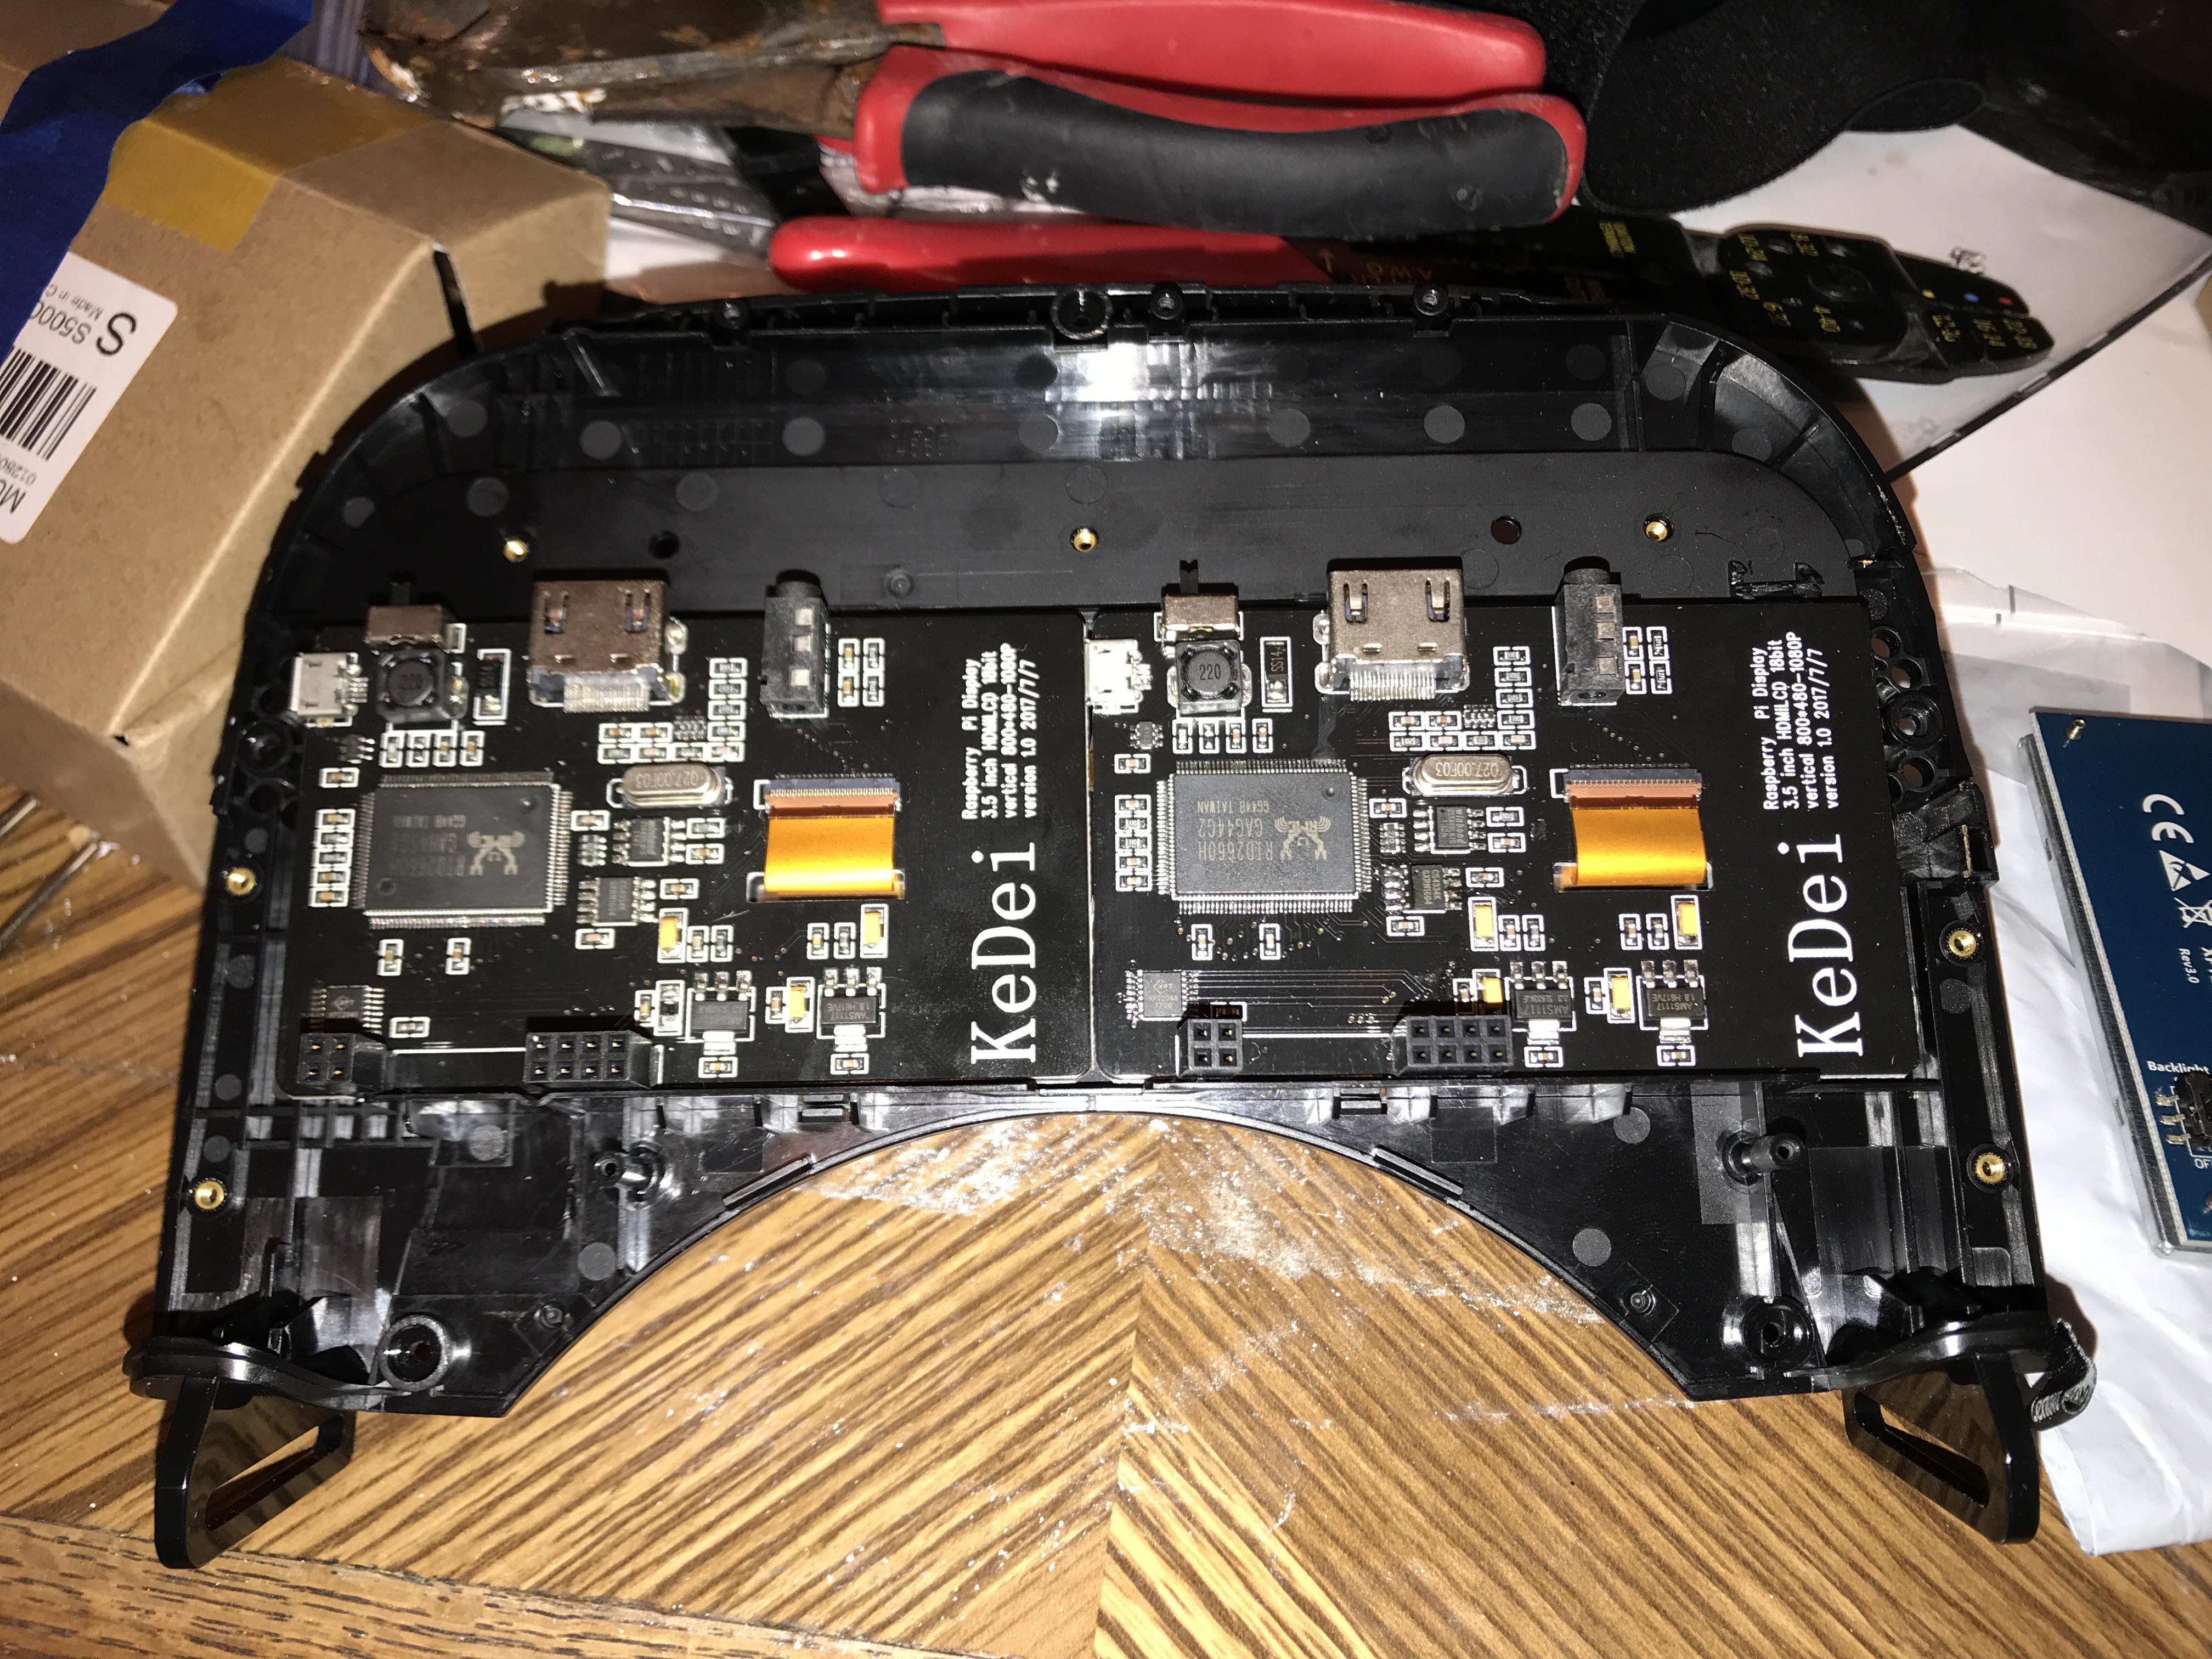
4Order two screens to cover the open area or one large screen
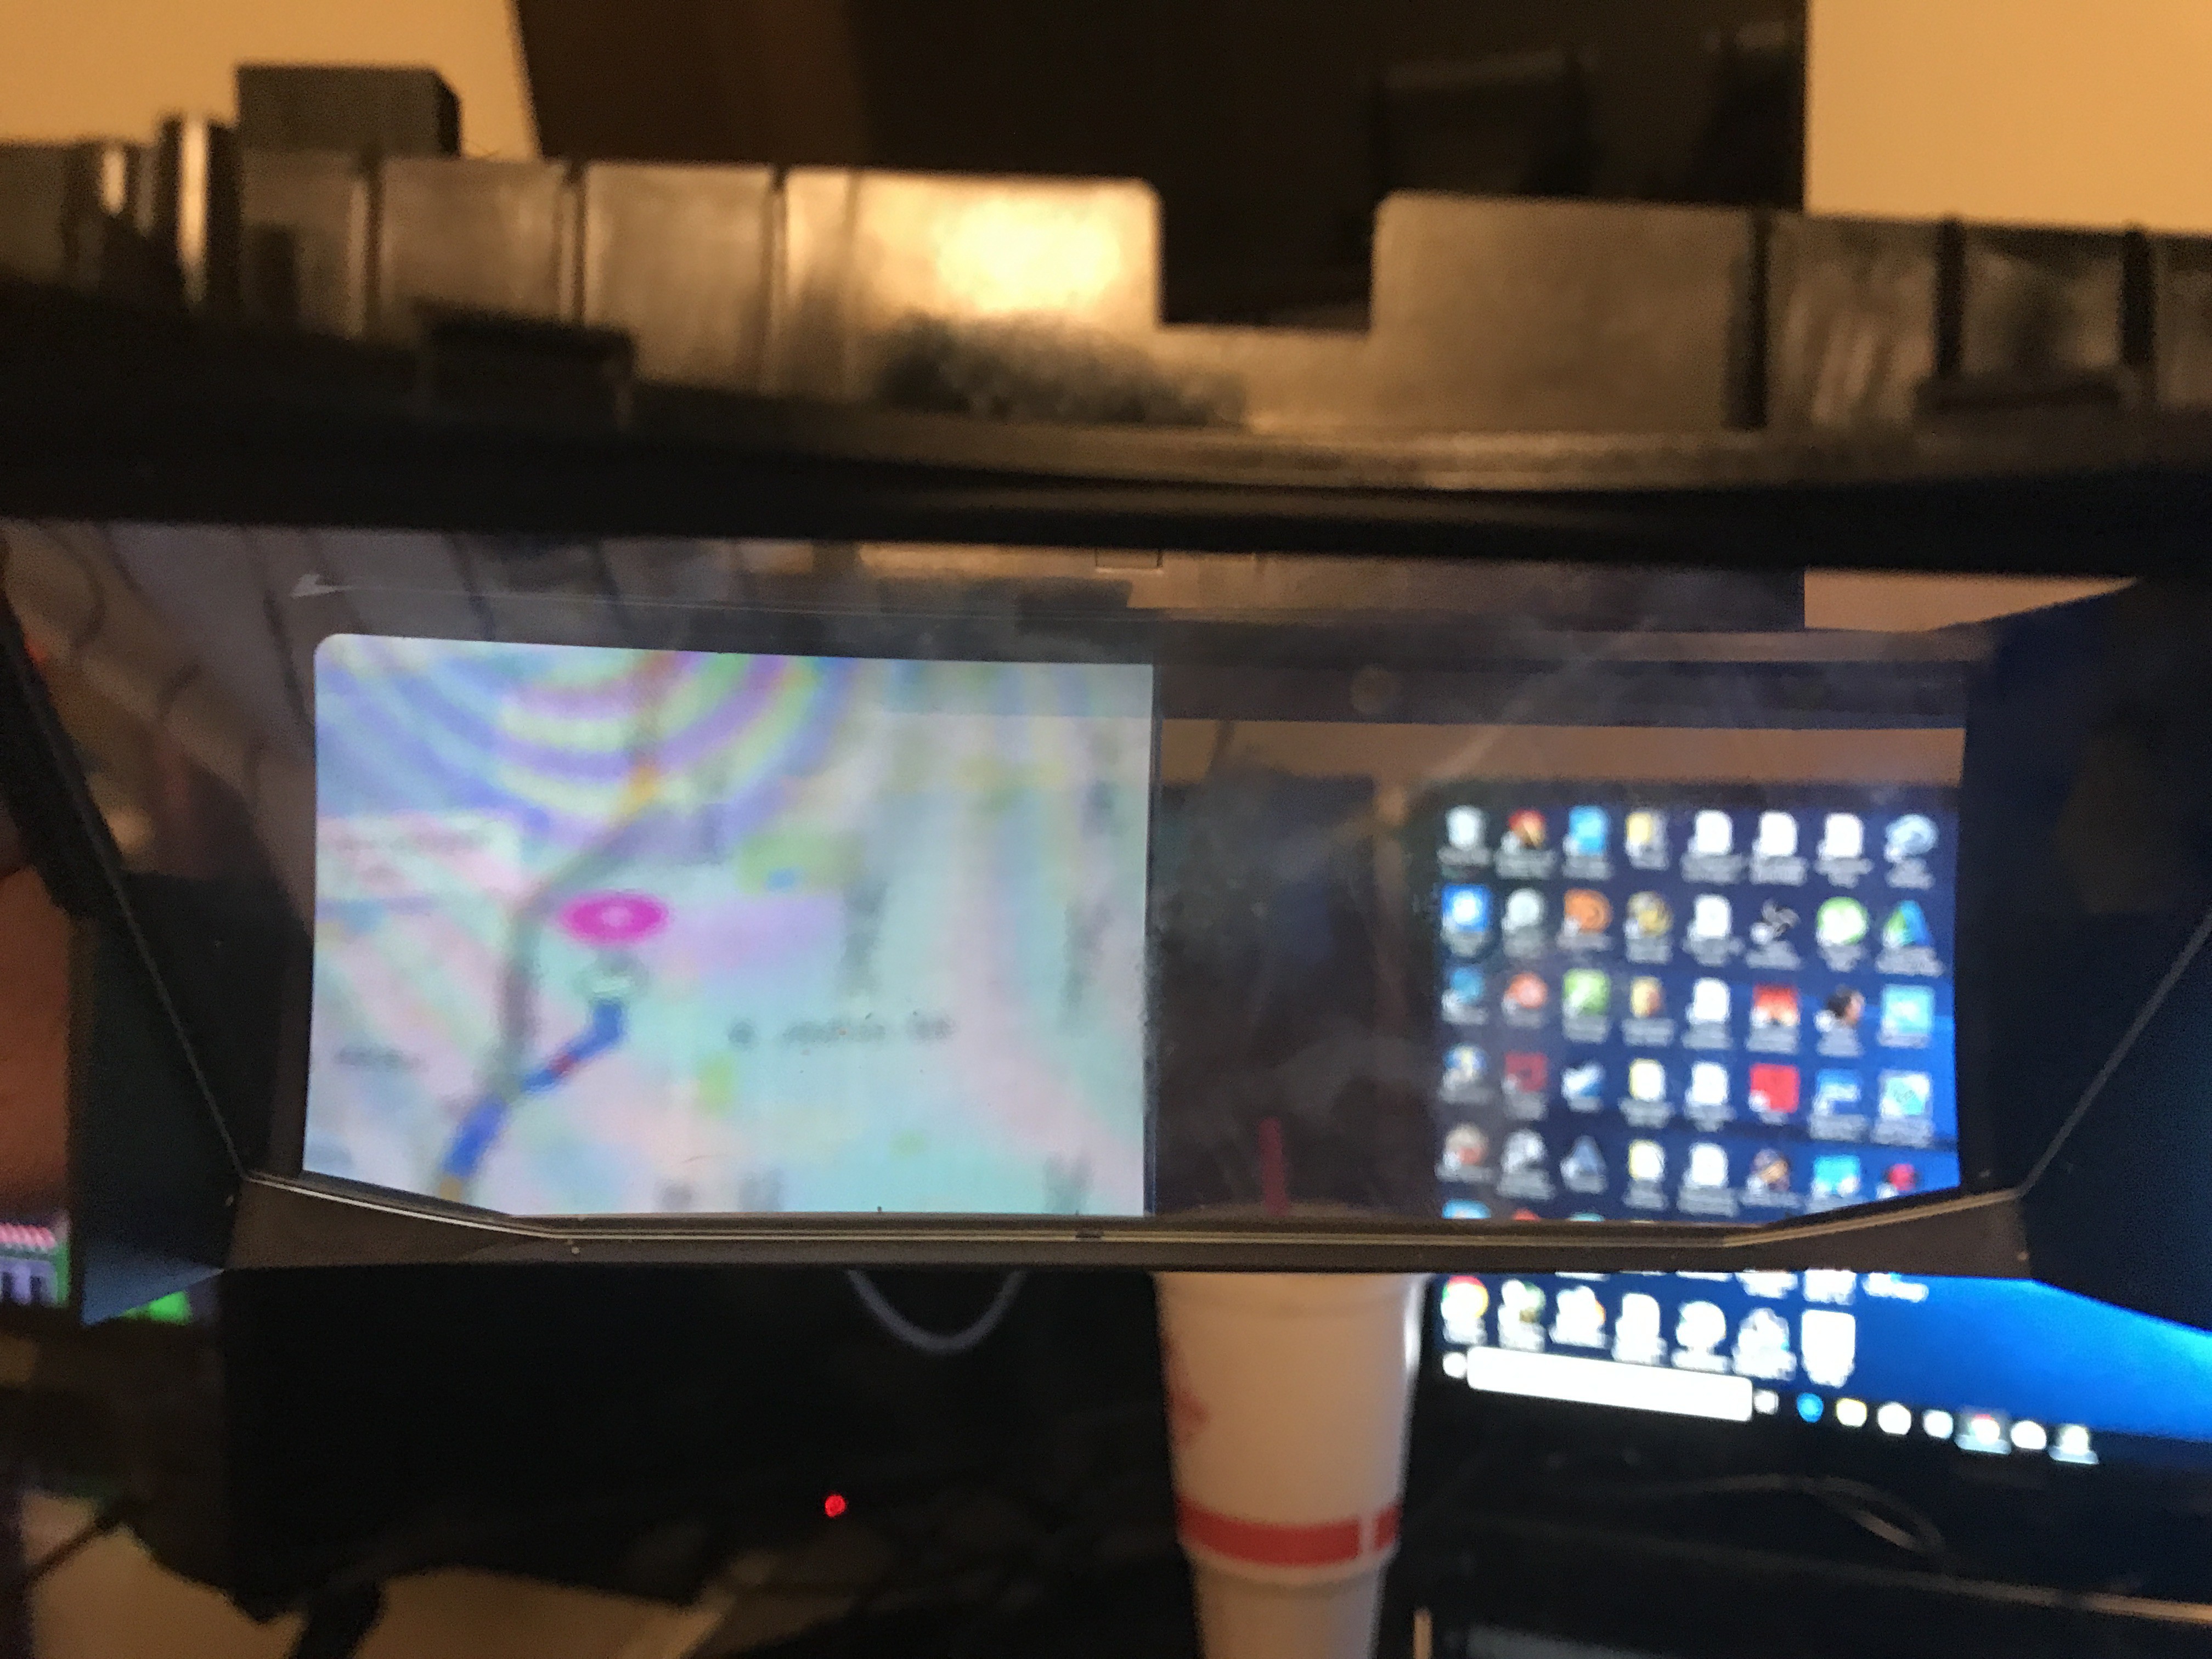
I dry fitted a couple screen sizes, when I realized that the optics are so close to you face that it is a stereoscopic layout, I opted for 2 smaller 3.5 inch screens, 2.8 would work too , but go big or go home! Test fitting and testing map view in full screen is a winner. I will likely change the background to black and window payne also to a dark black color so that only the information will be displayed for the route, it is completely customization by setting window sizes and position on the desktop view.
![]()
-
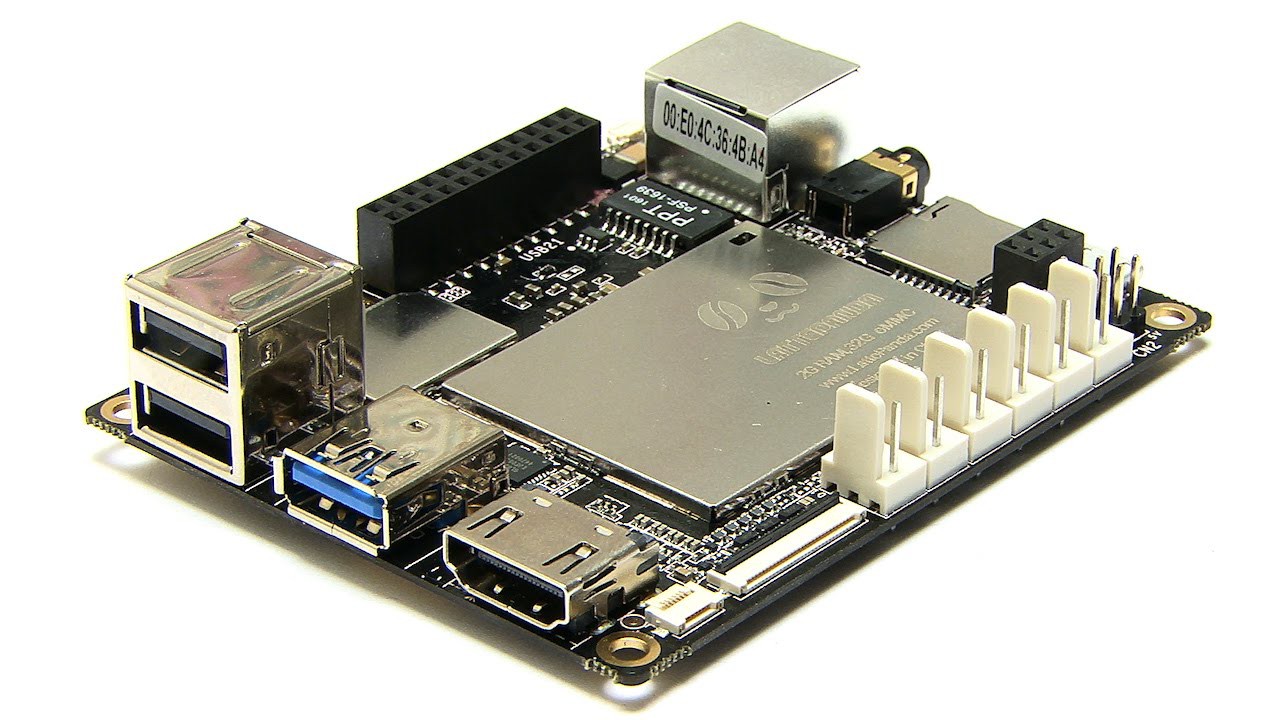
5The Brain, Panda Latte or Raspberry PI and Ez-Robot
![]()
Latta Panda generates the image in stereoscopic view , I am using a USB to HDMI adapter from the USB 3.0. The other networked cameras behind the helmet are positioned in webcam view windows to see at the top of the visors screen.
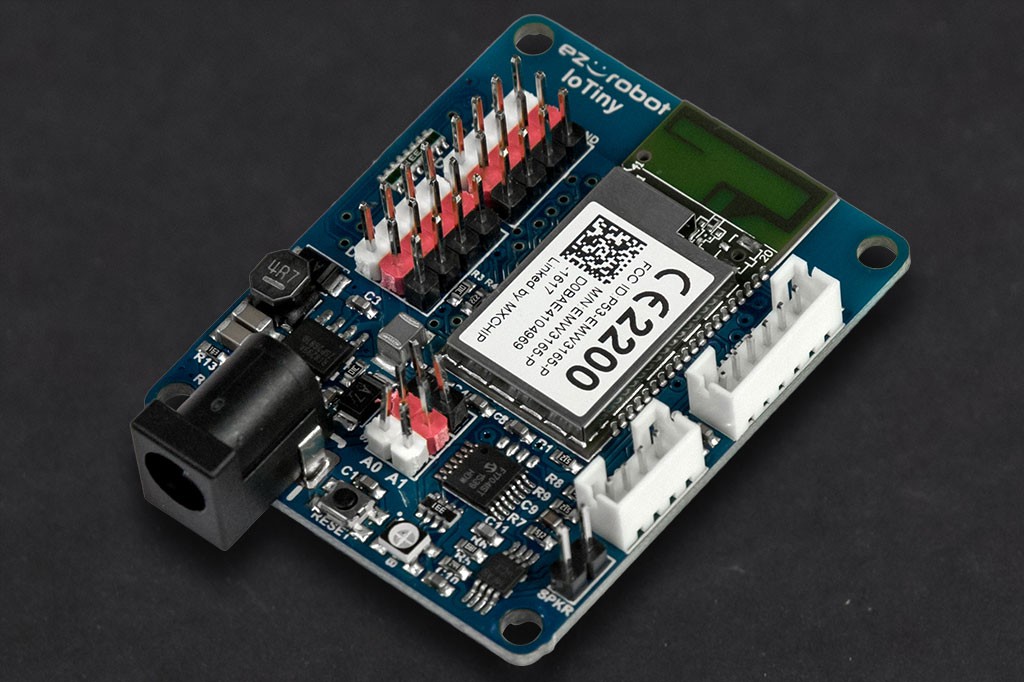
I had plans for the EZ-Robot board to control the lighting, remote blinkers, and read the ultrasonic sensors as well on the helmet.
![]()
-
6Power source 5v , high amp USB cable
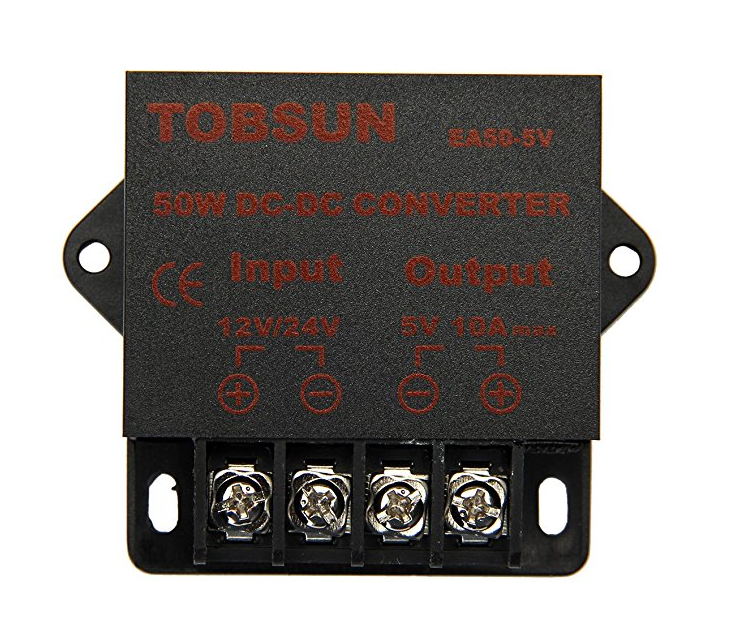
IN my case I am using a 12v to 5 volt 10 amp max power supply I purchased on amazon, it is about the size or a standard 12 volt relay so the size is ideal for discreet mounting later. I do intend to have a USB cable run from my motorcycle to the helmet as a power tether that is easy to replace.
![]()
-
7Cameras, Pi Zero x 3 w 64 GB SD cards
-
8Measure and trim the facial opening of helmet to fit optics
The optics of your donor headset are likely a tiny bit wider than the edges of your helmet. Carefully trim, fit and trim agian until the fitment is good.
-
9Mount cameras
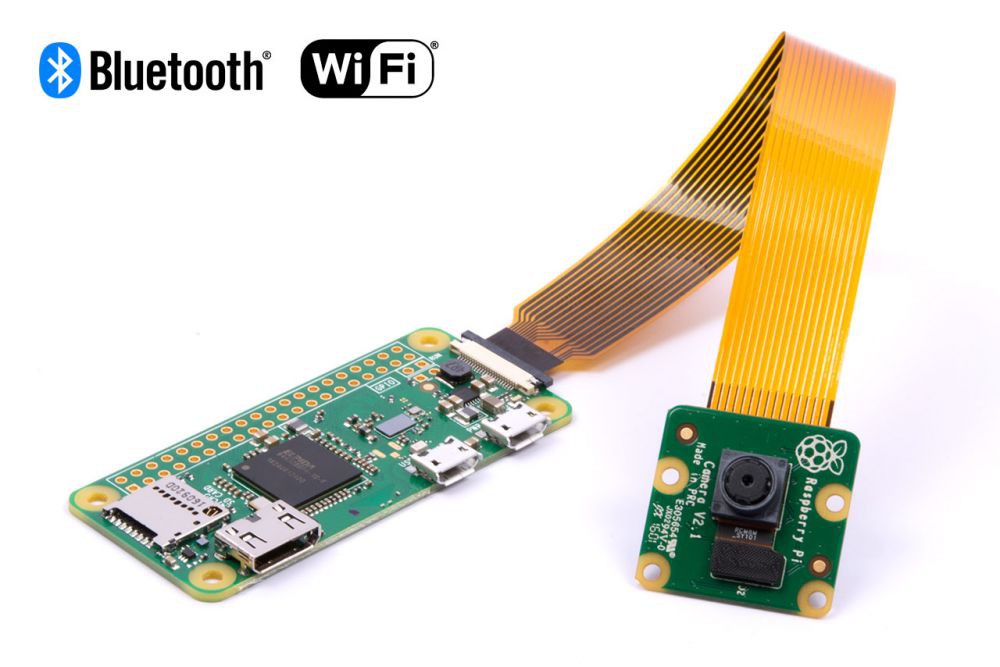
this project has three 5 mp raspberry pi cameras, all of which can use a pi zero w as the brain to record the video and also serv as a fast webcam for the front viewer
-
10Mount Ultrasonic sensors
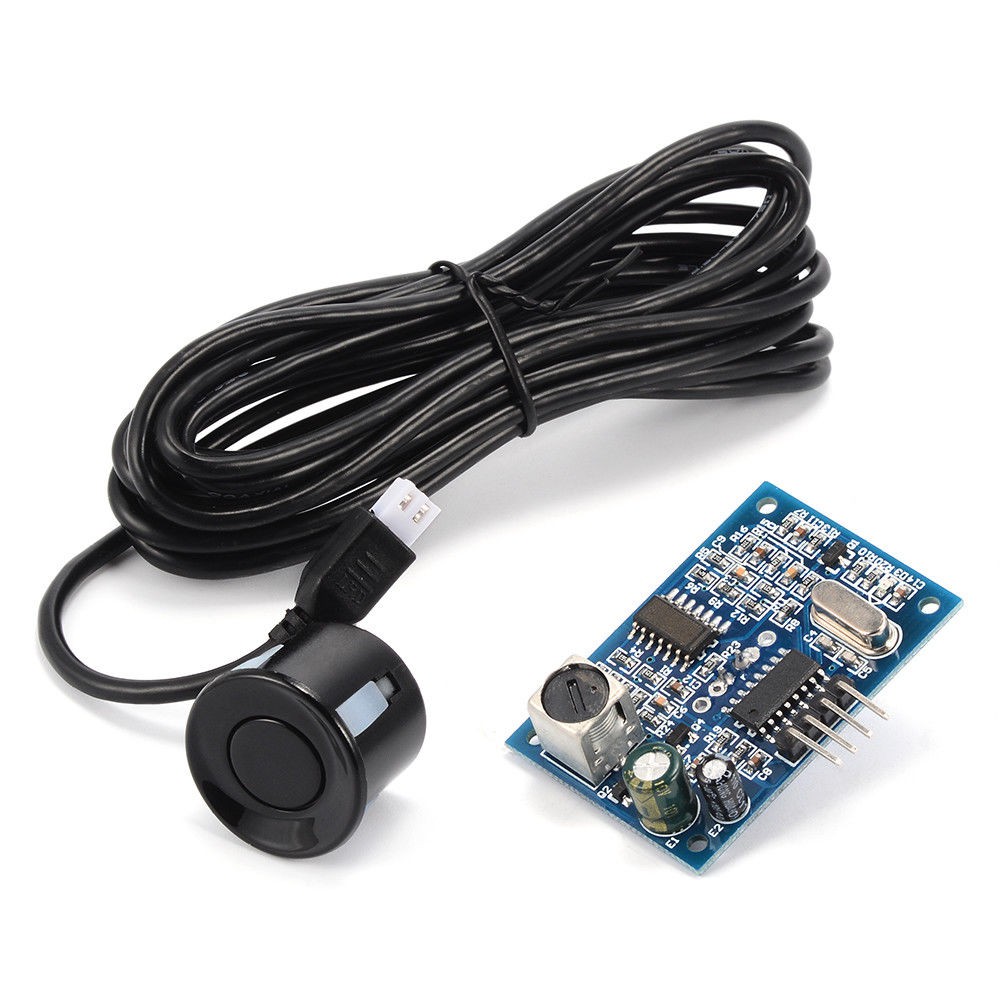
ultrasonic sensors I have are single sensor and receiver with waterproof housing, they mount through a 3/4 in ch hole that will be drilled into the lower edges of the helmet under the neck padding
![]()
Cyborg 360 Flir AR HUD Motorcycle Helmet
Worlds Largest 7" Diagnal personal AR display in a motorcycle helmet, see 360 degree view, smart interface. Flir, IR and Ultrasonic
 Josh Starnes
Discussions
Become a Hackaday.io Member
Create an account to leave a comment. Already have an account? Log In.