 Mauro Pichiliani
-
1Components and tools
Besides the components alread listed, I recommend the following suplies and tools: jumper cables, hot glue gun, power drill with a small bit, a piece of plastic bread bag tie, a small servo screw, an ice cream wooden stick and a nail file.
-
2Modifying the Glasse's Rim
The first step is remove the support of the lens in the glass. This support is on top of each "bar" that allows it to spin and move the lens. Take extra care to not break the plastic parts that connect the two supports.
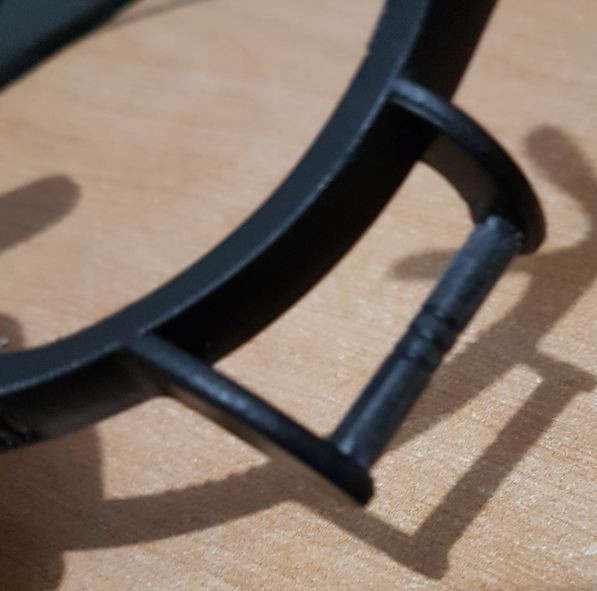
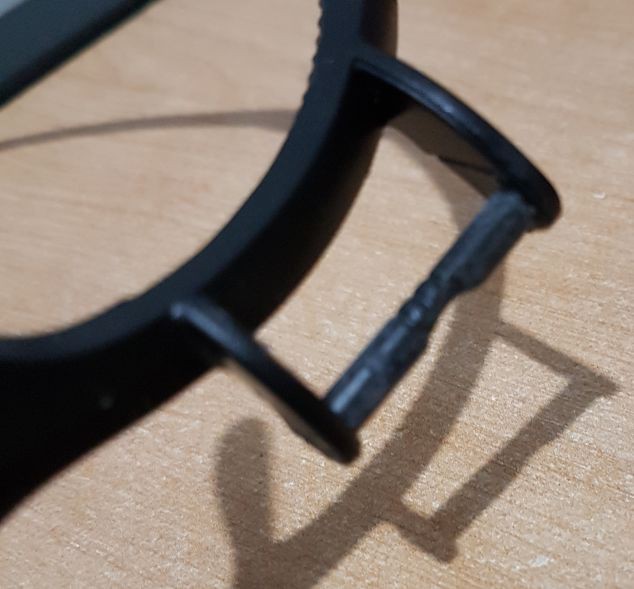
Next we need to use the nail file to sand a little bit the two tubular supports ("bars"). This sanding is needed because there some very small plastic slots that prevent the lens' support to be completely free, i.e. move without any obstacle. Check the images that shows how the tubular supports should be after the sanding.
![]()
![]()
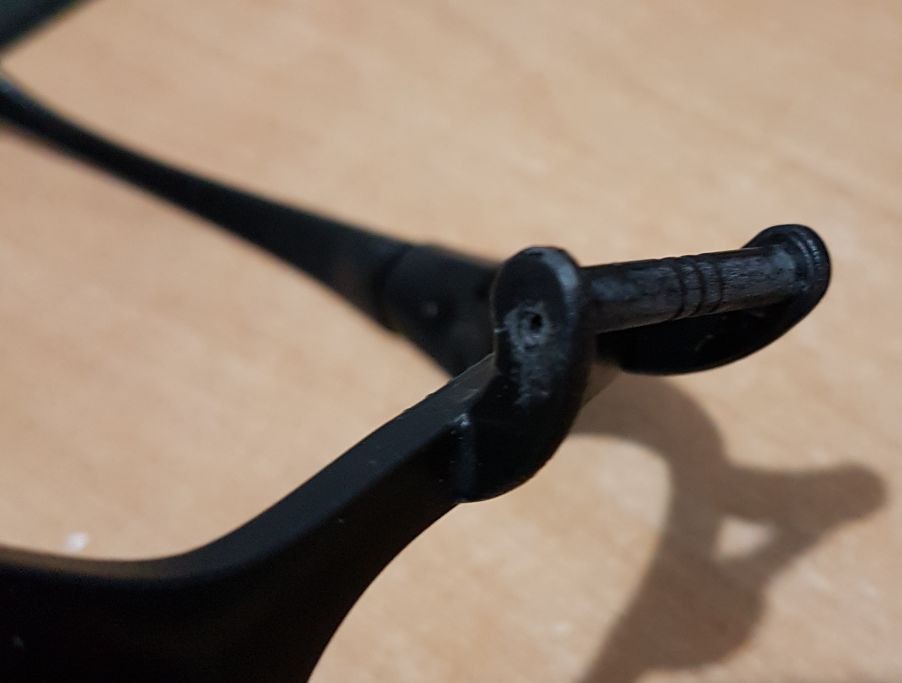
After the sanding choose one of the two tubular supports (I choose the left one) and create a small hole with the power drill and the small bit. Make sure that the hole can accommodate the screw that will latter be used to fix the servo.
![]()
Connect the two lens supports on the tubular support to their original spot. After that check if the support move the lens back and forth freely without any resistance. The next step is to use the ice scream stick to make the two lens move together. Use the hot glue to connect the lens taking care of NOT drip hot glue on the area where you turn the lens to remove them. There is just enough space to do that but without any margin for mistakes. Again, avoid gluing the lens to the support, since this mistake will prevent the user to change the focal lens that came with the glasses (I guess they have 5x, 15x and 25x magnification factors).
![]()
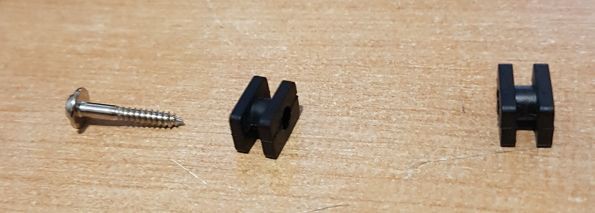
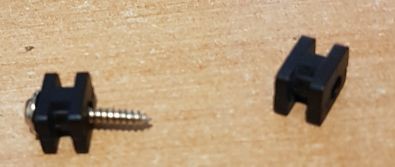
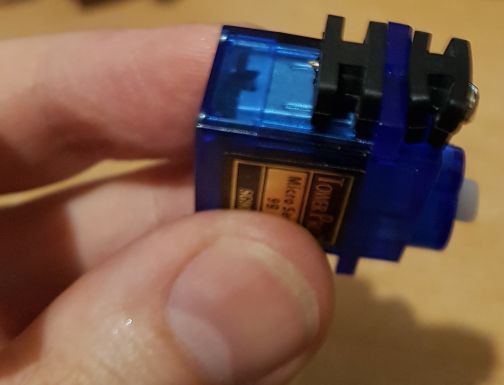
Now we must pin the servo. Use the screws and the two small plastic screws nuts so that you have the screw, one screw nut, the servo hole, another screw nut and the screw head. Check the images for a reference of the sequence. Finally attach the servo on the glasses bu fixing the screw on the hole drilled with the power drill.![]()
![]()
![]()
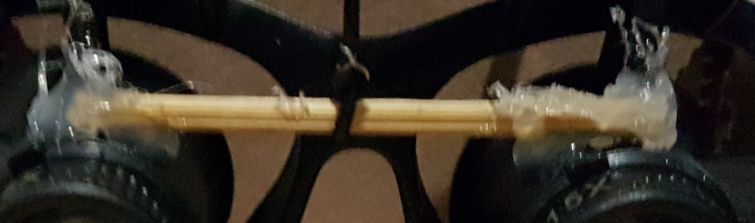
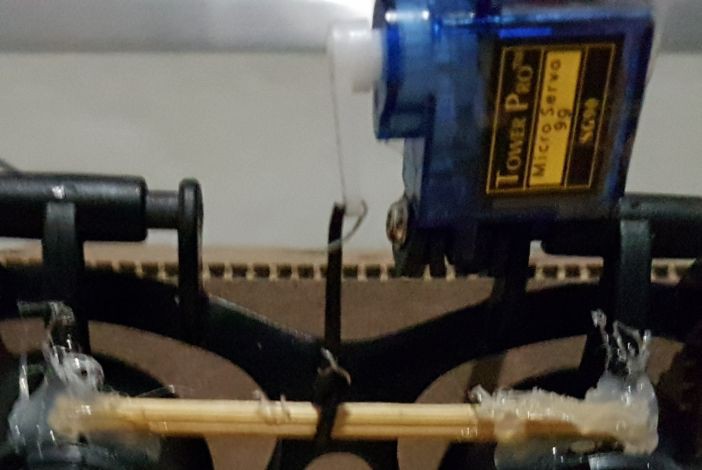
Finally, use one of the bread bag wires to tie the tip of the plastic pinned to the servo with the center of the ice scream stick. Make sure the wire is stretched out, just like the last figure of this step shows.
![]()
-
3Setting Up the Raspberry Pi
n this step we need to setup the Raspberry Pi Zero. This is very strait forward and I recommend the following guide that uses the NOOBS software to write the Raspbian Operating System on the SD Card. Please note that there are some differences, since we are using the Raspberry Pi Zero instead of the Raspberry PI 2.
After setting up the Raspian make sure you can access it via WiFi using the remote terminal and the SSH software. You need to configure the WiFi networking by changing the /etc/wpa_supplicant/wpa_supplicant.conf file manually to insert the network's name (SSID) and the password.Connect the OTG cable on the Raspberry Pi port and connect the USB microphone on the other end. You need to setup the ALSA software to make sure you can use the microphone. Watch the following video to see how to setup the mic. on the RPI:
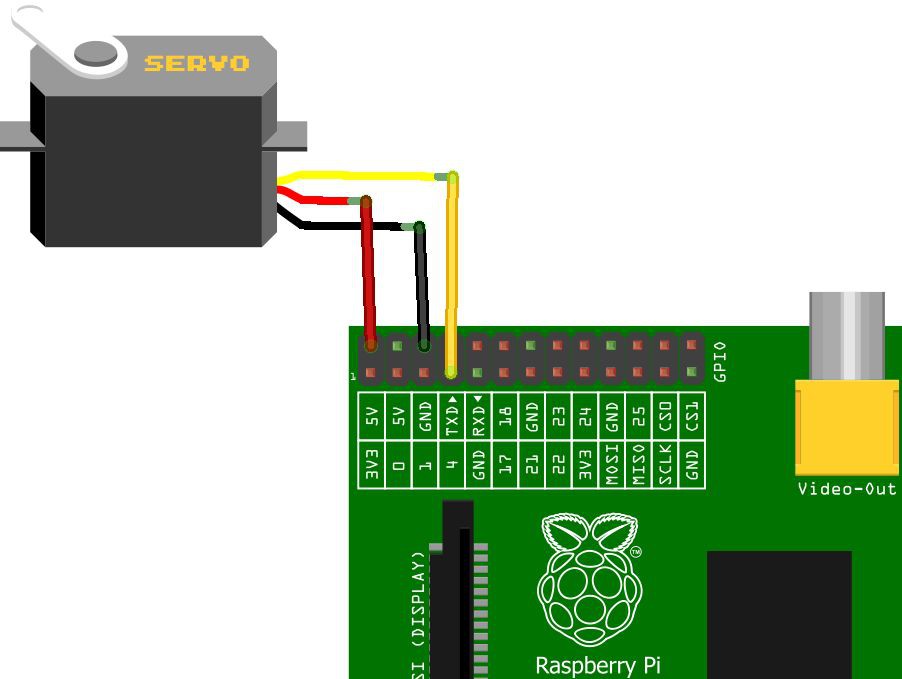
After making sure you Raspberry Pi is ready its is time to connect the wires from the computer's GPIO pins to the servo. Connect a red cable to the 5V pin (the second one of the firs column) of the RPI to the middle connection of the servo. Connect a black cable to ground pin on the Raspberry (the second of on the third column) to the most dark wire of the servo (usually a dark brown). Finally, connect a yellow cable in the pin number 4 of the raspberry to the yellowish/orangle port of the servo. Check the image of this setup for the pinout setup.
![]()
-
4Step 4: Getting the Watson Speech to Text Scredentials
n this step we are going to get an access key to the Waton Speech to Text service. This service allow us to give the voice commands "up" to lift the lens and "down" to make them go back to the original position. The following link has more information about this service, including the languages it supports:
https://www.ibm.com/watson/services/speech-to-text/
To request a key to use the STT (Speech To Text) I recommend follow this video:
Make sure that after you setup the account and created a STT service you have a password and username, since we are going to use those on the next steps.
-
5Coding the Servo in Python and the STT in NodeJS
The last step of this instructable is the software we need to write. We will divide it in two programs: a python script that make the servo go up and go down and a nodejs script that will capture the audio, send it to the STT service and check for the command ("up" or "dow") to call the respective python script.
The Raspian operating system already has a Python version. So we just need to instal the GIOP dependency:
$ pip install gpioNext we code two script files, one to make the servo go up (s_sobe.py) and another to make the servo go down (s_desce.py). The files areavalable to download in this step. Make sure to test the correct servo movement based on the position of the servo and the size of the wire that connect the tip of the servo with the stick glued into the len's support.
The next step is the nodejs script that connects to the Watson STT service. First, install nodejs using the follwing command:
$ sudo apt install nodejsThis link lead to a nice tutorial about instaling NodeJS in the Raspberry Pi:
http://thisdavej.com/beginners-guide-to-installing-node-js-on-a-raspberry-pi/
Next insert your STT credentials (username and password) in the config.js. The next step is to install all the application's depencies listed on the package.json file using the following command:
$ npm installFinally, run the app.js program:
$ sudo node app.jsTo simplify the STT use we employ a dependecy called TJBot, which is from a robot with the same name. Check the following link to get more information about this dependecy:
Voice Controlled Glasses and Magnifying Lens
This project automatically move the lens of a magnification glass using voice commands
Discussions
Become a Hackaday.io Member
Create an account to leave a comment. Already have an account? Log In.