 joshuaevans029
-
1Material you need.
Make sure before you start that you have the following material.
-
2Removing the front cap.
![]() Unscrew the 2 bolts of the front cap.
Unscrew the 2 bolts of the front cap. -
3Removing the mechanical shield.
![]() Remove the white shield.
Remove the white shield. -
4Remove the pressure manifold.
![]()
Unscrew 2 bolts, 1 from each side of the pressure manifold and remove it.
-
5Removing detachable parts and side lids.
Remove the water reservoir, cup holder and capsule deposit. To remove both side plastic lids, unscrew the screws at the bottom of the coffee machine.
-
6Fit the electronic parts.
The left side is where I found a nice spot to place the electronic parts. However I can run into some problems in case of water leaking in the hoses.
-
7Removing top lid.
Unscrew the 4 bolts (2 in each side) to remove the top lid.
-
8Pass the electrical wires.
Don’t remove the top lid. Just tilt it enough so that you can insert the 30cm wires. I used the 4 pairs since I intend to use all the machine buttons.
-
9Detailed view of the wire installation.
Run the wires through the hole where the two red wires enter the machine. Make sure that they pass side by side with the hose next to it. Make sure the cables are tight with just a minimum of slack. Make sure the cables are not strangling the hose.
-
10Closing the top lid.
The result of the previous step should look like this. Make sure you put the top lid back in place and the power button has no mechanical issues (got stuck or hard to press) and screw the 4 screws.
How to hype your espresso
Turning a simple coffee machine into a Smart coffee machine.
 Make sure before you start that you have the following material.
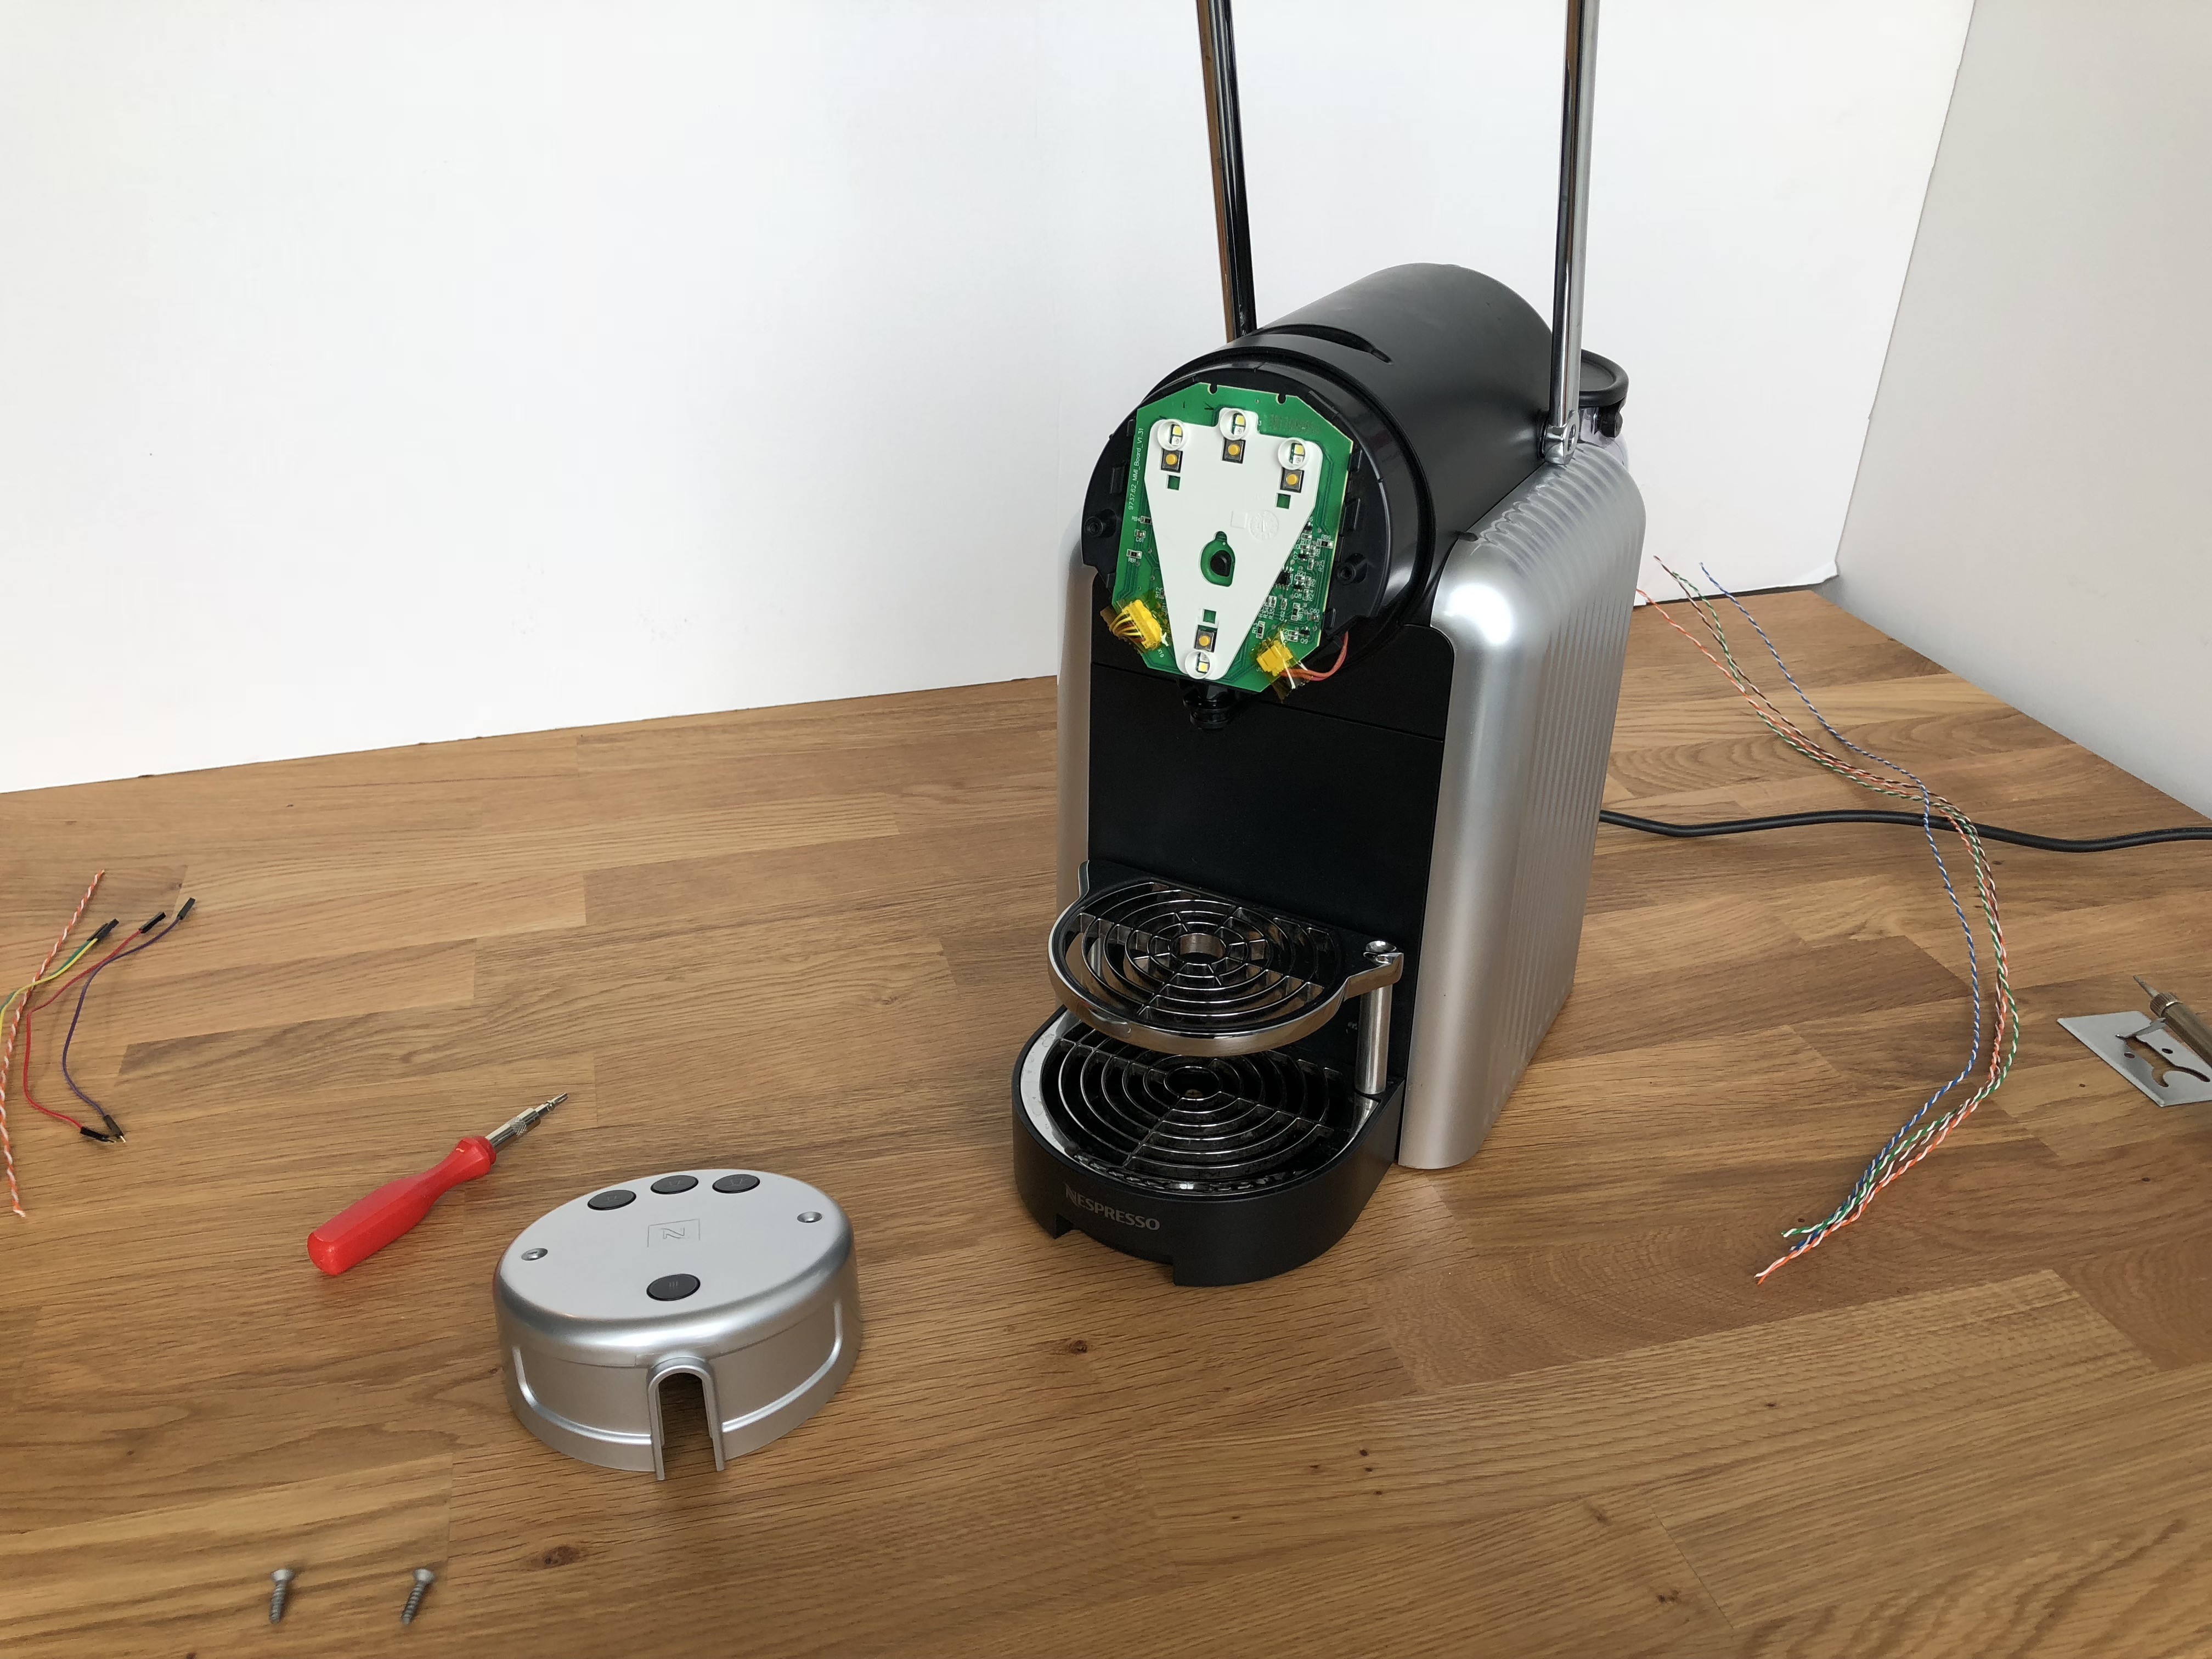 Unscrew the 2 bolts of the front cap.
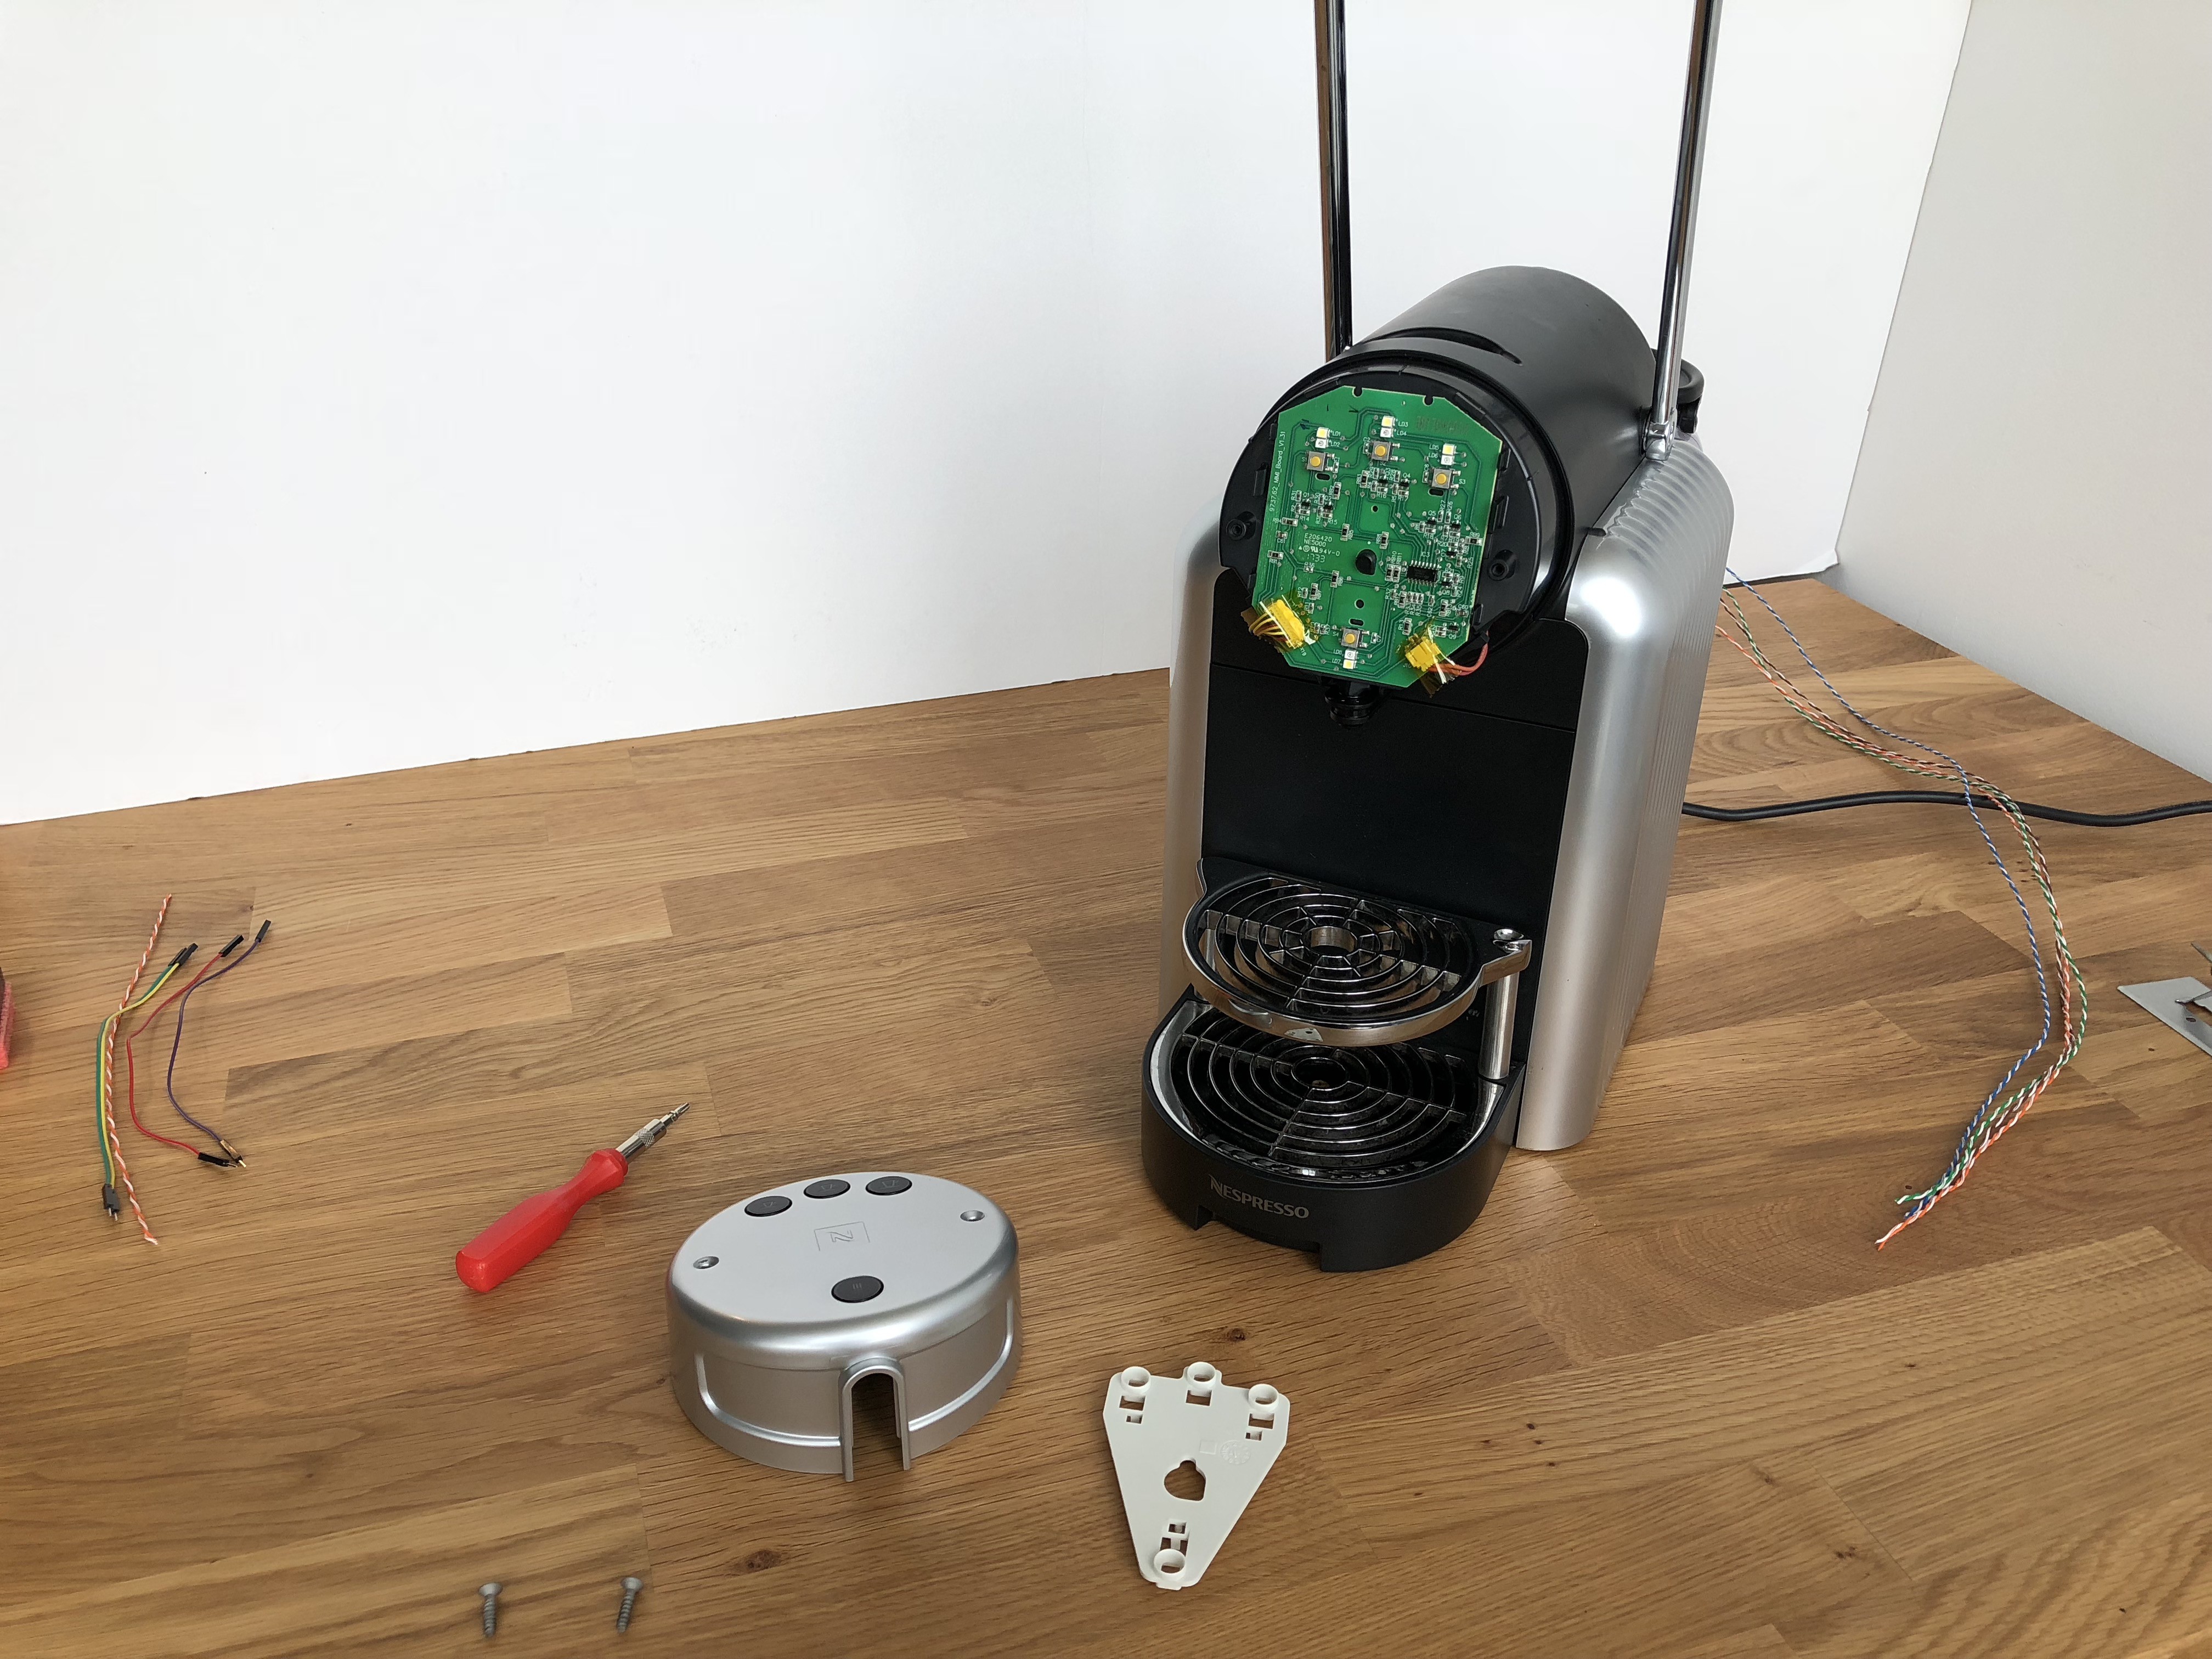 Remove the white shield.
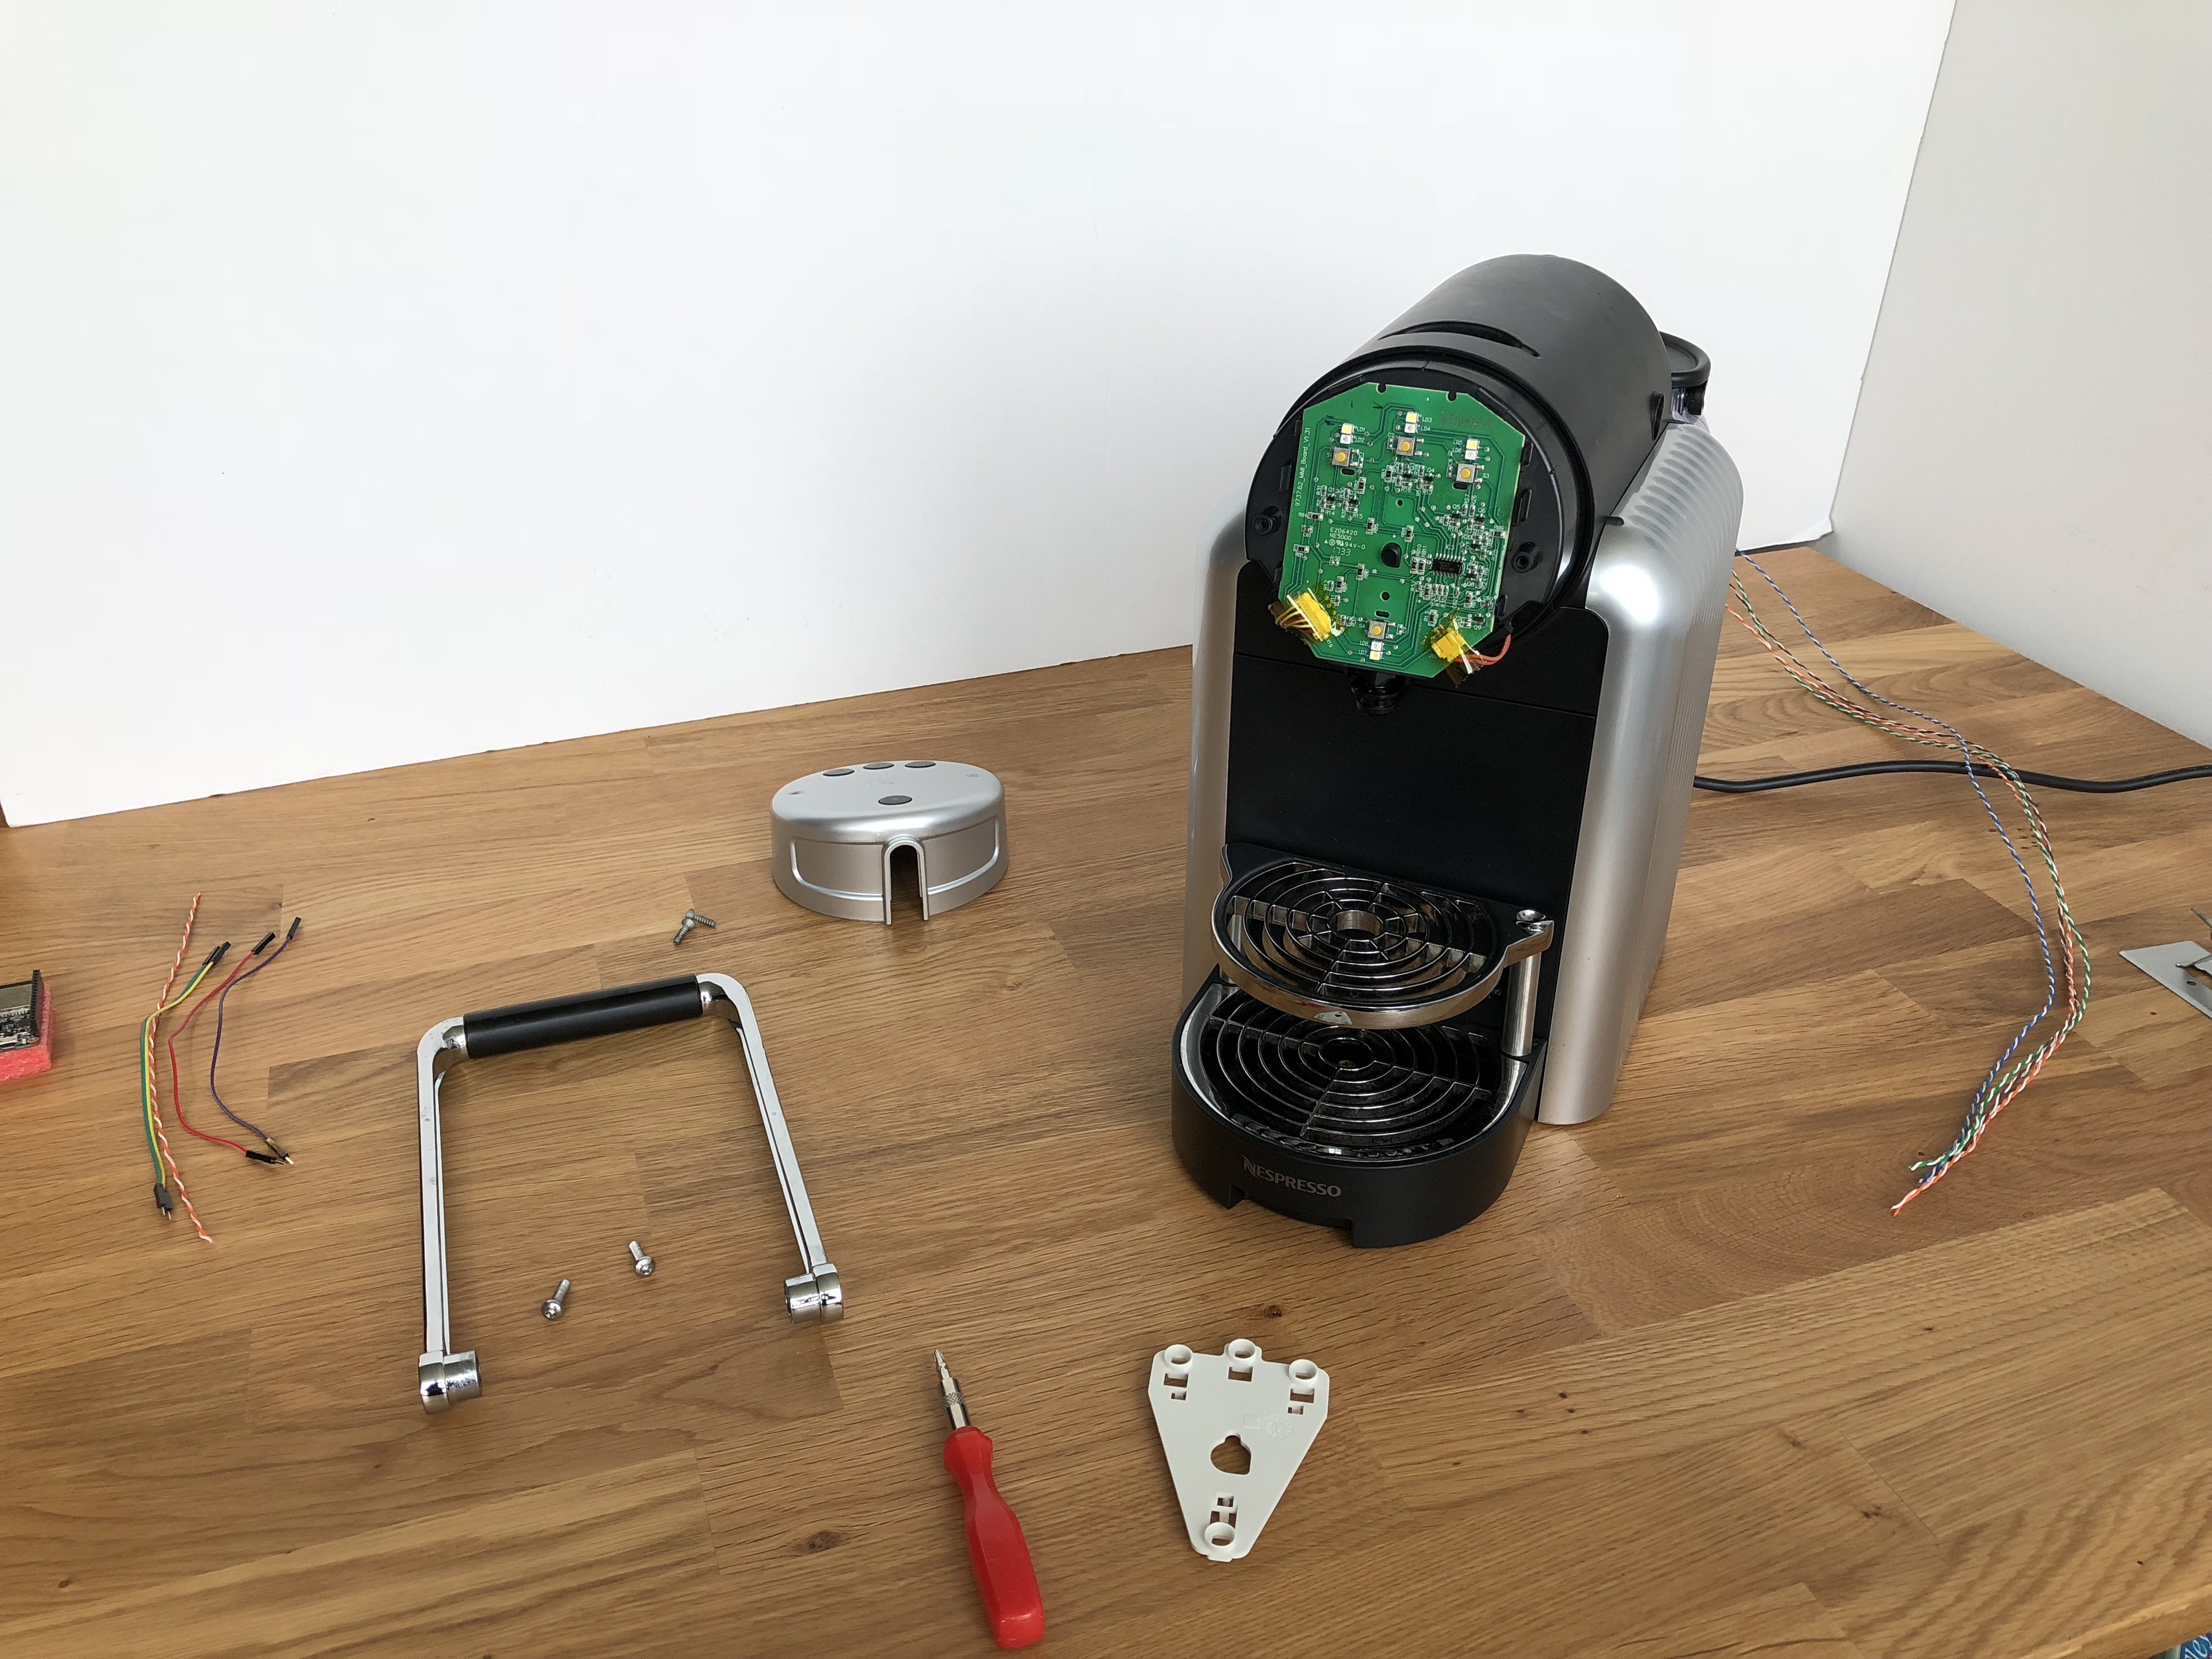
 Remove the water reservoir, cup holder and capsule deposit. To remove both side plastic lids, unscrew the screws at the bottom of the coffee machine.


 The result of the previous step should look like this. Make sure you put the top lid back in place and the power button has no mechanical issues (got stuck or hard to press) and screw the 4 screws.
Discussions
Become a Hackaday.io Member
Create an account to leave a comment. Already have an account? Log In.