Dylan Turner
-
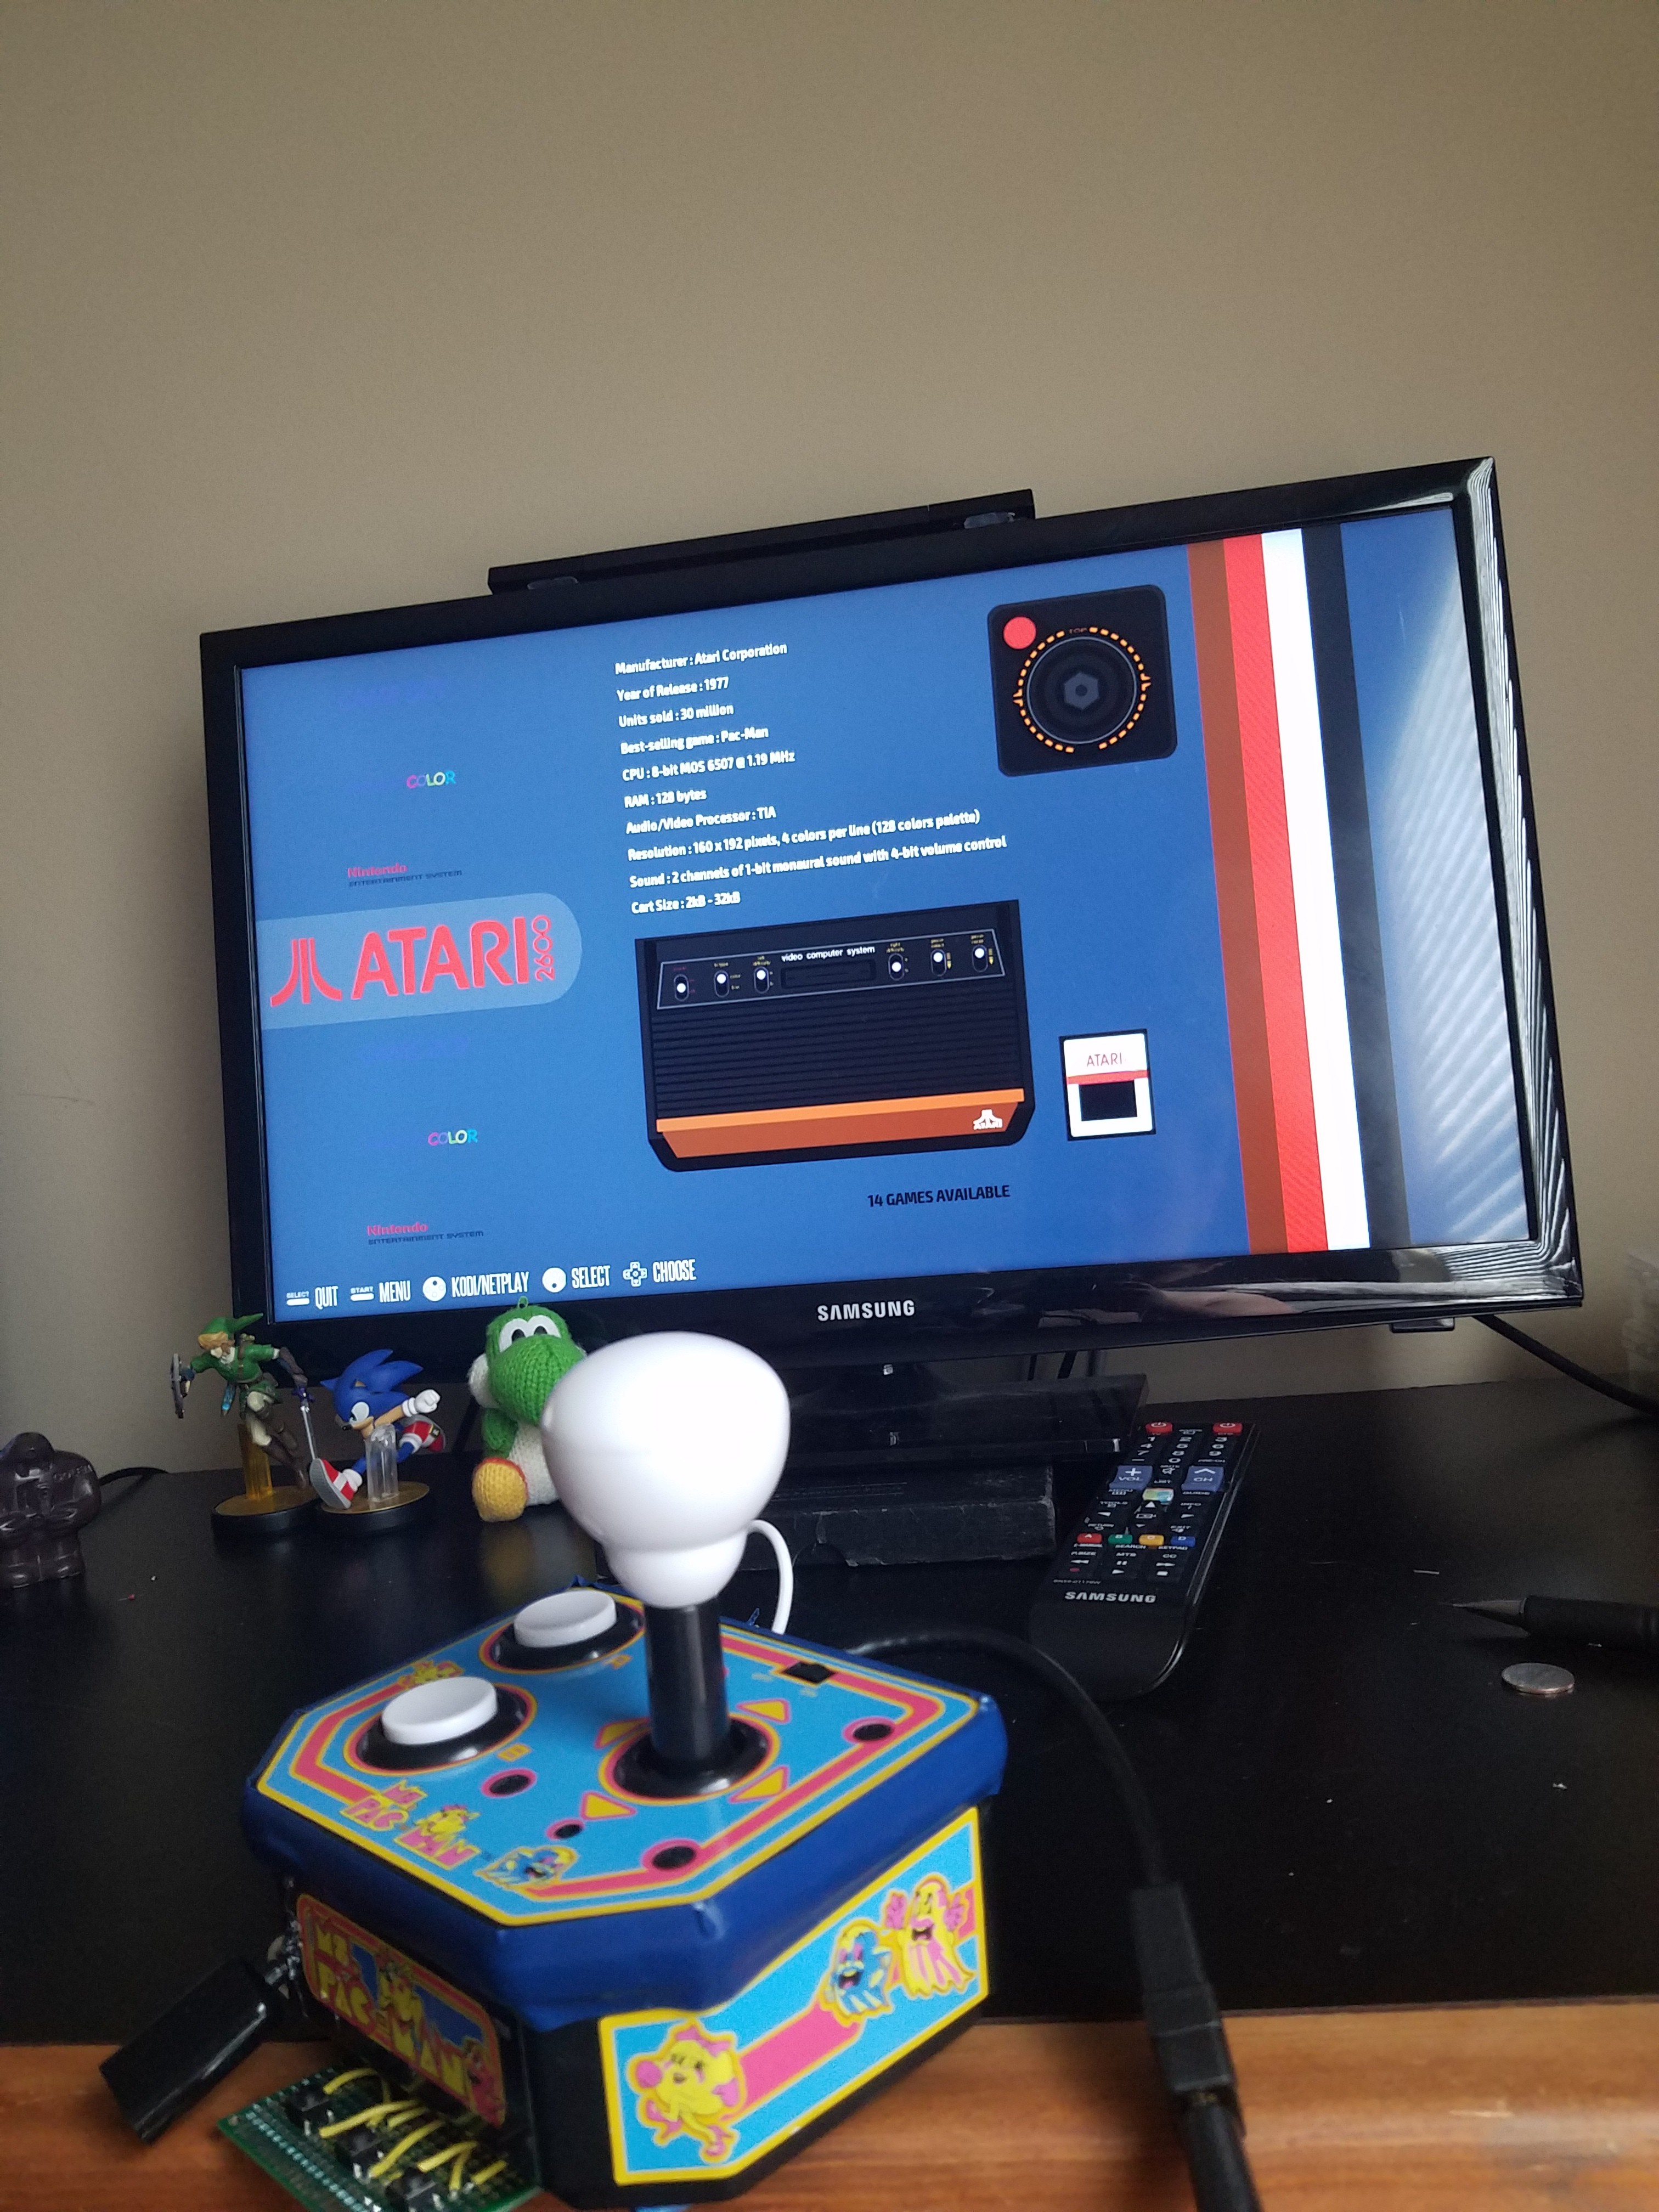
Completion!
08/27/2018 at 18:40 • 0 commentsEverything finally works, I got games loaded up, and it's all nicely fit together. The onl;y real change I did was use a dremel to cut out the built in battery box (since I wasn't using it). This allowed me to squash everything in and make sure it all fits!
![]()
-
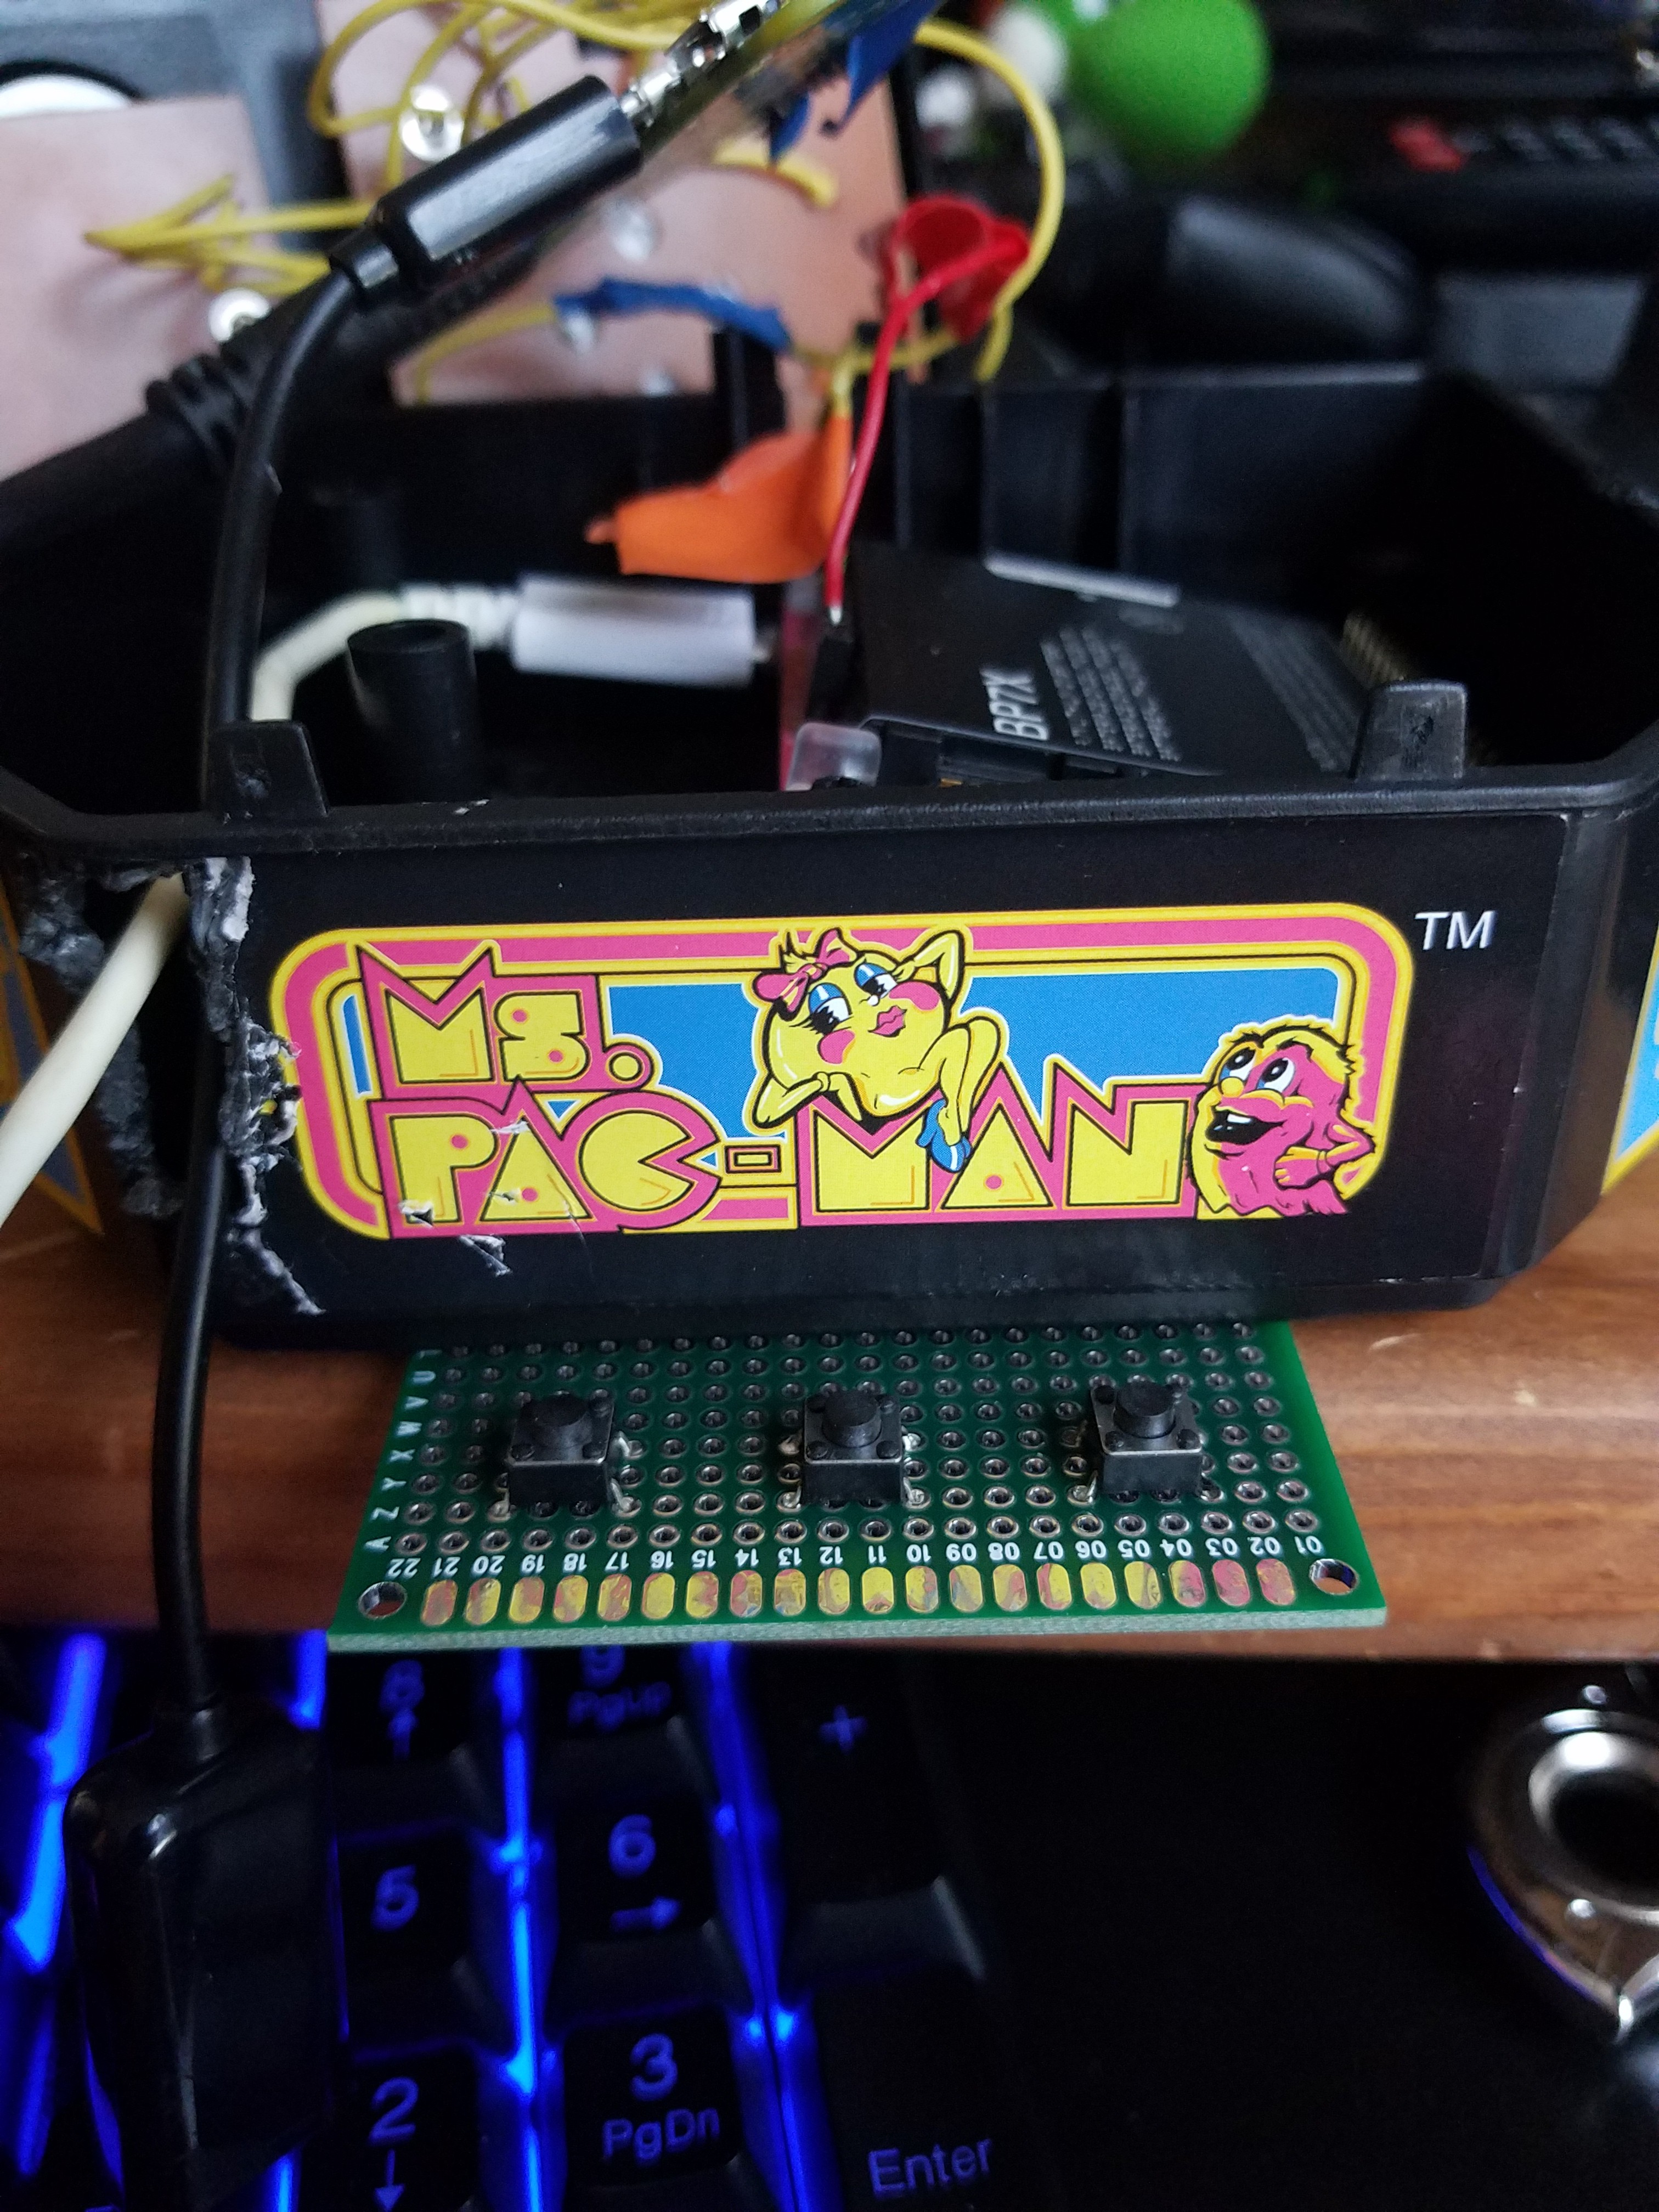
More Buttons
08/27/2018 at 15:46 • 0 commentsFinally, all the buttons are working, aaaaaaaaaaand... Recalbox requires a start button. I thus decided to add start, select, and 'trigger right' buttons (the latter being used as the hotkey button). I slapped a perfboard under the enclosure and hid the wires sliding them up through the battery pack. I might clean it up later, painting it black or something, but it looks alright for now.
![]()
-
Changed to Recalbox OS
08/27/2018 at 03:18 • 0 commentsDue to issues setting up the GPIO joystick drivers in Retropie, I have switched to RecalboxOS which has them installed by default.. I've also fallen in love with this OS. It's great. Give it a try!
Anyway, because of the switch, I have to use a specific layout for the buttons now, so I had to rewire the buttons to the correct input.
Button Original GPIO New GPIO A 16 25 B 24 24 (Same) Up 25 4 Down 18 17 Left 12 27 Right 23 22 -
Soldered Up!
08/26/2018 at 16:47 • 0 commentsAt the point of creating this project, all components are soldered and packed together. All that is left to do is install retropi and connect the GPIO buttons to keyboard/joystick inputs (and troubleshoot if need be).
AtarPi
An Atari 2600 emulator packed into a plug-and-play Ms. Pac-Man game, using a Raspberry Pi Zero W