Close
0%
0%

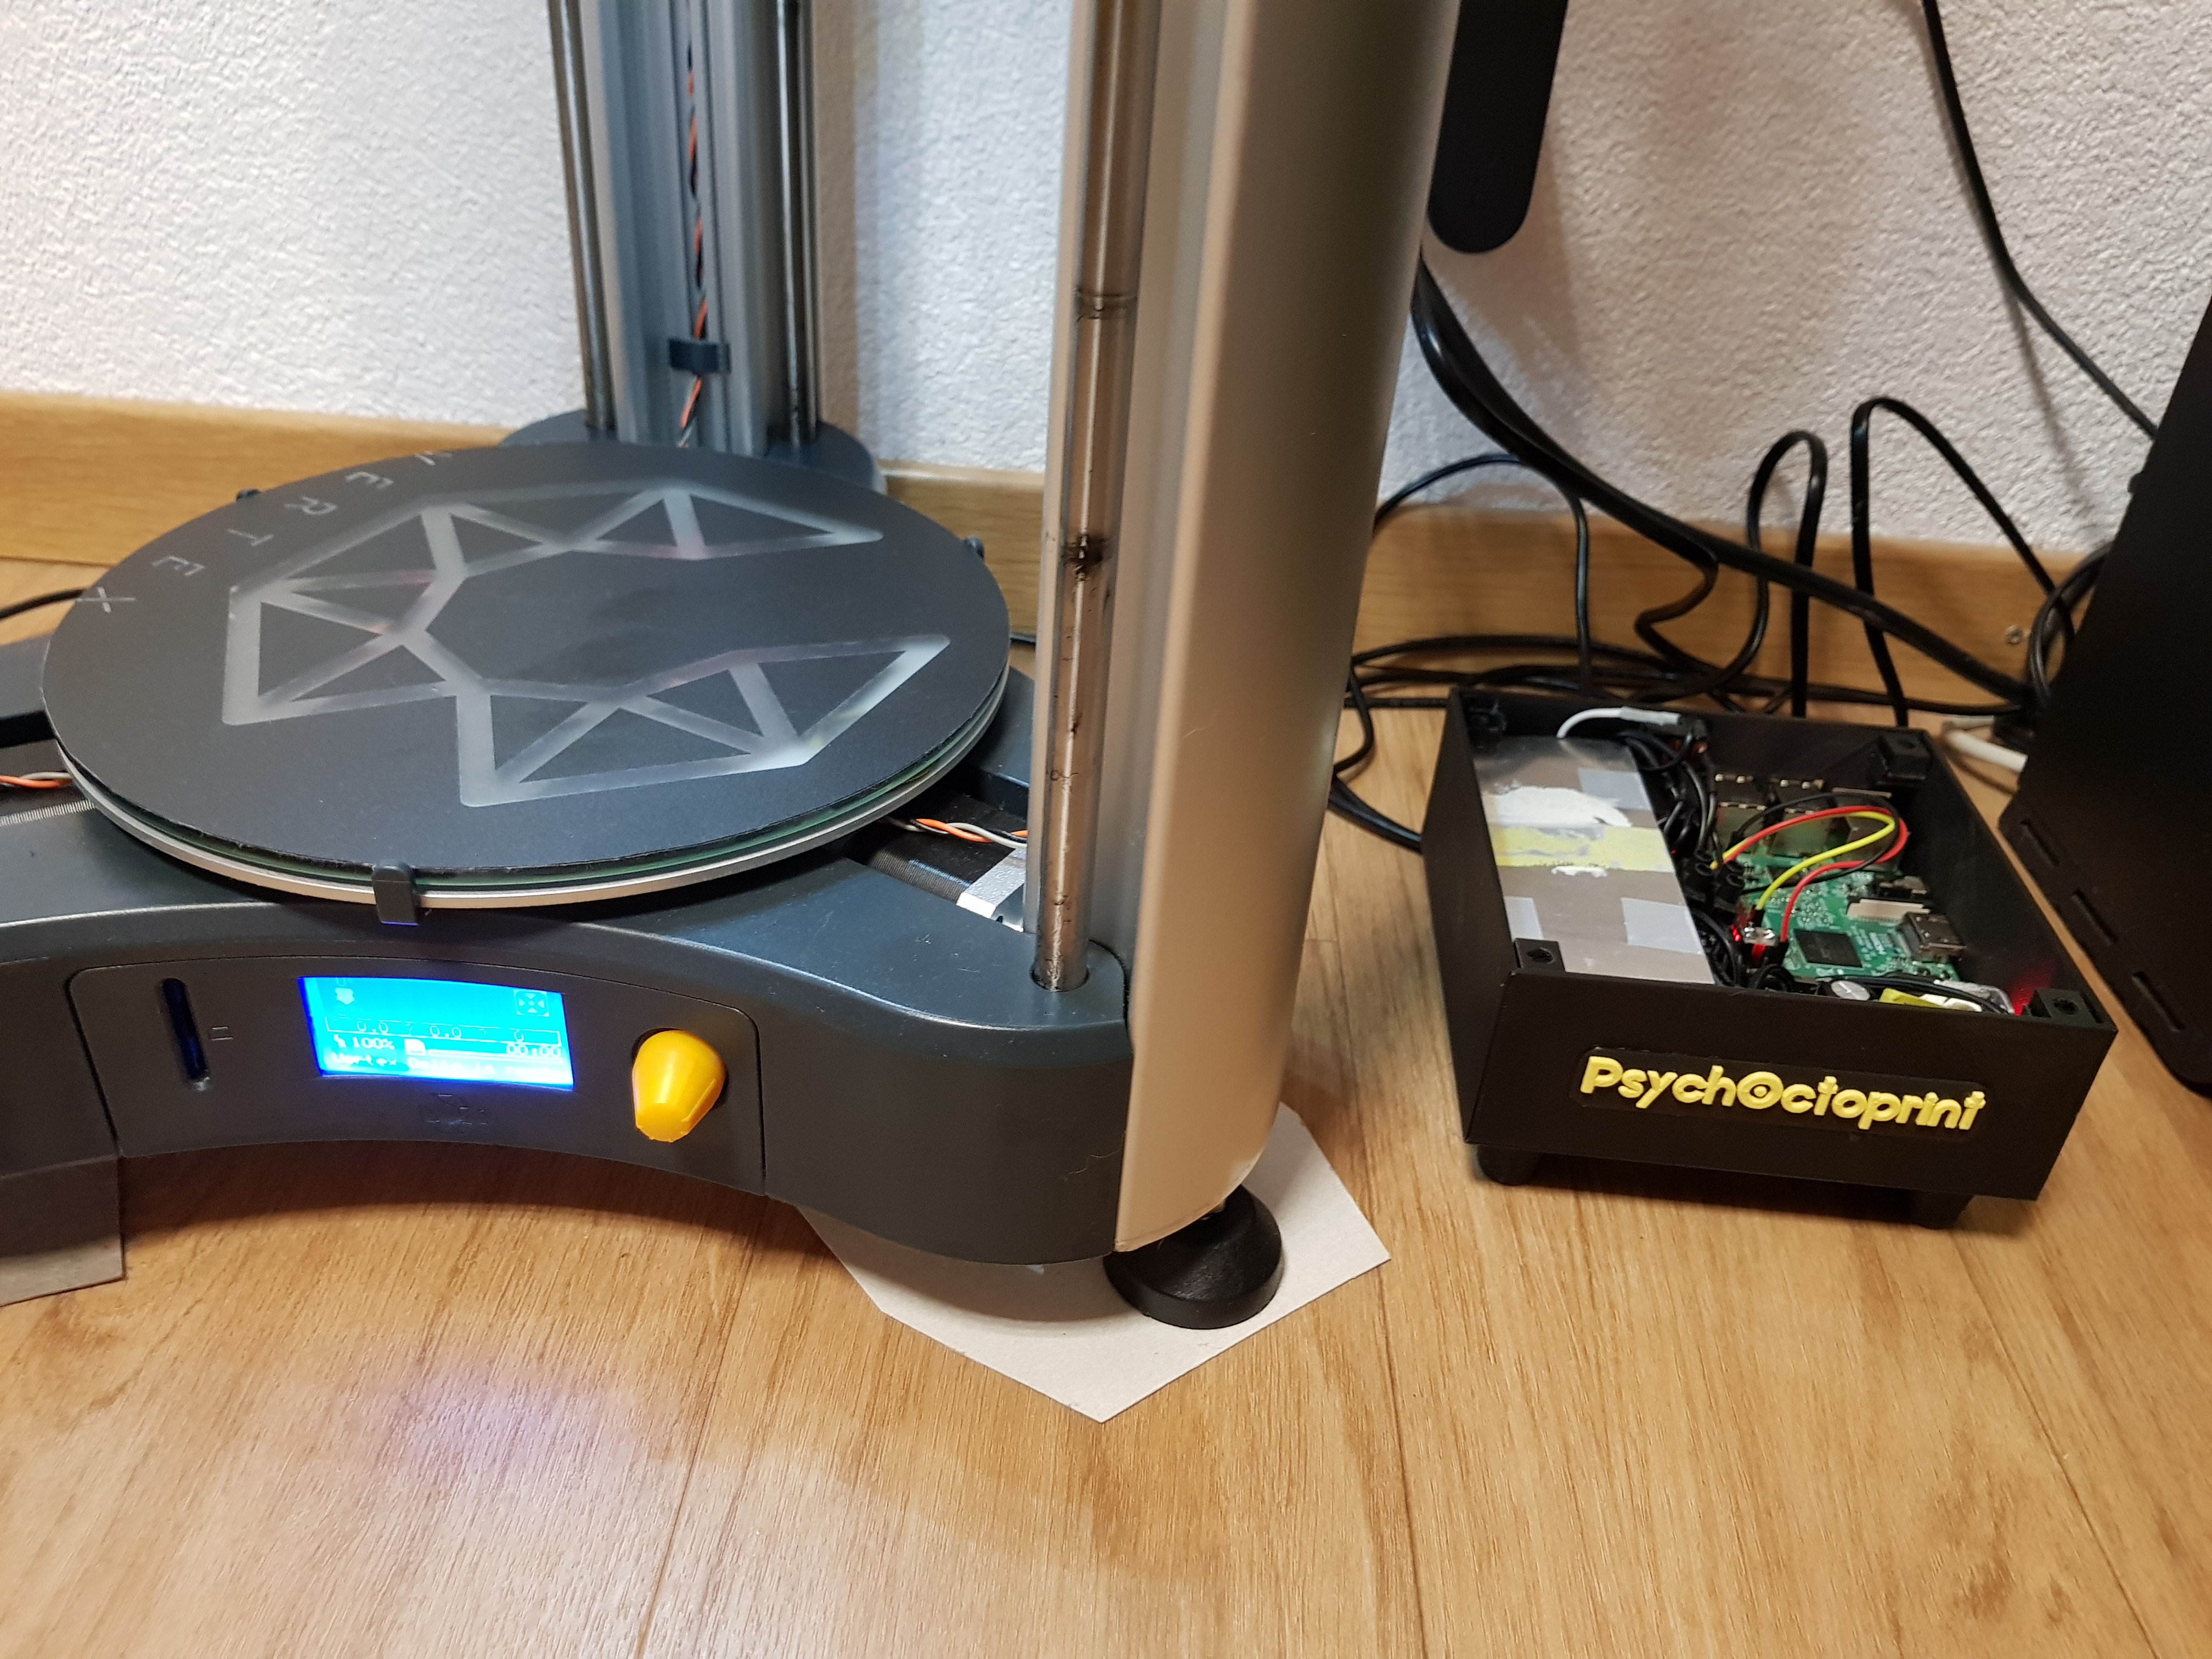
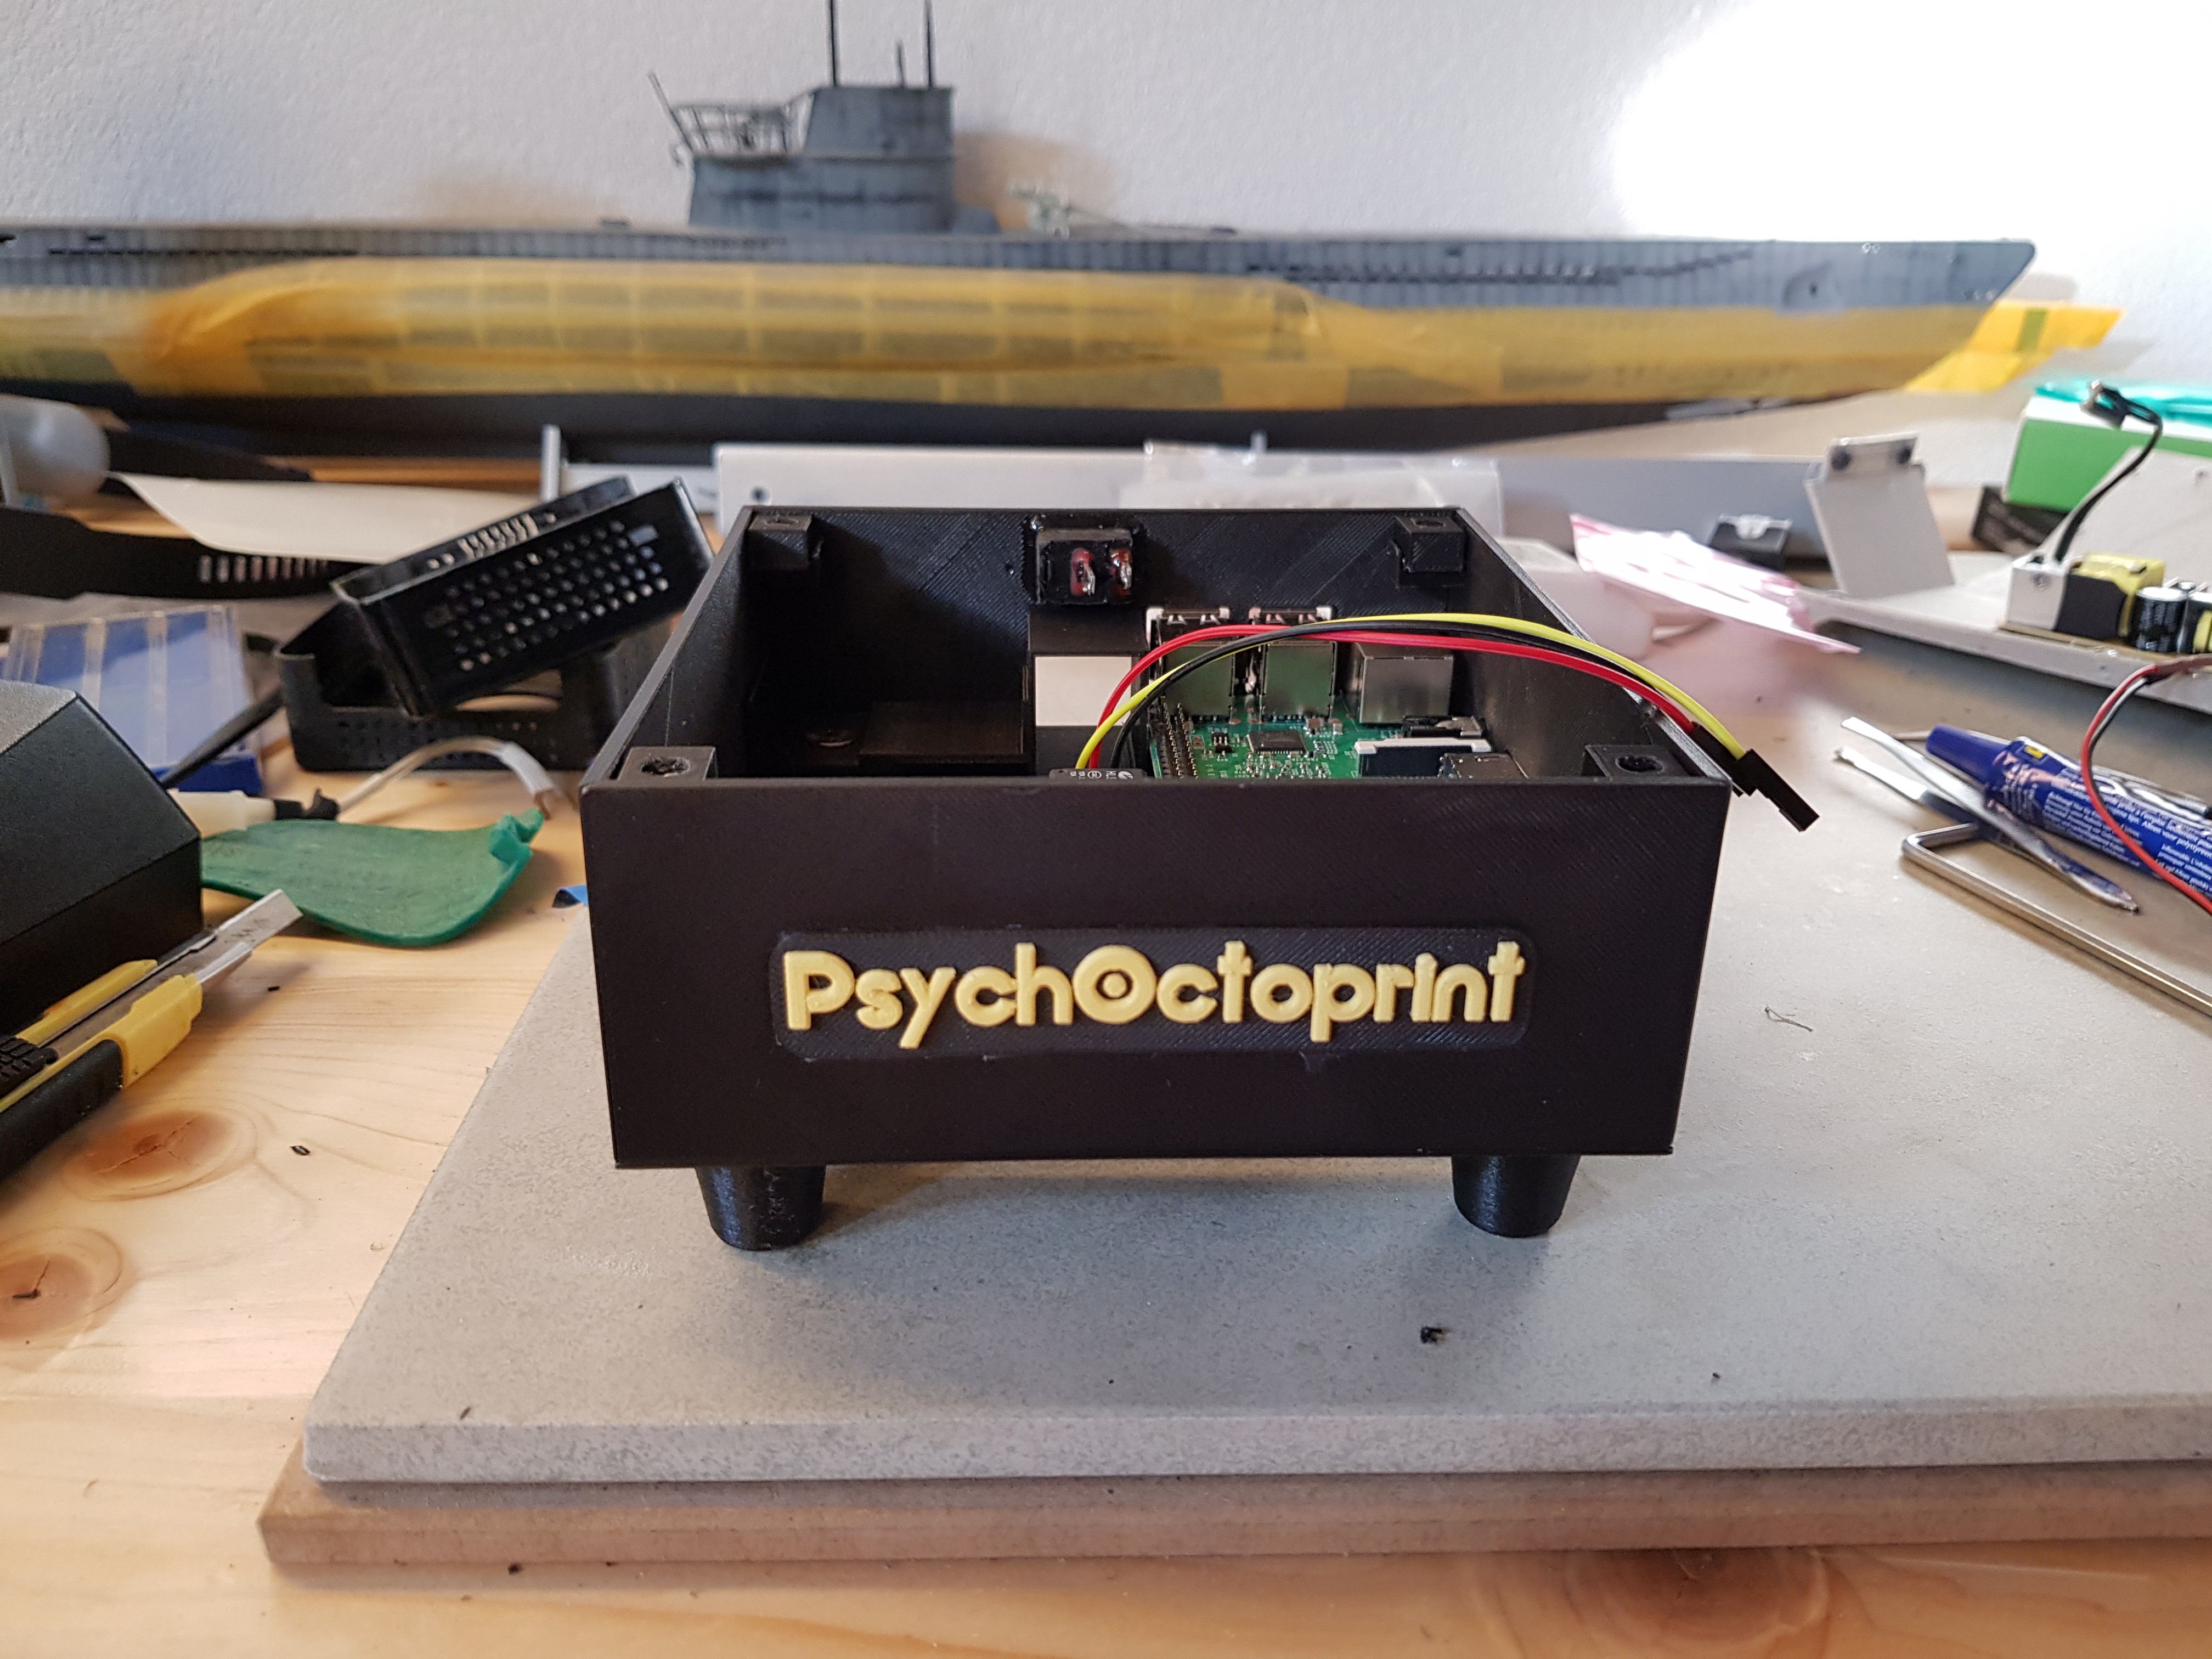
PsychOctoprint

A DIY case for your 3d printer powered by Octoprint on a raspberry pi

Public Chat
Similar projects worth following
381 views
0 followers
Octoprint, you know it right? It's an awesome tool that every 3d printer should try at least once. Yeah, it runs on as small as a raspberry. And has plugin support! Speaking of which, many of us use a relay and a mode to allow printer auto shut off after printing. How many times have we all been at the printer, wanting to let's say change the filament, but being unable to do so, as the printer was off? Have to return to the computer, or take your mobile phone out to power your printer first. How many times did you walk by your printer checking the print and wondering the percentage done?

Well, enough exemples. I decided to make a nice case for my raspberry pi, that includes everything I need for my printer!

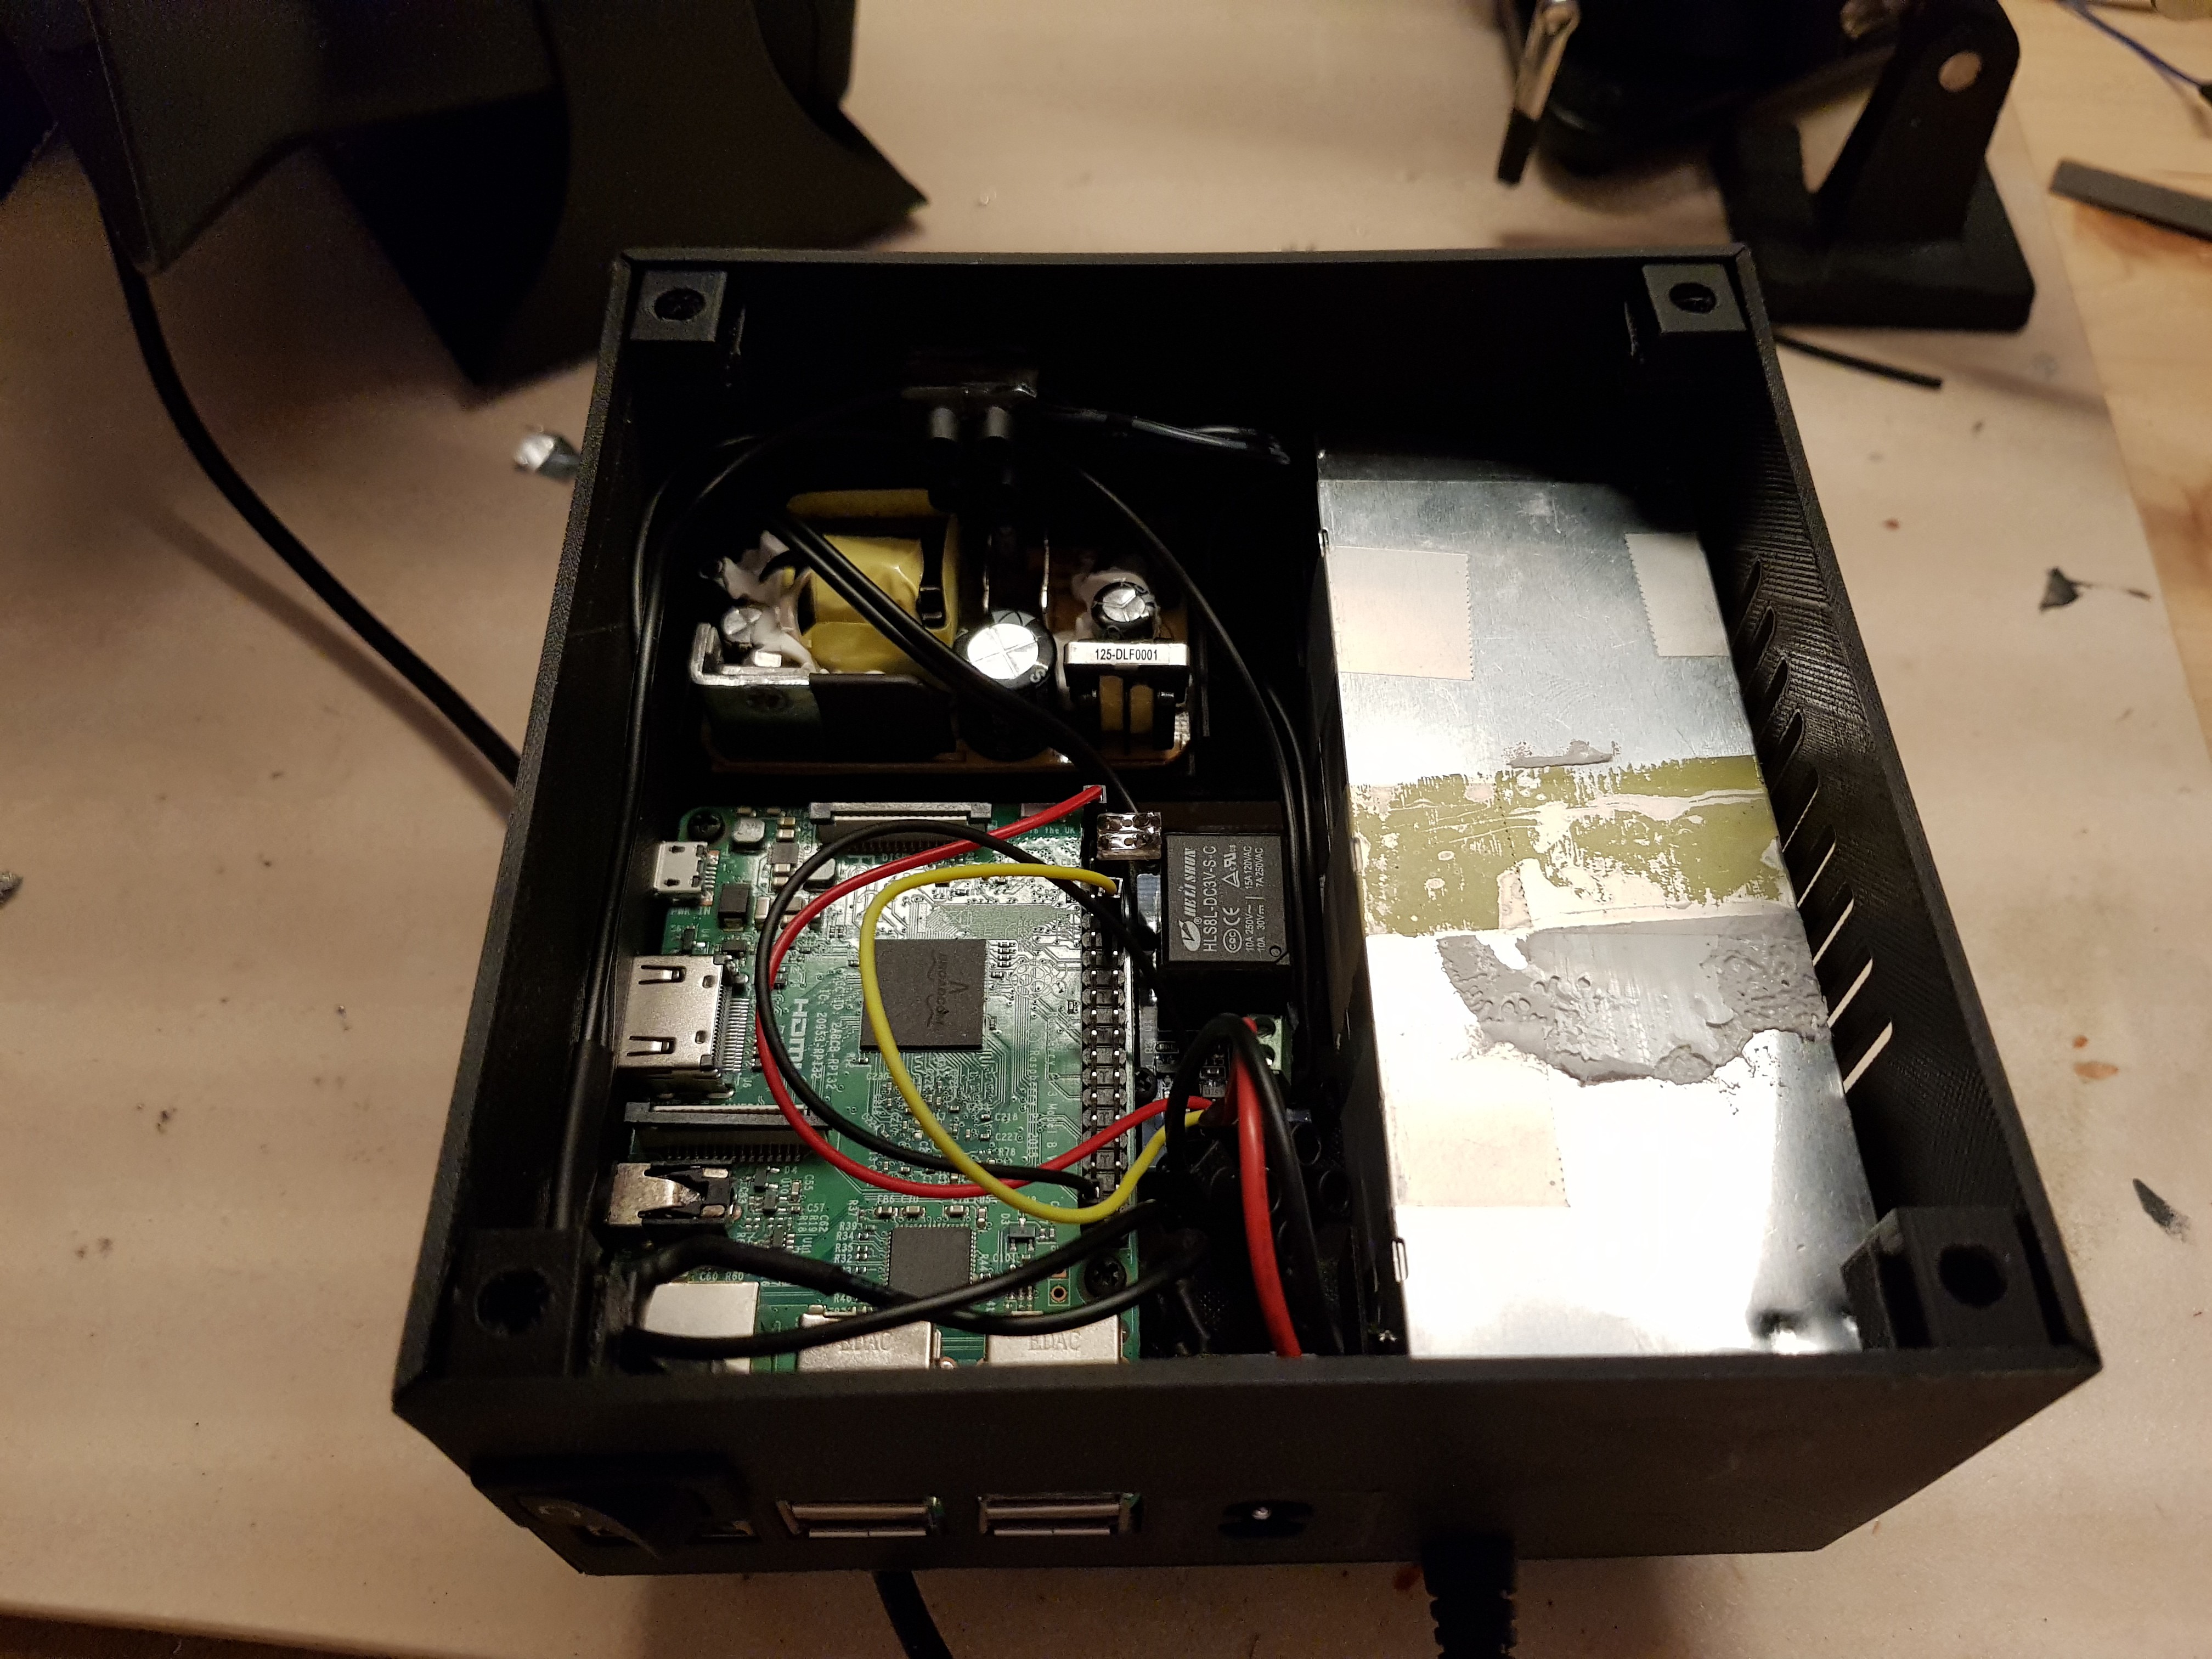
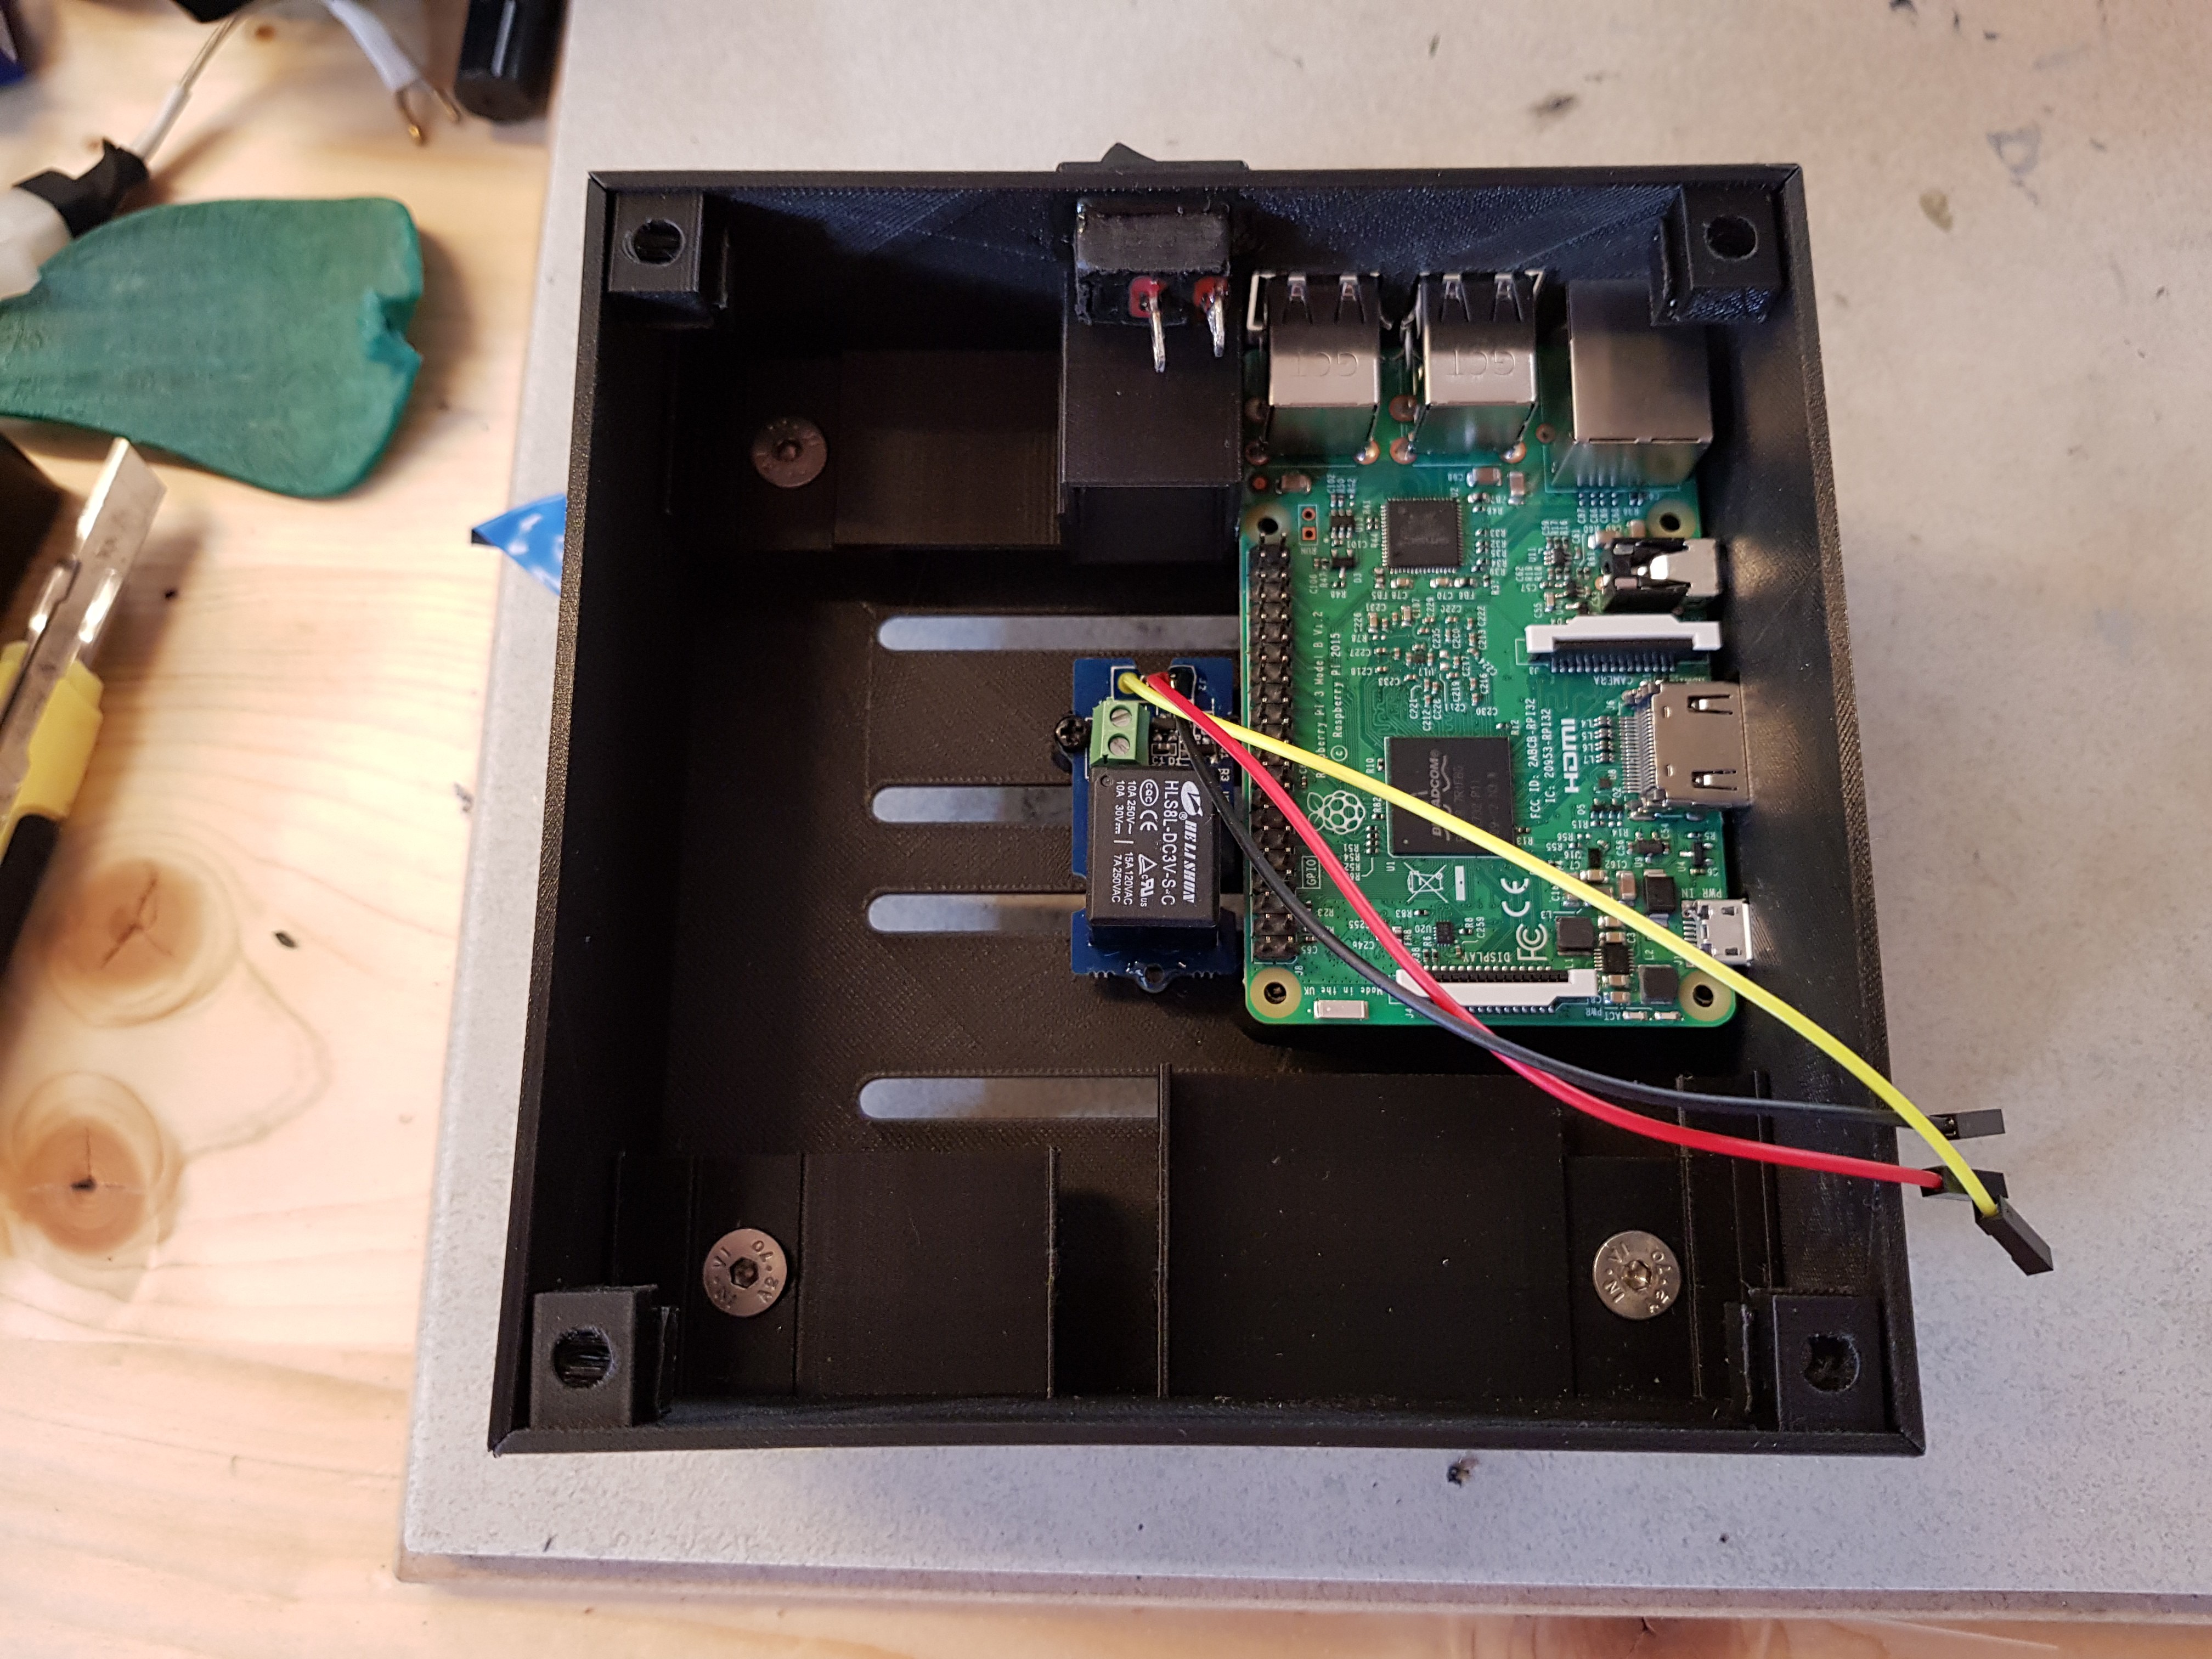
So I started to draw the case in blender, to have a product that includes my printer psu, the raspberry psu, a power plug, the raspberry, a temperature control, a fan, a camera, a camera privacy cover, a relay to shutoff the printer, a little oled screen and 4 button

The project was started a few month ago, but I haven't had the time to finish it unfortunately. My work life is retty busy...

When I started to think about adding buttons, screens, fan control, filament detector etc etc, I thought about doing my own PCB for all of this. About a week later I got a private message here, on hackaday.io, from Daisy @JLCPCB, that proposed to sponsor my next PCB order in exchange for a review. I accepted and designed my own pcb and ordered them. The result is awesome and will be shown in the coming updates

I had to stop working on the project once the PCB was completed, as I didn't have any crimping tool but really wanted to make my own connectors. So I went on bangood where I ordered some JST and Dupont material along with a tool. It took 24 days to come to Switzerland... But it arrived! And it's good stuff! Wow, so I made my own wires and all and started to work on the project again. Let's explain all there is

  • Raspberry PI 3
  • Raspberry PI PSU
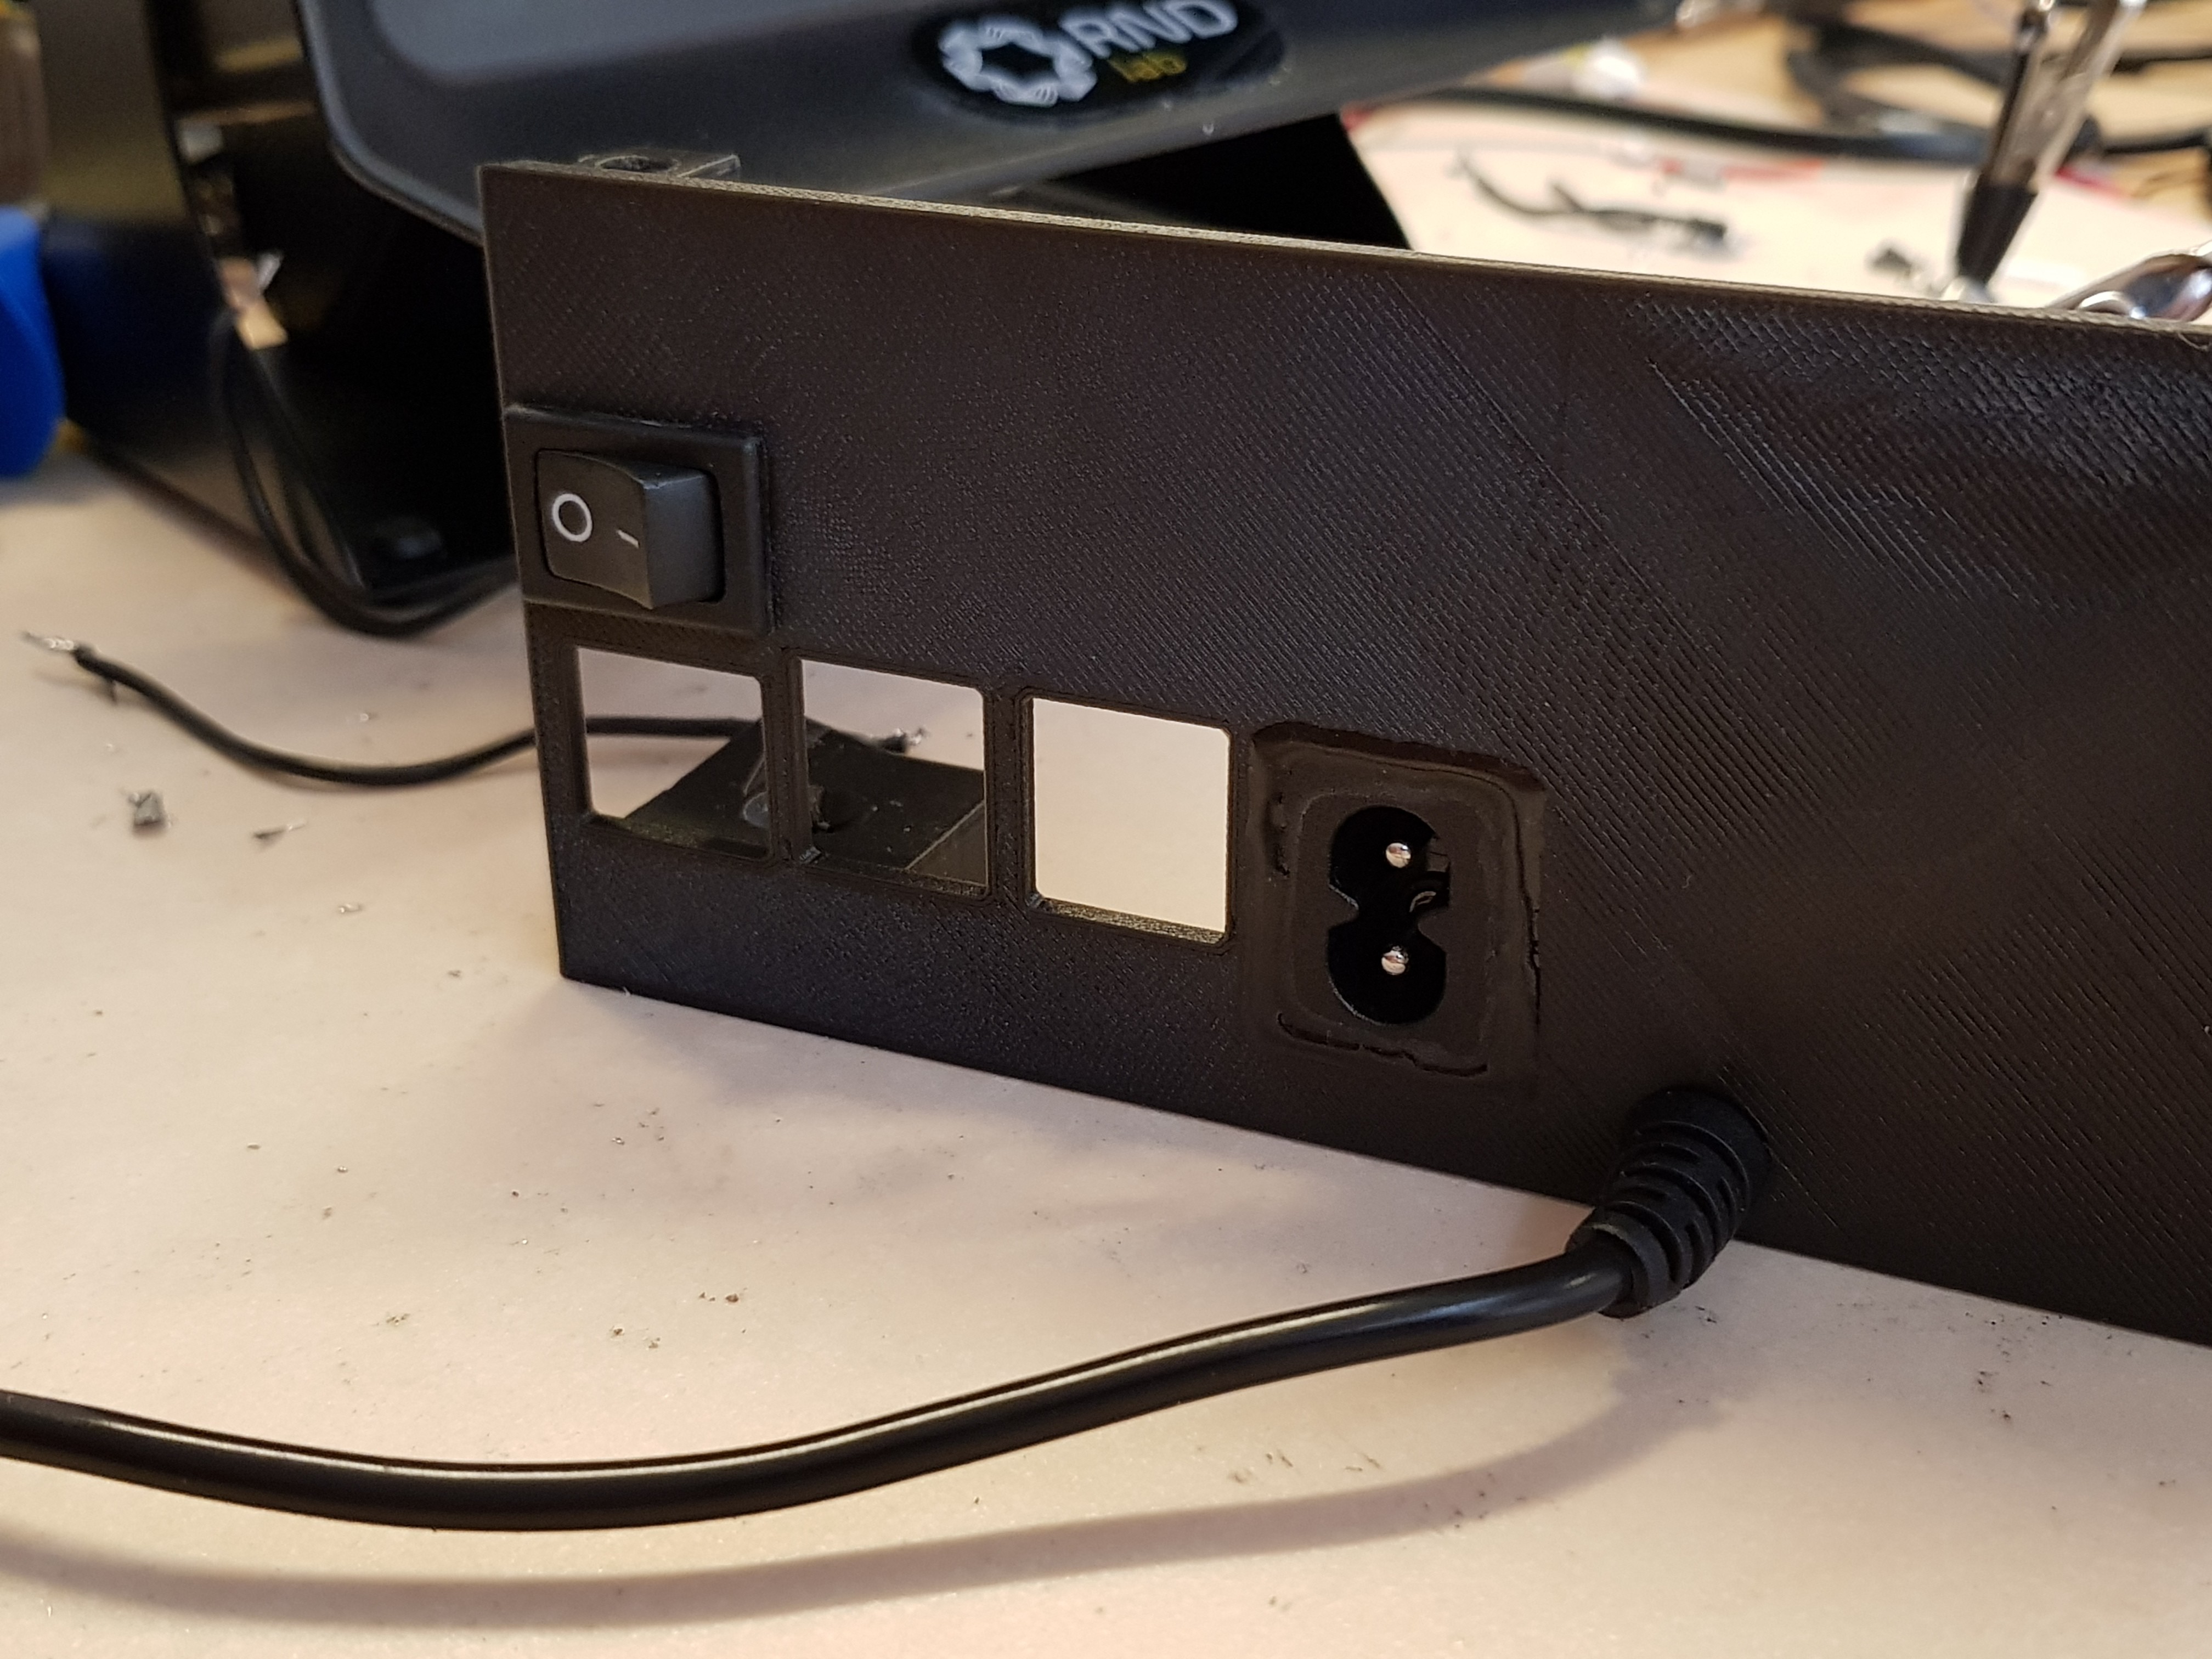
  • Rocker switch
  • Power slot
  • Integrated printer PSU
  • OLED screen
  • 4 buttons
  • Camera
  • Servo motor for camera privacy cover
  • Temp sensor
  • Pins for filament detector
  • Fan to cool down the case
  • Relay to cut the printer PSU hot side

The 5v silent small fan is mounted behind a MOSFET to toggle it on/off. The servo motor is mounted behind a mosfet to cut the 5v input to stop the jittering. The idea is to auto open the camera cover when the print starts and close it when it stops.

Oh, and also 2 1kuf capacitor and a bunch of resistors to protected your raspberry!

The ultimate goal is to have my printer voice controled... So I decided to integrate a little speaker and a mic to use Snips in order to control some basic functions like "Turn the printer on", "Stop printing", "Pause the print" etc etc

The buttons are meant for some functions like an emergency stop, a change filament function, a printer power toggle etc etc.

The screen is meant to display the hotend temperature, the box temperature, if the fan is running, the print percentage, the file currently printing, the ETA to print finish etc etc. All this informations are easily retrievable on Octoprint using the included API

Gerber_PCB_20180924204533.zip

Main pcb

x-zip-compressed - 22.40 kB - 09/24/2018 at 18:46

Download

Gerber_Upper board_20180924204613.zip

Buttons and screen pcb

x-zip-compressed - 12.82 kB - 09/24/2018 at 18:46

Download

  • 2 × 1kuf capactior
  • 4 × 1k resistor
  • 1 × 5v fan
  • 1 × Rocker switch Easy to salvage from an old computer PSU
  • 1 × Power input slot Easy to salvage from an old computer PSU

View all 13 components

  • Closure printed

    Psycho09/27/2018 at 11:30 0 comments

    13 hours and 46 minutes to print the last part, 40mm/s, 0.1 layer, 30% infill.... Only to find out I forgot to update the button position as I had changed the pcb before ordering.... Anyway, the part looks nice, retro as I wanted... Gotta update the 3d model and reprint....

  • Nice wakeup

    Psycho09/26/2018 at 06:08 0 comments

    What's nicer thn waking up with your 3d print finished without a filament runout or a crash/warp/stick problem?

    Now let's go for the closure, long 8 hours print though :)

  • Upper PCB and fan mount

    Psycho09/25/2018 at 20:18 0 comments

    The second last part to print, if everything goes as planned. Looks rather complicated part, but this will ensure a pressure on the upper PCB, which was also kindly provided by JLCPCB to keep it on place and a mount for the 5v fan. Print time @50% infill, with support, 0.2mm layers, 50mm/s : 1h36

  • PCB positioning

    Psycho09/24/2018 at 19:06 0 comments

    Well, the main pcb attachement to the case was forgotten.... So this evening I quickly drew some holders for it, that I glued inside the box. On the final iteration I'll have slots for them for a placement without glue. The pcb now nicely sits inside the box. Next step is finalising the top closure

  • New back panel

    Psycho09/24/2018 at 19:03 0 comments

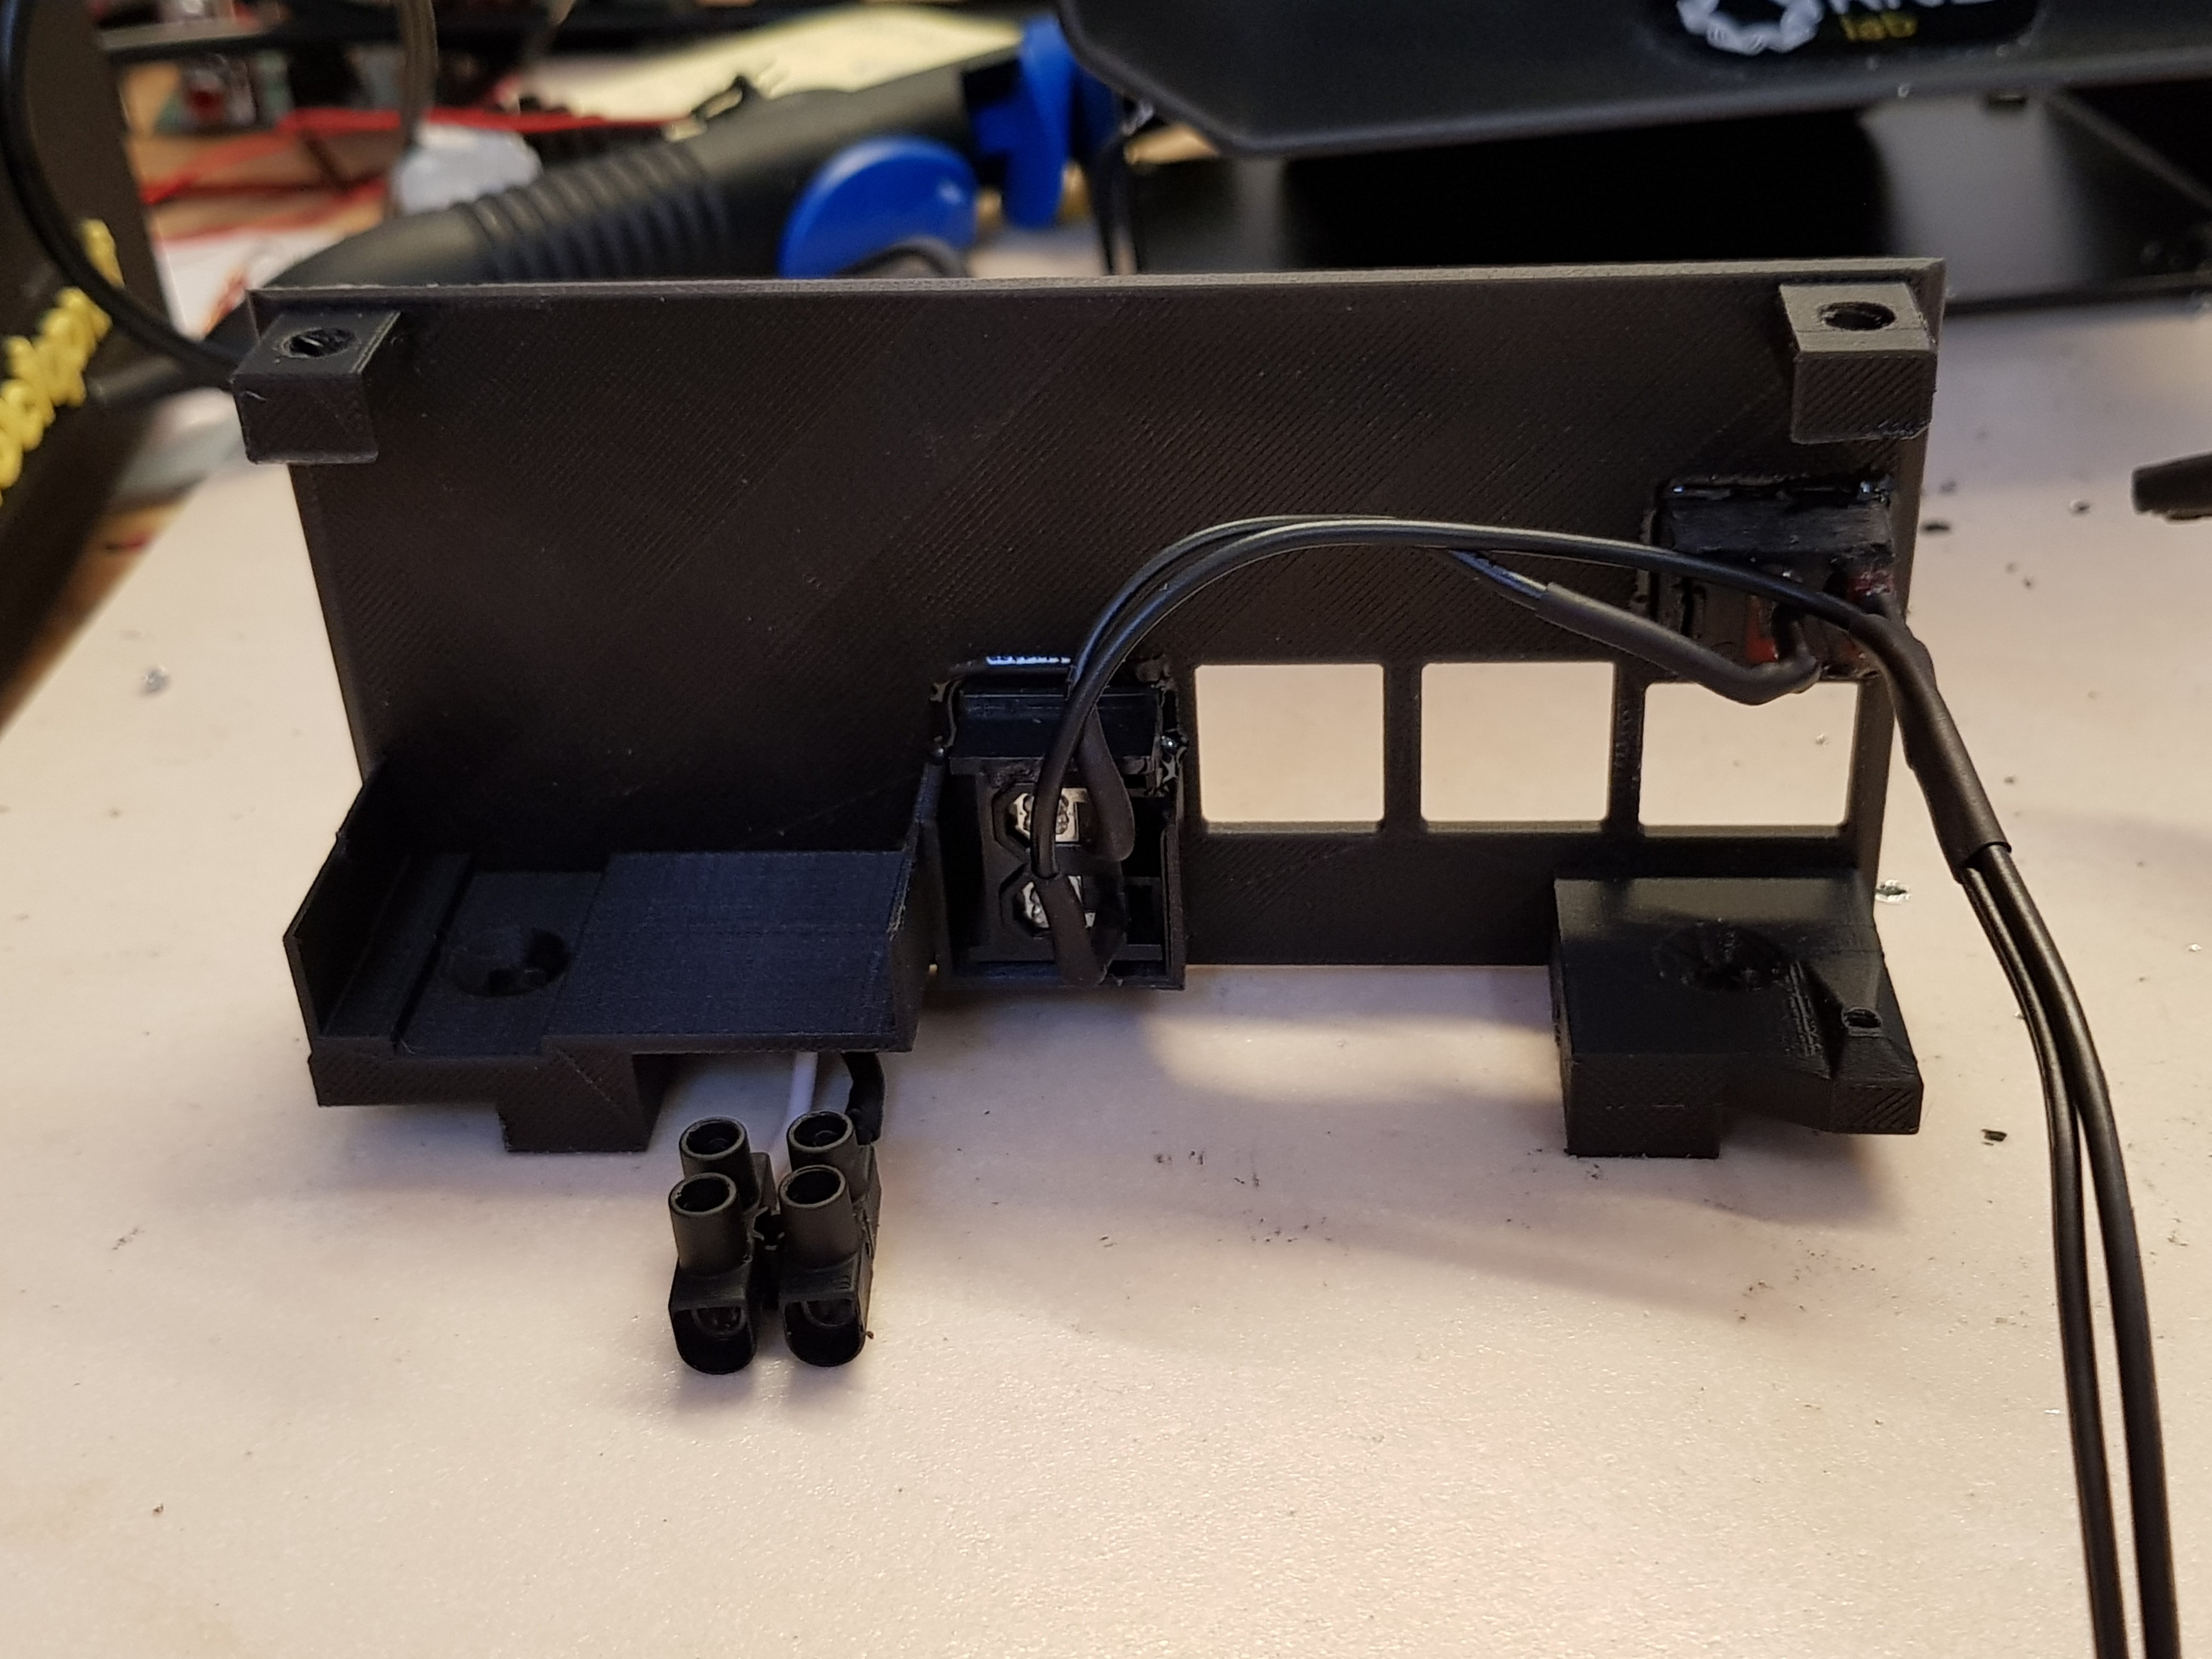
    The need to have more vertical space brought a back panel rework for a much better result

  • Early stages

    Psycho09/24/2018 at 18:57 0 comments

    The first tries...

View all 6 project logs

Enjoy this project?

Share

Discussions

Similar Projects

Does this project spark your interest?

Become a member to follow this project and never miss any updates