-
Exploring alternative Tunings with an illuminated Fretboard
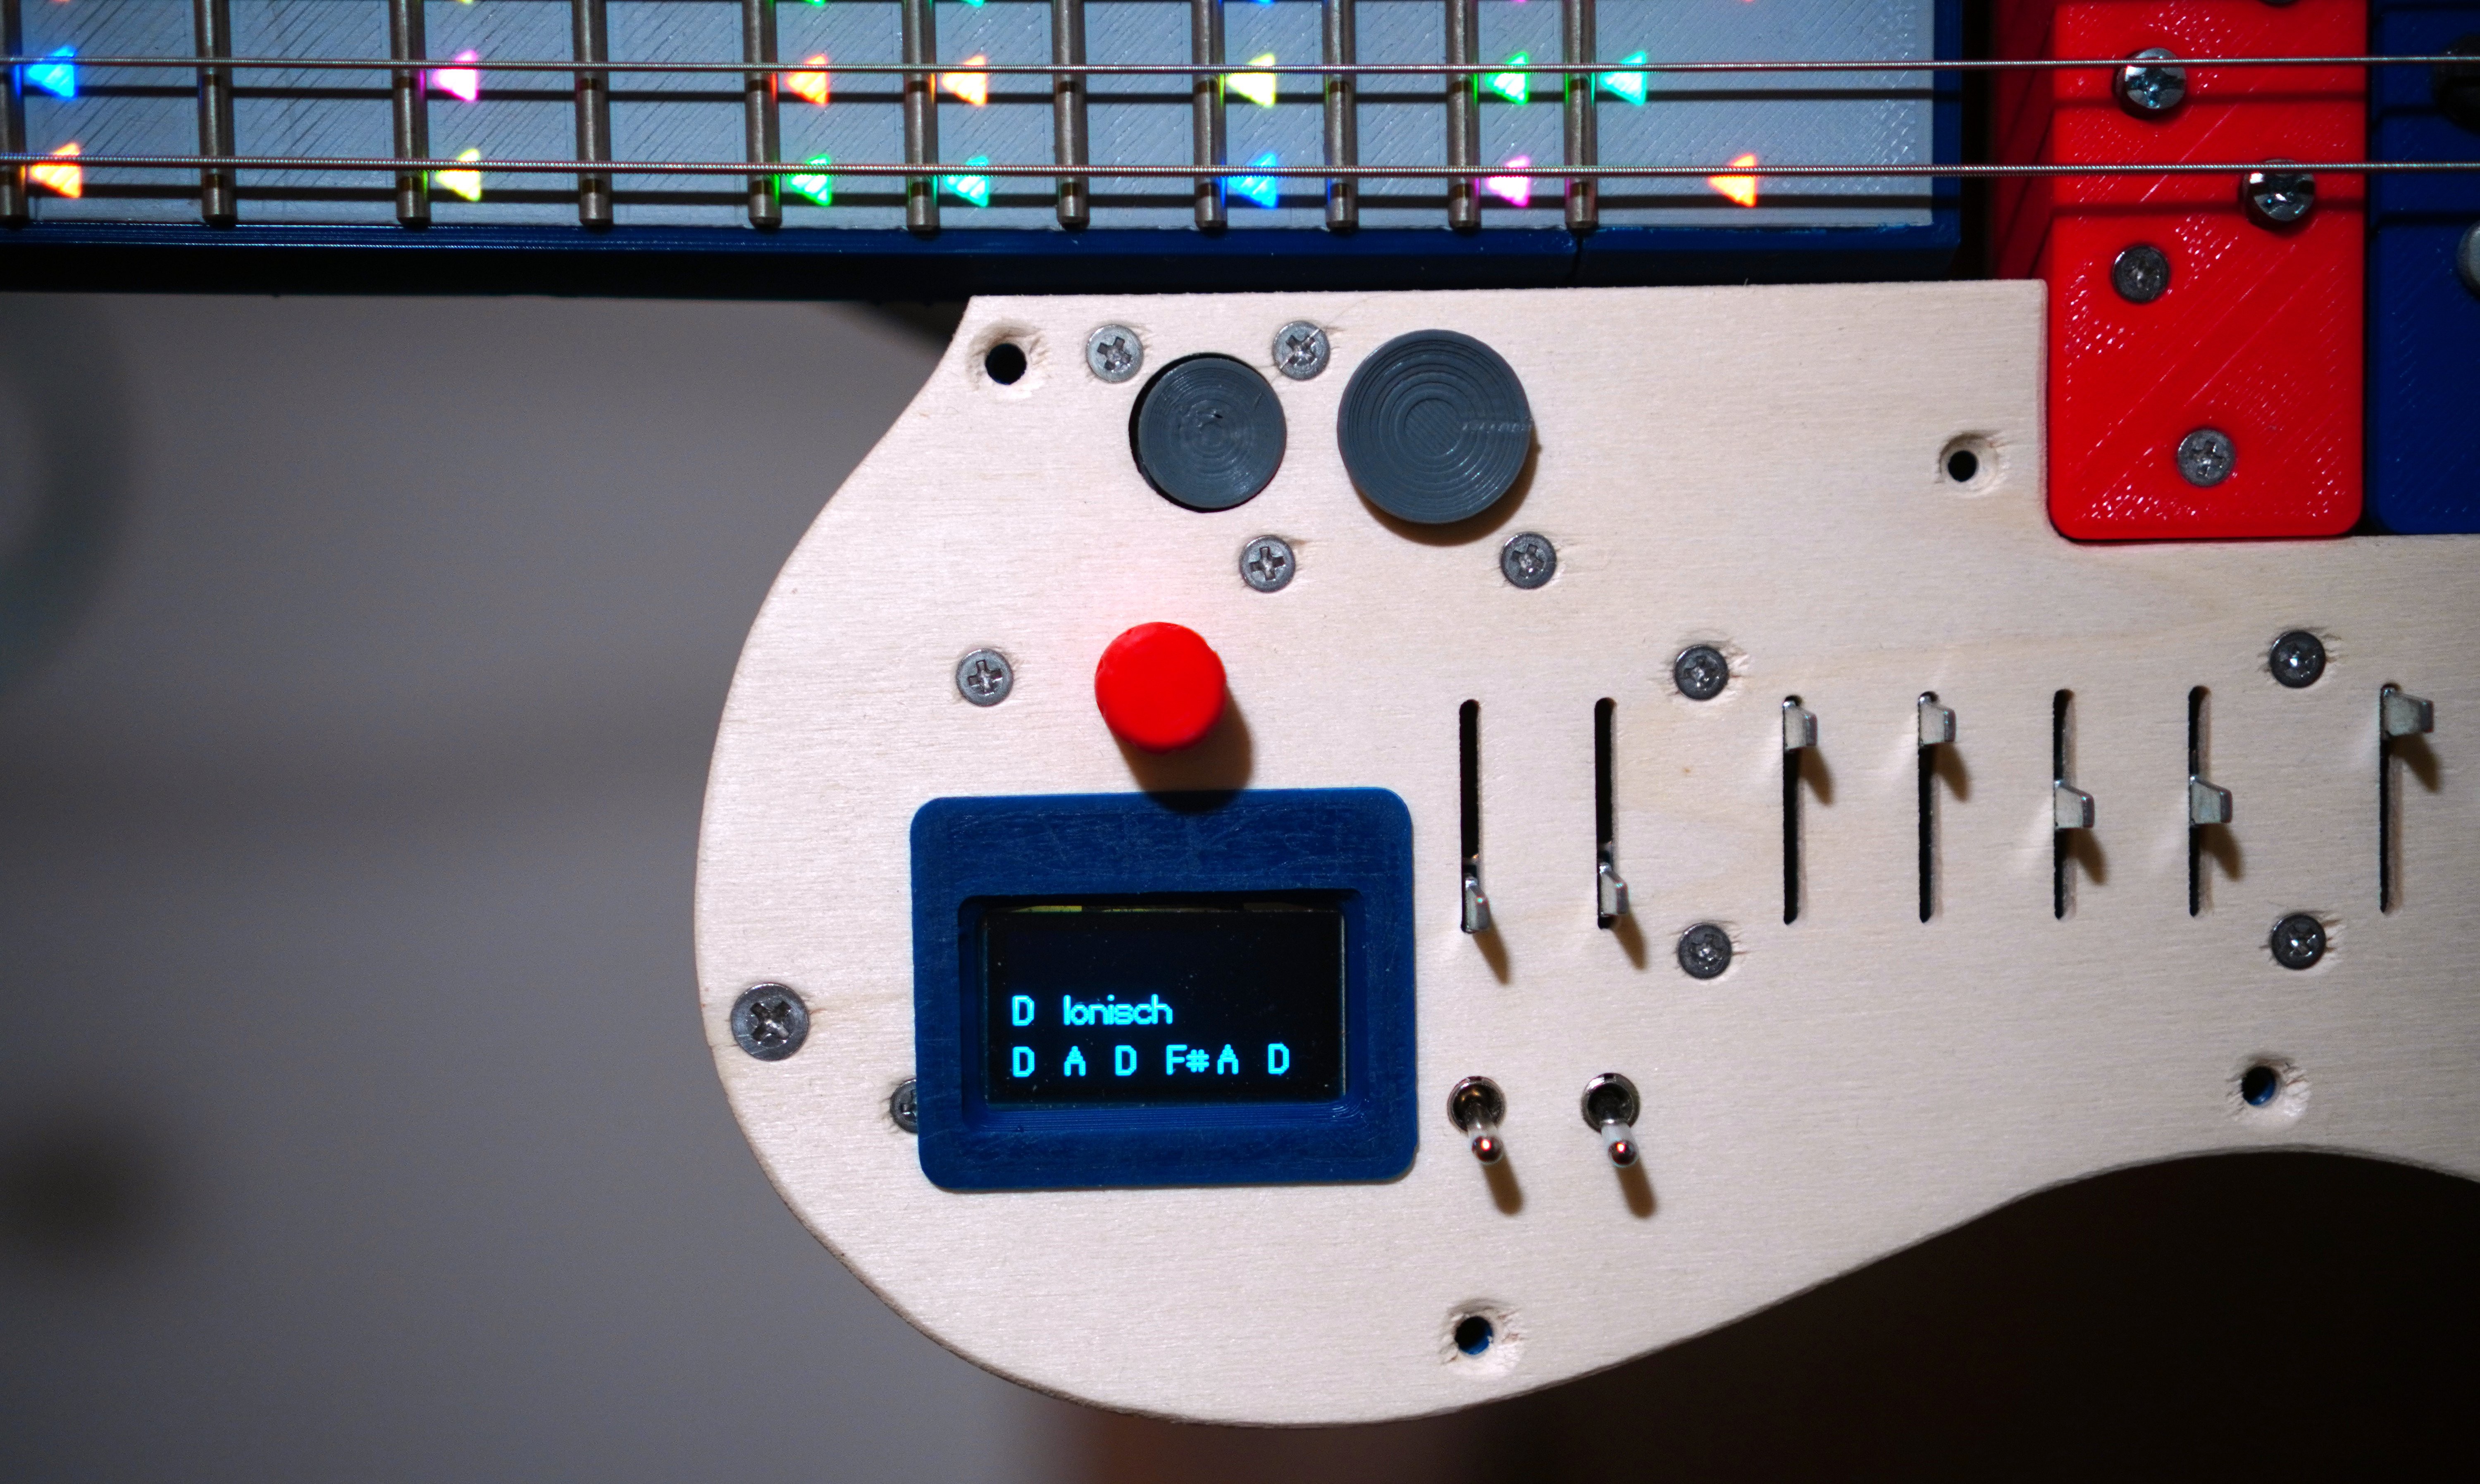
03/21/2021 at 09:09 • 0 commentsAlternative tunings can provide new perspectives on the instrument. I especially like open tunings because I like to play rhythmic patterns with open strings involved that move across the fretboard. But I rarely changed my tuning in the past, because it seemed hard enough to me to learn the fretboard as it is in standard tuning. This has changed since I implemented a polyphonic tuner function and the ability to change the root notes of each string with the corresponding encoders. See a first demo here:
I really do enjoy the ease with which I can now discover foreign tunings and just play them immediately. I think using open tunings may now become an important aspect of my playing technique.
Thinking one step further, I would be quite cool to utilize motor tuners to let the guitar completely tune itself. Since it has a Kickup, it could even excite the strings by itself. I actually already bought some motor tuners a while ago but I’m skeptical if the practical result will be worth the effort. It also would make the guitar even more top-heavy than it already tends to be.
-
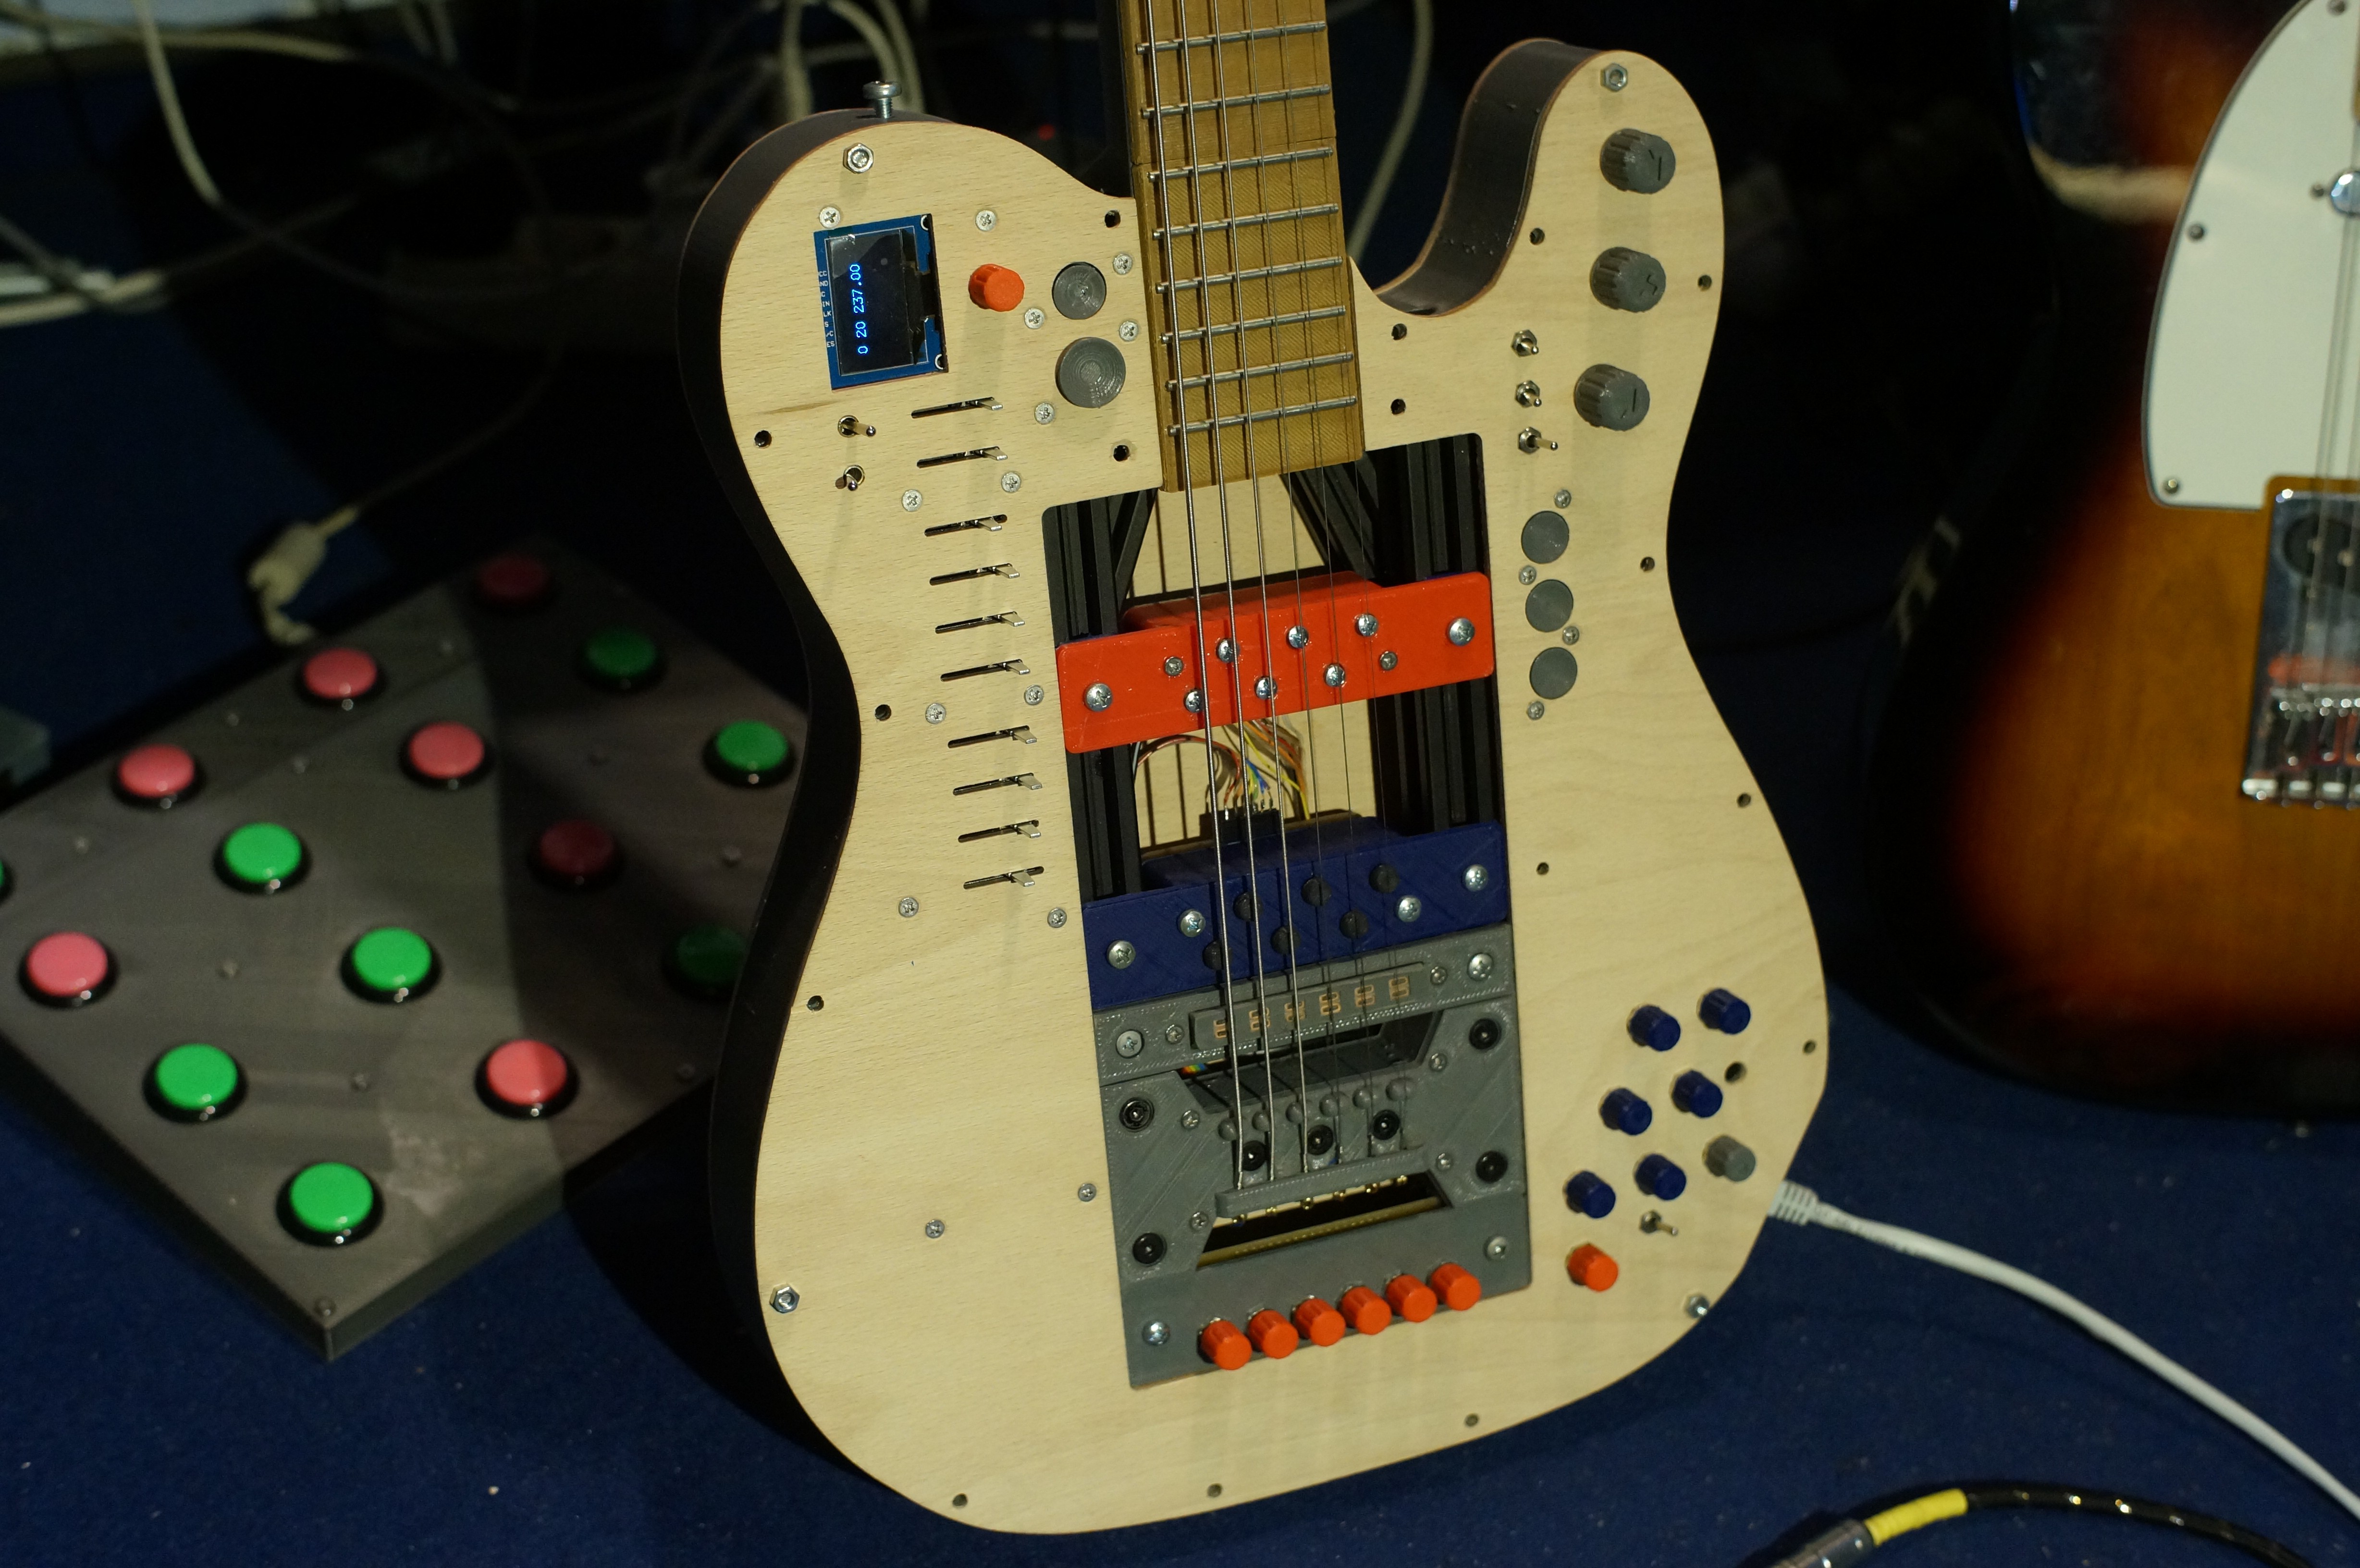
ButtonsFaderSwitchesKnobsEncoderJoysticDisplay
02/02/2019 at 15:39 • 0 commentsThe title says it all: Here's a big update to my ElektroCaster!
![]()
also, the project now has a home on github: https://github.com/fpiesik/ElektroCaster
stay tuned for some music!
-
Power
10/22/2018 at 12:59 • 1 commentOne design goal I have for this project is to make it a standalone intrument, meaning tha you don't need to connect more cables than the audio cable to the amp, to play with it. The only thing missing to get there is an integrated battery. But for now, I focus on optimizing the powering over the RJ45 cable, since this has to work also and should be used to charge the battery too.
---------- more ----------Troubleshooting power
Some of the actuators demand quite a lot of power when heavily used.
One Led needs up to 60mA and if all 102 leds light fully up the fretboard alone needs about 6 Amps at absolute maximum. But I currently use them in half brightness which is still well enough, even in bright light. I haven had a situation yet, where it draws more than 1.5 Amps.
The KickUp is fed with 12V which are supplied via a dc-converter. The overall power consumtion of the KickUp isn't high, because each solenoid is only active for max. 5 milli seconds. But they produce heavy current peaks, especially when they all become active at the same time.
Those circumstances can lead to commnication problems as power goes through the same cable as the communication lines (induction), or worse, make the microcontrollers freeze.
So there is still some work to design a proper power concept. Here are some thoughs on this. If you have advice for me, Id' be glad if you'post the in the comments!
1) Higher Voltage
Maybe I should let go the idea to power this whole thing with 5 Volts and go much higher, like 48V, as power over ethernet does (PoE) for example. This would reduce the needed current dramatically. Various dc-converters could be used to power the different loads.
2) Super (Bypass-)Capacitors
I allready have experimented with a 5.5V, 1 Fahrrad bypass-capacitors on the KickUp (before the dc-converter) with mixed results. There are some side effects to deal with, like the fast charging rate when plugged to power and the long discharging time when the guitar is switched off.
3) Heavy lifting via Battery only
Maybe I ditch the idea of powering the whole thing via those tiny wires of the cable (although I use two of them per pole) and make an energy saving mode where certain function only work when the battery is charged. Initially I wanted to use a beefy single cell LiPo to make the charging easier, but a higher Voltage three cell one npw seems to be more adequate to me.
As a momentary solution I went over to power the KickUp exclusively via a separate externally charged 3-cell LiPo and power the rest with the 5V comming through the cable, which works, but isn't rellay elegant
-
Application Ideas
10/22/2018 at 11:30 • 0 commentsFirstly, the ElektroCaster can be played like a normal (baritone-)guitar, which in itself I'm quite proud of. It's neck is admittedly kind of thick and I whish there would be thinner v-slots available (15x15 would be nice). But all in all, I really do enjoy playing it.
Let's talk about what the ElektroCaster can do what others can't, by quickly sketch some possible applications. Some of them I allready have implemented and some are in the pipeline.
---------- more ----------There are two main categories of applications I have in mind, while devolping this Guitar, which partially overlap: Eduaction and making music.
Education
- learning a
scale:
- display the scale on the fretboard. Highlight important intervals like the third and fifth by different colors
- sense whether a
wrong note is played and give feedbacke, e.g by
- muting the string on which the note was played
- play a particular sound
- play one note and immediatly see all other notes of the same value on the fretboard to look for alternative ways to play something
- teach guitar
- connect two
ElektroCasters, one for the teacher and on for the student.
- Display notes the teacher plays on his guitar on the on fretboard of the student to help him find the next note.
- connect two
ElektroCasters, one for the teacher and on for the student.
In the Video below you see me improvising along a b-major-scale. It's a bit hard to see, but there are different colors for different intervalls: The root is red, the third is green, the fifth blue and the seventh pink. The second, fourth and the sixth are darker and white. Although I know how to play a major scale over the entire fretboard, it's a really interesting experience - It feels releaving not think about the position of the notes.
Music makingIn the video below you can see me playing a sequencer projected to the fretboard, which is programmed by using the touch-sensing frets. It works not perfect yet, but I'm making good progress to improve on that. Notice that the strings are muted and do only sound when the string touches a fret and the sequencer hits an activated step. The strings are hit with the blue device next to the pickup which basically consists of 6 solenoids. I call it KickUp.
This is just a demo implementation, but I think it shows which sonic possibillities are opend up by this combination of sensing led-frets, hexaphonic signal path with dsp and robotic elements like the kickup. Next step to improve the sequencer is to use envelopes to switch the strings on and off more smoothely. - learning a
scale:
-
Designing the Control Interface
10/21/2018 at 17:47 • 0 commentsDesigning a control interface is arguably the most crititcal part when you develope a product. This may be especially true when designing instruments, with which you want to dive into sonic worlds and be in flow with the music. There is nothing more distracting if you have to think too much to achieve a certain effect. Thats why musicians have to practise so much.
---------- more ----------With traditional instruments, you once get a hopefully good quality instrument and the rest is up to you practising. Electronic instruments on the other hand are so diverse, every synth or drumbox is different and you have to learn their worklfow like a new instrument. With modular synthesizers it's even worse as your setup is constantly changing.
In my experience, the are to main aspects when it comes to design a control interface, which are quite hard to reconcile: flexebility and ease of use.
The last interface I designed was quite flexible but fiddly to use, keeping me away from using the full potential of the instrument.
As for the ElektroCaster I find It particulary difficult, because there are so many things I wanna do with this and there also many things I potentially haven't think of yet. As the ElektroCaster is the first of it's kind, ther're isn't a real rolemodel I can lean on to.
Here are some things which sould or could be controllable. You can ask yourself if those parameters should be editible for each string or all strings at once:
-Volume and tone (eq)
-The Sequencer (Number of steps, Speed,...)
-Effects (which effects to use, in which order, the individual parameters)
-Other modulation sources than the Sequencer and what they are modulating (arpeggiator, footpedals, fader, pressure sensors,...)
Basically, there are three interfacing concepts I'm considering:
1) The full fledged physical interface where the whole top plate is crowded with buttons, faders, displays and all that stuff.
2) The fretboard-centric interface which uses the led-sensing function to edit everything, only accompanied whith some shift (foot-)buttons or switches to select different editmodes. Drawback here is that you can't edit while playing.
3) The app-driven interface where all the editing is happening on a tablet, which sends the parameters vial OSC to the guitar.
Those are the basic routes and and I'm still hesitating which one to take.
-
The MultEBow
10/13/2018 at 07:42 • 0 comments"The EBow is a battery-powered electronic device for playing the electric guitar. The EBow uses a pickup – inductive string driver – feedback circuit, including a sensor coil, driver coil, and amplifier, to induce forced string vibrations. The EBow is monophonic, and drives one string at a time, producing a sound reminiscent of using a bow on the strings." (Wikipedia)
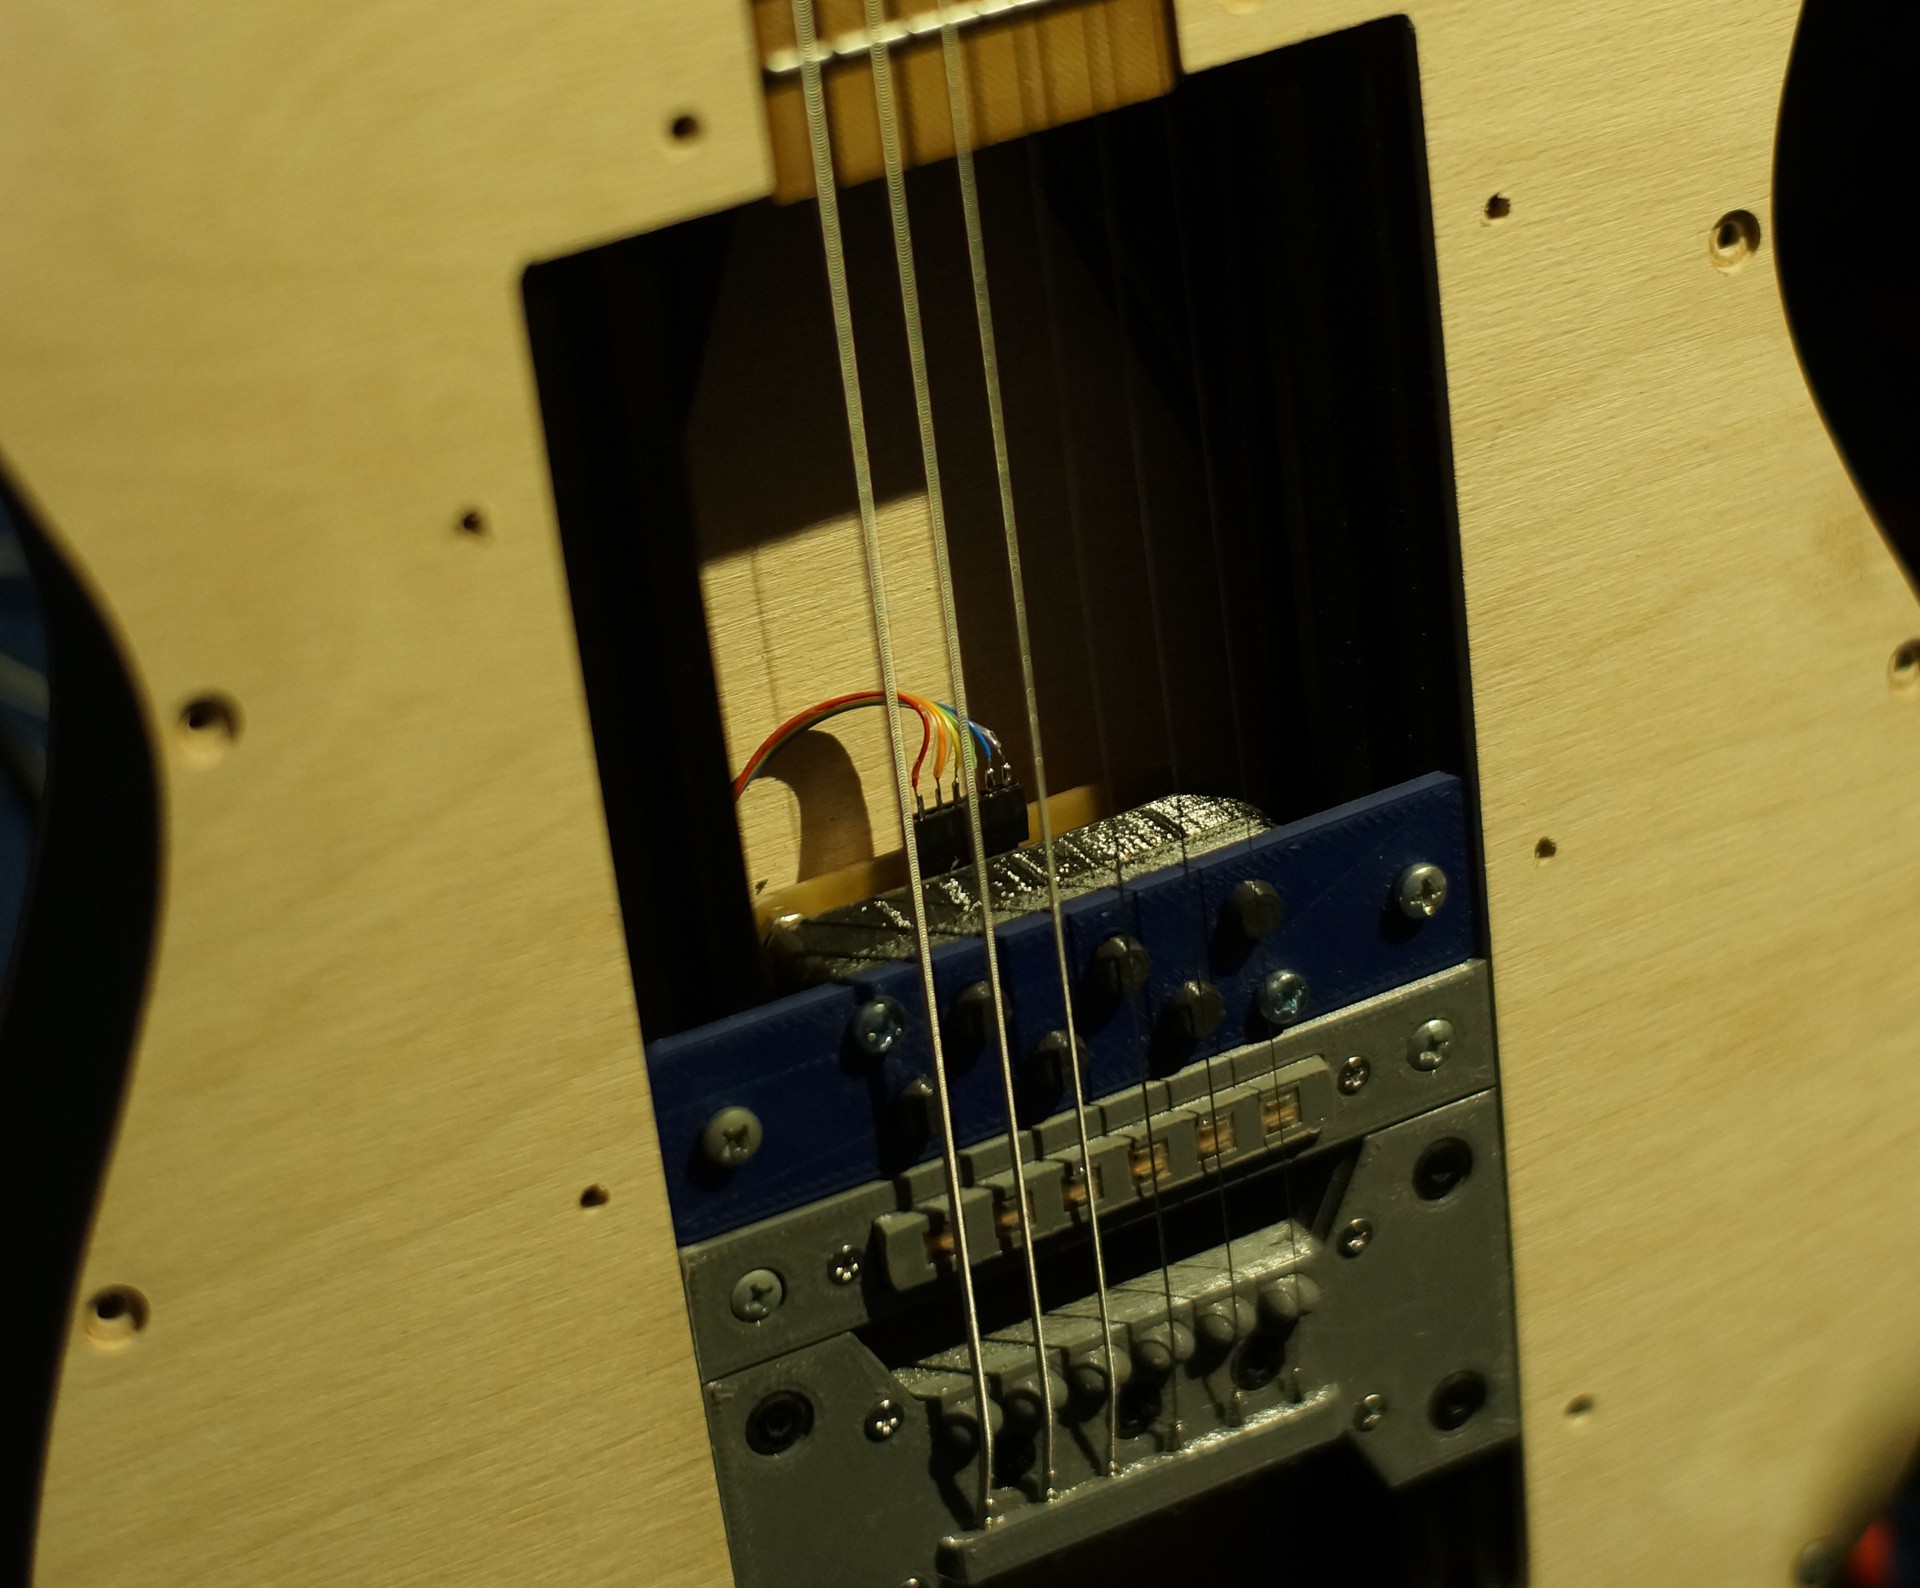
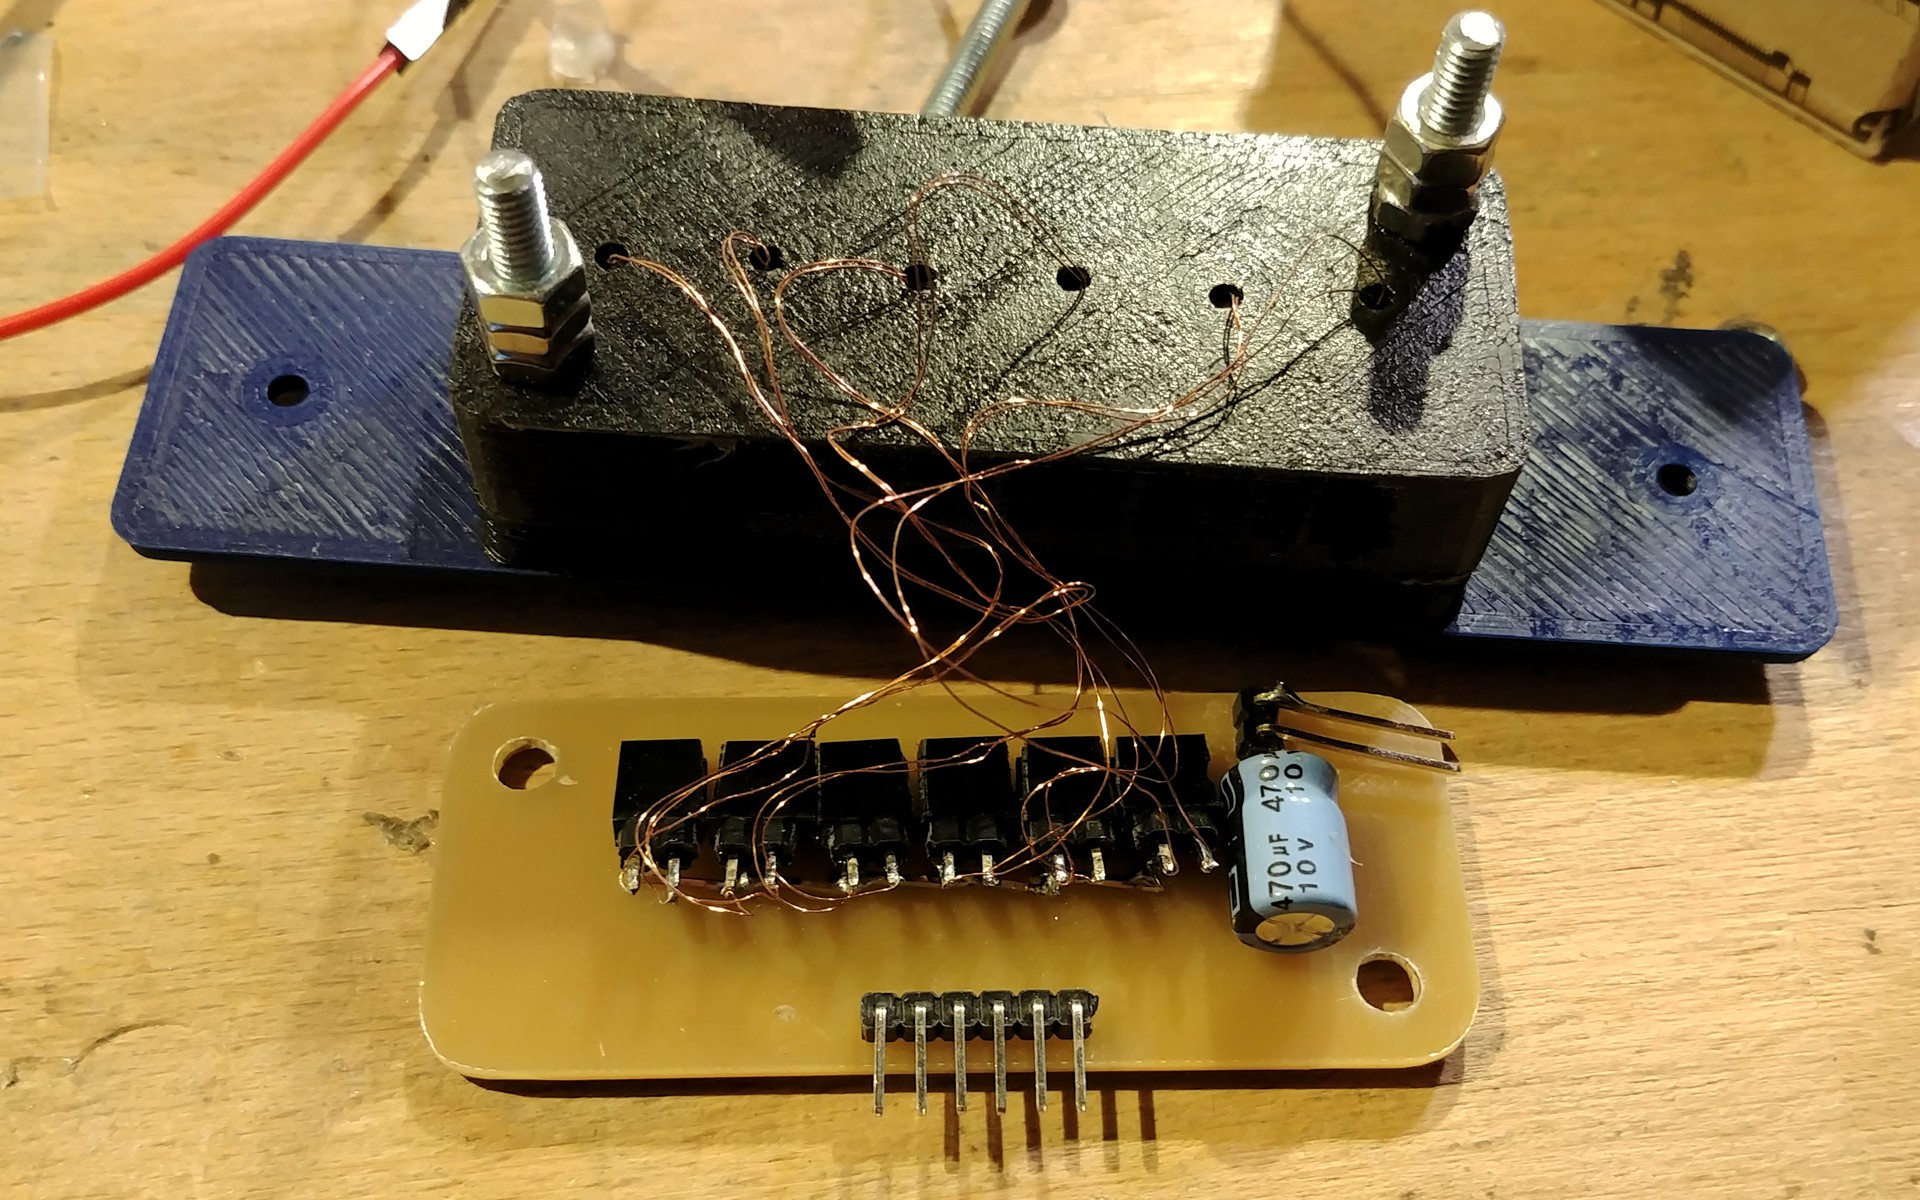
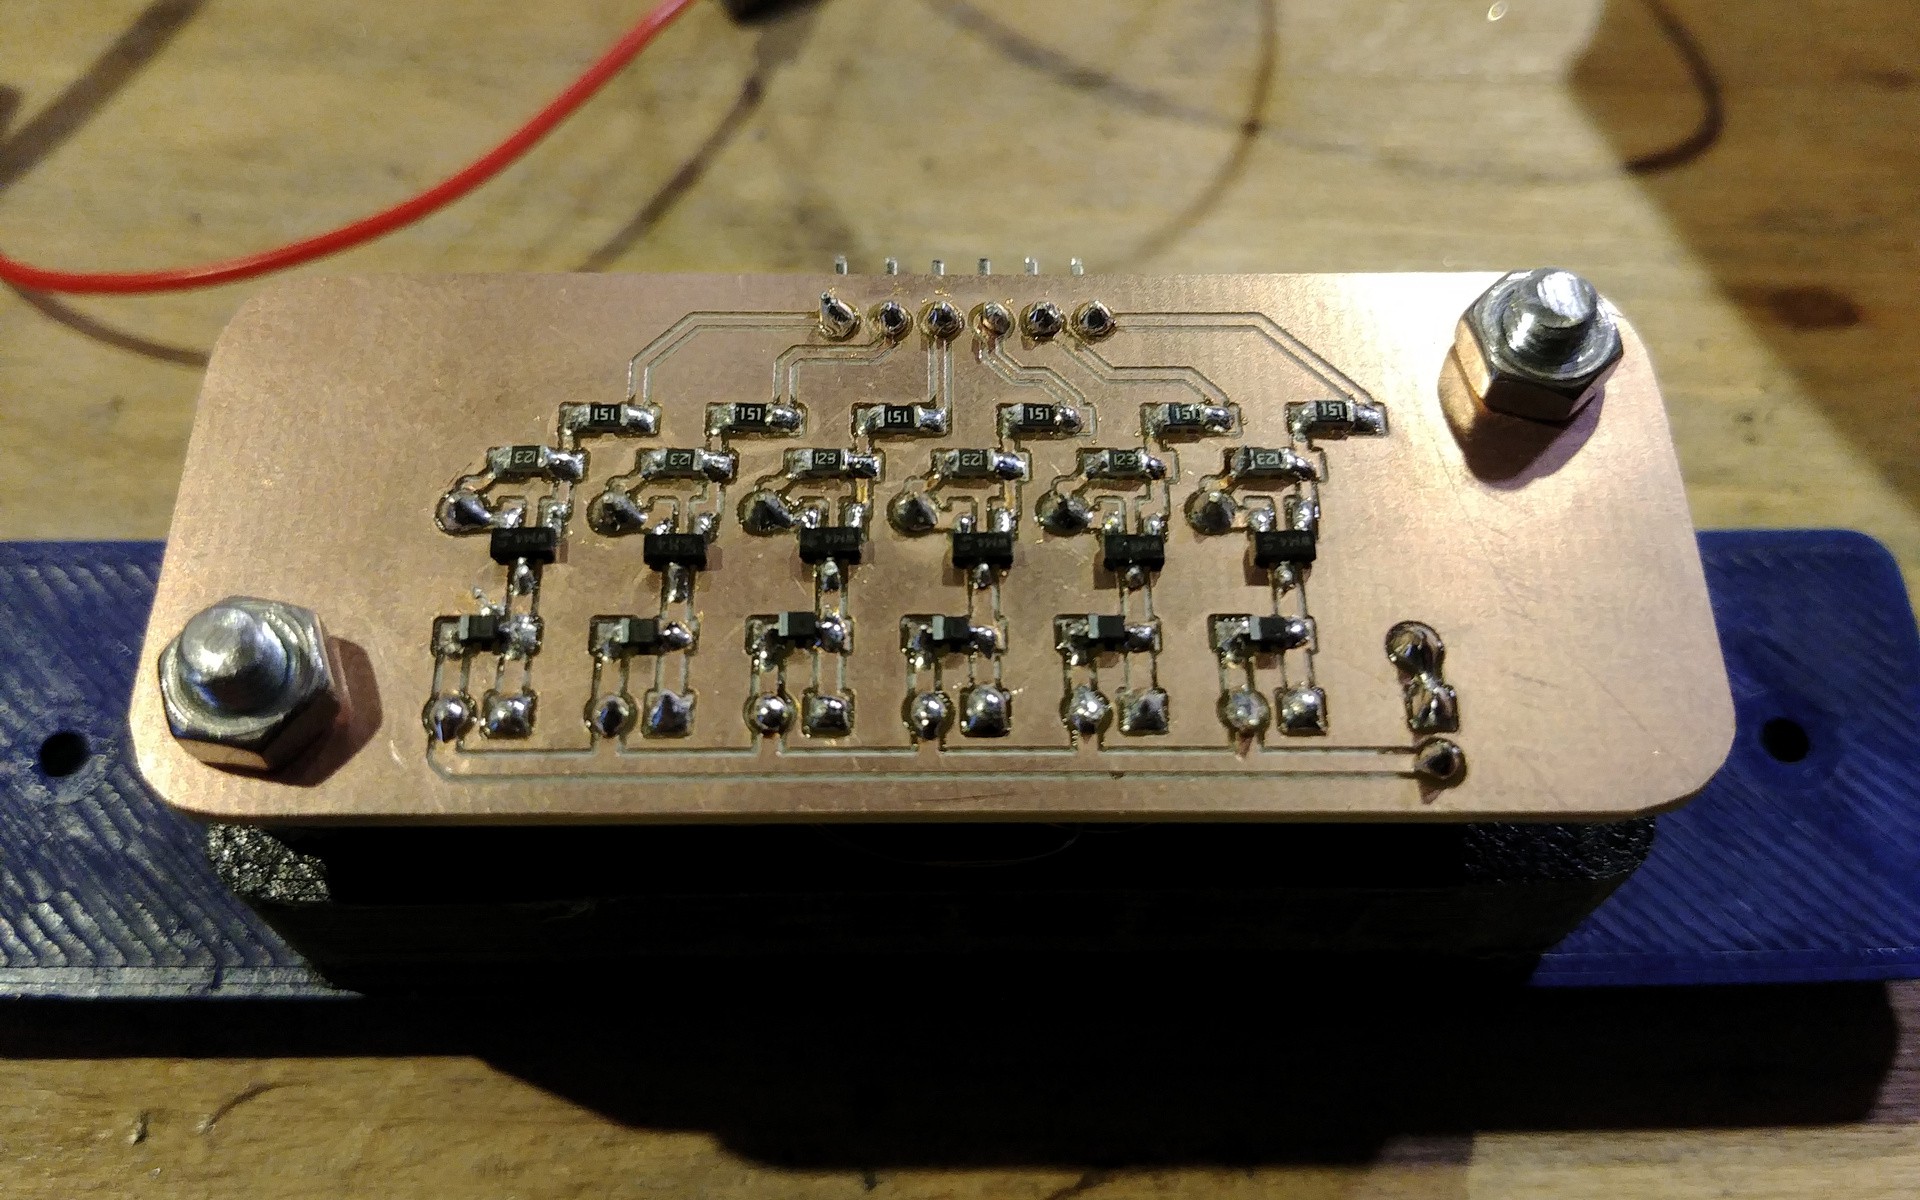
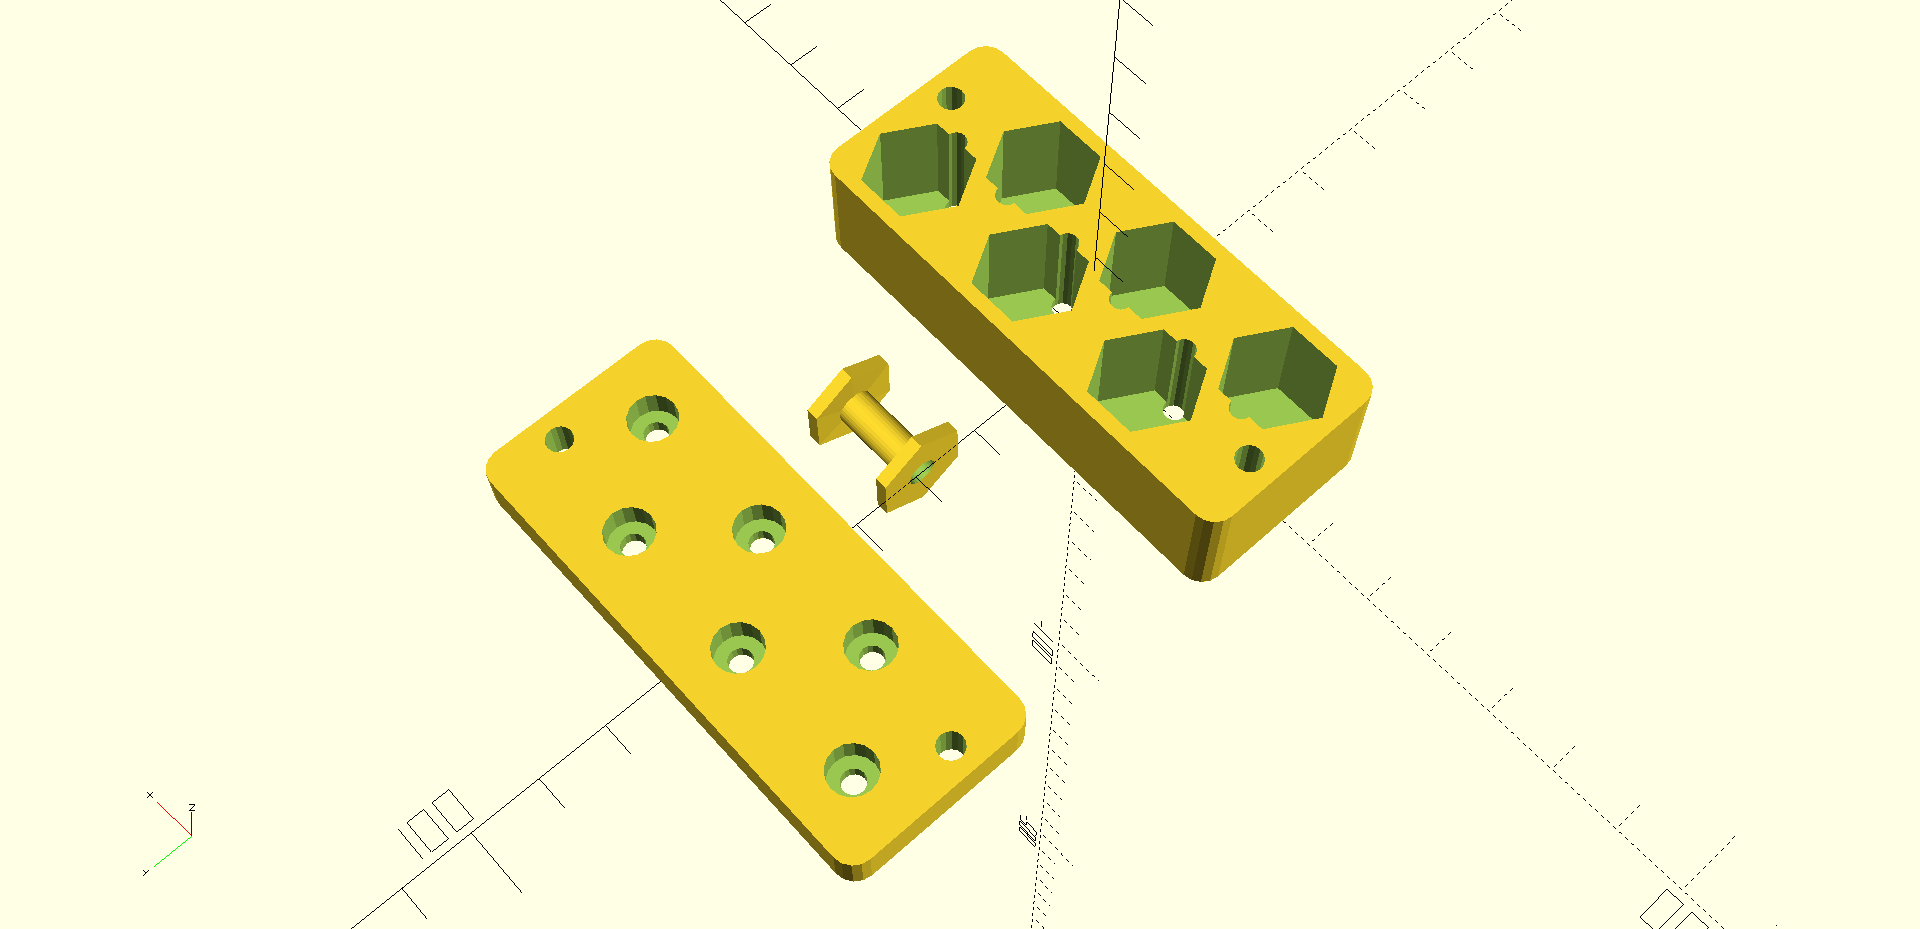
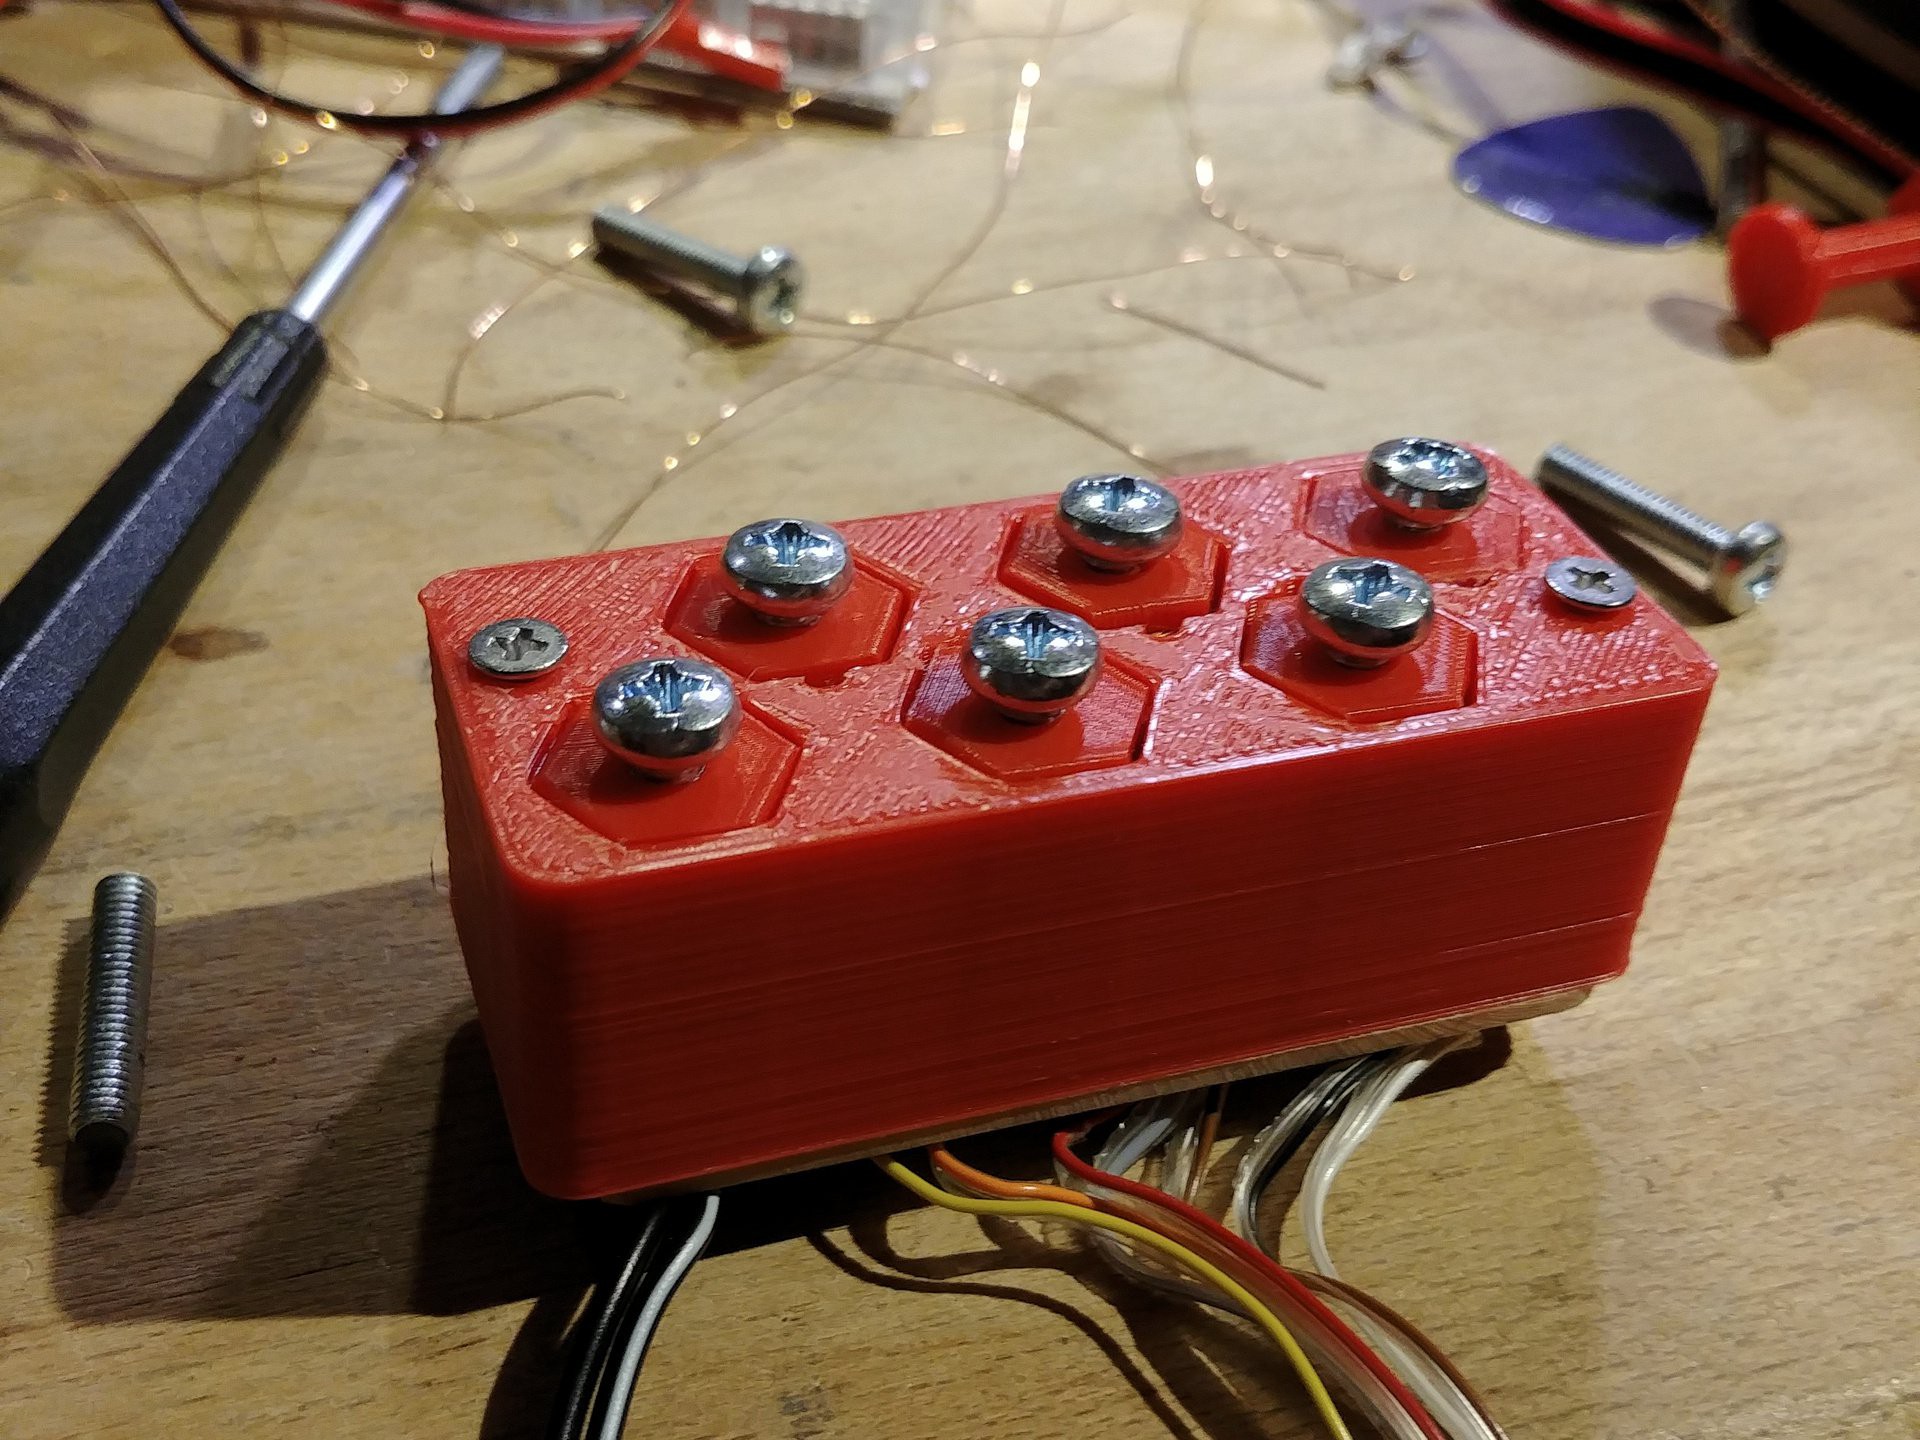
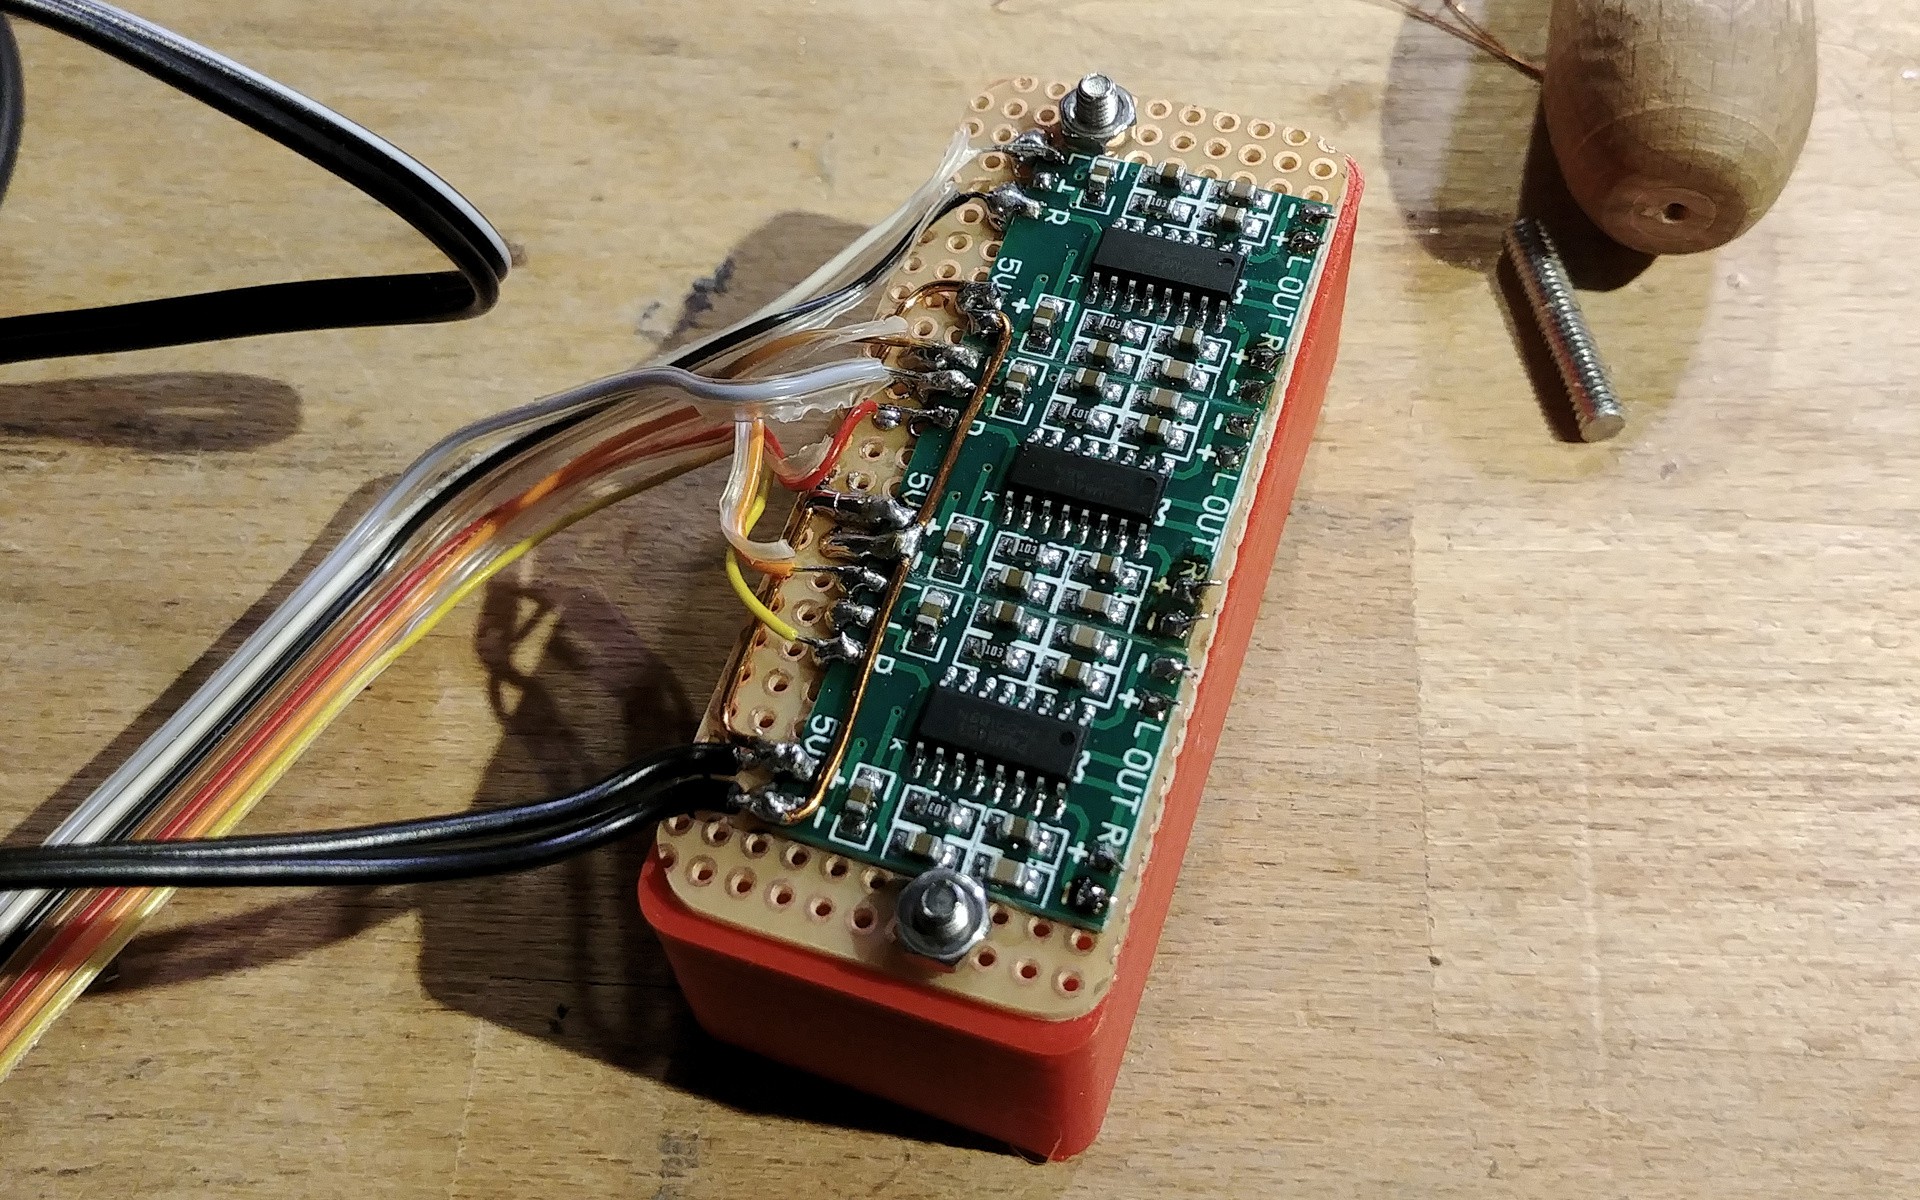
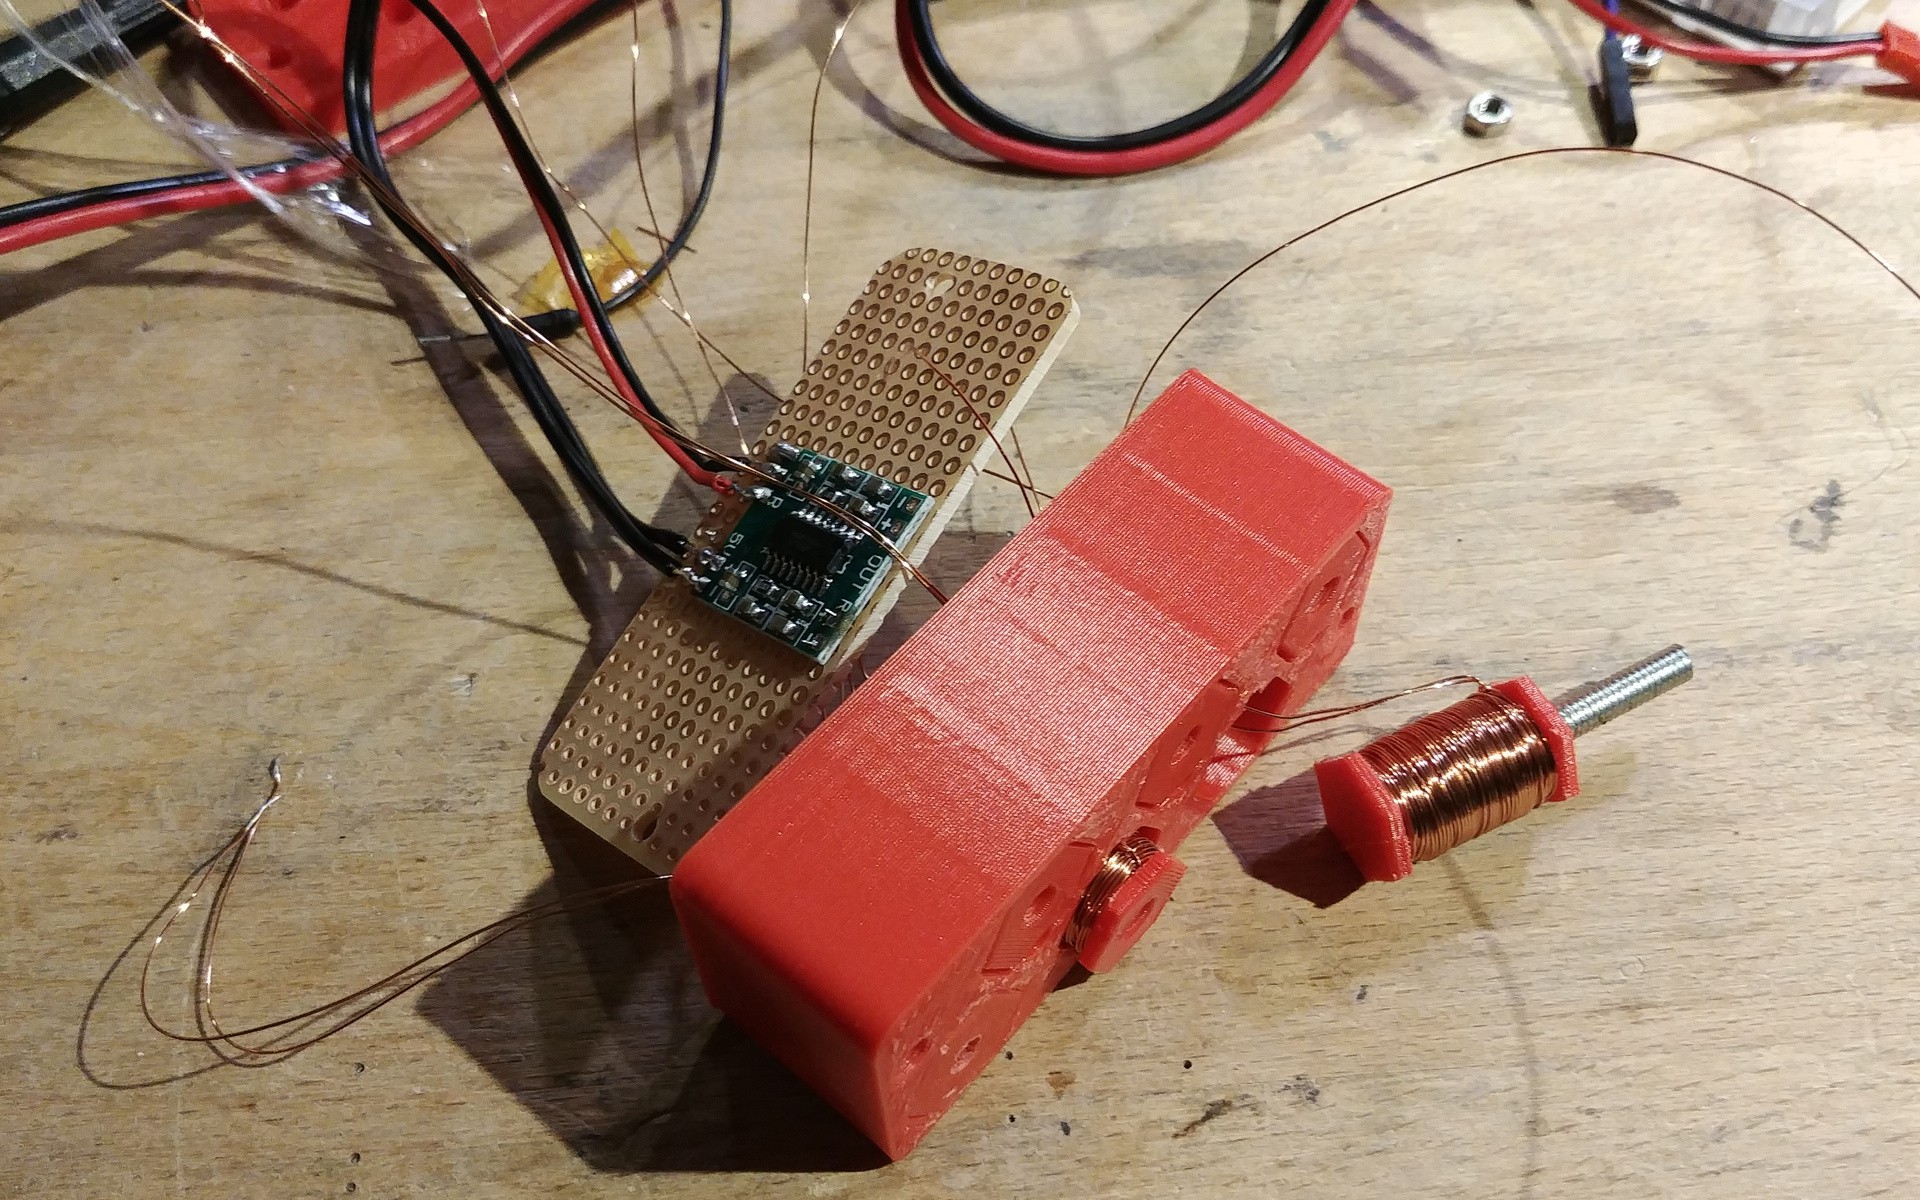
The idea of the MultiBow, which I'm currently trying to realize, builds on this concept. It's essentially six EBows firmly installed under the strings. The allready installed hex-pickup serves as sensor coils and the driver coils are integrated with small class-d amplifiers into another pickup looking package. So the six signals from the pickup are going throug The Teensy-audio-board I use. It has 8 output-channels and I do only need one or two for the main output. One idea was to have additional discrete outputs for each string to process them externally. But using them as part of the MultiBow does make more sense to me, as it opens up the possebillity to modify the feedback signal to alter the effect on the strings (see moog guitar).
Here is a little demo video to proof the concept:
---------- more ----------The digital path is currently just dry. But it affects the signal by delaying it a few milliseconds. That doesn't seem to be much, but I fear the so introduced phase shift reduces the efficency of the sustaining effect. The high power consumption (about 10W when all strings are in action) in comparison to another approach I tried, seems to confirm that.
There are two ways I think of to enhance efficency:
- Compensate the phase shift by delaying the the signal a certain amount of time. The exact timing could be calculated by taking the latency and the signal frequency into account. But I currentliy don't have an frequency detecting algorithm as the one in the Teensy example patches doesn't work with the short sample buffer of just 16 samples I've set. Also, it would be quite cpu expensive to apply this to all six strings simultaneously.
- Use a waveshaper to modify the waveform. My train of thought: If we put a bipolar sinosoidal wafeform into a coil, it changes the magnetic field direction within the phase, so a magnet would be pulled and pushed. But a string isn't a magnet. Regardless of the direction of the magnetic field, the string is pulled in both cases. So eliminating the postive or negative portion of the signal may avoid the effect of pulling the string while it' swinging in the other direction.
Do have further ideas or advice on this? Let me know in the comments!
Some pictures:
![]()
![]()
![]()
-
The KickUp
10/10/2018 at 12:41 • 0 commentsThe KickUp is an actuator which includes 6 solenoids and a mosfet driver. It's used to hit the srtings from beneath - just the opposite of a pickup. Now the ElektroCaster can play semi-automatically (you still have to use the left hand). See the the KickUp in action in the sequencer video on the details page!
![]() ---------- more ----------
---------- more ----------![]()
![]()
![]()
![]()
-
Connection and Communication
10/08/2018 at 10:15 • 0 commentsSince this guitar is intended to be used in an ectronic music environment, it has to communicate with the rest of the gear, at least to get a clock signal on which it can synchronise it's actions.
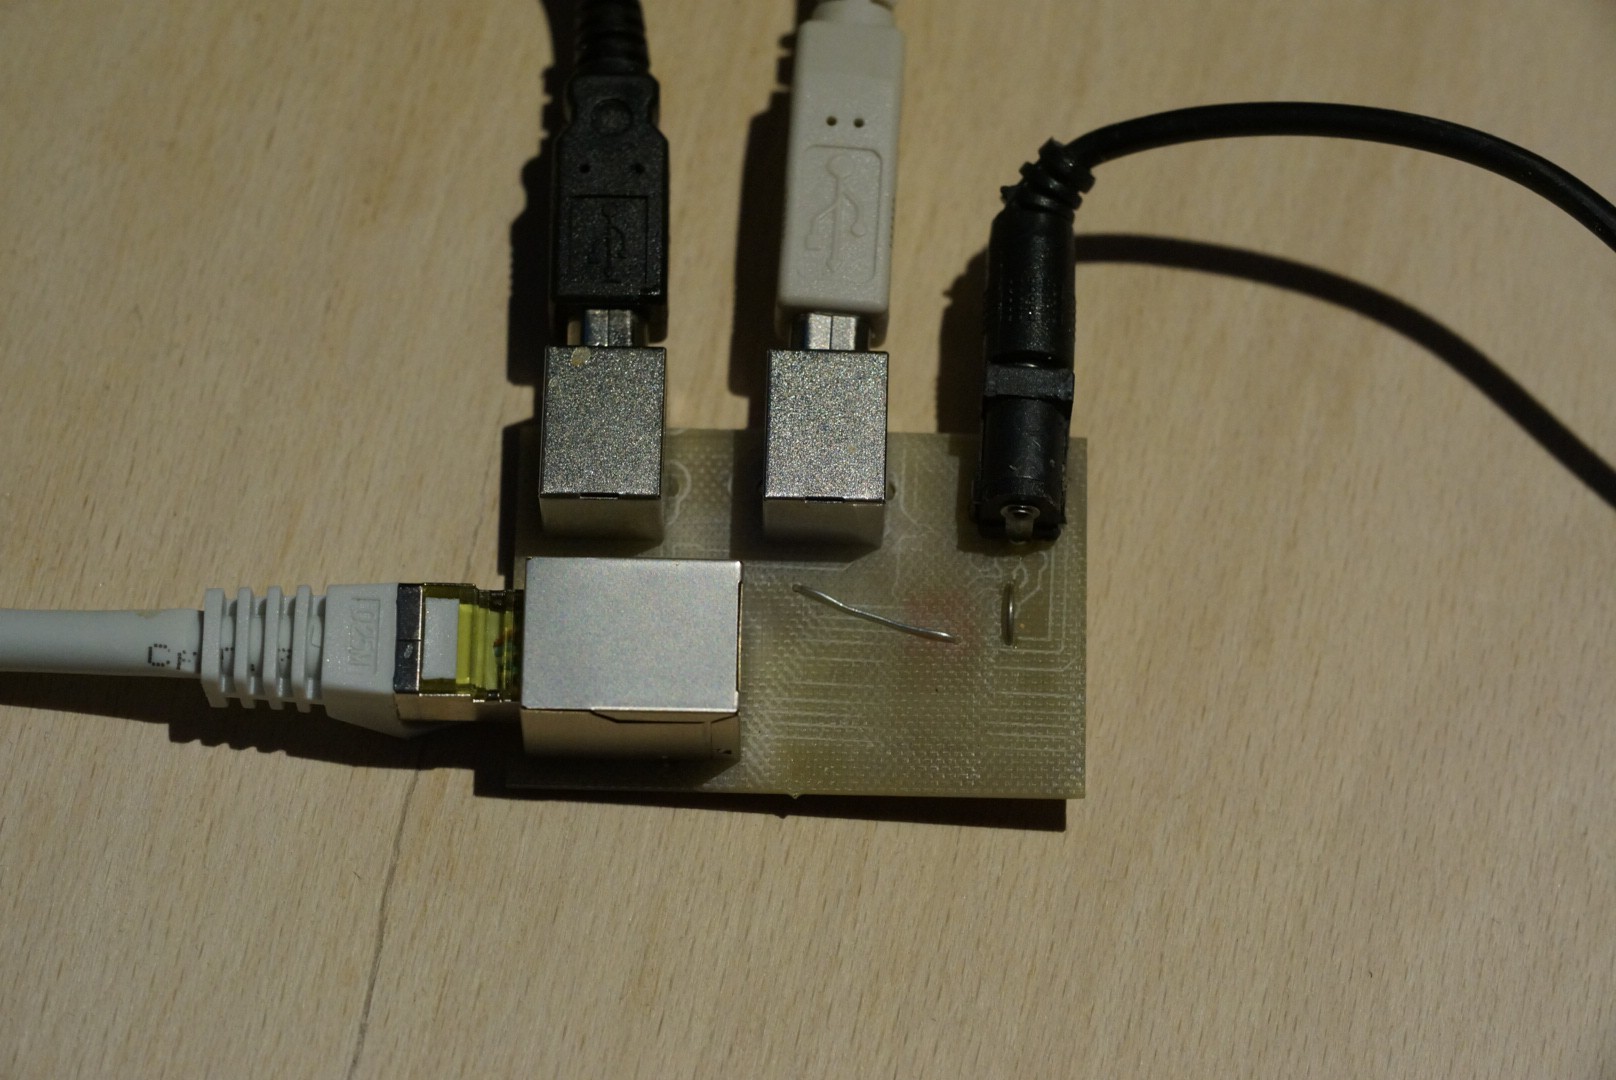
---------- more ----------There are two output jacks, one is a 6.3mm stereo jack for the guitar signal. The other one is a RJ45 jack wich combines the two USB-Ports from the Arduino Due and the Teensy 3.6 as well as a power line (two wires for Due, two for the Teensy, two for +5V and two for Ground).
The Guitar communicates via the OSC-protocoll to a PureData-Patch which is connected to other gear. The two microntroller are also connected together via serial port.
Here is the adaptor on the other side -
Body-Neck-Construction
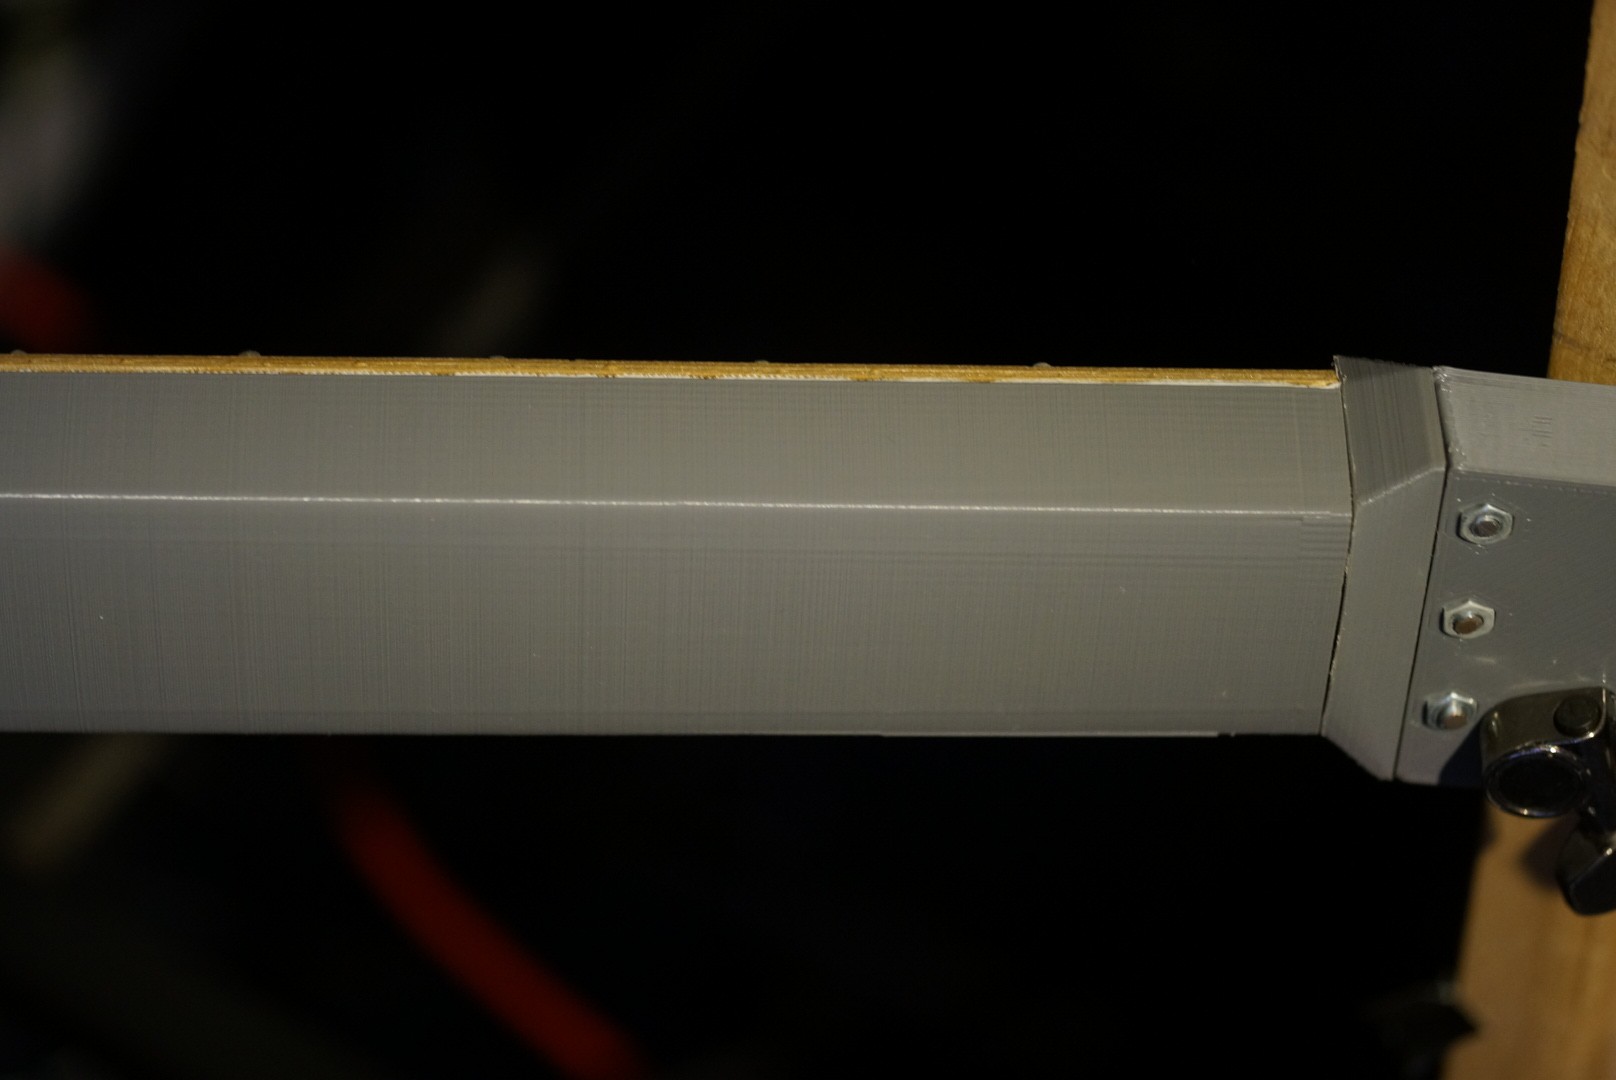
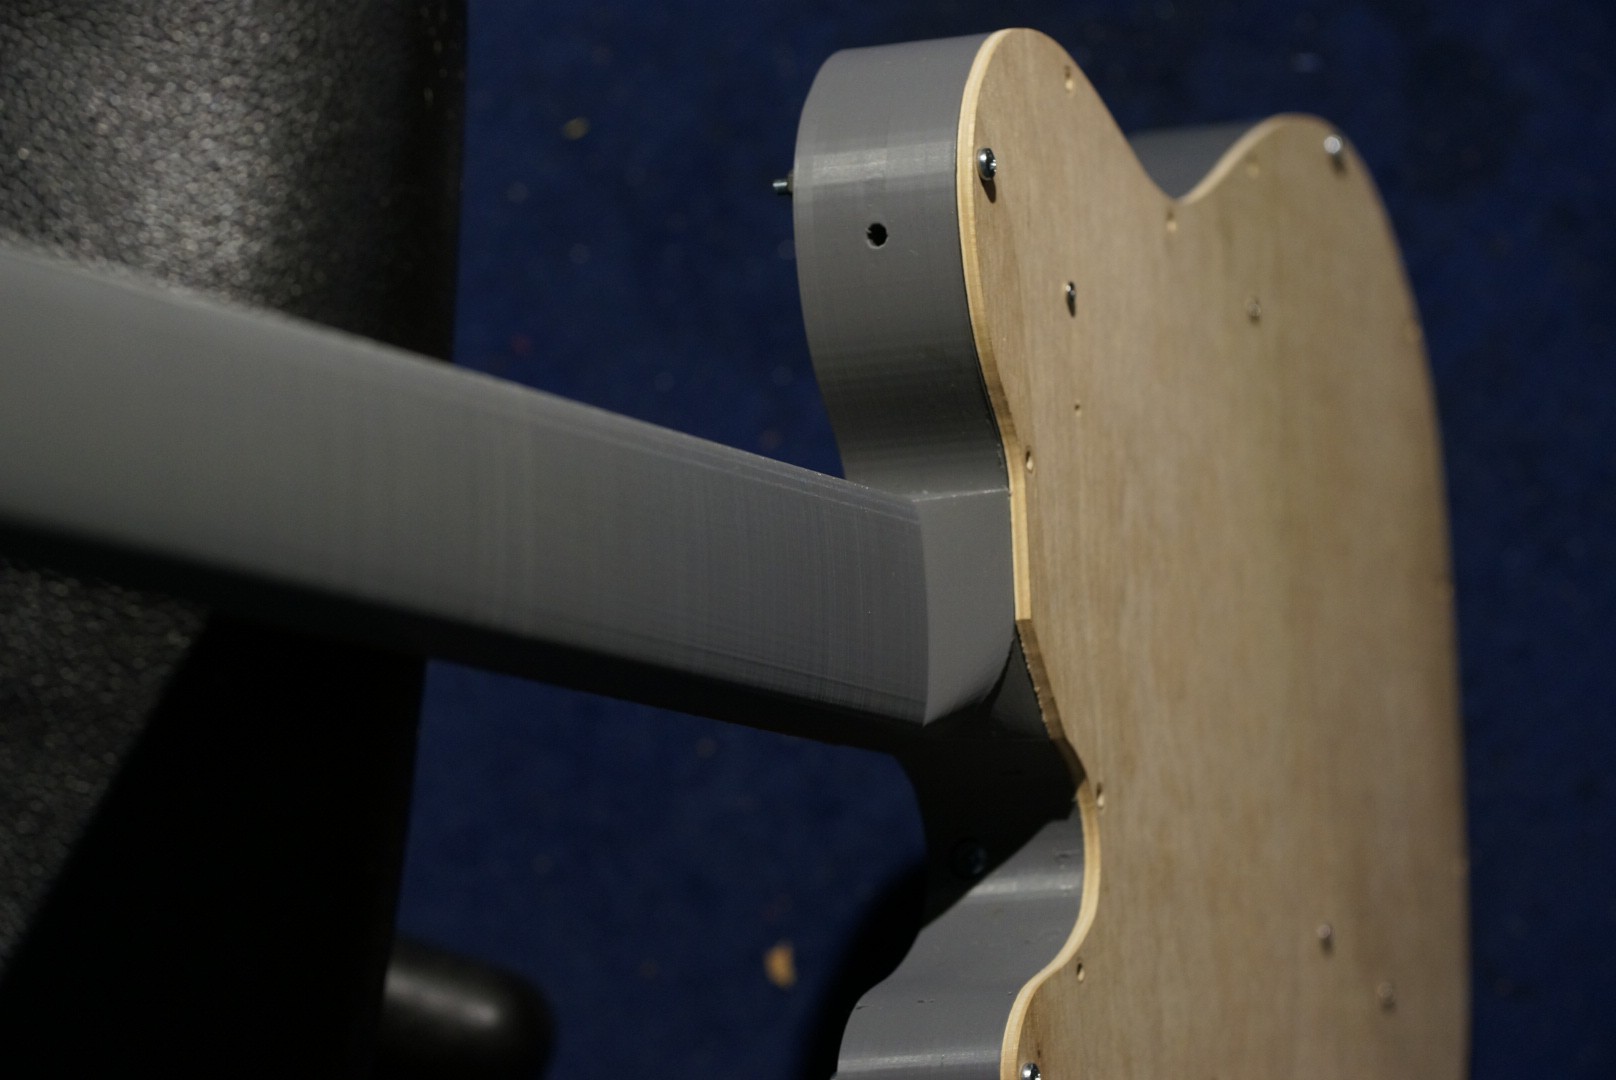
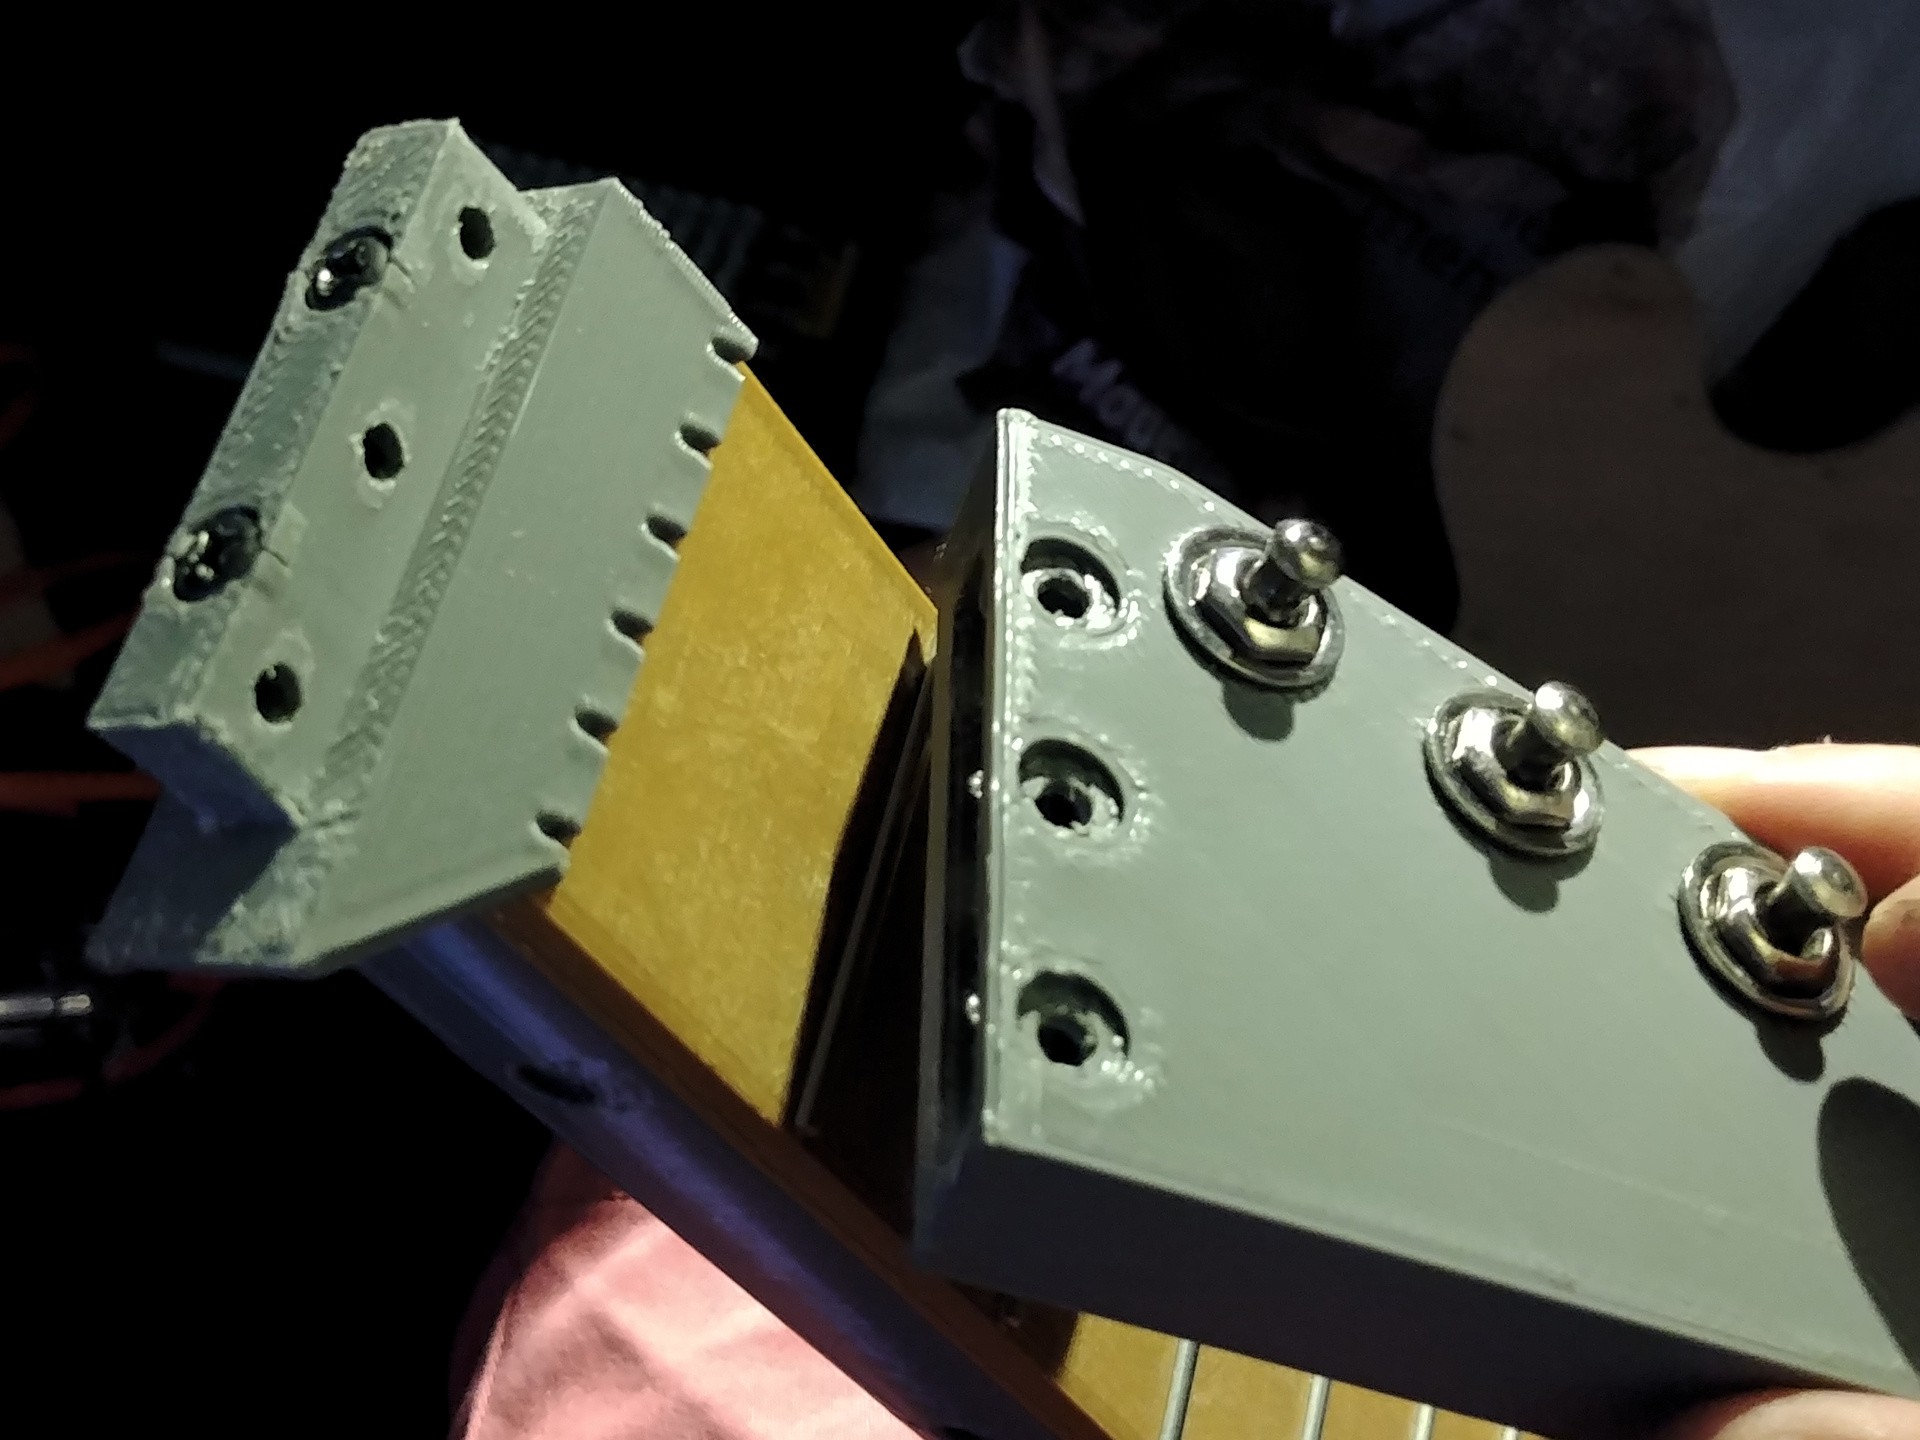
10/08/2018 at 09:35 • 0 commentsI used three different types of components to build the basic shape of the guitar: 3d-printed parts, 20*20 VSlot profiles and plywood.
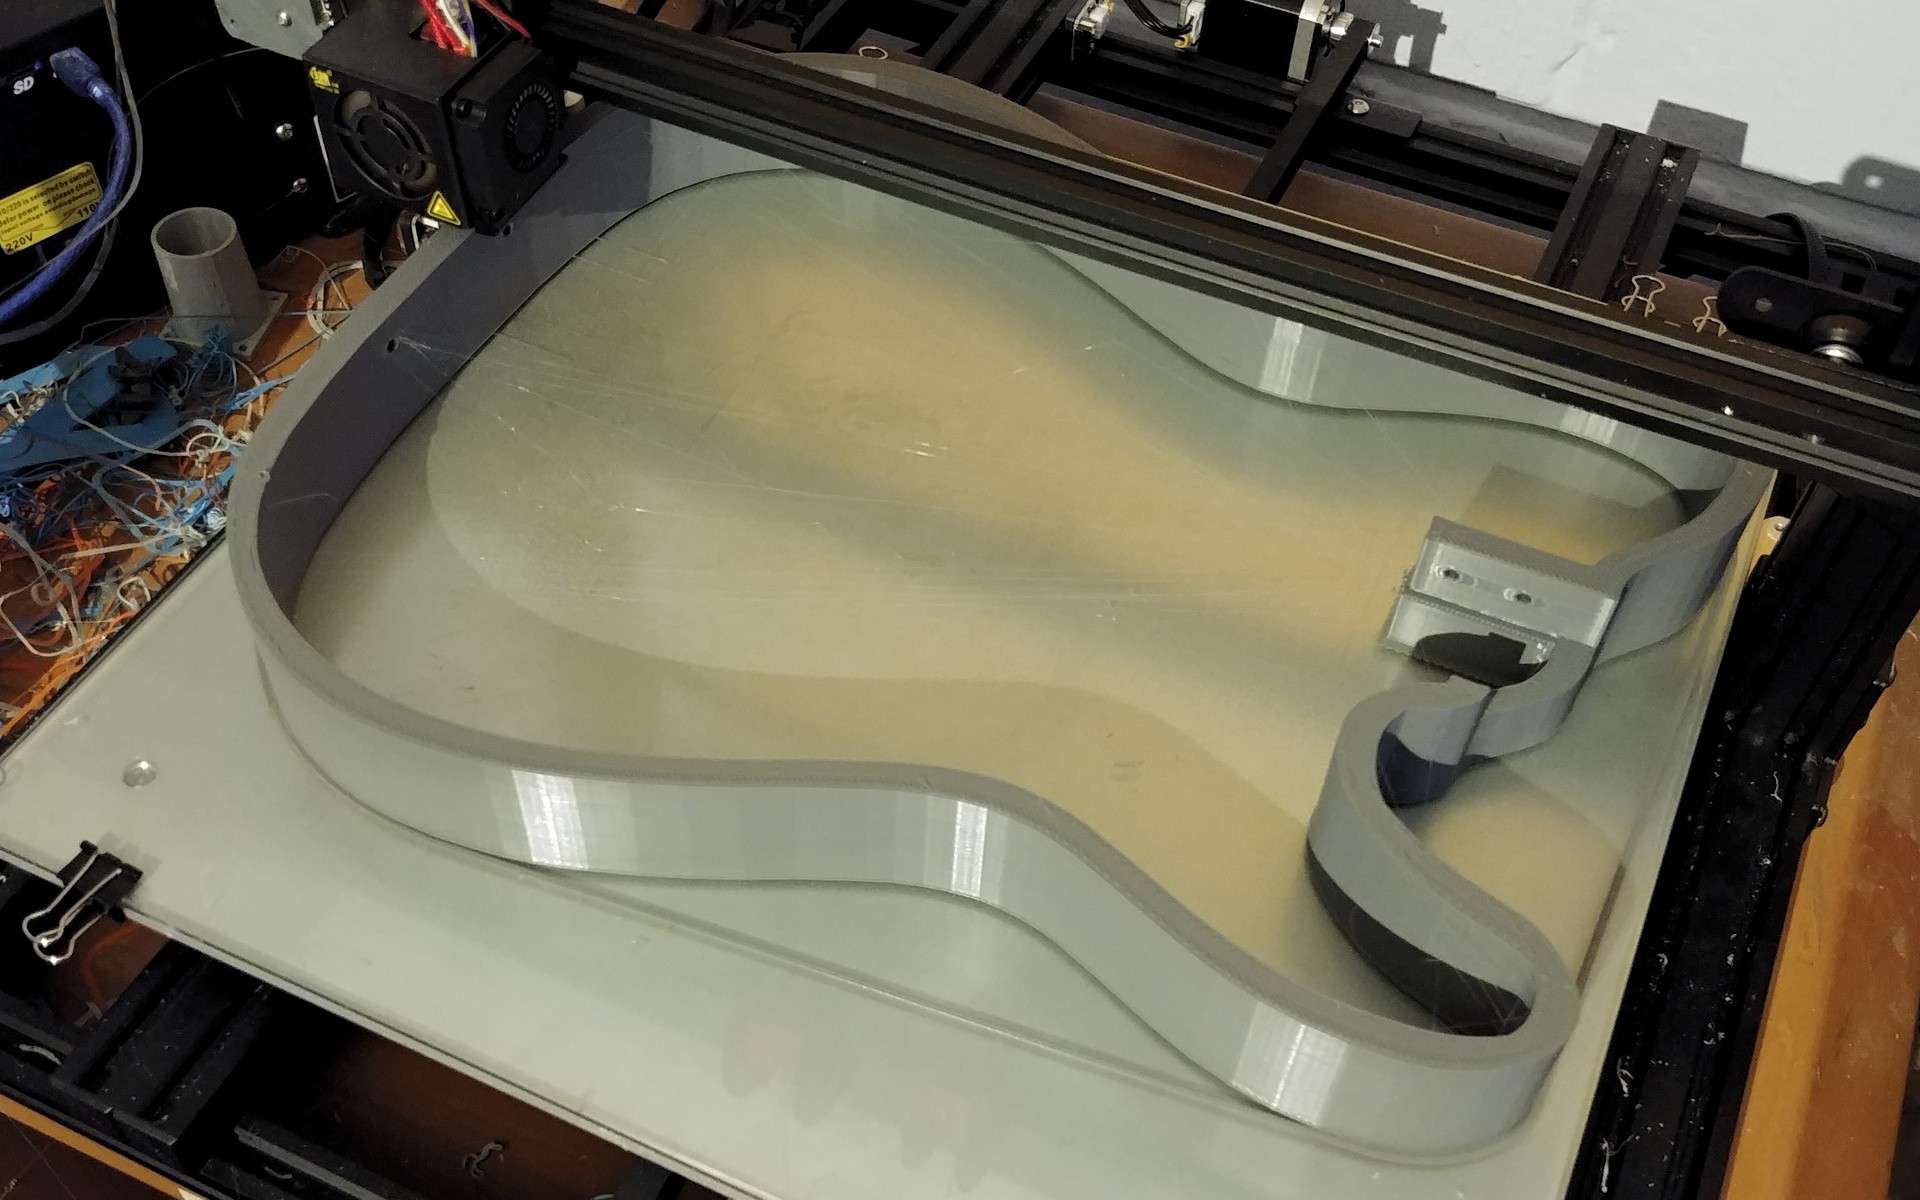
My printer (Creality CR10S4) has build volume of 40*40*40cm. Beeing able to print the shape of a guitar body was the main reason I went for this big printer.
![]() ---------- more ----------
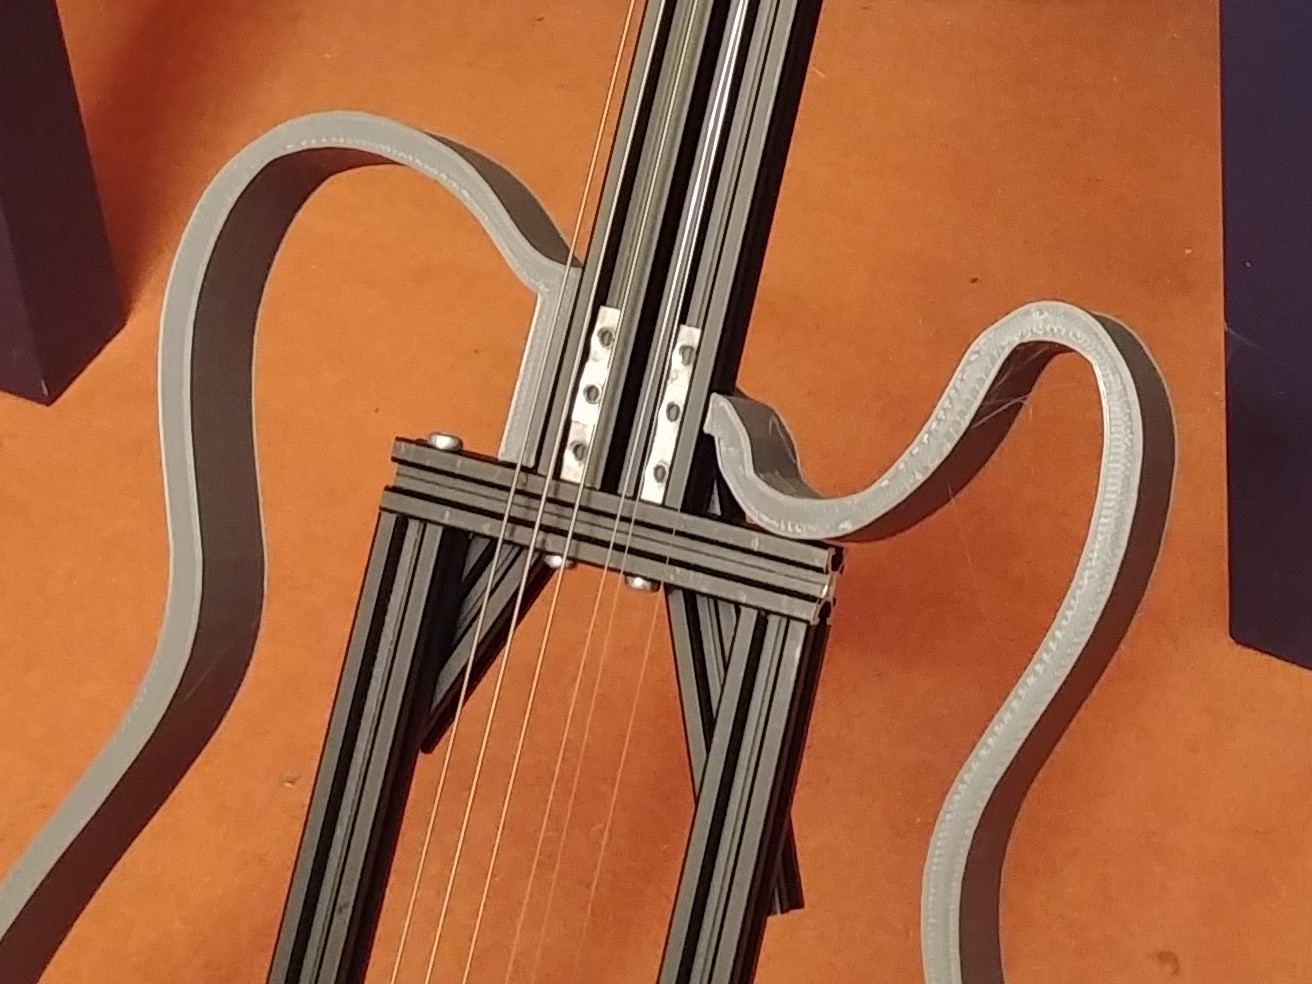
---------- more ----------I used vslots to make a stable core to take all the string tension - 3d-printed parts just would deform over time.
![]()
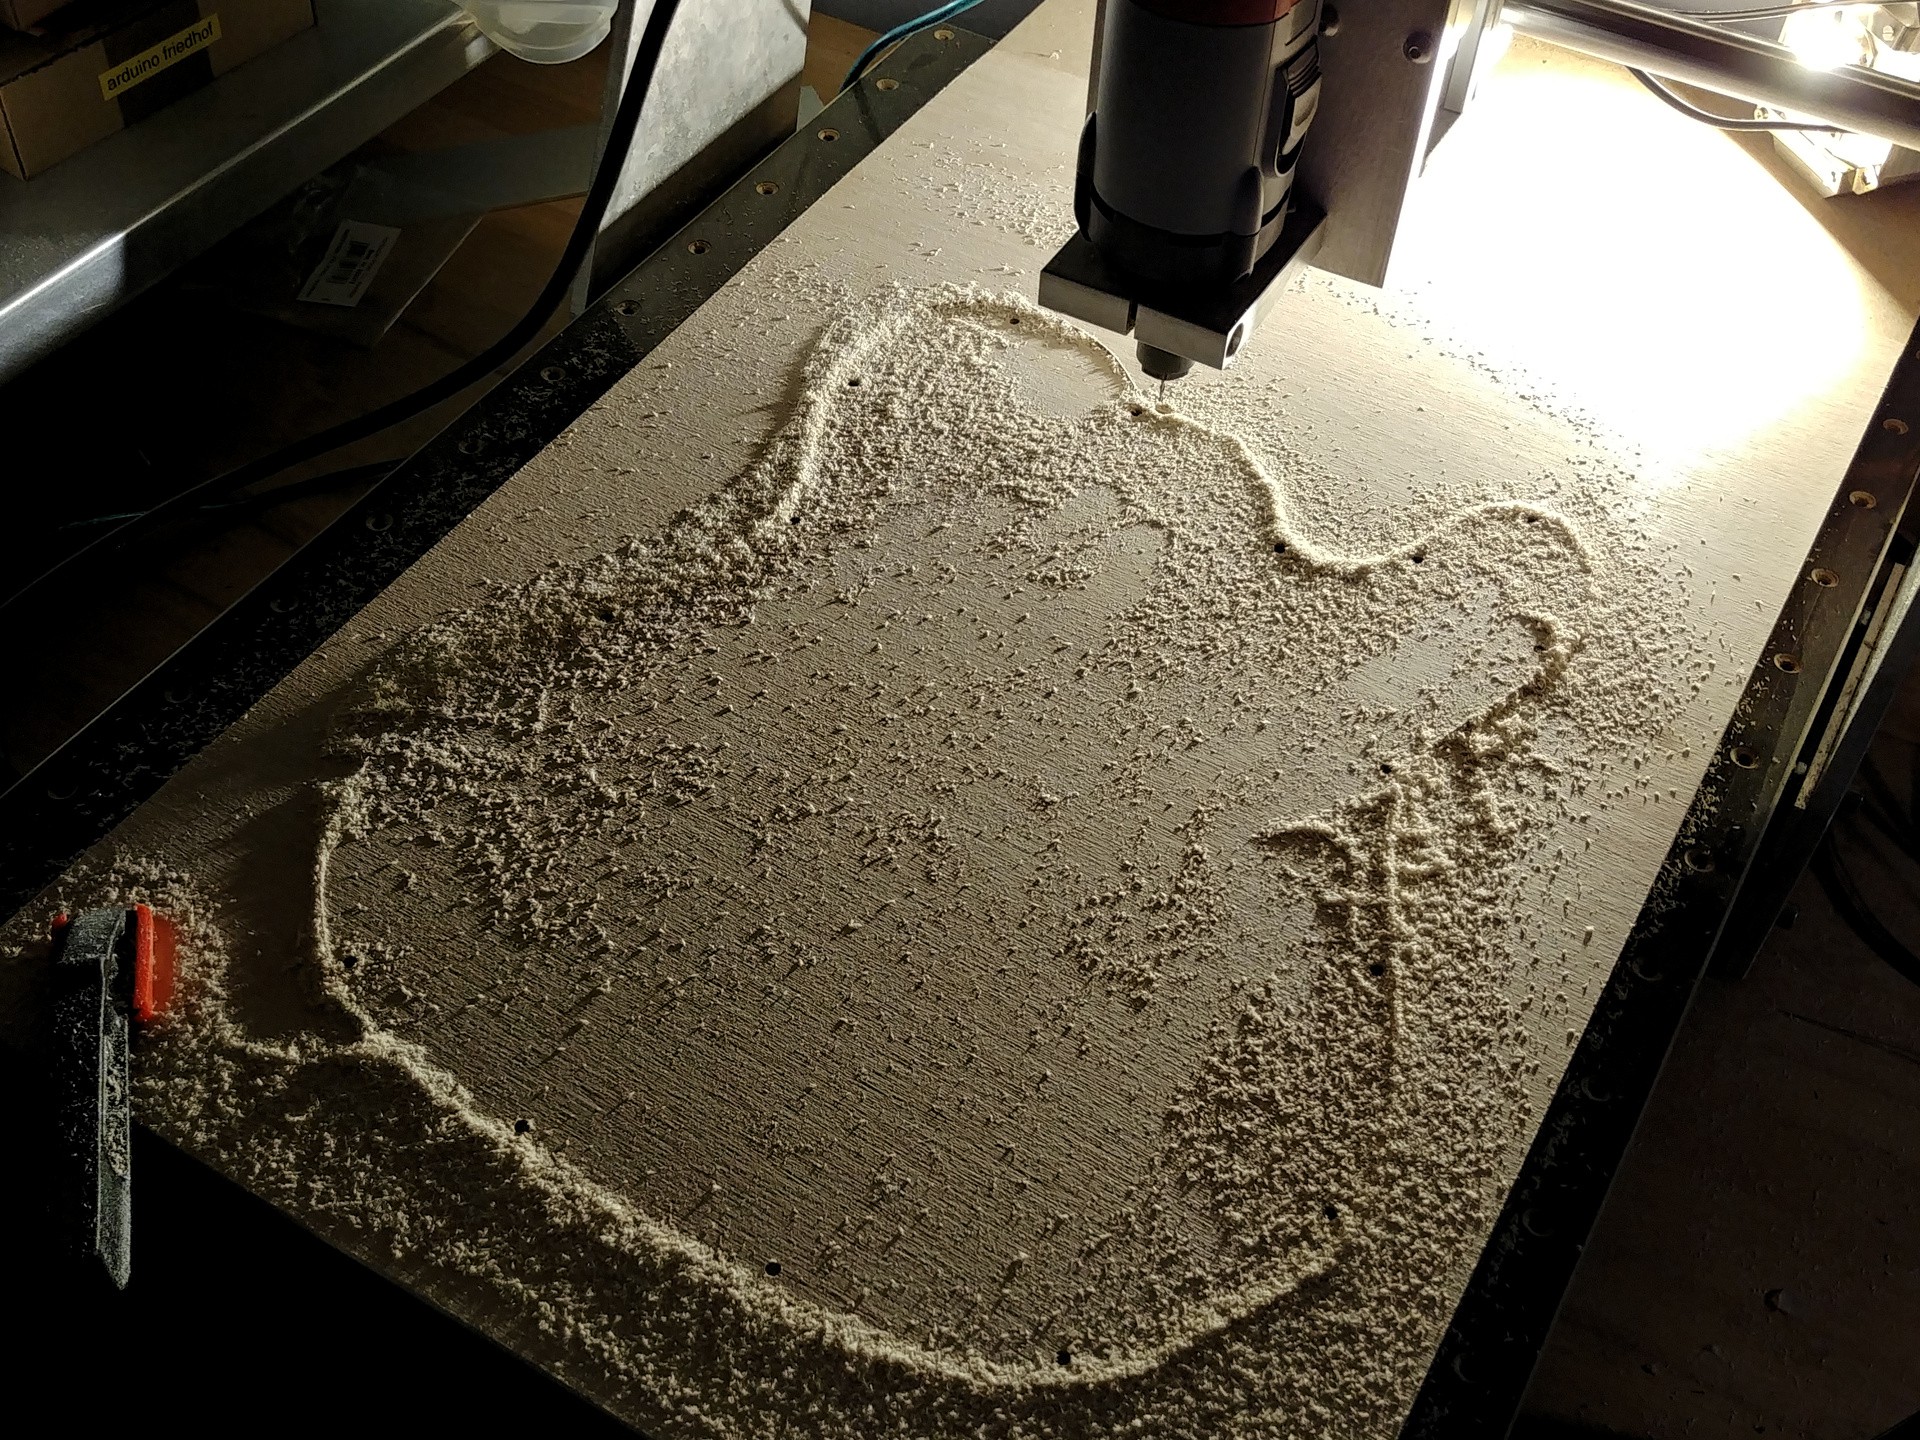
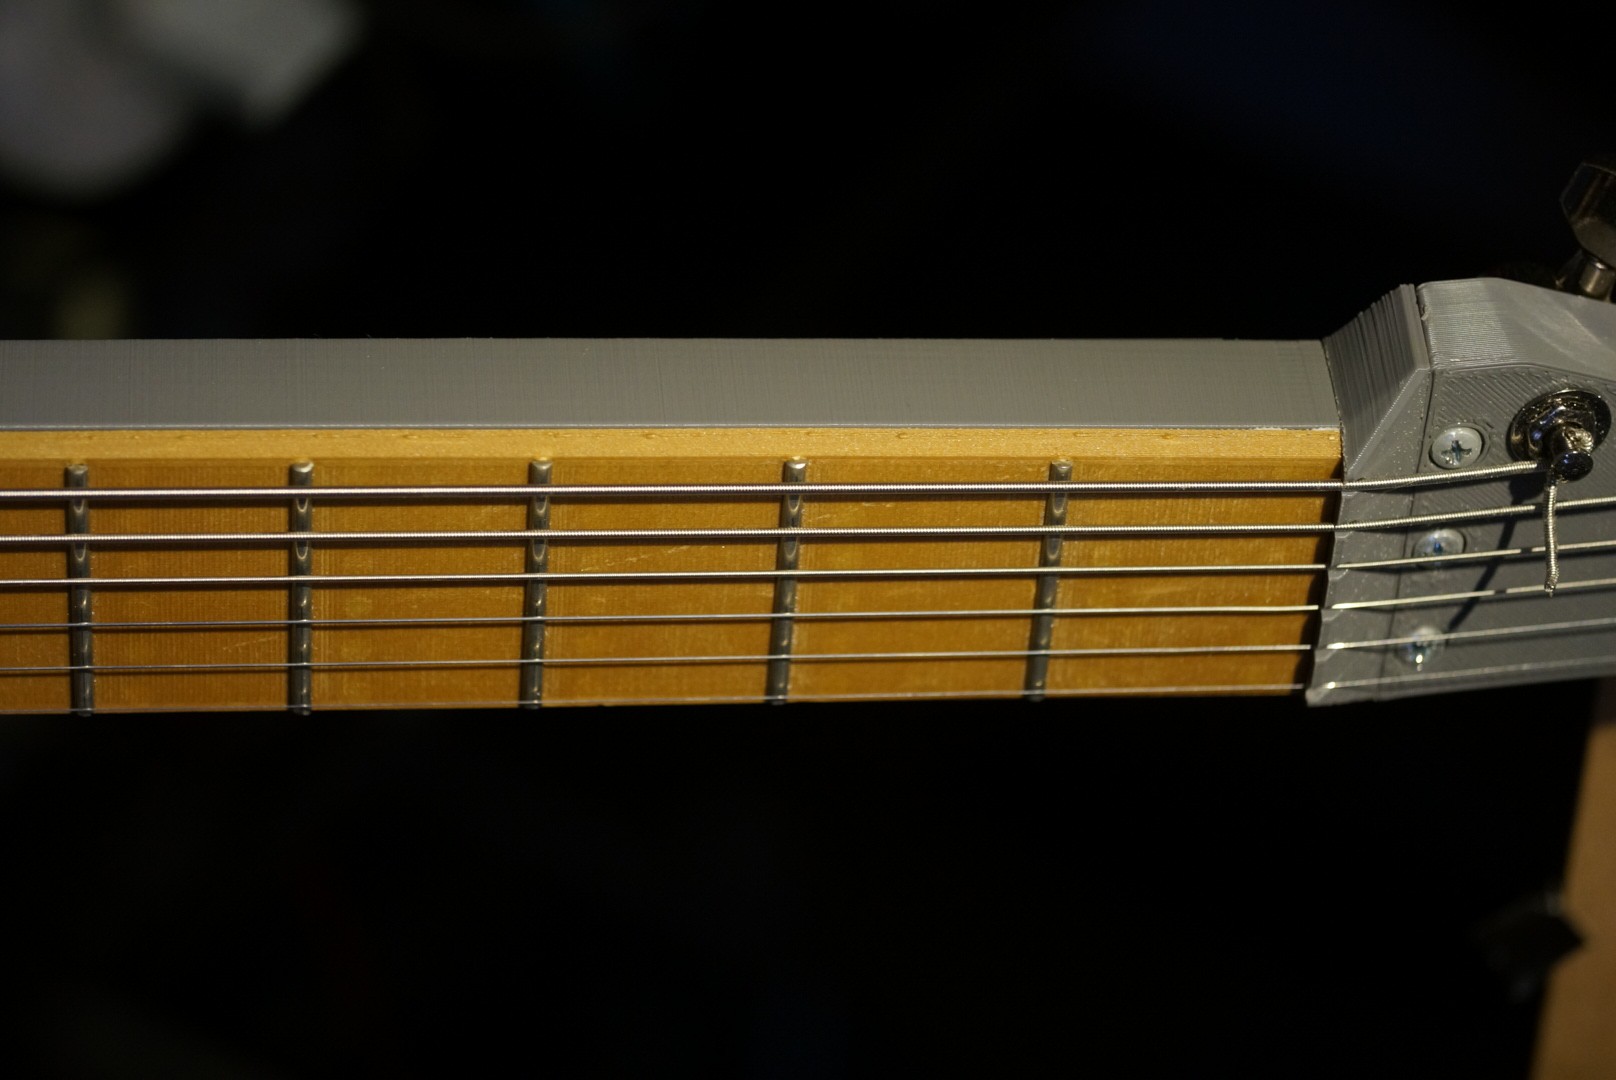
The back and the top of the body are just plywood, cutout with a cnc router. This hollowbody-sandwich-design is simple, has plenty of room inside for the electronic parts. I went for a telecaster shape, because it's simple and big too.
![]()
![]()
-
Audio-Hardware
10/08/2018 at 09:31 • 0 commentsHere are some design goals for the audio part:
- Discrecete audio path for each string to allow for independent audio manipulation.
- Audio processing happens within the guitar, not on an external computer.
- Latency under 5 milliseconds.
- low power consumption to allow for battery operation.
---------- more ----------After some some research I narrowed my options down to a Bela mulltichannel cape on a beaglebone or a Teensy based platform. I went for the Teensy, because of the lower power consumtion and the much lower price.
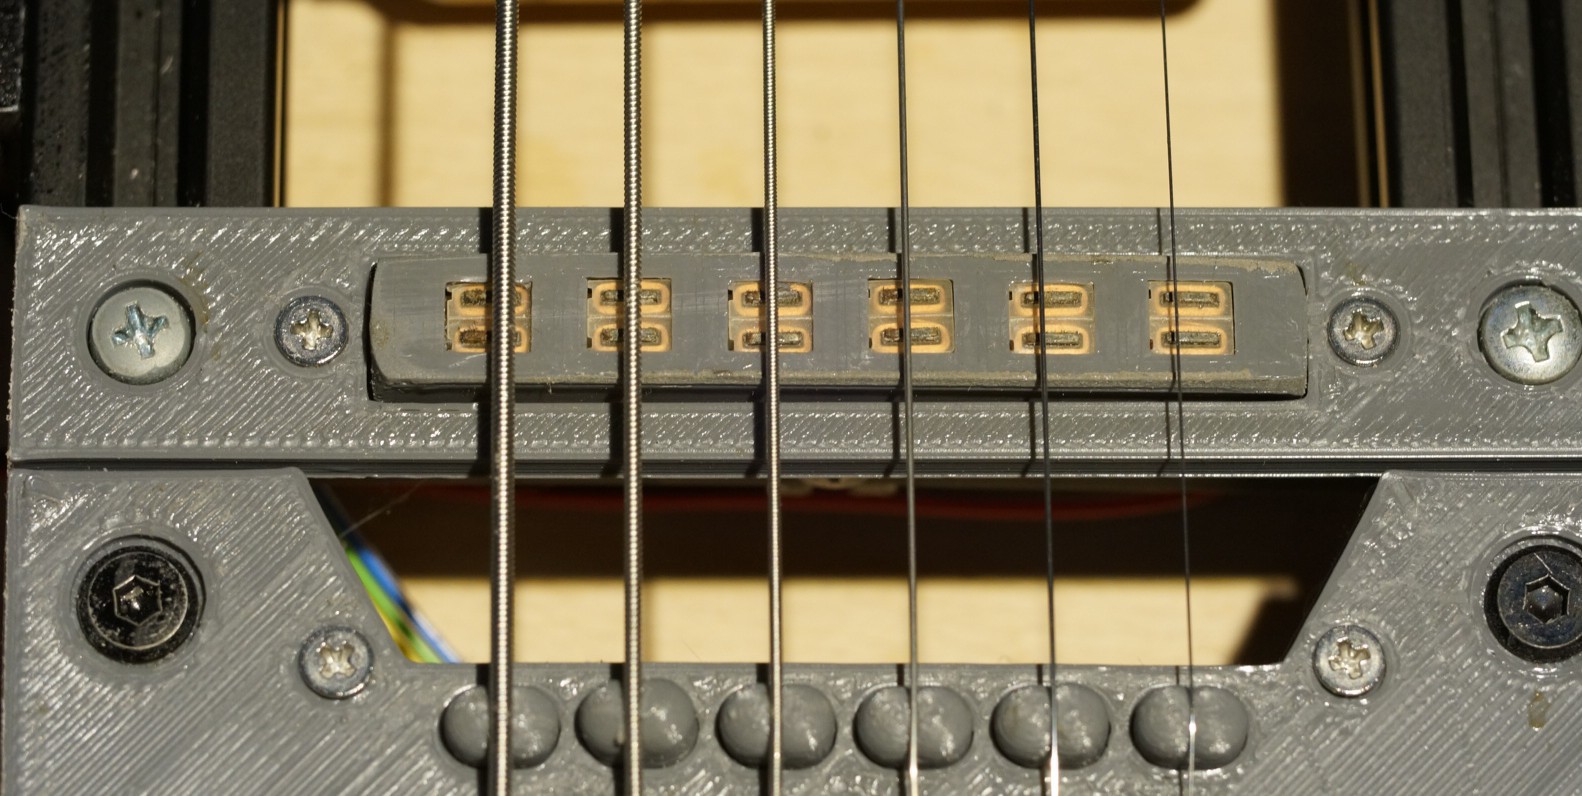
The pickup is harvested from a standard Roland GK3-Devided-Pickup I had laying around. Those micro-humbuckers are kinda neat, but the outputlevel is very low. Thats why it has to be very close to the strings and the only position where the strings dont rattle aginst the pickup is next to the bridge.
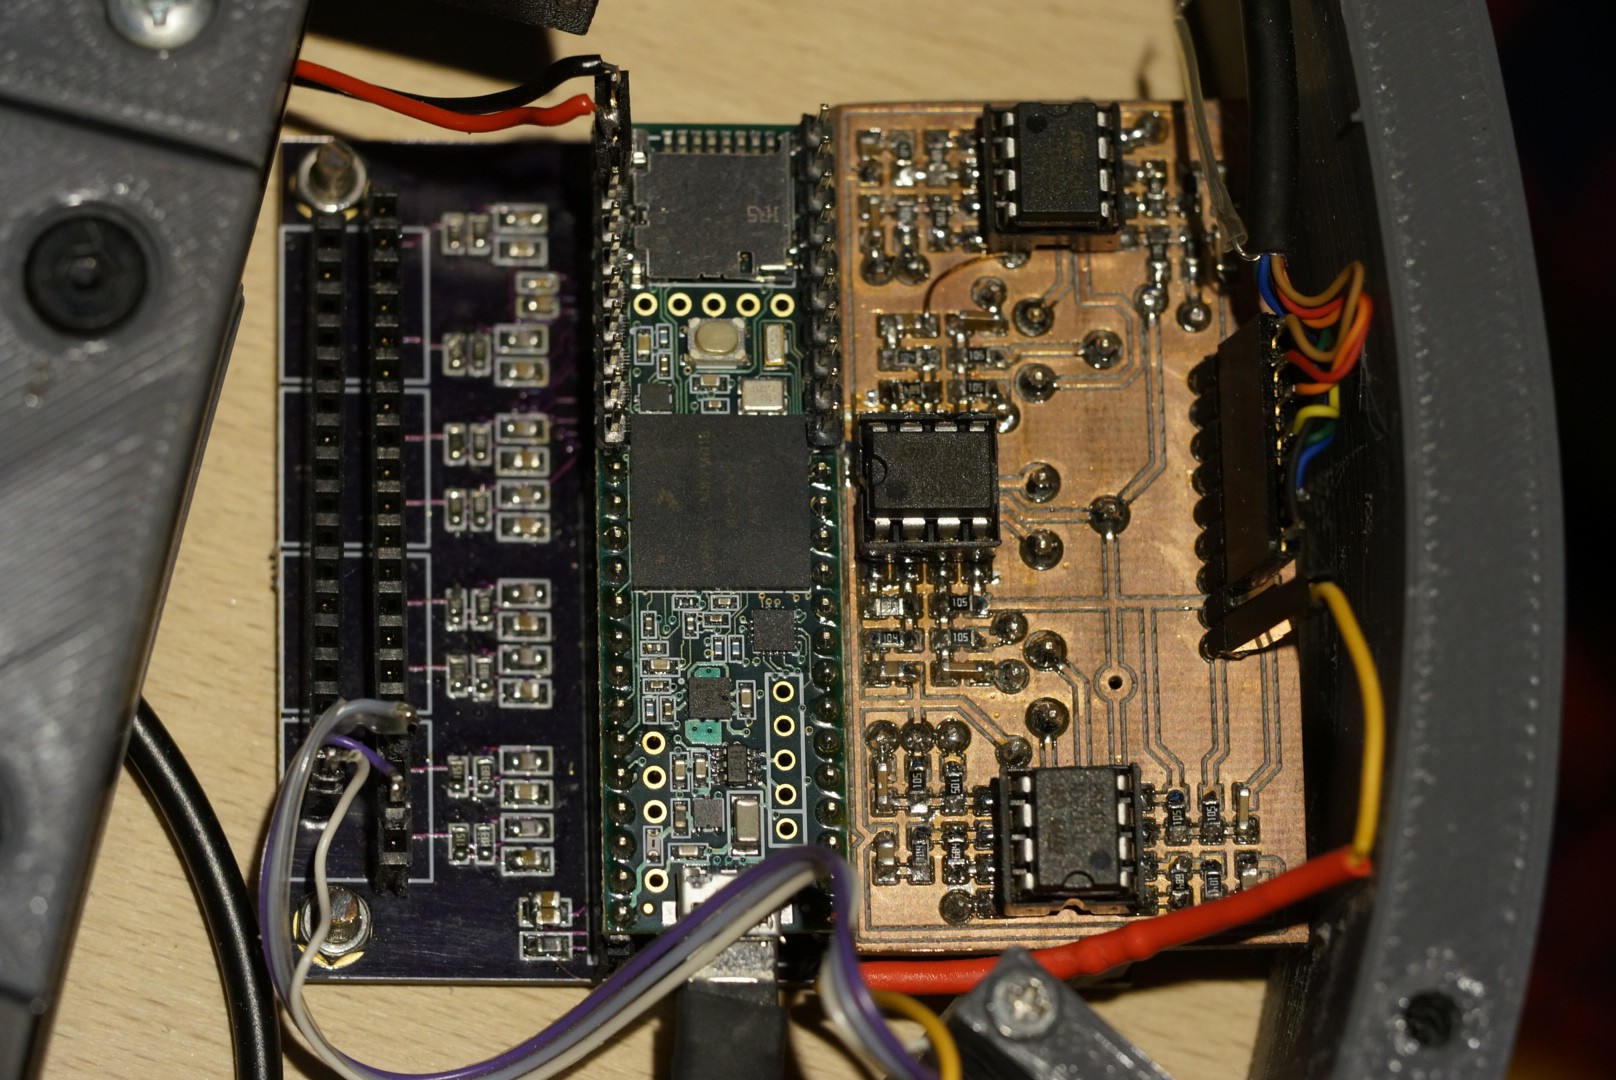
I also had to make the preamp (which I put on top of the codec-board printed by OSH-Park) fairly high gain. This results in some unwanted noise when playing the guitar through a distortion pedal. Making a better pickup on my list, but I'm happy that otherwise this configuration works quite well.
 Frank Piesik
 ---------- more ----------