DIY replica of TIL305 5x7 matrix display.
To make the experience fit your profile, pick a username and tell us what interests you.
We found and based on your interests.
This is first of two final project logs to conclude this project. This log deals with redesign, assembly and testing of DIYTIL305 boards. Finished boards are shown later in the log. Second log will describe problems and things I learned working on this project.
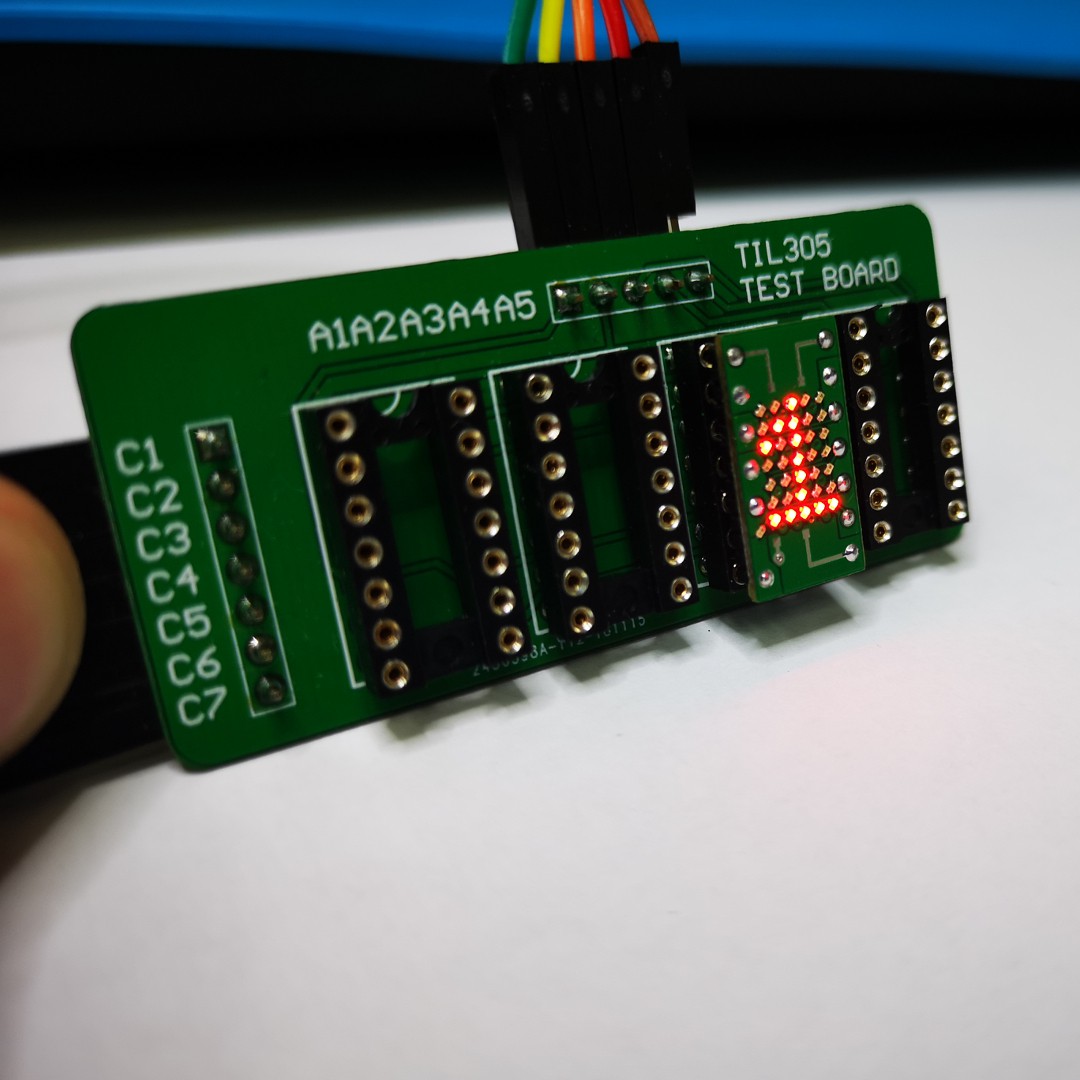
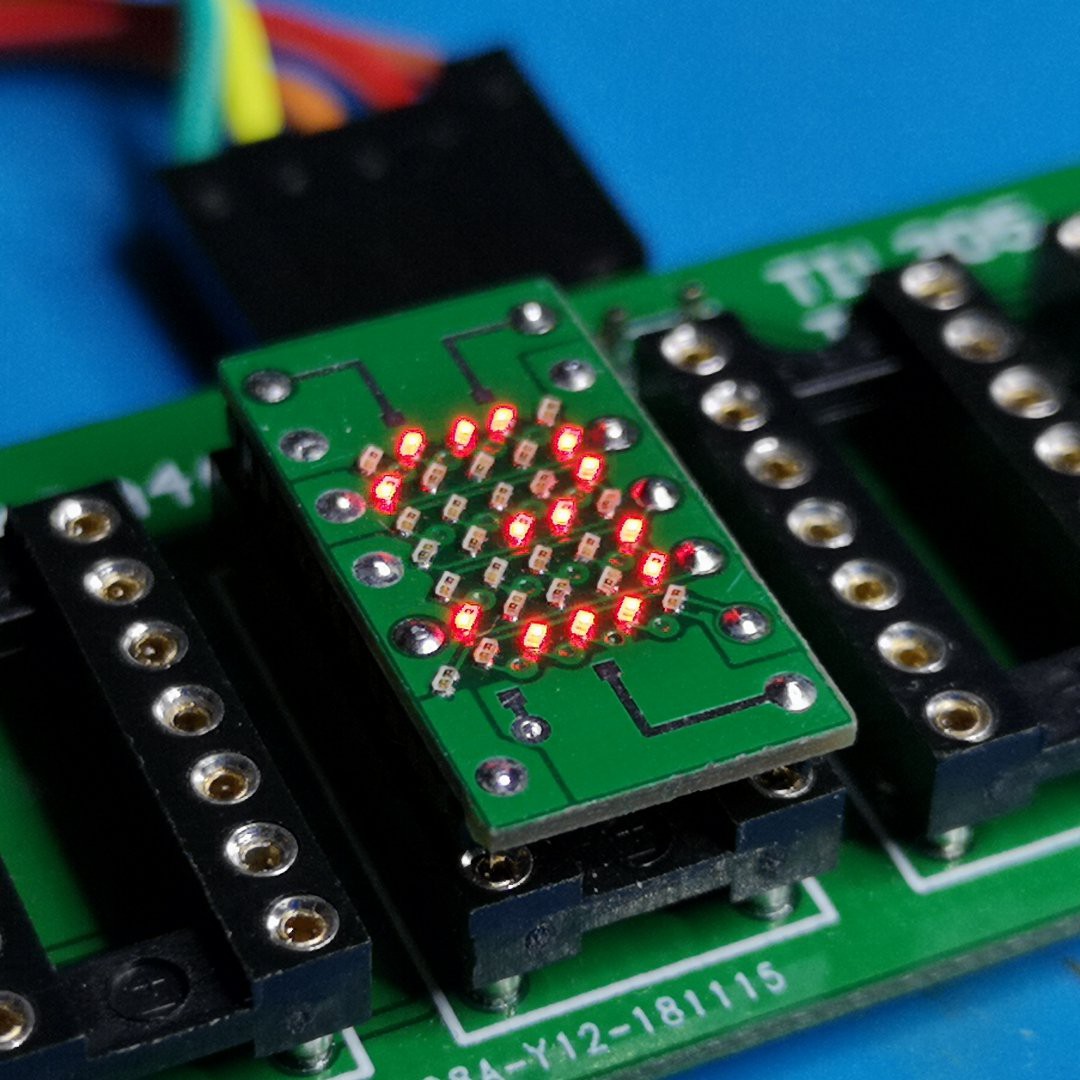
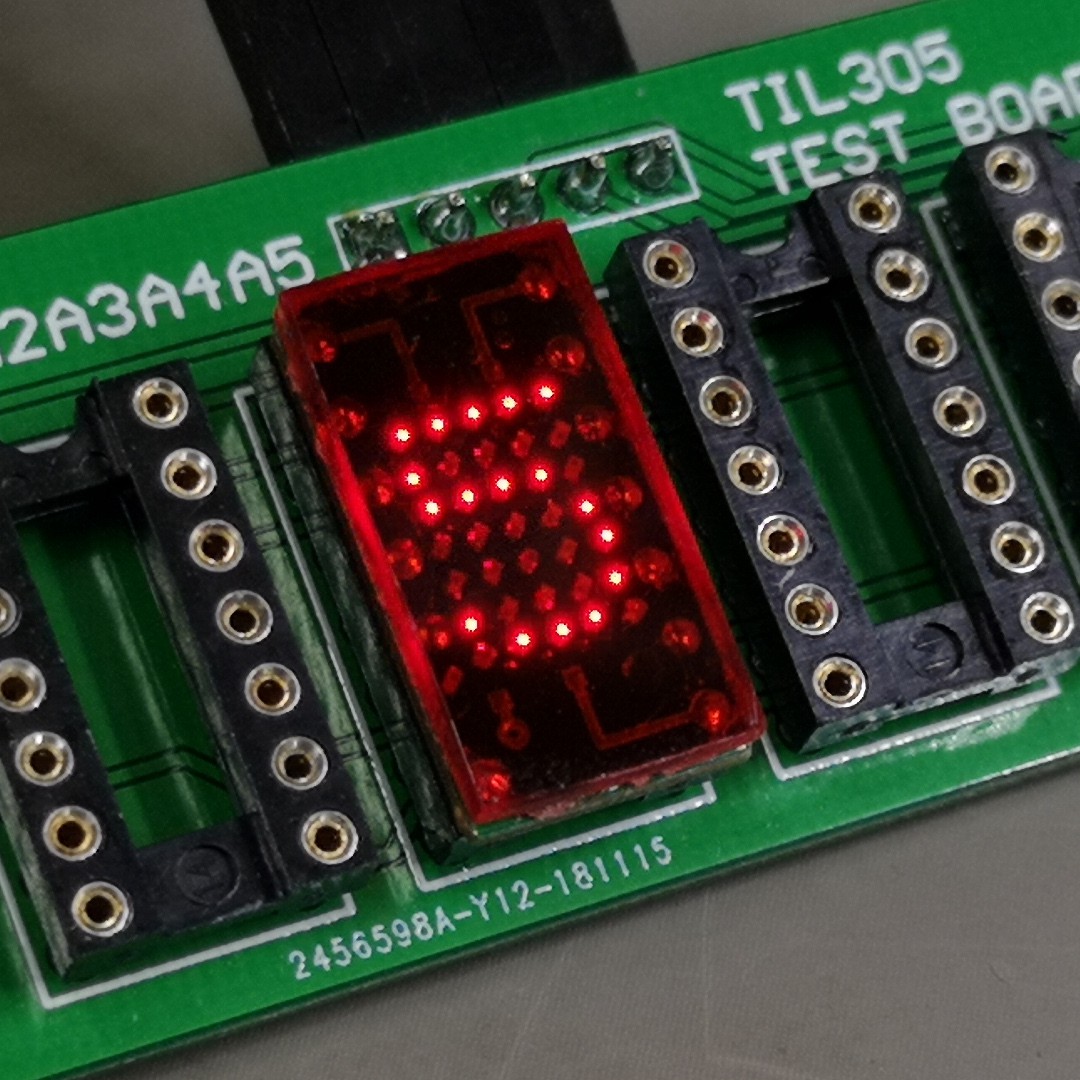
After making first version of DIYTIL305 (previous project log) I needed easy way to test those boards after assembly. Solution was "TIL305 Test board". Since I needed to order PCBs for different projects from fab house, I designed this test board to make life easier. Image shows original TIL305 displays being tested.
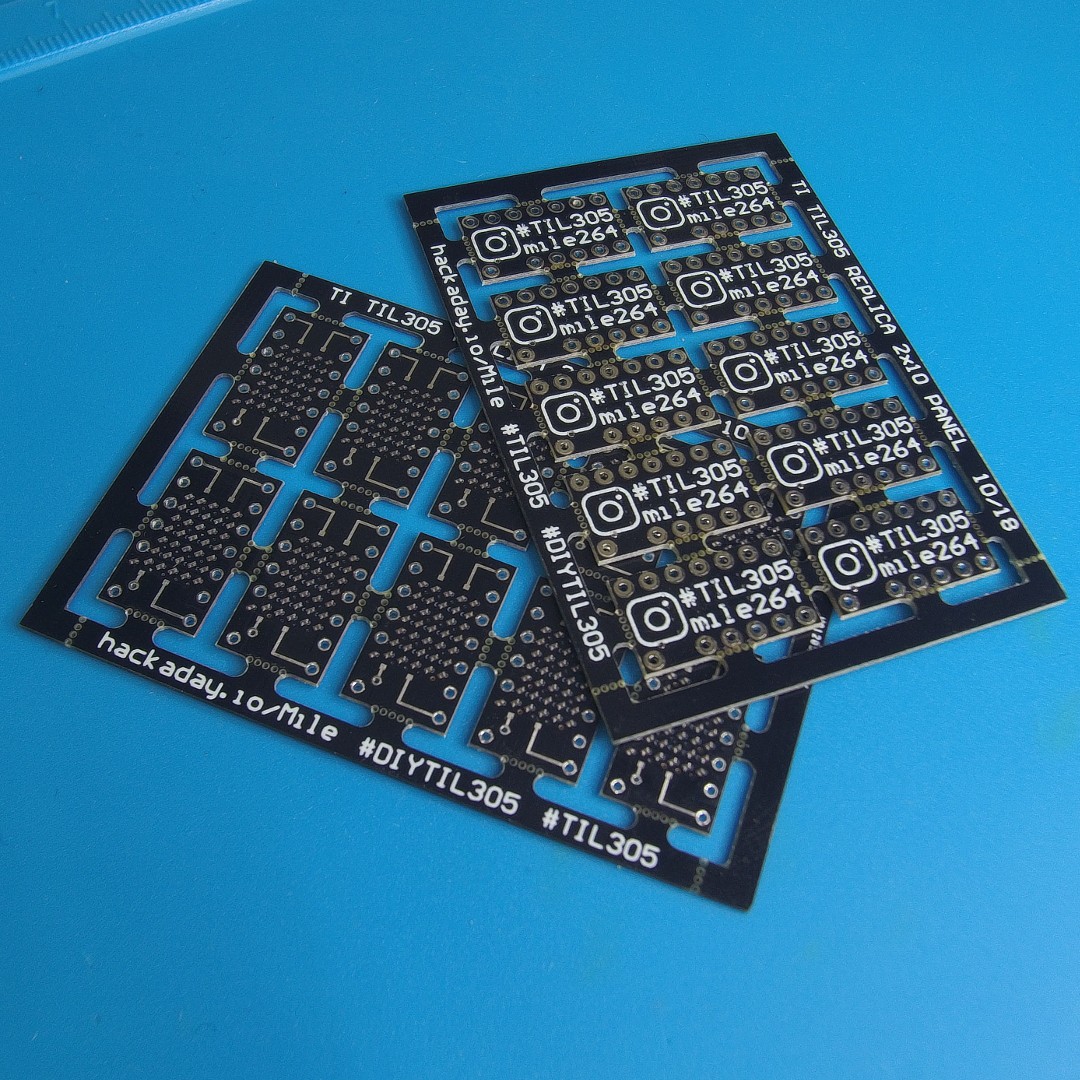
Then I redesigned DIYTIL305 PCB to make assembly process easier (bigger led pads, adjusted solder paste expansion) and tweaked dimensions to mimic the original.
Next up was assembly itself. First I made one display with red leds to see if changes to the new design are good. Success! First board passed the test with all leds soldered correctly. That meant I could move to other boards(colour variations).
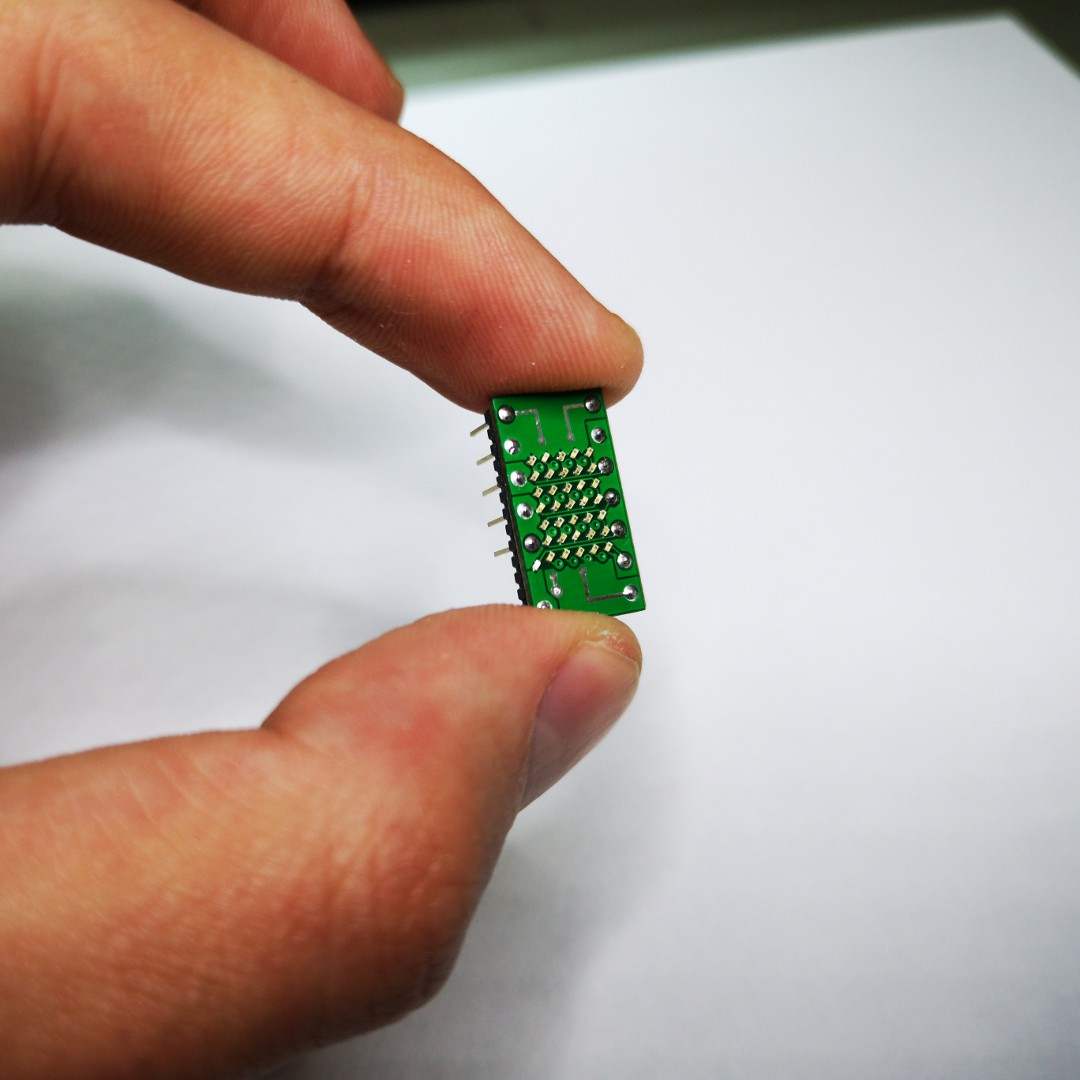 |  |
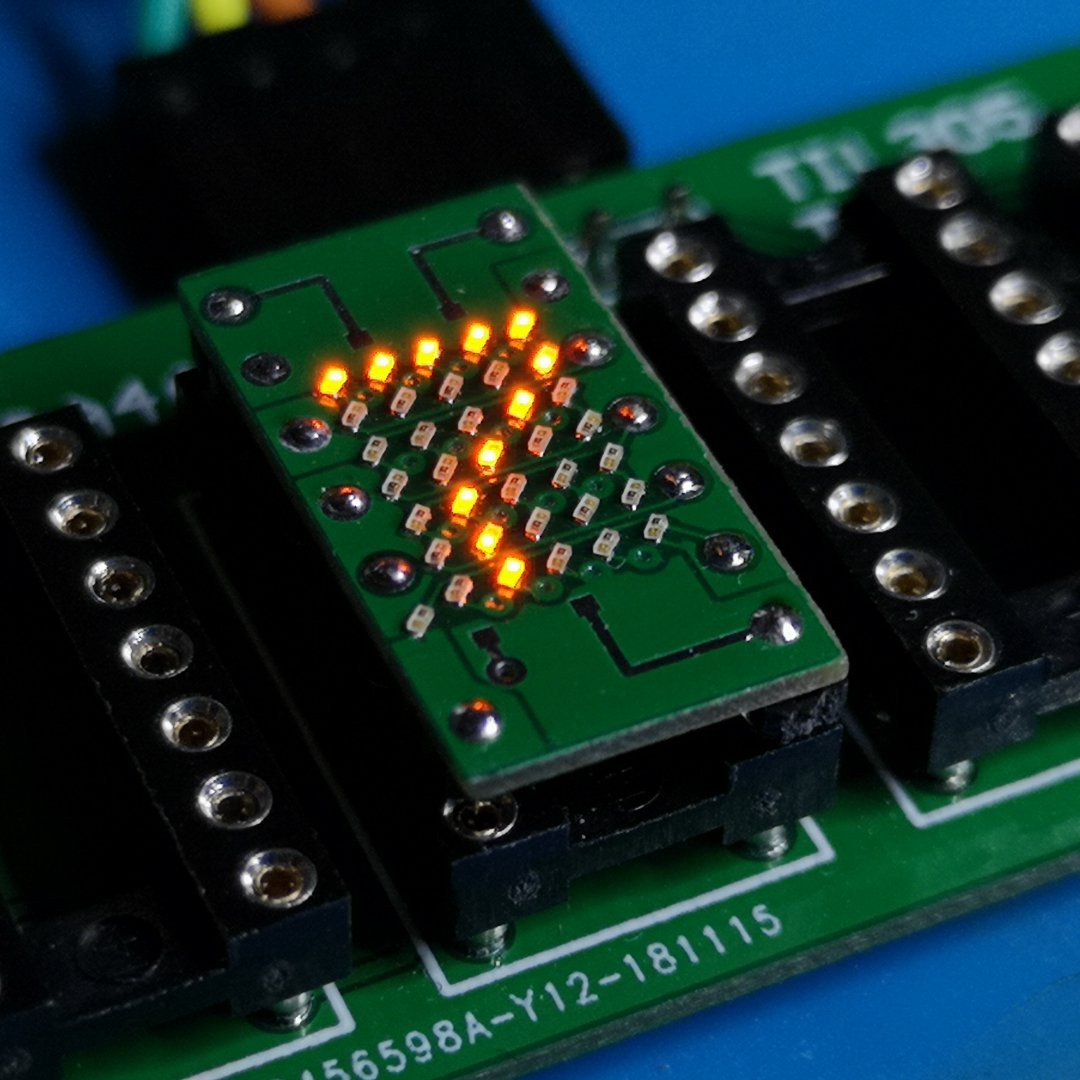
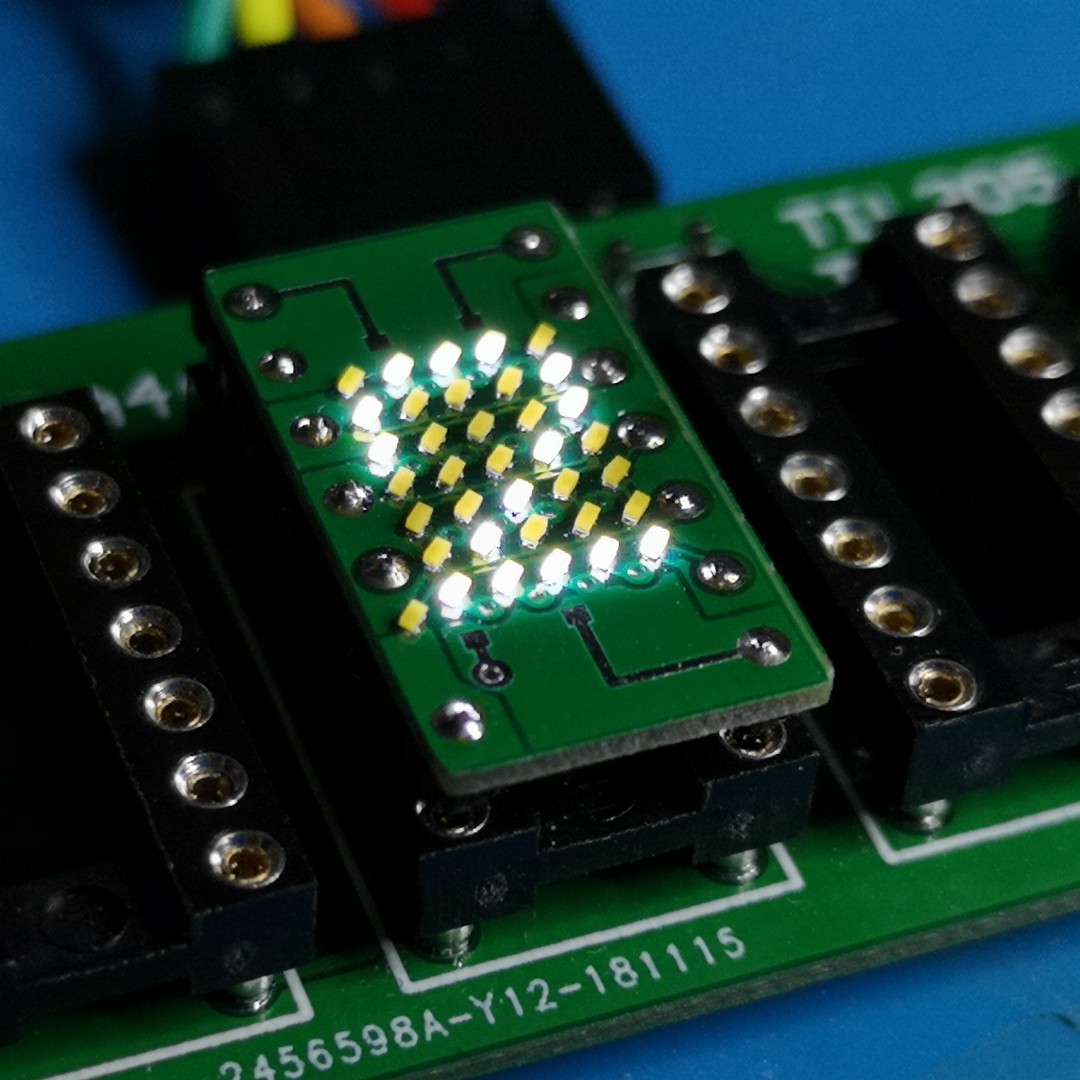
0201 leds are only available in red, green, white, blue, orange and yellow colours. I used all colours except yellow because it is not that much different from orange. White leds were hardest to place because they don't have transparent case, so they can't be visually inspected for correct orientation.
 |  |
 |  |
 |  |
Before proceeding to glueing displays together I cleaned PCBs of dust and flux residues using isopropyl alcohol and kimwipes.
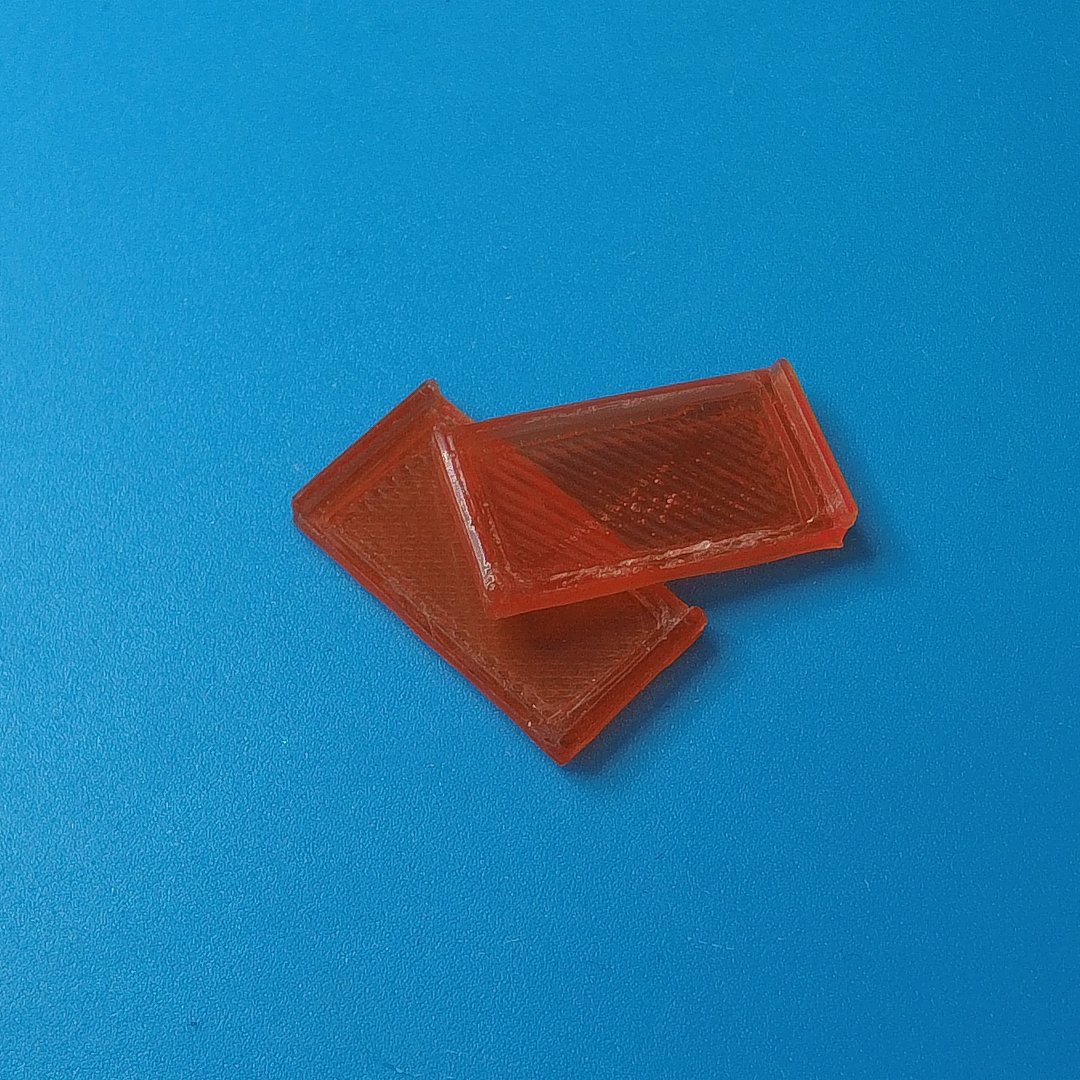
Polycarbonate filters(CR-39) were used as display covers. They were glued using 3M VHB 4910 double sided tape. Transparent, acrylic foam tapes are used where clear attachment of two materials is needed and therefore are ideal for this application.
Glueing display covers was straightforward, but since I didn't have access to laser cutter I cut them by hand using box cutting knife(scoring and snap method). They aren't the prettiest, but for a few prototypes they are good enough.
I made six displays in total. Now I just need project to use them on. Any suggestions?
This week I assembled few DIYTIL305 modules. Main problems were: Solder paste that wouldn't go through stencil, leds sticking to tweezers and not being aligned with footprint after reflow process.
First problem was solved by getting finer grain solder paste (in future led footprint will be adjusted). Solution for second problem was to clean tweezers with rubbing alcohol multiple times during assembly process and re-heating leds with hot air gun with addition of flux so they align with footprint (some leds are still misaligned).
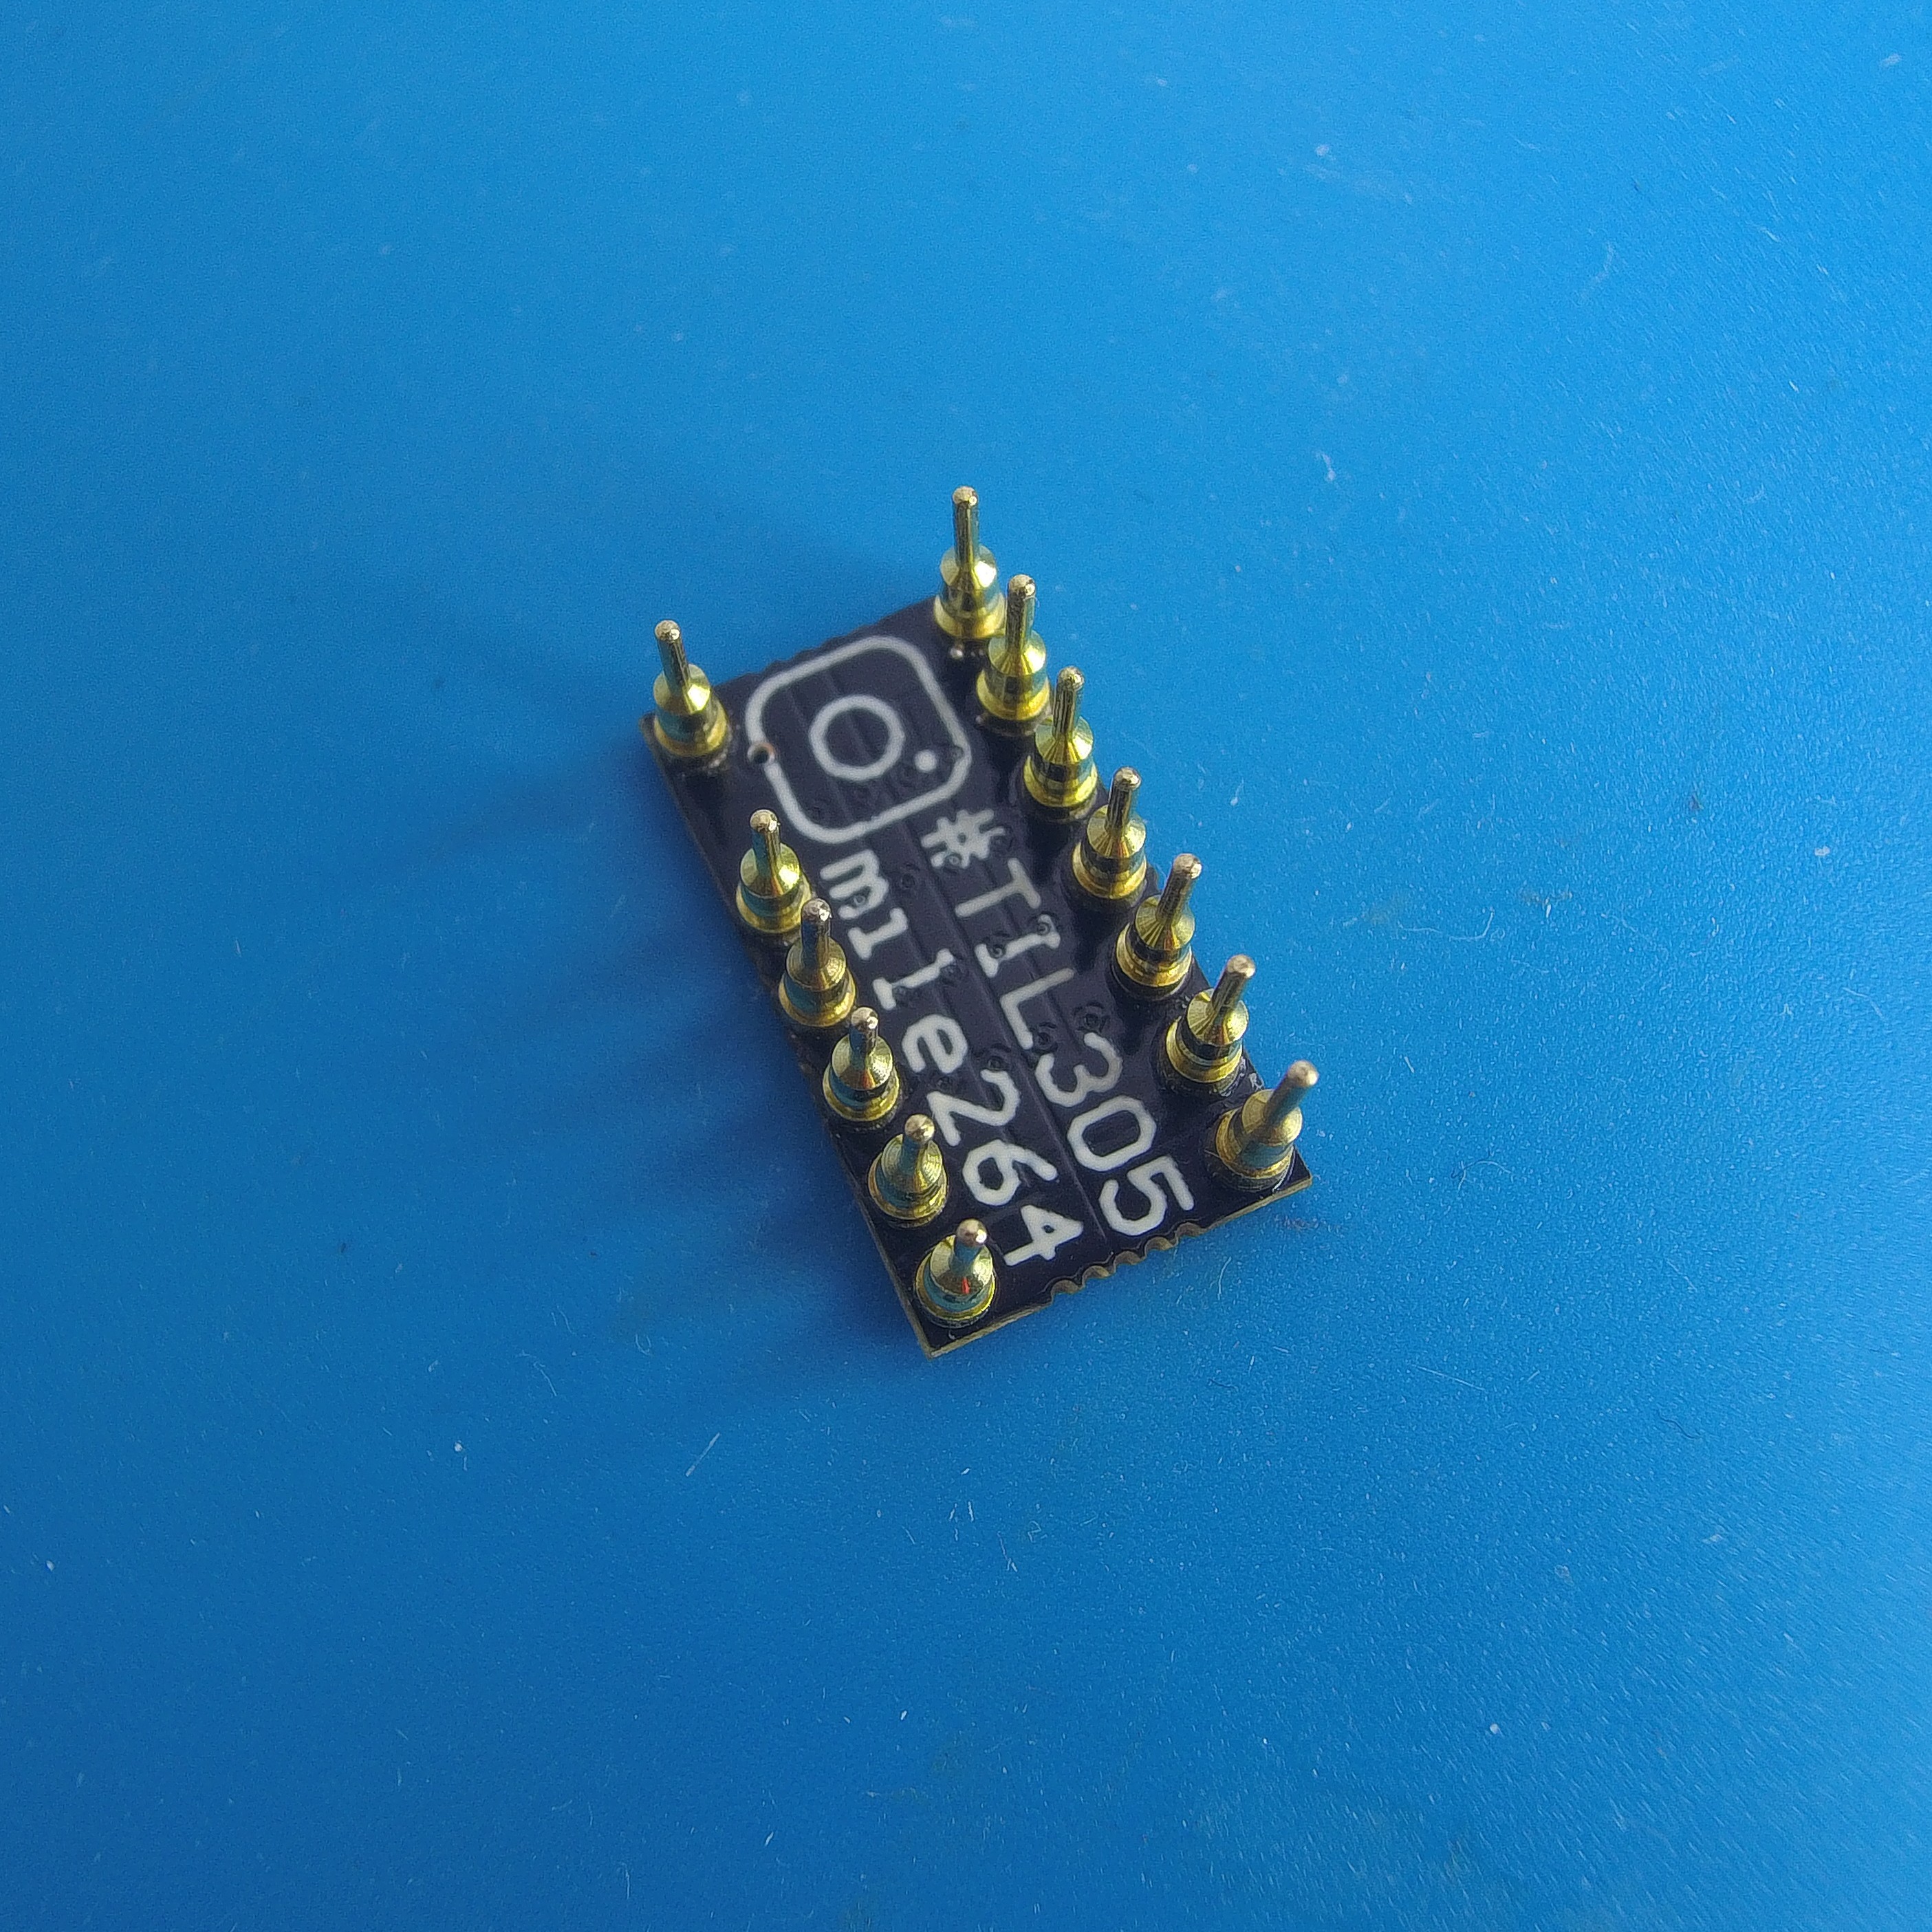
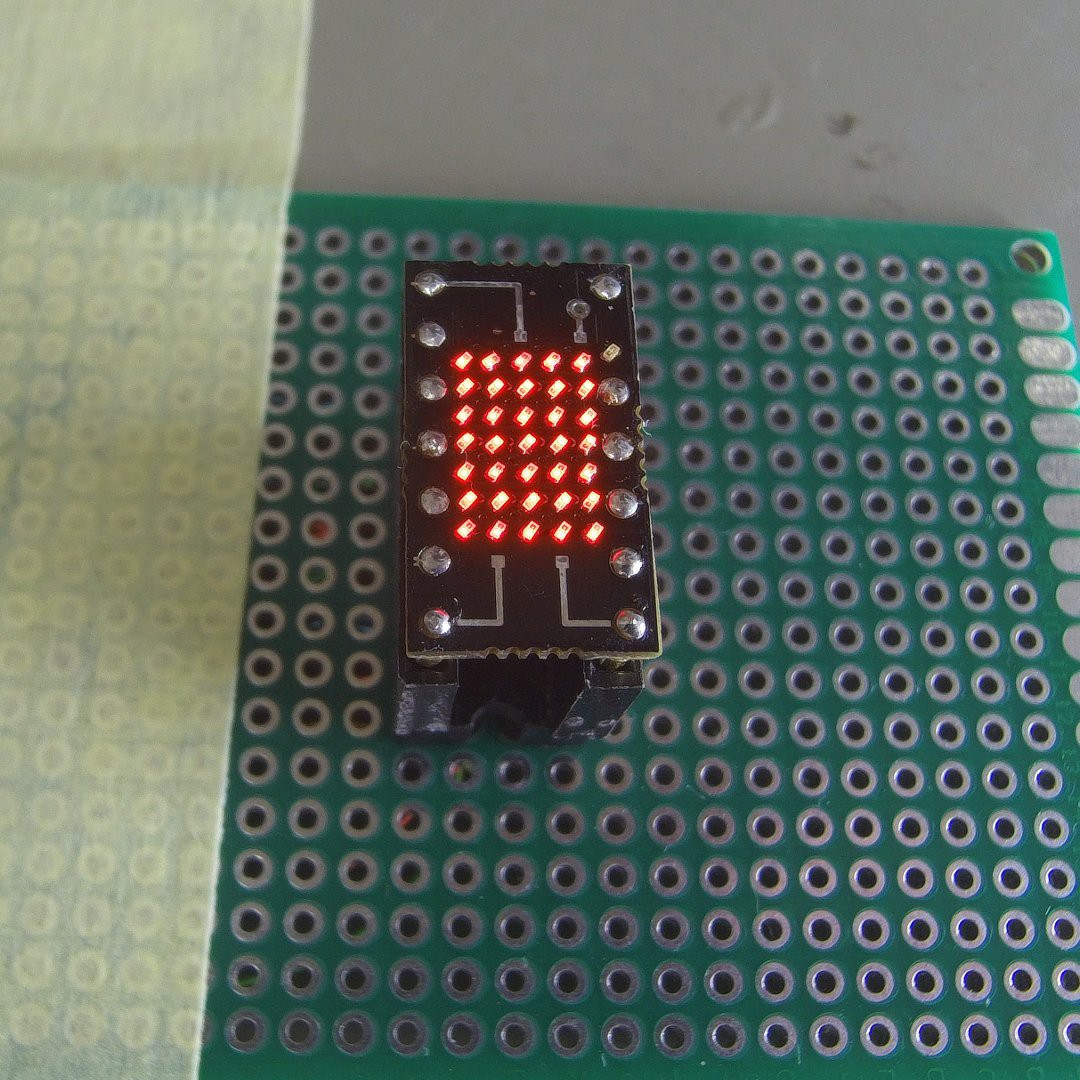
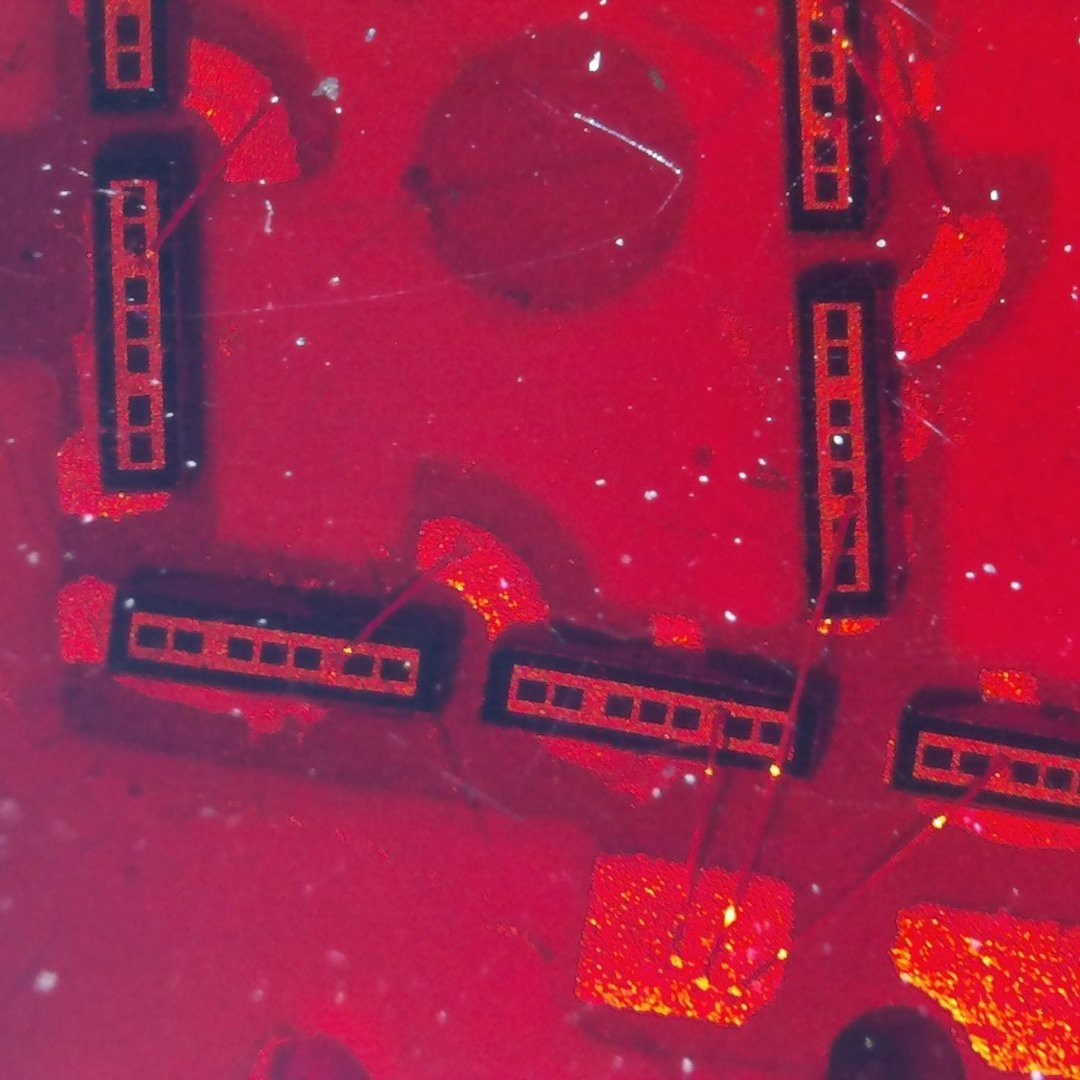
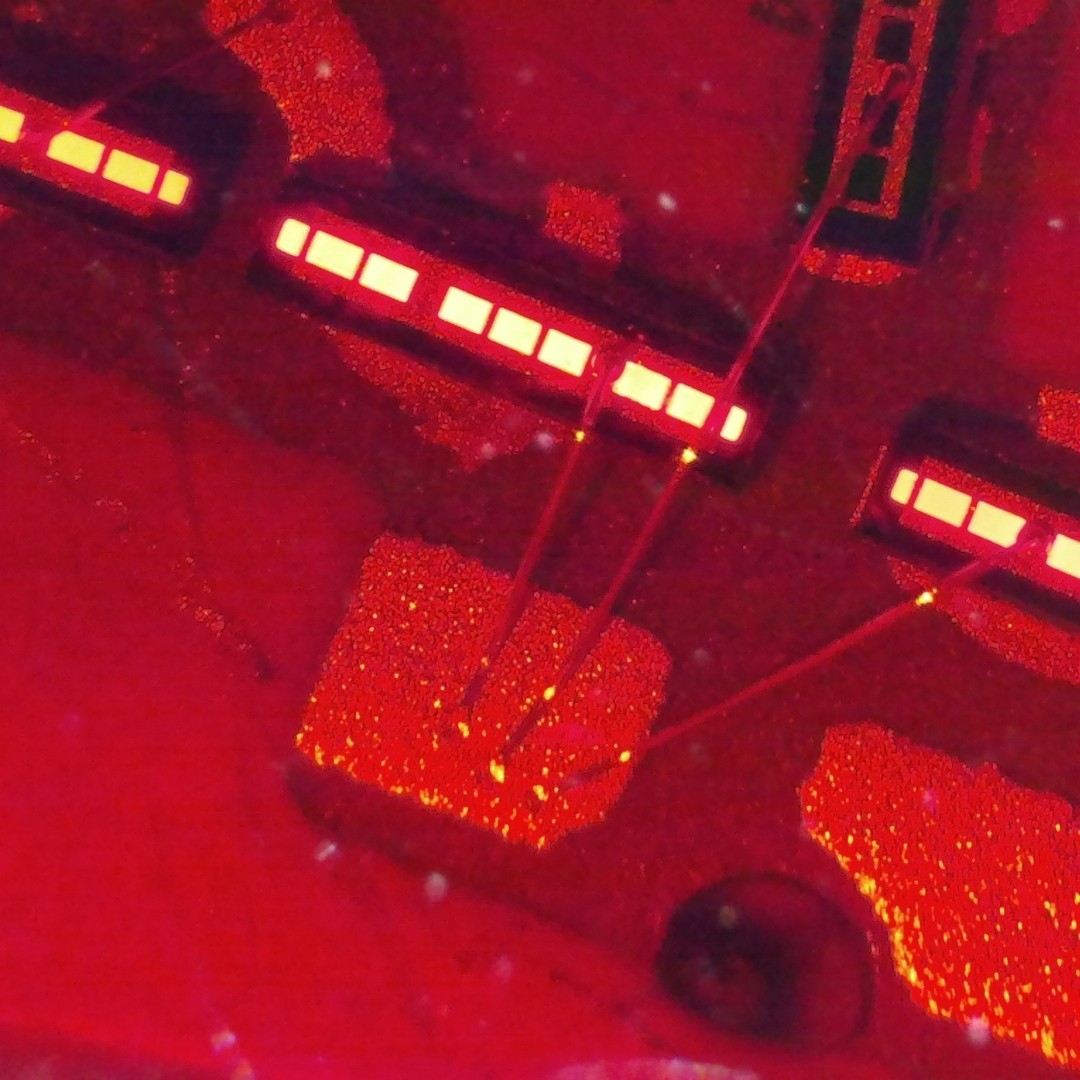
Afterwards I did some comparison between DIYTIL305 with red transparent acrylic and original TIL305 (last two pictures). In those pictures DIYTIL305 consumed 1.27mA and TIL305 15.78mA.
 |  |
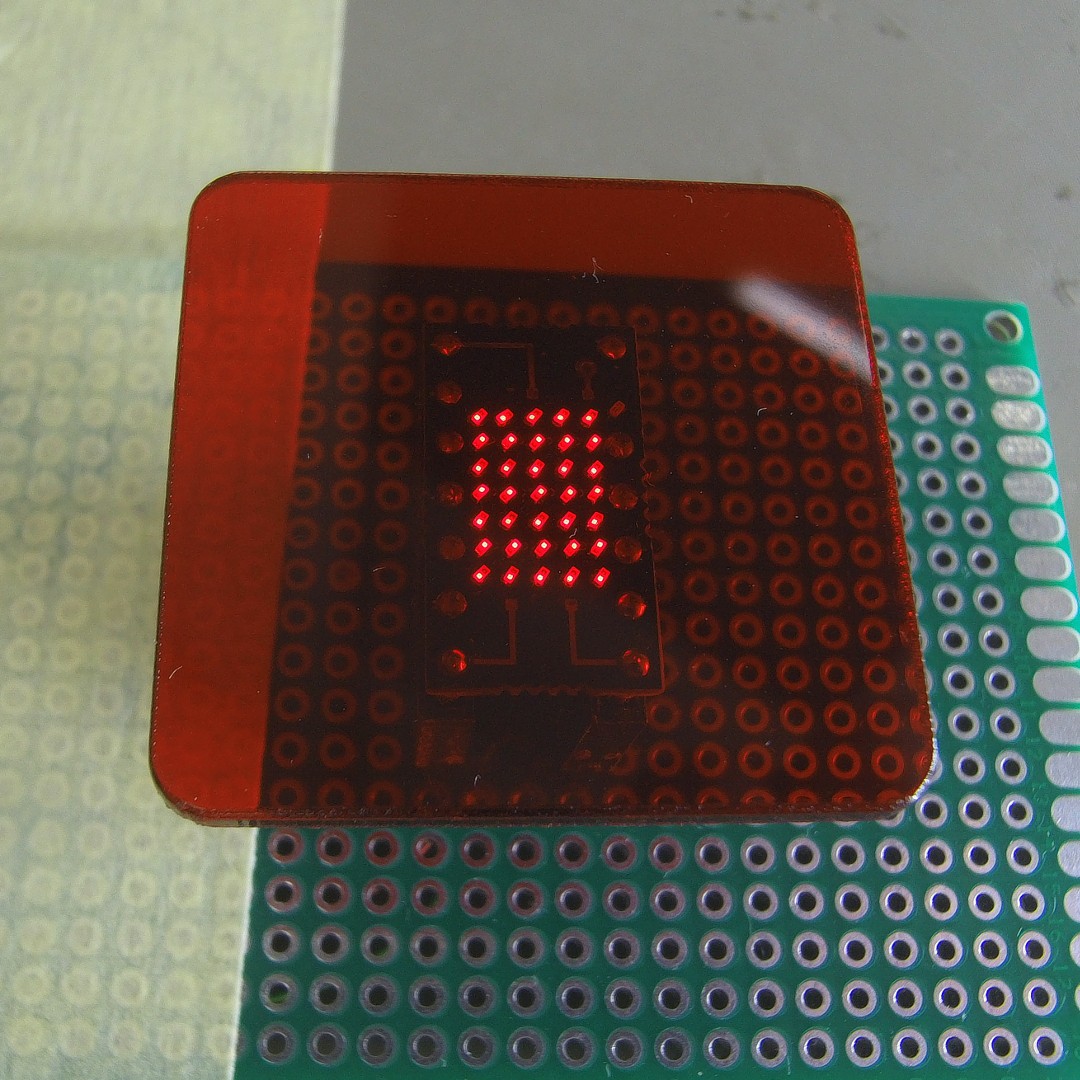 | 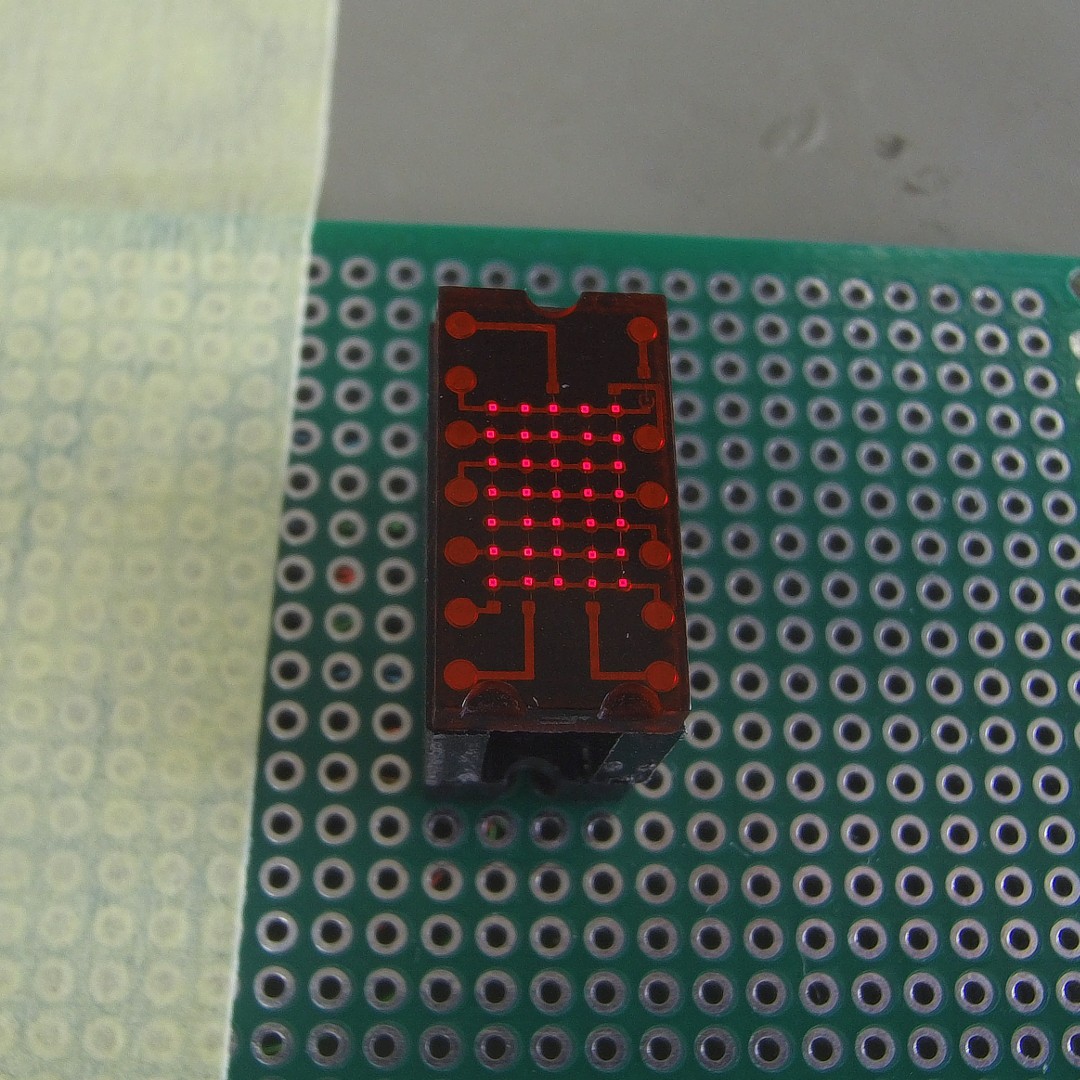 |
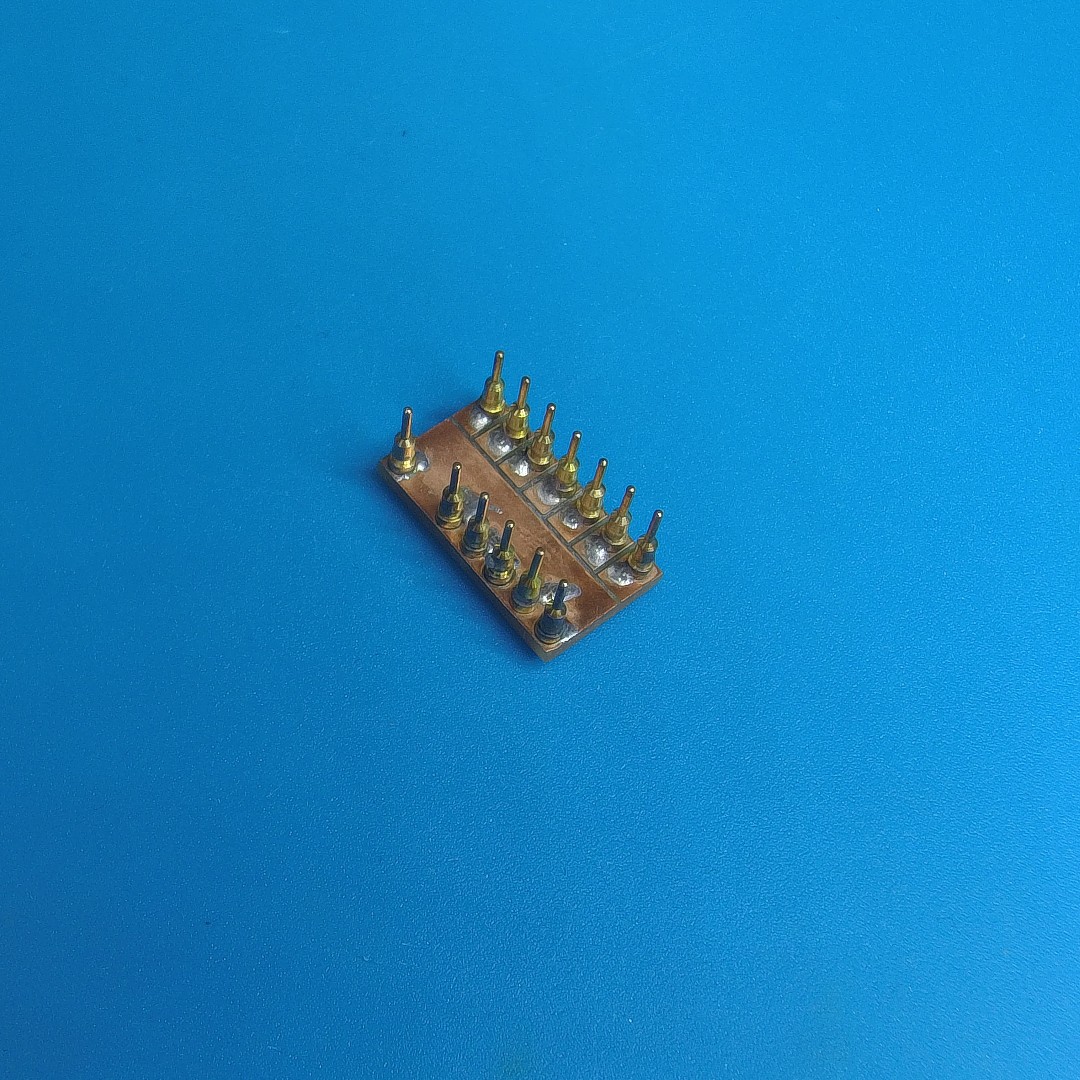
DIYTIL305 is made out of three main parts:
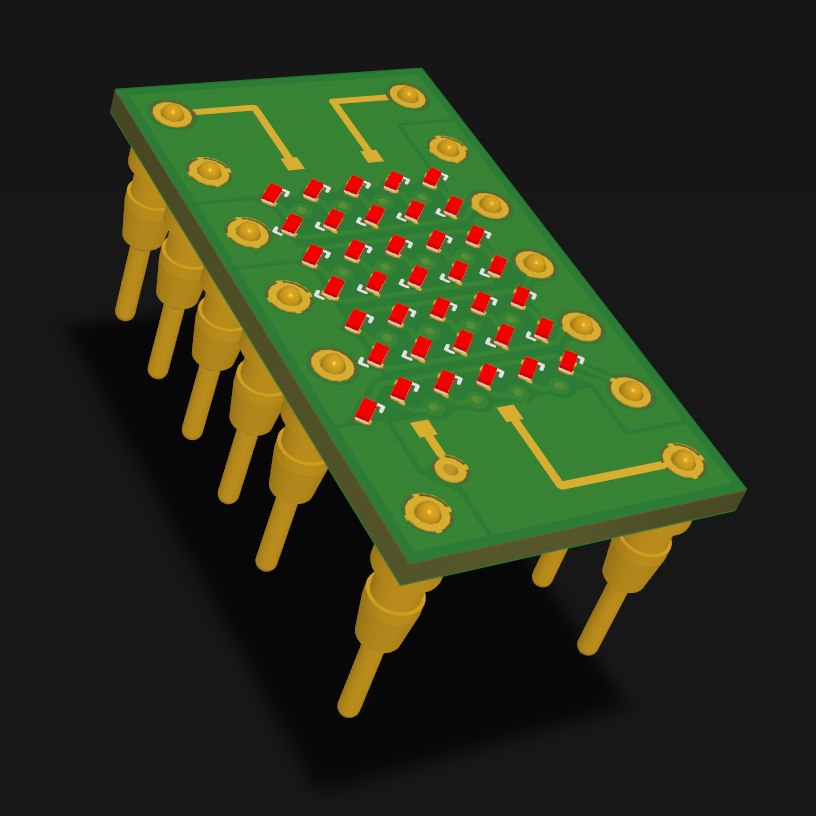 |  |
 |  |
 |  |
According to datasheet dots on TIL305 are arranged on 0.05"(1.27mm) grid. With that information I can now measure the size of a single dot. On the picture below each increment of scale represents 0.1 mm. It means that single dot is 0.4x04mm. I thought incorrectly that they were 0.6x0.6 (drawing from datasheet is more symbolic than actual representation of the part).
For my version of TIL305 I will use 0201 leds(0.65x0.35mm) rotated by 45° on 1.27mm grid.
Display showed on pictures below has marking "KOREA 8418".
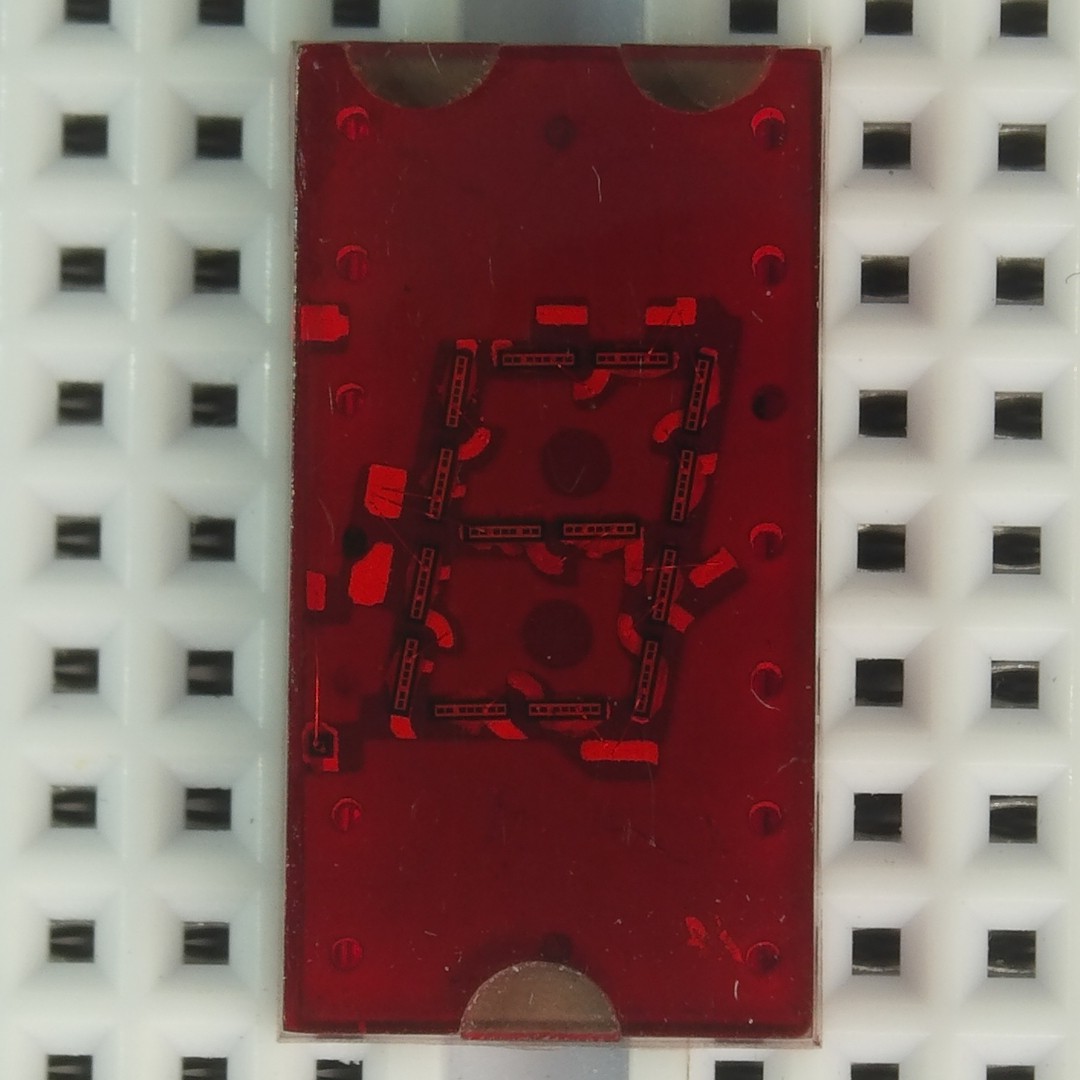
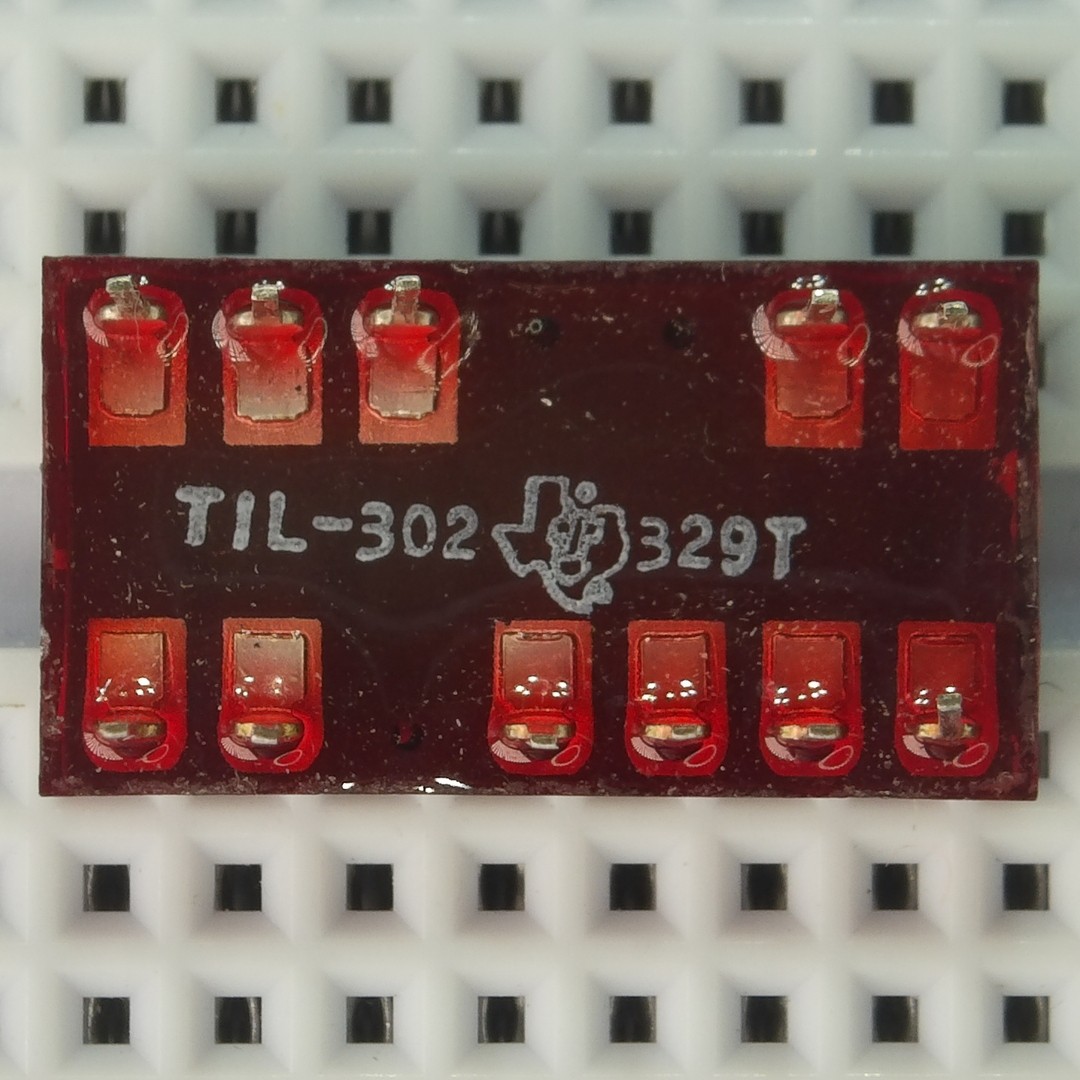
While researching TIL305 I discovered TIL302. It shares same package as TIL305 but is configured as seven segment, unlike TIL305 which is 5x7 matrix. I had to get one so here are some pictures:
 |  |
 |  |
Create an account to leave a comment. Already have an account? Log In.
you can beat the LiteOn by make the blue led version xD .Great project ,Im finding for the TIL305 replacement for a long time ,This can save me xD .
8418 means 18th week of 1984. This was the most used date code for components. I don't see where you're going, aren't you reinventing the wheel ?
Plan is to see how good I can replicate TIL305 display to see if it is viable to make my own custom modular displays for future projects(watches - see my past projects).
By custom I mean: more digits in same package, bigger matrix, different density, colors... While maintaining look and style of vintage displays like TIL305.
Hope you enjoy future updates :)
I remember these displays well - but my favorite was always the HP hex display - 5082-7340. I still have a bunch here in the garage somewhere. Probably a few of these TIL displays as well.
http://www.s100computers.com/My%20System%20Pages/ZFDC%20Board/HP5082-73xx.pdf
since everyone is wishing for colors - red leds under a blue piece of plastic please :)
wouldn't it be cheaper omitting the LEDs altogether? :) we have to think cost-efficiently here!
Jan - I meant transparent blue - as in get something vaguely purple-ish ;)
We could go for IR LEDs too!
Then we can use a lower voltage :D
Hm ... Though quite honestly, UV LEDs in a fluorescent casing, that could be awesome.
or yellow LEDs in a green transparent plastic - just play with the colors and don't be so mono ;)
This is a really neat idea. You should have no problem making the PCB itself (even finding proper legs by looking into the OSHchip which actually had pins fabricated for a use just like this:
https://www.youtube.com/watch?v=dCimvCcck7A
In my mind the trick is to get the enclosing material to come out really nice and transparent, flat, etc. Any thoughts on approaching that?
you can get 2mm transparent red acrylic that could be cut and shaped with a laser cutter(ponoko.com) to fit onto the PCB. that should fit well and provide enough transparency to look nice. i am wondering if using white LEDs instead of red would look better...
White could look better but would lift the minimum working voltage up as well. Red is somewhere around 2V, white is 3 to 3.5V.
But there are superbright red LEDs available which are so intense they should look fine under red plexiglass/acrylic.
That is great idea! In fact I actually have one piece of transparent led lens filter(used in photography) that might do the job. Those filter are 10x10x0.18cm and go for 1$ on eBay.
Here is one example(more expensive but has better picture showing the item): https://www.ebay.com/itm/Cokin-A003-Red-A-003-Lens-Filter-Genuine-France-Free-Shipping-Worldwide/382100951858?_trkparms=aid%3D555018%26algo%3DPL.SIM%26ao%3D1%26asc%3D54619%26meid%3Da15538da7079471e94728953bea012c8%26pid%3D100005%26rk%3D2%26rkt%3D12%26sd%3D401357697108%26itm%3D382100951858&_trksid=p2047675.c100005.m1851
My original plan was to use transparent red filament printed on FDM printer(did some test prints) or transparent resin printed on stereolithography printer. I will see what is my best option. More info about this in future update.
@Mile oh i had not seen those before. what is the thickness of them?
They are 1.8 mm thick and are available in plenty of other colors and shades.
Sorry for late replay.
For pins there are DIL clip pins available, too: http://www.dasarodesigns.com/product/batten-and-allen-ba3760-dill-leadframe-dip-pcb-edge-clip-pins/
I must say, those TIL displays are crisp as hell and look totally nice, but even 0402 LEDs are double the width of those thin TIL ones...
@Jan
That is why I am using 0201 leds(0.65x0.35mm). When placed diagonally they are little larger than TIL305 segments(~0.6x0.6mm). Perhaps few years from now when 01005 leds are introduced I can do more faithful replica :D
I was looking at Flip-Pins but in the end decided to go with "Machined pin header" pins because they are cheaper and more accessible. They go for 50c per 40pin header and they are breadboard compatible and gold plated.
Become a member to follow this project and never miss any updates
 Benchoff
 Erik Bosman
 Alex
Alex
 Cadmium
Just wondering what happened to this project?