Close
0%
0%

ESP8266 SDK Tutorial, Part 3

Our first IoT project using MQTT and the SDK!

Public Chat
Similar projects worth following
MQTT is a protocol used by many IoT devices to communicate data over the internet. Based on a subscribe/publish model, it's quite different from many other IoT protocols, but is very lightweight and easy to implement. In this tutorial, we write our MQTT library from scratch!

Take a look at Part 1 of this tutorial series:

ESP8266 SDK TutorialLearn how to use the ESP8266 SDK. This is what the pros use!
ESP8266 Lua/NodeMCU TutorialA look at the NodeMCU Lua interpreter for the ESP8266.  Learn how to get to Blinky!
ESP8266 Arduino TutorialUse the Arduino IDE to simplify development and get up to speed very quickly!

And here's the links to Part 2:

ESP8266 SDK Tutorial Looking at using the linker to get PWM, and the included I2C libraries
ESP8266 Lua/NodeMCU TutorialUsing PWM and I2C with Lua!
ESP8266 Arduino Tutorial Using the Wire library for I2C, and AnalogWrite for fading!

Links to the other tutorials in Part 3:

ESP8266 SDK Tutorial (You are here)Using MQTT to develop an IoT device
ESP8266 Lua/NodeMCU TutorialUsing the NodeMCU MQTT module to communicate with a cloud data service
ESP8266 Arduino TutorialWe use the simpler, more widely available HTTP protocol to log data to the cloud

Getting Help

If you run into trouble while following these tutorials, you have a few different options:

  • Ask in the discussion area below the article
  • Join the ##esp8266 channel on Freenode IRC and ping me (MrAureliusR) or ask anyone who is in there
  • Post on the ESP8266 Community Forums (note it can take a while to get a response!)
  • Send me a private message here on Hackaday

What is MQTT?

MQTT, pronounced "em-cute" and short for Message Queuing Telemetry Protocol, is a lightweight communication protocol that was specifically designed to be easy to implement in environments with limited resources, like a microcontroller. It has found widespread use in the IoT arena. It is easy to understand, and it is perfectly suited for applications where data logging or remote control are required. In this tutorial, we will be implementing a basic MQTT library for the ESP8266. In order to do this, we will need to take a look at the MQTT standard document, which is freely available. A huge kudos to OASIS and MQTT.org for making the specification freely available. This is one of the factors that has led to its widespread use.

MQTT is based on a subscribe/publish model. Think of it like a newspaper or magazine subscription. There are many different newspapers and magazines available, each containing different information that you may or may not be interested in. Your local magazine supplier, or broker, has a listing of all the publications that are available. You can choose to subscribe to those you are interested in, and from that point forward, you will receive all the subsequent releases as long as you maintain your subscription. 

MQTT works in the same way, with a server running the MQTT broker software. This broker can be queried by clients looking to subscribe to the data feeds (known as topics in MQTT lingo) it has available. One of these topics might be the temperature in Toronto, Ontario, at the Pearson International Airport. You send a message to the server that you would like to subscribe to that topic. When a new reading is taken from the thermometer, the server sends you a message with the new data. This continues until you cancel your subscription, stop responding, or the broker goes offline.
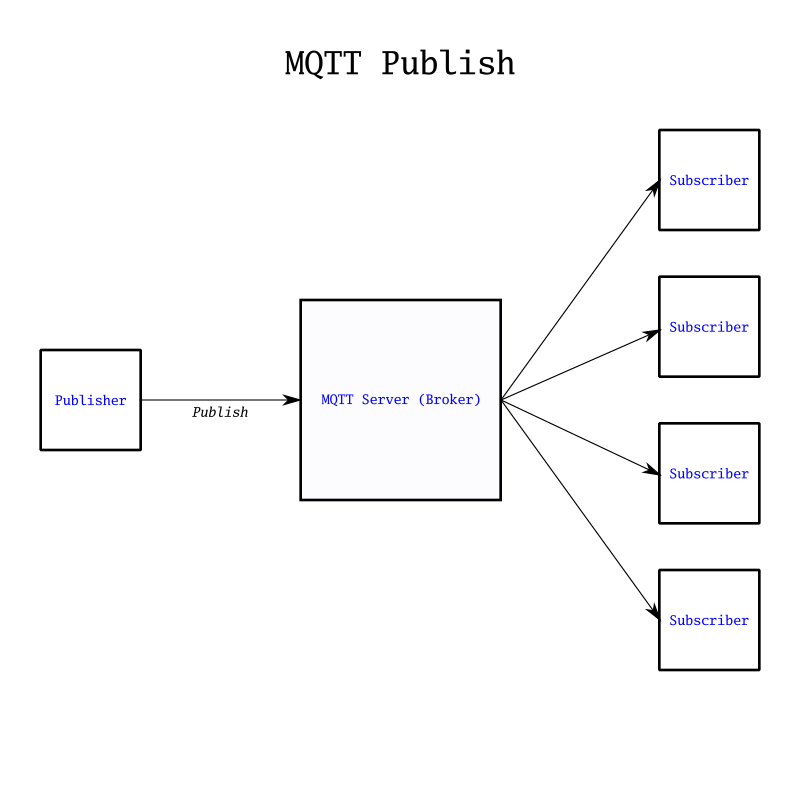
A diagram of the publish process. Notice the separation between Publisher and Subscriber

On the other side of the broker is the publisher. This is the computer at Pearson Airport which is actually taking the readings from the thermometer. Whenever it has a new piece of data, it publishes this data to the MQTT broker software, running on the publicly accessible server. The publisher doesn't know who is subscribed, and it doesn't care. Its only job is publishing new data to the feeds it is responsible for. This separation between the publisher and subscriber allows for easy scaling and security. It is also highly reliable, with features in the protocol that can ensure delivery of messages with some additional overhead. However, most MQTT brokers...

Read more »

  • 1
    Why MQTT?

    For the next phase of our tutorial series, I knew that we would be communicating with a cloud server. There are many different protocols for IoT communication, but MQTT has the advantage of being simple, lightweight, and fast. It can also be served using TLS encryption, making it secure as well. I wanted to dive a bit more in depth with the esp-open-sdk, and the best way to do so would be to write a library from scratch! So that's what I did. In this project, we will be looking at the library, as well as an example using it to communicate with Adafruit I/O, though any compatible MQTT server will work just as well.

    The complete library is hosted on GitLab. There is a link in the sidebar, or you can just click here. I based the library directly off of the MQTT standard, which is open and available for anyone to read. I strongly recommend you take at least a cursory glance through it, or read a summary of how MQTT works. There is a brief description in the details section of this project, but a more thorough understanding will make using the library much easier.

    We will be going through the library, but because it is quite long, I won't be able to go line-by-line as I usually do. Instead, I will focus on important sections, and also spend time explaining how the example code works, and how to integrate this library into a separate project. We will be doing just that in the next tutorial in this series, so stay tuned!

  • 2
    What does the library do?

    I admit, I'm not the greatest coder around; not by a long shot. I go for functionality over form a lot of the time. In this case, the library will take care of most of the work for you -- you just need to provide info about the Wi-Fi connection, the MQTT feed you want to publish/subscribe to, and functions to handle the various tasks that your project needs to do.

    Specifically:

    • It creates a TCP connection to the server
    • It crafts and sends the MQTT portion of the TCP packets, leaving the rest of the TCP packet creation to the espconn library
    • It interprets the responses from the server, potentially calling user callback function

    The git repository includes an example file, to show how a user would use the library in practice. We'll take a look at both halves of the project, but I urge you to go read the code yourself, and comment if you have any questions! Unlike the previous parts, going line-by-line through the library isn't feasible or warranted -- it's simply an implementation of the MQTT standard. If you are interested in writing an MQTT library yourself, say for a different device or language, you can pick through the code while reading the standard to see how and why it's designed the way it is. I would be more than happy to help if you have questions -- check the Getting Help section in the project details.

    The library is mostly based on two functions: tcpConnect() and mqttSend(). tcpConnect() establishes the TCP connection to the MQTT broker, by calling the espconn library functions provided as part of the SDK. mqttSend() handles all MQTT transactions. When called, it is passed an mqtt_session_t object which contains a pointer to the active TCP session. It constructs a packet based on the MQTT standard, and then uses this open TCP connection to send the crafted packet. Much of this function is dedicated to keeping track of the number of bytes generated and dynamically allocating memory, as MQTT depends on a precise count of the bytes in the packet (as most TCP-based protocols do). 

    Once the packet has been constructed and sent, it activates a keep alive timer which will automatically send MQTT PINGREQ packets to the server to keep the MQTT session open. 

    The code is fairly well-commented, and the header file mqtt.h has good descriptions of each piece of the related structures. Also, if you generate the Doxygen documentation, it compiles all that info into an easy-to-browse HTML site. The latest version of the Doxygen docs are automatically compiled by GitLab and are viewable here.

  • 3
    One-Wire Communication

    Besides communicating with Adafruit IO over MQTT, we also need to grab temperature samples from the DS18B20. This is mostly for testing, as full integration into a project will be in the next part of this series. The DS18B20 uses the 1-Wire protocol, originally created by Dallas (as was the DS18B20 itself -- the DS stands for Dallas Semiconductor) but now owned by Maxim. The protocol runs on one wire (of course) and most 1-Wire devices only need three connections - power, OWB (1-Wire Bus) and ground. Many devices support a special mode called parasitic power where the device can be powered by the OWB pin, needing only two wires to function.

    In this example, we will be implementing only the most basic functions needed to get temperature data from the device. The 1-Wire standard is much more complex than what is presented here, including CRC checks for data consistency, 64-bit device addresses and more. However, because we only have one device on the bus, and we only want it to do one thing, we can ignore the vast majority of the standard and just focus on three things:

    • The reset sequence
    • Sending a command
    • Reading data back

    In our case, we will be sending the command to start a temperature conversion, followed by the command to read the scratchpad (registers) containing the temperature data. The full device datasheet is here. I'm not going to go too deep into how it works, because that's not the focus of this project. However, I will go over the code briefly so you can see what is going on.

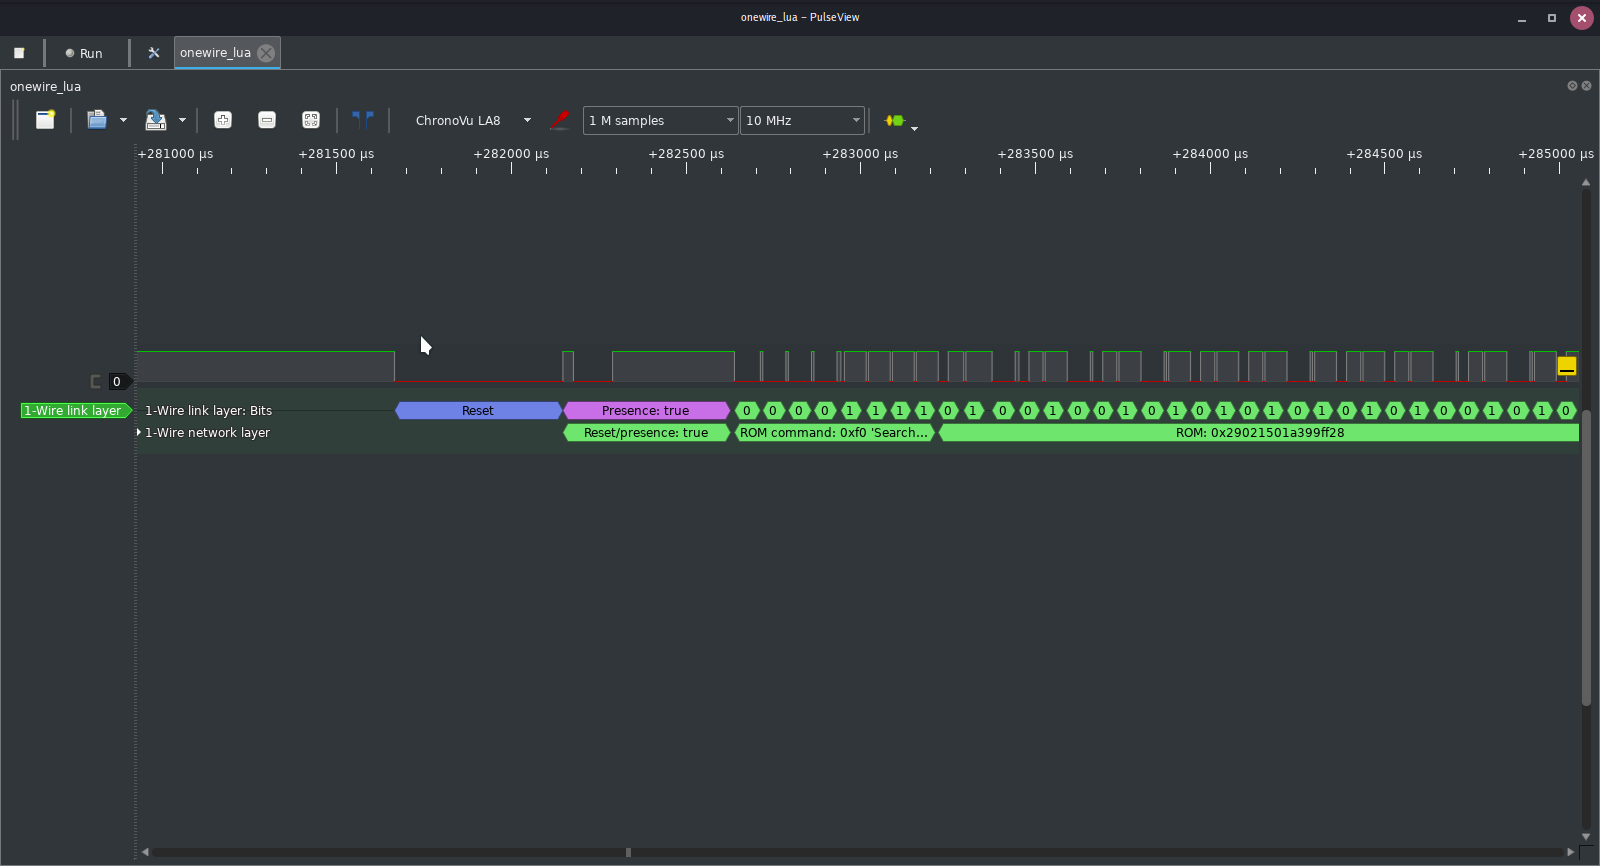
    The NodeMCU Lua library for 1Wire implements the full protocol
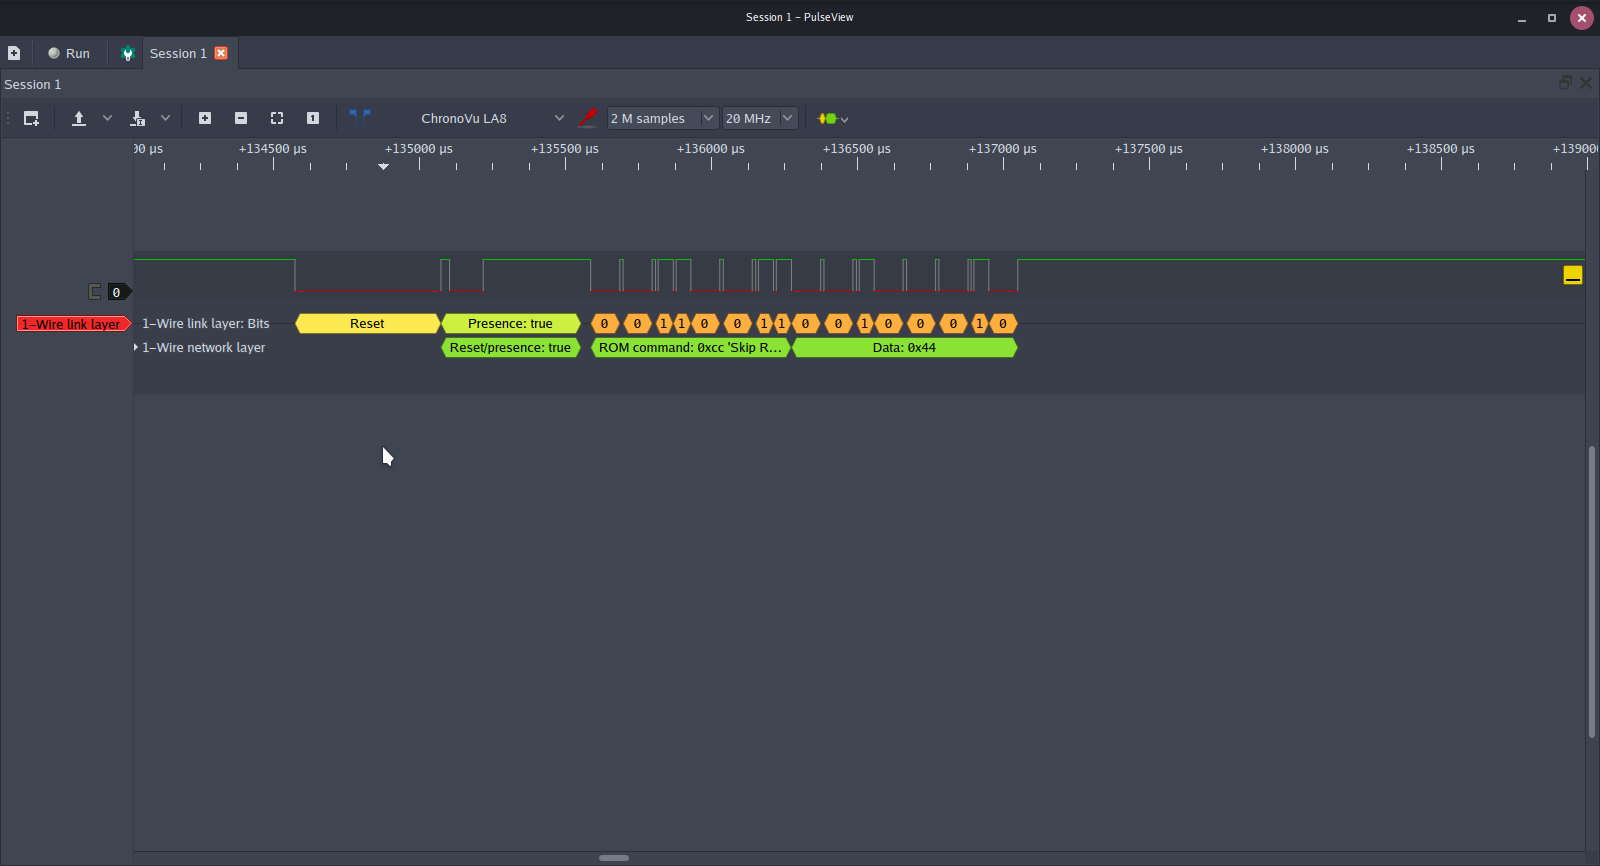
    However, we will be using as few commands as possible

    Here is the code for the 1-Wire functionality. There are only two functions, reset() and transact(). Reset sends the reset pulse on the bus. This must be sent before any communication is started. The transact function handles both reads and writes; however it is designed specifically to communicate with the DS18B20. When writing this code, I realized that both the hardware and software timers likely wouldn't have fine enough resolution to create pulses short enough to be read by the DS18B20. So I used a bit of a hack: I simply used the system_get_time() function to store the number of microseconds since boot, added the required number of microseconds to this number, and then polled system_get_time() until they were equal. It's ugly, but it works surprisingly well, and as I said I definitely prefer function over form in solo projects.

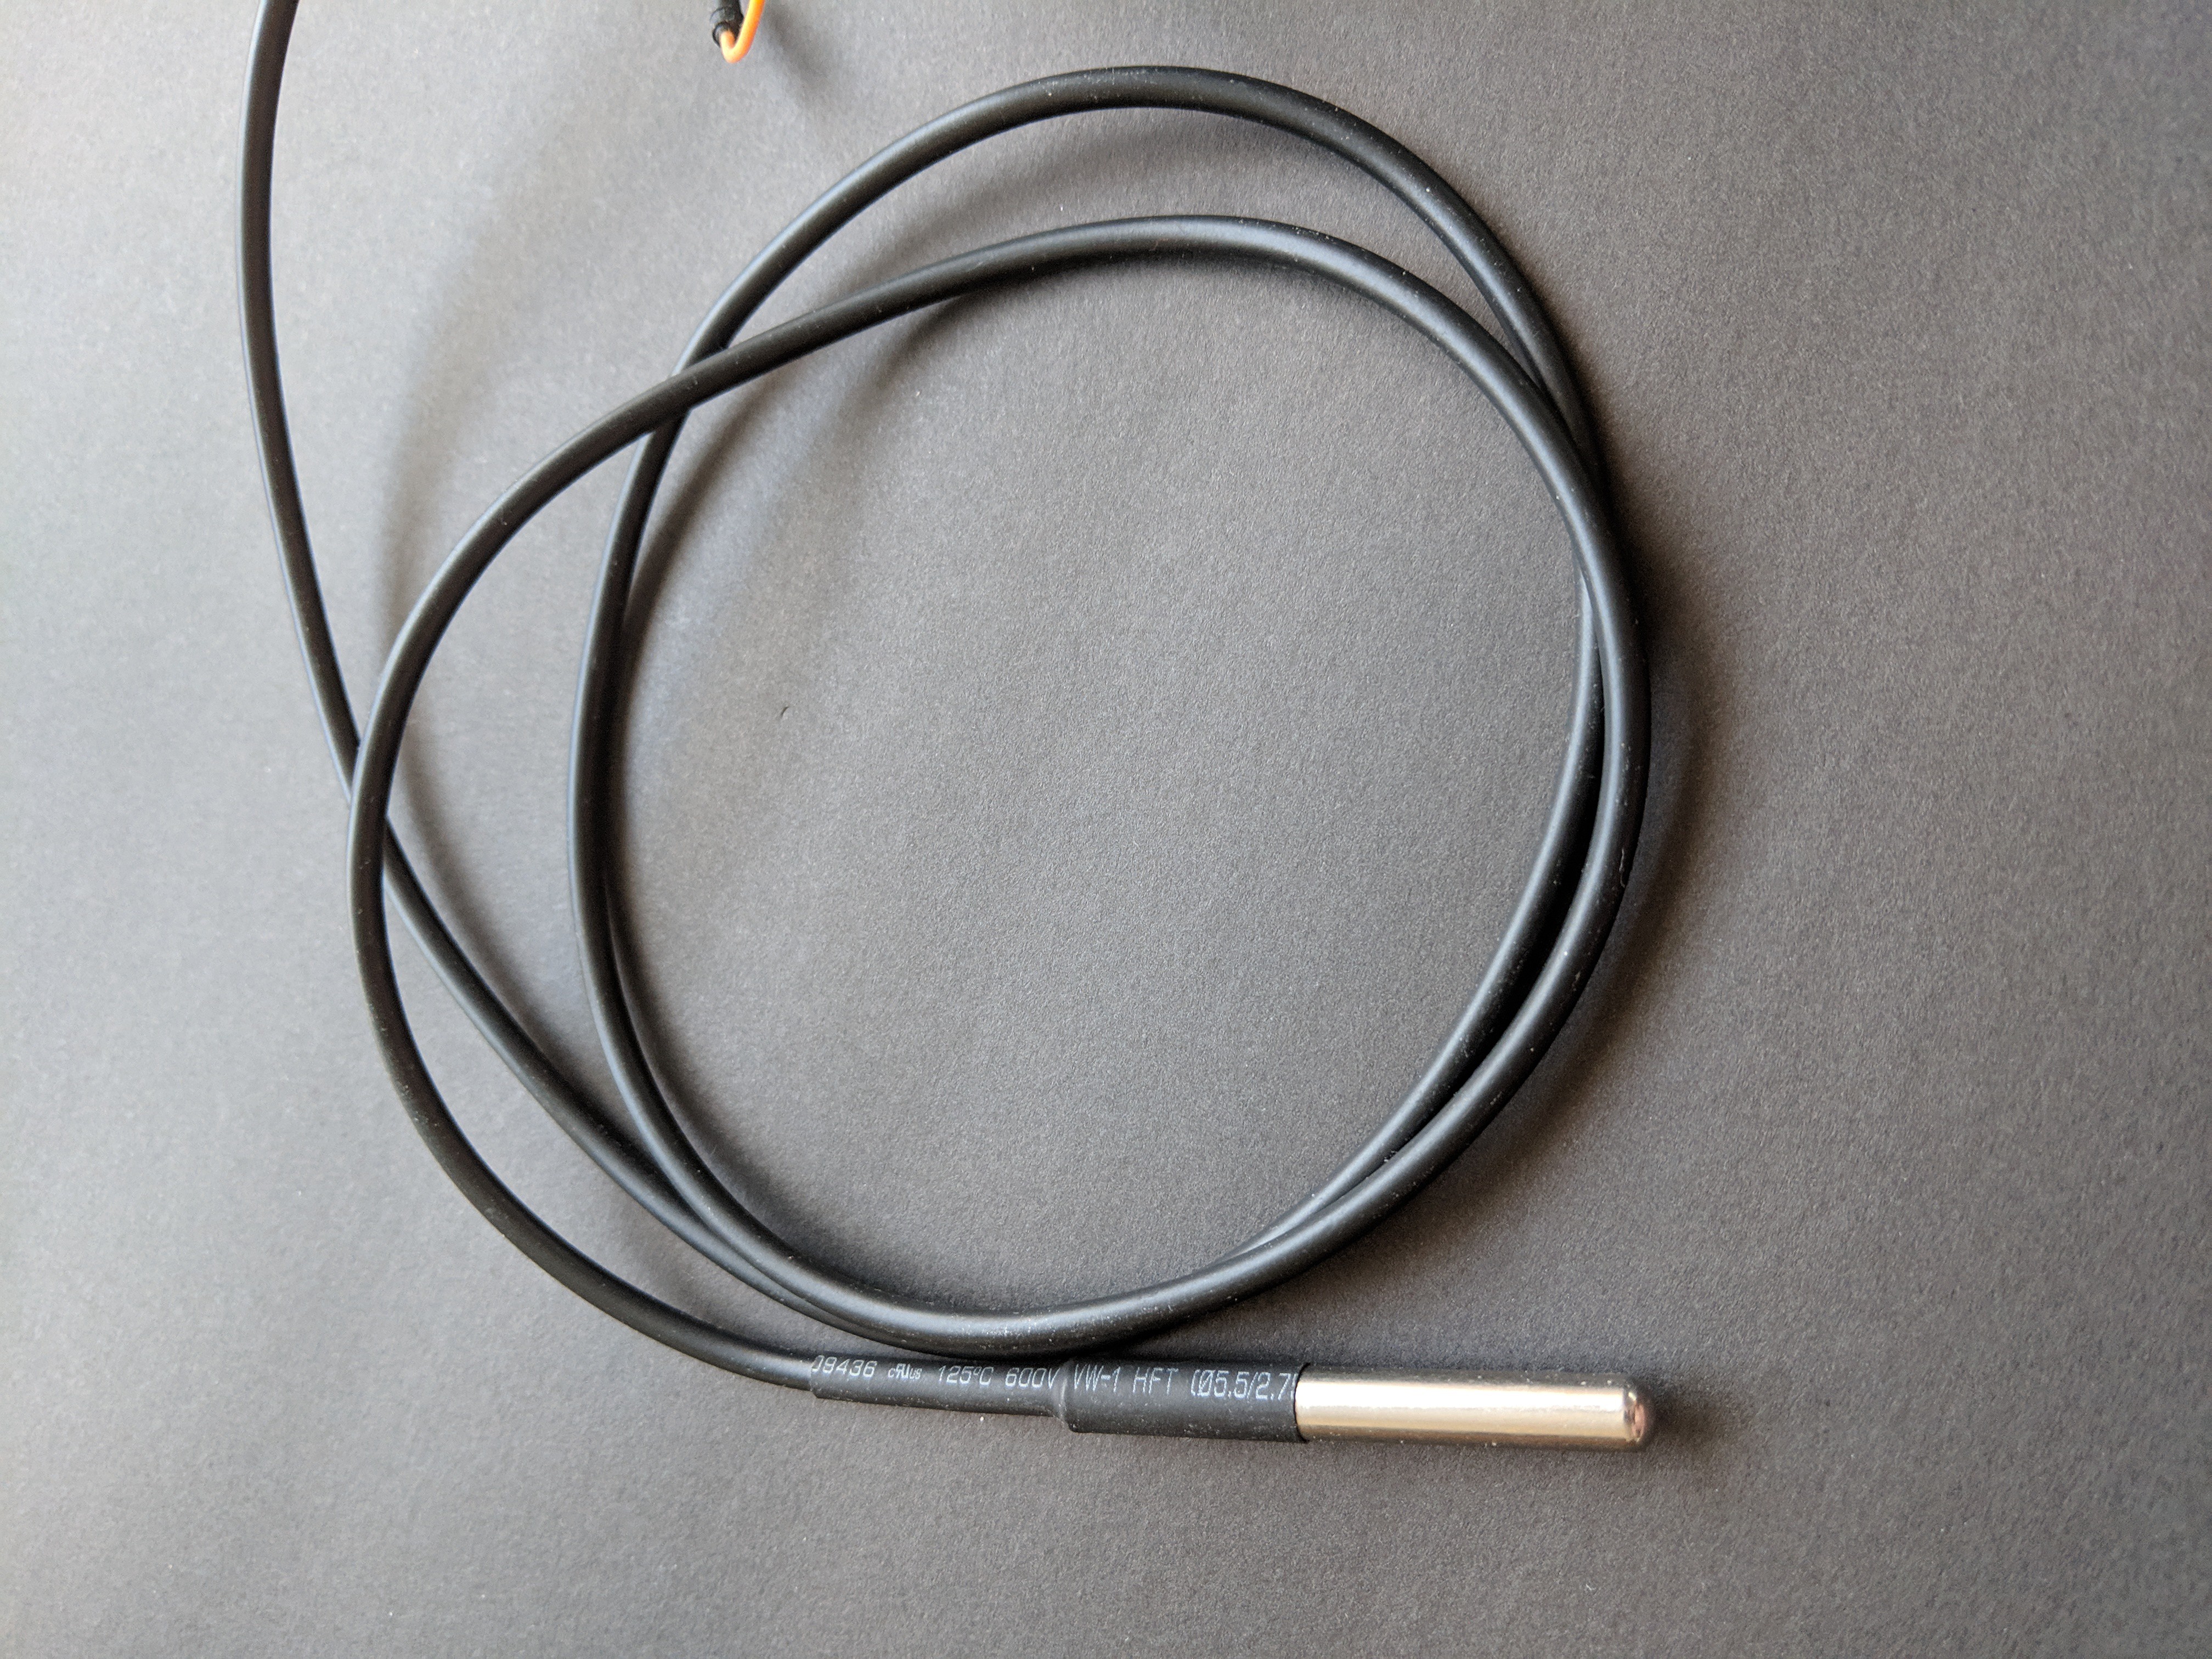
    The DS18B20 temperature probe used in this project

View all 7 instructions

Enjoy this project?

Share

Discussions

Similar Projects

Does this project spark your interest?

Become a member to follow this project and never miss any updates