Close
0%
0%

ESP8266 Arduino Tutorial, Part 3

We use HTTPS to send data to the cloud!

Public Chat
Similar projects worth following
Many IoT data hosting providers have multiple options for protocols to send and receive data. Almost all of them support a basic HTTP GET/POST protocol, which is what we explore here!
Please do not request to join the team!

Take a look at Part 1 of this tutorial series:

ESP8266 SDK TutorialLearn how to use the ESP8266 SDK. This is what the pros use!
ESP8266 Lua/NodeMCU TutorialA look at the NodeMCU Lua interpreter for the ESP8266.  Learn how to get to Blinky!
ESP8266 Arduino TutorialUse the Arduino IDE to simplify development and get up to speed very quickly!

And here's the links to Part 2:

ESP8266 SDK Tutorial Looking at using the linker to get PWM, and the included I2C libraries
ESP8266 Lua/NodeMCU TutorialUsing PWM and I2C with Lua!
ESP8266 Arduino Tutorial Using the Wire library for I2C, and AnalogWrite for fading!

Links to the other tutorials in Part 3:

ESP8266 SDK TutorialUsing MQTT to develop an IoT device
ESP8266 Lua/NodeMCU TutorialUsing the NodeMCU MQTT module to communicate with a cloud data service
ESP8266 Arduino Tutorial (You are here)We use the simpler, more widely available HTTP protocol to log data to the cloud

Getting Help

If you run into trouble while following these tutorials, you have a few different options:

  • Ask in the discussion area below the article
  • Join the ##esp8266 channel on Freenode IRC and ping me (MrAureliusR) or ask anyone who is in there
  • Post on the ESP8266 Community Forums (note it can take a while to get a response!)
  • Send me a private message here on Hackaday

  • 1 × DHT22 Humidity sensor
  • 1 × DS18B20 Sensors / Temperature, Thermal
  • 1 × Adafruit Feather HUZZAH ESP8266 The Adafruit development board for the ESP8266
  • 2 × 1k Resistor
  • 1 × Breadboard Electronic Components / Misc. Electronic Components

  • 1
    Using HTTP APIs to log data

    We've all heard of HTTP - it's in the browser bar right now! But what is HTTP, really, and how can we use it to send data to a server? Well, HTTP stands for HyperText Transmission Protocol. It runs on top of TCP, or Transmission Control Protocol. You don't need to fully understand these protocols, just grasp the basics. TCP is responsible for taking data from an application, assembling it into a packet, and passing it to the ethernet or wi-fi card to transmit across the Internet. At the other end, the reverse happens. In the case of HTTP, the data is hypertext, or HTML. But it doesn't have to be HTML. HTTP can be used to transfer files, images, scripts, videos and more.

    The two most important requests are called GET and POST. These are commands in the HTTP standard that an HTTP server will understand. When I want to view google.com, my browser sends a GET command to google.com's web server, and it returns the homepage. When I type a search into the search bar and hit enter, my browser sends a POST command to the server with whatever I typed. Think of it like posting a letter!

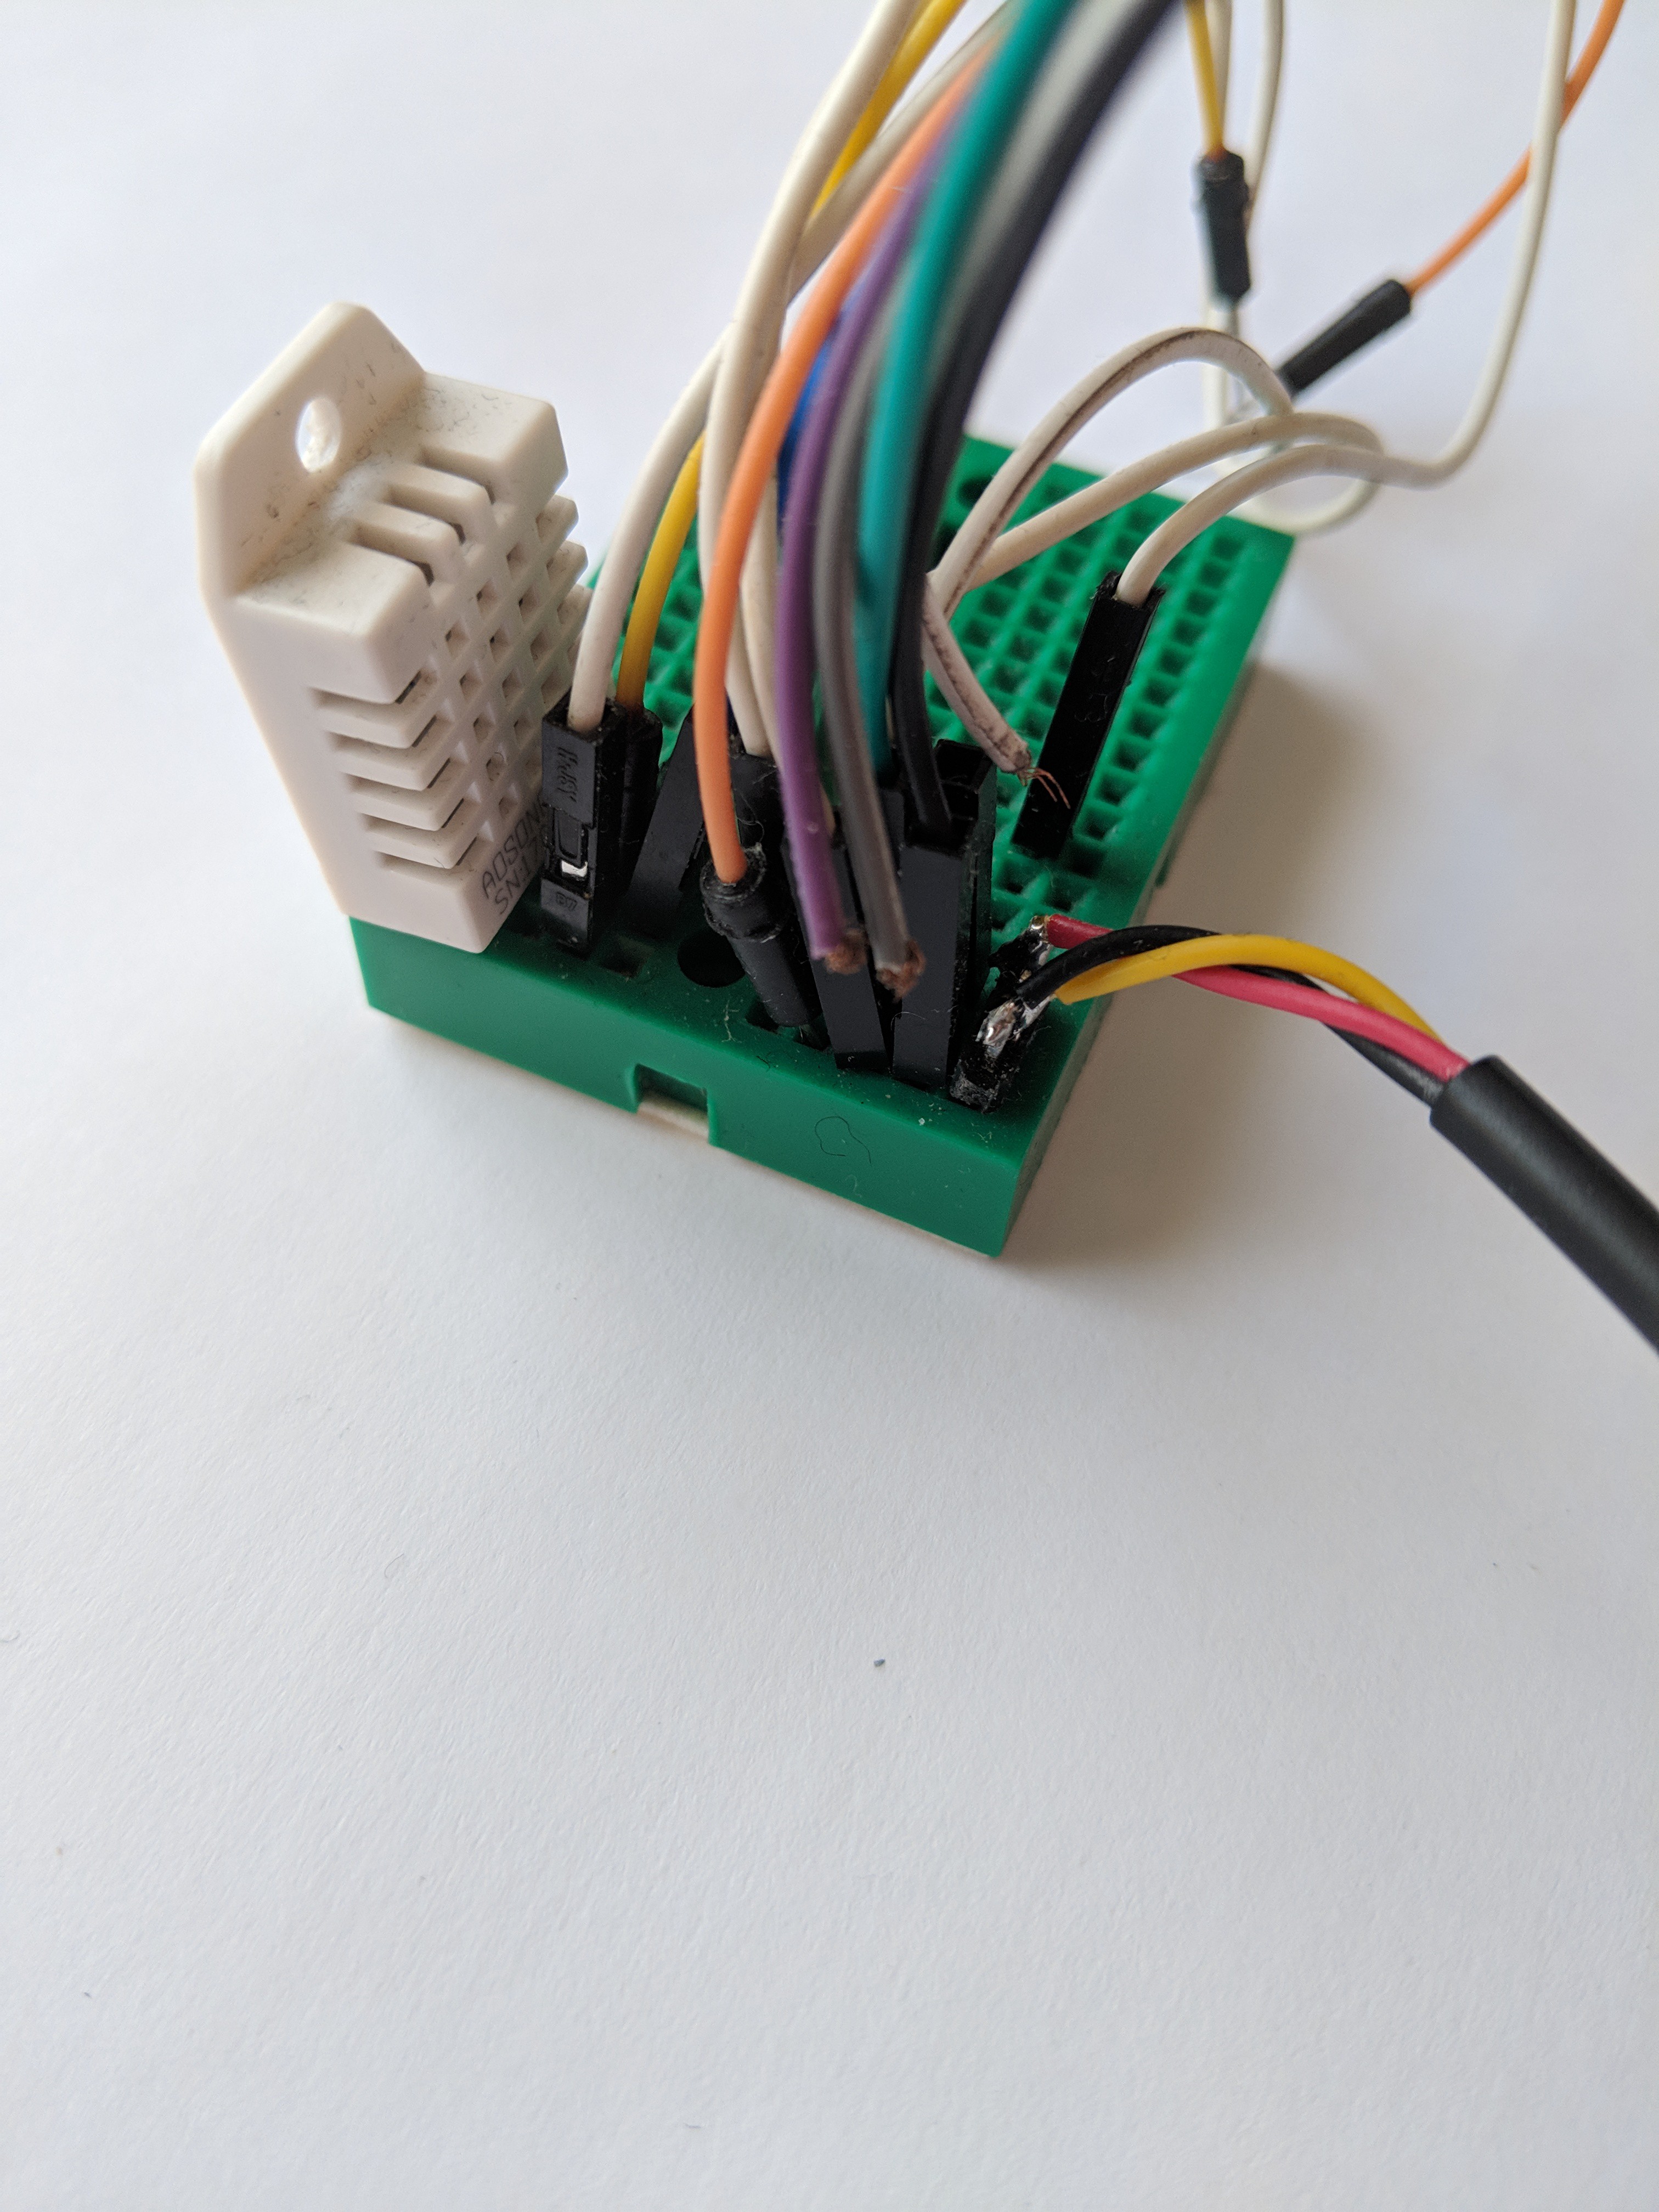
    The breadboarded sensors for this project!

    Alongside the GET and POST commands, HTTP also sends some extra data called headers. These headers are little tidbits of information the server can use to modify what it gives you. For example, a common header is the User-Agent header. This tells the server what kind of browser we are using. Ever wondered how it is you get a different layout when you go to a website on your smartphone? Your smartphone's browser is telling the server via the User-Agent header that it's a mobile device, and so the server sends a different layout so that it fits on your smaller screen!

    In our case, all we want to do is get some data from a sensor, and send it to a server. So we will only be using the POST request. We will also be including some data in the HTTP headers, so that the server knows who we are and doesn't reject our requests (they don't want you sending data to someone else's stream!).

    There are a huge number of services available that will allow you store and display data for free. Many are open-source, too, which is a bonus! For this tutorial, we will be using Adafruit IO, but once you understand the process you can easily substitute any other service. Popular ones include Freeboard.io, Thingsboard, Node-RED, Thingspeak, and many, many more.

    The documentation for the Adafruit IO REST API is located here. I suggest taking at least a cursory look before reading the rest of this tutorial. Make sure to take a look at the createData operation - this is the one we will be using.

  • 2
    Sign up for Adafruit IO

    As I mentioned previously, you are free to use any cloud data service you want! However, if you want to be able to use the code as provided, then it's easier just to use Adafruit IO. You can sign up by visiting https://io.adafruit.com/ and clicking the Sign Up button.

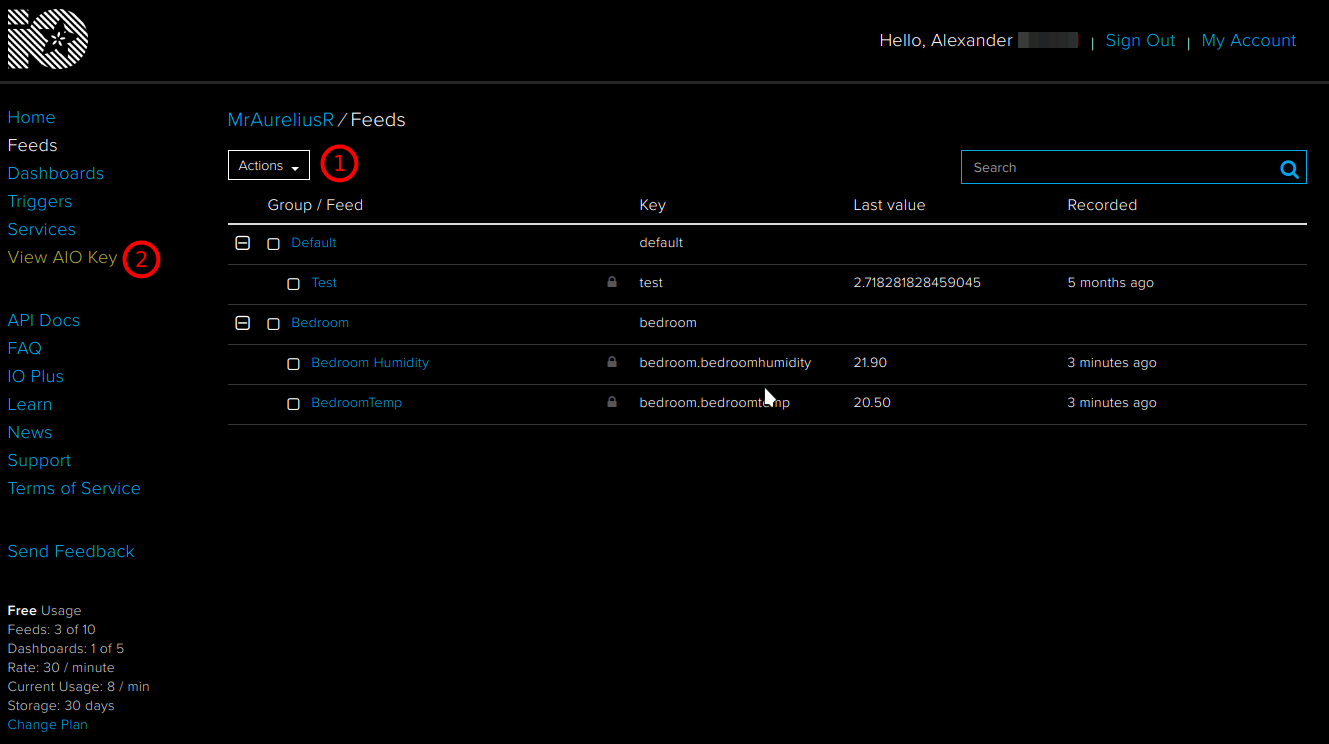
    Once you've signed up, navigate to the Feeds section in the left-hand toolbar, and then create two feeds. In my image below, I have created a feed called bedroomhumidity, and bedroomtemp. I've also placed these into a group called Bedroom, but this isn't necessary.

    After signing up, create two feeds, and then view your AIO Key

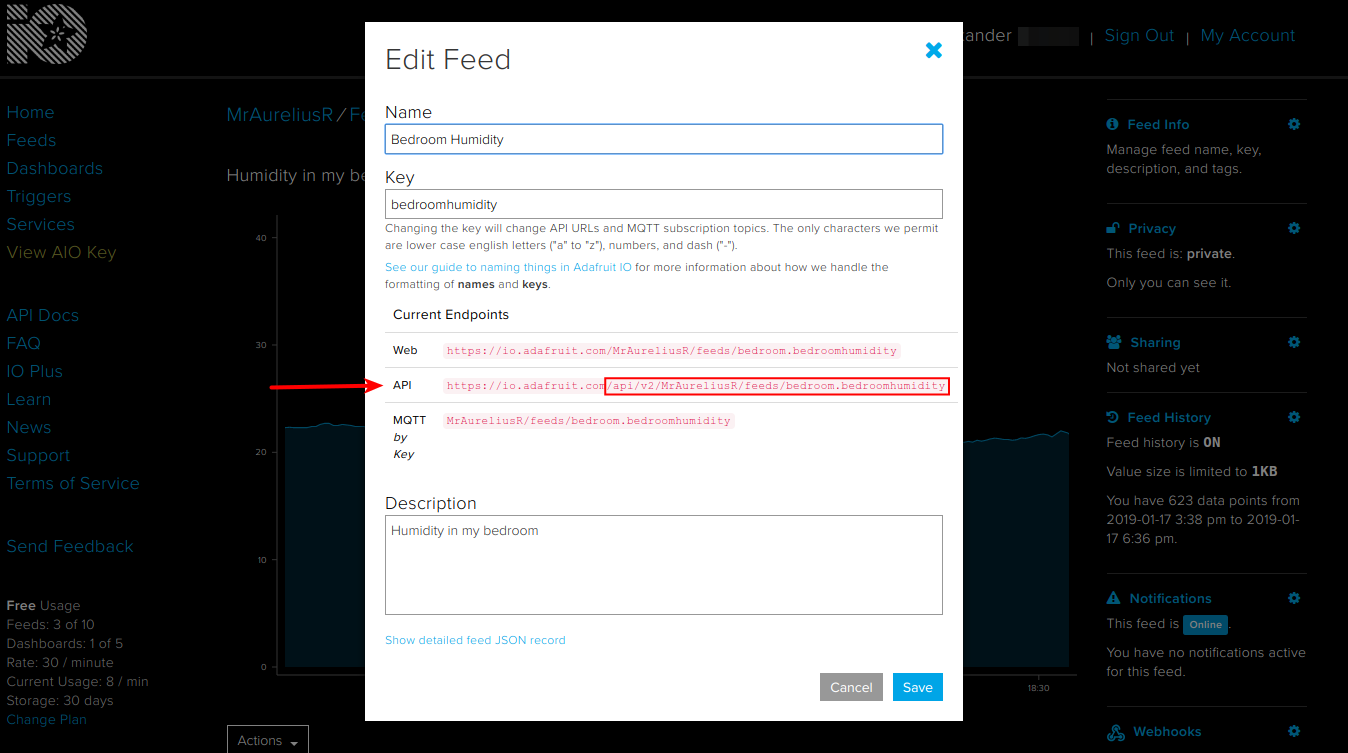
    Once you've created the two feeds, click on the name of one of the feeds, and then click Feed Info in the right-hand toolbar. This brings up all the info about the feed, including the API endpoint that we will need later. Make sure to also click on View AIO Key -- we will need this key later as well.

    If you click on Feed Info, you can see the API URL generated for you

    That's all we need for now! Later on, feel free to play with creating Dashboards to view your data.
  • 3
    Installing libraries and breadboarding

    In order for this project to build and upload successfully, we need to add a few more libraries to our Arduino environment. Fire up Arduino, and then just like way back in part 1, open the Library Manager by pressing Ctrl-Shift-I. In the search box, type DHT, and scroll down until you see Simple DHT. Click install. It should look like this:

    After that, enter OneWire into the search box, and install the OneWire library which looks like this:

    Now that we've got that out of the way, let's take a look at our circuit, and the sensors we will be using. Both the DHT22 and the DS18B20 are very widely available, and quite inexpensive. They can be found from the usual suspects, as well as auction websites and Chinese importers. The DS18B20 was made by Dallas, who were acquired by Maxim in 2001. 

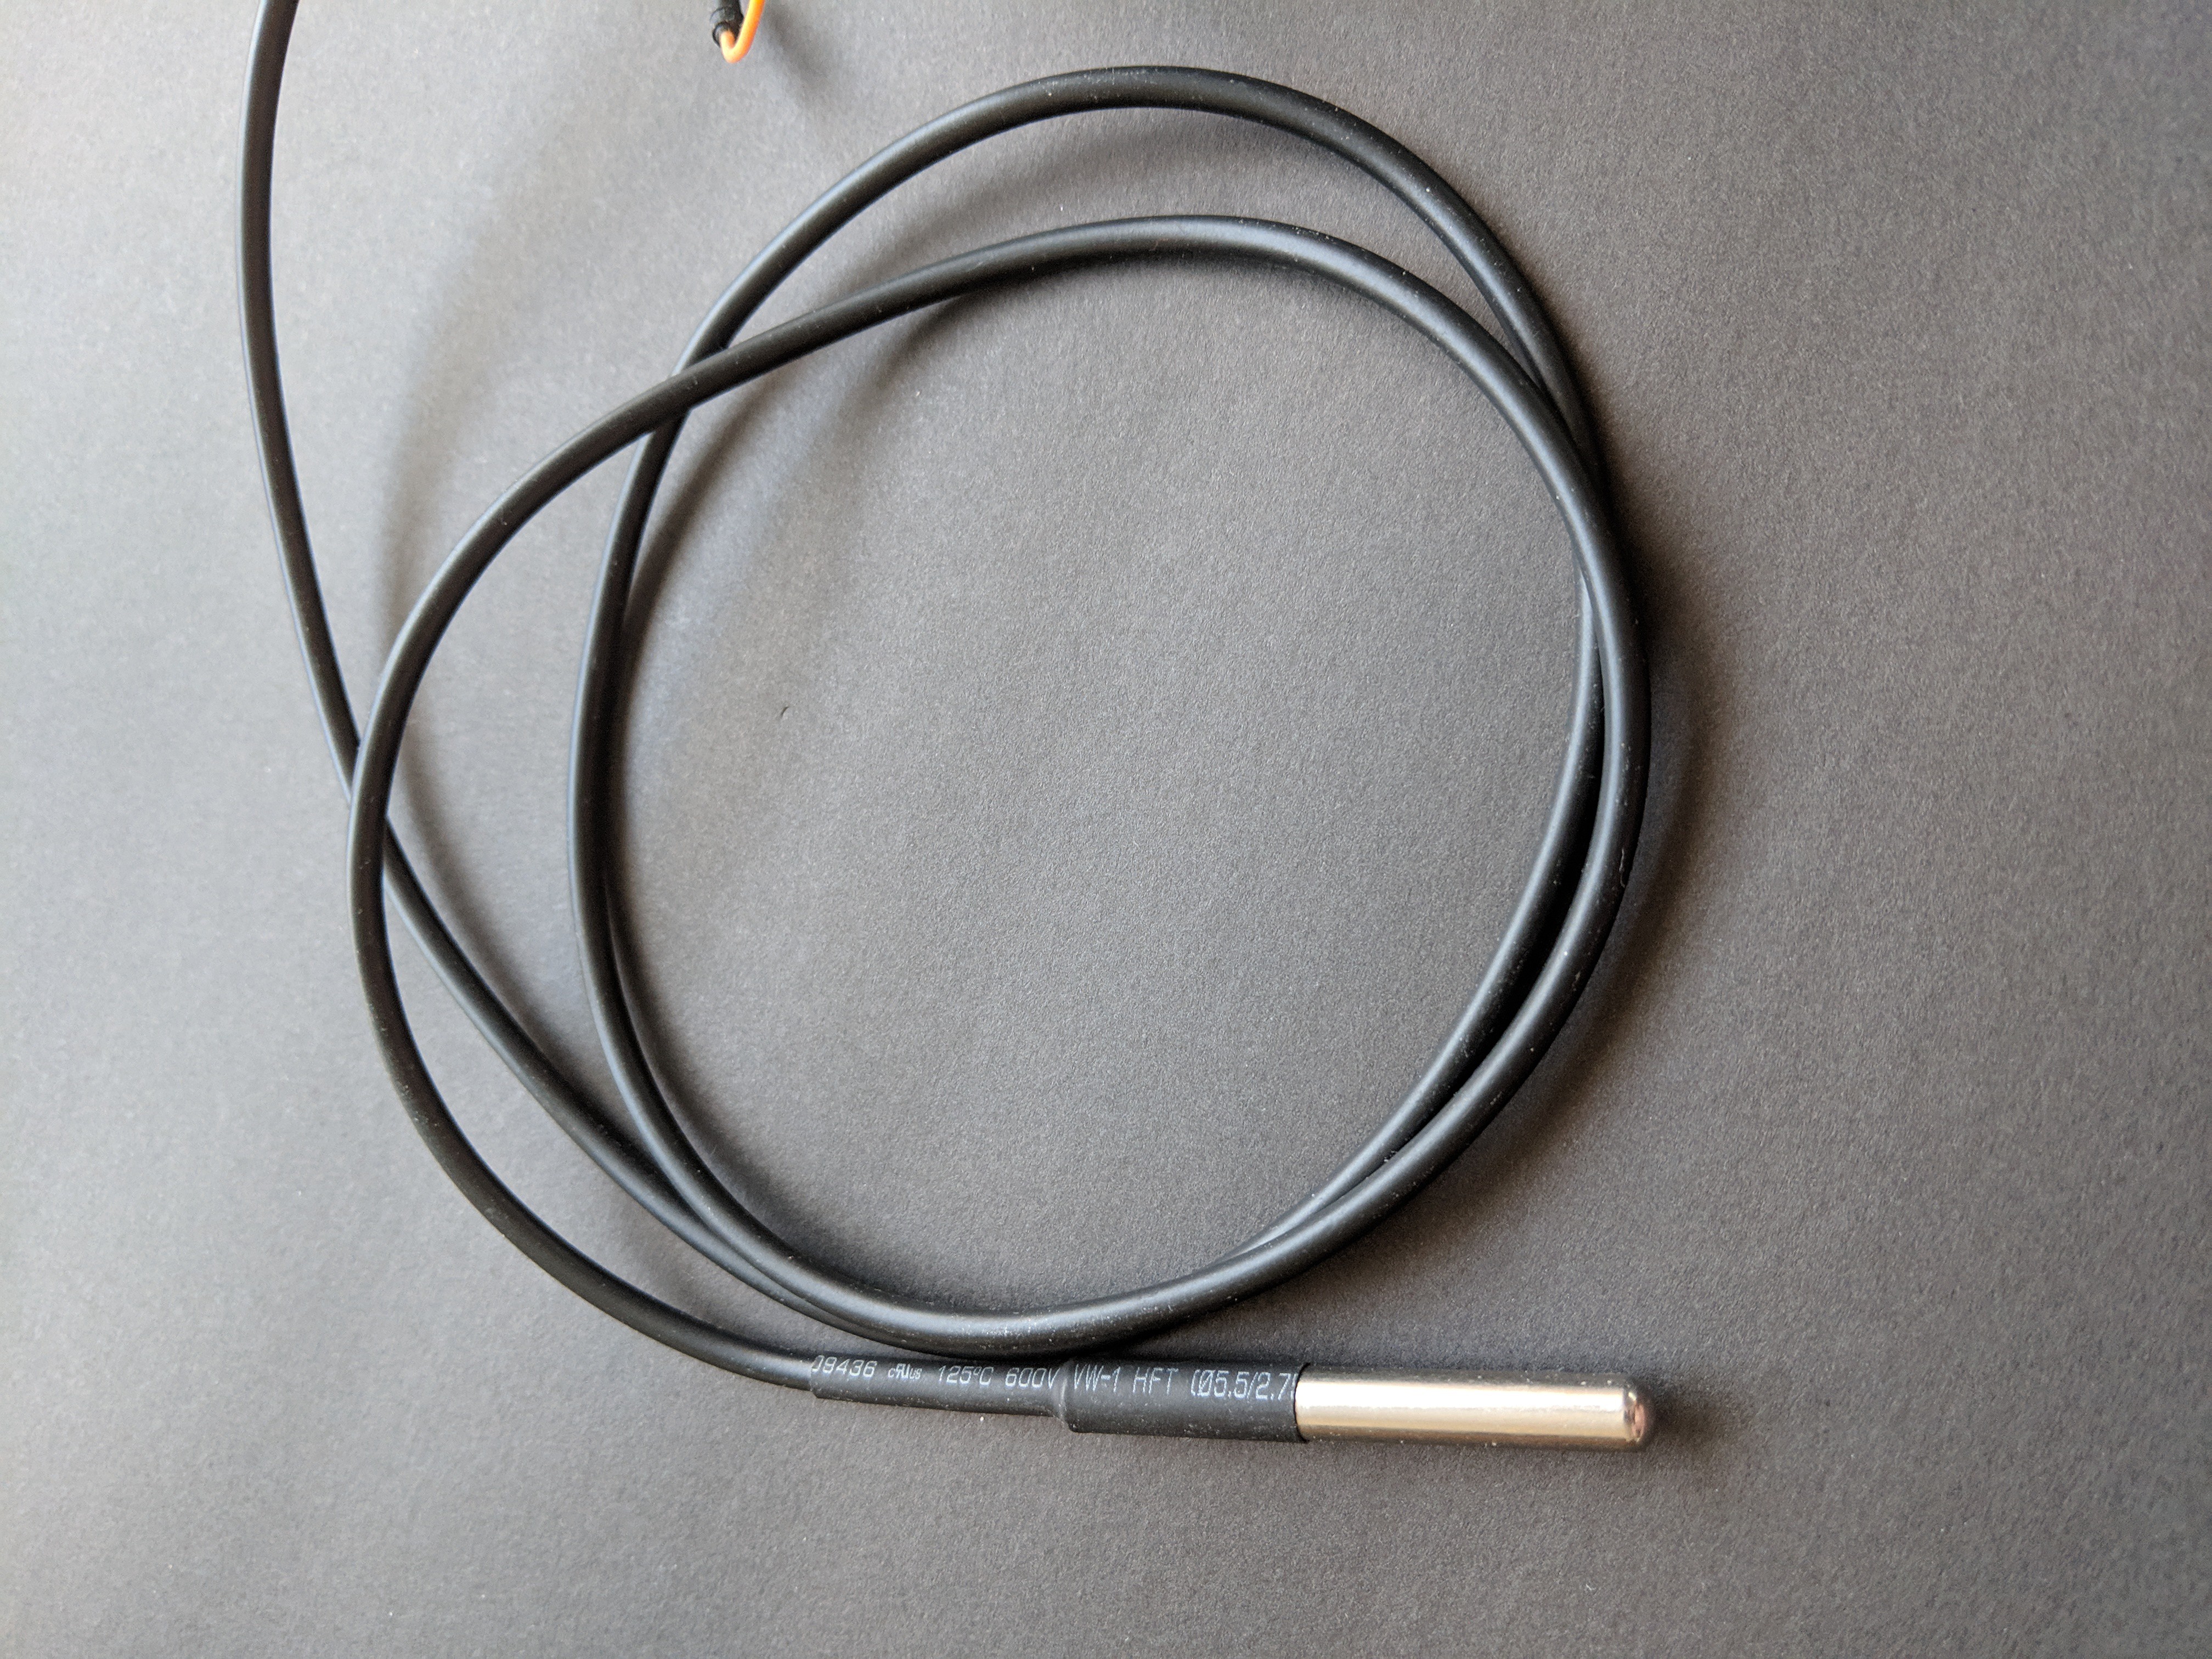
    The DHT22 is a low-cost humidity sensor with surprising accuracy for the price. It actually has a built-in sensor similar to the DS18B20 for thermal compensation of the humidity sensor. The reason I am collecting temperature data from a separate DS18B20 is because I have one on a longer wire, encased in a metal probe. This allows me to place the probe away from the DHT sensor, meaning I can sample temperature from two places at once if needed. However, if you only have one or the other (or a different sensor altogether) this project will still work with some modifications.

    A waterproof, cabled DS18B20

    Grab a breadboard, a couple 1K resistors, your sensors and your ESP8266 and let's put it all together!

    Our circuit with an Adafruit Feather HUZZAH ESP8266

    The above diagram uses an Adafruit Feather HUZZAH but you can use any ESP8266 board. Just make sure you connect the sensors to the same pins, or edit the code to match the pins you picked. Also, be sure to power the sensors from 3.3V as the ESP8266's pins cannot handle 5V!

View all 6 instructions

Enjoy this project?

Share

Discussions

PjotrA@aliendnatronics wrote 12/27/2022 at 13:54 point

ok my bad looking at the big header picture i noticed it was really the ds srry  4 that

  Are you sure? yes | no

Similar Projects

Does this project spark your interest?

Become a member to follow this project and never miss any updates