-
1Step 1
Parts
![]()
You'll need the following components to make this project.
- 1x Official SNES Controller (model SNS-005)
- 1x Raspberry Pi Zero
- 1x PowerBoost 1000C
- 1x 500mAh Battery
- 1x Slide Switch
- 1x 8GB Micro SD Card
- 1x Mini HDMI Male to HDMI female adapter
- 1x USB Female Port (this comes with the PowerBoost)
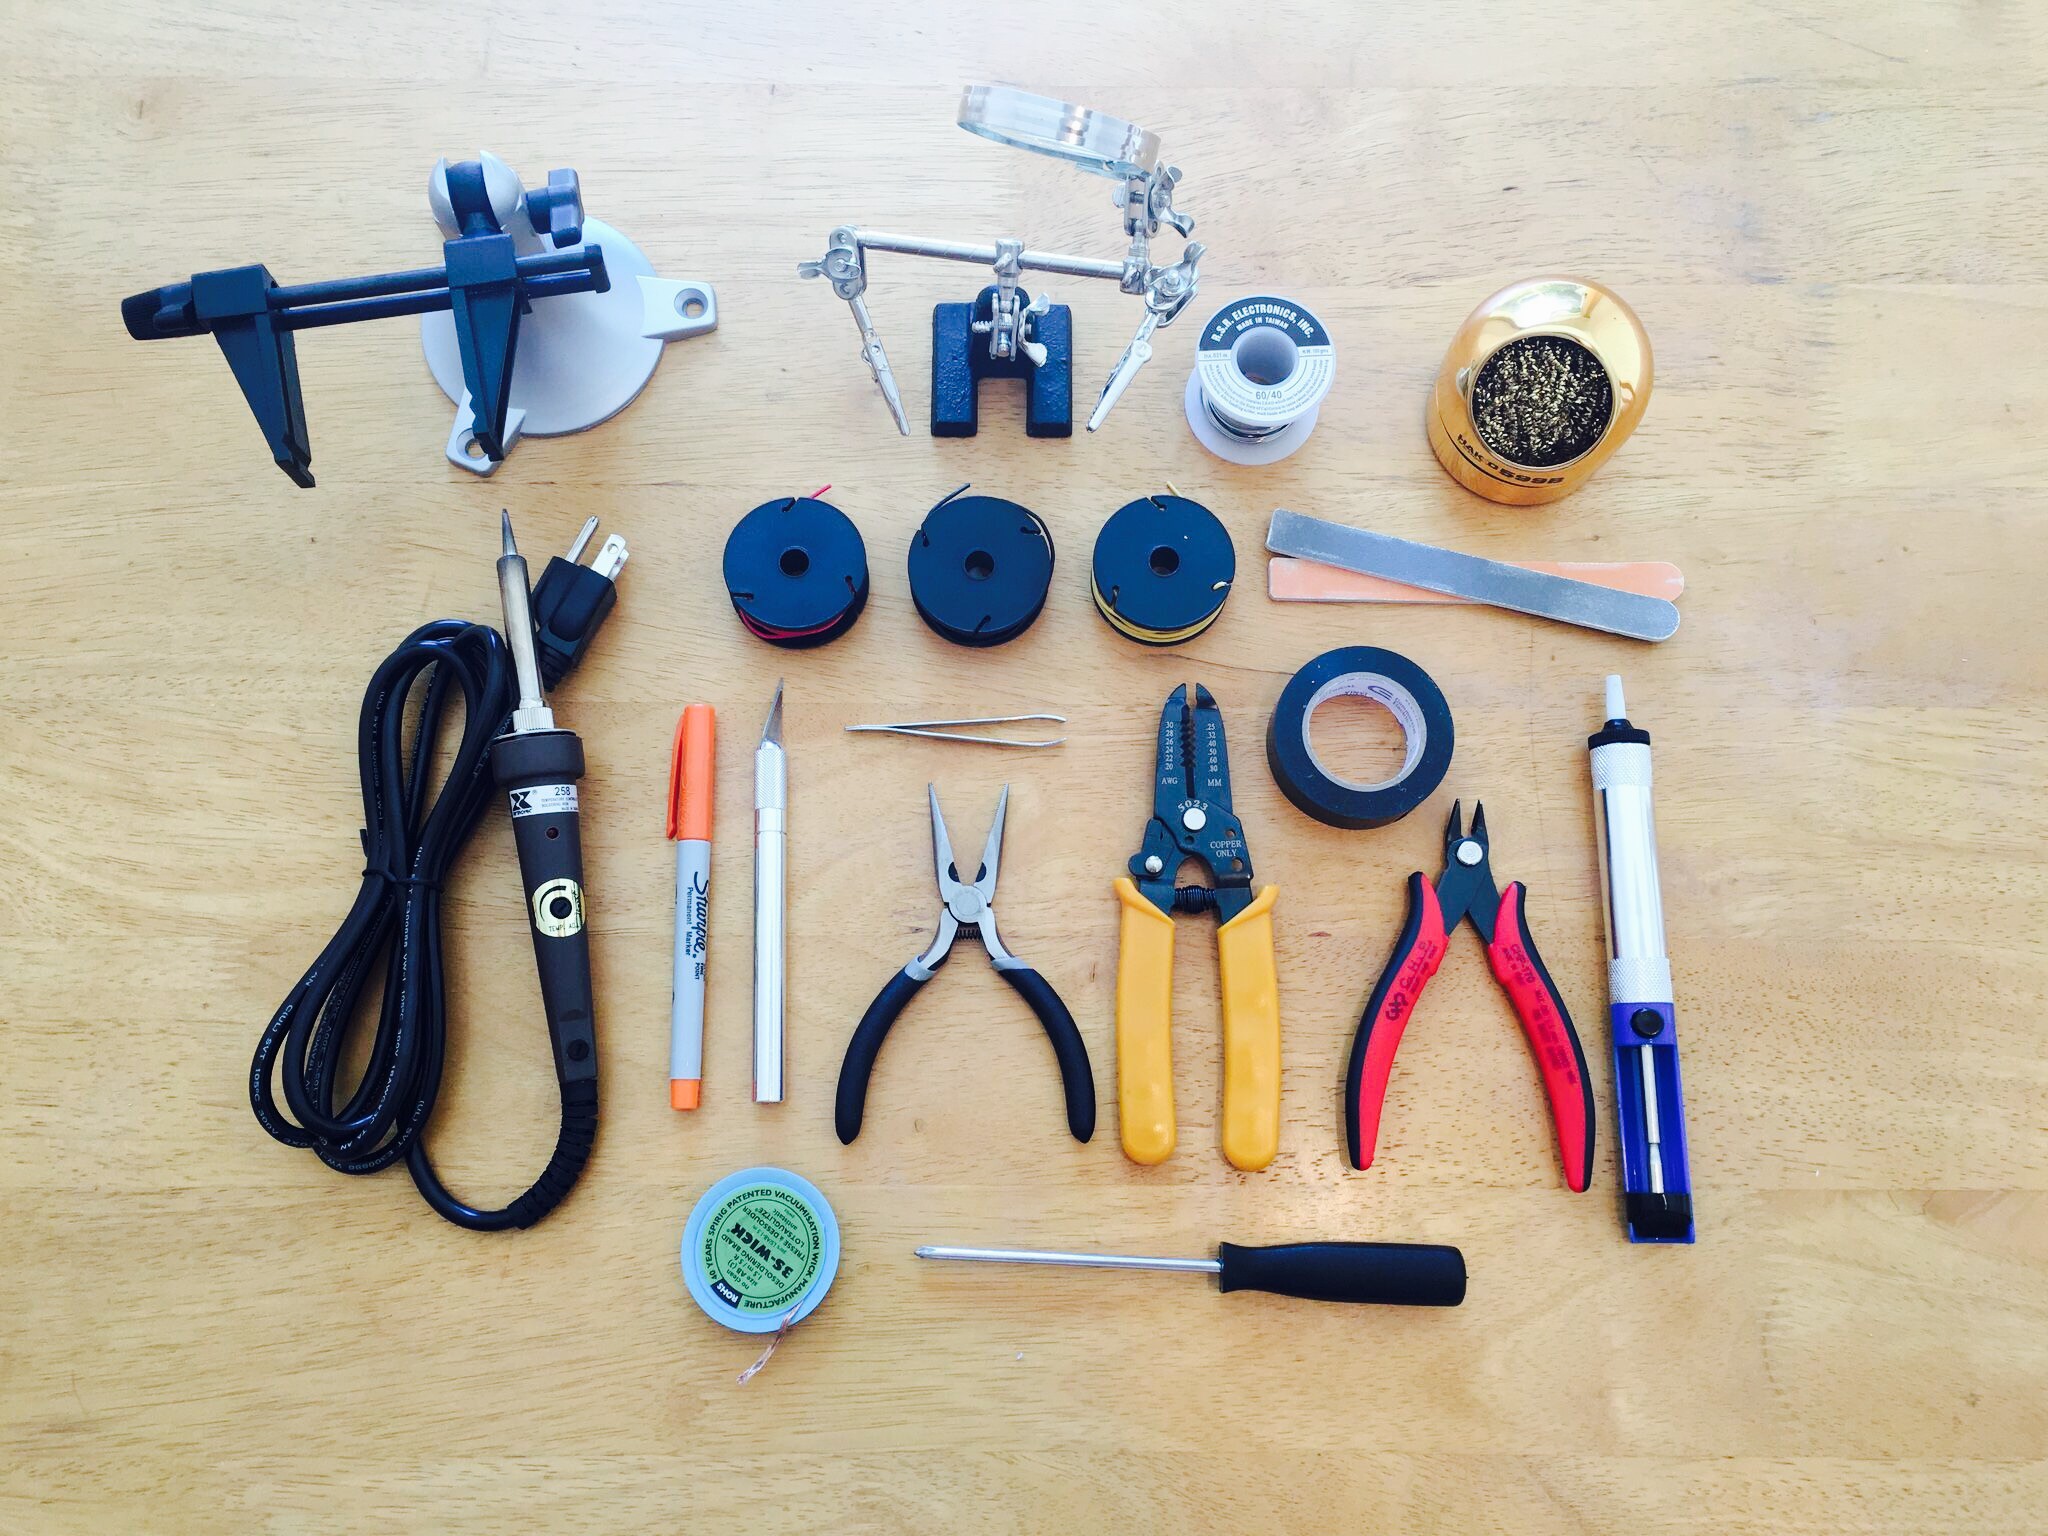
Tools & Materials
![]()
-
2Step 2
SNES Controller Circuit Board Modifications
Since we are using an official SNES controller as a base we get to reuse the controller circuit board directly for 2 reasons...
- It makes the wiring simple (there is a driver written for this - see the software step for more details)
- It gives us a nice base to layout our other parts
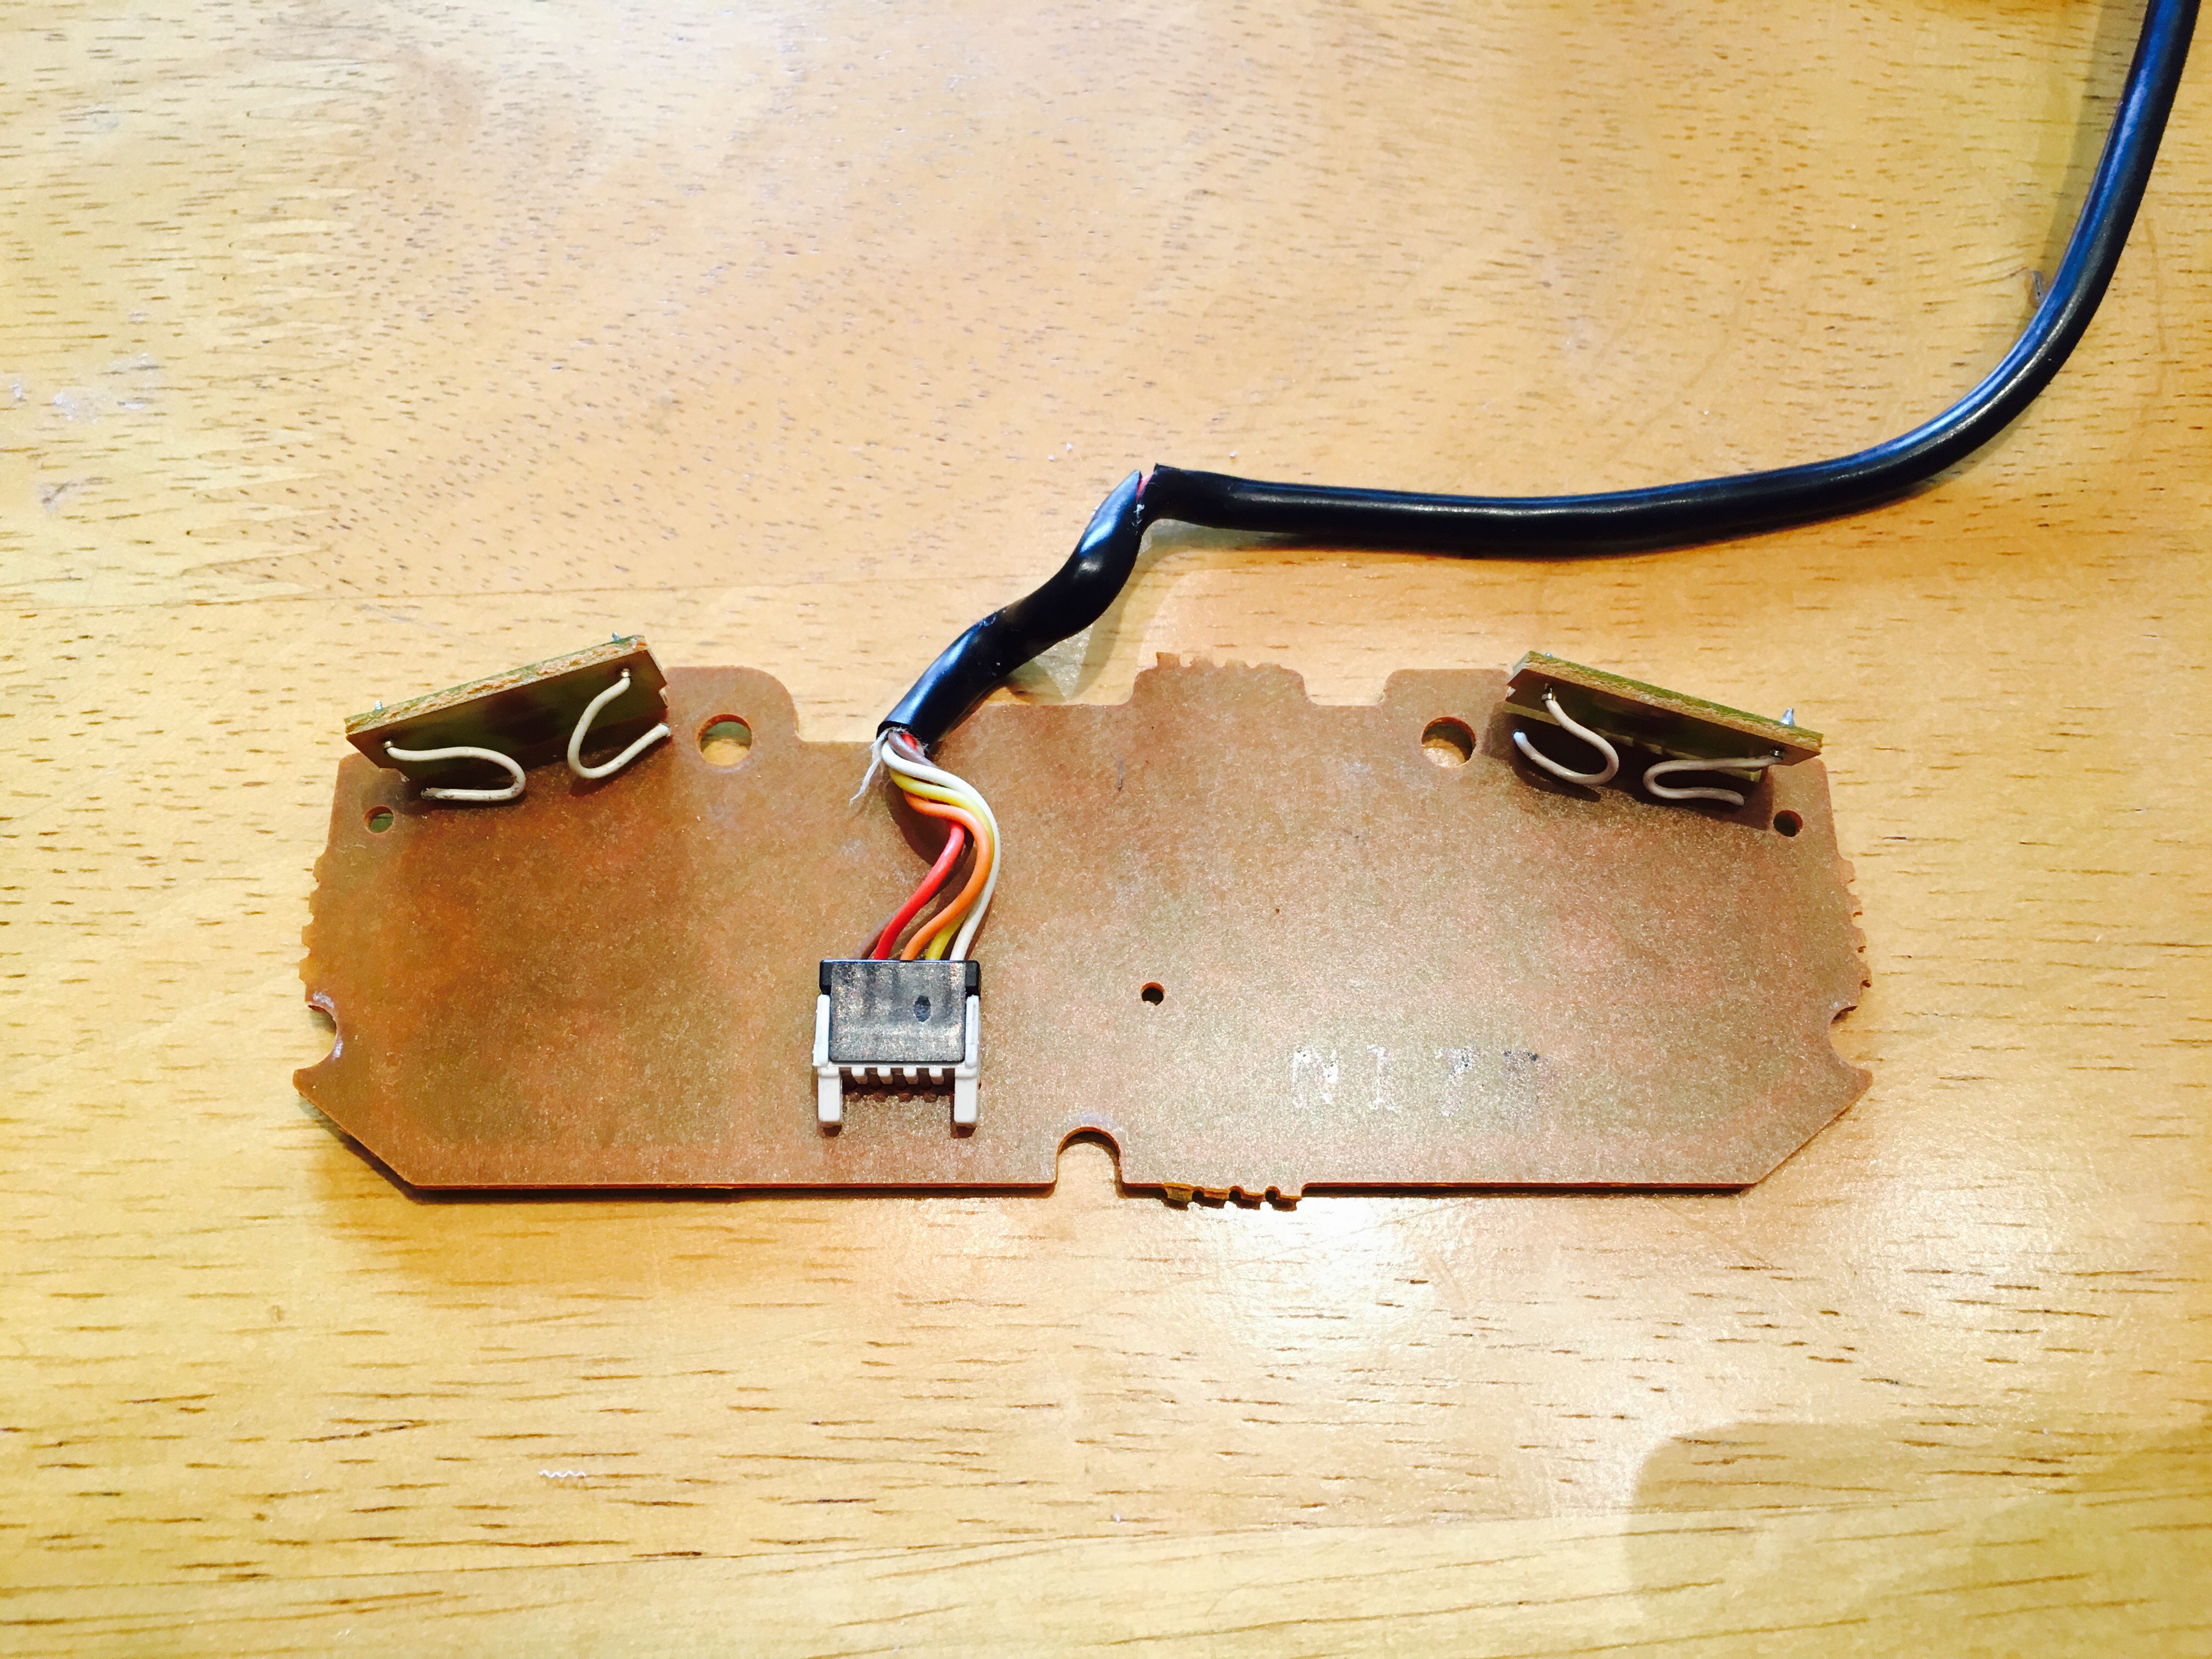
To prep for this we only need to make one change - remove the existing wiring harness + cable
![]()
First remove the cable from the harness
![]()
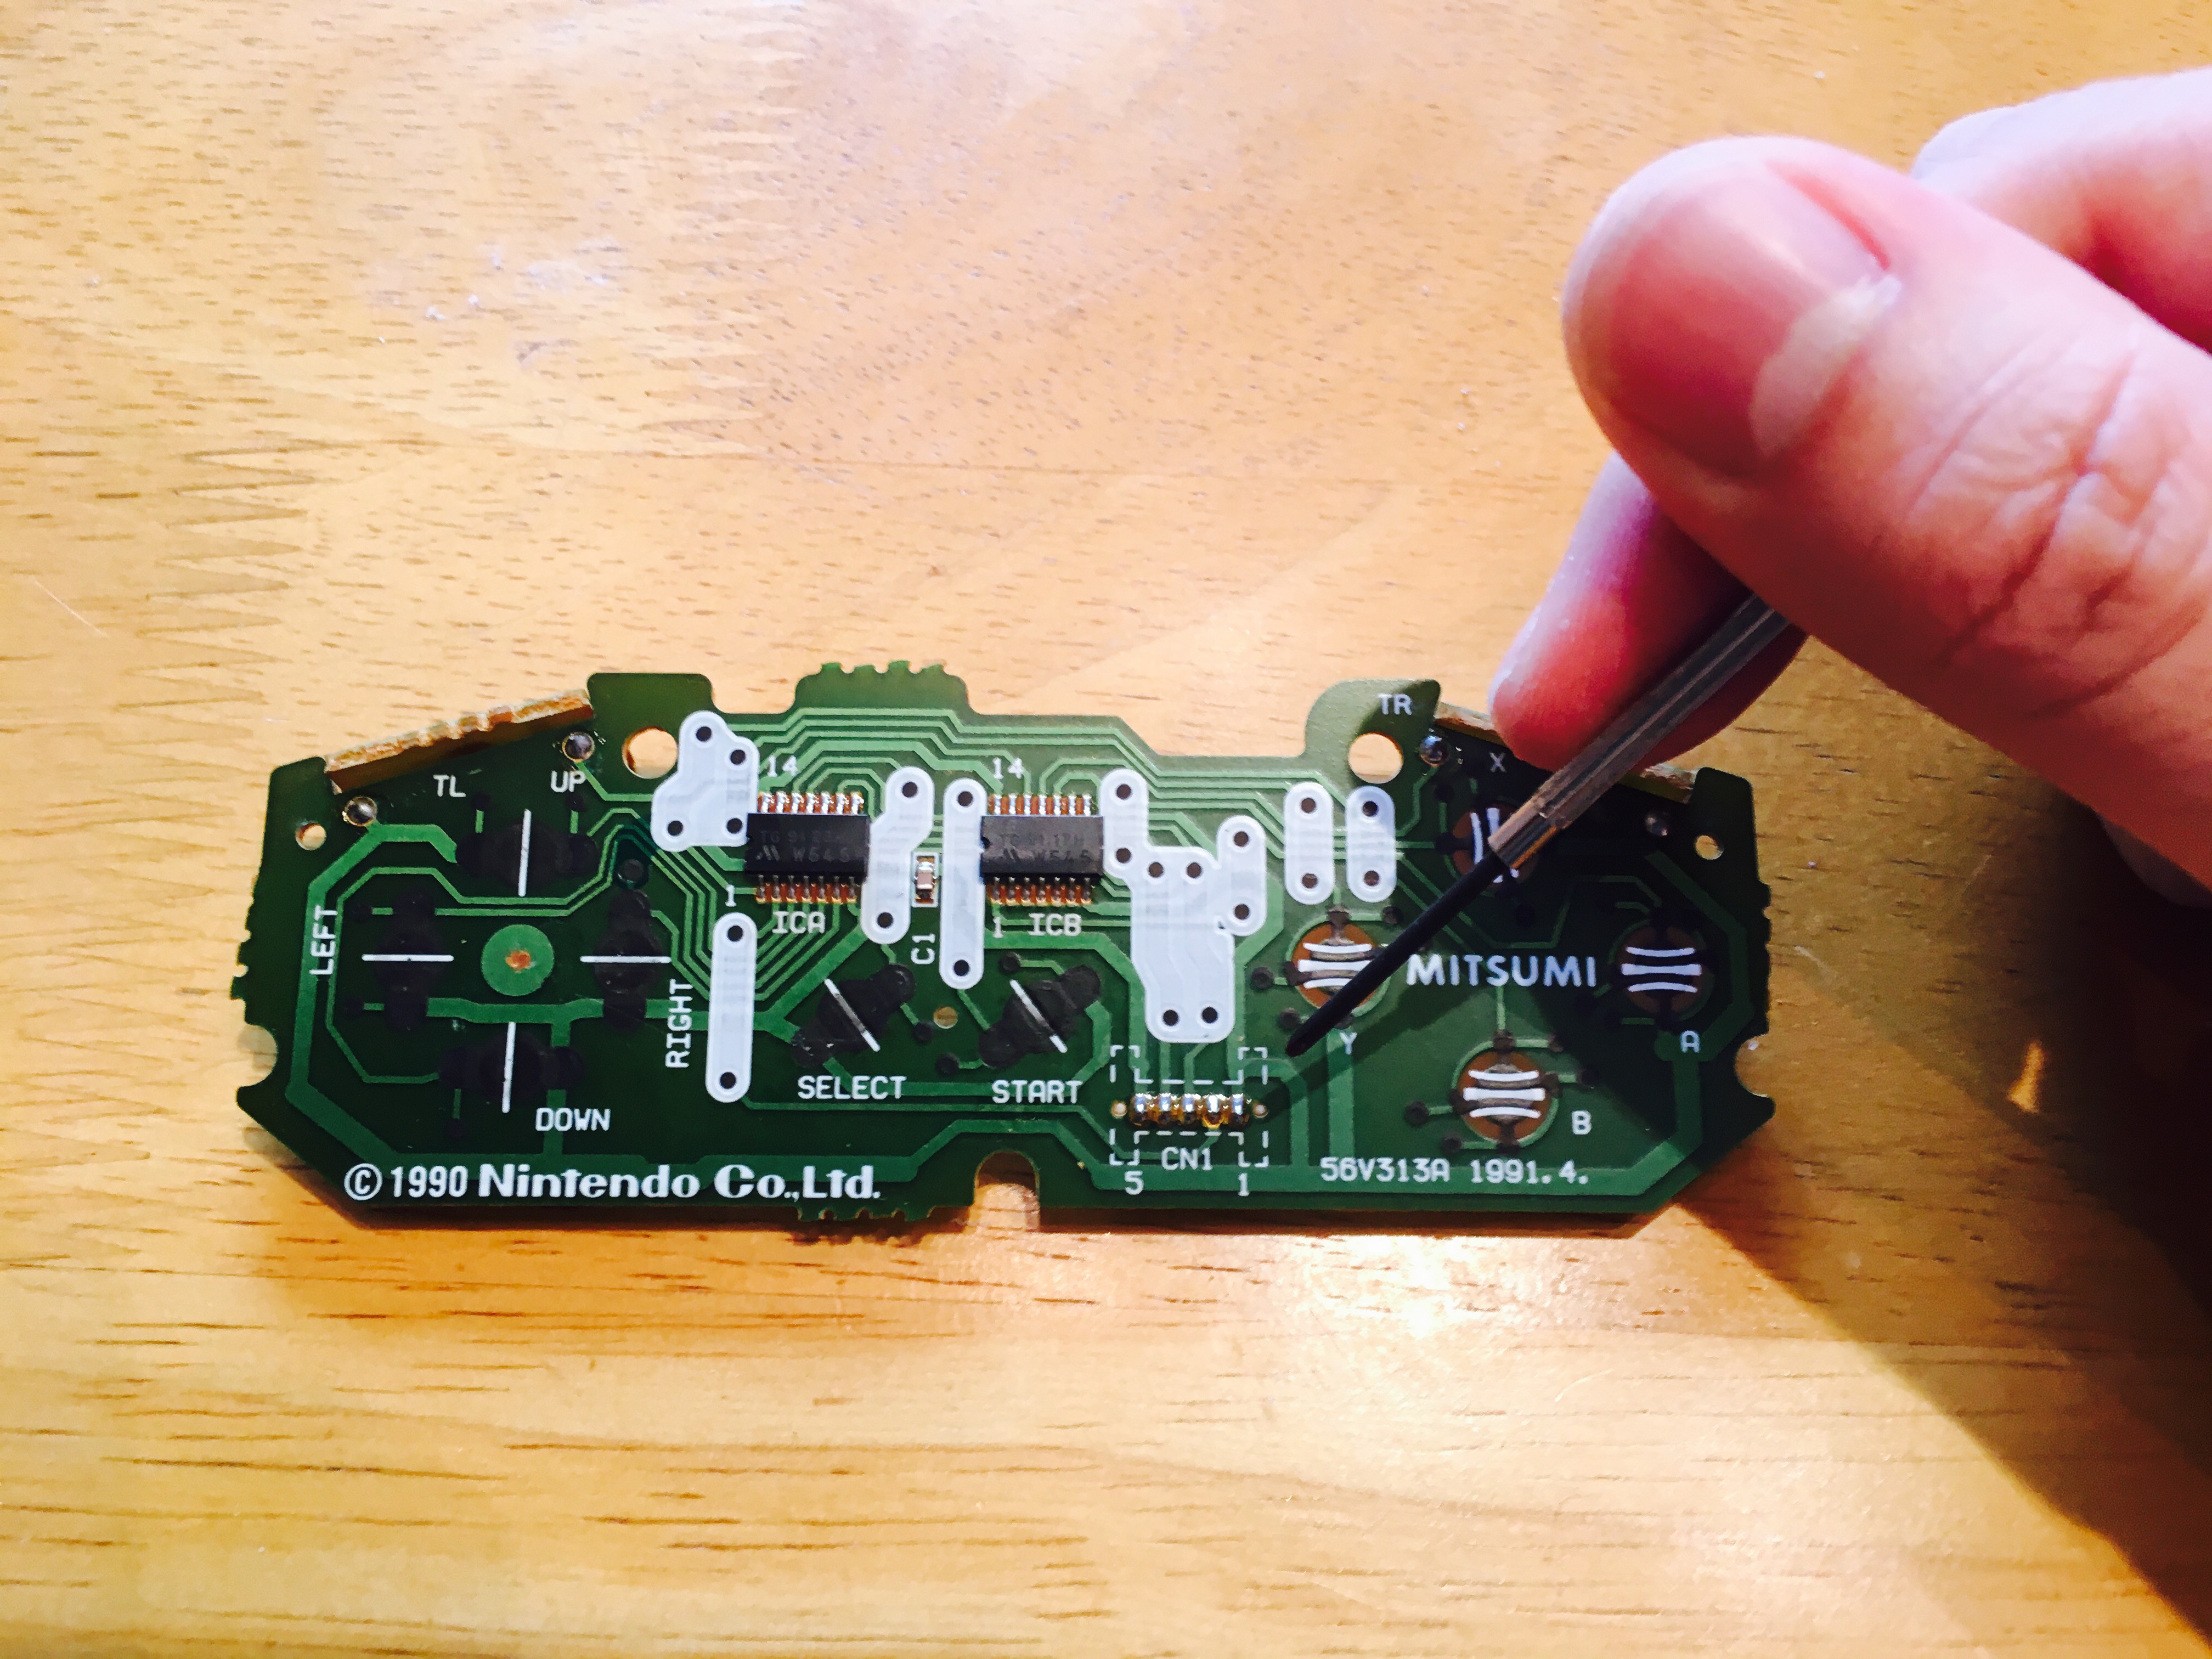
Then desolder these 5 pins from the front of the circuit board
![]()
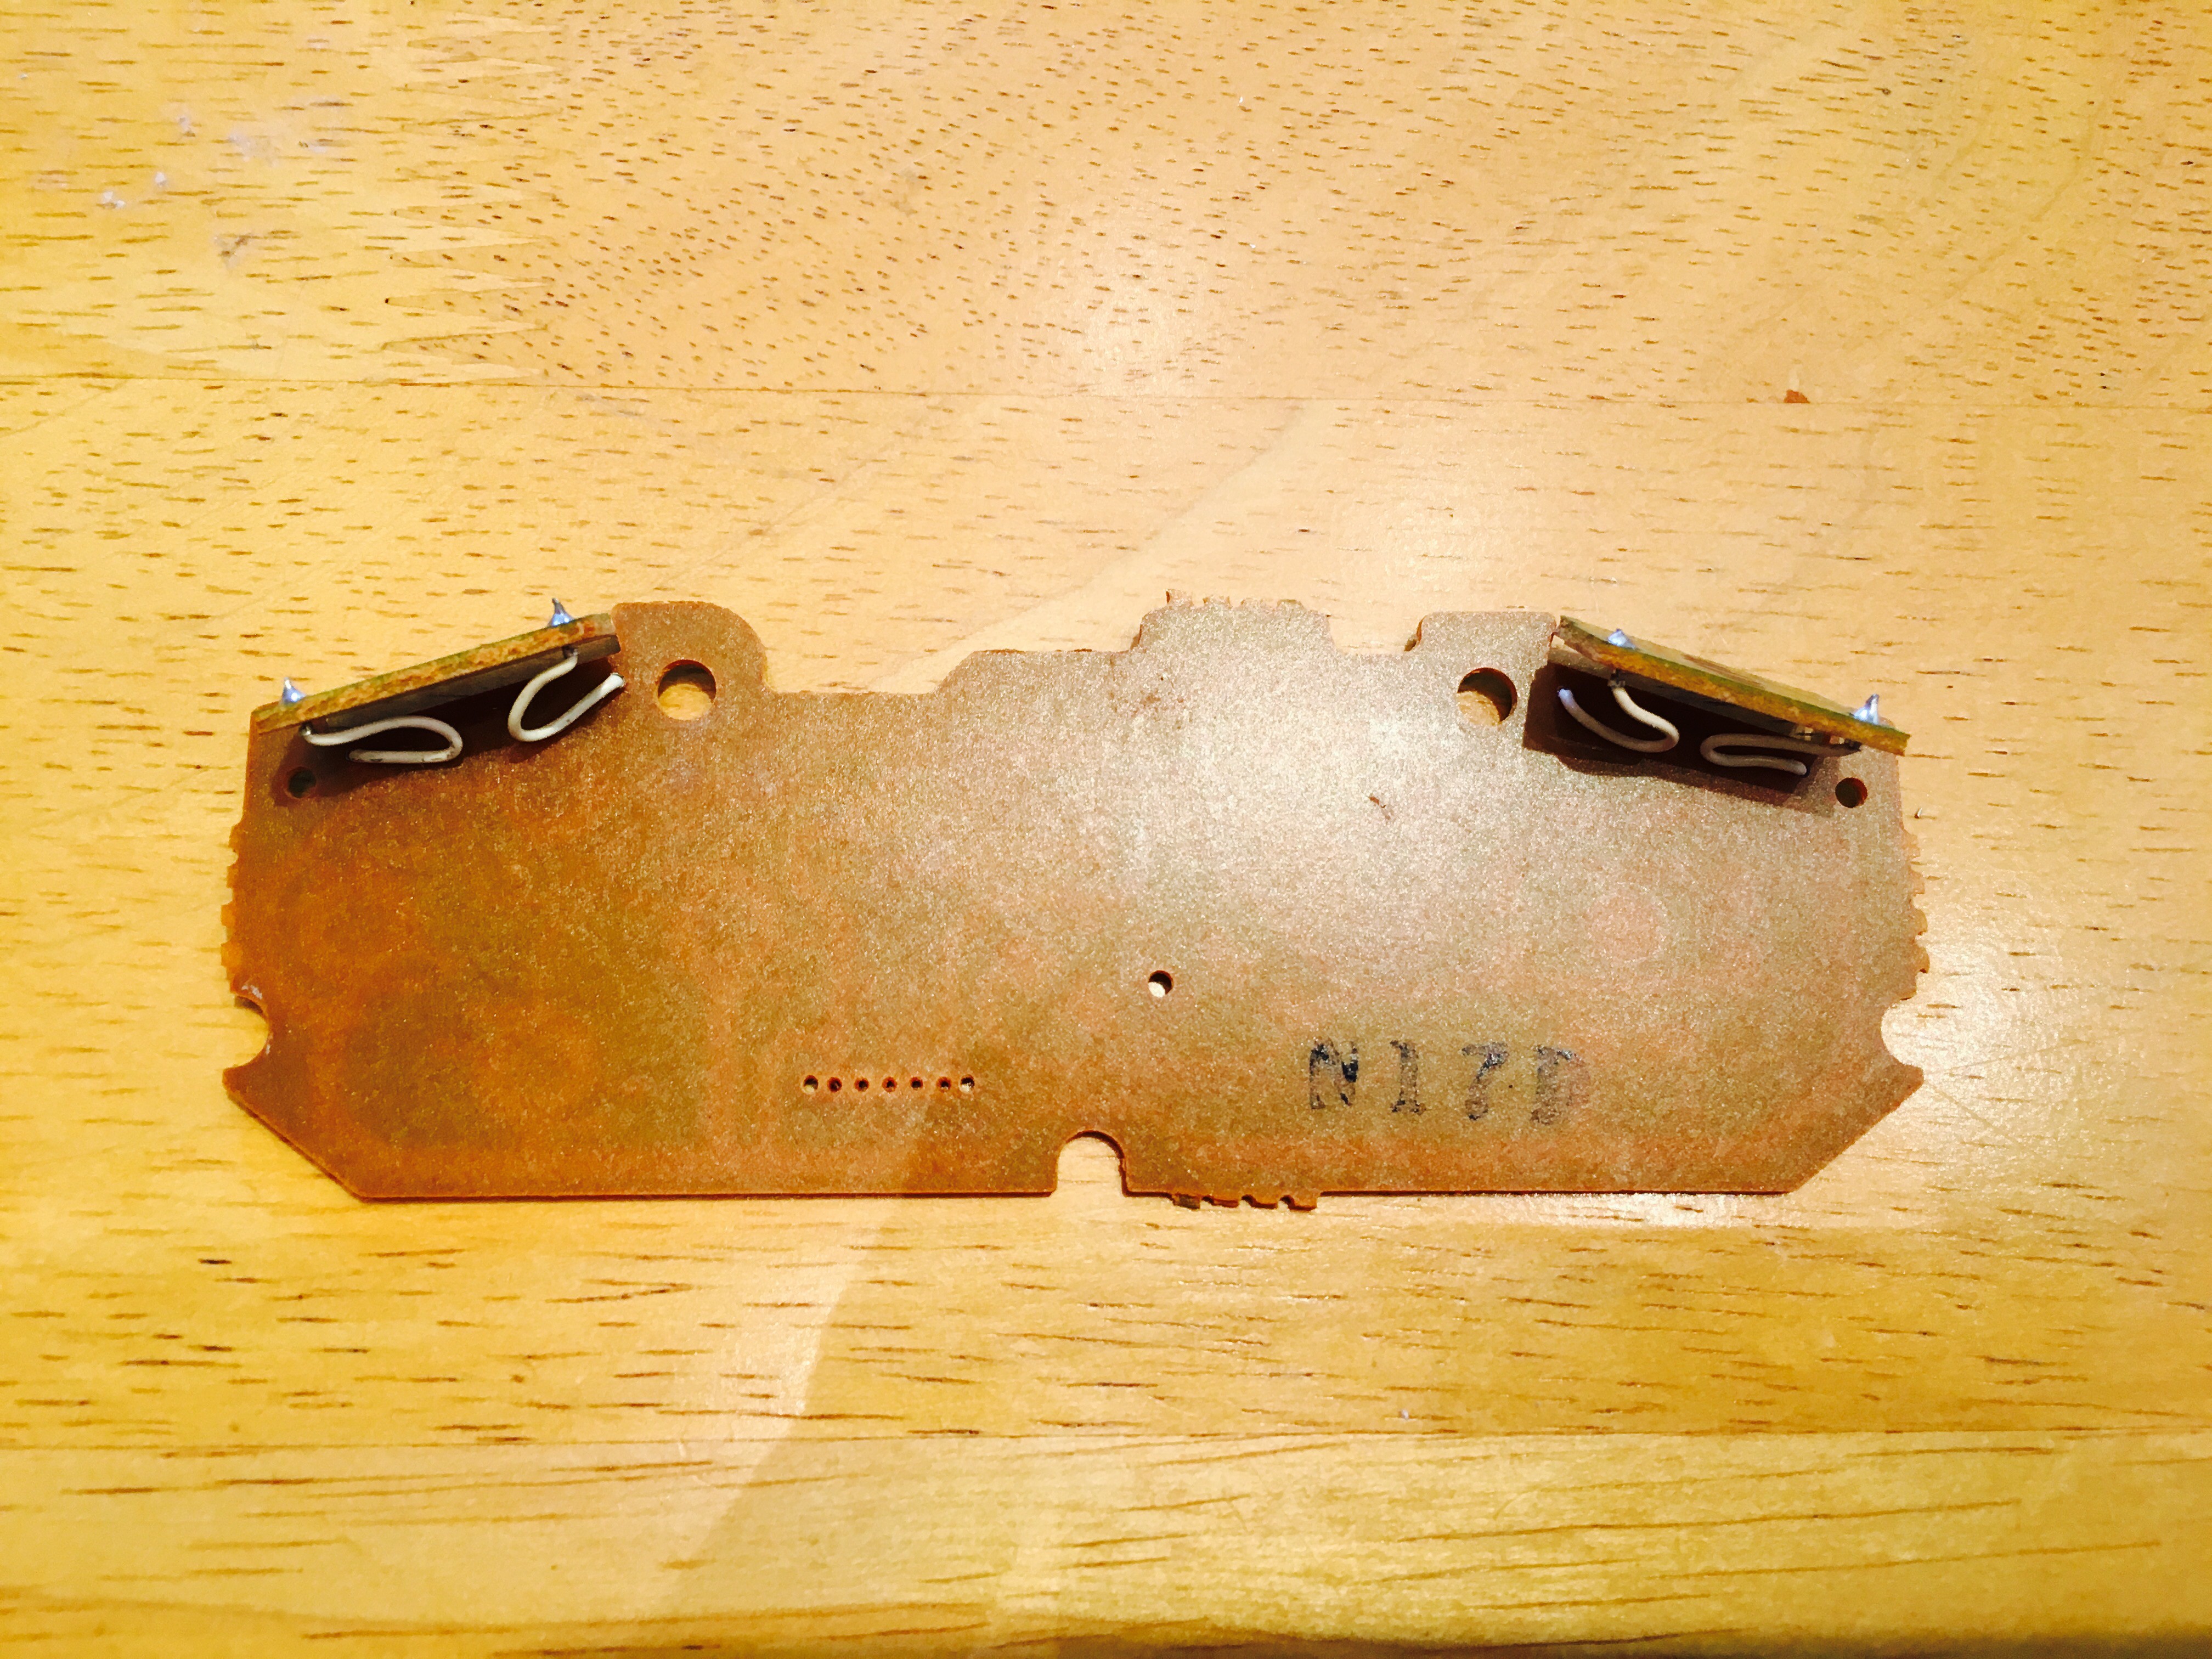
Once done you should be able remove the white harness with a set of pliers so the board ends up looking like this...
![]()
Next we are going to make some modifications to the bottom and top of the case so we can start laying out the components and testing placement+fit
-
3Step 3
Case Modifications (bottom)
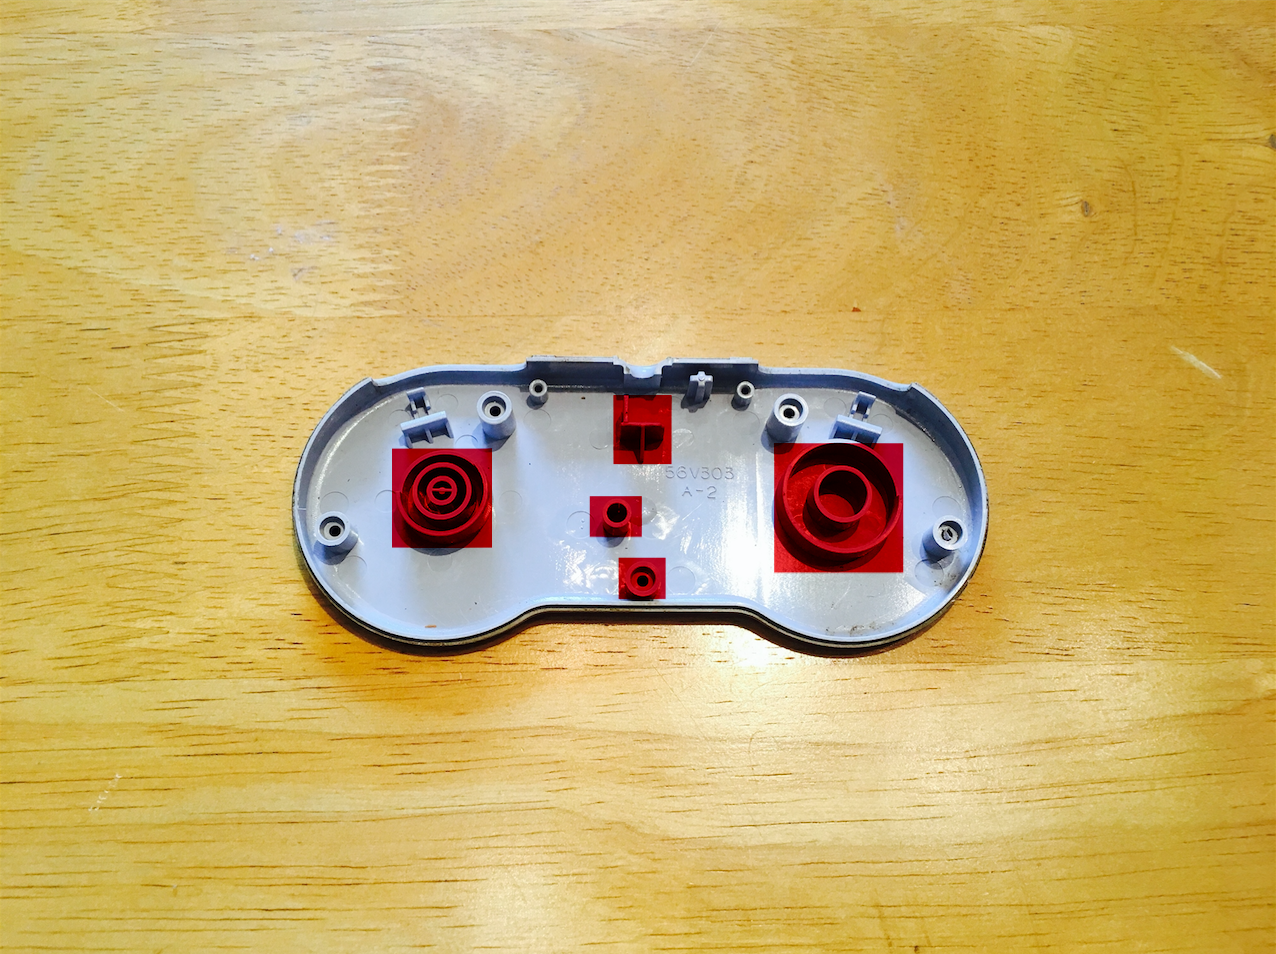
The bottom of the controller case has a few posts that need to be removed to allow the Raspberry Pi Zero, Powerboost and Battery to fit
Remove these highlighted posts...
![Posts to remove]()
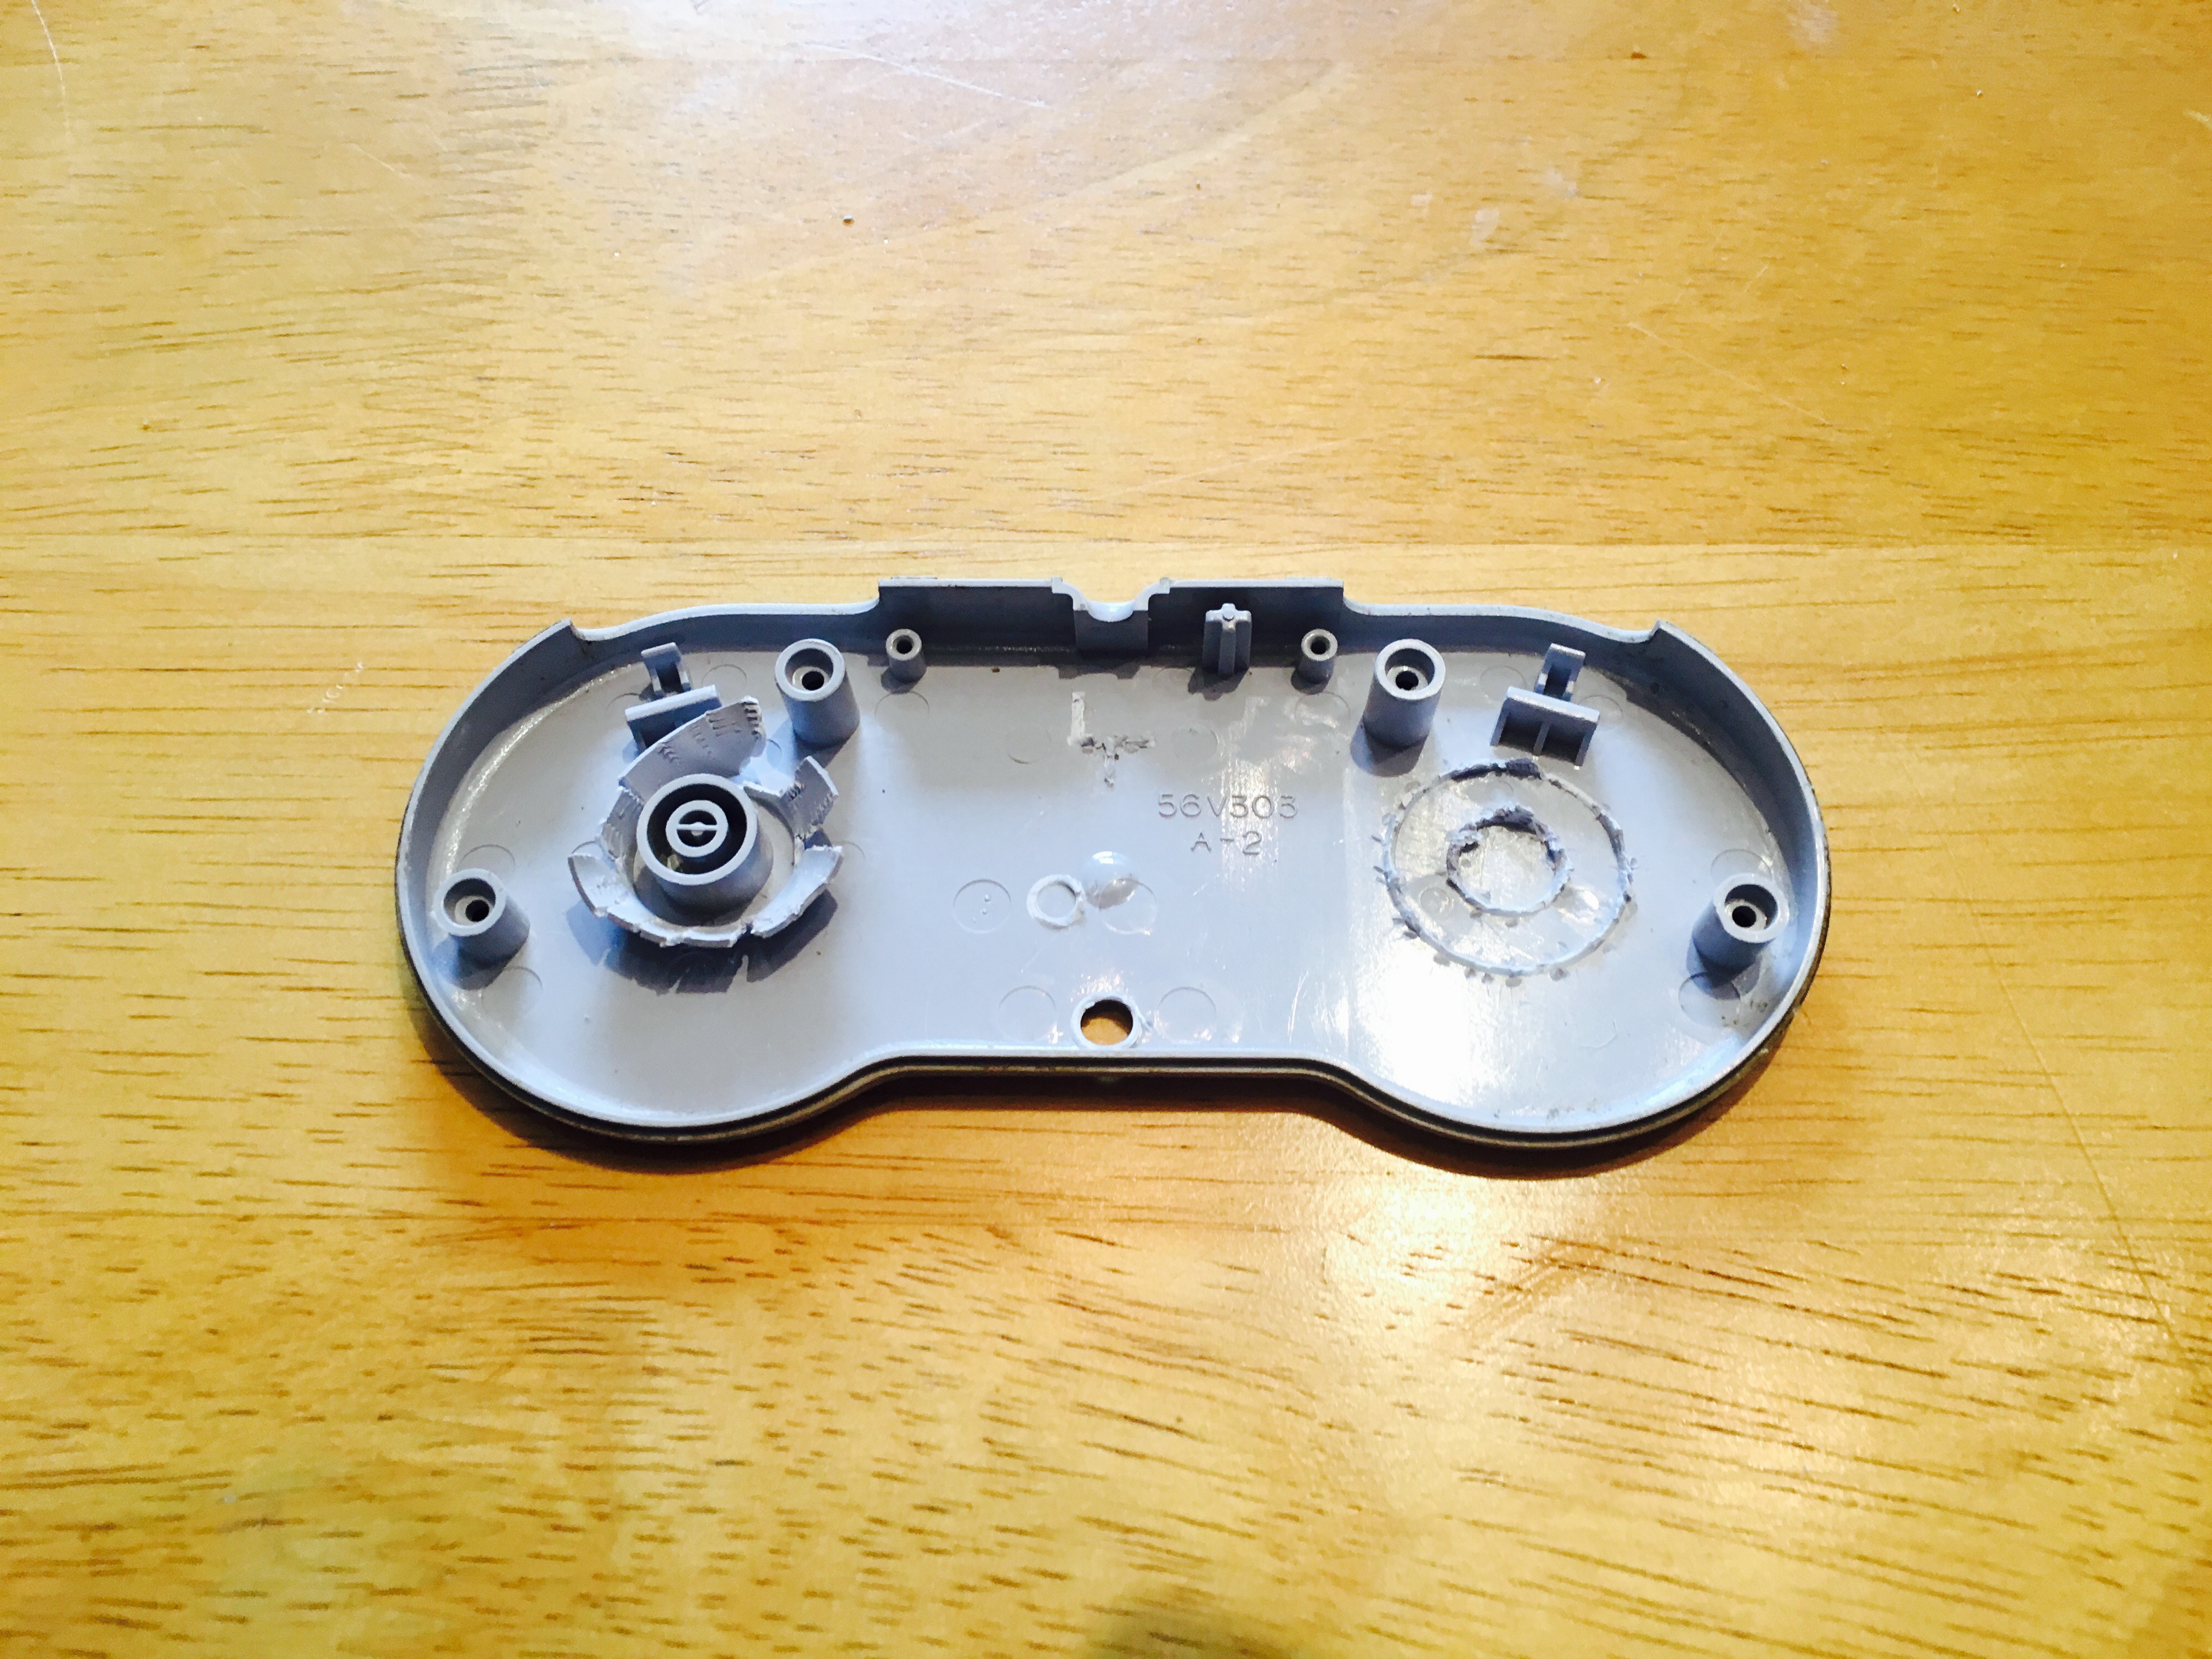
A set of pliers should do the trick
![]()
![]()
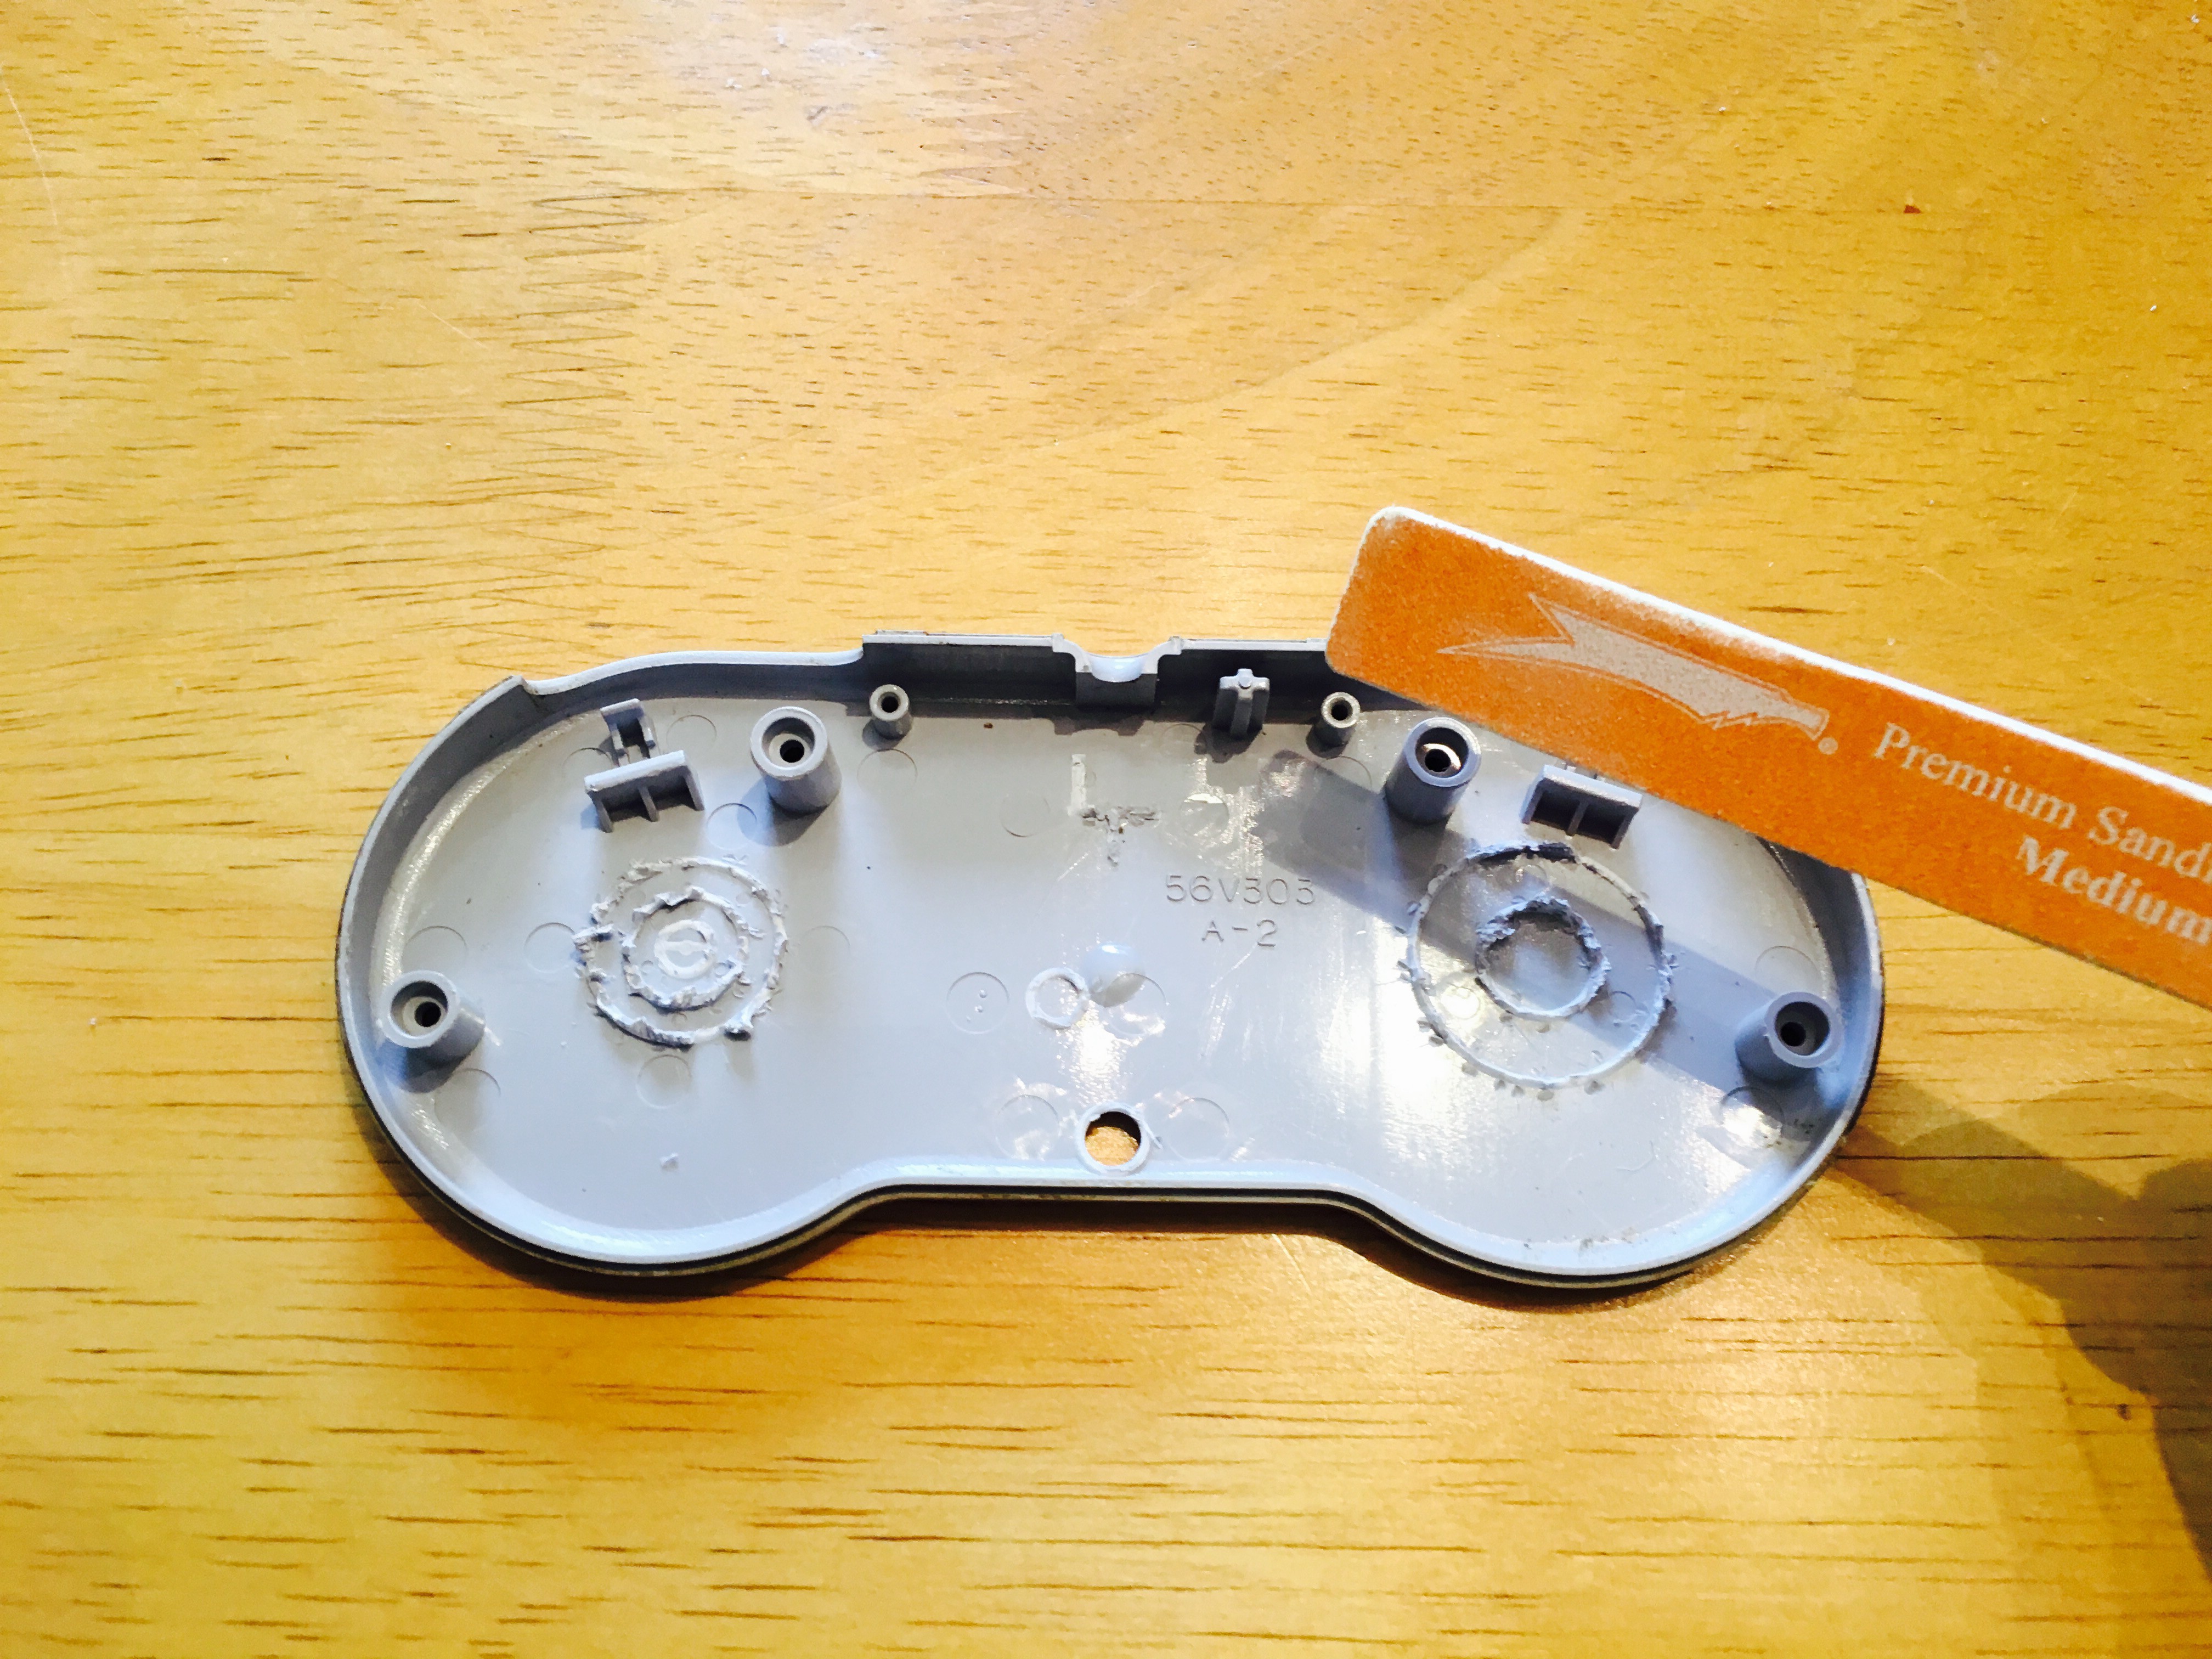
Once all are removed you can smooth down the excess with sandpaper
![]()
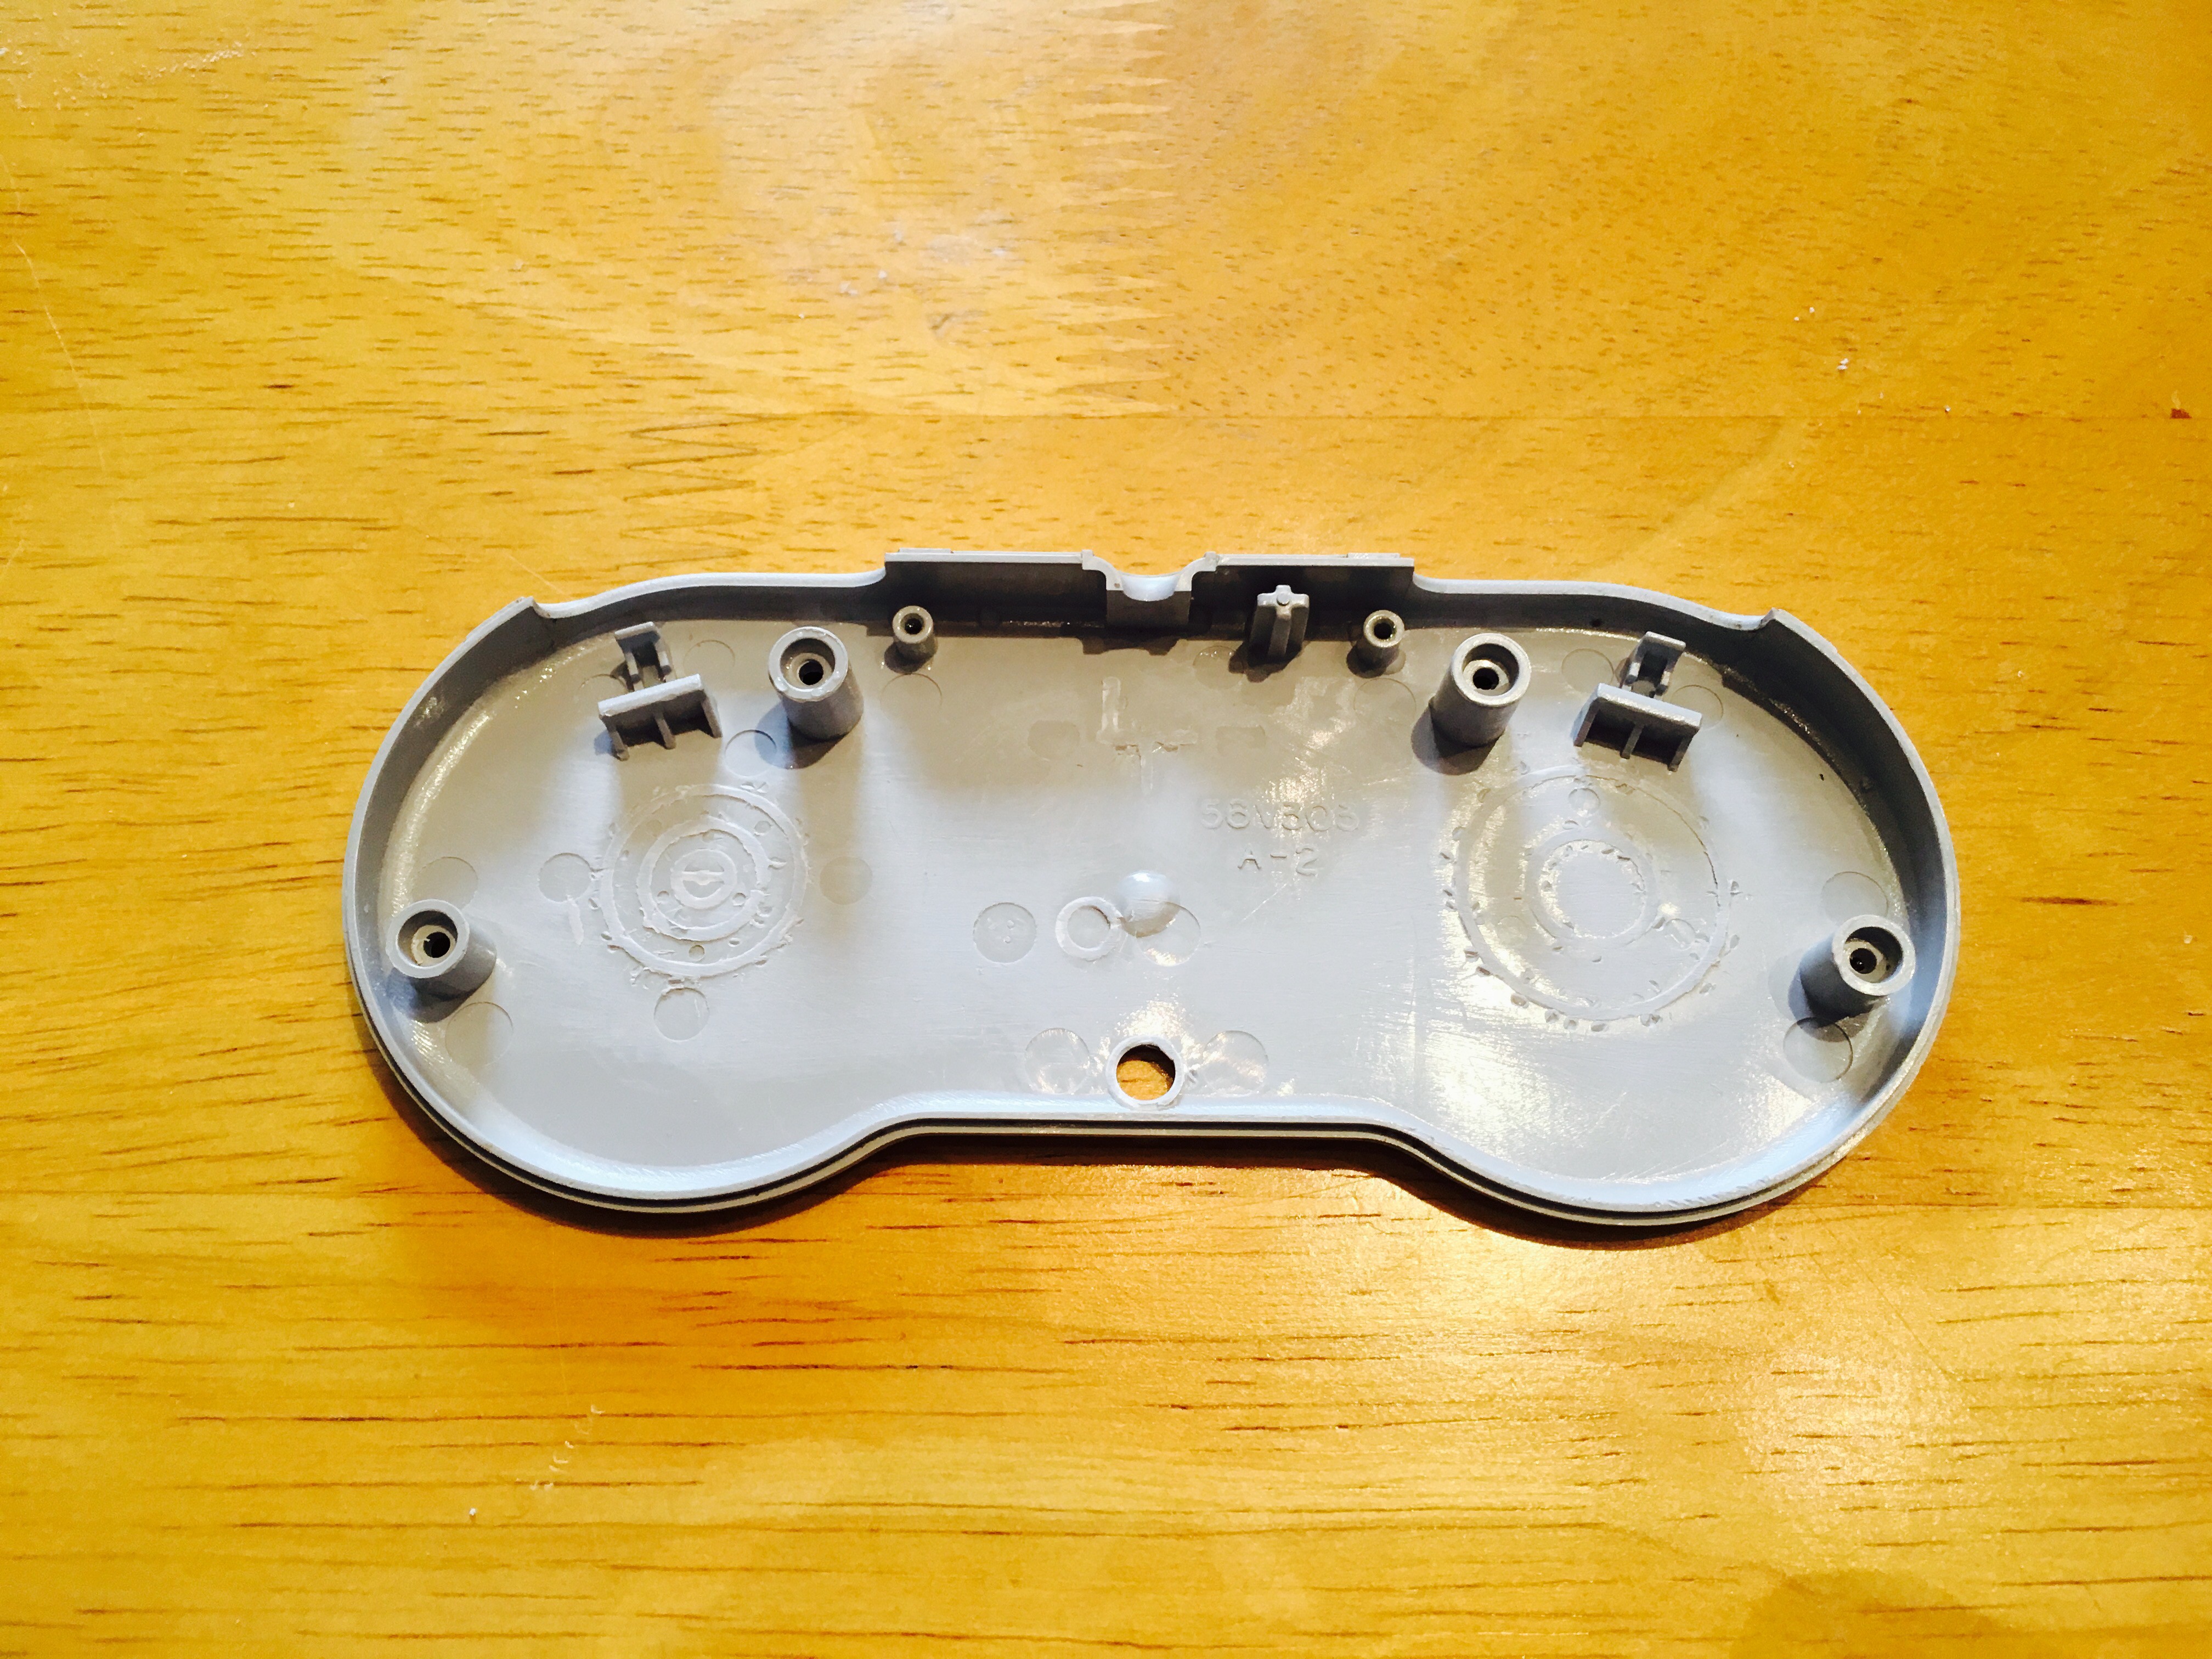
After sanding things down the bottom of the controller should look something like this...
![]()
Next we'll make cuts in the case for the HDMI cable, power switch and usb charing port
-
4Step 4
Case Modifications (bottom continued)
-
5Step 5
Case Modifications (top)
Raspberry Pi Zero inside an SNES Controller
Turn a Super Nintendo Controller into a self-contained TV Plug-n-Play console
 Anthony


Discussions
Become a Hackaday.io Member
Create an account to leave a comment. Already have an account? Log In.