 Hobby Hoarder
For more details and the design process, you can watch my build video:
If you're interested in designing your own plates or want to learn more about the process behind it, check out my second video:
3D printed charging dock for the New 3DS. No special tools required and it comes with swappable plates!
Already have an account? Log in.
To make the experience fit your profile, pick a username and tell us what interests you.
For more details and the design process, you can watch my build video:
If you're interested in designing your own plates or want to learn more about the process behind it, check out my second video:
Charger
The charger is the most difficult part to print as it contains small holes with tight tolerances. I suggest you try and print this first before anything else. Use the best print quality on your printer, which are usually 0.10 or 0.05mm layer heights.
Dock, cover
You can print both at 0.2mm layer height.
Supports
No supports are needed for any of the parts. The interior of the dock is already designed with sloping support.
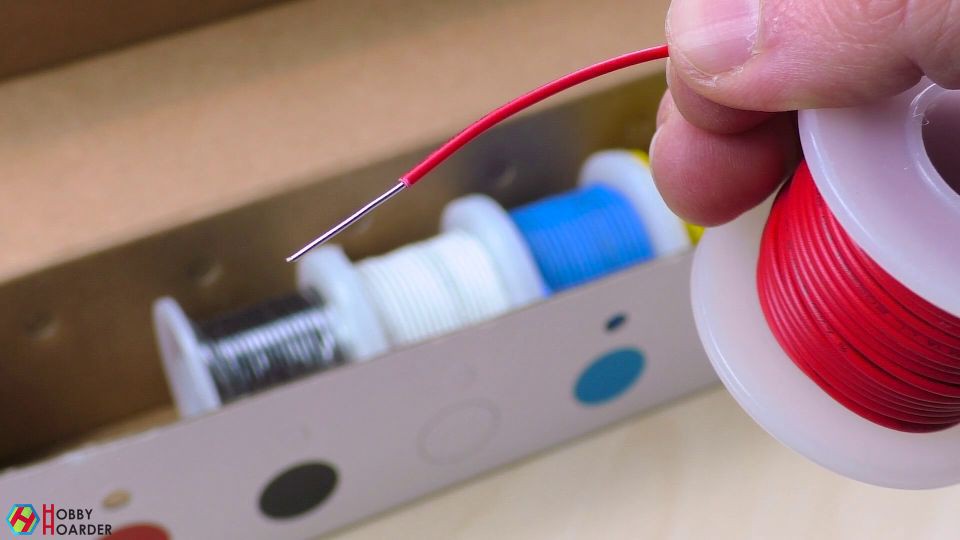
The holes are for standard jumper wires that you can find with any breadboard or Arduino kit, but they have to be solid. Look for 22 AWG / 0.3mm2 size if you're buying new.
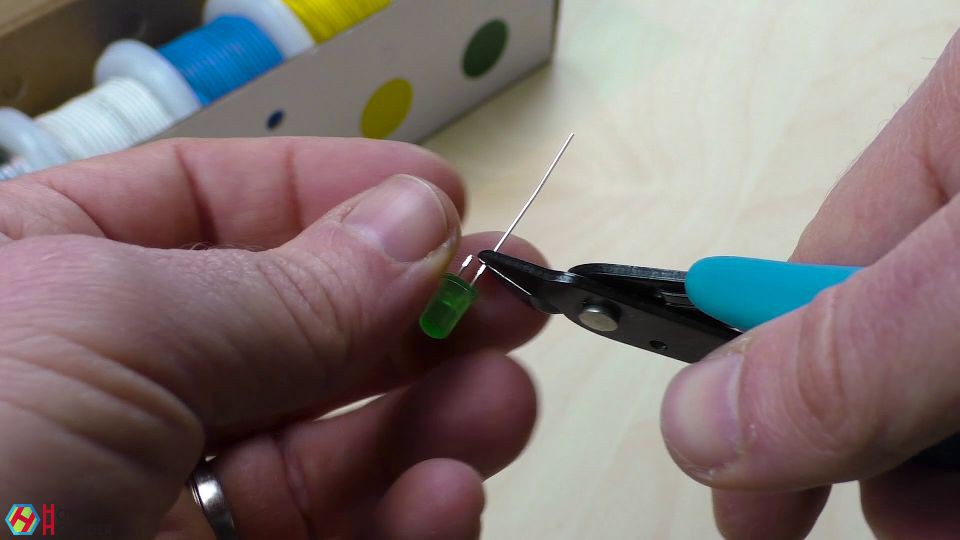
If you don't have any wires like that, you can improvise by cutting away an LED or a resistor.
As for the spring, find an old pen and take one from there. The slot has a slope so that springs of different sizes can all fit inside.


Love how accessible this design is with its simple components and multi-colors using the filament change technique. Great step-by-step documentation too!

Thank you! It certainly took a lot of tinkering as I didn't want to simply use something that you have to buy or other lazy solutions.

Great videos and those swappable plates are gorgeous!