 Jonty
Jonty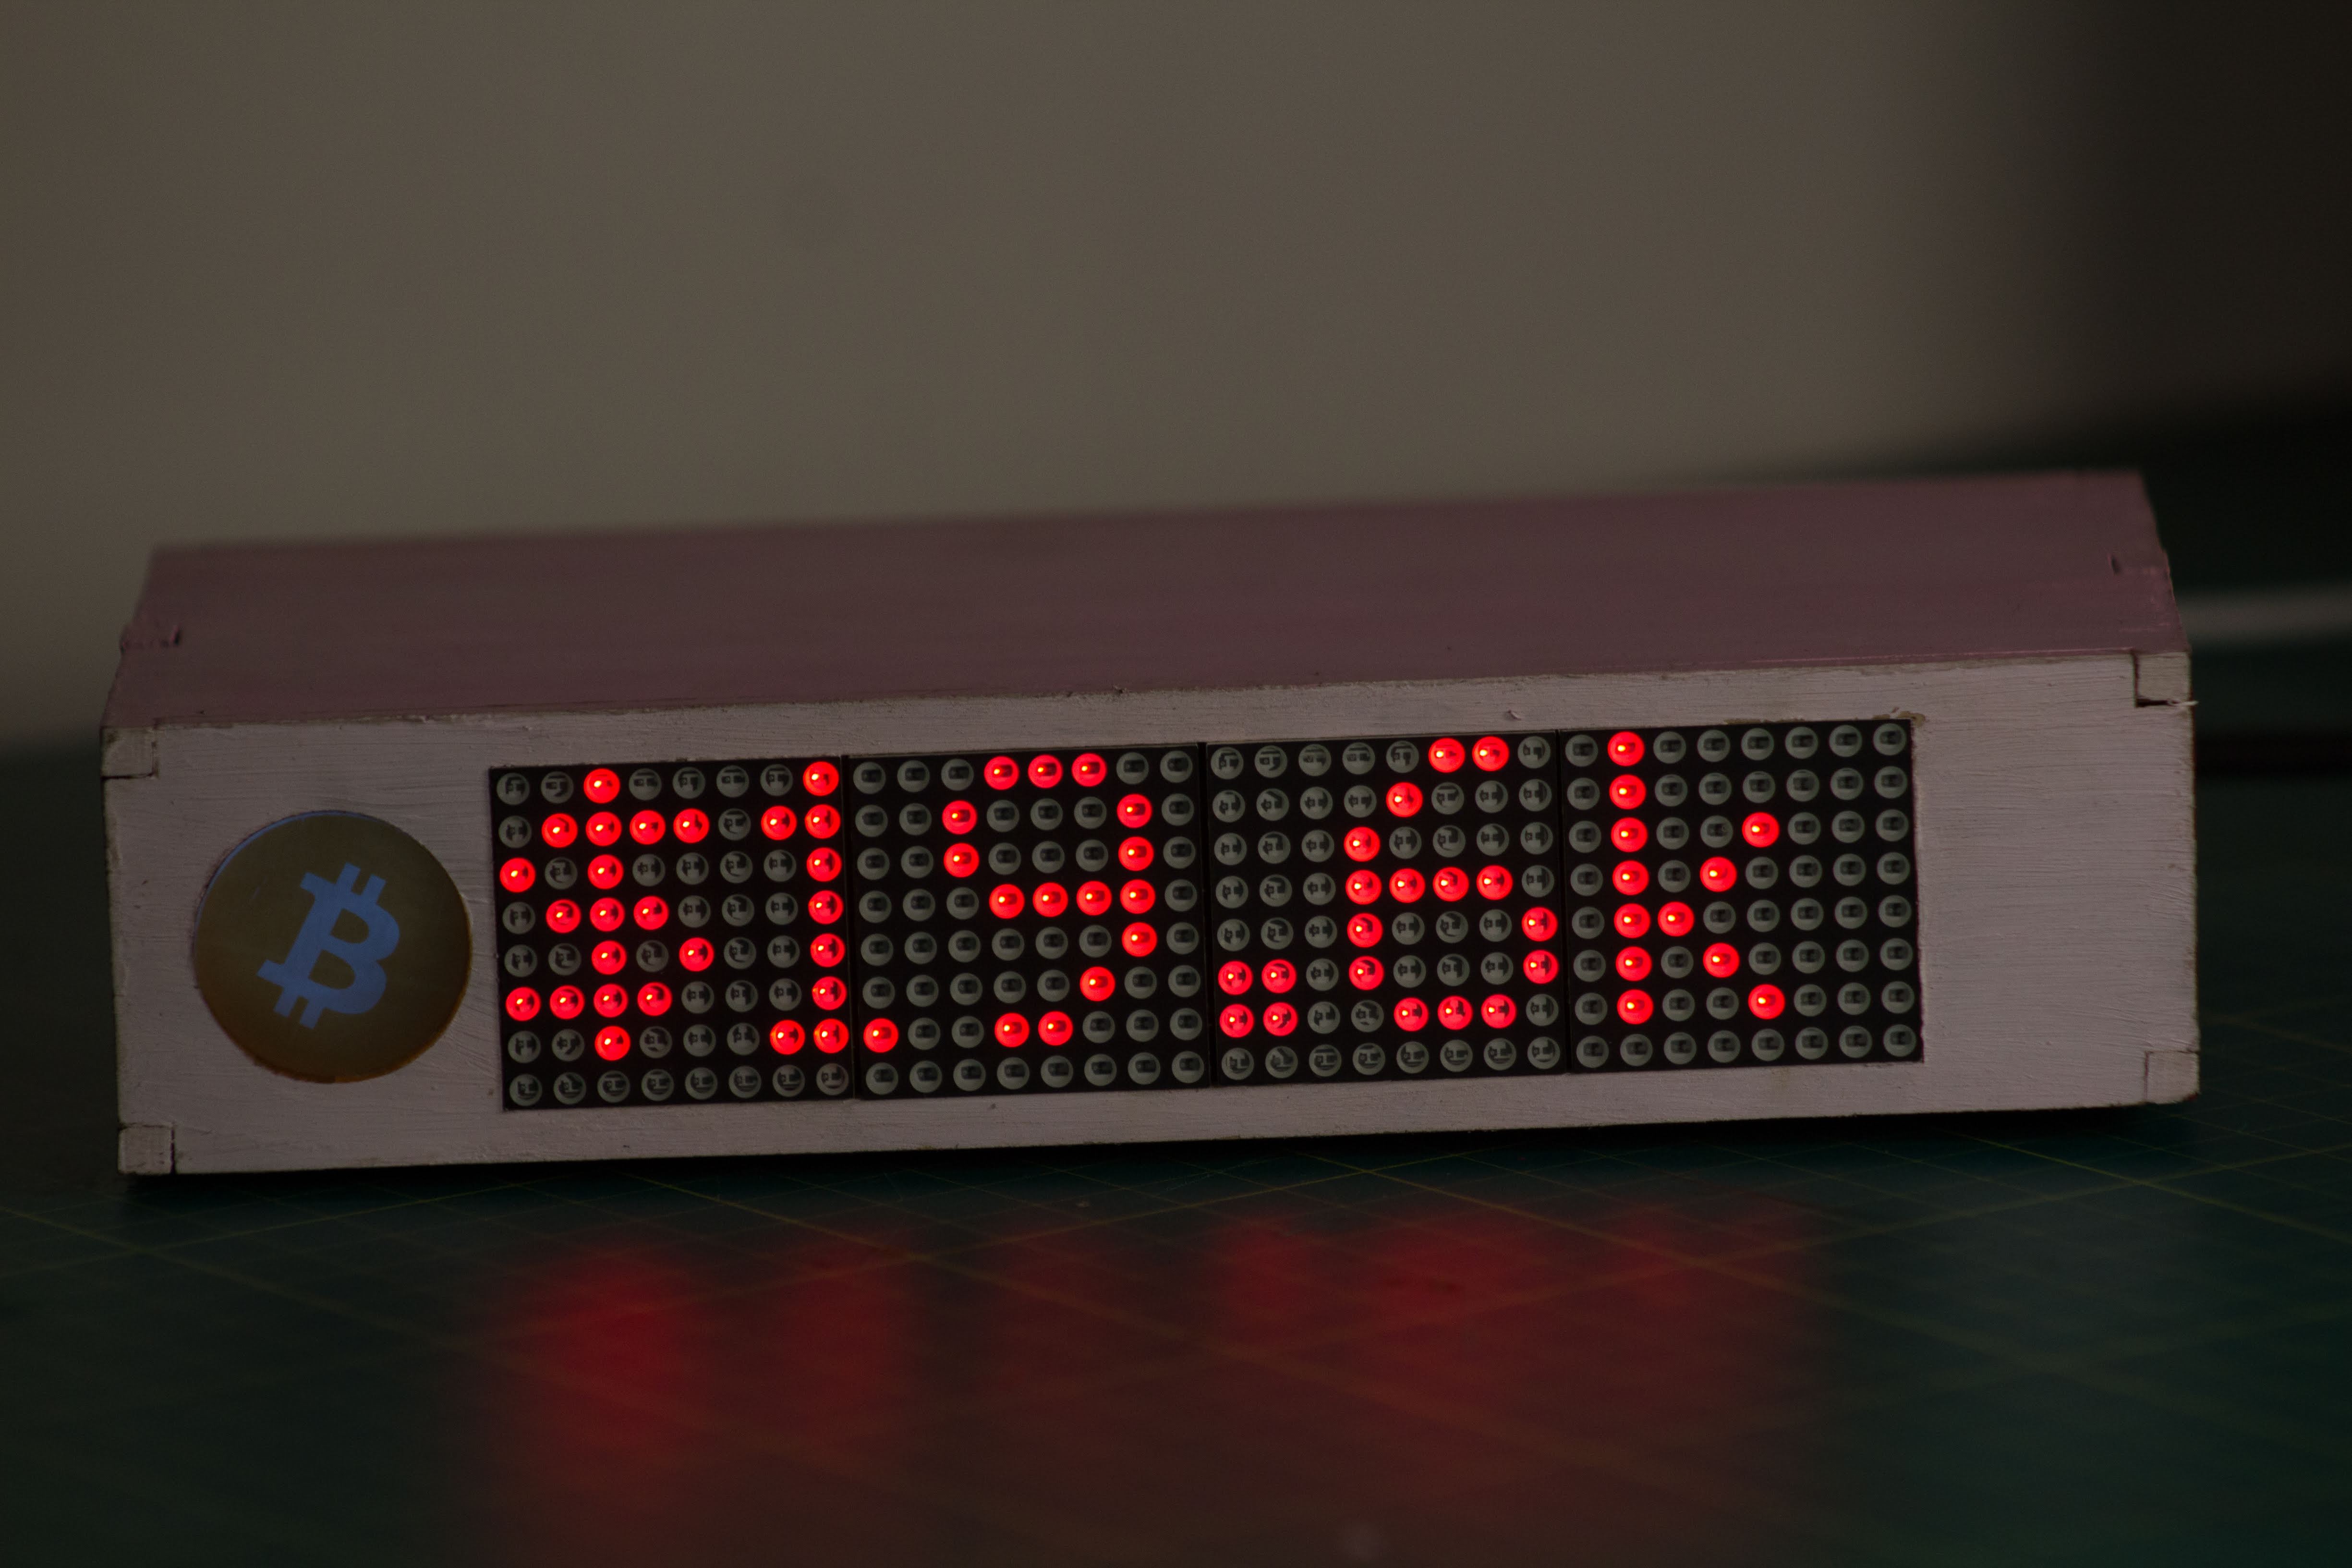
Subscribe on YouTube: Jonty
Contribute: Are you a programmer, engineer or designer who has a great idea for a new feature in Bitcoin Bar? Maybe you have a good idea for a bug fix? Feel free to grab the code from Github and tinker with it. Bitcoin Bar: GitHub
Step 1: Parts Required
Electronic Components:
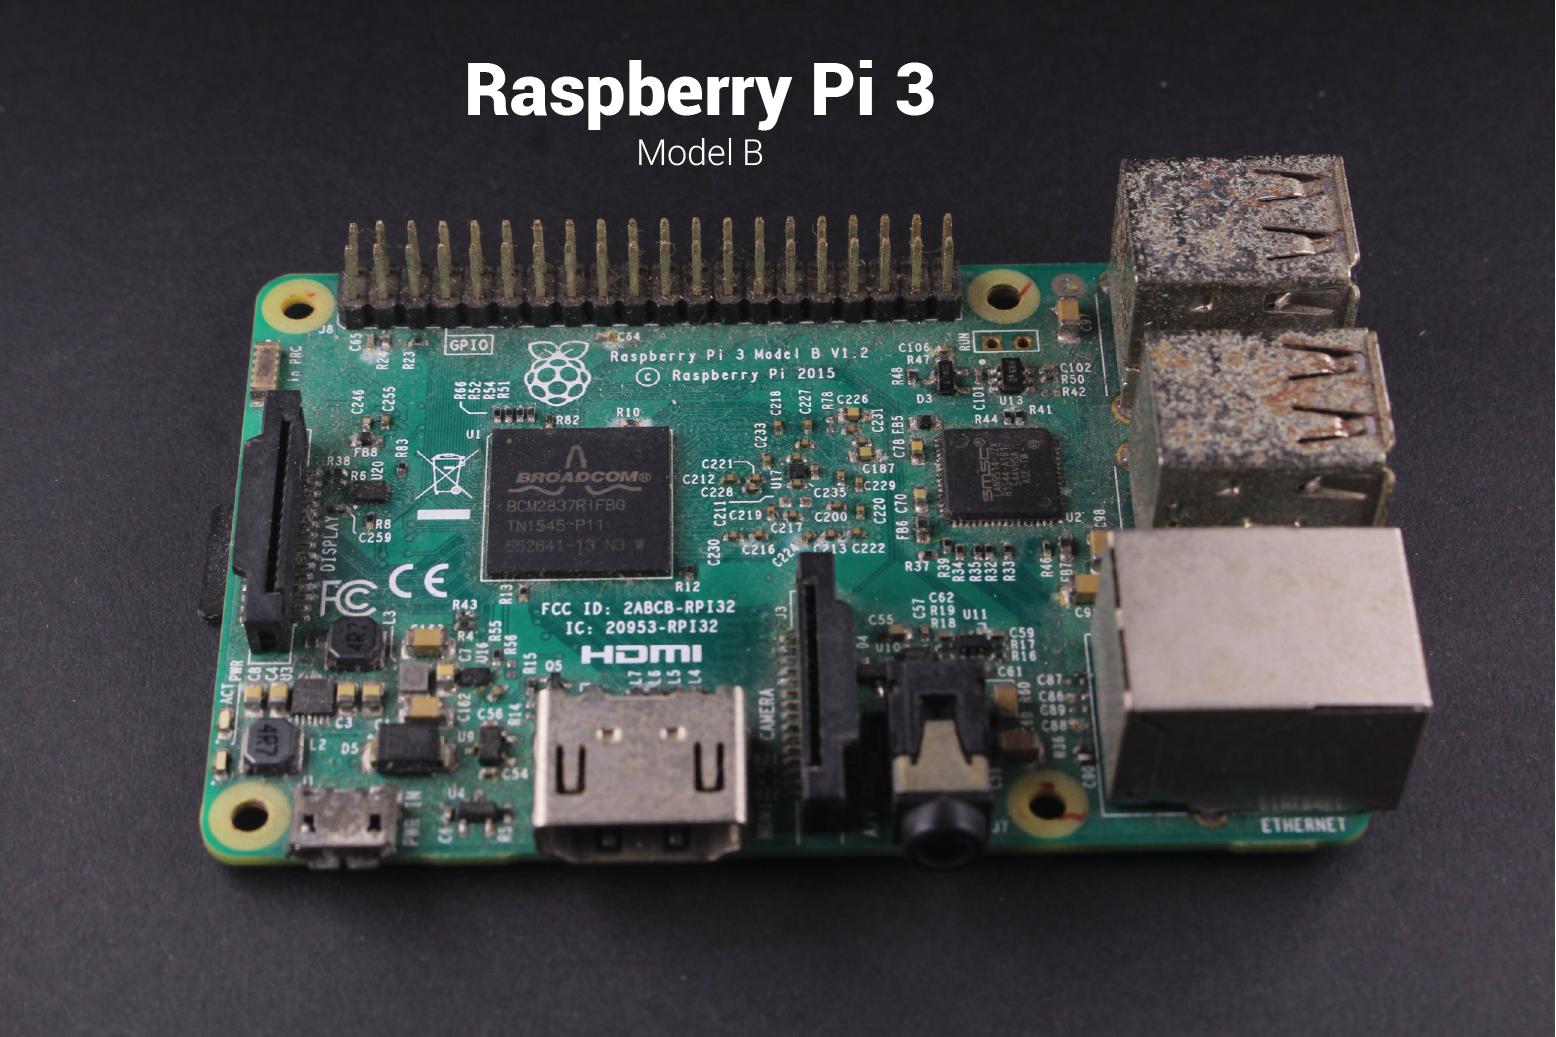
- 1 x Raspberry Pi 3 or Raspberry Pi Zero W - Amazon
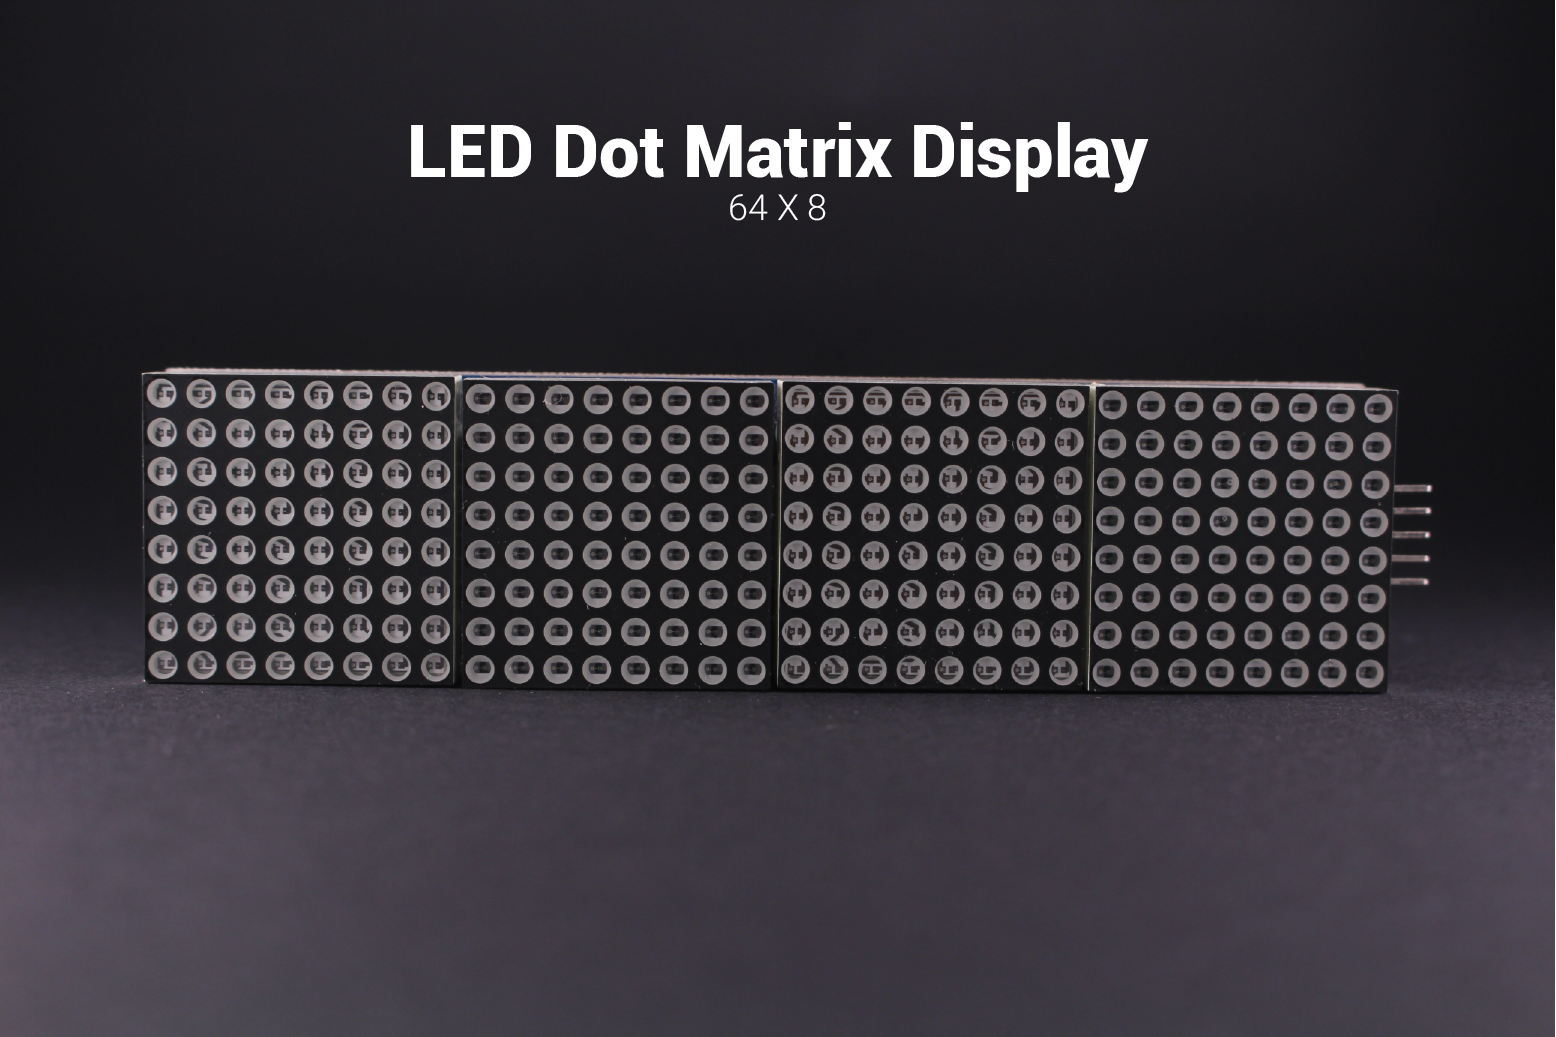
- 1 x LED Matrix Display 32x8 - Amazon
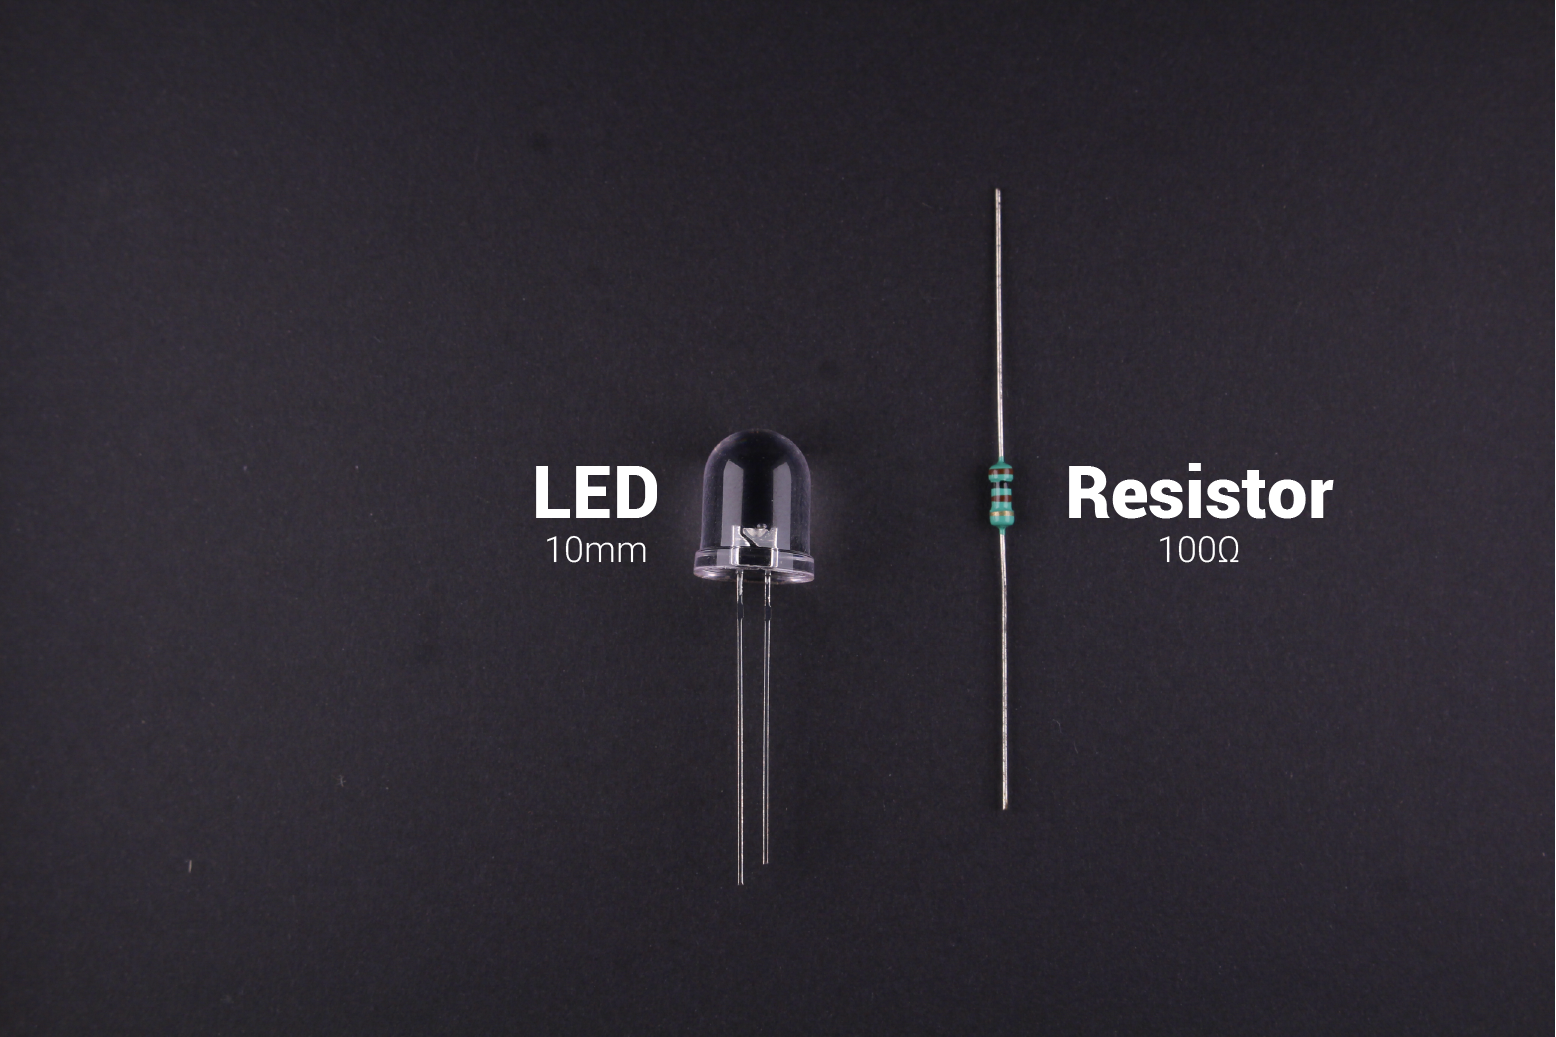
- 1 x 10mm White LED - Amazon
- 1 x 100-ohm Resistor - Amazon
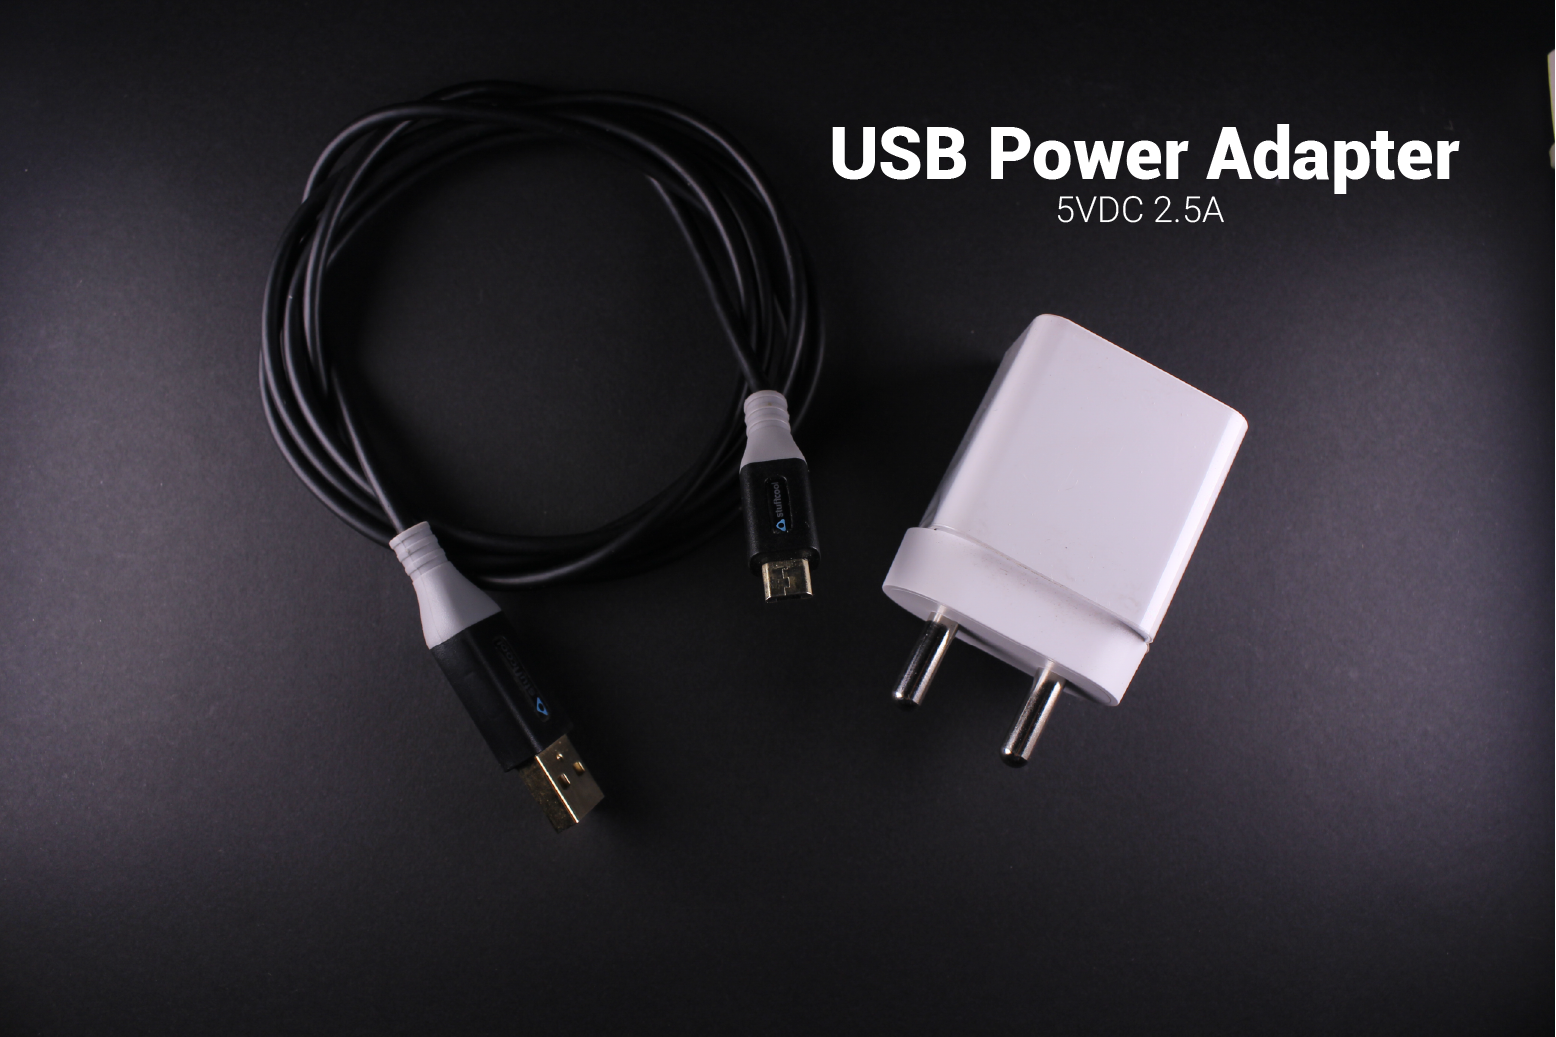
- 1 x 5V USB Power Adapter - Amazon
Tools:
Other Materials:
- 5mm MDF & 5mm Acrylic
- Glue
- Paint
Step 2: Electronic Design
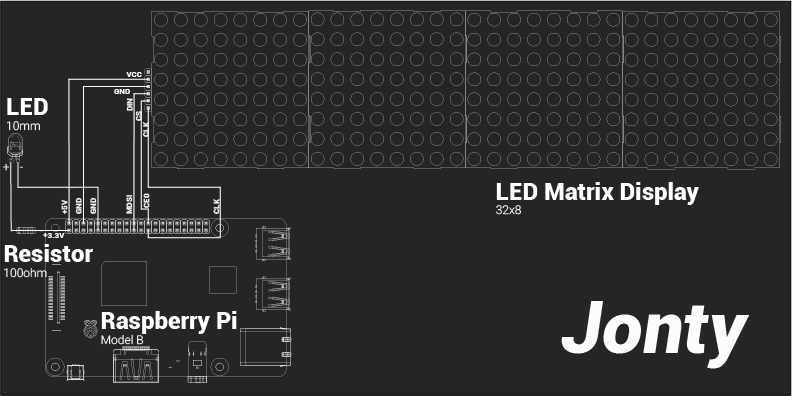
Serial Peripheral Interface(SPI) is an interface bus commonly used to send data between microcontrollers and small peripherals such as displays & sensors. It uses separate clock and data lines, along with a chip select line to choose the device you wish to talk to. The LED Matrix Display is connected to the Raspberry Pi's SPI pins.
| Raspberry Pi 3B | LED Matrix Display |
| 5V | VCC |
| GND | GND |
GPIO 10 (MOSI) | DIN |
GPIO 8 (SPI CE0) | CS |
GPIO 11 (SPI CLK) | CLK |
Step 3: Software
Dependencies:
Web scraping
- Requests is an elegant and simple HTTP library for Python. Requests Installation & Documentation.
- Beautiful Soup 4 is a Python library for pulling data out of HTML and XML files. Beautiful Soup Installation & Documentation.
Python Library for Max7219 LED Matrix
Python library interfacing LED matrix displays with the MAX7219 driver (using SPI) on the Raspberry Pi. Installation. By Richard Hull
Setup & Configurations:
Once all the Prerequisites have been successfully installed, download/clone this GitHub Repository. Connect the Display to the Raspberry Pi as shown in the Schematics. Run the main program bcbar.py
Bitcoin Bar can display upto 19 different real-time data parameters. These can be configured to be displayed in any order or sequence. The main program displays all 19 data parameters sequentially.
Data parameters can be individually displayed & their order can be changed by configuring the following line in the main program:
show_message(device, disp[i], fill="white", font=proportional(LCD_FONT),scroll_delay = 0.02)
The value of i will determine the data parameter being displayed. Bitcoin Bar can display the following real-time data parameters:
INSERT TABLE WITH PARAMETERS
Scrolling Speed & Static Text
By adjusting the value of scroll_delay, the scrolling speed can be changed. The led_test.pyexample uses the text function to display static text.
Rate Limiting
The data parameters are web scrapped from bitcoinblockhalf.com. I have limited the number of visits to the site to once per hour so that the website is not burdened with unnecessary traffic. I use this website since it collects several of these data parameters from various other API's & hosts them centrally. Check out the websites repository for more information.
Run Program on Startup/Boot
I followed the official RasPi documentation which modifies the rc.local file in order to run the Python script on boot up.
Contribute:
Are you a programmer, engineer or designer who has a great idea for a new feature in Bitcoin Bar? Maybe you have a good idea for a bug fix? Feel free to grab the code from Github and tinker with it. Bitcoin Bar: GitHub
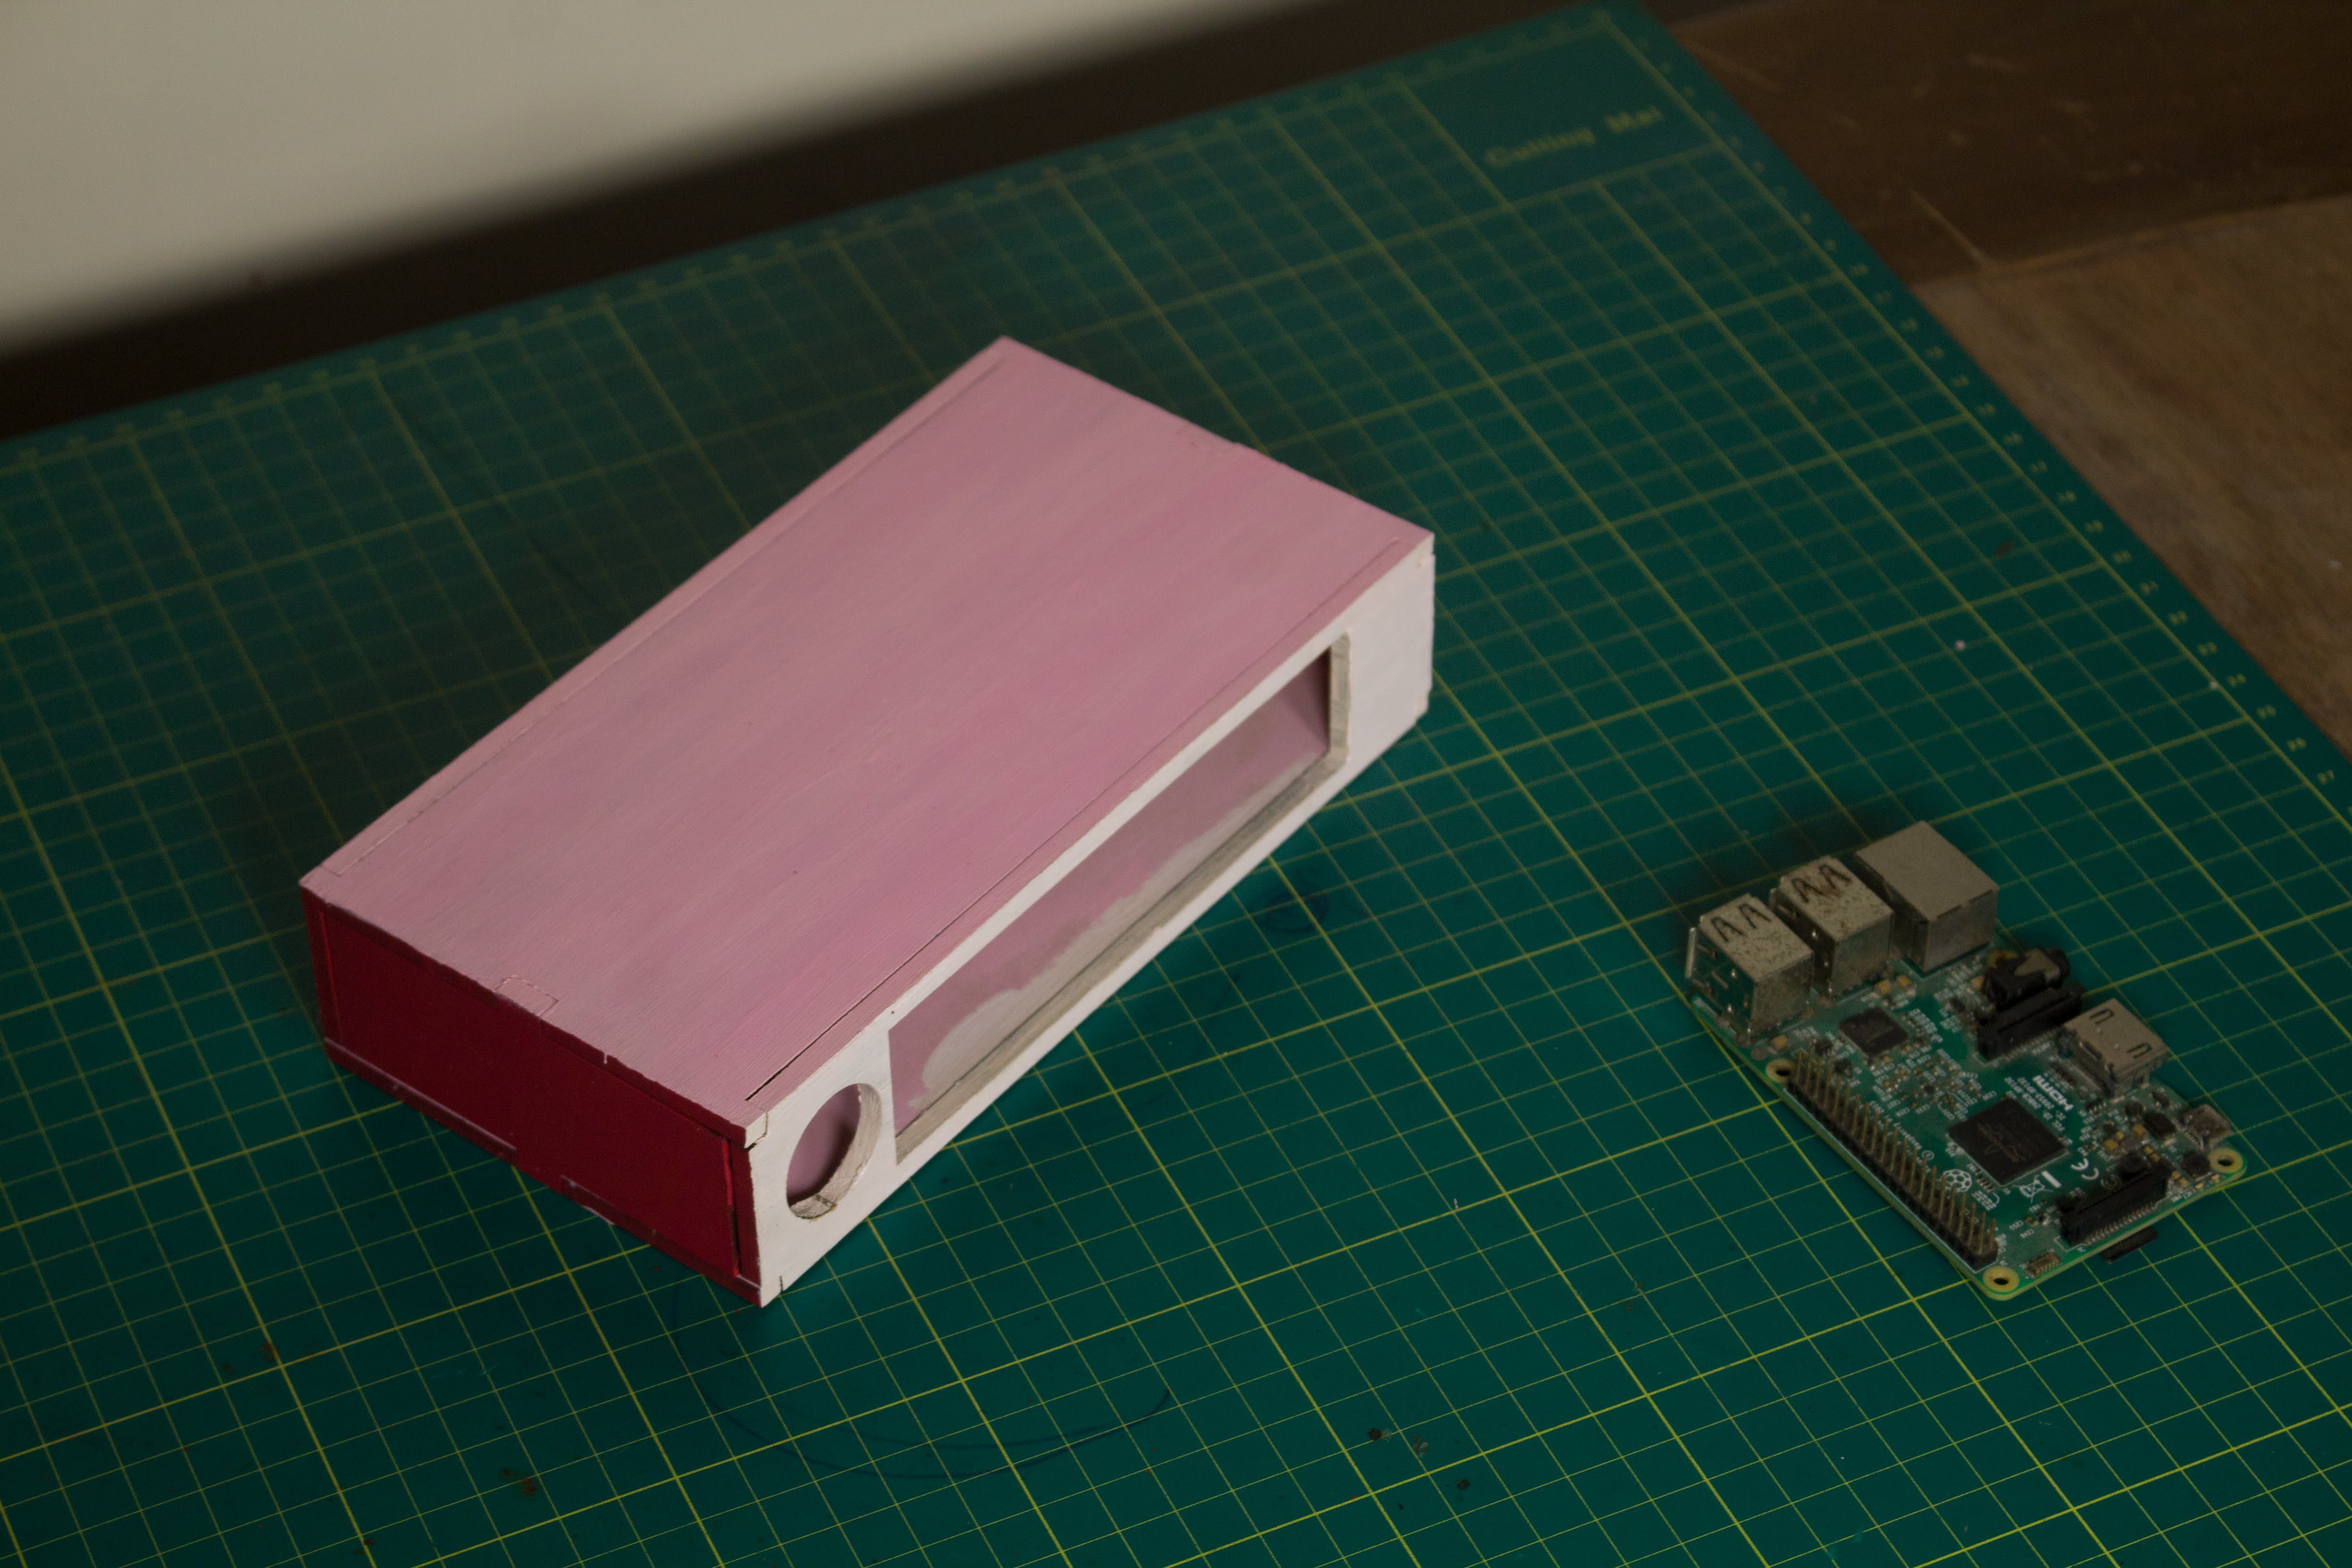
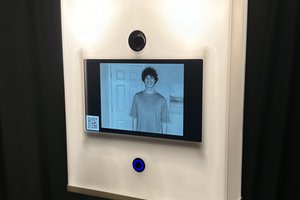
Step 4: Mechanical Assembly
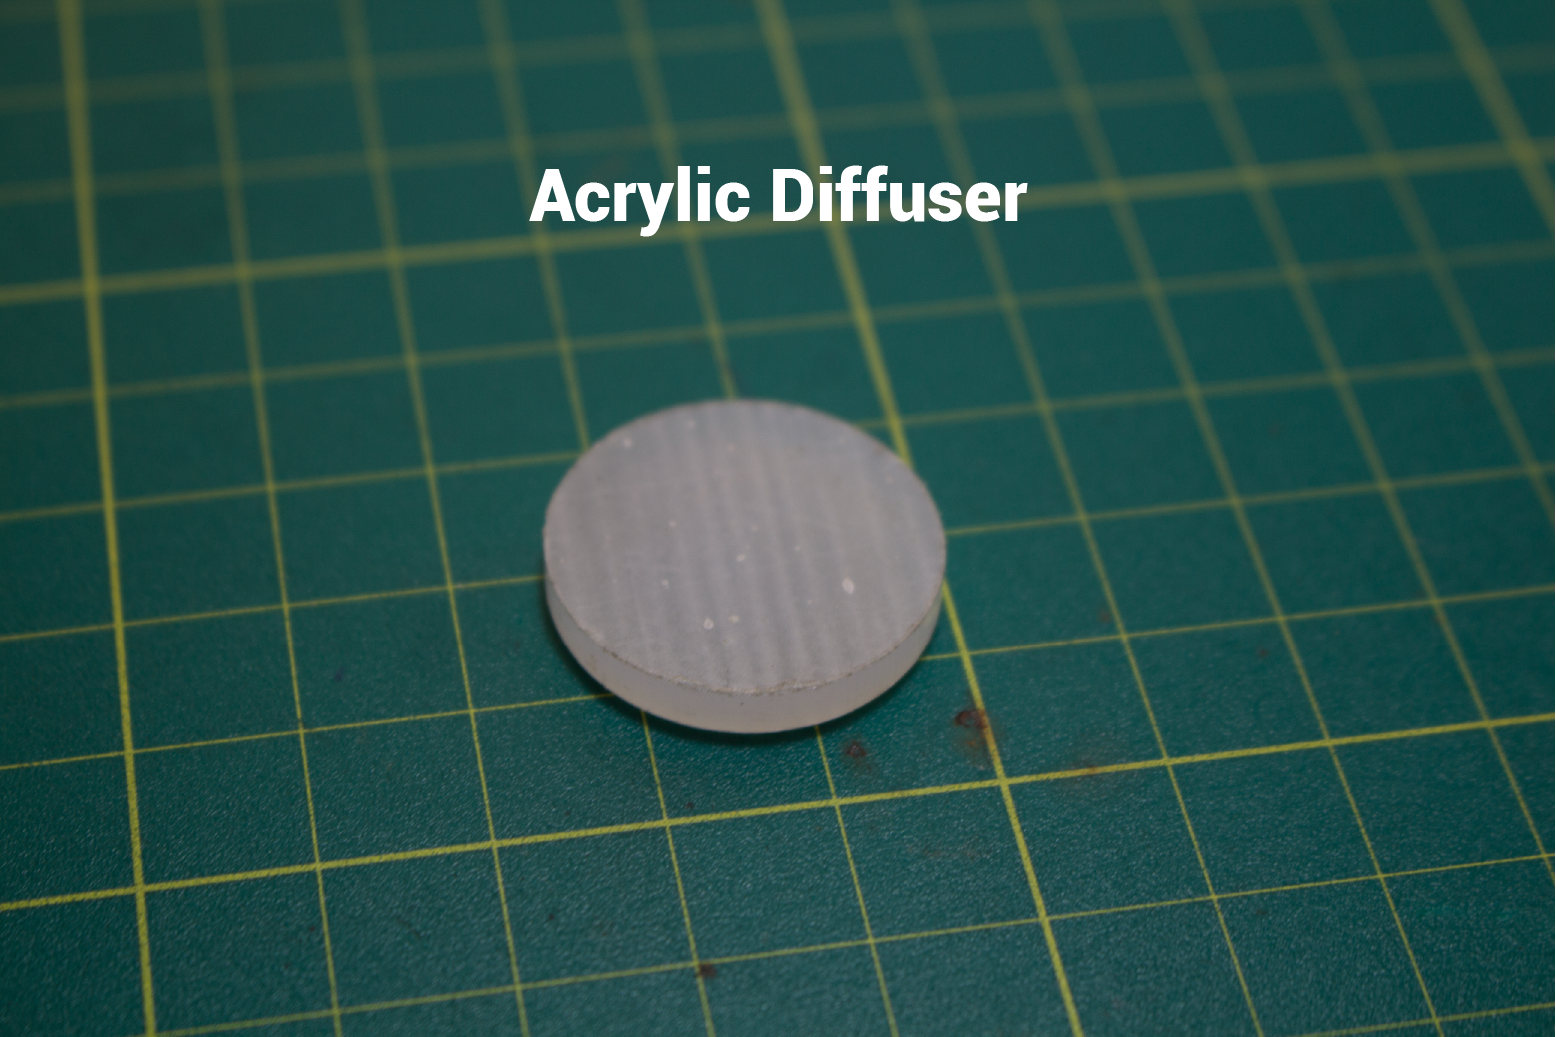
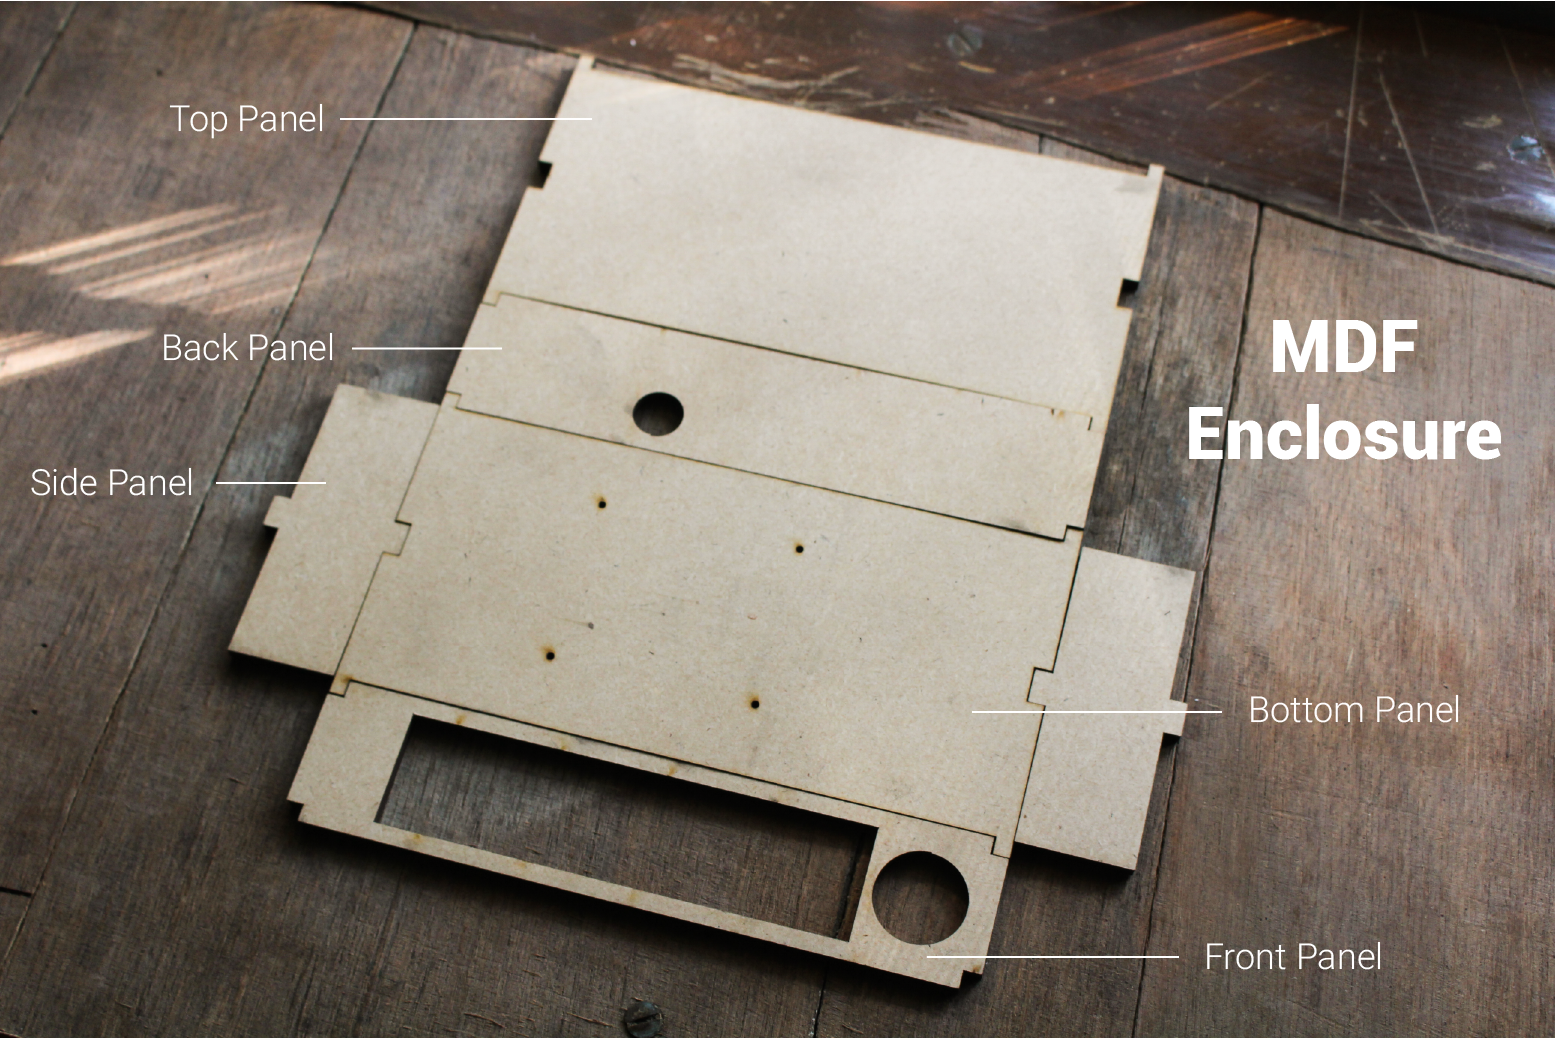
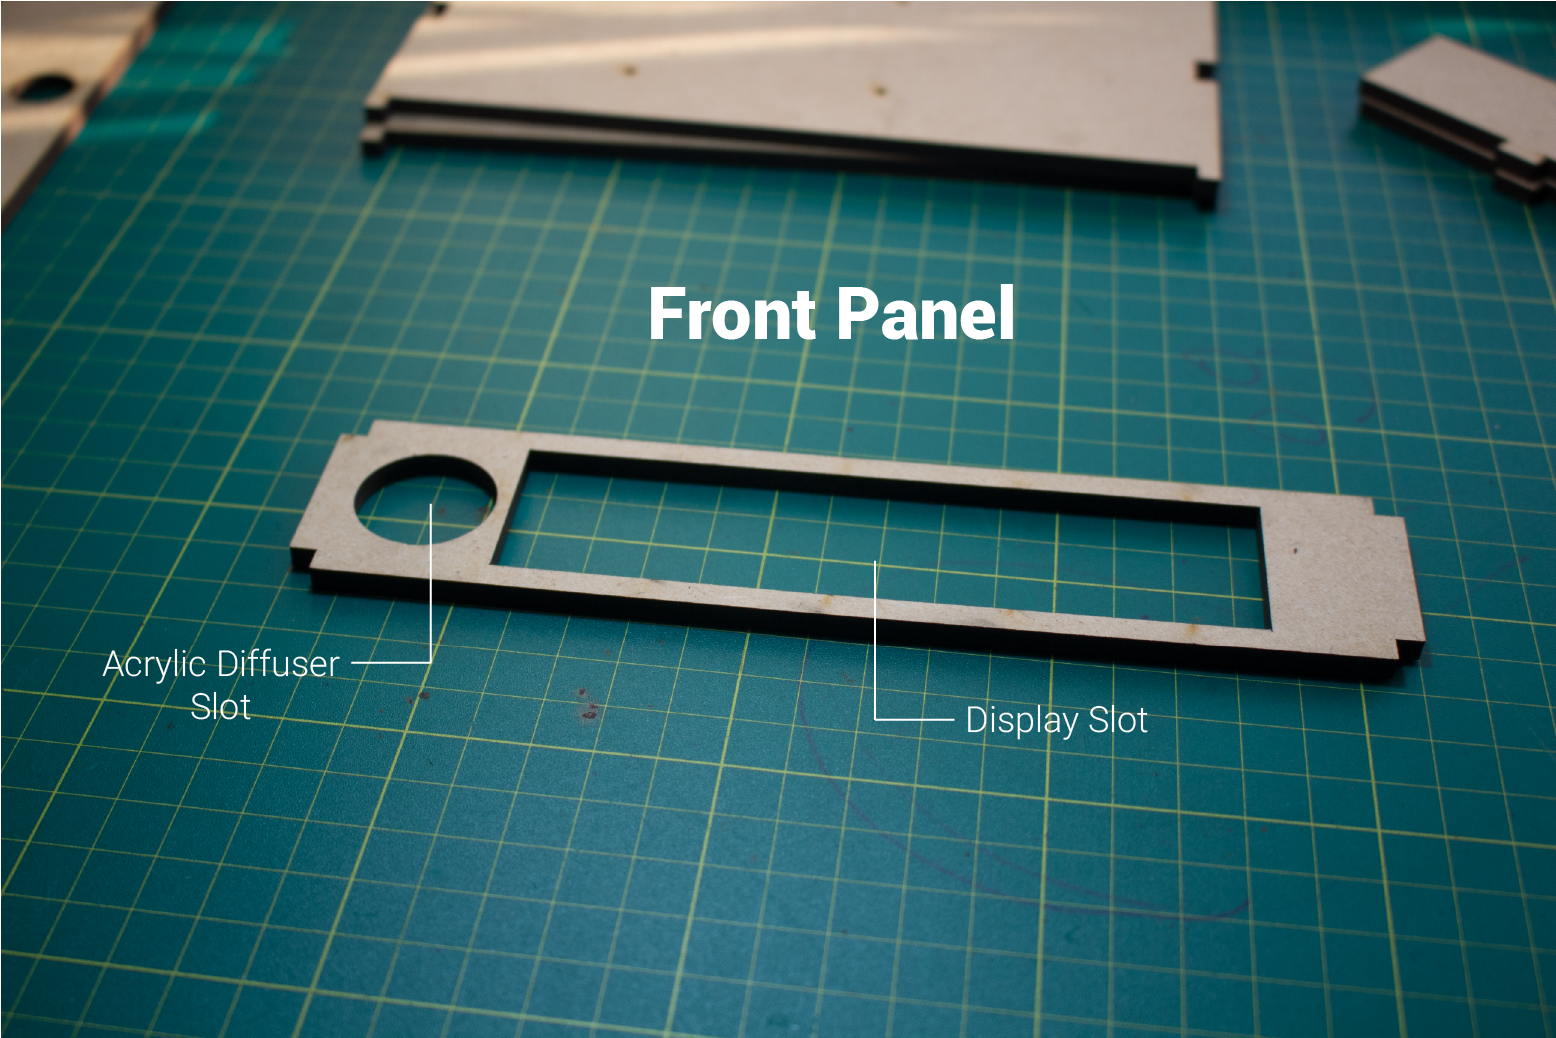
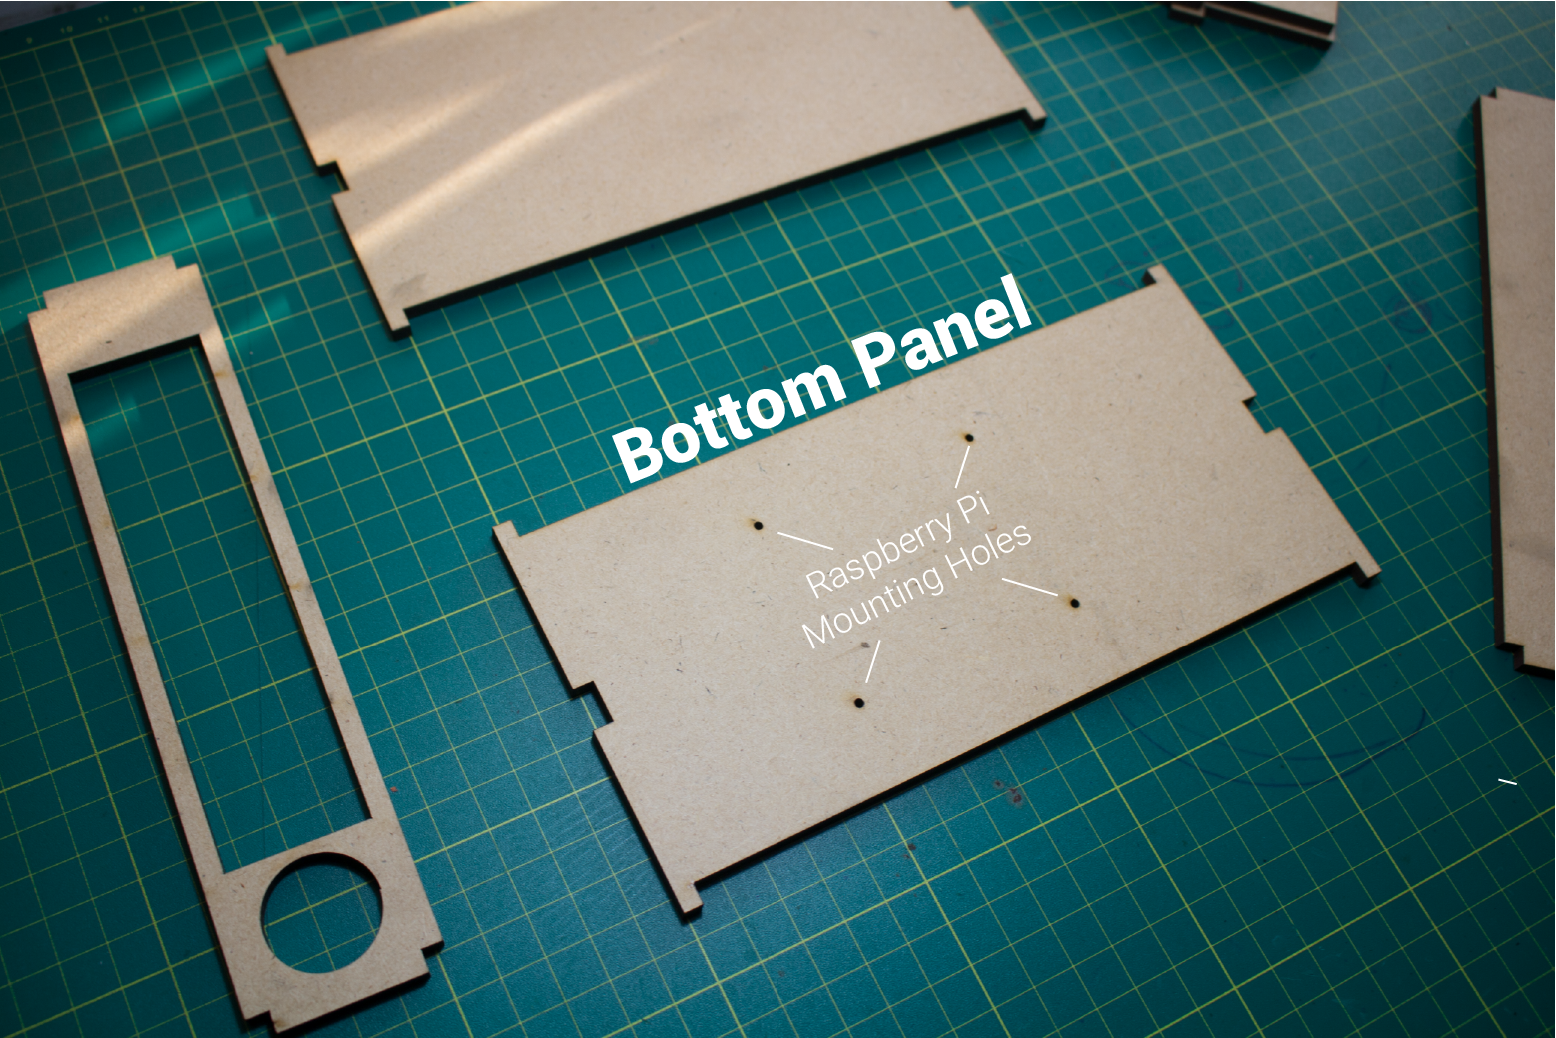

Bitcoin Bar's enclosure consists of an interlocking box which is laser cut from 5mm MDF. The Front Panel has two slots: one for the LED Display & the other for the Acrylic Diffuser. The Back Panel has a hole for the power supplies USB cable which is plugged into the Raspberry Pi. The Bottom Panel has 4 holes to which the Raspberry Pi is mounted too.
You can find the laser cutting files (for both MDF & Acrylic) below or in the link: Bitcoin Tracker: Laser Cutting
Step 5: Paint the Enclosure
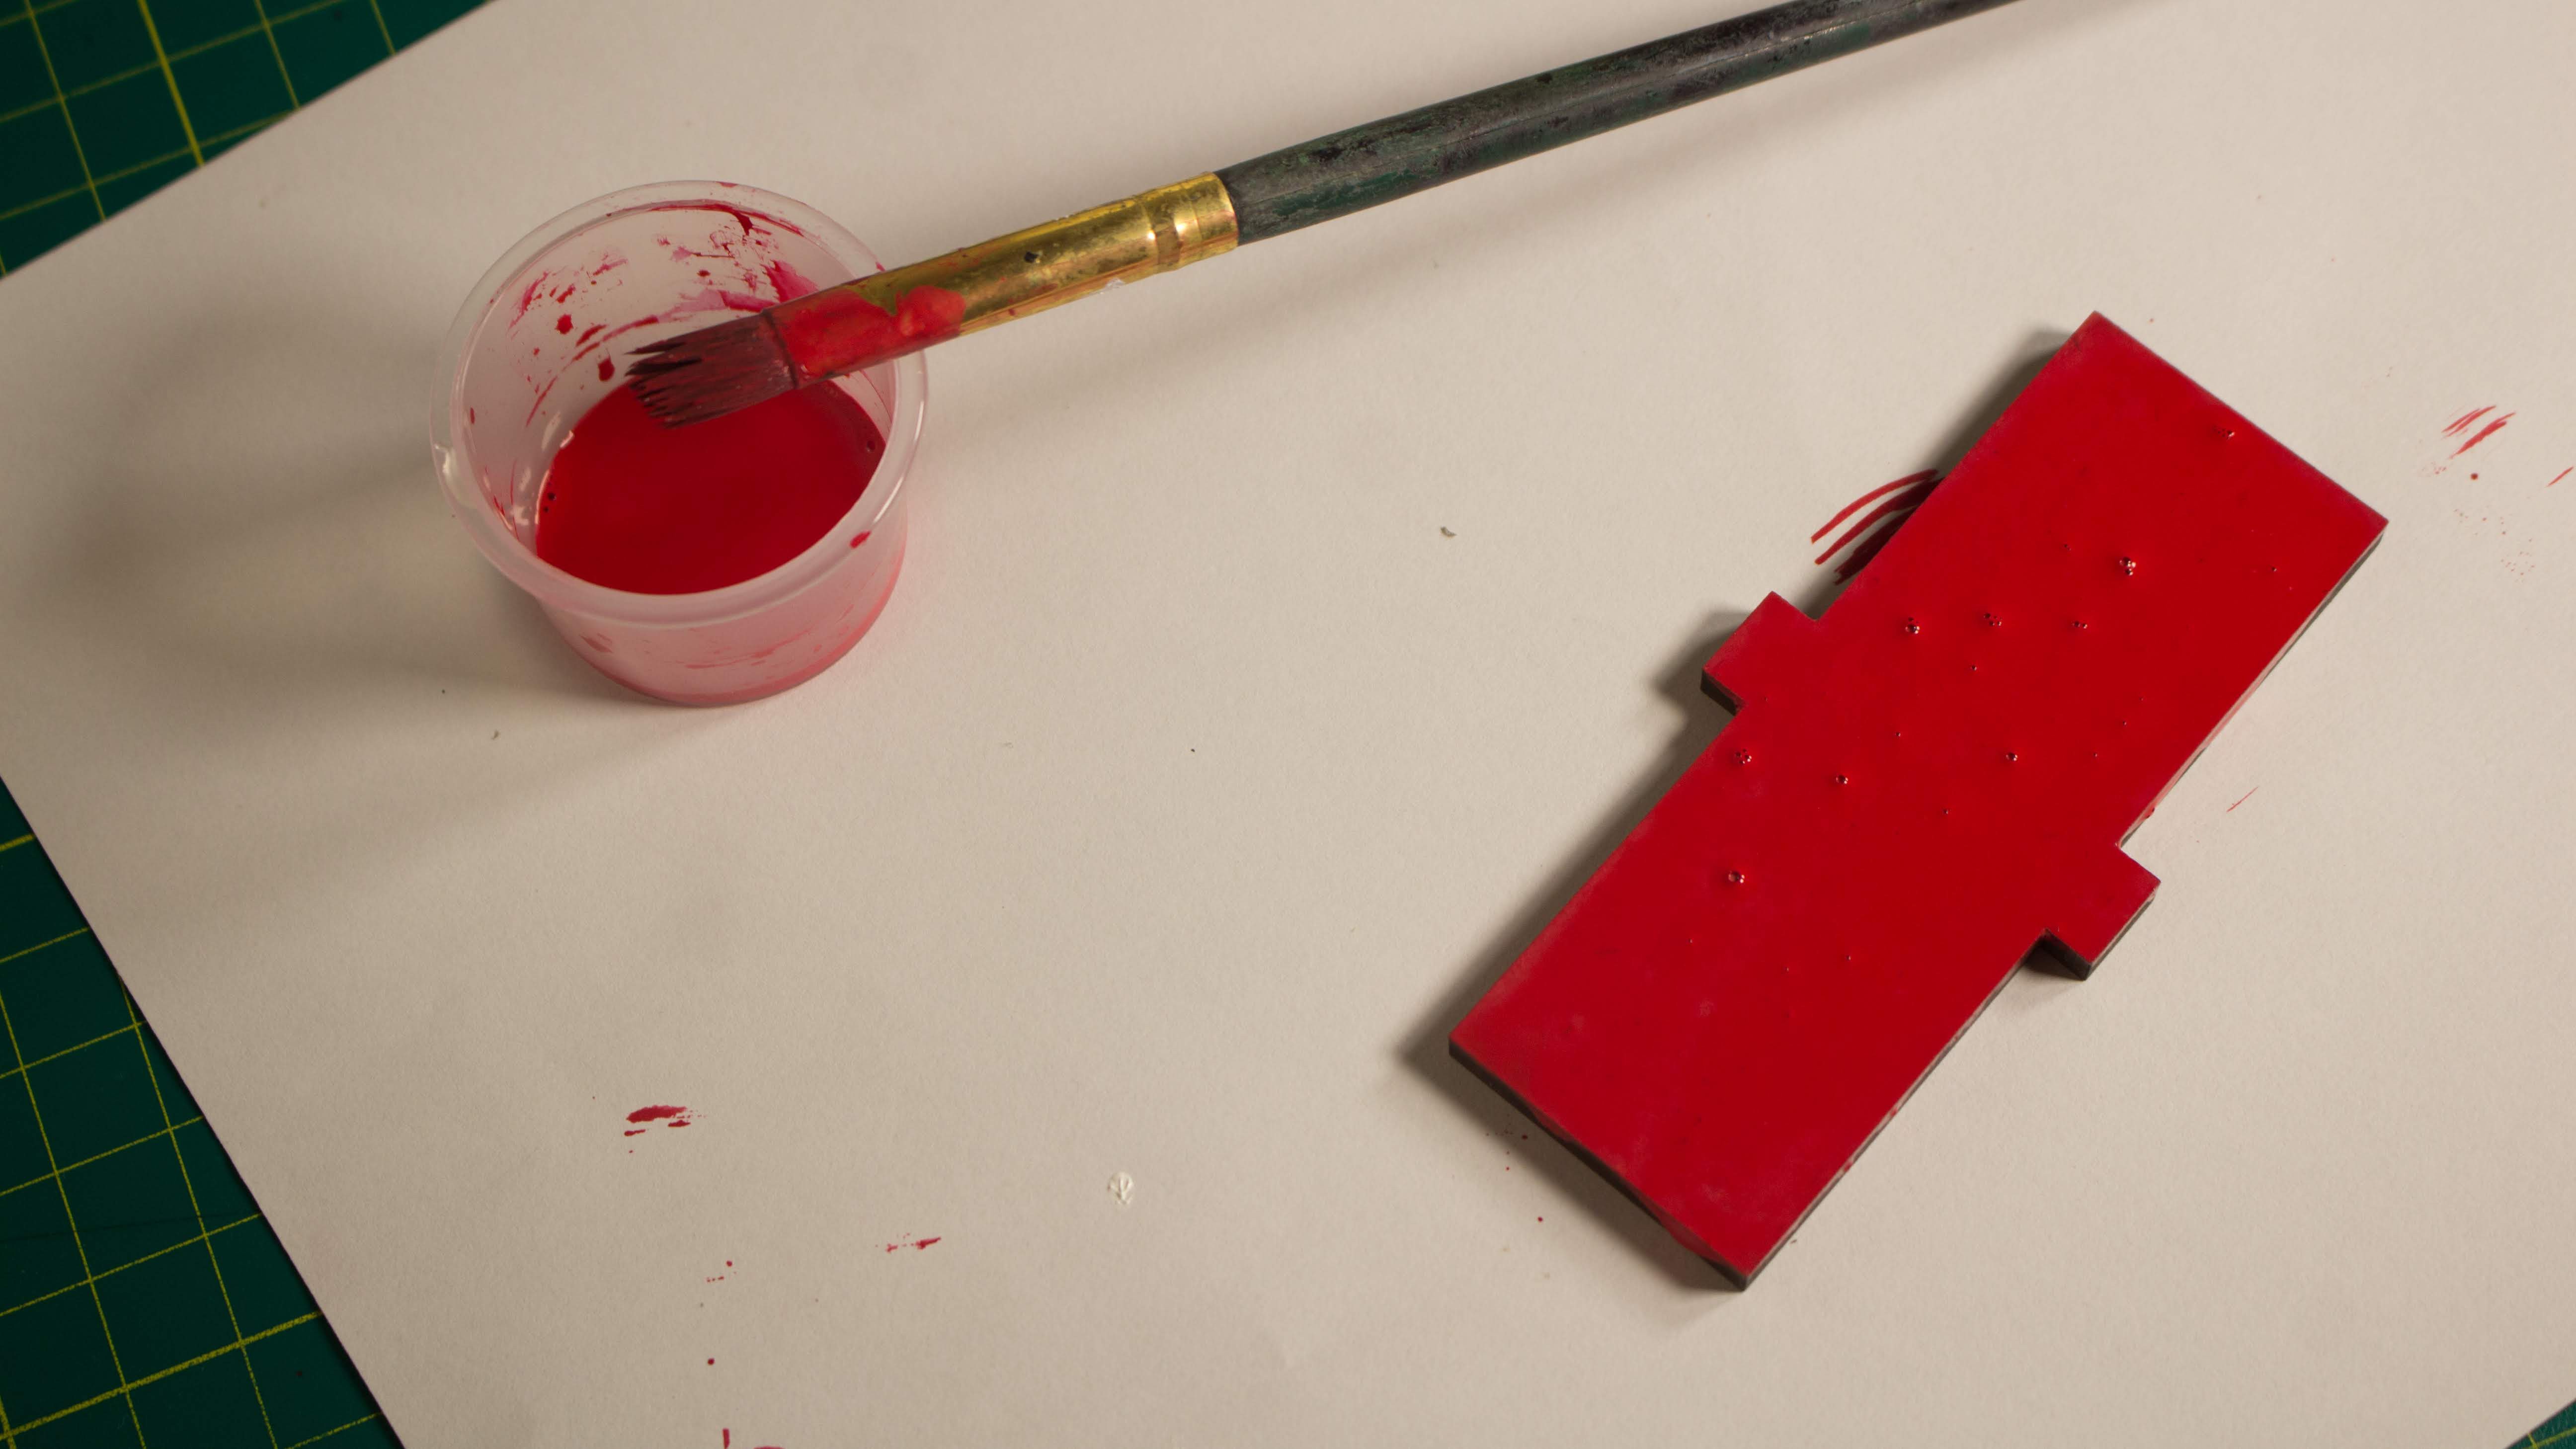
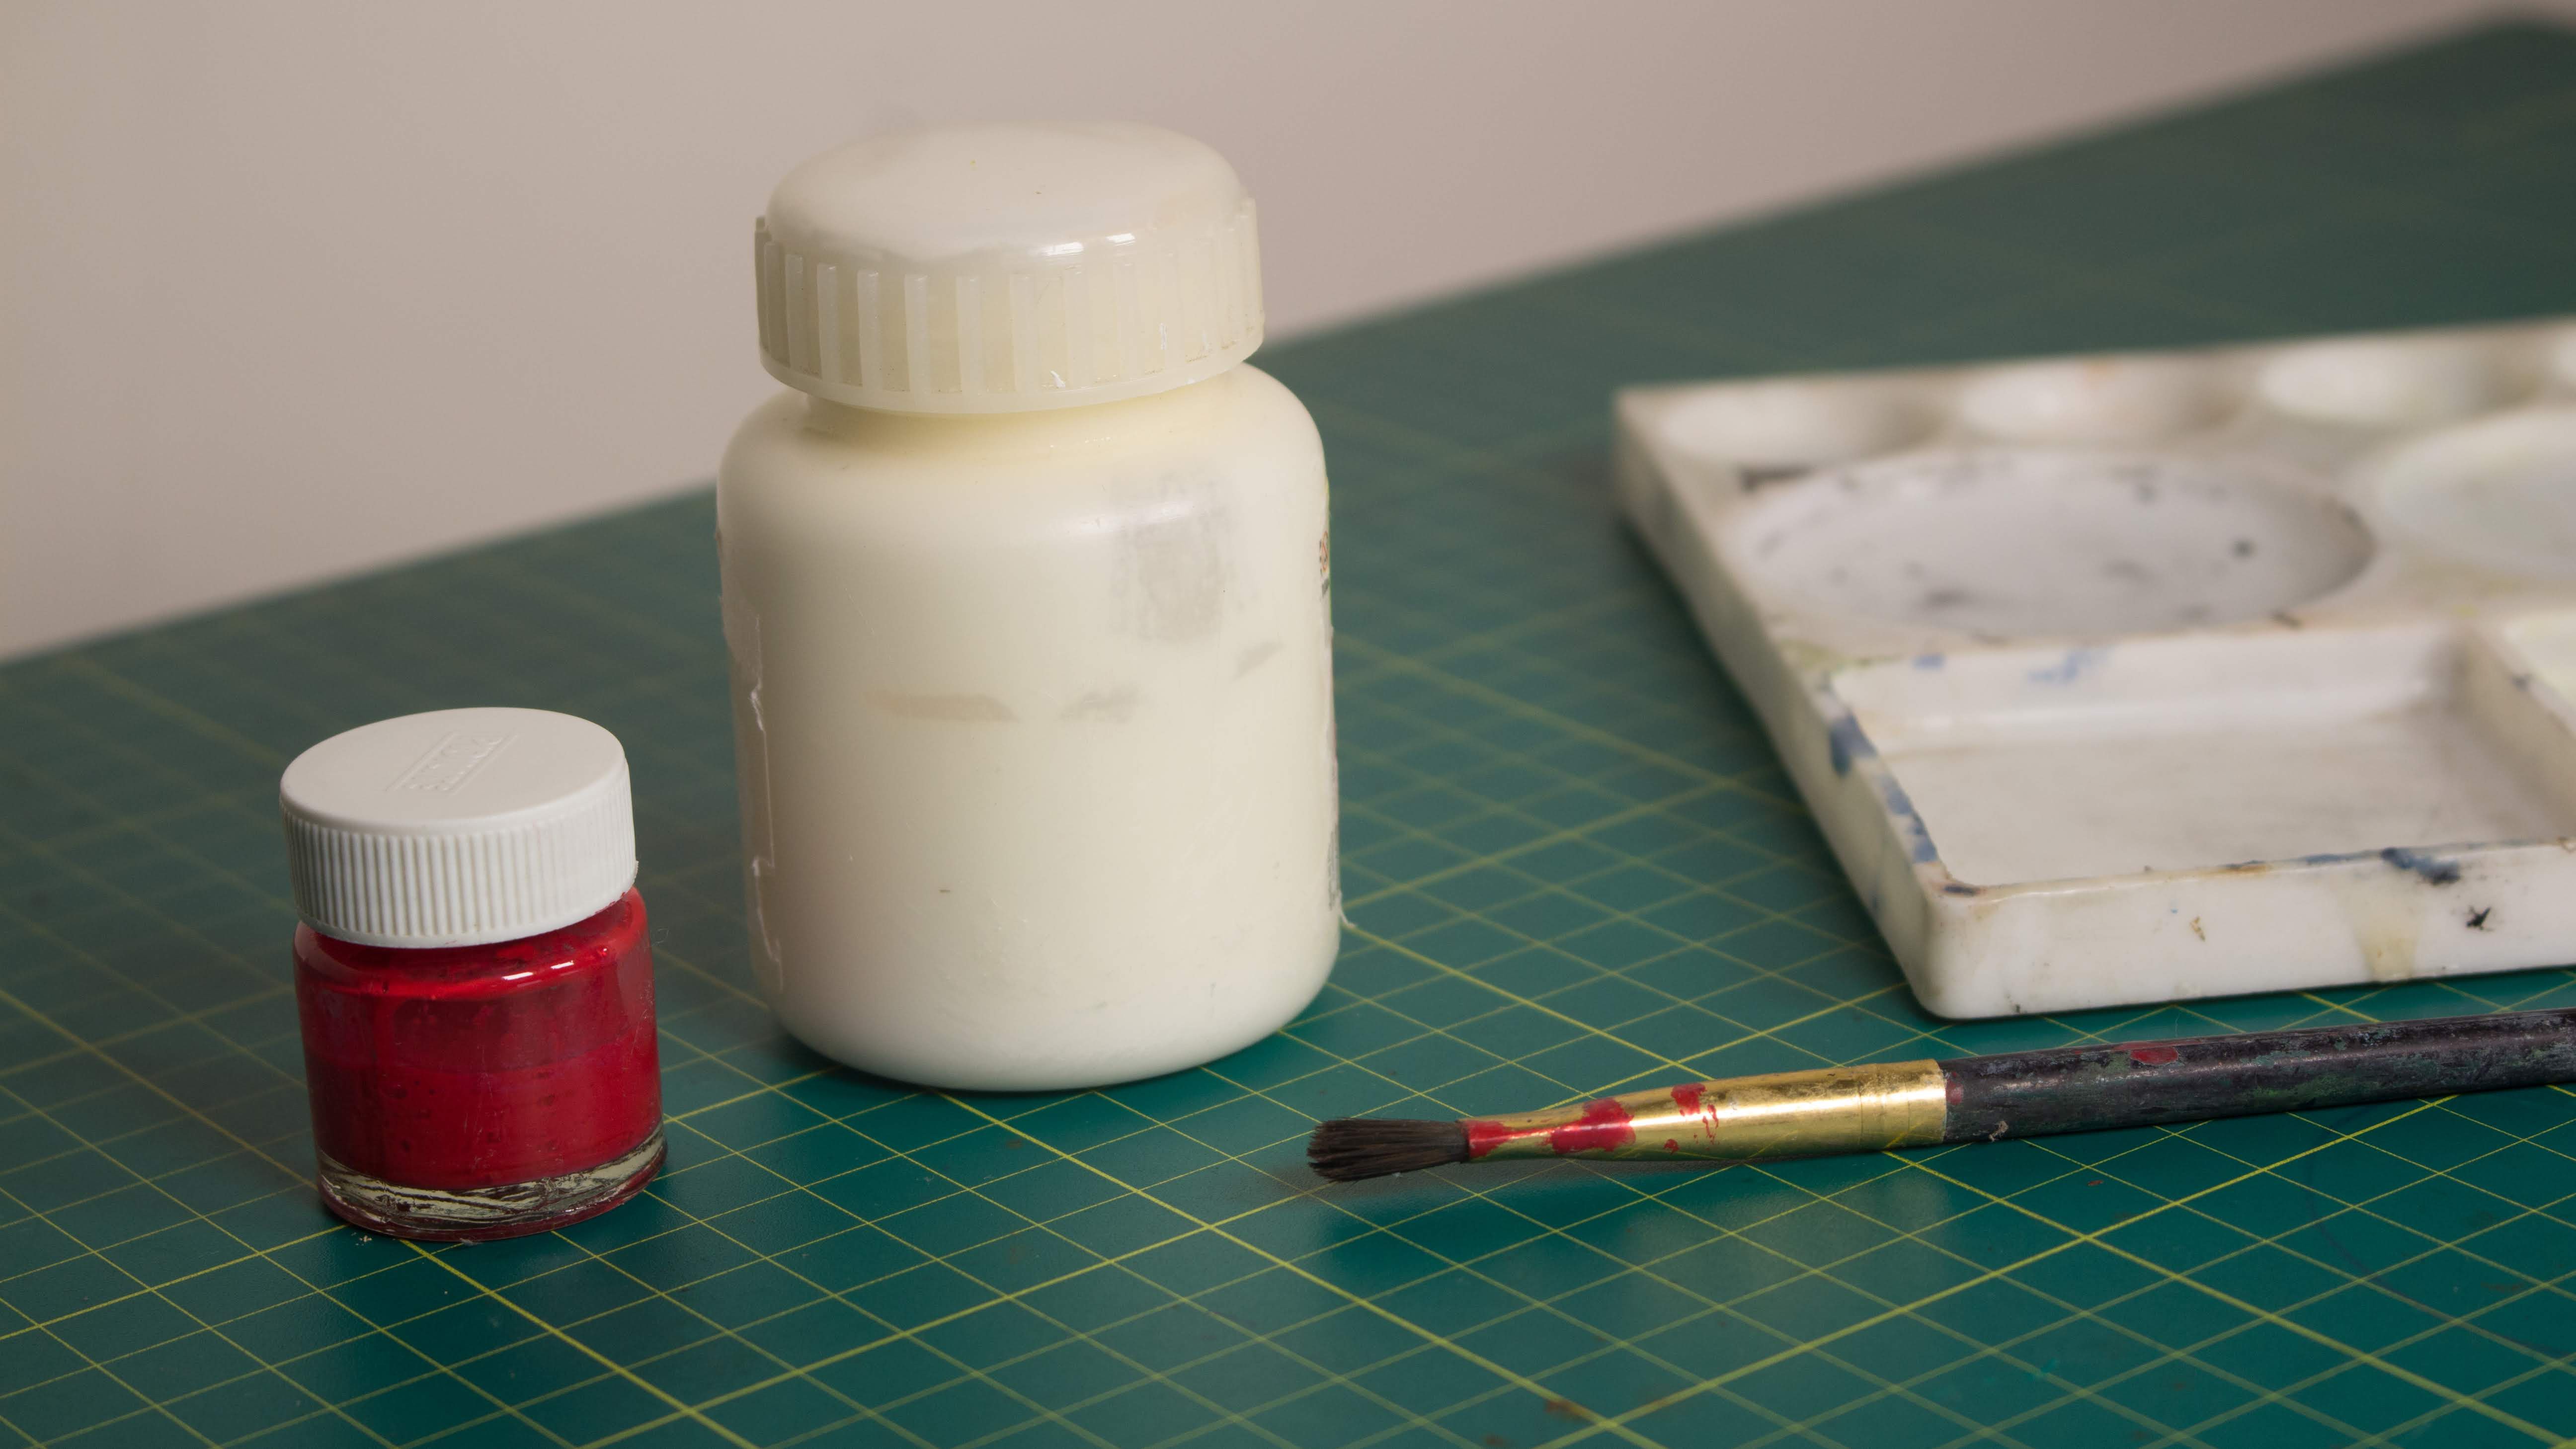

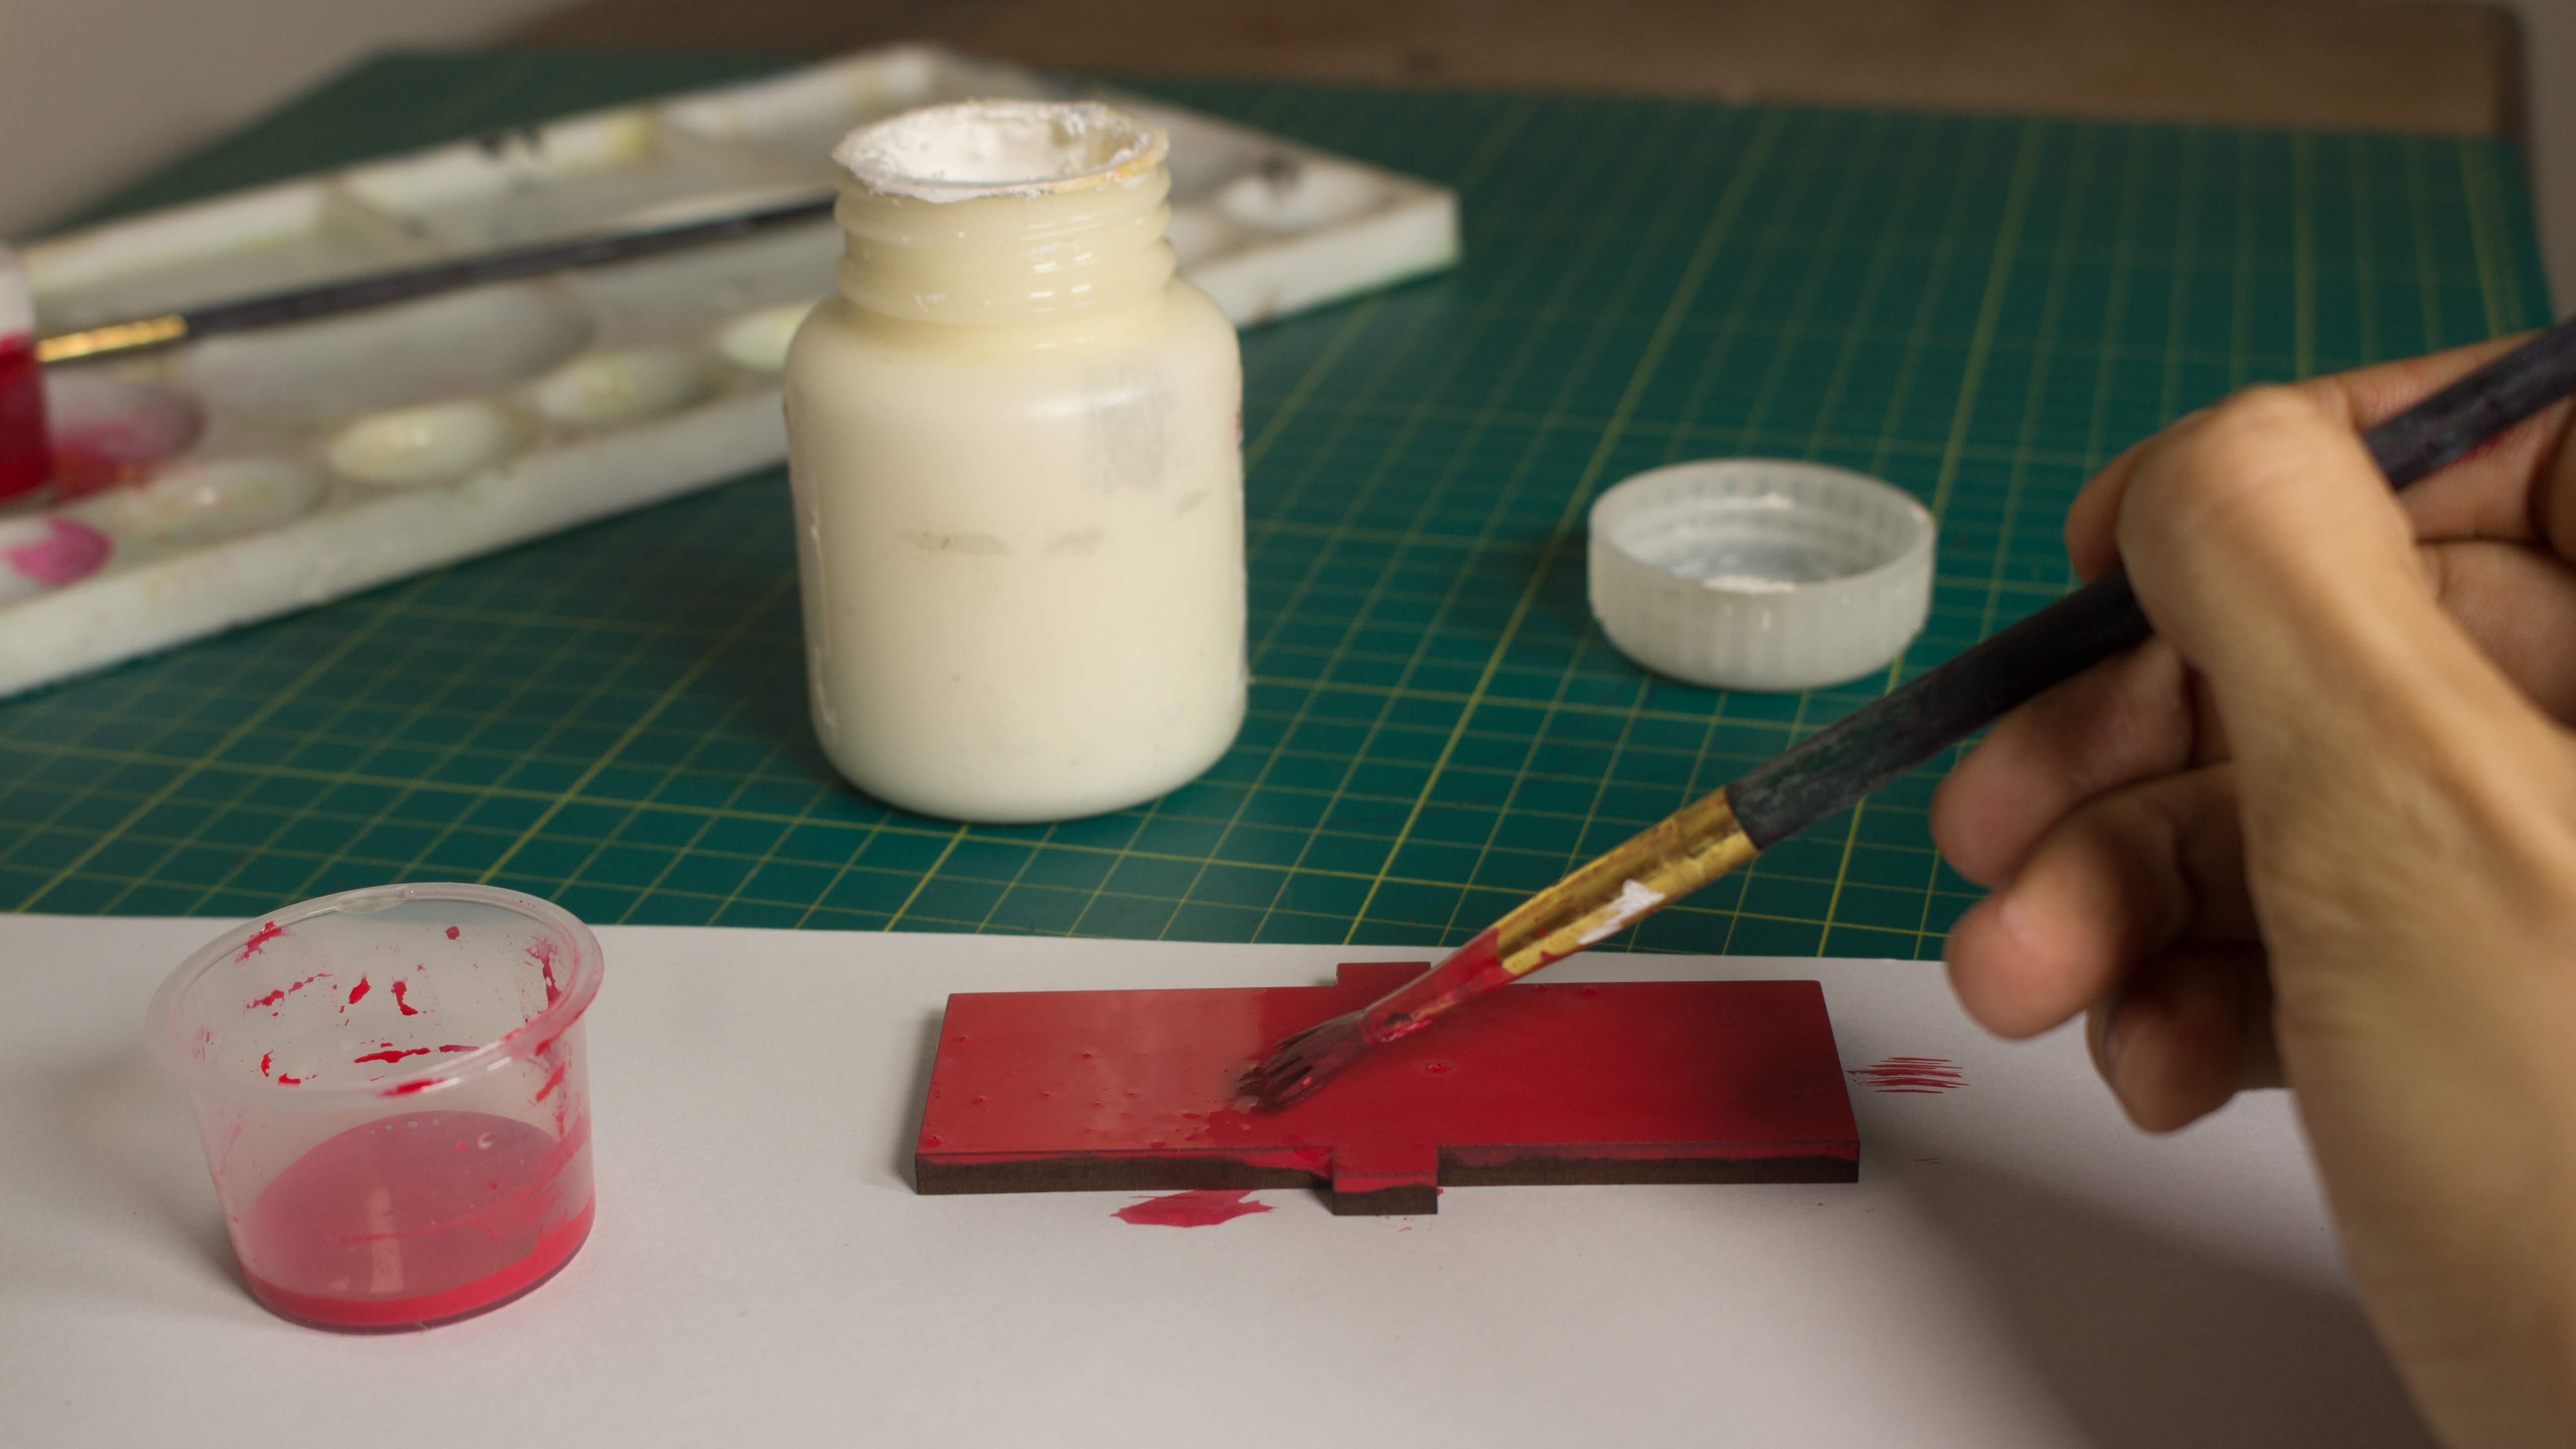
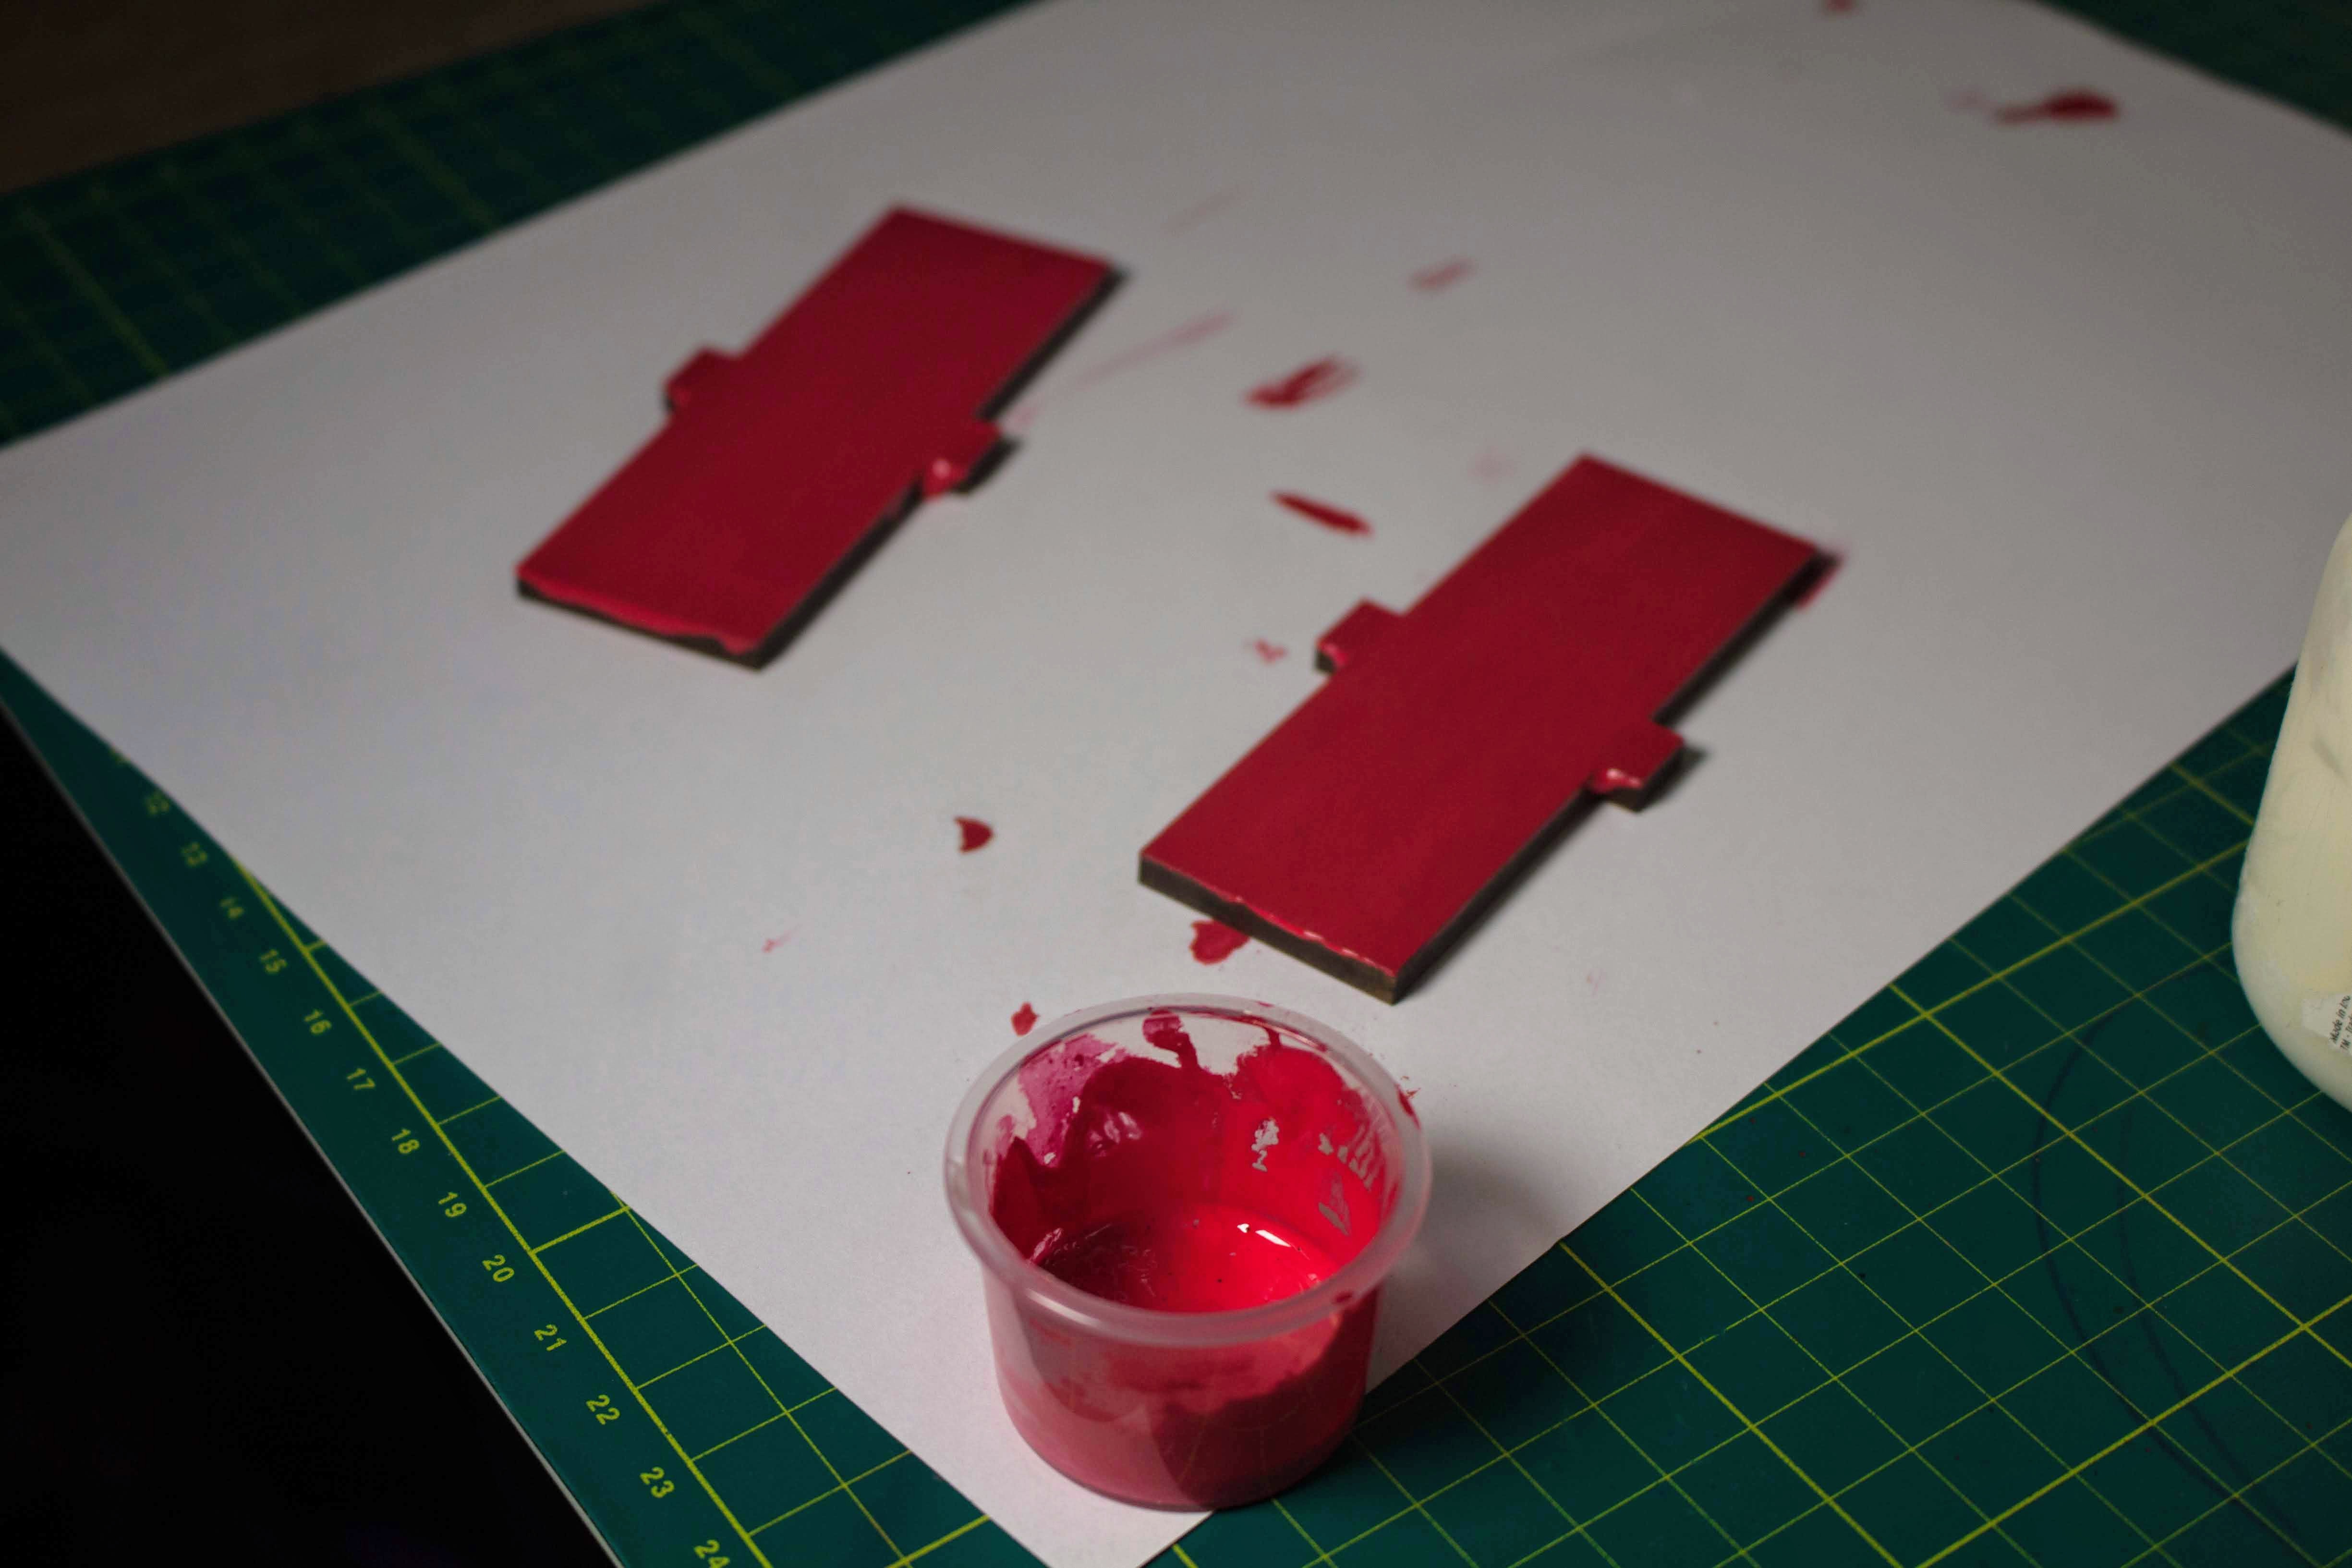
Paint the MDF enclosure to prevent it from getting affected...
Read more »

 makeTVee
 Maximilien
 Clay Graham
Well, cool looking stuff. As a https://primexbt.com/ user I would like to have one, maybe I should spend a few weeks to create one. Thanks for posting!