Close
0%
0%

USB-C-PD Soldering Pen for Weller RT Tips

Small and powerfull controlling unit powerd from USB-C-PD

Public Chat
Similar projects worth following
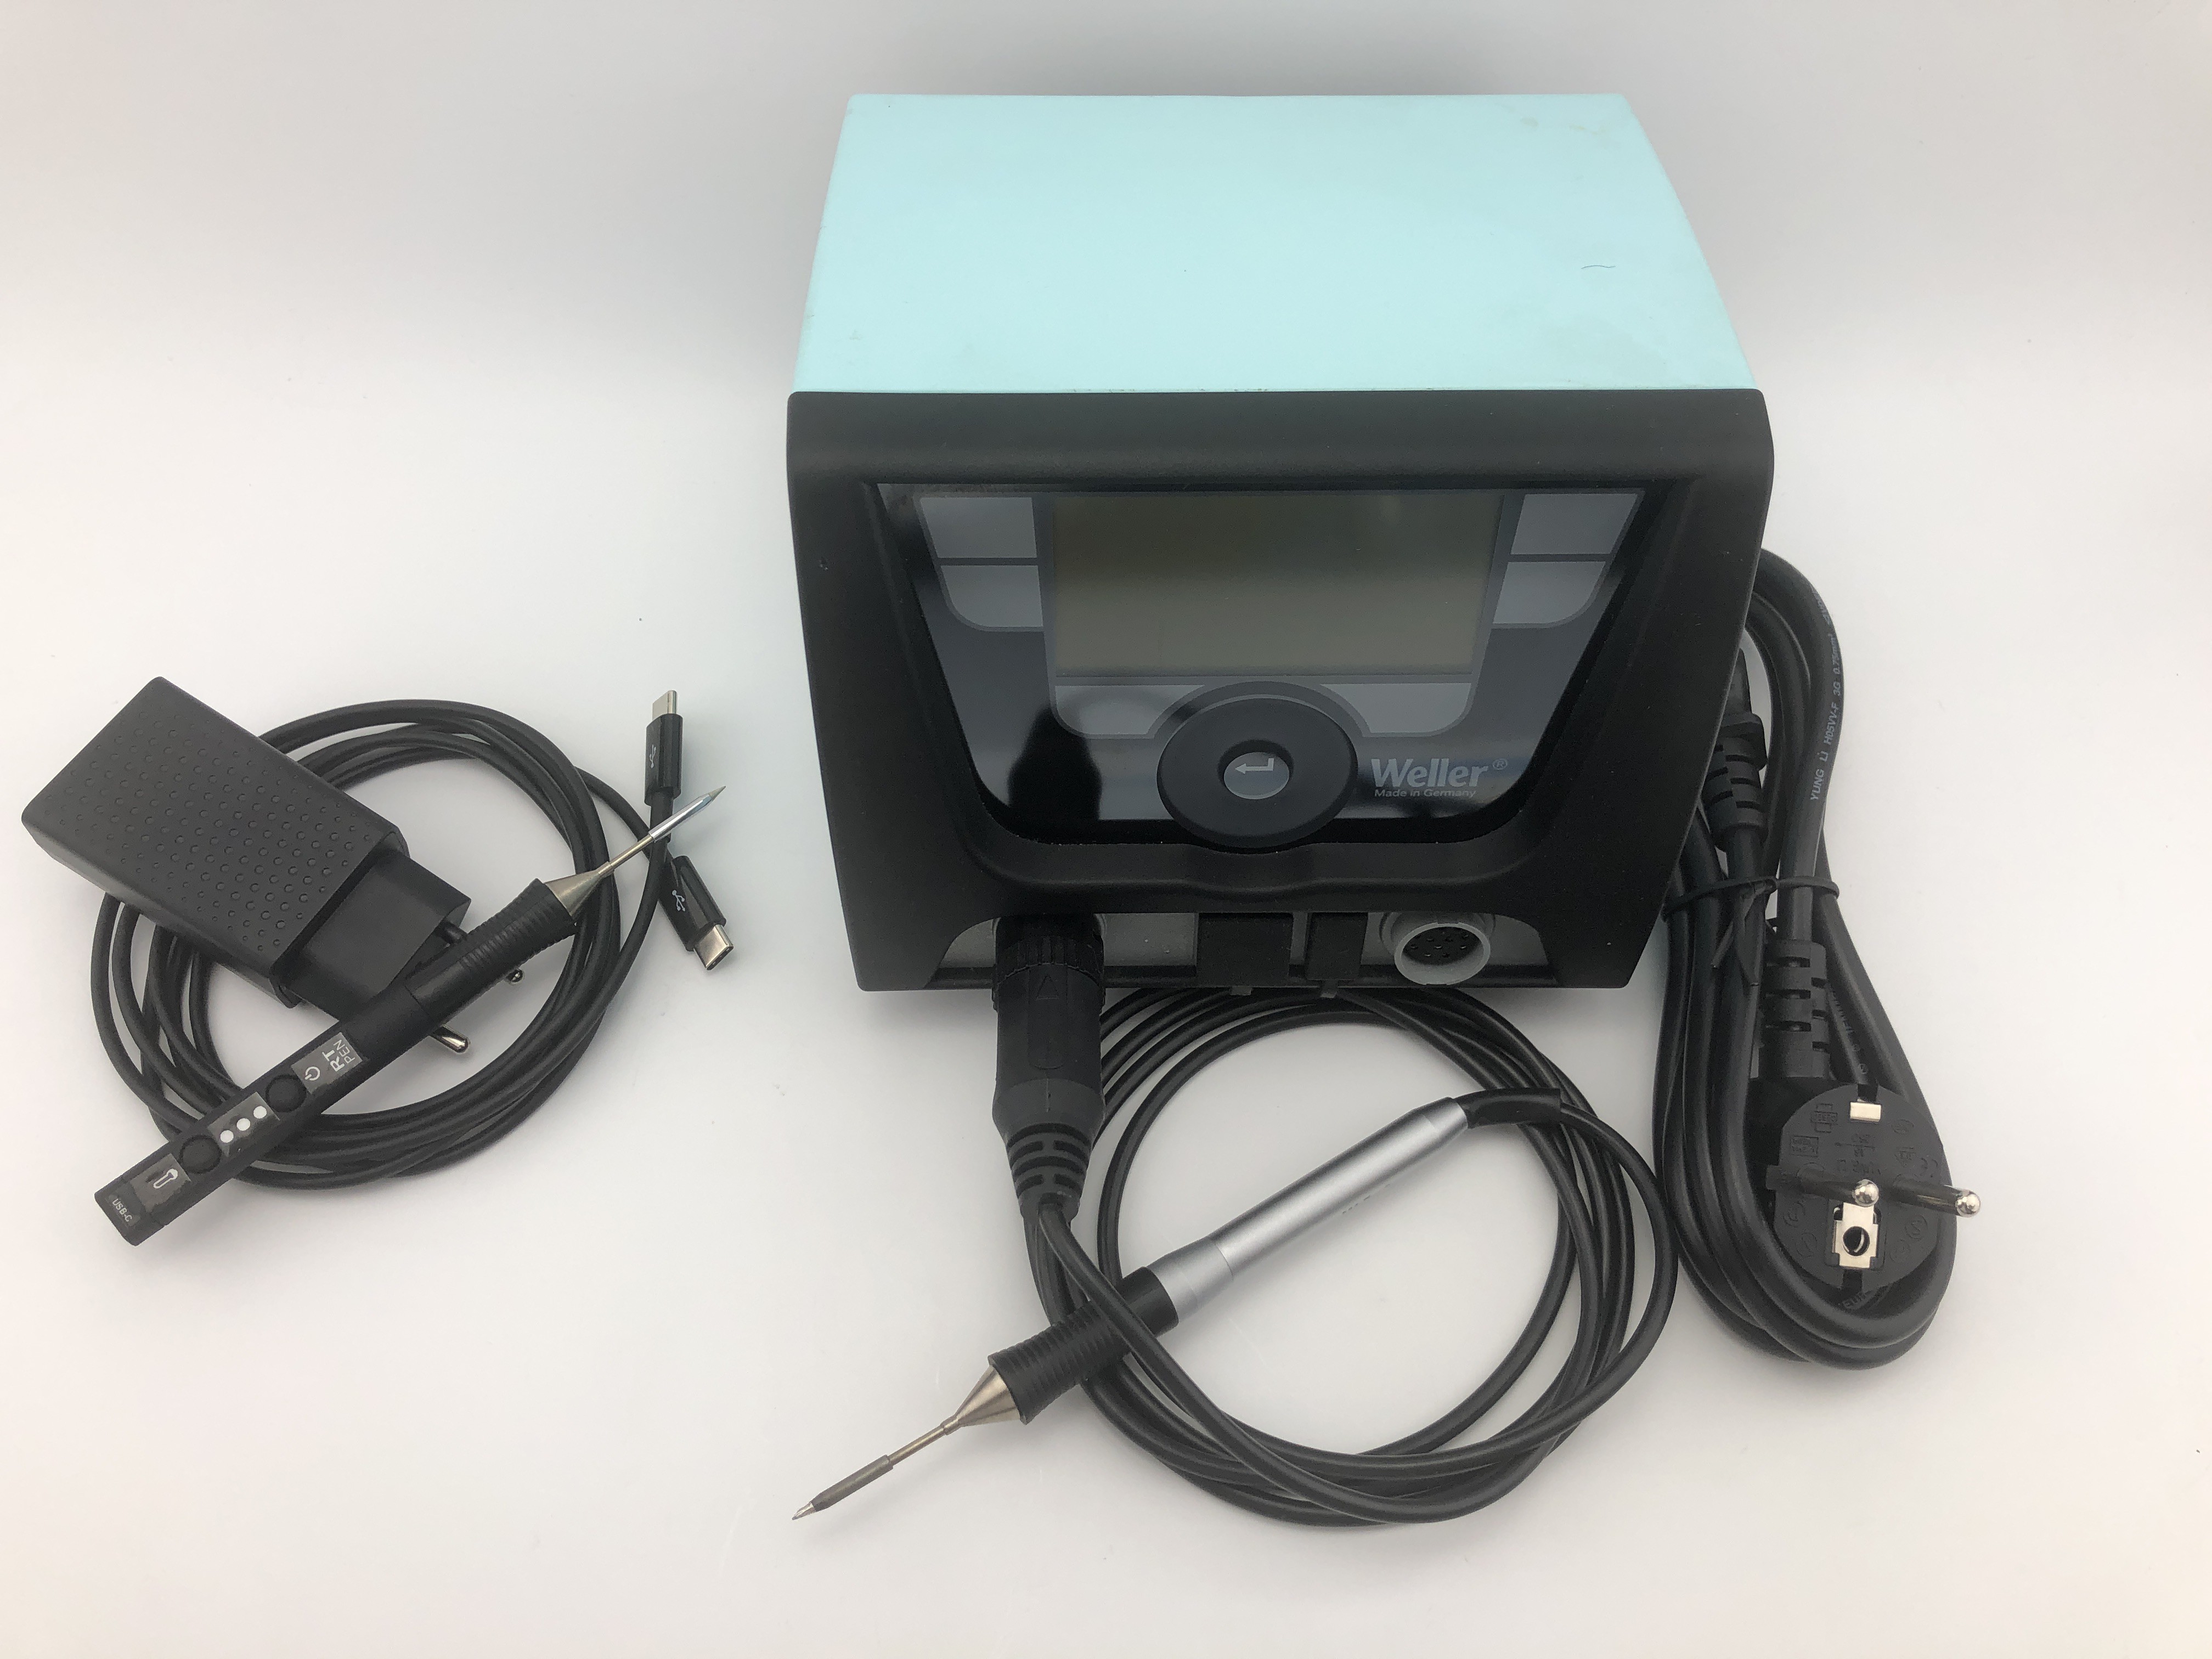
This is my project to build a controller unit for the Weller RT-tips.
The intention for this project was to built a cheaper and even more compact
controlling unit for one of the best soldering tips for small and medium sized soldering joints. It aims to professionals who not want to pay from around 700€ for a big controlling unit but also like the professional feel and results of these tips. Another big benefit is the high variety of different tips.

By the time this project wasn't cheaper than buying a finishend Weller station, but I still have lots of fun working on this project. However, I have a soldering pen which fulfill all my needs!
Soon everybody can have one because I will share the production files.

I'm very glad that my project made it into the top 20!

Enjoy looking around on my project page and feel free to like and leave comment!
Ideas for improvements are welcome :)

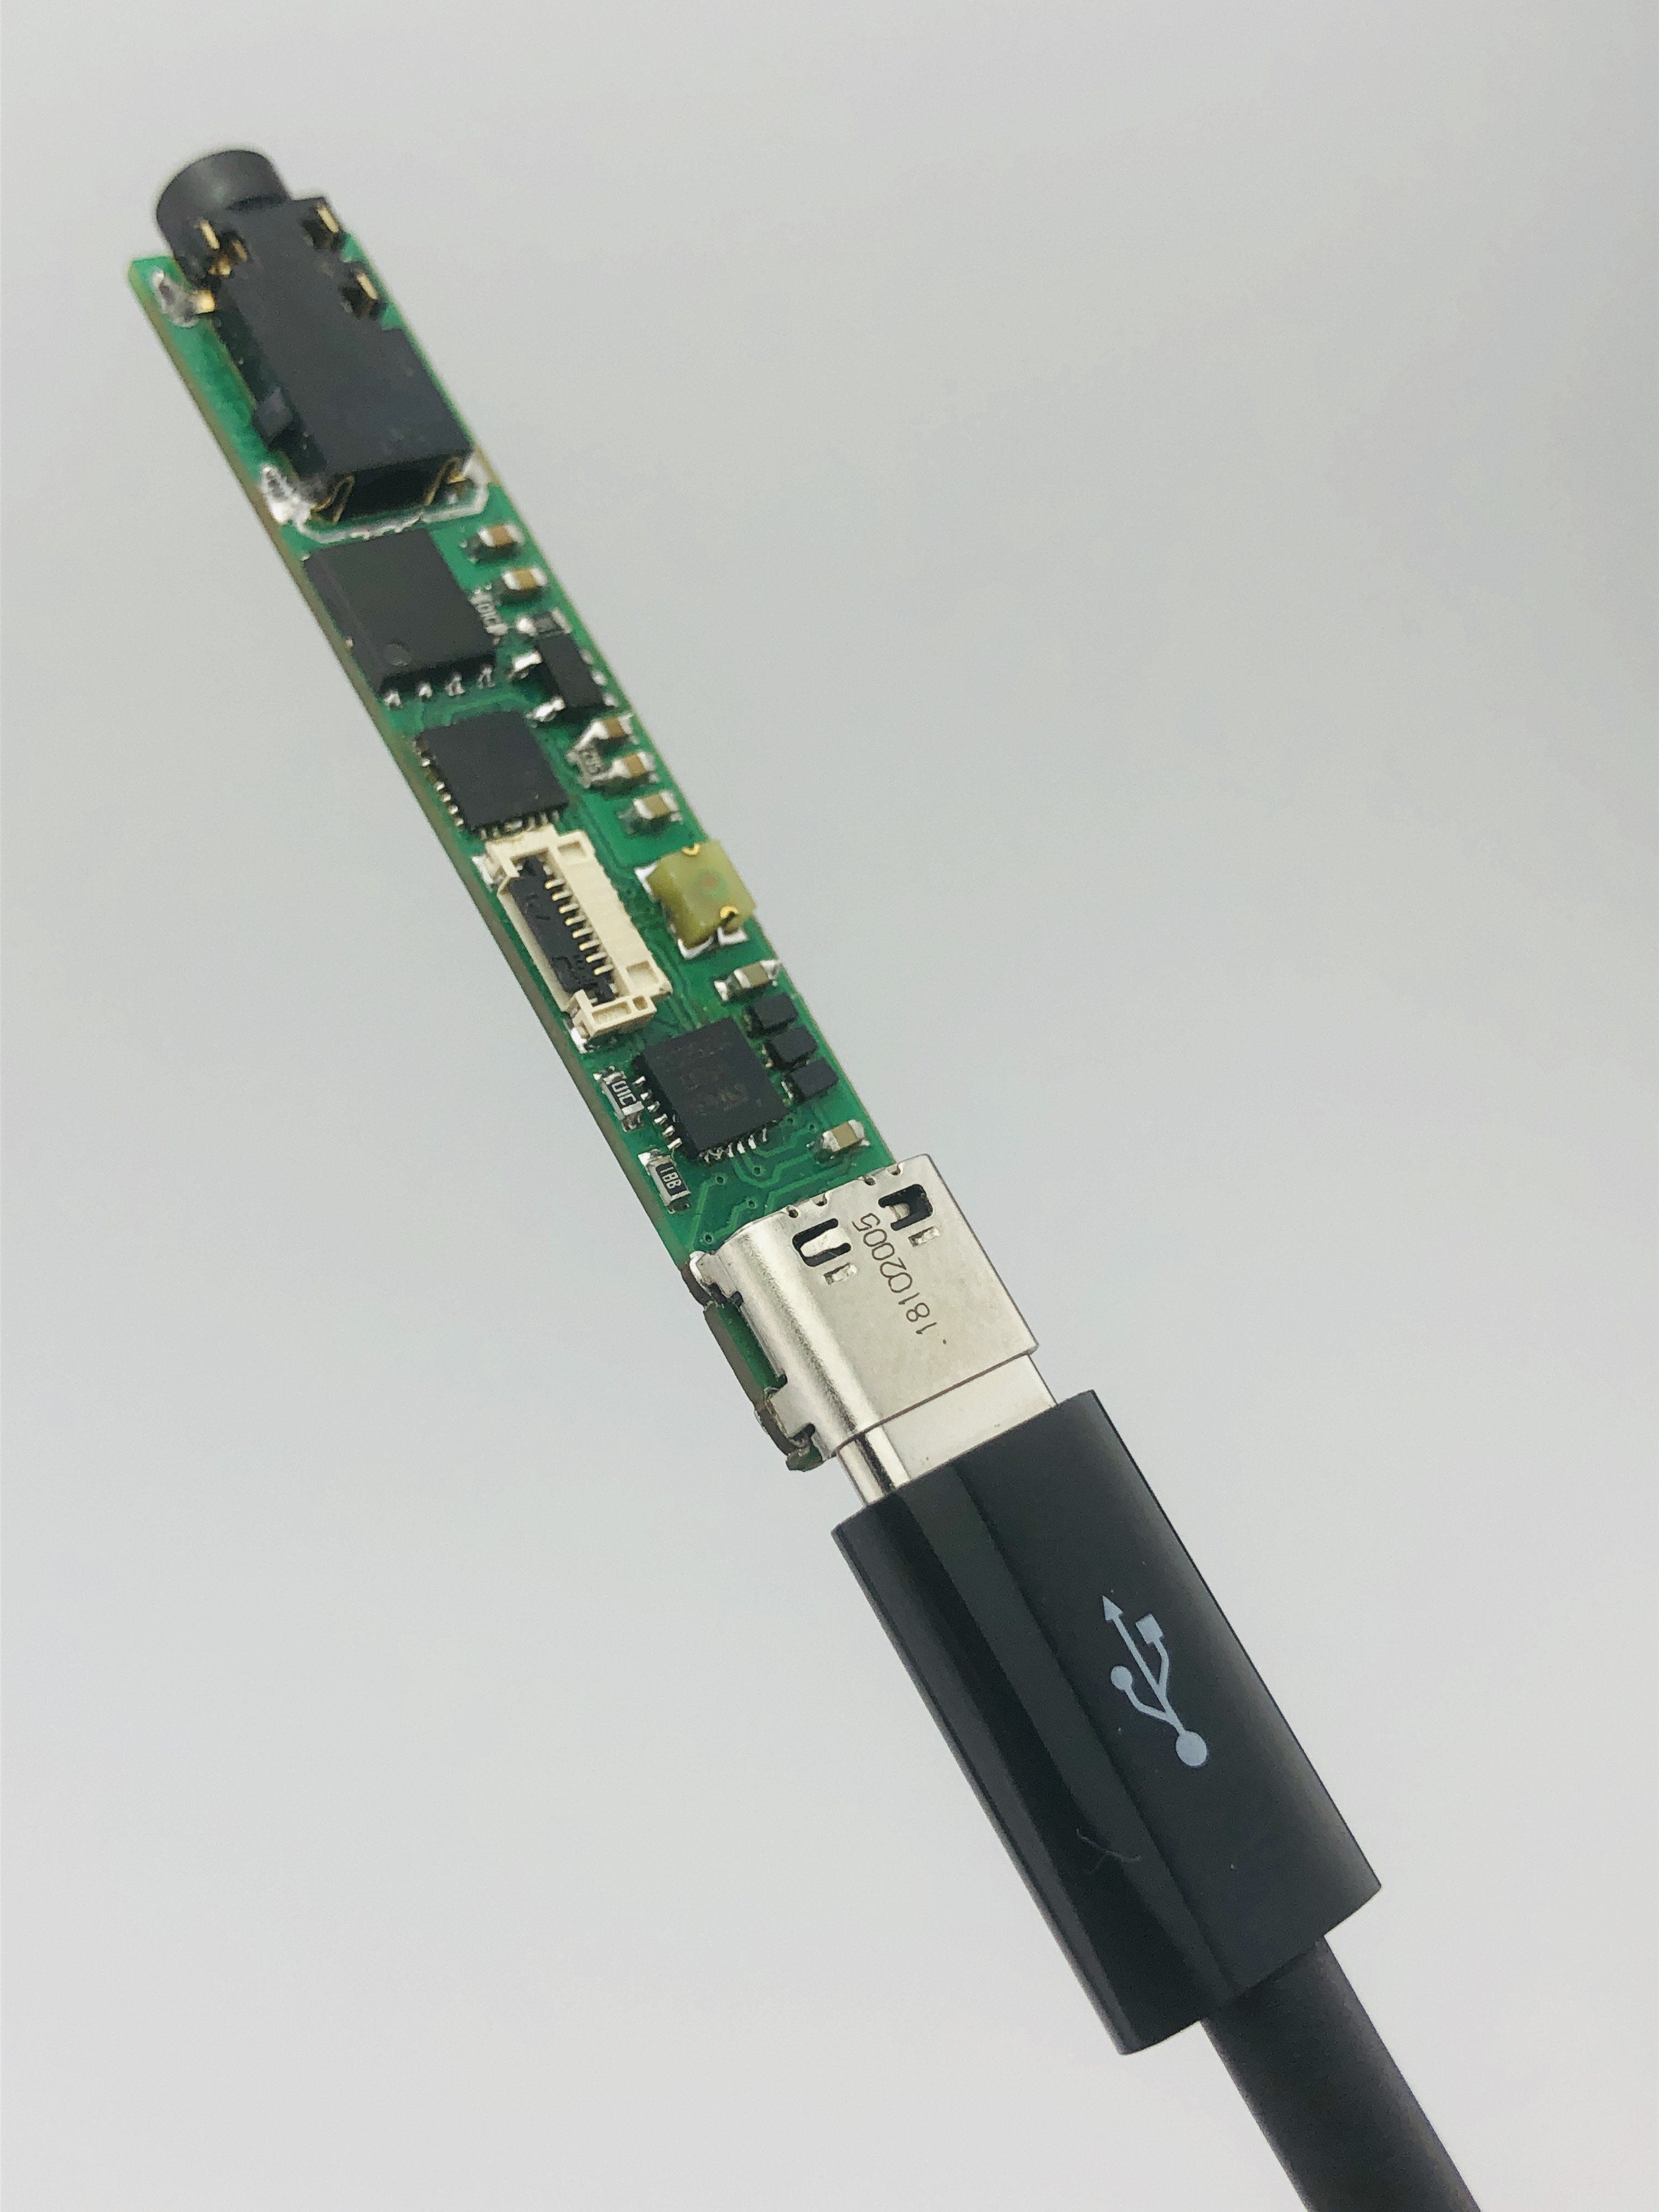
I have used the PD 3.0 with 9V/3A for supply. It can be powered from an USB-PD power supply (even suitable laptop USB-C power supplies) or with an PD-Power bank for soldering on the go.
The heat up time from 25°C to 350°C is around 6s. Auto-standby temperature is around 180°C, by picking up from the rest around 3s are needed to reheat.

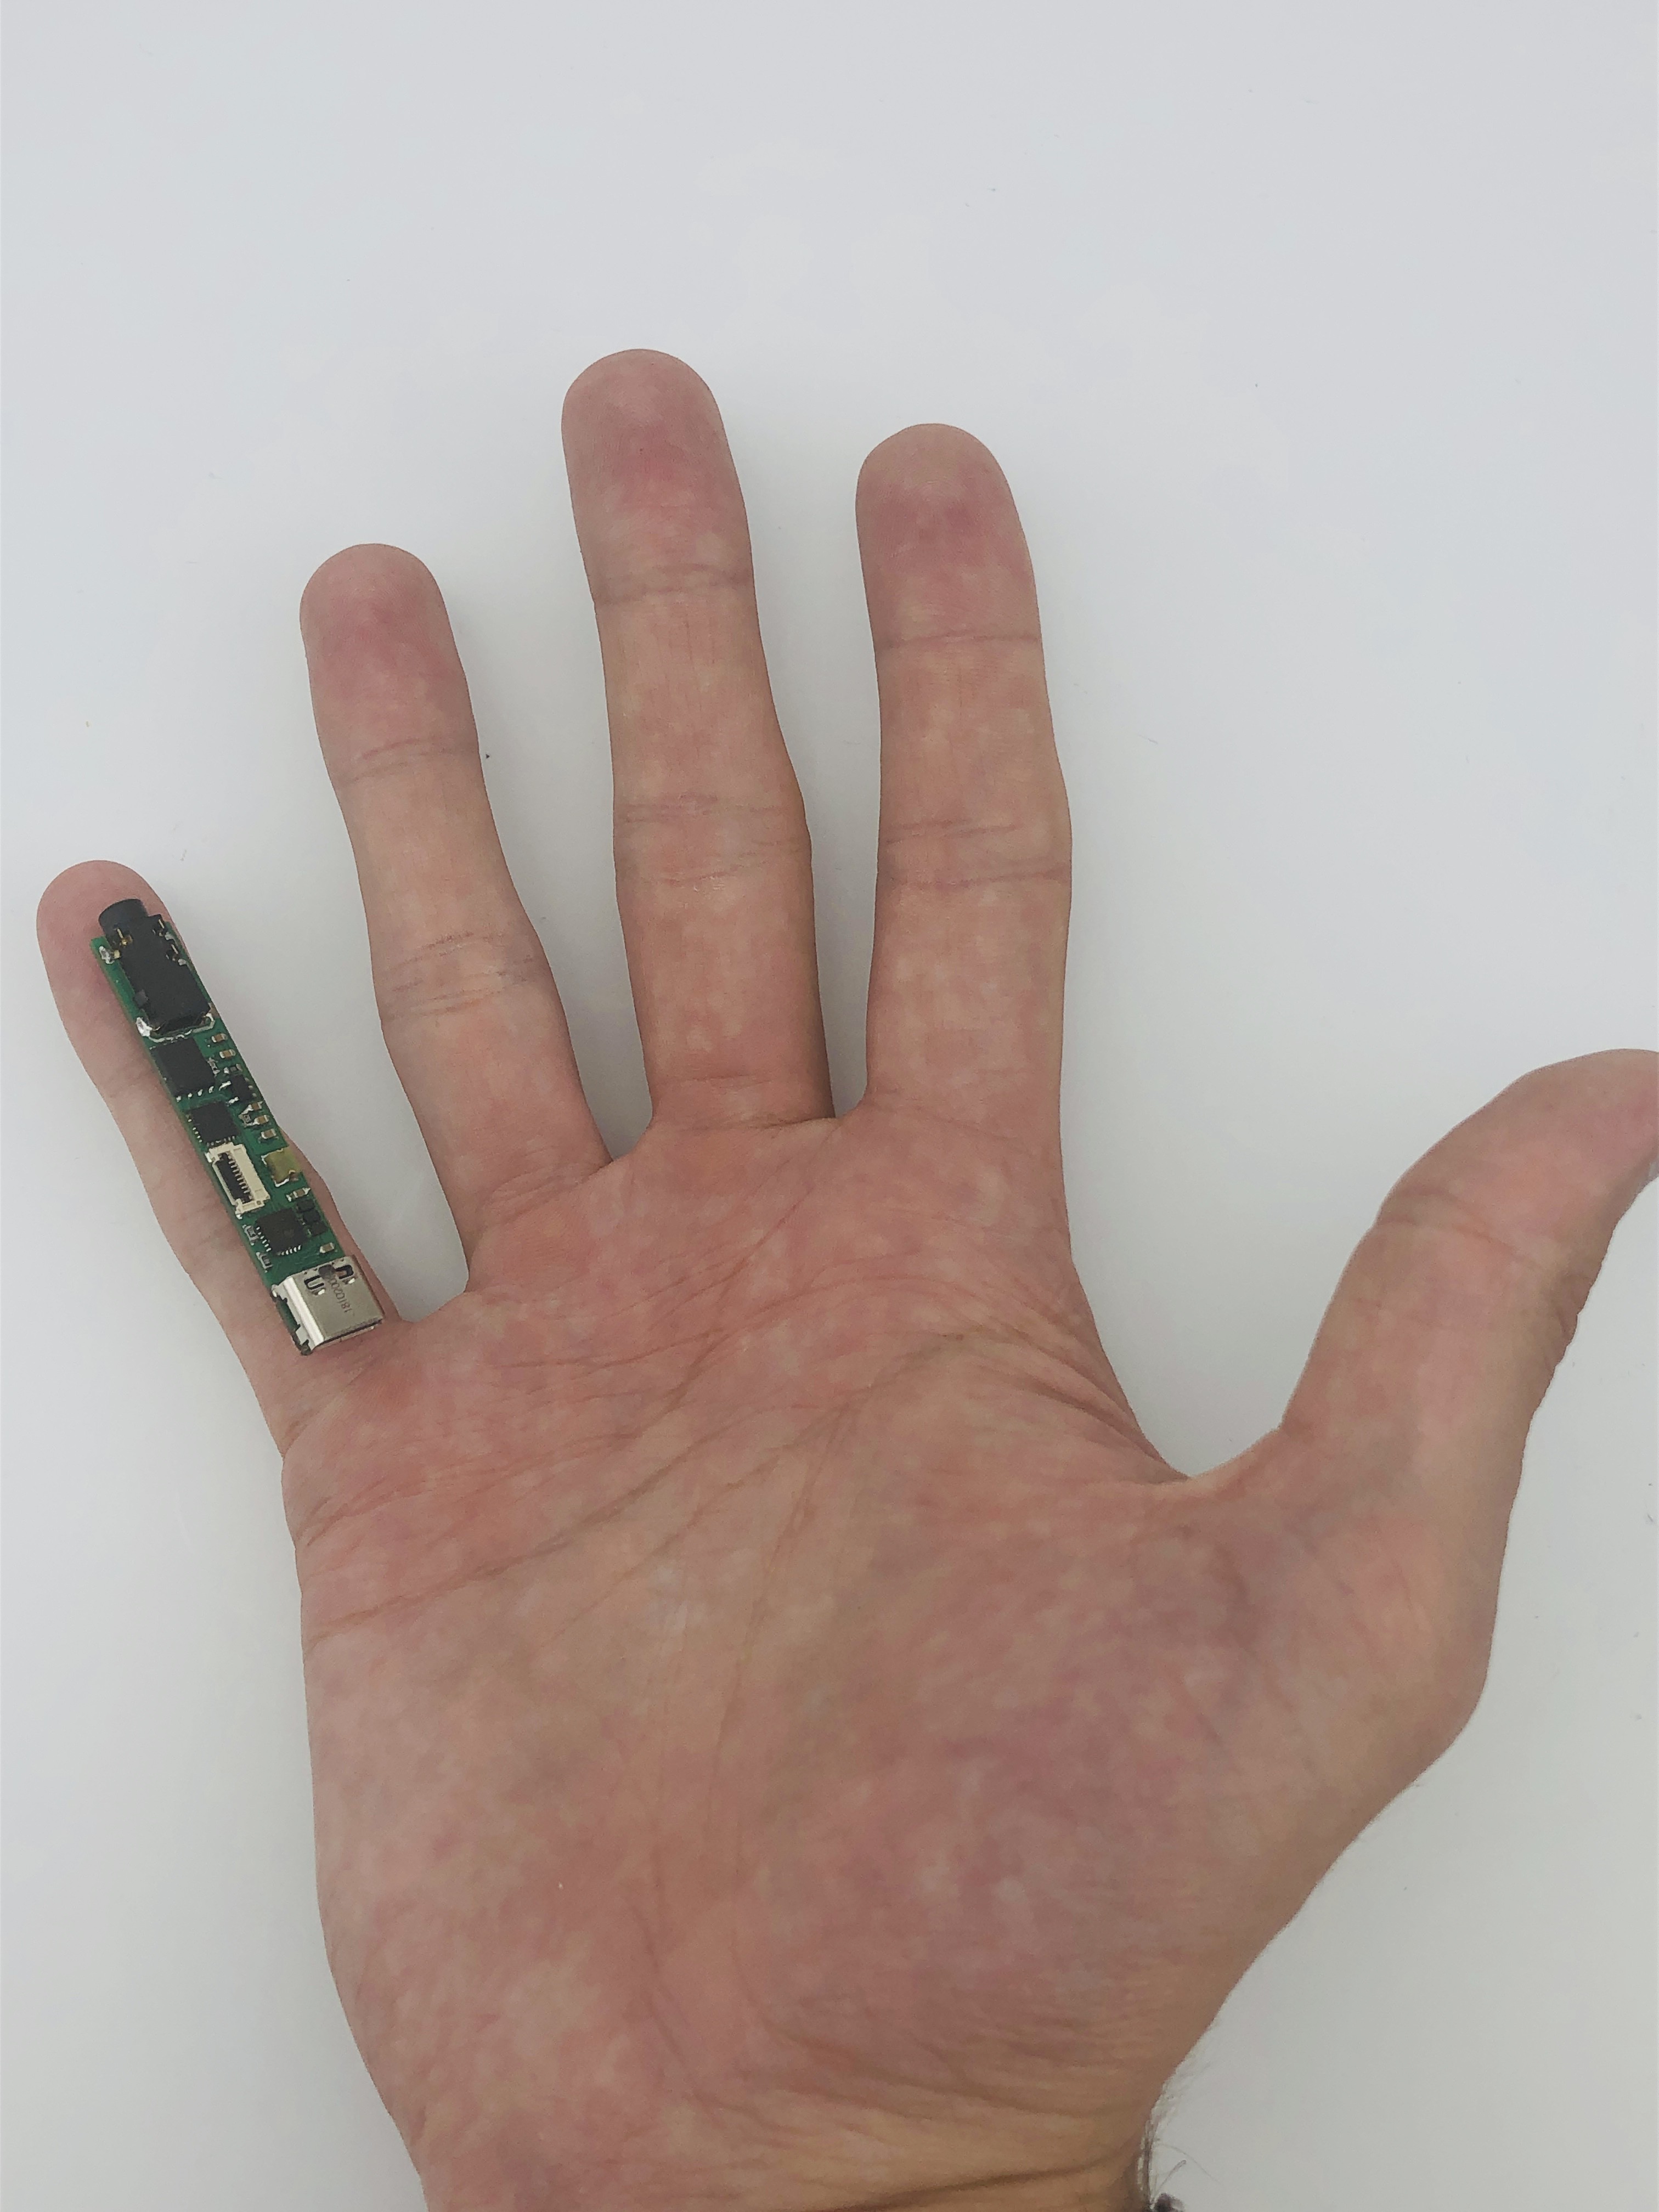
The main goal by the designing the PCB, Enclosure and UI was not to exceed the diameter of rubber grip to keep it as small, handy and portable as possible.

The user-interface consist tree LED's and two buttons. The LED's indicate which temperature profile is active (Low, Mid or High) as well as the operating modes (user-standby, auto-standby, auto-off, warm-up and overheat). 

Its UI is simple! - If any LED blinks, the Soldering Pen is not ready or at the desired temperature range. Steady light than means that the pen is ready.

I have chosen the simple 3-LED-Display because there is no need to set or know the temperature in 1°C steps. There are three basic groups of soldering types:

- Very sensitive components(e.g. temperature sensors)

- Regular sensitive components and Wires (e.g. Resistors, Capacitors, most types of IC's)

- Not sensitive parts (e.g. large copper areas)

Based on this knowledge I implemented the three profiles.

One button controls the user-standby mode the other changes the temperature profiles.
The pen fits perfectly in the original Weller safety rest WDH 51.

When it comes to a regular transportation (eg. in tool cases) weight ist very important. The soldering pen itself wights around 9 grams, with tip (RT1) 19 grams. Complete set with soldering pen, tip, cable and power supply (DA45C) is just around 150 grams! Less than a modern smartphone.

Here are the video demonstrations:

RTPD1 Built instructions.pdf

Adobe Portable Document Format - 799.84 kB - 09/30/2019 at 19:44

Preview

RTPD1-SW_v3.hex

Software for the Soldering Pen

hex - 34.13 kB - 09/30/2019 at 09:56

Download

Config file for STUSB4500 V0.2.txt

plain - 245.00 bytes - 09/30/2019 at 09:49

Download

Development and Prototype history.pdf

This document shows every prototype stage in the past with its requirements.

Adobe Portable Document Format - 1.17 MB - 09/30/2019 at 08:35

Preview

RTPD_v3_Sticker.png

Portable Network Graphics (PNG) - 17.71 kB - 09/30/2019 at 08:28

Preview

View all 13 files

  • 1 × STM32F042G6U6 MCU
  • 1 × DMC1016UPD-13 Dual Mosfet
  • 1 × LM3480IM3-3.3/NOPB 3V3 regulator
  • 1 × F721A108MMCAQ2 1000µF Cap
  • 1 × STUSB4500QTR USB Controller

View all 6 components

  • New photos and size comparison

    Thomas Leputsch09/20/2019 at 17:19 0 comments

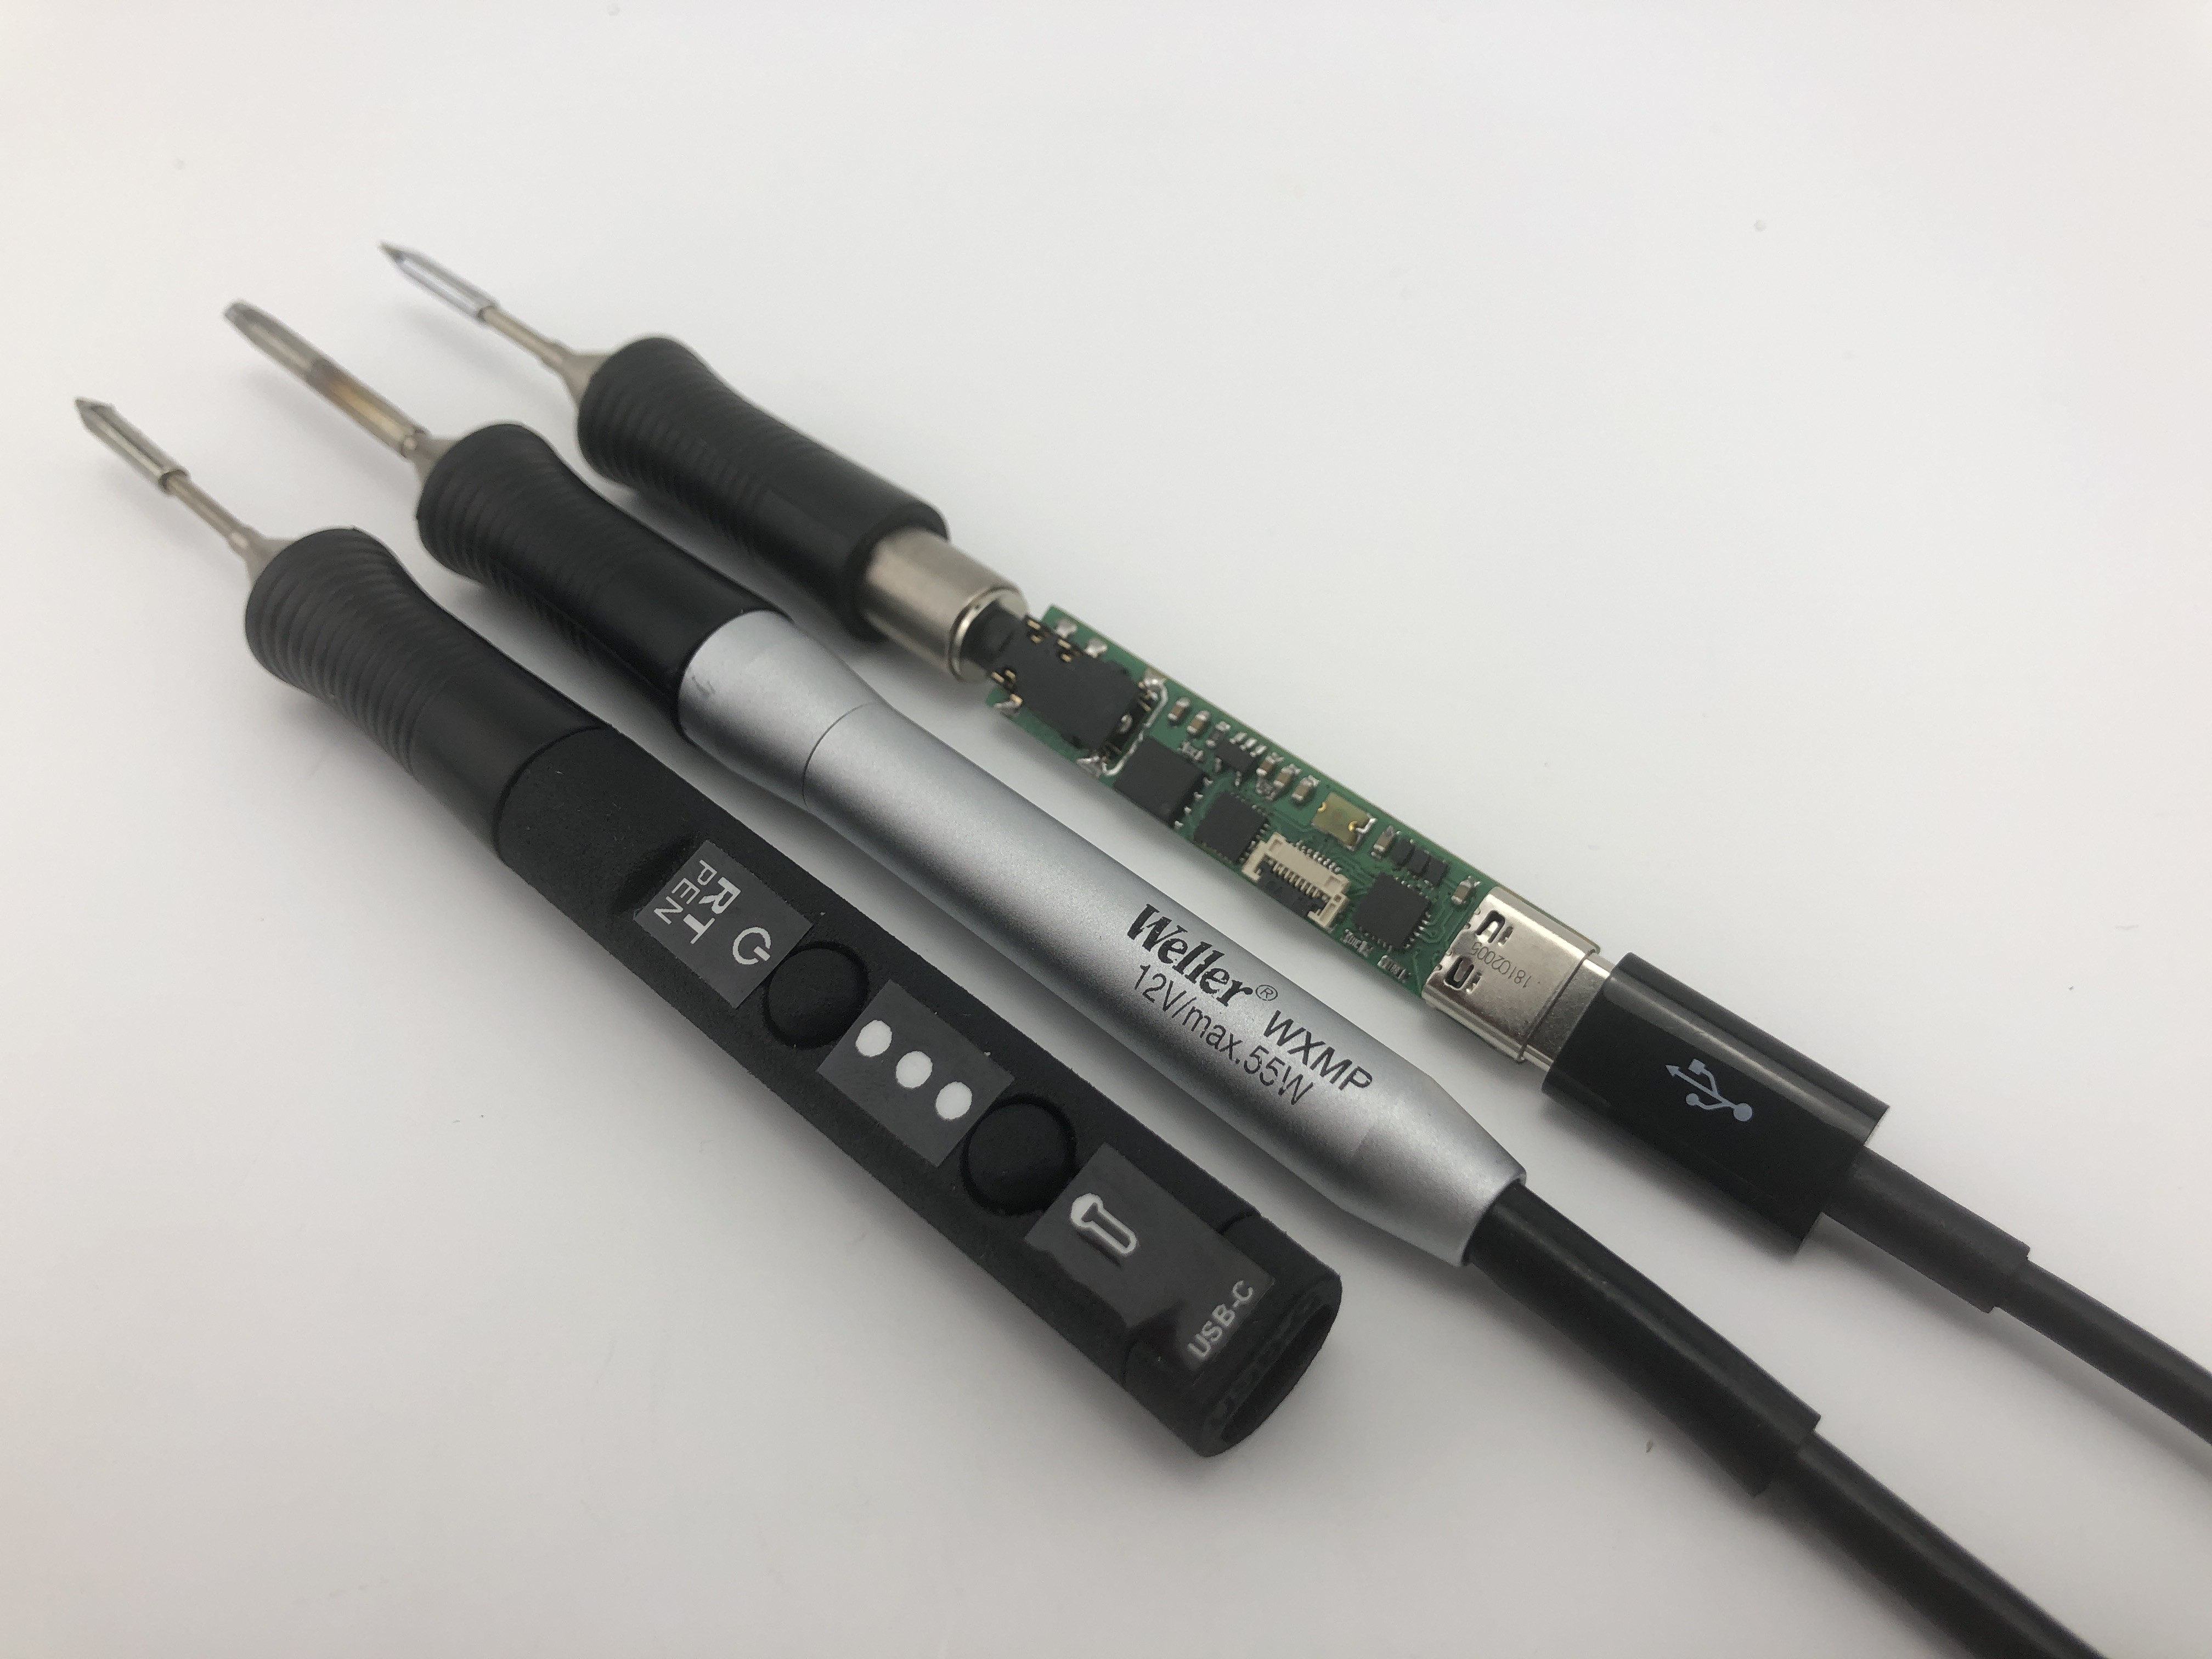
    I've done a side by side photo of the RT Pen and the original Weller.

    When about the half wattage is enough, much table-space and cash can be saved with RT Pen. The RT Pen includes every feature for hobbyist usage. 

    I've tested the the RT Pen with the new GaNFast power supply from AUKEY (PA-Y21) with 30 Watts. Worked fine, and is even smaller and more lightweight than the used from ARTSYN power supply. 

    Here are some photos of the comparison:

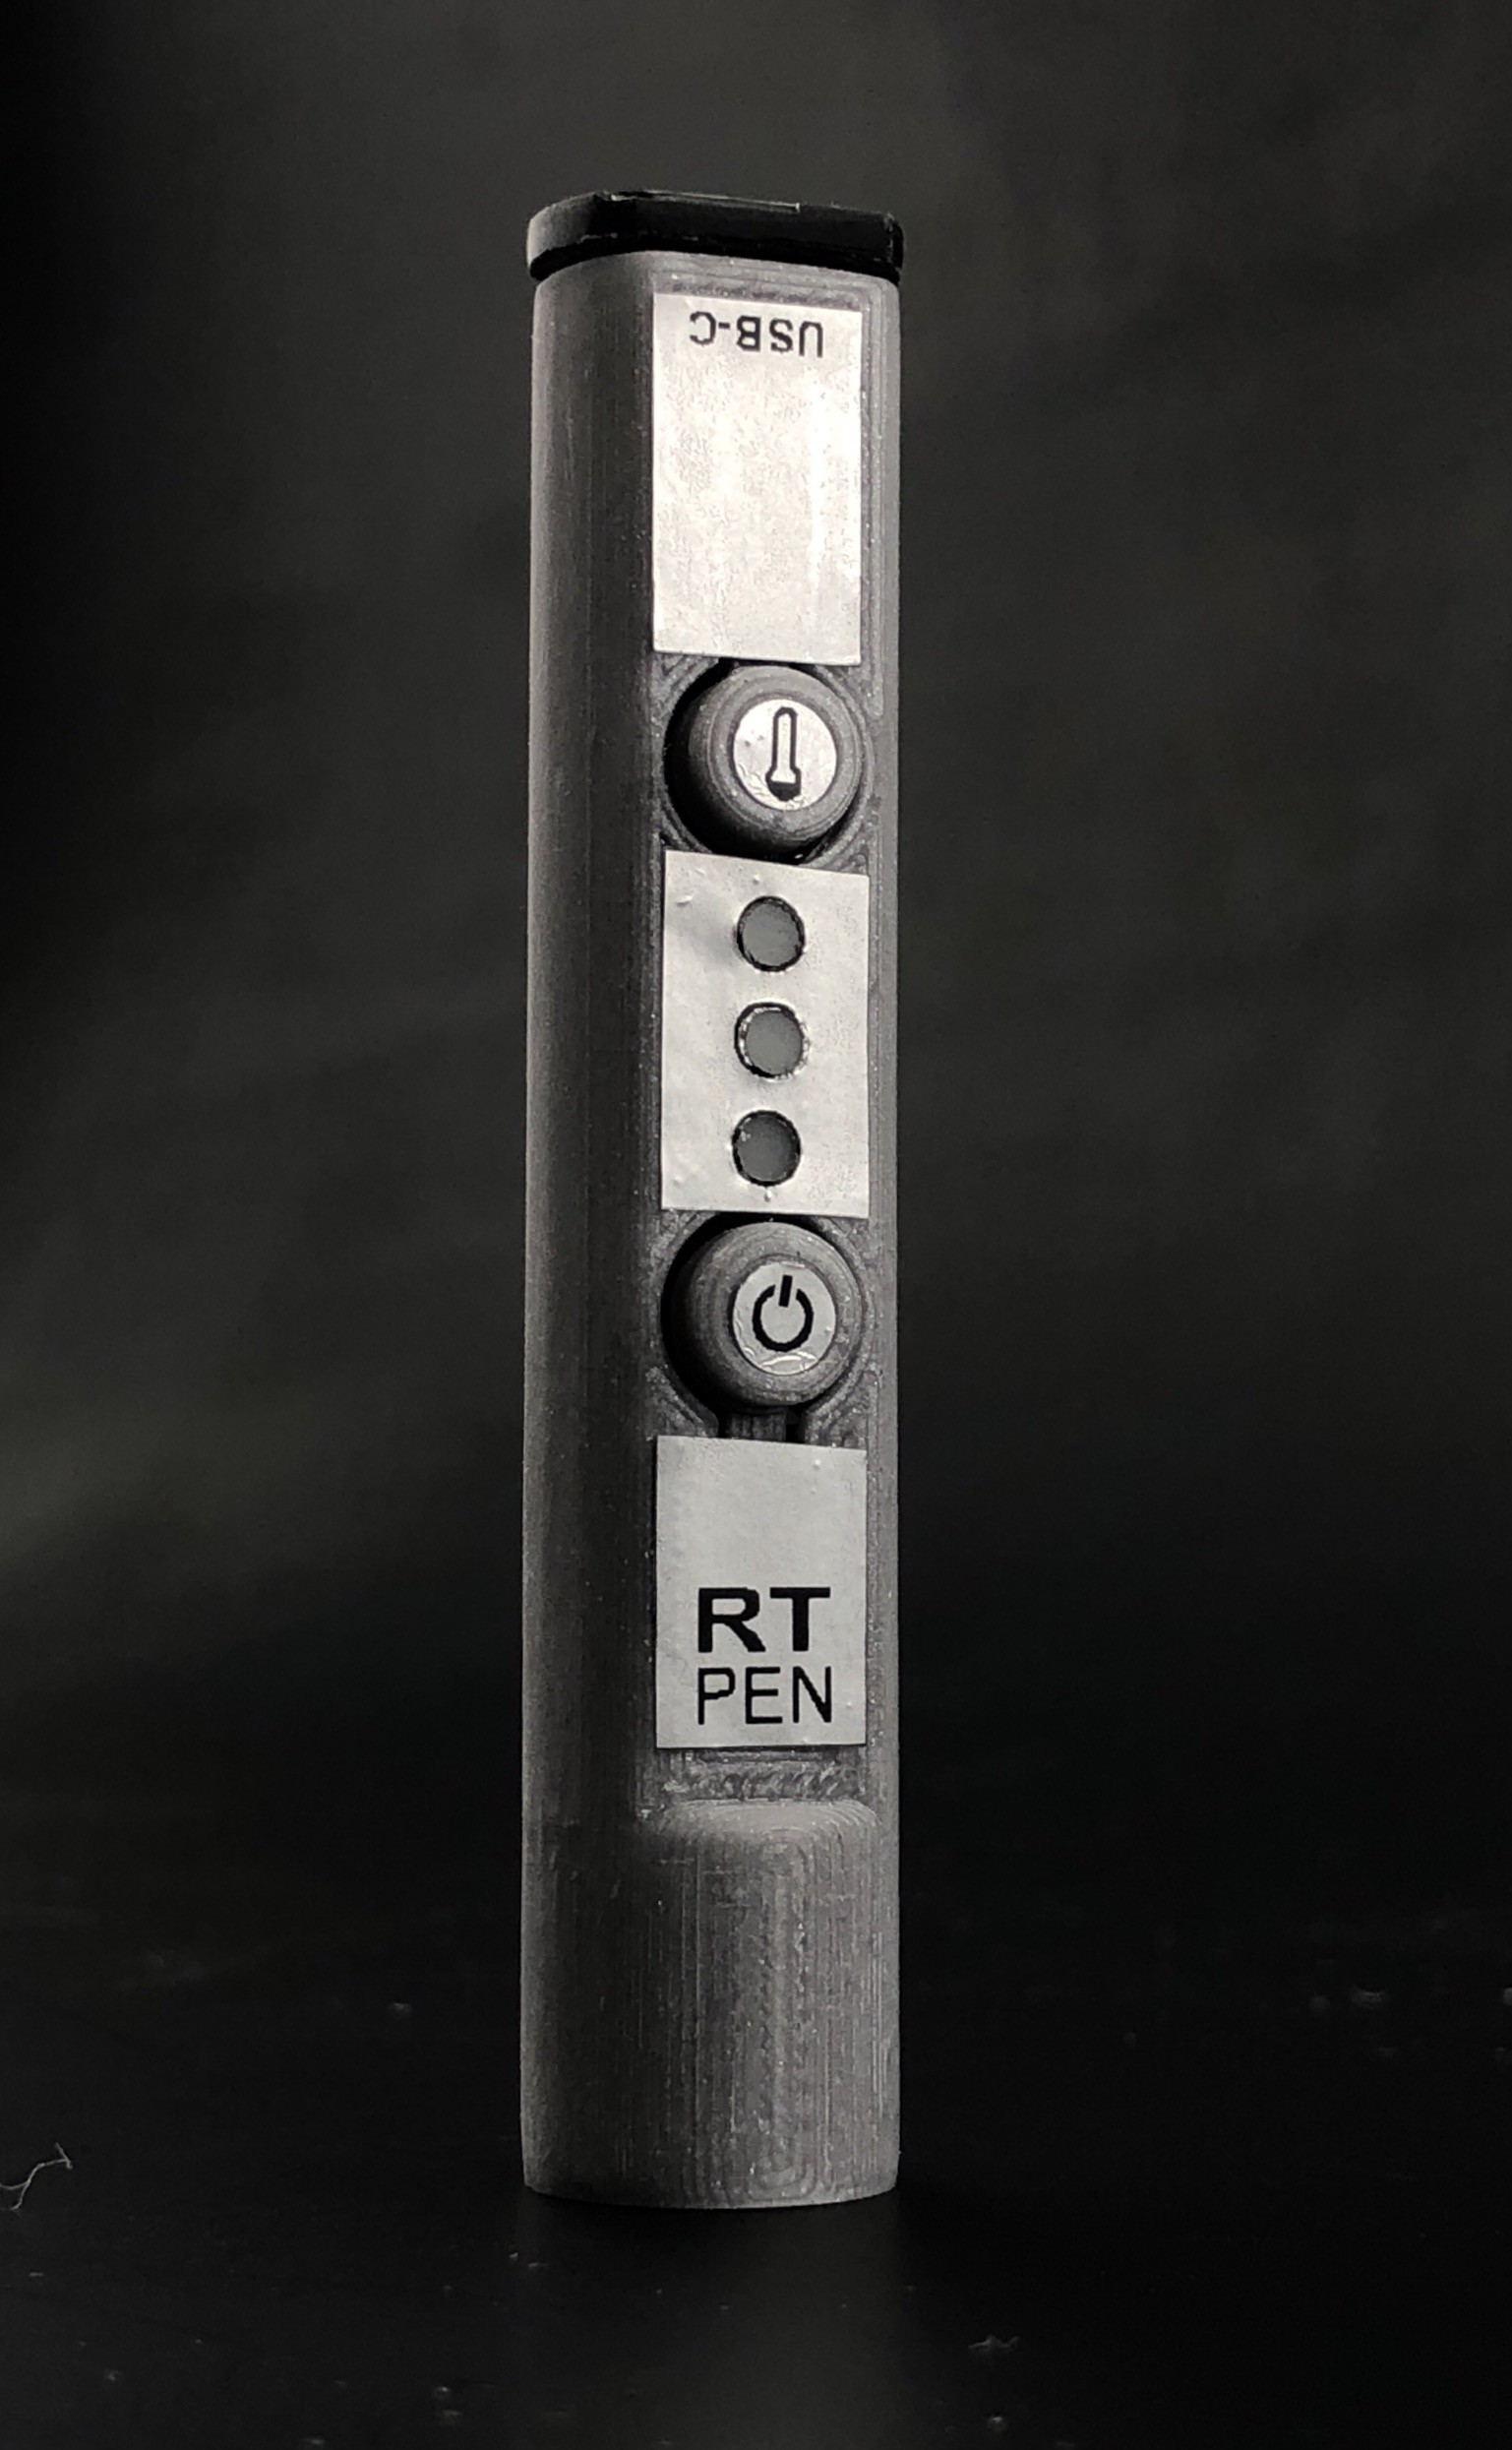
  • New housing just arrived

    Thomas Leputsch09/17/2019 at 15:11 0 comments

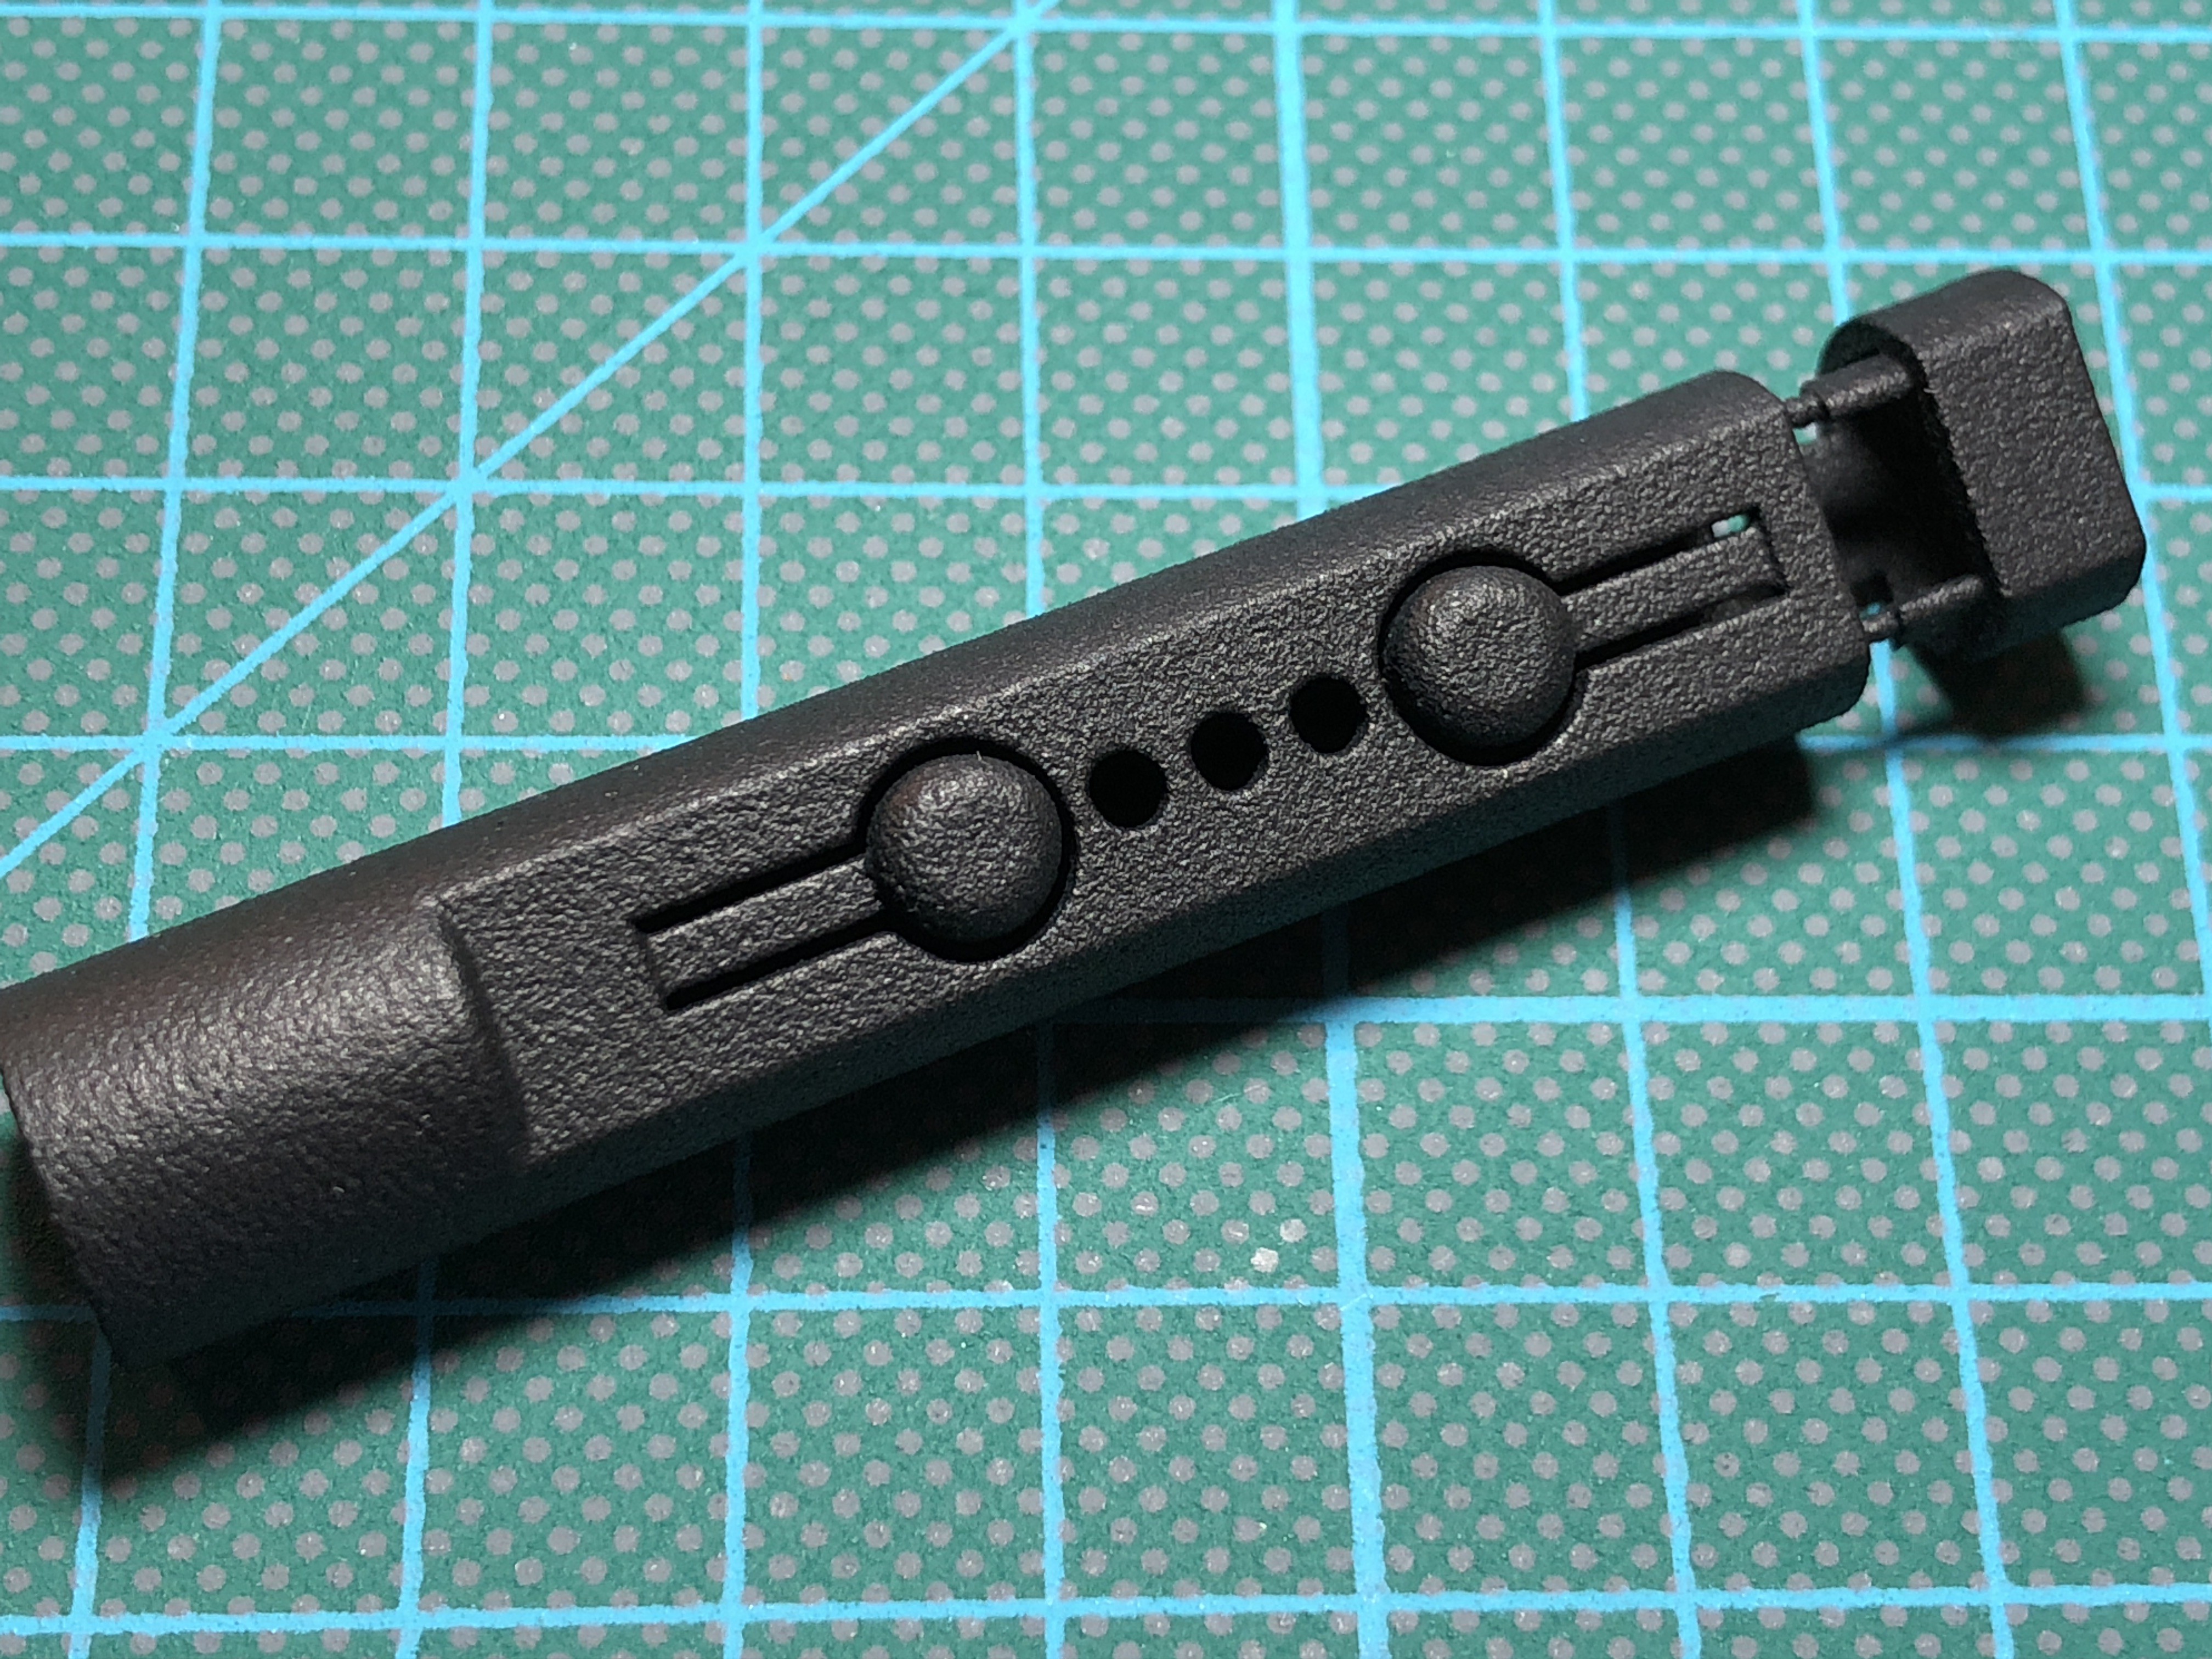
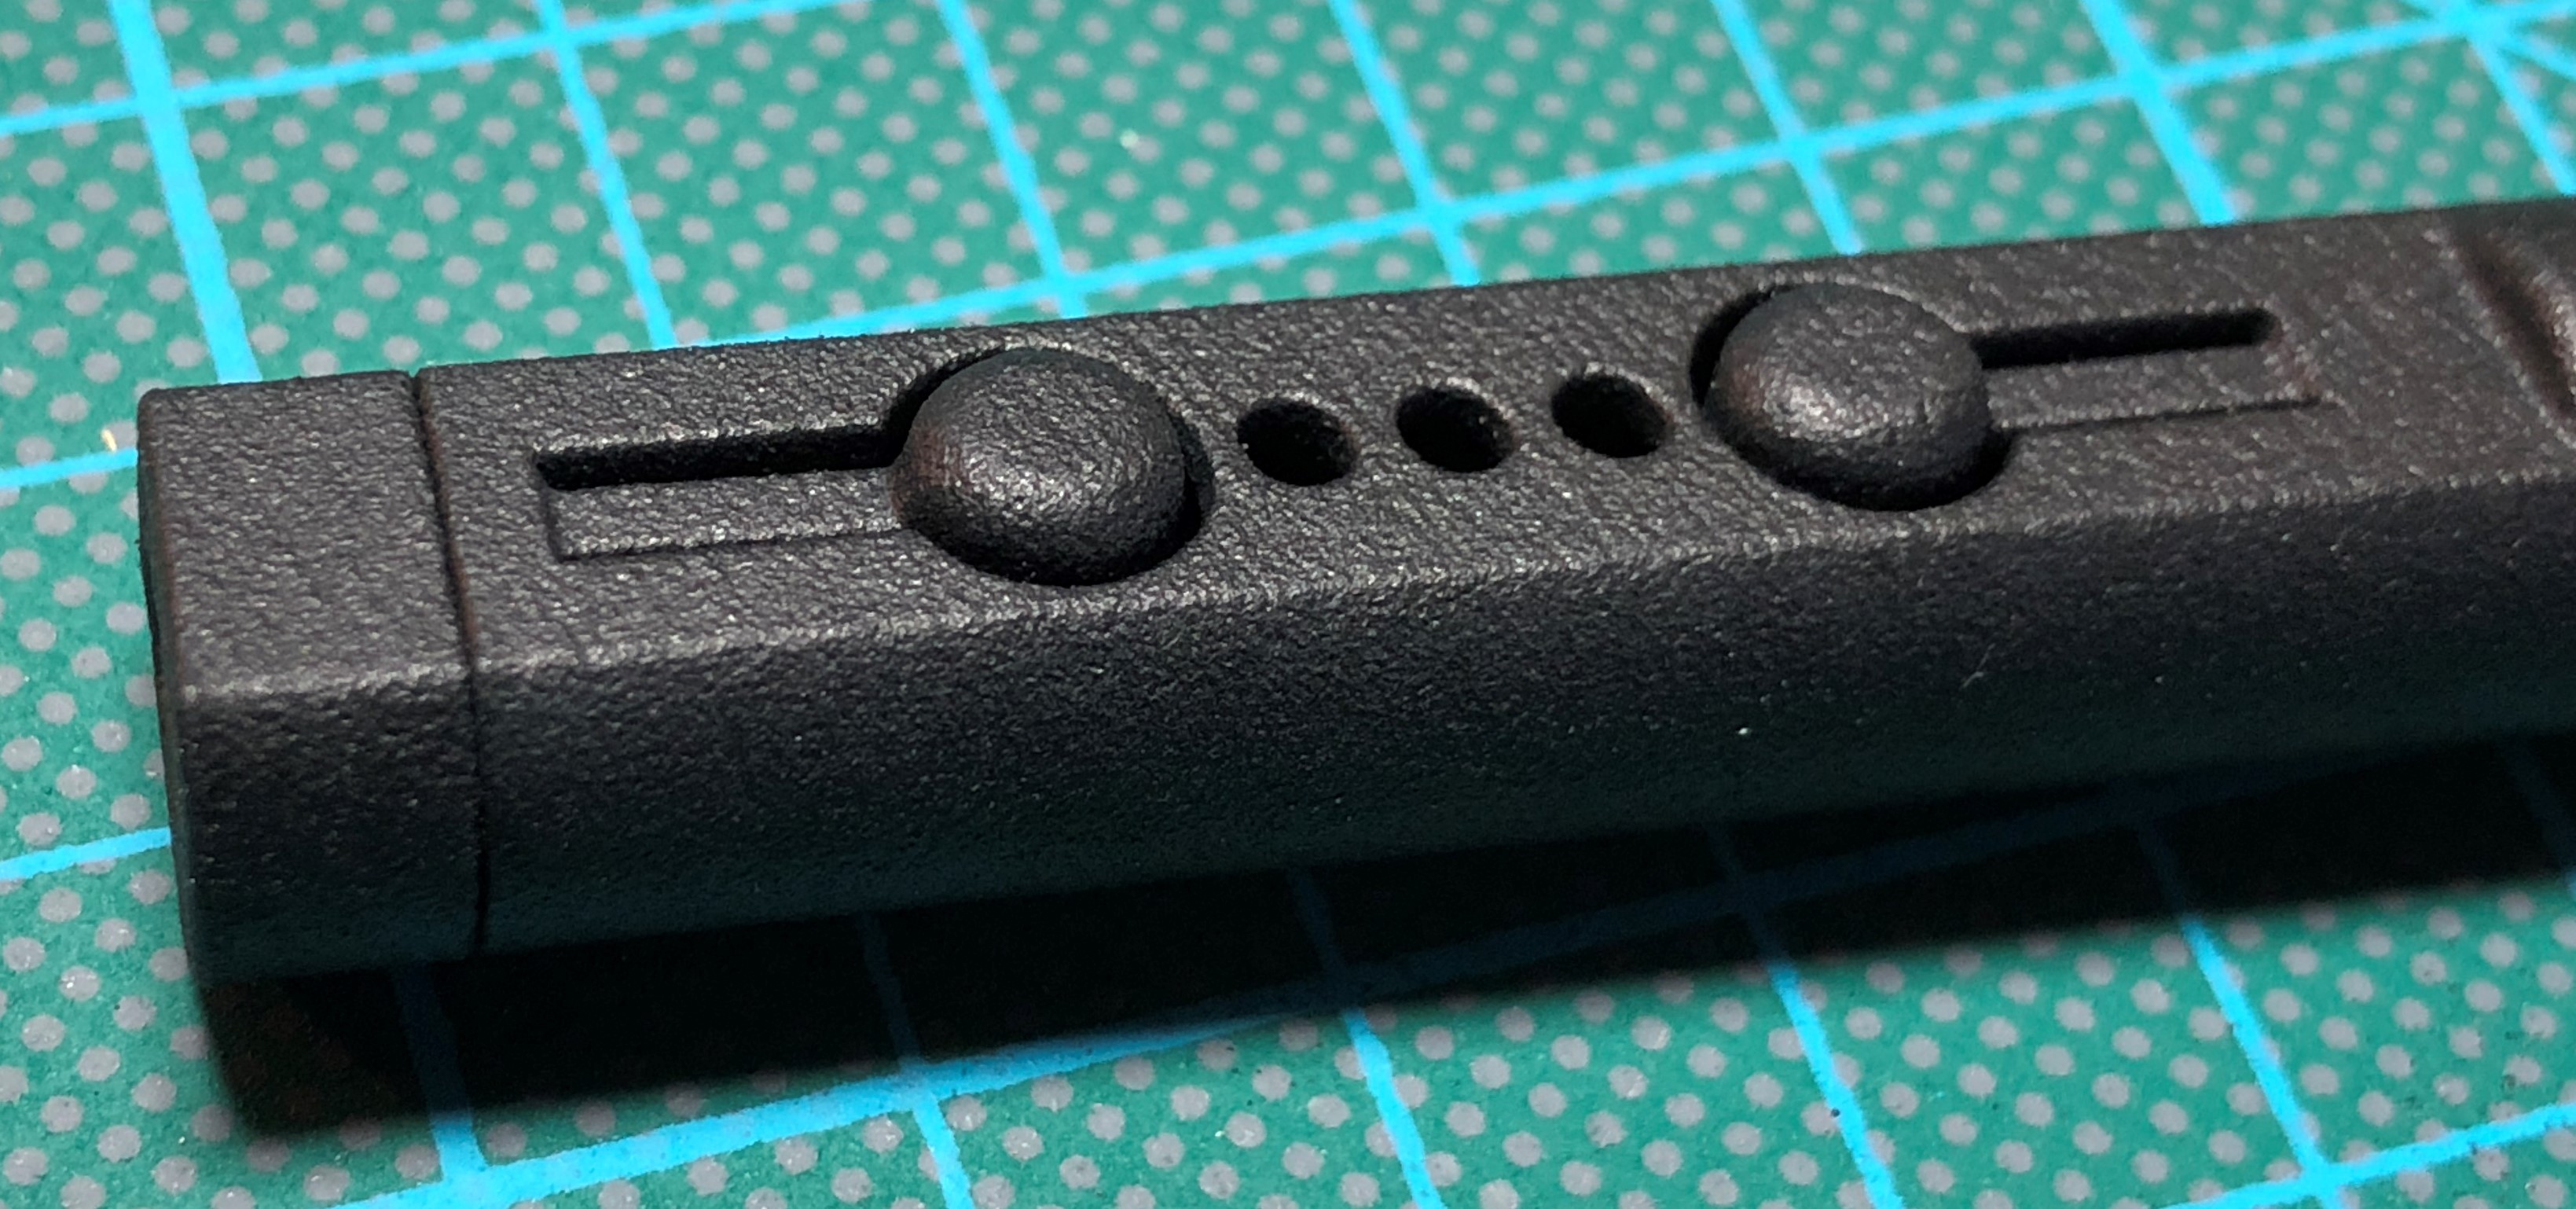
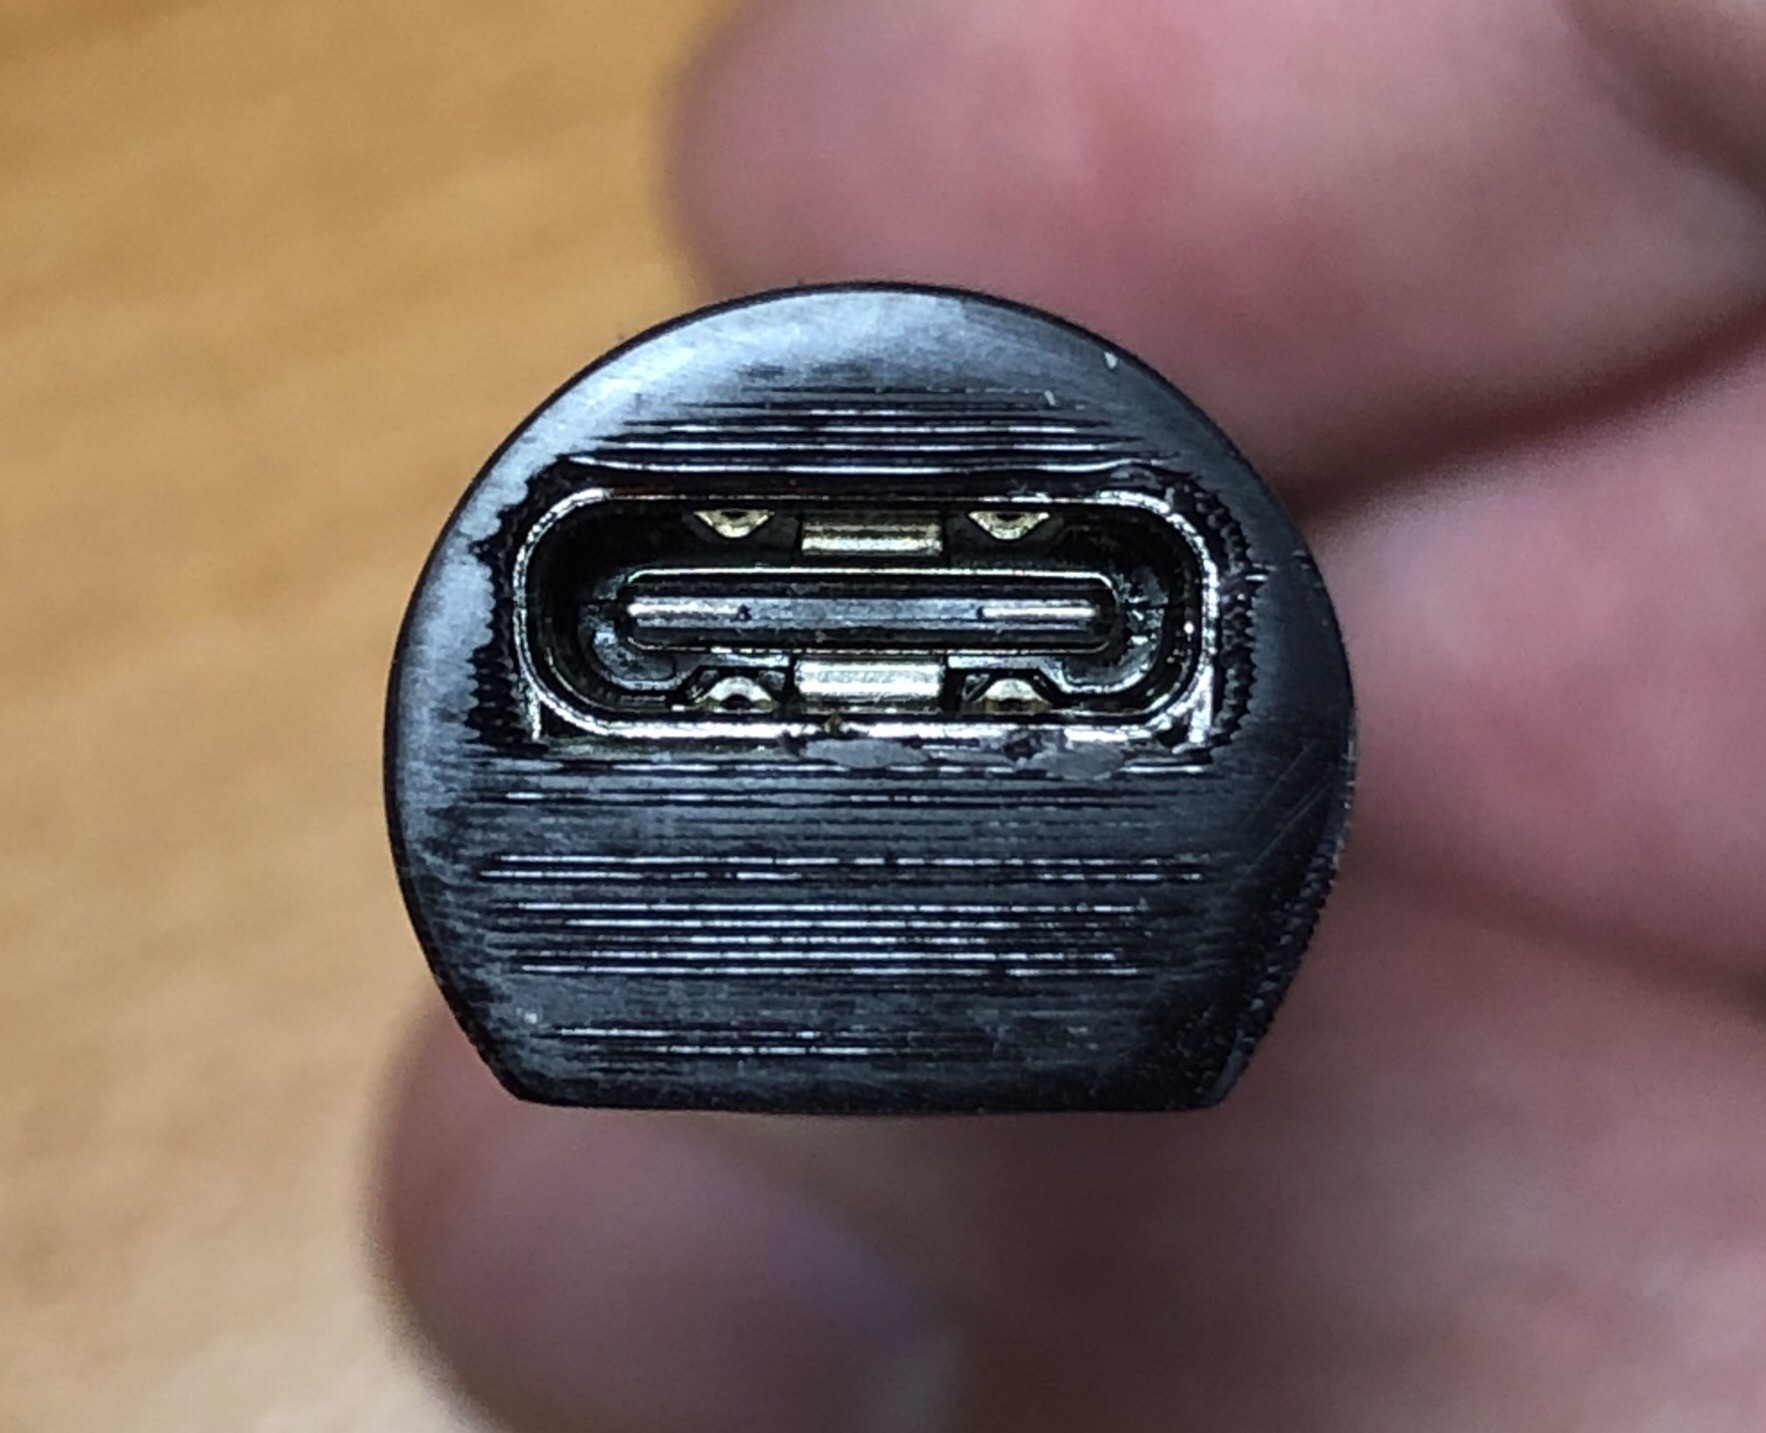
    The order of the 3D-Printed cases just arrived. I'm very impressed by the precision and surface.

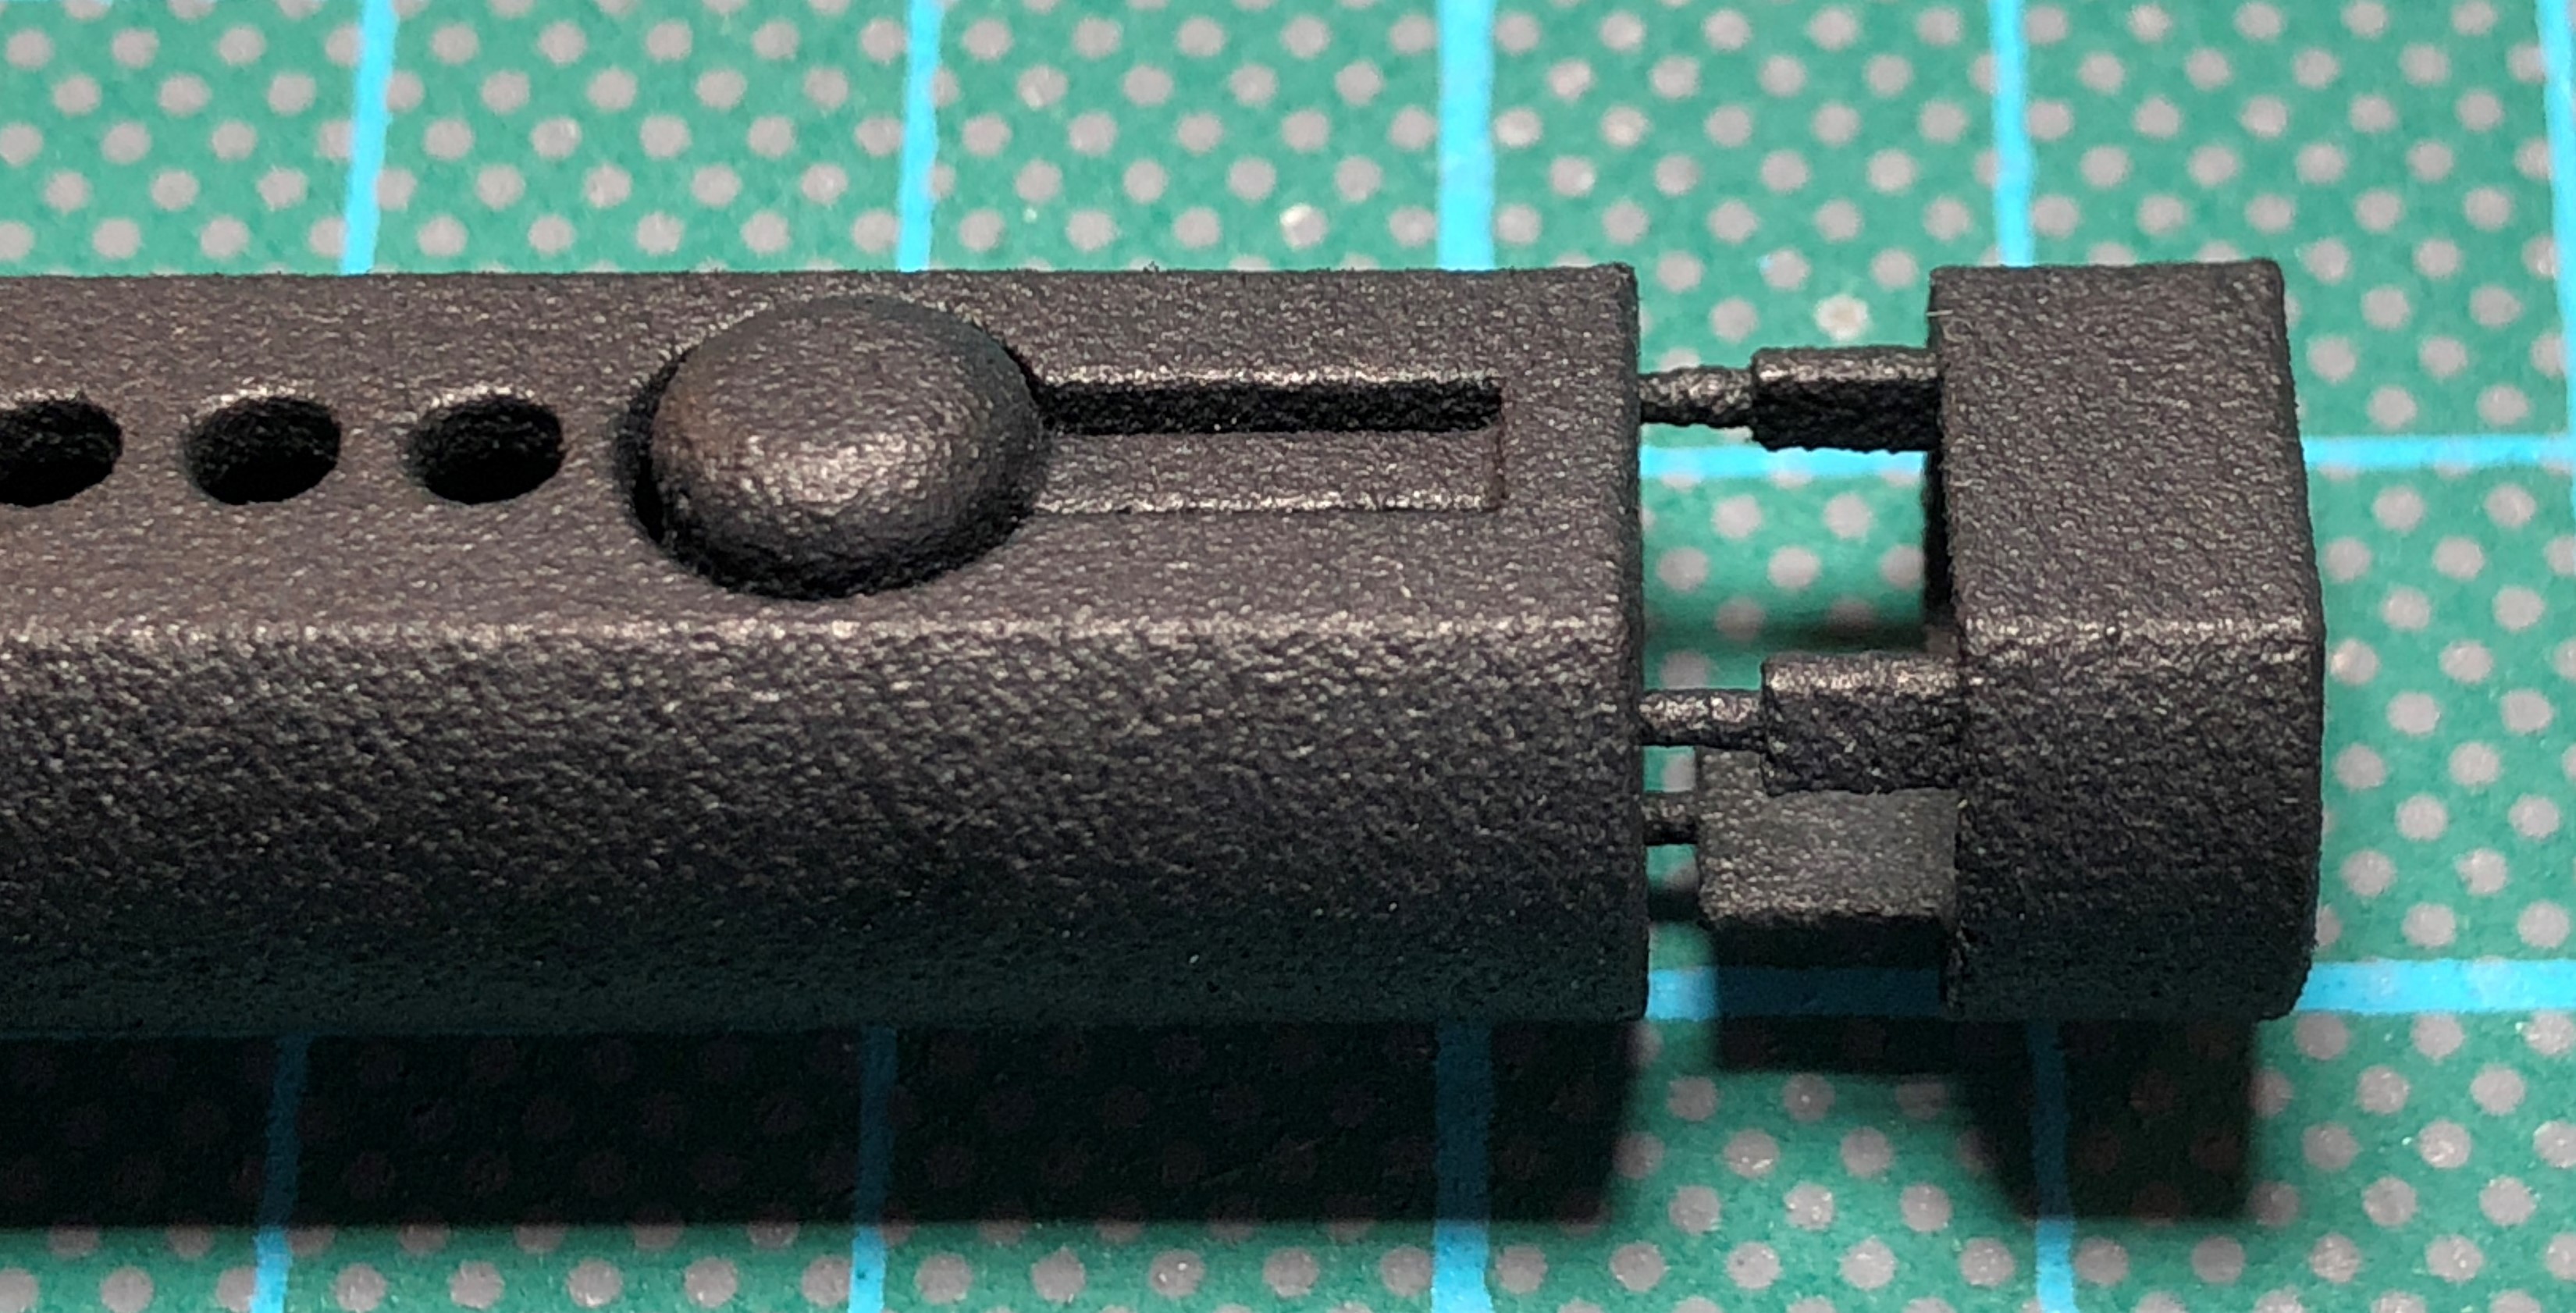
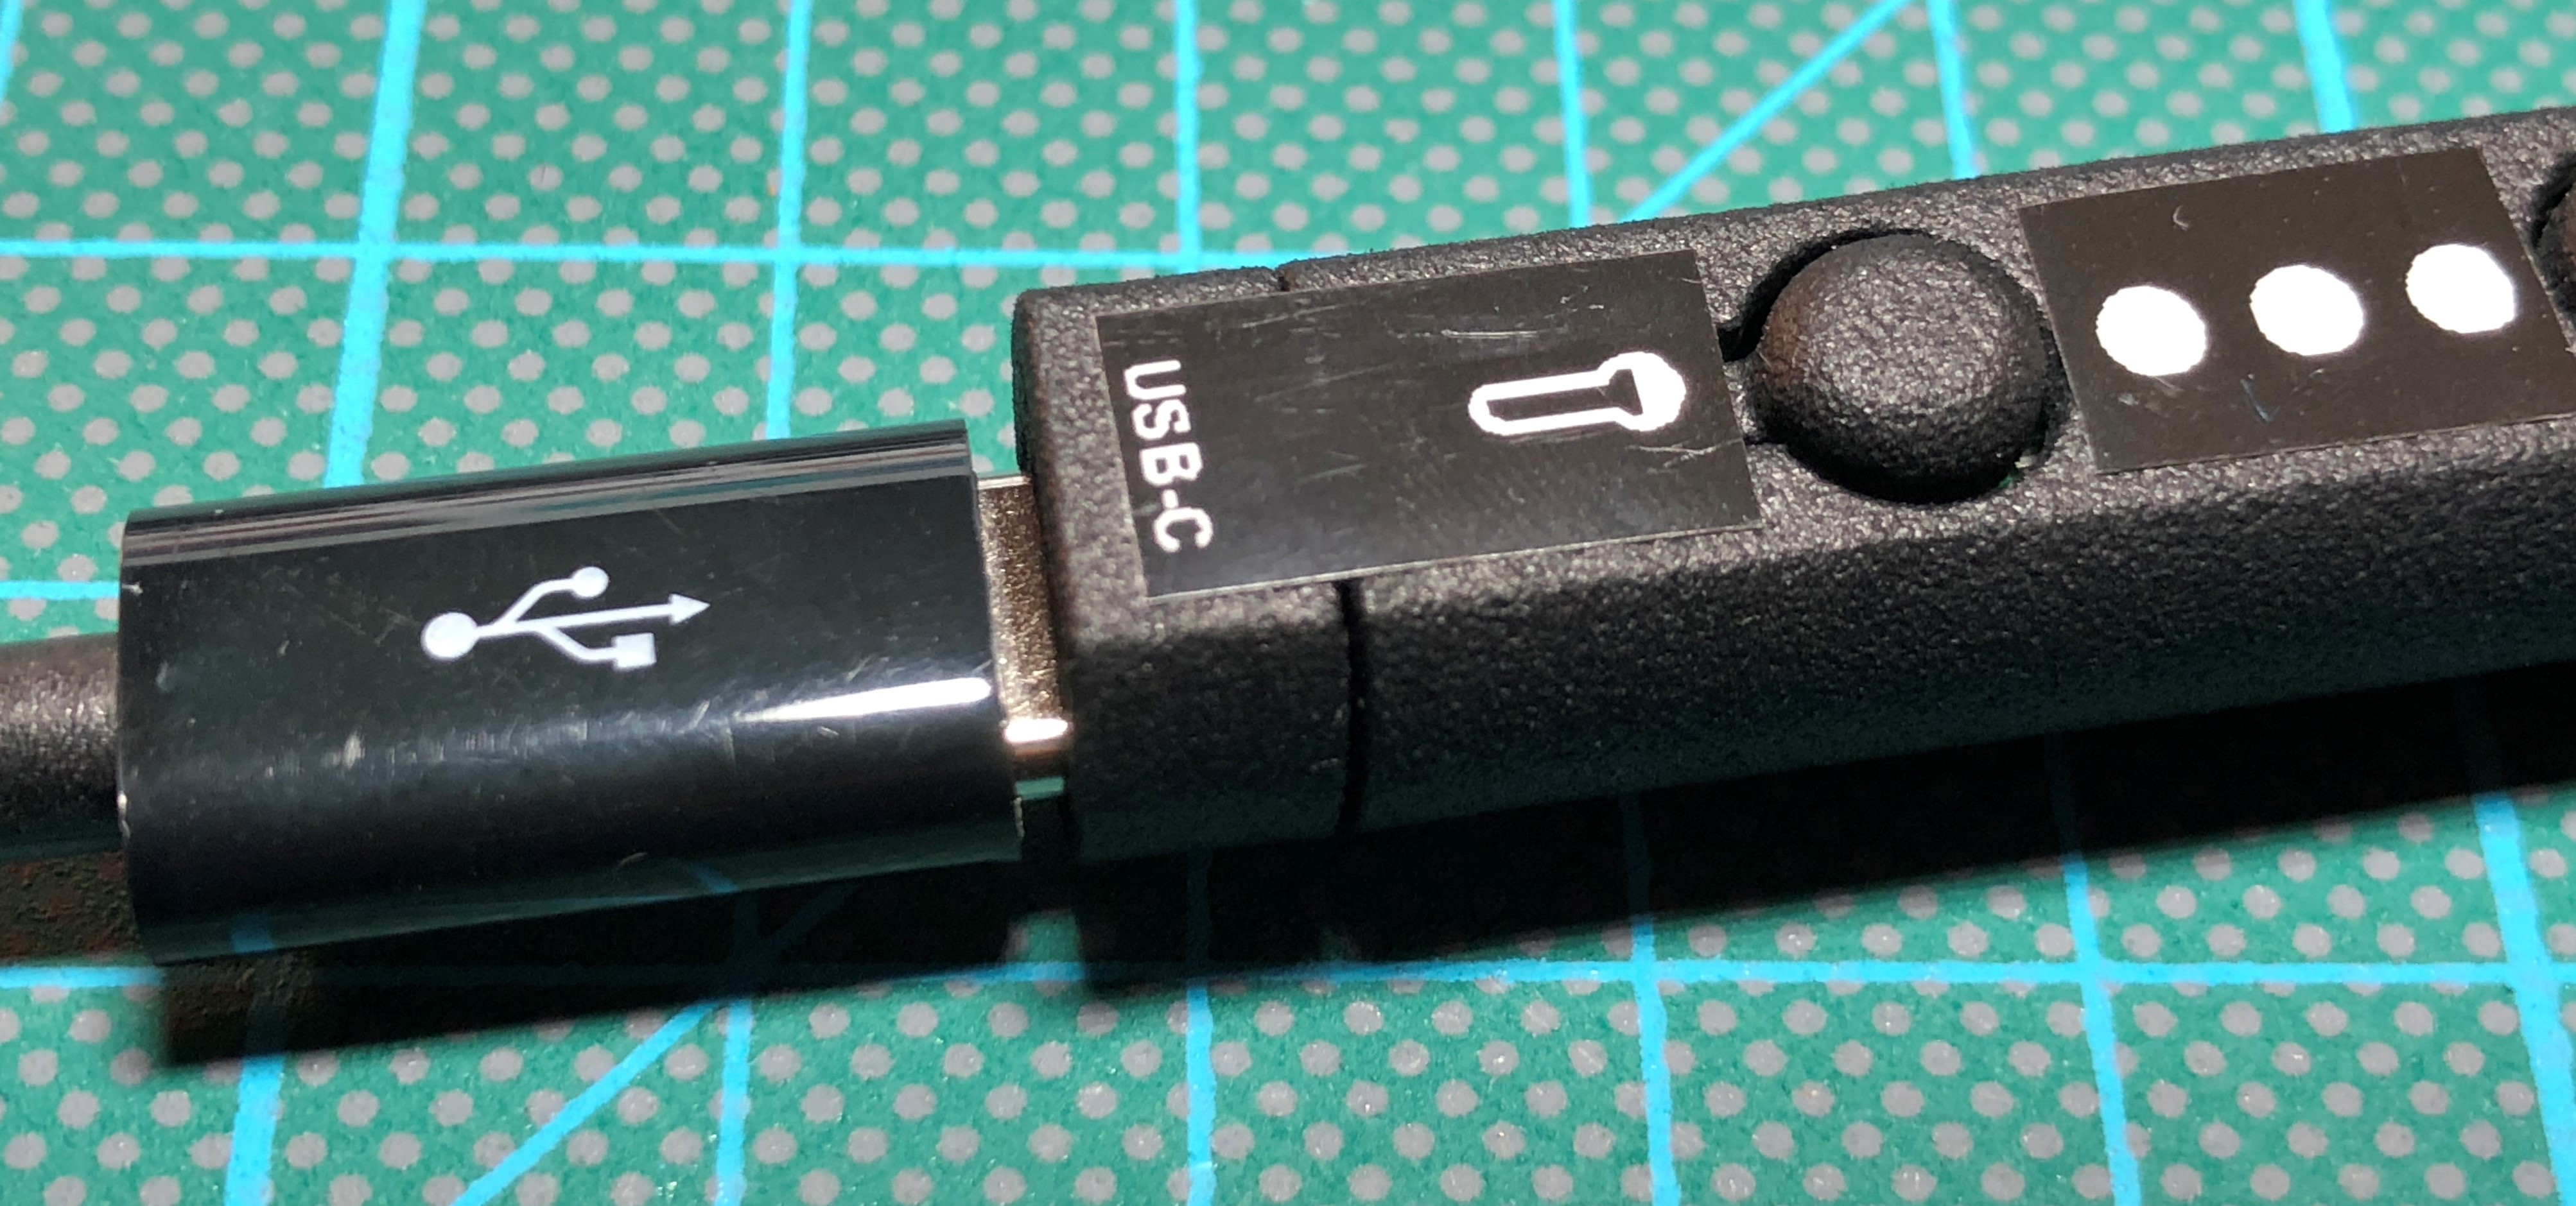
    The three joints from the cap to the main body printed as expected. To remove them just cut them near the cap than  do break/cut the remaining joints off with a small flat screwdriver. Very easy and time-saving when doing larger batches.

    The parts are made of Nylon and have a nice semigloss black finish with an rough surface which has a very good grip and feel. No fingerprints are visible on the surface. 

    For now I used the not so nice cut old stickers I had here but im currently working on new one. 

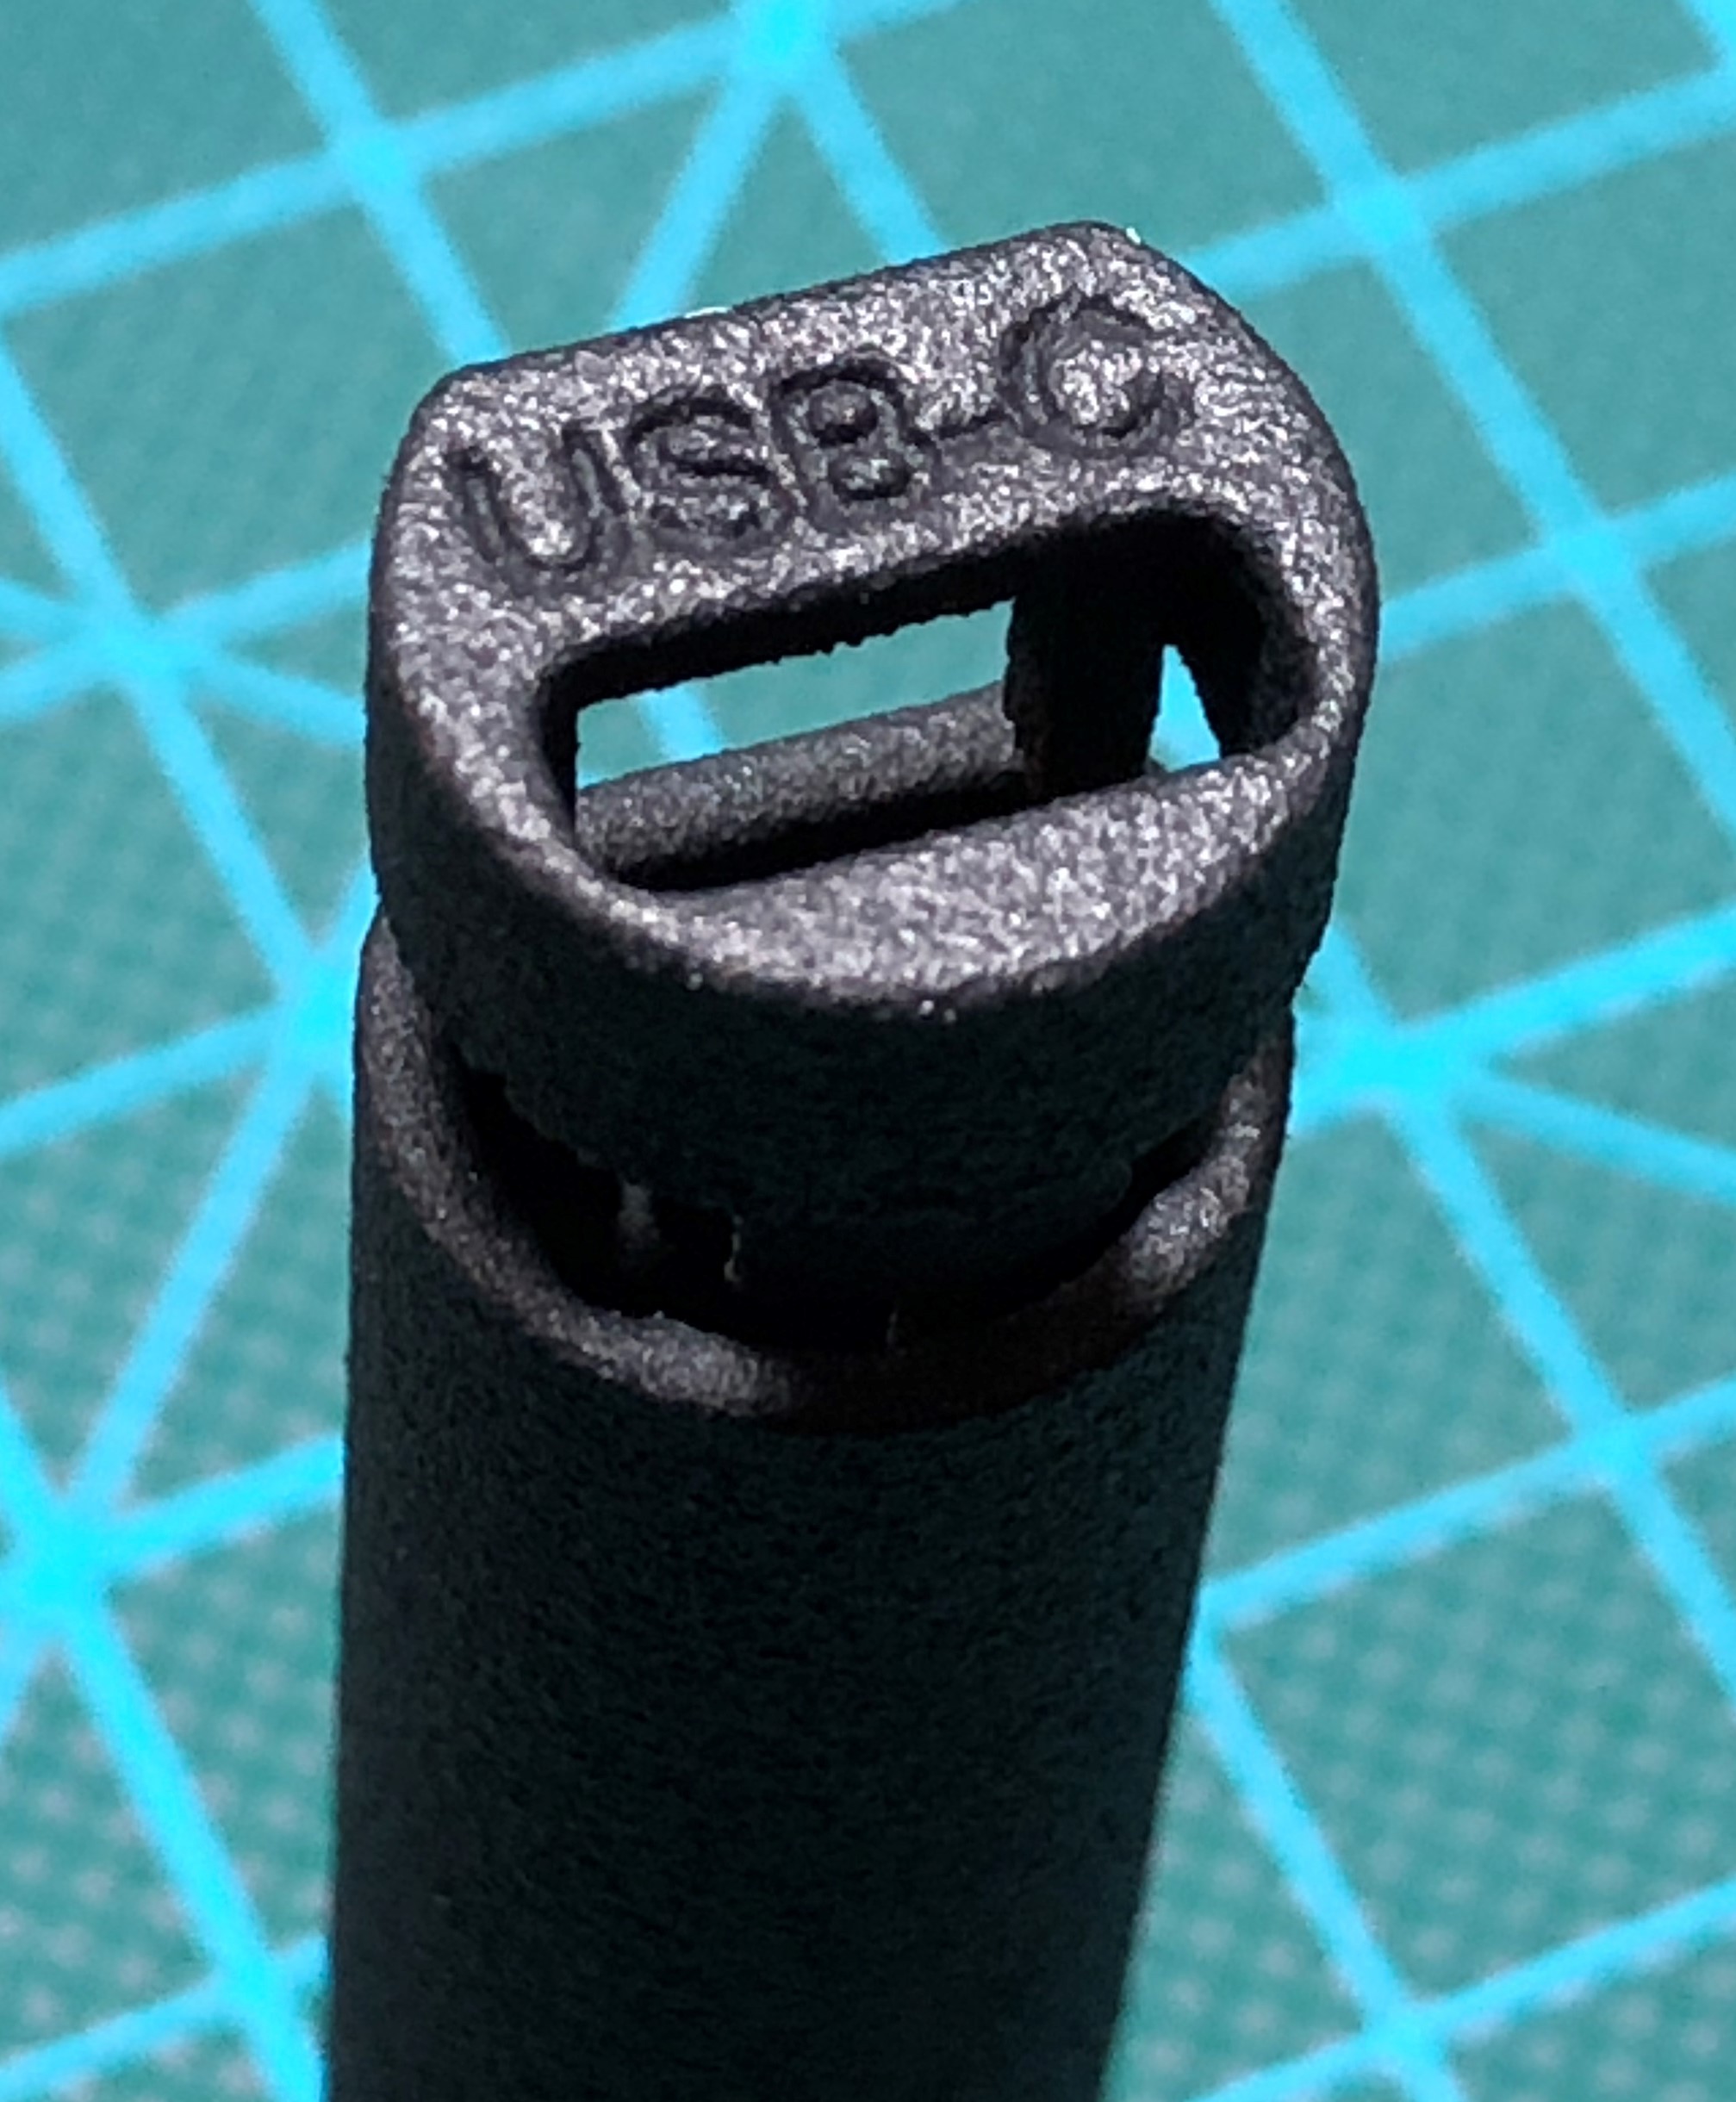
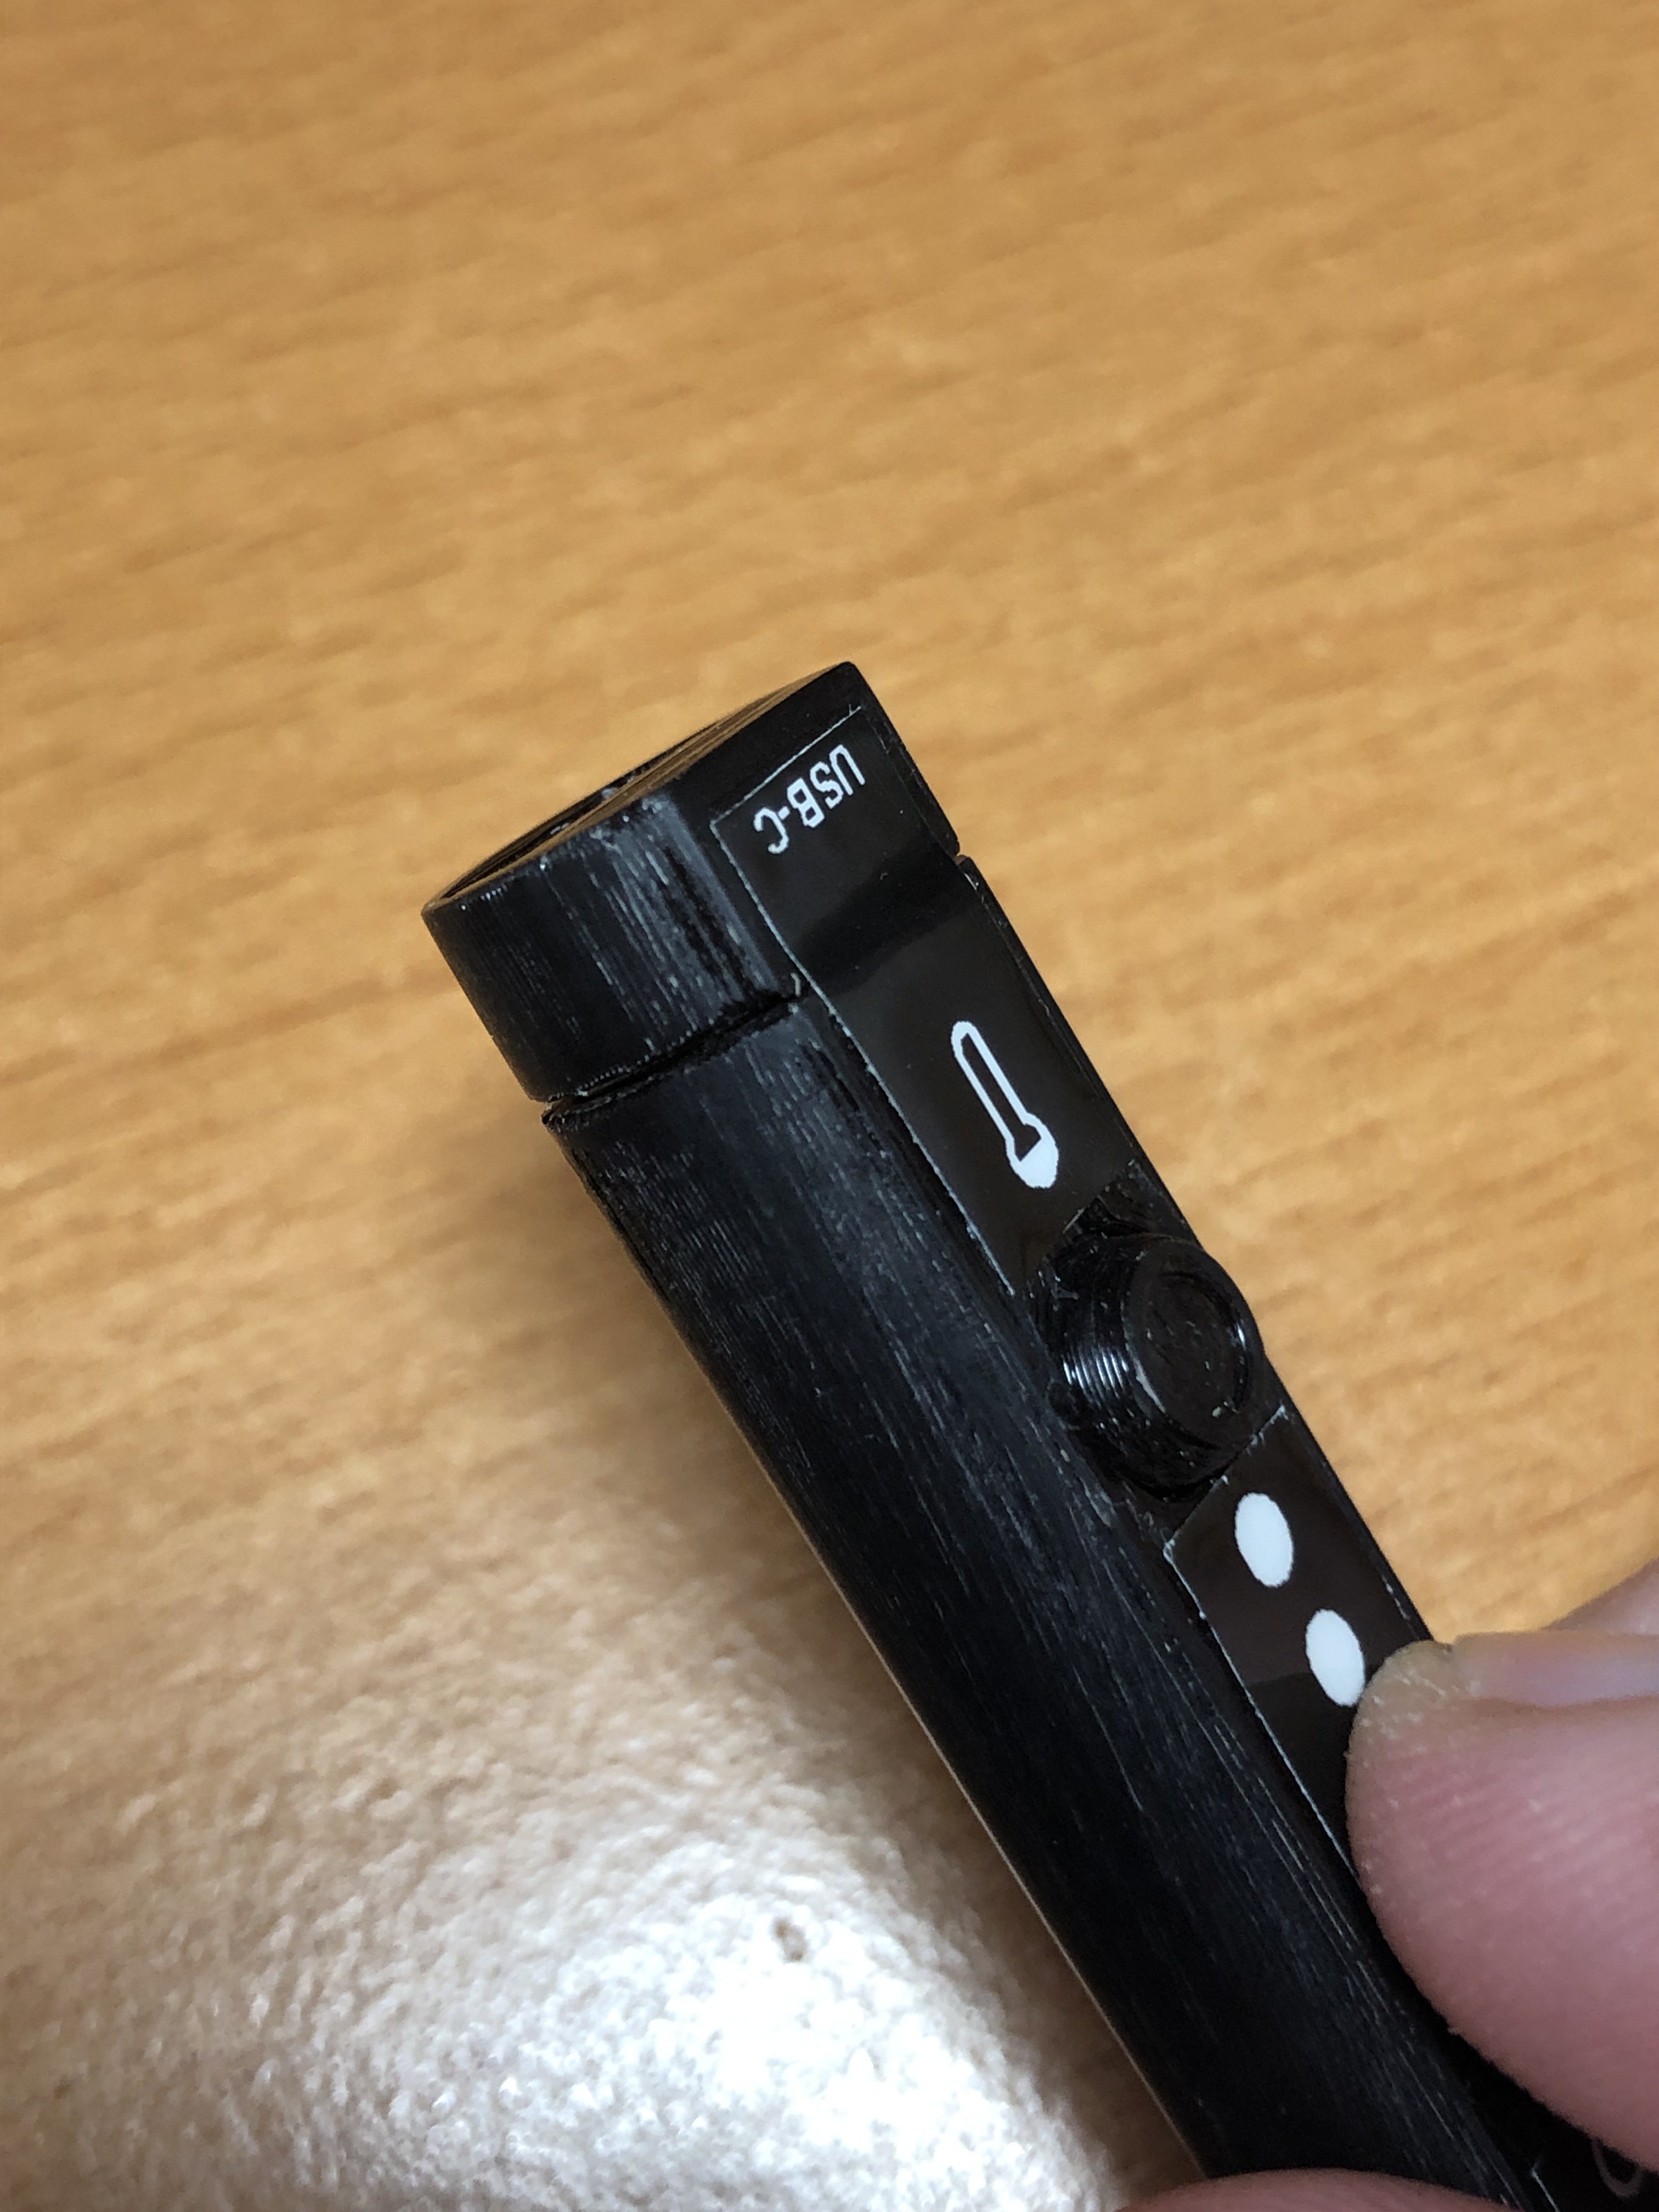
    The sticker at the USB-C side also secures the -already tight in place- cap from falling off.

    Here are some photos:

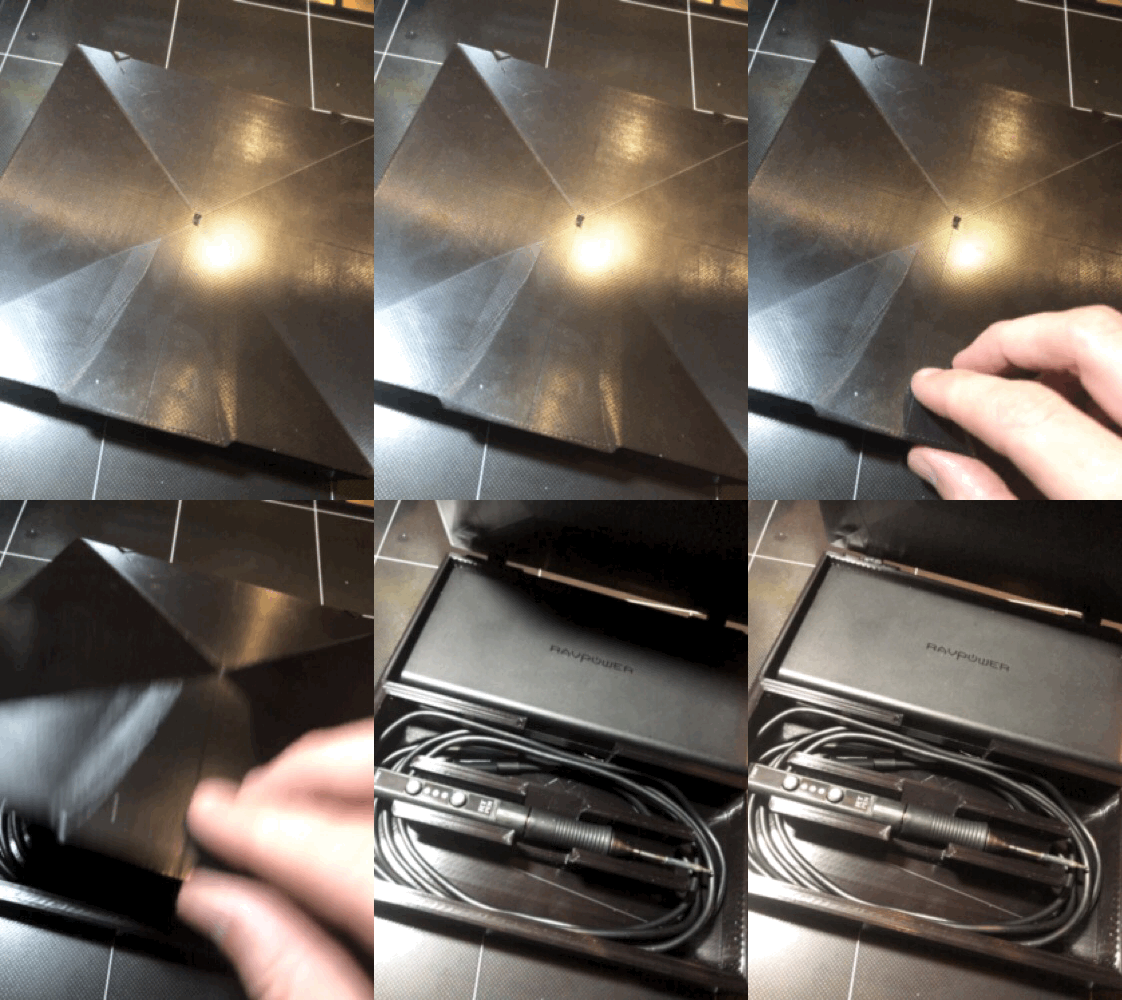
  • Composition of Parts

    Thomas Leputsch09/13/2019 at 13:39 0 comments

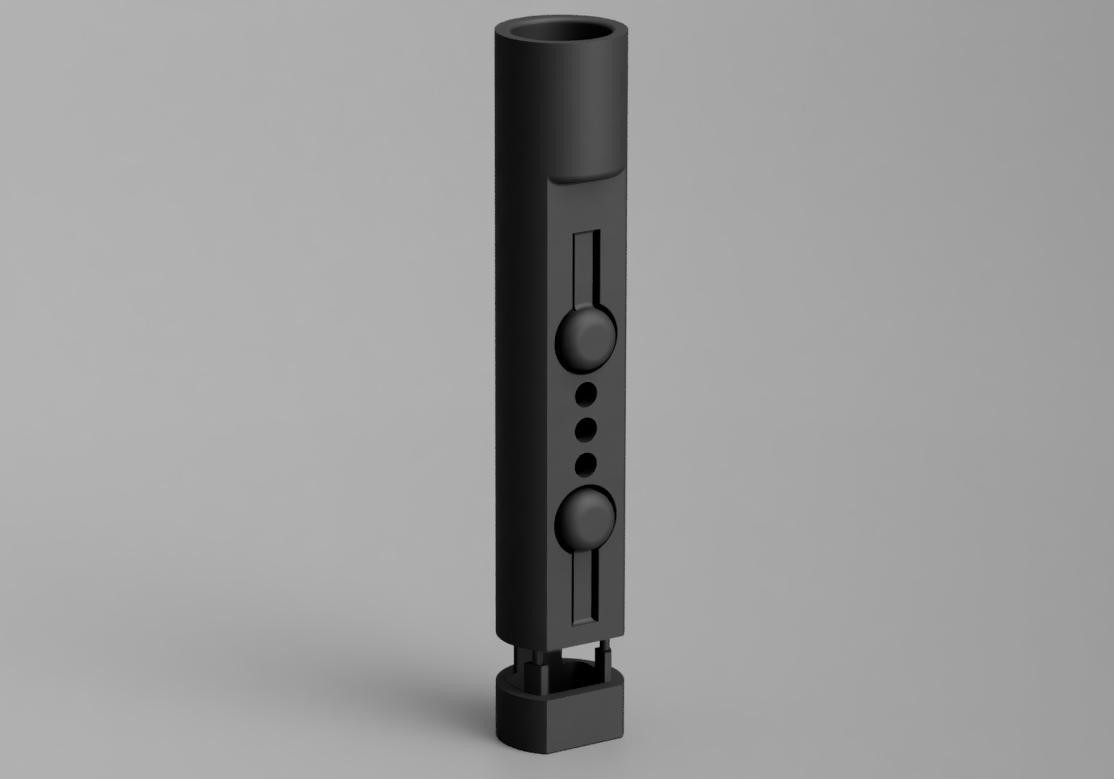
    With the PCB already inserted, the following animation shows how the remaining parts are put together.

  • Professional MJF 3D-Print

    Thomas Leputsch09/11/2019 at 10:56 0 comments

    New, slightly improved design is just put into production in a professional 3D-Printing house.

    I've chosen Nylon PA12 with an 80µm layer height in semigloss black.

    The prize @100 pcs. comes down to a few Euros.

    This is a render of the current CAD model. Optimized for one-print-job. 

  • Improved cap design

    Thomas Leputsch05/04/2019 at 15:48 0 comments

    With the new design the cap can be hold in place by the top-sticker or additionally with a wraparound-sticker. Fits perfectly now with the USB-C.


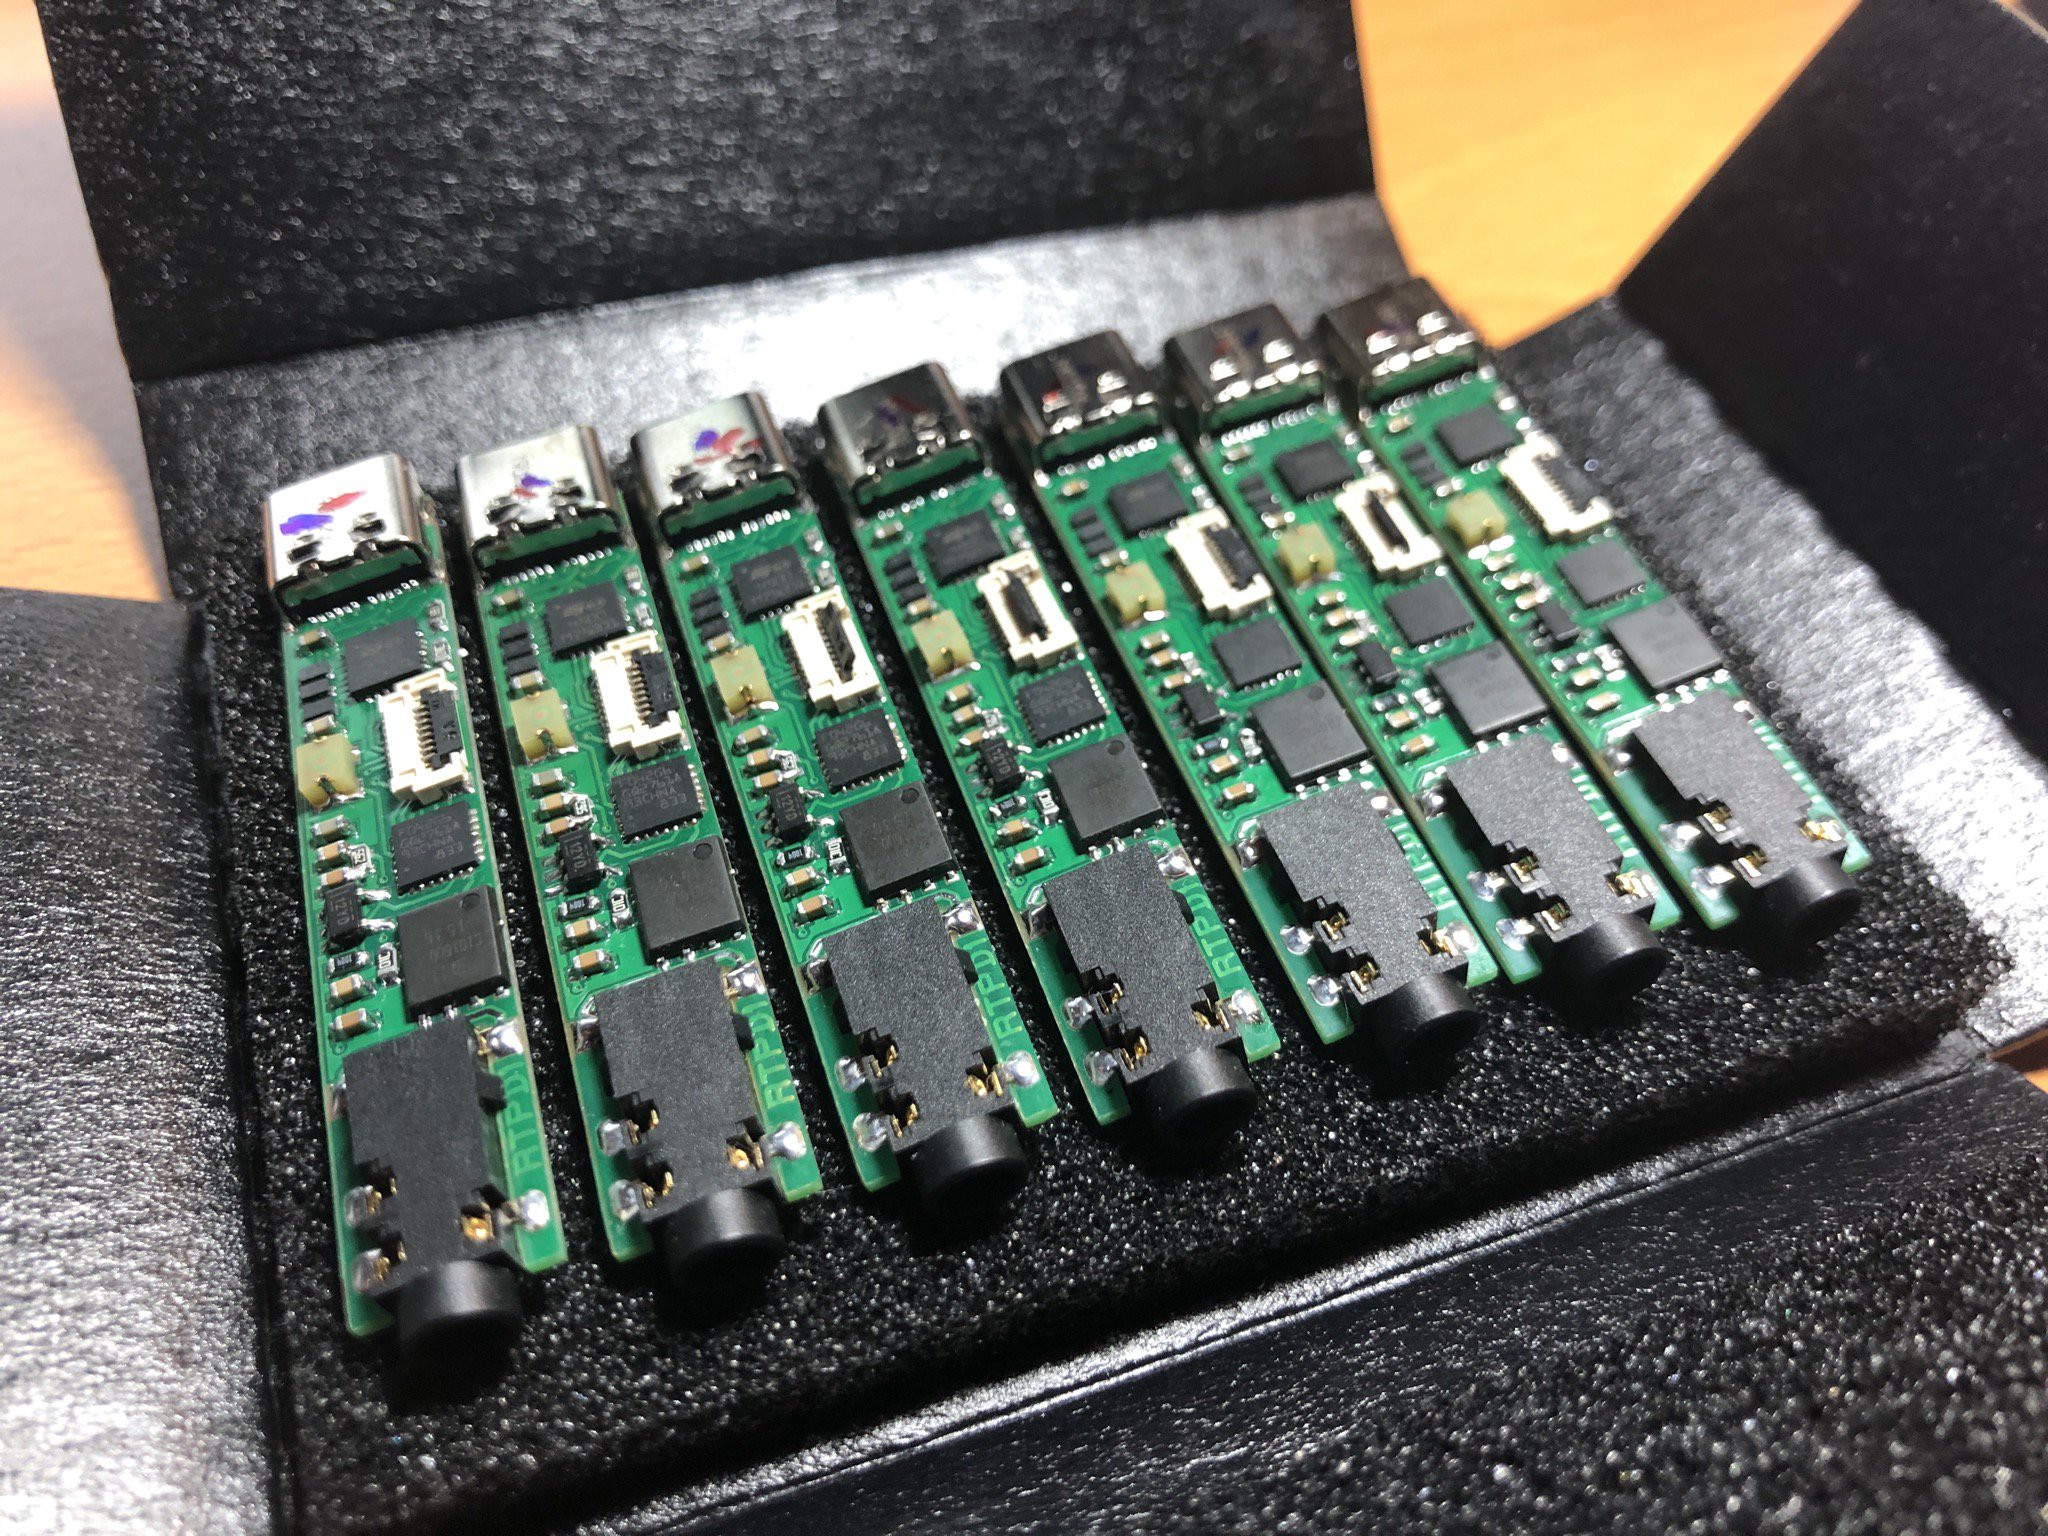
  • Just soldered some boards

    Thomas Leputsch05/03/2019 at 17:04 0 comments

    All new PCB’s are fine. Just a little SW adjustment due to a new OPA.

  • 3D-Printed transport case

    Thomas Leputsch04/04/2019 at 20:05 0 comments

  • Silver edition ;-)

    Thomas Leputsch03/01/2019 at 18:49 0 comments

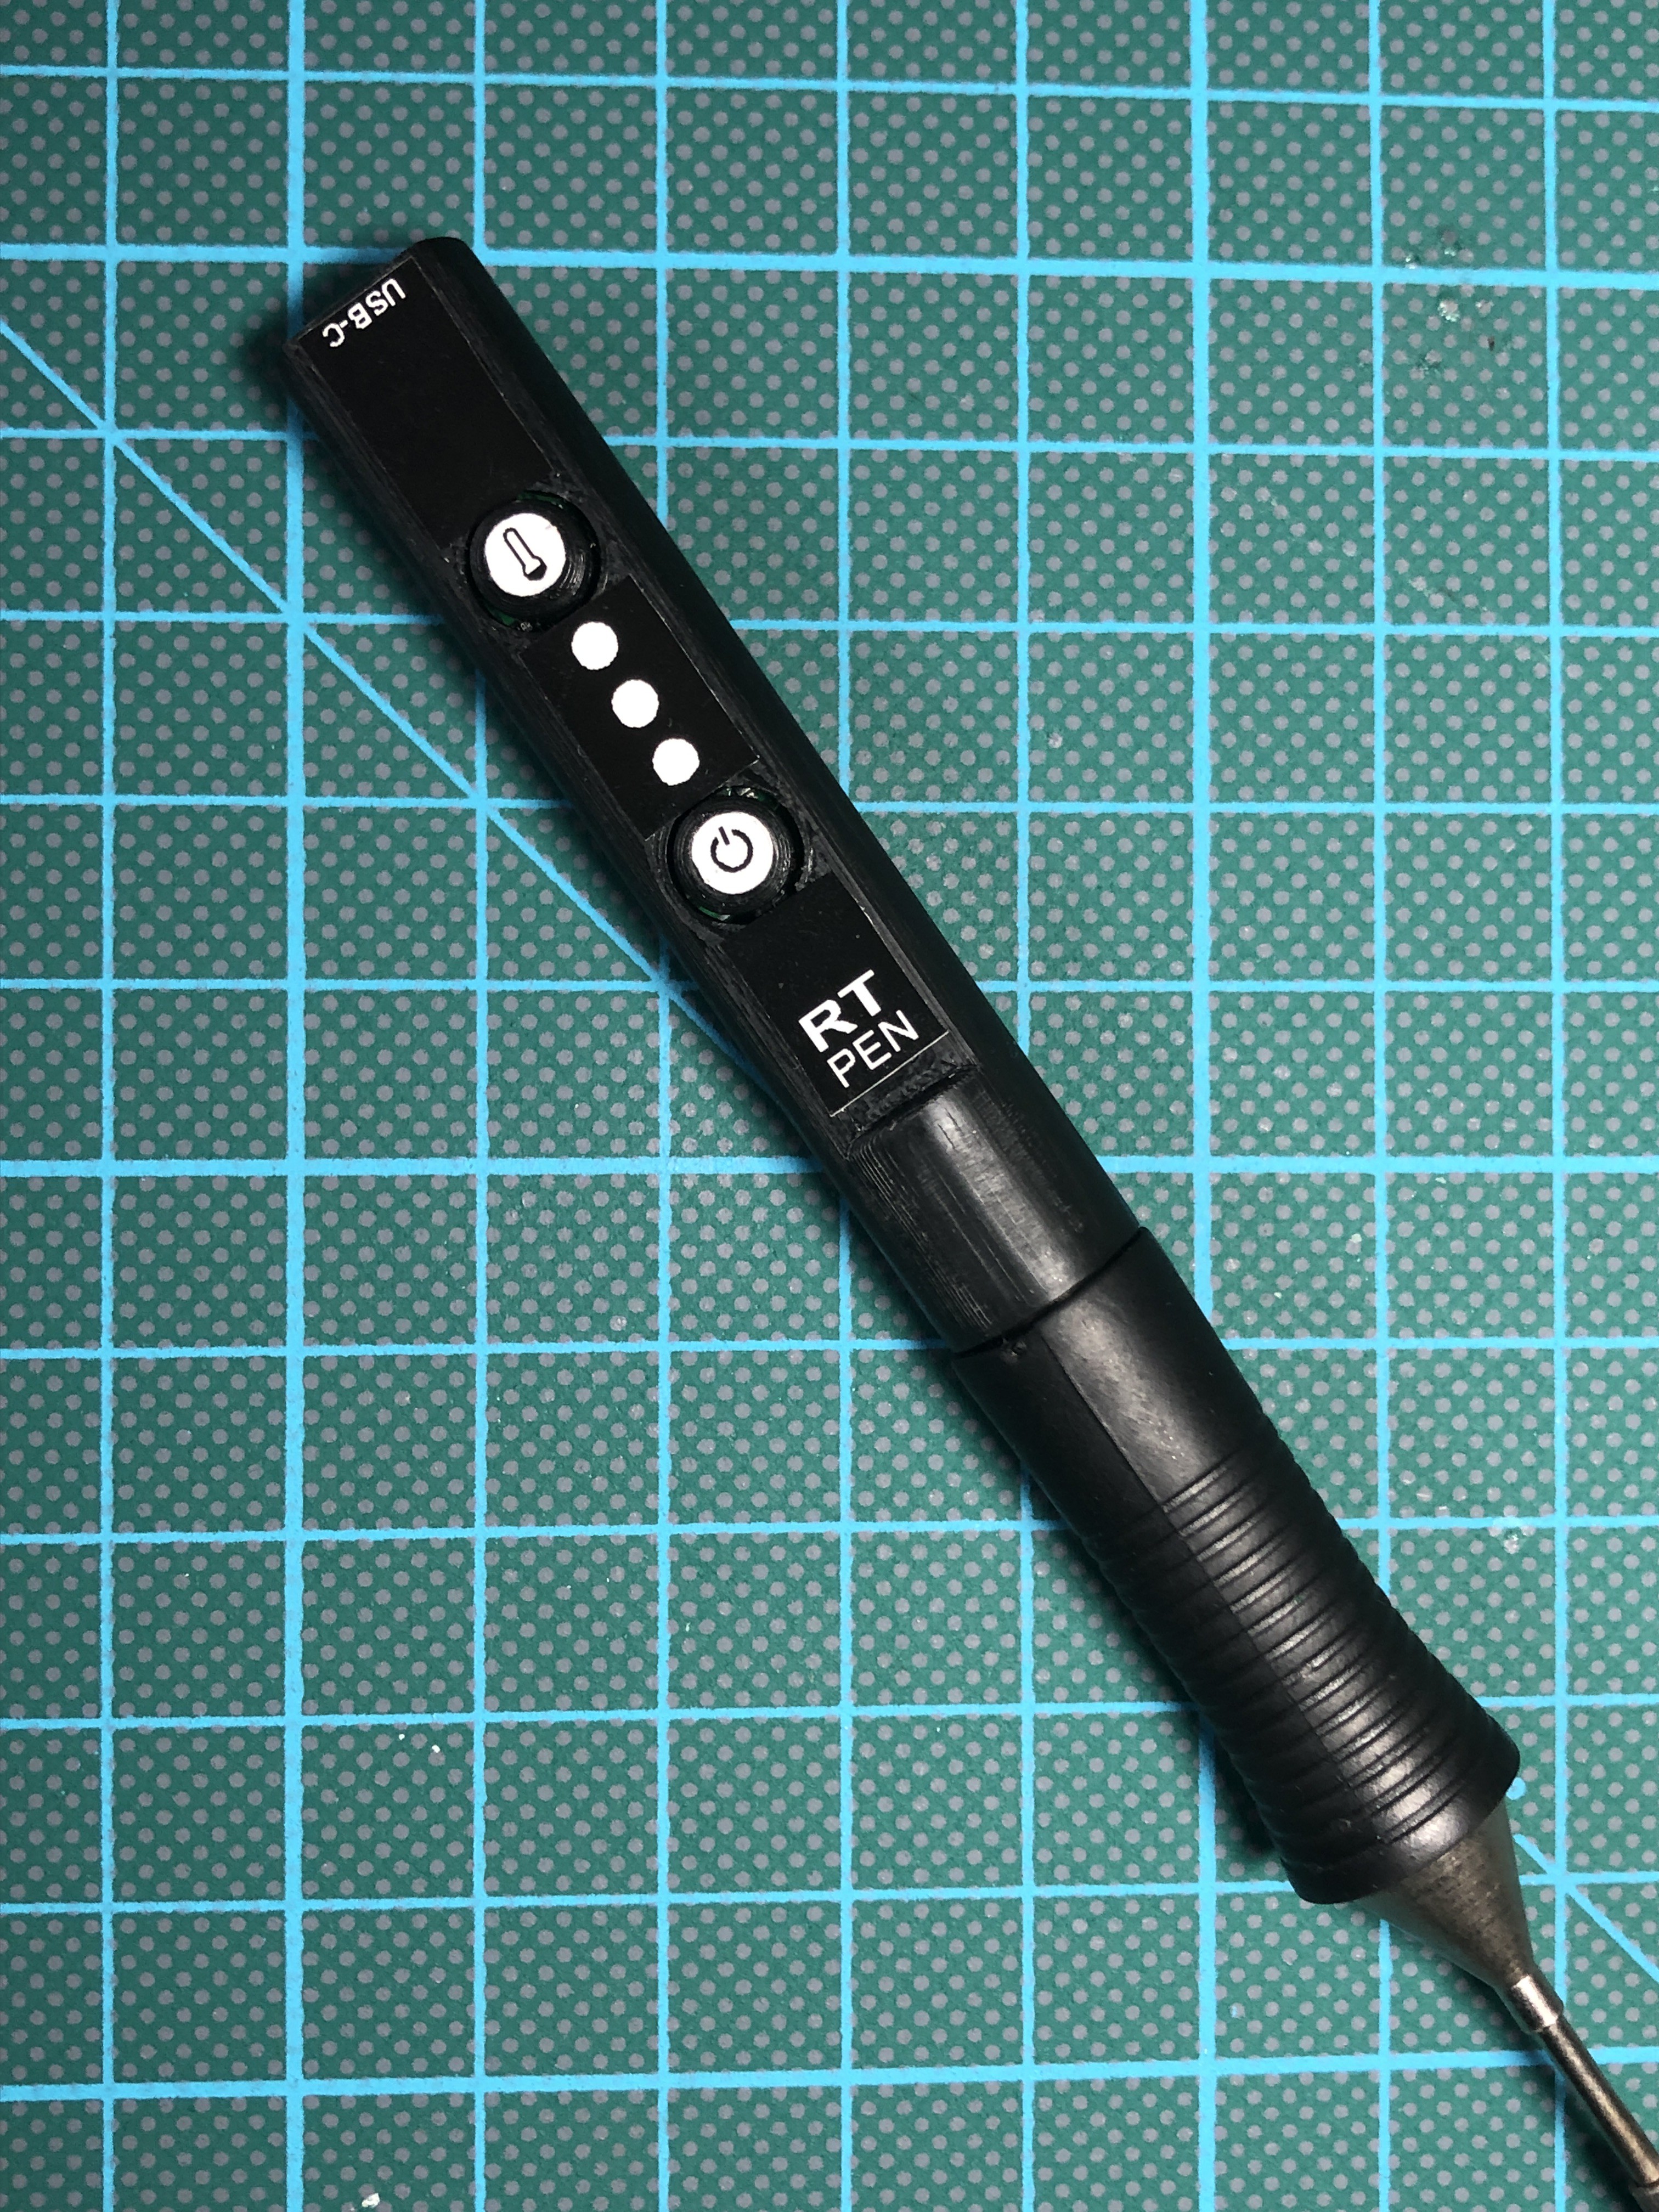
  • New 3D Print

    Thomas Leputsch02/24/2019 at 15:08 0 comments

    This is the current version of the housing, now with labels on the buttons. The button size is also increased for better pressing feedback.

    Outer diameter of the housing now is 12.5mm. Nearly the same as the rubber grip on the RT Tip.

  • USB Virtual COM-Port and housing

    Thomas Leputsch02/17/2019 at 15:40 0 comments

    Just finished programming the USB connection directly from/to the STM32. Next step will be to implement an emulated EEPROM because there in no dedicated data EEPROM on the used STM32.

    New housing design is also finished.

View all 11 project logs

Enjoy this project?

Share

Discussions

deʃhipu wrote 04/15/2019 at 16:40 point

I'm so waiting for this! I already use weller tips anyways, and it would be nice to have a portable iron I can use with my laptop charger.

  Are you sure? yes | no

whmeitzler wrote 03/01/2019 at 20:18 point

The cable that came with my old Nexus 6P is very likely silicone, though I haven't iron-tested it.

  Are you sure? yes | no

Thomas Leputsch wrote 03/01/2019 at 21:28 point

Thanks for your hint but unfortunately i cant find information on this cable.

  Are you sure? yes | no

Killergeek wrote 02/27/2019 at 18:35 point

there are USB C connectors that have power, USB 2.0, SBU and the CC lines only. makes it smaller and easyer to solder. if you dont use any of the USB 3.X stuff that is a better option.
sparkfun has them https://www.sparkfun.com/products/15111
you can google for them with "16 pin USB c connector"

  Are you sure? yes | no

Thomas Leputsch wrote 02/27/2019 at 19:09 point

Thanks for the information. I don’t know them yet. If they are easy available I will implement them in the next version if the PCB because it saves me the reflow soldering step :-)

Regards,

Thomas 

  Are you sure? yes | no

opticron wrote 09/23/2019 at 16:15 point

  Are you sure? yes | no

Larry wrote 02/27/2019 at 18:28 point

Nice work!  From digikey, but TPE cable insulation and max temp 85degC.  https://www.digikey.com.au/product-detail/en/molex/0687980008/WM17935-ND/8576077

Another idea is use metal braided cable, but not so flexible probably. And could not find c-to-c in my quick search.  https://www.amazon.com/Braided-Type-C-Charger-Charge-Verizon/dp/B0719QL76J

  Are you sure? yes | no

Thomas Leputsch wrote 02/27/2019 at 19:02 point

Hi Larry, 

Thanks for the links! The metal one looks quite stiff. But the outher could be an option for usage with Power Bank because ists just 1m long. 

Regards,

 Thomas 

  Are you sure? yes | no

Thomas Leputsch wrote 02/12/2019 at 18:40 point

Hi Mike, I can't reply your comment.
A basic serial communication for data output and maybe with GUI configuration of temperatures, auto-standby time, vibration sensitivity etc..

  Are you sure? yes | no

Mike Szczys wrote 02/11/2019 at 23:23 point

I feel like there must be cellphone MFG cables that are USB-C and silicone insulated but don't know for sure (my Pixel cable is not).

Would love more information on this. Is it a pain to work with those connectors? How about negotiating with the power supply.

Demo video and case looks great! You could put a rectangle of tinted acrylic over the flat area of the pen with beveled edges and holes for the buttons and you'd have a killer finish!

  Are you sure? yes | no

Thomas Leputsch wrote 02/12/2019 at 06:43 point

Thanks for your comment! 

For soldering the USB-C connector an oven is needed due to the inaccessible pads in second row. I’ve used a stand-alone controller for negotiating the supply - it was a bit tricky to configure but finally it worked good. 

More information is coming! 

New 3D Print Design and hopefully a working USB 2.0 communication via the USB C Port. 

Its planed to cover the full flat side with a sticker but in this version I’ve just used the middle part to hold the diffuser in place. Maybe I can implement a tiny sticker on top of the buttons. 

Regards,

Thomas 

  Are you sure? yes | no

Mike Szczys wrote 02/12/2019 at 15:34 point

Oh, interesting. What kind of functionality do you have in mind for the USB 2.0 connection?

  Are you sure? yes | no

Similar Projects

Does this project spark your interest?

Become a member to follow this project and never miss any updates