-
Assembly.
03/05/2019 at 07:28 • 0 commentsI still have to solder the Dotstars and Arduino on both ends but this is pretty much it.
![]()
-
One leaf, bigger socket.
03/05/2019 at 06:28 • 0 commentsRemodeled the stem so it has one leaf instead of two. Makes assembly a whole lot easier as otherwise you end up soldering a Dotstar in mid air. That sucked.
![]()
Also modeled a cover out of something not transparent.
![]()
-
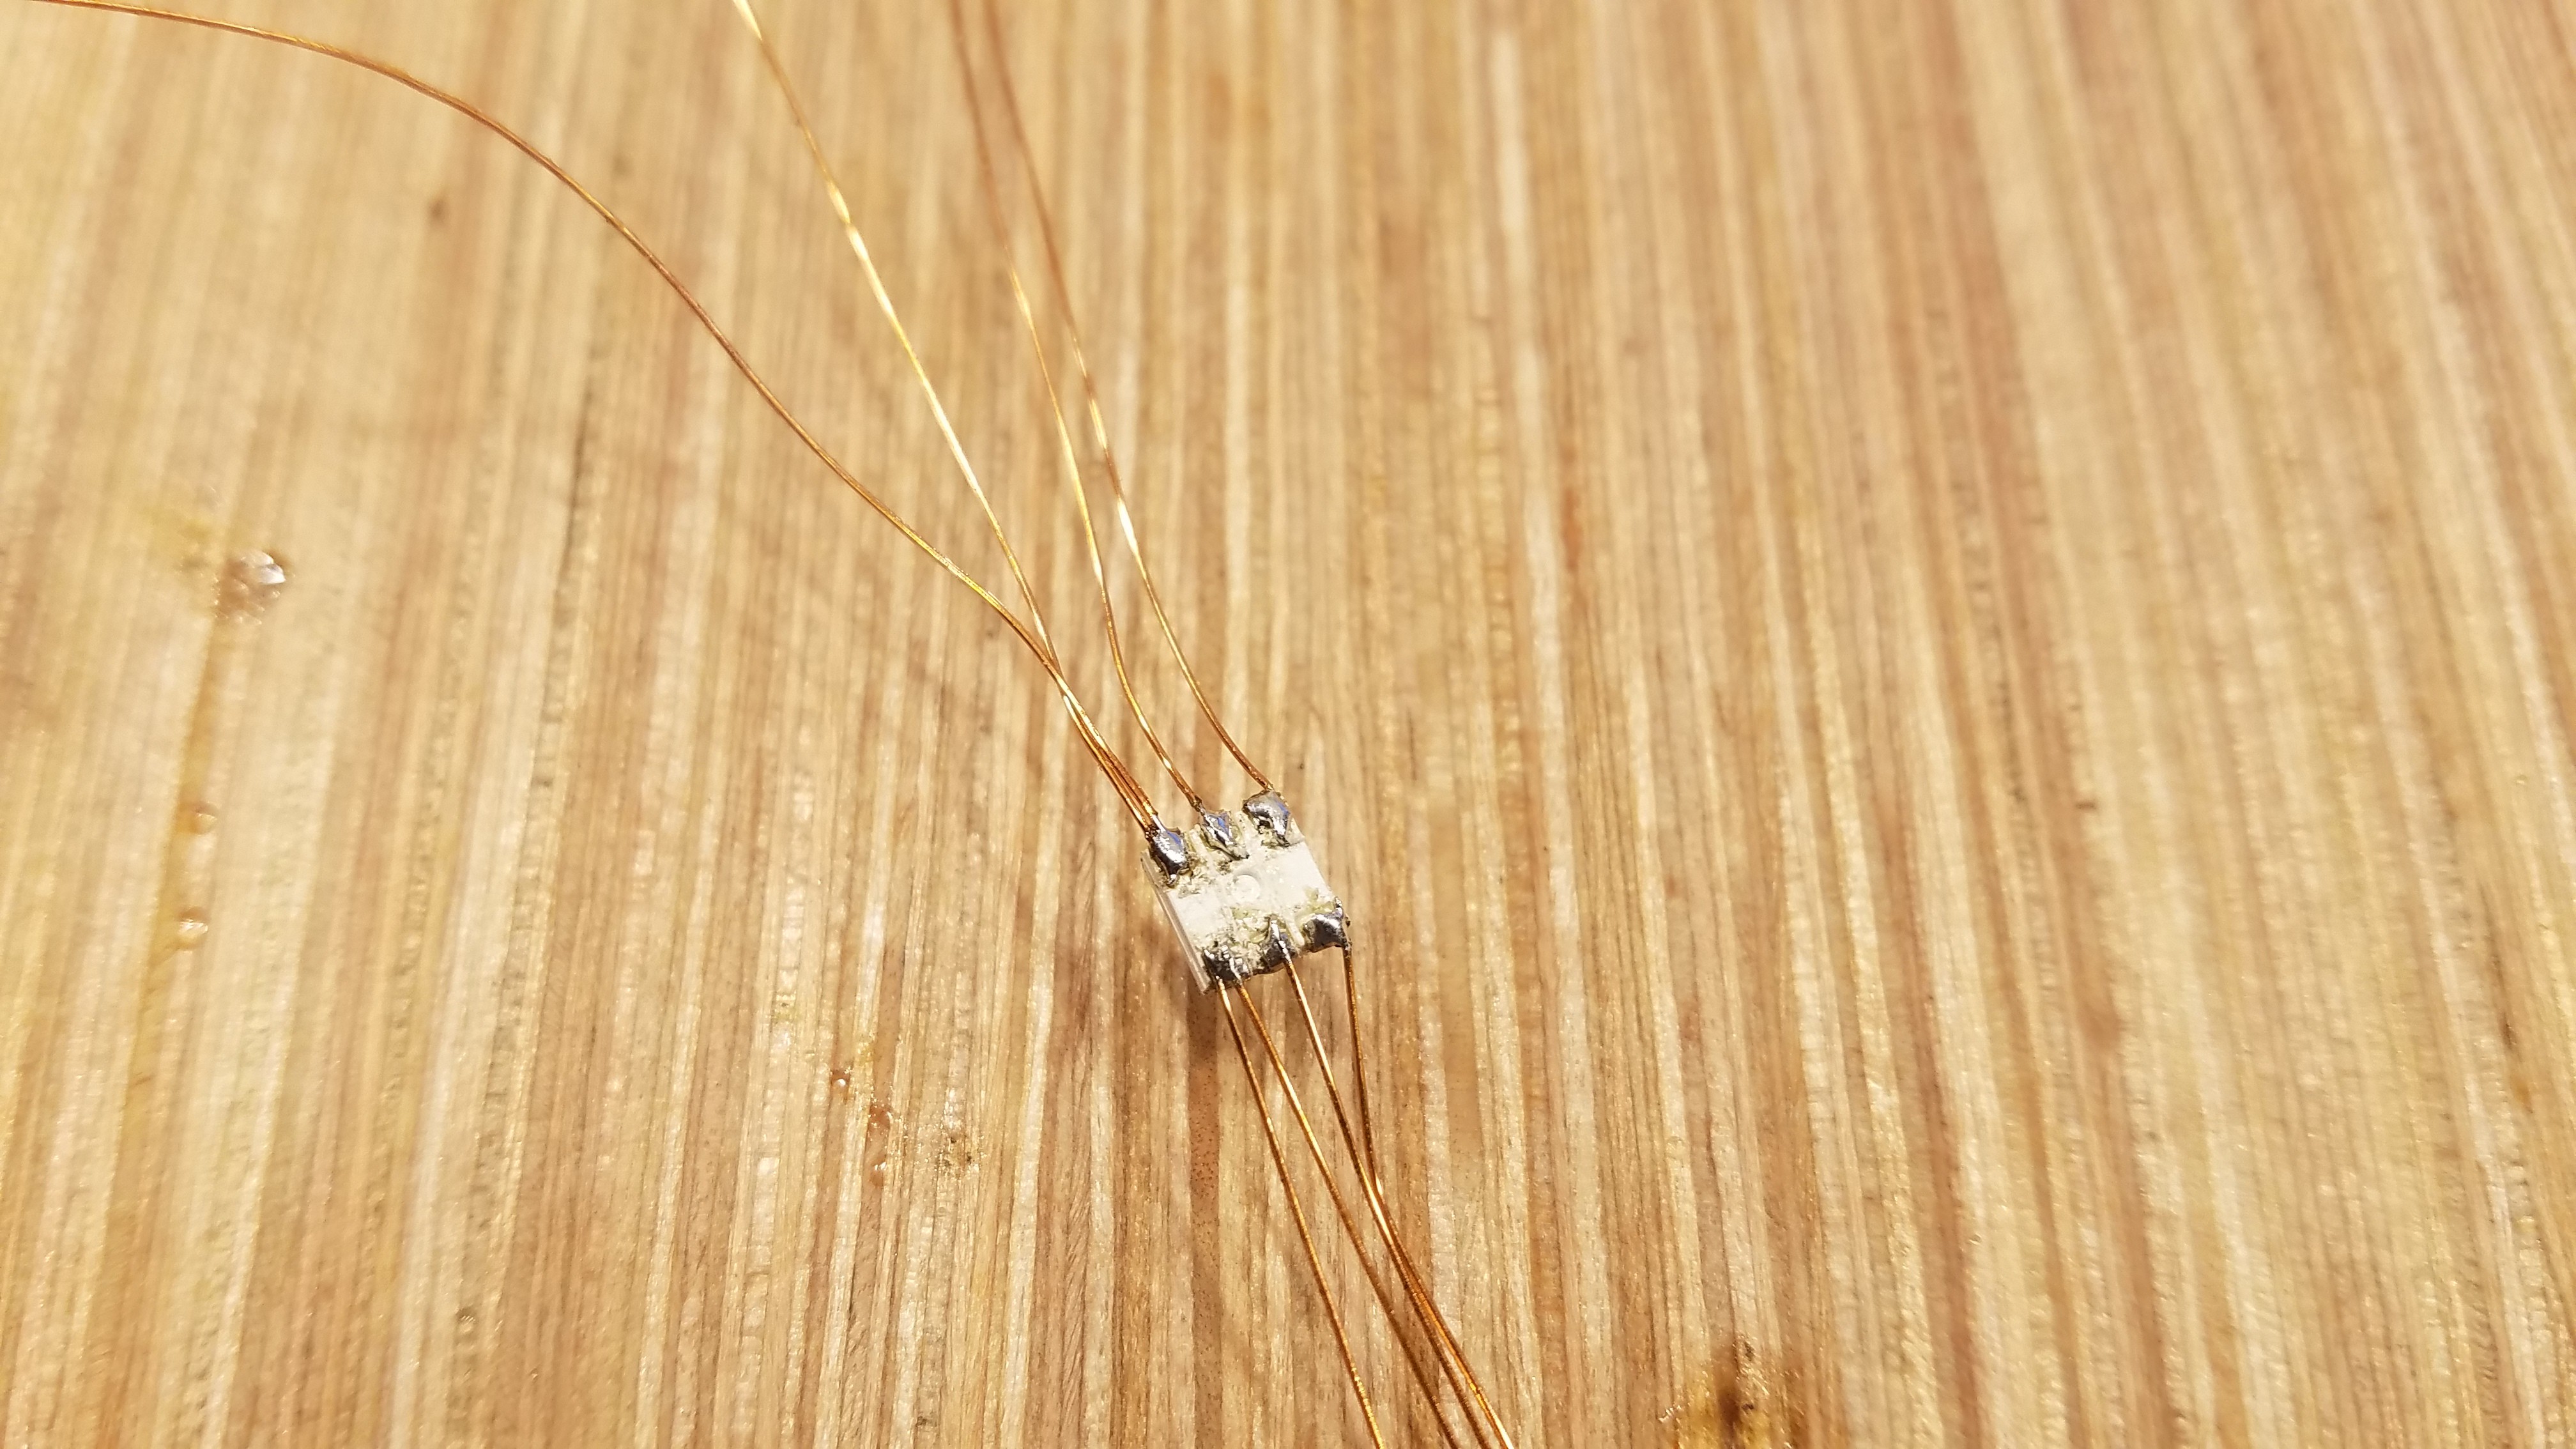
Dotstars, are fragile.
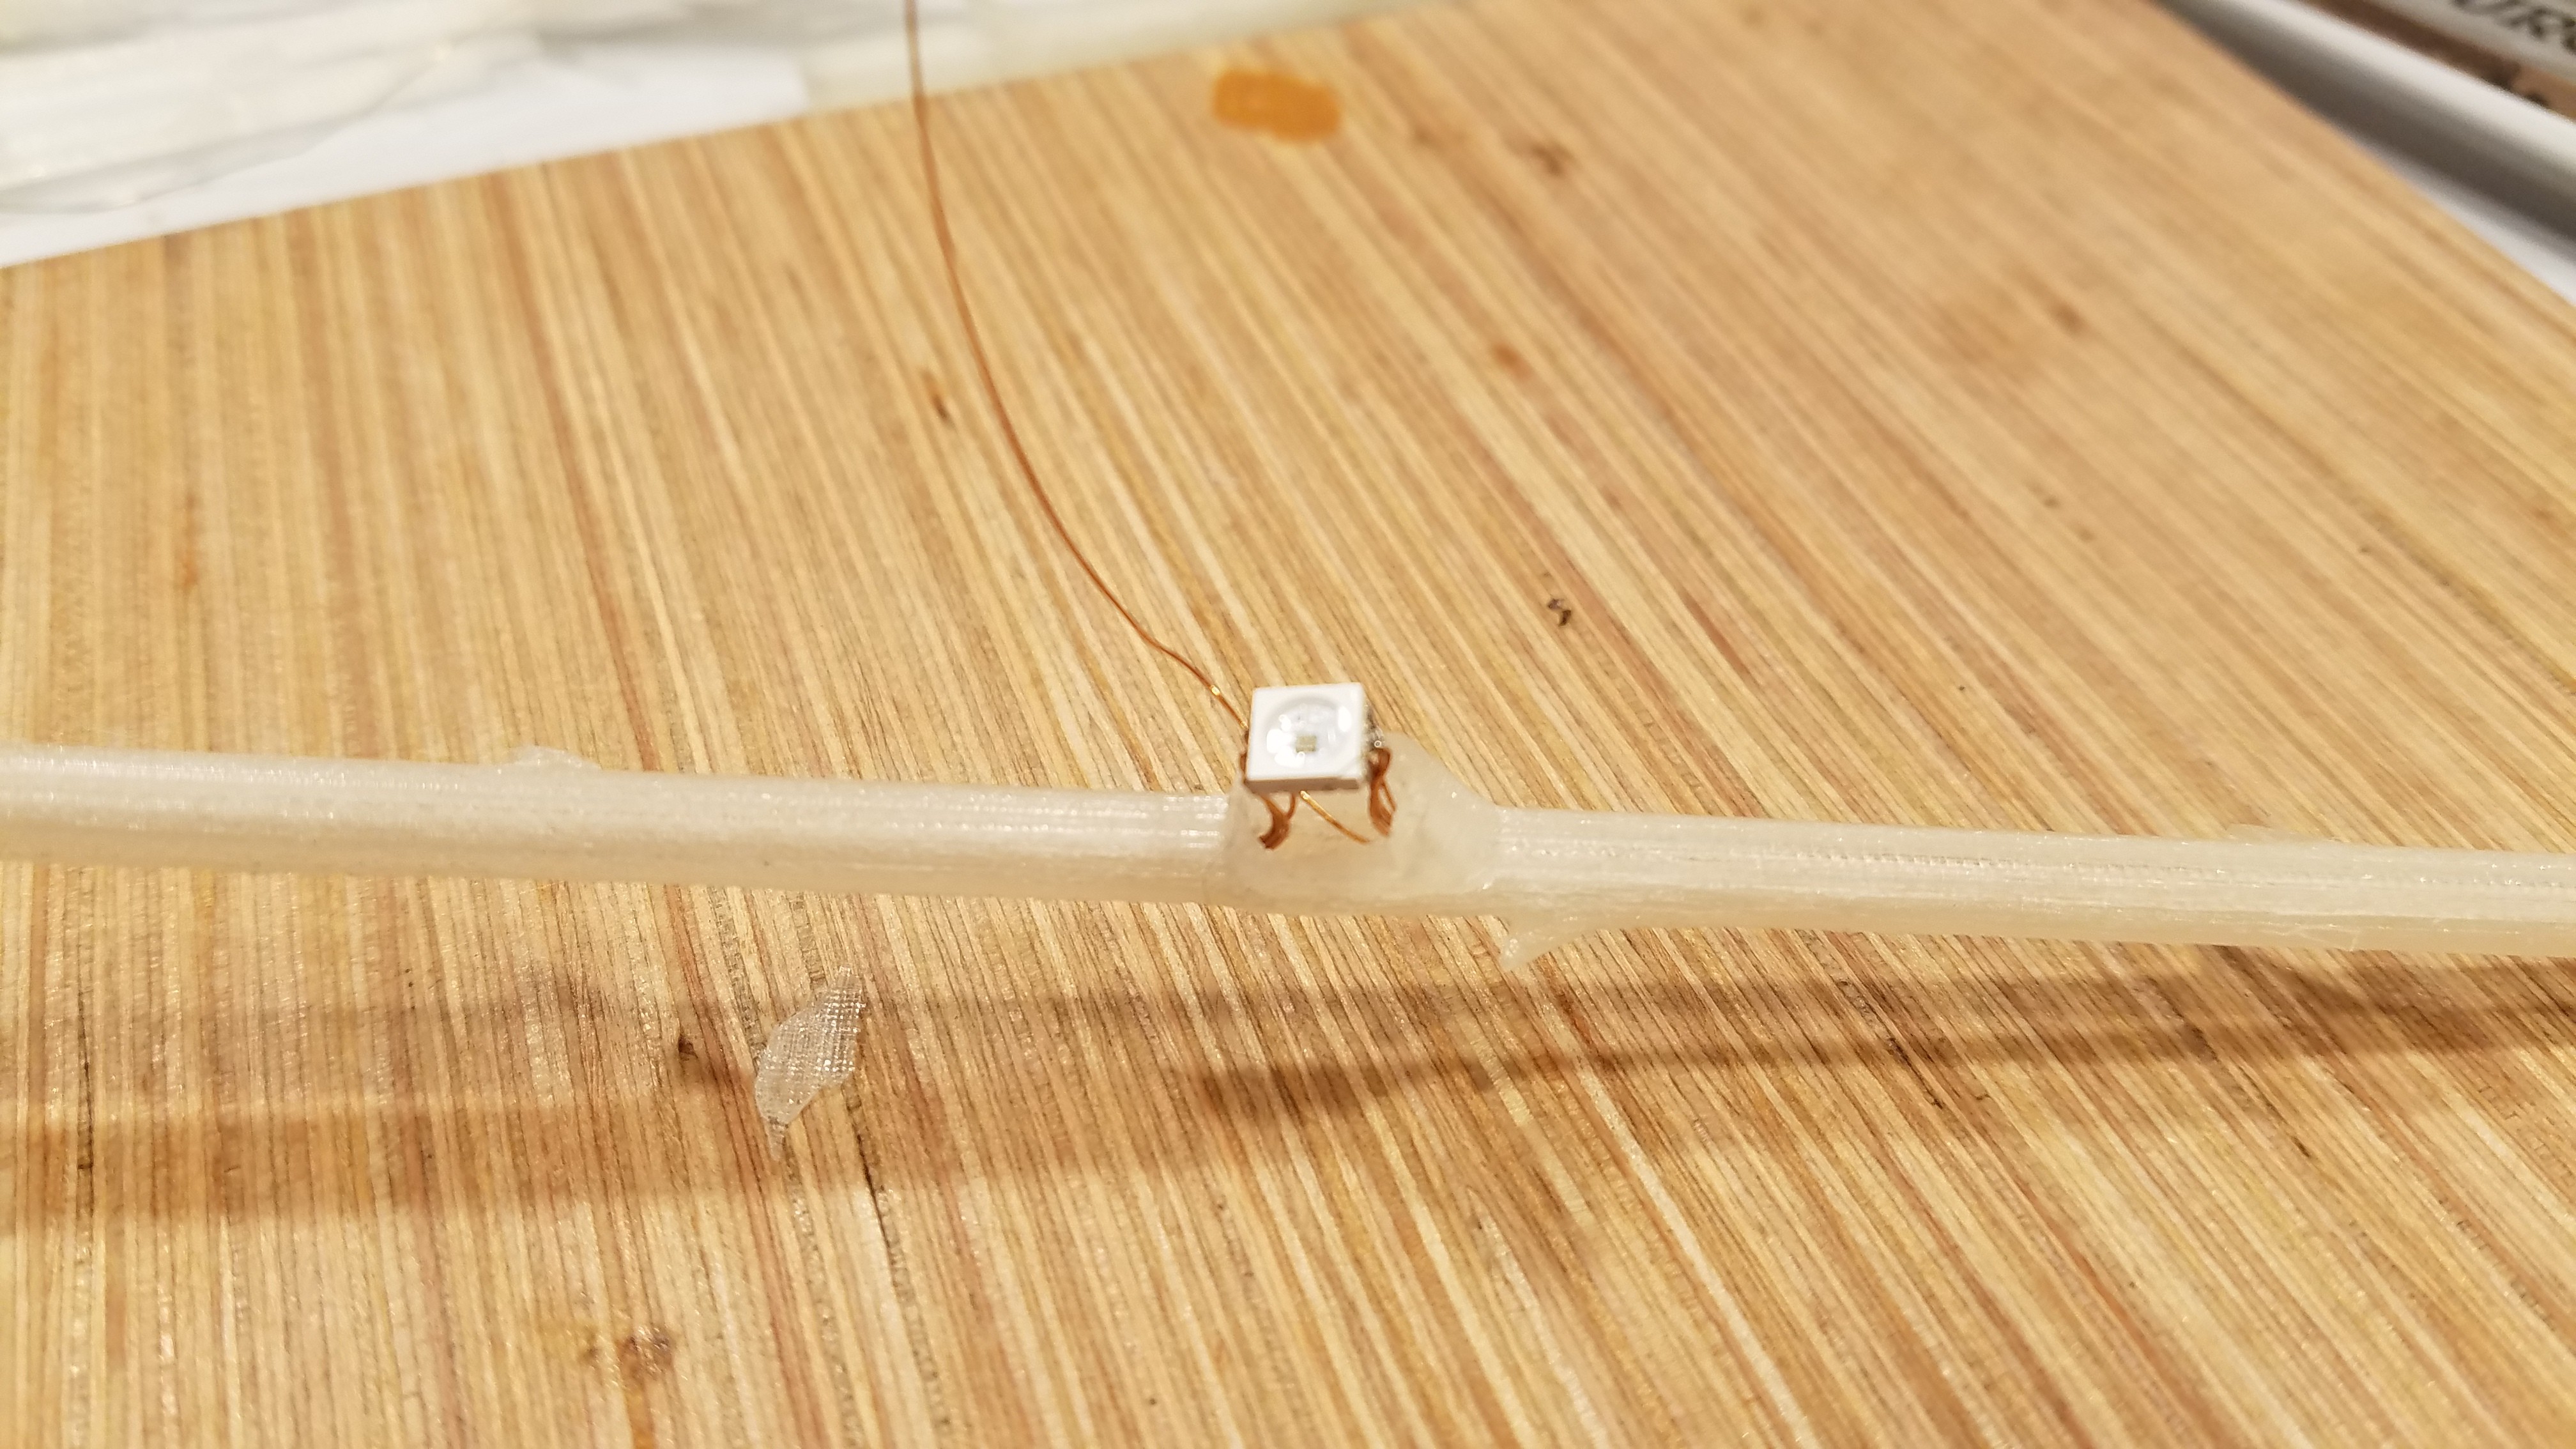
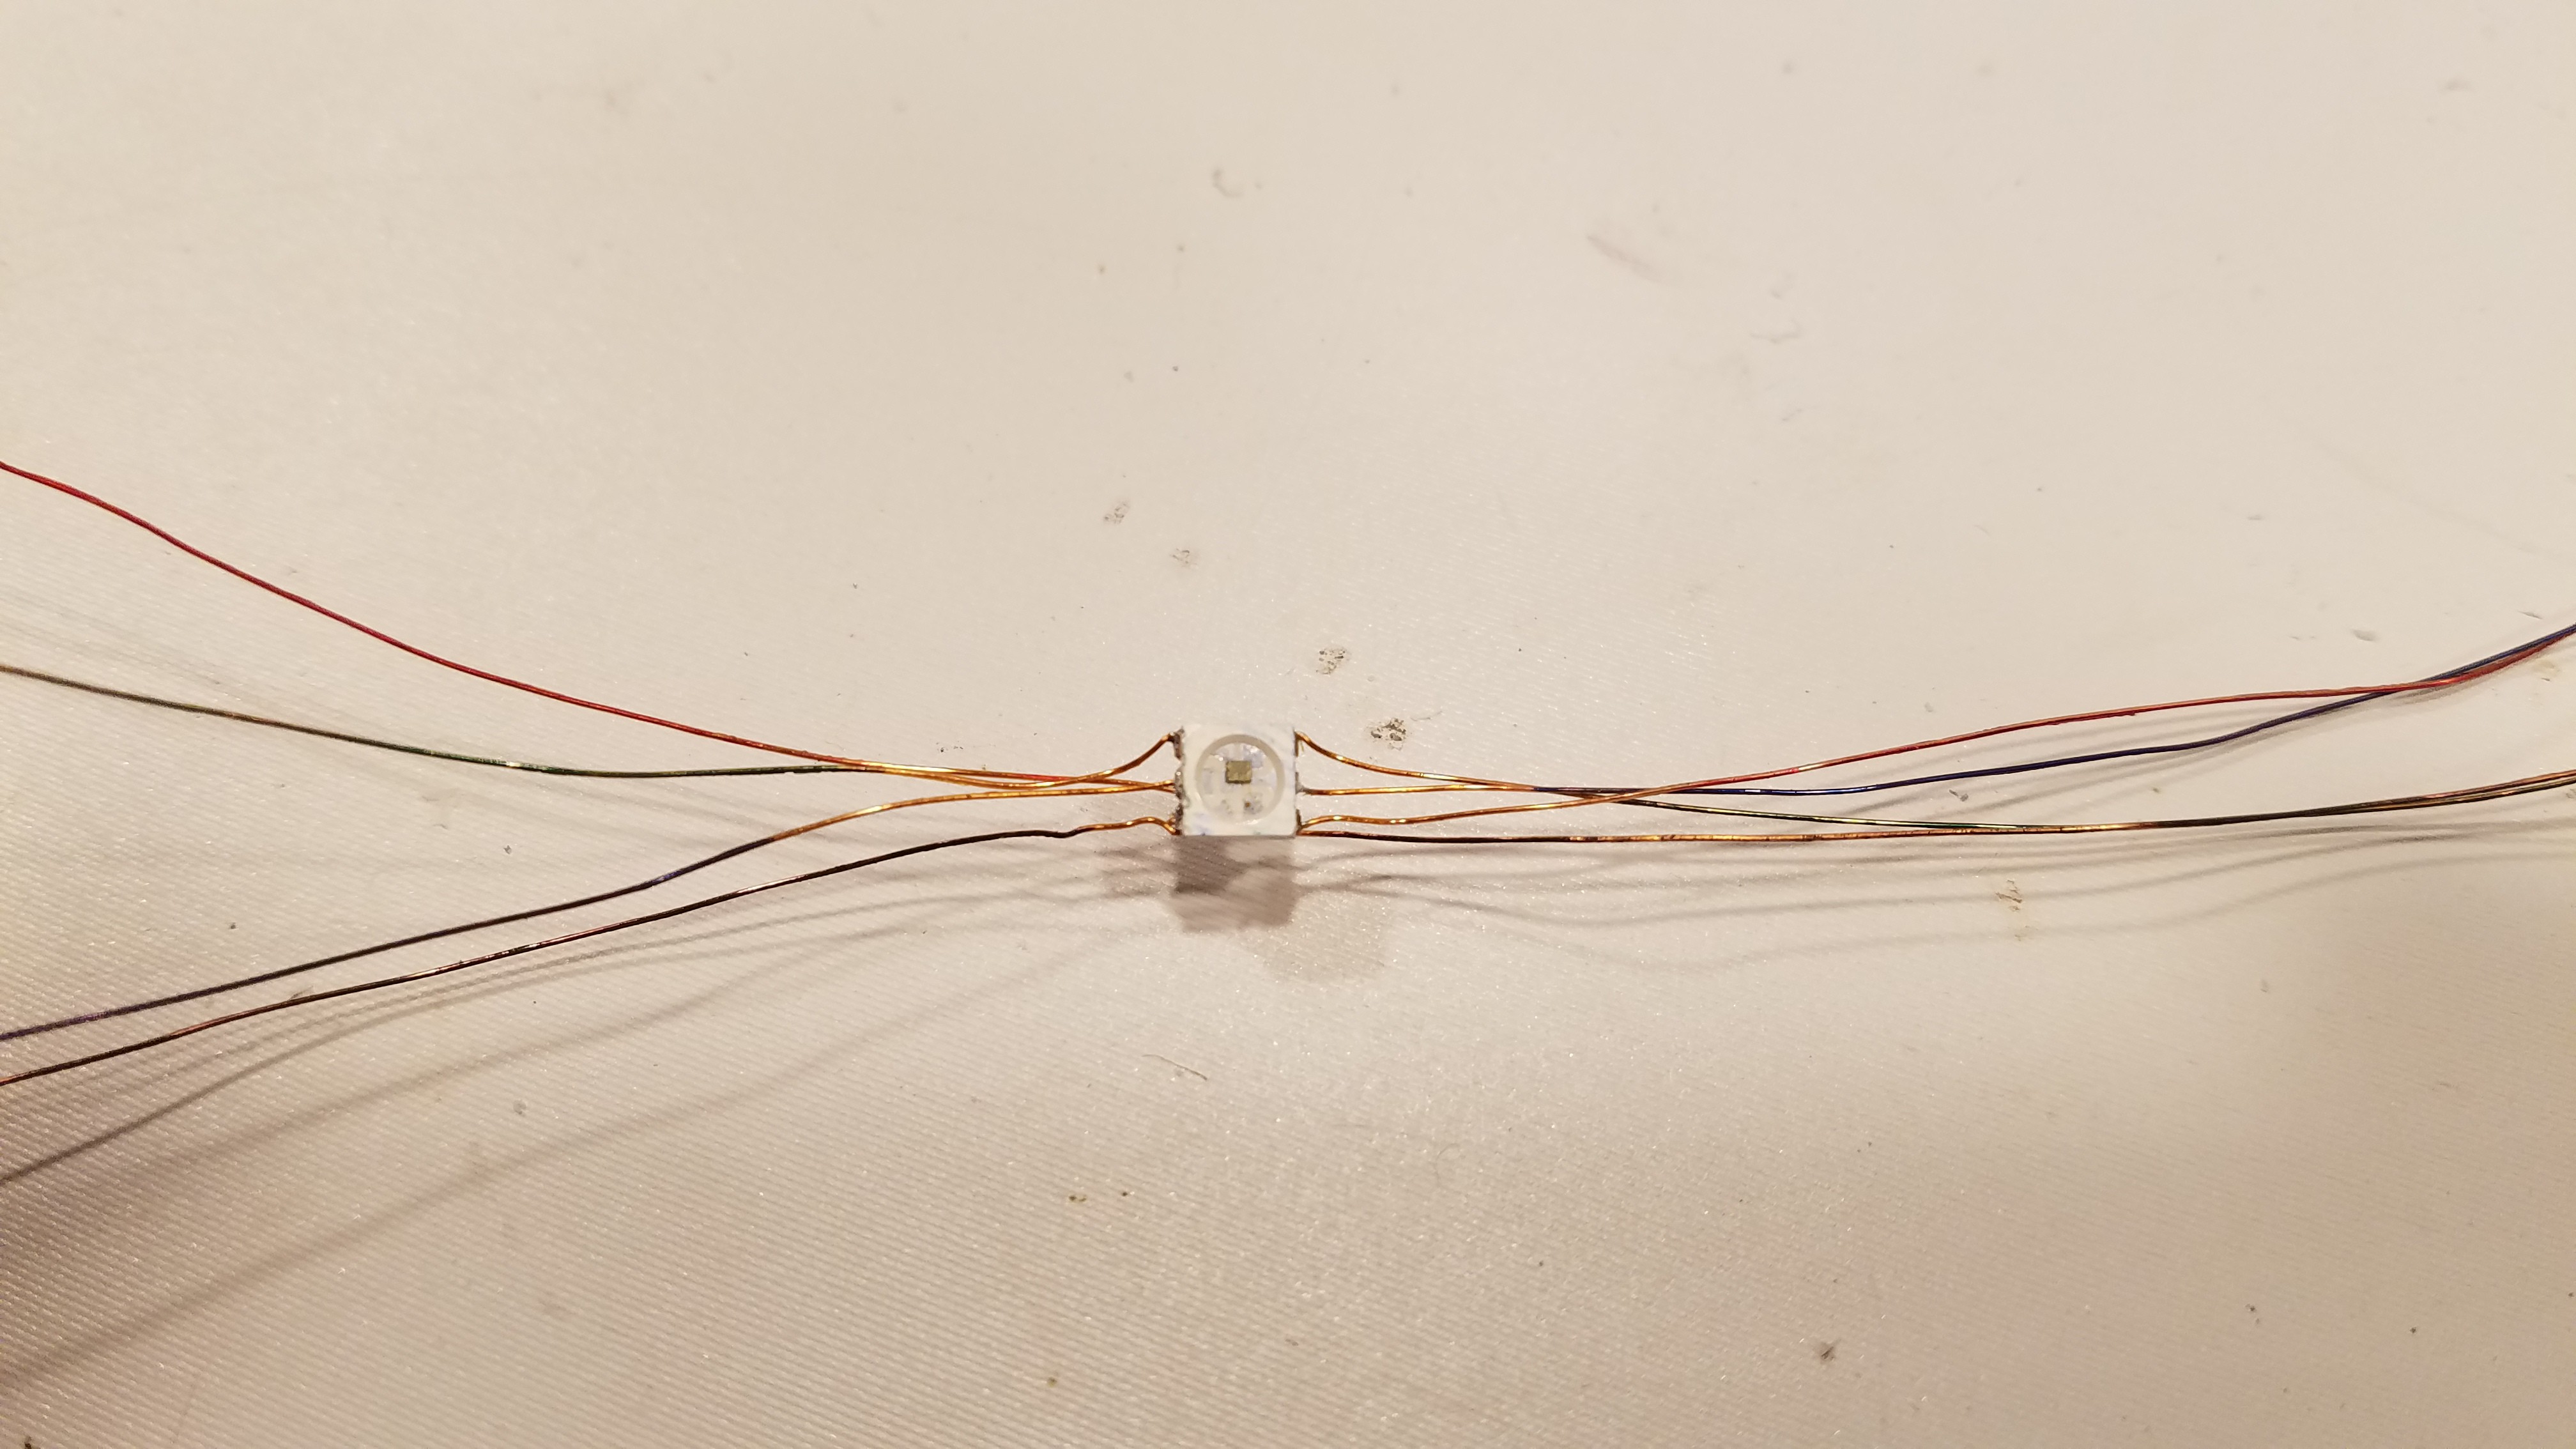
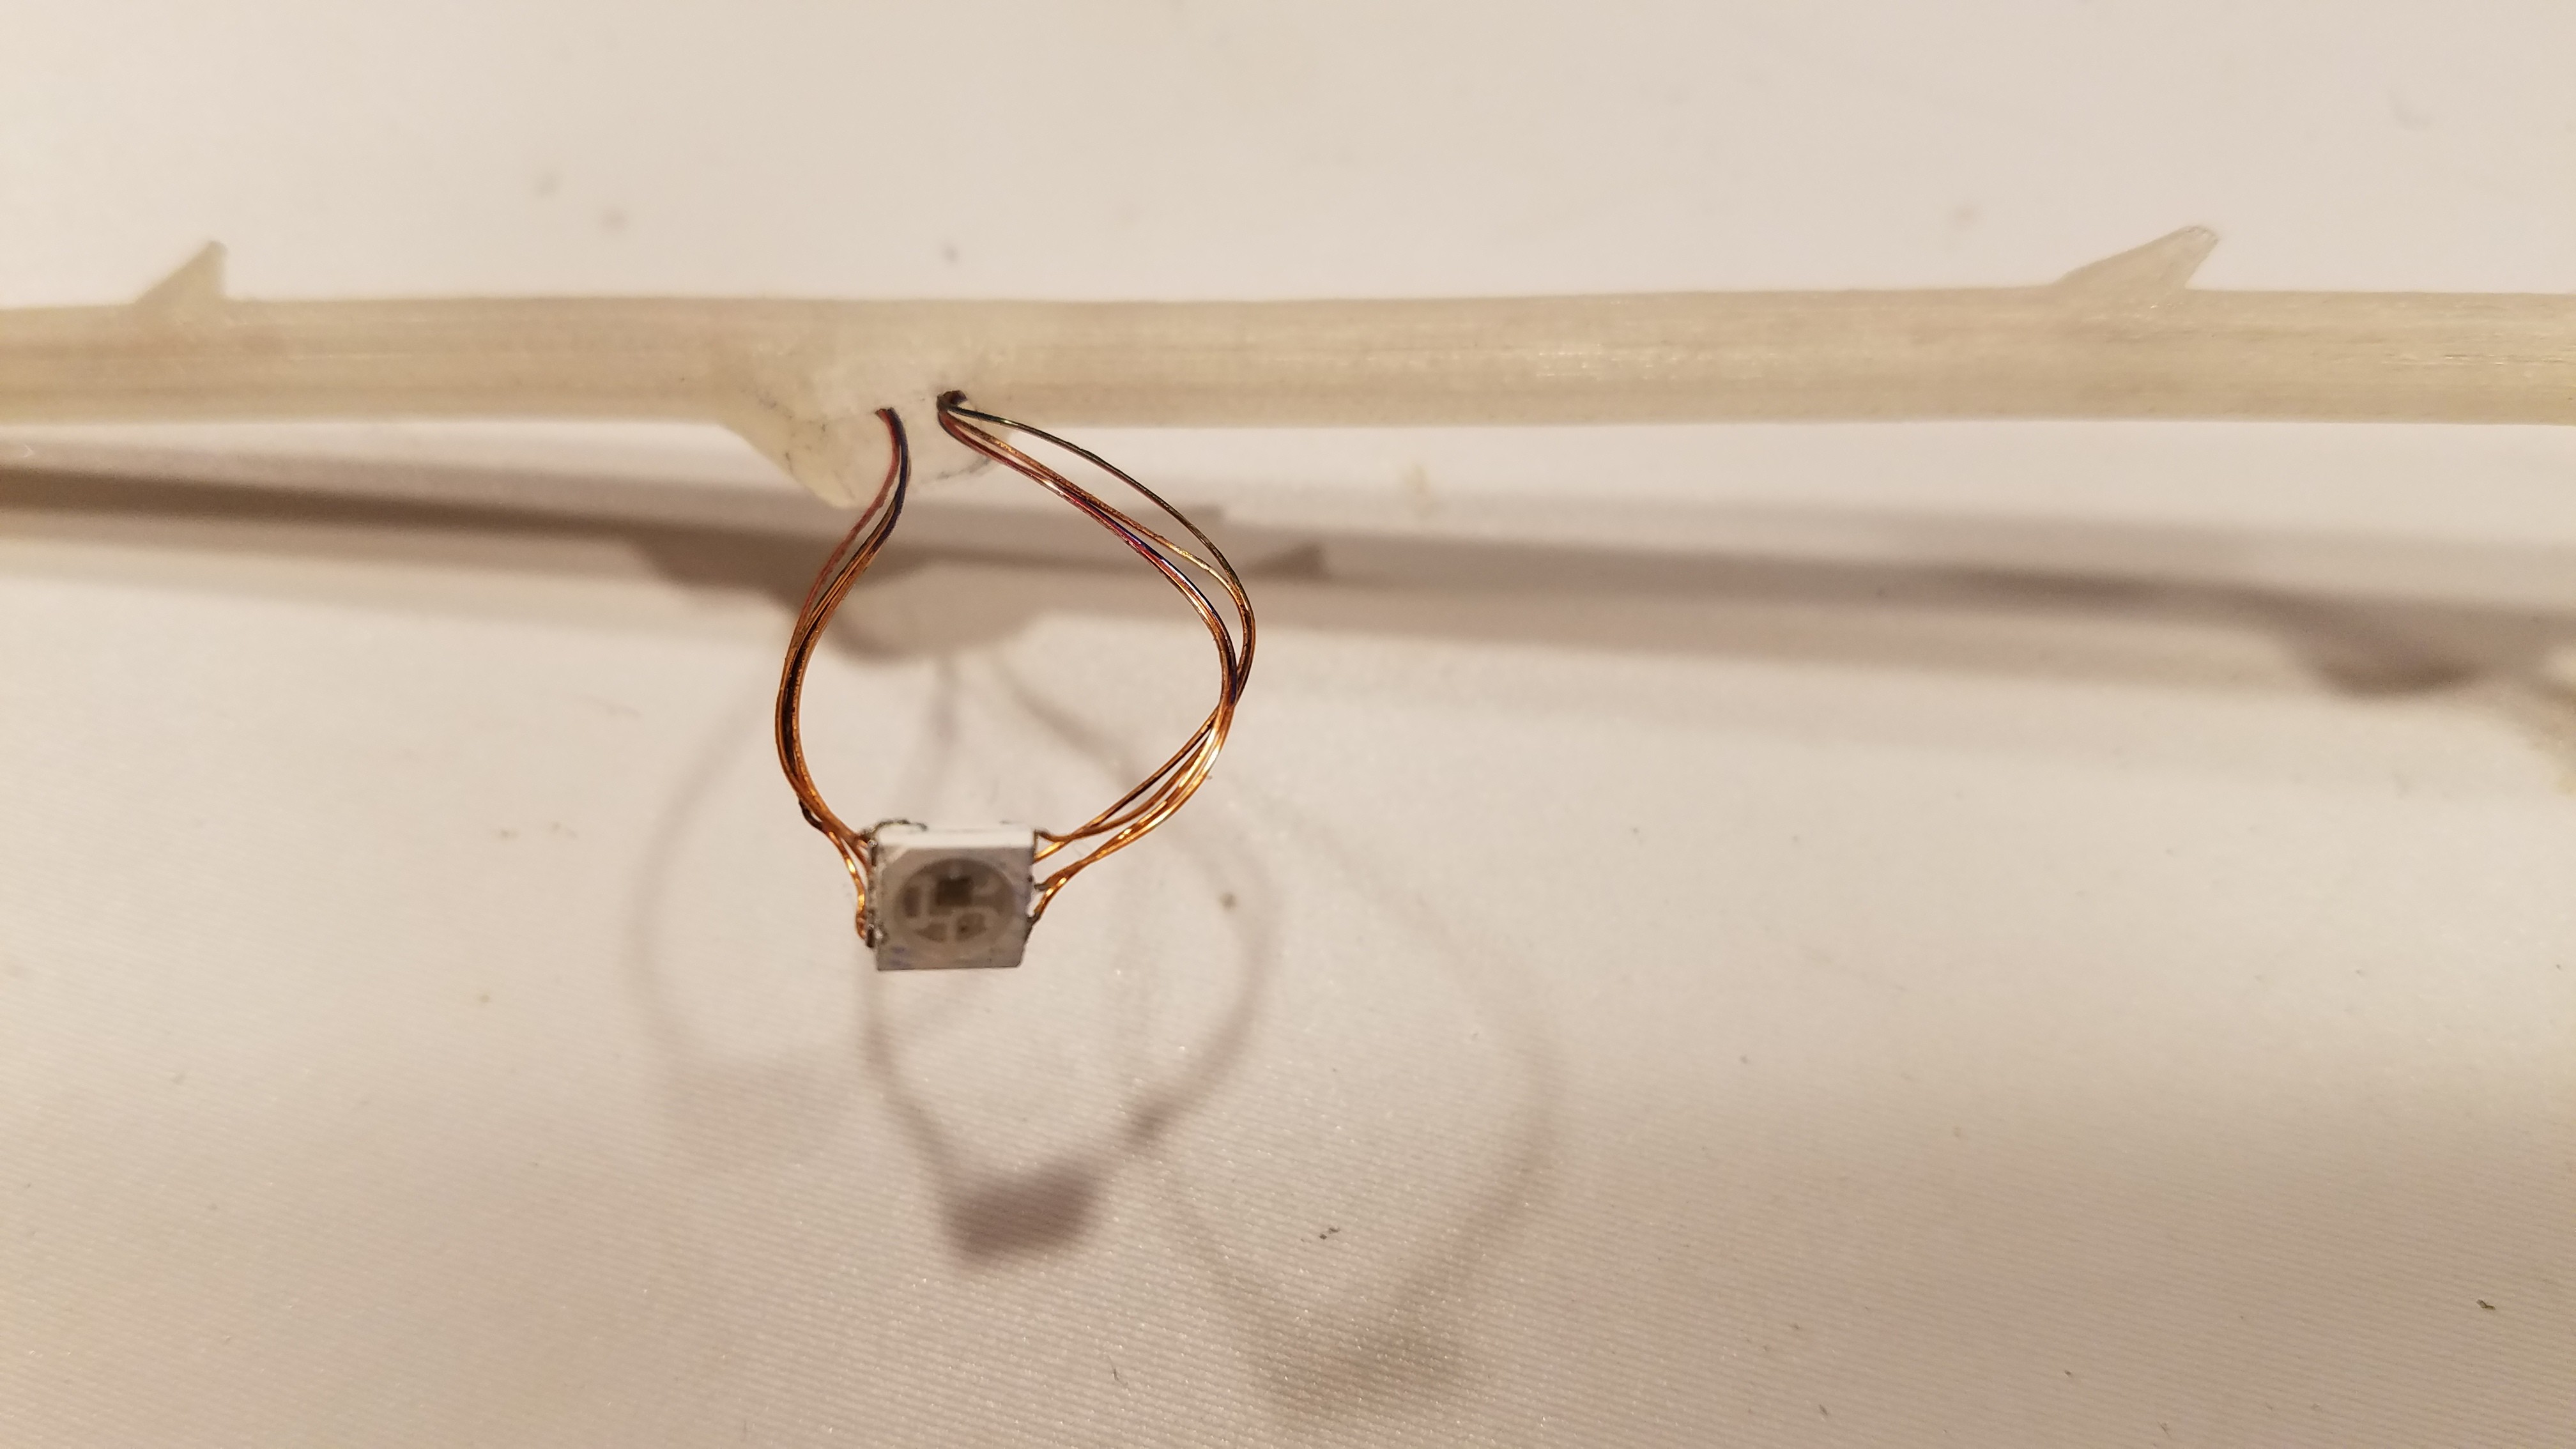
03/02/2019 at 04:22 • 0 commentsUnseated, and wired up the Dotstars I was using to light the stem leaves with magnet wire.
![]()
Colored the magnet wire for my own sanity with a sharpie. Mostly worked.
![]()
Fed the wires into the stem, so far so good..
![]()
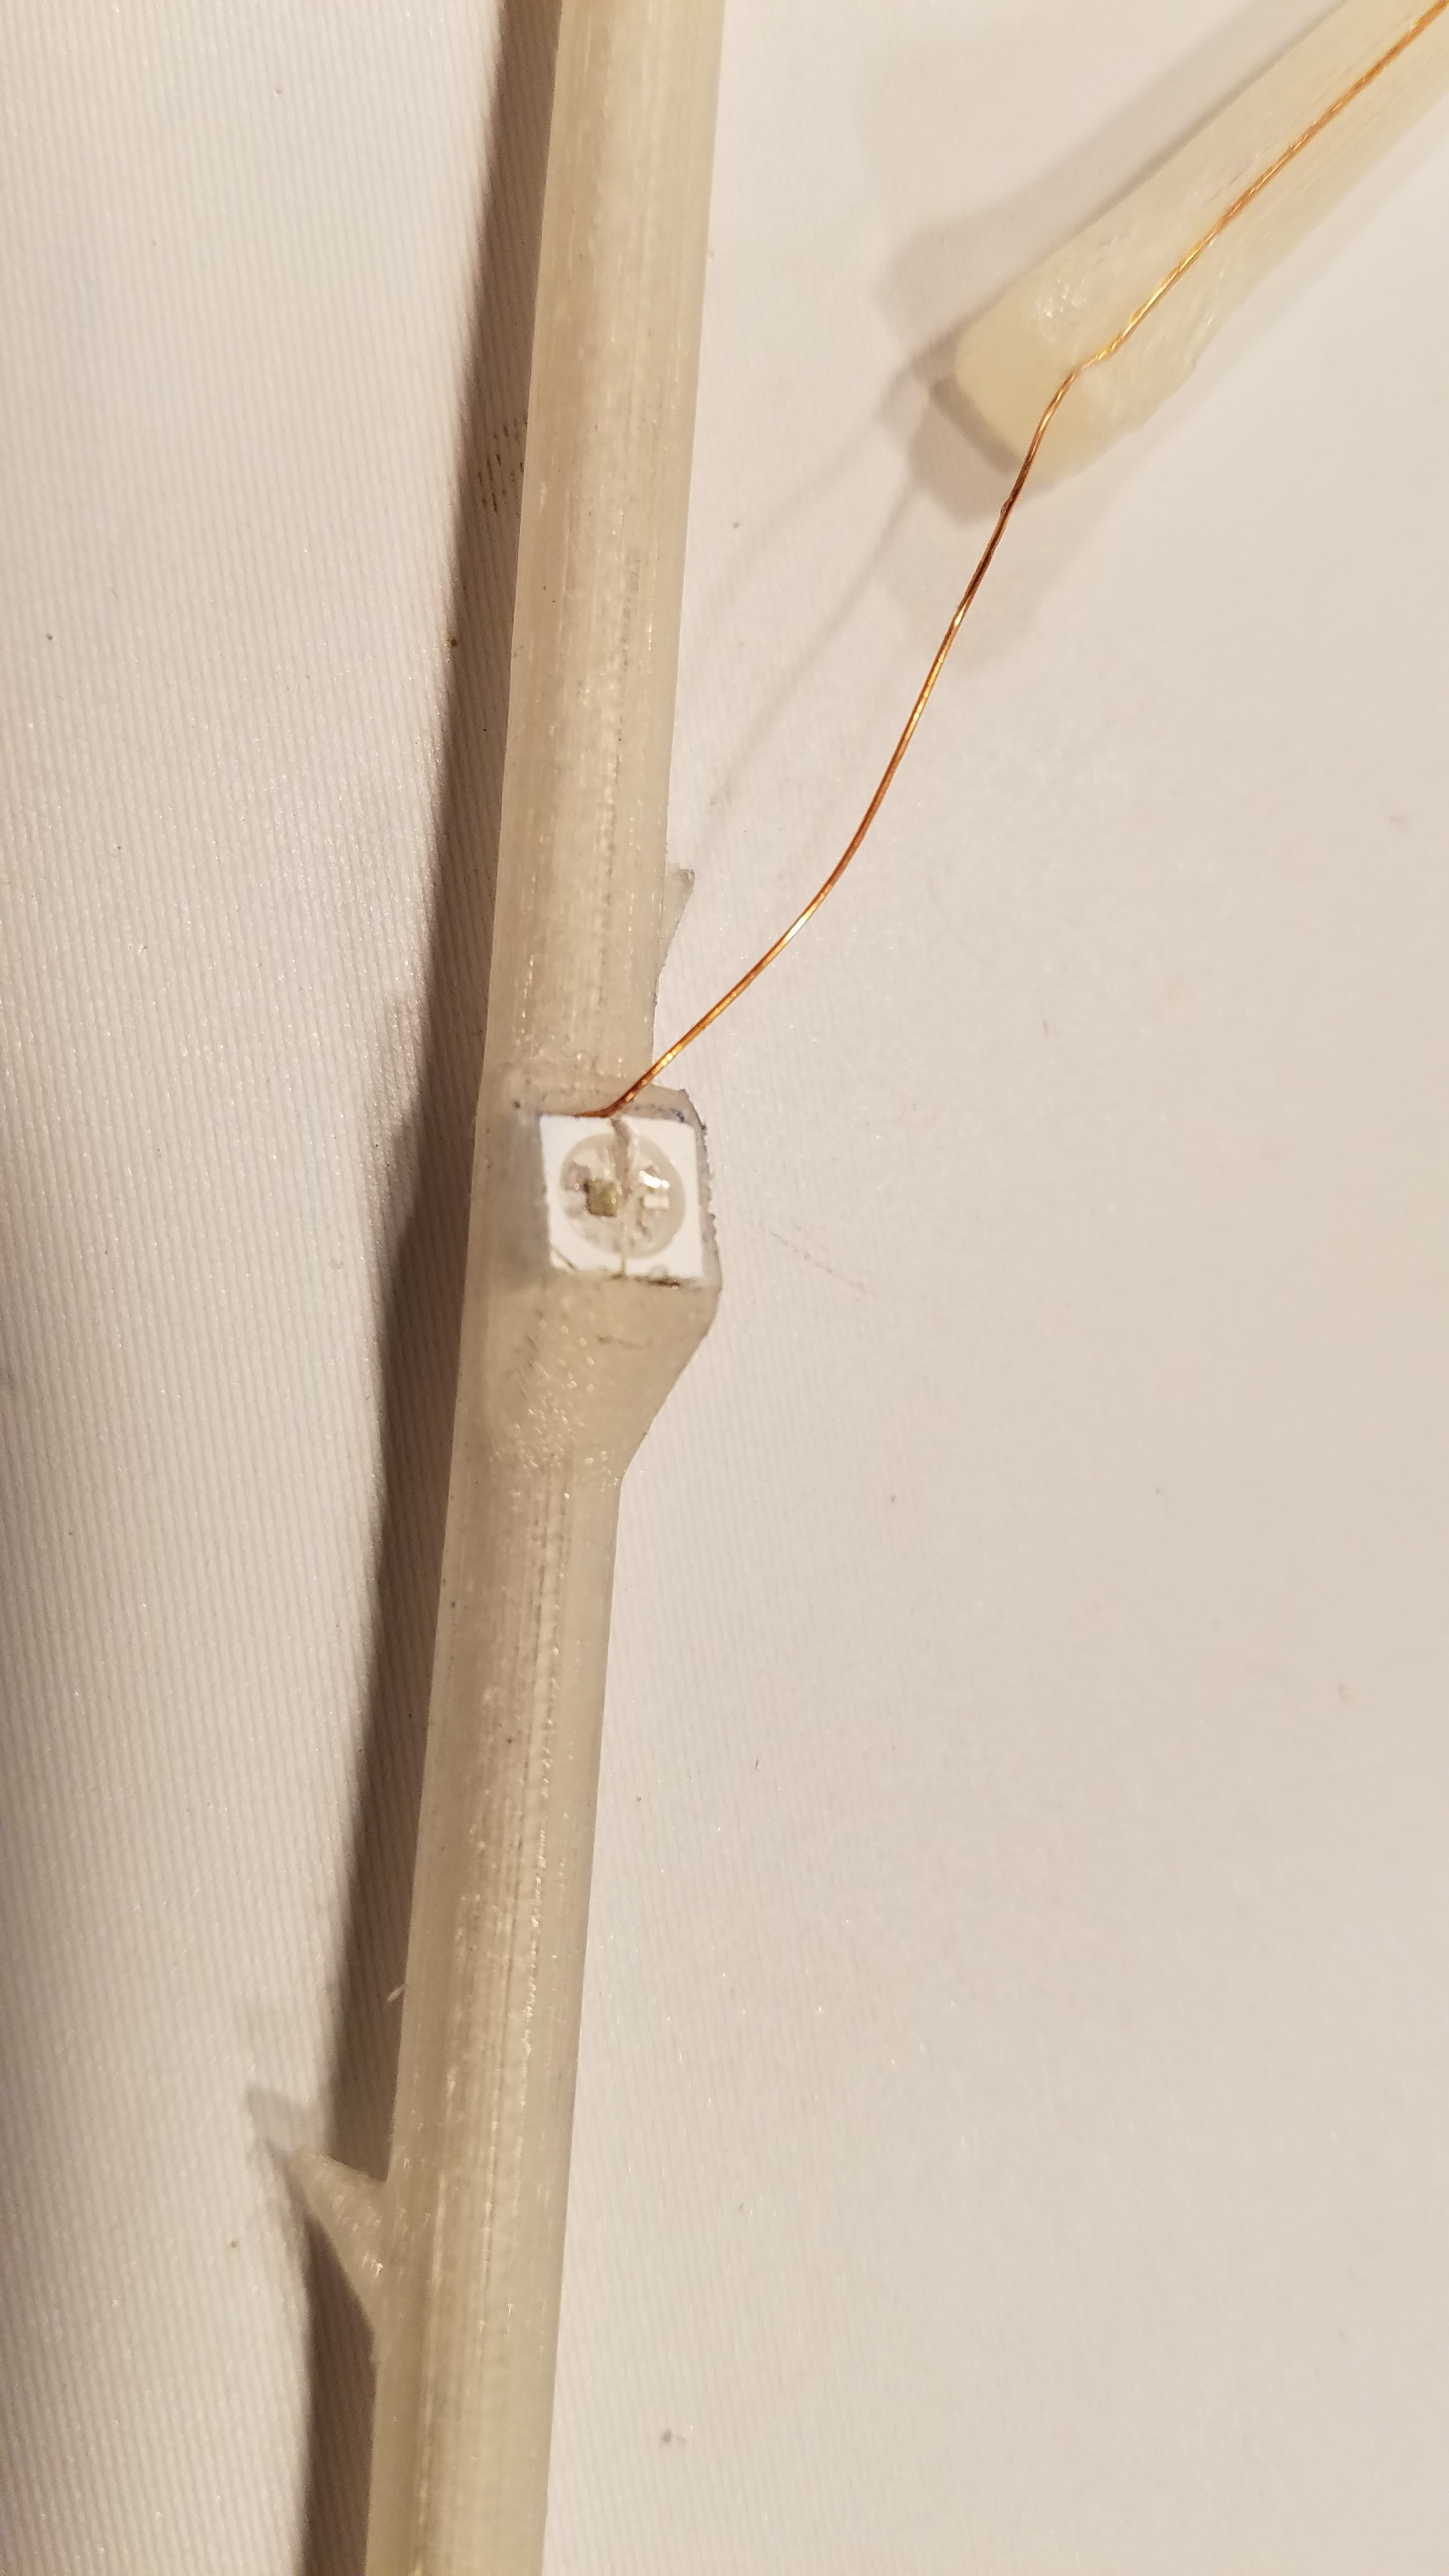
Ran the touch sense wire from the leaf, and pressed the modules in, and broke one.
![]()
I guess 0.4mm was not enough tolerance for the slot they go into in the stem. BAH.
Remodeled. Reprinting.
![]()
<EDIT>
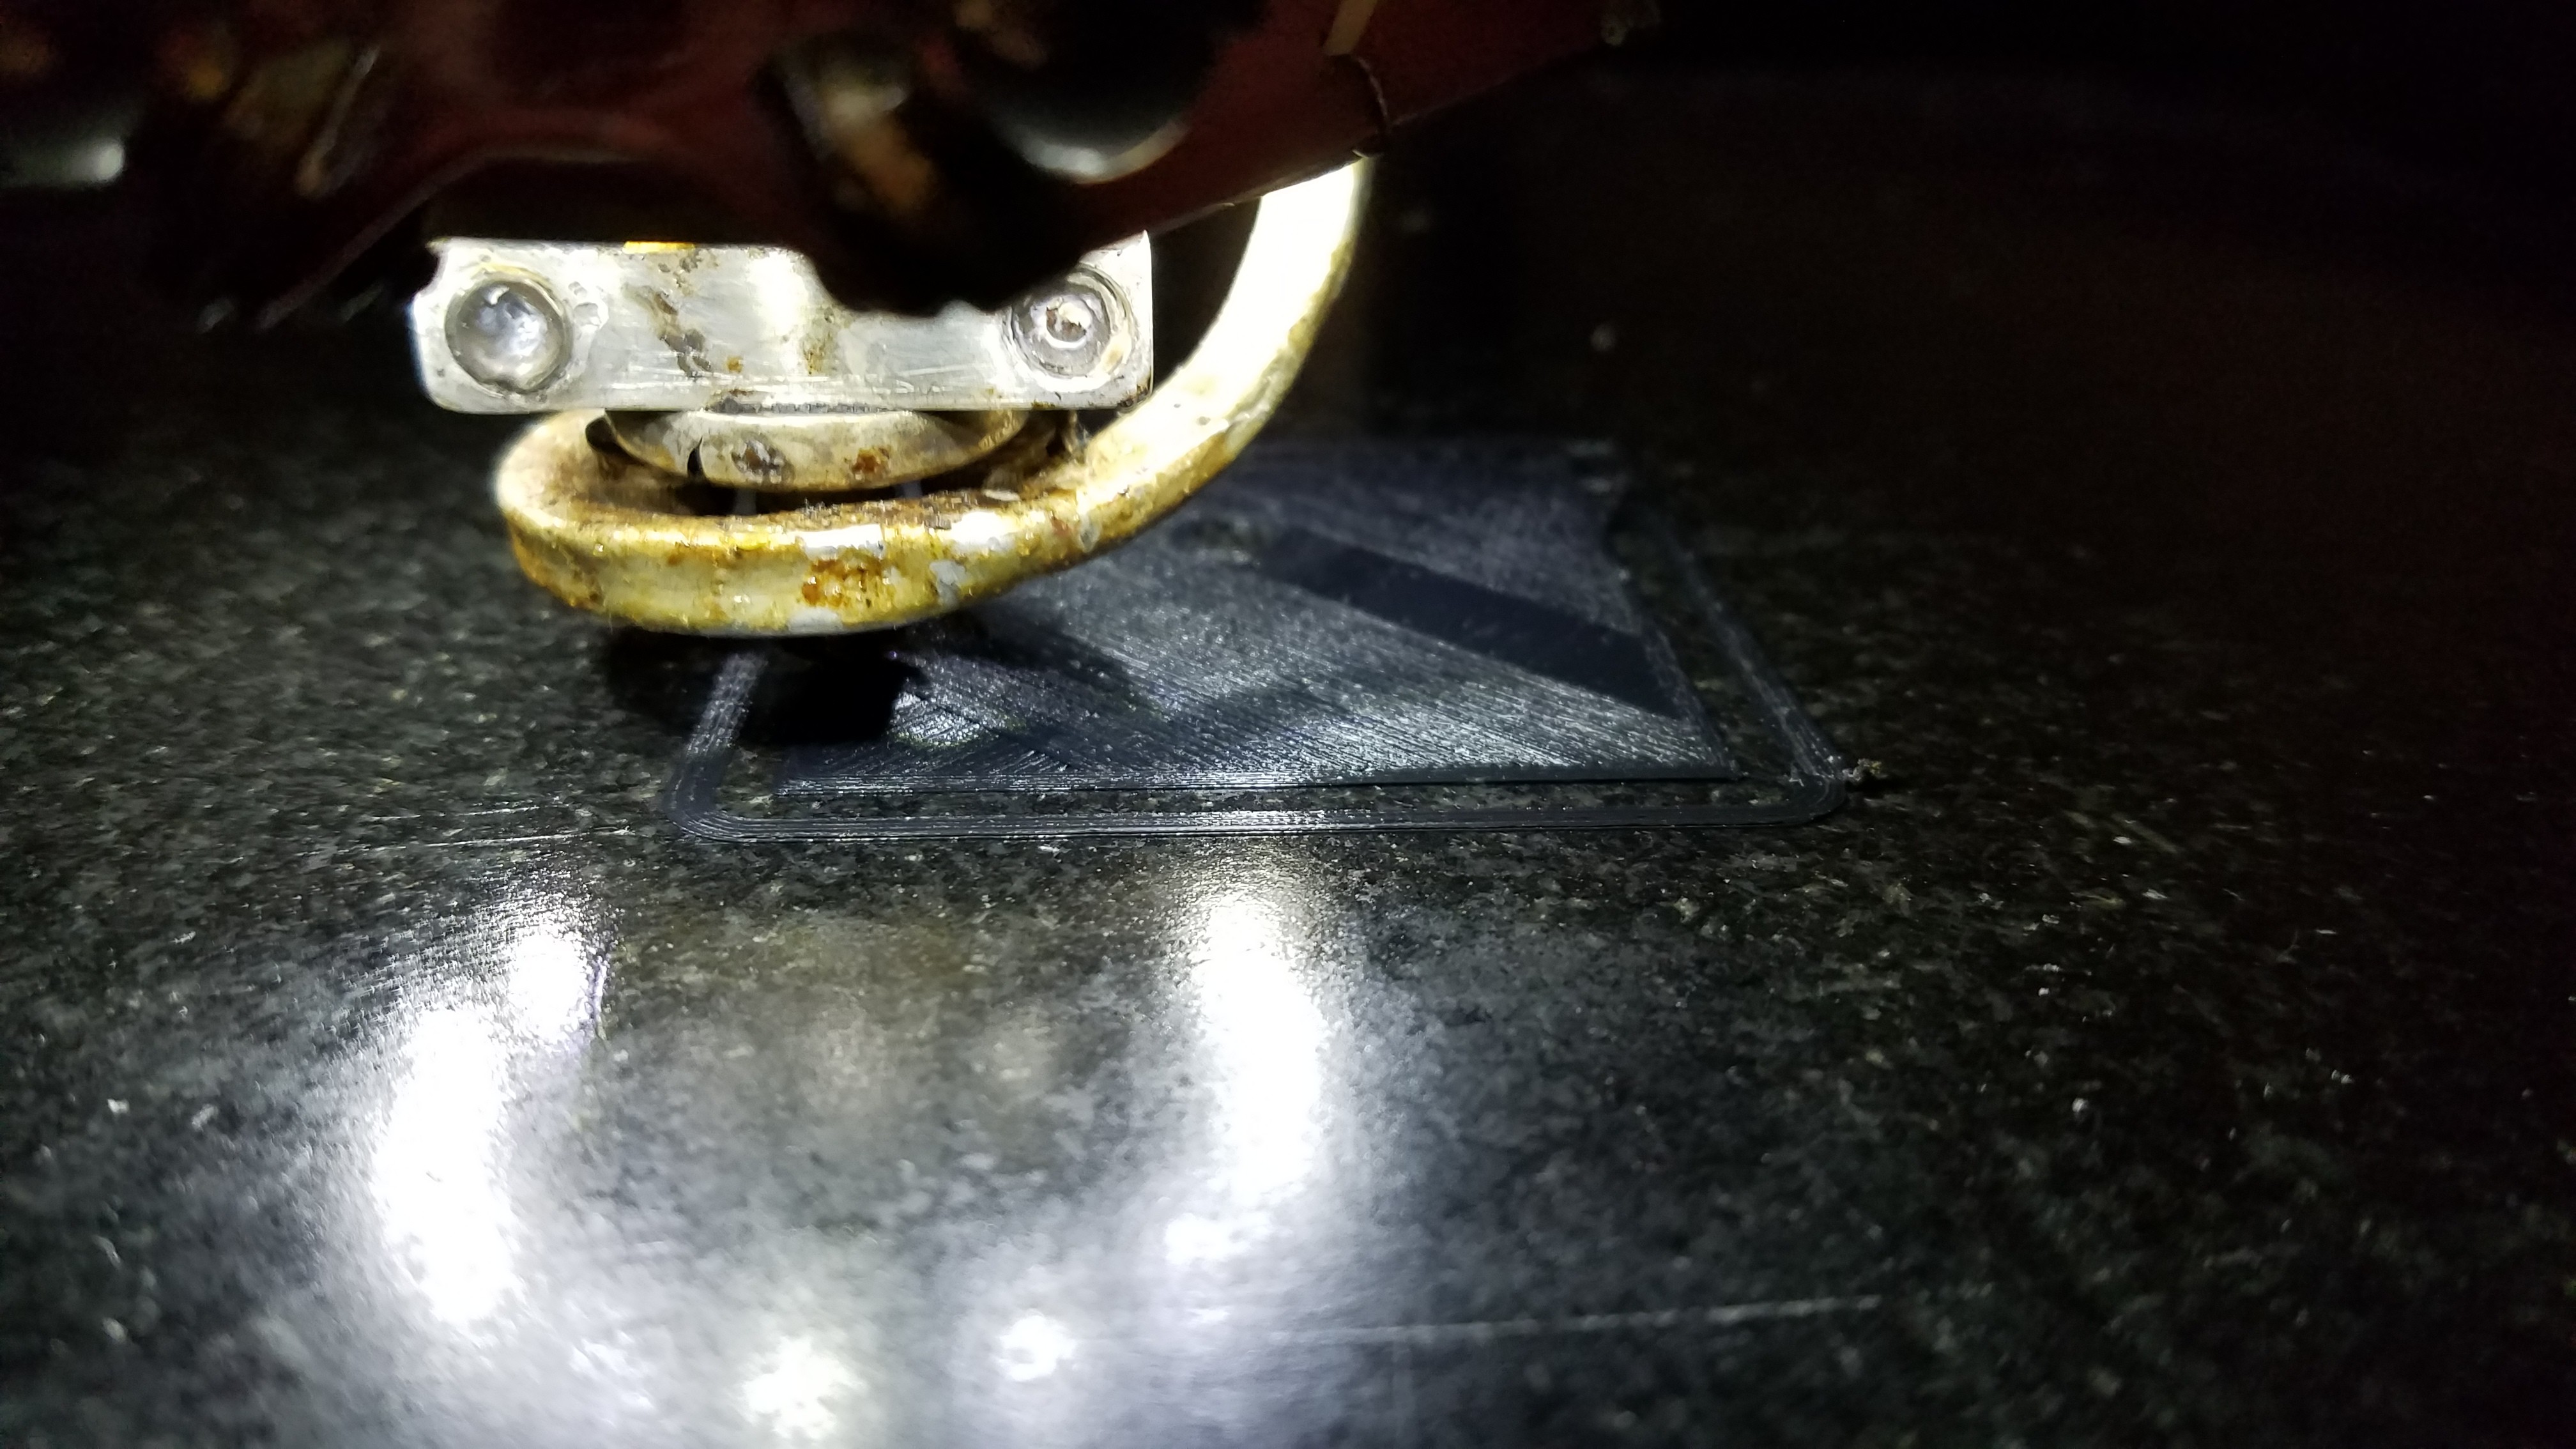
And now.. remember to close the printer door after taking your picture, so the part doesn't lift off the bed. I modeled in a 'brim' only on the ends to make cleanup more tolerable, but a consistent temperature is a requirement.
Reprinting.
</EDIT>
-
Embedded touch sense wires
02/27/2019 at 22:09 • 0 commentsThe leaves, and possibly the rose itself are going to be touch sensitive. This means they need a wire.
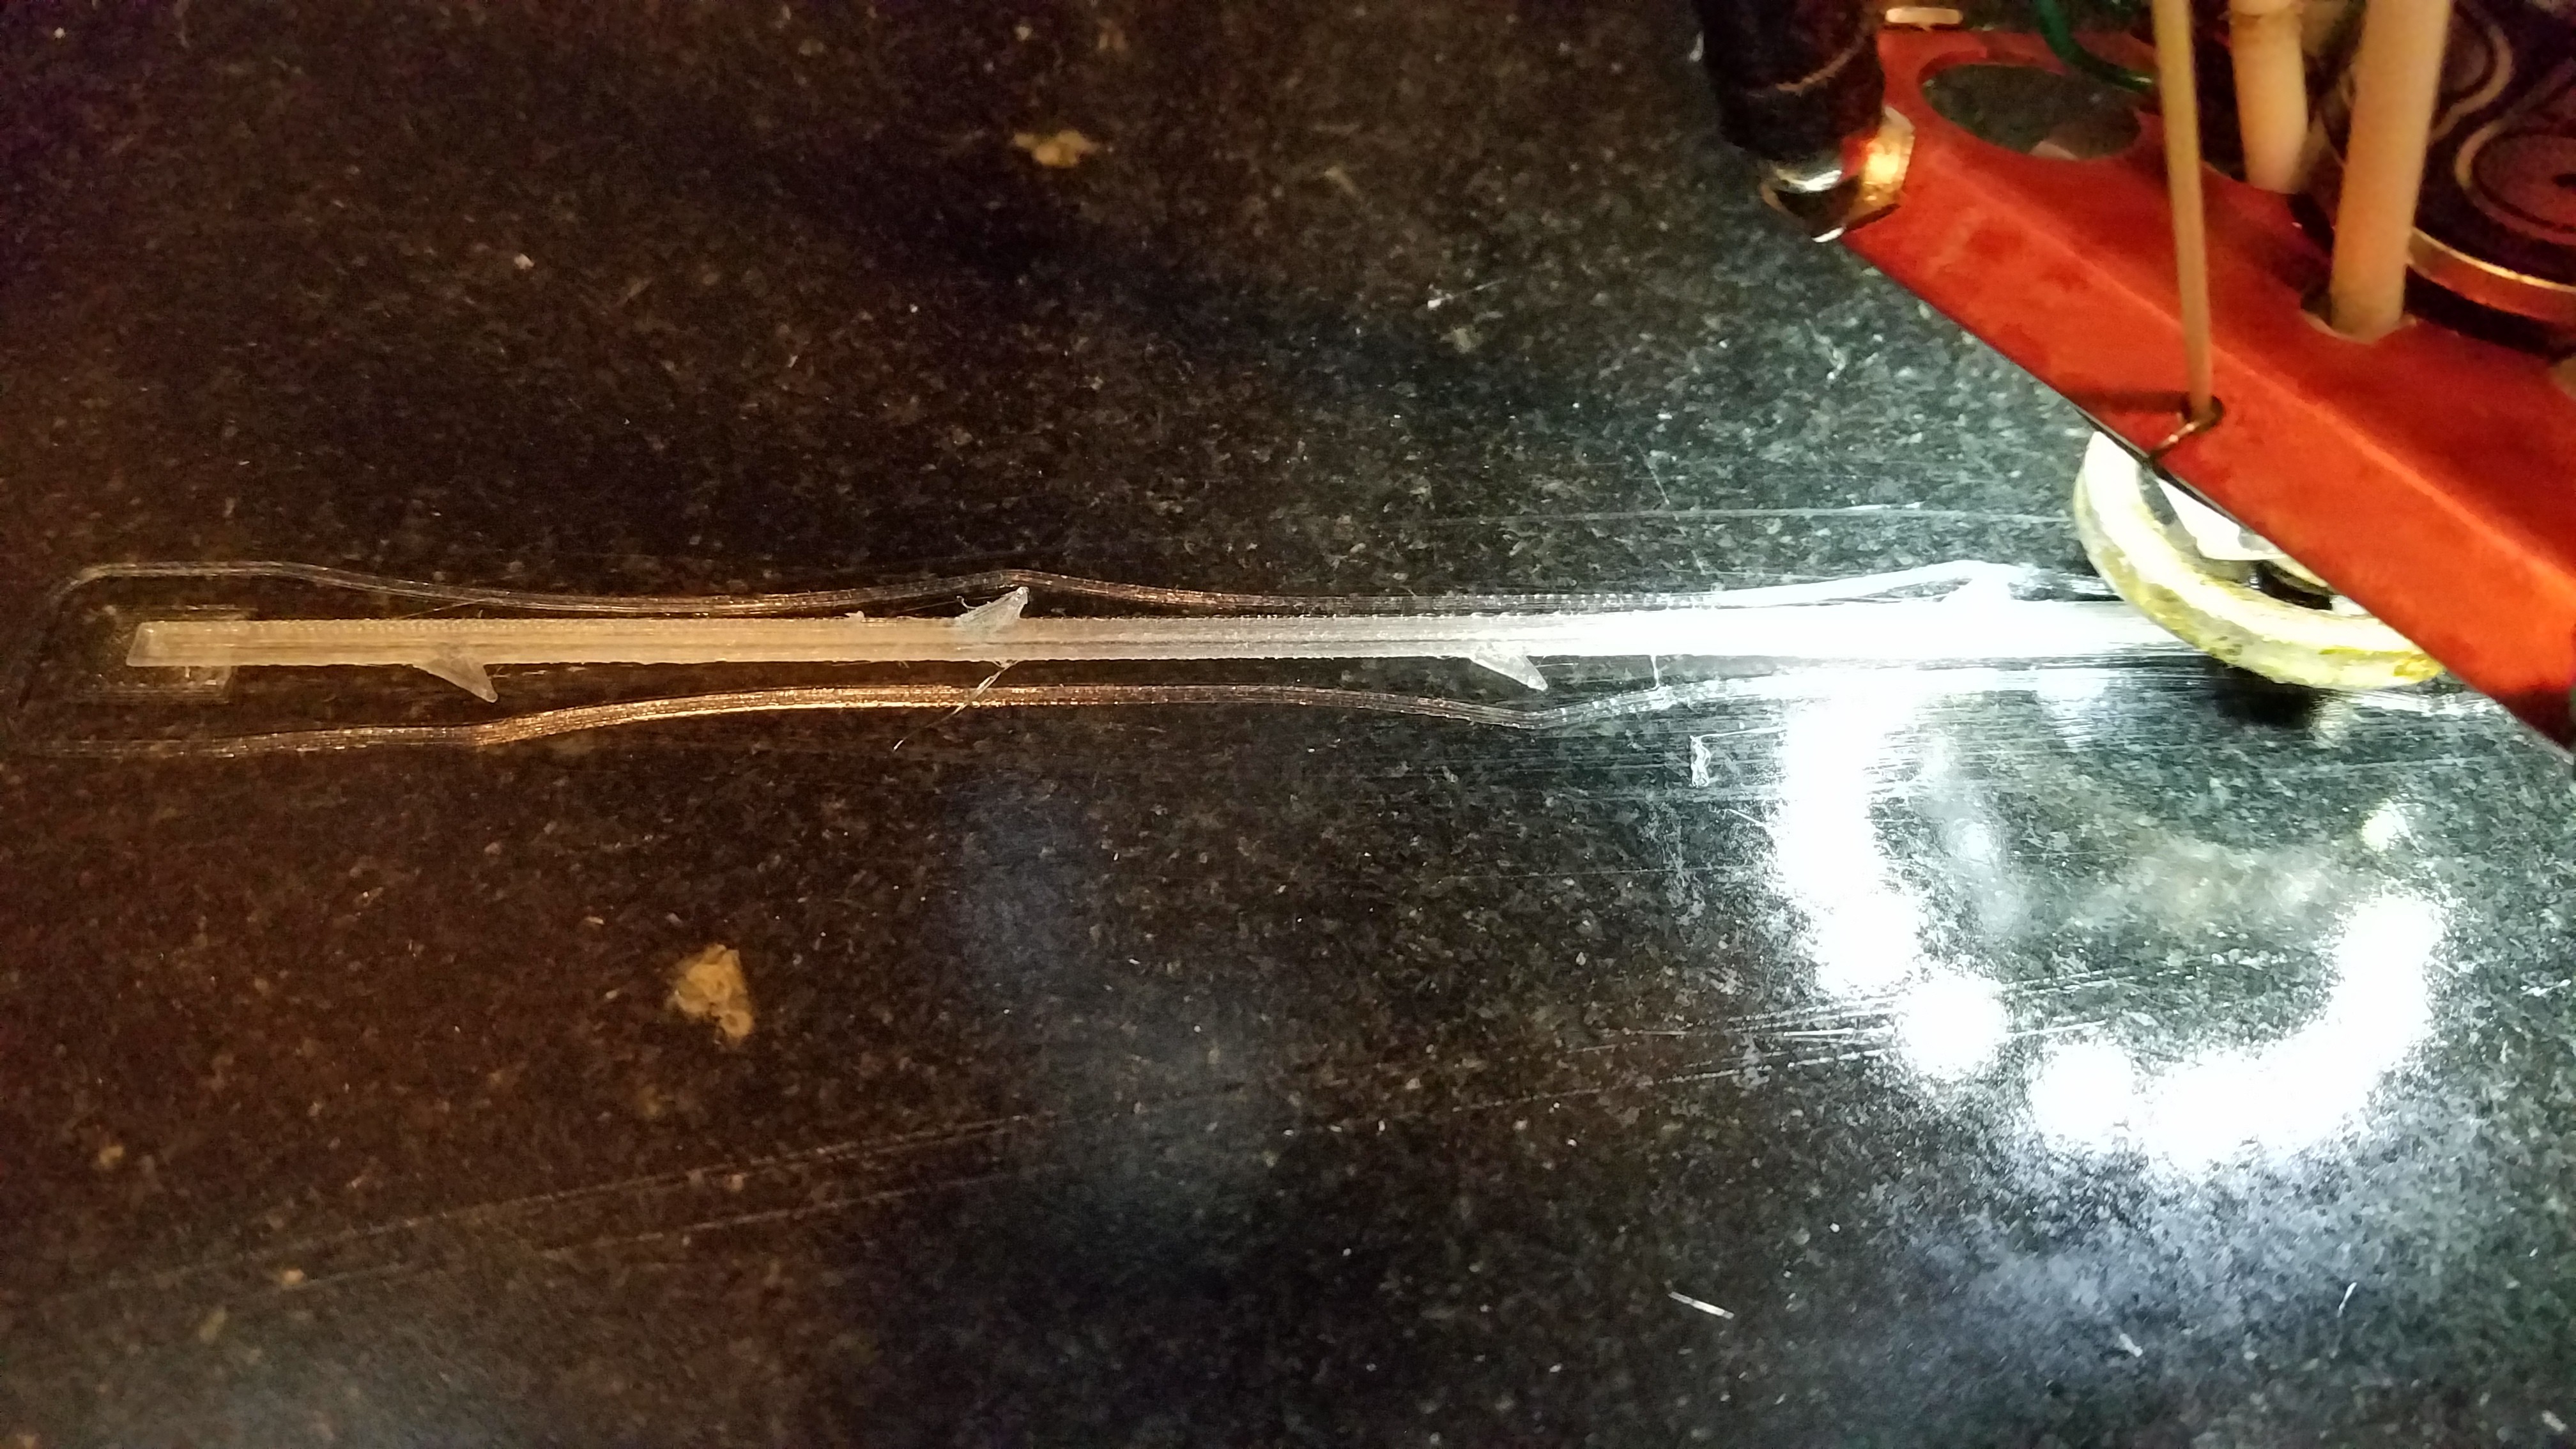
Decided to try embedding them in the print. Increased the first layer thickness to 0.3mm
Started the print, then stopped it. Carefully lifted the skirt and passed my wire under it.
Taped it off on both ends aligned to the center.
![]()
Removed the skirt, and started the print again. Works!
End result.
![]()
It would be better if the wire was between the first and second layer, but that would require stopping the print and leaving a gap. This works fine and is easier.
<EDIT>
For the second one, I put down extra hairspray to act as a release agent. I then taped the wire down as before but then gave it a coat of superglue on the bed. The PLA bonds nicely to the dried superglue, so now it's really in there...
Um... nope. It still stuck to the bed more than it stuck to the part, and removed when I lifted it from the bed.
I guess I'll have to live with it being 'mostly in there', or put it in between layers.
</EDIT>
<EDIT_2>
I've since decided it is easier to print over the wire and if it comes out after printing, so be it.
It is much easier to put it back with a drop of super glue after the fact, and it keeps the wire right at the surface. I don't know how effective my touch sense will be as I'm doing the cheap/easy version which just requires one resistor. More options this way.
</EDIT_2>
-
Final parts.
02/26/2019 at 22:15 • 0 commentsFinished up modeling the parts.
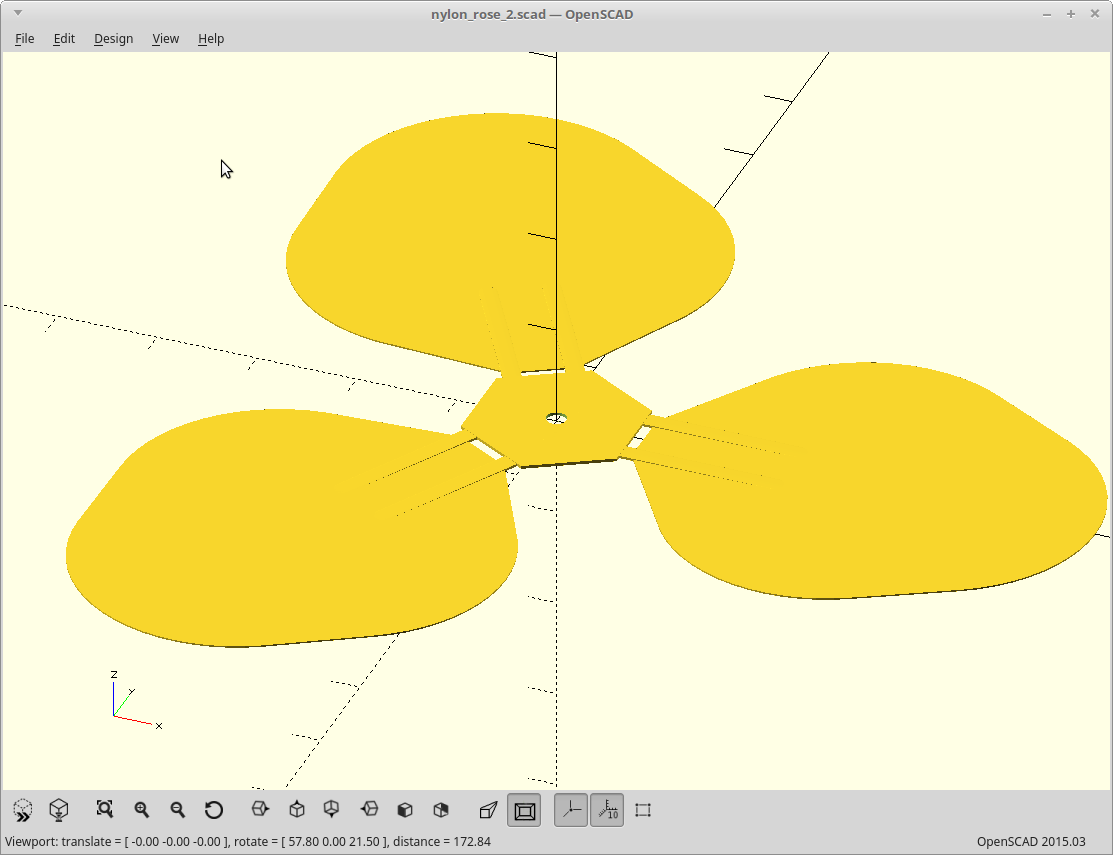
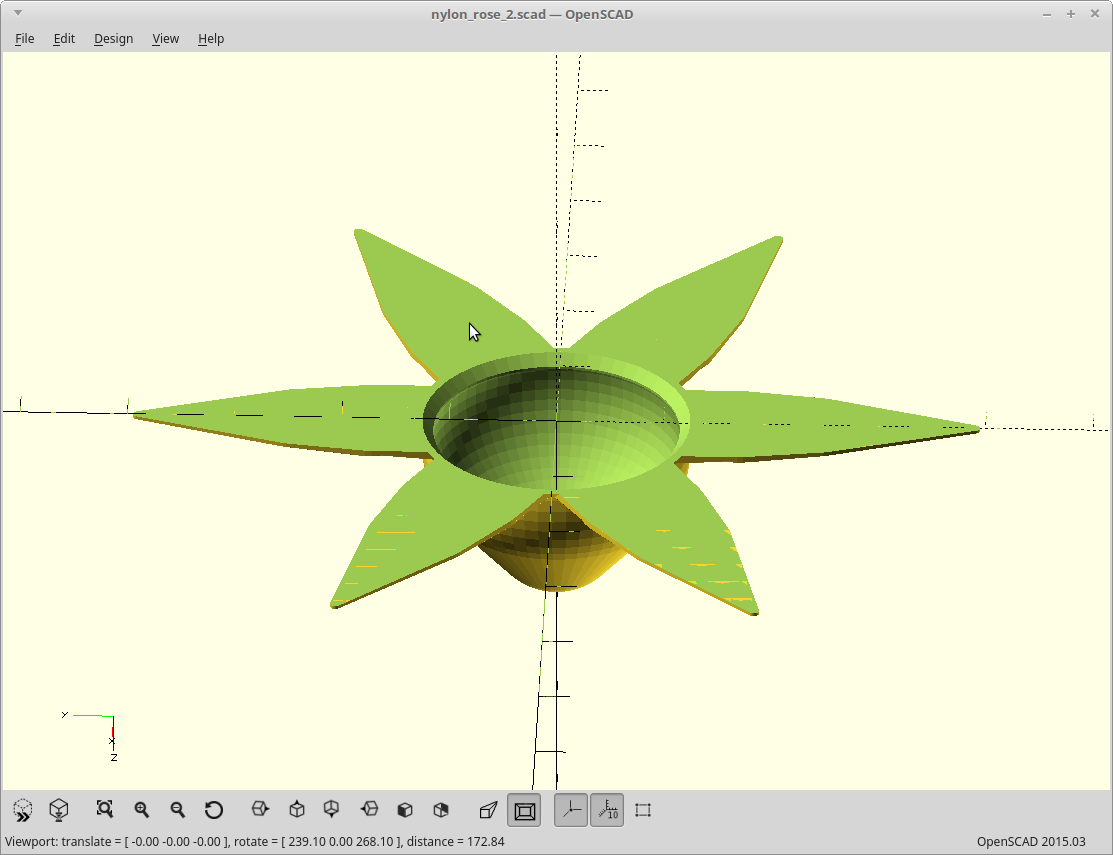
The petals:
![]()
Heat formed nylon over a chandelier light bulb to give the flat print a two dimensional curve. The little raised bits form springs which extend the petals.
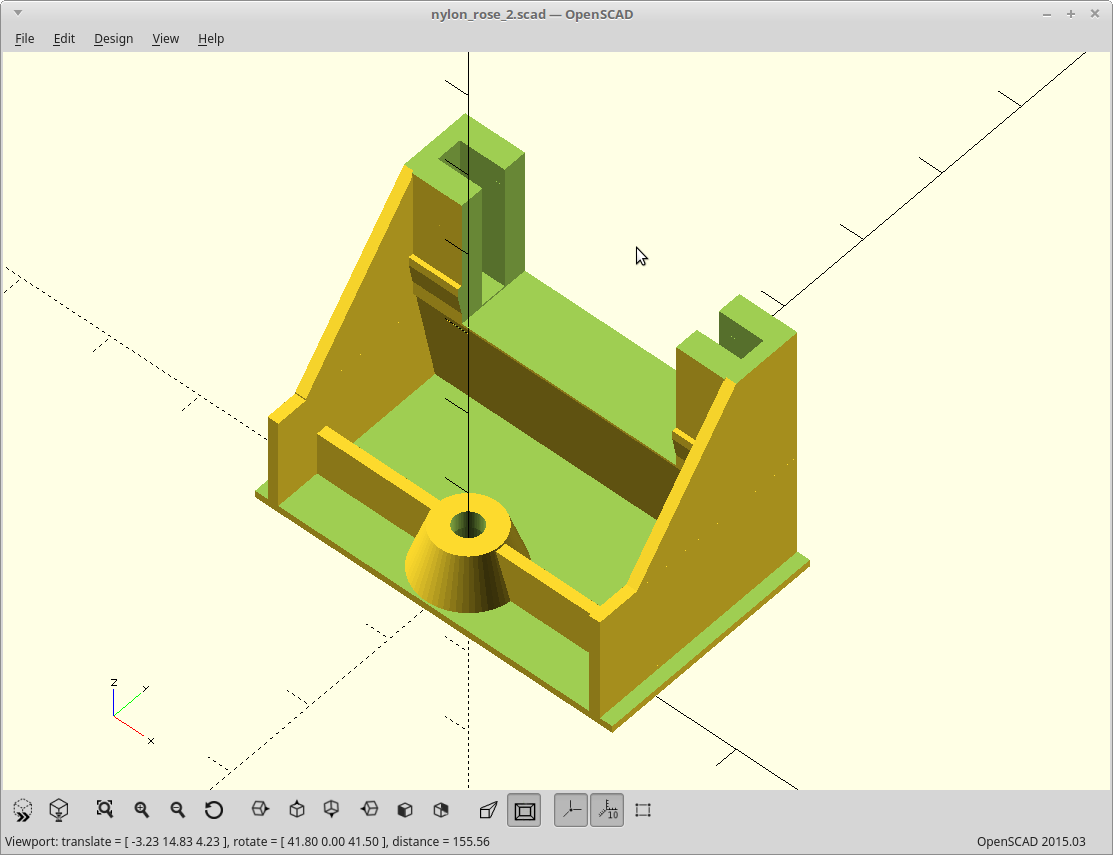
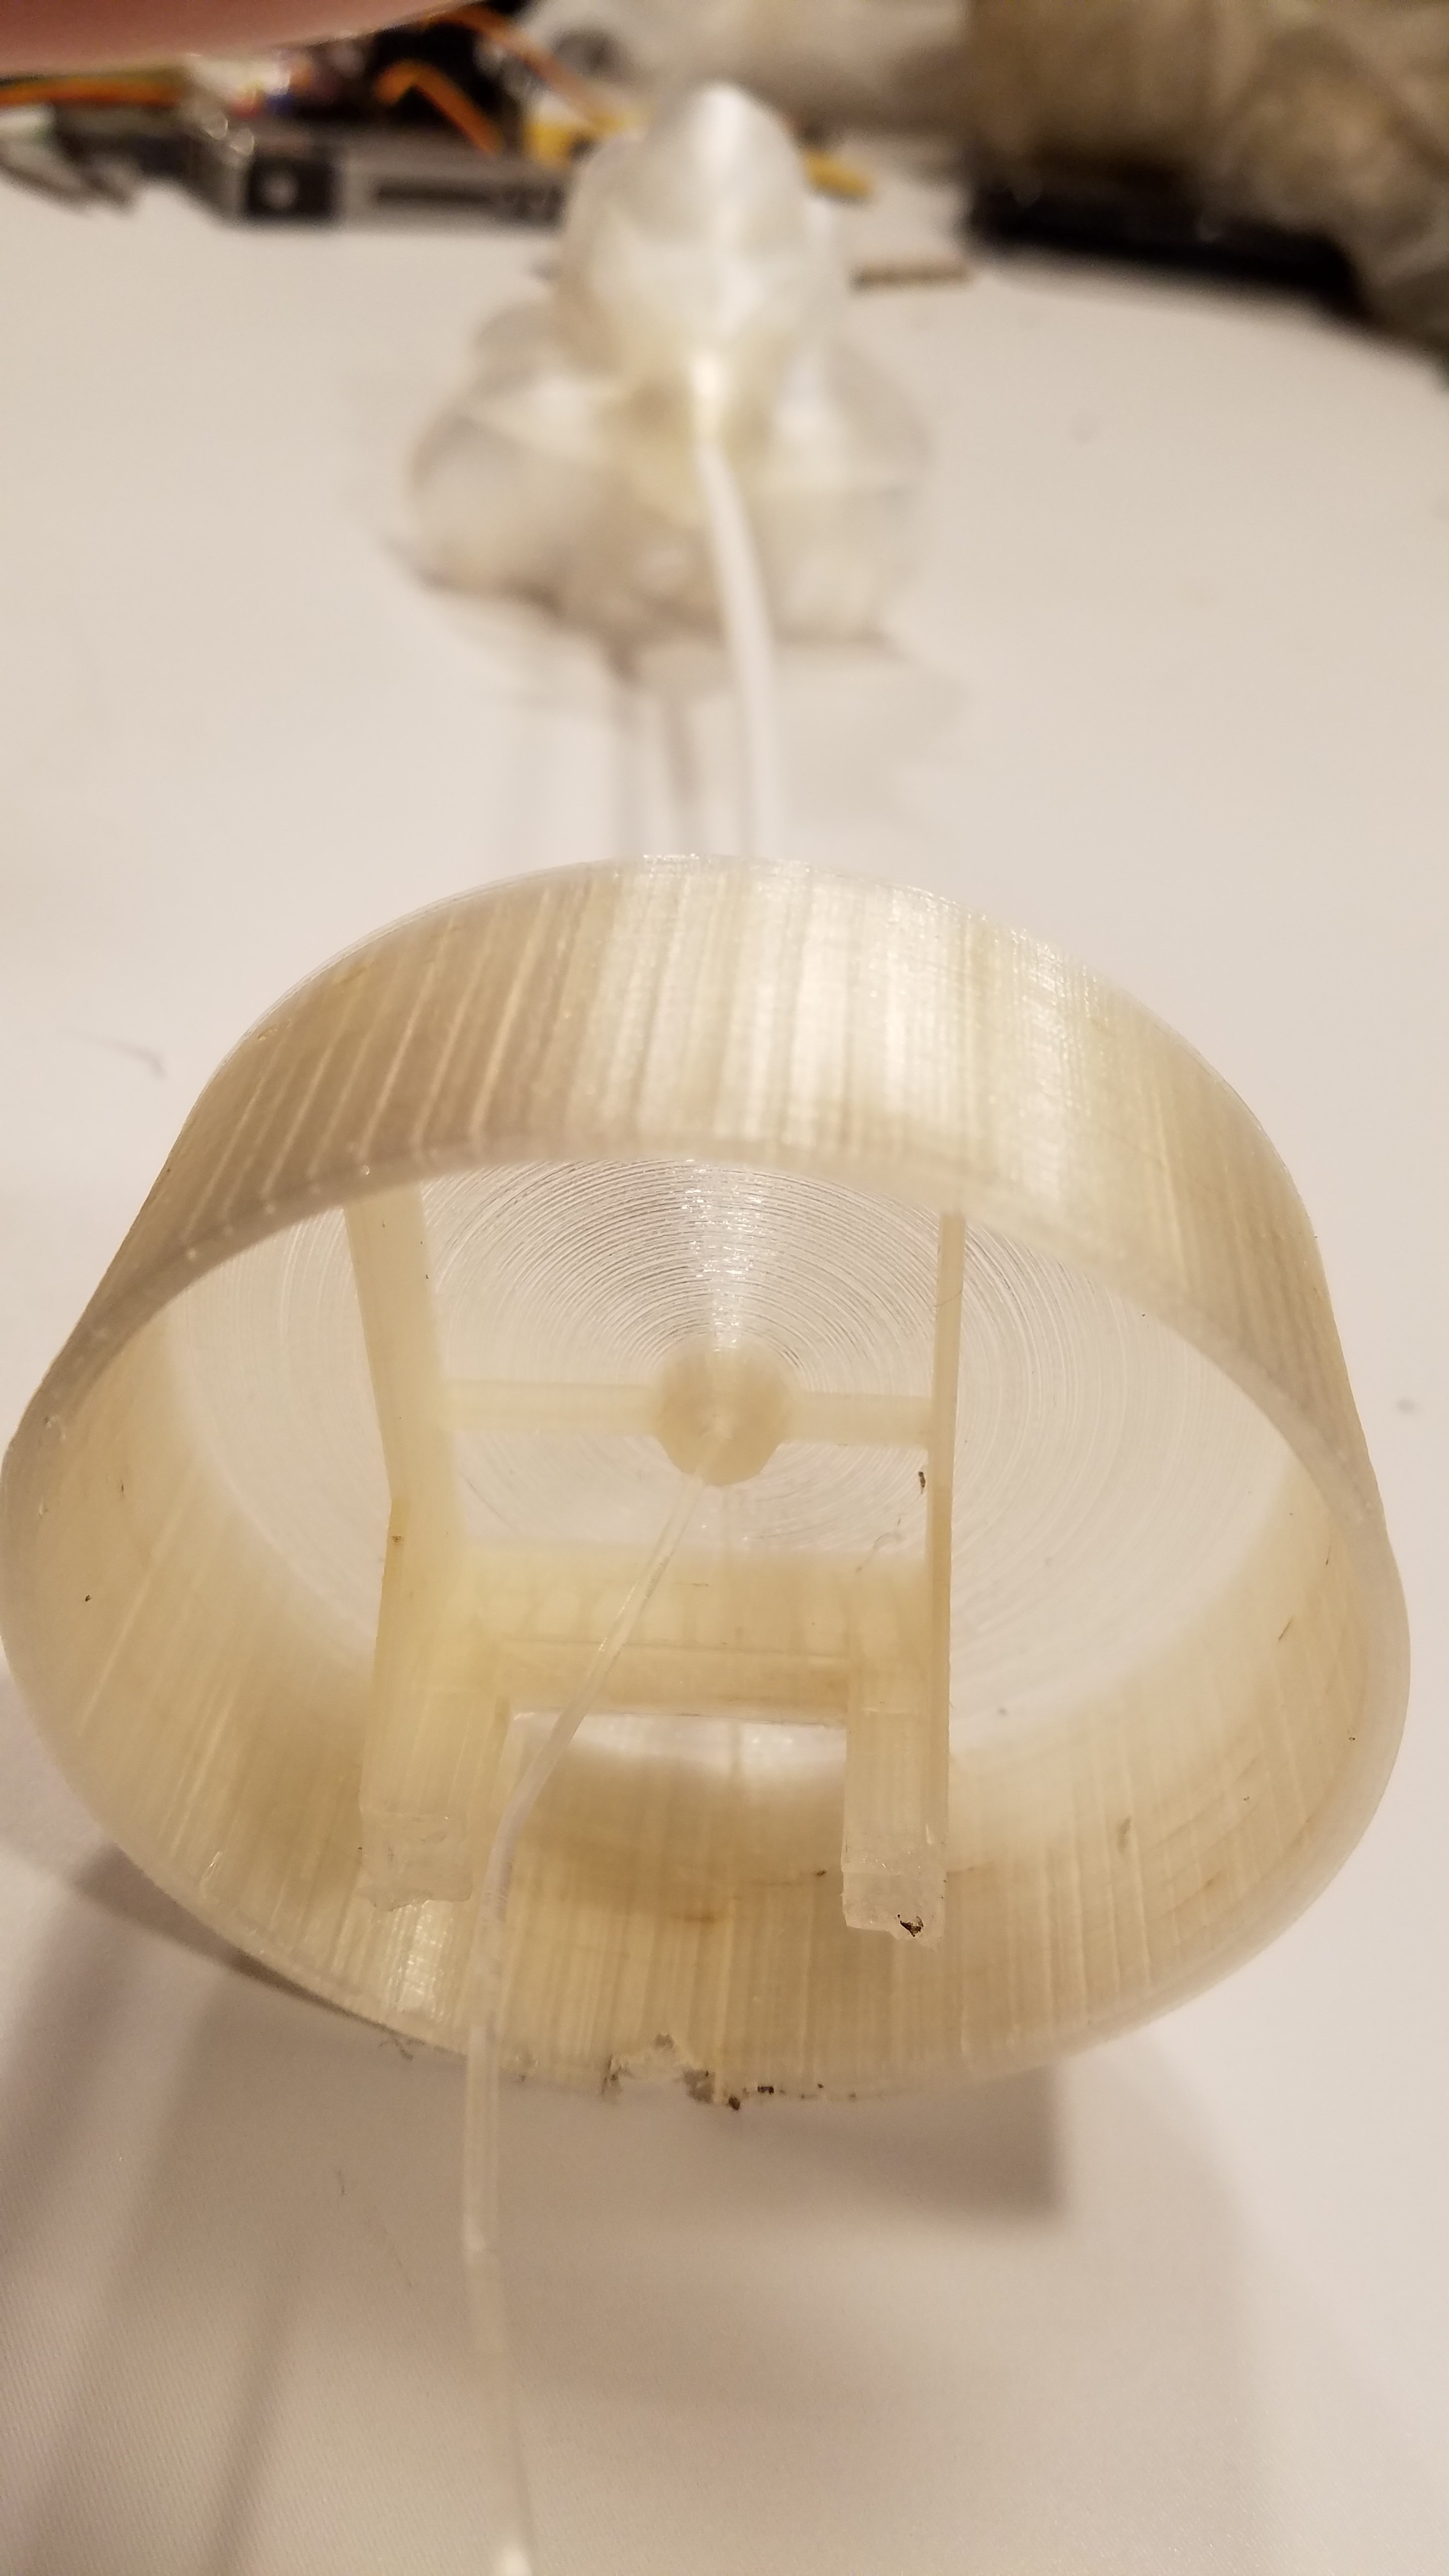
The base:
![]()
I ditched the fully 3D printed base for a smaller one, doing just what is needed.
The two vertical slots hold a 9g servo, with the servo arm then being biased at the correct distance to provide the required travel/torque. Torque is going to be close... I should probably spec a bigger servo, but I got the 9g ones on-hand.
The raised hub part will get a Dotstar module epoxied to it to light the bottom of the stem.
Printing the whole thing was wasting a ton of filament as something about it kept causing the print to 'catch' very near the end. I gave up and printed the bit I need. I'll put it inside a spray painted cup, and save 4 hours.
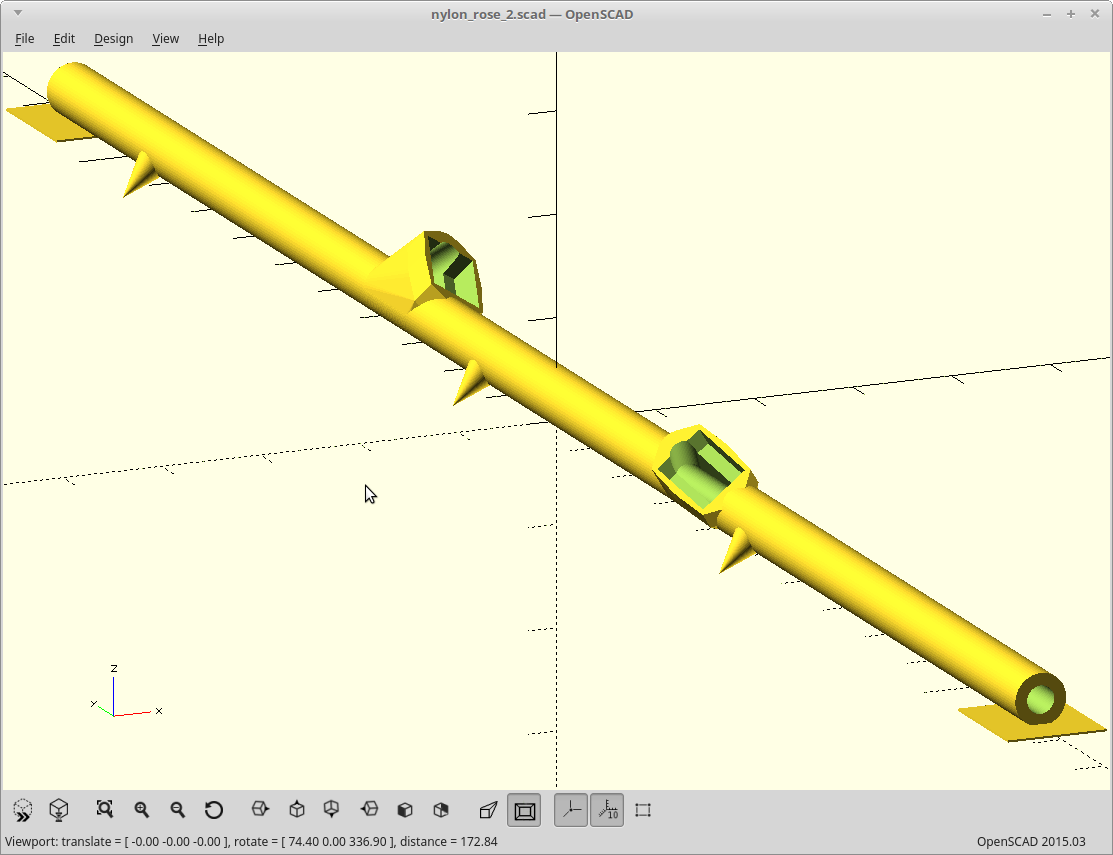
The stem:
![]()
Center channel contains the magnet wire used to light the petals and leaves, and also the connecting rod to pull the rose closed. The two 'pockets' are sized for holding Dotstar modules to light up the corresponding leaves.
Originally printed as two sections to be joined which required 'brim' to stay on the bed, and the cleanup really sucked. This one prints flat, can still be heat formed.... and thanks to the little square bits at the end does not need 'brim' to stay on the bed.
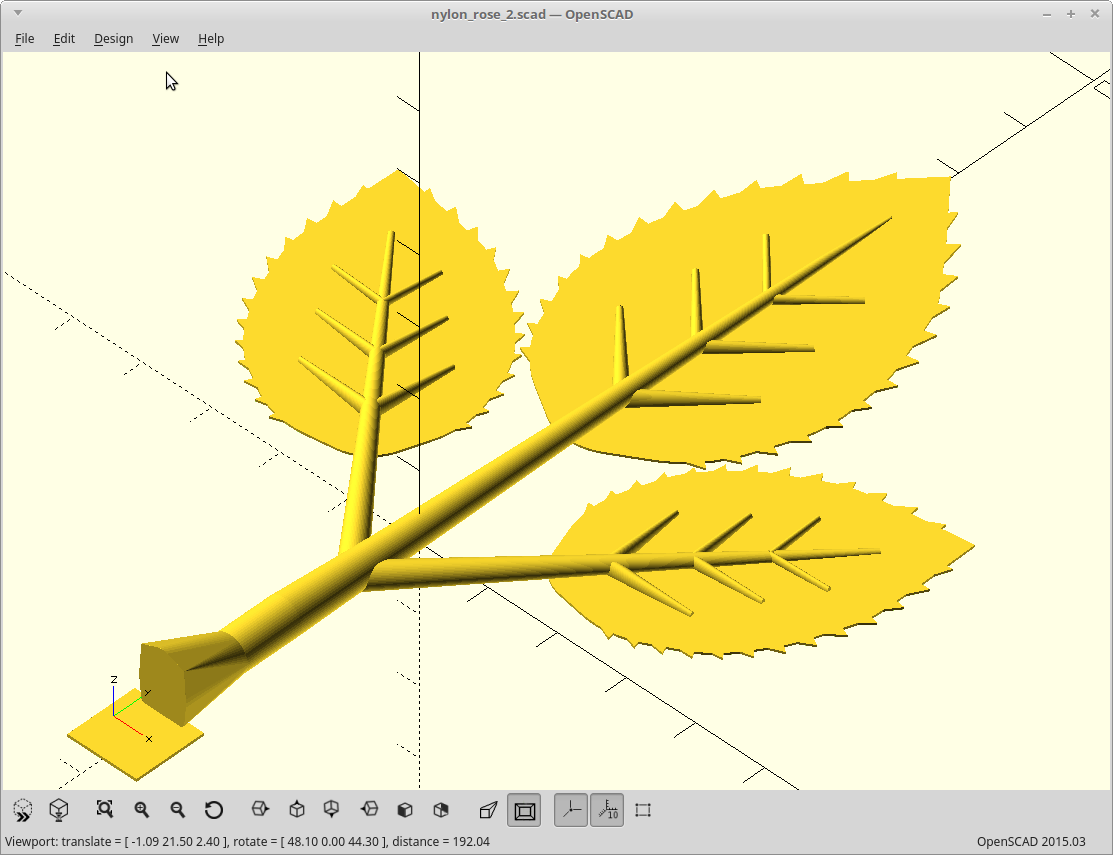
The leaves:
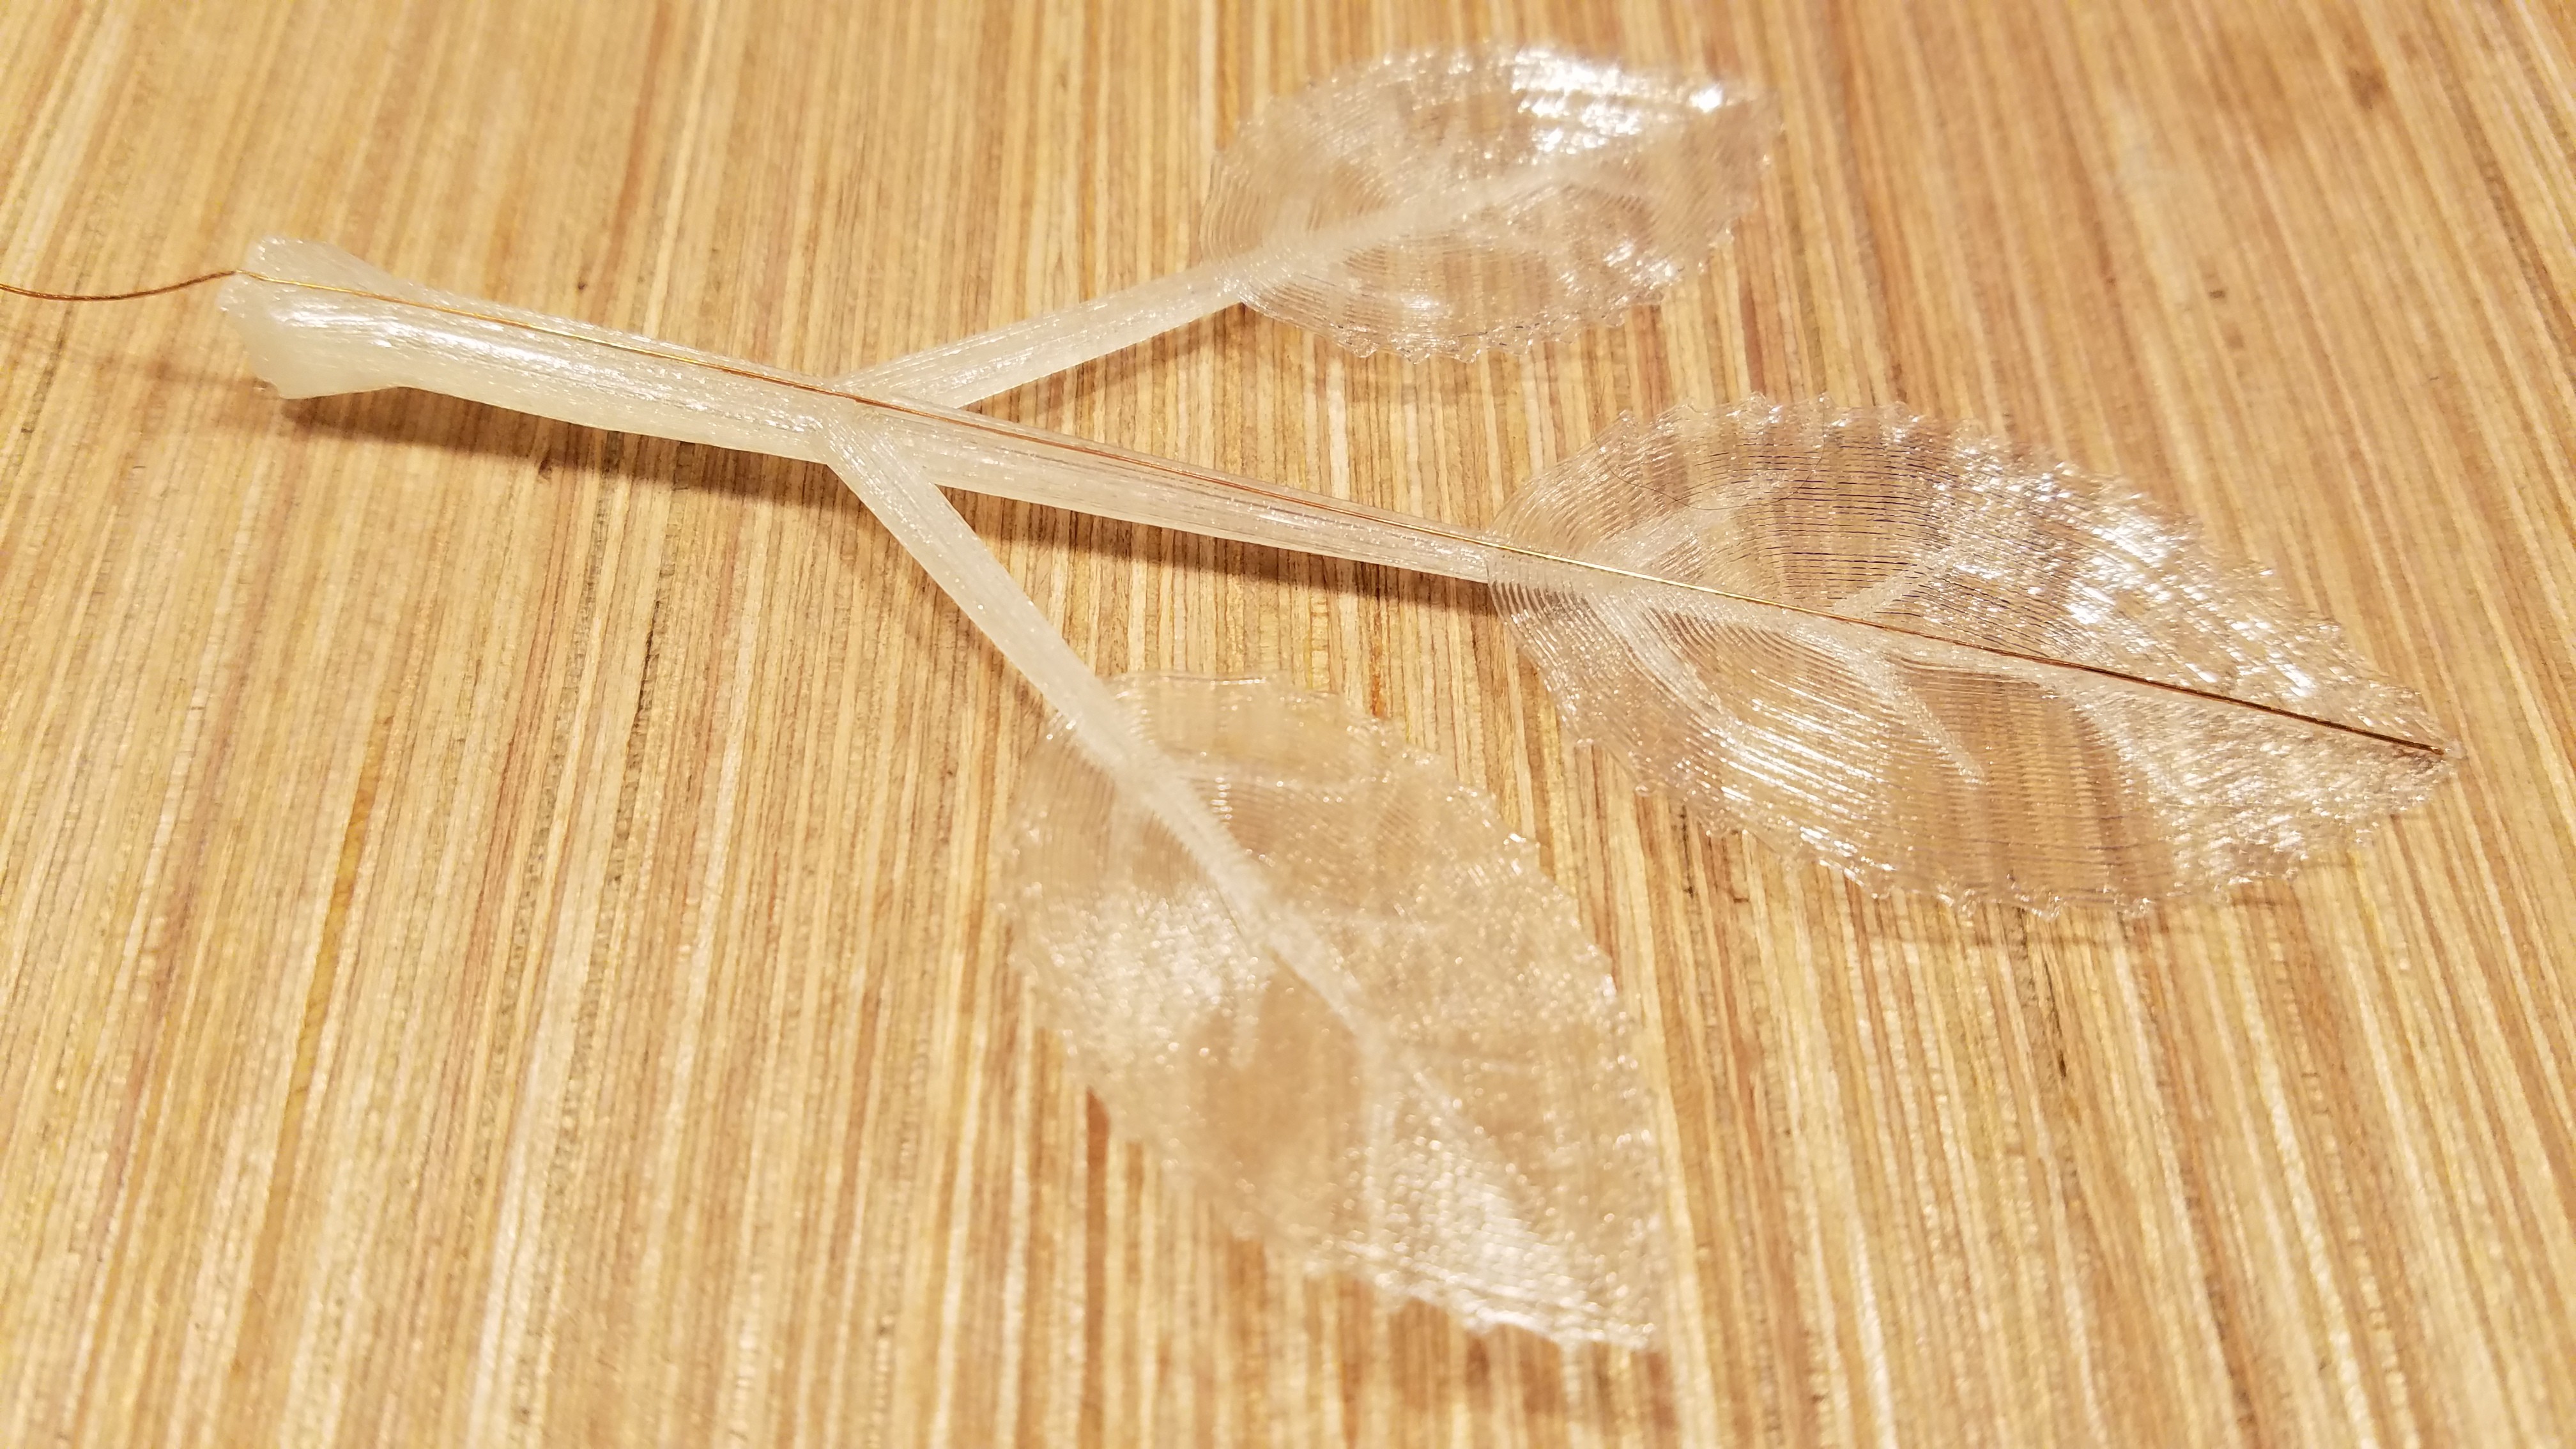
![]()
An exercise in the worst examples of recursive programming, but it does work and isn't terribly slow to render.
Printed flat, then heat formed to a more natural shape after printing. Magnet wire will be glued to the bottom of the center leaf to provide the touch interface.
Mates with the stem over the Dotstar pockets and will be epoxied onto them. The flat 90 degree interface for the embedded Dotstar modules combined with the epoxy should help to maximize the 'light pipe' effect. Will be printed hot, solid, and over-extruded, also to maximize the 'light pipe' effect of my clear PLA.
The bulb:
![]()
Optimized to lower the 'cost of closing' to where a 9g servo can probably handle it, but still allow me to have ~18 intermeshing petals folding. The petals are pulled inside the cylindrical area to close them. The force required is a still a bit high for a 9g servo, but I think I can offset that with a spring in the base as it is all biased in one direction. We will see.
The star shaped leaf bits here are meant to be heat formed, and vary in thickness in a calculated way so that applying heat causes them to curve just like a normal rose bud. :)
Other:
The random 'square bits' at the ends of some of the parts were added to maintain bed adhesion without needing to resort to 'brim'. Printing these parts with brim, sucked. Works.
-
All your base are belong to us.
02/25/2019 at 09:45 • 0 commentsModeled the base containing the servo/Arduino.
The print head caught the part very near the last layer which failed the print. It was almost salvageable, but not quite.
![]()
It's all good though, because the servo slot I modeled was way too tight anyway, and I never reconfigured Cura from the settings I had used for the nylon petals. The result was over-extruded and 30 degrees over-temp for the printing of PLA. I'm surprised it worked as well as it did.
Remodeled. Sliced. Reprinting.
-
Heat formed nylon petals
02/23/2019 at 11:12 • 2 commentsI got the forming of the nylon petals down now.
Preheat bulb in open air... a long time. Place petal over it. Wrap with a cotton cloth and stretch tight. Wait 20 seconds. Remove.
That just about does it for the petals I think.
I still need to generate a center cone which will be static and contain the Dotstar modules, but this is basically it.
-
Trinity.
02/22/2019 at 04:45 • 0 commentsMade it out to a craft store. Picked up a rose, not glued.
They all had 4 petals instead of 3 though per layer.
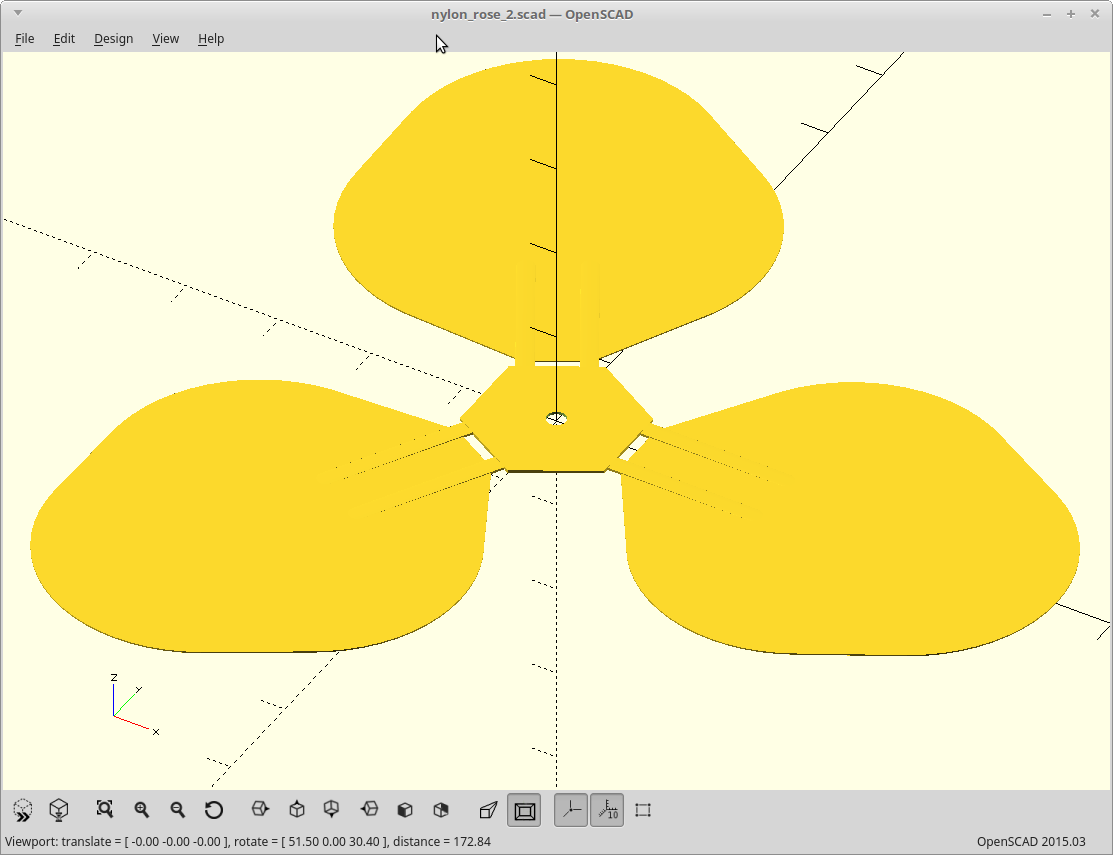
Tried closing them by pulling through an aperture. Same issue as the 4 petal nylon version I made. They took like 15lbs of force to close.
Remodeled the original nylon rose petals to have 3 elements, increased the hub size, and added hinges.
![]()
Much better. A lot lower force to fold them. I was even able to heat form one of the petals.
So.. gonna try nylon again, this time with three petals per layer.
Printing more.
-
Questionable data.
02/21/2019 at 07:49 • 0 commentsI went and picked up a silk rose. The petals were the perfect shape, curved in two directions with a slight downturn of the upper lip. They were also spaced and cut so that they should curve just like my nylon petals.
They were also glued together, to keep that shape.
Removing the glue from the silky fabric that is the rose has proven impossible. So even if I did assemble the rose using these petals, I'm guessing that any data I would gather about the interfacing/sliding of the petals would be compromised by the remaining glue, preventing smooth action.
It appears to be hot-melt glue, so lots of flailing attempting to heat it and dab it off has happened.
I need clean petals, of that shape. So far I have not found anywhere that has pure white rose petals, of that shape, which are not glued.
I may actually need to spend more than $3 to get them.
I have yet to visit an actual craft store. On the agenda.
-
Forming fail.
02/20/2019 at 03:31 • 0 commentsForming the nylon petals for a spherical curvature, without stretching, crumpling, or melting them in the process, doesn't seem to work. I think I would have to form them in a mold to do what I want here, instead of just rubbing them on a lightbulb. That worked great for PLA, but PLA gets soft rather slowly compared to nylon. Nylon pretty much maintains its shape, right up until it goes liquid. Not that useful here.
Skipping the pre-forming, and just pulling them into that shape while retracting works, but requires way too much force for a little servo. I'm guessing 15lbs of force over a 10mm of travel.
At this point I think I'm going to cheat and just go get some silk rose petals, and see how those work.
I'll probably still have to spring them with nylon to get them to open right, but the petals hanging up on each other, and not having the right curve, will at least cease to be an issue.
Christine's Blooming Rose
3D printed, heat formed, servo actuated blooming, Dotstar module lit, rose.
 MasterOfNull
