-
Laser-cut Buttons Done
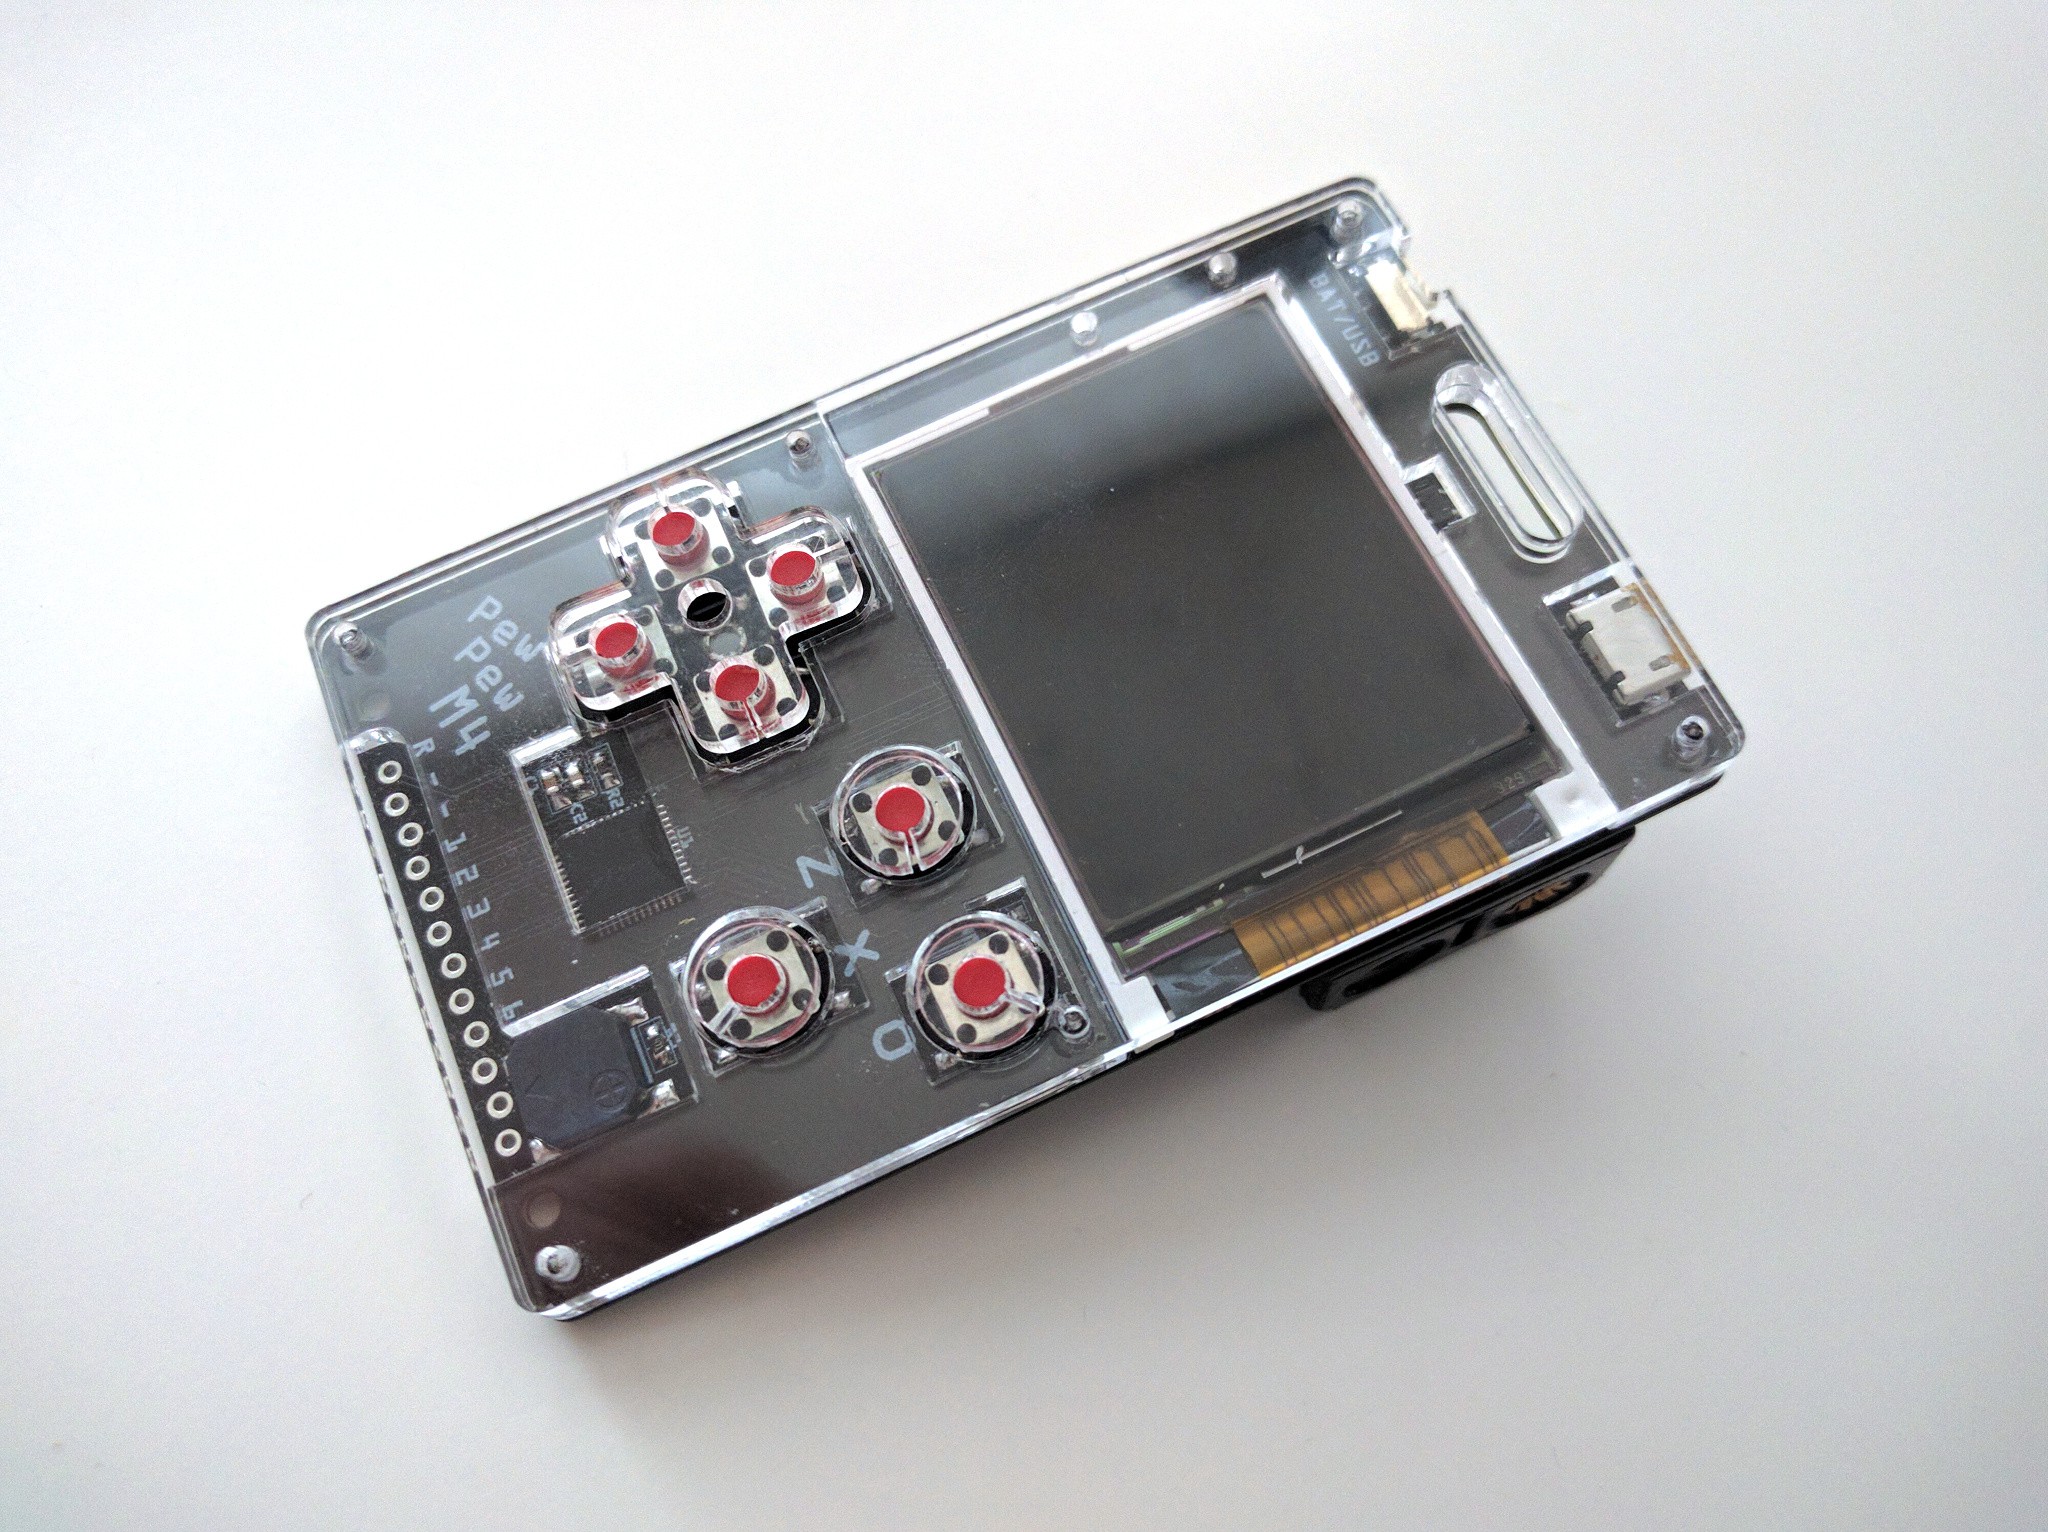
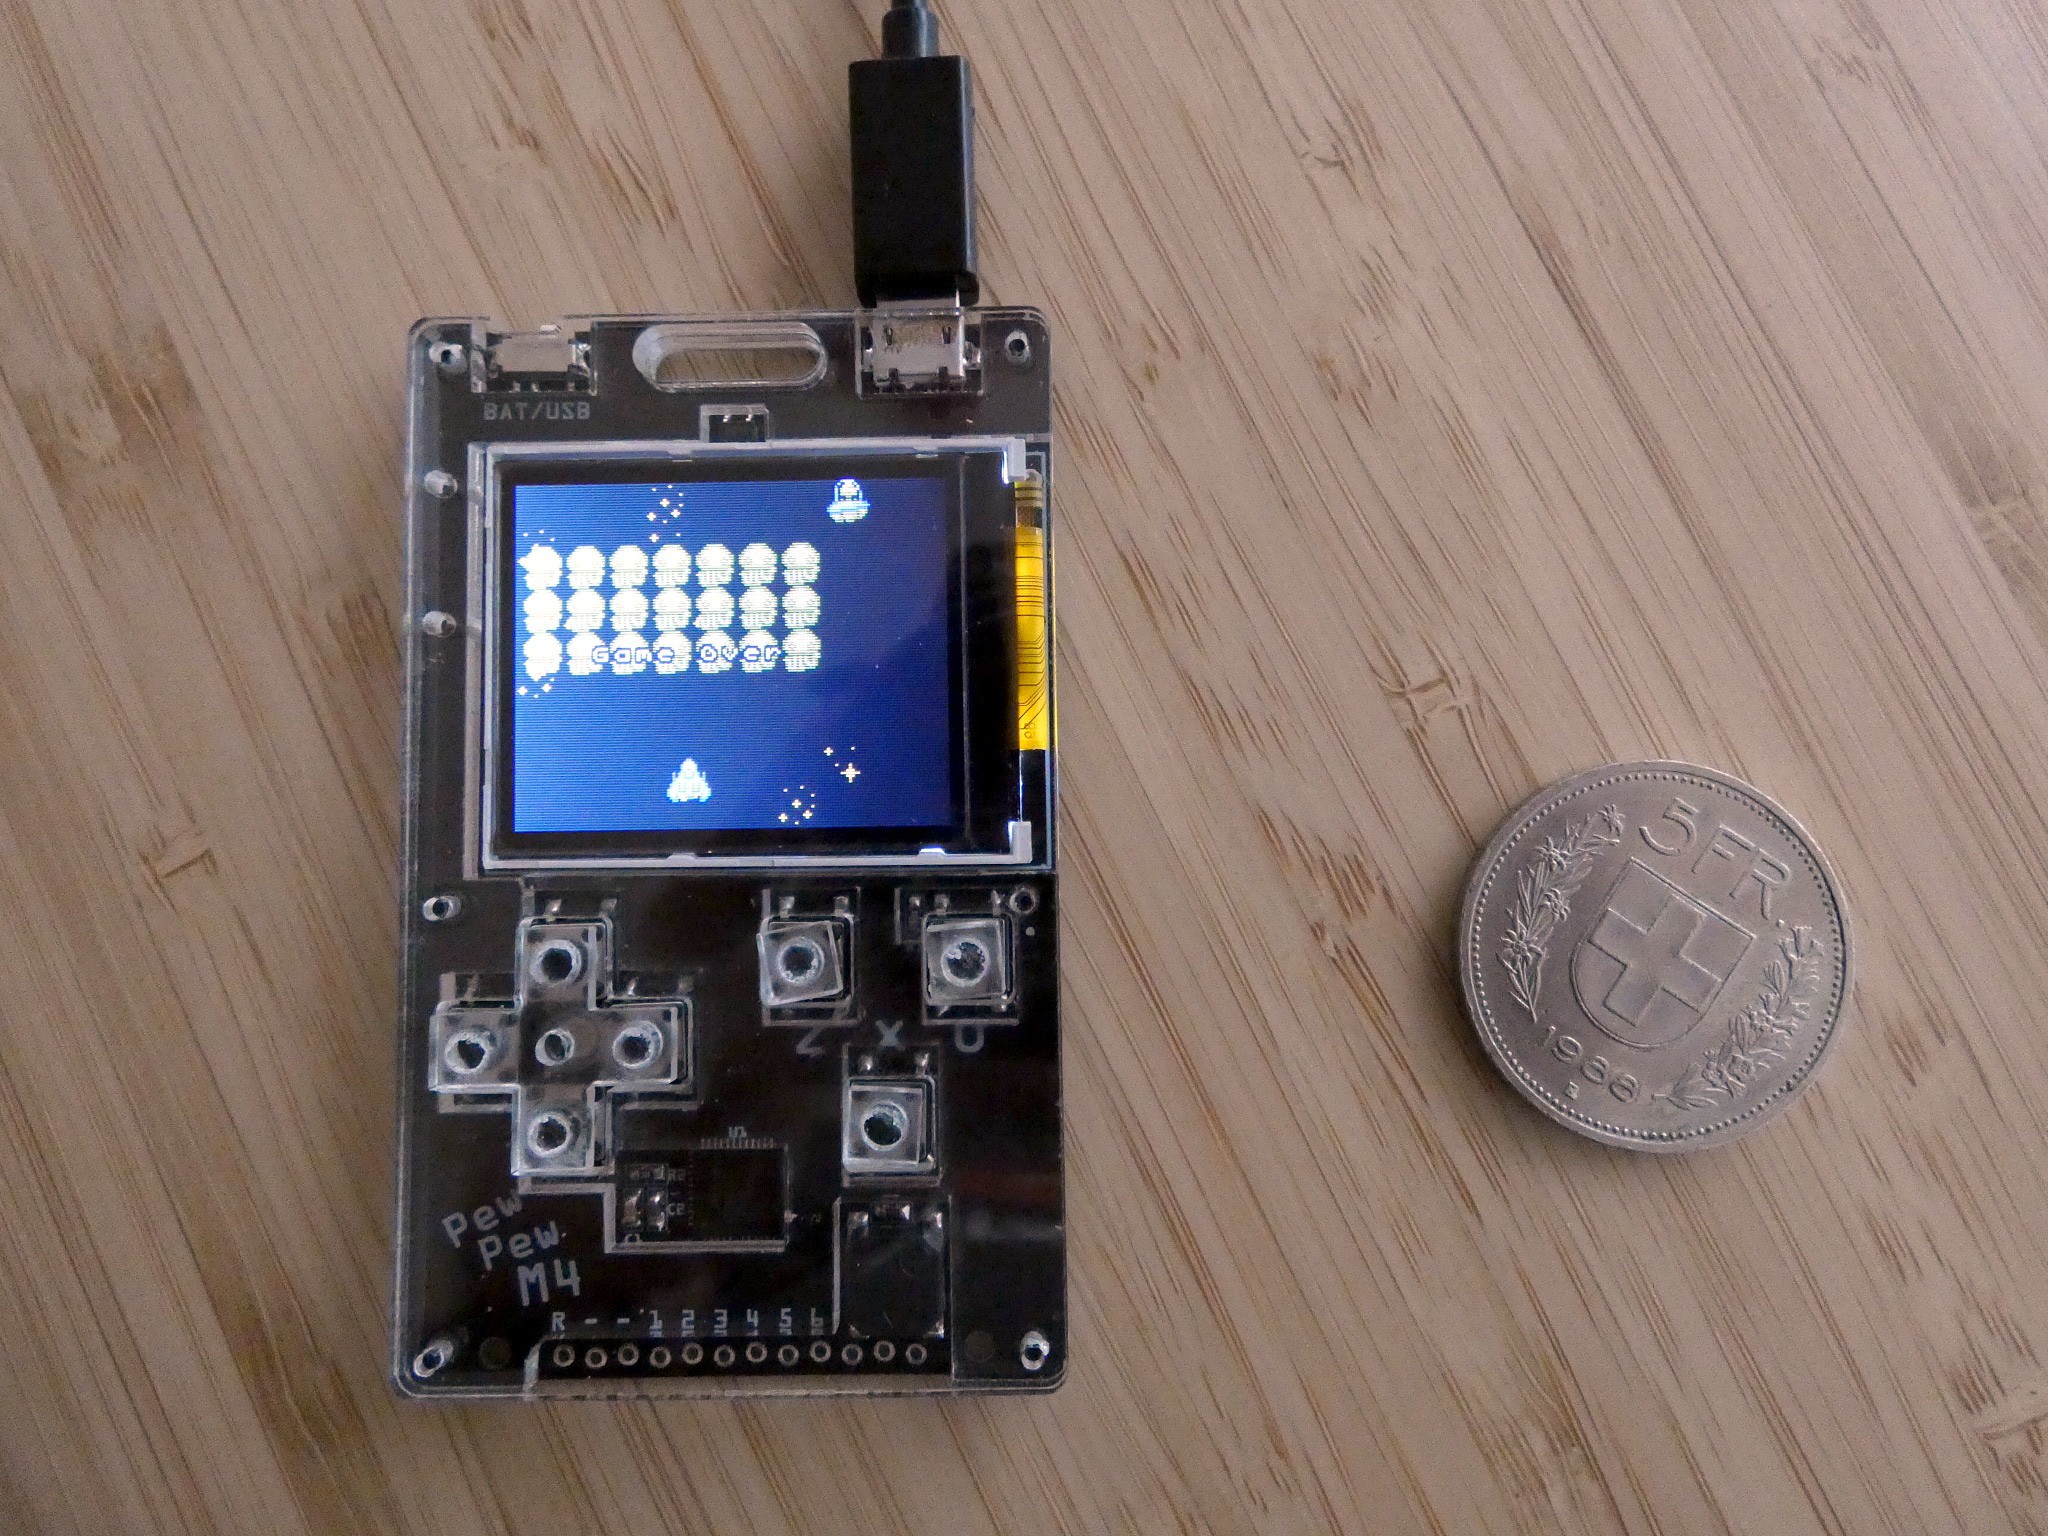
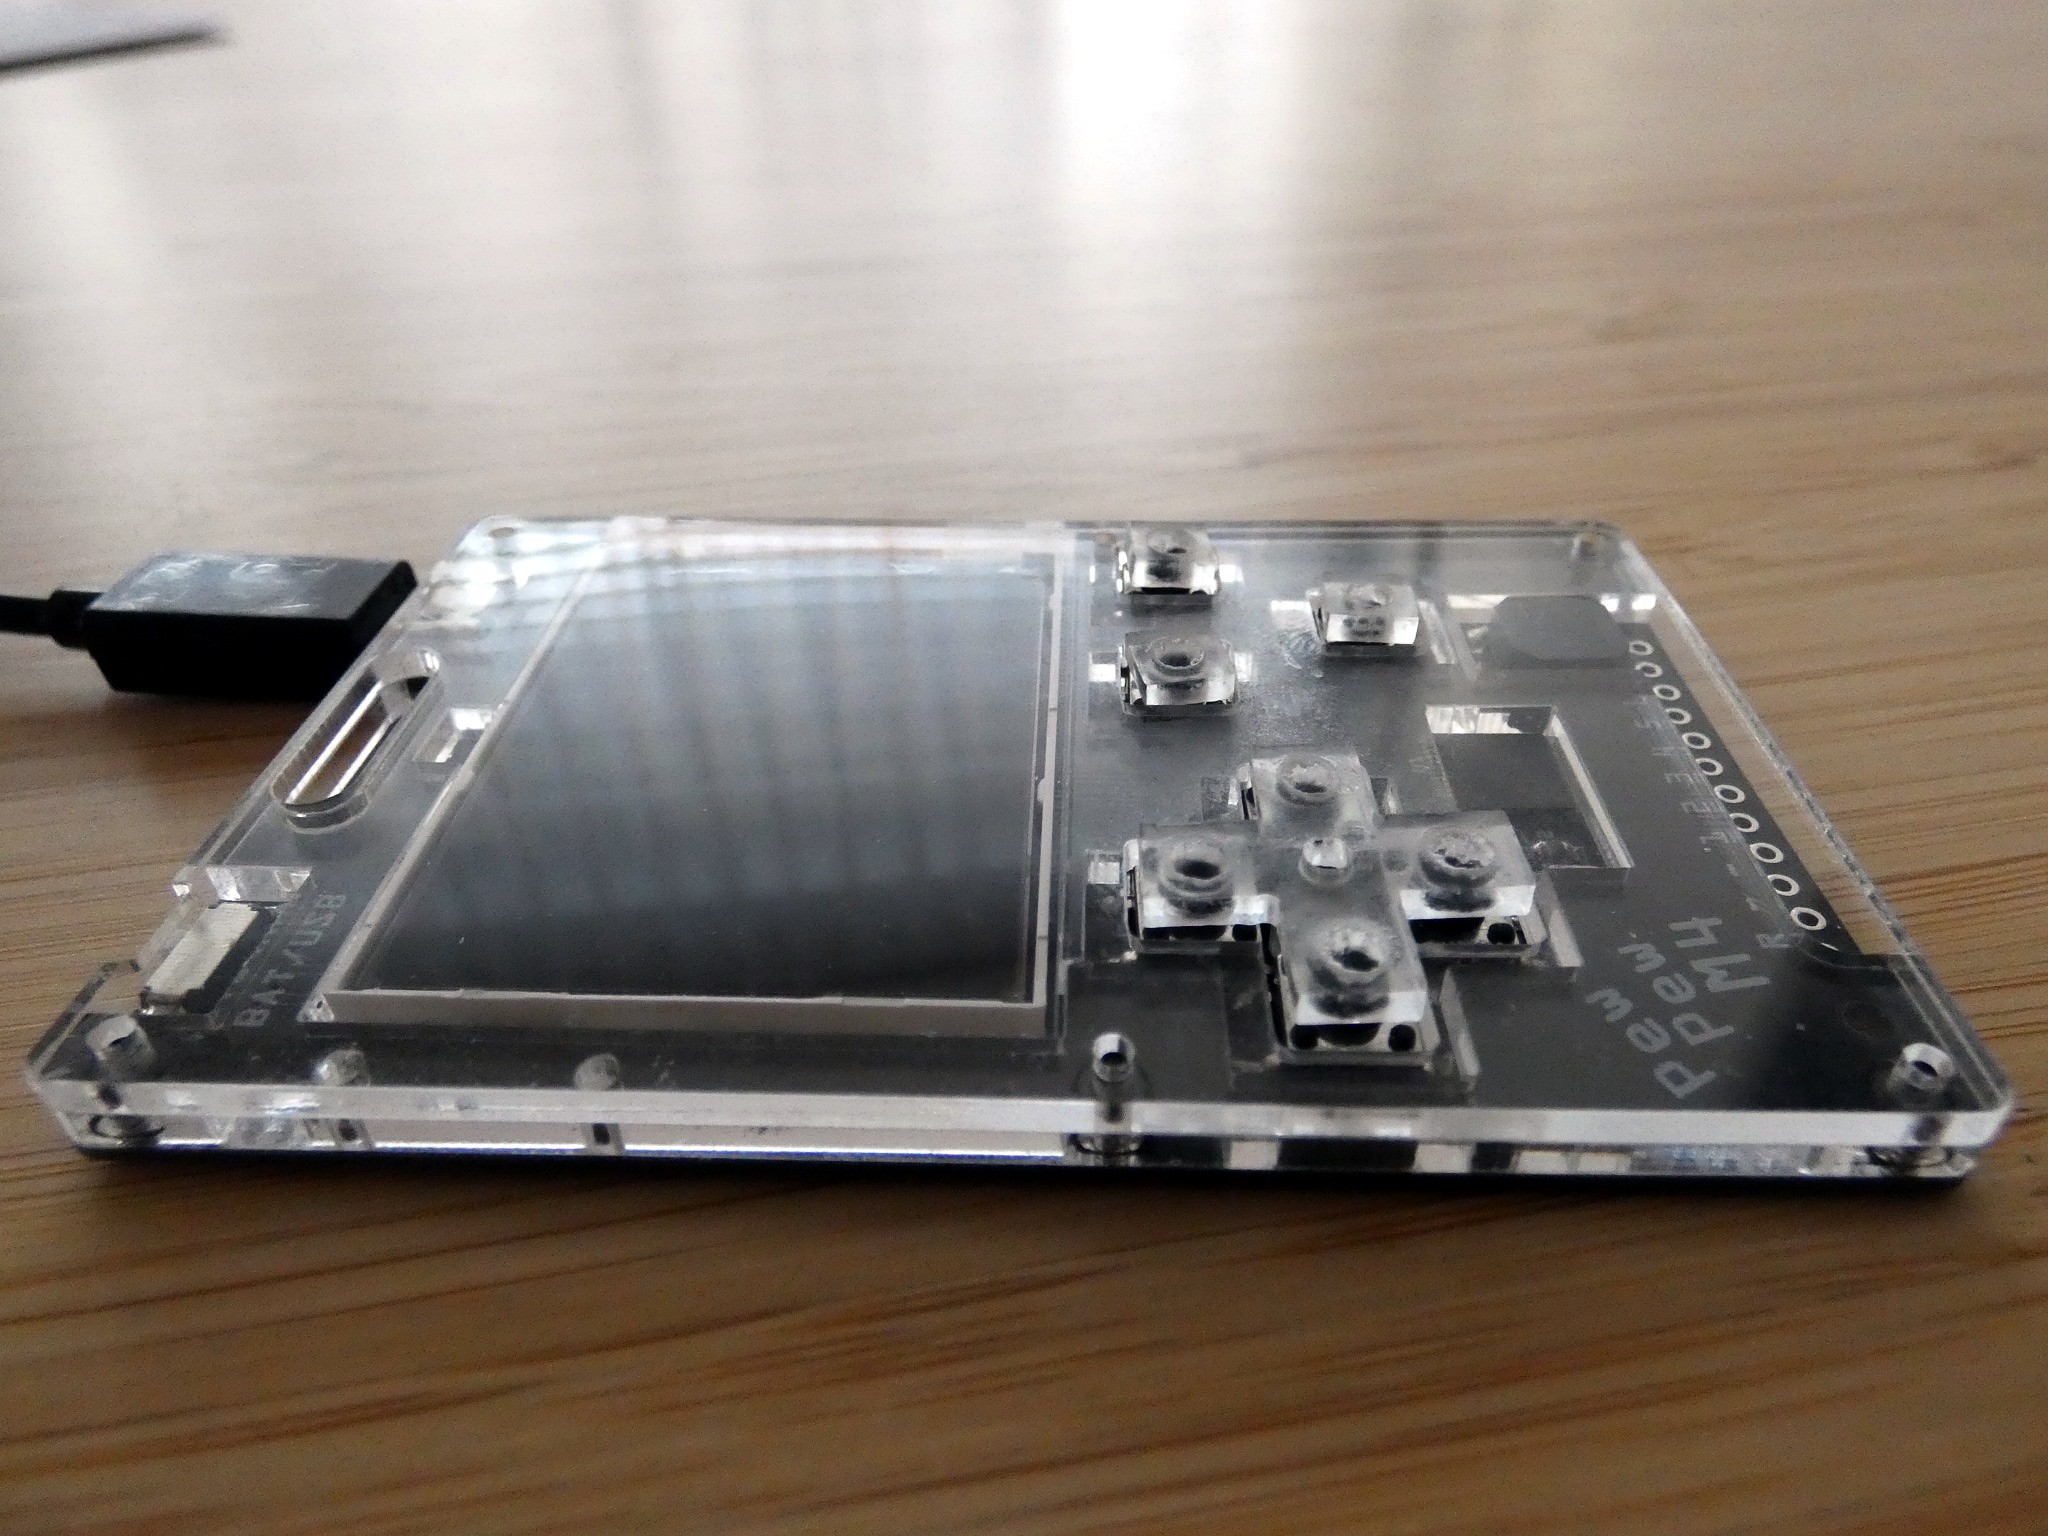
10/29/2019 at 12:23 • 5 commentsThe new front plate and button caps arrived, and I'm happy with them. I don't think I can improve this technique further, so I'm going to leave it like this. The only other improvement I can think of right now is to use switches that require less force for pressing — I will be looking into availability of such switches, so far I didn't get any answer to my inquiries.
I will still experiment with a plastic d-pad and buttons from the NDSL, but I'm not even sure I want to go that way.
![]()
-
Small PCB Update
10/28/2019 at 18:25 • 0 commentsI'm back from my vacation, and the order I made on the 1st of this month at @Elecrow, which was supposed to take 3-5 days is still on its way. Hopefully it arrives before the month ends.
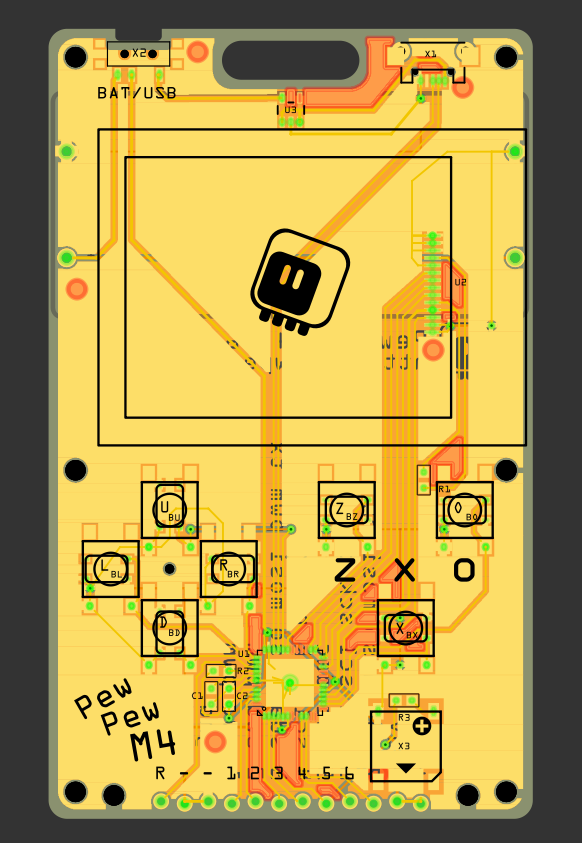
While I wait, I decided to amend the PCB design a little bit, to add alternate button footprints to it, for those tiny 3x4x2.5mm buttons. They fit inside the regular 6x6x6mm button footprints, so this way I can use either kind, and have the option of using one of the existing plastic button caps with this board. I need more PCBs anyways, to make some final prototypes to give out for testing, and I was ordering a PCB for the #Flounder Keyboard anyways. This time I used @JLCPCB, we will see how much time 3-5 days is for them.
![]()
-
Pre-made Caps?
10/05/2019 at 12:18 • 0 commentsThere is one more option for the button caps that I haven't properly explored yet. I don't have to 3D-print them or have them custom injection-molded if I can use existing parts from a commercial console. Turns out that most popular consoles out there have a lively modding community, and you can easily buy replacement button caps in a variety of colors and styles, very cheaply. Sounds like the perfect solution, right?
There is only one teeny-tiny detail that makes it tricky, and that is the fact that you have to design your thing so that those parts fit it. Of course the shapes of the holes in the laser-cut top plate can be adjusted very easily, but the really crucial dimensions that I don't have much control over are the thickness of the two plates.
There are generally three ways I can make this work: only use plastic caps, and put tact switches under them, like the Pokitto does, only use plastic caps, and put metal domes under them, like the 2DS does, or go full retro and use both the plastic caps and the rubber domes.
There is a number of advantages from doing it this way: the device is still easy to buy from widely available parts, there is no additional cost of making custom molds, the caps are profiled and nice to the touch, and, last but not least, it's probably much cheaper, especially if I get to re-use the rubber domes as well. As with everything, there are disadvantages as well: with time those parts may become harder to get, as new consoles replace the old ones on the market, I might be unable to get the sizes right, it may be necessary to move the buttons around to accommodate the domes, and perhaps even cut those domes (since I use 3 buttons, not 4), and finally, the markings on the buttons will be wrong (I use O, X, Z for the button names, most consoles use A, B, X, Y or some weird symbols).
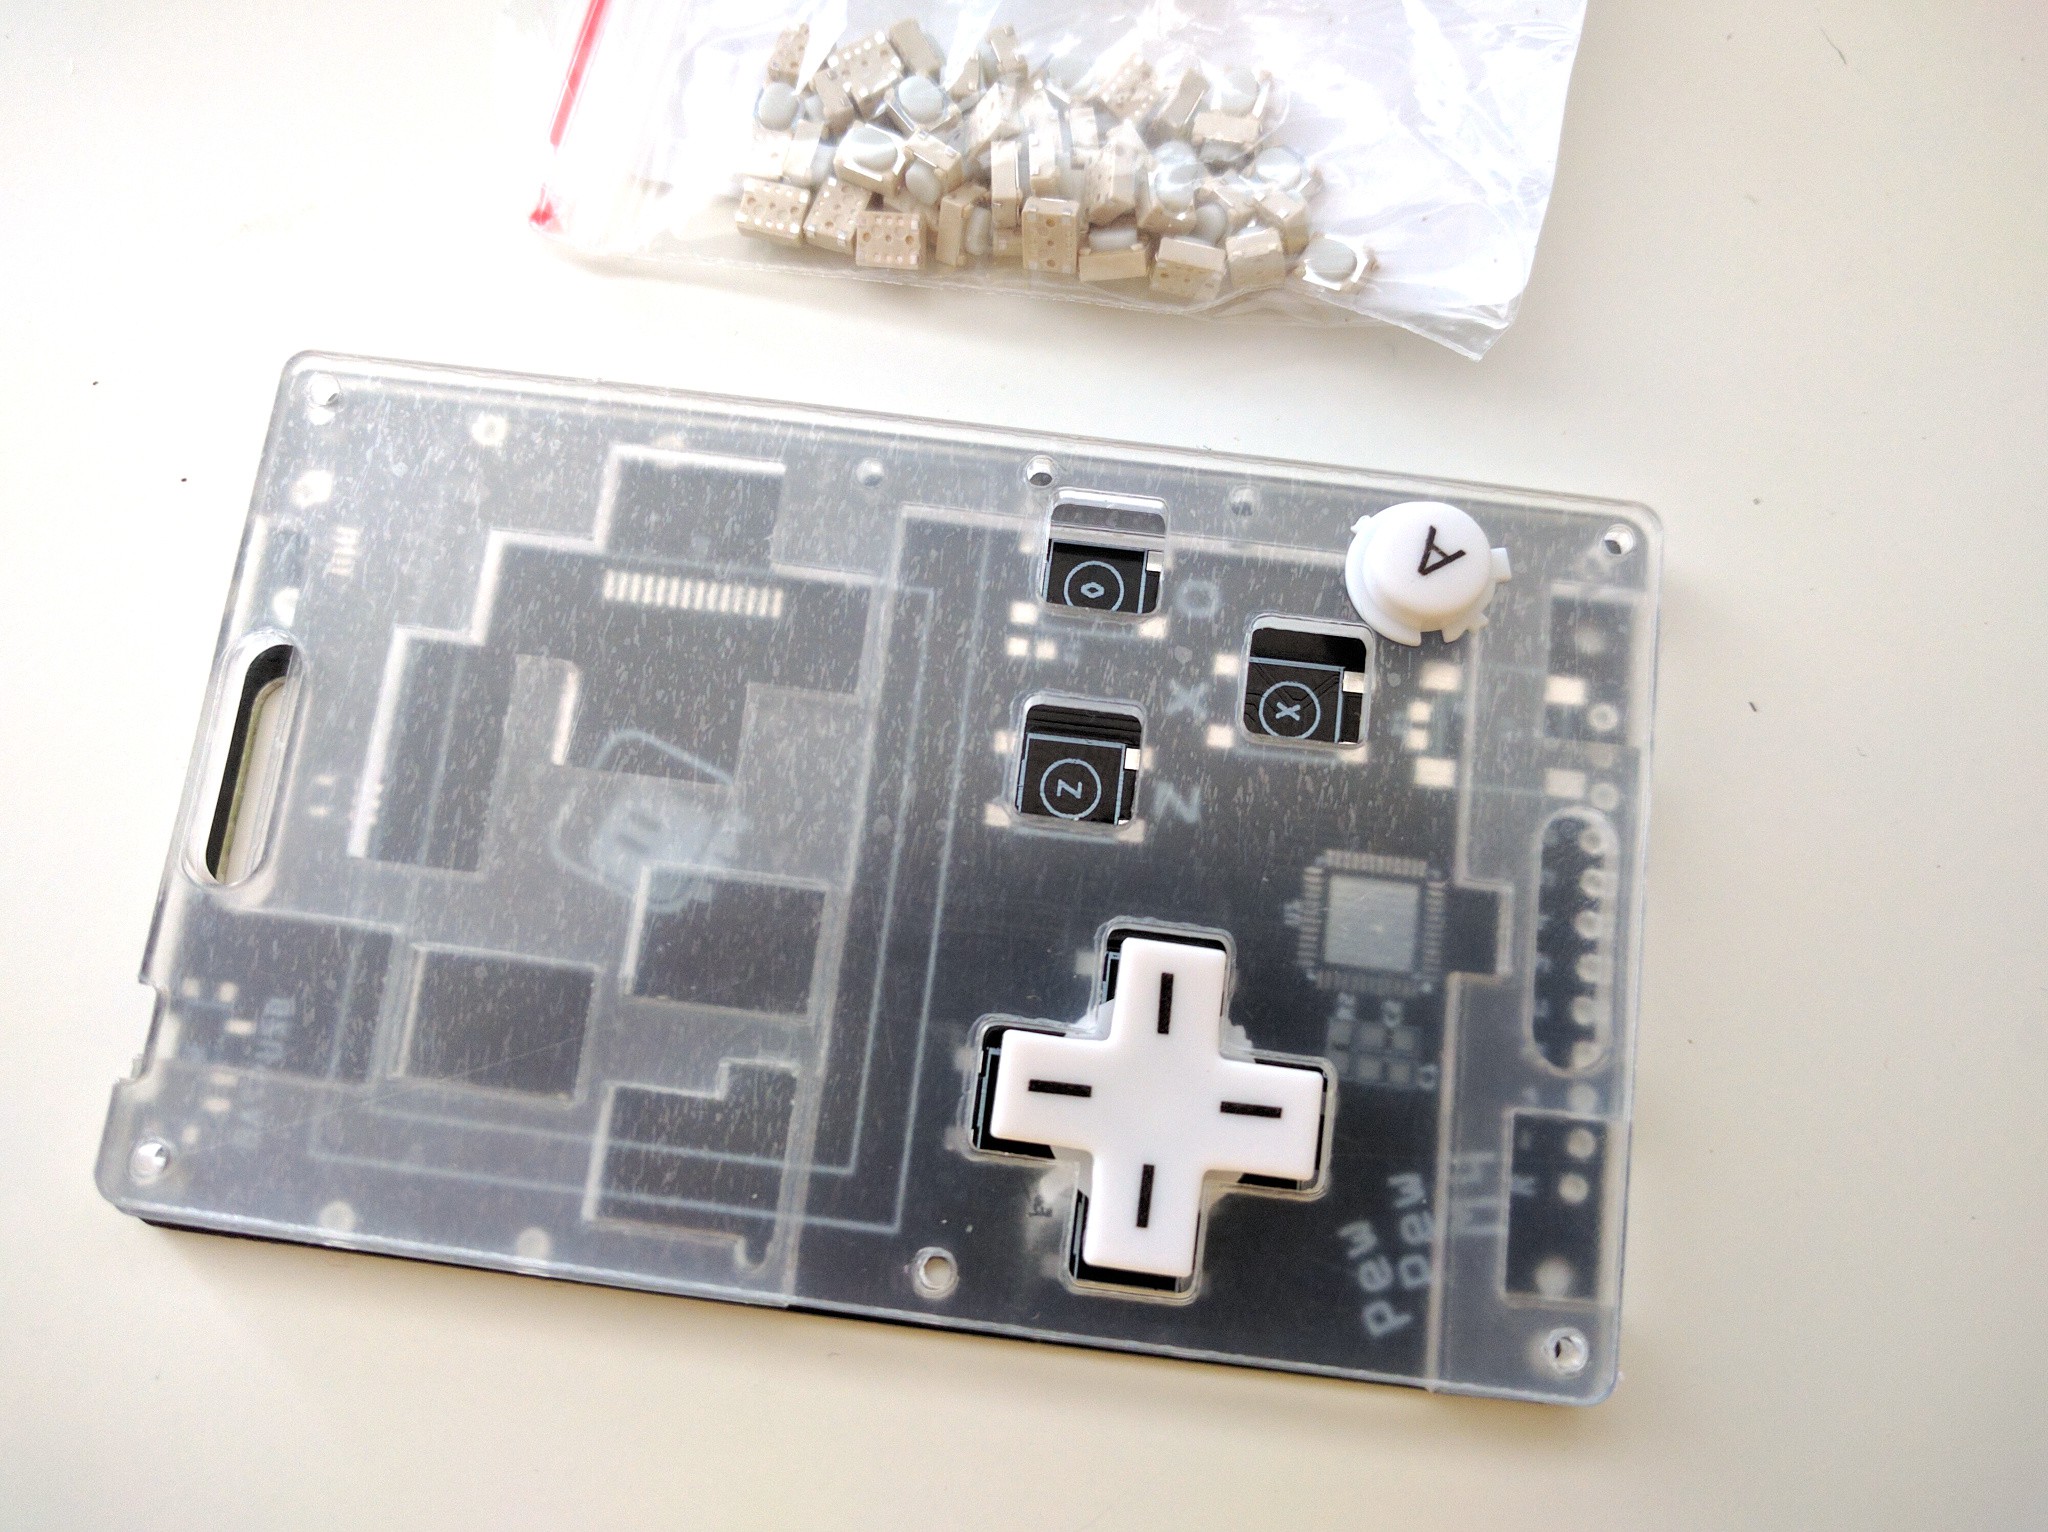
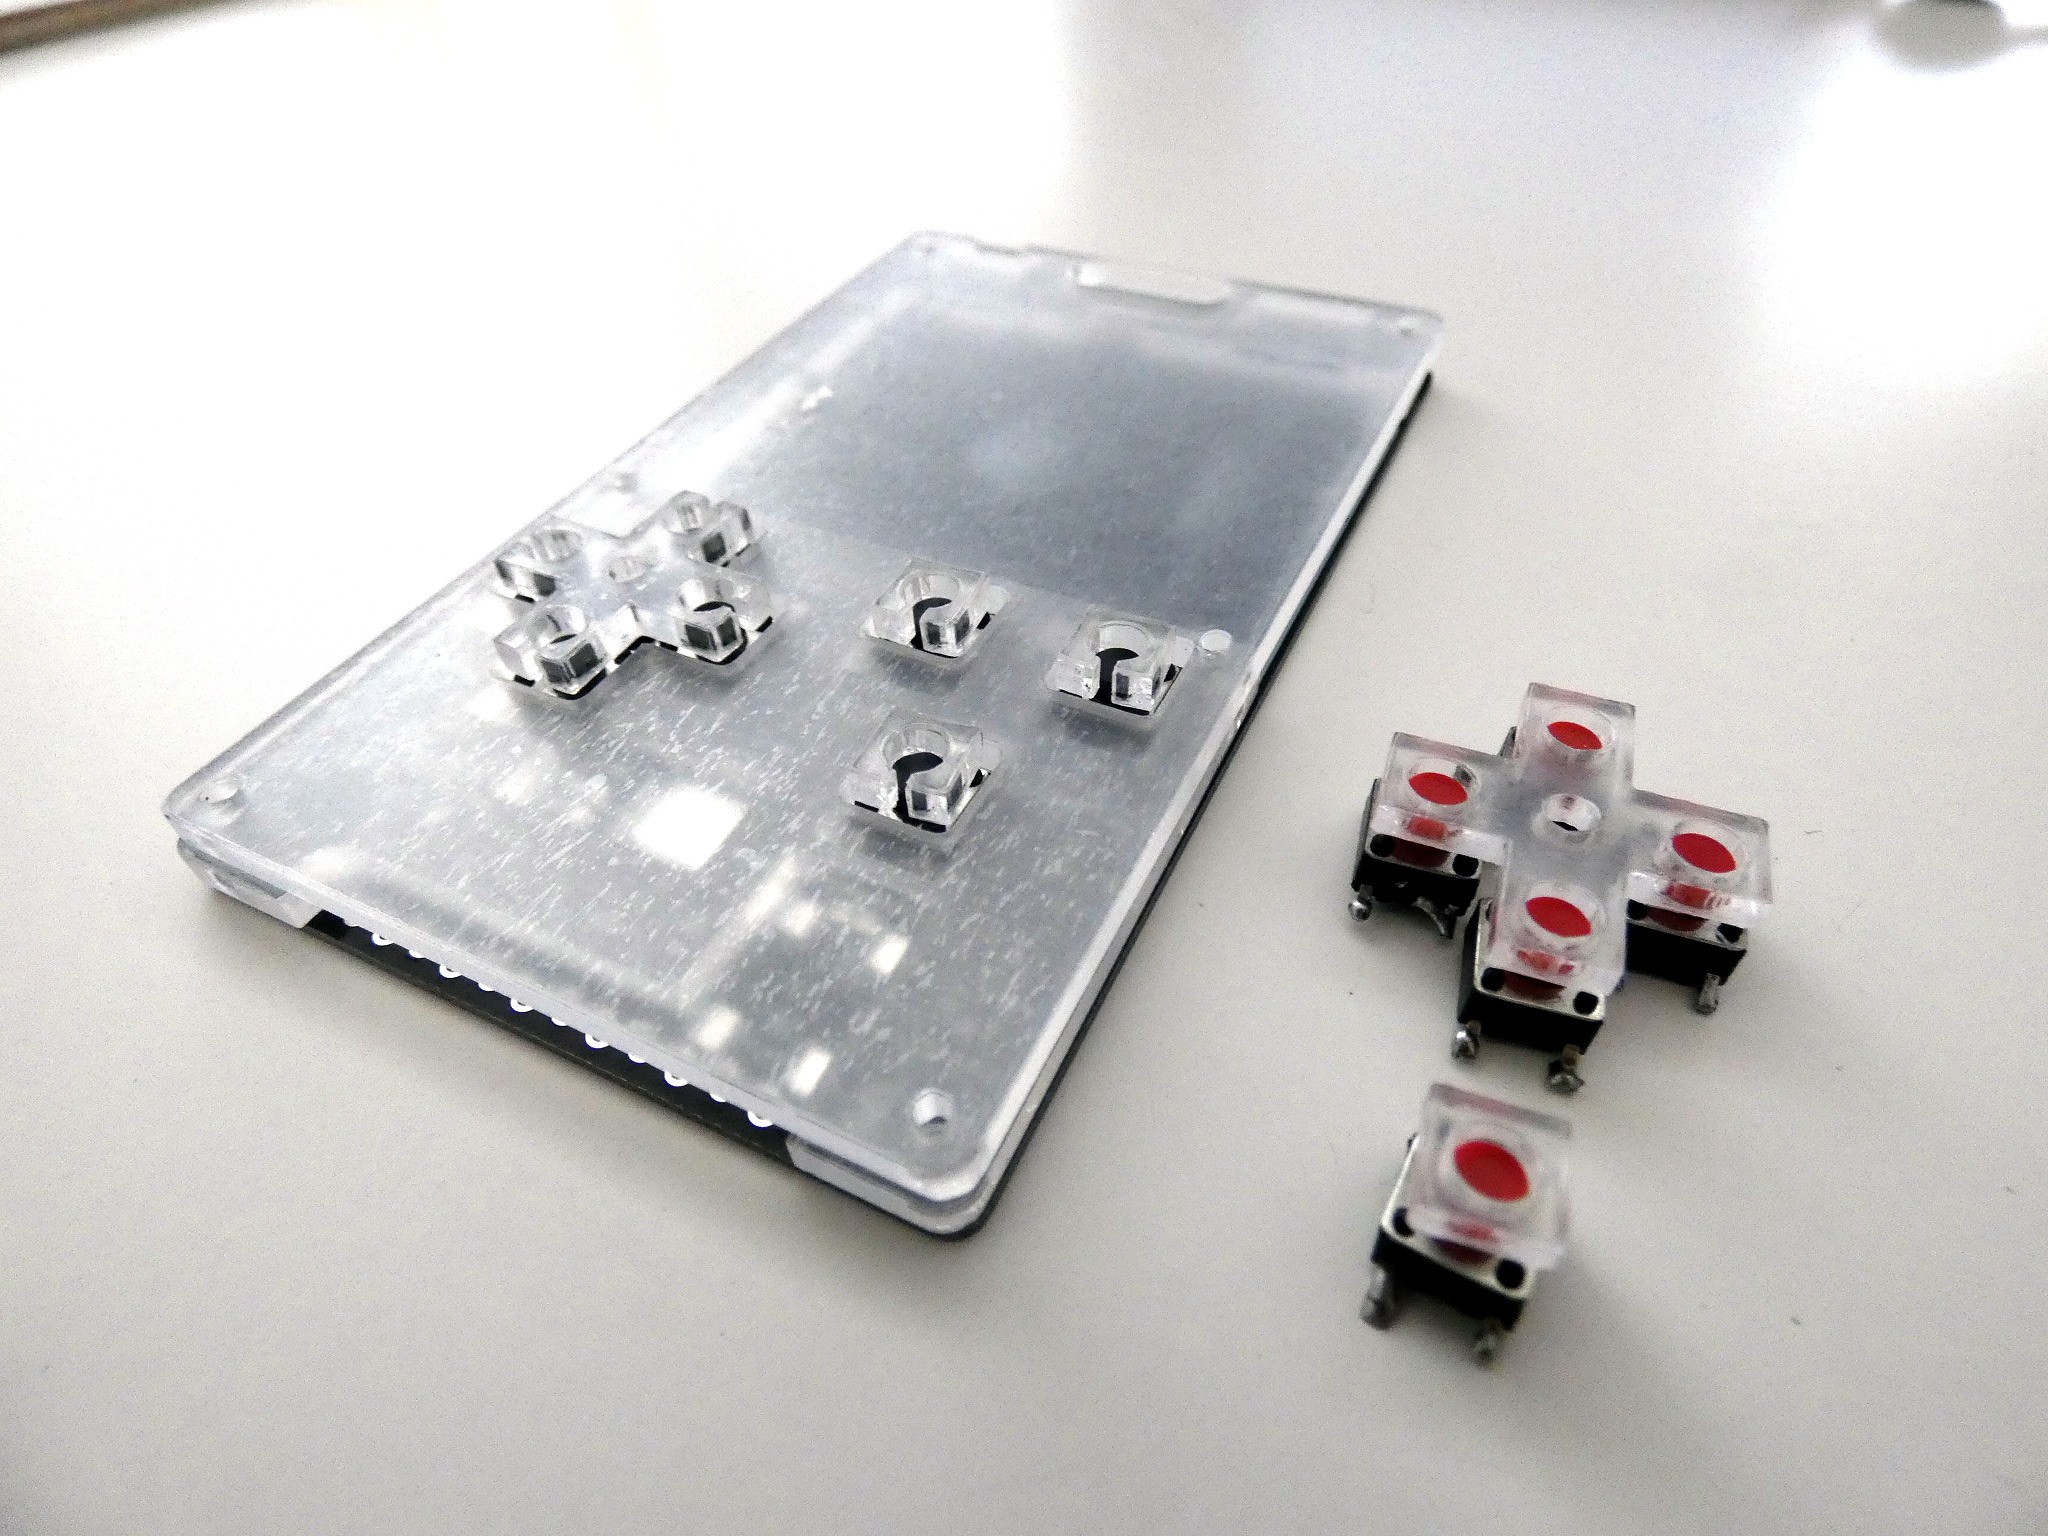
I happen to have a replacement d-pad and buttons for a Nintendo DS Lite console, so let's see how that fits. They are made so that the part that presses on the dome is flush with the bottom of the top-plate, so I need a switch or dome that is exactly 2.5mm high — the thickness of the middle layer. Looking in my drawer, I found those 3x4x2.5 buttons that I have used in the #D1 Mini UI Shield previously. They are exactly 2.5mm high, and rather small, which makes them perfect for this. I quickly assembled a mock-up to see how they feel:
![]()
Funny how the cut-out in my existing plate almost perfectly matches this. Maybe I was influenced byt my NDS when designing it? In any case, the buttons fit and work well, though they are still very clicky.
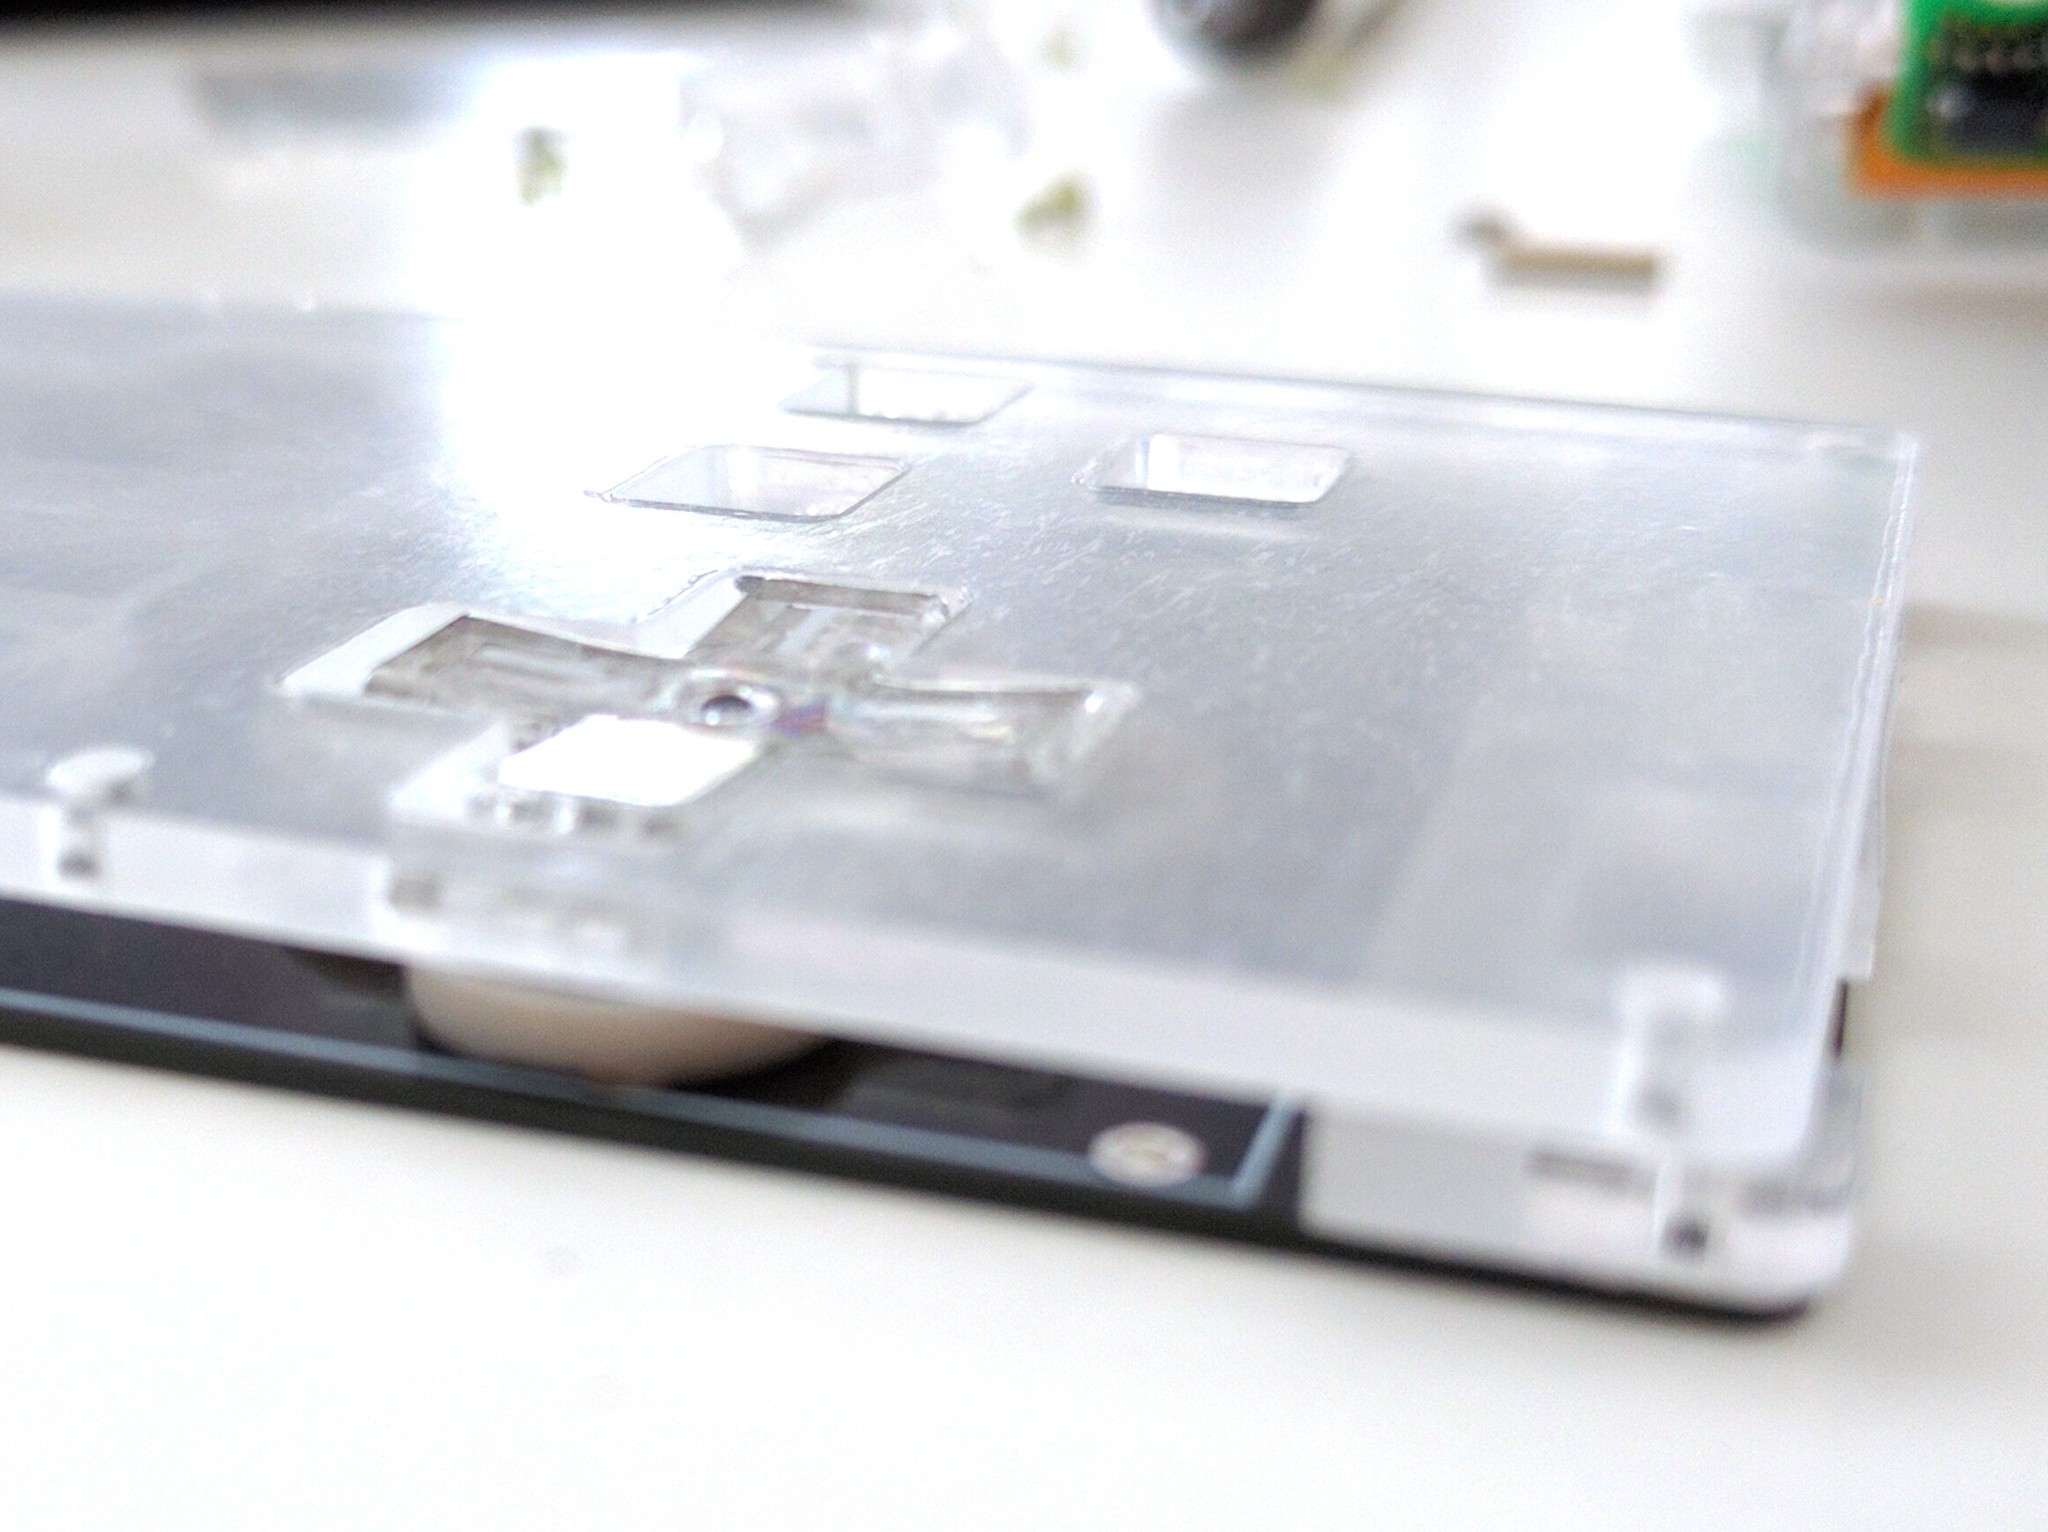
Problem is, even with just 2mm top plate, the d-pad barely sticks out of it:
![]()
Ideally, I would want both plates to be from the same 2.5mm sheet, so this may be a problem? To be honest I'm not entirely sure, because despite being almost flat with the plate, it feels good. I guess more testing will be necessary.
So far so good, let's see how it works with the rubber domes! Unfortunately, I didn't have a spare rubber dome for NDSL, so I had to disassemble my console to get one.
![]()
Unfortunately, the rubber dome is exactly 2mm high, which leaves 0.5mm for the d-pad to rattle and makes it sink into the front plate too much. Also, the travel is much larger with the dome than it was with the switches, which makes it feel even worse. This won't work.
I will need a d-pad that is taller, and a rubber dome that is 2.5mm high. The latter might actually be easy, as I had a random rubber dome (left over from the ODROID GO) lying around, and it turns out to be around 2.5-3mm tall. A quick search reveals it's from the Game Boy Color. Fine, how does the d-pad of the Game Boy Color look like? Hmm, looks rather big, not sure how that will fit.
I think I will leave it for now, and see if I can get 6x6 switches with low actuation force, while waiting for the new front plate and caps. If that doesn't work, I guess I will need to order one of each kind of caps for console modding, and see if any of those works. At least I have some options here.
-
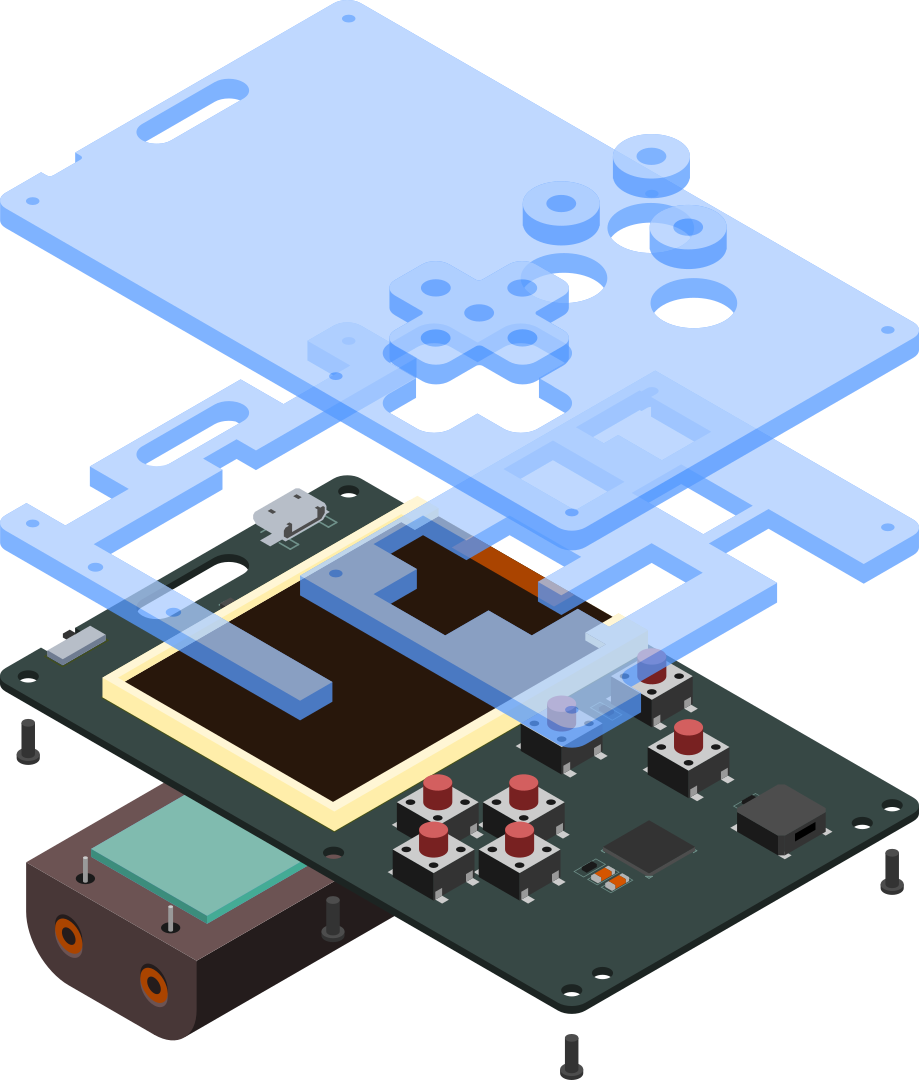
Updated Assembly Image
10/01/2019 at 15:44 • 0 commentsWith the new switches and new front plate comes an updated assembly image:
![]()
I didn't include the traces on the PCB this time — maybe I will add them later.
-
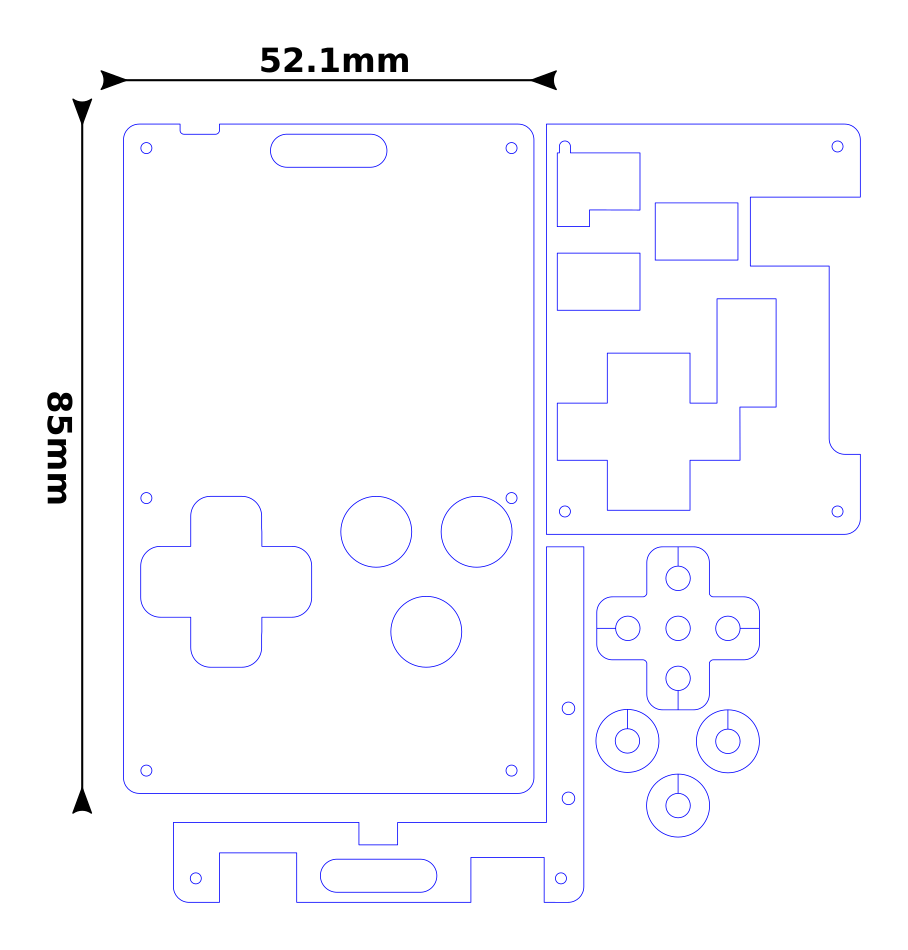
Case Version 6c
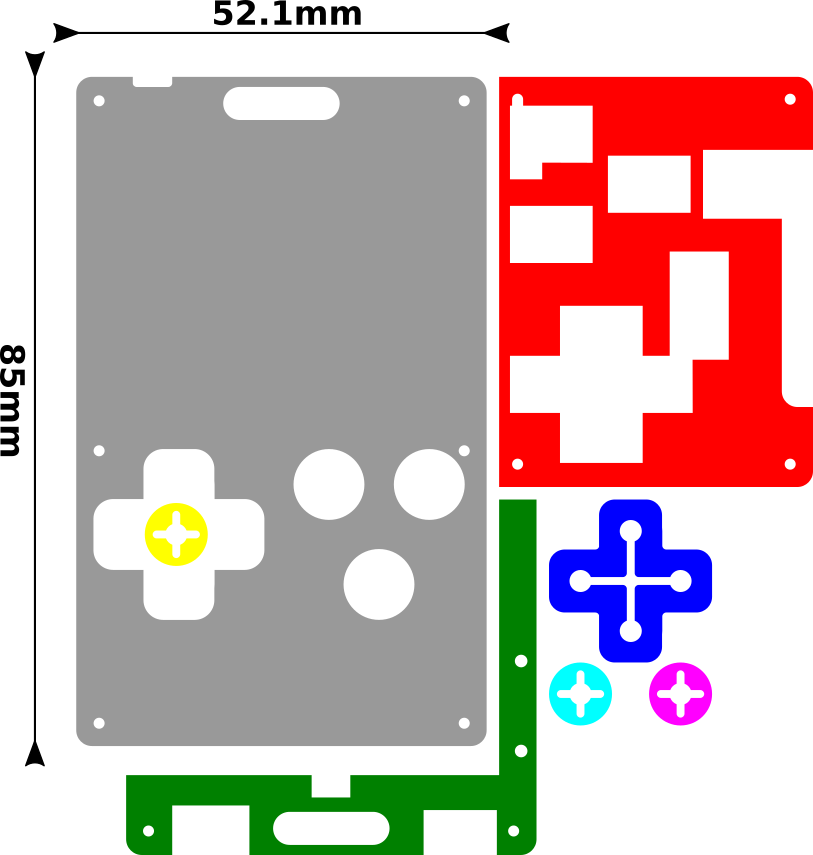
09/30/2019 at 19:29 • 0 commentsI decided to make one last attempt at the case and the button caps, and that hopefully will be final. This time the PCB stays the same, I'm only laser-cutting a new front plate. I made everything fit on a single 100x100mm sheet of 2.5mm acrylic:
![]()
The D-pad cross is a bit larger and has rounder corners, the fire buttons are round. Both have a cut in them for springiness. The middle layer is split in two, to fit in the sheet — I would love to put one more screw in there, but that would require a change of the PCB, so no.
I will go with the regular 6x6mm tact switches with 6mm high stems, however I will try to find ones that have as small actuation force as possible, to make them softer and less "clicky".
While I wait for the order to complete, I will now need to work on the website for the project, and then try to find a distributor willing to sell it.
-
Sculpteo
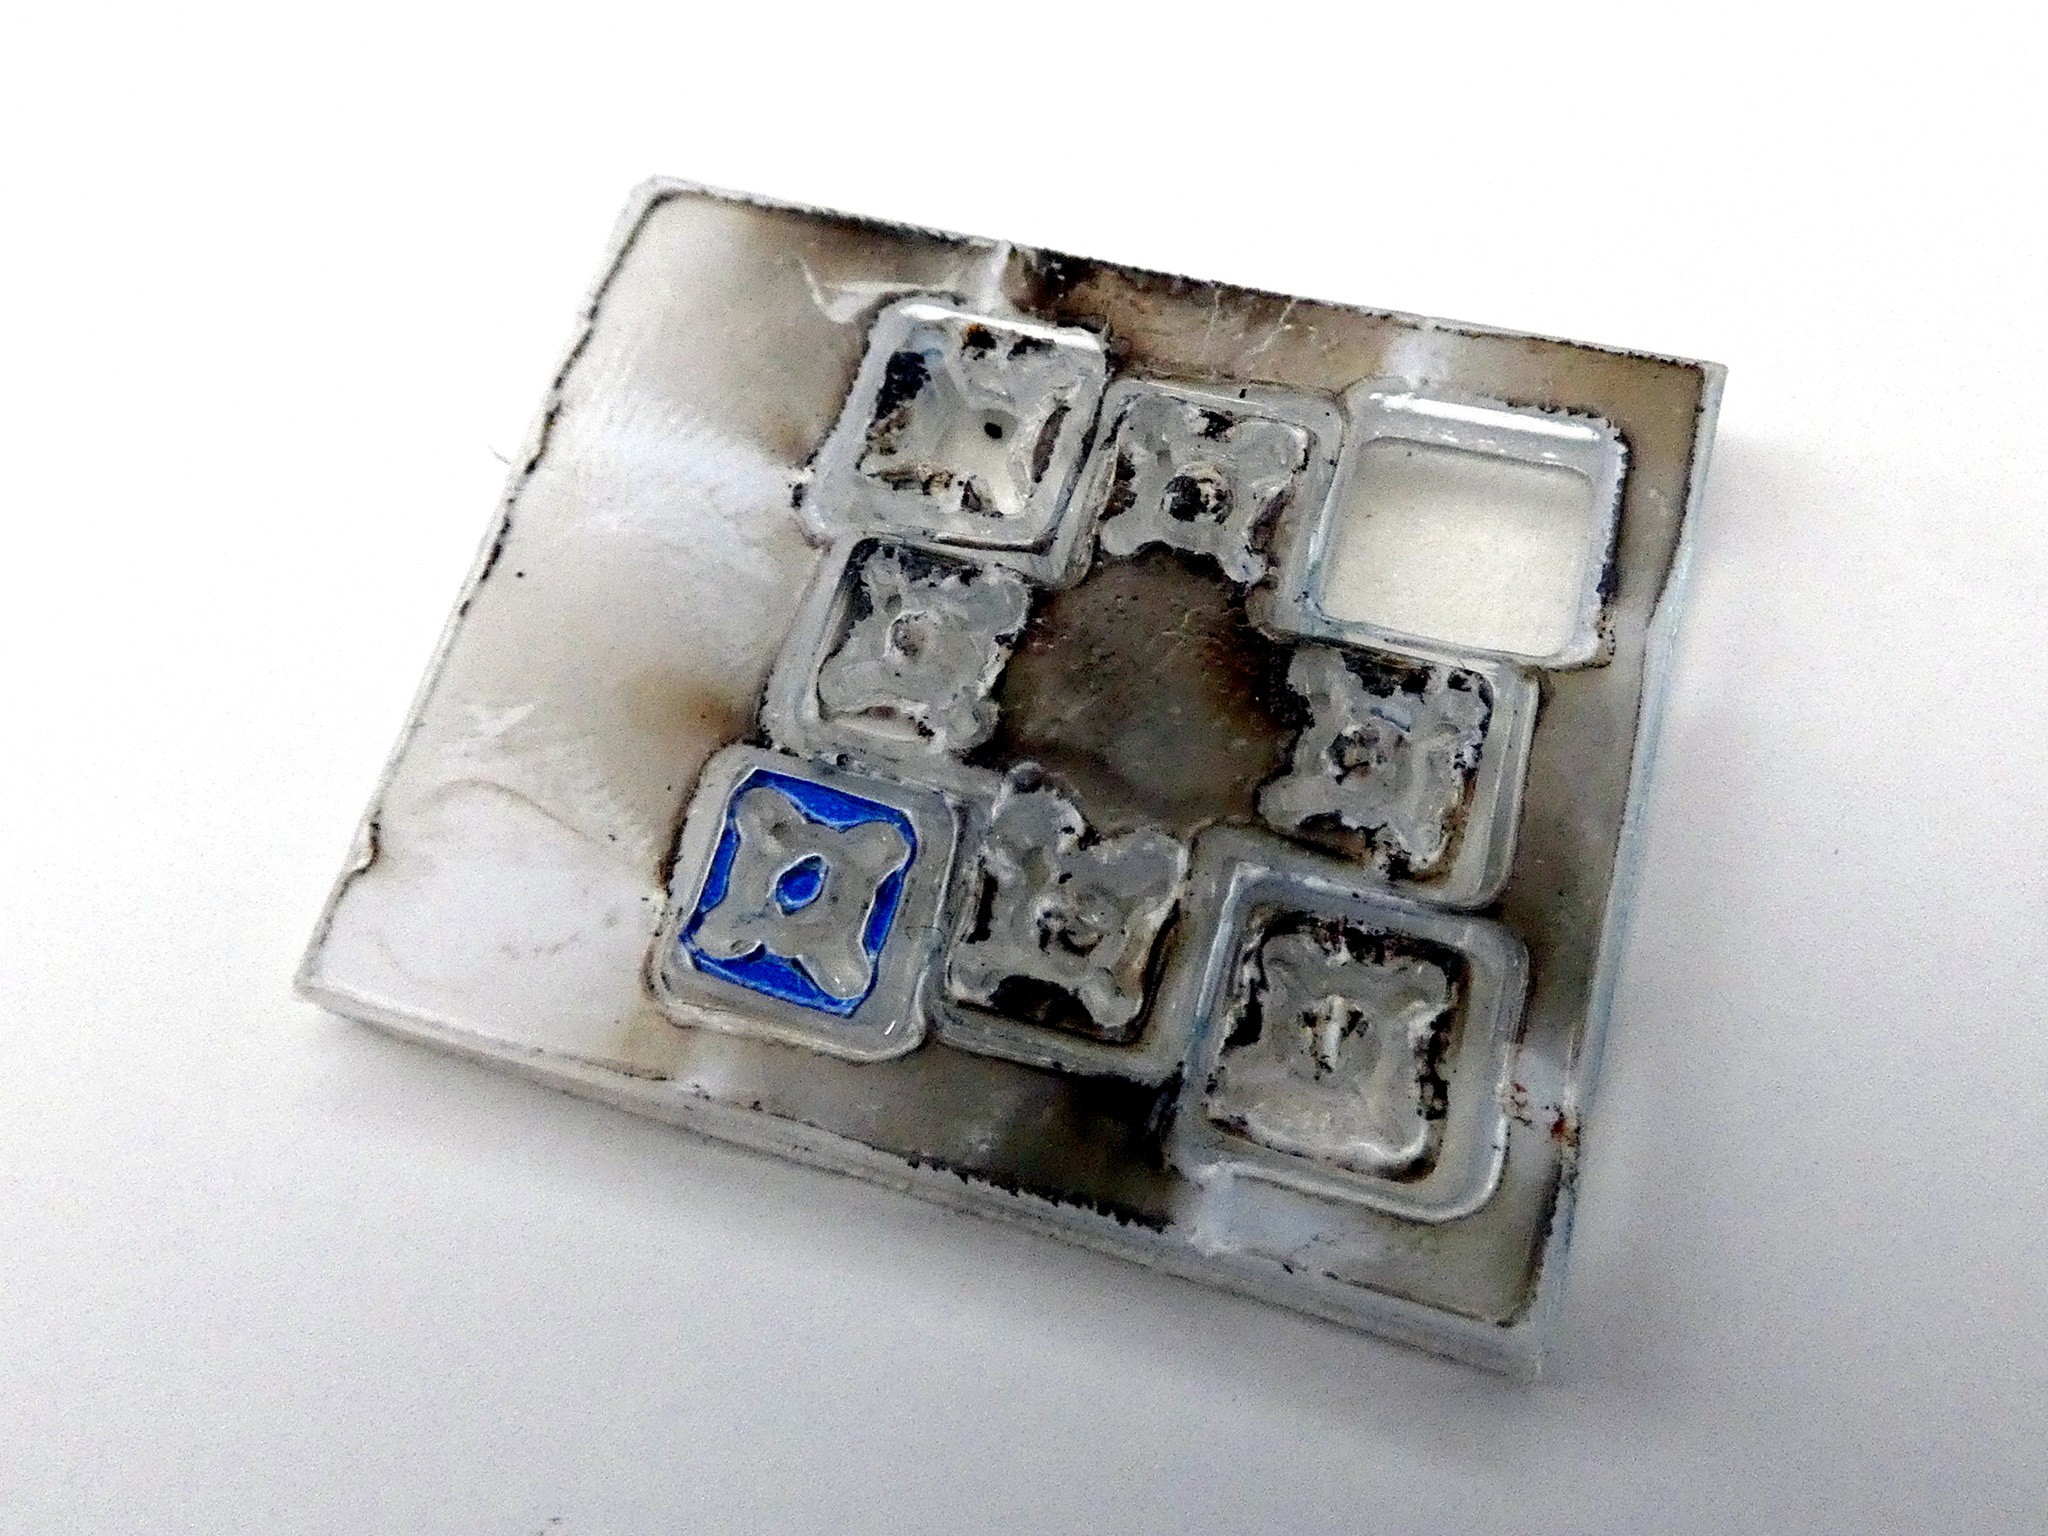
09/30/2019 at 11:13 • 1 commentToday the new caps arrived from Sculpteo. I have to admit I was a bit unimpressed:
To be fair, they did warn me that I have lines closer than 3mm together, and that there may be singing and other problems, and required me to confirm via e-mail that I'm ready to take the risk. However, how that caused them to lose one of the buttons is a mystery. Good thing I only need three.
Fortunately, that burned and melted thing is just the protective foil on top of the acrylic. After removing it, it looks much better (though I do have bits of the blue foil melted into the part in some places):
![]()
Unfortunately, I miscalculated the hole sizes — I made them a little bit smaller than the diameter of the switch, but not enough, and the fit is too loose — they can slide. That makes it also hard to decide if the cutout patter I used gives it enough springiness — which was really the main reason for this experiment.
After some closer examination, I'm afraid there may be one more reason for the caps sliding. Unlike the standard tacts switches, those low-profile switches don't seem to have the plastic part conical — it's the same diameter all along the height. Back to the drawing board, I guess.
-
Acrylic is Springy
09/26/2019 at 11:20 • 0 commentsI finally had some time to assemble a second unit of the version 6 prototype, this time with the 6x6x6mm switches, and the "springy" caps that have a cut through the hole. It works surprisingly well:
I still need to resolve a few issues: the buttons are too high, making the caps stick too high from the case, the fire buttons rotate and get stuck, and generally look bad, and the D-pad has some sharp corners which are a bit inconvenient.
So I have another set of caps on order from Sculpteo (that was an experiment, but it turns to be very expensive):
![]()
Those have less lee-way around the edges and smaller holes for the shorter switches. I'm also testing a different way of making those springy cuts in them — we will see how that works. Hopefully being lower and having less leeway will prevent rotation of the caps.
I also started working on a final version of the laser-cut design, with all the parts on one 100x100x2.5mm sheet of acrylic, for easy cutting. The middle layer of the case had to be split in half for that. Here I used round fire buttons, so the rotation shouldn't be a problem.
![]()
-
The Melon of Doom... Needs Work
09/23/2019 at 17:51 • 0 commentsI assembled one of the version 6 prototypes, and so far I think that the direction is good, but requires more work and experimenting. More details after the obligatory photo.
As you can see, I went here with the short black tact switches and caps without a cut, that are glued on top of them.
---------- more ----------The good:
* The holes don't seem to be uncomfortable and actually add a kind of unique look.
* Large surface of the caps make the buttons much easier to press.
* It works well even without the bead in the center.
The bad:
* The regular tact switches are too high. The caps stick out of the case too much.
* Glue is not the best tactic — it can't be disassembled and we risk getting some inside the switches.
* The holes are a little too tight a fit.
* The screws are fine. They only go about half-way into the 2mm top plate, but that is enough for a good grip.
* The piezo speaker fits perfectly.
* The black PCB really looks good with the acrylic.
The ugly:
* The fire buttons rotate. They have too much leeway, and since they are not connected, there is nothing that would stabilize them.
* Because the holes are too tight, the d-pad doesn't sit perfectly centered on the switches.
So what are the next steps?
I will assemble another prototype, this time using the taller 6x6x6mm switches, and the caps with a cut across the hole, for springiness. Those should friction-fit on the tact switches, without glue.
I will try to get another set of caps laser-cut locally (and possibly another front plate as well) to experiment with different shapes, and different holes for different switches. In particular, I want to try the low-profile 6x6x5.5mm ones from the previous log. Maybe also a connected version of the fire buttons, and a bigger and rounded version of the caps (if they are round, nobody cares if they rotate). Maybe also a version of caps for the metal tact switches — but then I would ultimately also need a new version of the PCB, as they have a smaller footprint, which I can deal with for testing, but not for a finished version.
I will also carry the prototype a bit in my pockets, to see what breaks this time. I can see a couple of potentially fragile places, I will probably need to move some of the screws around.
-
A Quick Fit Test
09/23/2019 at 11:02 • 0 commentsThe prototype has arrived today, but I only had time to do a quick test during my lunch break. I will assemble it properly later. Note that the protective foil is not removed from the acrylic parts, so they look non-transparent.
So far so good.
-
Solderable Nuts
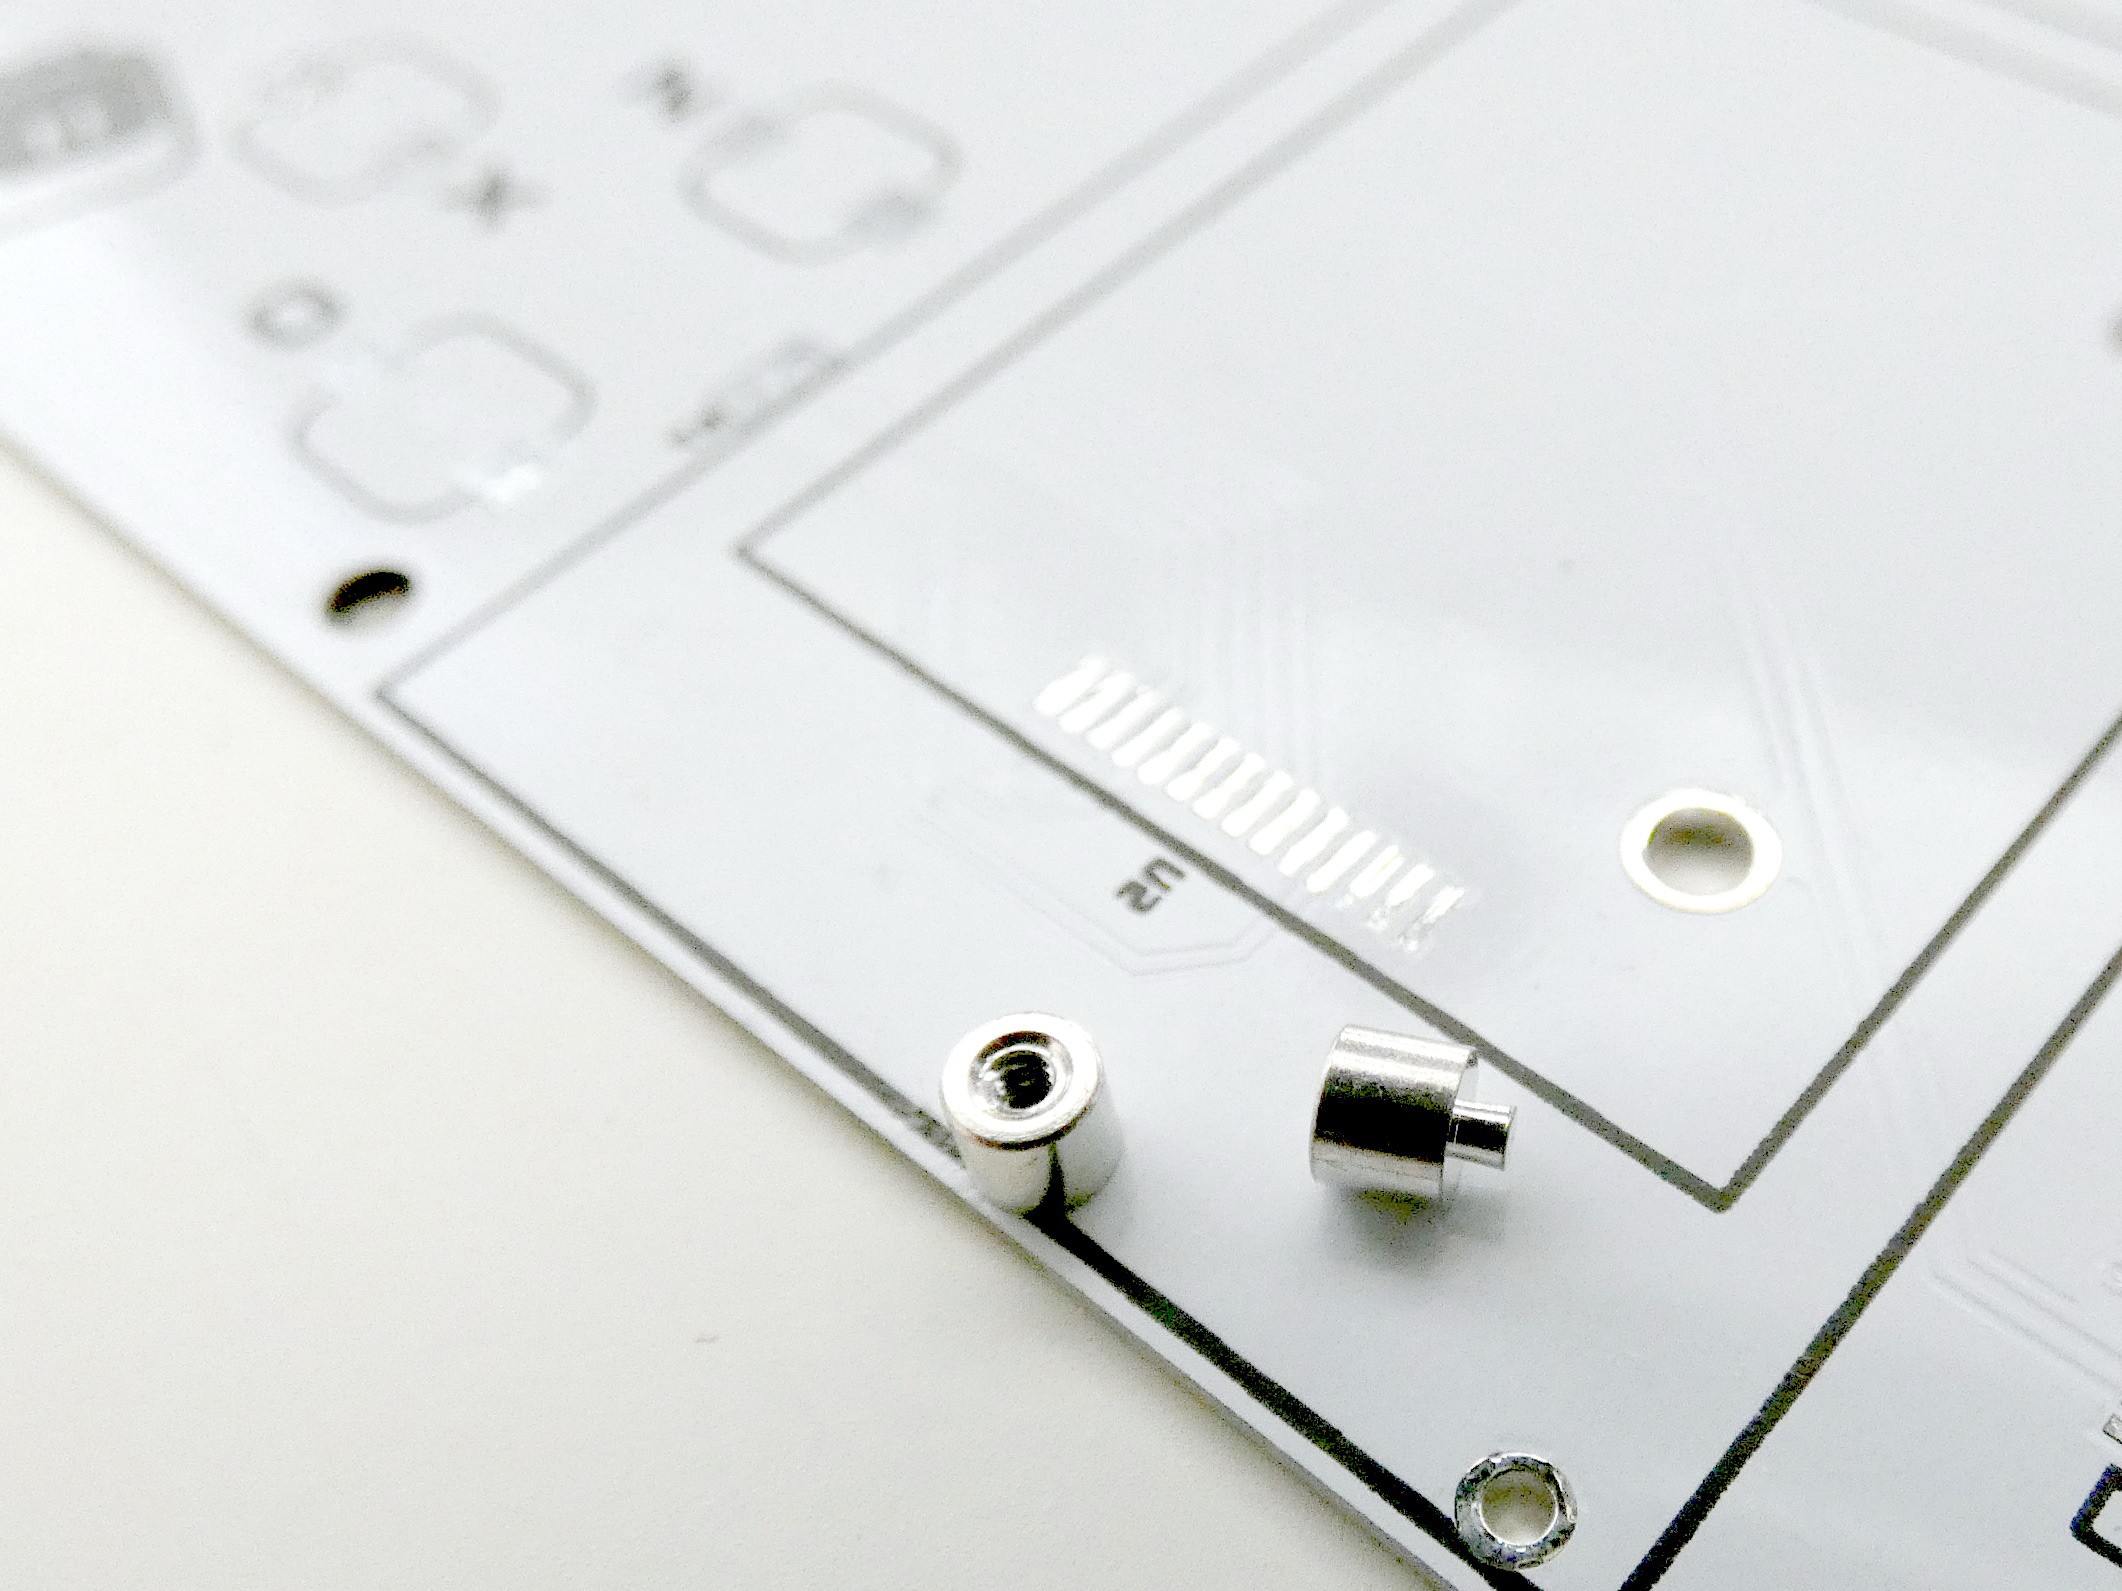
09/21/2019 at 12:37 • 0 commentsHere's an interesting part:
It's a bolt nut, which can be soldered into a hole on a PCB. The one on the photo is particularly interesting, because it's exactly 2.5mm high — same as the middle layer of my laser-cut acrylic case.
If I used those in places where I now use screws, there are several advantages. First of all, I use bolts, which are not self-tapping, can be screwed in and out practically infinite number of times, and don't put additional sideways stress on the top layer of the acrylic. Second, if I moved the holes a bit, and maybe added a few more around the buttons, I could get rid of the middle layer entirely — just have empty space there. That would halve the cost of the case.
 deʃhipu