 Ryan Beltrán
-
1Video Instructions
-
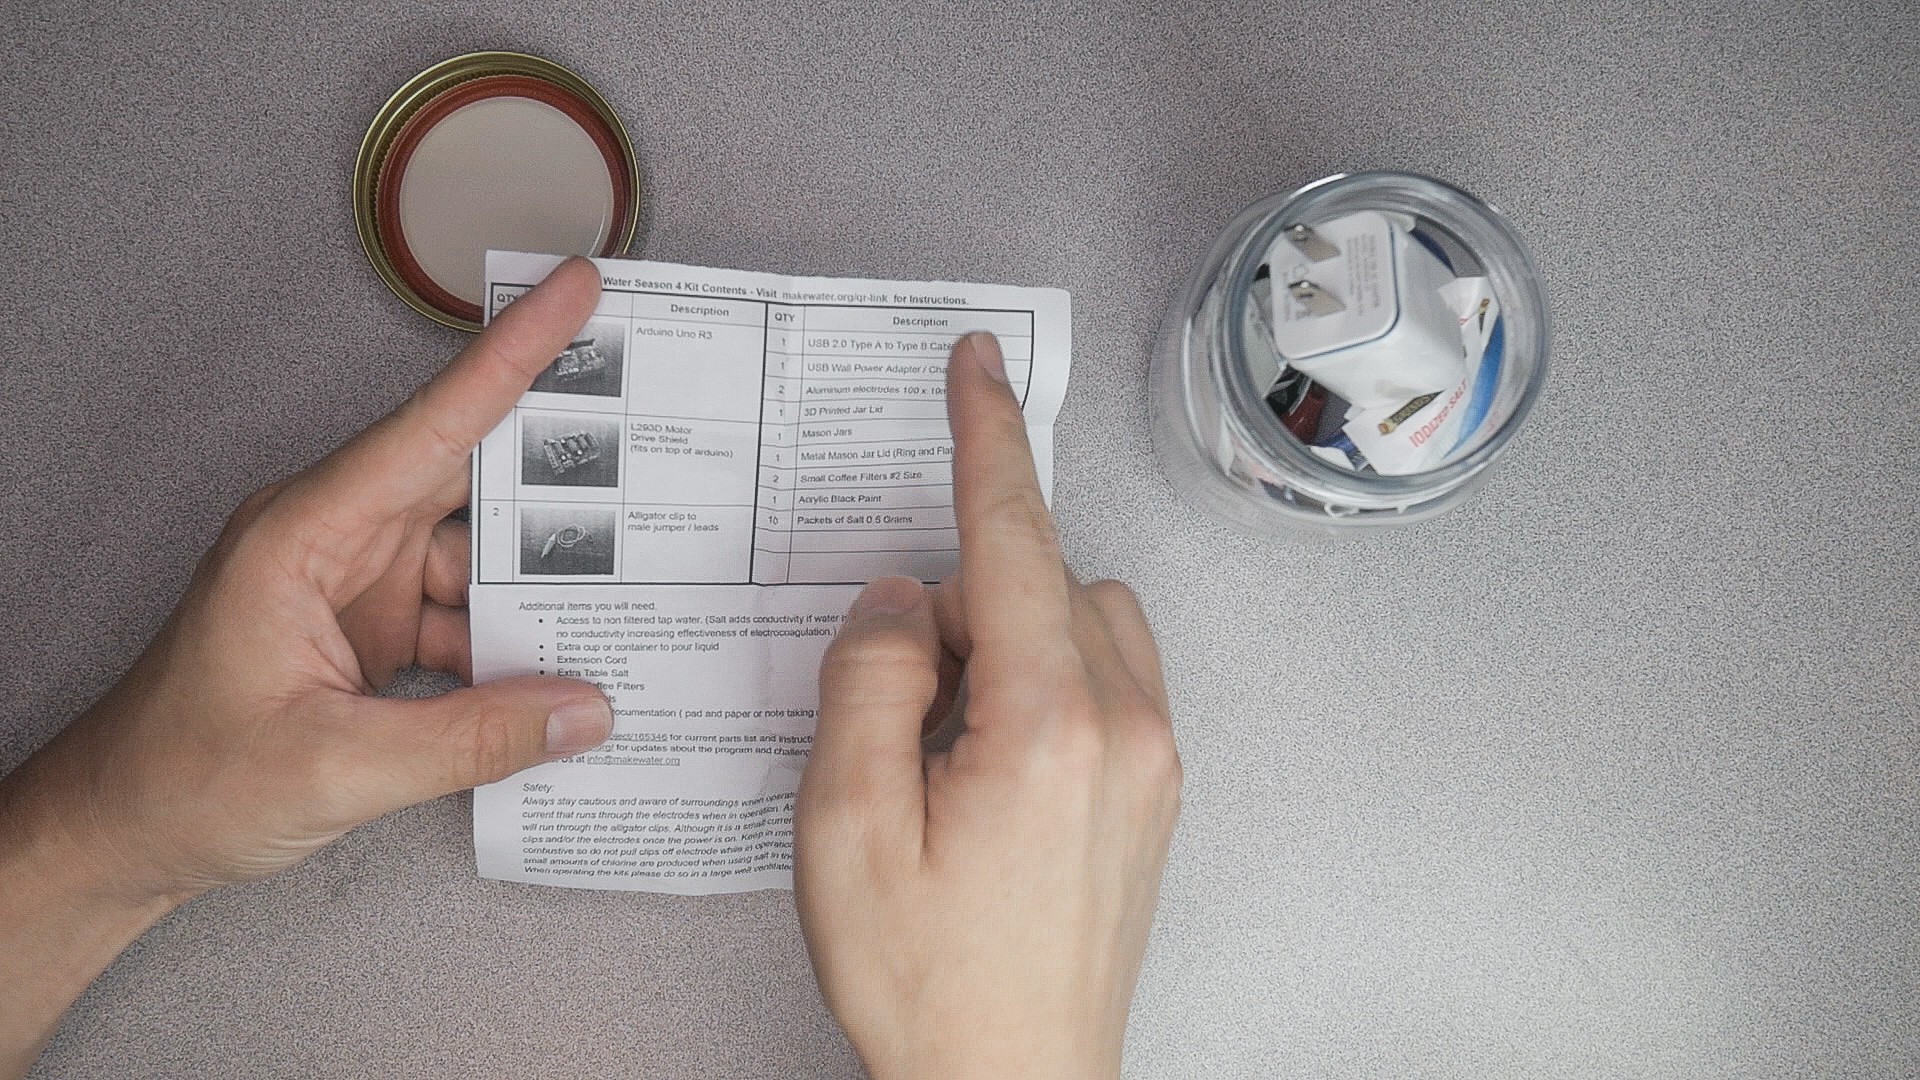
2Check that your kit has all the proper components.
Purchased or donated kits should have the parts list pictured.
![]()
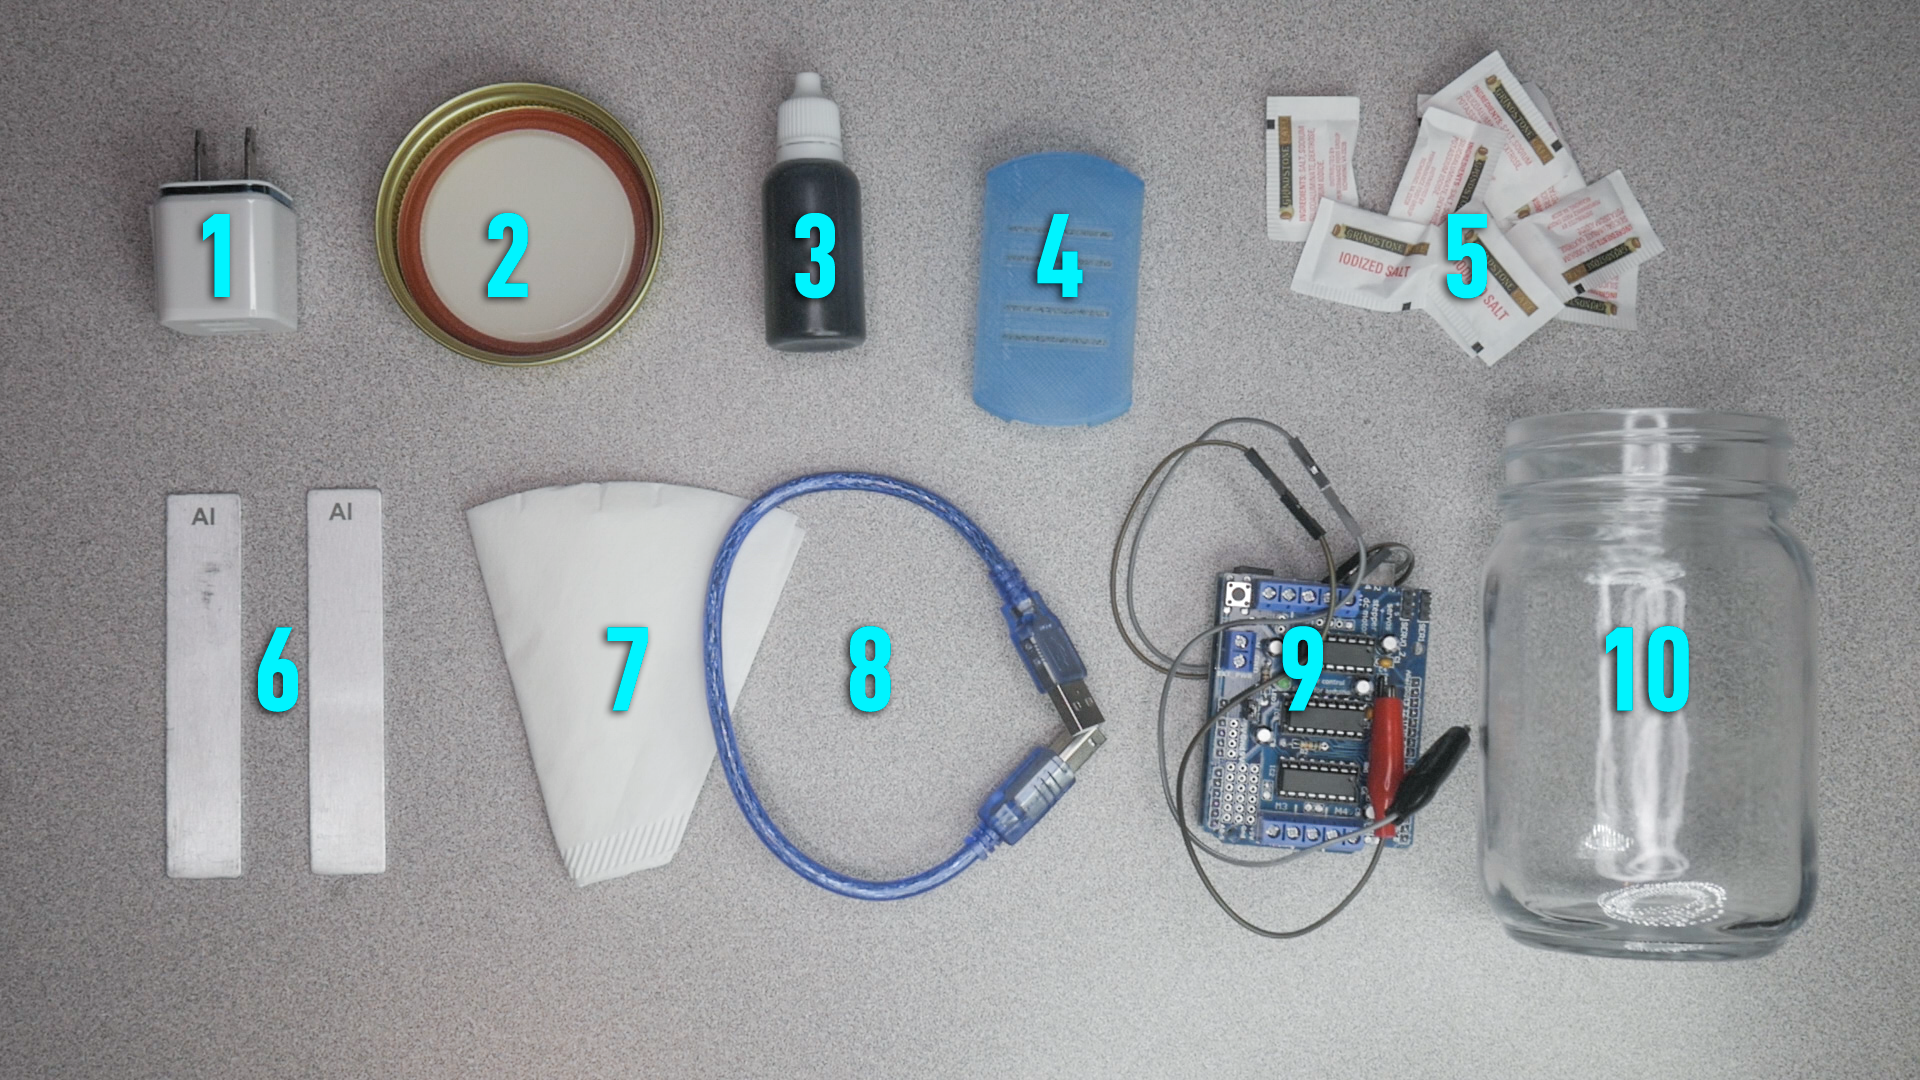
Here is a breakdown of everything in the kit.
![]()
Make Water Season 04 Kit Parts
1 USB Wall Power Adapter / Charger × 1 2 Mason Jar Lid & Ring × 1 3 Acrylic Black Paint × 1 4 3D Printed Coagulator Lid with Electrode Slots × 1 5 Salt Packets (0.5 Grams) × 10 6 Aluminum Electrodes (100 x 19mm) × 2 7 Coffee Filters (#2 Size) × 2 8 USB 2.0 Type A to Type B Cable × 1 9 Arduino R3 (Pre Coded) with
L293D Shield and Alligator Clips× 1 10 Mason Jar (16 oz) × 1 Items you will need.
Paper Towels Extension Cord Extra Mason Jar or Cup (16 oz or more) Preparation
Water is different from place to place. The harder or more conductive your water the faster coagulation will occur. If you have soft water or filtered water you can always compensate with adding just a touch of salt for conductivity.
Safety: When operating the kits please do so in a large well ventilated room.
Kits come pre coded so you shouldn't have to code anything. If your arduino doesn't have the code you can download it here. Or from this snippet. The code is very simple at the moment. We send current through the electrodes for 20 seconds then we swap polarity and repeat. This helps reduce build up and boost efficiency over time. The code is simple because for now it is just a foundation for which to grow.
// elequa makewater.org - coagulator arduino & motorshield code v1.01 - Season 3 // don't forget to install adafruit motor driver shield libraries Tools> Manage Libraries... // Search for "adafruit motor shield library" and install. // Or you can download here https://github.com/adafruit/Adafruit-Motor-Shield-library #include <AFMotor.h> AF_DCMotor motor(1, MOTOR12_64KHZ); // create motor #1, 64KHz pwm void setup() { Serial.begin(9600); // set up Serial library at 9600 bps Serial.println("Motor test!"); motor.setSpeed(255); // set the power to 200/255 (255 Max) } void loop() { Serial.print("tick"); motor.run(FORWARD); // Power One Direction delay(20000); // Duration Default (20000 = 20 sec) - 20 Seconds Serial.print("tock"); motor.run(BACKWARD); // Power Opposite Direction delay(20000); // Duration Default (20000 = 20 sec) Serial.print("tack"); motor.run(RELEASE); // Pause delay(100); } -
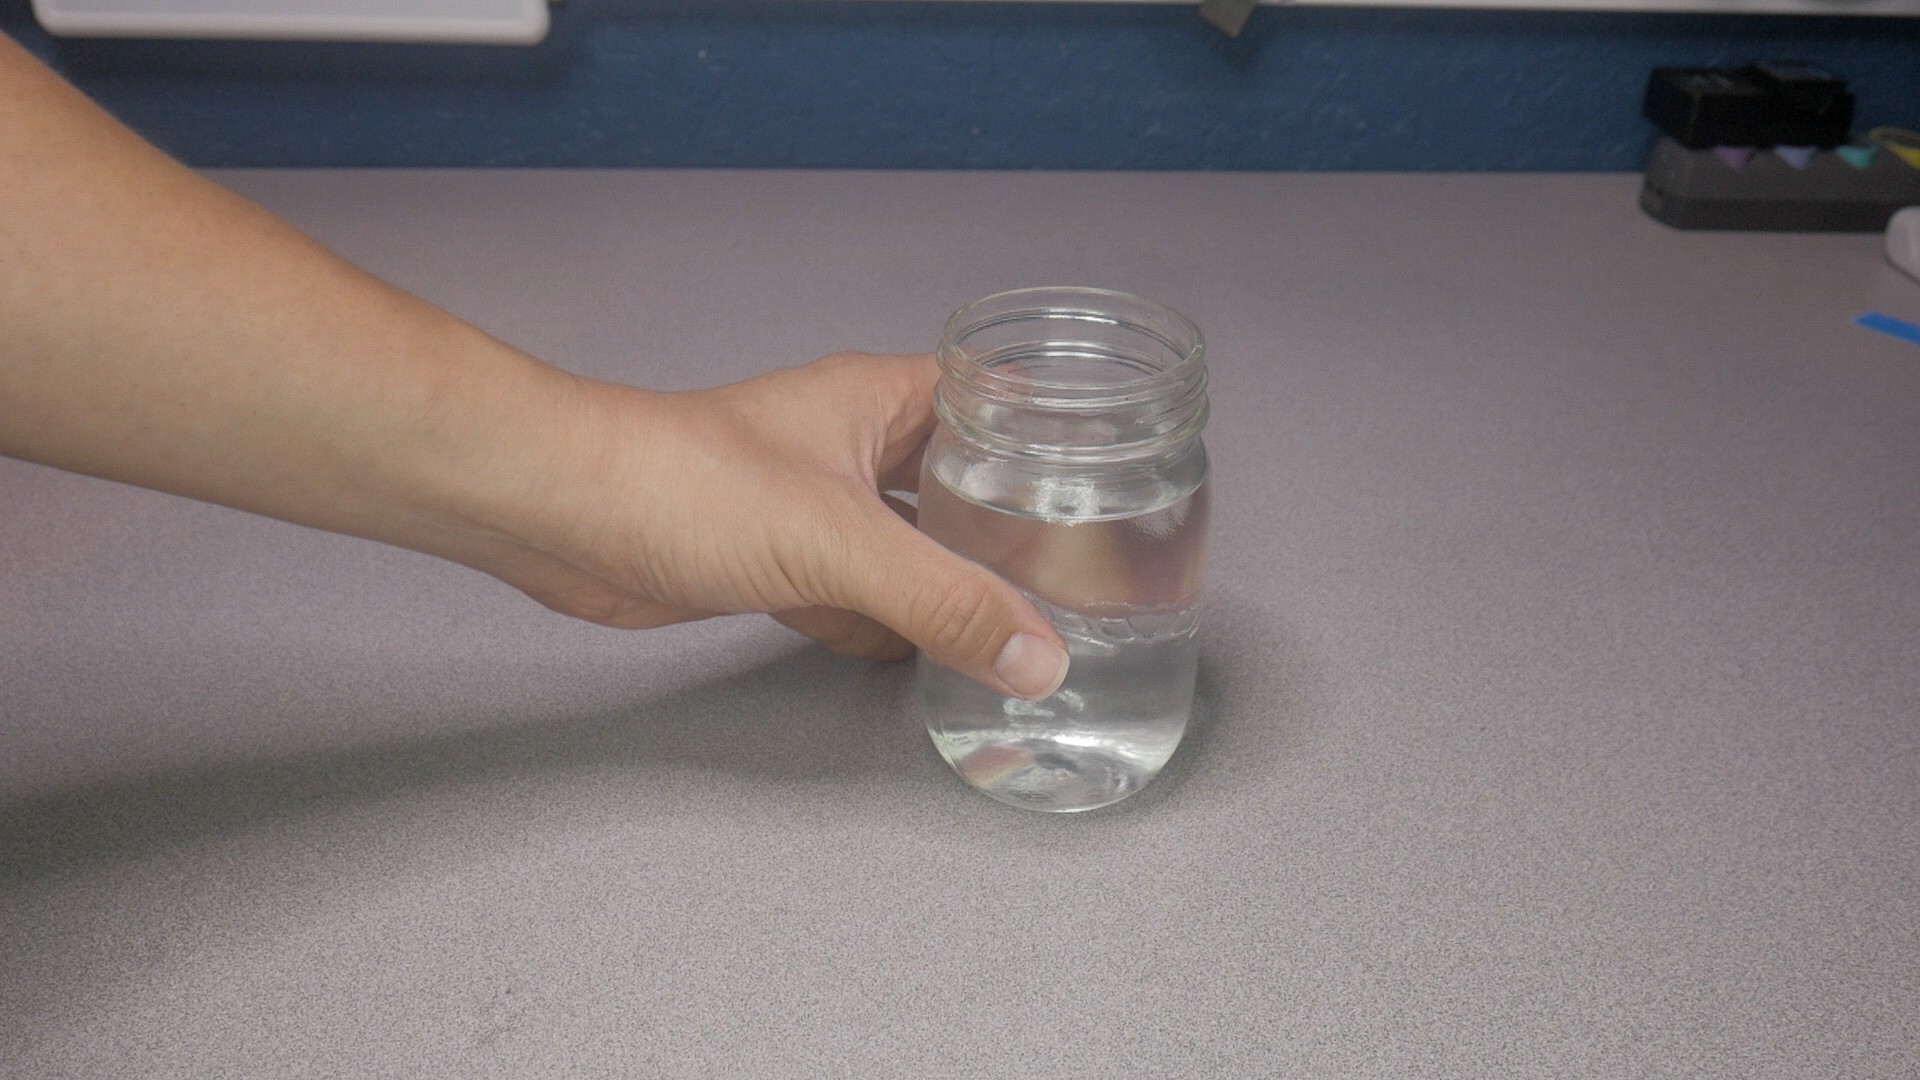
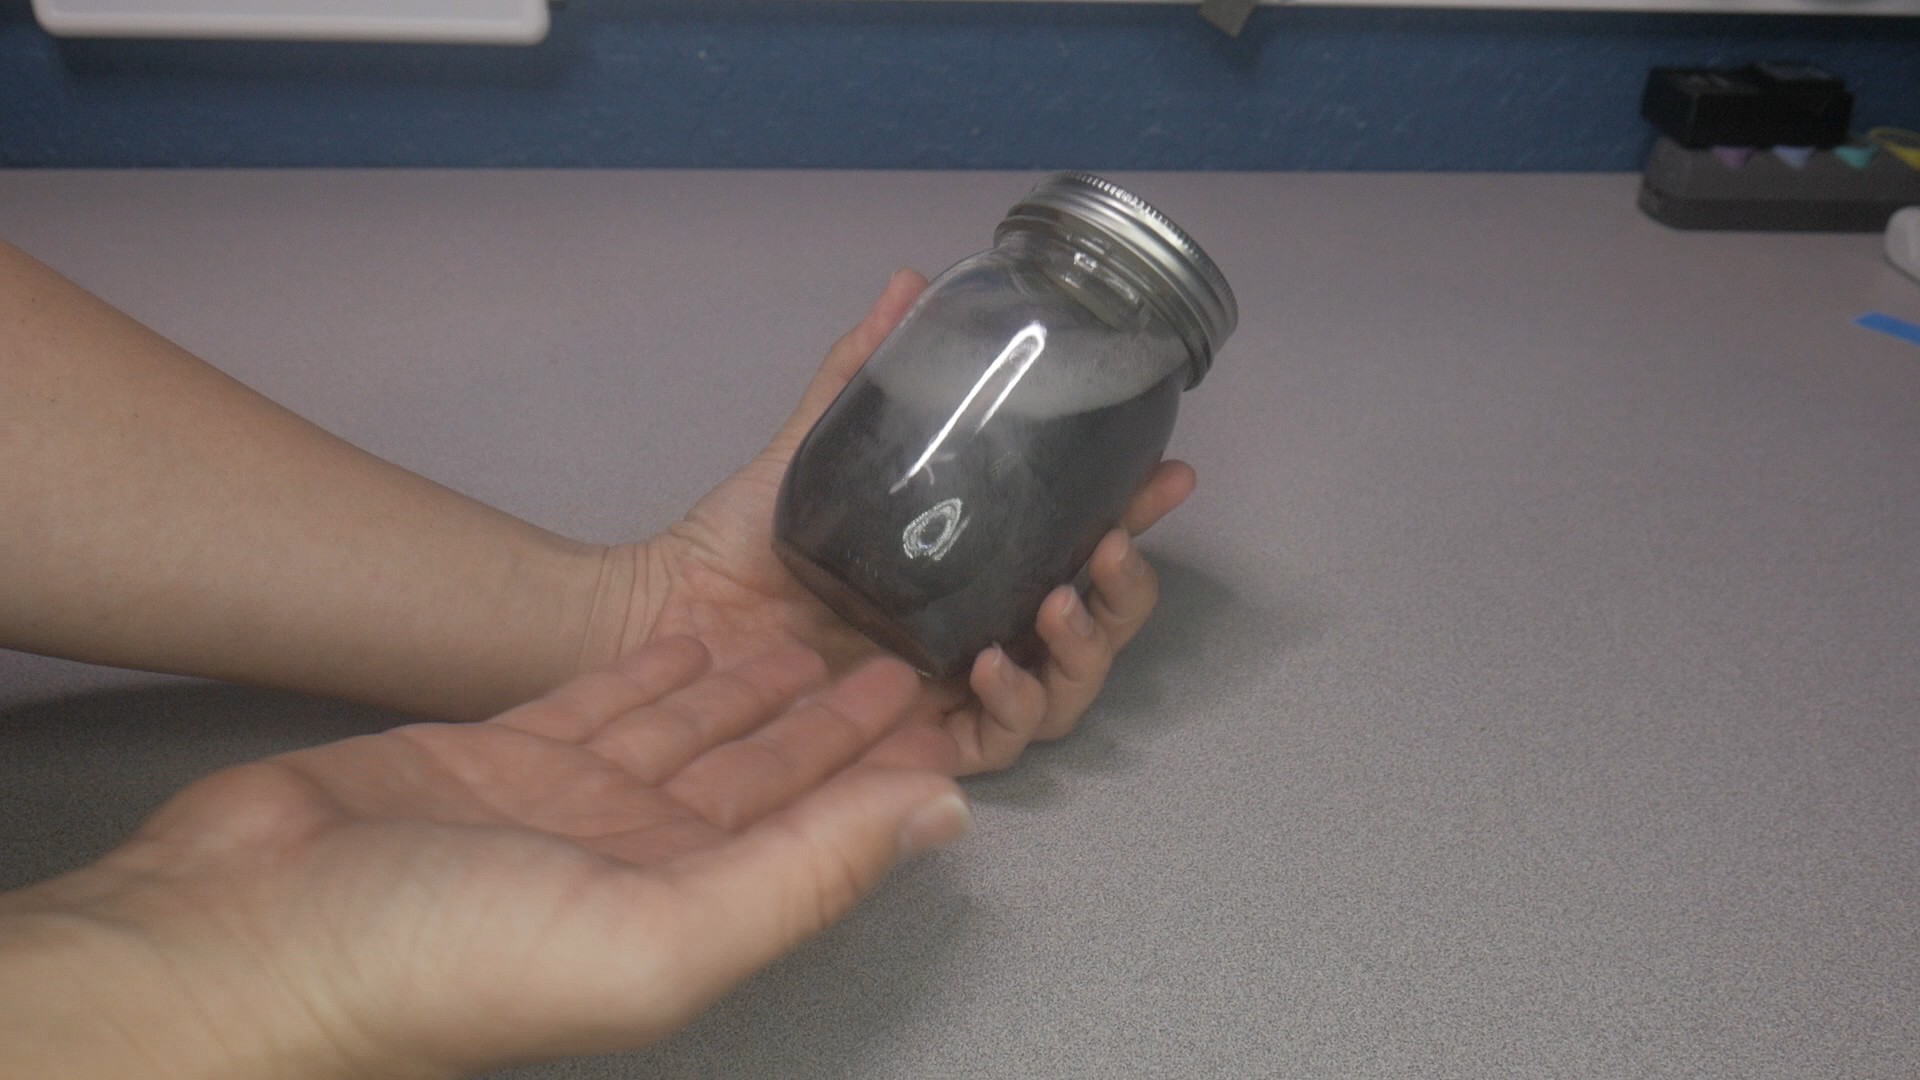
3Fill mason jar with water.
// elequa makewater.org - coagulator arduino & motorshield code v1.01 - Season 3 // don't forget to install adafruit motor driver shield libraries Tools> Manage Libraries... // Search for "adafruit motor shield library" and install. // Or you can download here https://github.com/adafruit/Adafruit-Motor-Shield-library #include <AFMotor.h> AF_DCMotor motor(1, MOTOR12_64KHZ); // create motor #1, 64KHz pwm void setup() { Serial.begin(9600); // set up Serial library at 9600 bps Serial.println("Motor test!"); motor.setSpeed(255); // set the power to 200/255 (255 Max) } void loop() { Serial.print("tick"); motor.run(FORWARD); // Power One Direction delay(20000); // Duration Default (20000 = 20 sec) - 20 Seconds Serial.print("tock"); motor.run(BACKWARD); // Power Opposite Direction delay(20000); // Duration Default (20000 = 20 sec) Serial.print("tack"); motor.run(RELEASE); // Pause delay(100); }![]()
Fill the mason jar near the top right where it starts to curve up to where the lid screws on.
-
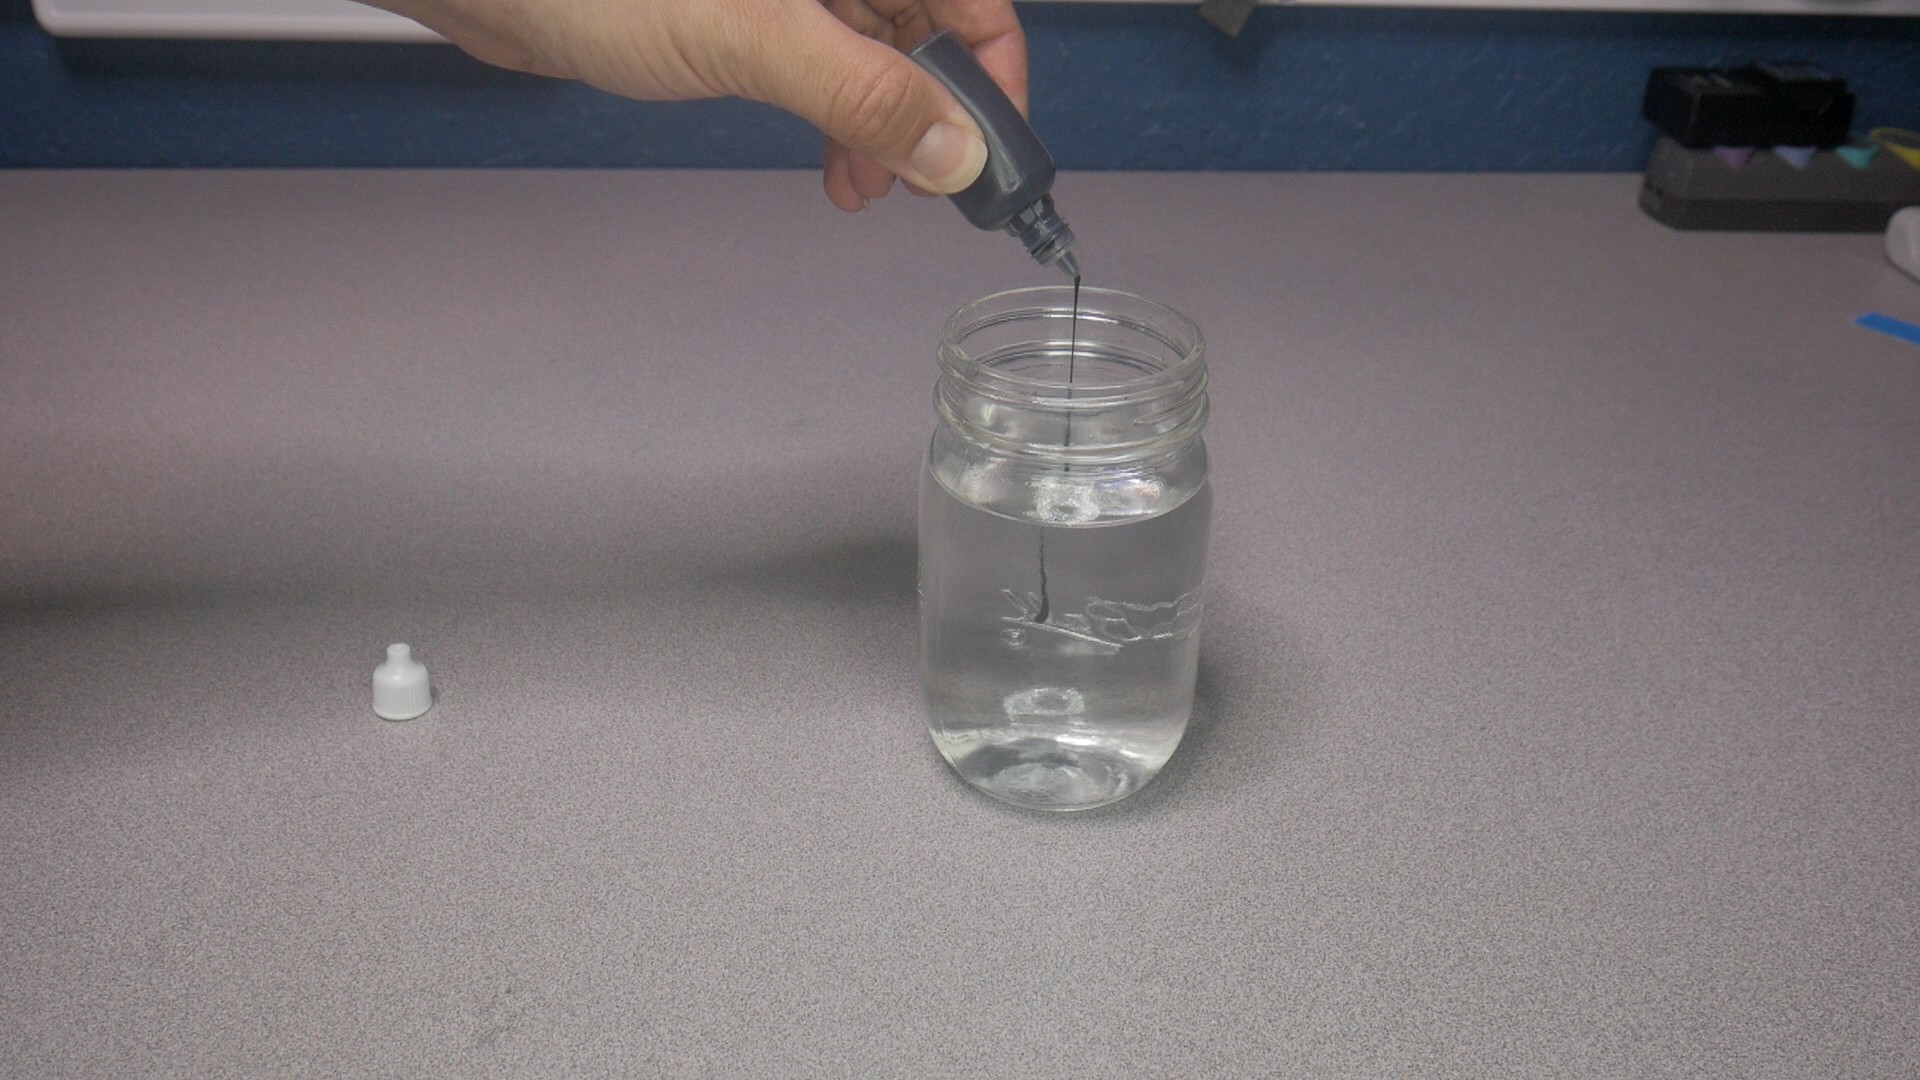
4Add Acrylic Paint to the Water
Follow along with the video here.
![]()
Add 4 drops to the water in the mason jar. Just enough to make it opaque once shaken later.
Be sure not to add too much paint as it will drastically slow down the electrocoagulation process.
Acrylic paint isn't very conductive but we use this as a way to visualize the process and get an understanding of how it works.
-
5Add Salt to the water (optional)
![]()
Add 4 packets of salt or approx 2 grams or 1/3 tsp of salt to the water.
This adds conductivity to the water to speed up coagulation. This step is optional. -
6Mix Paint and Water
Follow along with the video here.
![]()
Screw the sealing lid onto the mason jar and shake it until the water is dark and opaque. Feel free to add more drops of paint as needed.
-
7Connect the Electrodes
Follow along with the video here.
![]()
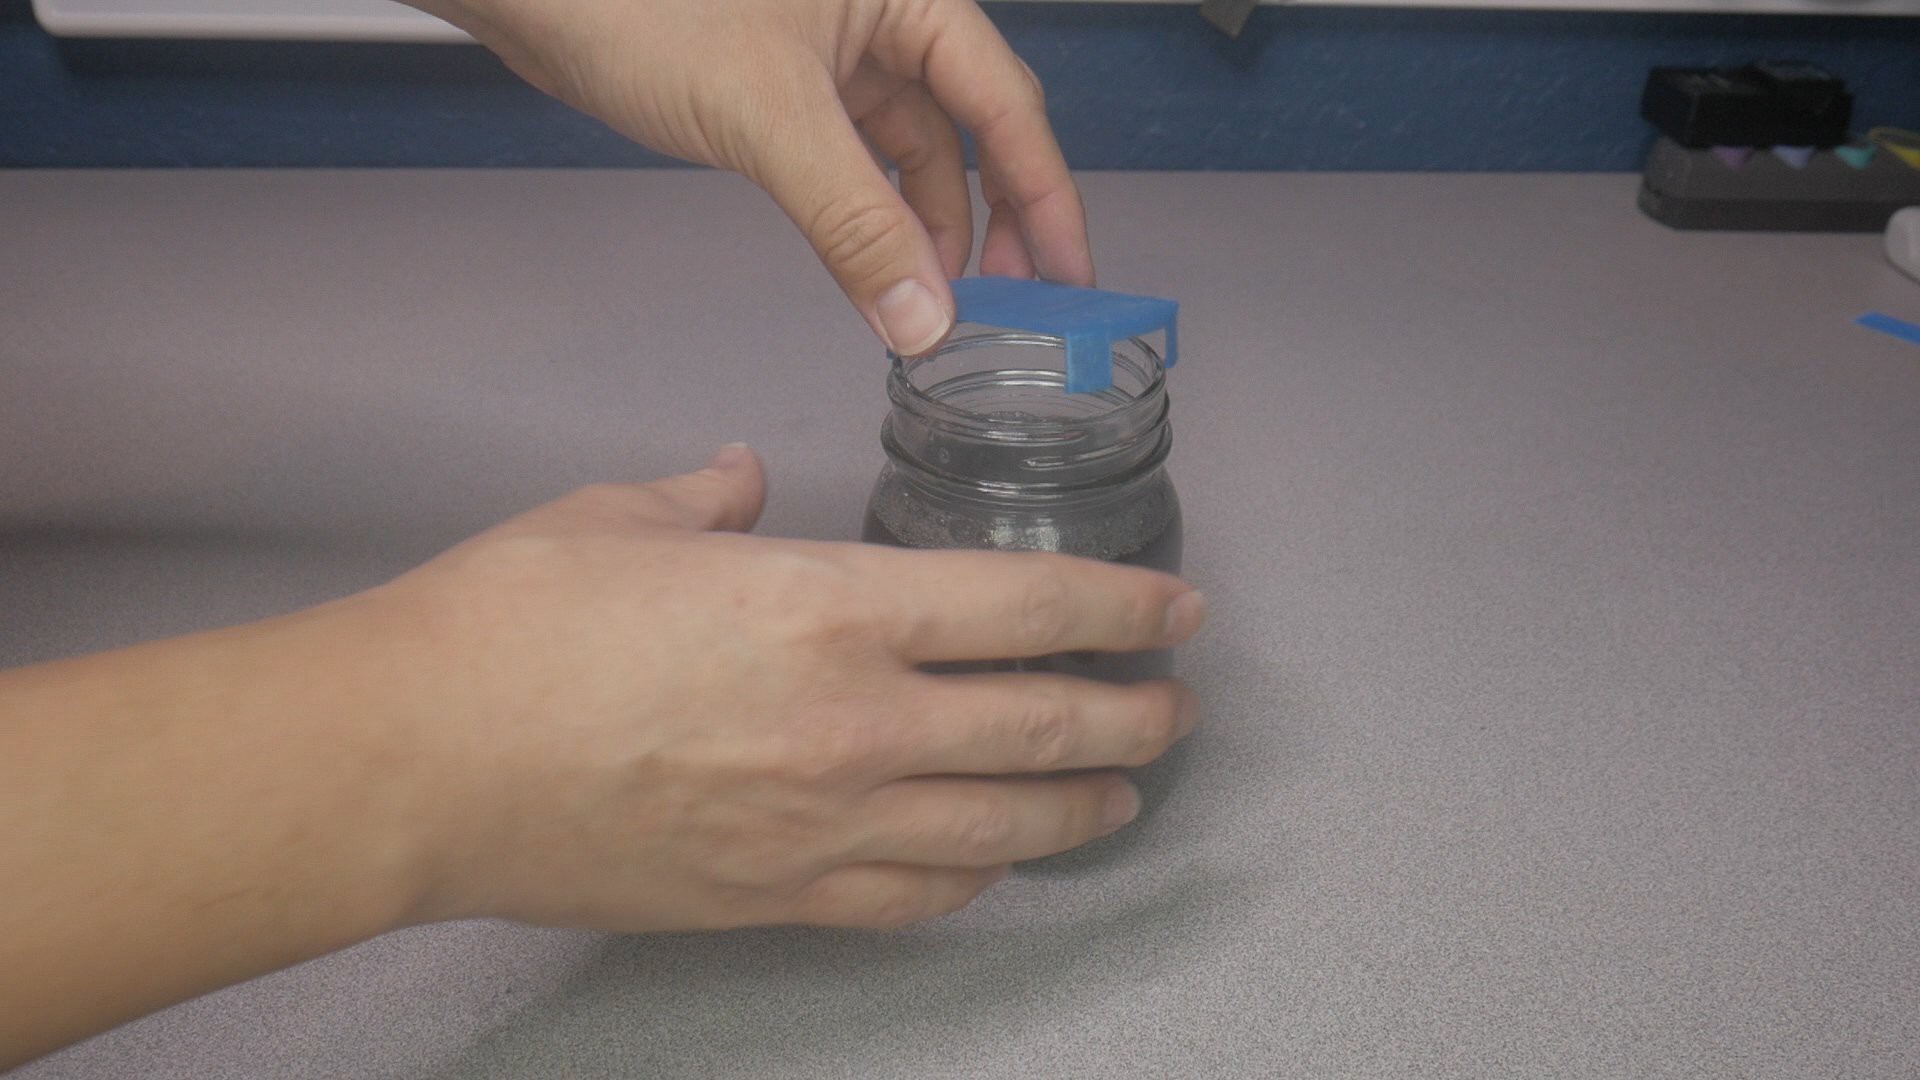
Remove the original mason jar sealing lid and ring.
Put the 3D printer lid on top of the mason jar (lid shapes may vary).![]()
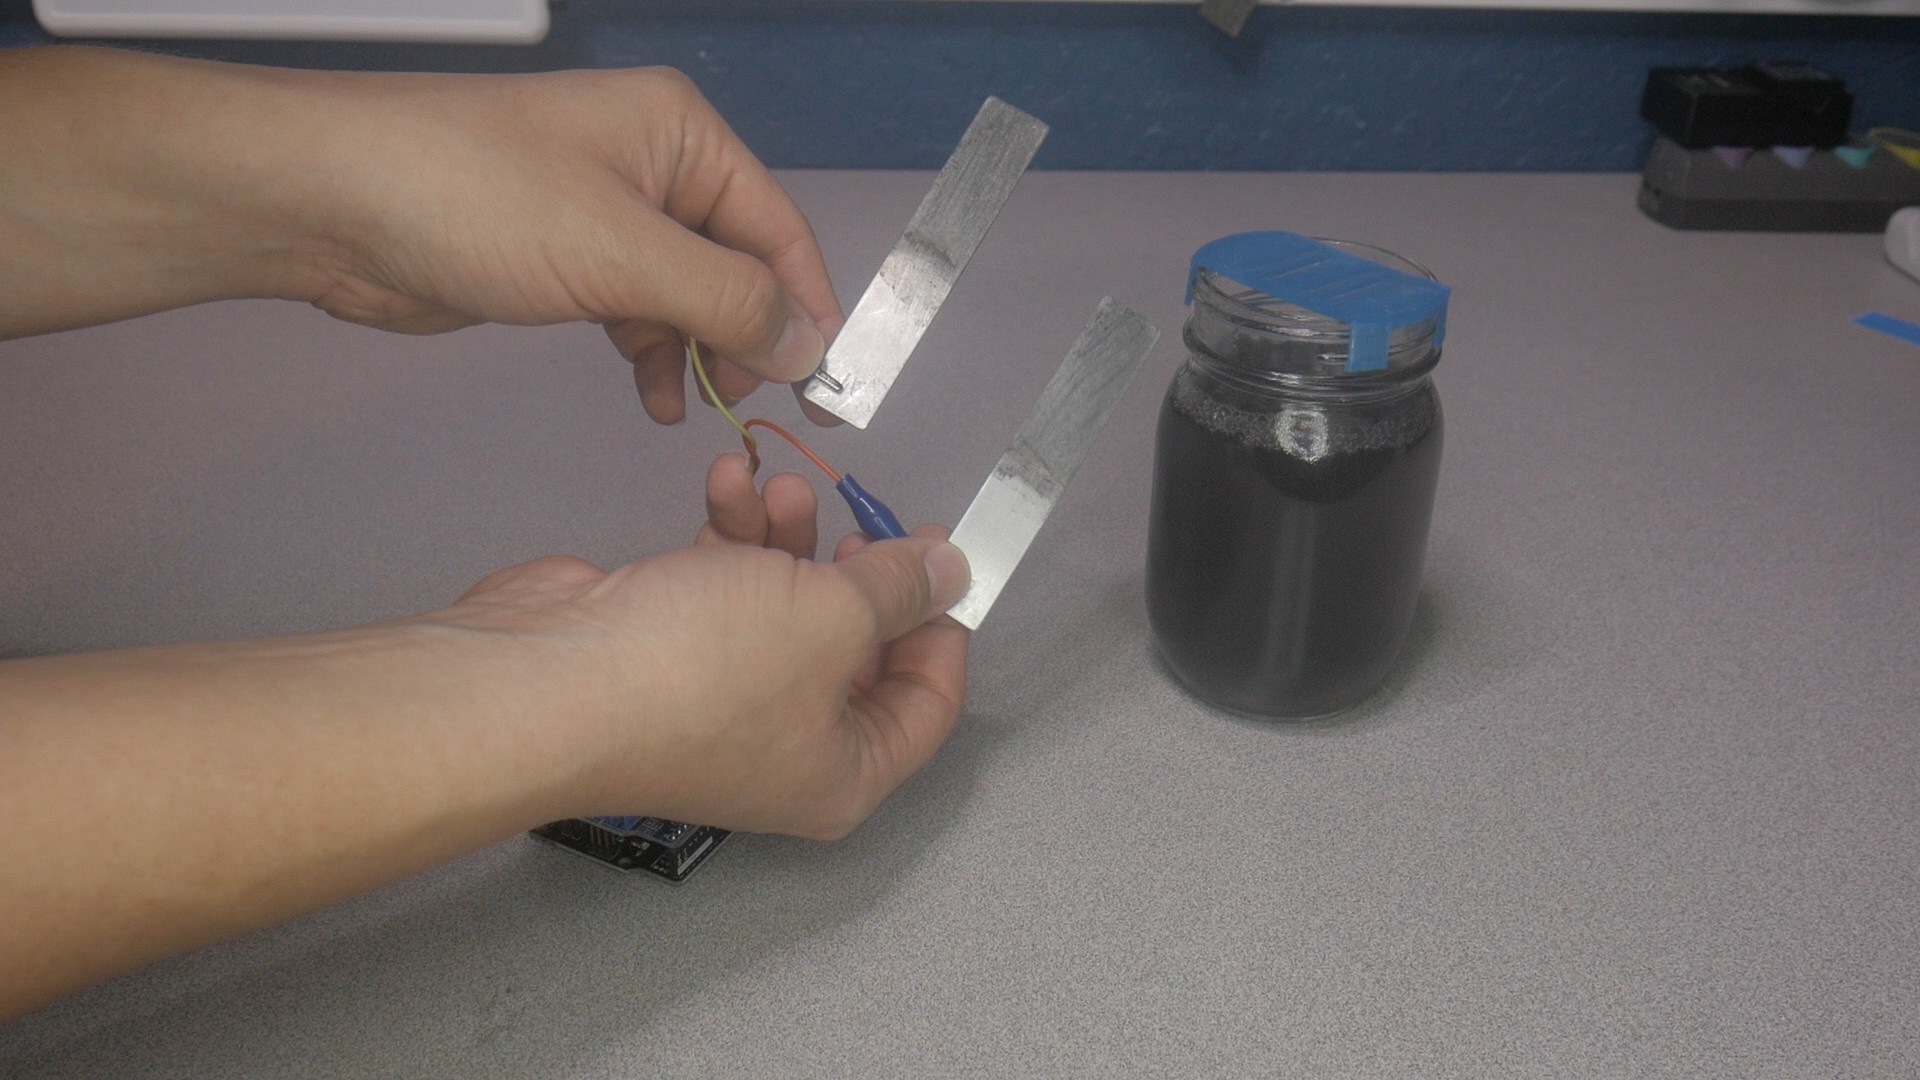
Connect the alligator clips to each electrode.
![]()
Slide the two aluminum electrodes through any of the slots on the top of the 3D printer lid.
-
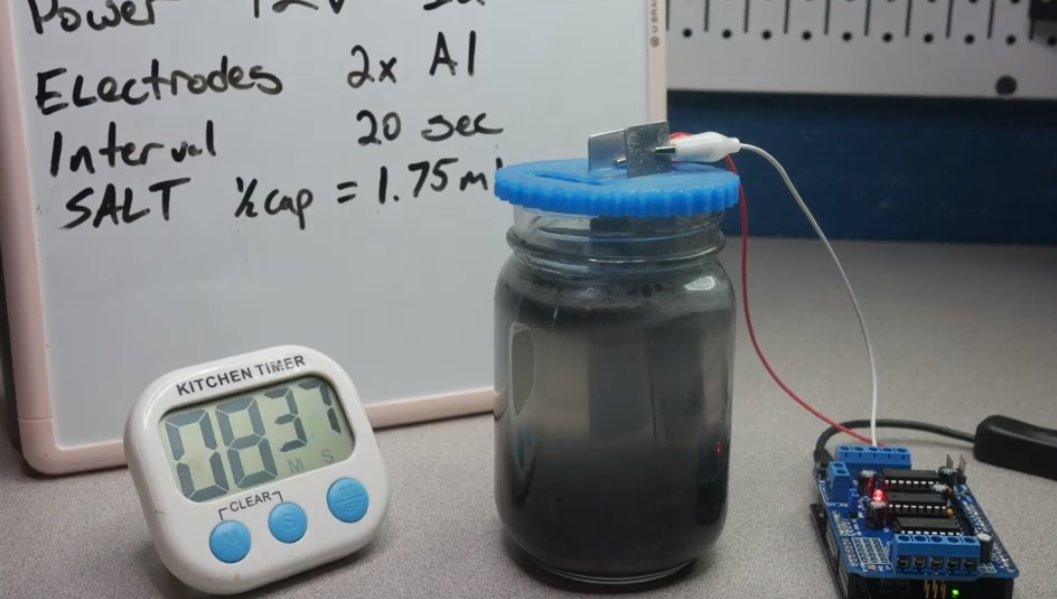
8Plug in the power source.
Follow along with the video here.
Safety:
Always stay cautious and aware of surroundings when operating the coagulator kit. There is a small current that runs through the electrodes when in operation. As soon as the usb is plugged in the current will run through the alligator clips. Although it is a small current do not touch the exposed metal alligator clips and/or the electrodes once the power is on. Keep in mind that hydrogen is created which is combustive. Also note that small amounts of chlorine are produced when using salt in the mixture.![]()
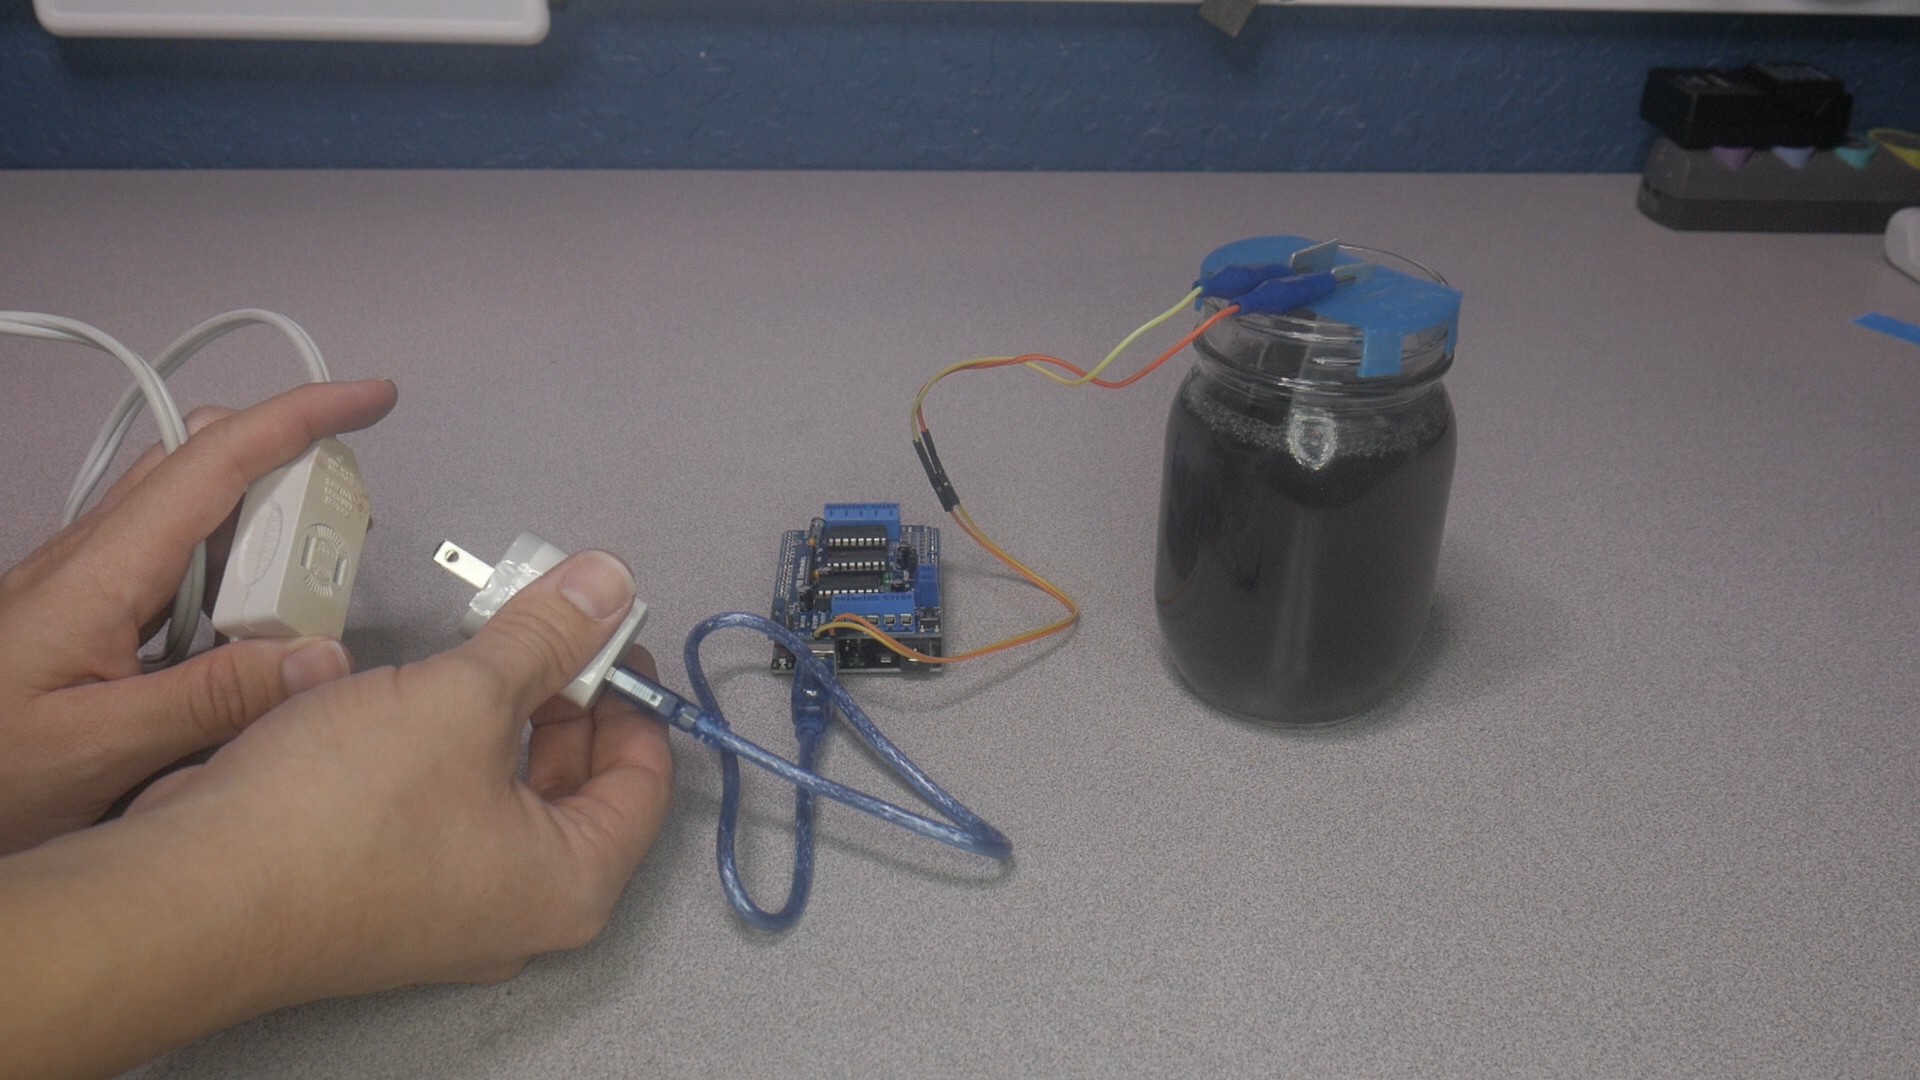
Plug in the USB wall power adapter to the USB cable.
Plug the other end of the USB cable into the arduino uno.![]()
Note once plugged in power will immediately flow through the electrodes be careful.
Plug the USB wall power adapter to an extension chord or wall outlet. The light on the arduino should come on indicating it is operational. Look at the electrodes just above the water surface and you should notice bubbles forming from the process. These are hydrogen and oxygen bubbles. -
9Let the water coagulate for 5-15 minutes.
Follow along with the video here.
![]()
Water varies from place to place some water is much more conductive than others. This time can vary because of that or how much paint and salt you have in the water.
-
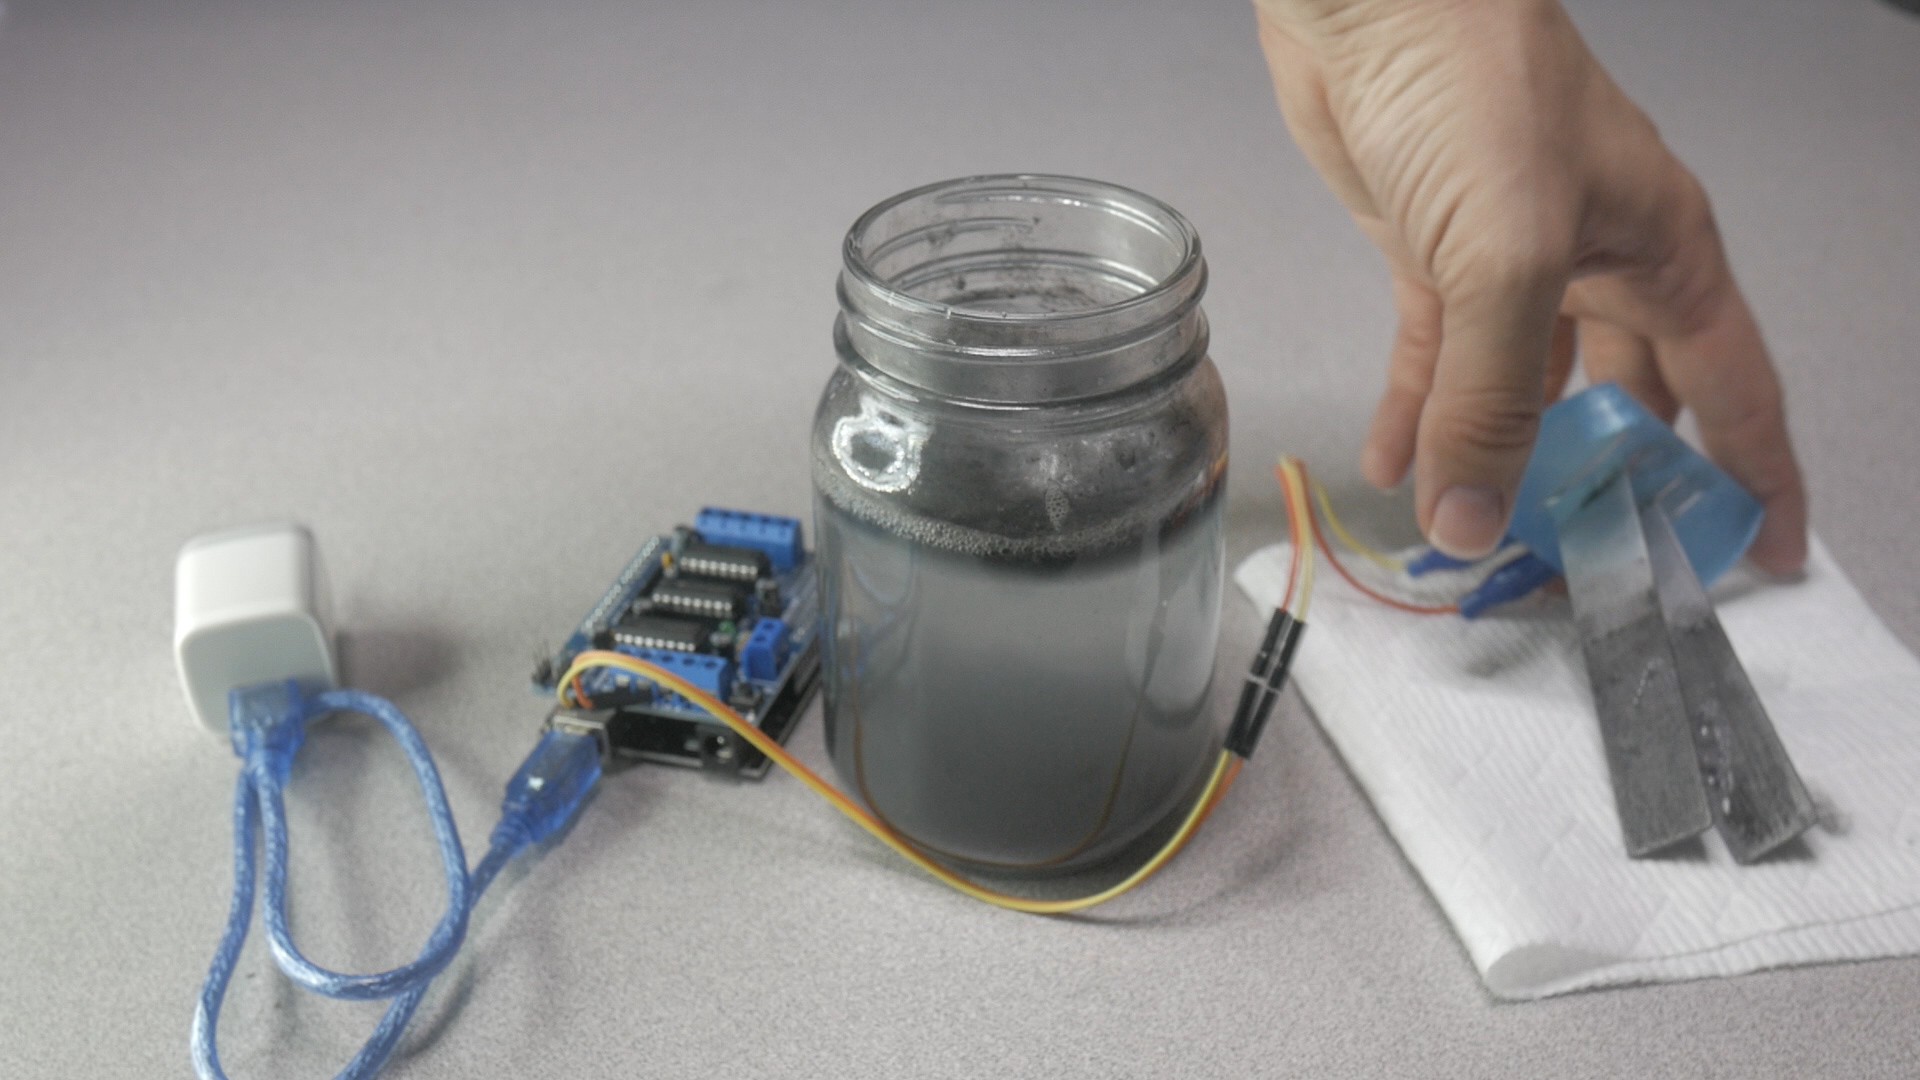
10Filter the Water
Follow along with the video here.
![]()
When you decide to stop the process it is then time to filter out the coagulated particles. Start by unplugging the USB from the power source/extension cord.
Remove the lid along with the electrodes and place them on a paper towel.![]()
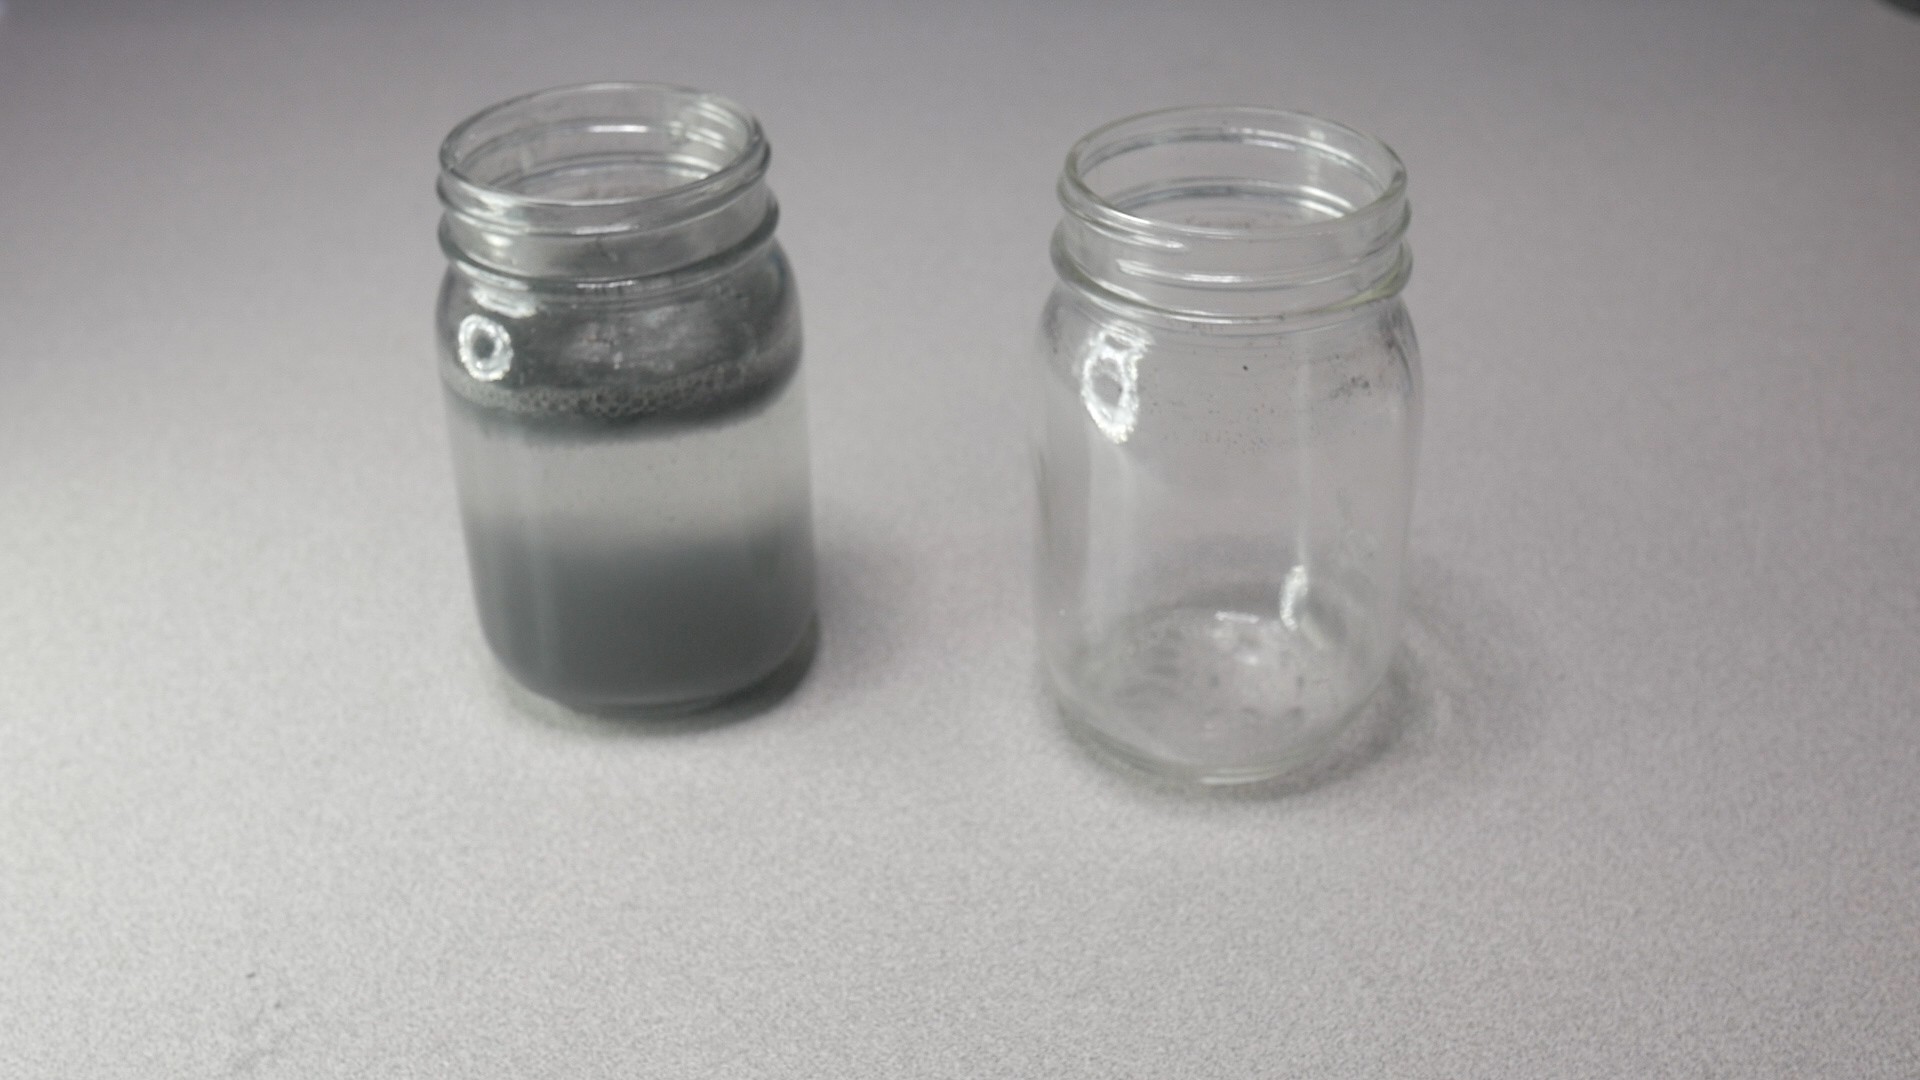
You will now need to pour the coagulated water sample through the coffee filter. If you have an extra 16oz mason jar this next step is easier. Otherwise pour your water sample into a spare cup and then add the coffee filter to the original mason jar.
![]()
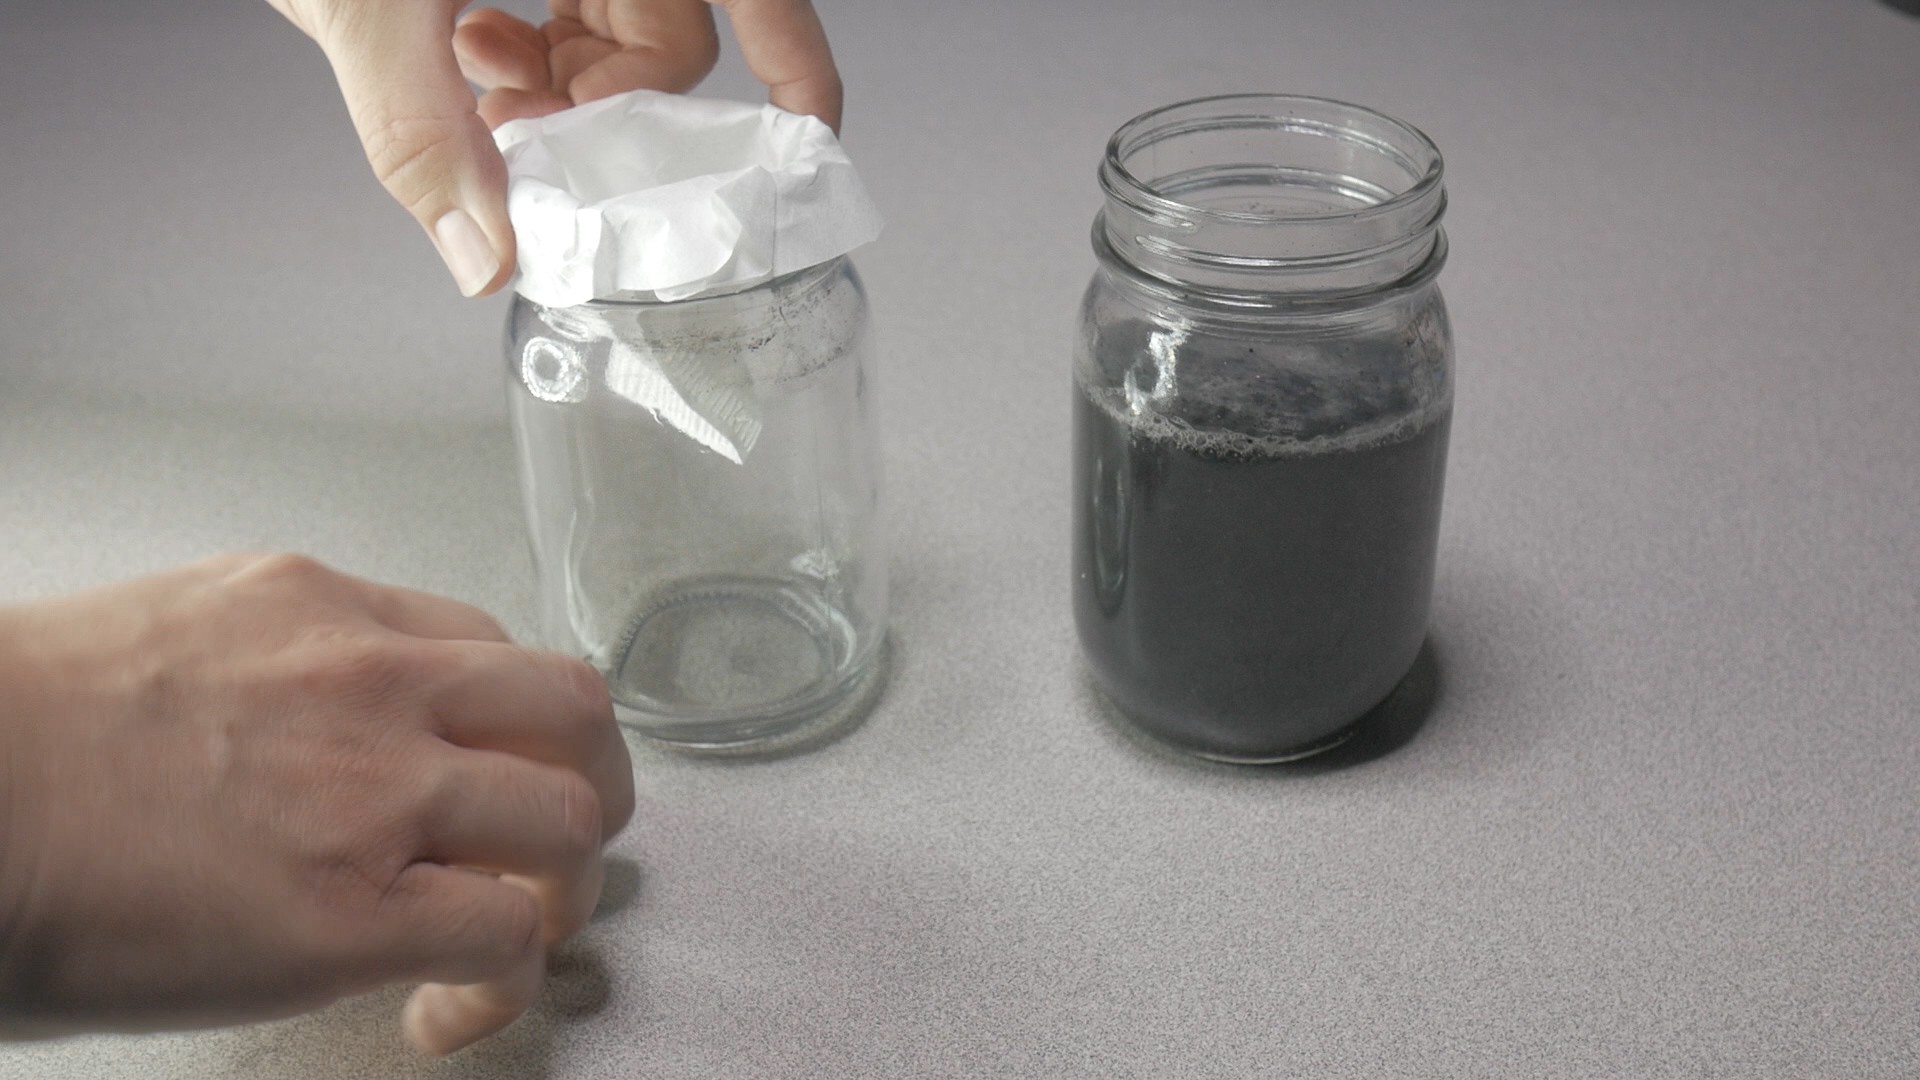
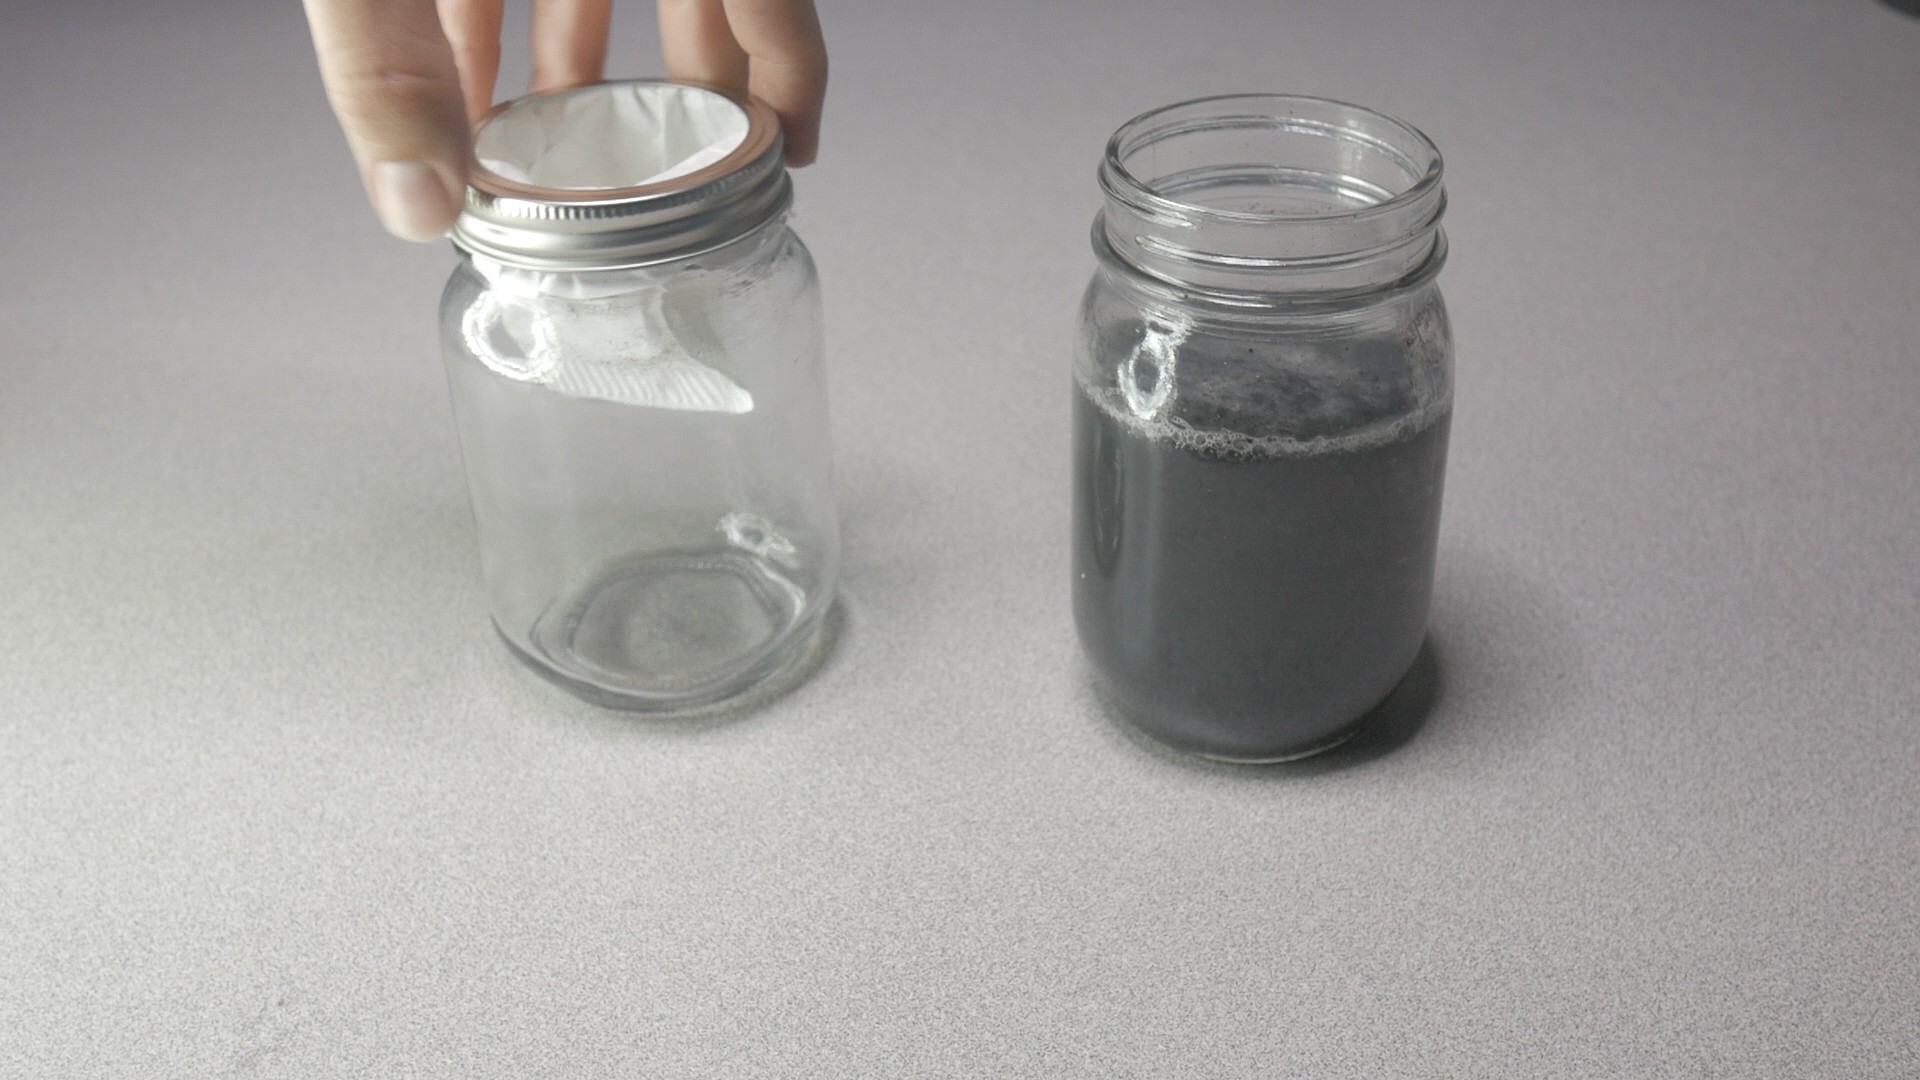
Put the coffee filter into the mason jar and warp the edges of the filter over the lip of the mason jar opening.
![]()
Use the mason jar lid ring to secure the filter to the mason jar.
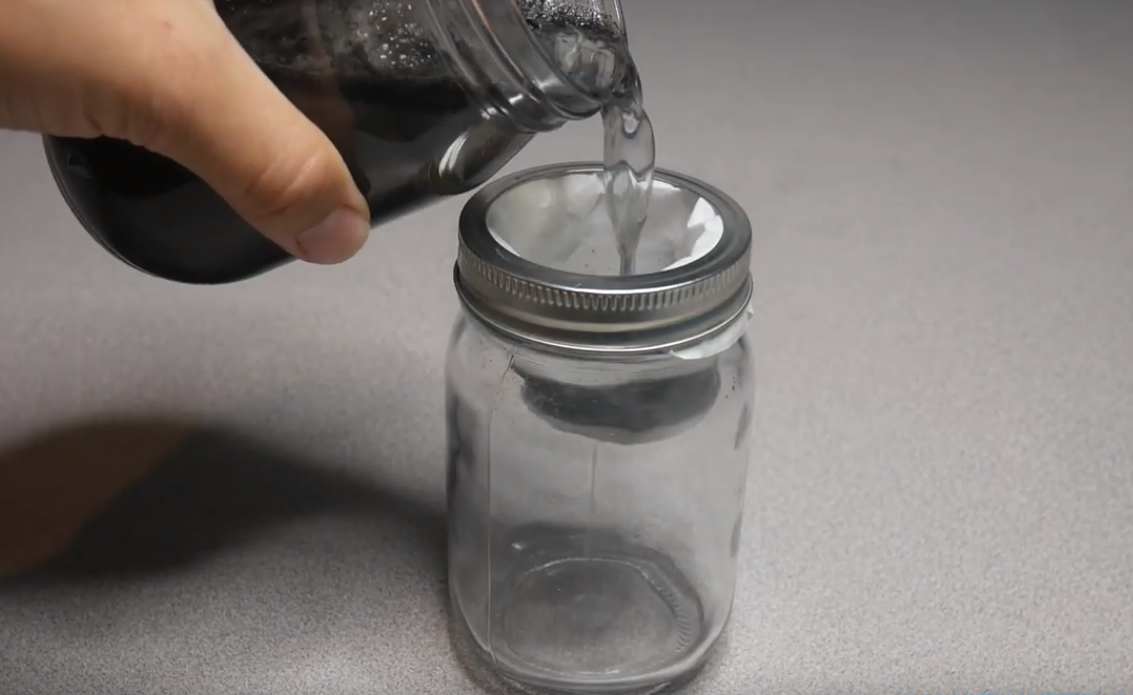
![]()
Slowly pour the water into the filtered mason jar and see the results!
If you want use help evolve these kits and advance research of the electrocoagulation process consider joining our Make Water program.
Or you can help support our program for as little as$1 a month on Patreon or via direct donations at MakeWater.org.
Water Purification Coagulator Kit & STEM Program
Our ever evolving Make Water program electrolysis/coagulator purification kit for student water & STEM education and outreach.


Discussions
Become a Hackaday.io Member
Create an account to leave a comment. Already have an account? Log In.