Close
0%
0%

MeArm Raspberry Pi Edition

A robot arm kit that works with the Raspberry Pi

Similar projects worth following
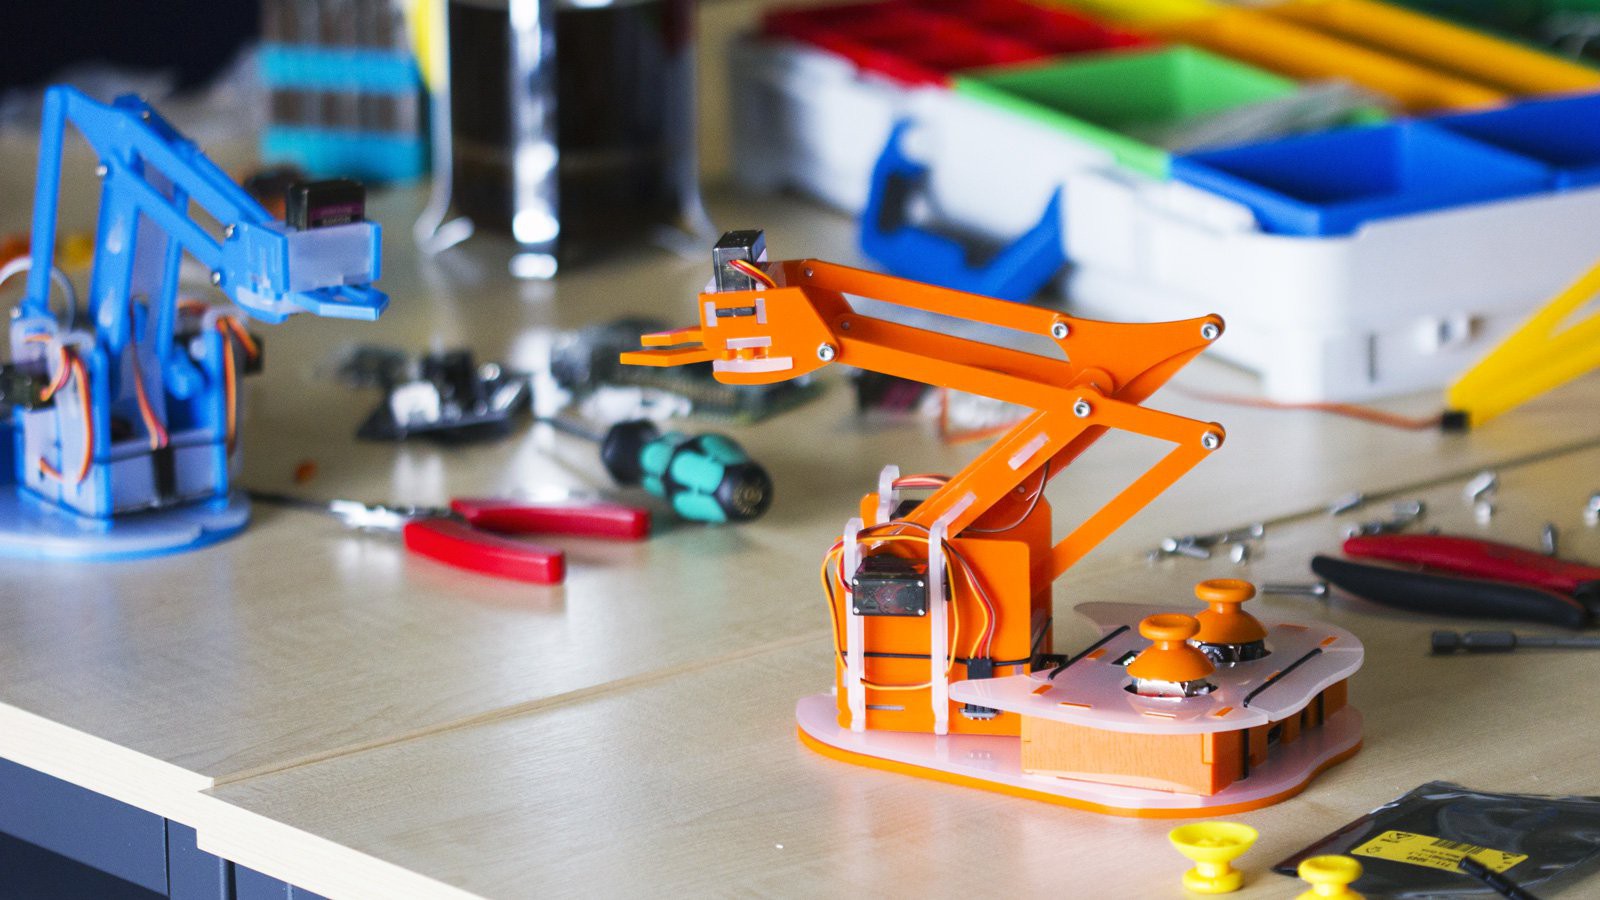
Building a robot arm kit with a proper HAT to work with the Raspberry Pi. It has on-board joysticks for direct control as well as being able to program it from the Pi

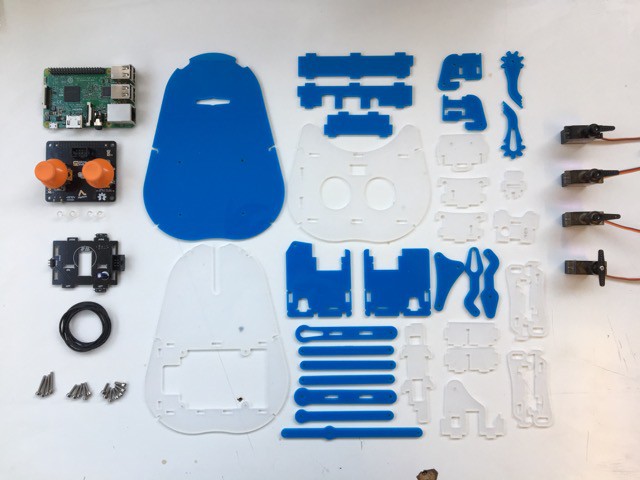
We're reworking the venerable MeArm to make it easier to build and to integrate it neatly with the Raspberry Pi. So far the mechanical re-work has reduced the screw count from around 40 screws to 12 and also made it so that the servos don't need the fiddly screws to attach them to the arm mechanism which should make it much easier for kids to build.

For the Pi integration, we're making a neat HAT that's fully in line with the HAT specs for autoconfiguring the pins and powering the Pi through the GPIO headers. It's got a couple of joysticks on board so it's nice and self-contained and lets you control the arm straight from the Pi without needing it plugged into a monitor or keyboard.

Software-wise, there's a node.js service that runs that does a number of things:

  • Reads the joysticks and controls the servos accordingly
  • Makes a WebSocket API available for controlling MeArm
  • Serves out some JS apps for controlling MeArm straight from your browser

Here's a video of it working:

And here's a demo of the apps running in a browser to make programming it easy:

mearm2-20161107.dxf

The cut template in DXF format

AutoCAD DXF - 1.94 MB - 11/08/2016 at 07:37

Download

mearm2-20161107.svg

The cut template in SVG format

svg+xml - 163.10 kB - 11/08/2016 at 07:37

Preview

  • 4 × Tower Pro MG90S Servo
  • 1 × MeArm Base PCB See GitHub for PCB project
  • 1 × MeArm Pi HAT See GitHub for PCB project
  • 7 × M3x6 Screws
  • 4 × M3x10 Screws

View all 8 components

  • We're on Kickstarter

    Mime Industries02/07/2017 at 17:54 0 comments

    Some exciting news (for us at least!) - after a long time in development, which you can follow here, we just launched the MeArm Pi over on Kickstarter - it's already moving along pretty nicely and sitting at 86% funded. There's still some time to get the early bird reward if you move quickly!

  • Running Apps

    Mime Industries11/08/2016 at 16:44 0 comments

    Thought it would be good to do a demo showing the apps controlling the Raspberry Pi MeArm. First, here's some more detail on what's actually going on:

    • There's a Node.js app which does a few things:
      • Controls the servos
      • Listens for changes to the joysticks and moves the servos accordingly
      • Runs a web server which serves out a bunch of Javascript Browser-based apps (Currently Javascript, Python, Blockly and Snap!)
      • Runs a WebSocket server which listens for commands to move the servos
    • When you go to the network address of the Raspberry Pi it loads the apps in your browser.
    • Each app communicates using the WebSocket to send commands however you program it to

    You can also, of course, write your own scripts to program it directly from the command line, but this is a nice easy way of getting started by running things like Blockly in your browser.

    Anyway, without further ado, here's the quick demo:

  • Demo

    Mime Industries11/08/2016 at 07:35 0 comments

    Here's a quick demo of the unit I built up to make the instructions working nicely.

  • New HAT PCB just in!

    Mime Industries11/04/2016 at 16:30 0 comments

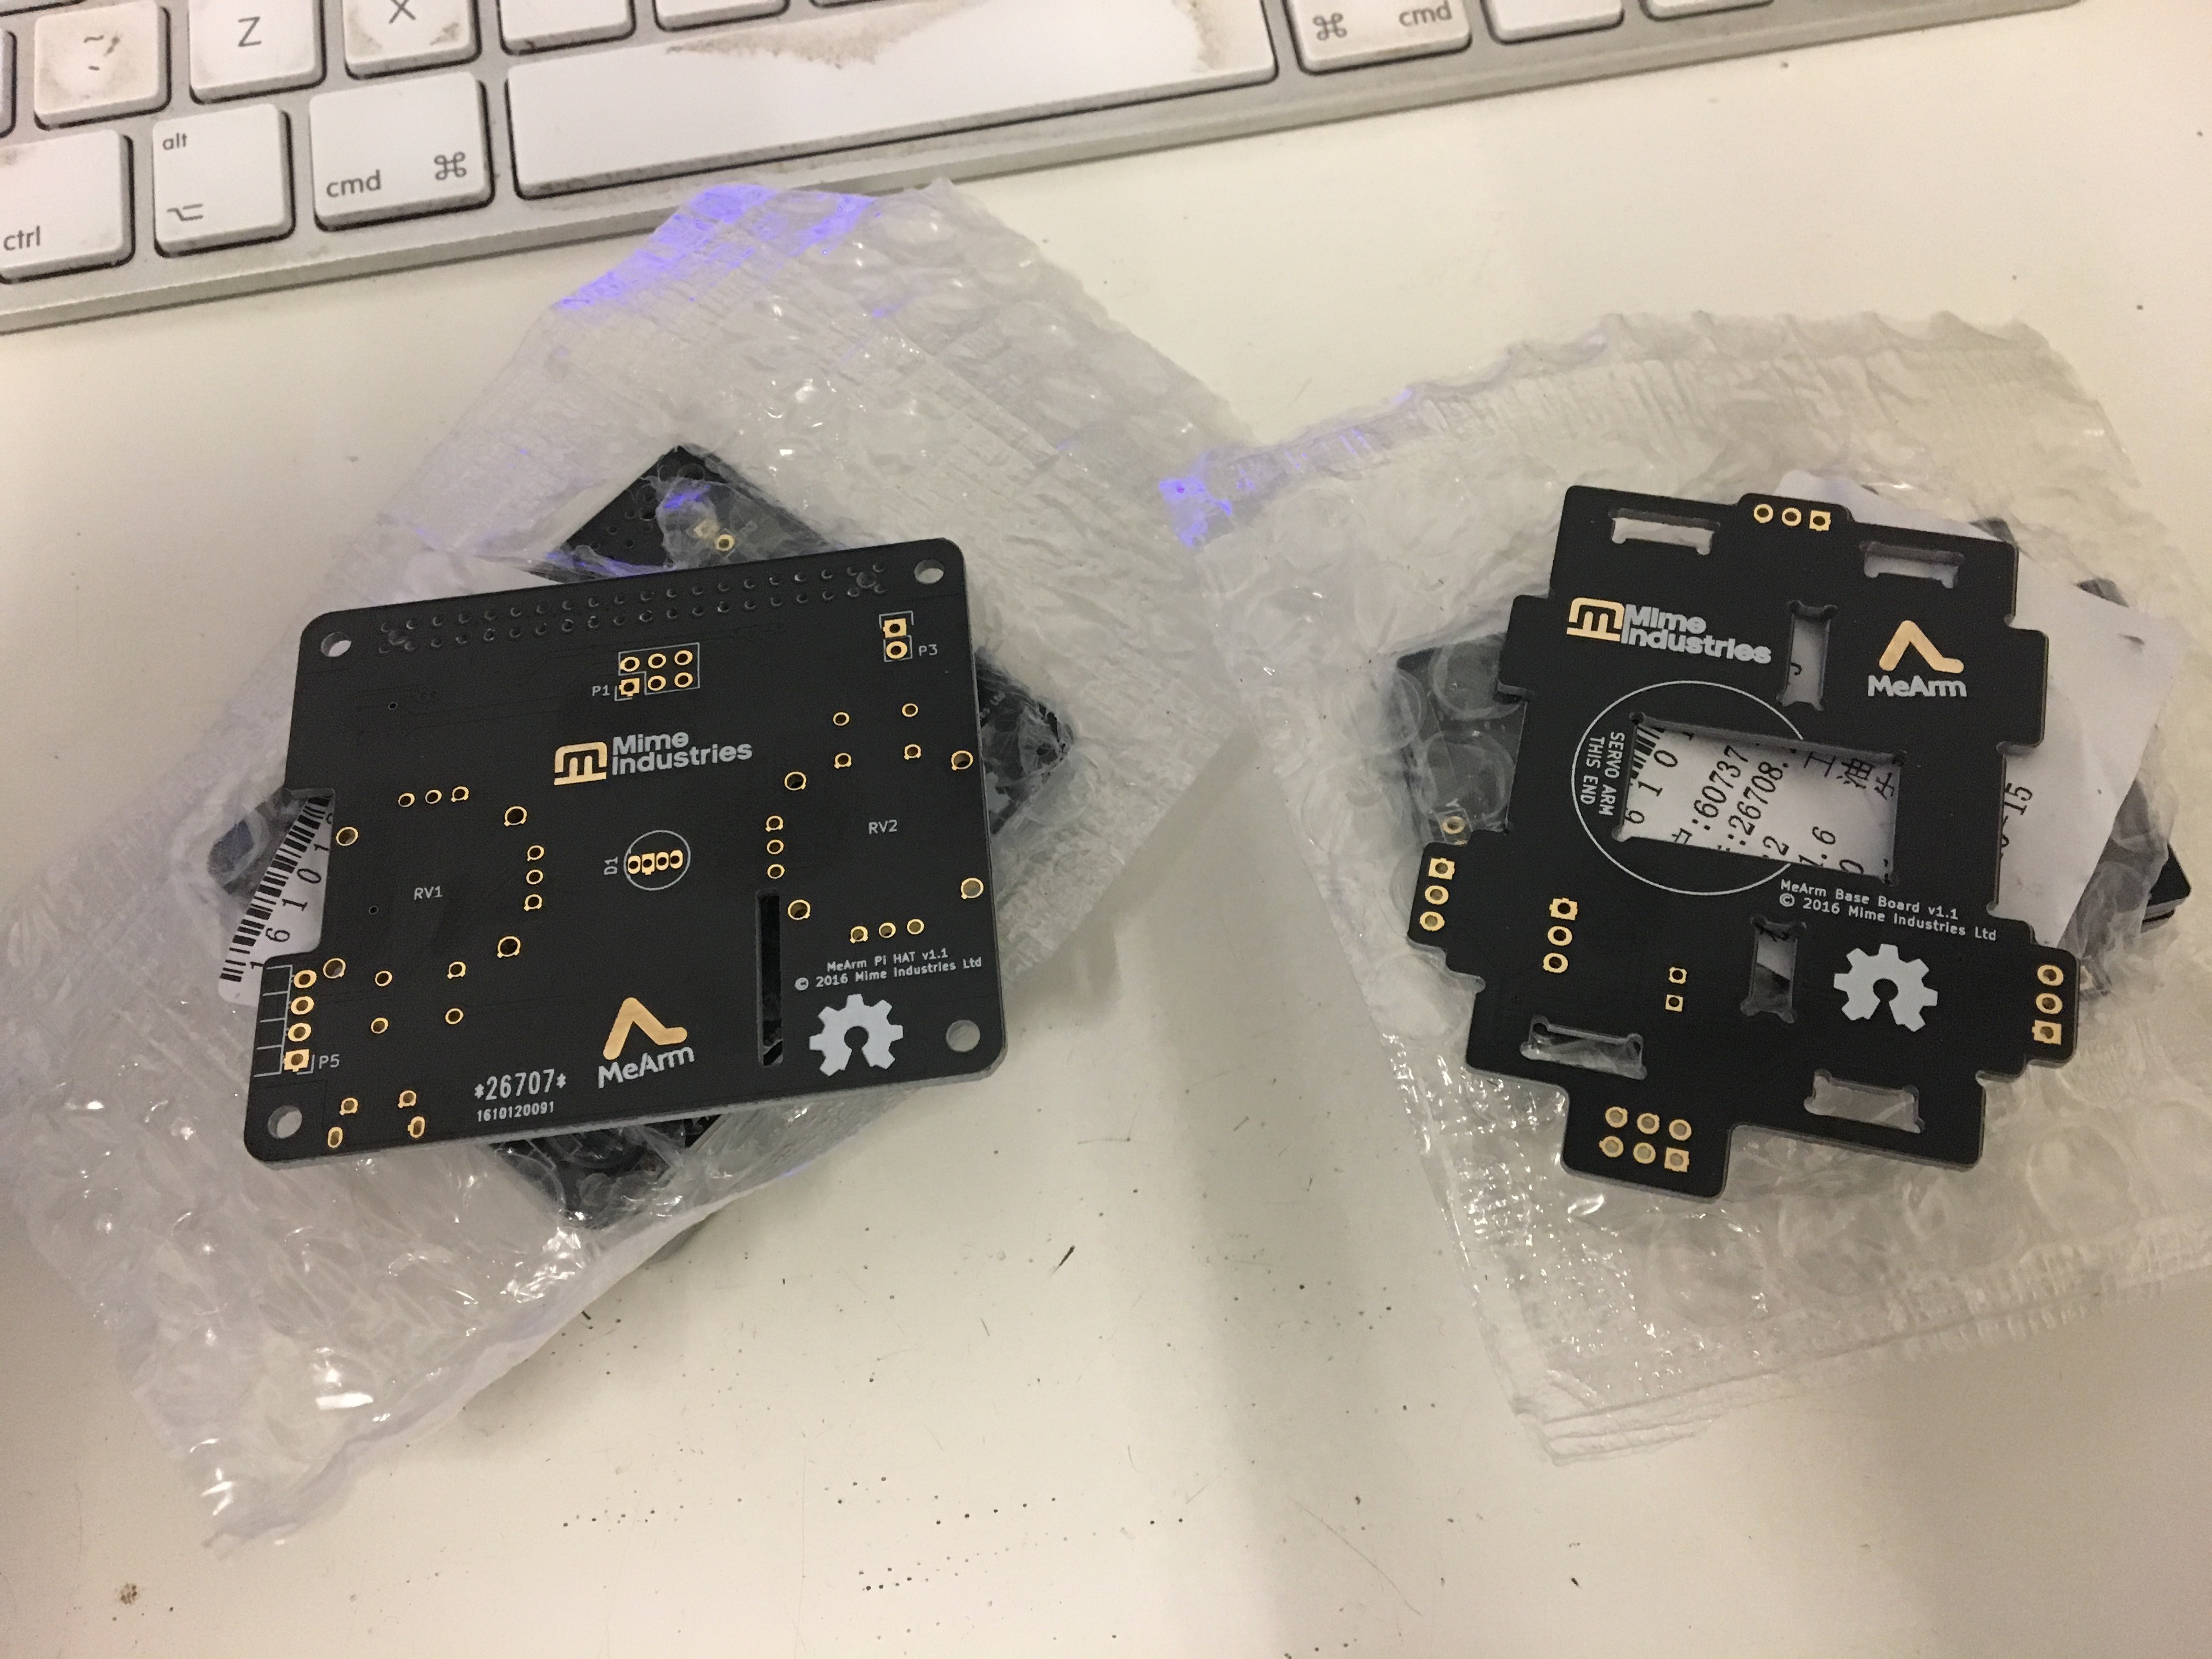
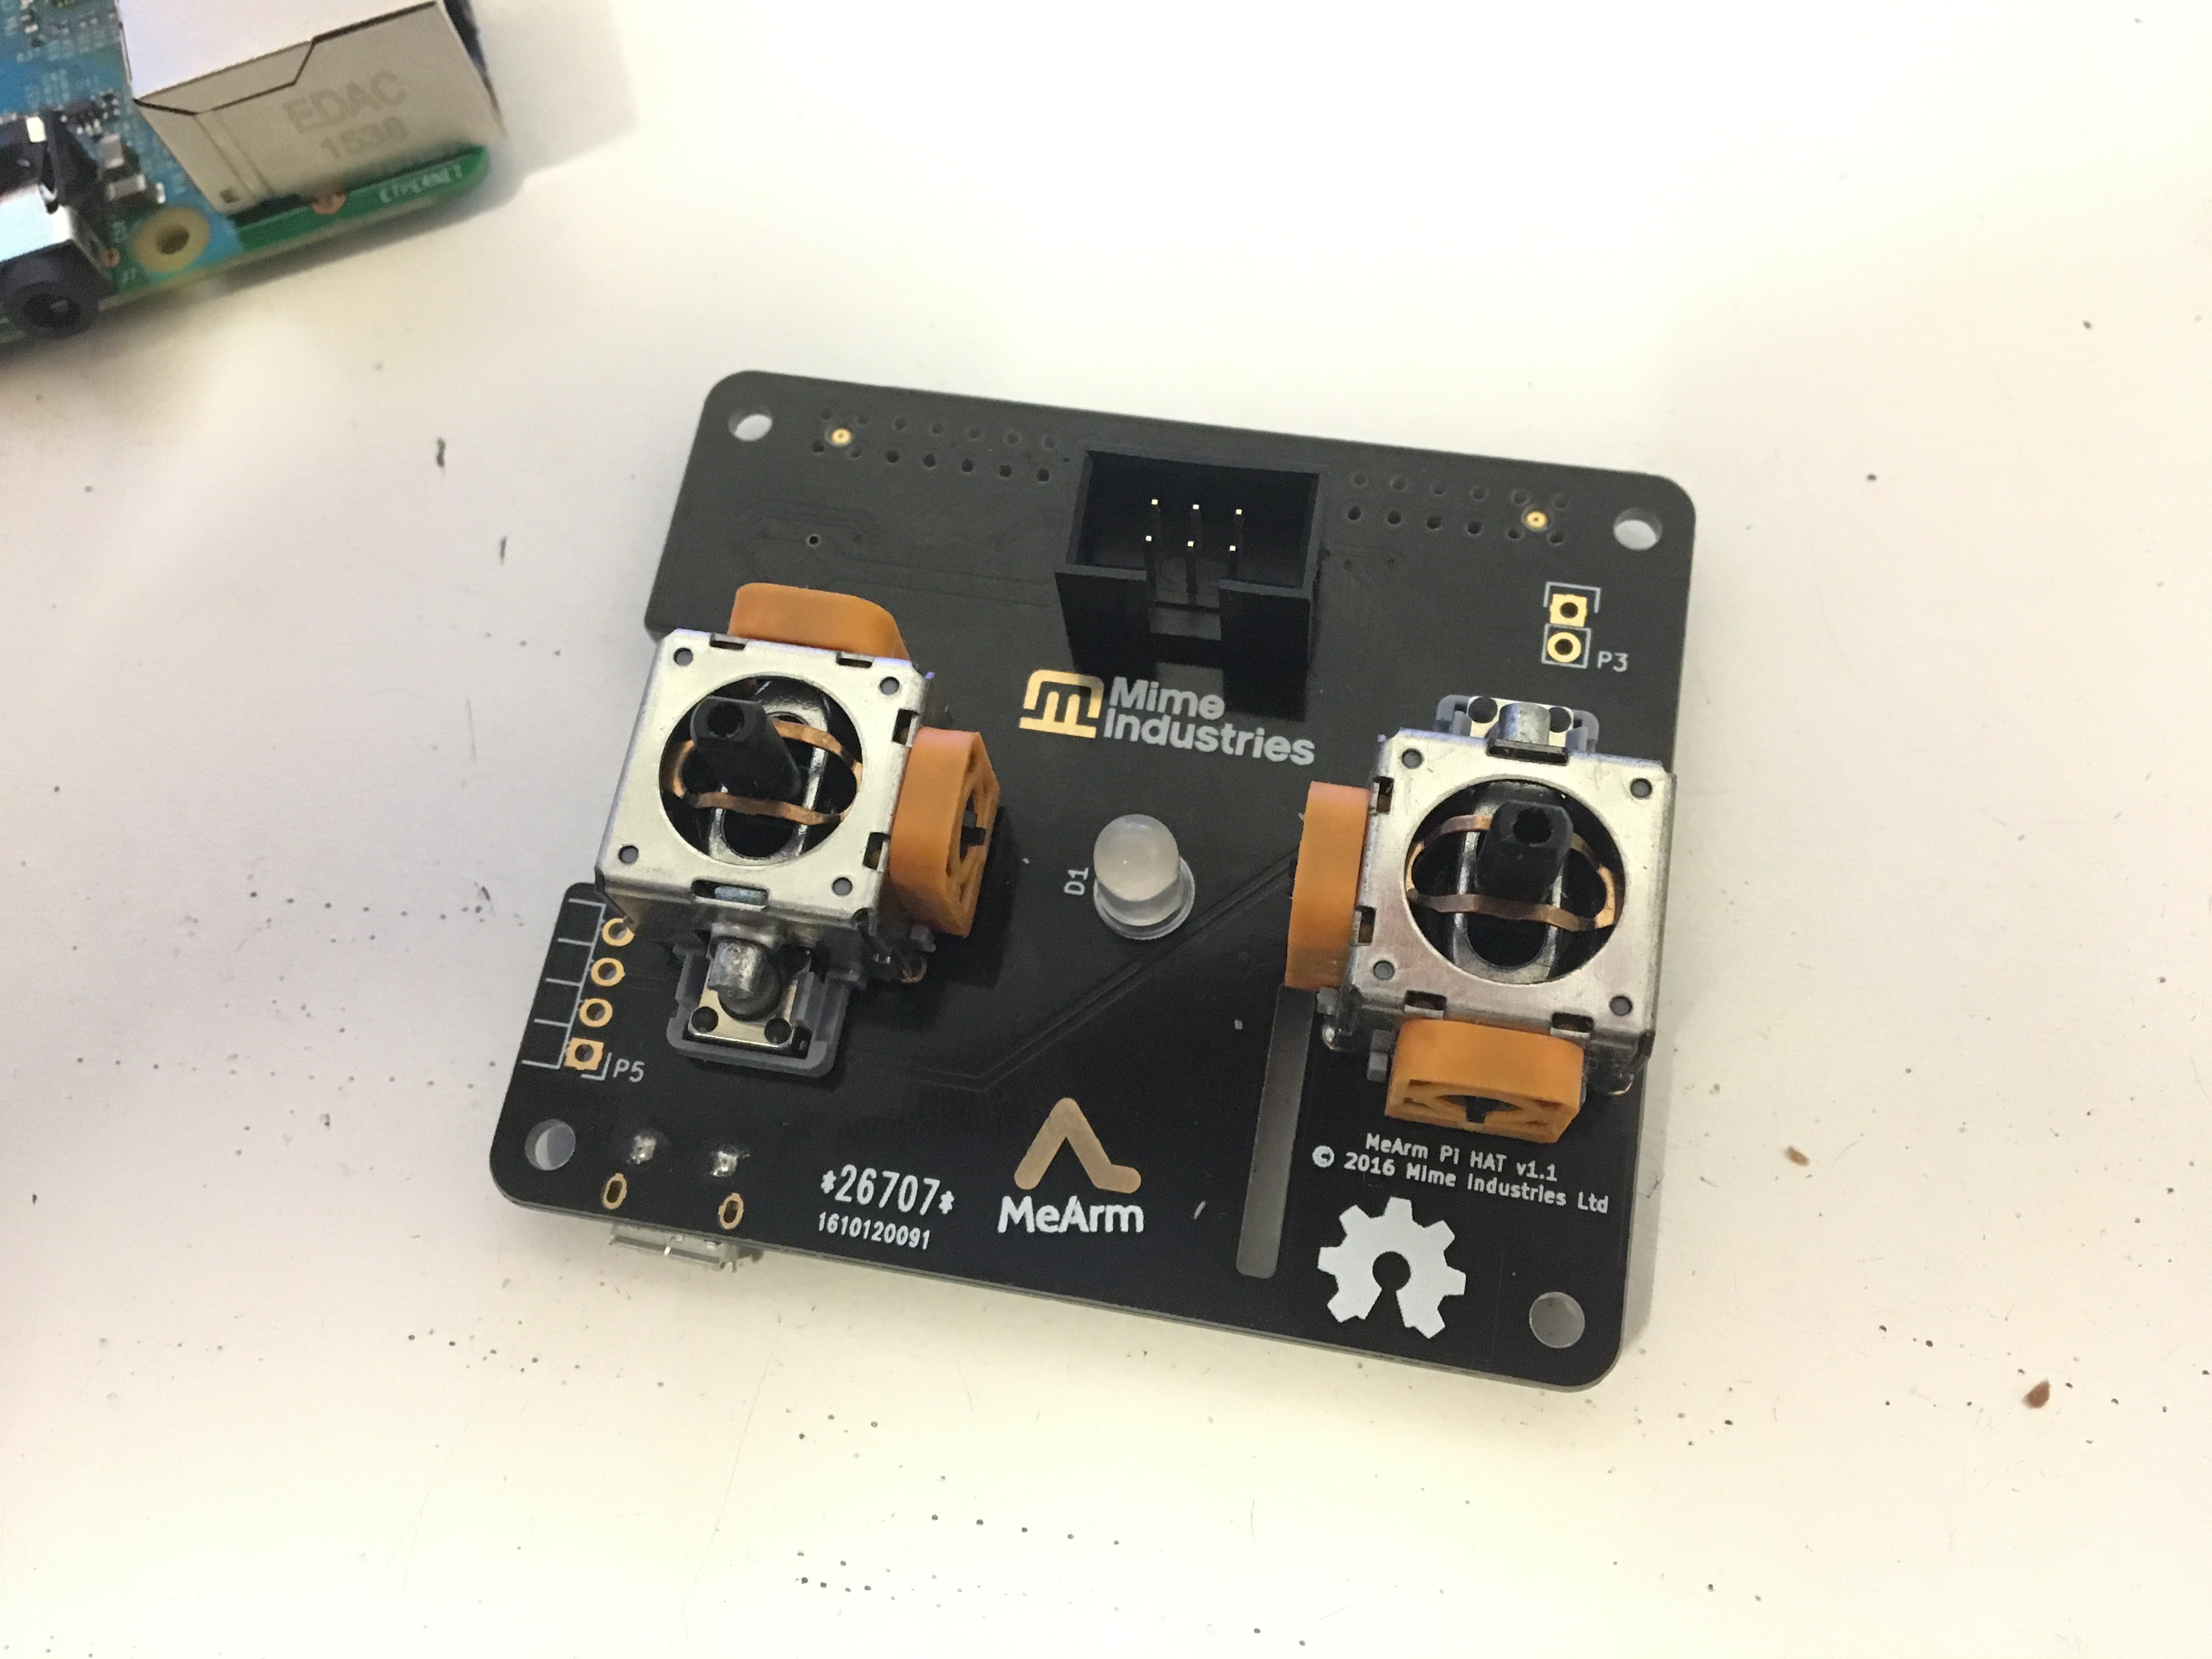
    Exciting - I just built up the latest PCB for the Pi HAT, check it out:

    It's got a few changes from the previous version:

    - Uses the low profile through-hole header sockets so it sits lower for a more streamlined enclosure

    - It has an RGB LED on board for status indications, driven from the GPIO pins of course

    - All of the surface mount components are on the underside now to make manufacturing a bit easier

    Now I just need to modify the mechanical design for the new dimensions and I'll be able to do a full build to put up here next week.

  • New grip demo

    Mime Industries11/04/2016 at 13:03 0 comments

    Here's a quick video showing how easy it is to put the new grip together:

  • Improving the grip design

    Mime Industries11/04/2016 at 11:13 0 comments

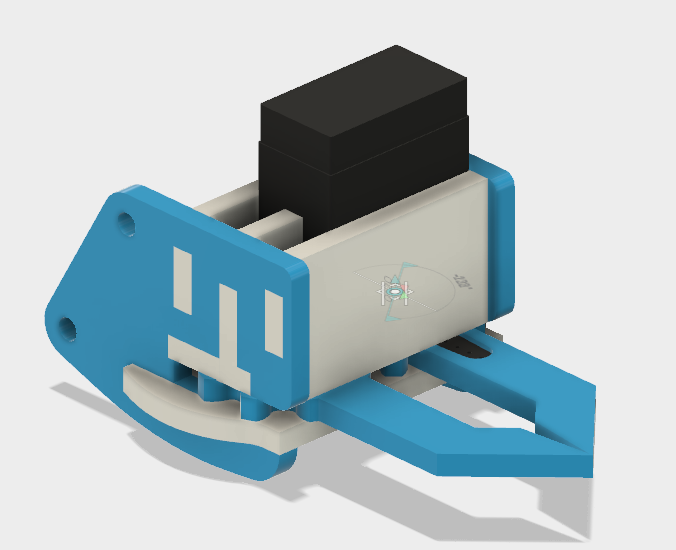
    I've put some effort into improving the stability of the mechanical design for the grip. Here's what it was like before:

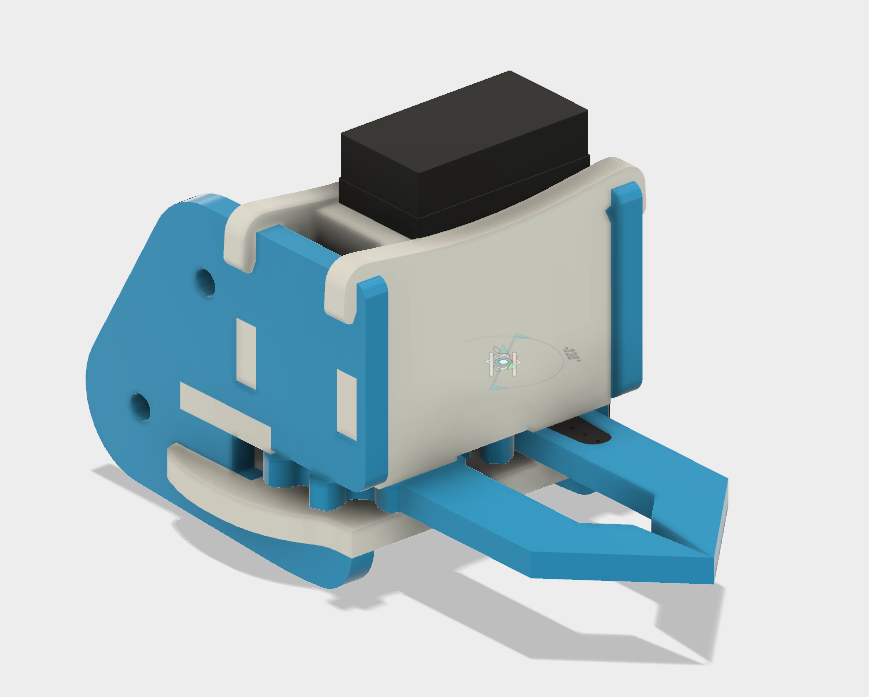
    You can see that the blue sides push on and then are held in place by the base which slides in. I found that the top of the sides ended up quite loose which is no good. Here's the improved version:

    The blue sides now hook under the white tabs at the top and then their bottoms are locked in place by the sliding base. It's a variant of the assembly technique used in Mirobot but it's quite a neat trick that I'll detail in another update. One of the side effects of this technique is that there are a lot fewer screws used in the grip now; it's down to 1 from 9! There's a single screw which now locks everything together.

  • First Prototype Up and Running

    Mime Industries10/20/2016 at 16:25 0 comments

    After getting my head down and working hard to get the redesigned MeArm mechanicals with the Raspberry Pi base up and running, we were pleased to be able to show a few people the working prototype at last weekend's Maker Faire in Rome. Here are the big things I've been working on:

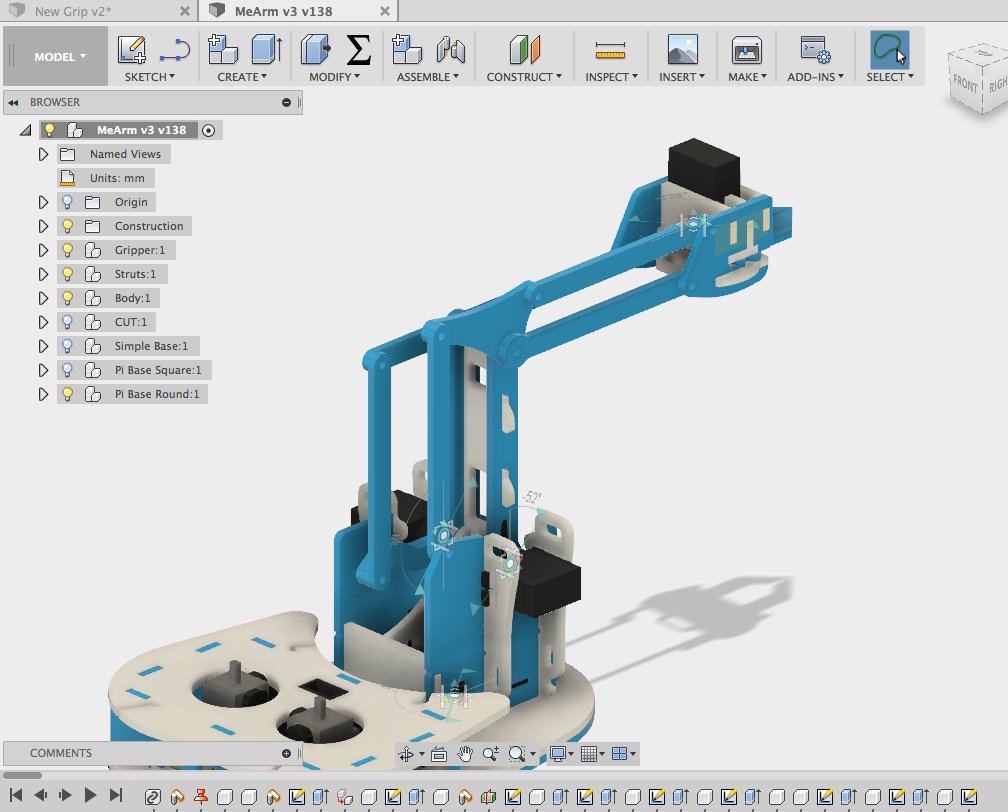
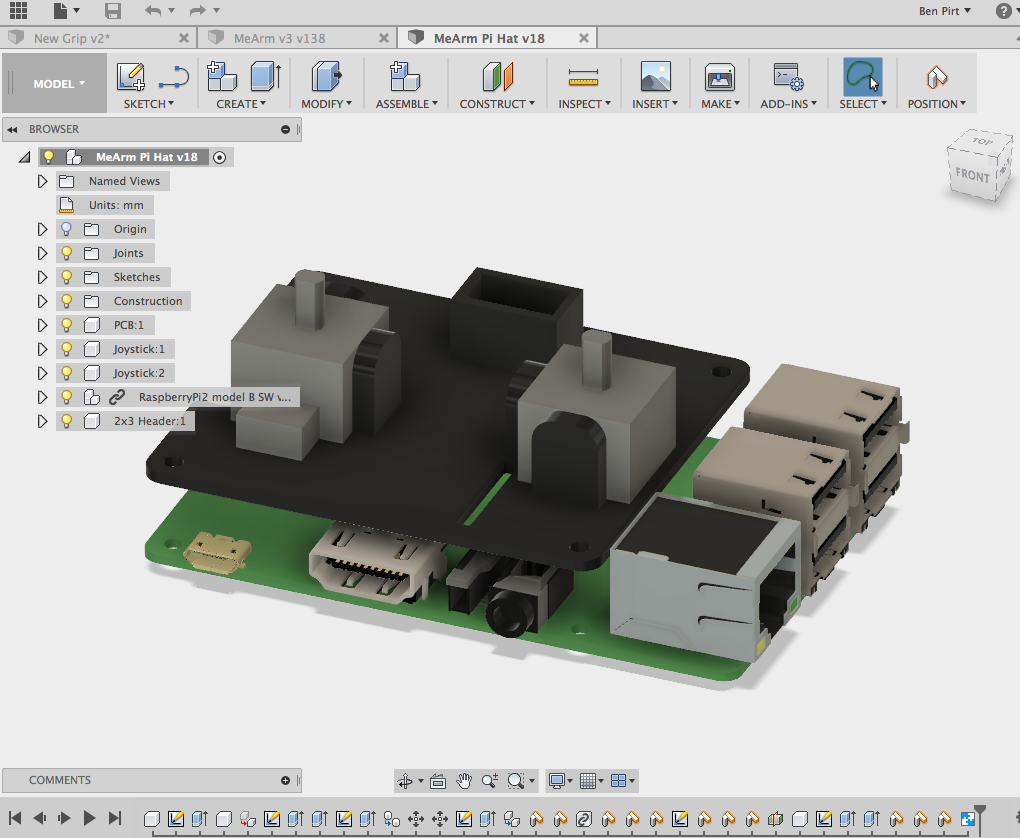
    Simpler mechanical design - after spending some time learning Fusion 360 I was able to fully model the arm mechanicals and use it to simplify some of the mounting mechanisms to eliminate the need for screws.

    The side-mounted servos are now held on with some clips, which seem to work really well. The base is held together with a couple of elastic bands, which are a nice, solid way of holding everything together without needing more screws and captive nuts. The grip has been redesigned to make it much simpler, with less parts, so easier to build. The only places there are still screws in this design are where there are joints because they still work well there.

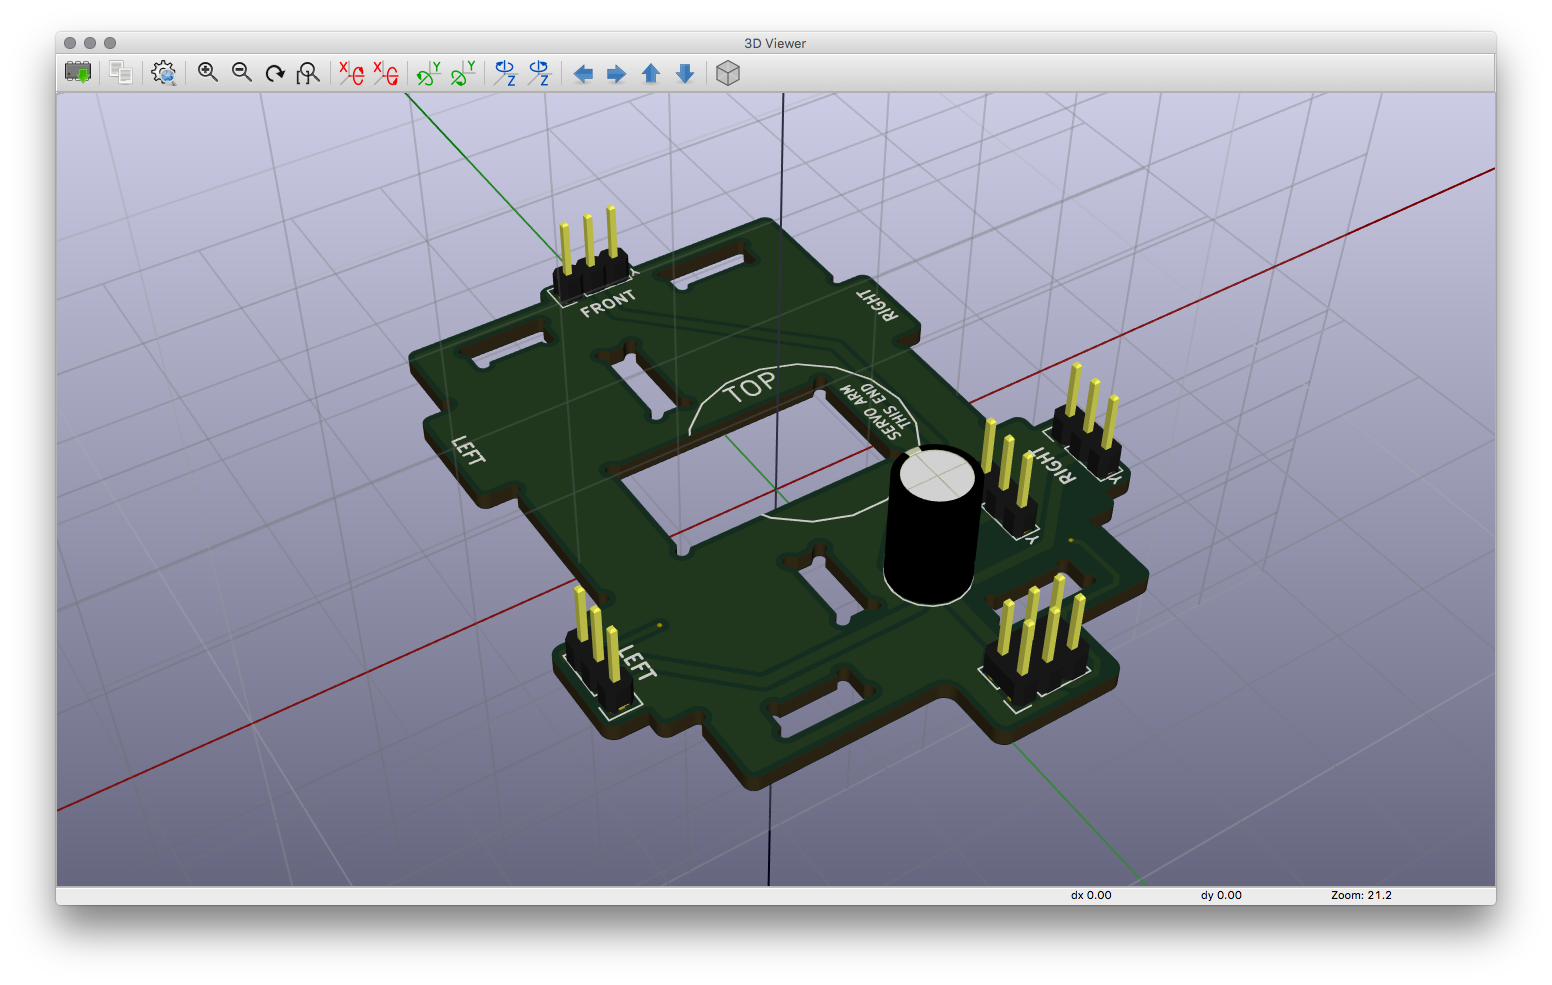
    Neater Cable Routing - one of the more radical changes has been to use a PCB as the base of the arm, which means that the cables can be clipped straight on to the base, and then one cable can lead from that base to the Pi HAT.

    It makes it much less likely for the servo cables to snag and means the cable from the grip servo no longer needs an extension. If you're making this yourself it's still easy to just switch the base out for a bit of acrylic so you don't need to get PCBs made.

    Pi HAT - It wouldn't be a Pi MeArm without a Pi HAT. It's got a couple of joysticks running into a I2C ADC chip that means the Pi can read the state of them directly. I'll do another update on this in the future...


View all 7 project logs

  • 1
    Step 1

    You can also check out a video of the build

  • 2
    Step 2

    Cut the mechanicals - use the DXF file in the files section to cut out the different parts from 3mm perspex

  • 3
    Step 3

    Make the PCBs.

    I tend to use Dirty PCBs for this. You'll need to use the production files in the GitHub releases for each board to get these made. Once you've got them back from the PCB manufacturer you'll need to solder all of the components in place. There aren't too many of these and whilst some are surface mount they aren't too bad to do by hand.

View all 29 instructions

Enjoy this project?

Share

Discussions

Similar Projects

Does this project spark your interest?

Become a member to follow this project and never miss any updates