-
CNC with Driver Modulation
05/12/2019 at 15:07 • 0 commentsThe previous project log covered updates to the electrode signal modulation which seems to enable cutting without needing a very light touch onto the PCB surface. We expect that to make CNC cutting much easier. To find out, I brought back out the 3D printer base. It is a RAMPS/Arduino Mega based system, making it super easy to write some firmware to test this out. The first task was to create a keyboard remote controller interface for the CNC. I would use the WASD keys for x/y motion and RF for z motion. These commands would be sent over serial and the system would move the electrode accordingly. This worked really well. The video below shows cutting some shapes using this manually controlled CNC framework. It moves with XY steps of 5mm and Z steps of 0.5mm. At one point in the video, the cutting stops, I lower it 0.5mm, and it continues to cut. I did not have to be careful not to push too hard.
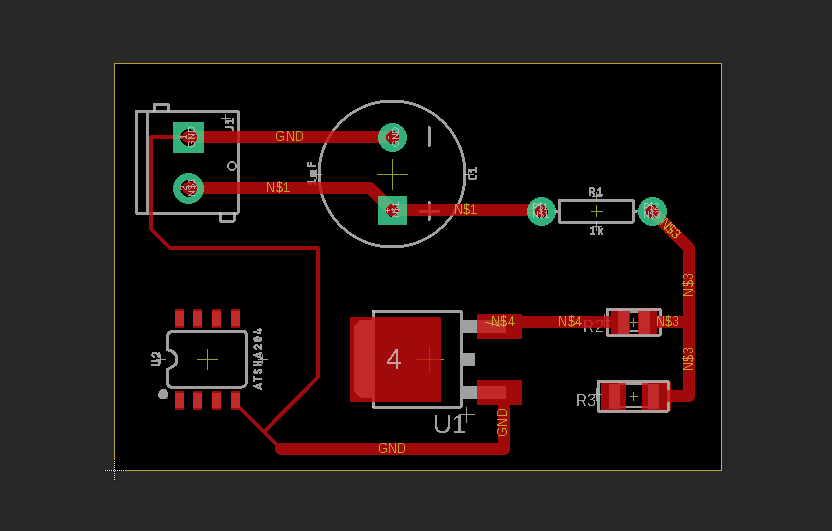
After that success, the next task was to try to cut a real example circuit, moving from an gerber file from EAGLE, to Gcode, to a cut PCB. I designed this useless PCB really quickly. It doesn't do anything, but has a few components which are of interest, such as 0805 and 1206 packages, a SOIC-8 package, a 10mil trace, and some through-hole components. More importantly, there is nowhere in the cut where the EDM continuity should be cut off, so this shouldn't need careful cut ordering.
![]()
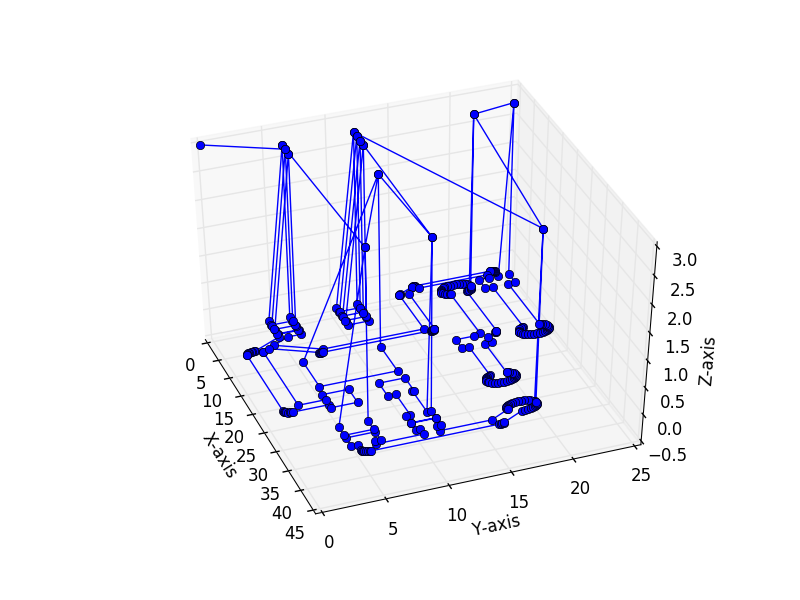
I have played with FlatCAM in the past for generating toolpaths for PCB milling, and was impressed by it. However, I was having some trouble installing it this time. I therefore tried using the online tool Carbide Copper. It seemed to work well enough for my needs, although FlatCAM has far more options, including tool size which is important here. Thankfully, Copper does not use Gcode arc commands, which I do not have supported yet (see below). Through curves it simply has more short motion commands. The image below shows the entire toolpath for this design.
![]()
Alongside this, I needed a Gcode interpreter. There are numerous options out there, but the ones I found seemed to be tied into other firmware pretty tightly. I'm sure there are other options and I'd love to hear about one if you know of one. However, as a quick test, I wrote my own which only handles a few commands. That said, the only command I should need for now is something like:
"G1 X0.453 Y-32.426 Z-0.100"
So this is what my interpreter looks for. It can also handle commands for absolute vs. incremental movement and for inches vs. mm units, as well as set home and go home commands. The Copper software outputs gcode a bit differently, so I hand wrangled it into this form for now. I could build a tool to do that automatically, or better yet use a proper gcode interpreter.
A python script reads each line of the gcode file, sends it over serial to the Arduino, which acts upon it, and then sends a special character ('*') once the motion is done. The python script then sends the next command. I tested this setup in open space first to make sure it doesn't do something stupid. Note I had also changed the mechanical interface slightly, moving the mechanical pencil tip used to guide the graphite to the bottom of the acrylic structure. This allows cutting motion to proceed without hitting the sides of the water tub. The gcode interpreter worked well. I was concerned about it having jerky motion since it waits until each command is complete before it receives the next one, but the motion looks fine.
Next, I need to put it all together and hopefully cut the very first full proof of concept PCB, and that is really exciting. Unfortunately, the capacitor bank is not charging currently, so hopefully I didn't burn something out. More to come...
-
Driver Prototyping
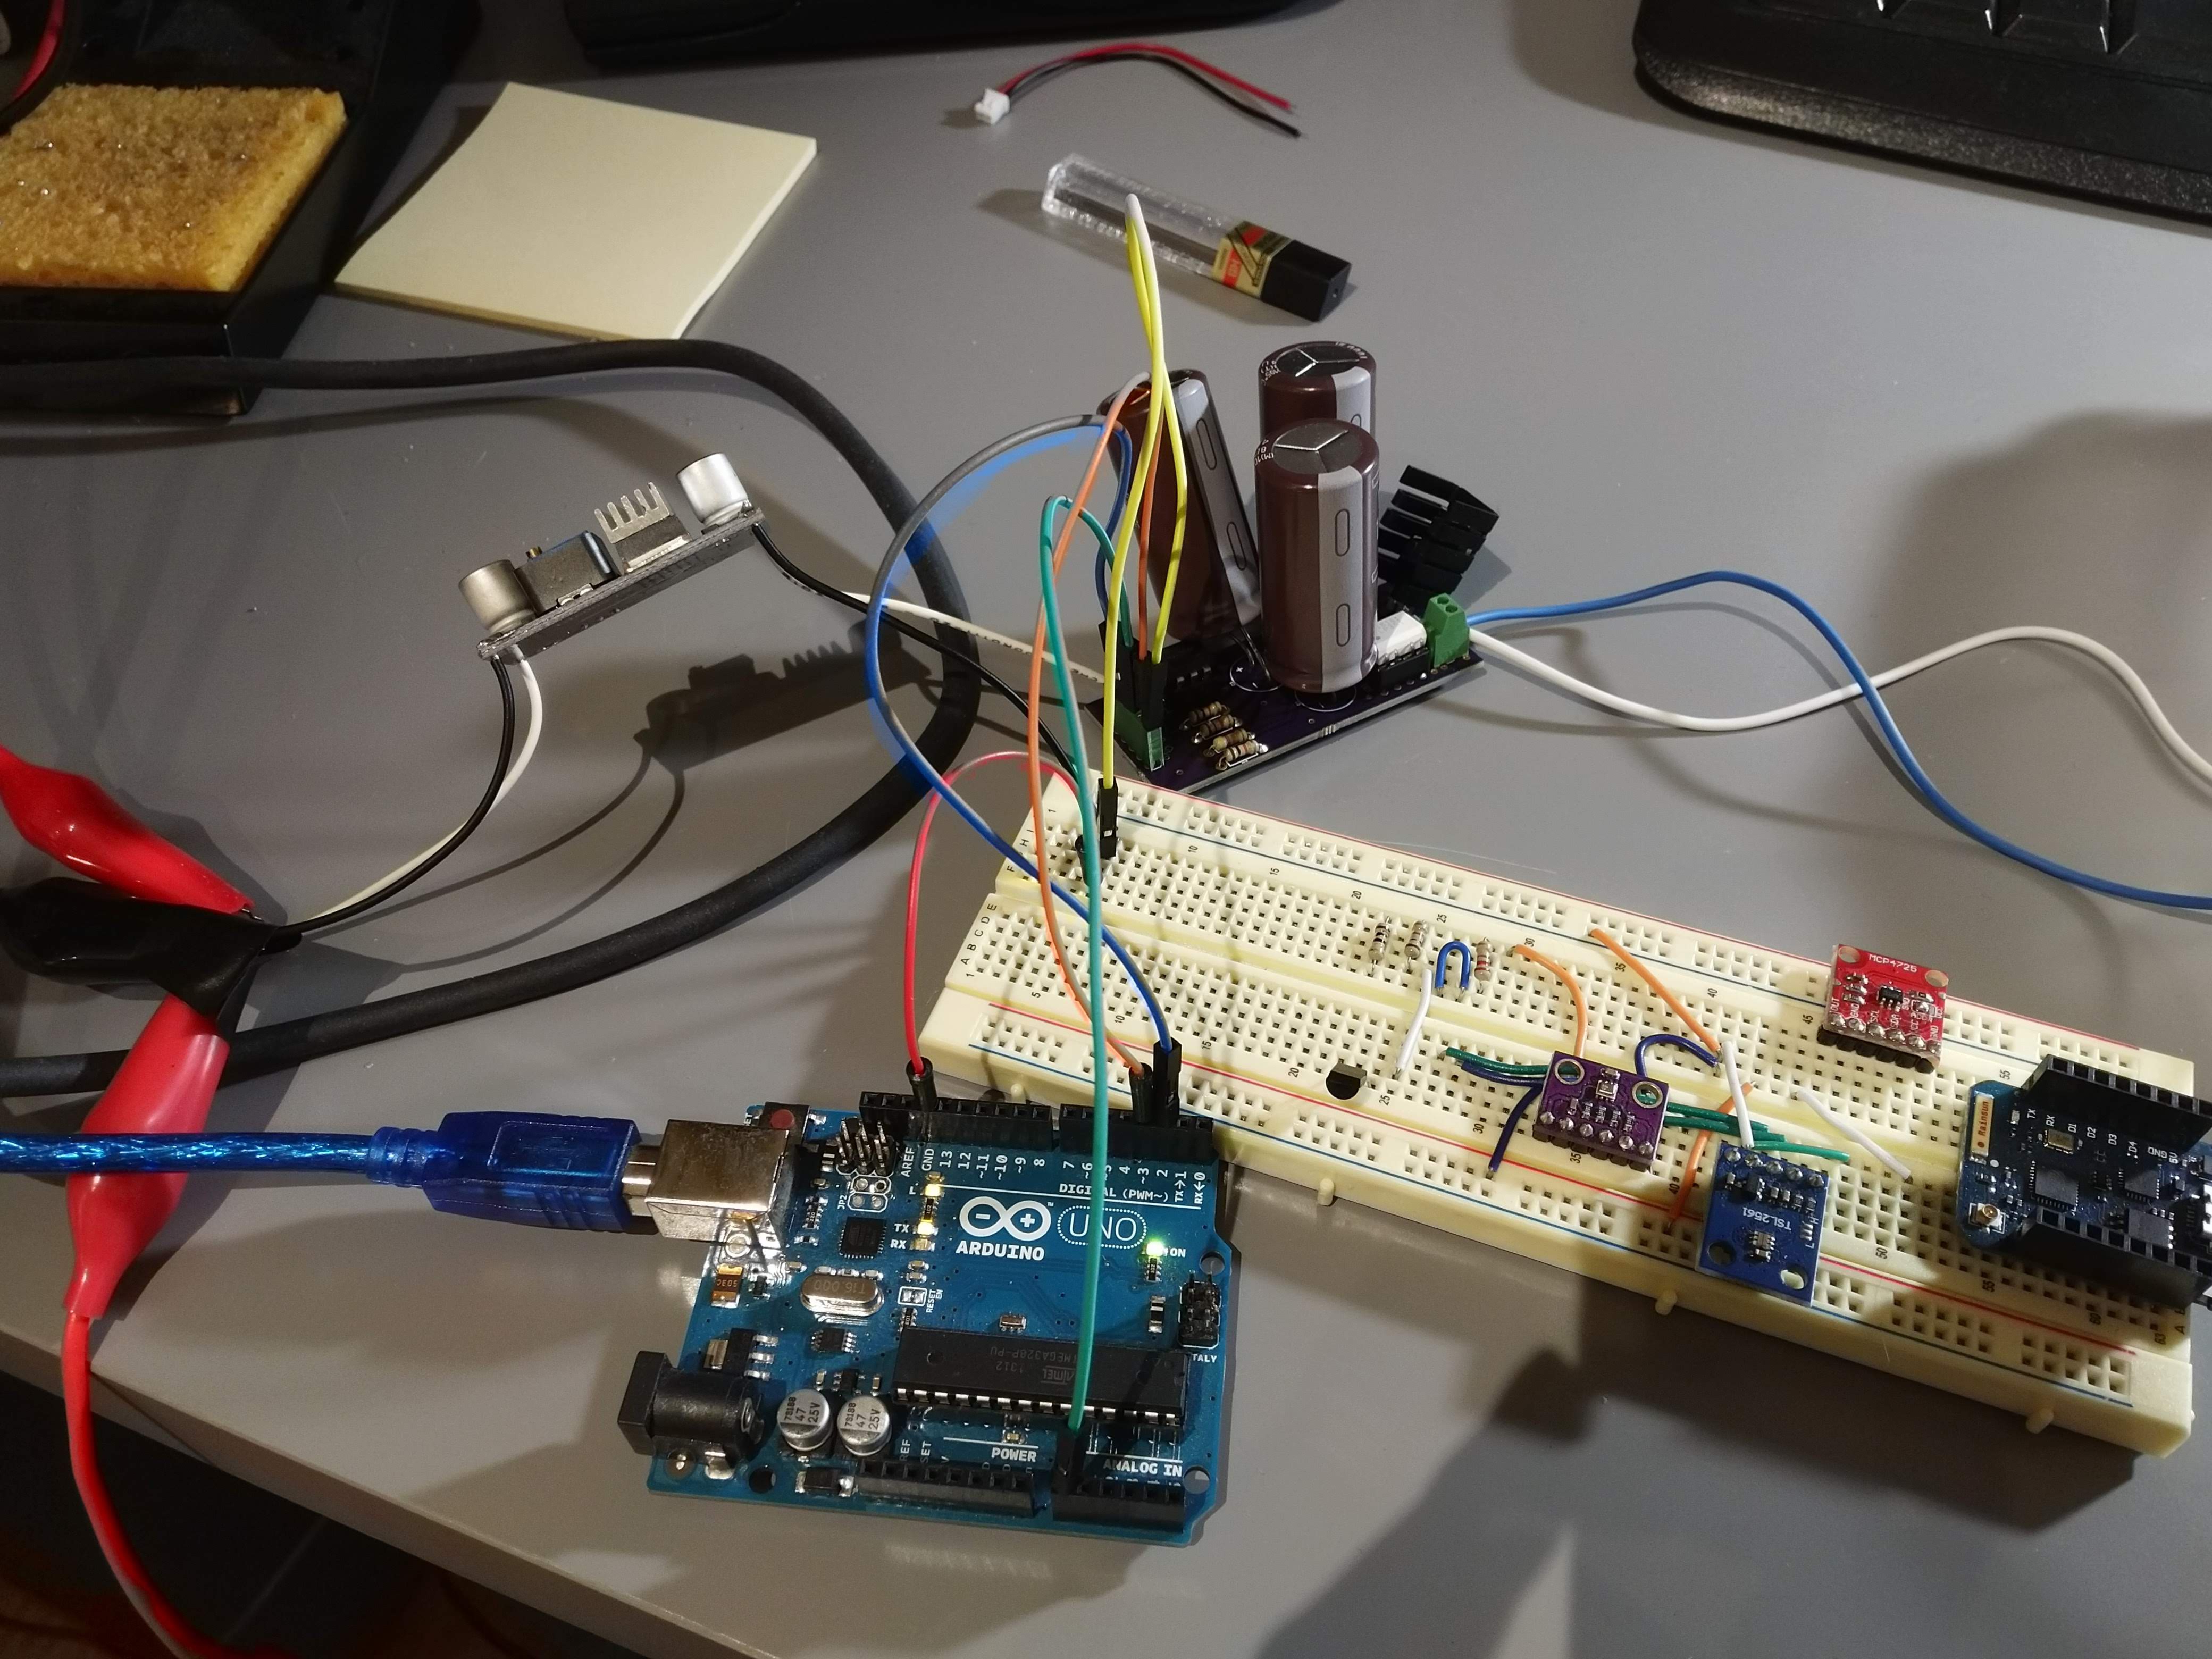
05/11/2019 at 01:56 • 0 commentsIn the previous testing we've done we have typically hooked the electrode directly to the high voltage output of a current limited power supply. It works, but a light touch is necessary or the system purely shorts, current limits, and stops cutting. We had hypothesized that perhaps we could get better cutting by modulating the signal. In fact, it seems most commercial EDM machines modulate the voltage as well. In addition, we had hoped that this system could run off of the 12V supply on most hobby 3D-printers. Therefore, I built a quick prototype with an off-the-shelf boost converter (Amazon cheap XL6009 style) to achieve 30V+. A optically isolated solid state relay charges some large capacitors, then we can drive an optically isolated MOSFET to do the cutting. A voltage divider allows us to measure the capacitor voltage. Below is an image of the whole setup. An Arduino Uno drives the system. The input to the boost converter was 12V limited to 1A.
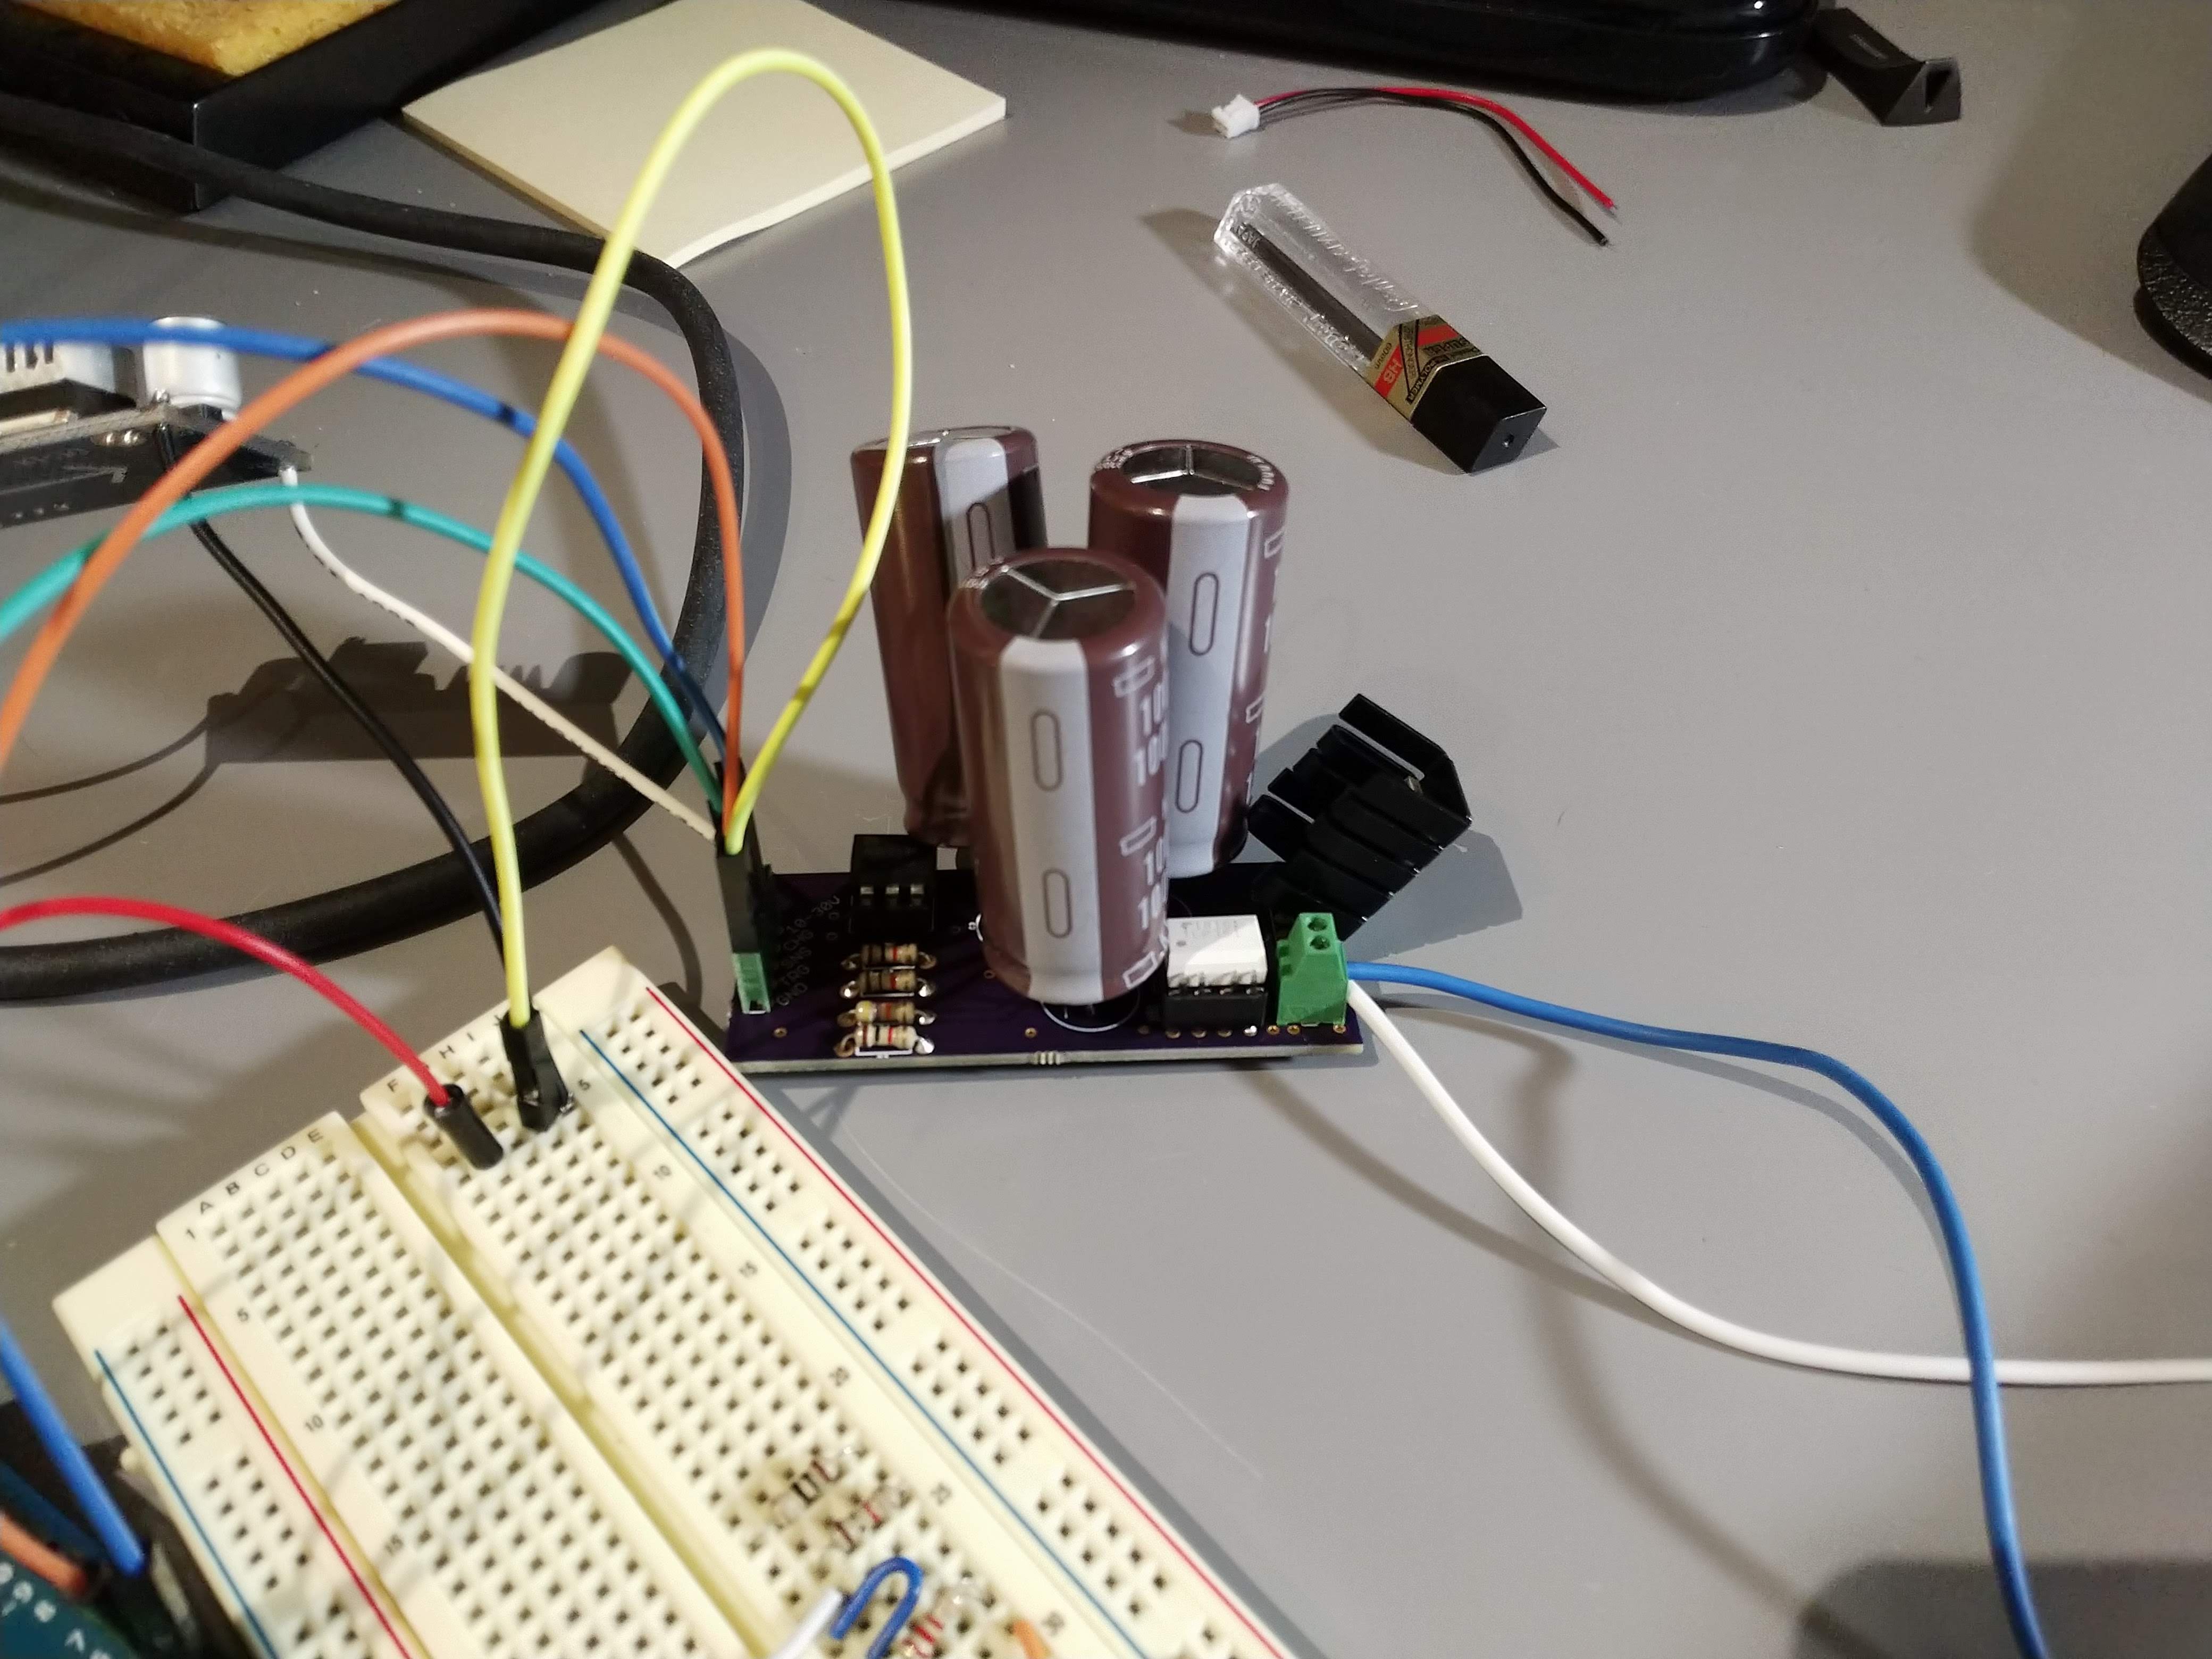
![]() Even my prototype shows why I need this system. I somehow messed up sizing the capacitors and bought much too large versions. Each capacitor is 1mF, 100V rated. All in parallel there is a total of 3mF. I used three in parallel to lower the overall ESR so they can discharge fast. I charged them up to 37V with the boost converter. The Uno first charges up the capacitors until they reach some voltage. Then, it disconnects the charging circuit and switches the mosfet to discharge the capacitors. The average power needed by this system is not very high (seems <3W), but peak power is high. By alternating, the hope is this will shift the peak power handling to the power MOSFET and capacitors that can handle it, and away from the power supply.
Even my prototype shows why I need this system. I somehow messed up sizing the capacitors and bought much too large versions. Each capacitor is 1mF, 100V rated. All in parallel there is a total of 3mF. I used three in parallel to lower the overall ESR so they can discharge fast. I charged them up to 37V with the boost converter. The Uno first charges up the capacitors until they reach some voltage. Then, it disconnects the charging circuit and switches the mosfet to discharge the capacitors. The average power needed by this system is not very high (seems <3W), but peak power is high. By alternating, the hope is this will shift the peak power handling to the power MOSFET and capacitors that can handle it, and away from the power supply.![]()
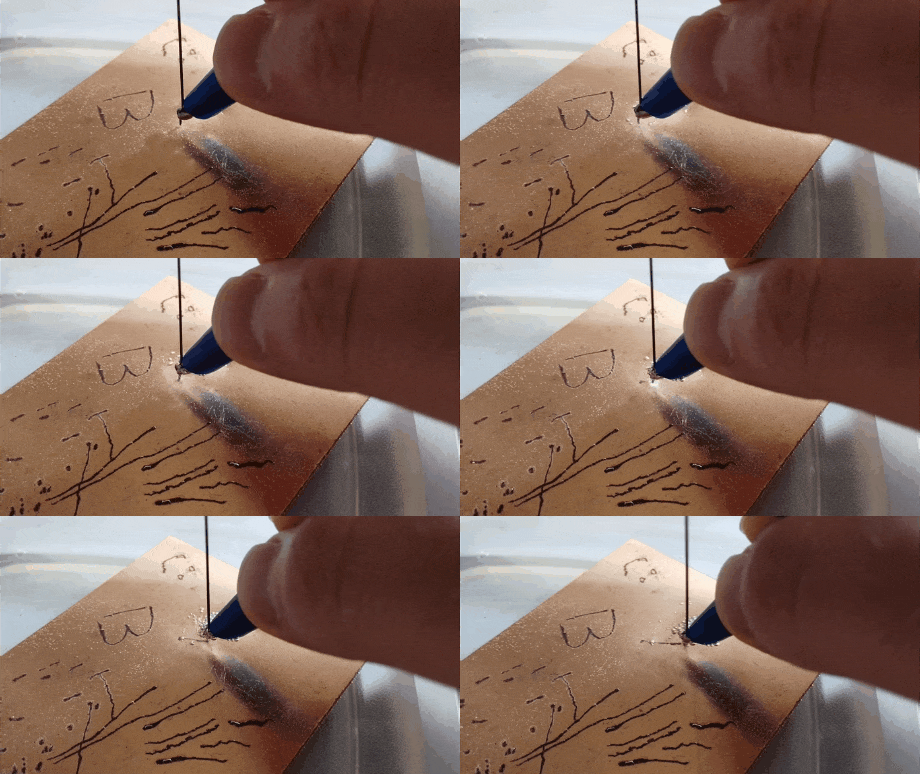
The test was highly successful. In the gif below, I'm pushing relatively hard onto the PCB, and it is not disrupting the cut. Best of all, the system runs from the 12V supply, reporting about 0.14A, so only 1.7W. There likely is some spiking higher that I do not see, but the power buffering seems to avoid that. This is really encouraging, that this system is:
- Simple to drive
- Low power
- Doesn't need careful force control to keep cutting
- Even with modulation, we can cut quickly
![]()
-
CNC Prototyping
05/09/2019 at 02:28 • 0 commentsIt is really easy to cut PCBs by hand. Simply alligator clip a blank PCB with the low voltage side of the power supply, hold pencil lead with the high voltage (30V, 3A current limited) alligator clip and softly pull the lead tip along the surface. But that isn't useful. We want to have a CNC machine that will do it for us.
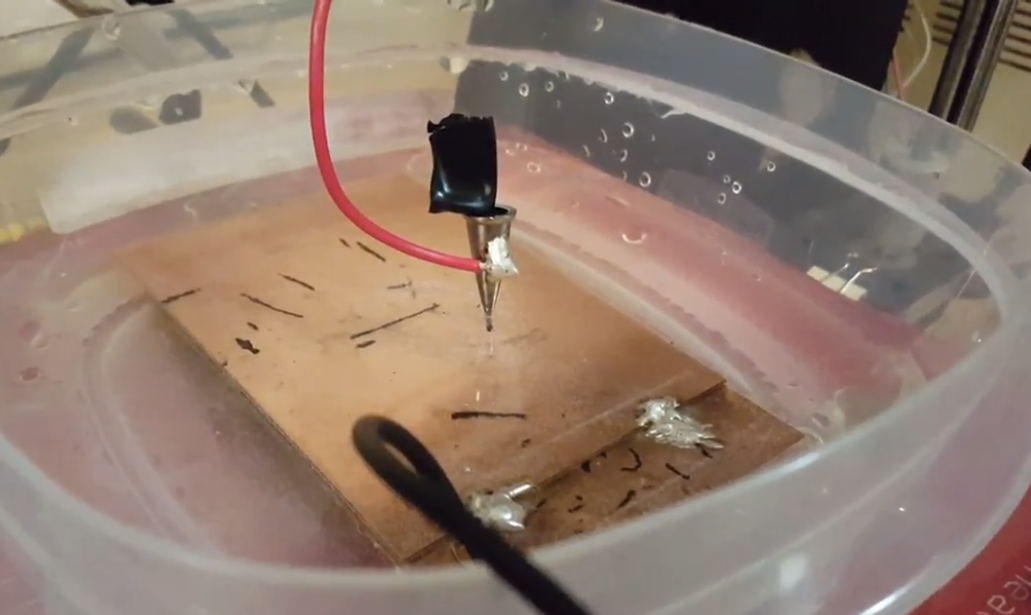
We had a 3D-printer sitting around not 3D-printing that was the perfect CNC base to test out ideas. We quickly recognized that a soft touch is critical, so we hacked together a "spring" made of solid core wire soldered to the tip of a mechanical pencil, as seen below. As it turns out, we got the first CNC cuts with this setup, but it was unsurprisingly unreliable, and only cut well in one direction. Nonetheless, it was an awesome quick proof of concept.
![]()
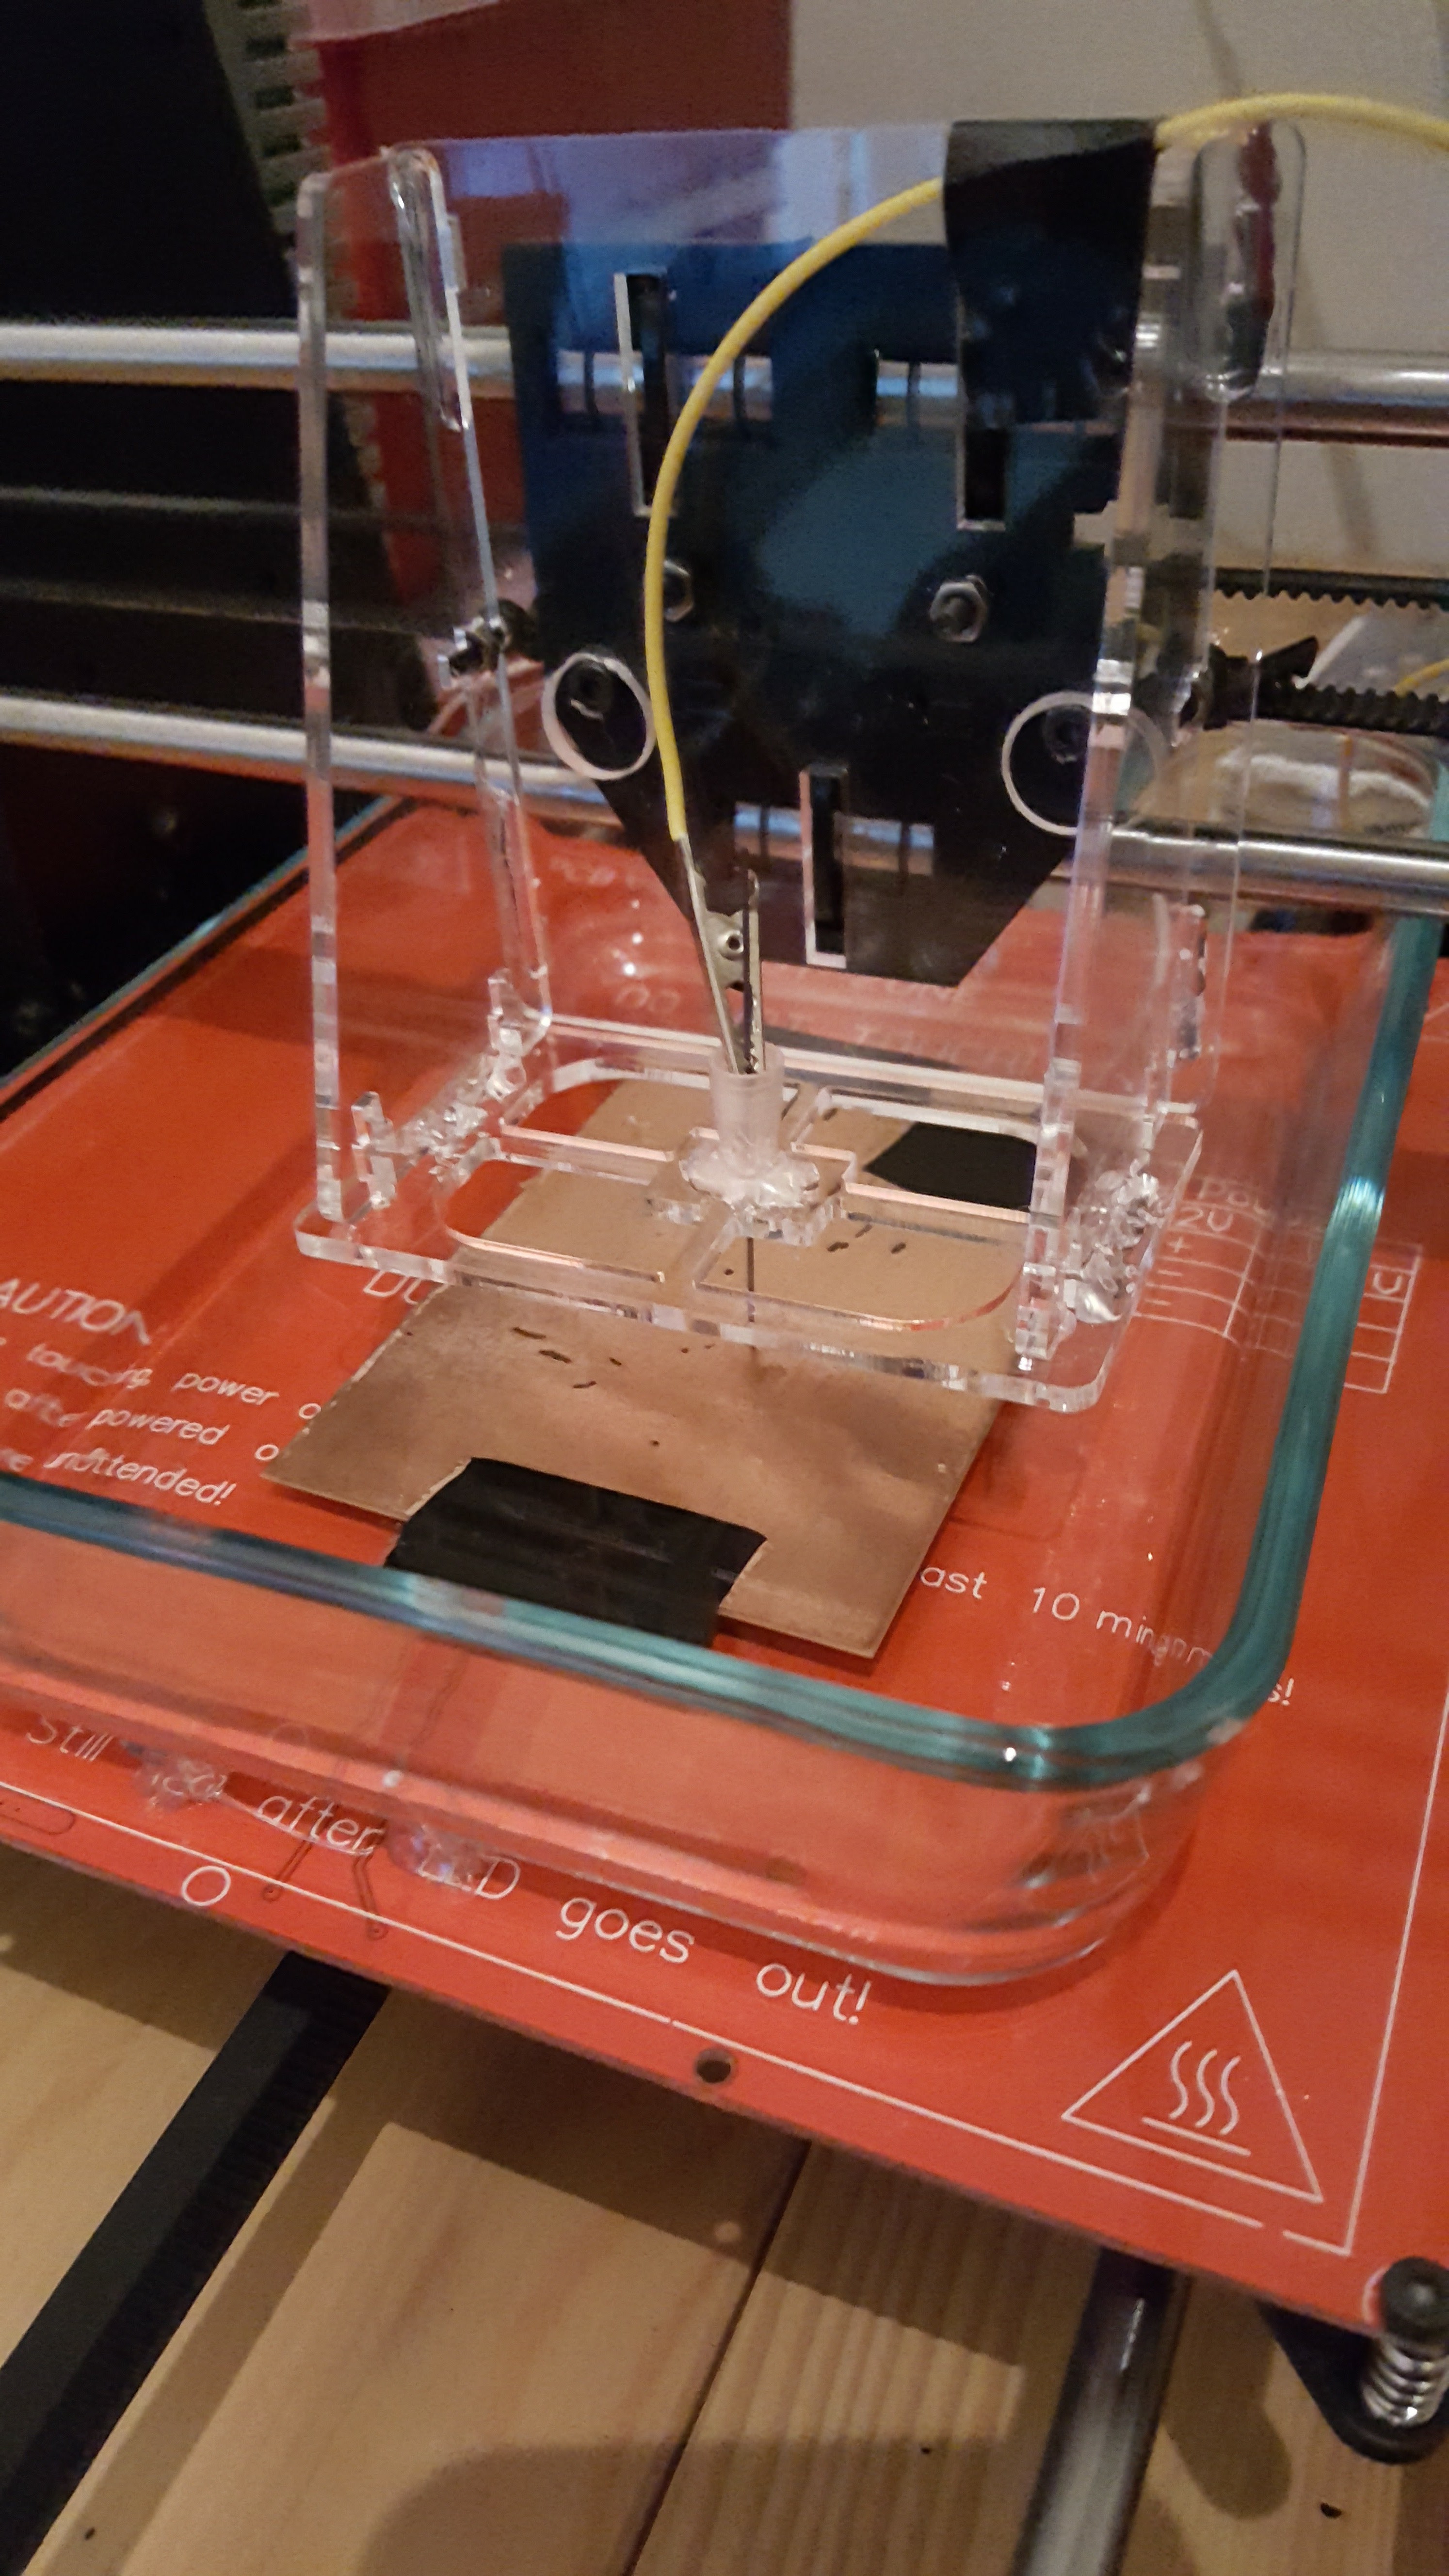
A while later, we made a more robust mounting setup using laser cut acrylic. It is still janky, with the pencil lead guided through a mechanical pencil tip hot glued to the support, and power coming from an alligator clip. Nonetheless, it was much more reliable and consistent. The lead is able to slide somewhat within the pencil tip, which allows some flexibility in the system needed to cut.
![]()
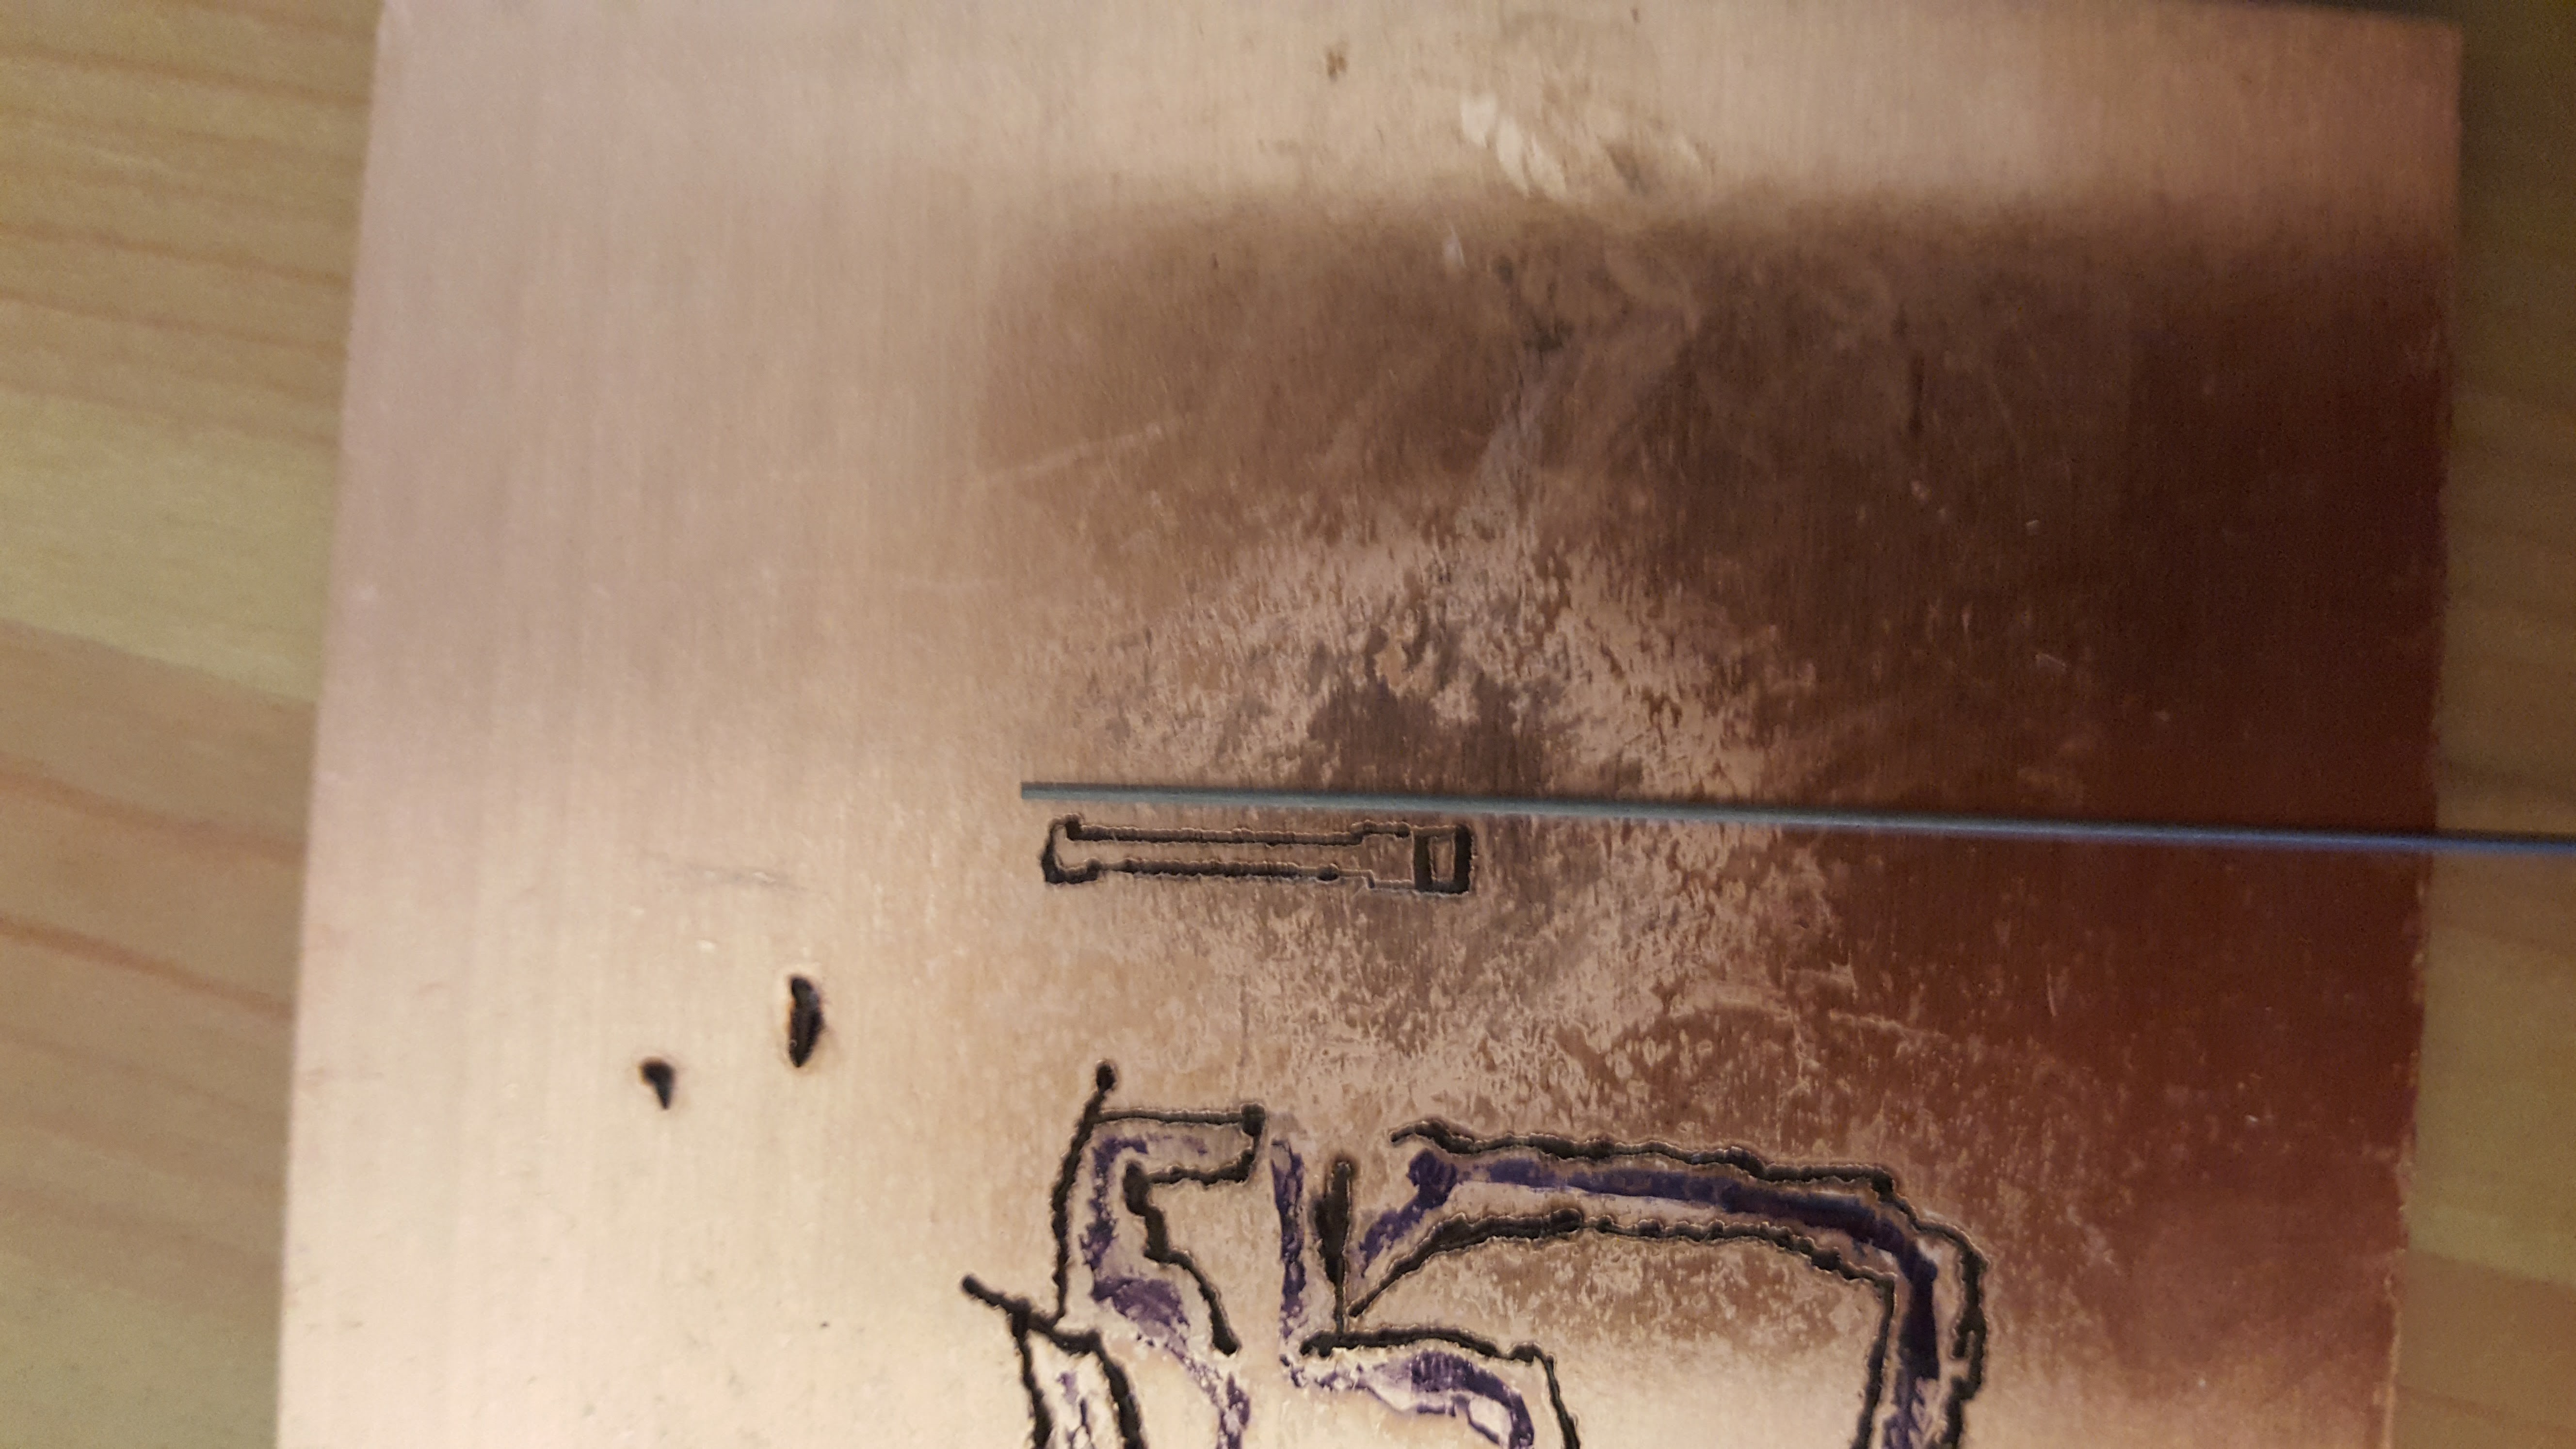
The first full shape we cut was a sort-of dogbone. On one end, the separation was designed for an 0805 SMD package. Interestingly, the cut width is actually usually smaller than the diameter of the graphite used, and the edges on the cuts here are pretty smooth and consistent. The hardest part here is dealing with the graphite consumption and warped PCB.
![]() Finally, some video of the cutting process. The cutting is pretty fast, but obviously there are sections where it pulls away from contact and stops cutting.
Finally, some video of the cutting process. The cutting is pretty fast, but obviously there are sections where it pulls away from contact and stops cutting.
PCB Fabrication with EDM
Testing and development of a system to cut traces on a blank PCB using electro-discharge machining with pencil lead
 Even my prototype shows why I need this system. I somehow messed up sizing the capacitors and bought much too large versions. Each capacitor is 1mF, 100V rated. All in parallel there is a total of 3mF. I used three in parallel to lower the overall ESR so they can discharge fast. I charged them up to 37V with the boost converter. The Uno first charges up the capacitors until they reach some voltage. Then, it disconnects the charging circuit and switches the mosfet to discharge the capacitors. The average power needed by this system is not very high (seems <3W), but peak power is high. By alternating, the hope is this will shift the peak power handling to the power MOSFET and capacitors that can handle it, and away from the power supply.
 Finally, some video of the cutting process. The cutting is pretty fast, but obviously there are sections where it pulls away from contact and stops cutting.