Mike Rigsby
-
Convert Servo Motor to Geared Drive Motor
05/23/2019 at 17:17 • 4 commentsFor a metal gear drive motor, easy to attach to wheels via servo horn, I modified a "no stop" servo motor.
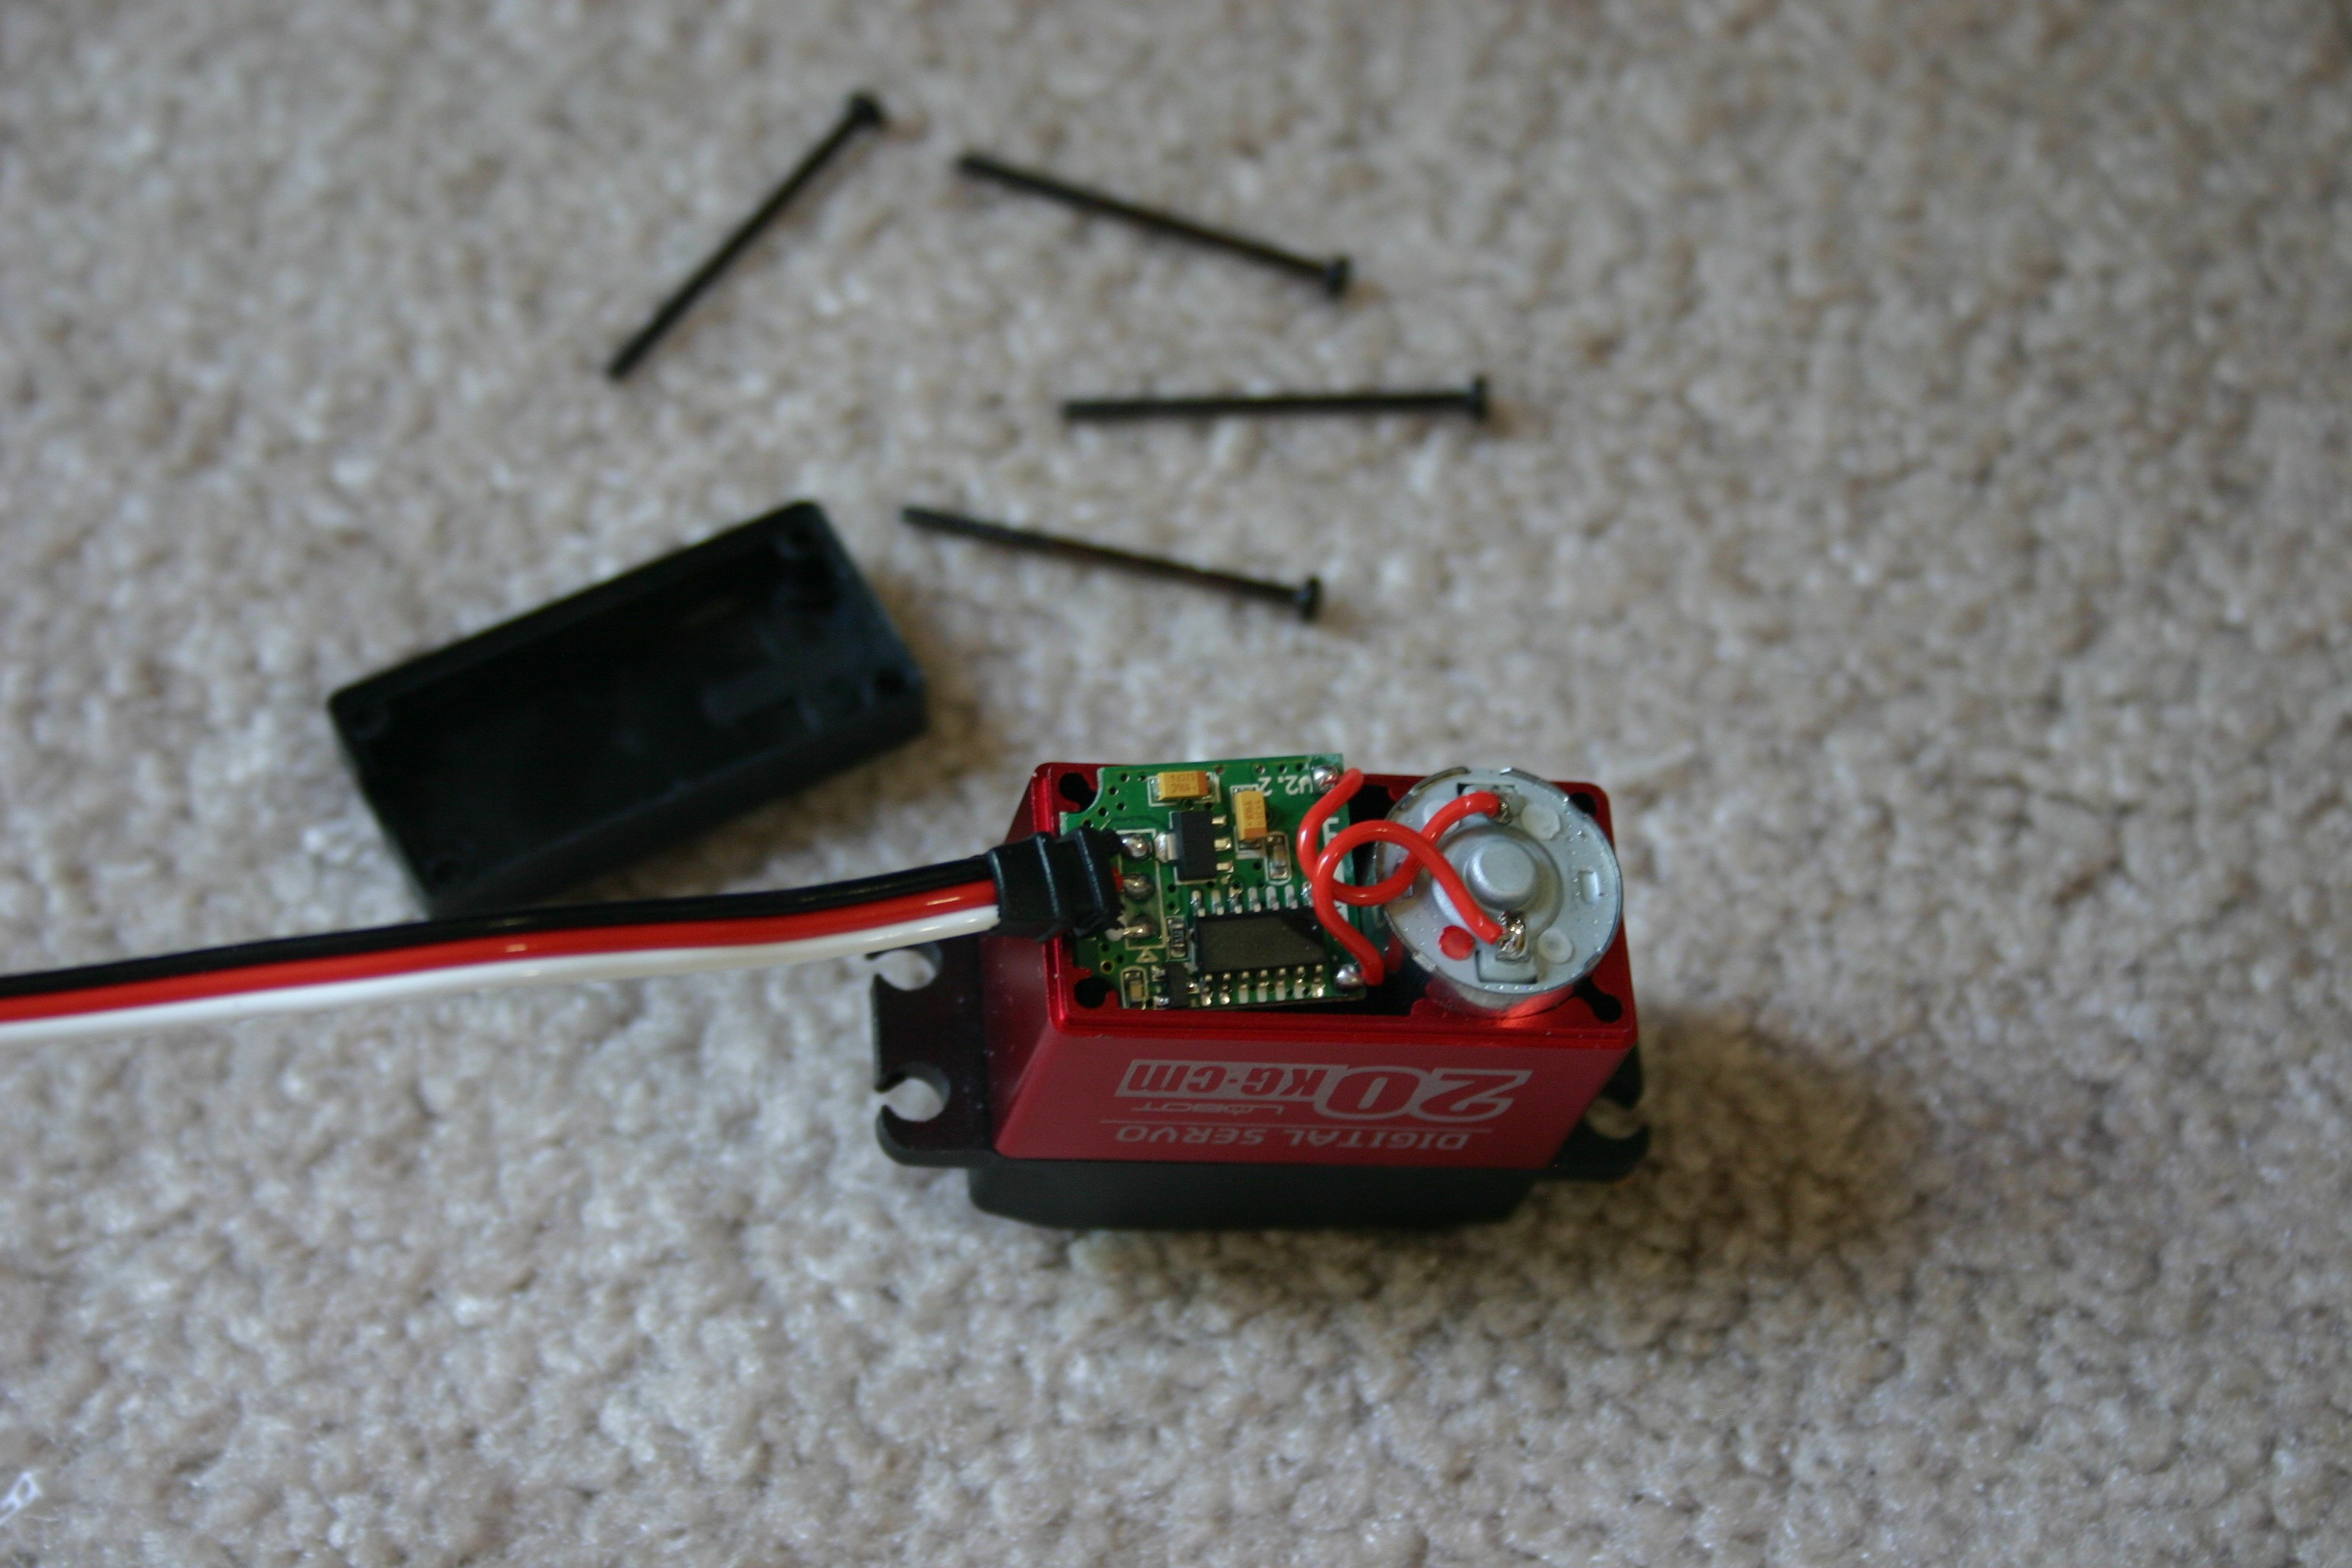
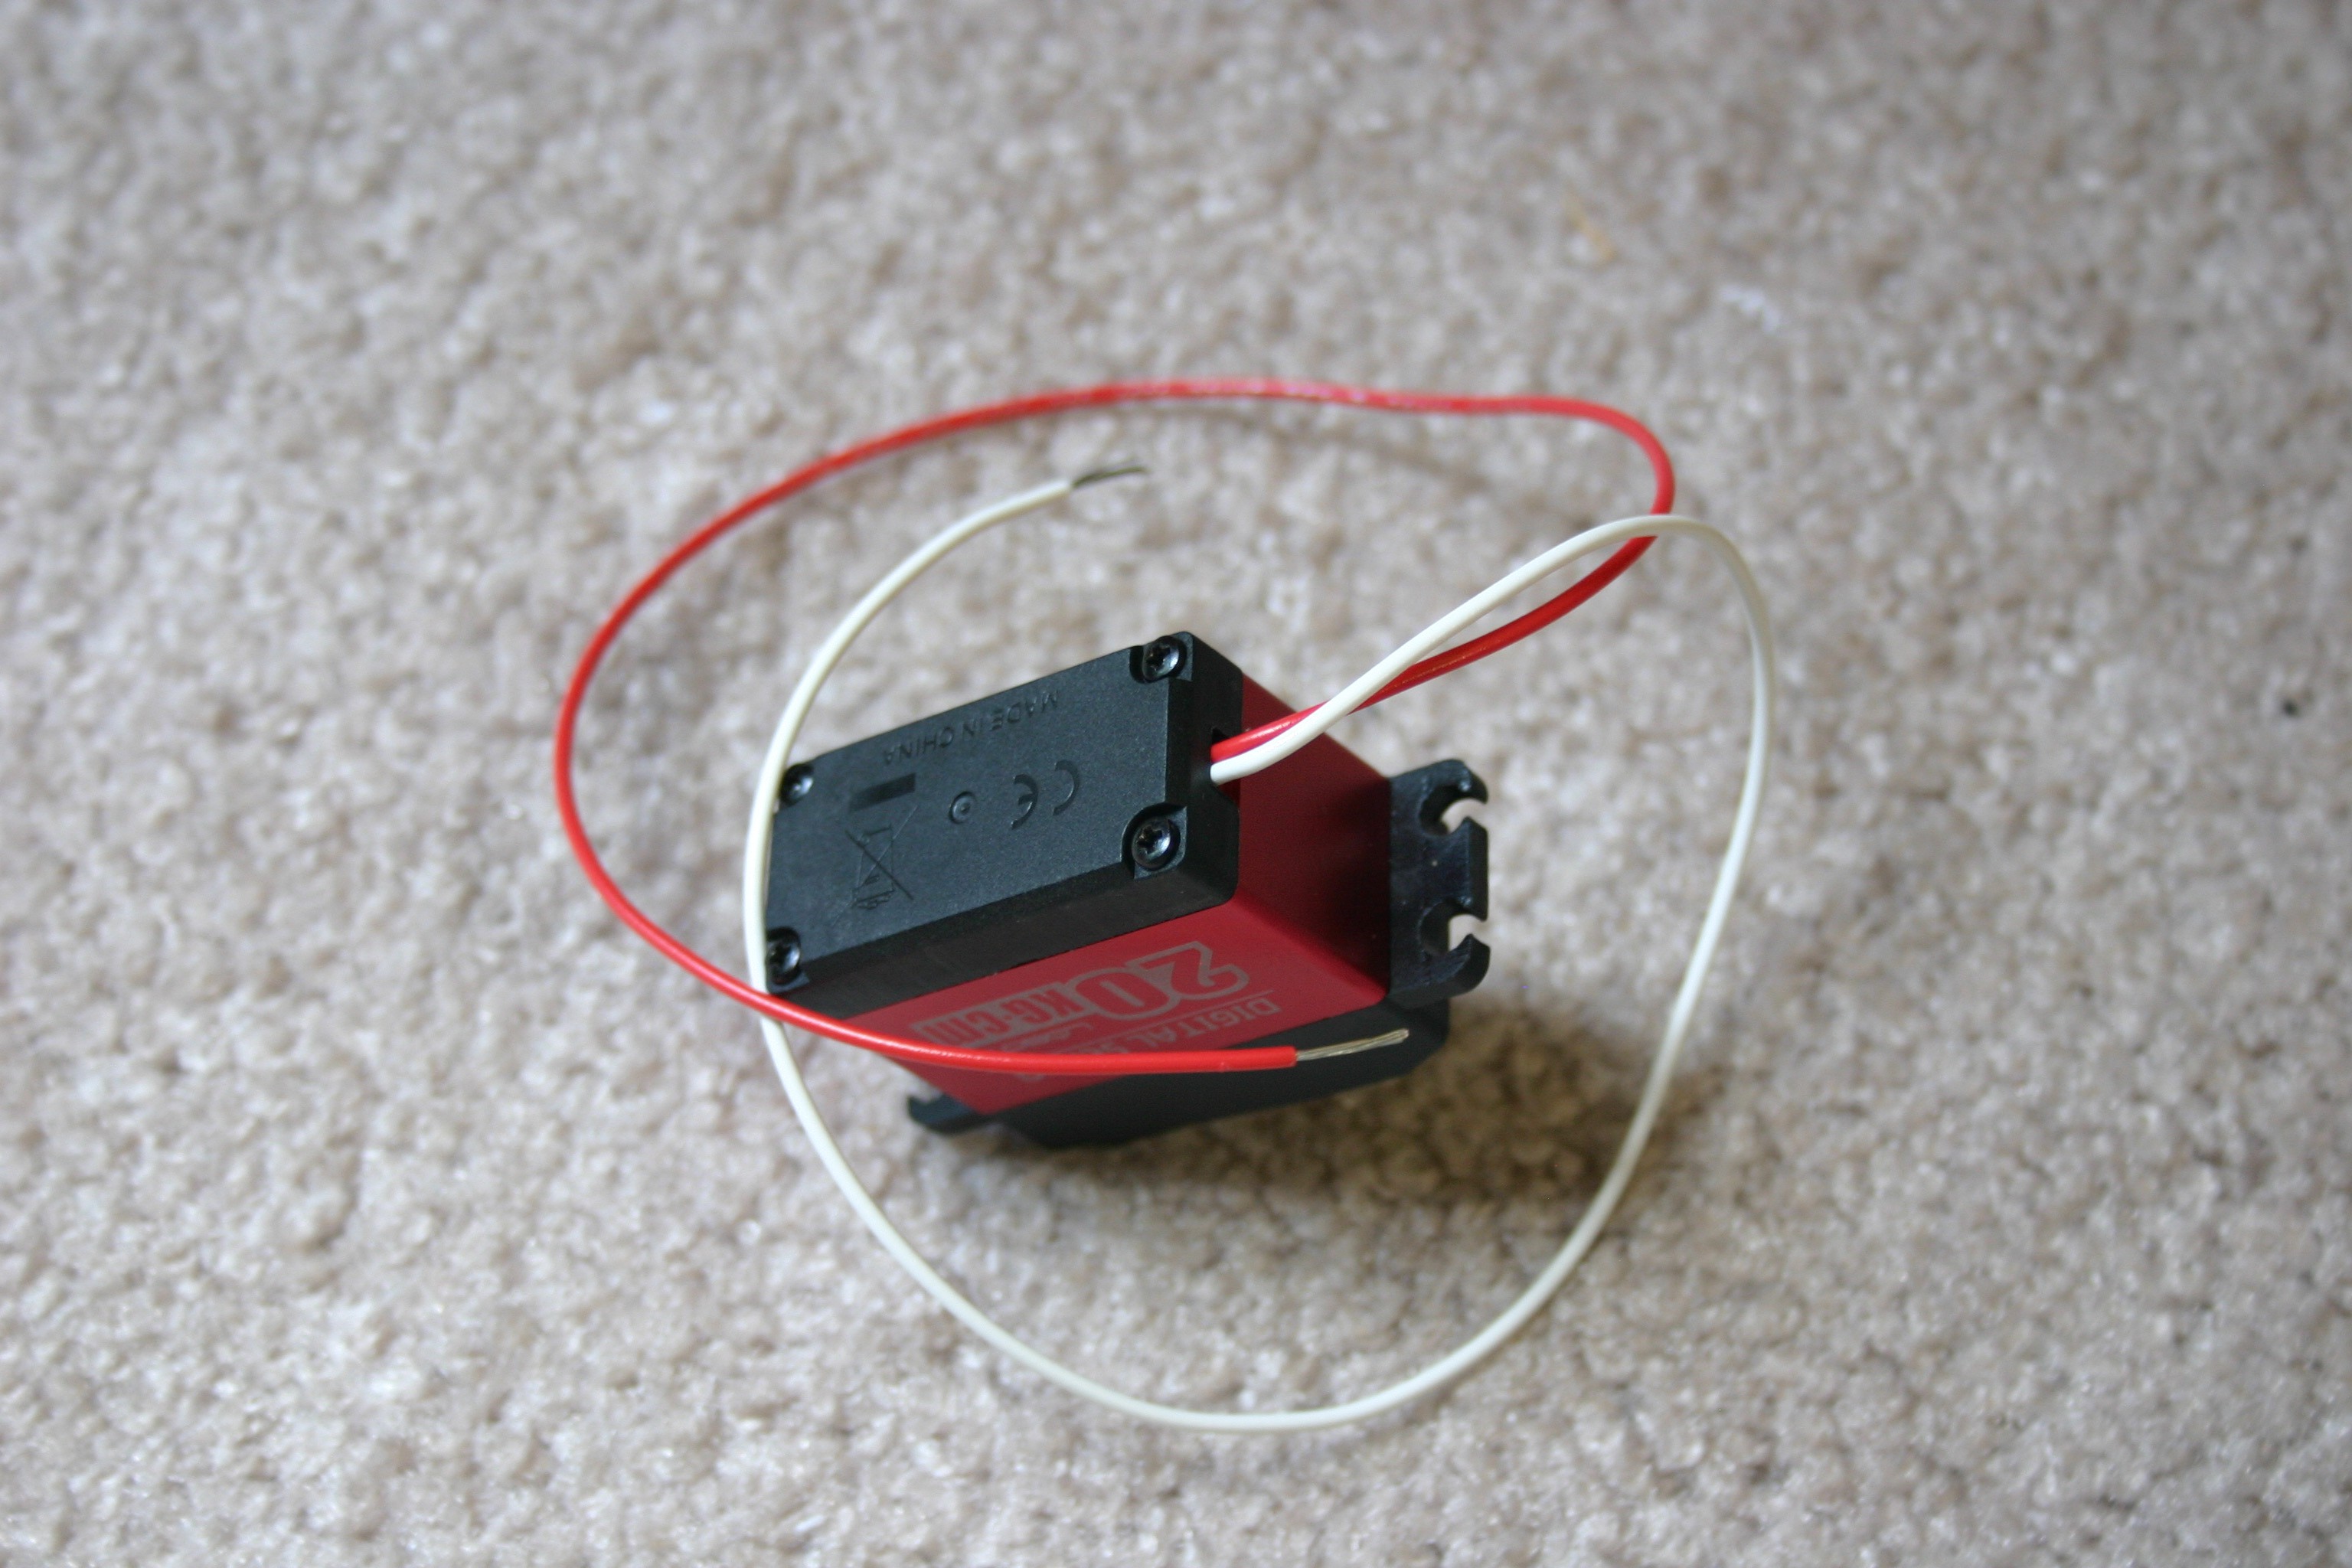
Start by removing the four screws in the bottom of the case.
![]()
Next, cut the two wires from the circuit board that go to the motor.
![]()
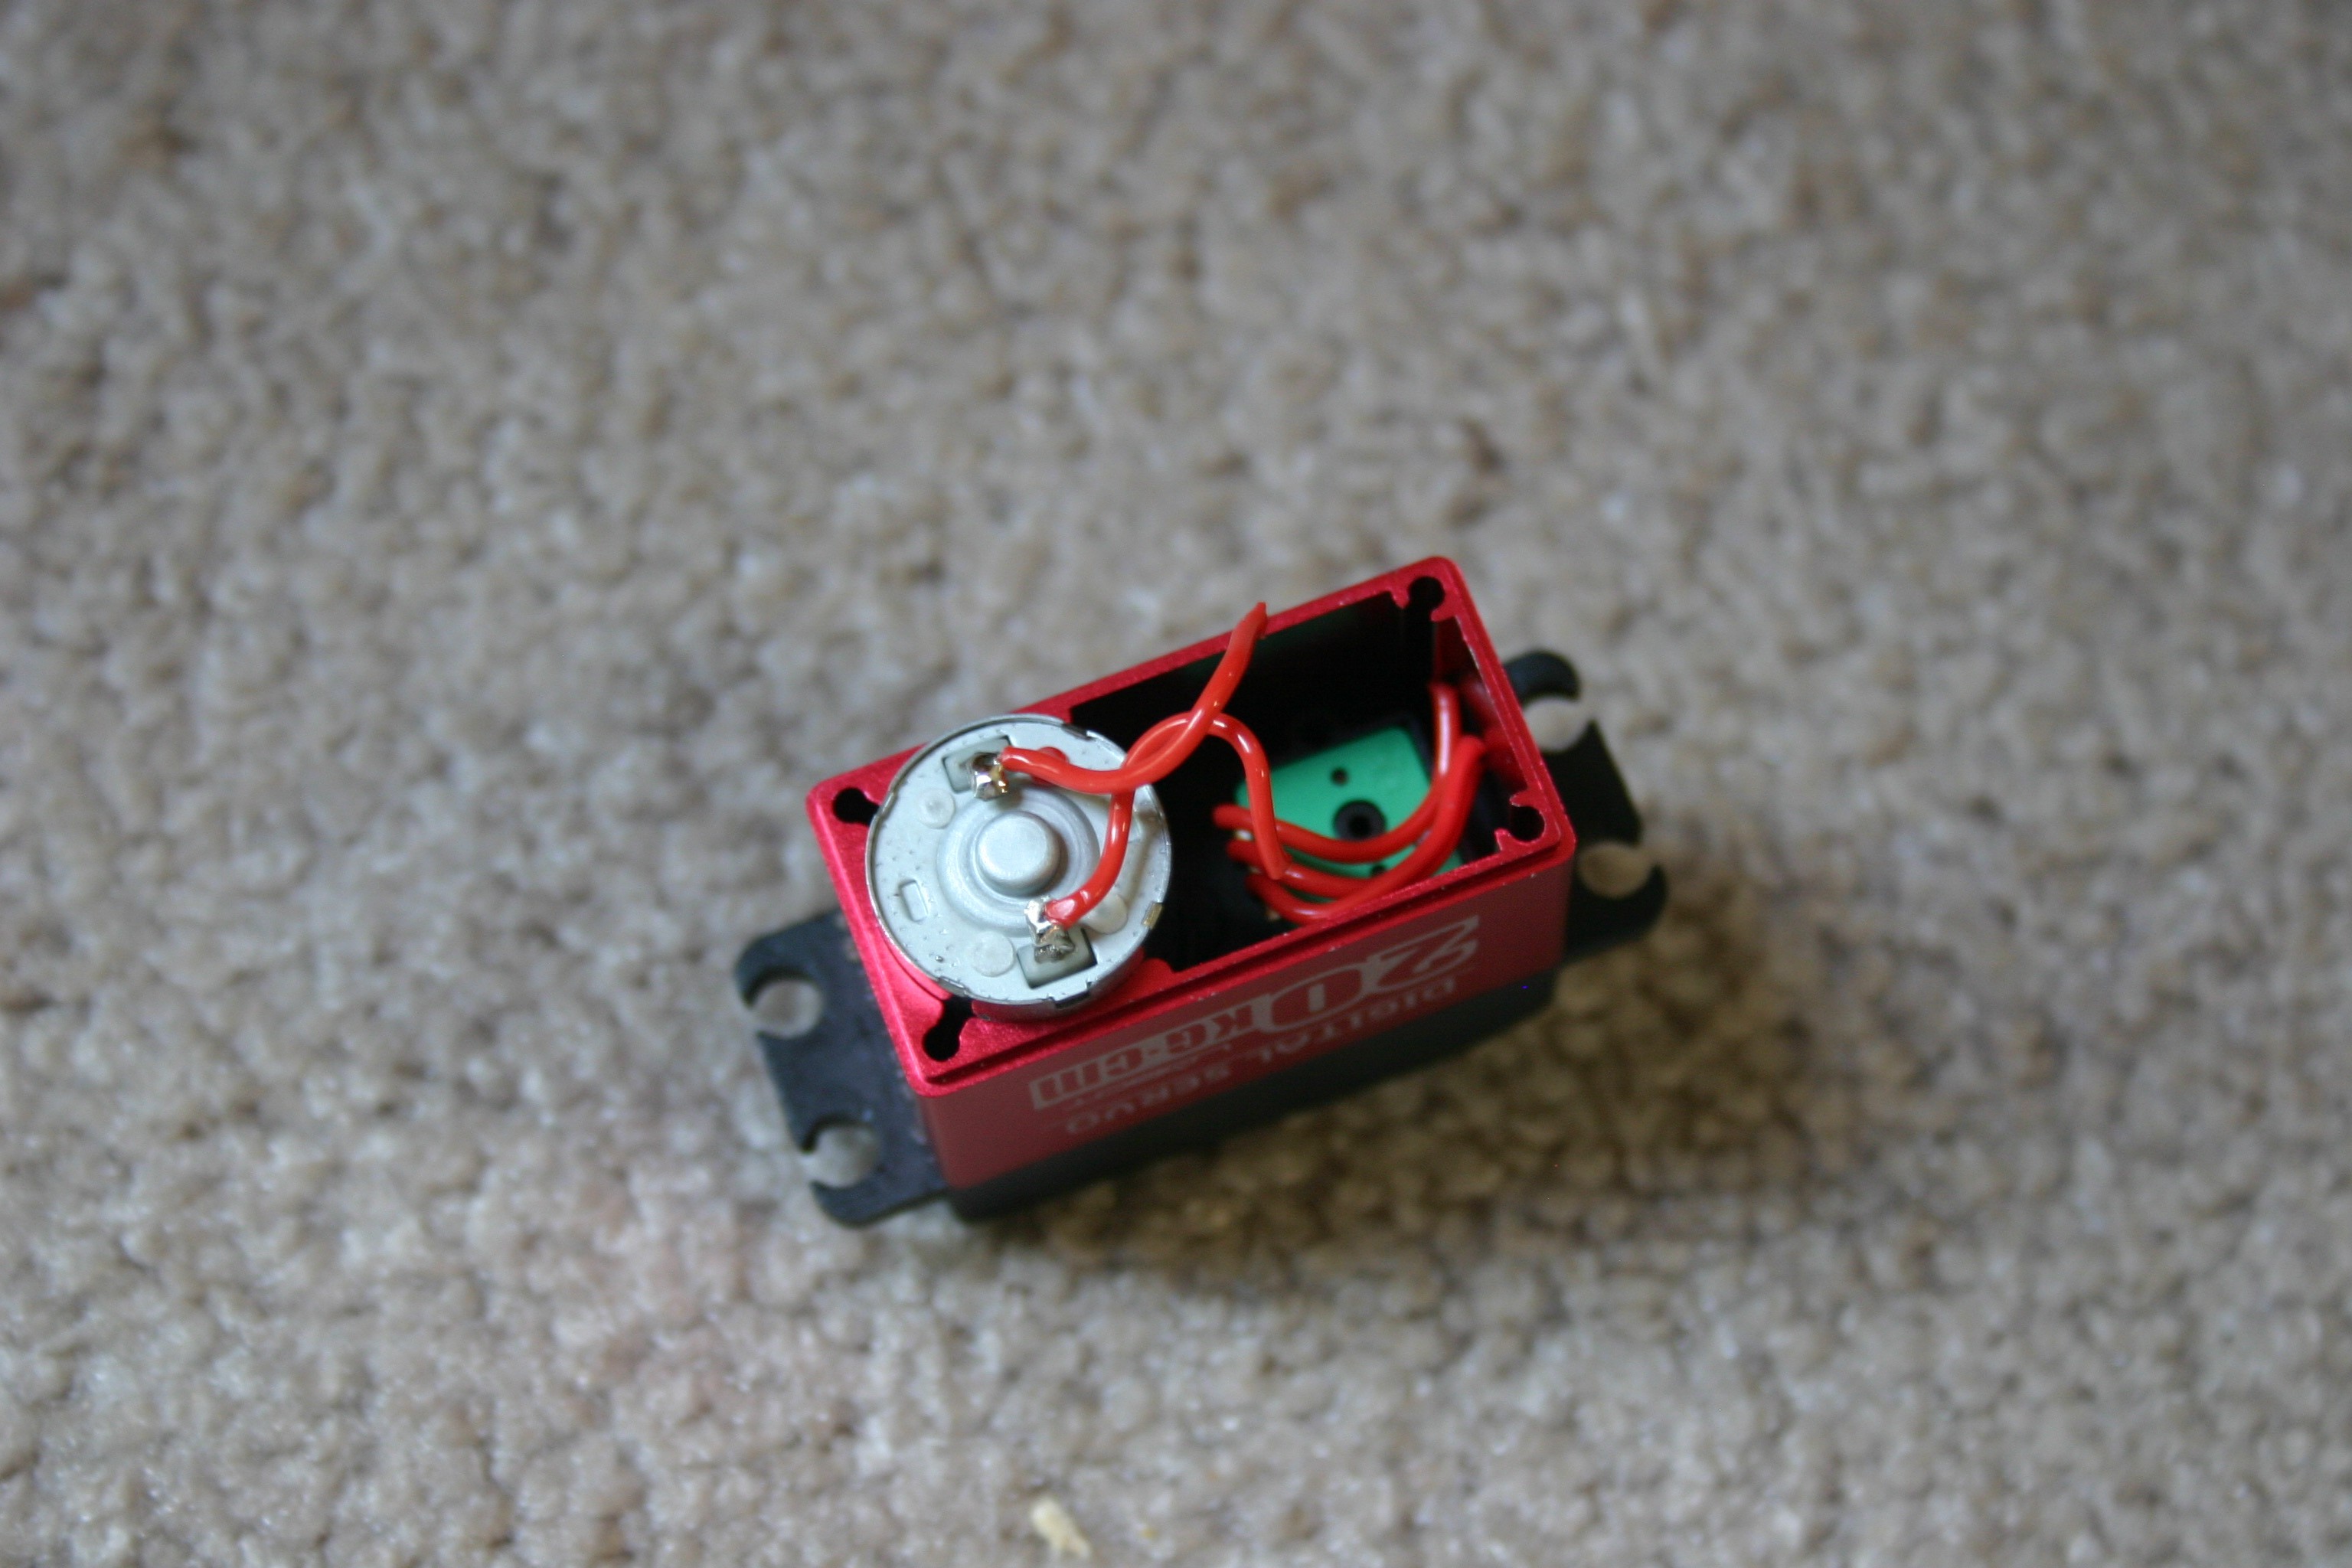
Cut the three wires from the circuit board to the potentiometer. Remove the circuit board.
![]()
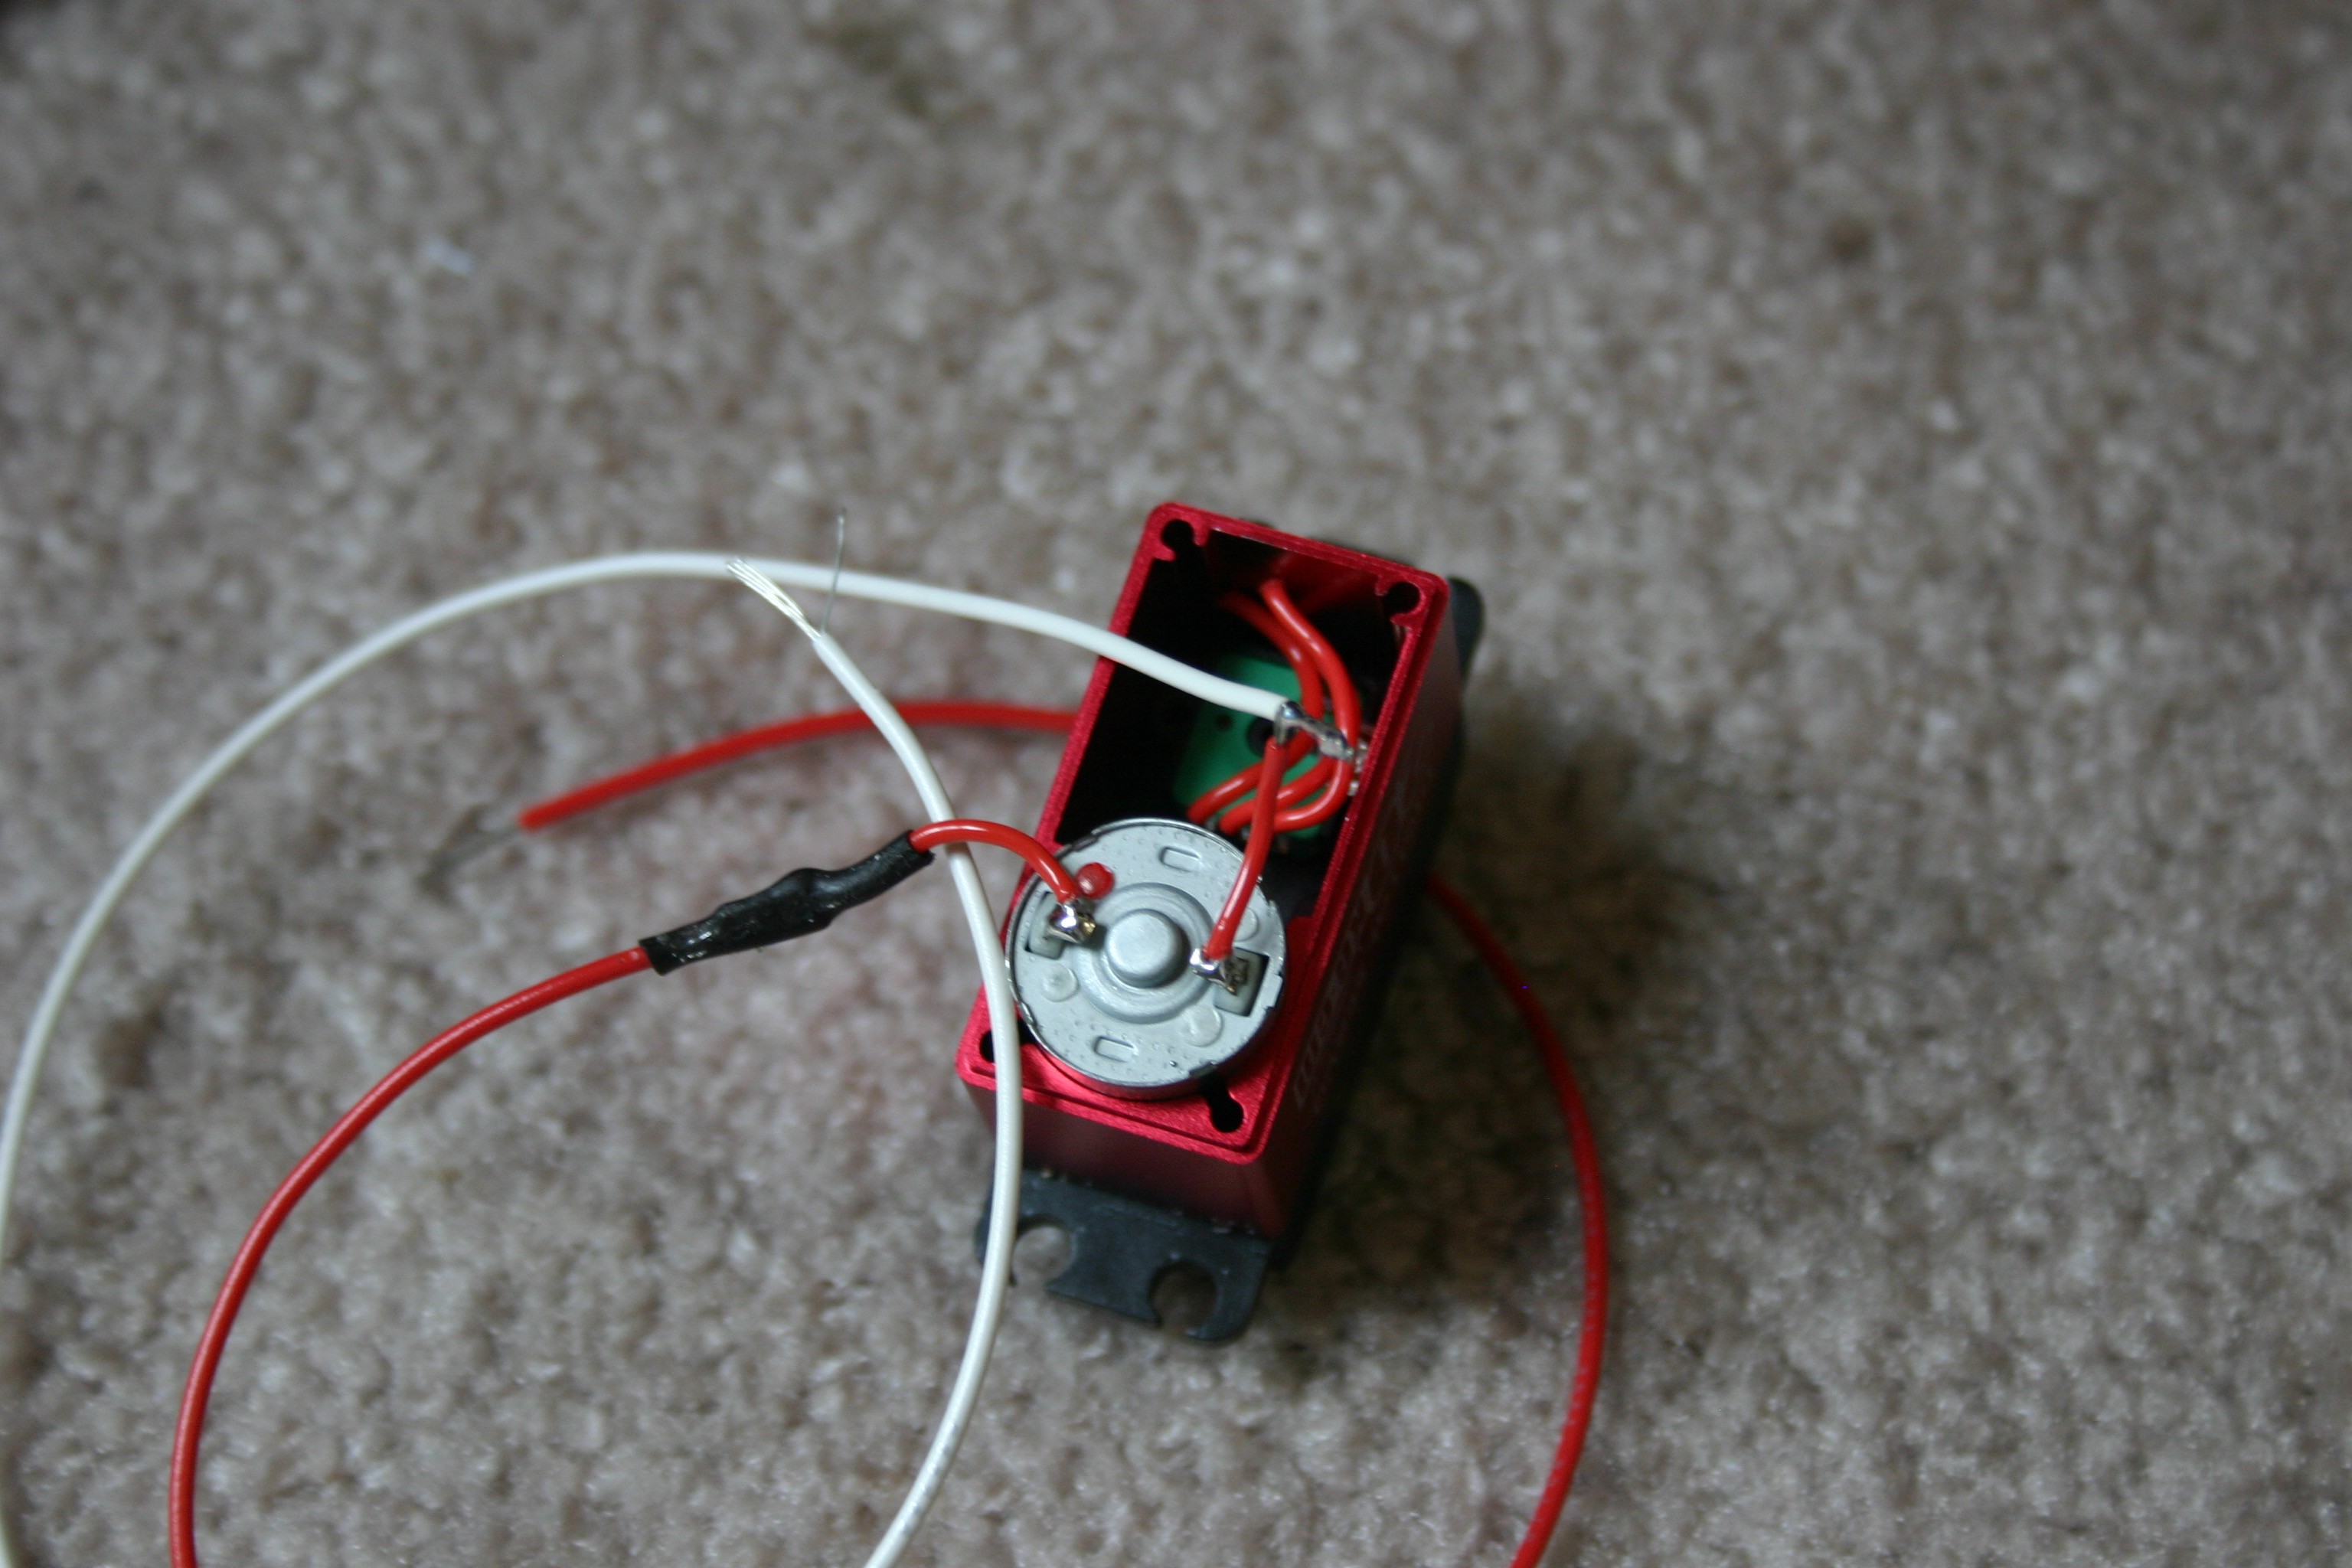
Take the two wires from the motor and solder extender leads.
![]()
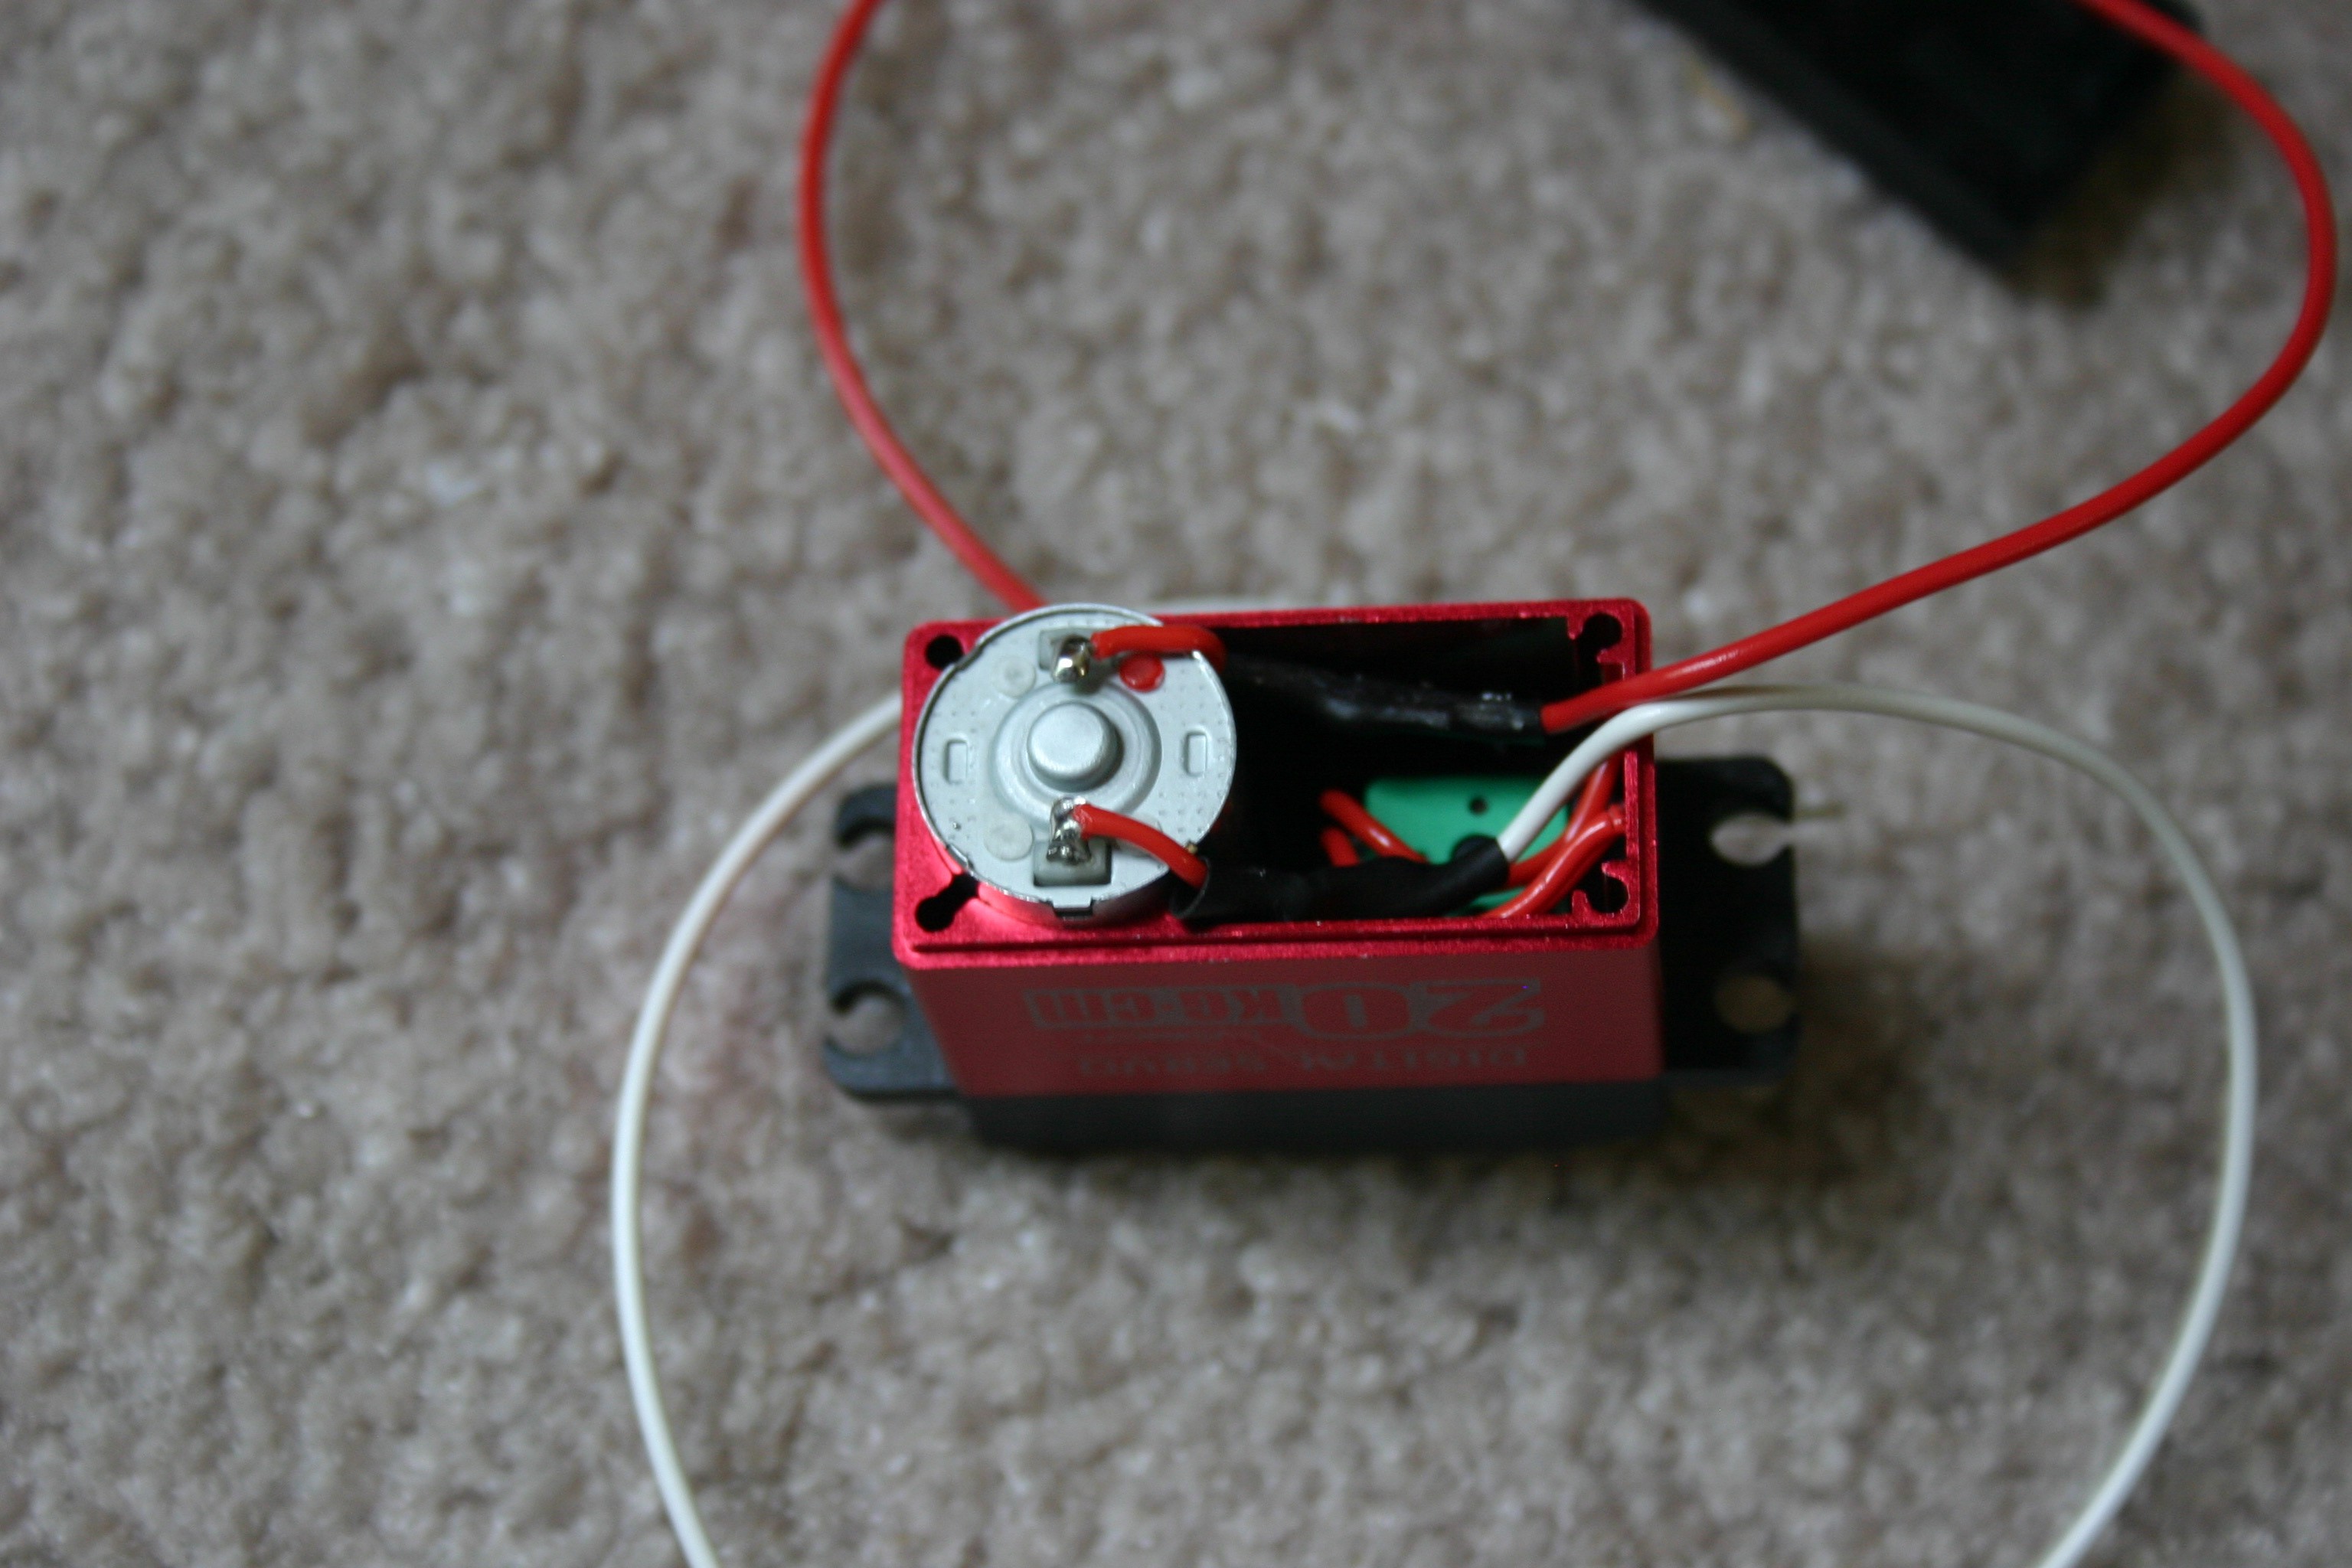
Push the solder connection joints into the cavity of the servo motor housing.
![]()
Screw the bottom cover back into place.
![]()
-
Robot Construction
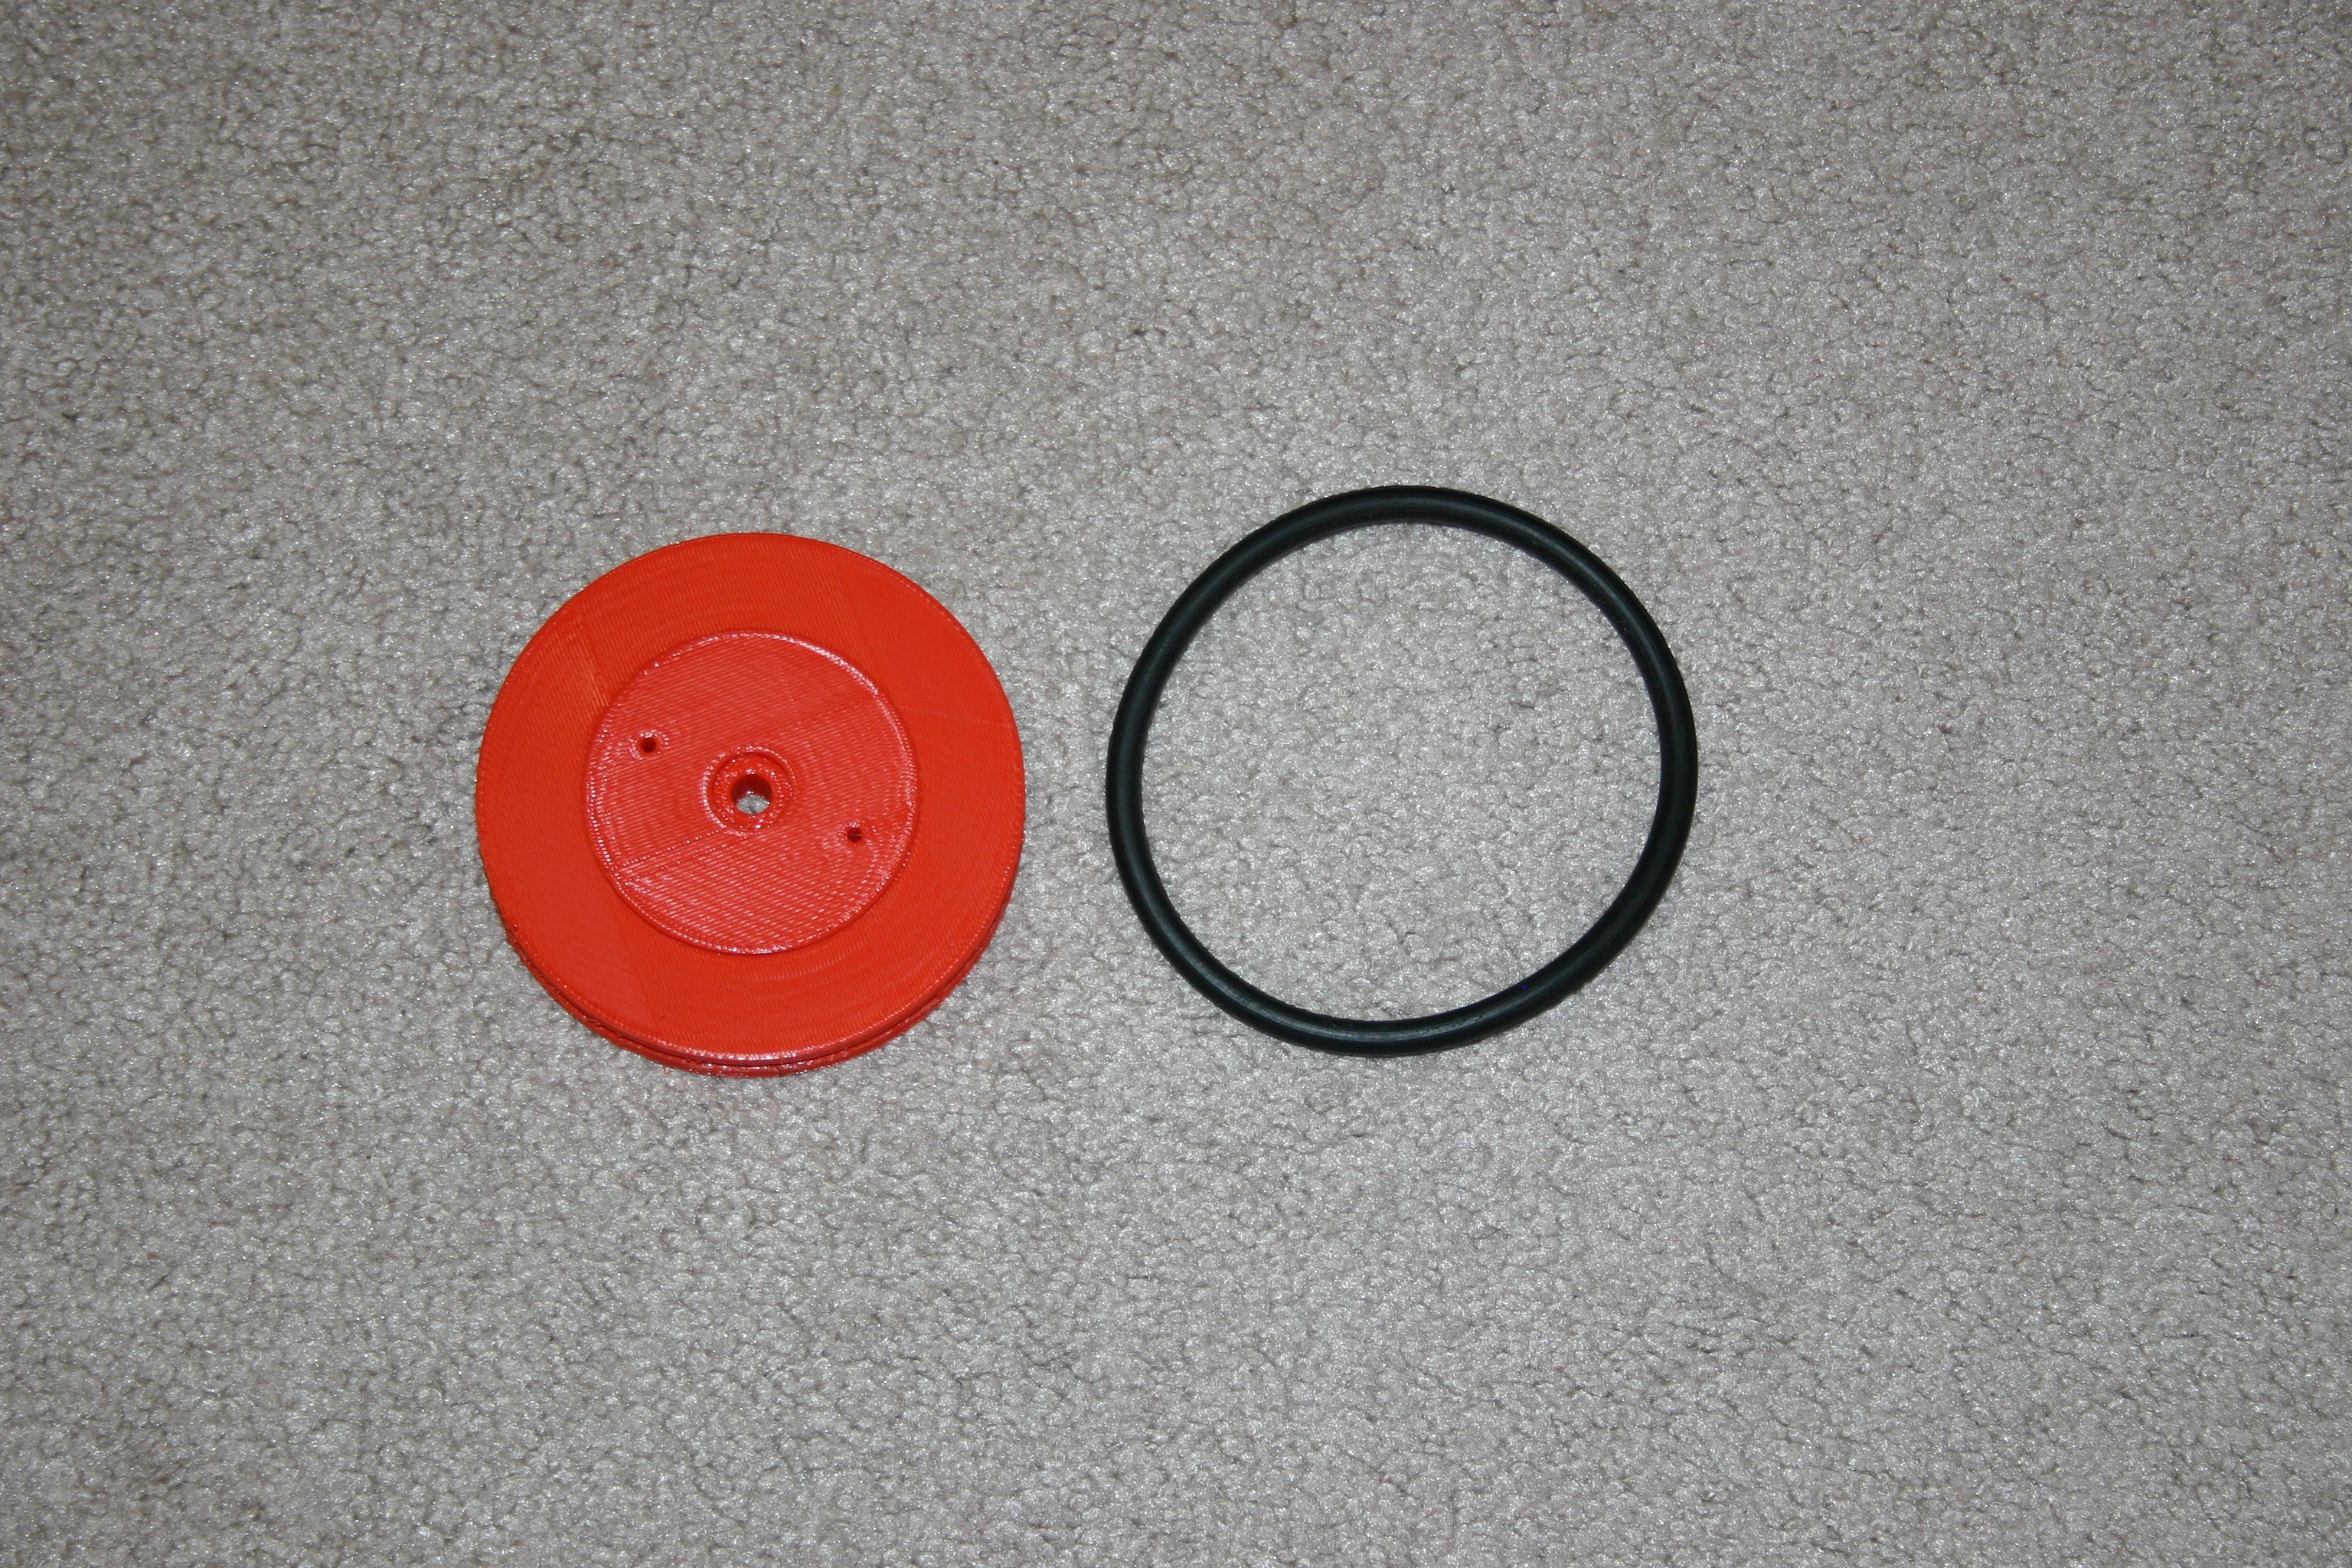
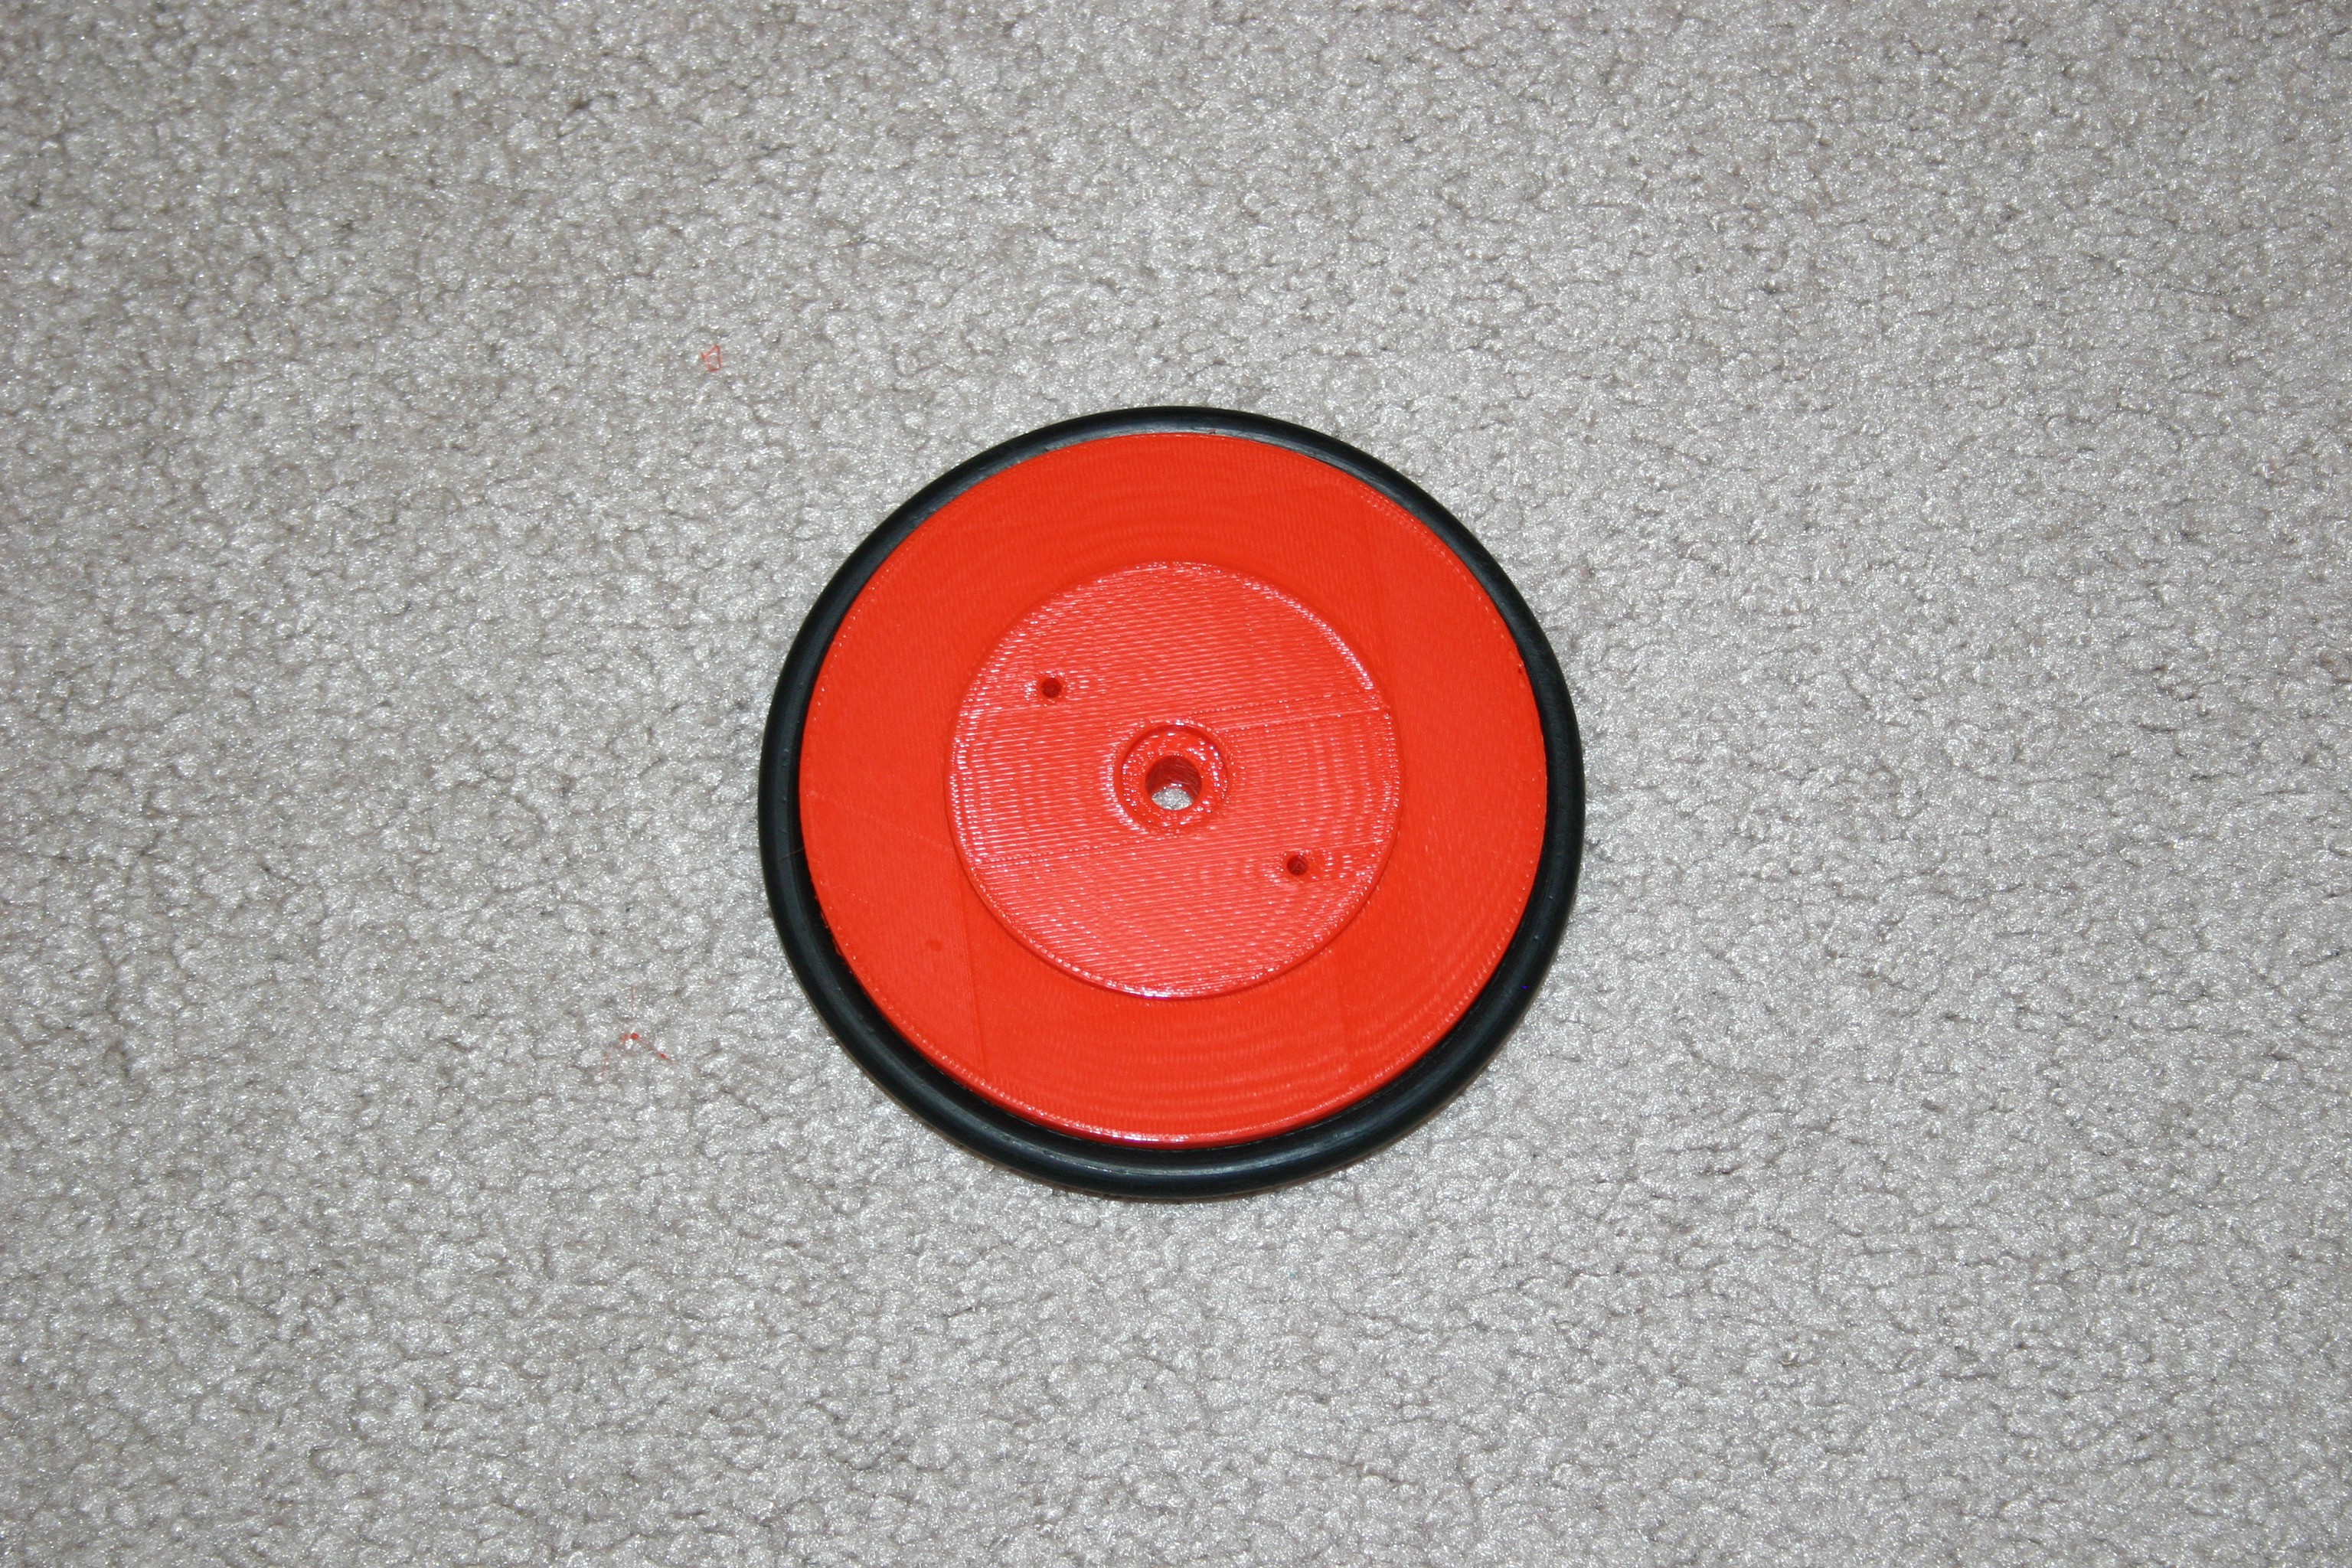
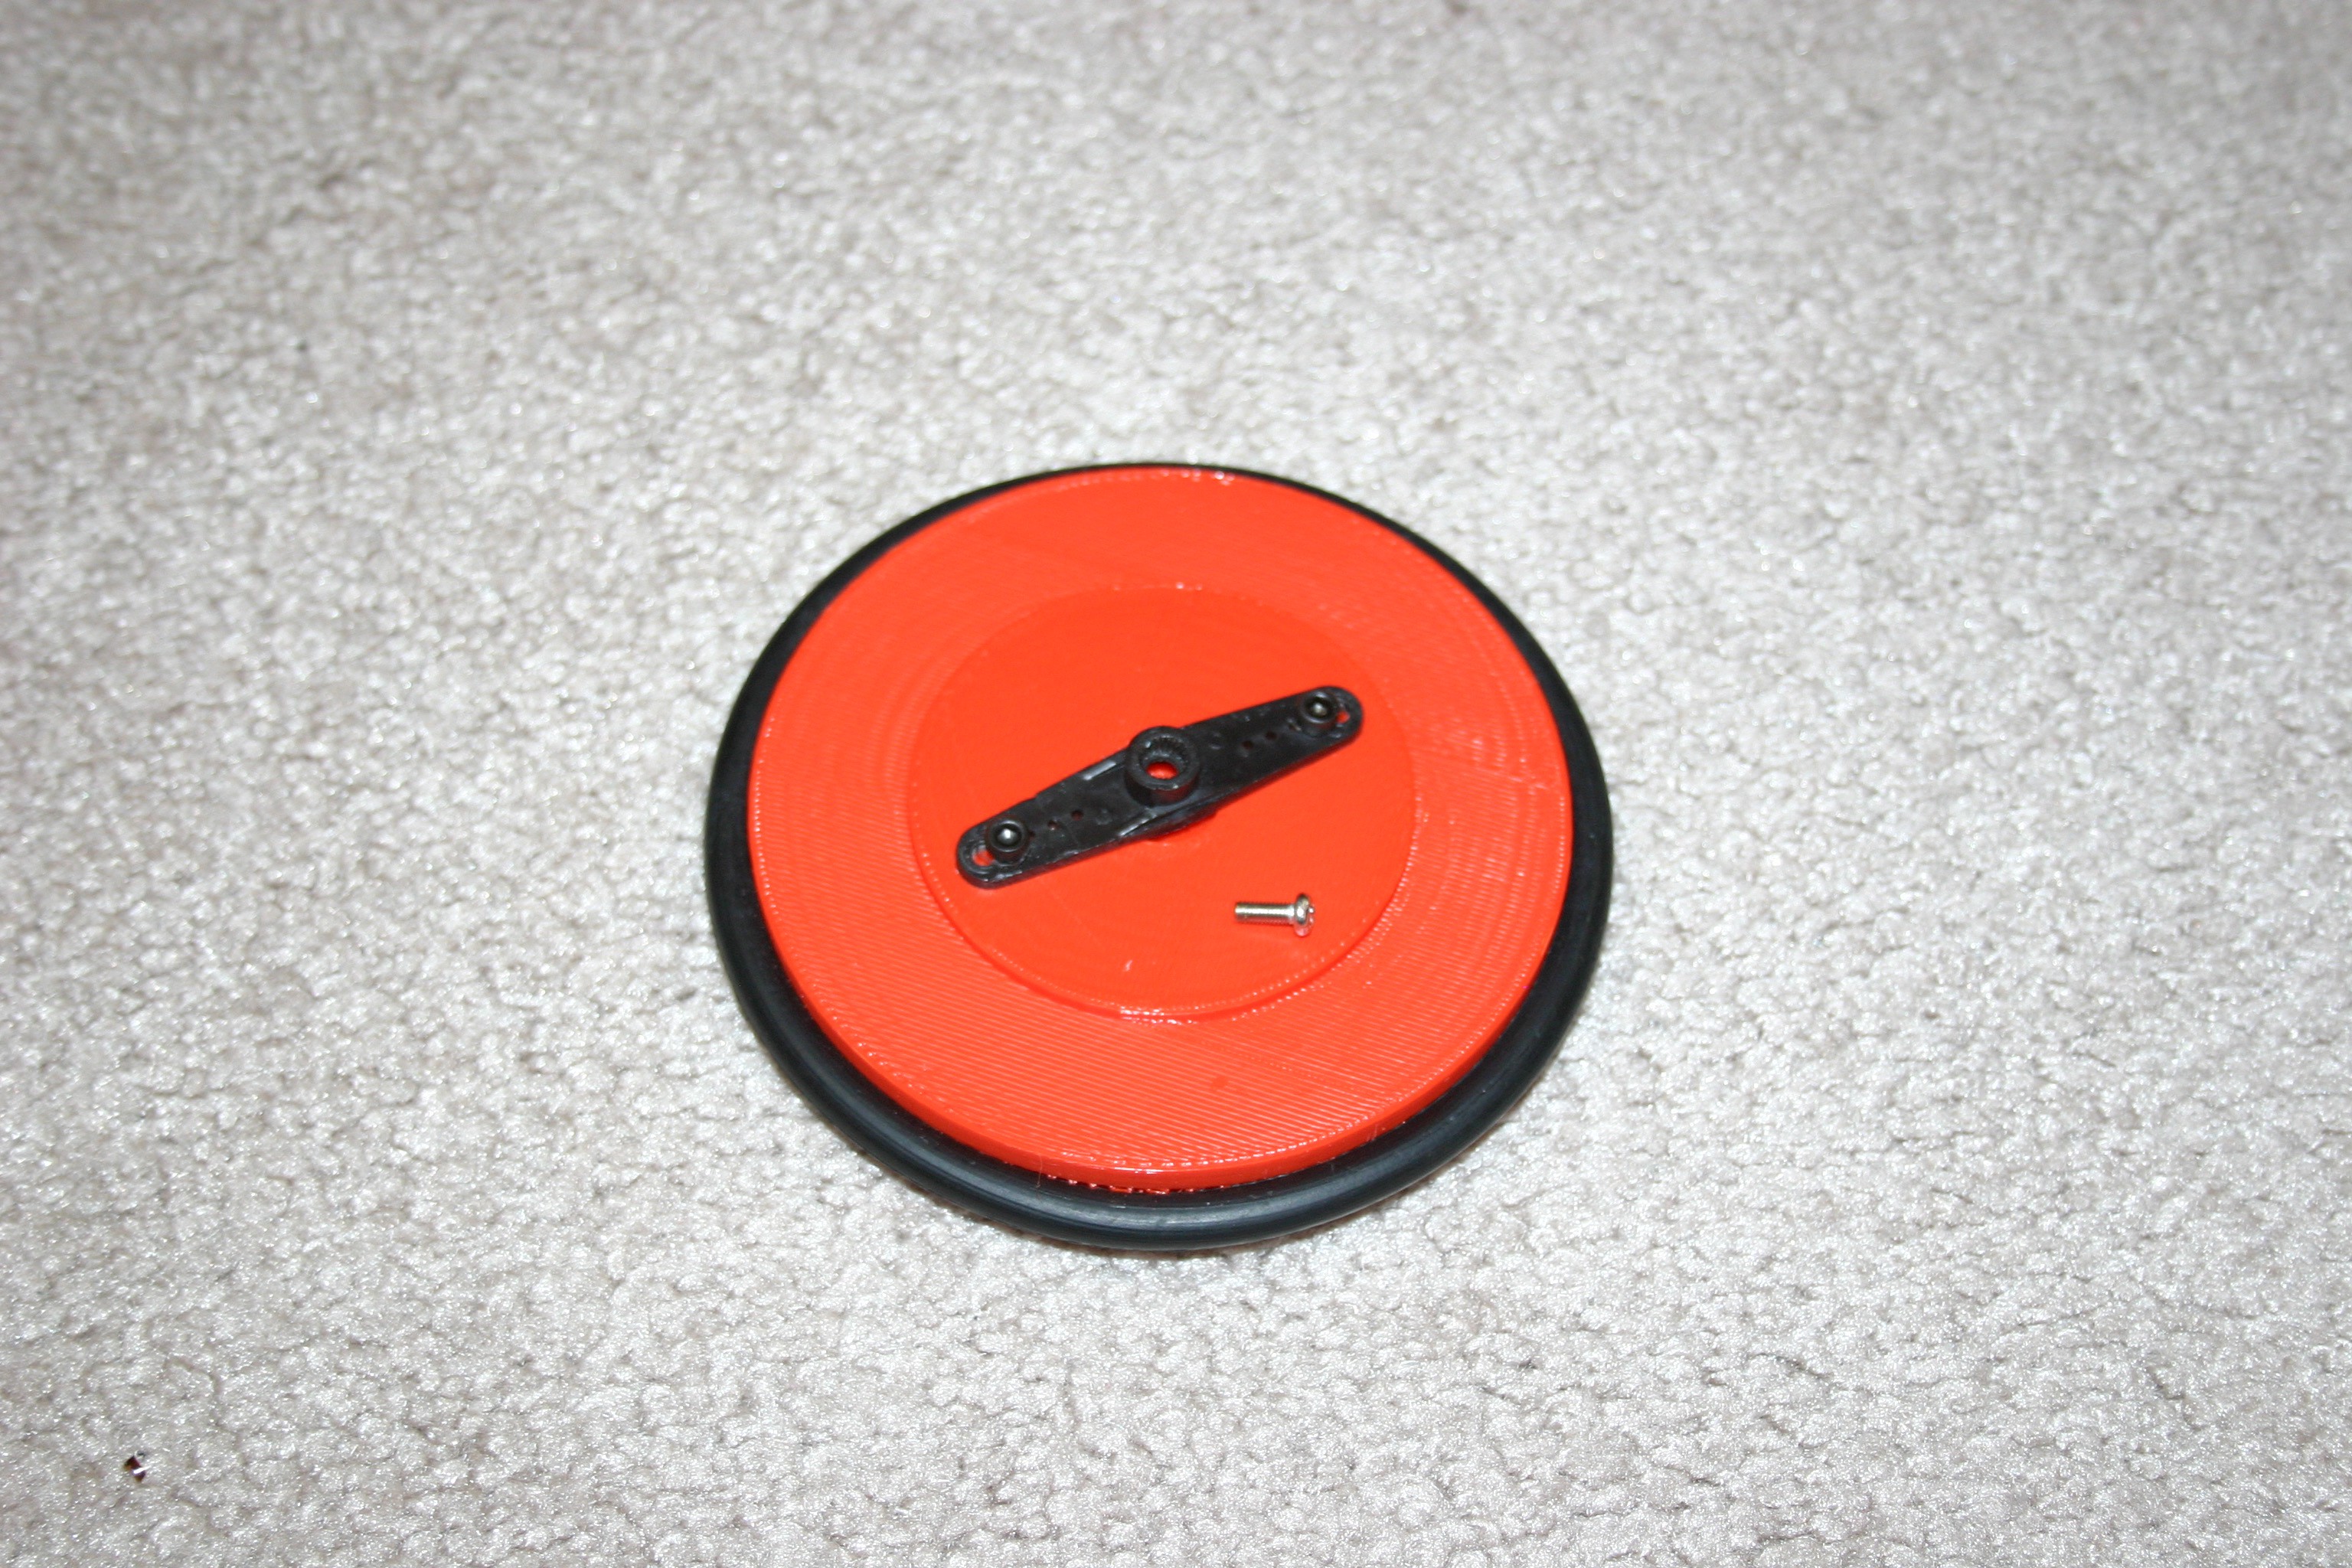
05/22/2019 at 18:36 • 0 commentsTake the 3d printed wheels and add vacuum cleaner belts for tires.
![]()
![]()
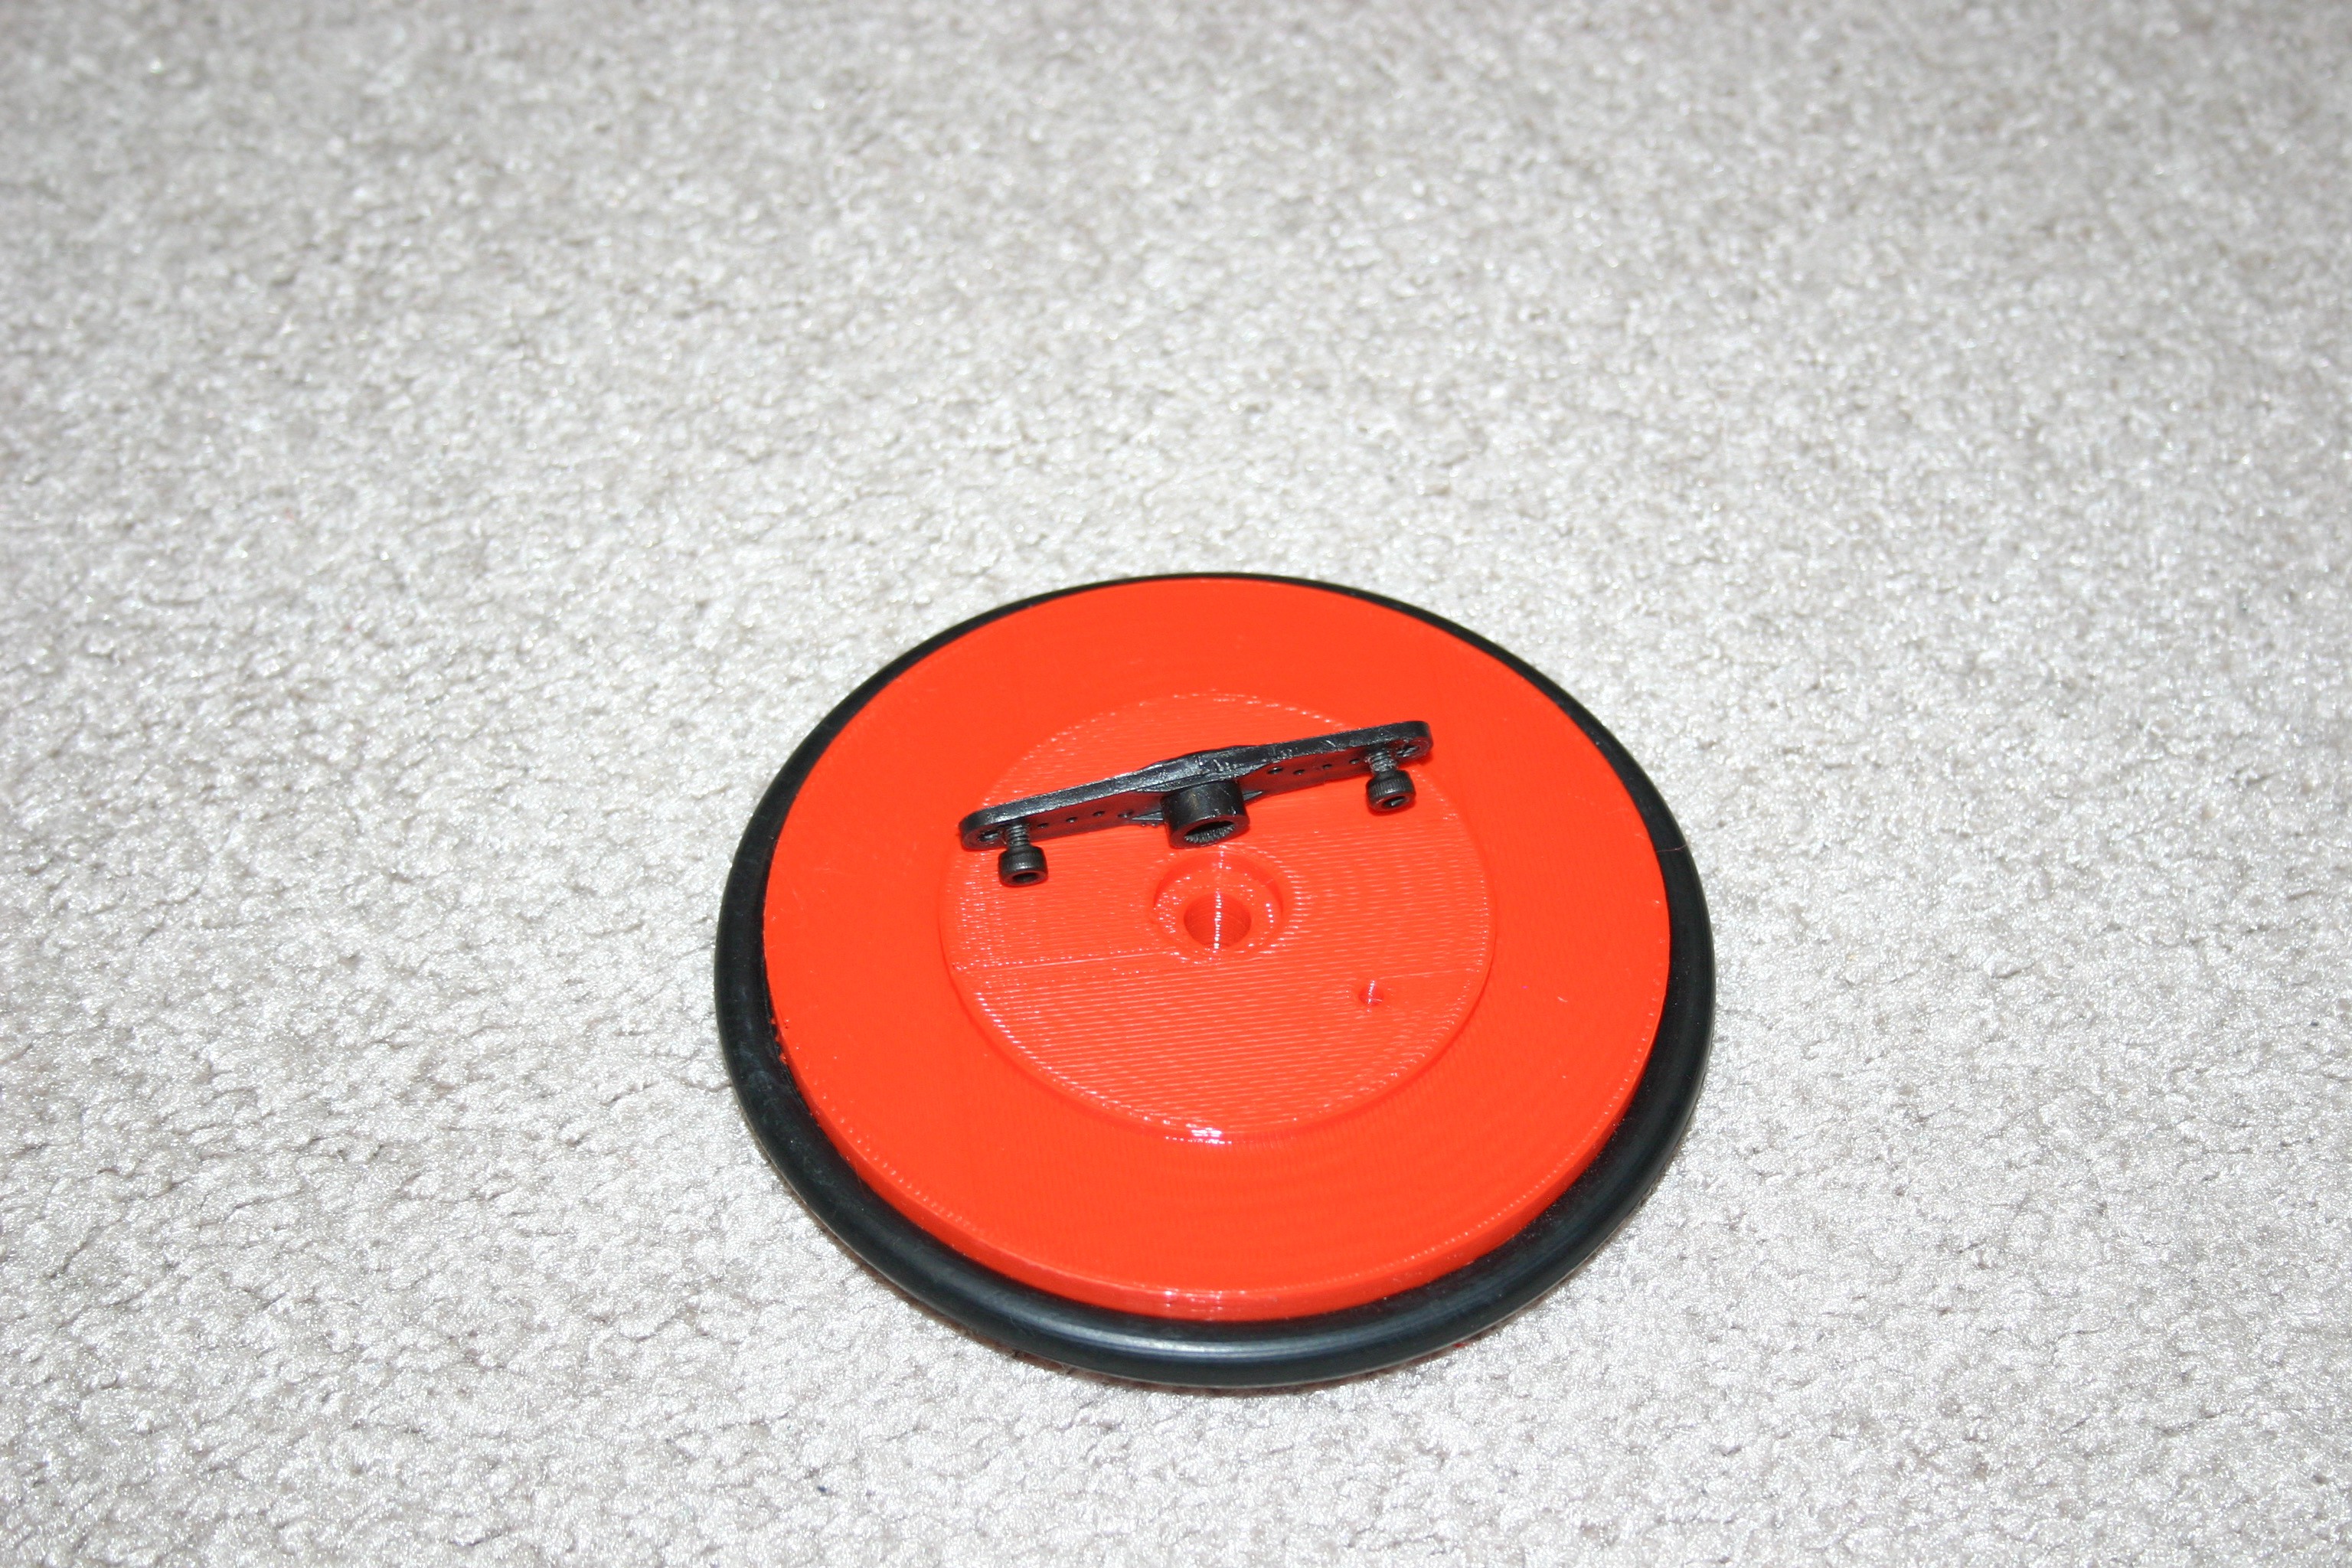
Attach the Servo horn using 3mm screws.
![]()
![]()
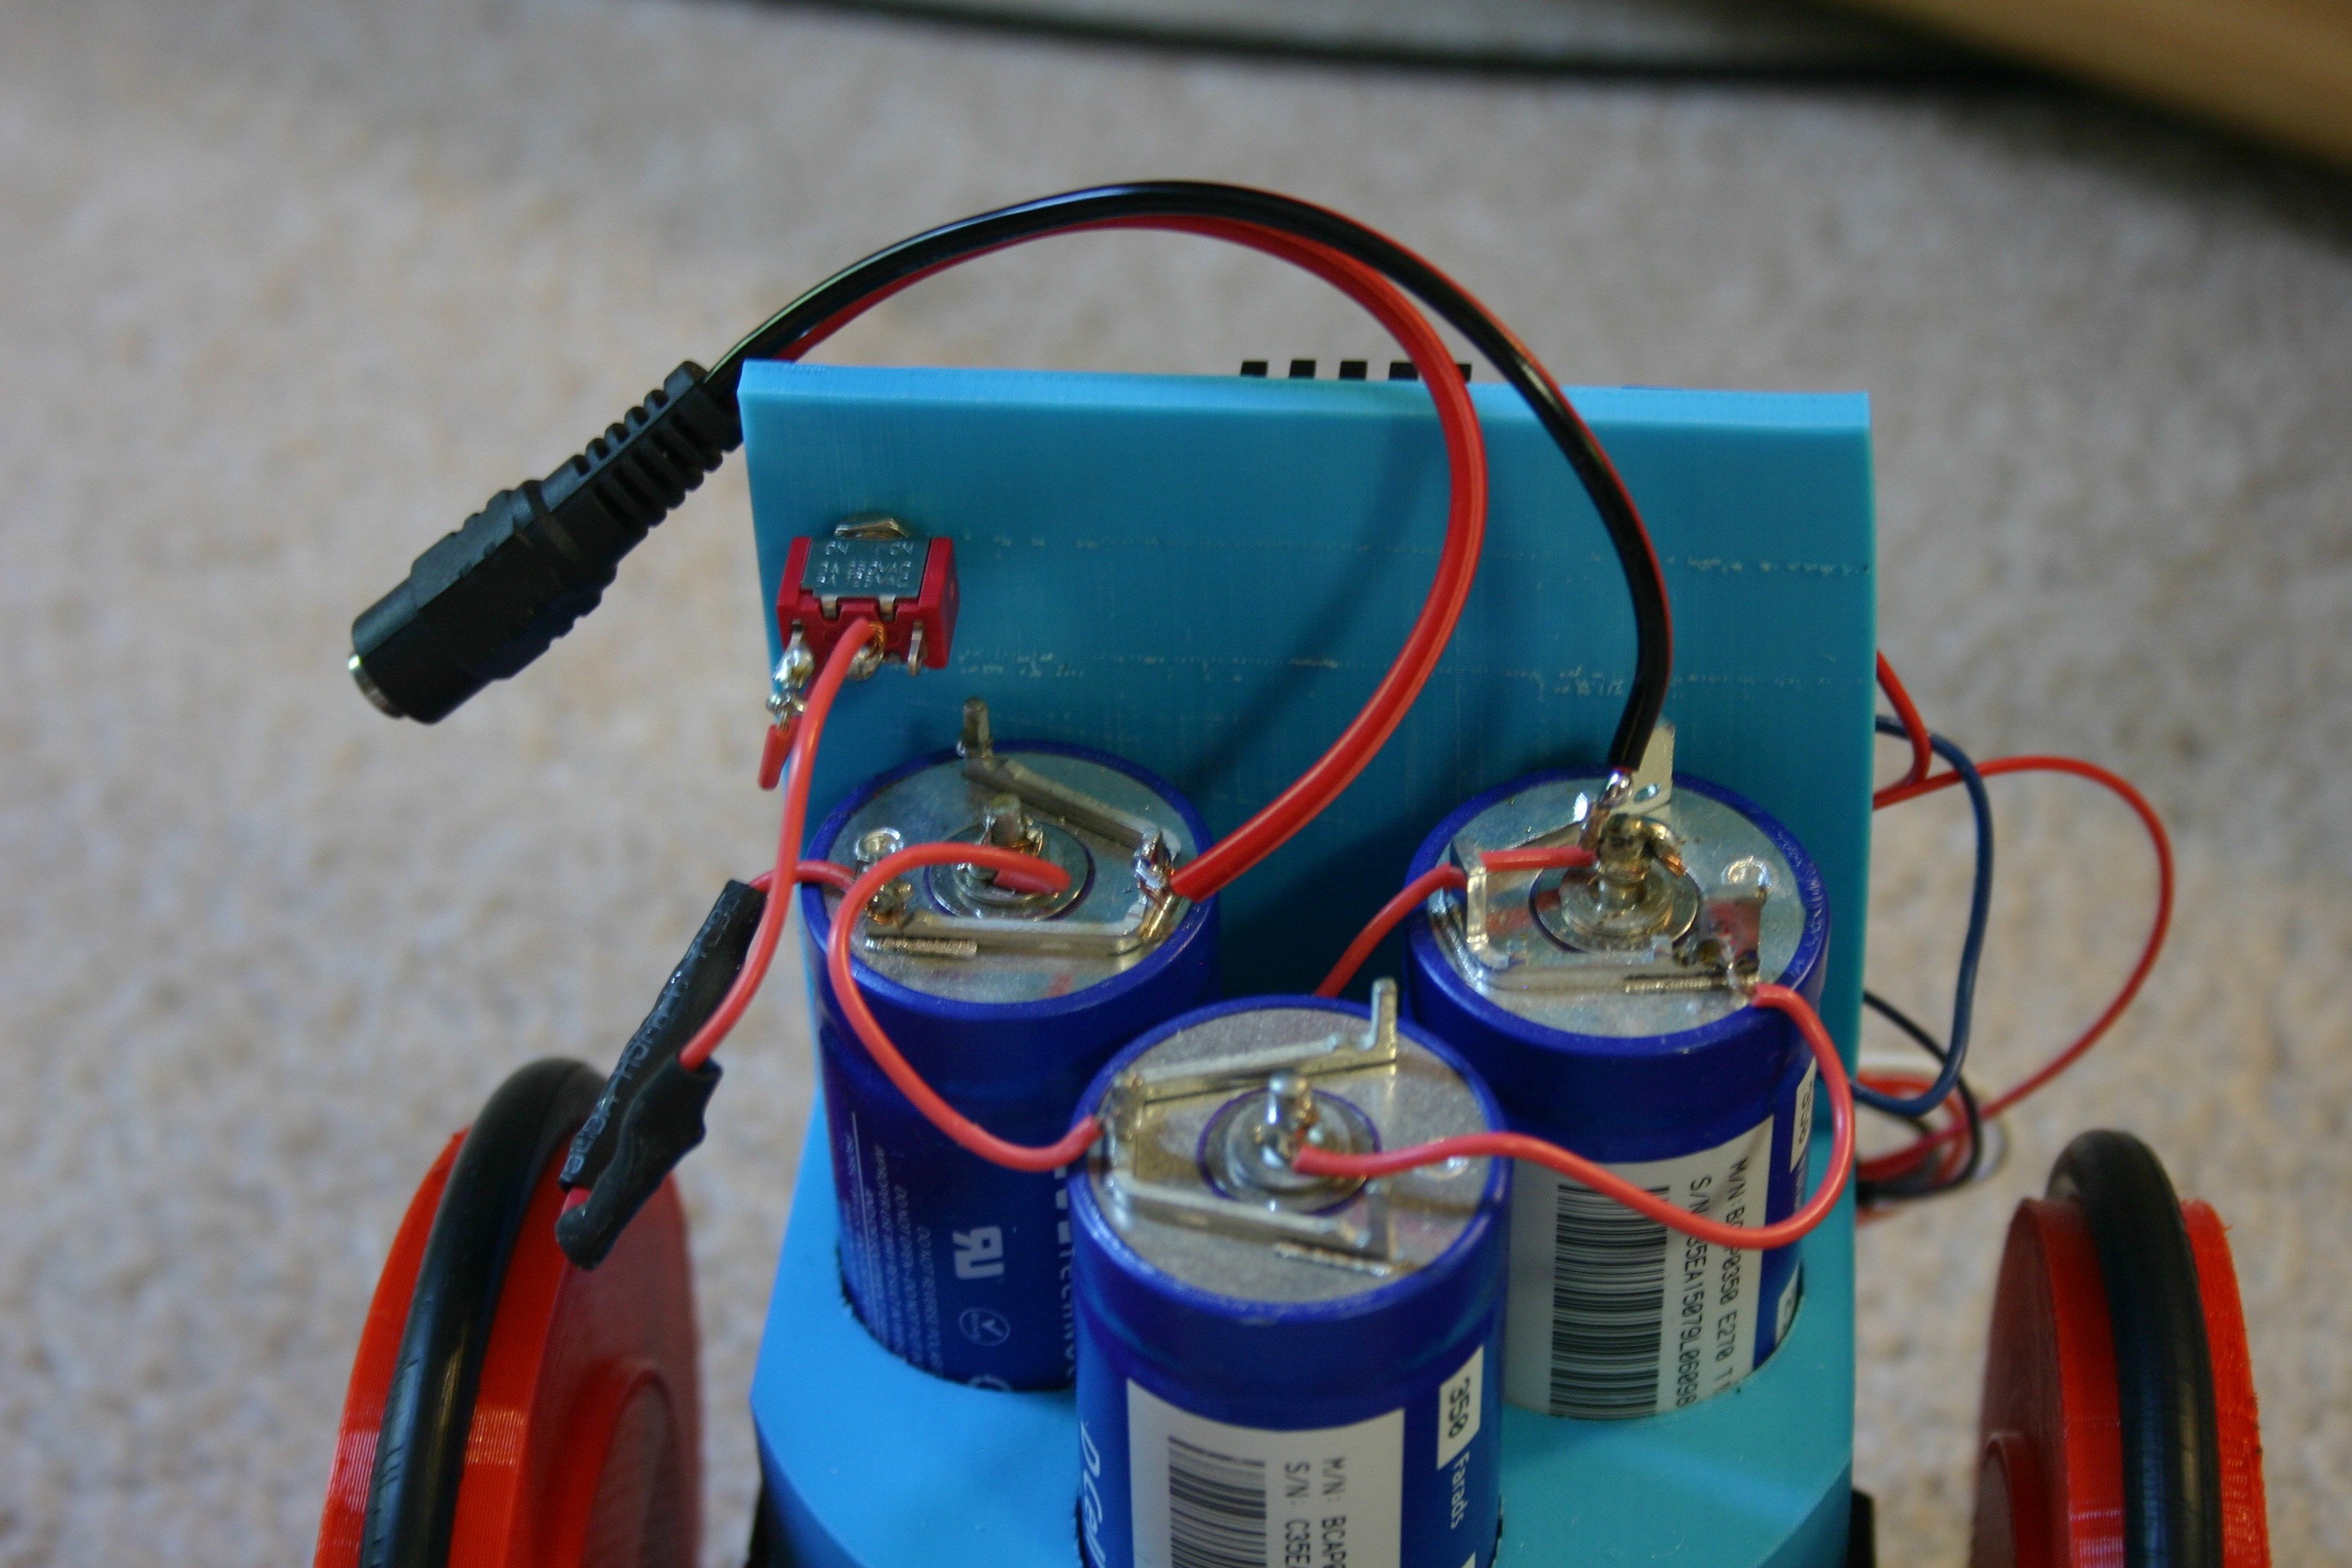
Solder the capacitors in series and place them in the 3d printed capacitor holder (along with the on/off switch). Solder the (female) charging cable.
![]()
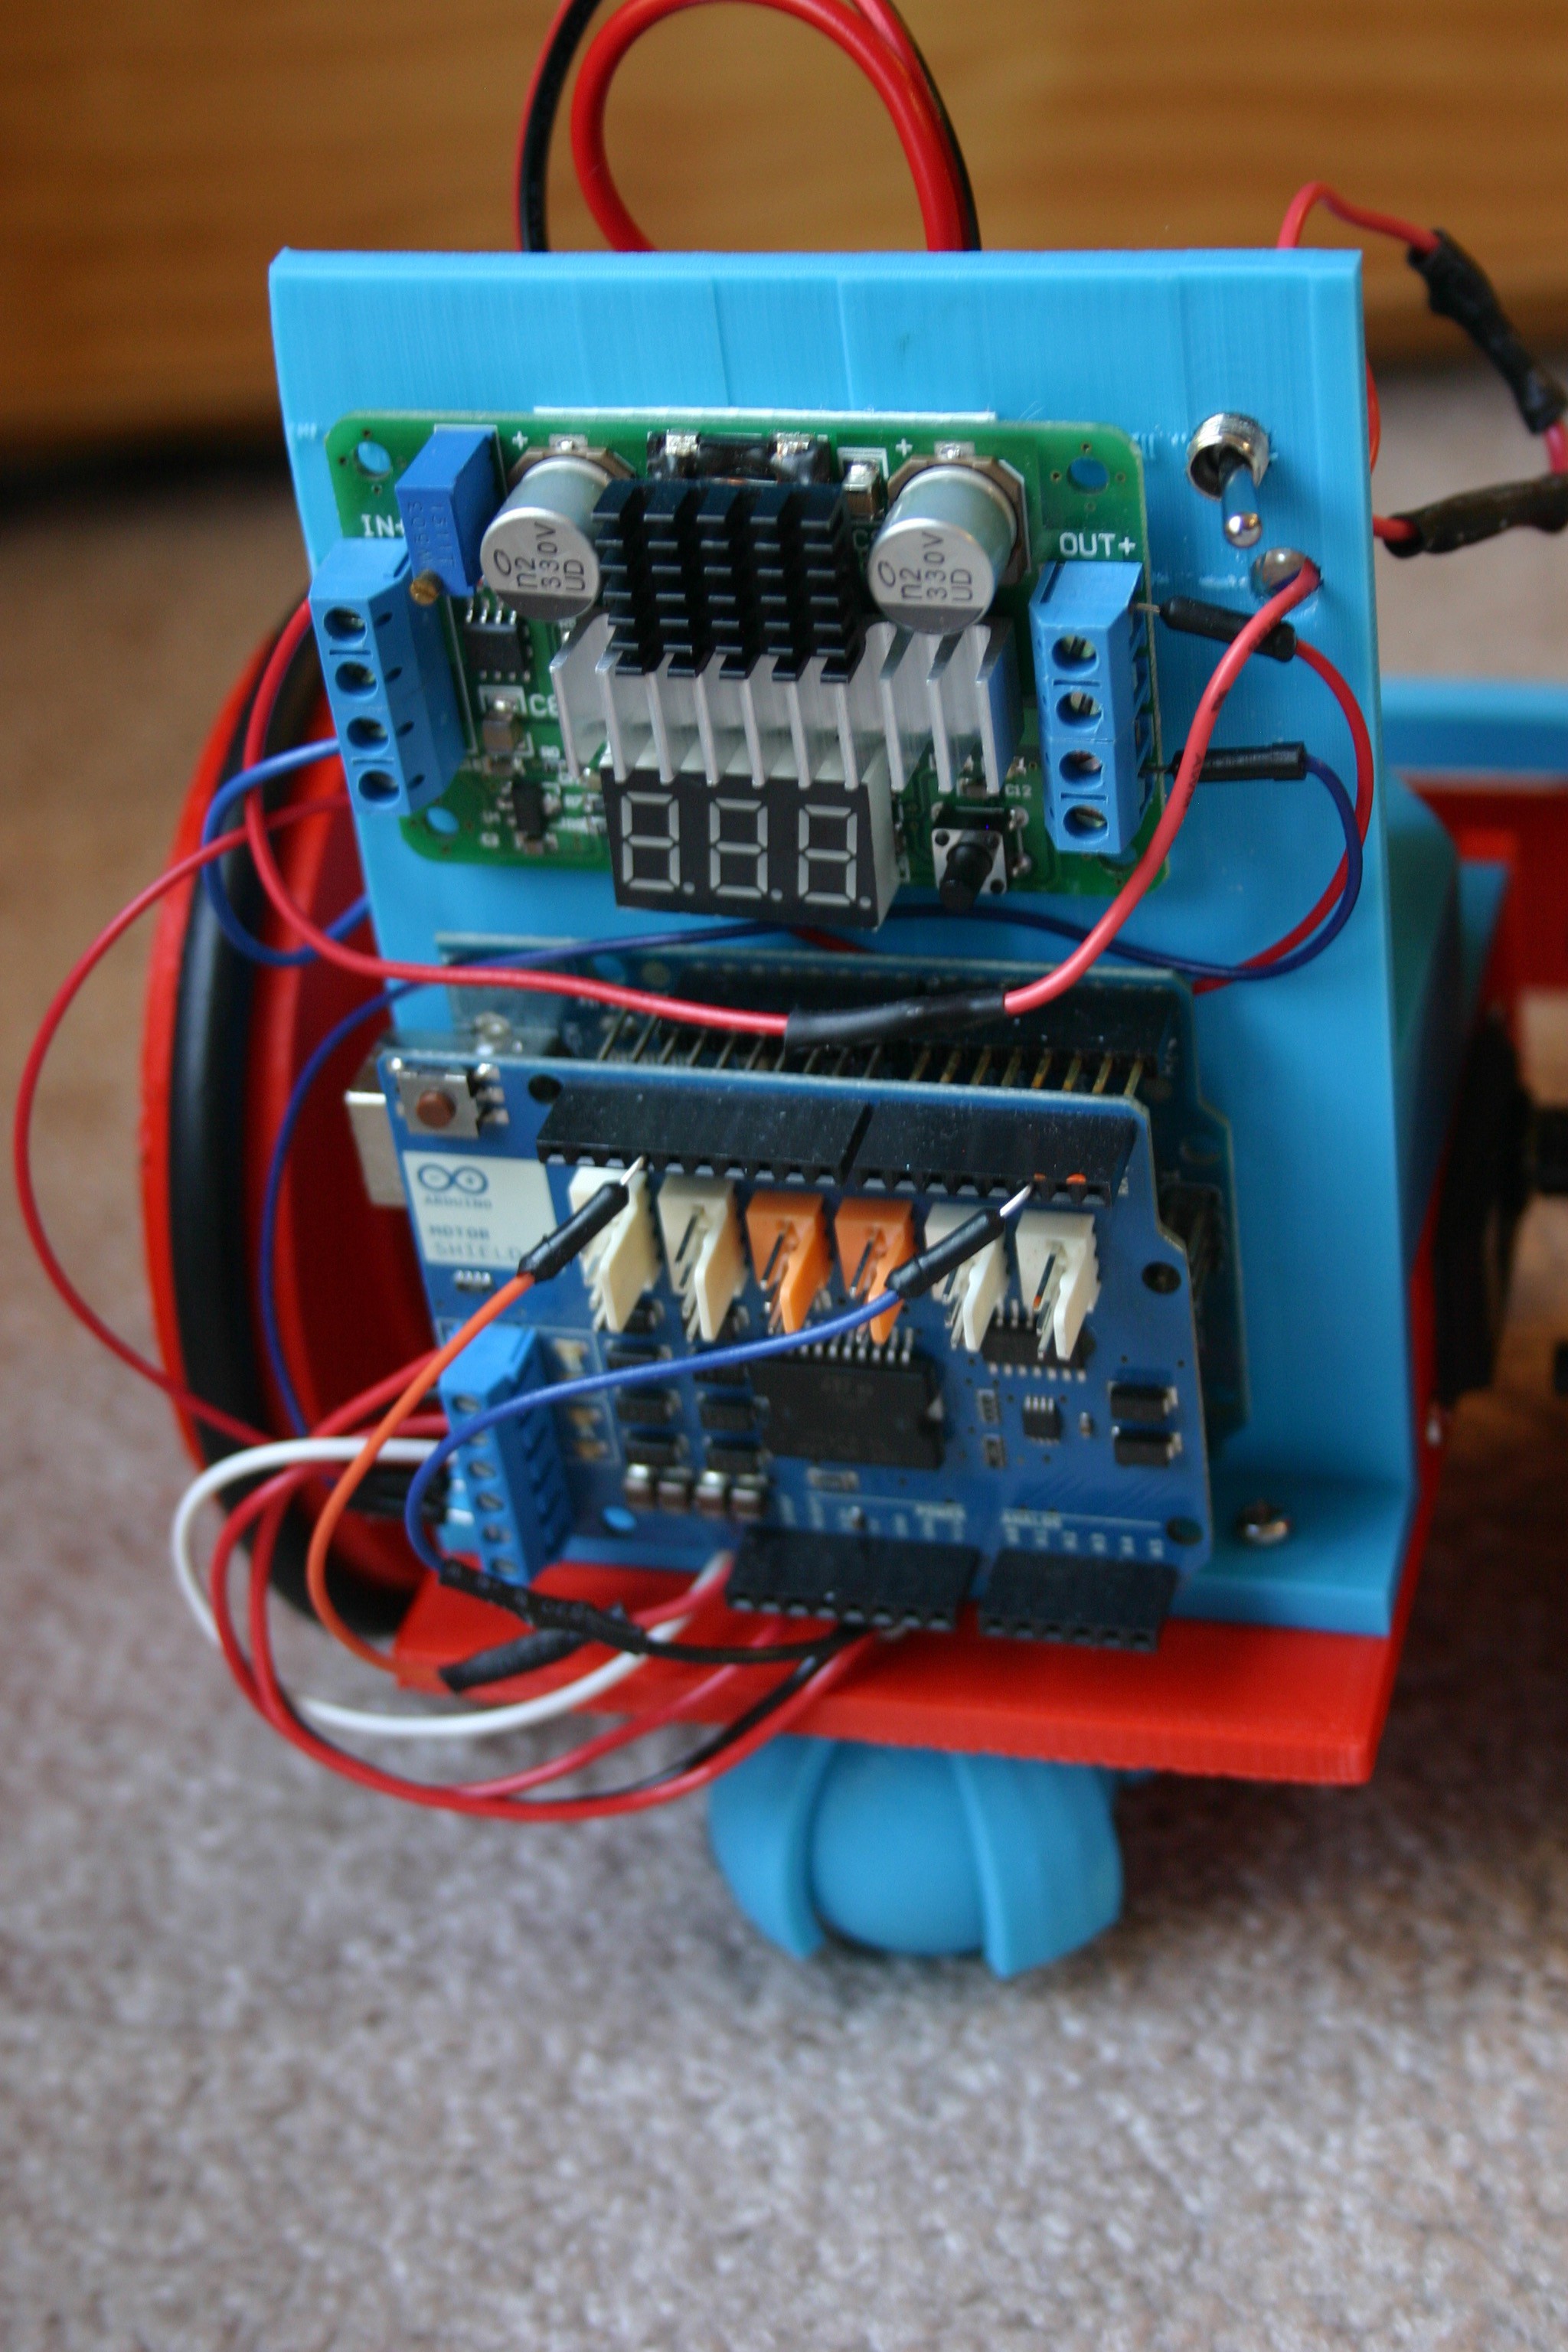
Attach the Arduino (with motor control shield) and dc-dc converter to the back of the blue capacitor holder. I used velcro for attachment.
![]()
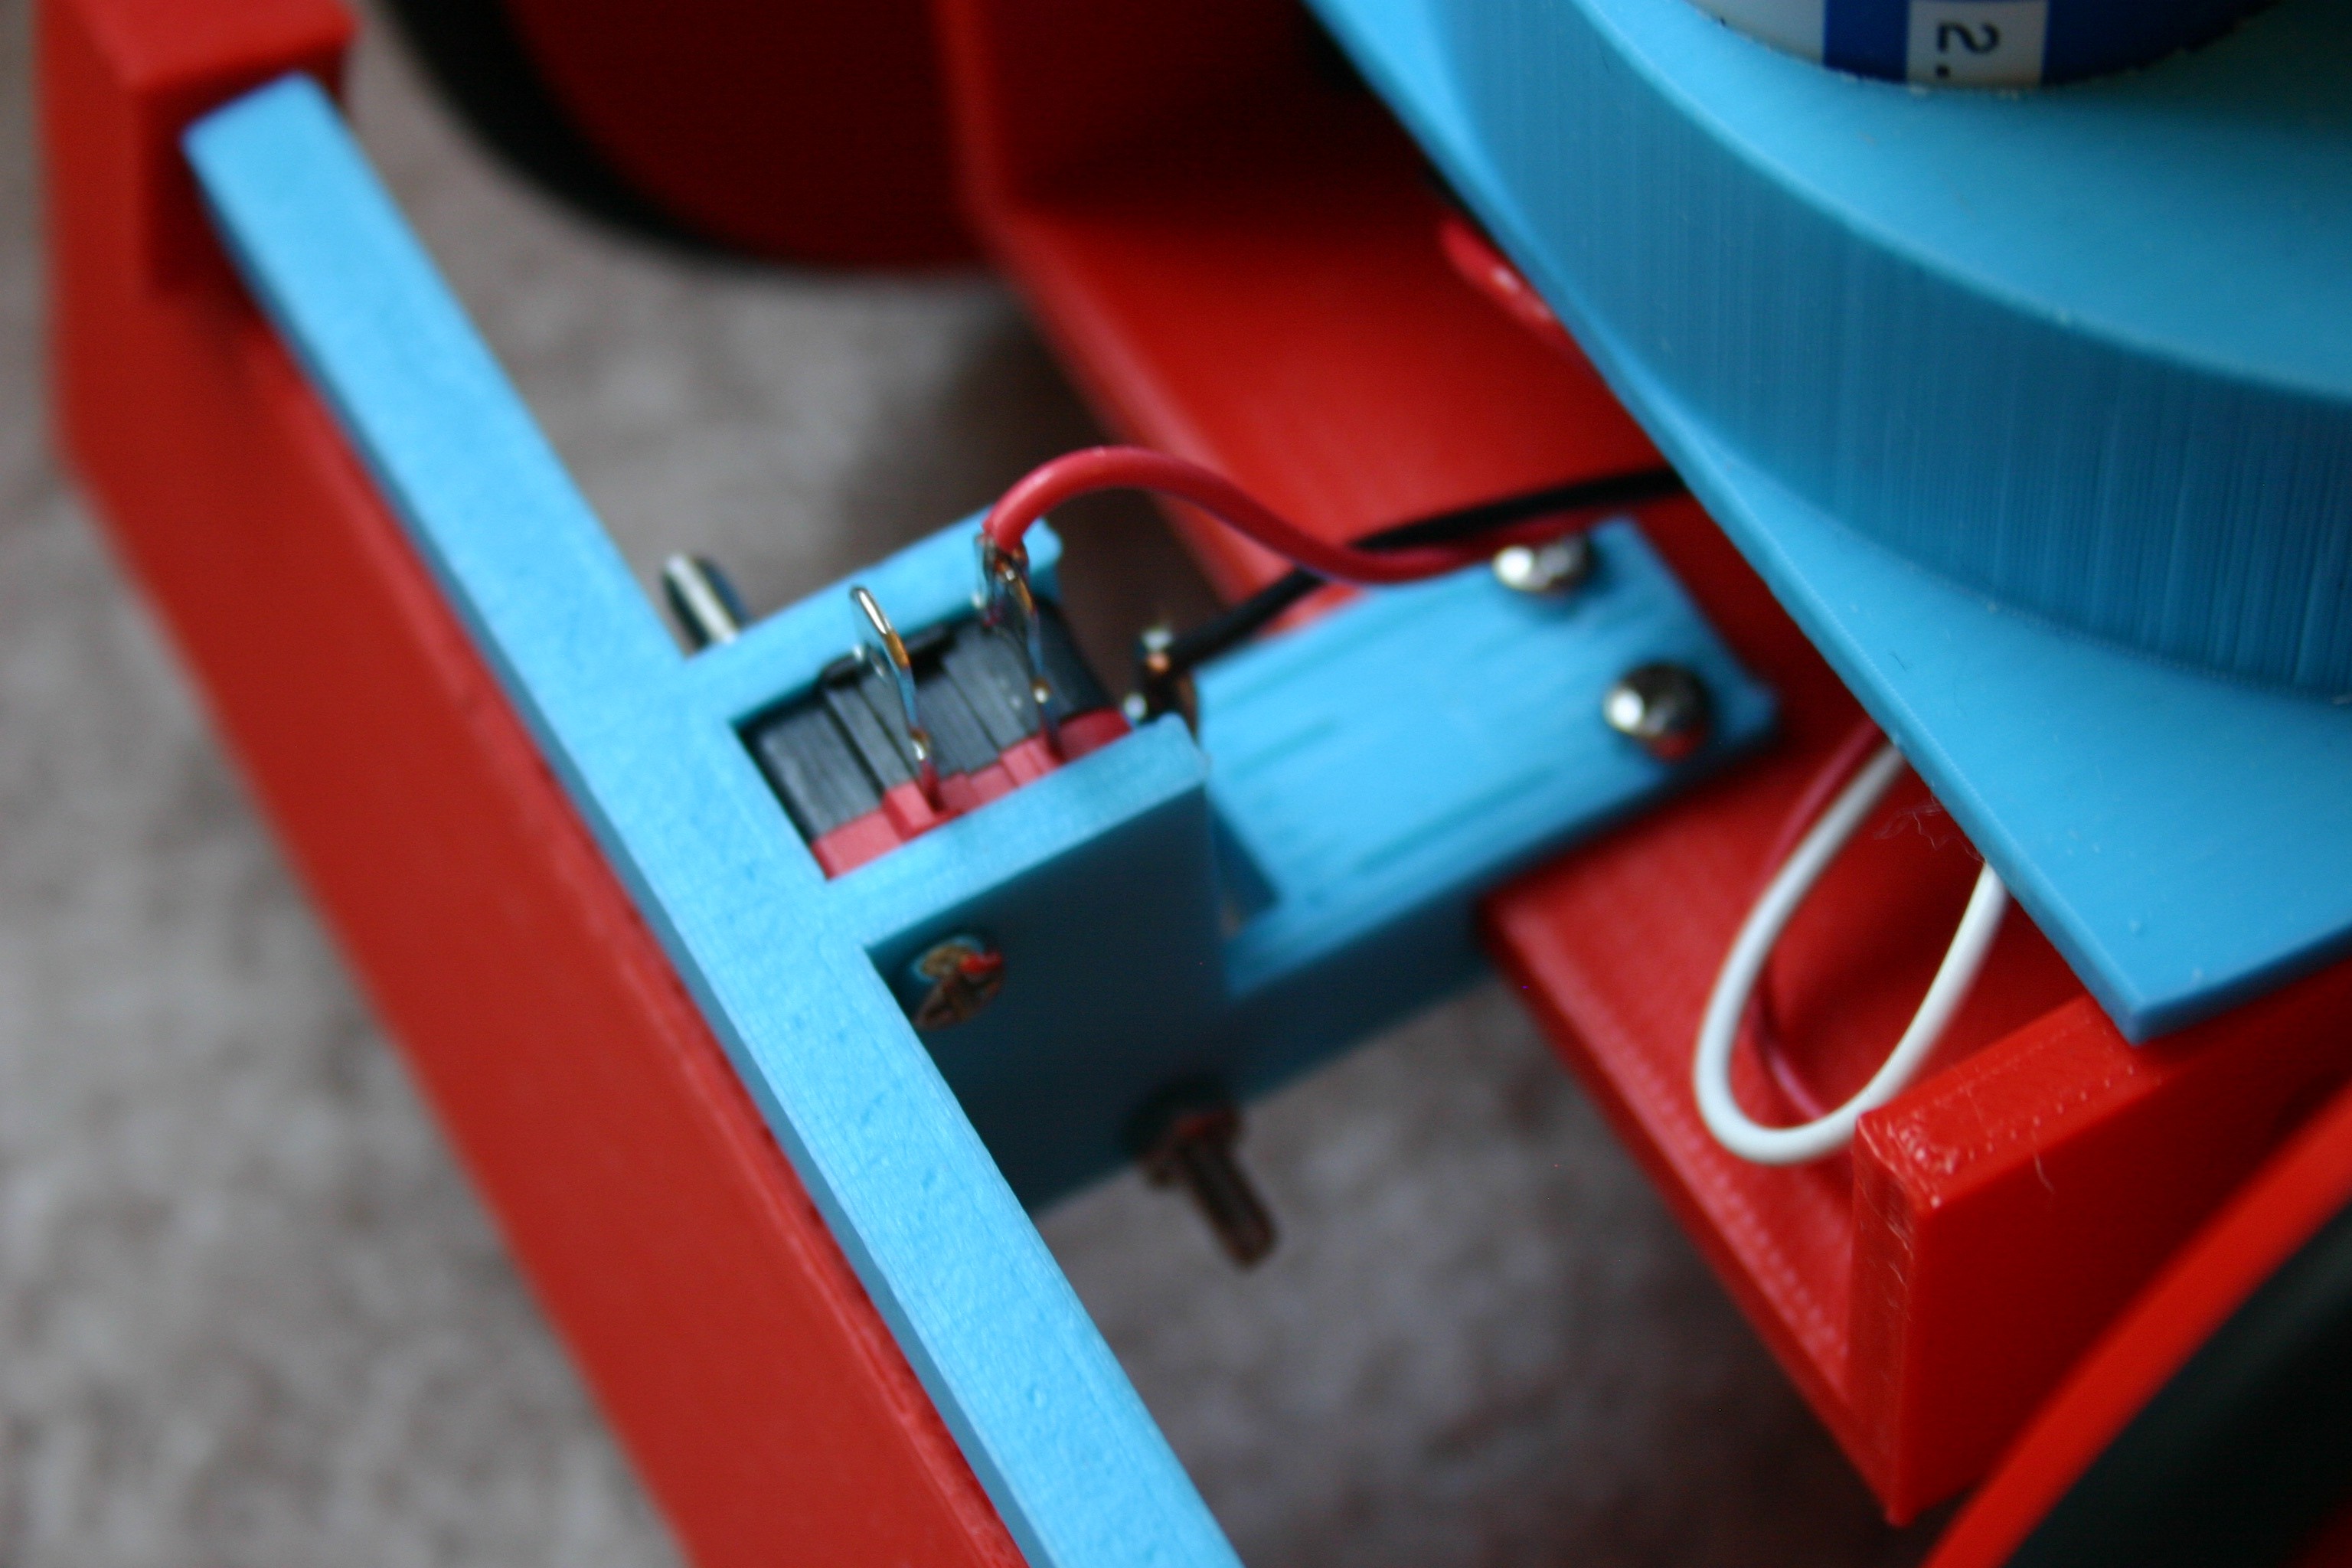
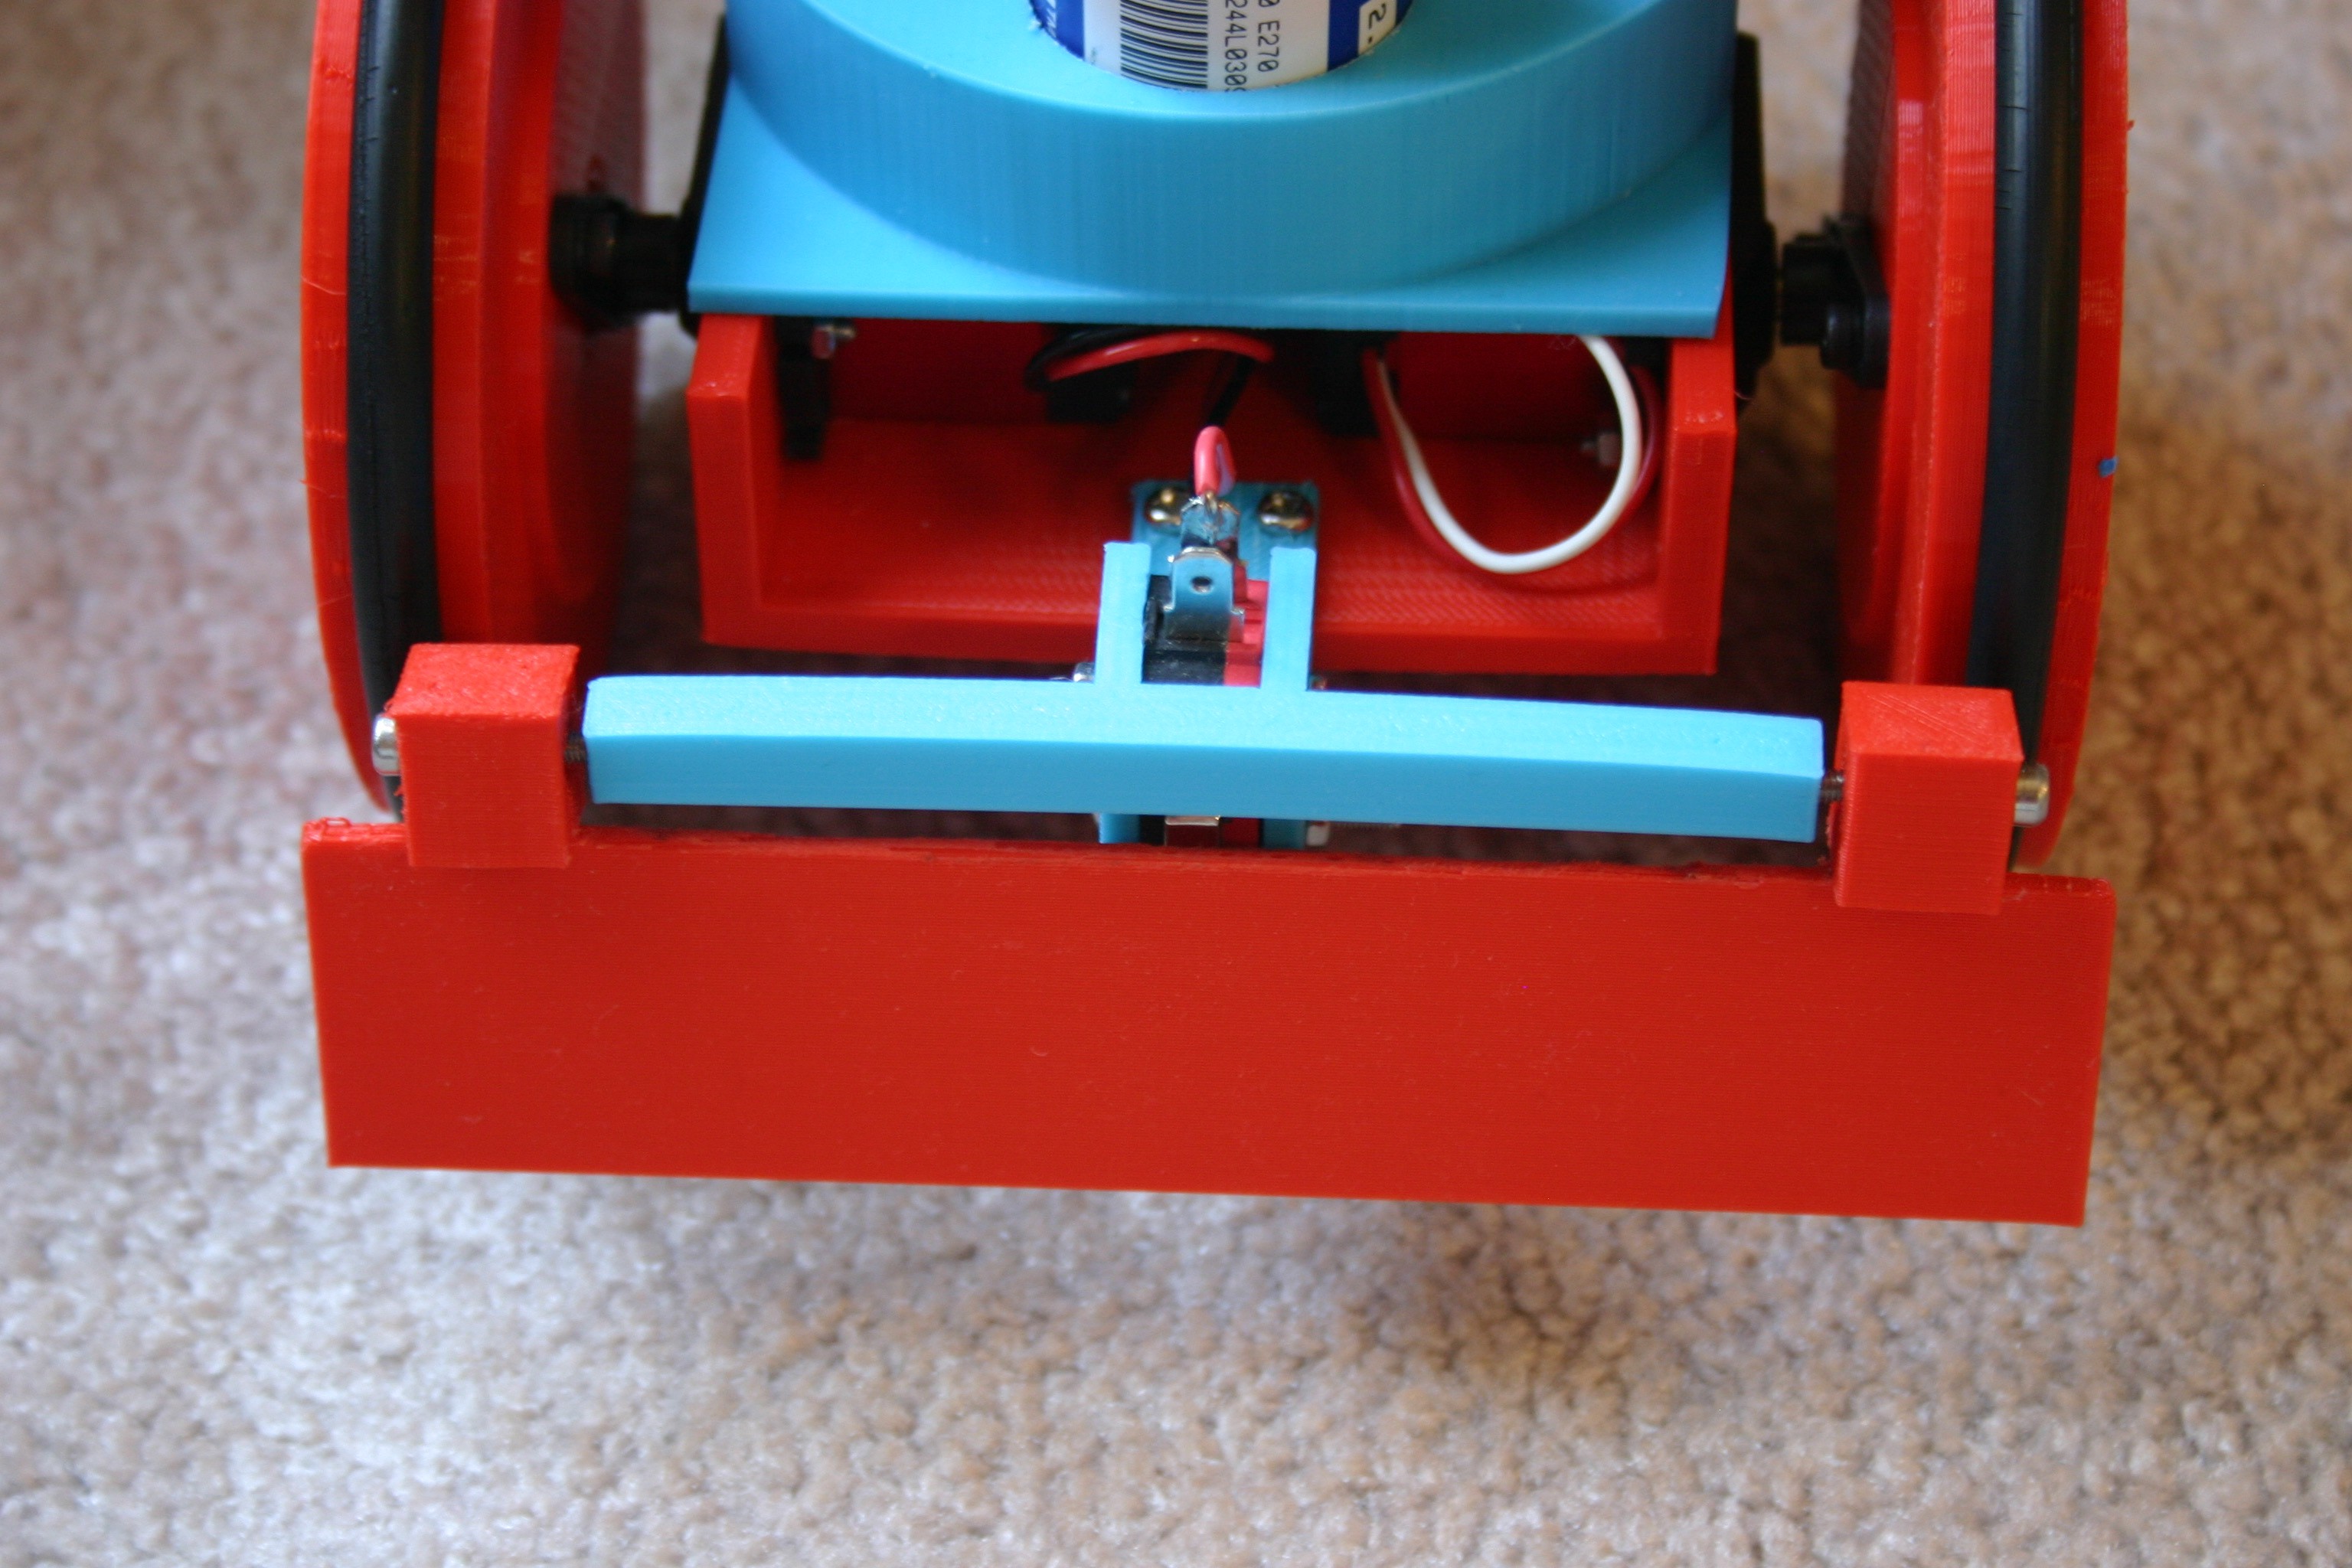
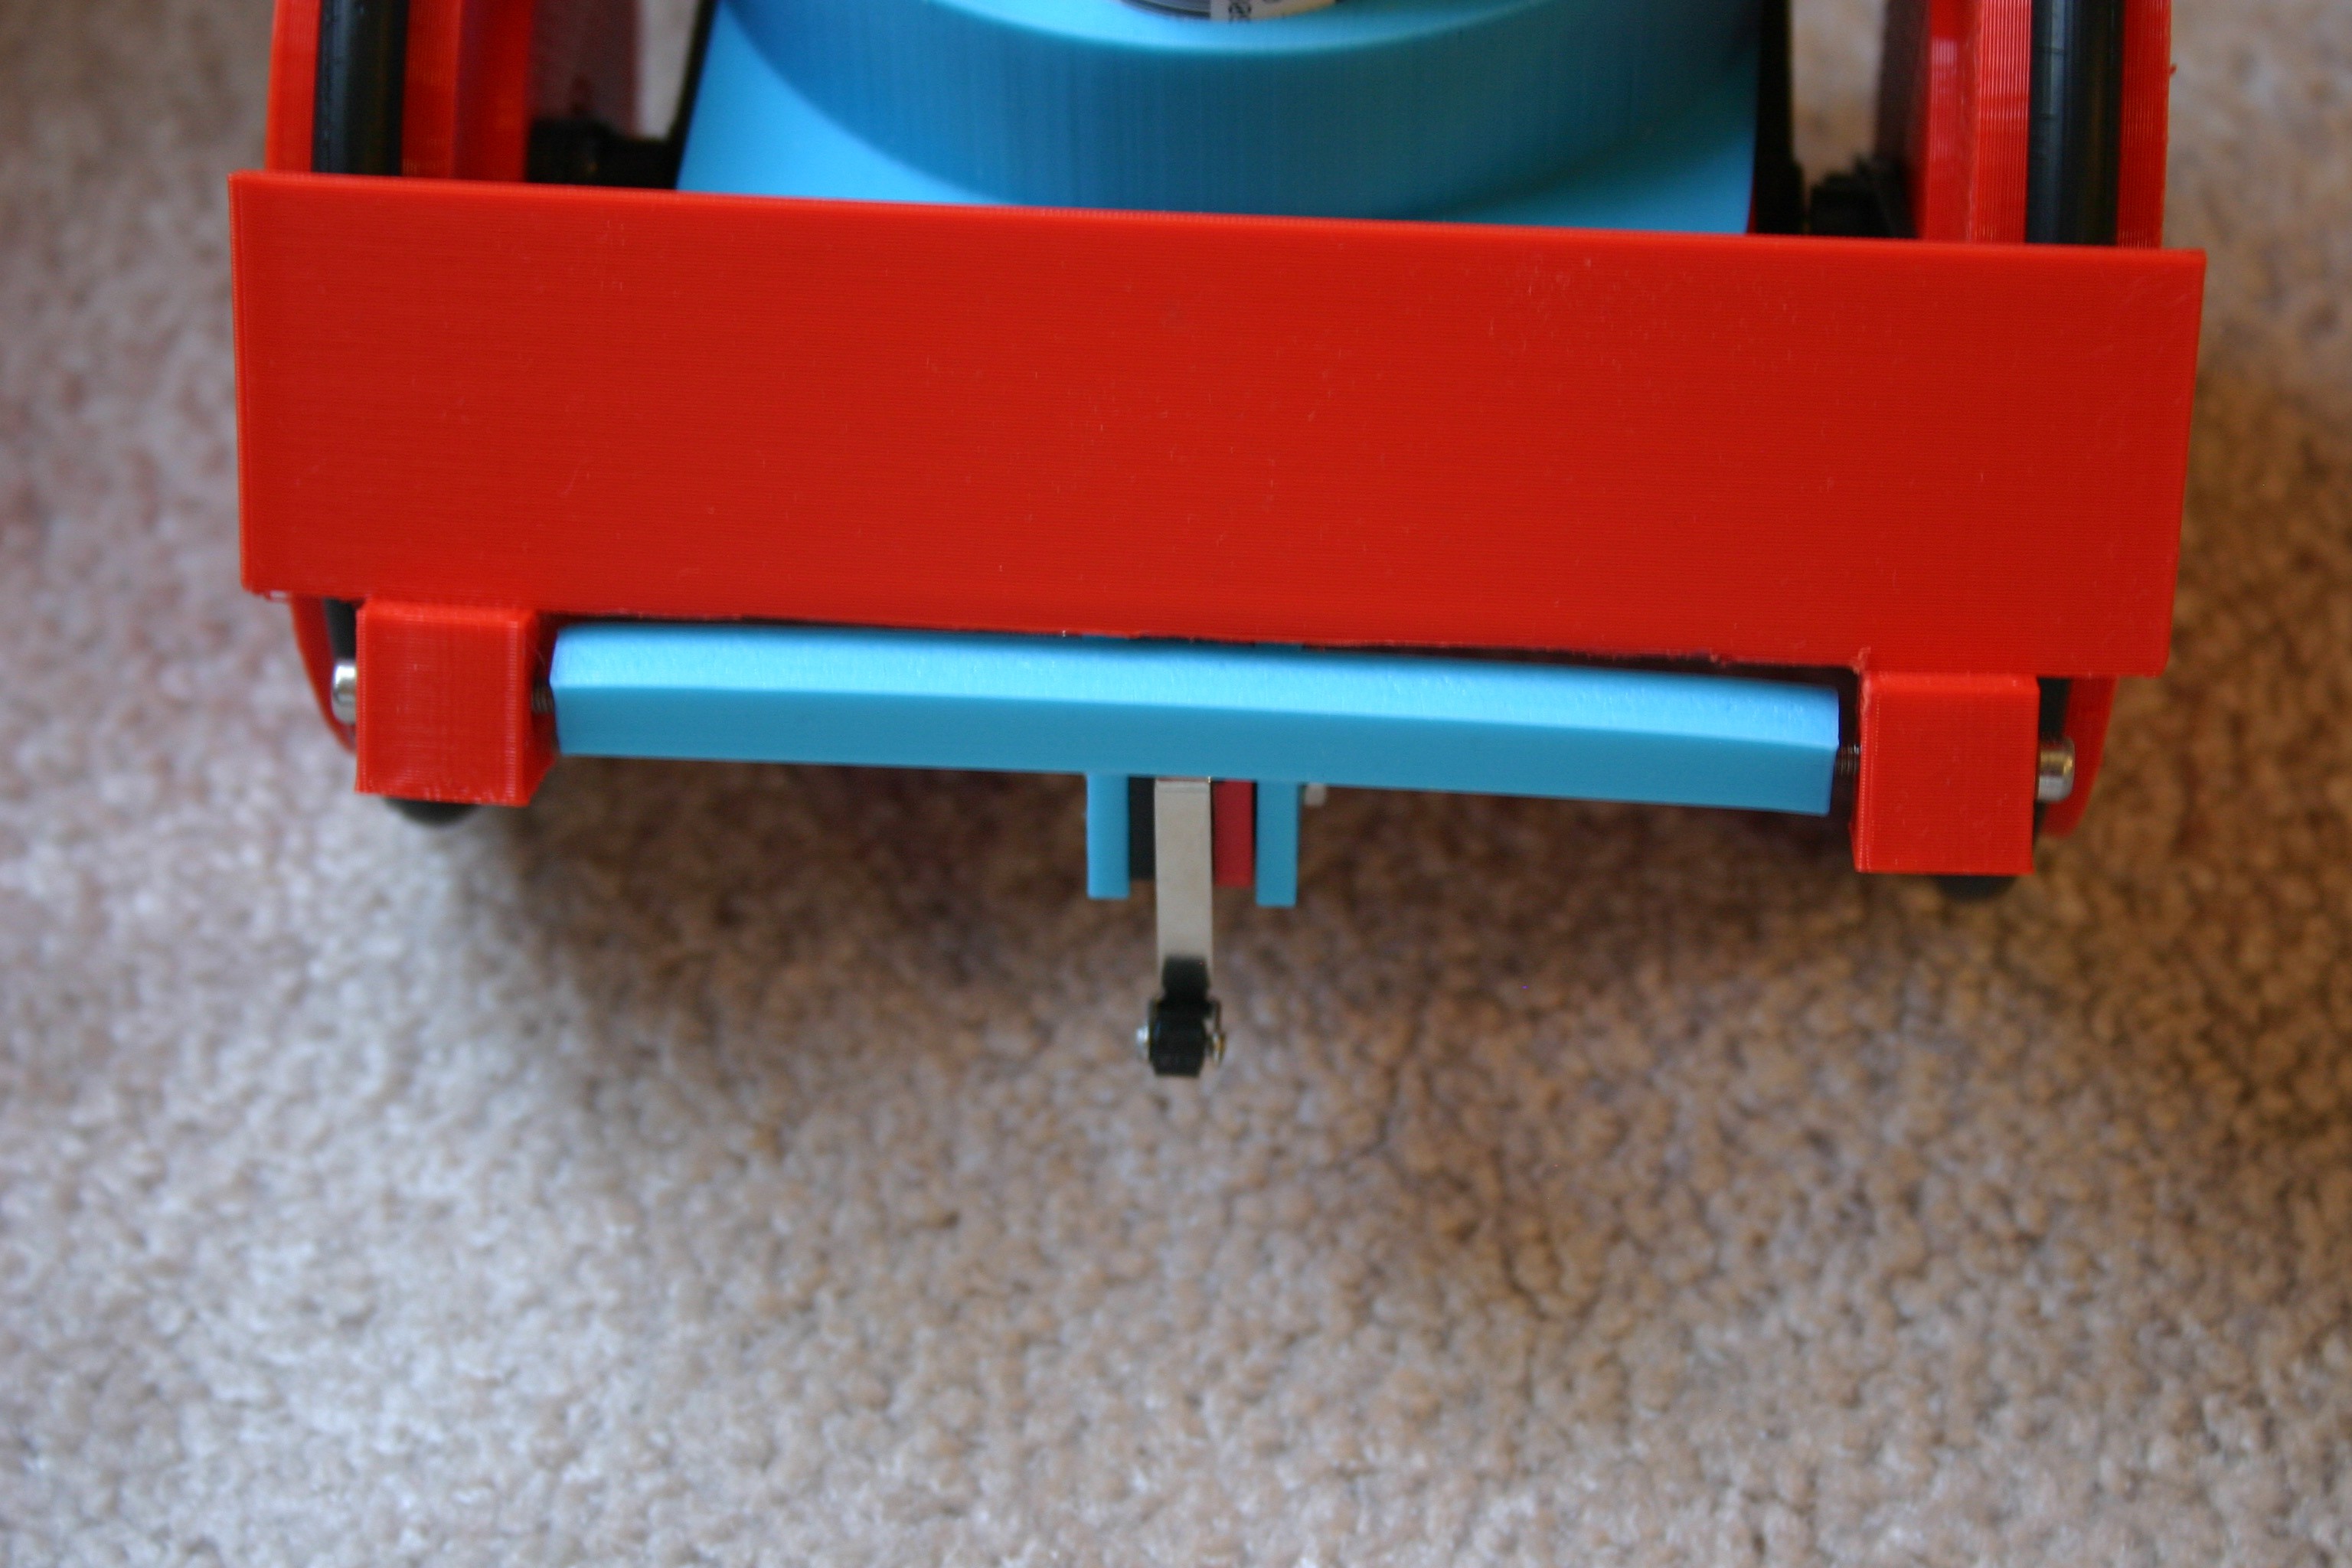
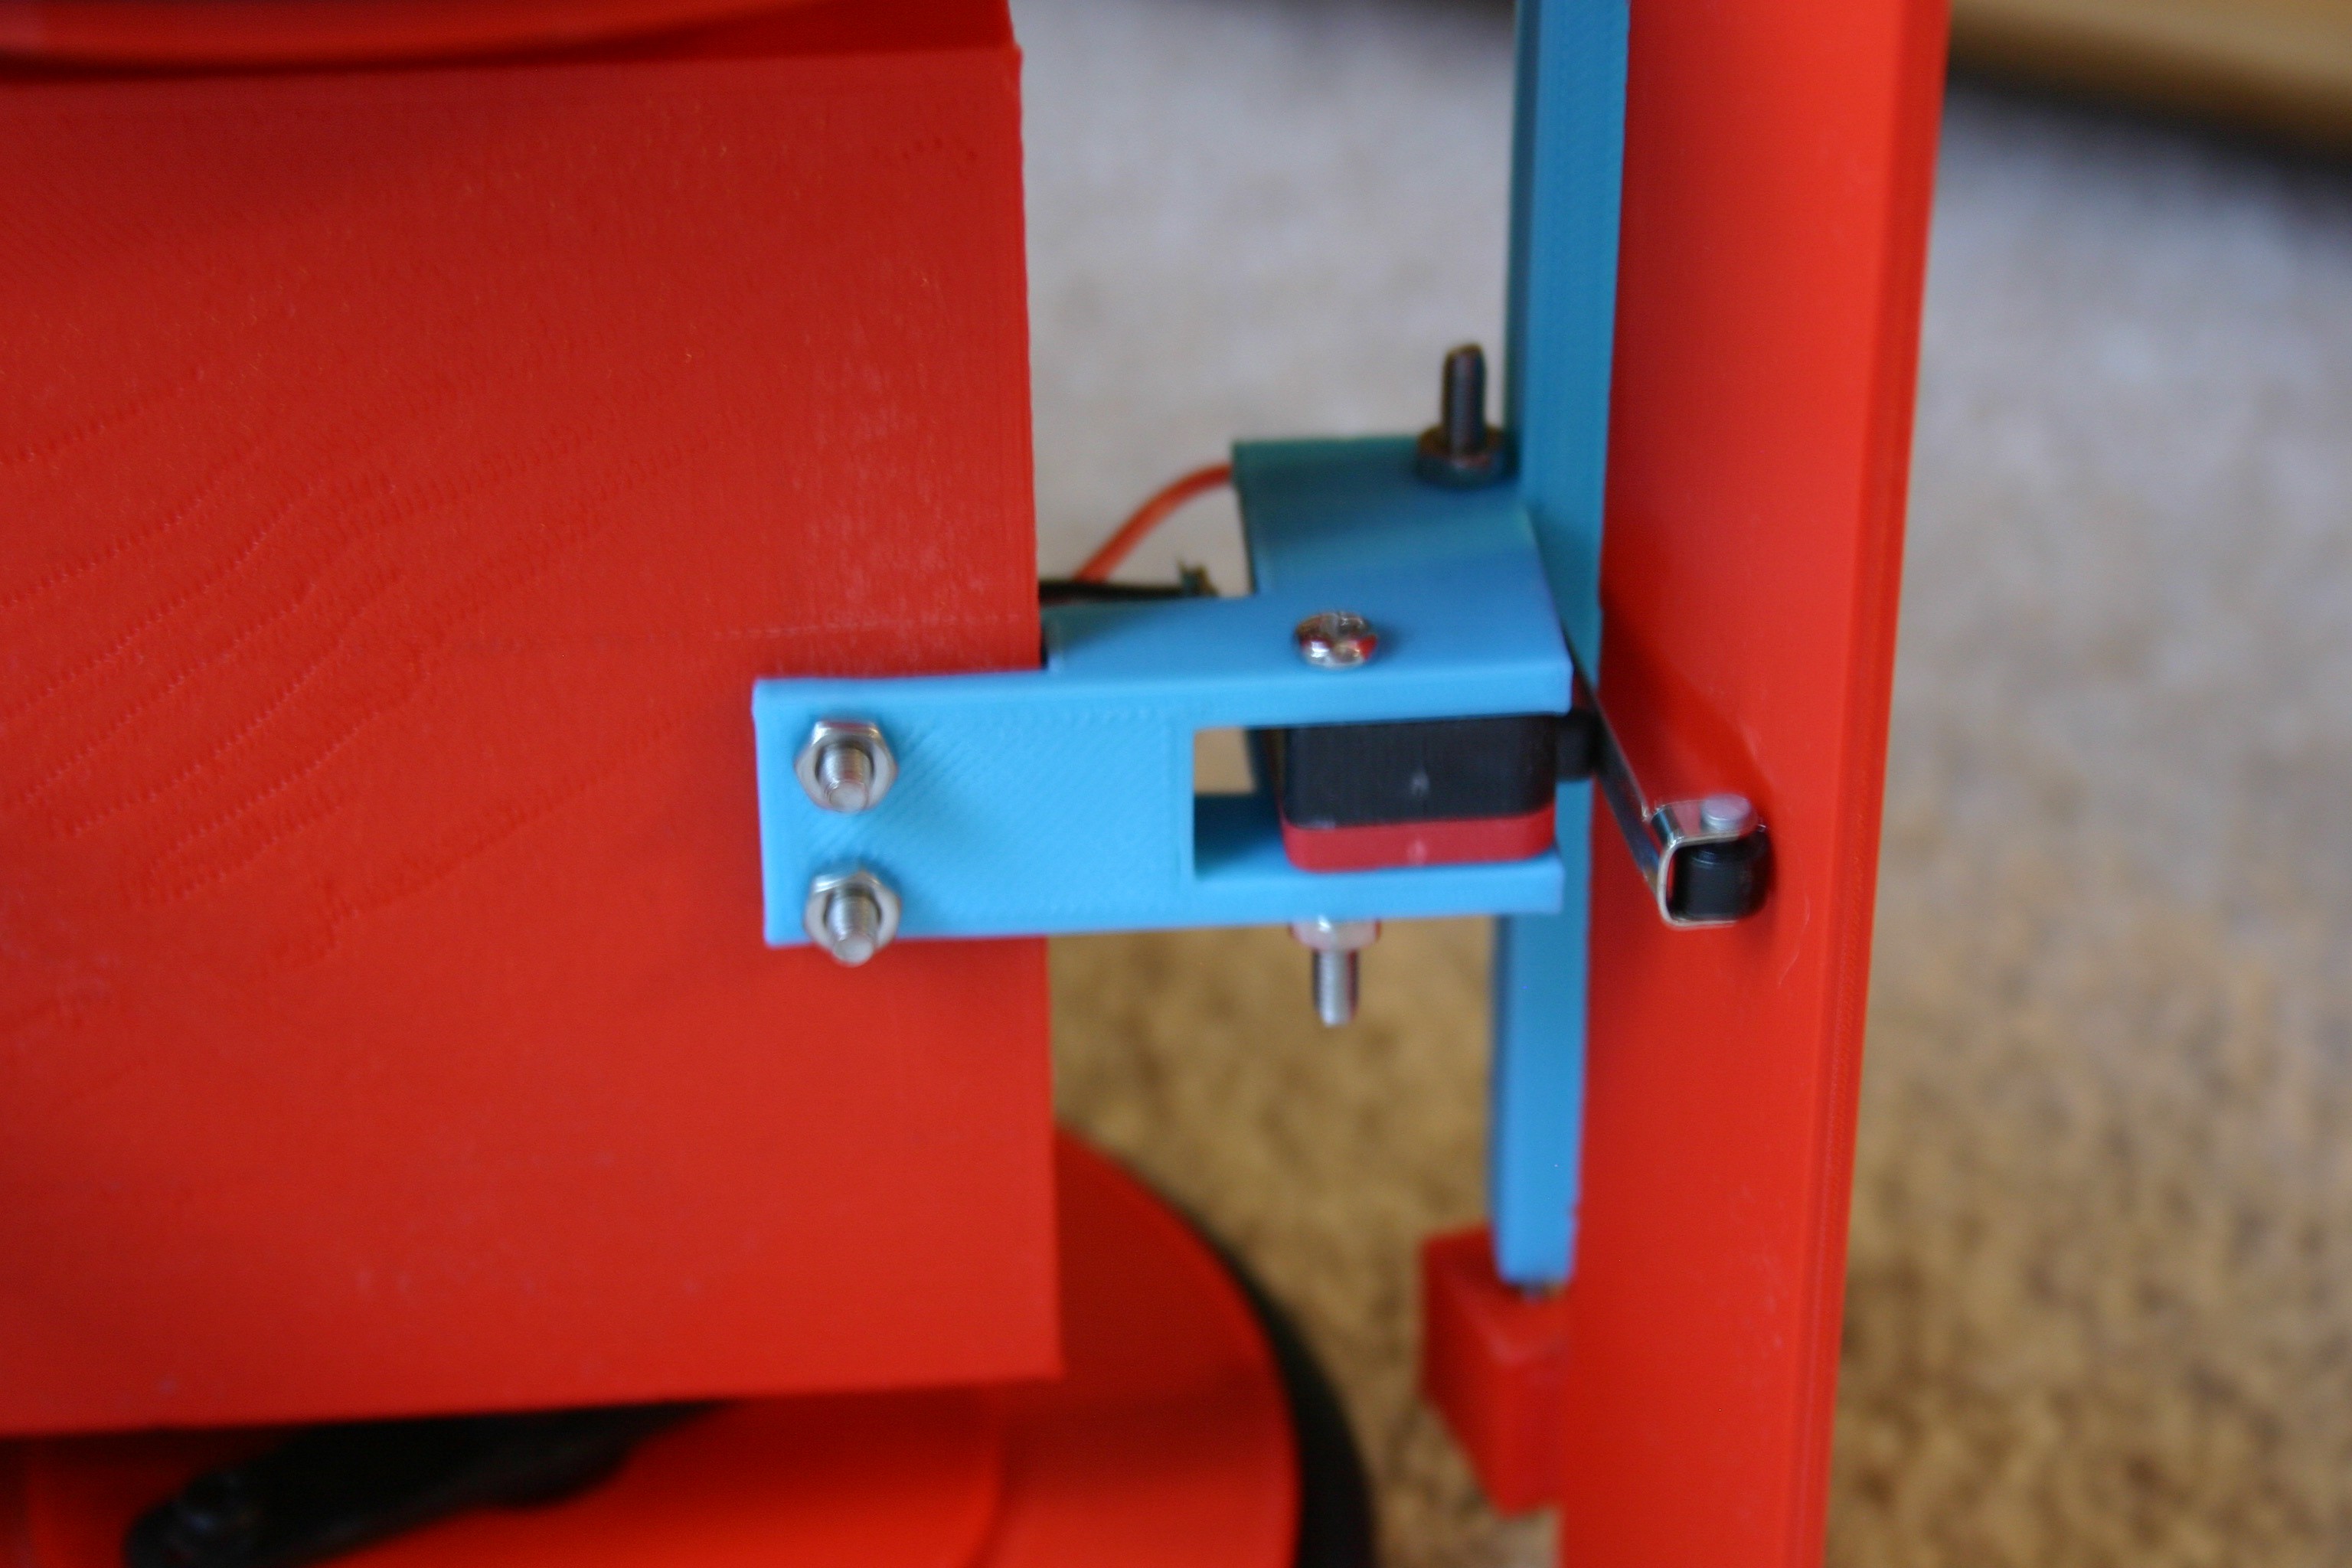
Attach the lever switch and bracket to the robot body.
![]()
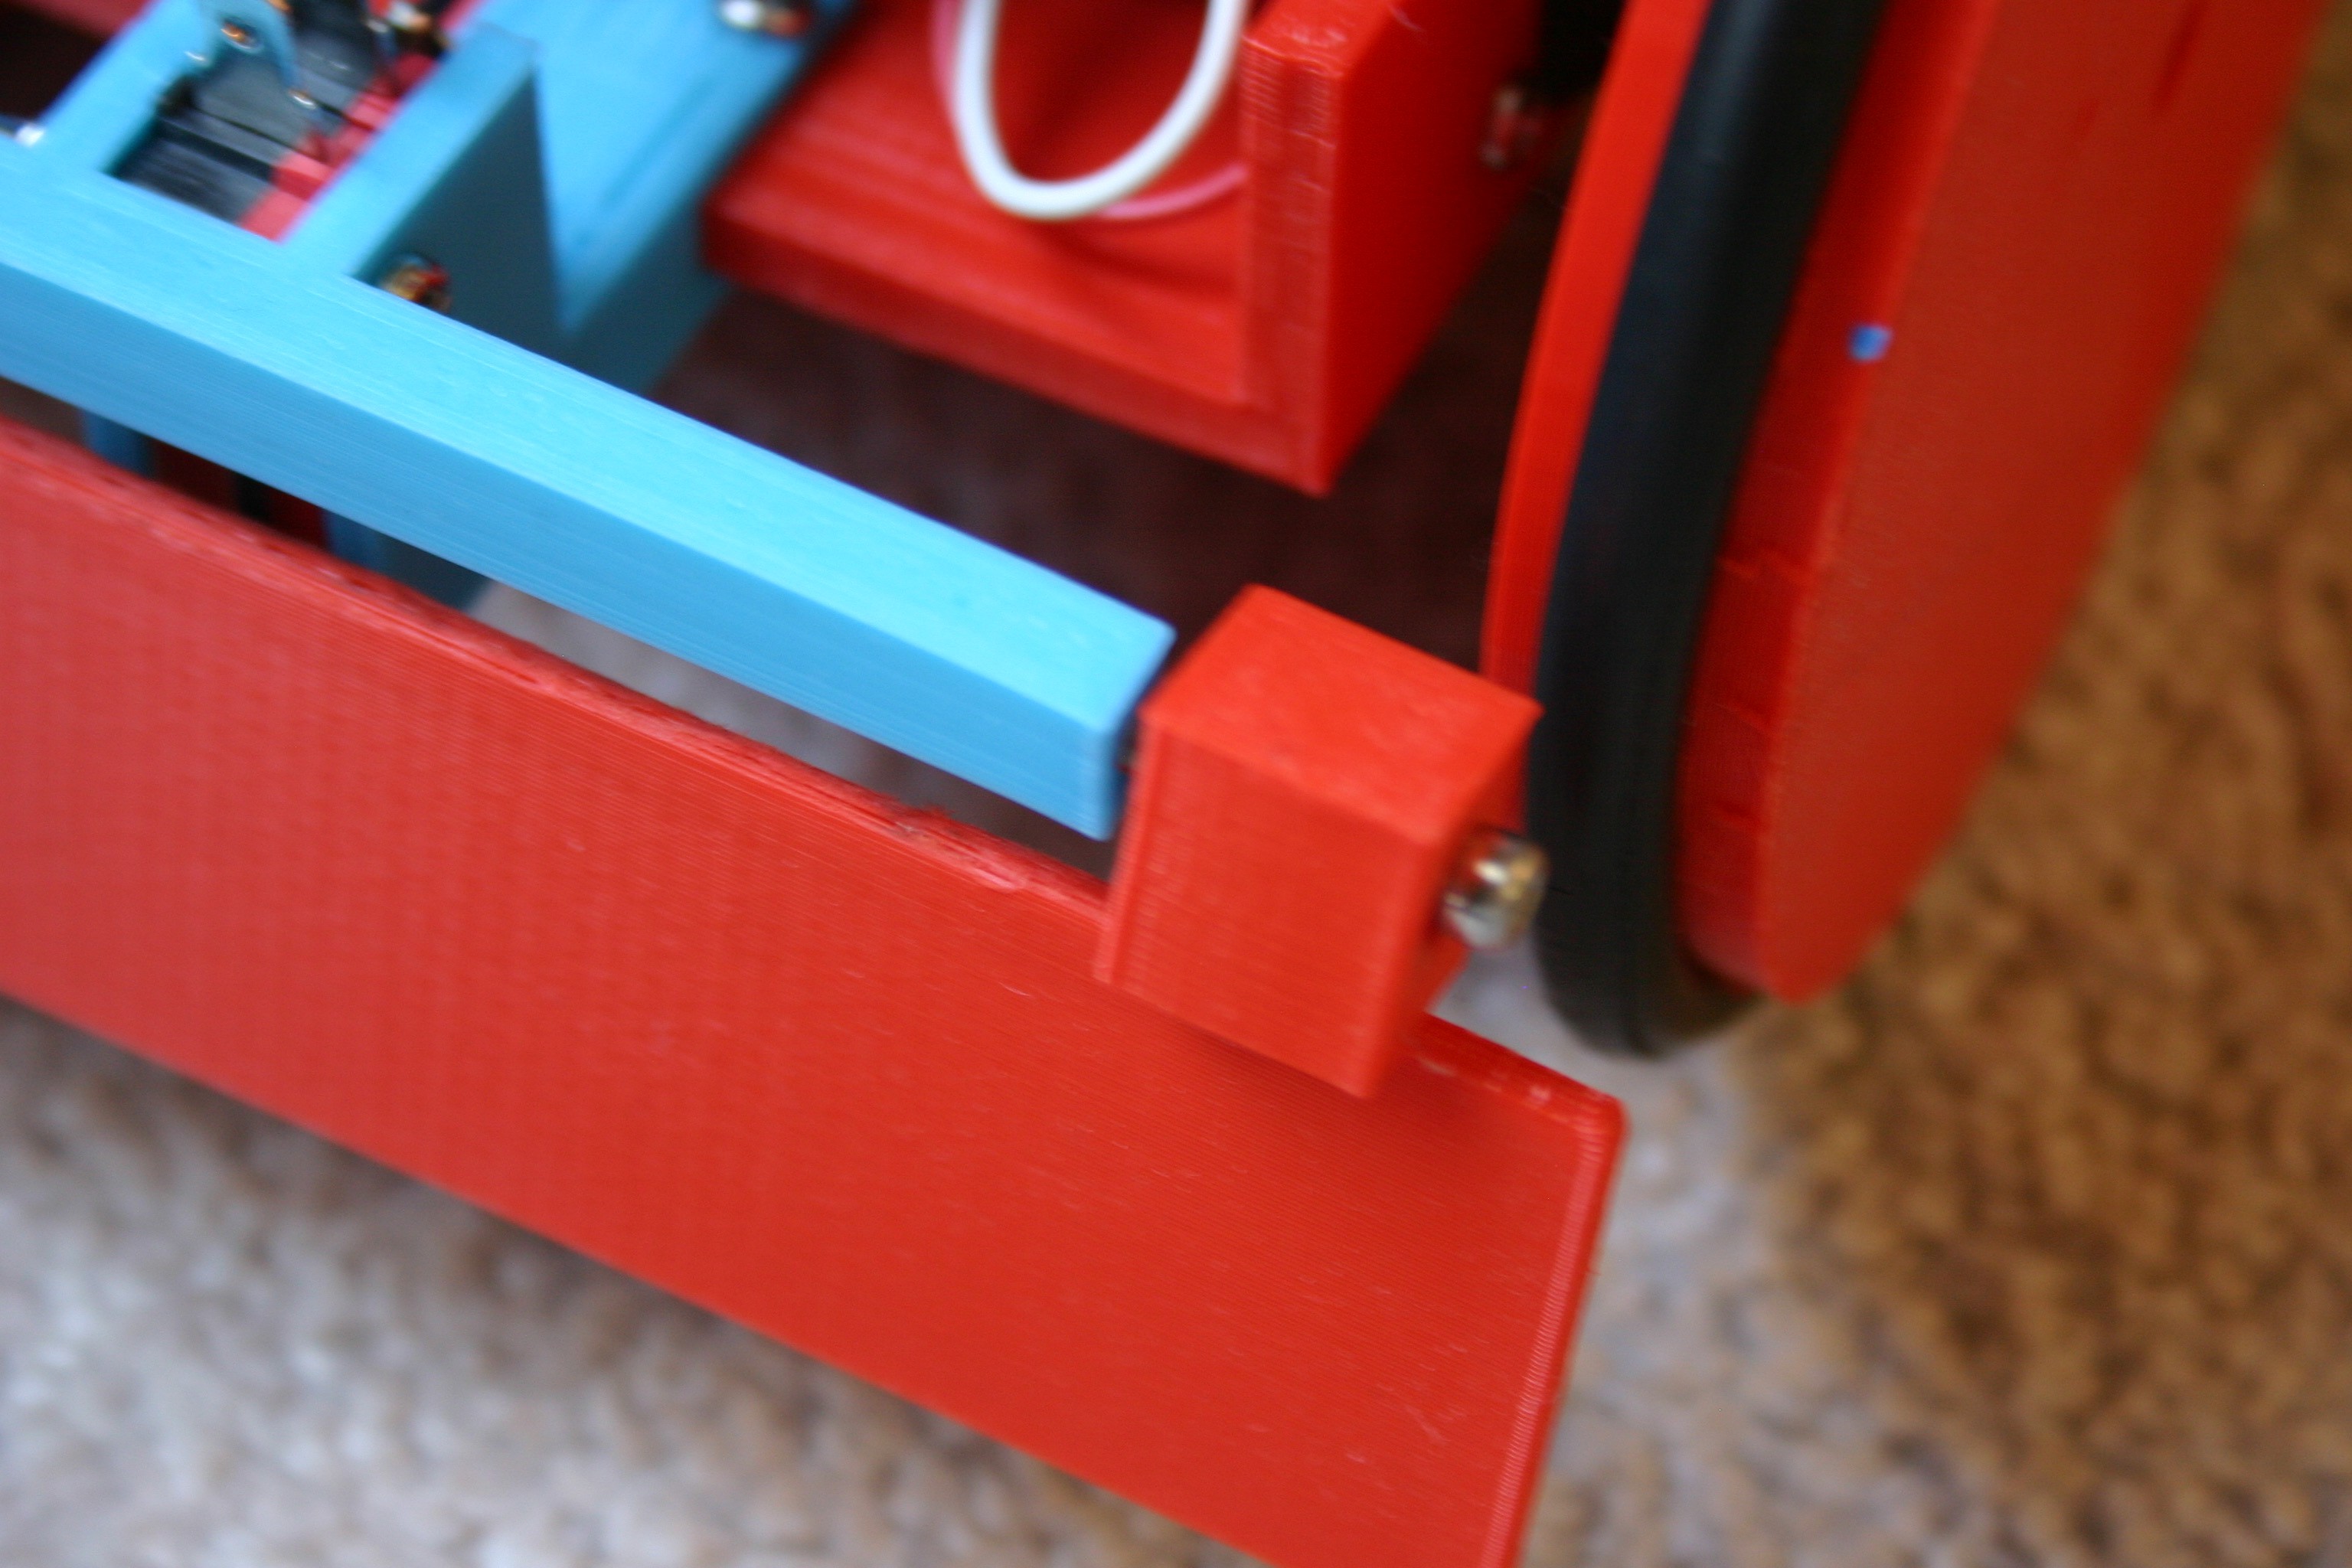
Add the "bump switch blade" to the lever switch bracket using 3mm screws. The blade should move very freely.
![]()
![]()
![]()
![]()
Secure the motors to the robot body (3mm screws). Add the wheels to the motor shaft (using the servo horn screw). Attach the capacitor holder to the robot body using screws. Attach the caster ball holder to the robot body using screws.
![]()
Insert the caster ball.
![]()
Set the output voltage for the converter to about 8 volts. Program the Arduino, charge the capacitors and she's ready to run.
-
Fast Charge
05/20/2019 at 19:52 • 2 commentsToday is the big day--I prepared to (from a distance) connect 9000 charged farads (8.1 volts) to 1050 partially discharged farads (3.5 volts).
![]()
Nothing spectacular to report--probably got enough charge (in ten seconds) to run for 20 minutes.
Peak current during the transfer was around 45 amps and the hottest physical component (plug connector, #18 wire) reached 122 degrees F. The wiring and the connector represent about .1 ohm, so that resistance limits the transfer.
To charge Little Flash in one second, I would need to transfer about 400 amps. The connector and wire size to accomplish that (for a one pound robot) seem impractical--so I'll be happy with a ten second charge for now.
-
Preparing for Fast Charge
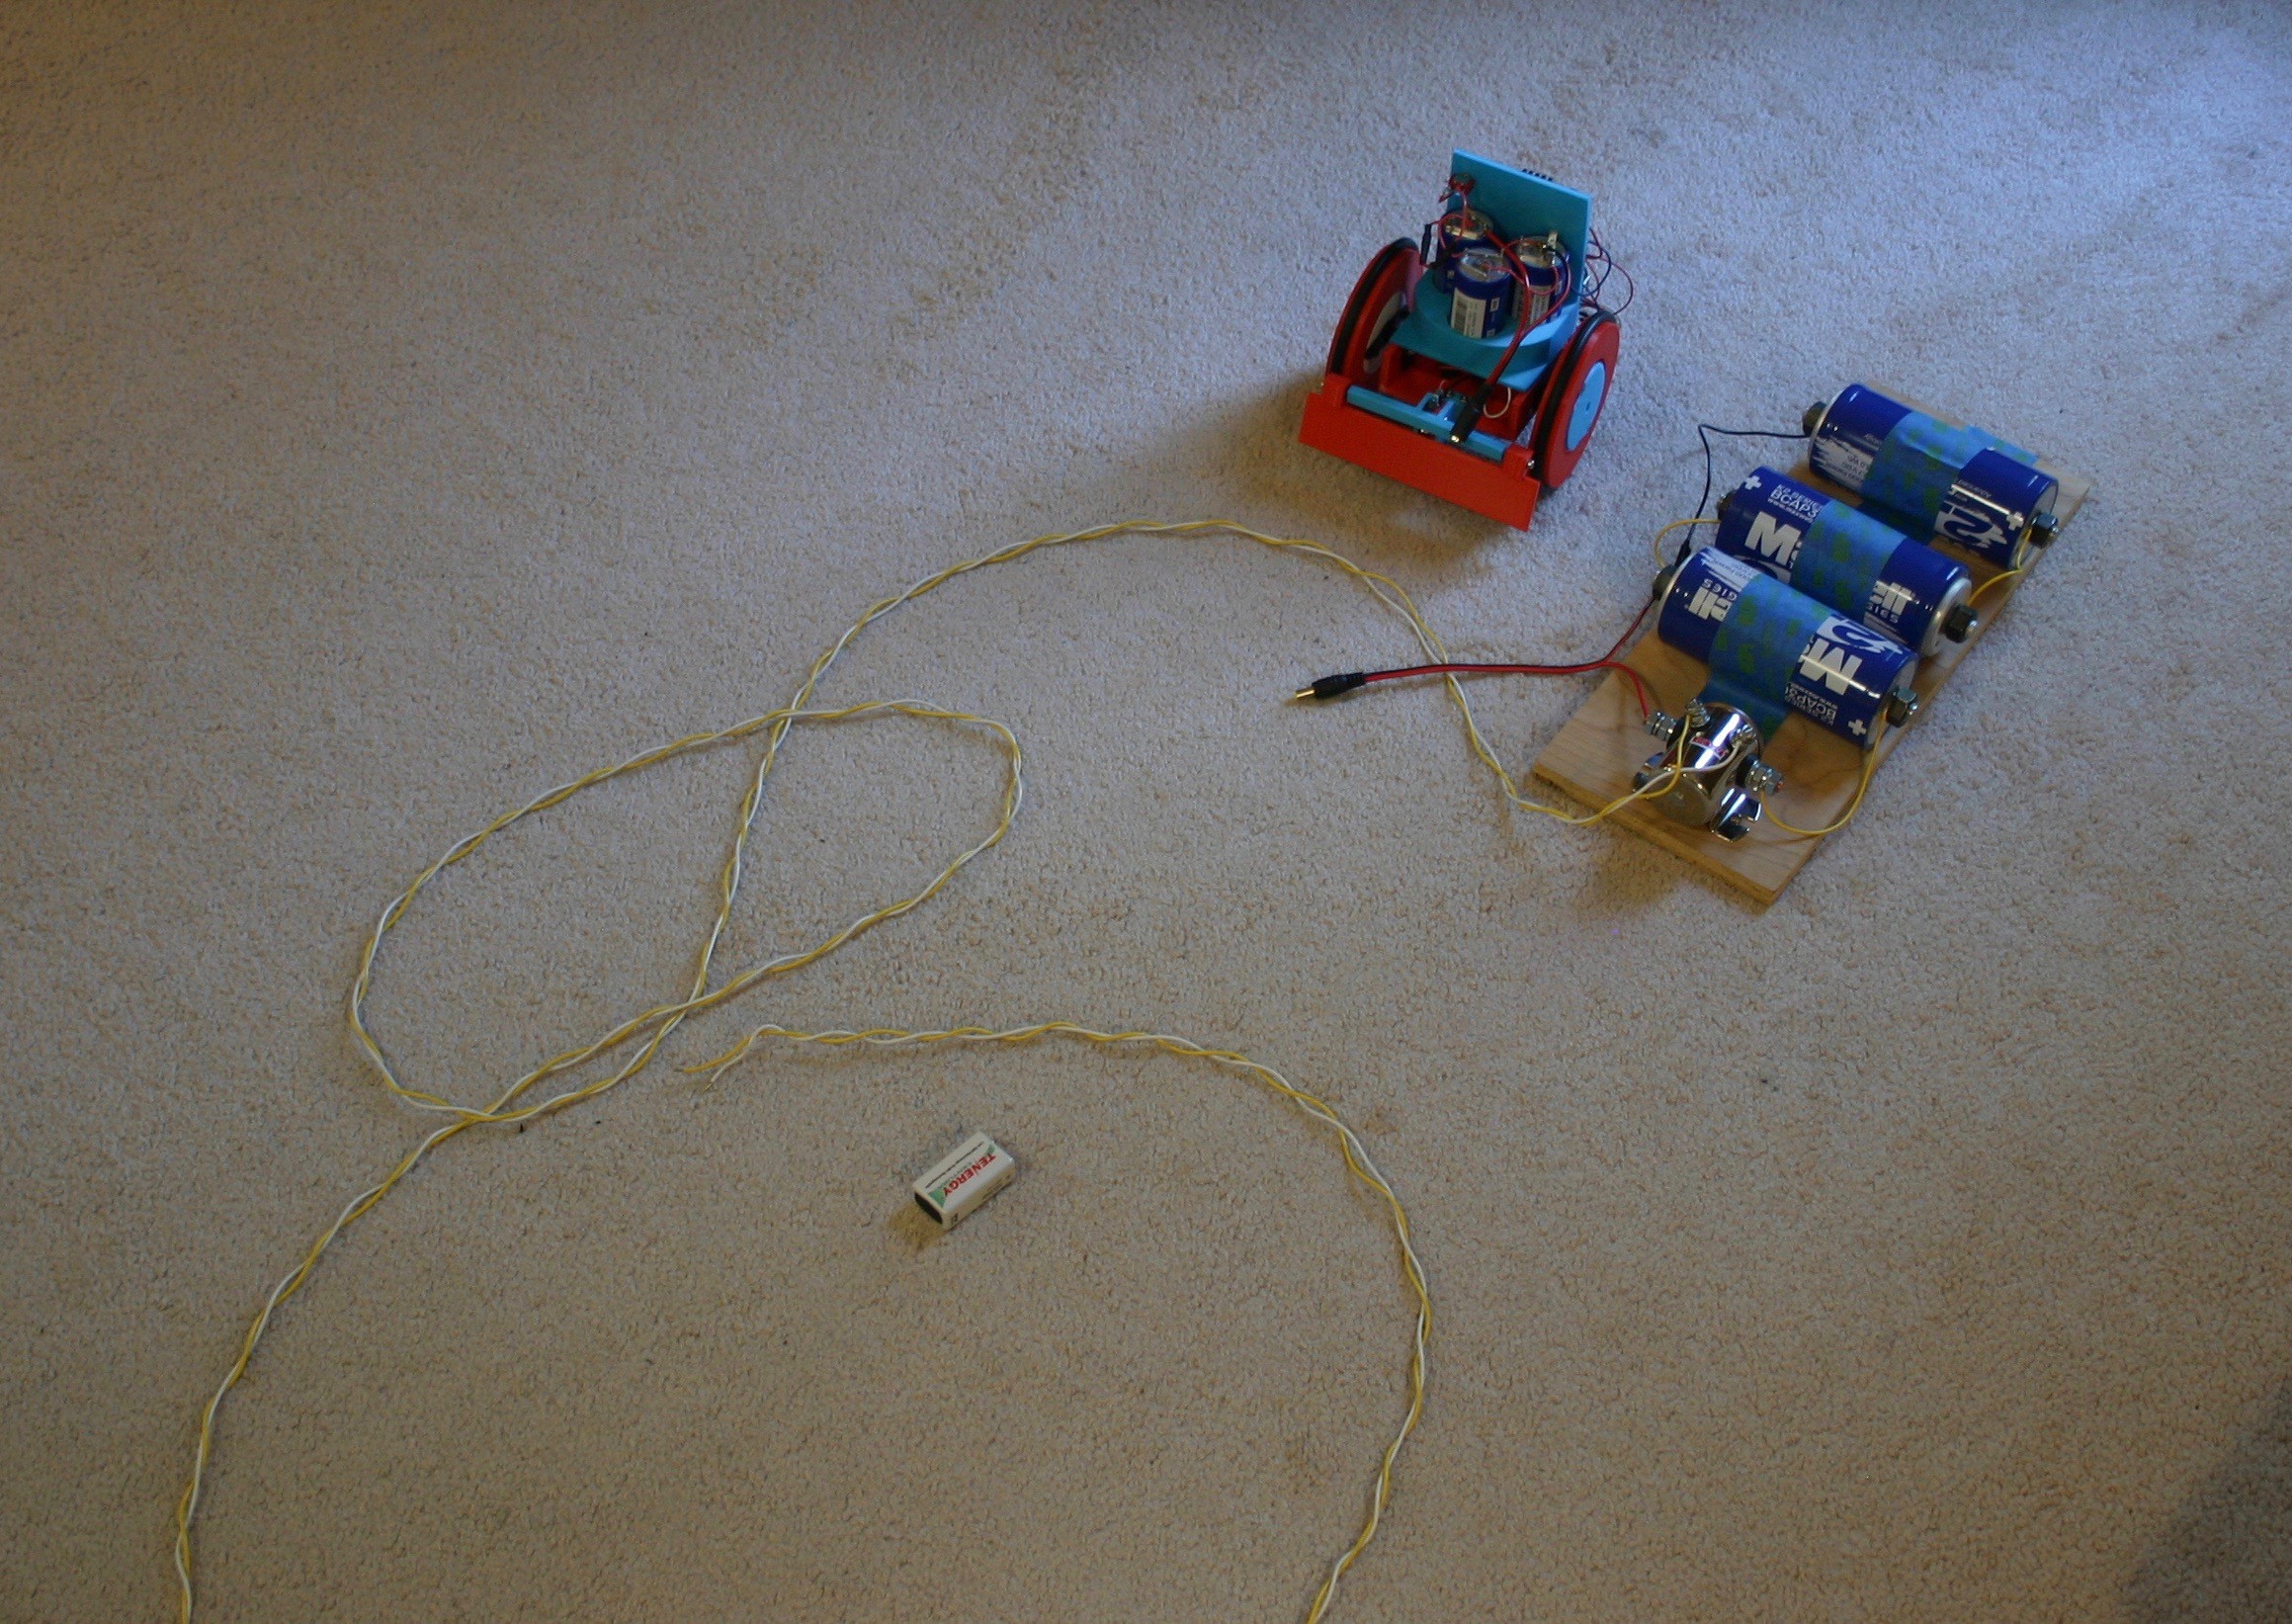
05/17/2019 at 20:40 • 5 commentsUsing available materials, I'm preparing for the first "pretty quick charge" test.
![]()
Using painter's tape to secure the 3000 farad capacitors to scrap plywood, I wired in an automobile starter solenoid (rated for about 300 amps).
I plan to stand about 15 feet away (and operate the entire setup on concrete) when I connect "9000 charged farads to 1000 depleted farads." It should be interesting and will probably occur Monday, May 20.
![]()
-
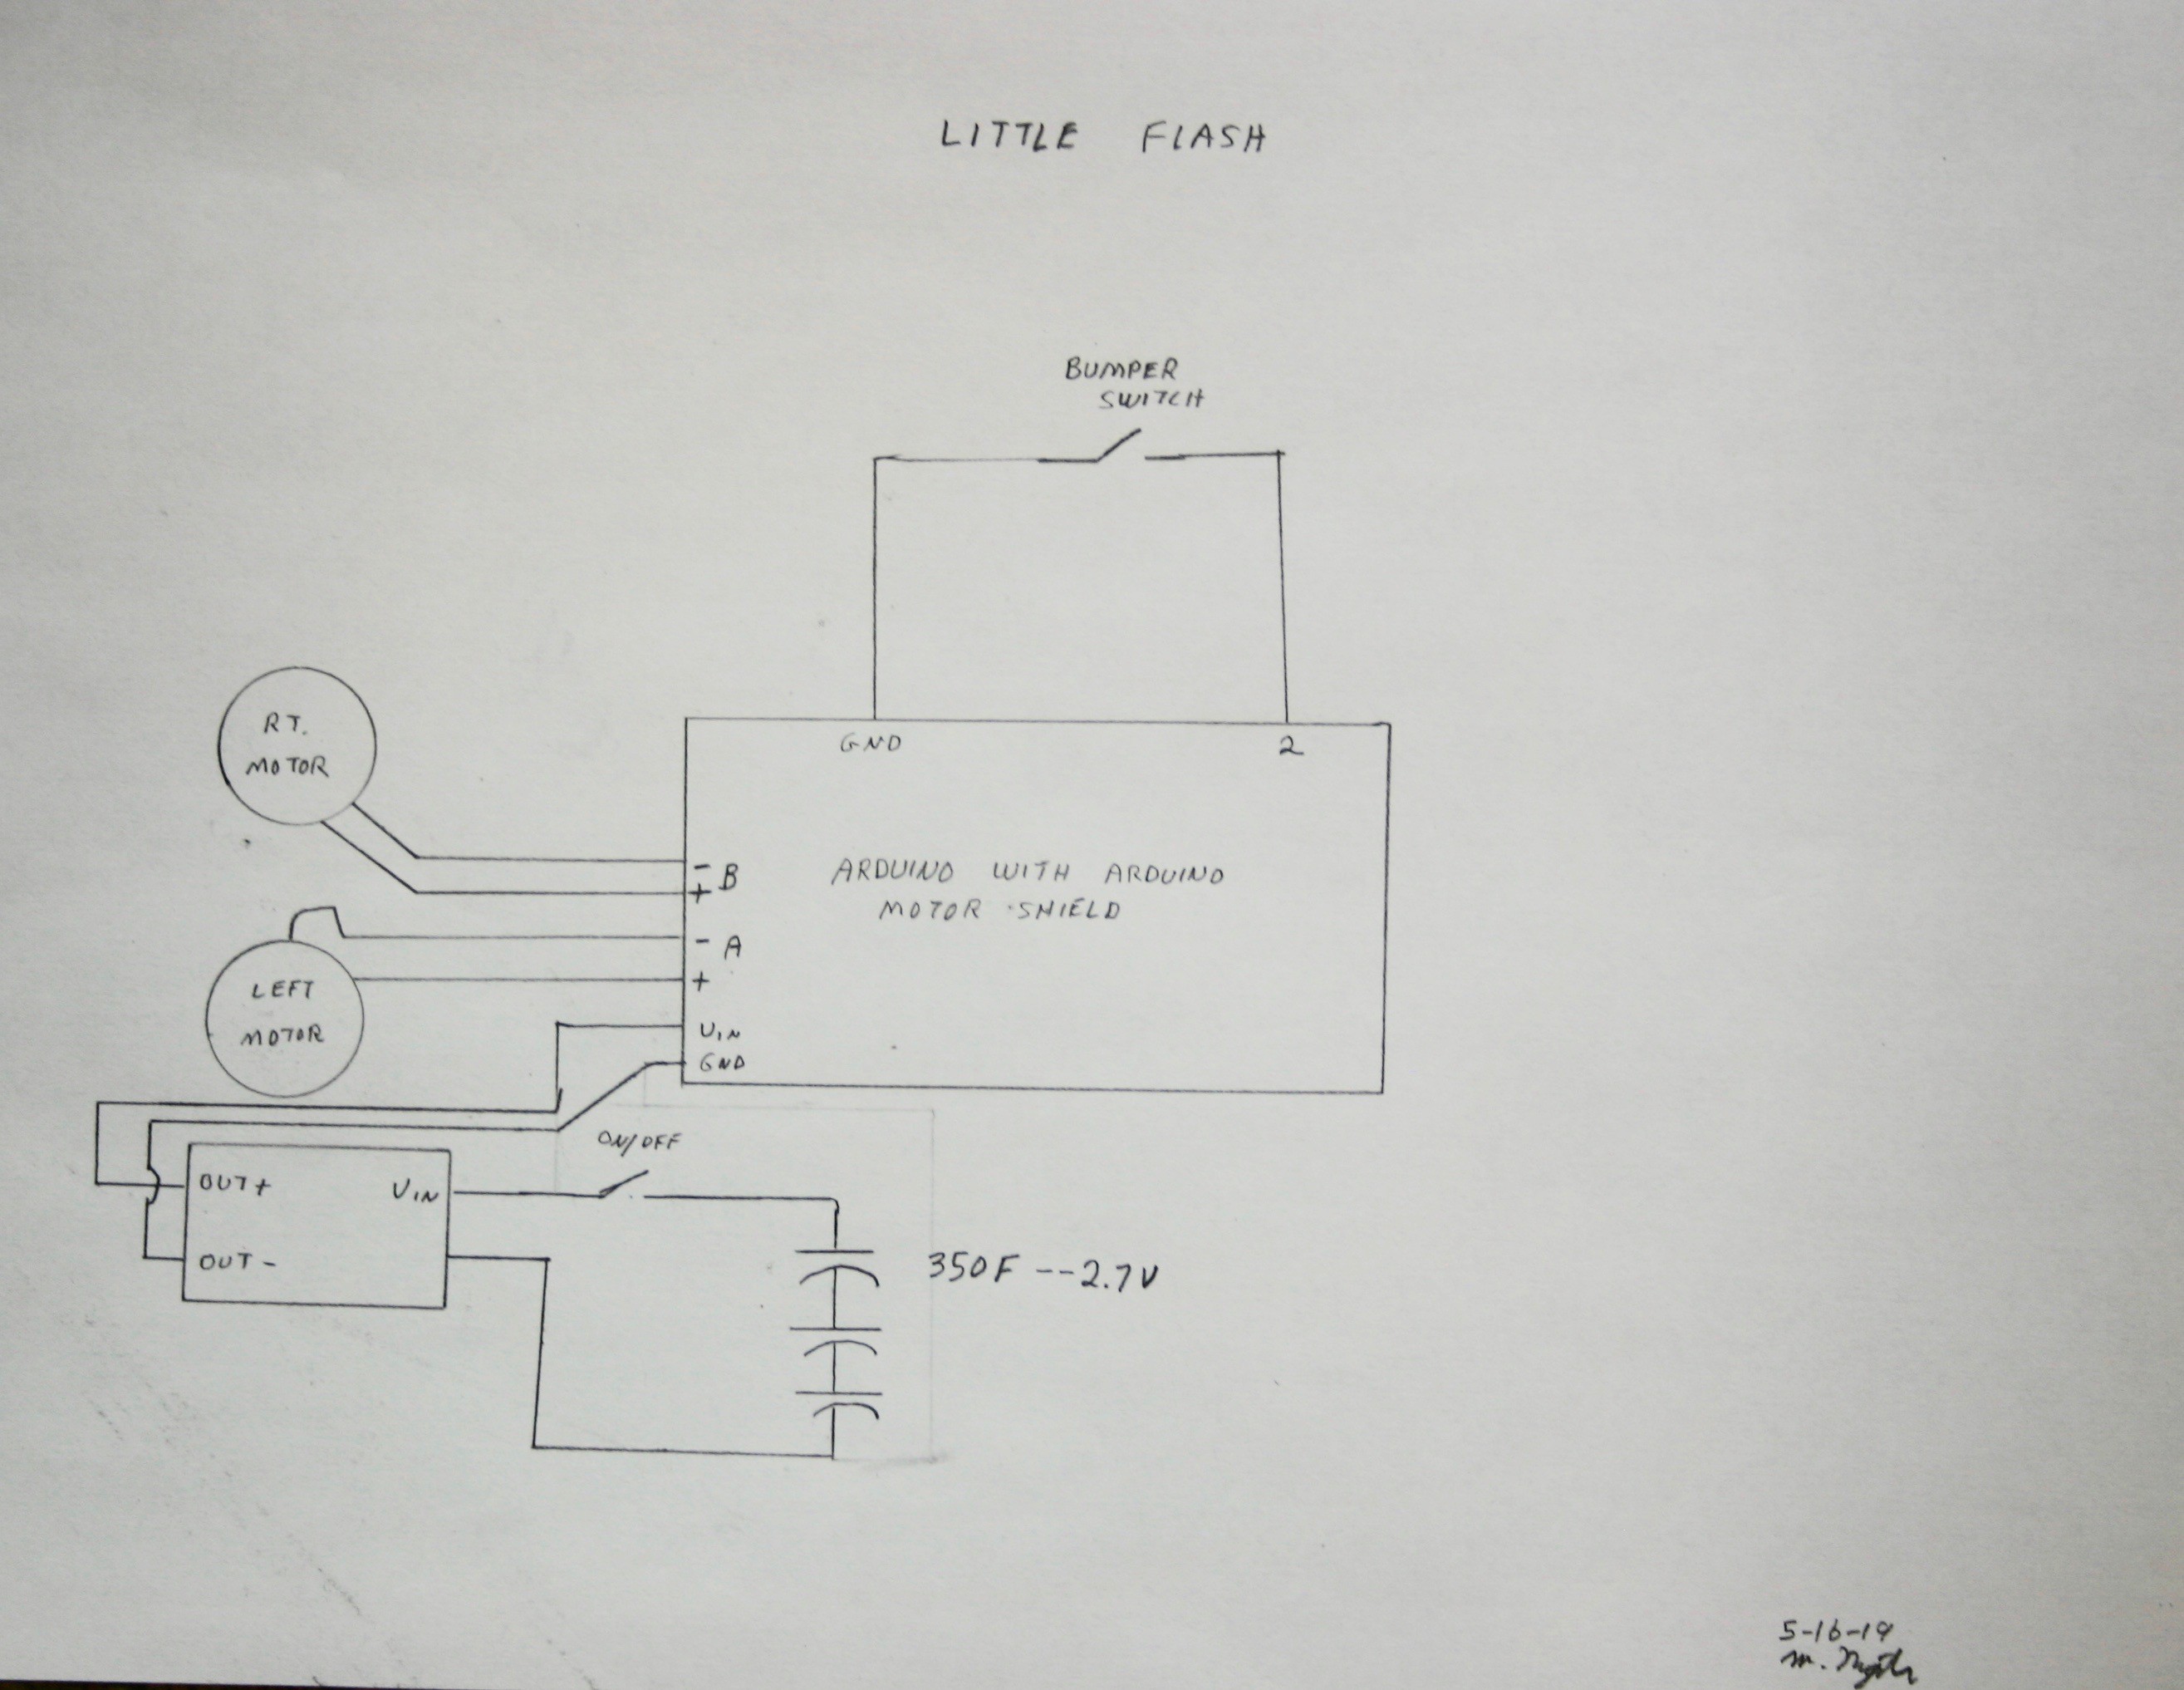
Schematic
05/16/2019 at 20:39 • 0 commentsLittle Flash just runs around and stays out of trouble, but it's somewhat relaxing to let everything else go and just watch the movement. As John Lennon observed, "Time spent doing nothing is rarely wasted."
The schematic diagram for the robot is shown below:
![]()
The Arduino sketch for operation is available in the files on this site.
Little Flash
Little Flash runs for twenty minutes, charges in ten seconds.