-
Reworking embedded computer software
06/23/2018 at 01:03 • 0 commentsIn order to make each detector easier to manage for end users we are looking into alternatives to Emdebian.
This isn't an issue with the operation of the detector. Once a system has been setup, the Operating System (OS) can be changed as easily as rebooting and swapping MicroSD cards.
One alternative OS is OpenWrt/LEDE, which has recently merge again after a fork. One benefit of OpenWrt/LEDE is that it comes with a web based configuration tool - Luci. As well as a 'registry' style of configuration management (in /etc/config, and managed via the 'uci' tool), the web interface provides an easy way of managing the network connectivity and getting to device onto a network.
With the Raspberry Pi Zero W running Openwrt, there are instructions available to allow network connectivity via USB to a connected PC.
Another useful piece of the puzzle is the build environment that comes with OpenWrt/LEDE. It should be possible to build an ipkg with our cosmic-array software which will improve development, deployment and version control. What this space.
-
Science - Next month of data (April and some May)
05/13/2018 at 09:22 • 0 commentsThe next month and a bit of data is now available at github.
-
Science - More muon detection data
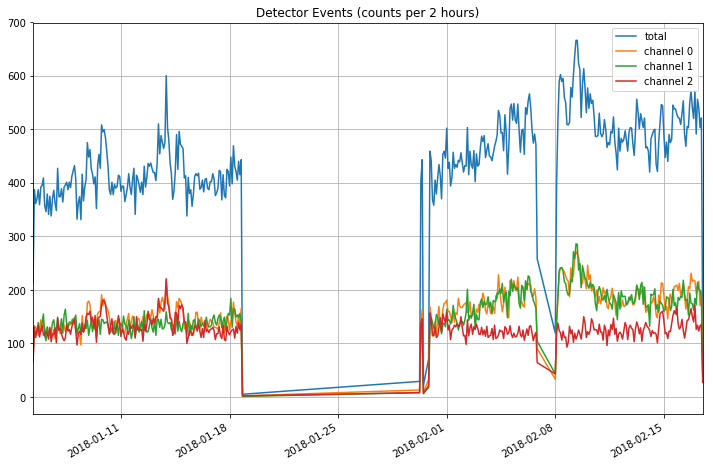
04/03/2018 at 09:45 • 0 commentsMore muon data has been processed.. the raw data and processing scripts (using the Jupyter Notebook, for running interactive Python) can be found here - https://github.com/PaulSchulz/cosmic-array-science
![]()
-
Science - Muon detection rates
02/18/2018 at 01:41 • 0 commentsMuon Detection Rate Data
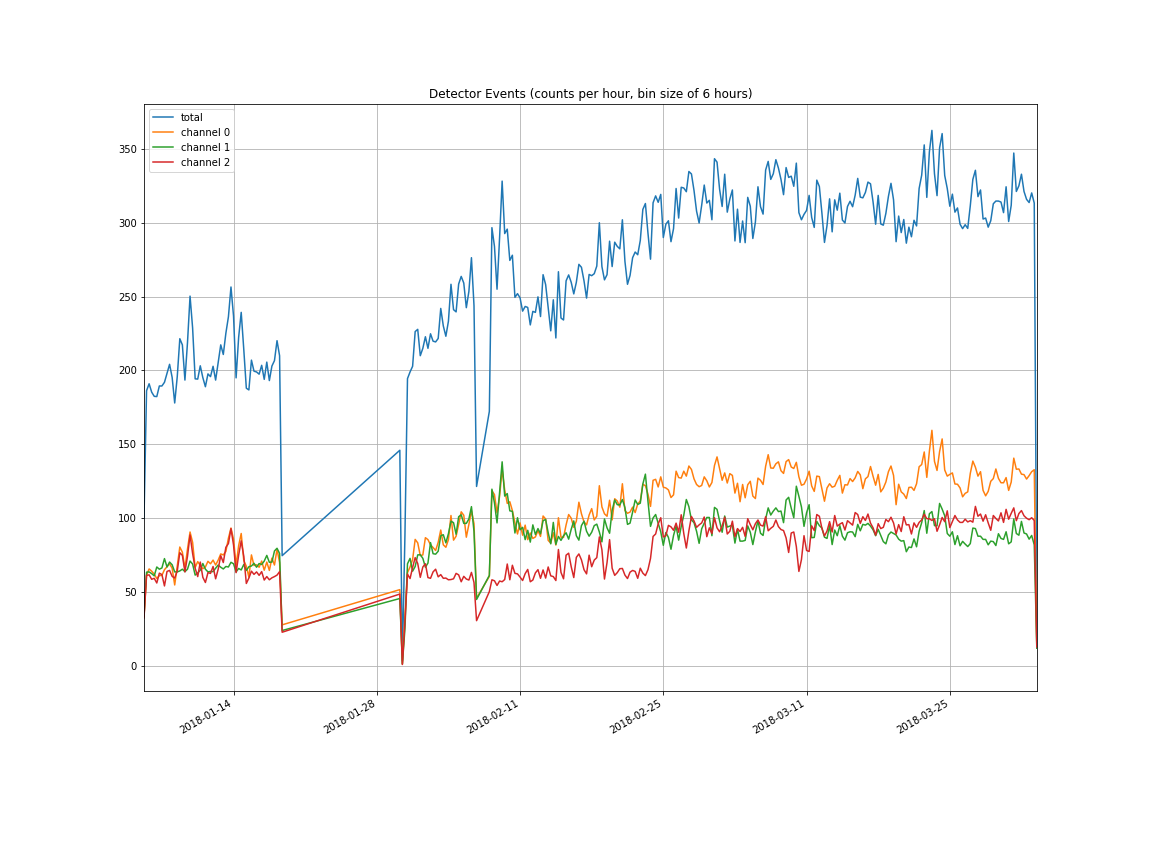
One of the muon detectors (cosmic-array-2-3) has been turned on and left running for an extended period of time and the event data collected, and is displayed in the graph below. (Click on the image to see all the details as the axes don't show up on black with the transparent background.)
![]()
Notes:
- The large break in the data was when I was at Linux.Conf.Au., doing a presentation on the project (and at the embedded miniconf). The other break was when I had to unplug the detector because it was stopping someone in the family going to sleep.
- The detector has been aligned oriented North-South with the power lead pointing North.
- In this detector, the Red(0), Green(1), Blue(2) channels have been wired into the RaspberryPi in the order Red,Blue,Green, which doesn't match the other detectors. Blue and green channels have been swapped.
- The colours in the graph do not match the channel colours.
Observations on the data:
- Channel 2 has a consistent rate of about 130 counts per 2 hours (120 sec) over the entire period.
- Channels 0 and 1 start at the same rate, but increase together to almost double in the second half of the graph before falling back to around 50% higher than channel 2.
- A daily cycle of minimums and maximums can almost inferred between 2018-02-01 and 2018-02-08 (if you squint a little bit).
Data Processing
This data was collected directly on RaspberryPi Zero W in the Cosmic Array muon detector (cosmic-array-2-3) and logged to a file in the form of 'timestamp channel', where the timestamp is a Unix timestamp (seconds since 1 Jan 1970) with microseconds.
1516084564.897229 1
1516084600.713800 2
1516084615.300136 1
1516084617.992265 0
1516084673.840925 0
1516084676.053668 0
1516084686.885977 1
...Using interactive python workbook software, Jupyter, this data was read and processed with the Pandas library and plotted with matplotlib.
All scripts and data are available in the Github repository - PaulSchulz/cosmic-array-science
-
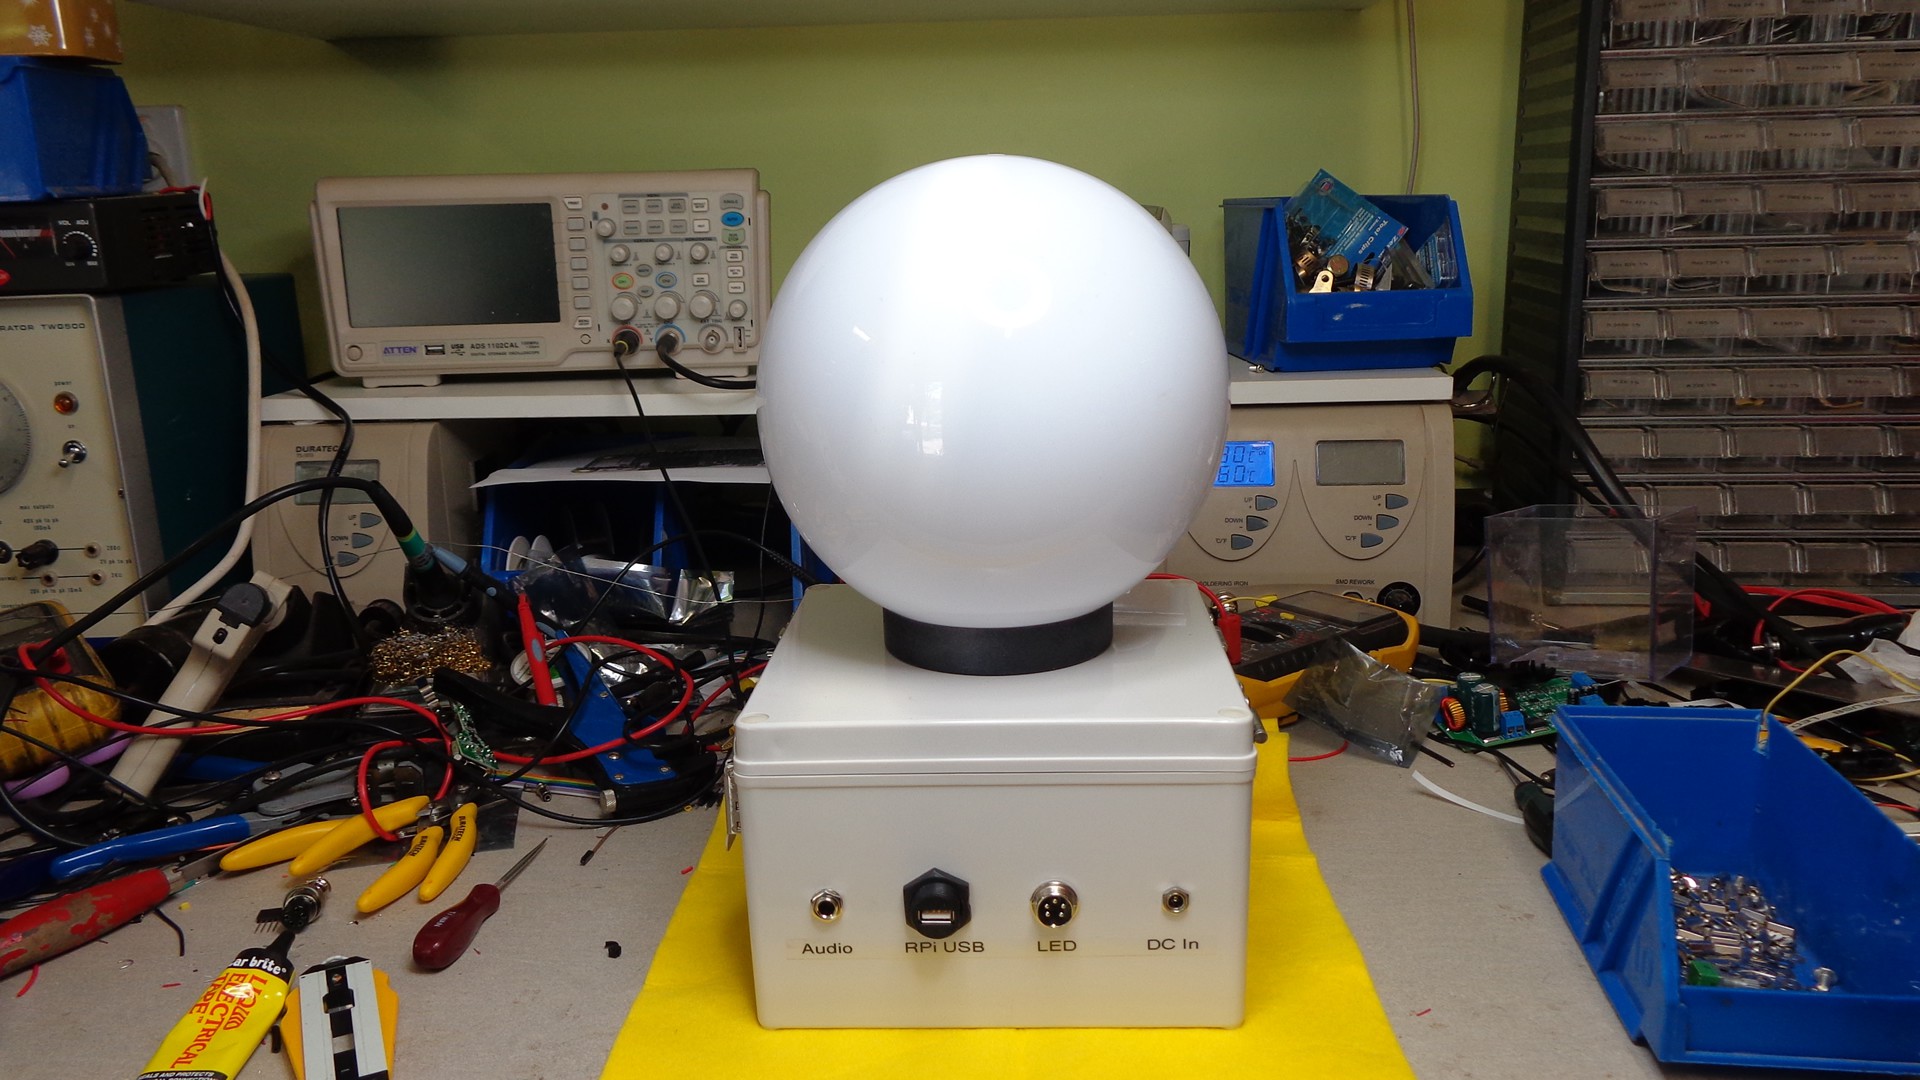
Upgrading a Cosmic Array detector element for standalone use.
01/28/2018 at 04:06 • 0 commentsUpgrading a Cosmic Array detector element for standalone use.
![]()
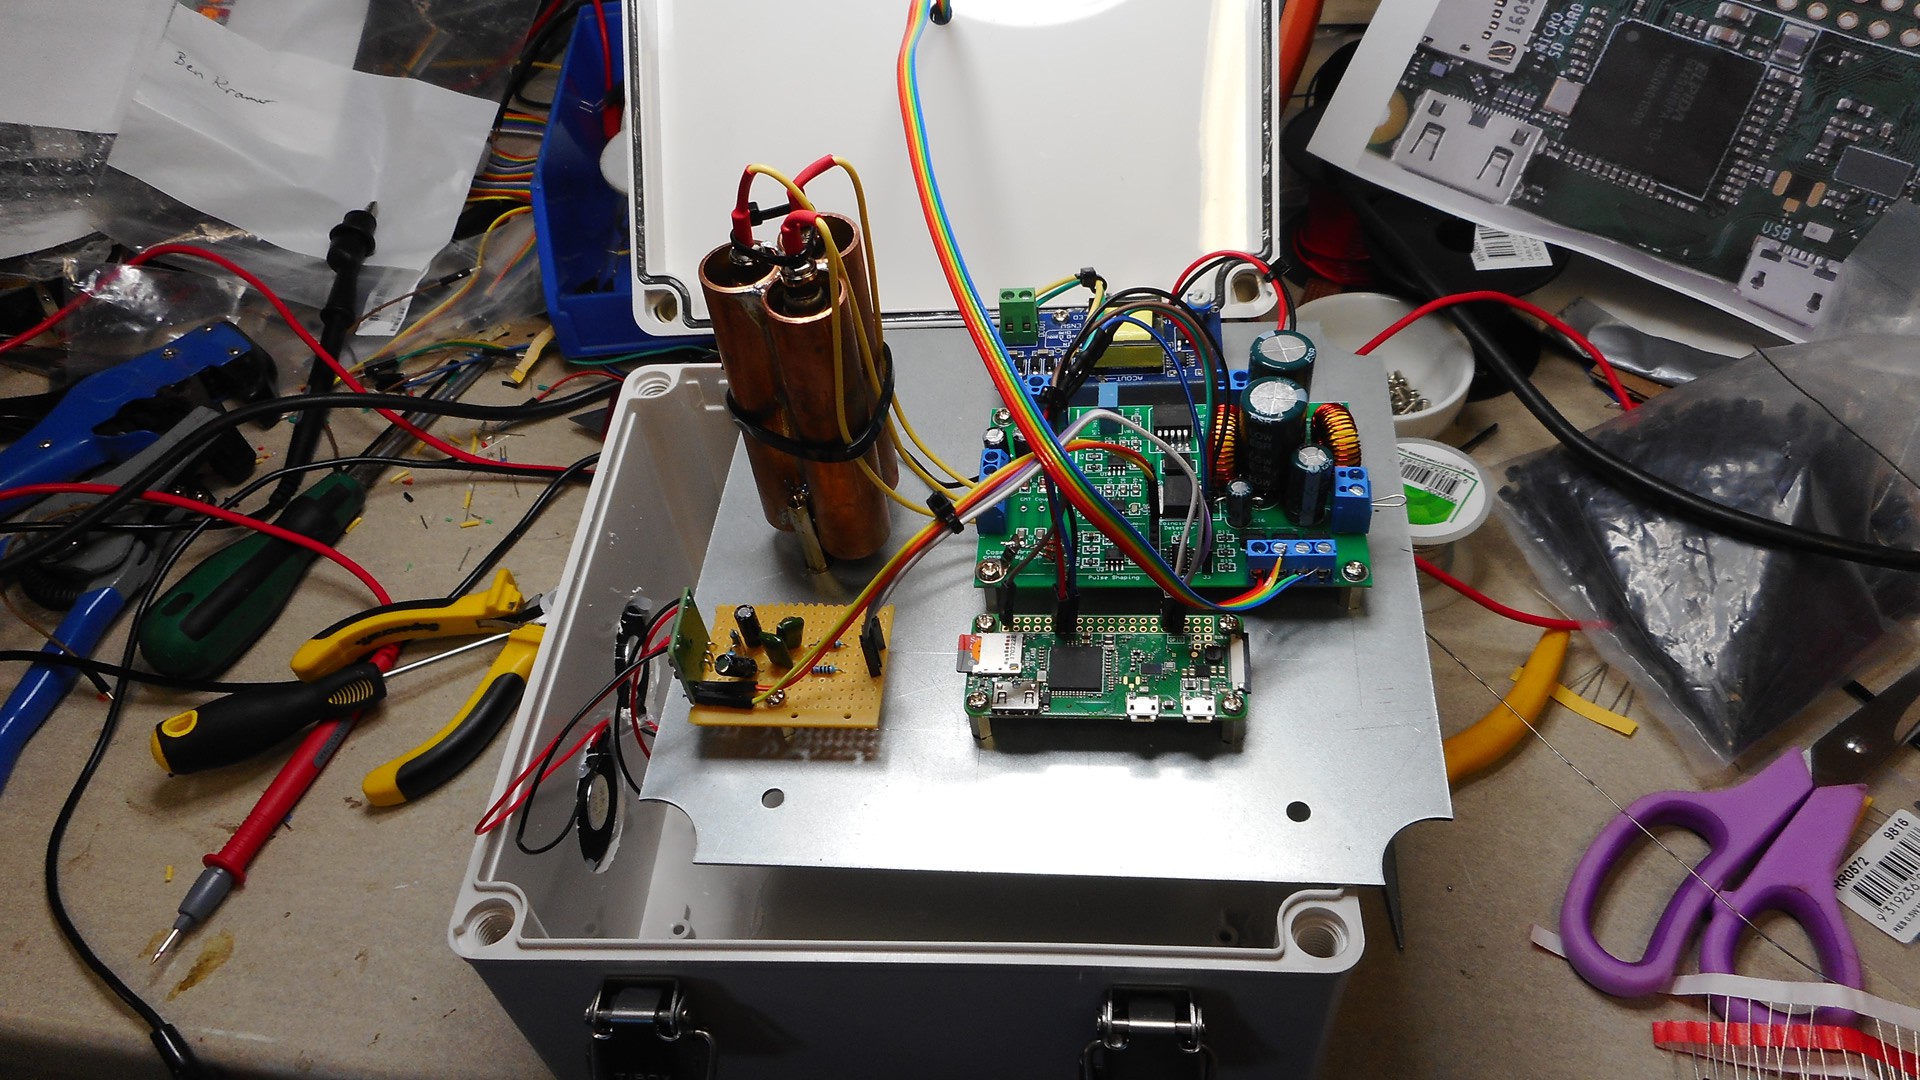
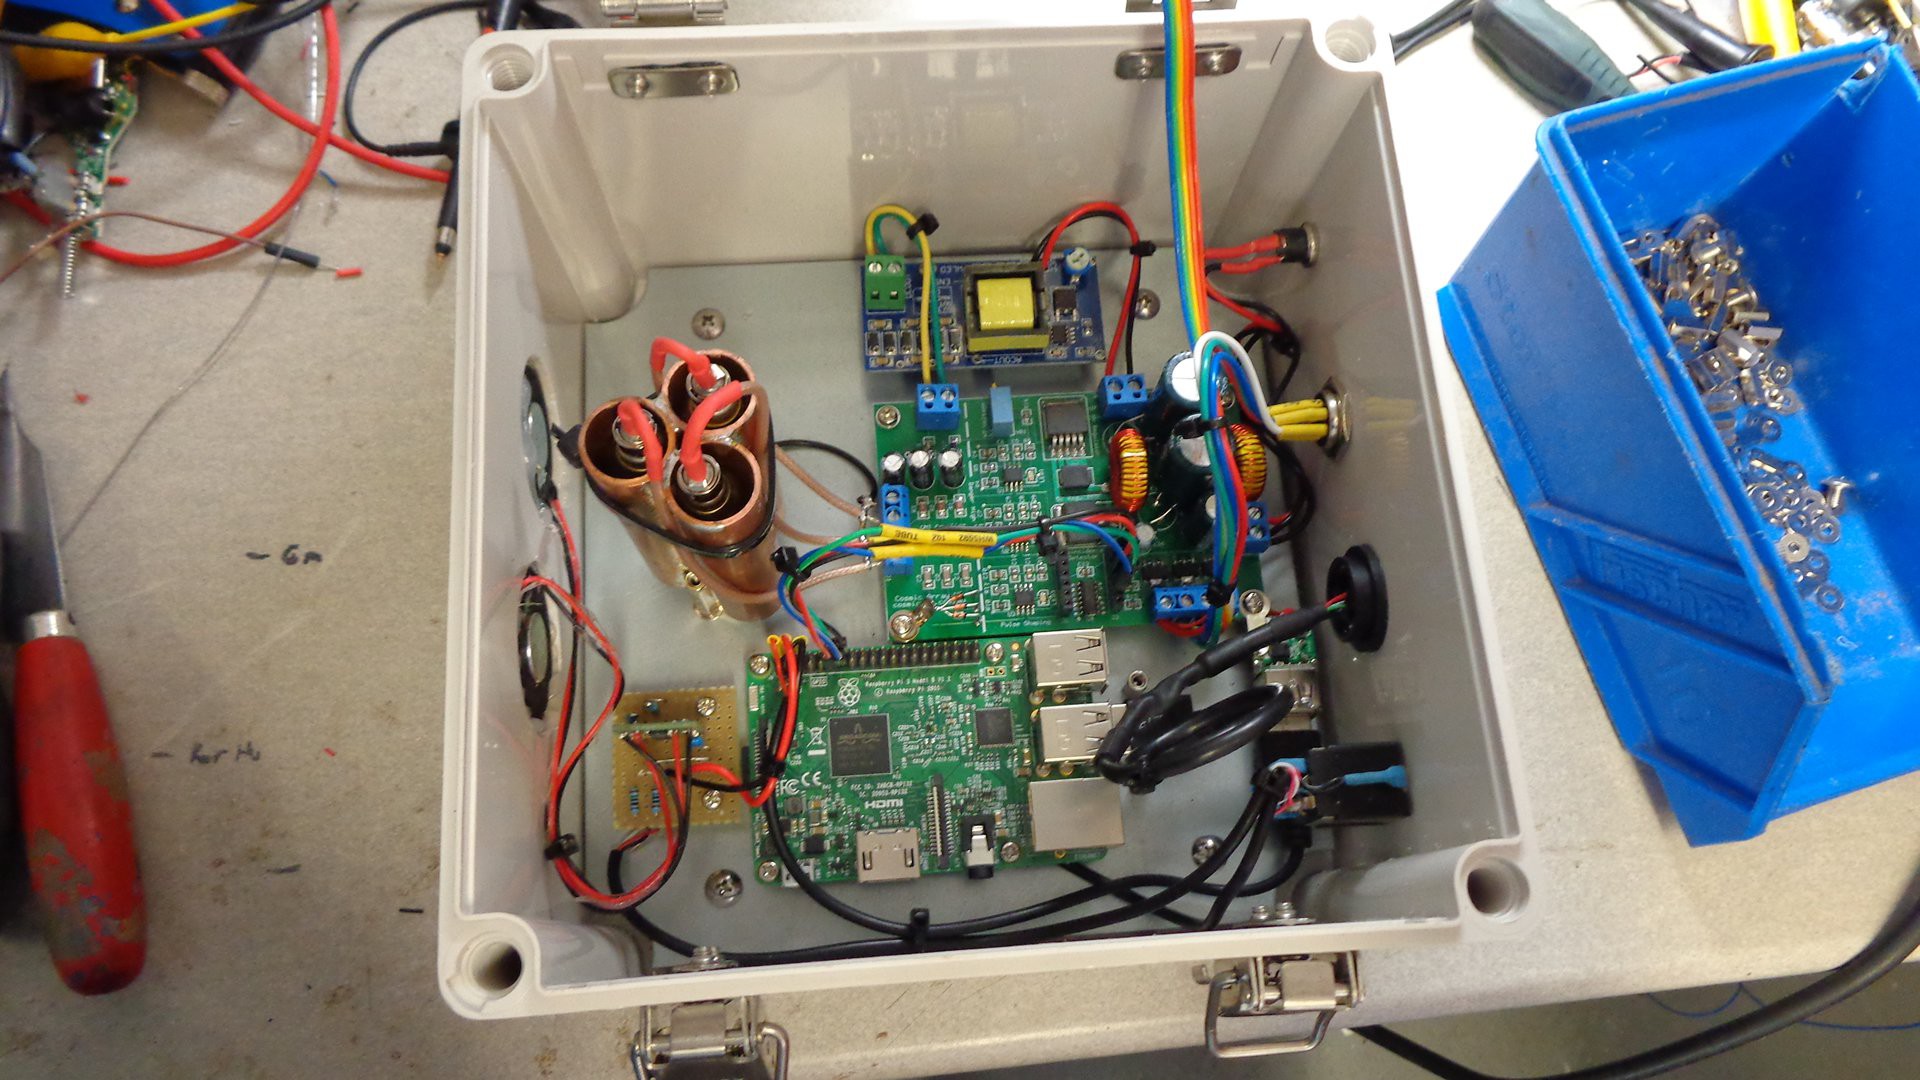
Recently I upgraded a Cosmic Array detector element for standalone use. This includes replacing the Raspberry Pi Zero W with a full Raspberry Pi 3B for faster processing speed and improved audio.
Original unit used in Cosmic Array installation.
![]()
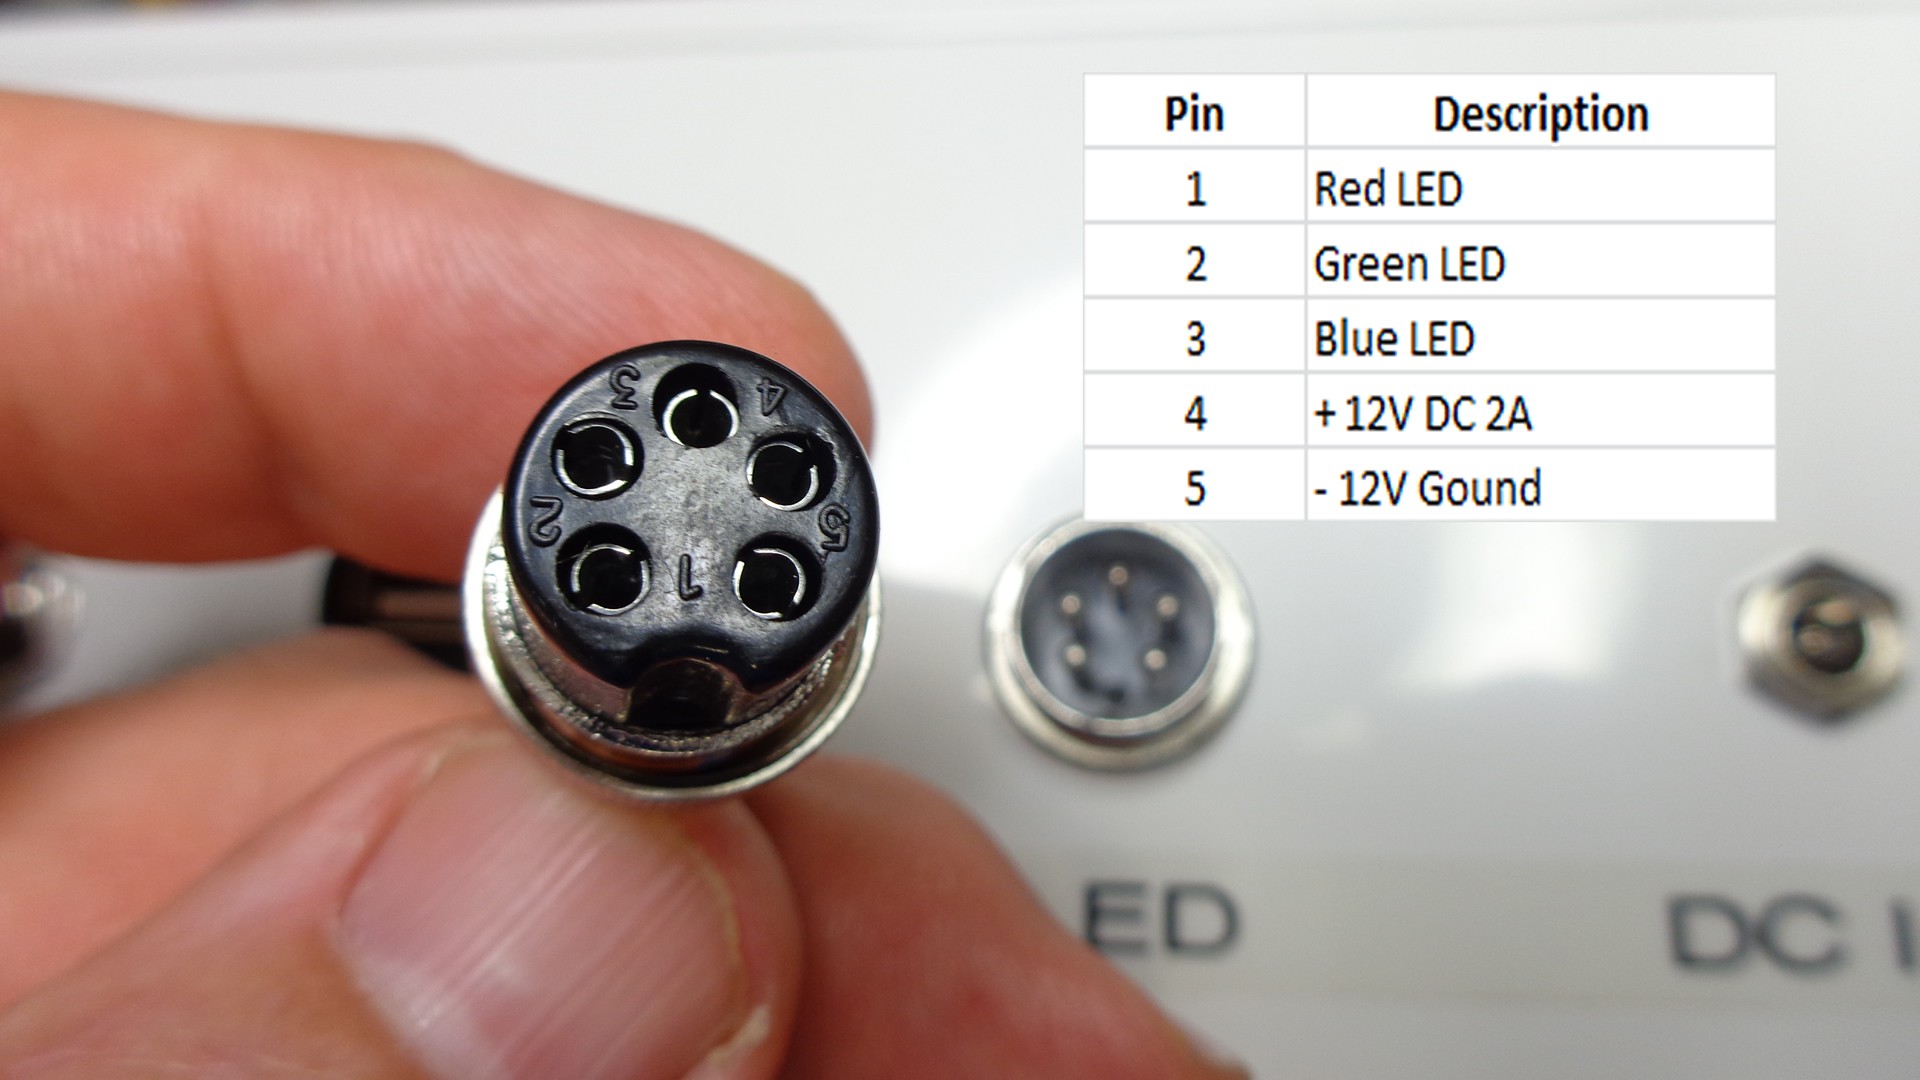
Wiring was improved to reduce noise and GMT cables were replaced with HV Teflon coated RG178 coax to reduce false muon counts. With the addition of external connectors for access to electronics including RPi3 USB, LED Driver, DC Power and direct Audio out from RPi3.
Inside unit with upgrades
![]()
Operating detector with upgrades
In the original concept of this detector I planned to drive acoustic instruments from the output of the detector. But due to budget and time constraints a raspberry pi zero w was chosen to play wave files. Consequently it is design to drive solenoids or contractors directly. This modification allows the user to drive anything from large gones to glockenspiel to other electronic or midi devices.
![]()
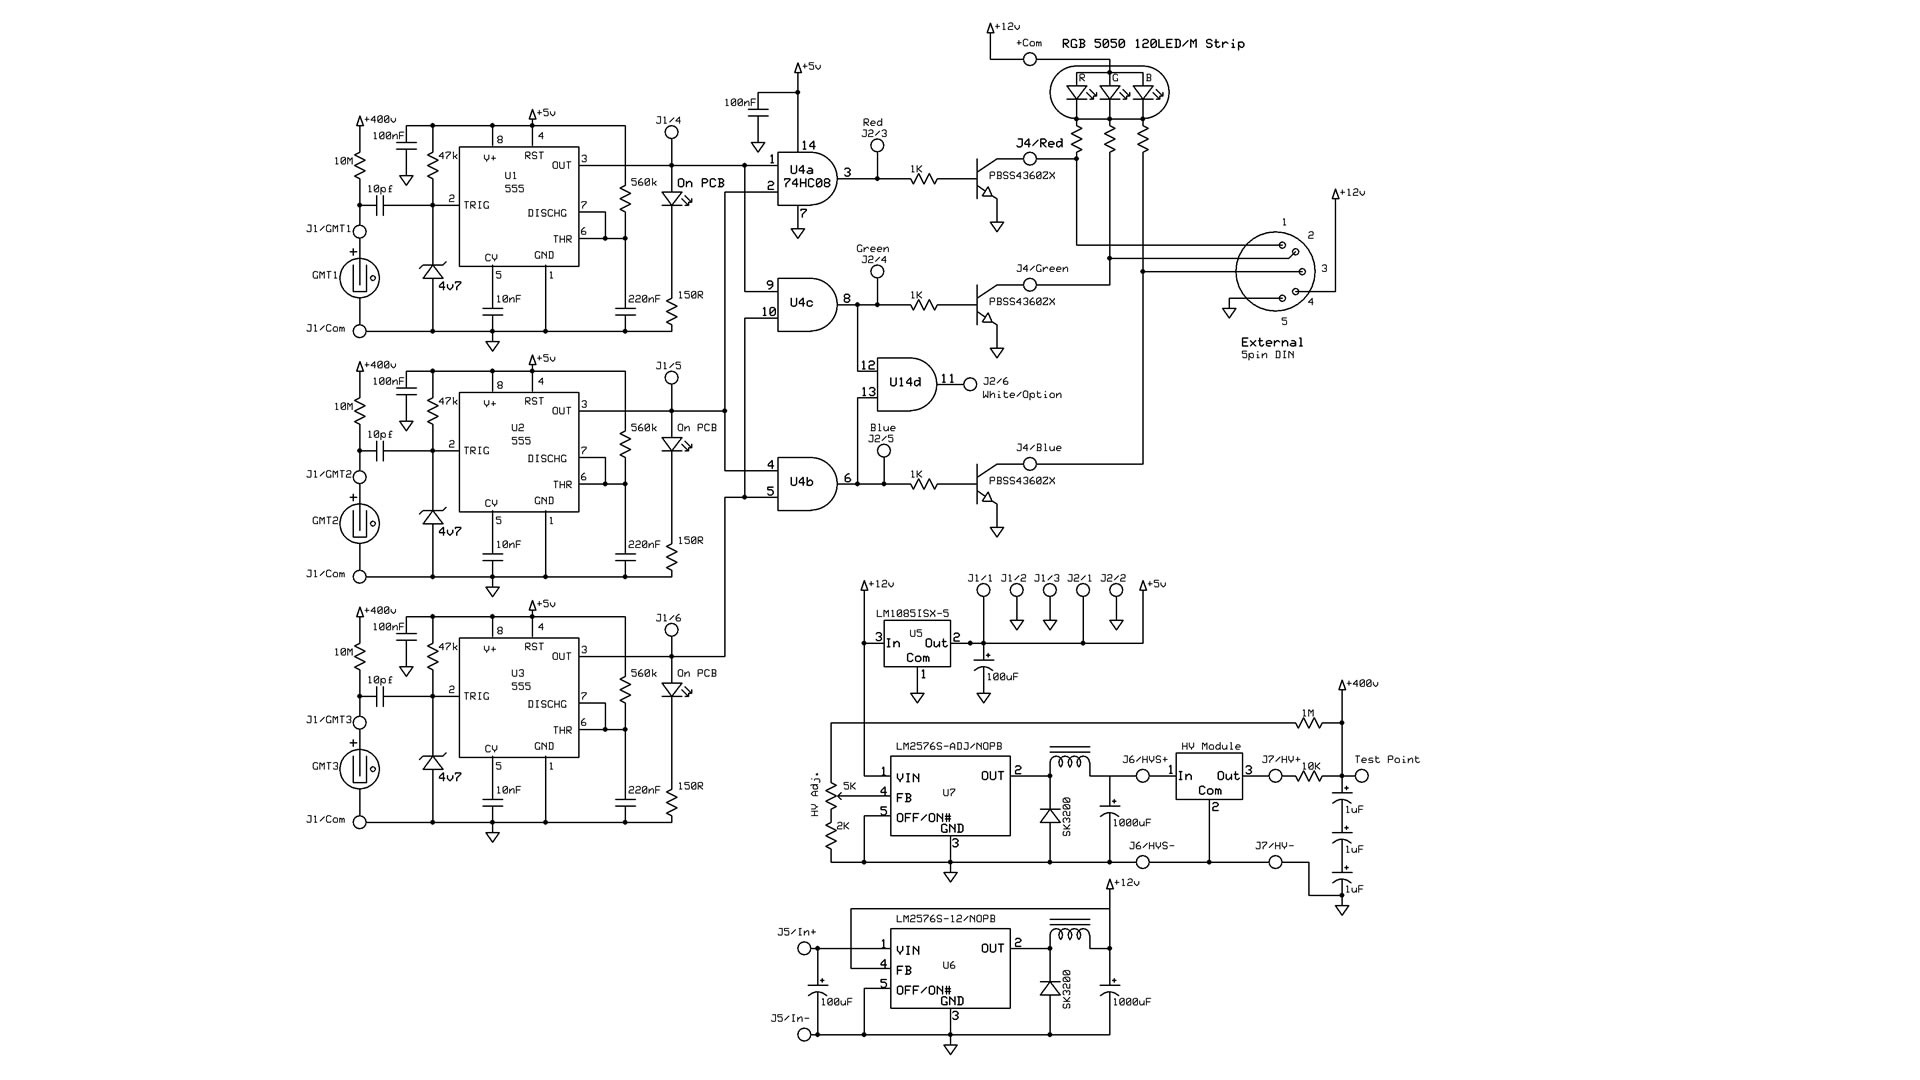
Note each LED output driver pulls low to 0V/Ground.
![]()
-
Cosmic Array at the Sydney 2018 linux.conf.au
01/20/2018 at 03:31 • 0 commentsAt the Sydney 2018 linux.conf.au, Paul Schulz will be giving a presentation about the Cosmic Array and software development. Paul, has been a key person in development of the sound and wireless networking aspect of the Cosmic Array.
![]()
-
Winner for best backyard science @ Maker Faire Adelaide 2017
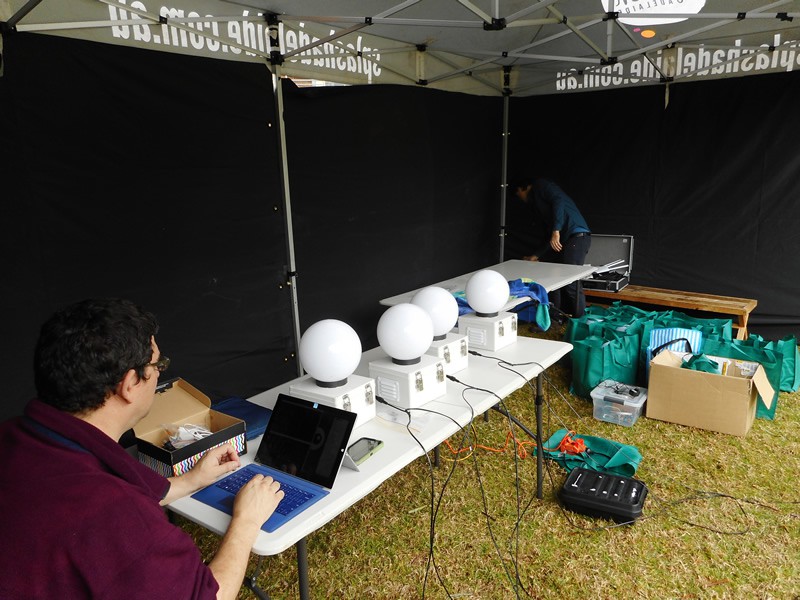
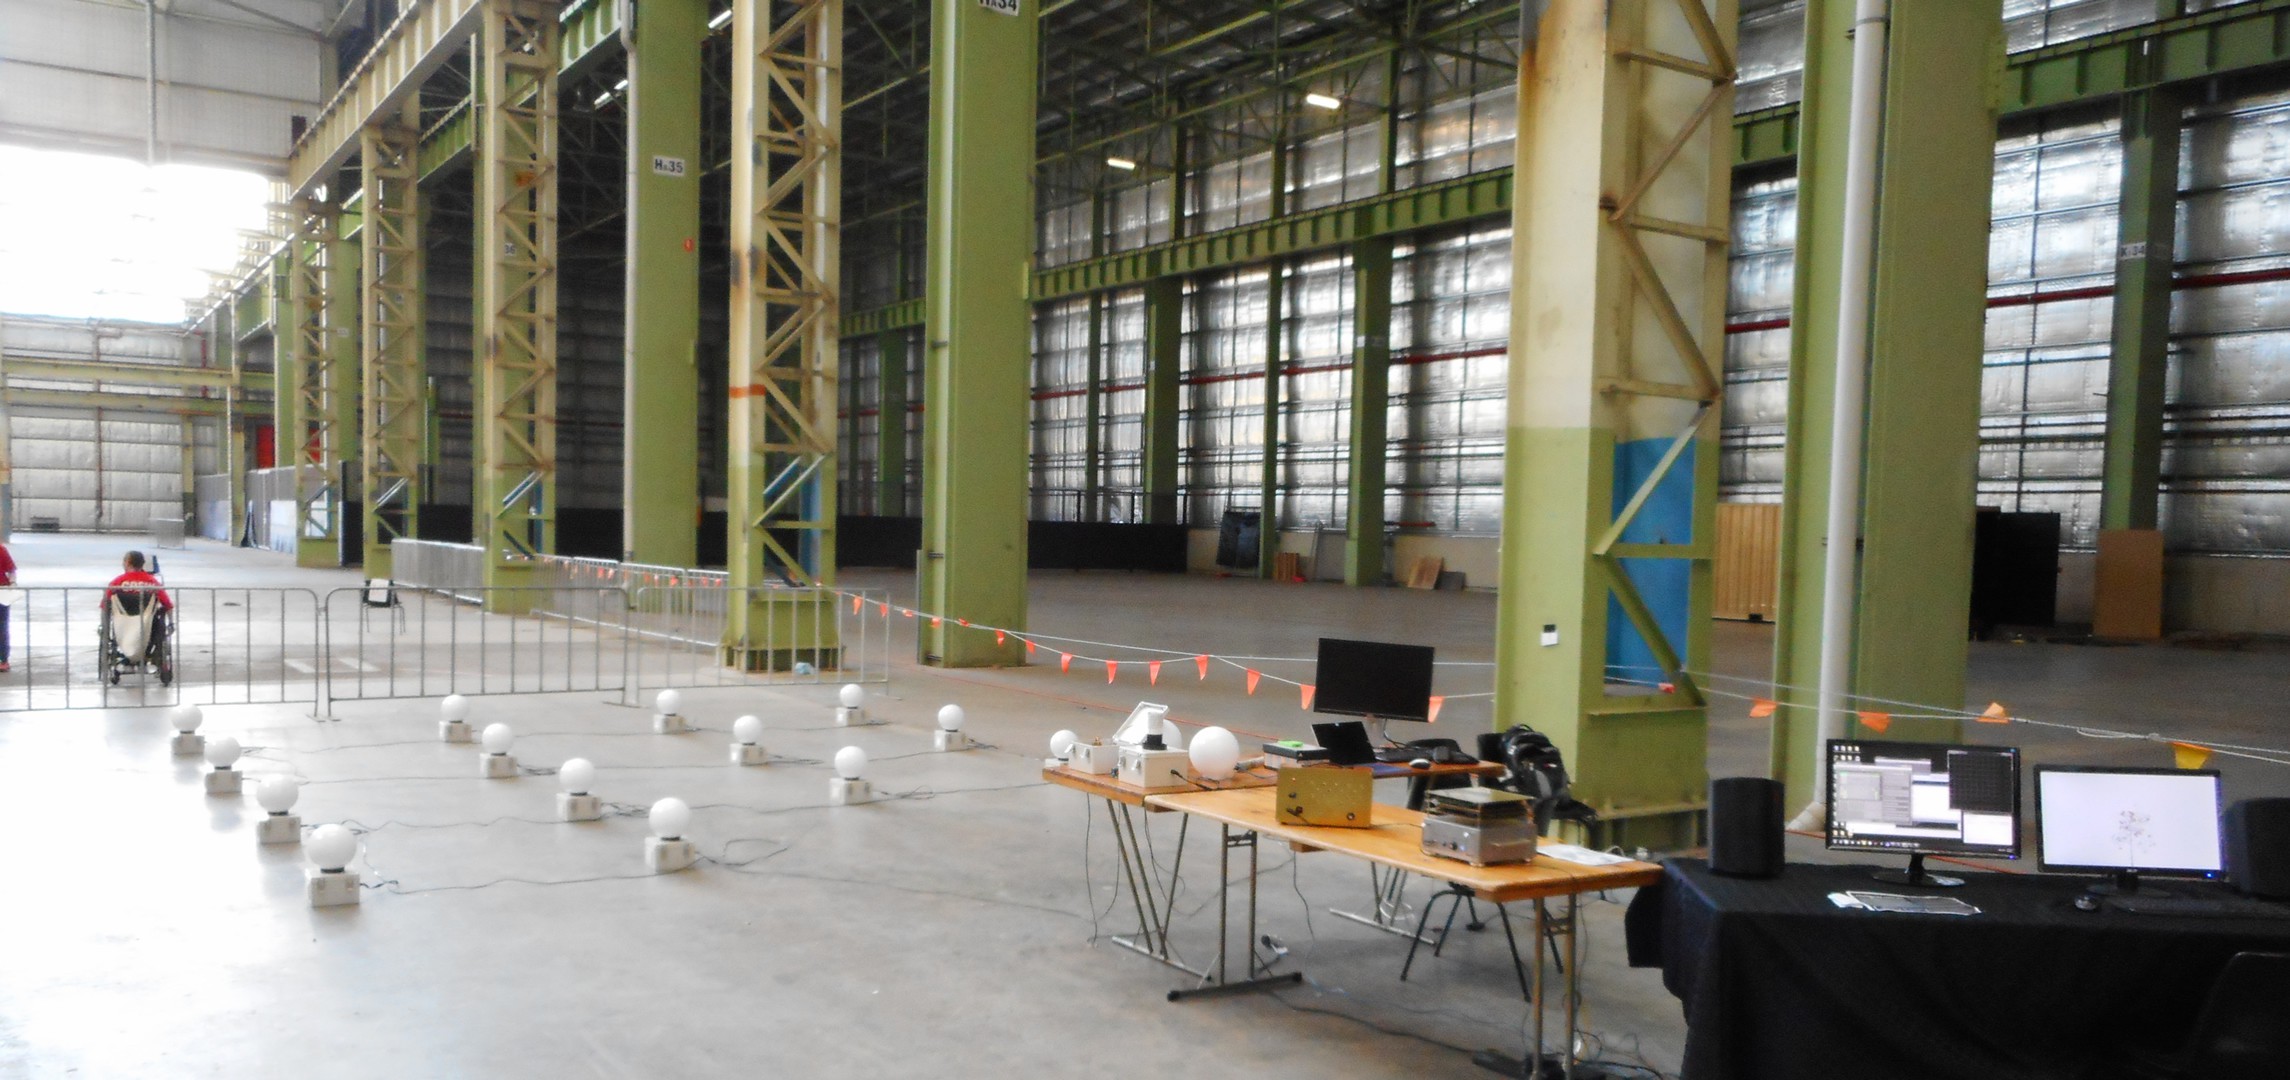
11/05/2017 at 10:35 • 0 commentsWe setup the Cosmic Array in quite a large space at the rear of Maker Faire Adelaide at 8am.
![]()
Left to right - The Cosmic Array, then some units opened up so people can look inside, then my early Drift Hodoscope, then my 81 Pixel Hodoscope which was connected to a computer to play music and regenerative graphic.
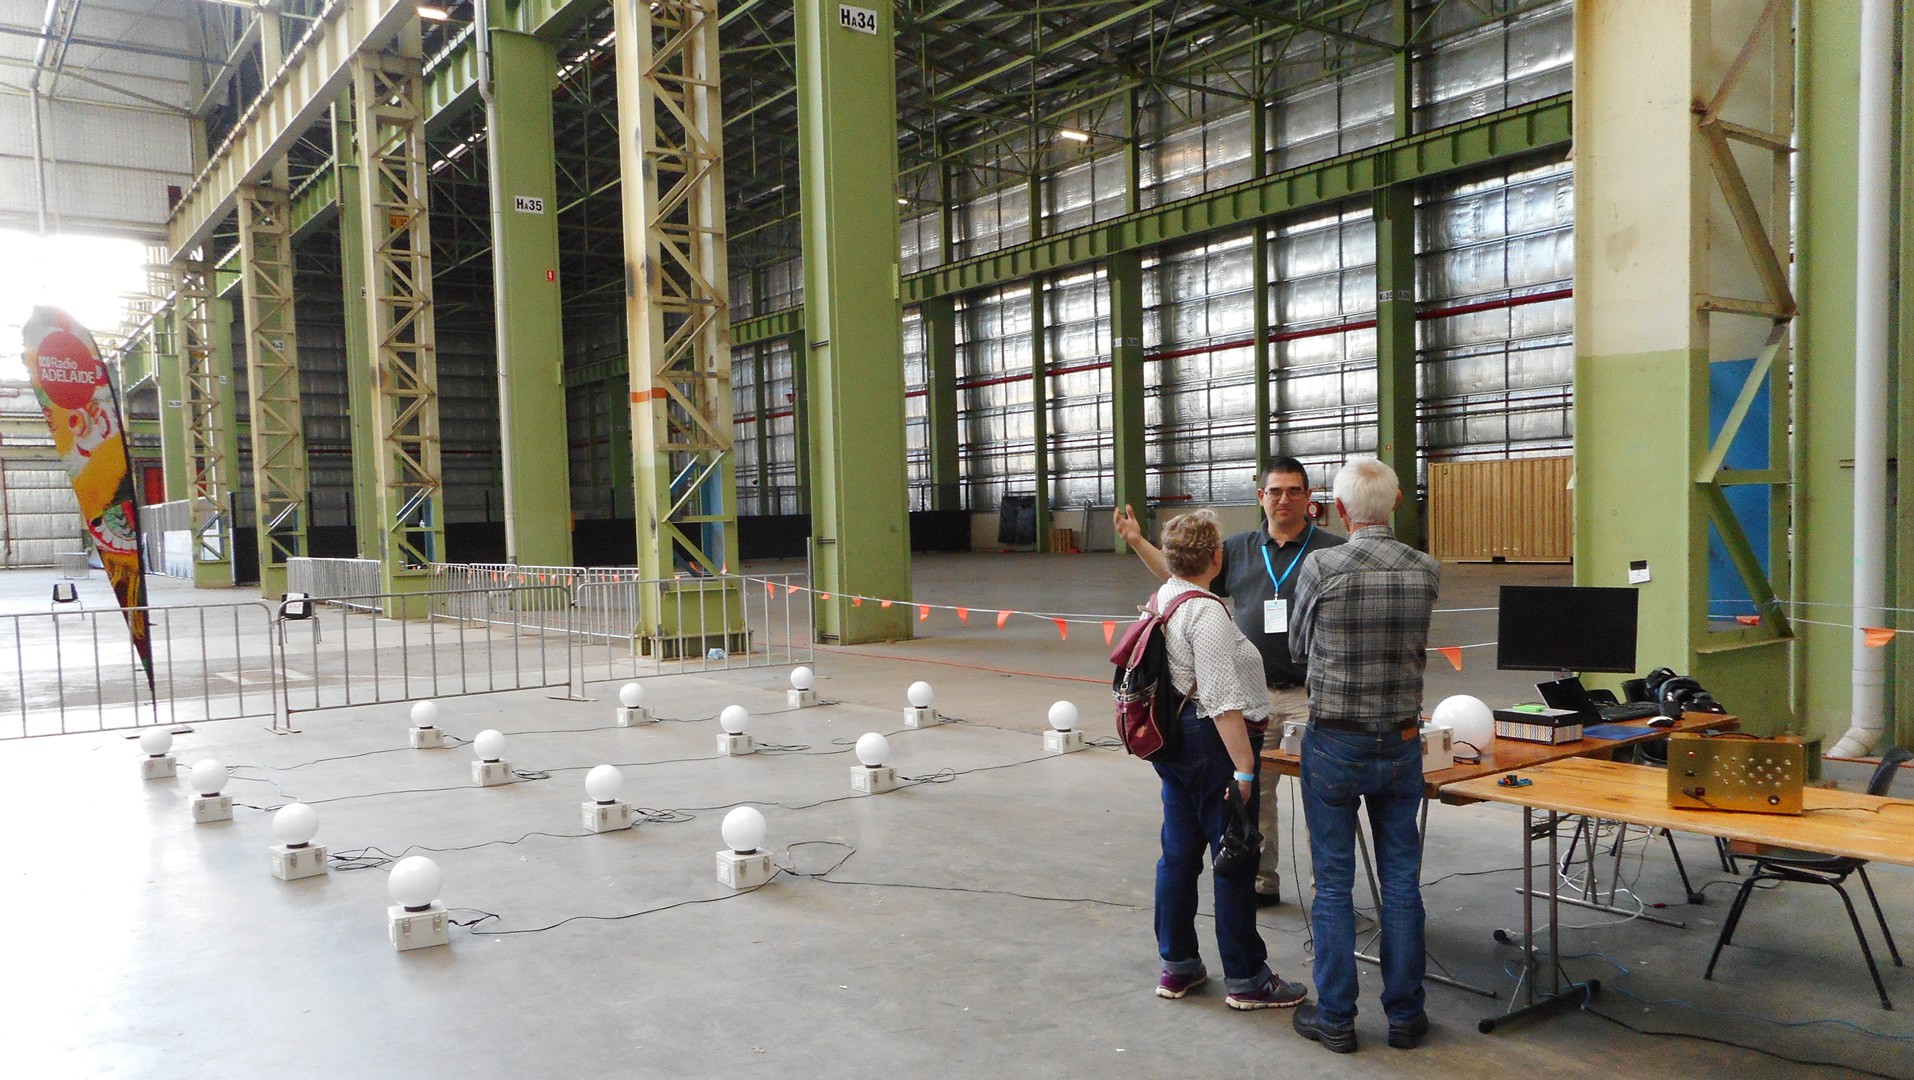
Although it doesn't look it. It was quite busy as we where located right at the end of the Maker Faire.
![]()
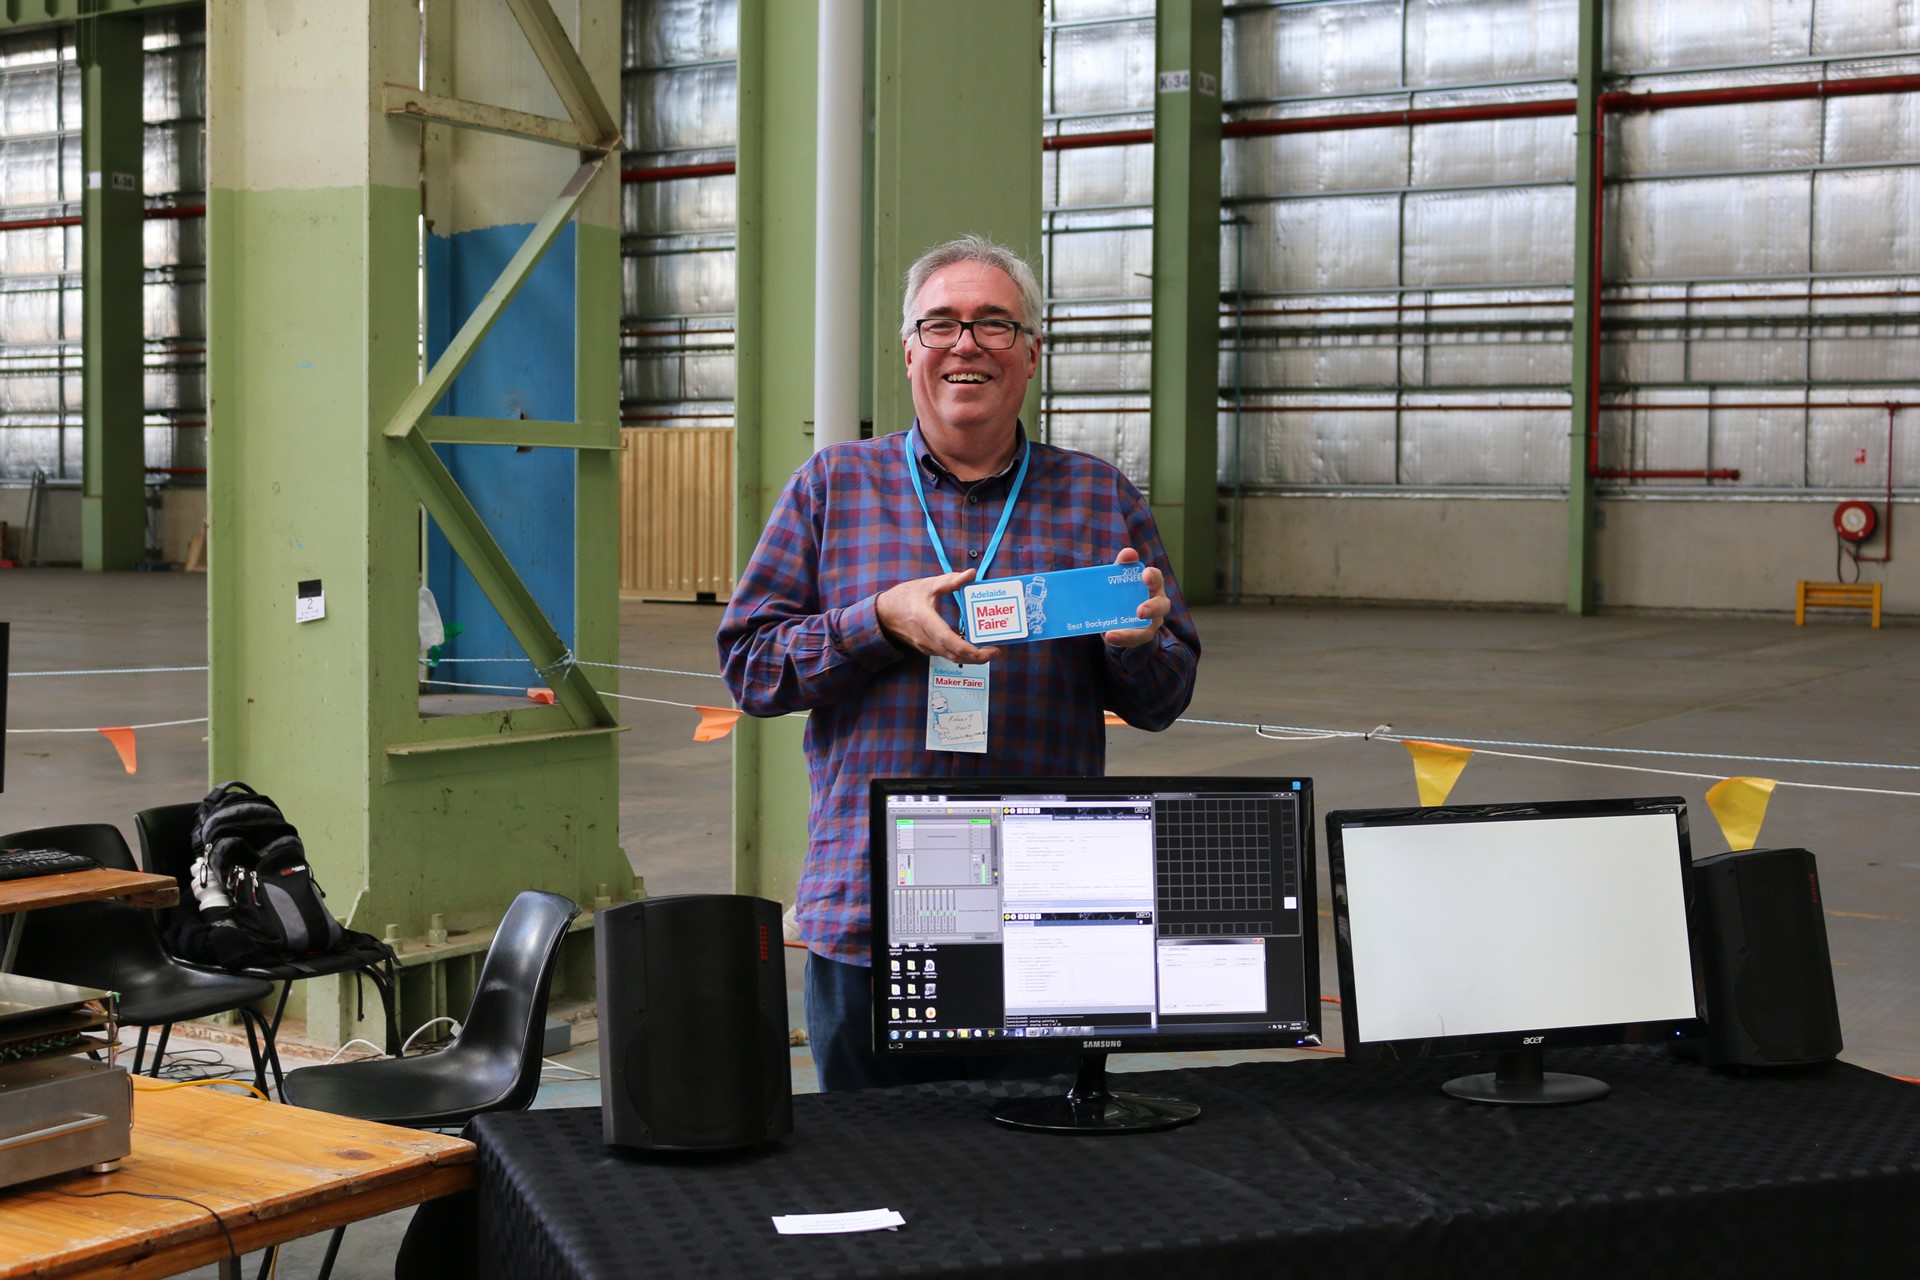
Above is Paul Schulz, who has developed code for the Cosmic Array and was a great help all day. He will be doing a presentation at the next - linux.conf.au 2018.
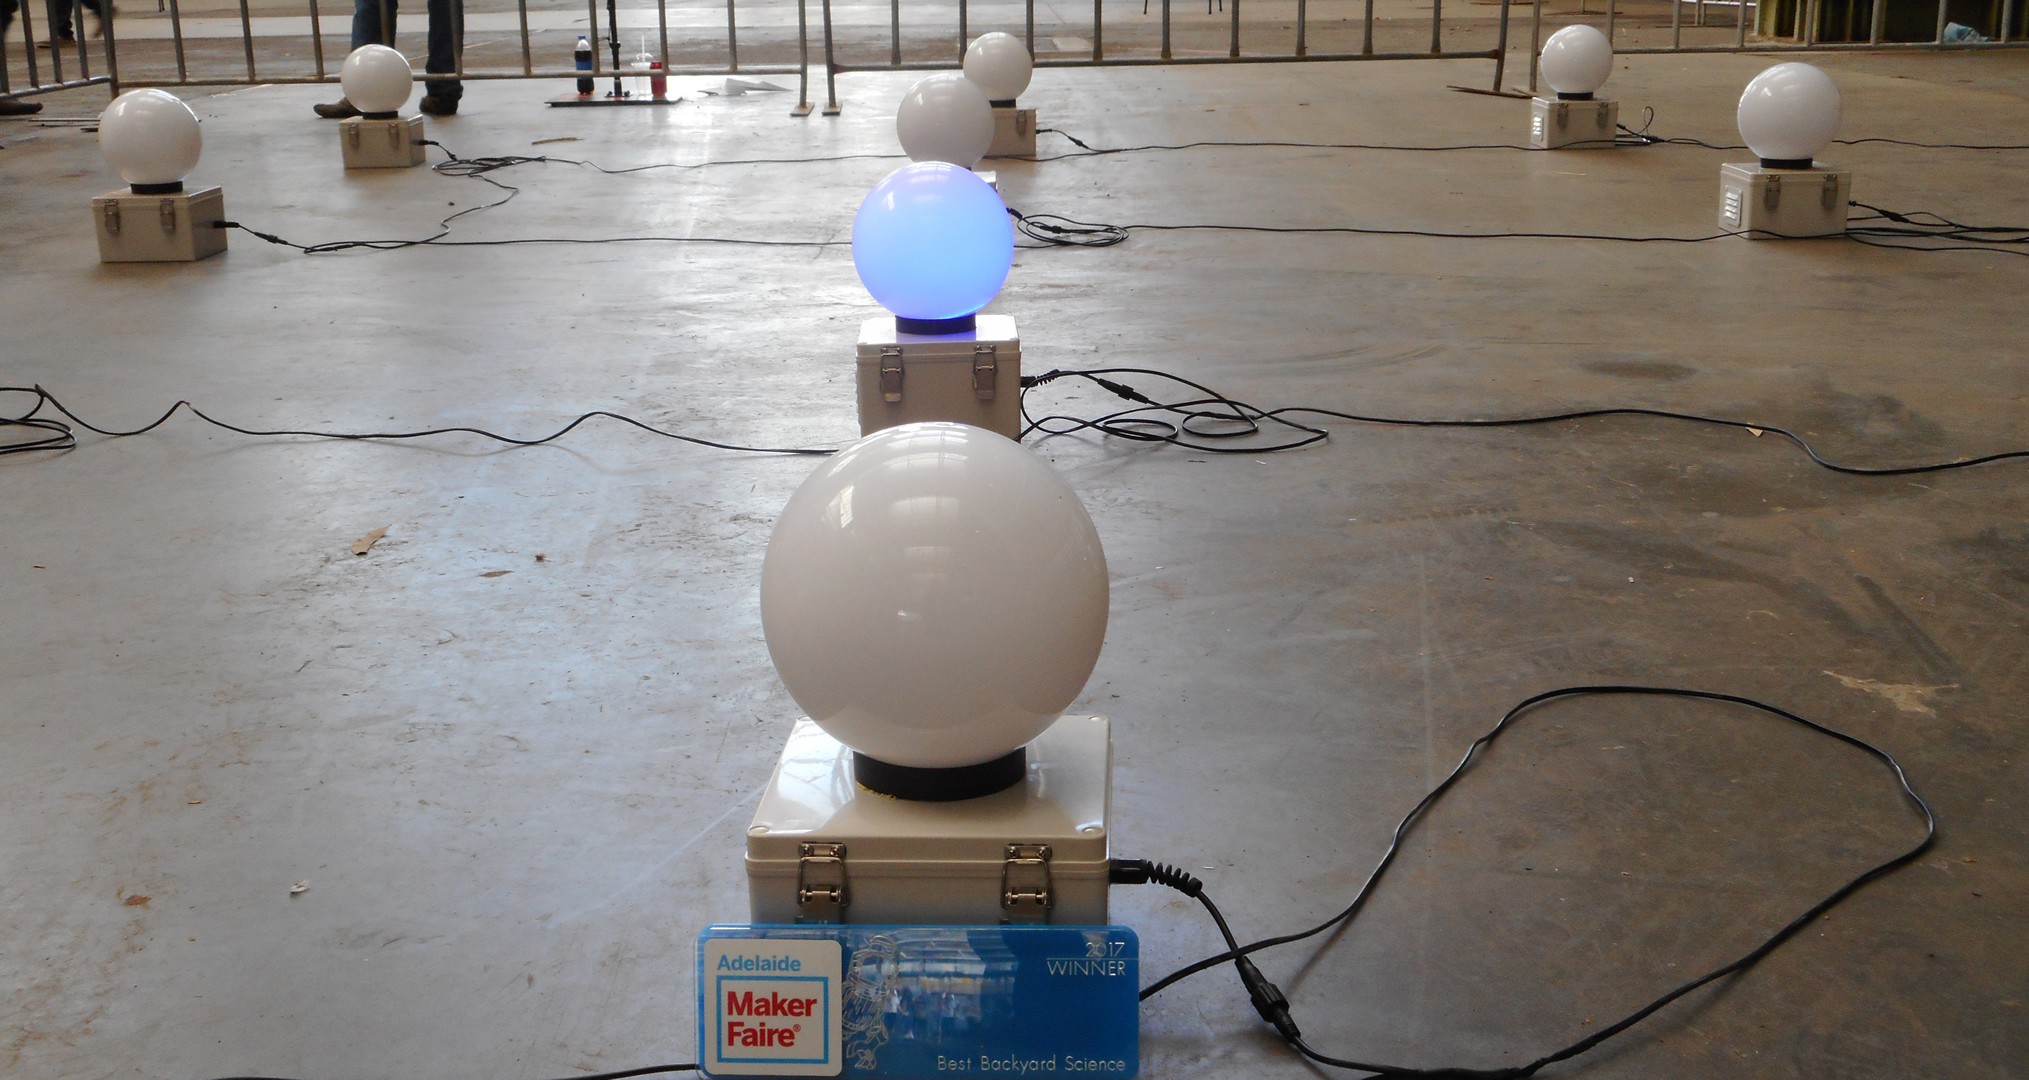
A very busy day lots of questions and was the Winner for best backyard science.
![]()
Got this award presented by MickMake one of my favorite Youtubers
![]()
-
Preparing for Maker Faire Adelaide 5th Nov
10/30/2017 at 07:00 • 0 commentsI am currently busy preparing for Maker Faire Adelaide this weekend and so I will have the 16 detectors running live, along with other detectors I have made and more details on its operation.
Maker Faire Adelaide is the largest Maker Faire in Australia and in the Southern hemisphere. Also the only Maker Faire solely run by volunteers. So if you are in Adelaide this weekend come and say hi!
![]()
![]()
![]()
-
Si Pin Photodiode solid-state detector first draft.
10/06/2017 at 04:02 • 0 commentsI'm currently exploring a new solid-state detector design using Pin Si Photodiodes, this is still a few months away. But will be a feature of a new cosmic ray detector designs to come. The main issue with using Geiger–Müller tubes and Photomultiplier scintillators as detectors is mostly cost. But also includes limited life and high voltages between 400 to 1600V DC which must also be low noise and regulated.
Solid state devices particularly Si Pin Photodiodes are capable of measuring both ionising radiation (Muons) and some added benefits like energy resolution, low voltage, low power, greater longevity and lower cost. But do have issues and compromises such as: more complexity, noise, and a small aperture size.
There are some specialist Photodiodes designed specifically for this application, but these are very expensive and difficult to source in small quantities for example:
- Manufacture First Sensor Part # 5014450 - has visible light filter
- Manufacture First Sensor Part # PS100B-7-CERPINE - has visible light filter
- Hamamatsu Part # S3590 - no visible light filter
![]()
Here is an example using the First Sensor 5014450 and an old CD V-700 Geiger Counter check source which is radium 226Ra. Although successful, the detector is expensive (~$50au) and still only has a relatively small aperture compared with a Geiger–Müller tube, so multiple detectors would be required.
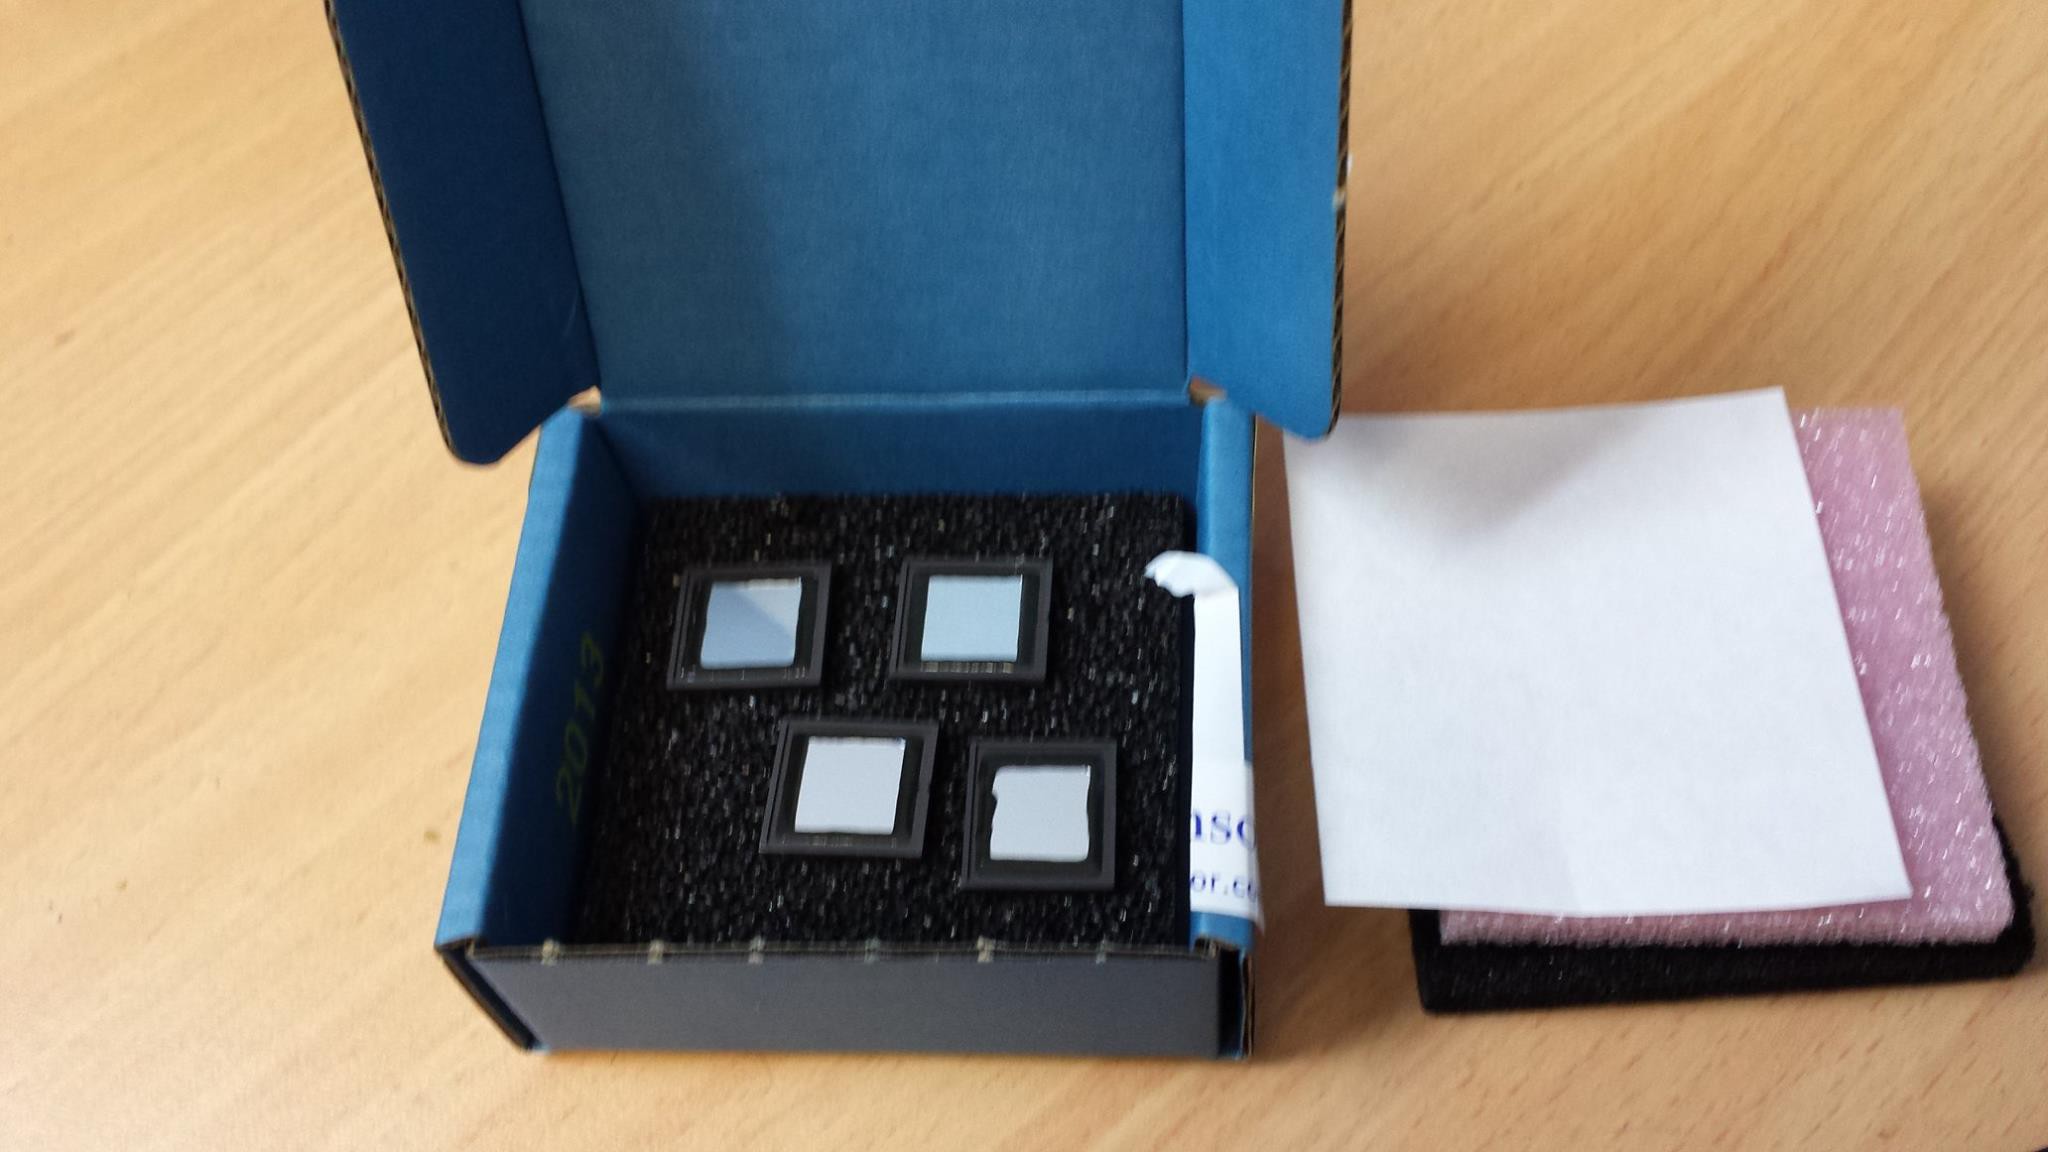
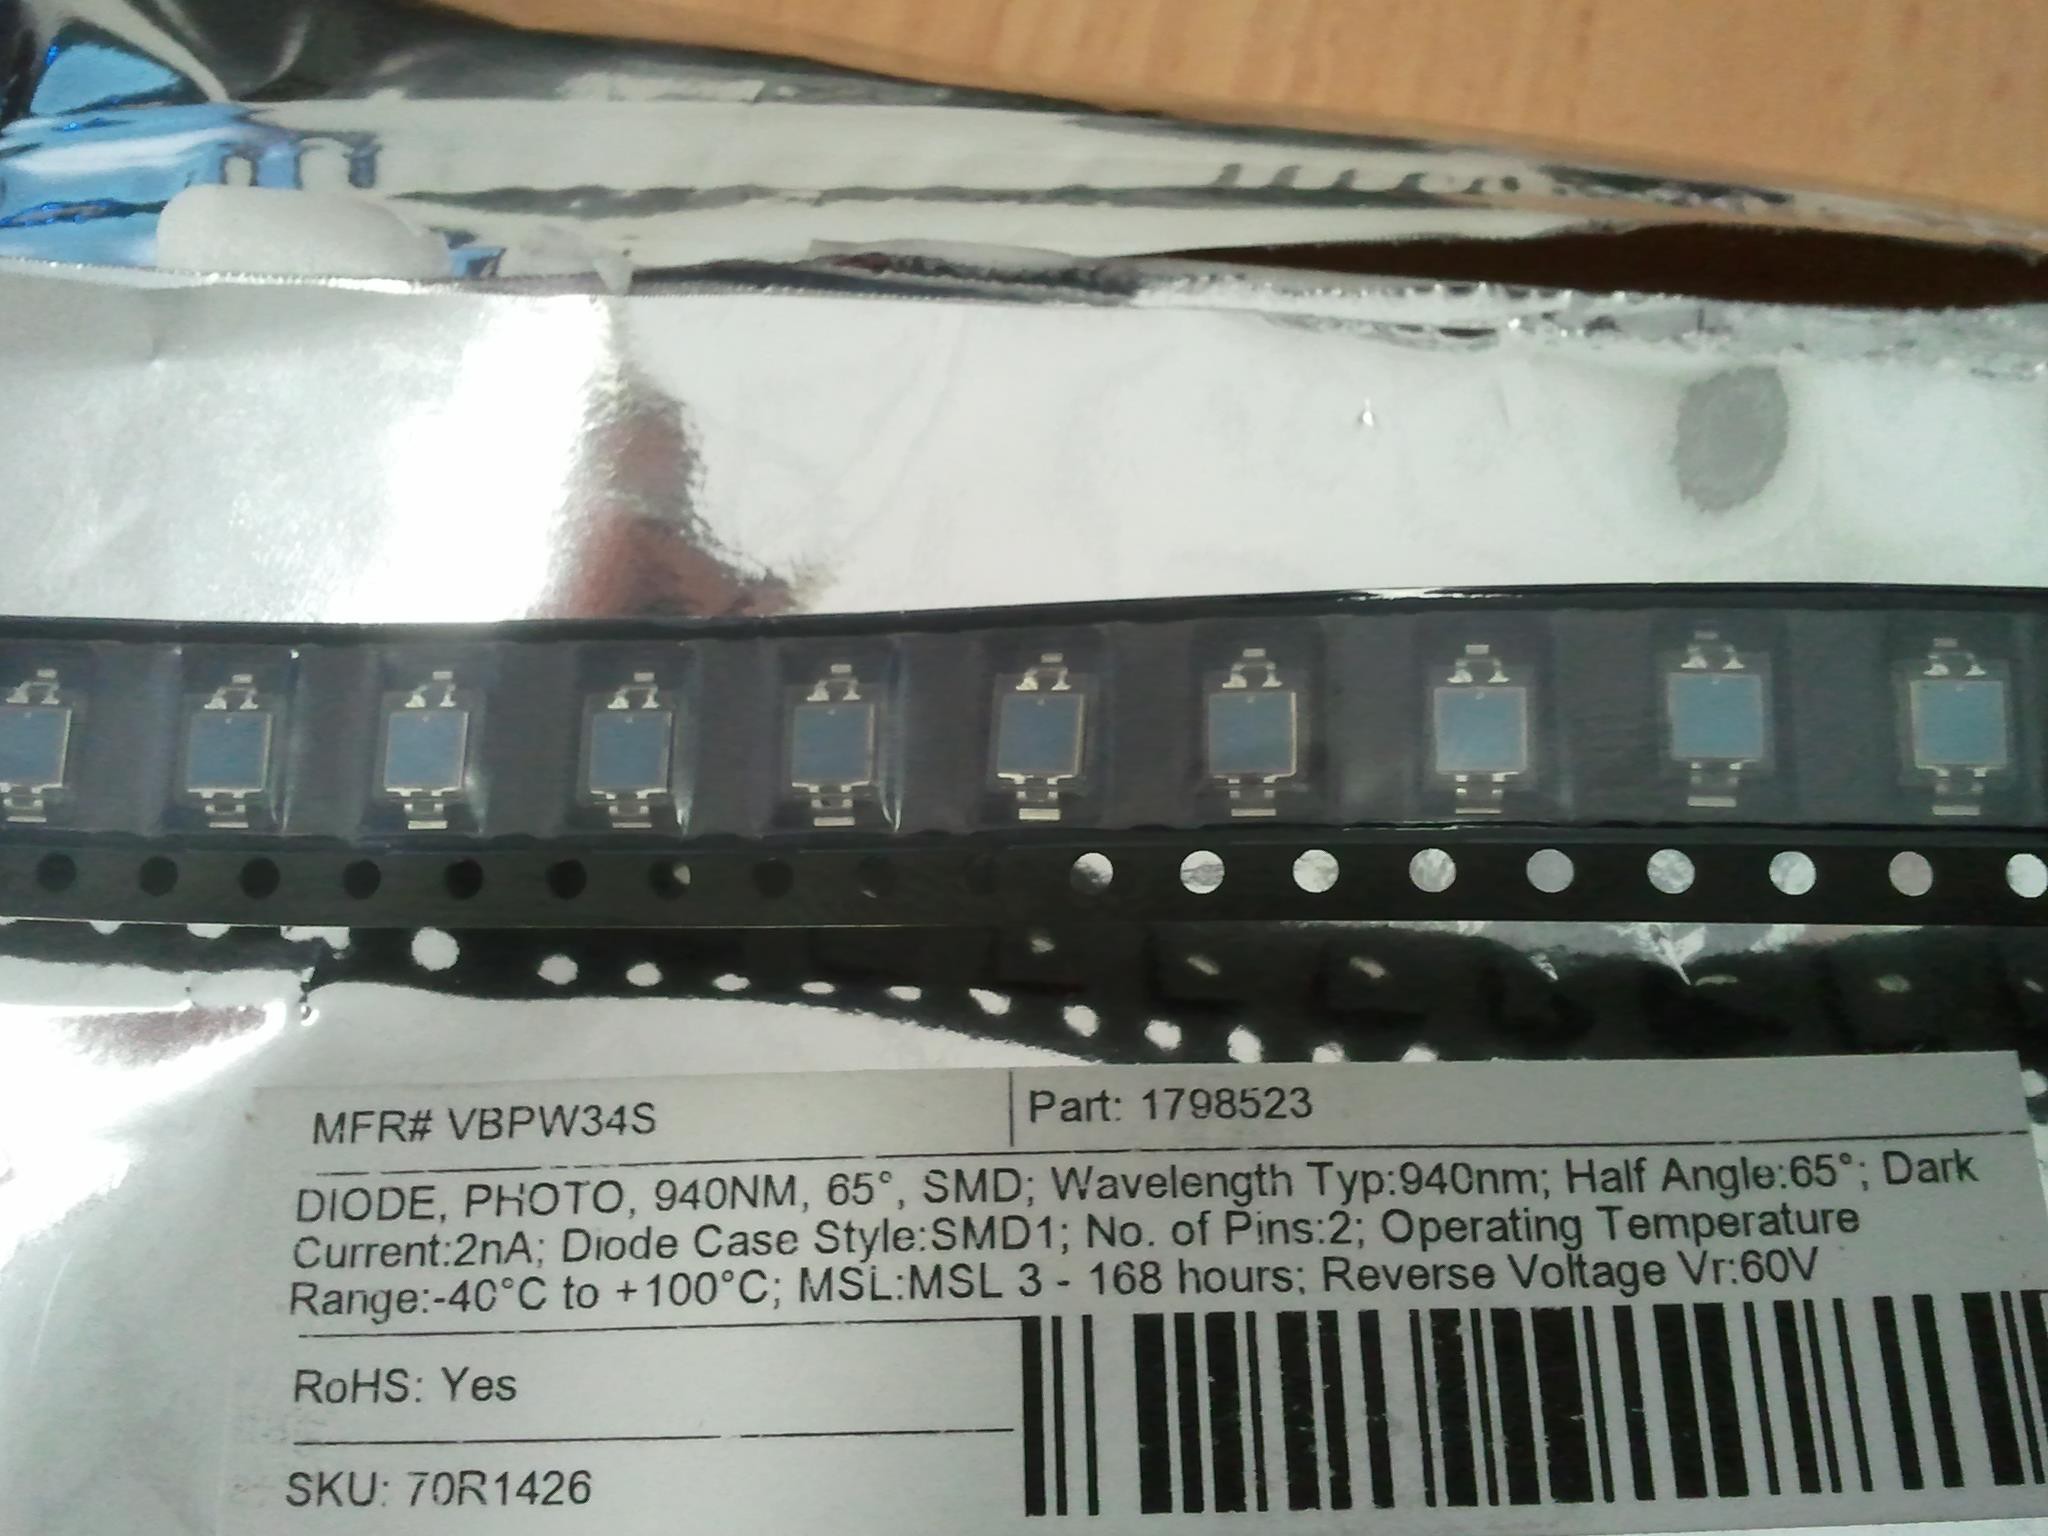
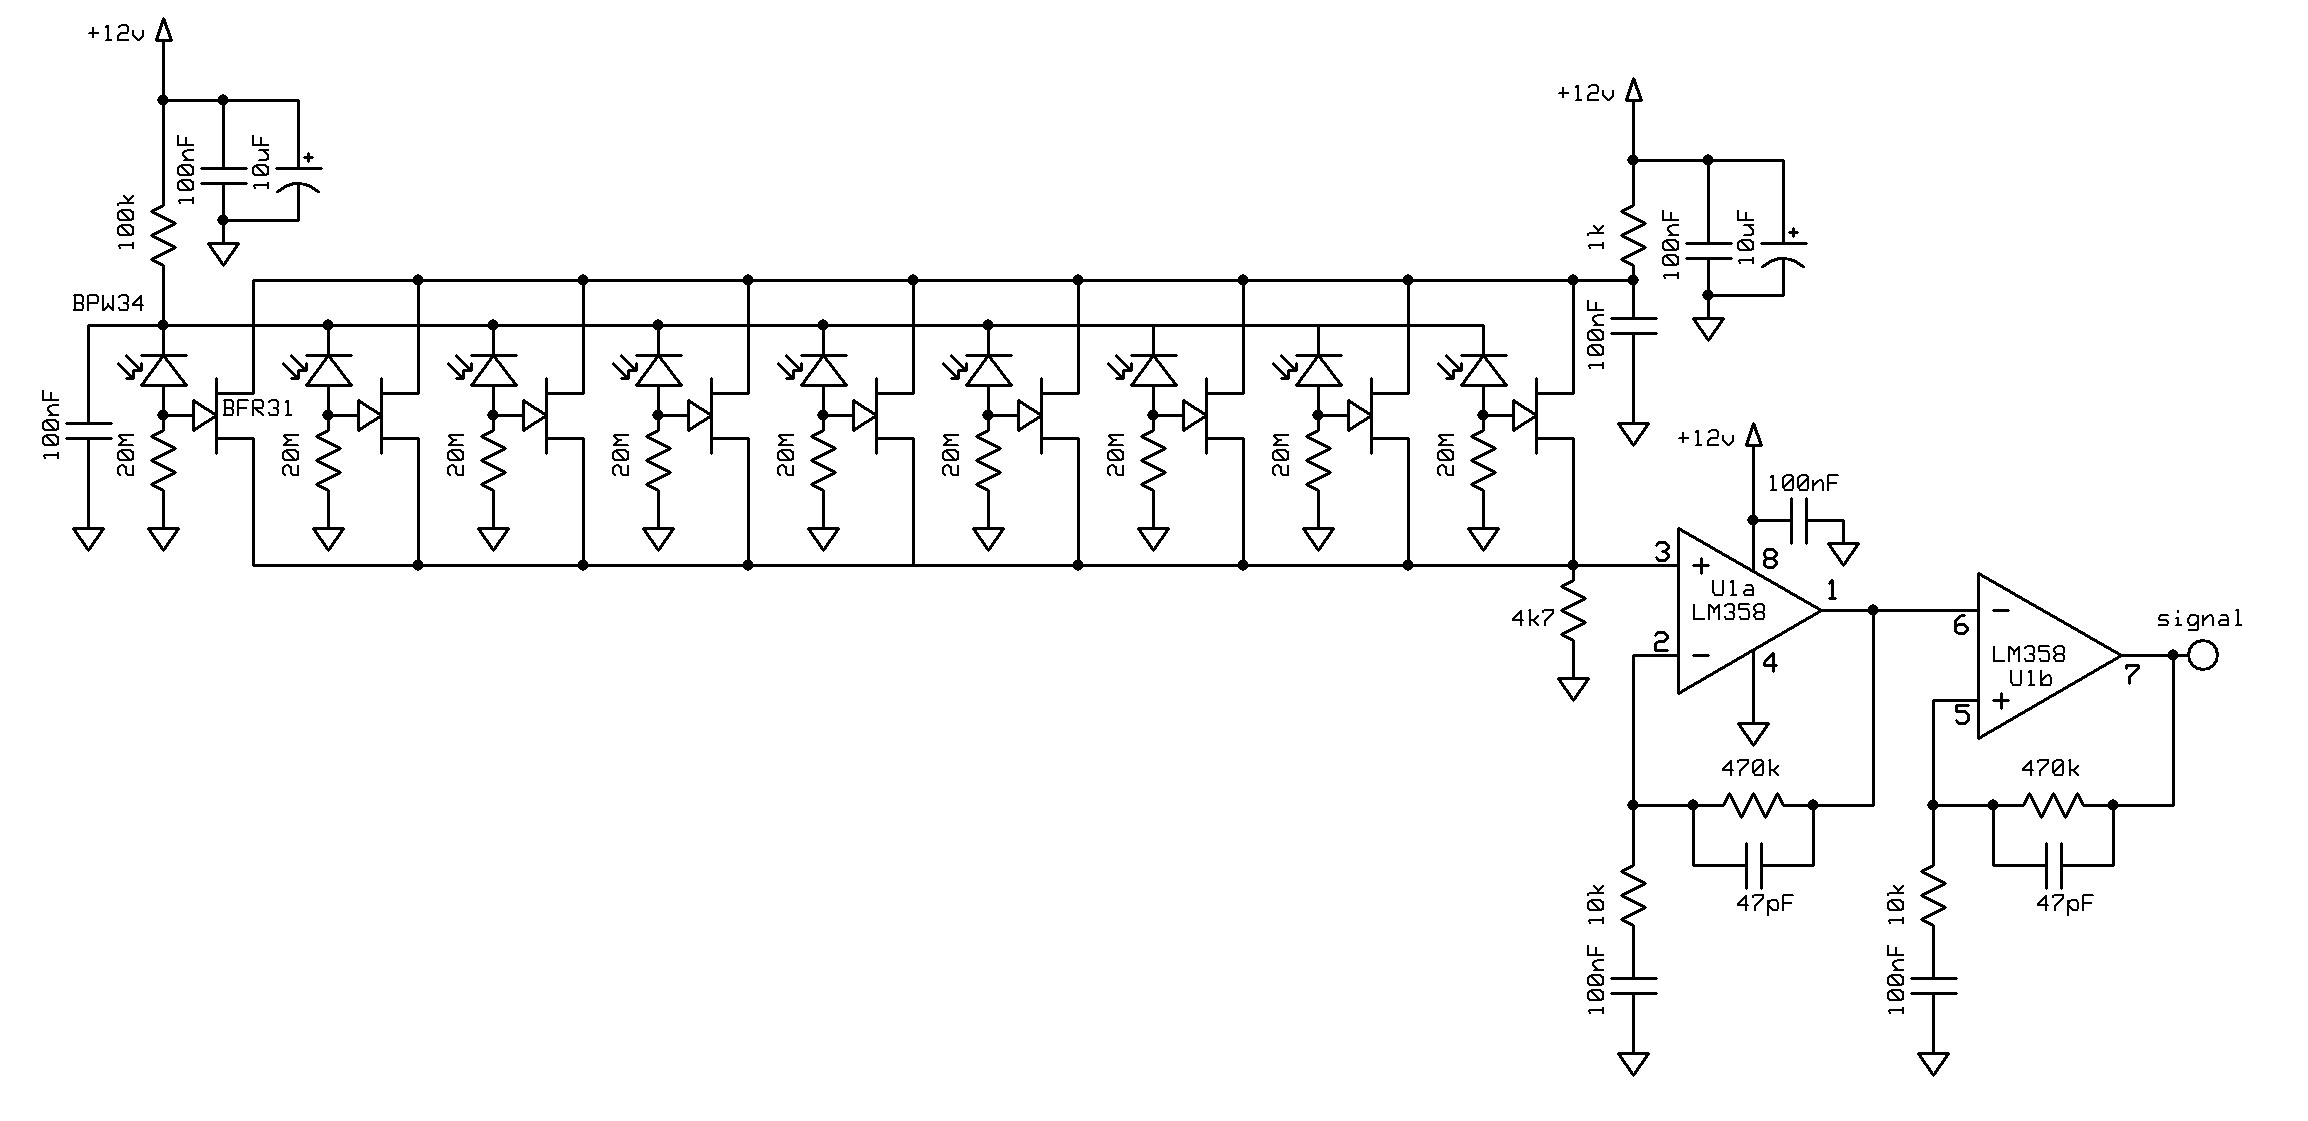
There are lower cost of-the-shelf Pin Photodiodes such as the BPW34F which have been featured in many DIY radiation detector projects over the years. However, these have an even smaller aperture. So many will need to be connected together to increase it. However, they can not be simply wired in parallel due their combined capacitance. Here is rough layout that I have began experimenting with using JFETs to buffer each photodiode before amplification.
![]()
![]()
-
Splash Adelaide 16 Detector Array
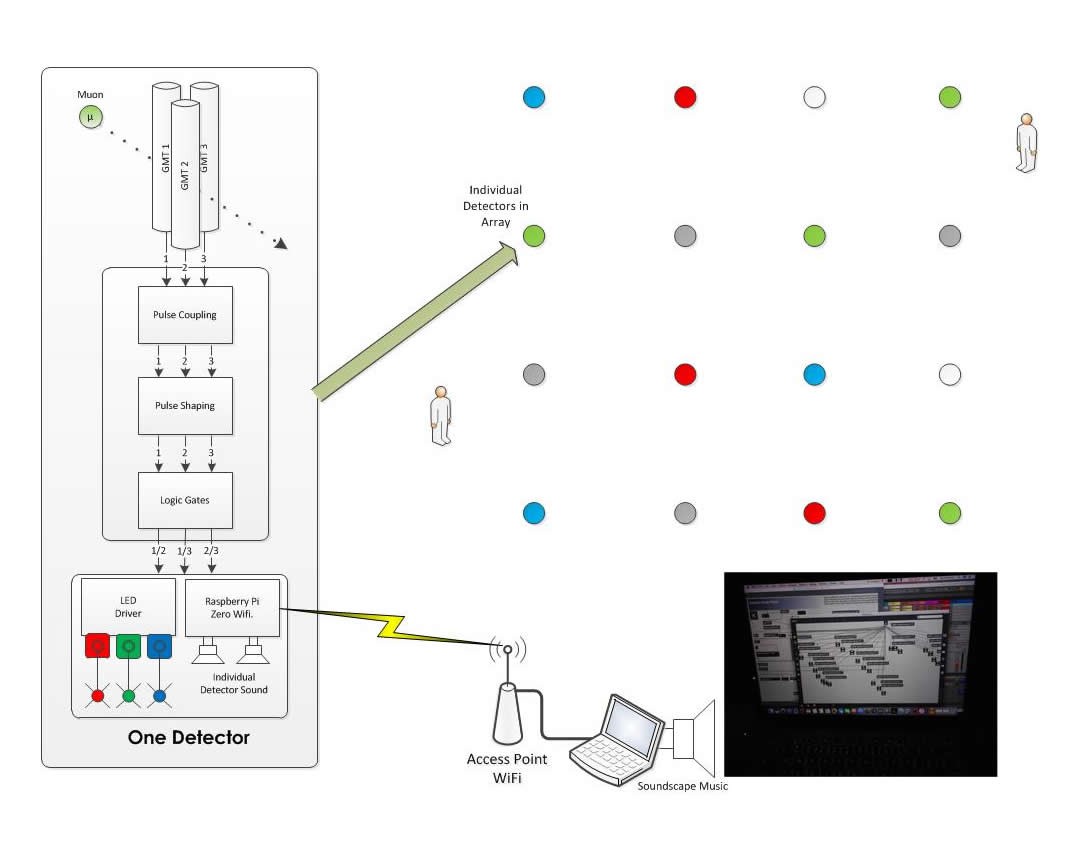
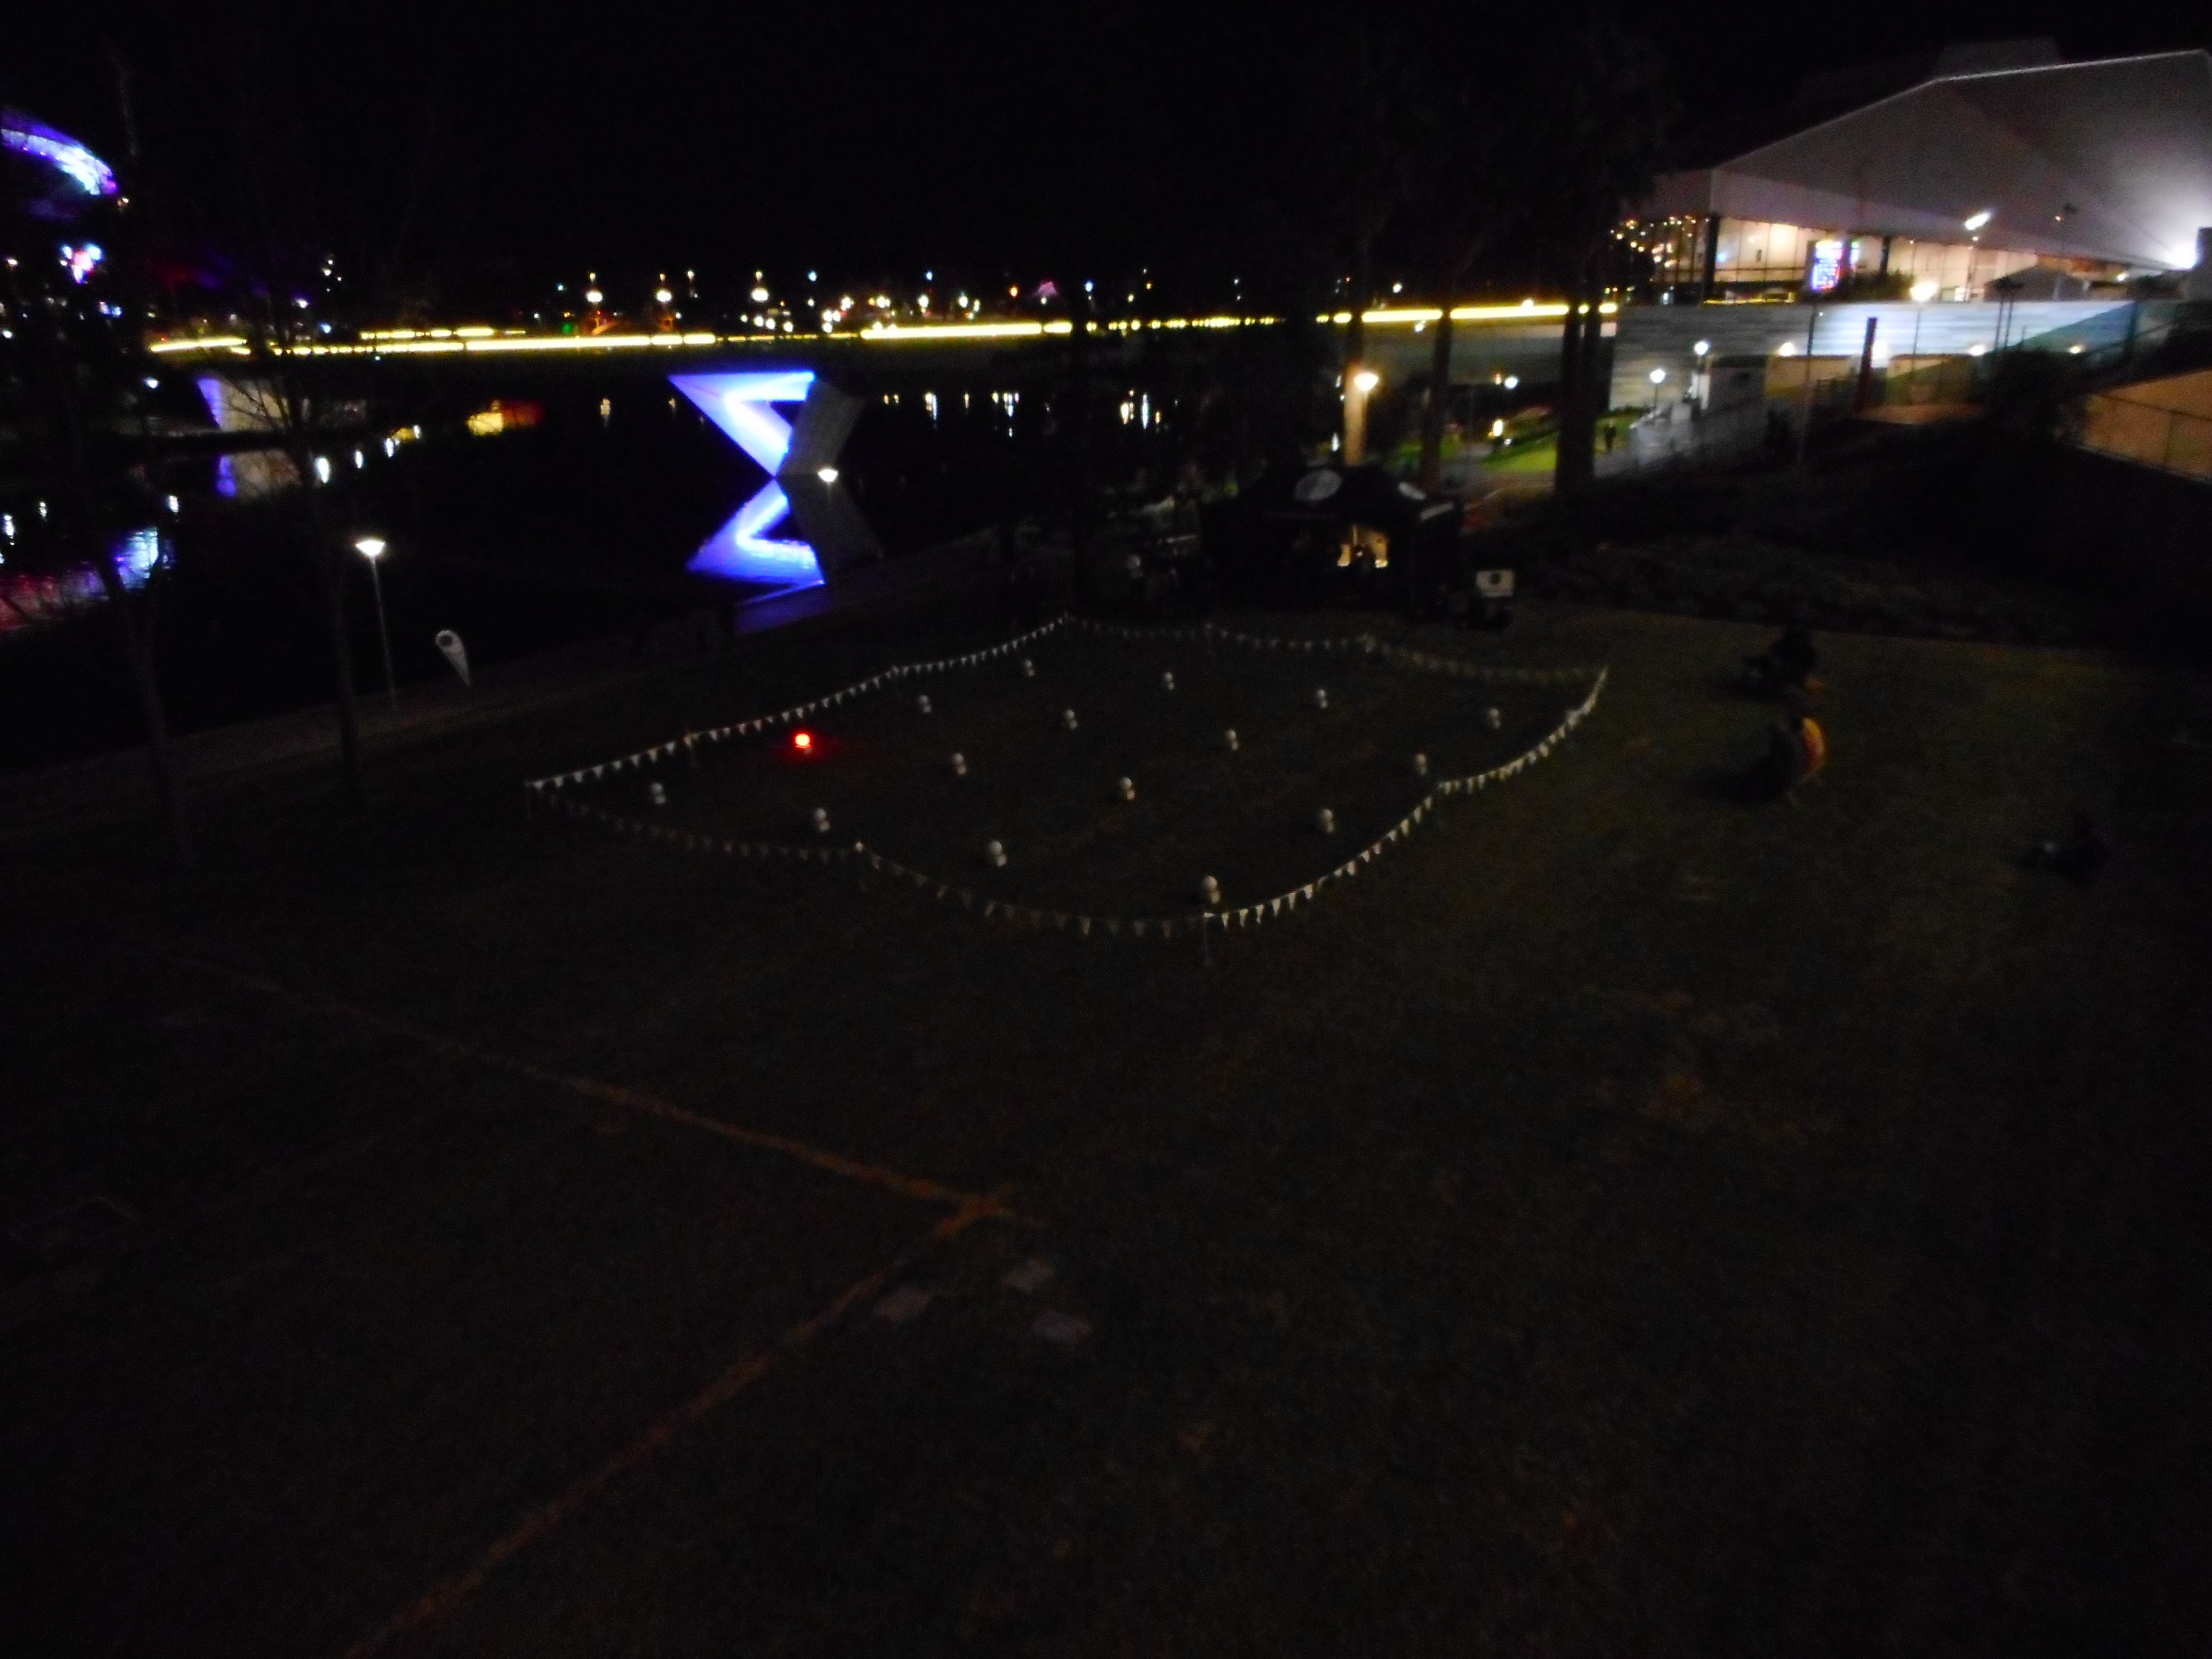
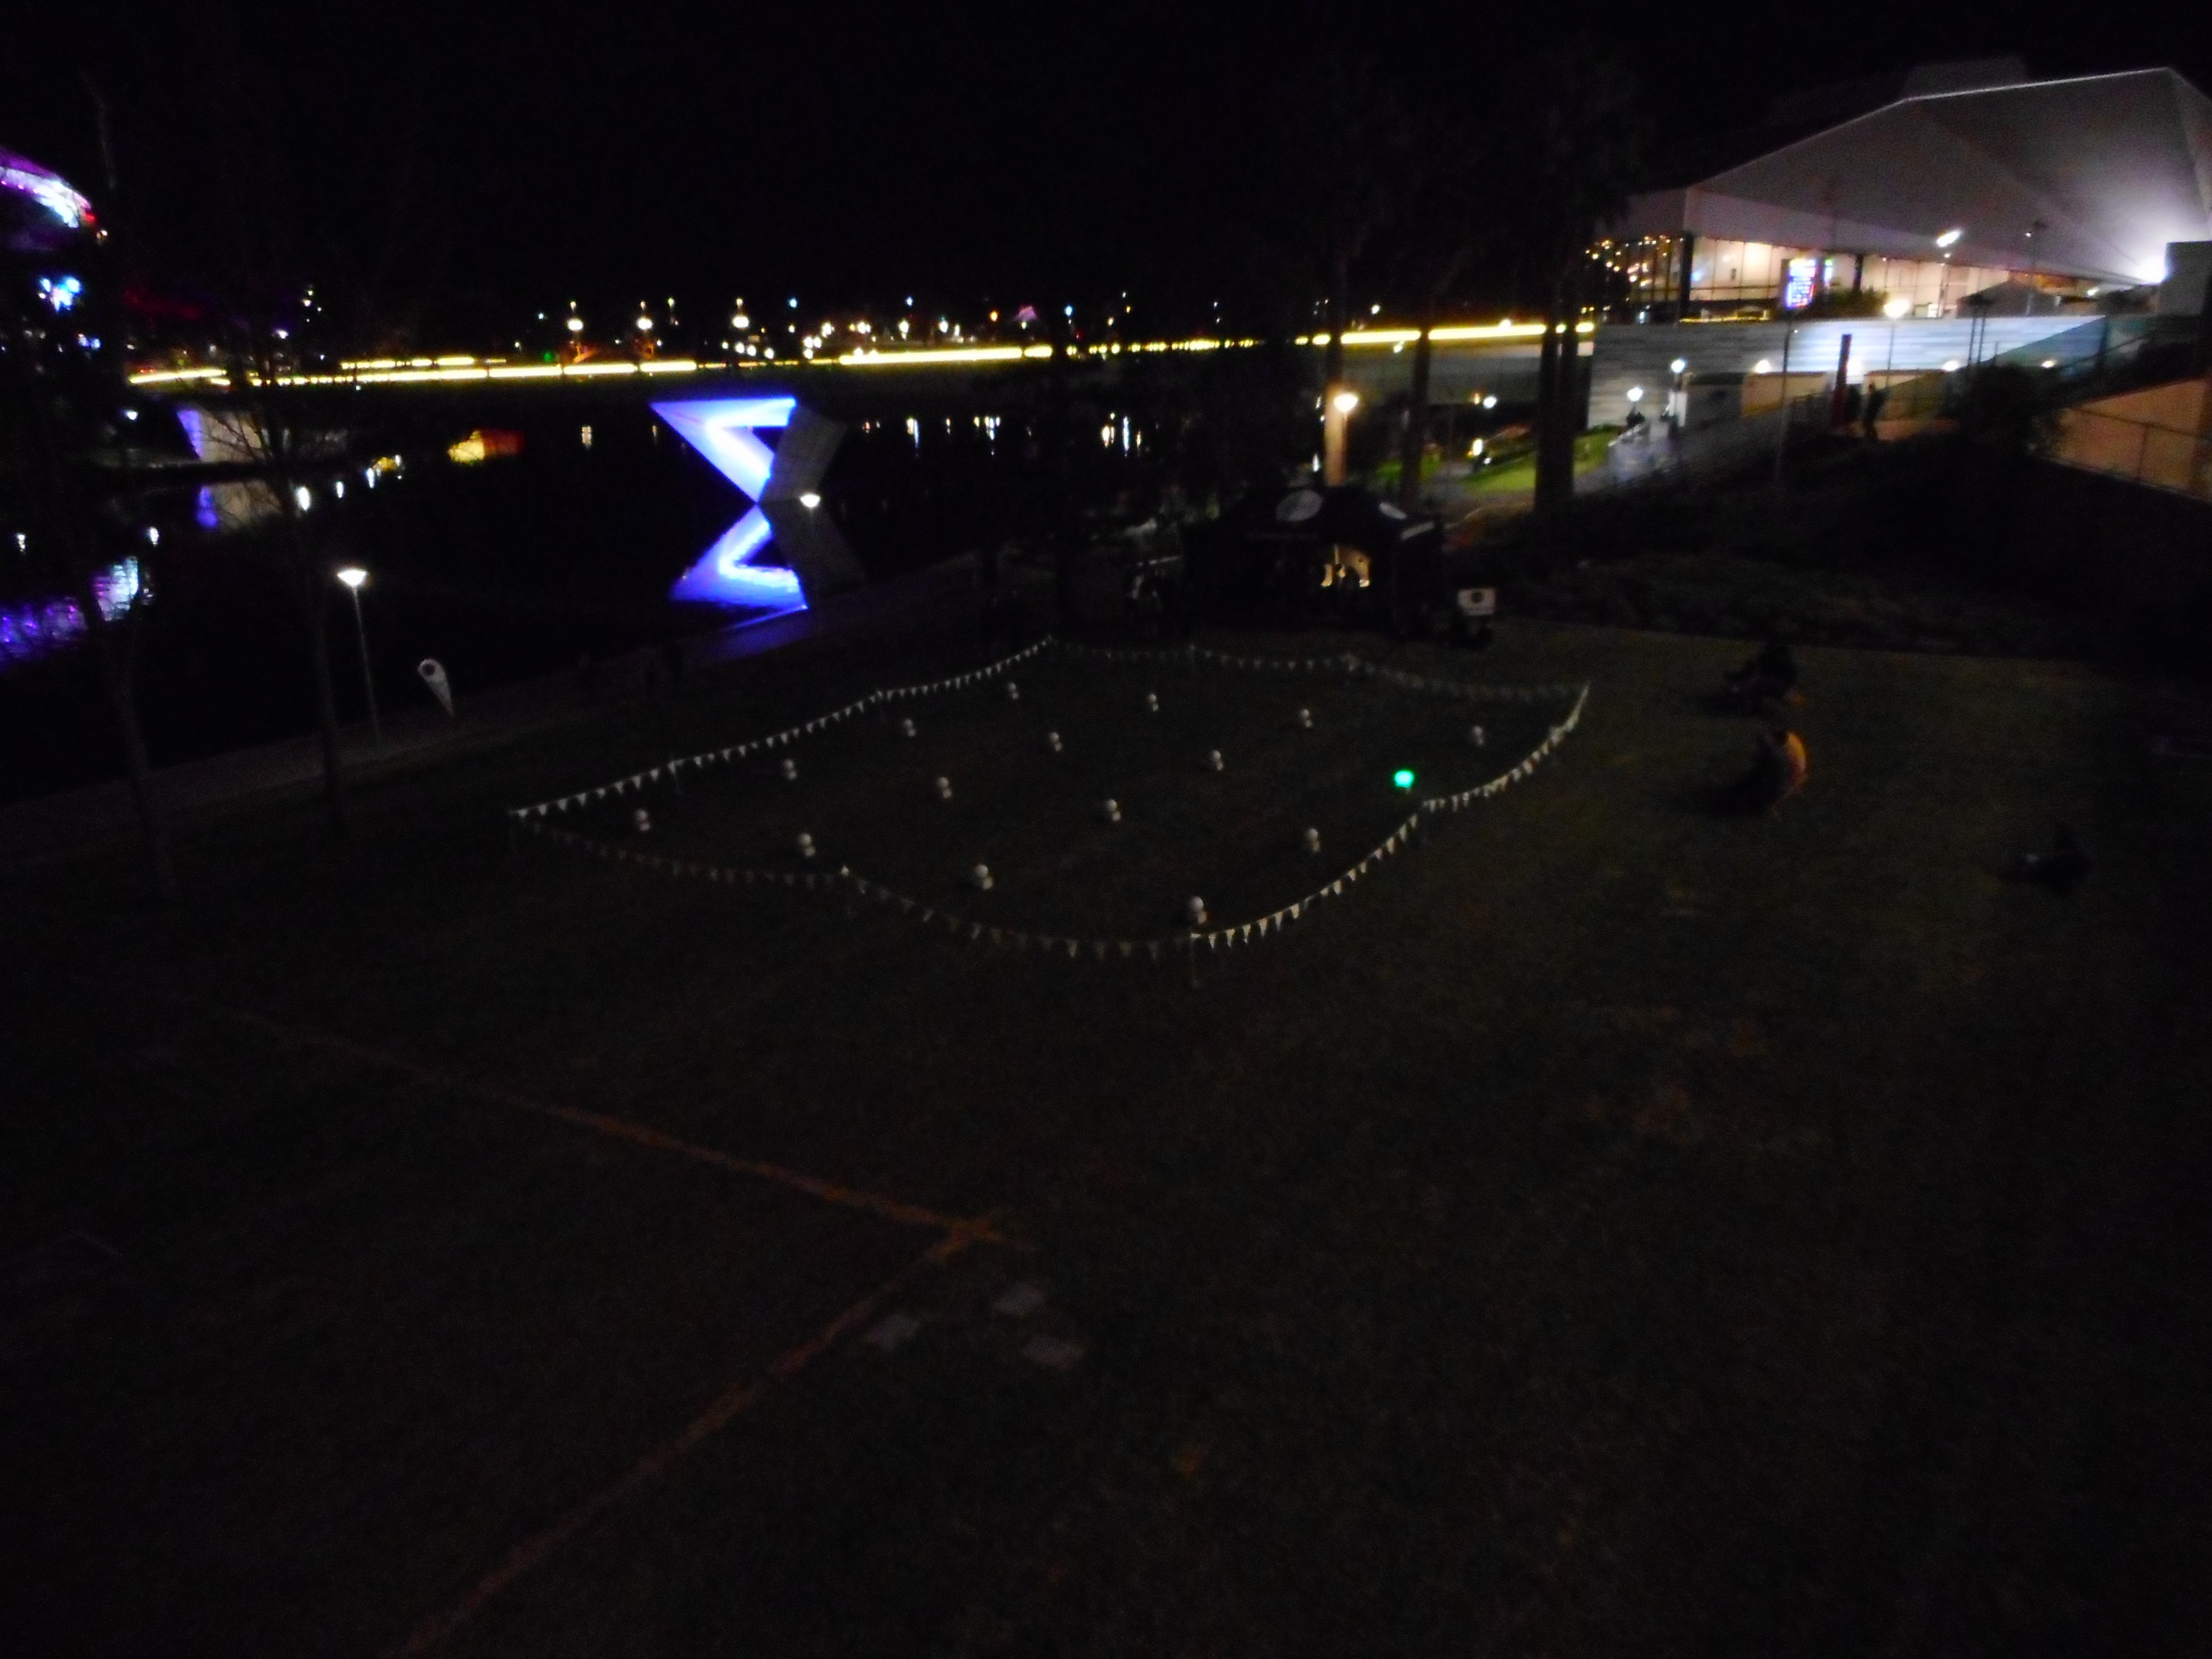
09/06/2017 at 09:26 • 0 commentsThe Splash Adelaide installation was very successful will allot of public interest and questions. The IoT setup also went well and we were able to live stream data to another computer where it was mapped into music using MAX/MSP software. The sounds in the following video include bell sounds from each detector and also the combined musical soundscape generated in MAX/MSP.
![]()
Cosmic Array
An array of cosmic ray detectors across a landscape that demonstrates in light and sound how cosmic rays are constantly all around us.
 Robert Hart