HackersHub
-
Firing up for the first time
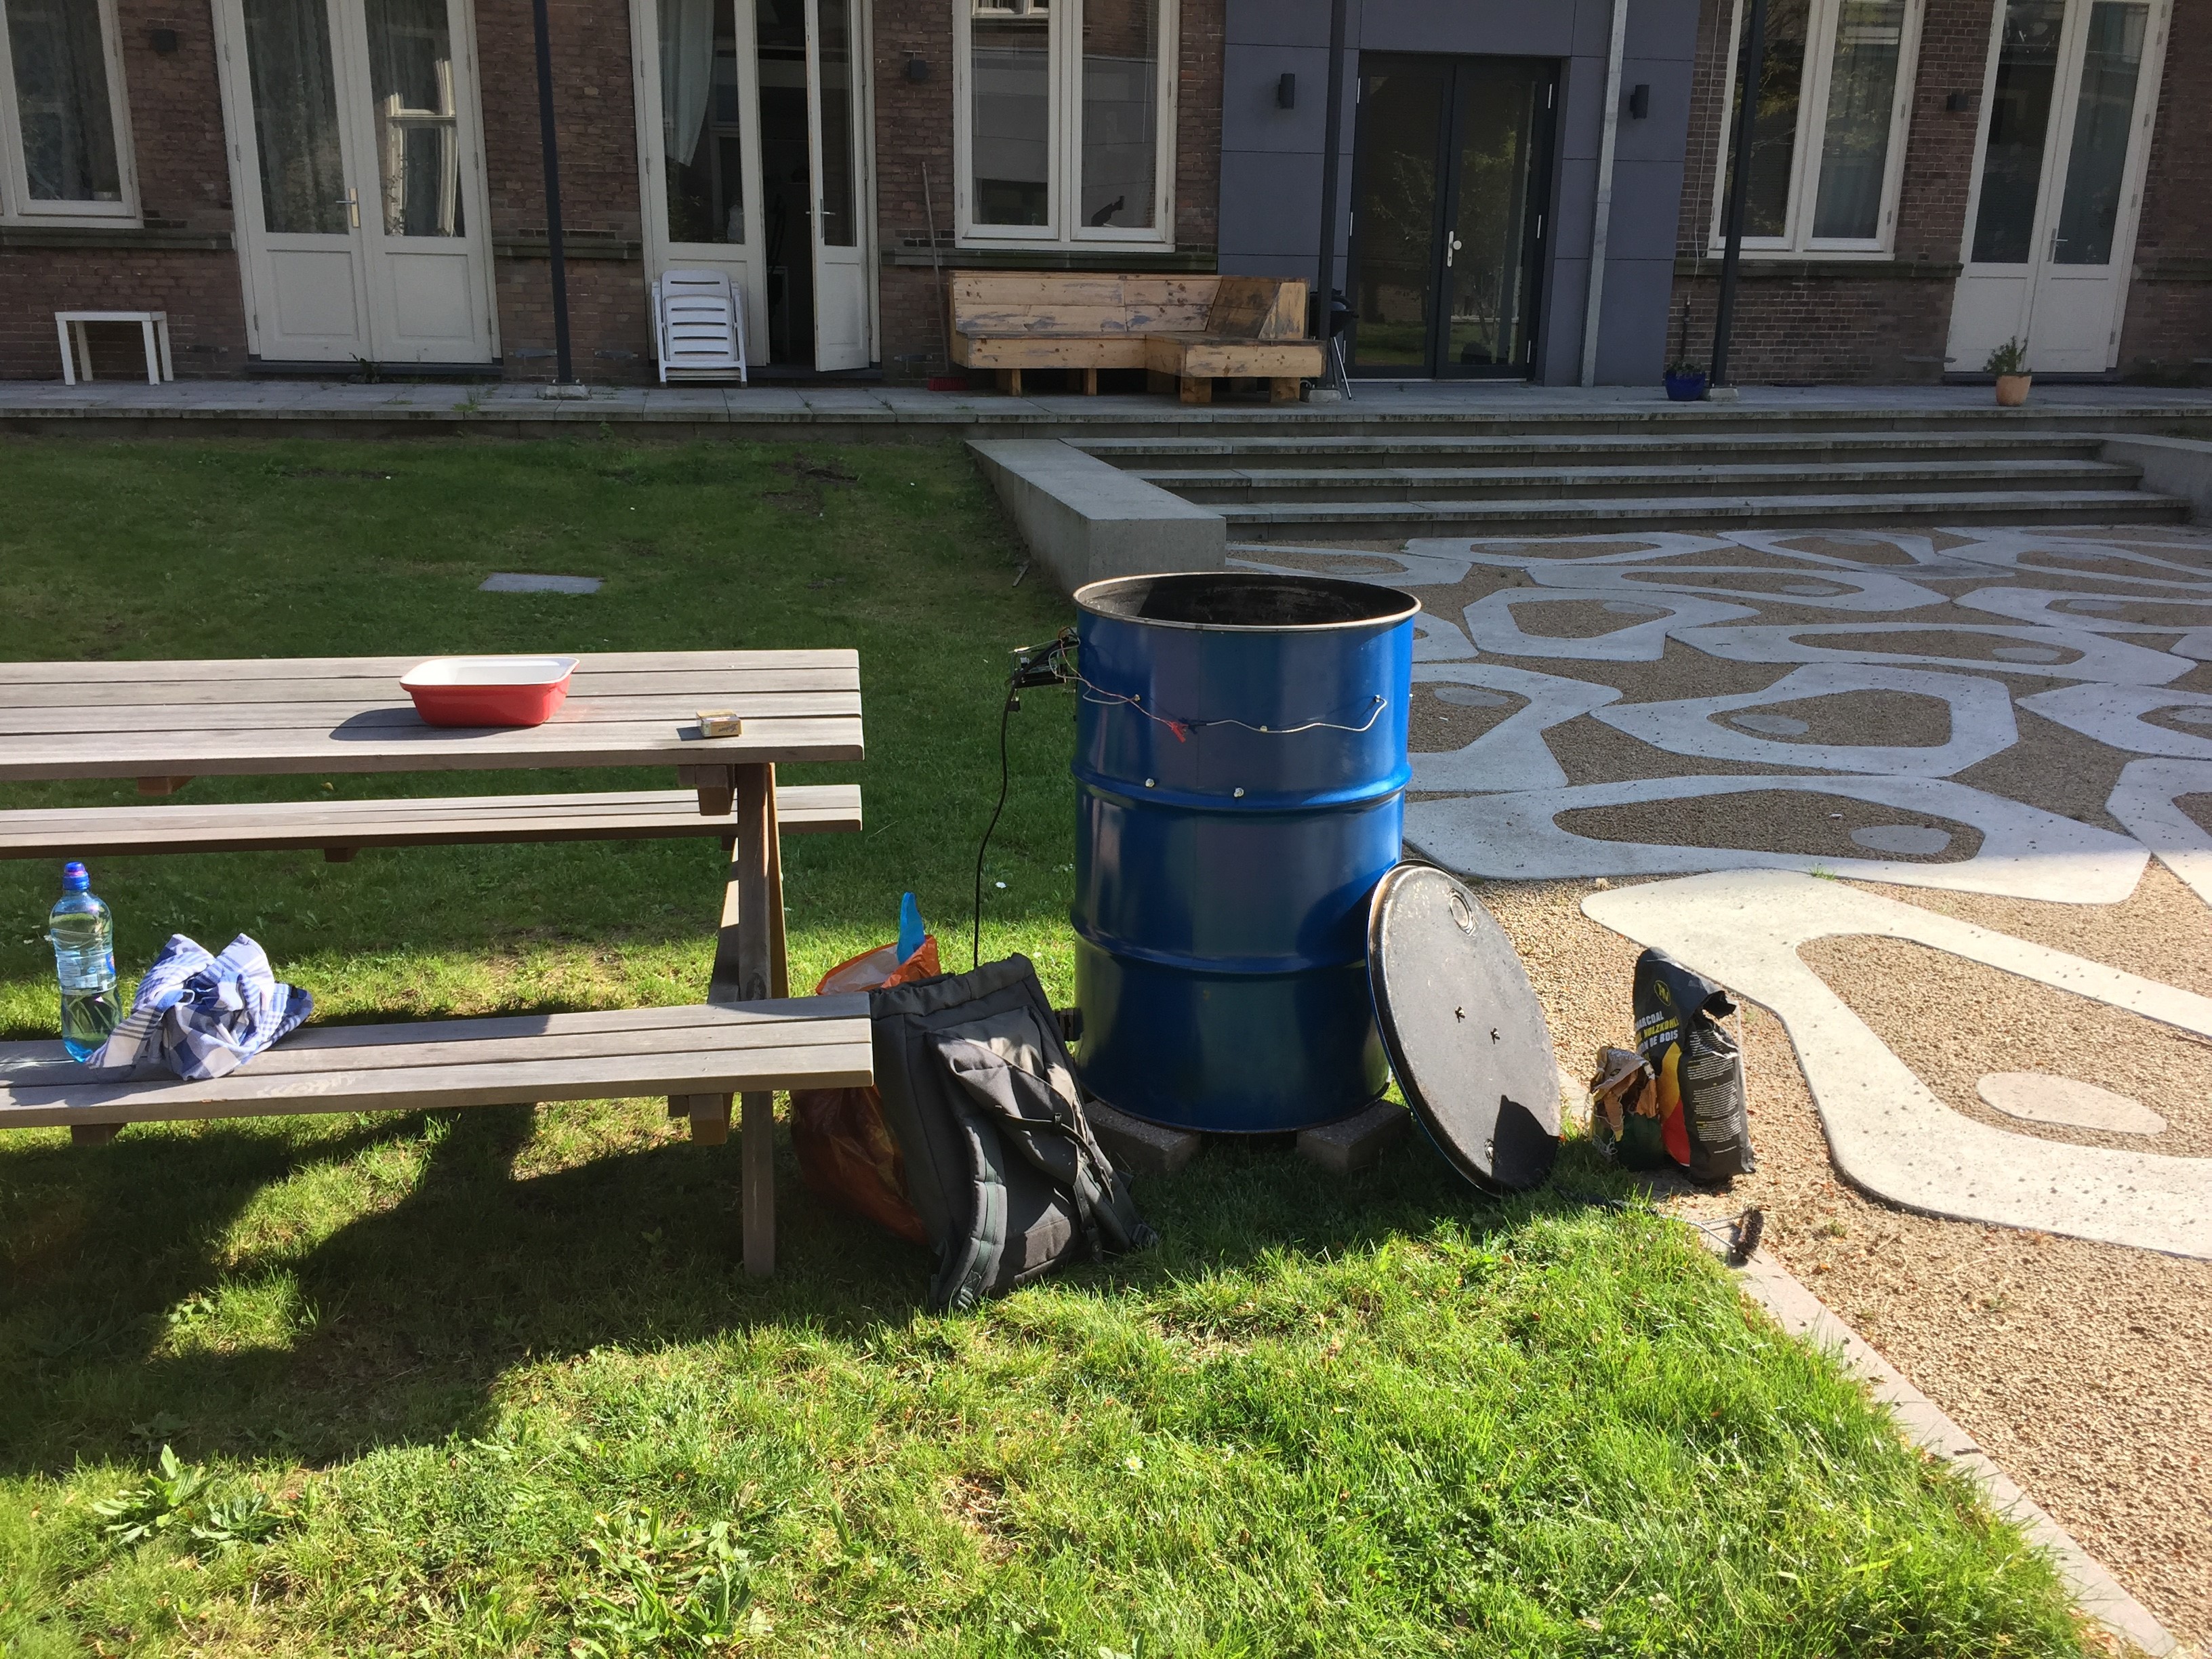
09/14/2019 at 16:40 • 0 commentsThe day has come that it has come alive.
First things first is determining the temperature offset. As the sensors which are used to determine the barrel temperature are in the skin of the barrel, the smoker was lit in the standard setup with the deflector in the center and the meat probe lying on the grill. By getting it up to temperature, around 110 degrees, and cutting the fan and seeing where the temperature settles. Just by looking at the difference between the meat probe and the barrel temperature we can determine the offset. In my case, around 24 degrees.
Immediately we found some improvements:
- A coal chute, this was already in the design but not implemented yet.
- Uneven burn, the fan is powerful enough and even at a 0% duty cycle it is on. But as it just blows on one side of the coals basket, it mainly burns the coals on that side. On top of that, the coal basket does not have holes in the bottom. So first step is to add holes on the bottom and if that's not enough well have to make some kind of deflector that forces the air into the bottom of the basket.
![]()
-
First full assembly
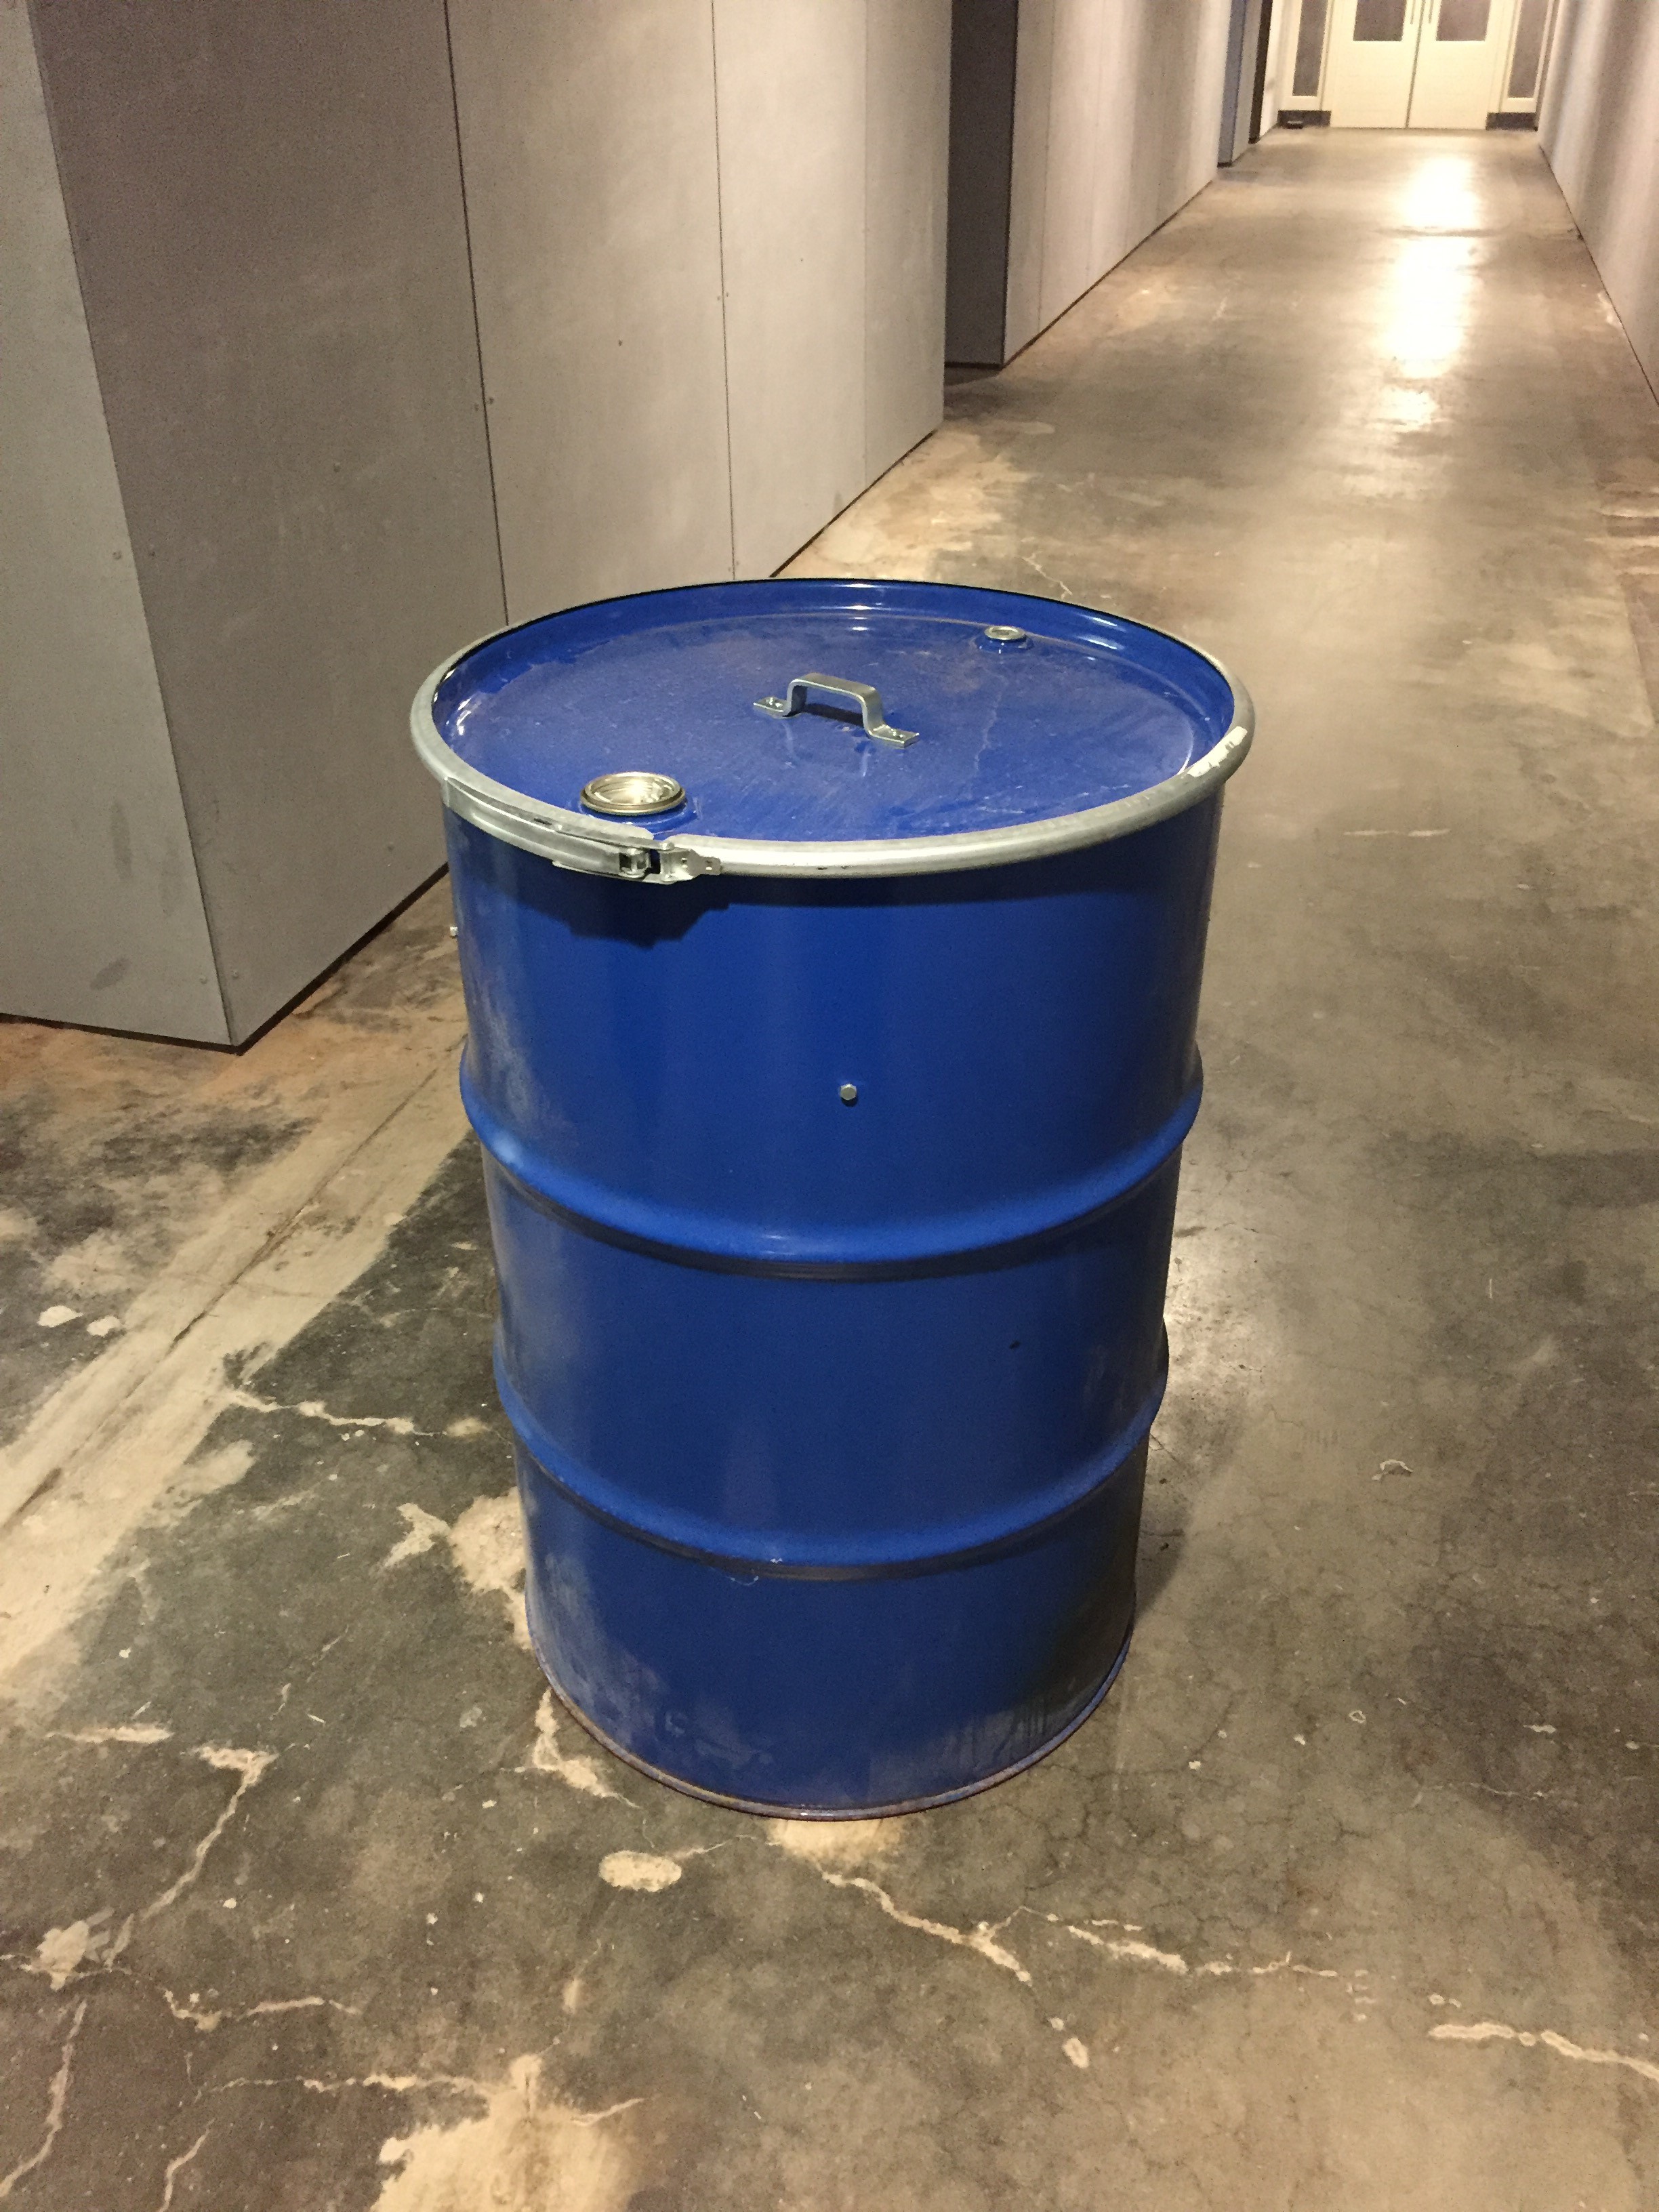
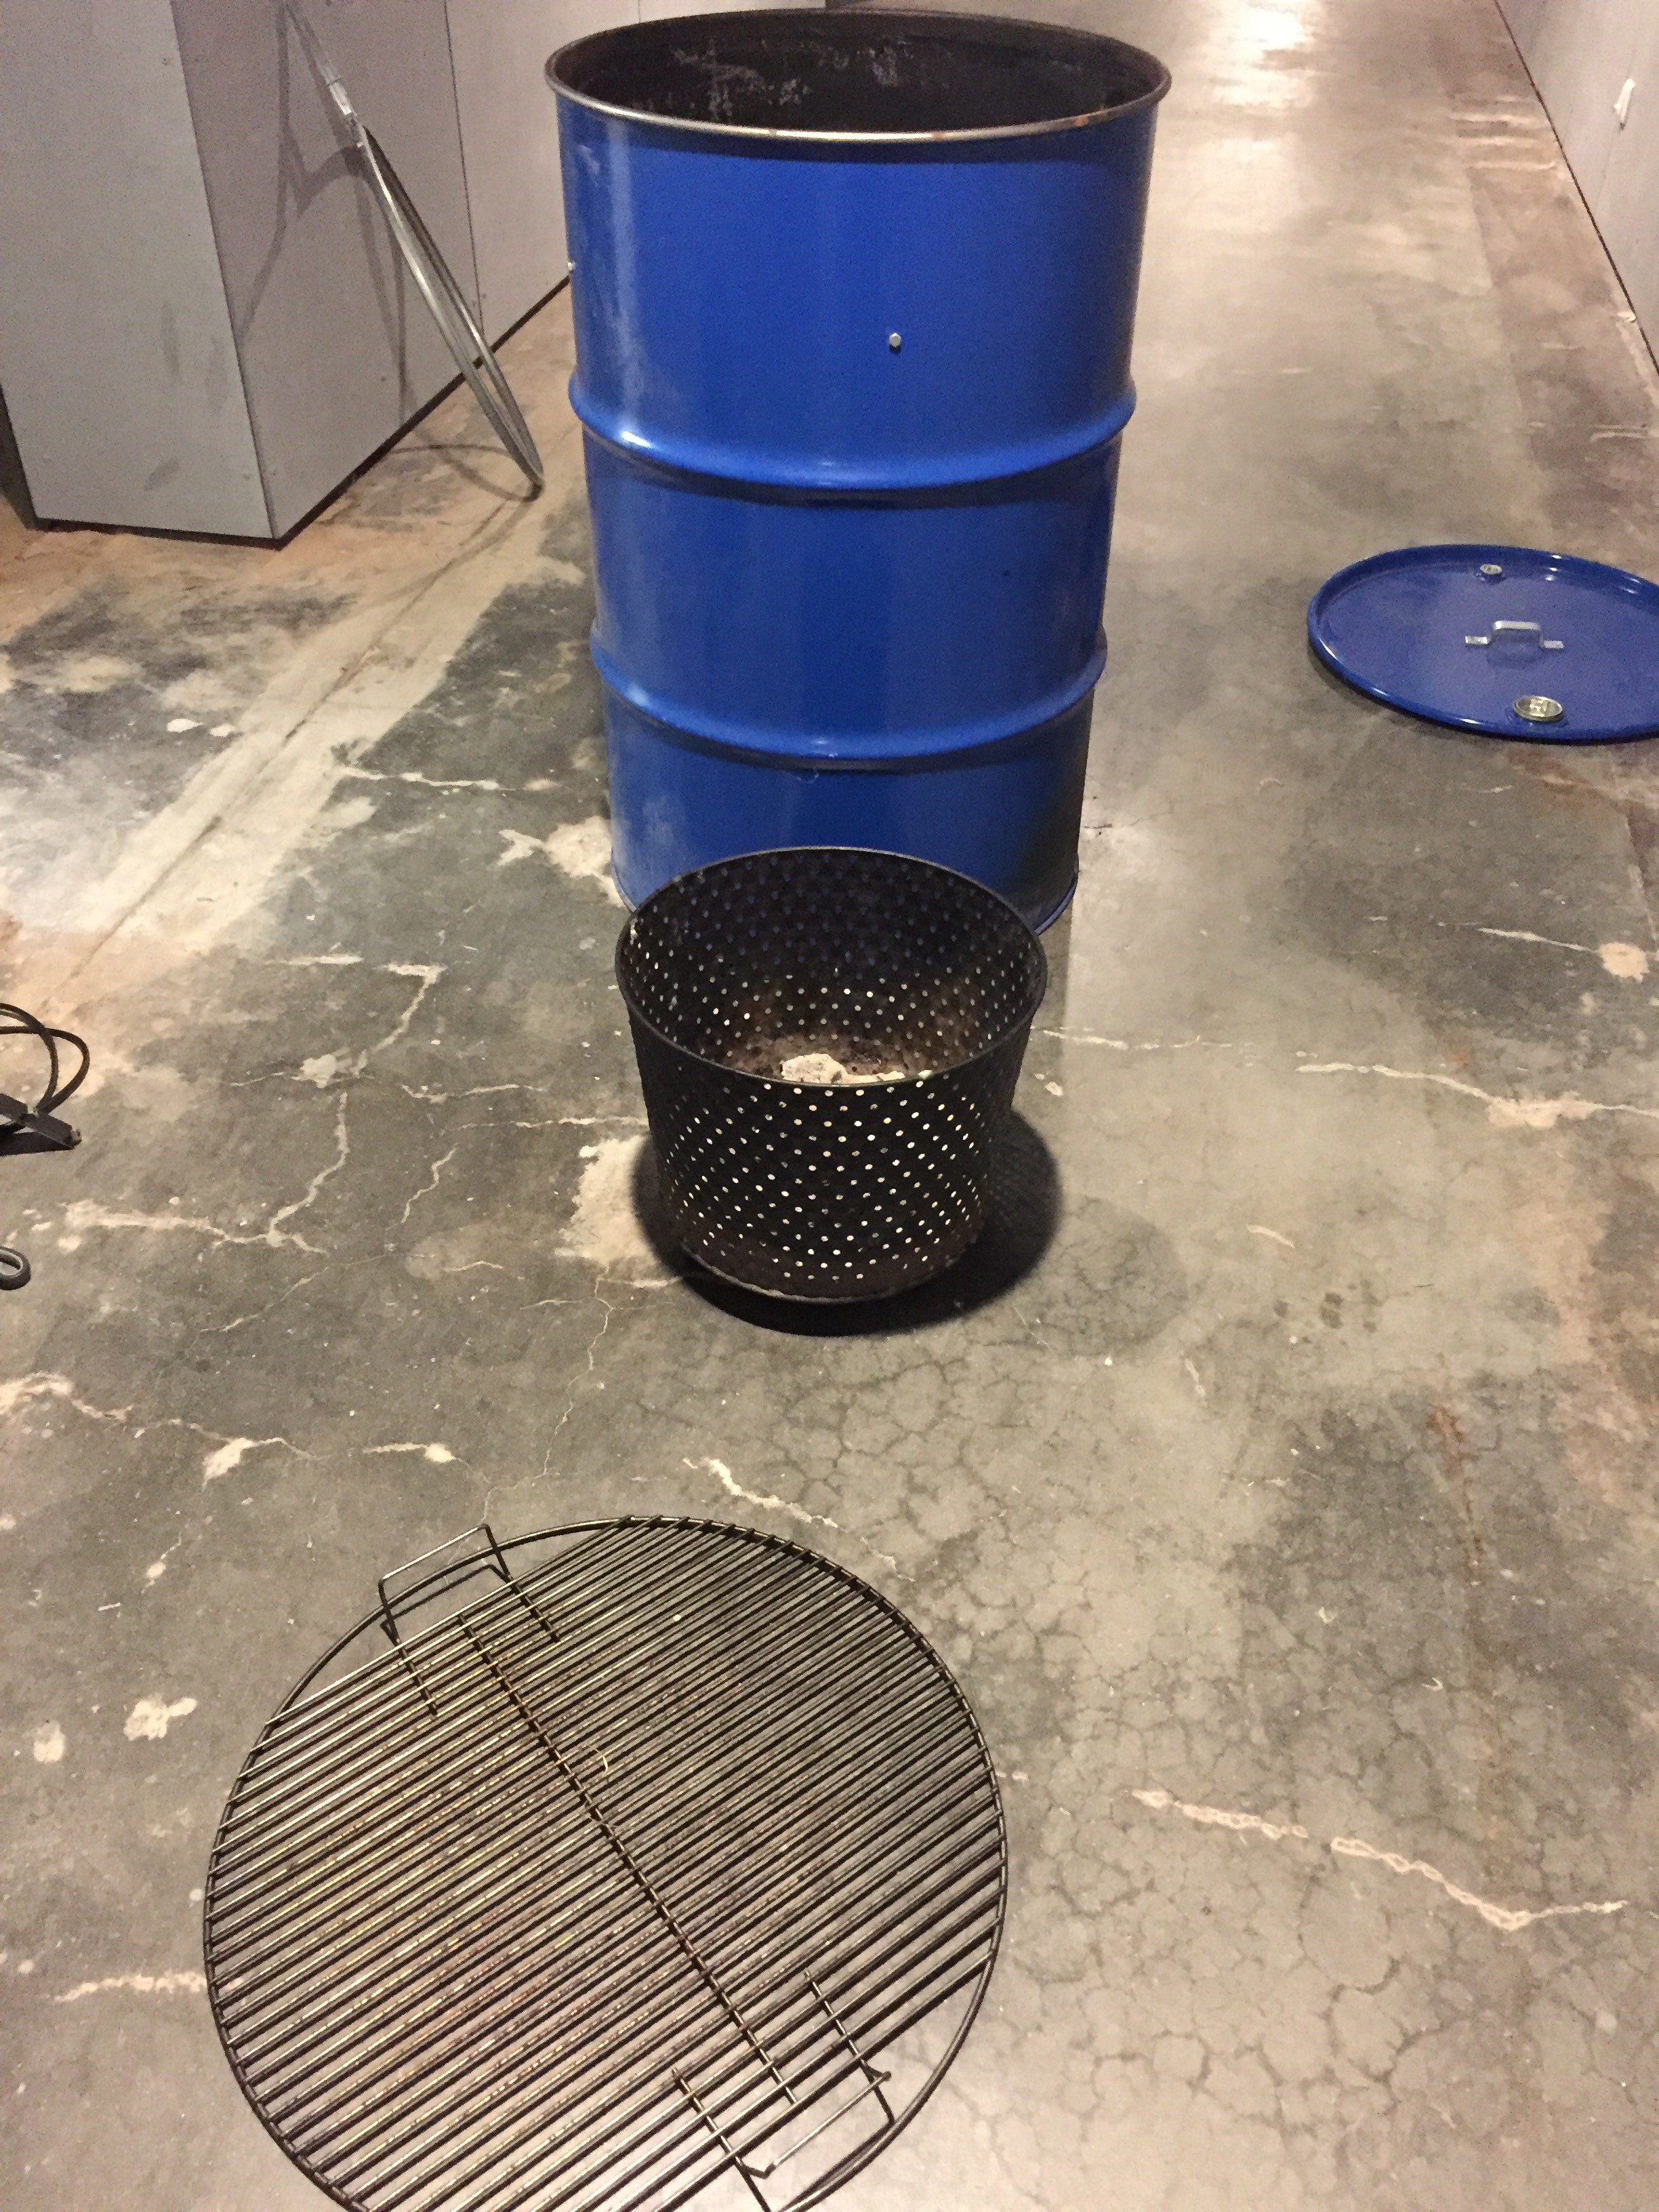
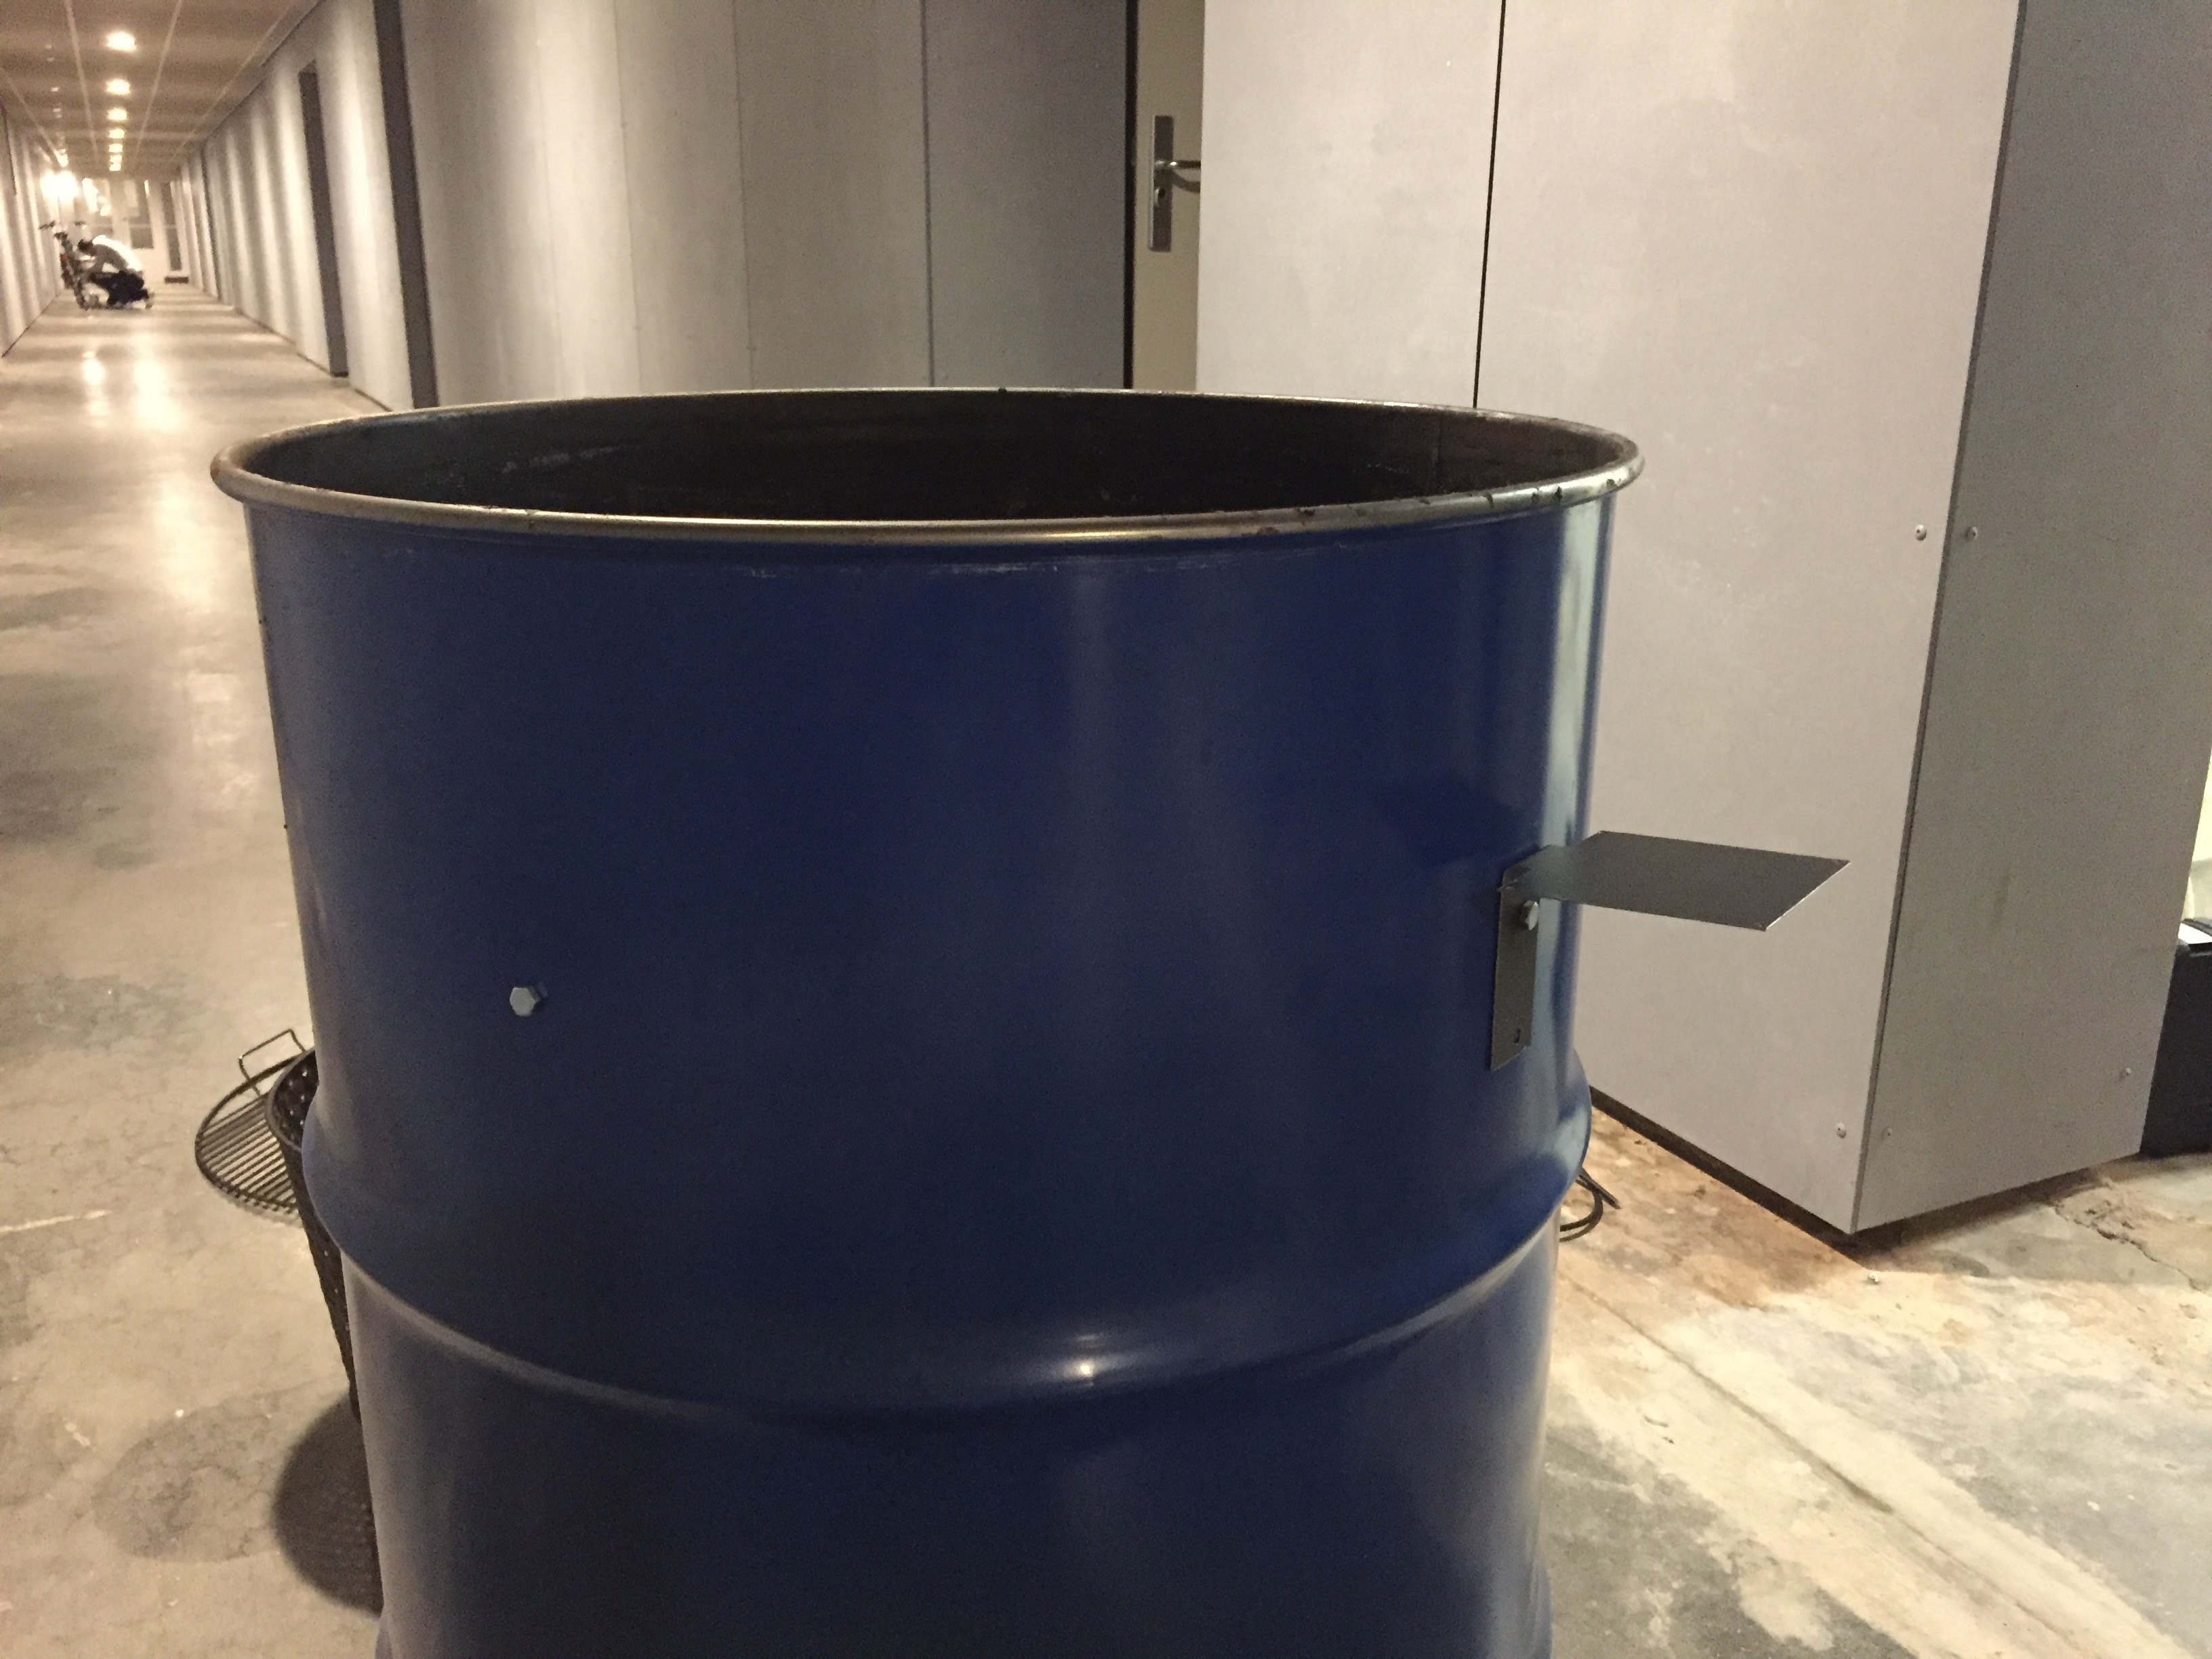
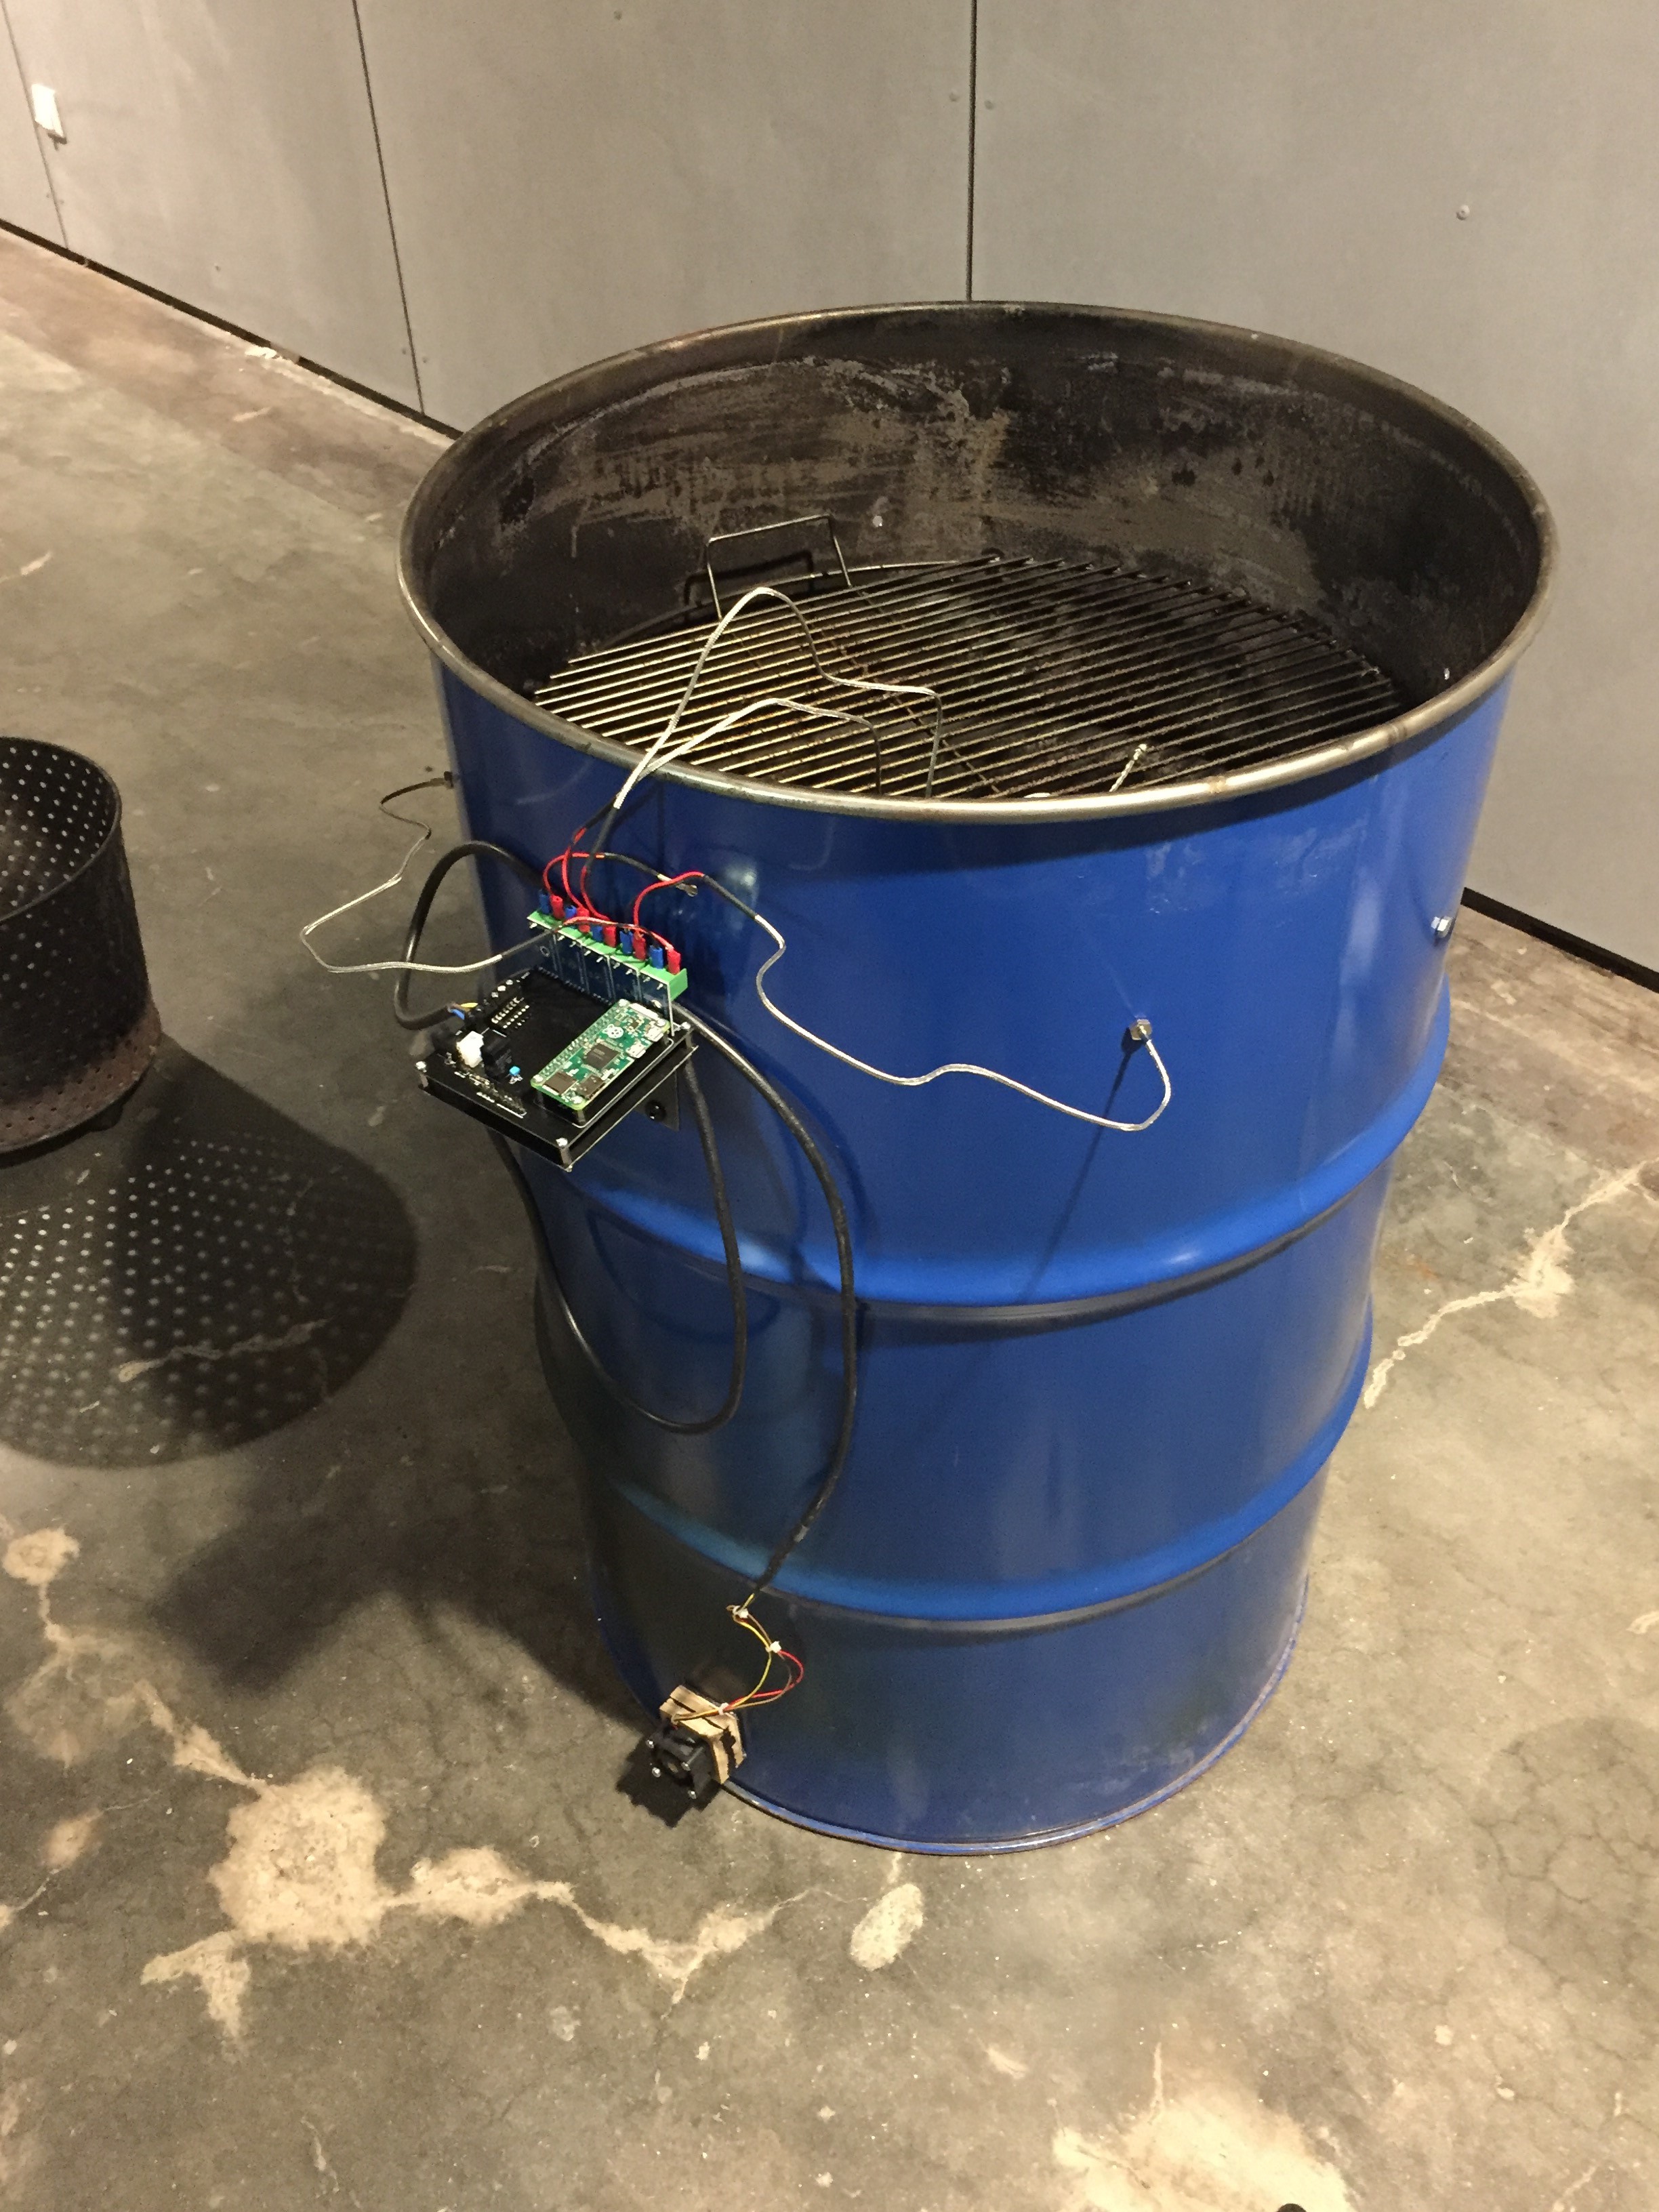
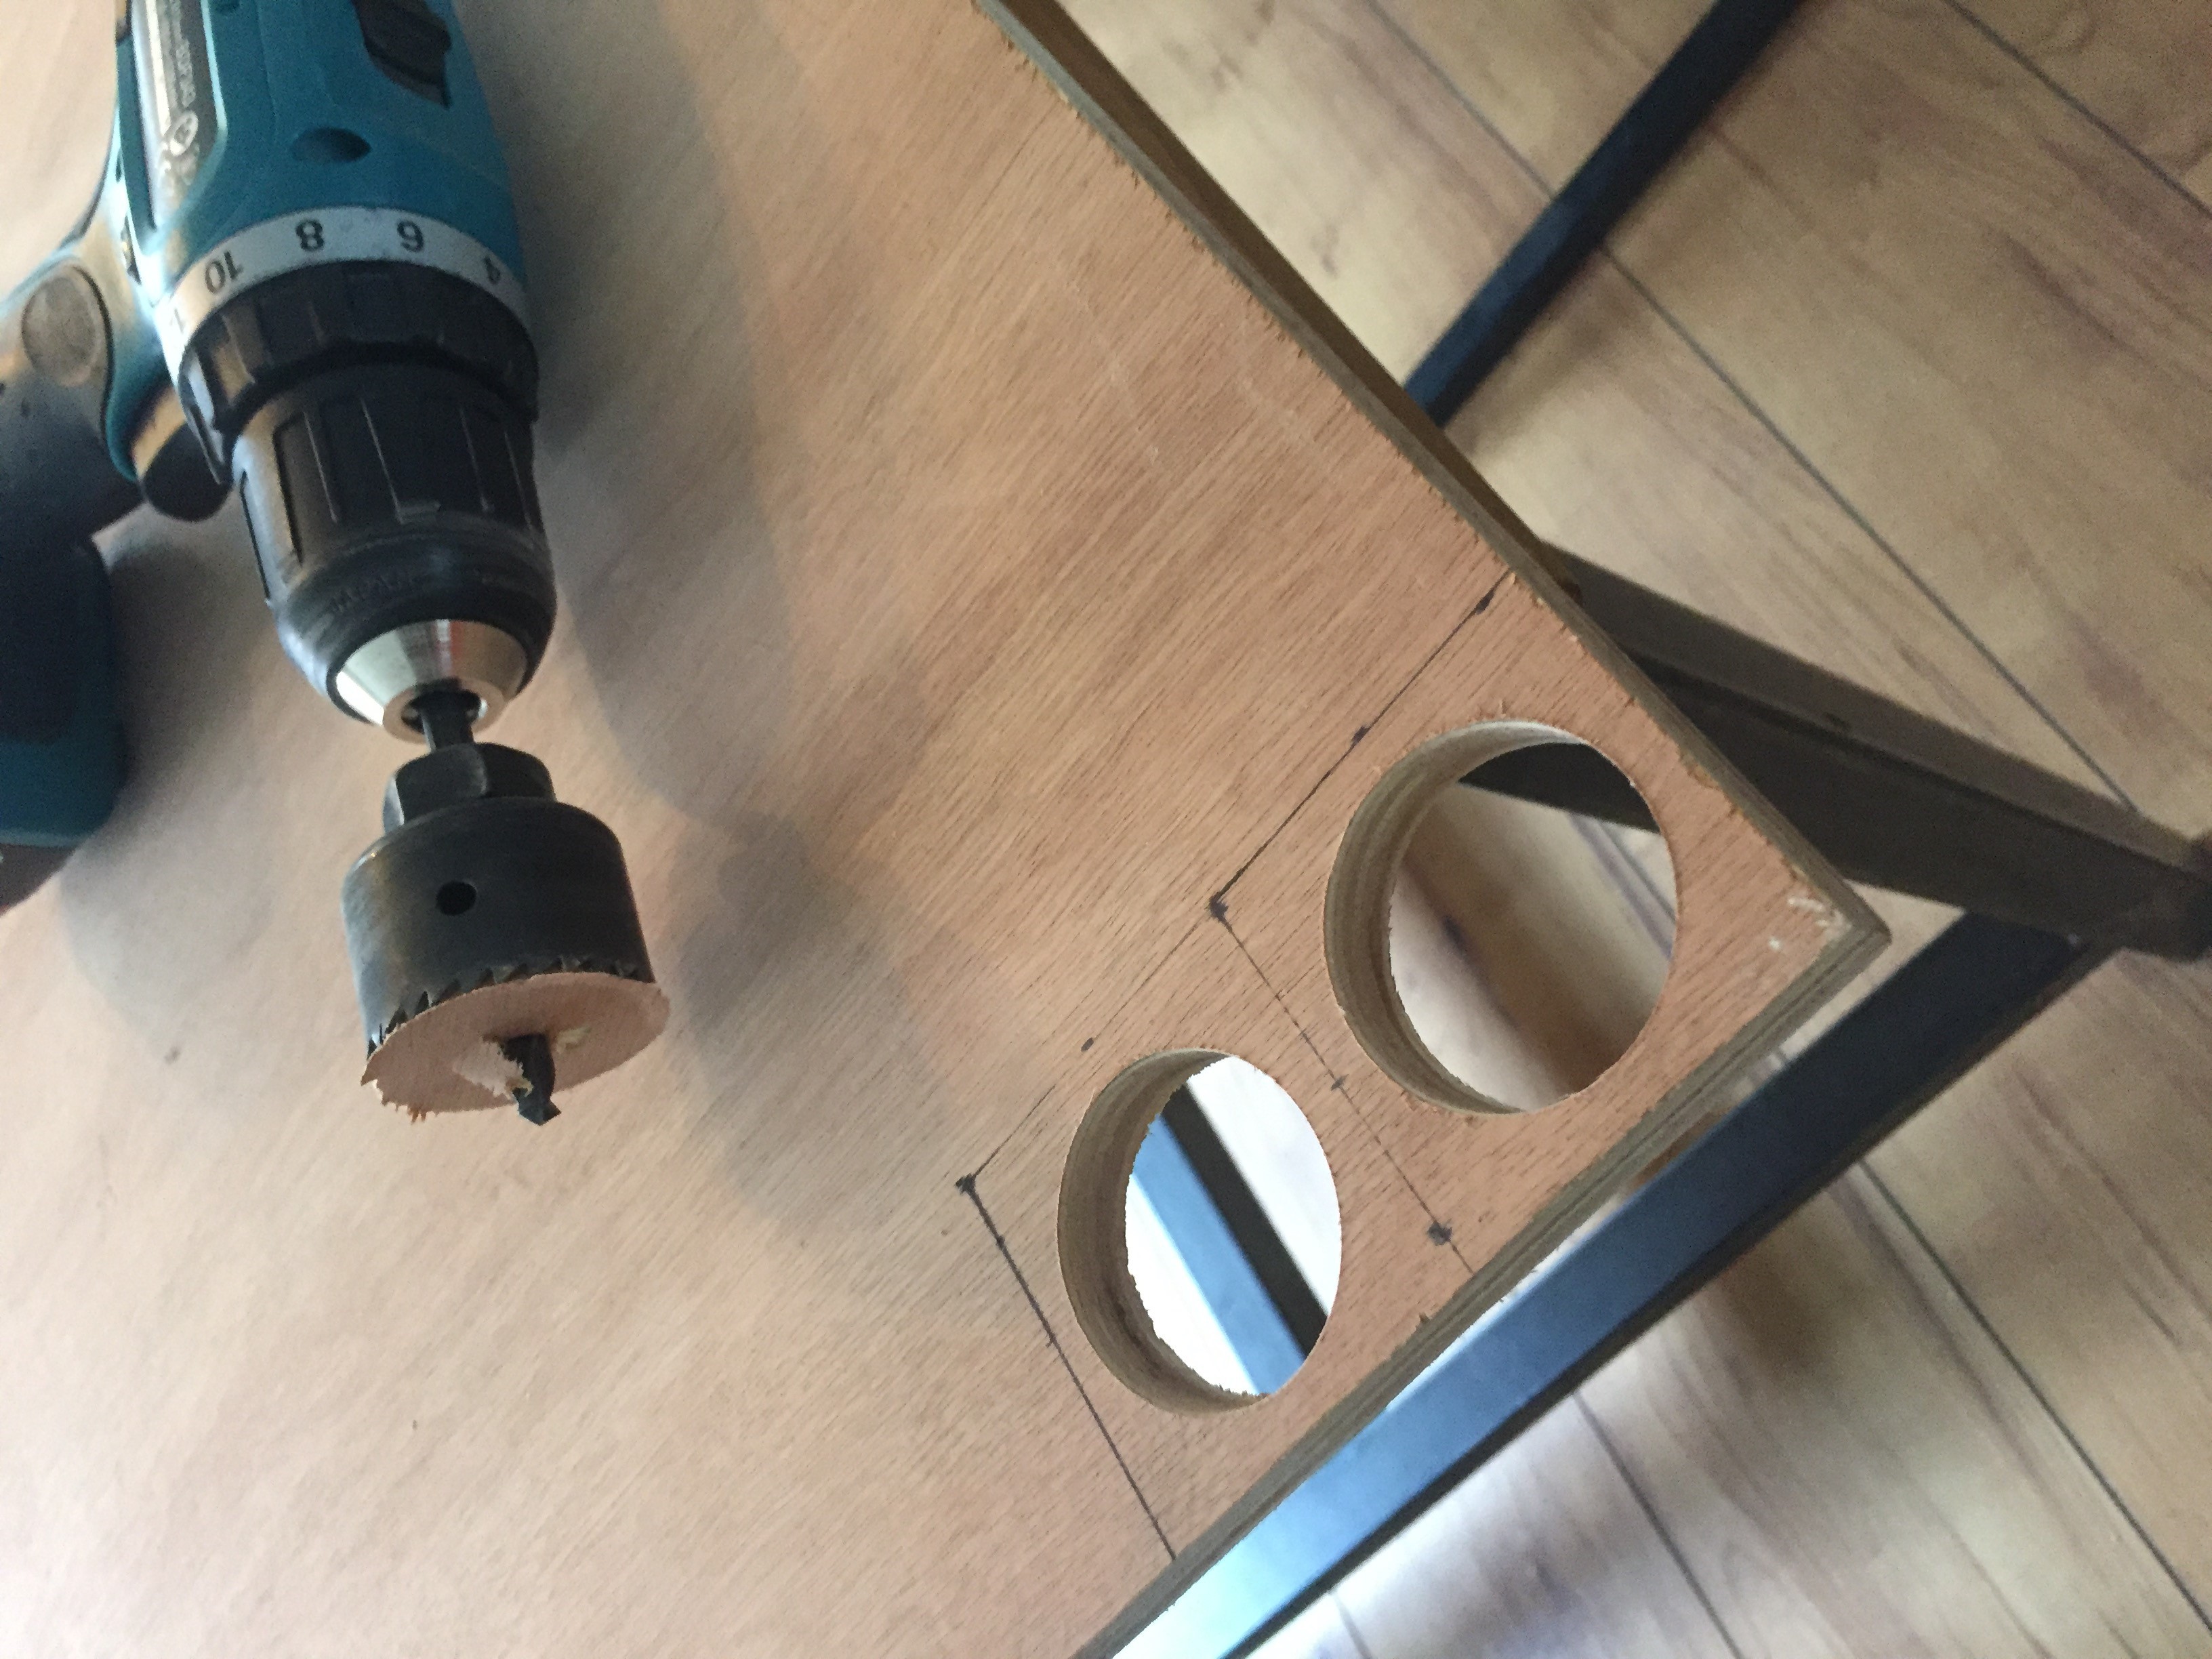
09/10/2019 at 07:38 • 0 commentsThis weekend most of the parts were finally put together:
- Holes and pegs for the grill
- Controller mounting
- Holes for the thermocouples
- Hole and mount for the fan
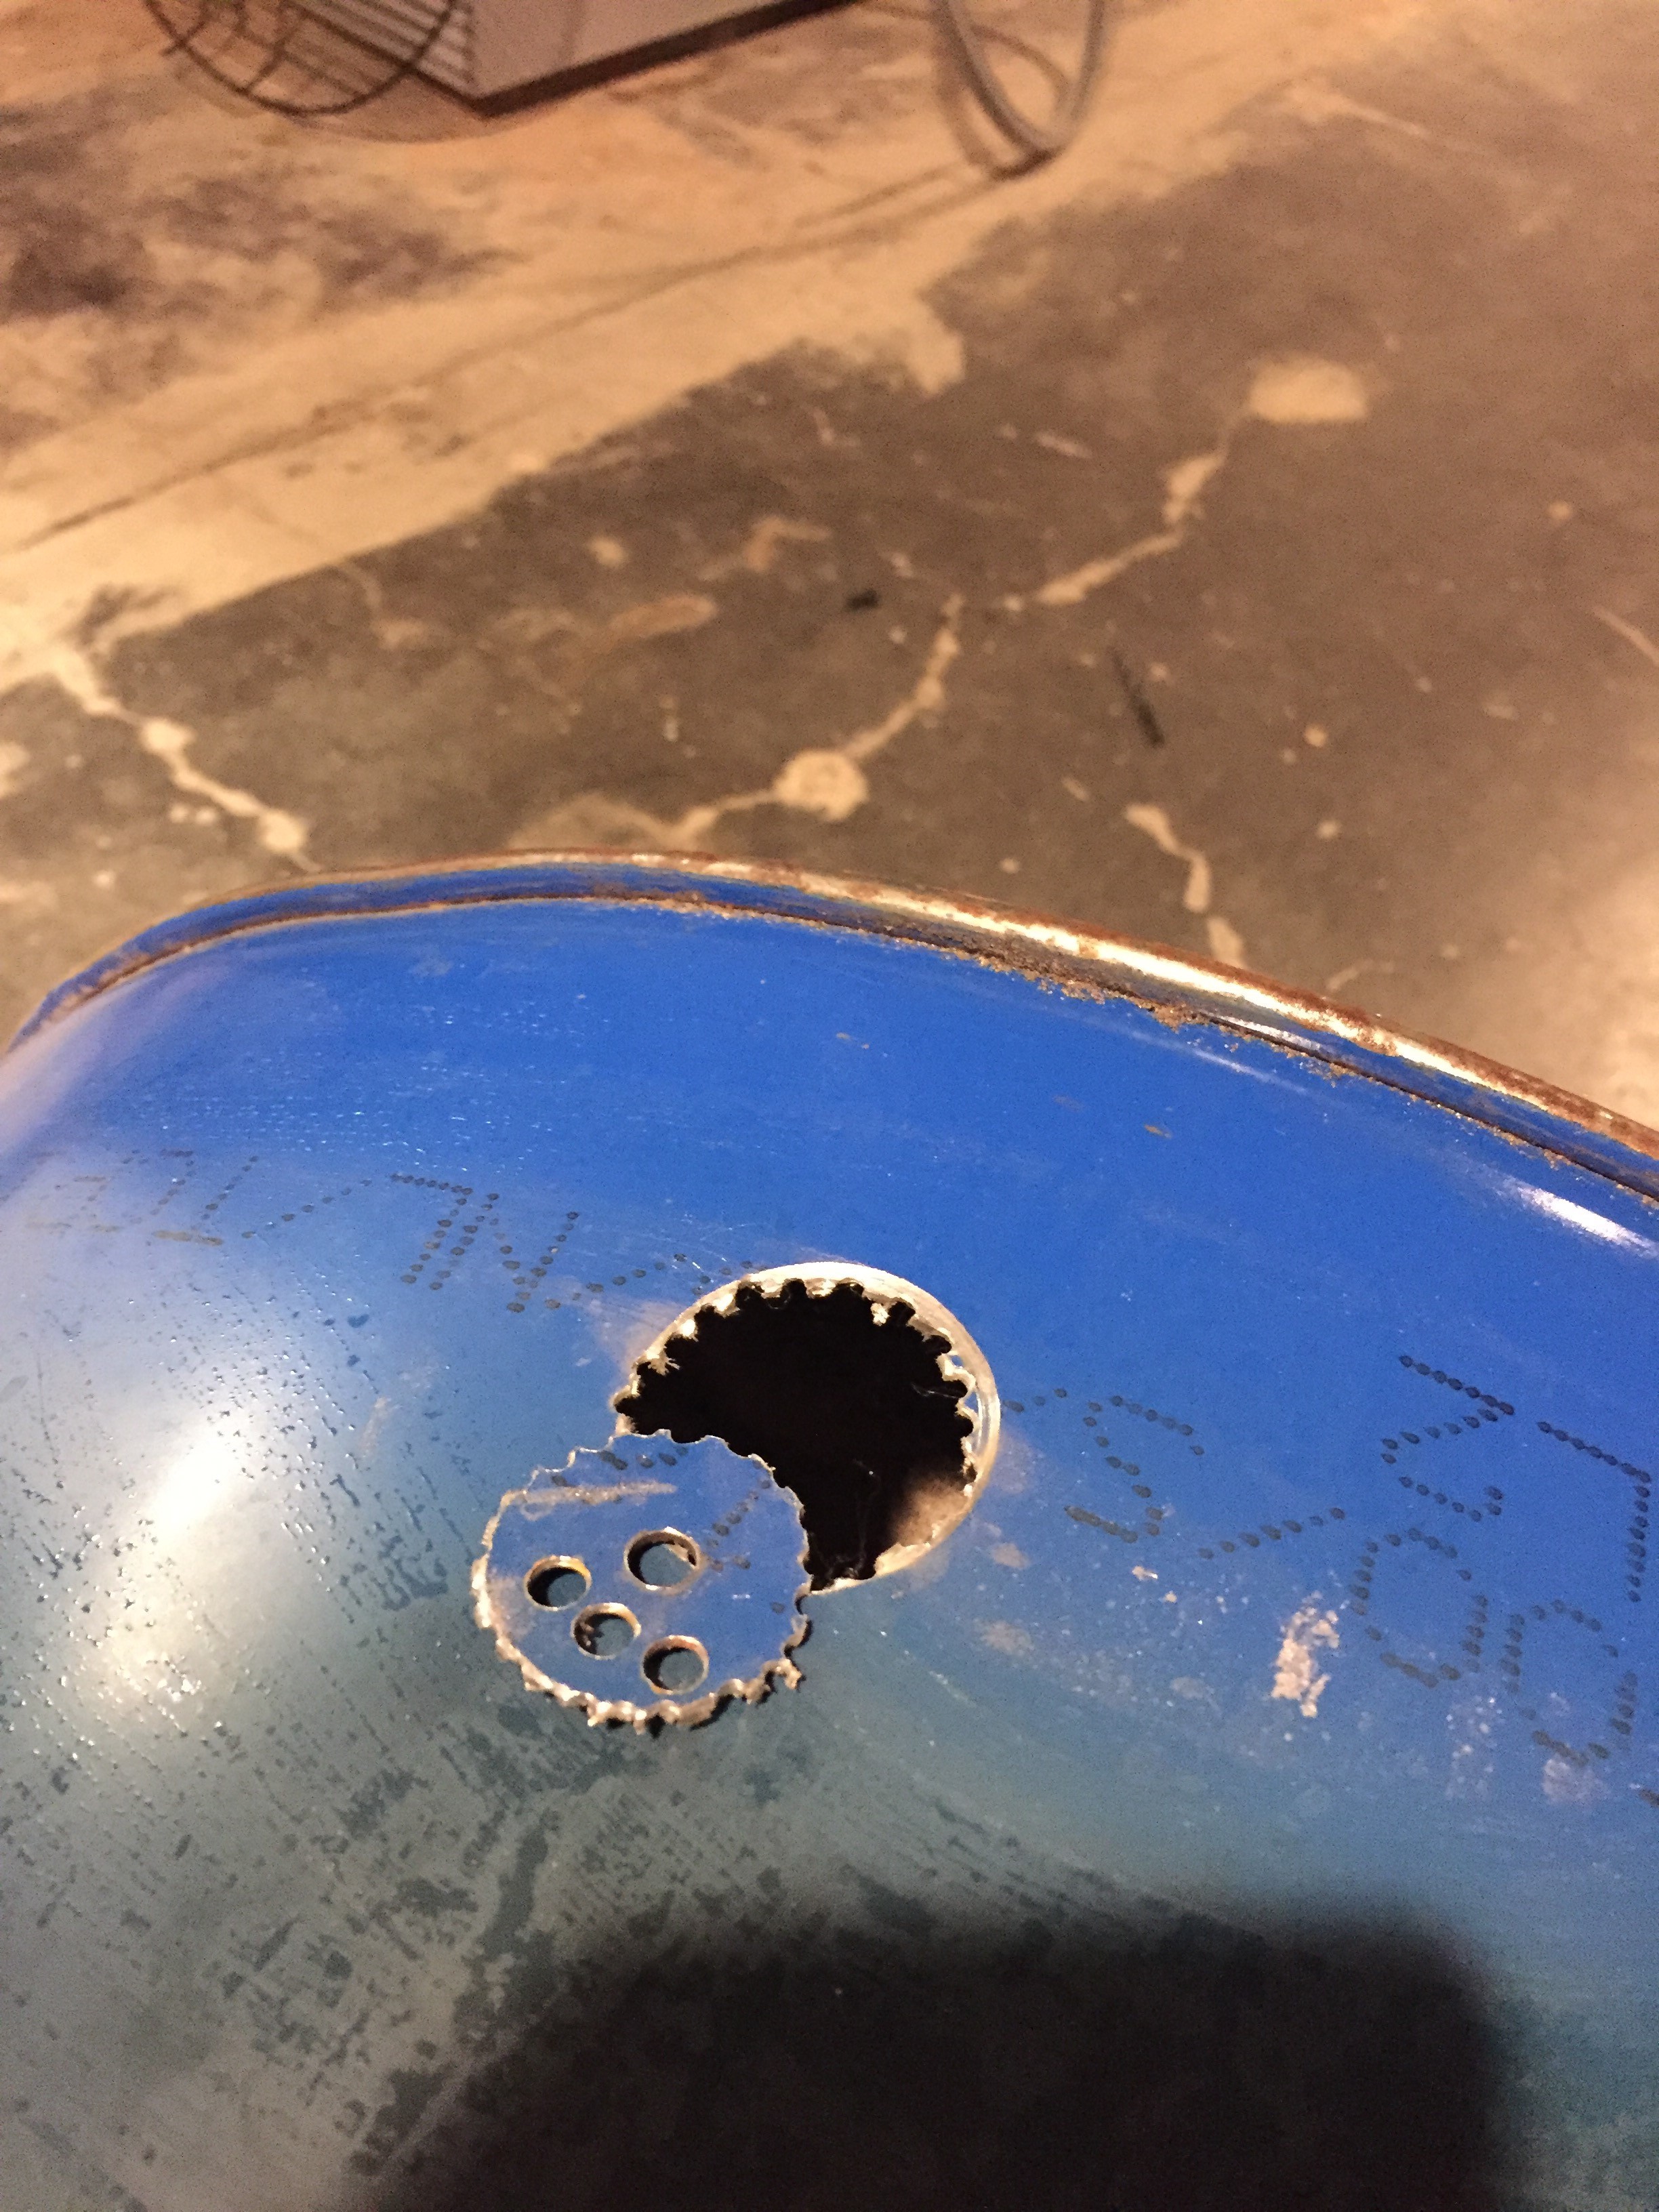
All fairly straightforward except for the fan hole. Of course there was no hole saw for steel on hand so we ended up drilling pilot holes along the outline of the main hole and then cutting out the left over steel with a multi tool.
Finally gave it a quick test, everything seems to be working just the wires for two of the thermocouples need to be extended.
As a coal basket, I found a fire basket, fire pit whatever thingy at the local dollar store.
If the weather holds up, coming weekend will be the first trial run.
![]()
![]()
![]()
![]()
![]()
![]()
-
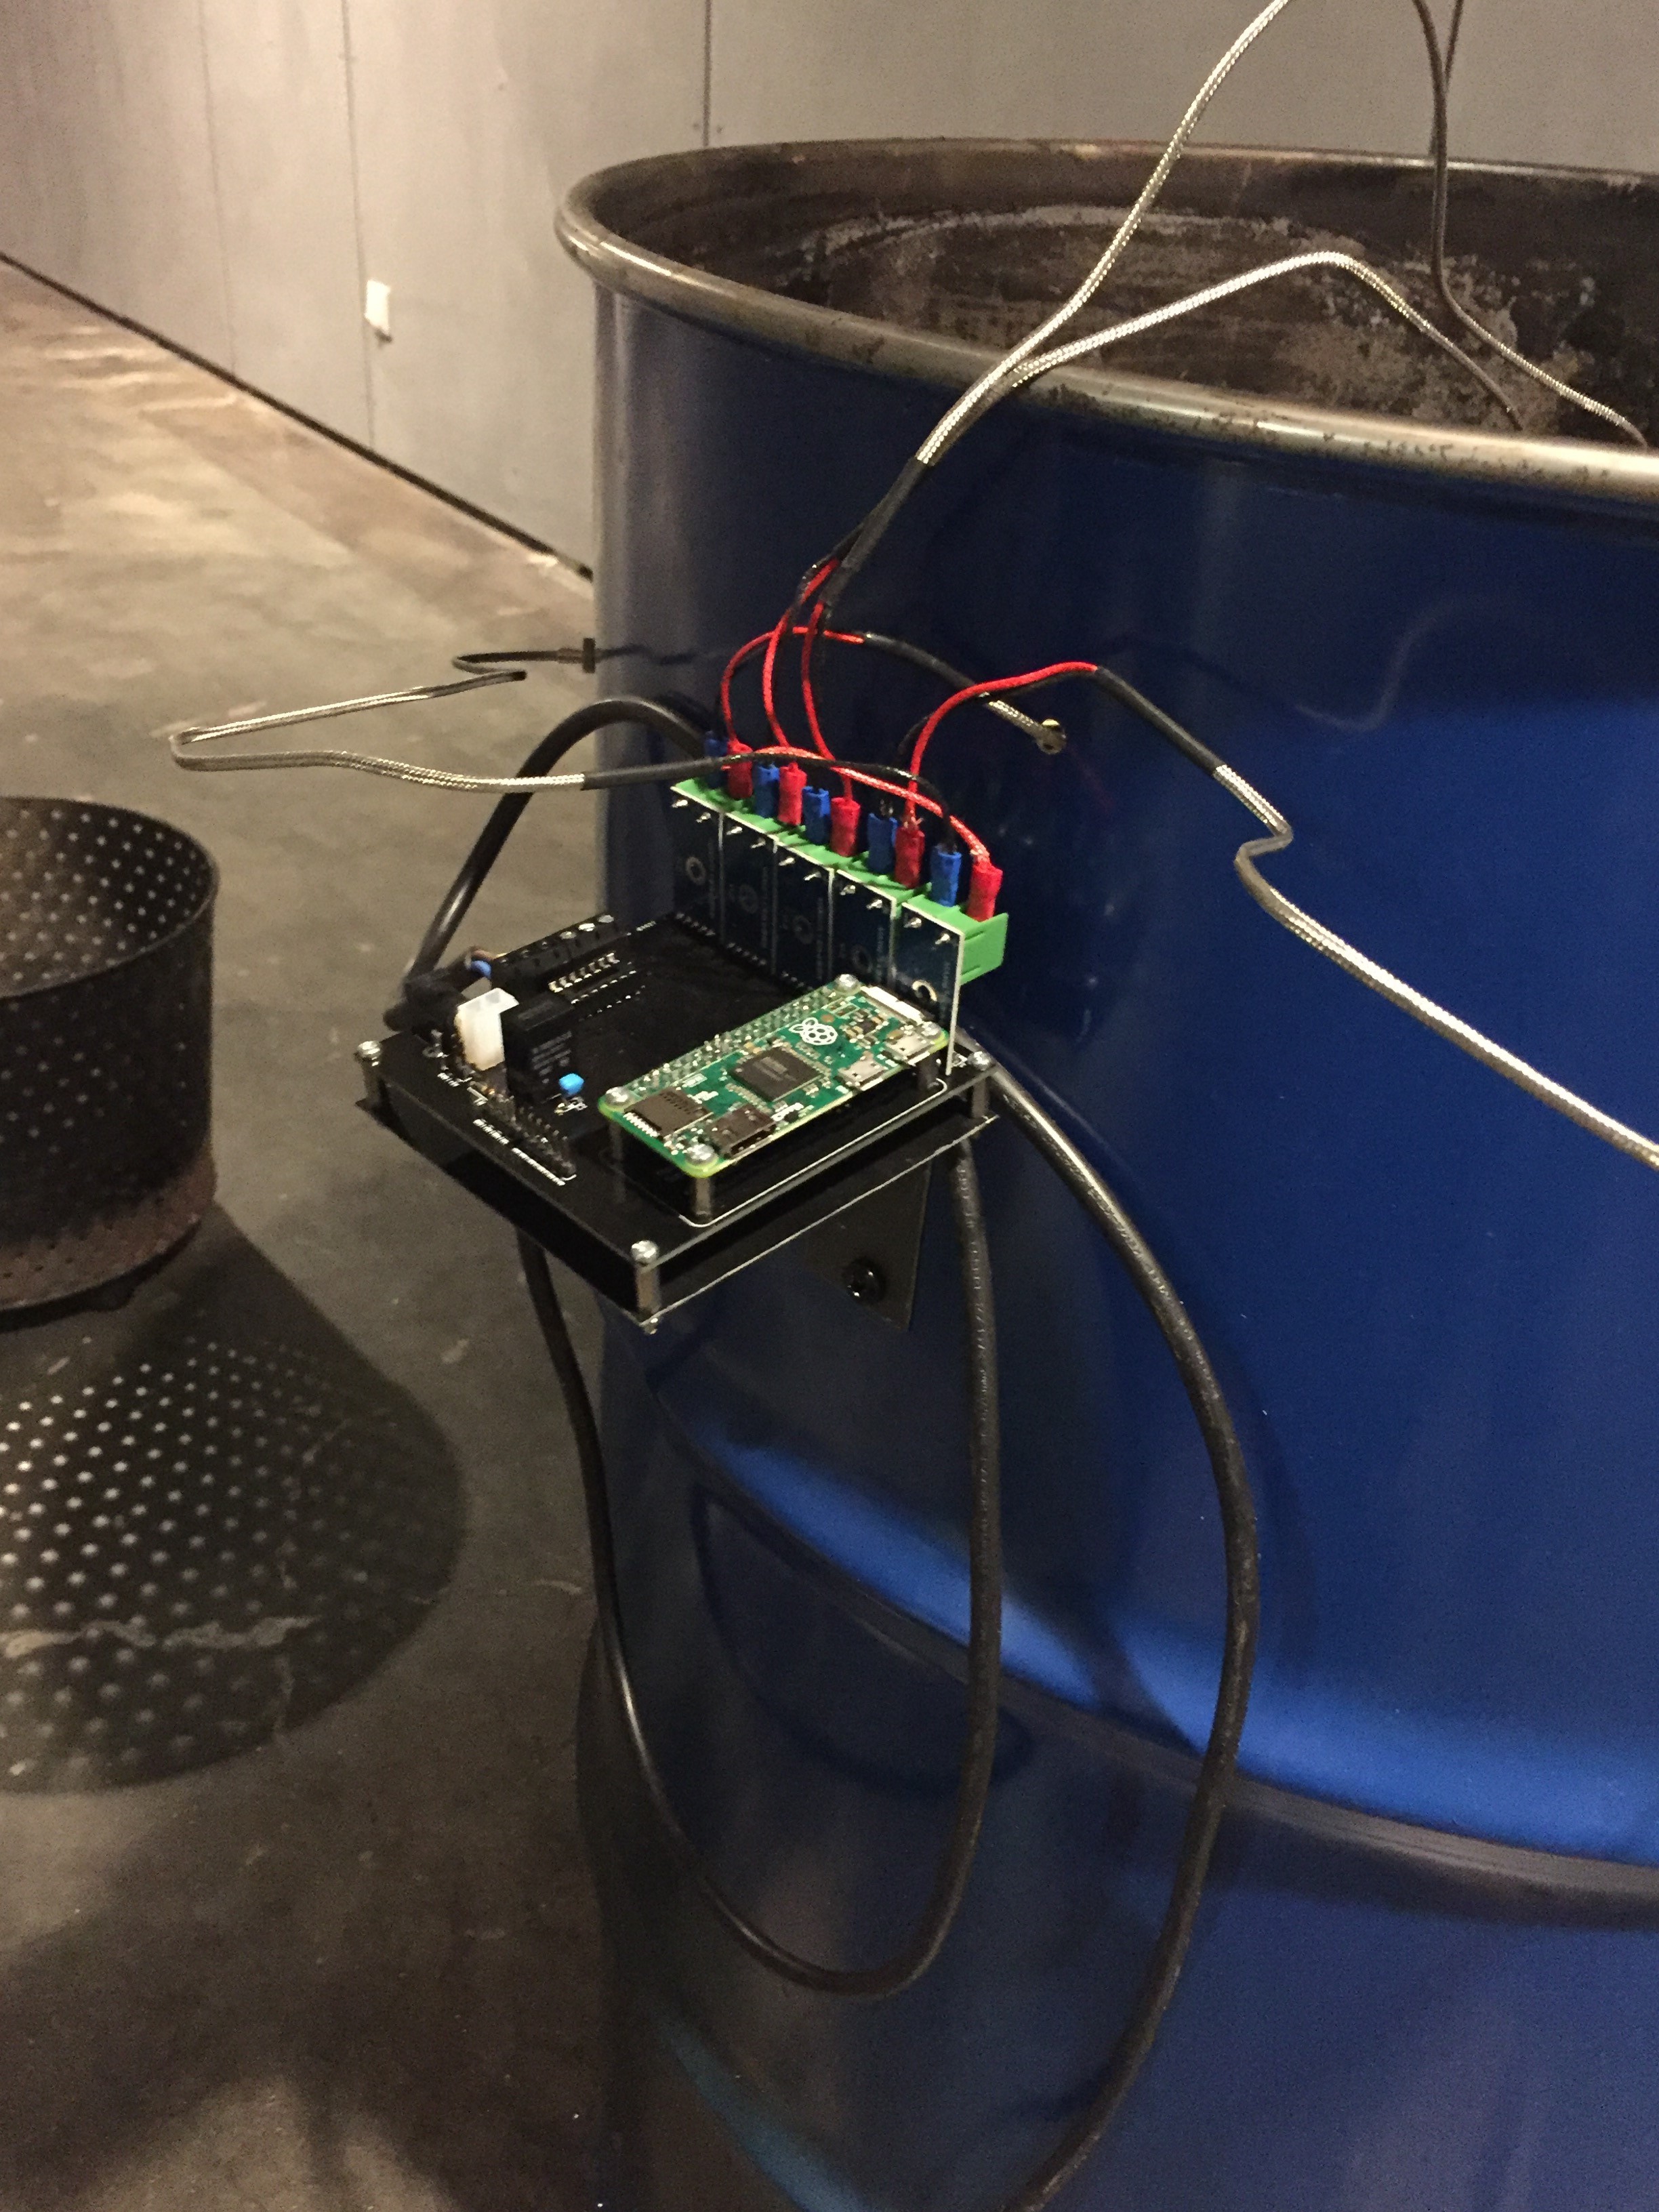
Ghetto rigging continued - temporarily mounting the controller
09/06/2019 at 08:32 • 0 commentsAs always, we forgot to order the laser cut housing for the controller and because the good weather is coming to an end the goal is to have a trial run this weekend. This means that the controller has to be mounted to the smoker although the question remains how.
After digging through some electronic scraps, an old home cinema set was salvaged. More specifically for the metal casing. With a multitool we cut out a bracket because of course also no tin snips available :) and finally with all the correct holes drilled (keeping in mind the final product mounts so we dont lose smoke) the following was conjured up.
![]()
![]()
![]()
![]()
![]()
-
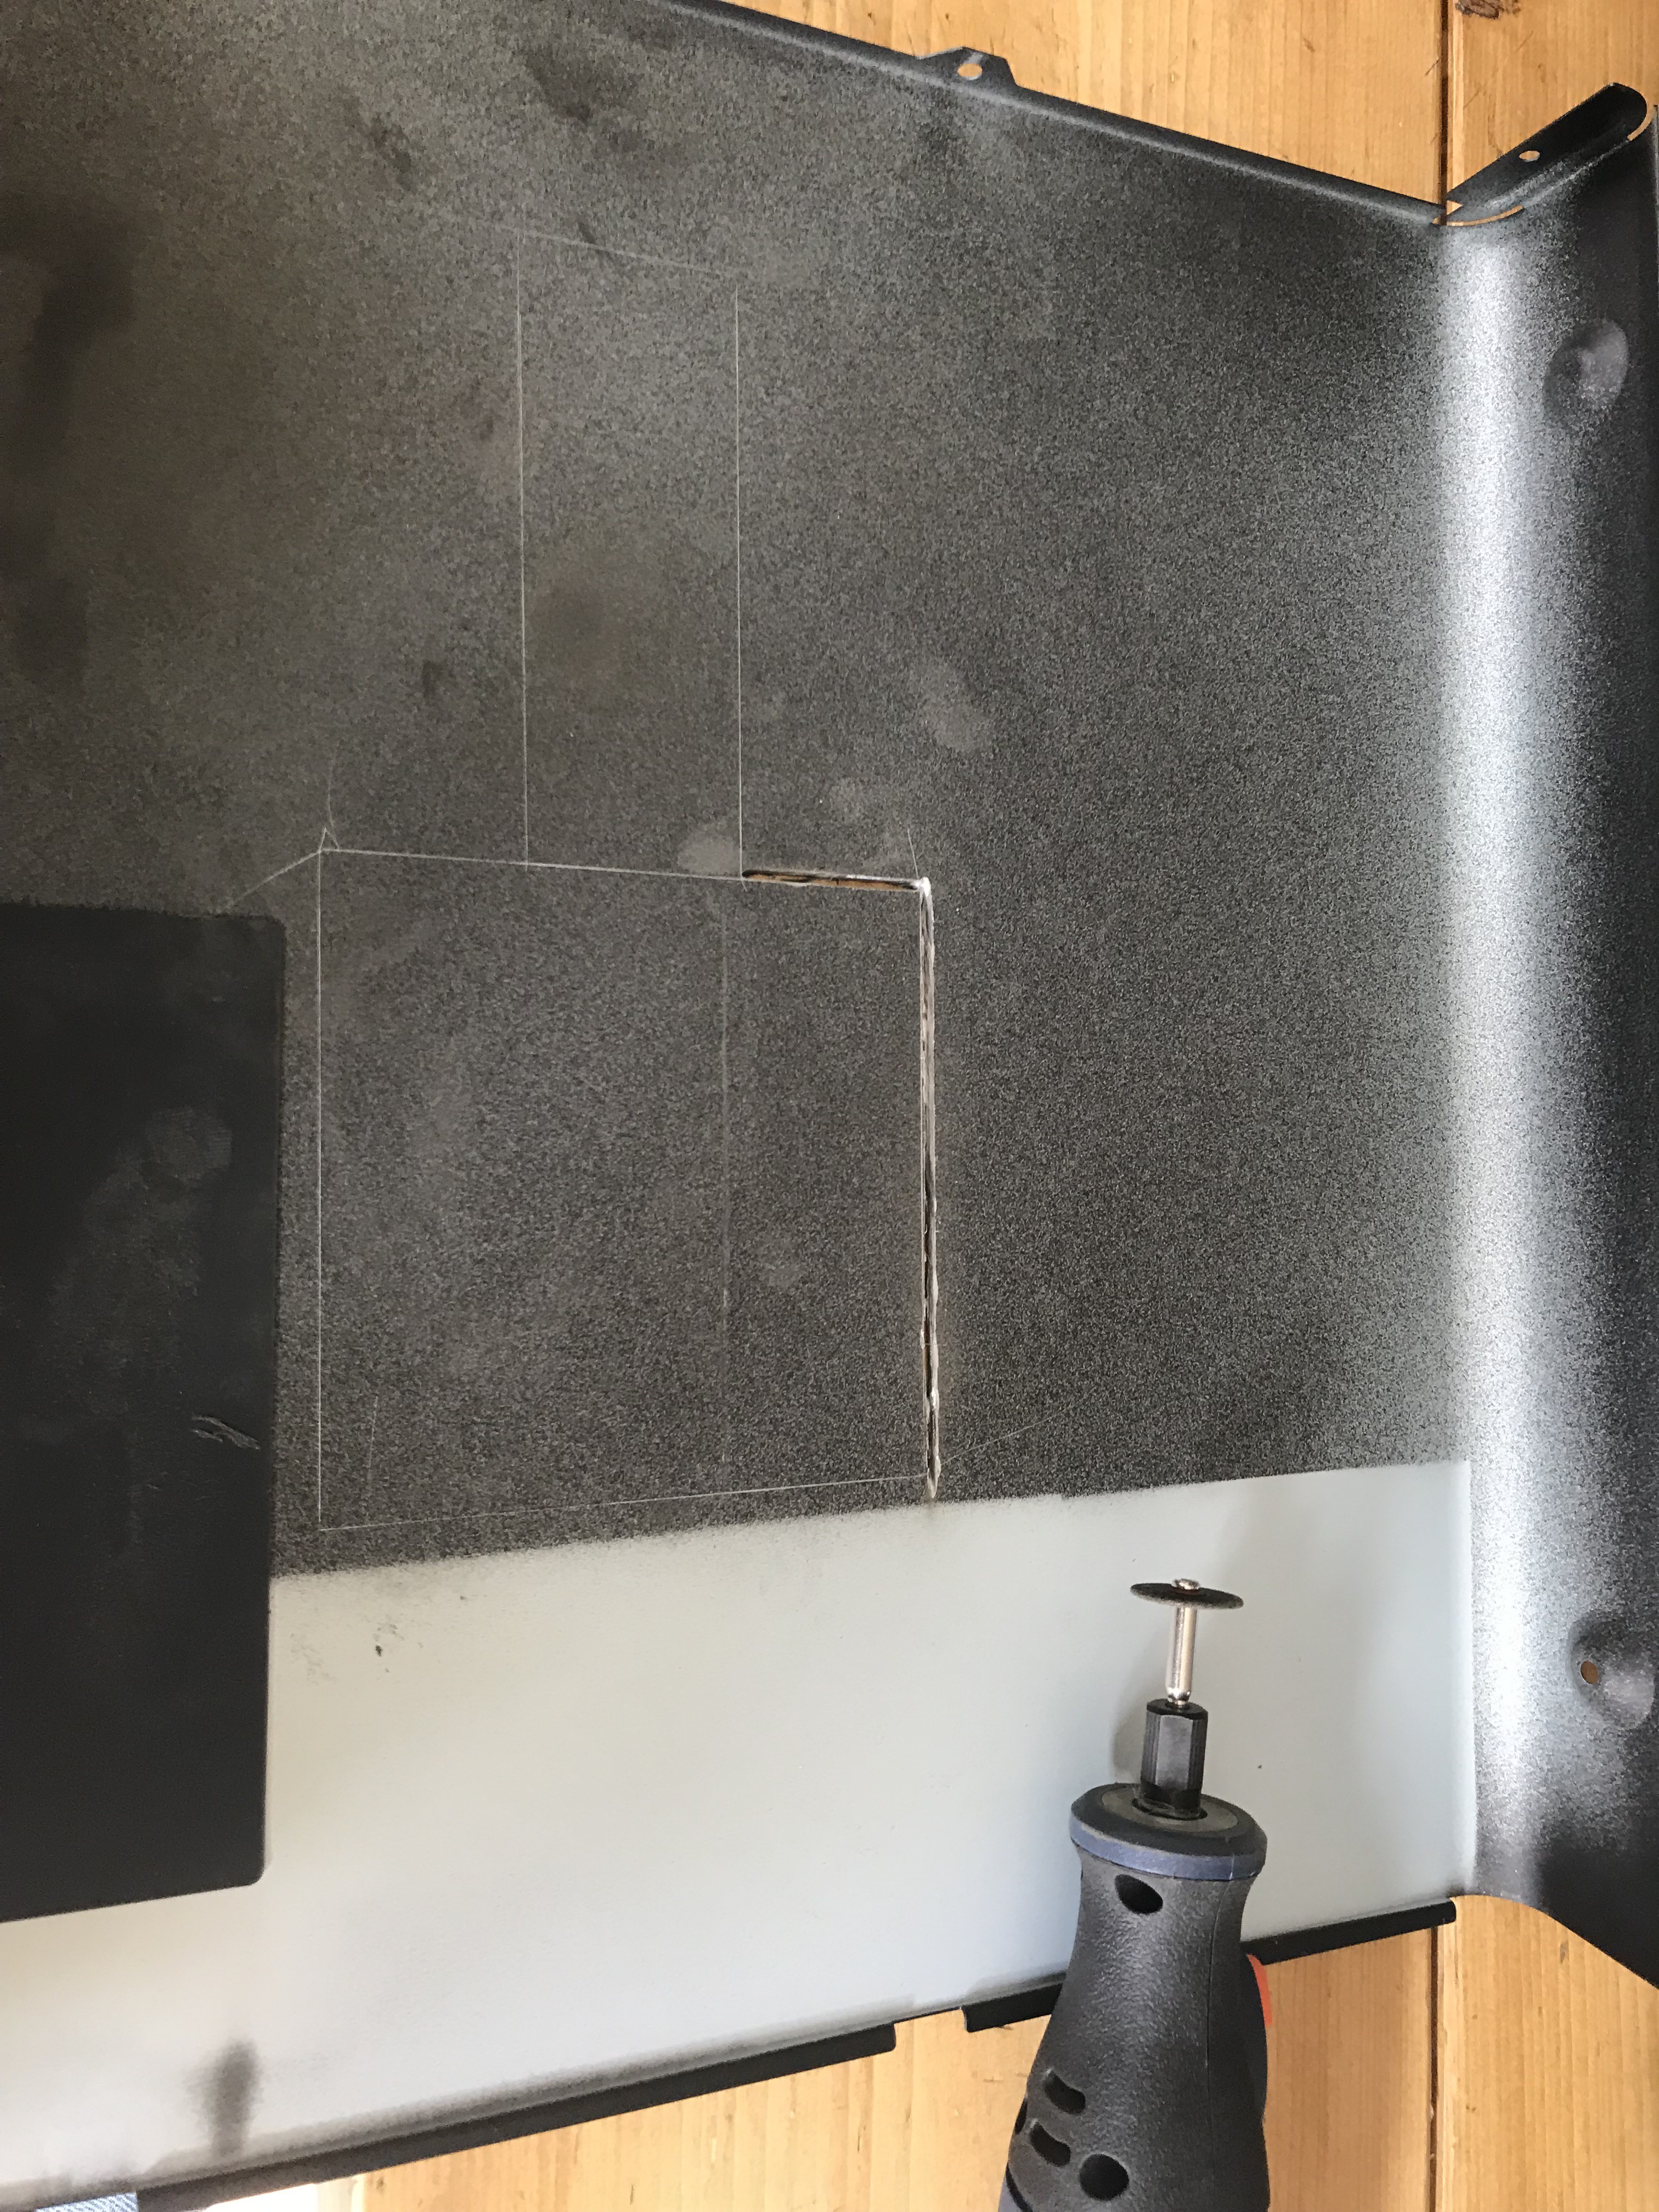
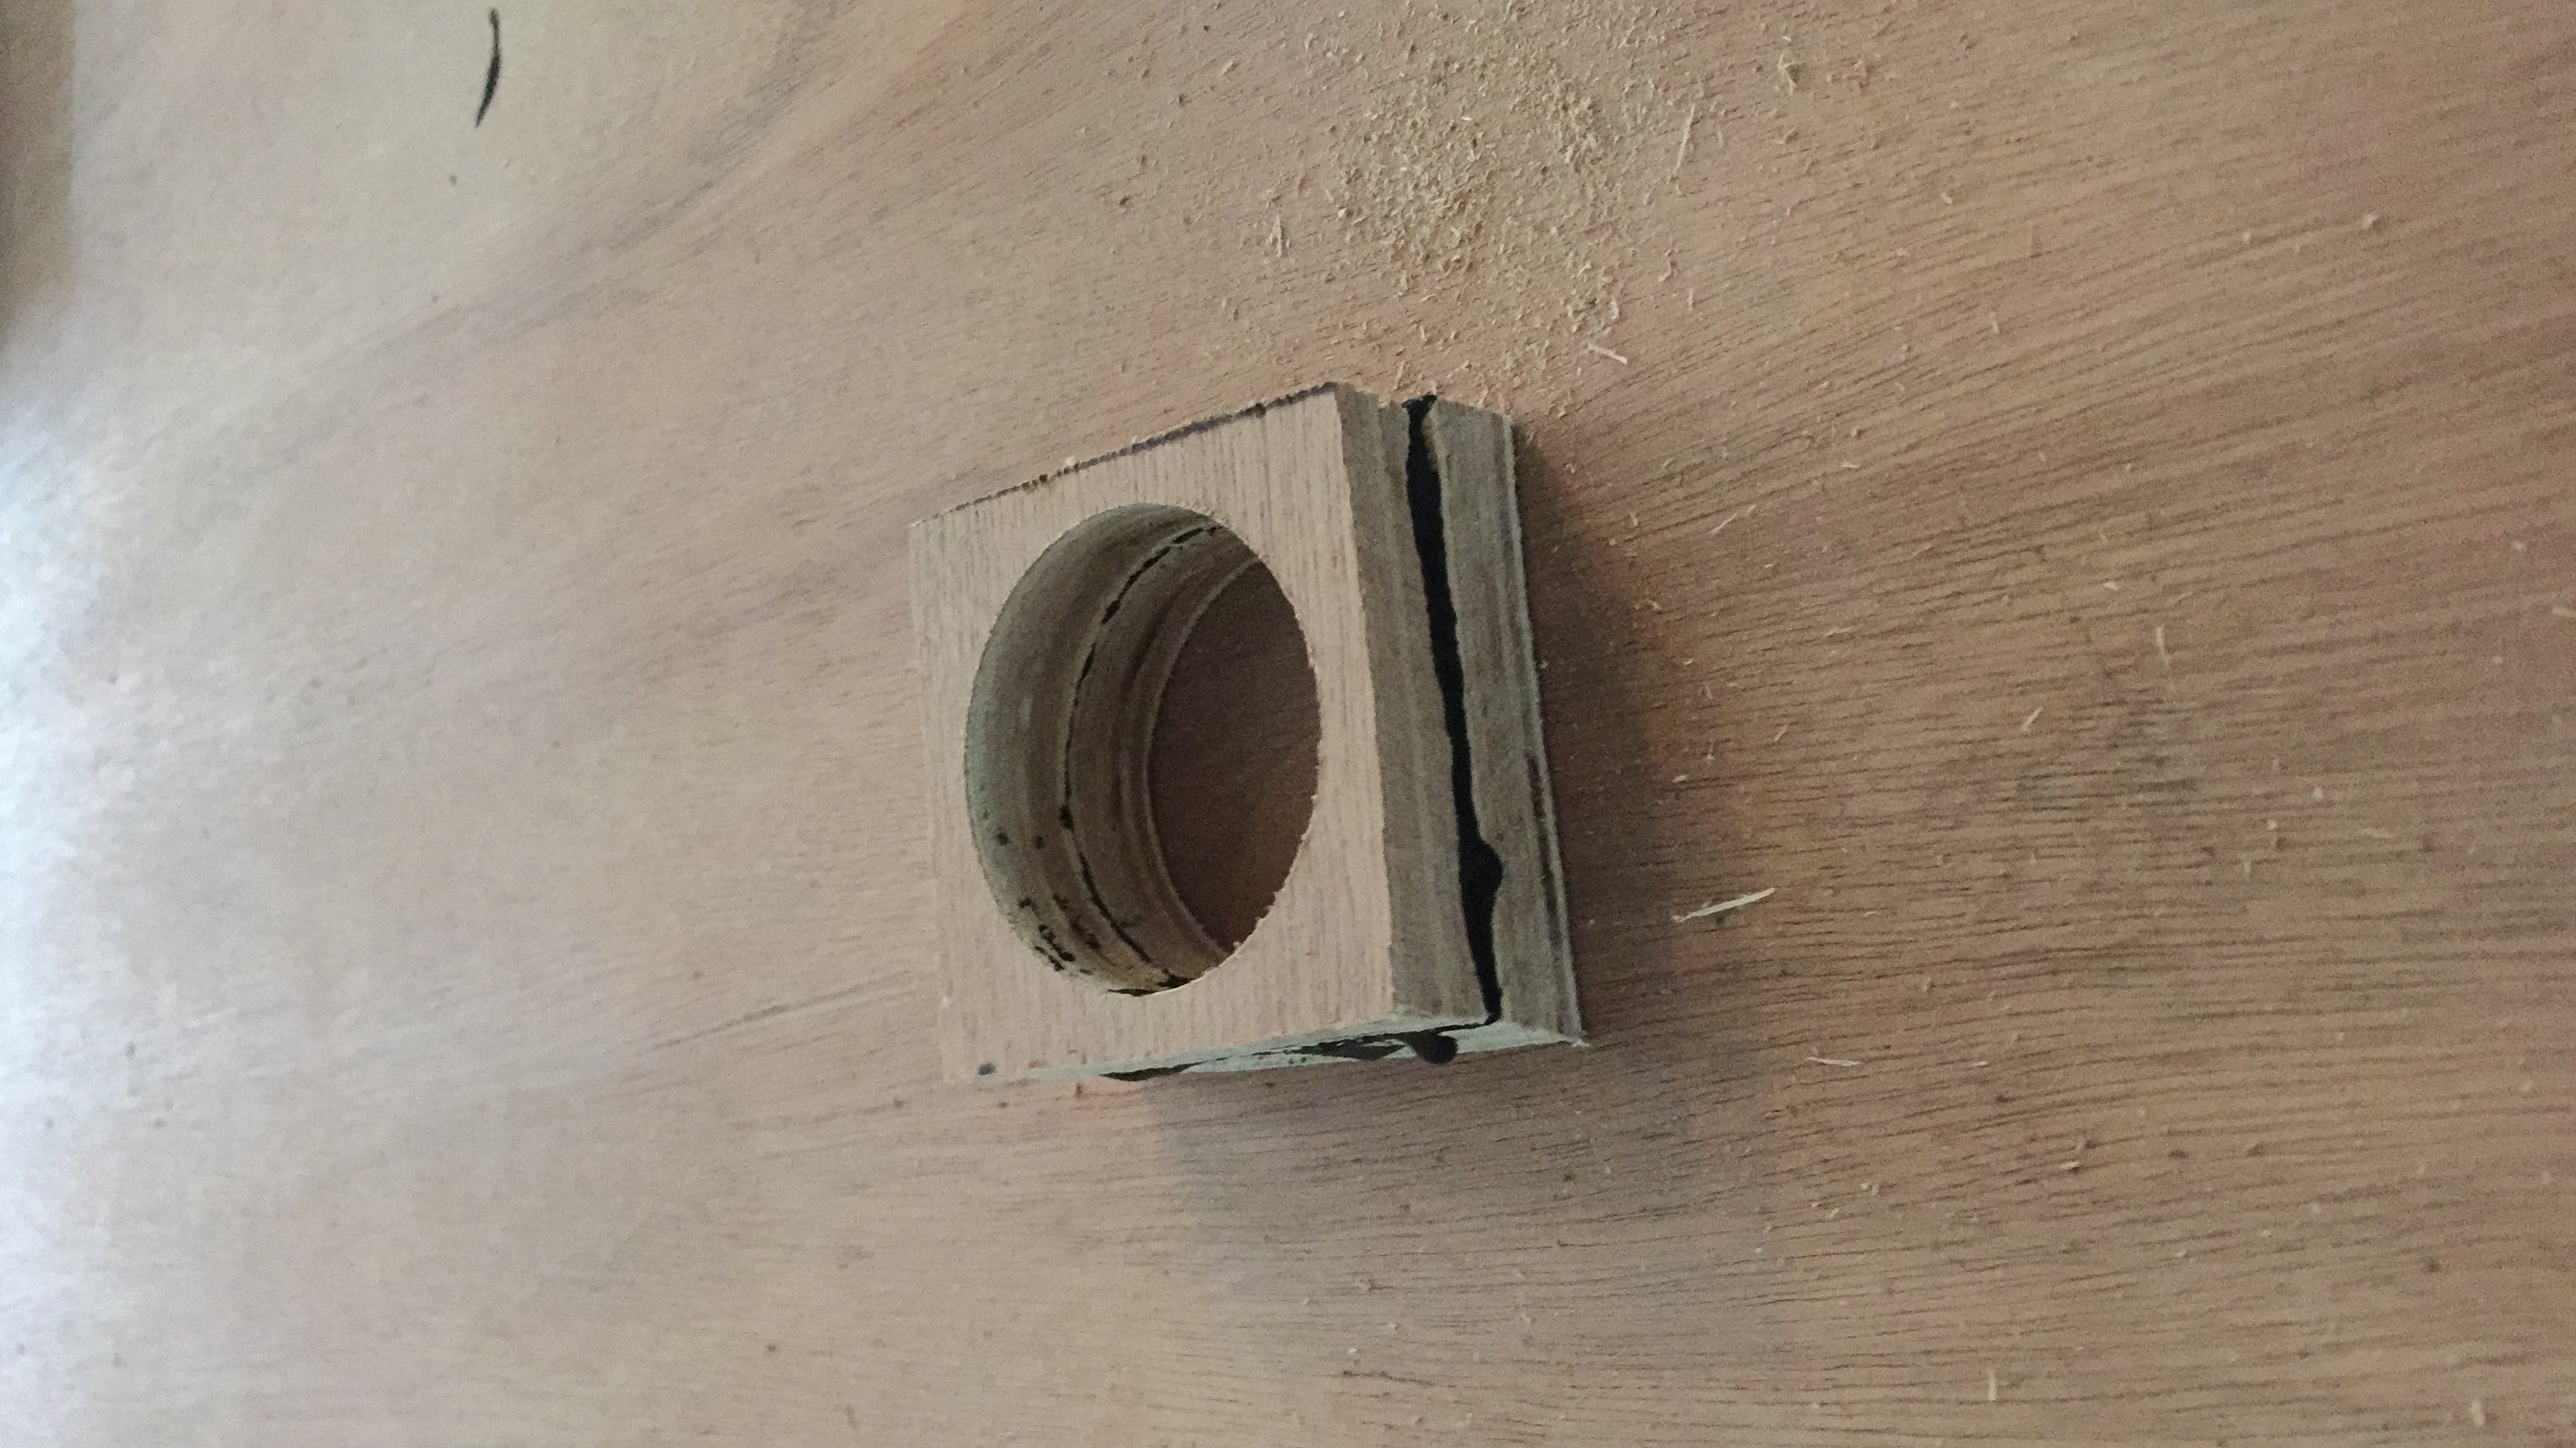
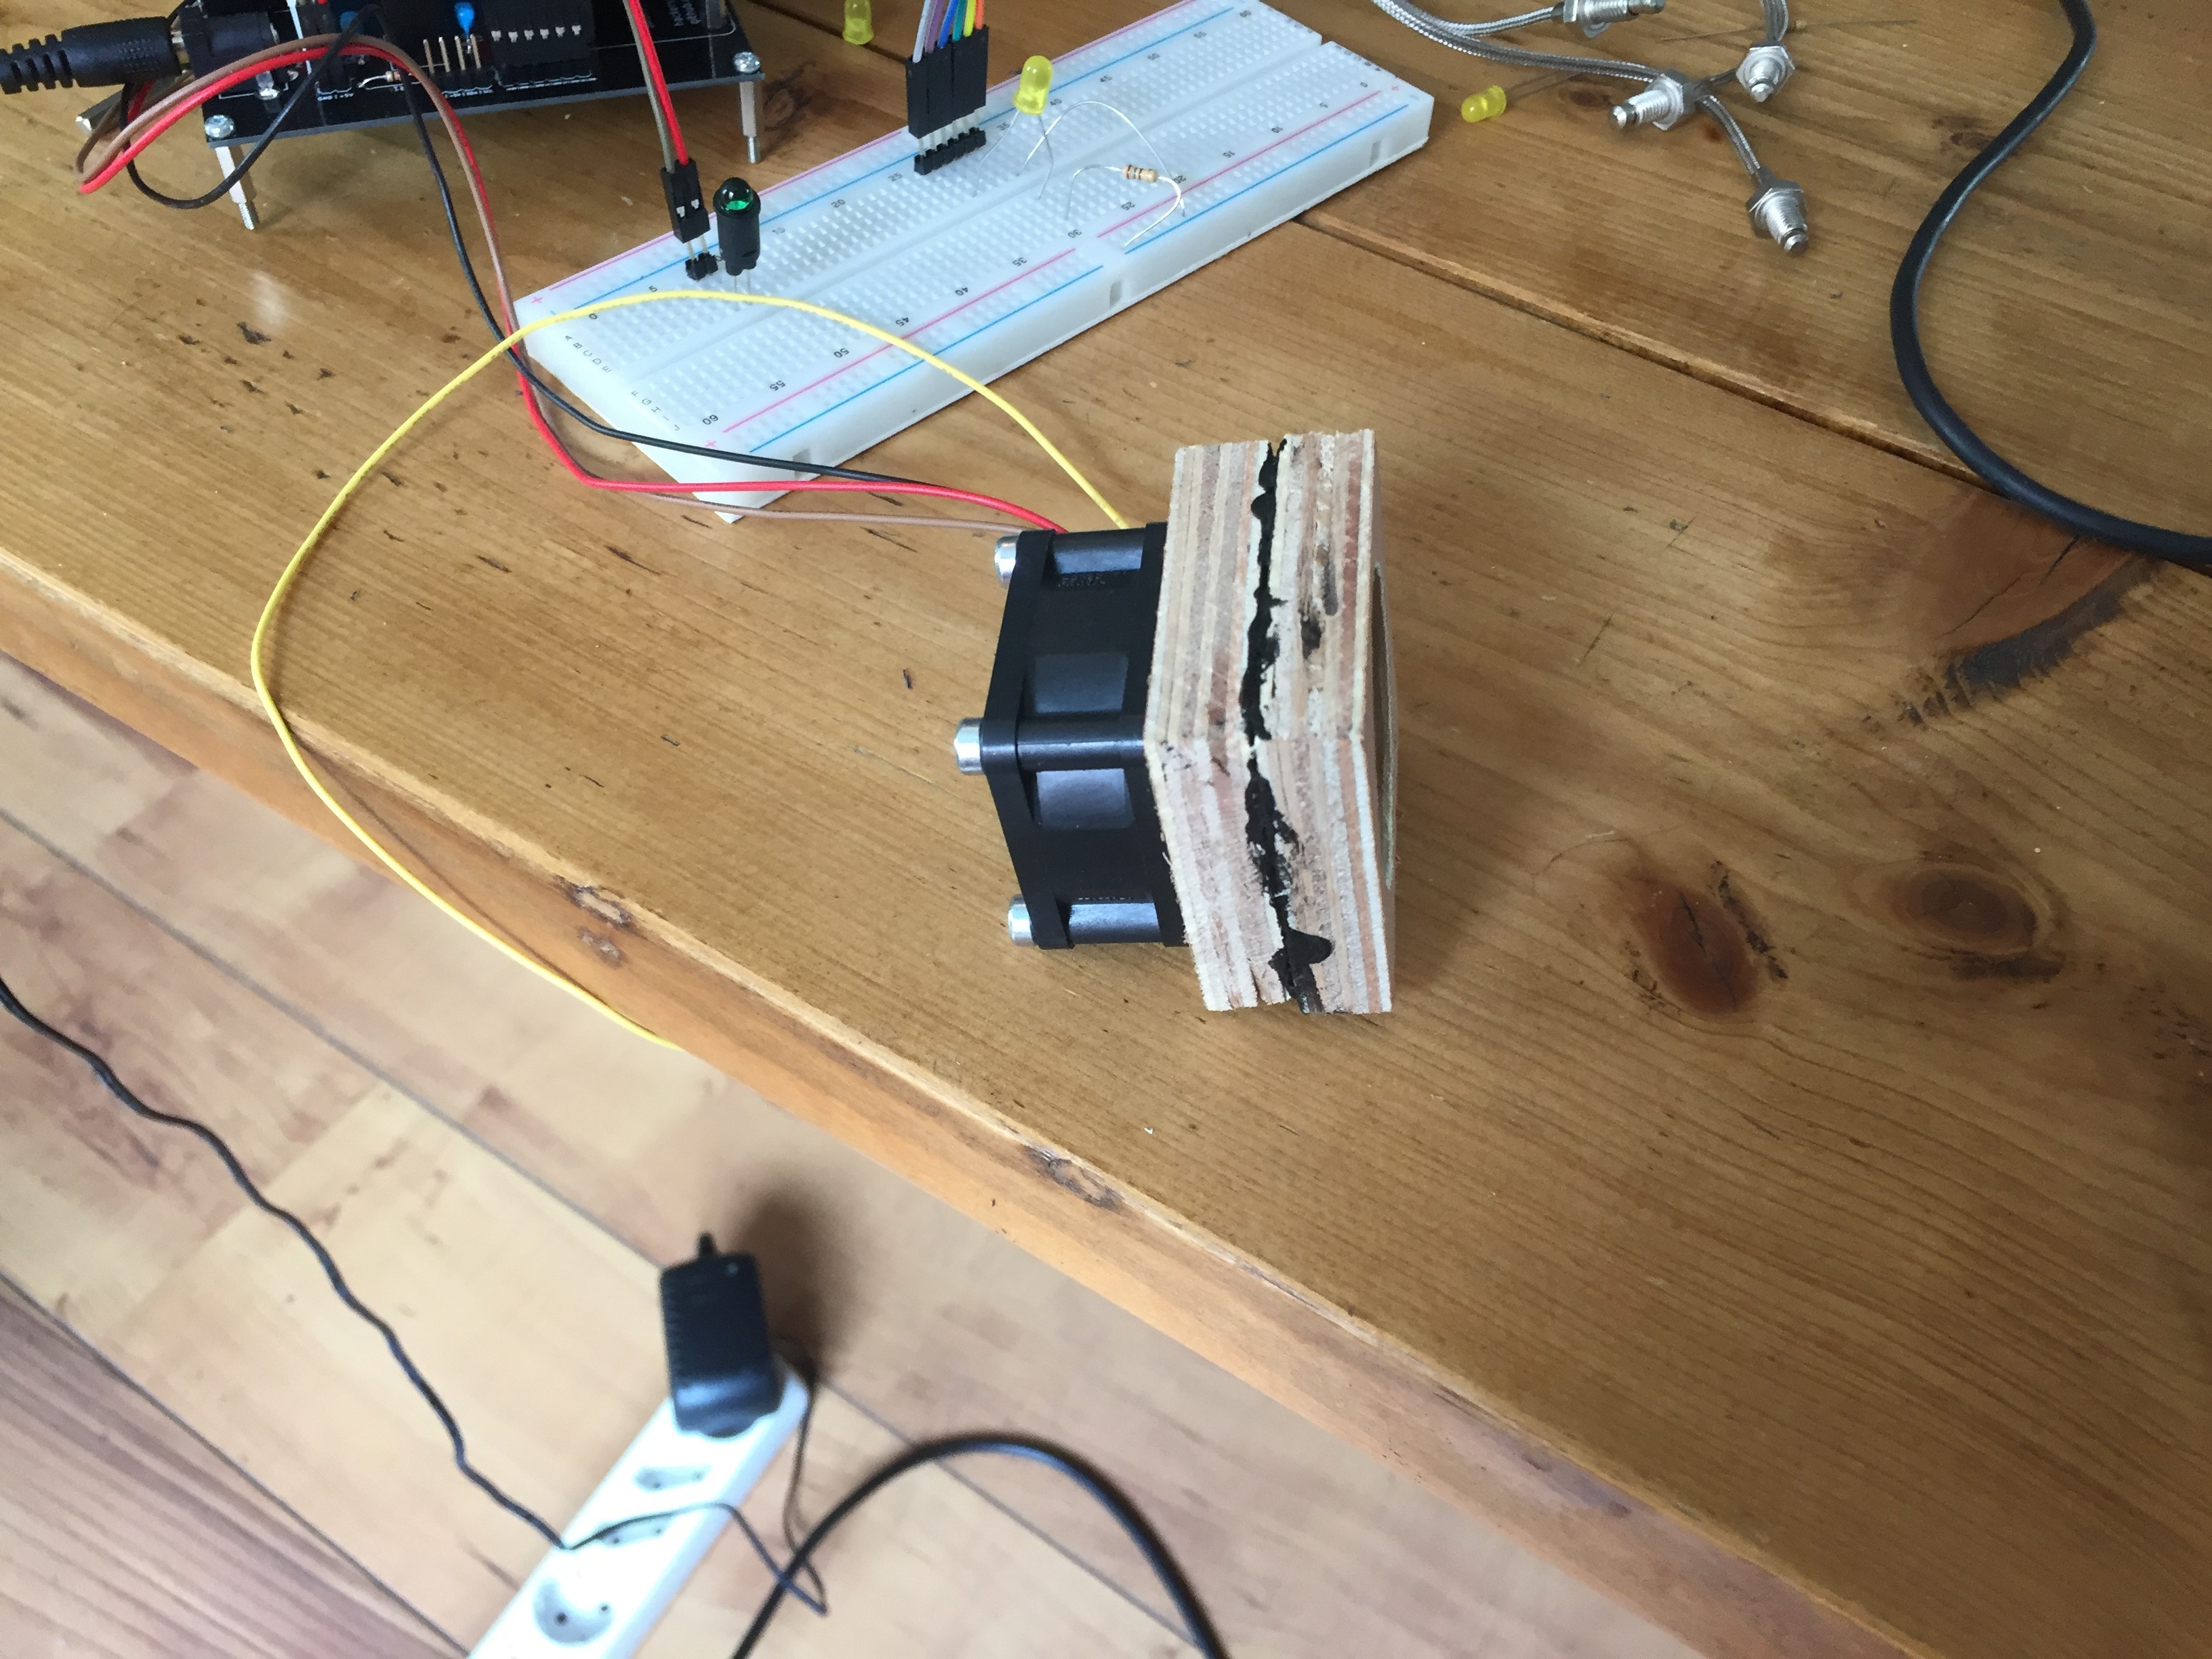
More ghetto rigging - making the fan mount
09/05/2019 at 08:29 • 0 commentsIn the spirit of making the smoker with as little tools as possible, the next challenge was mounting the fan to the barrel itself. In the original design a 3D printed adapter was conceived but as we do not have a 3D printer in the office the first attempt will be out of wood.
It is a 40mm fan so by drilling 40ish mm holes into a multiplex piece of wood and then cutting those out and glueing them together it should work.
Coming weekend all the stuff should all get mounted up so stay tuned for assembly pics.
![]()
![]()
![]()
-
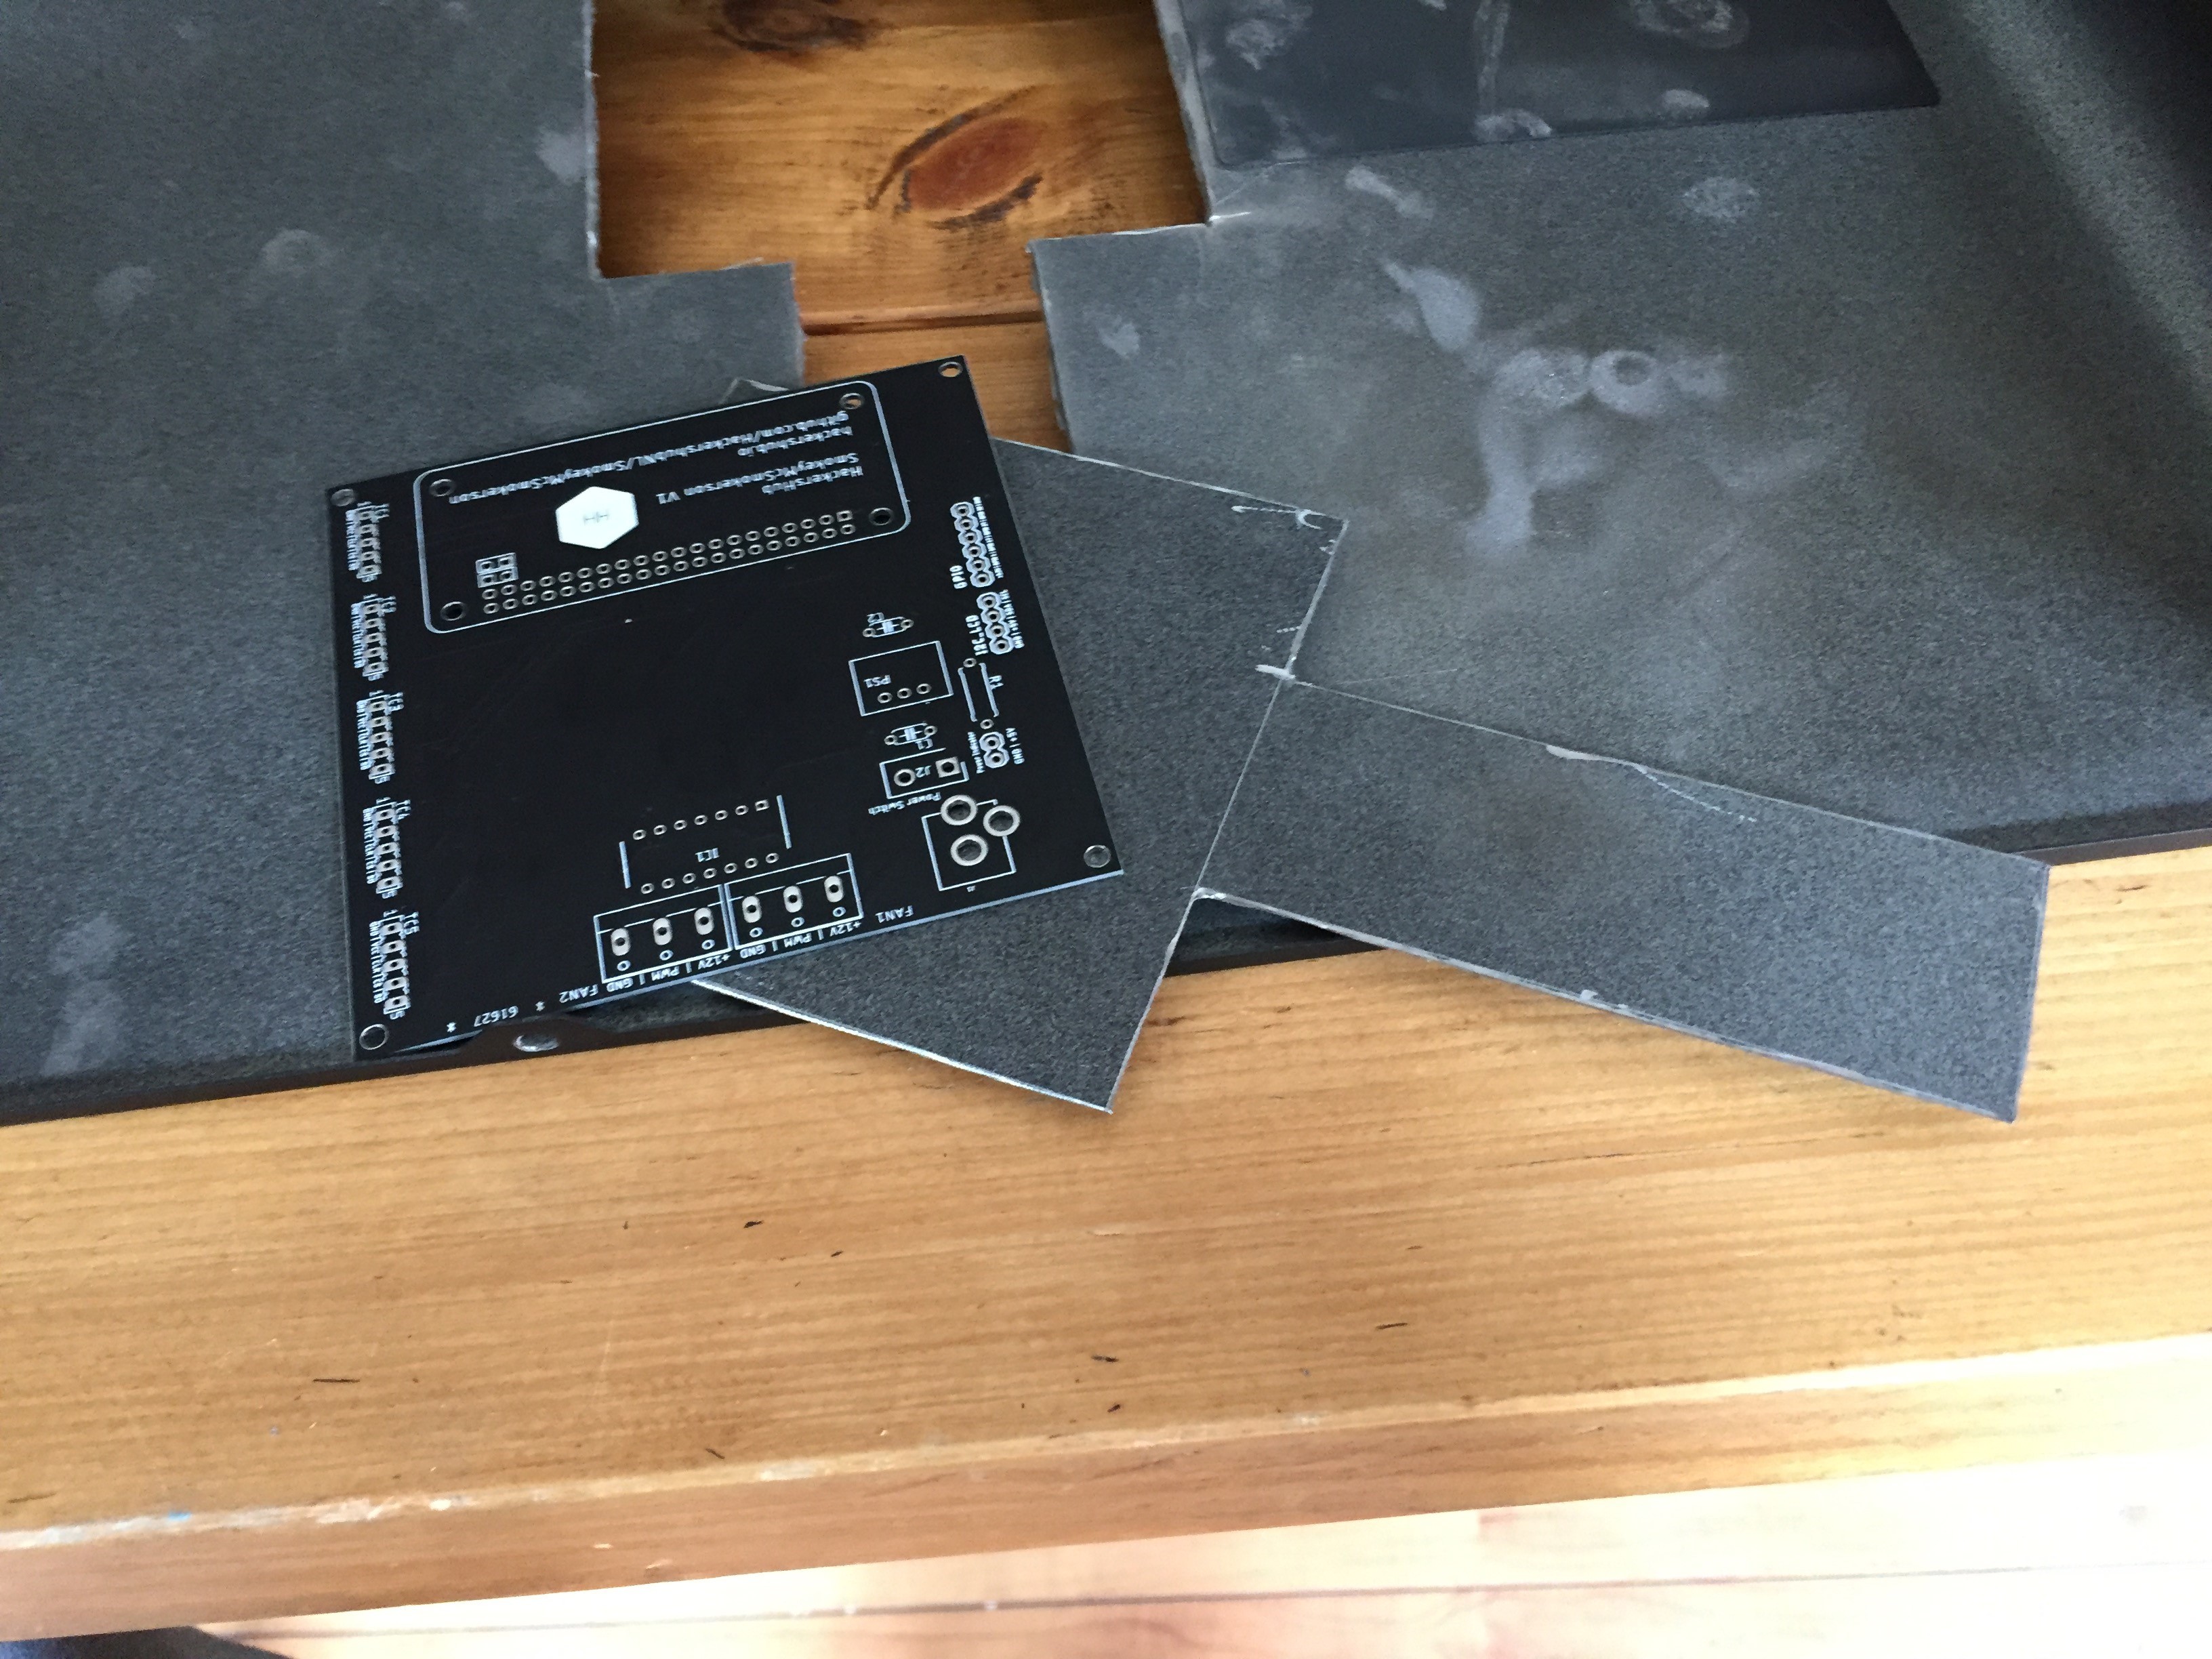
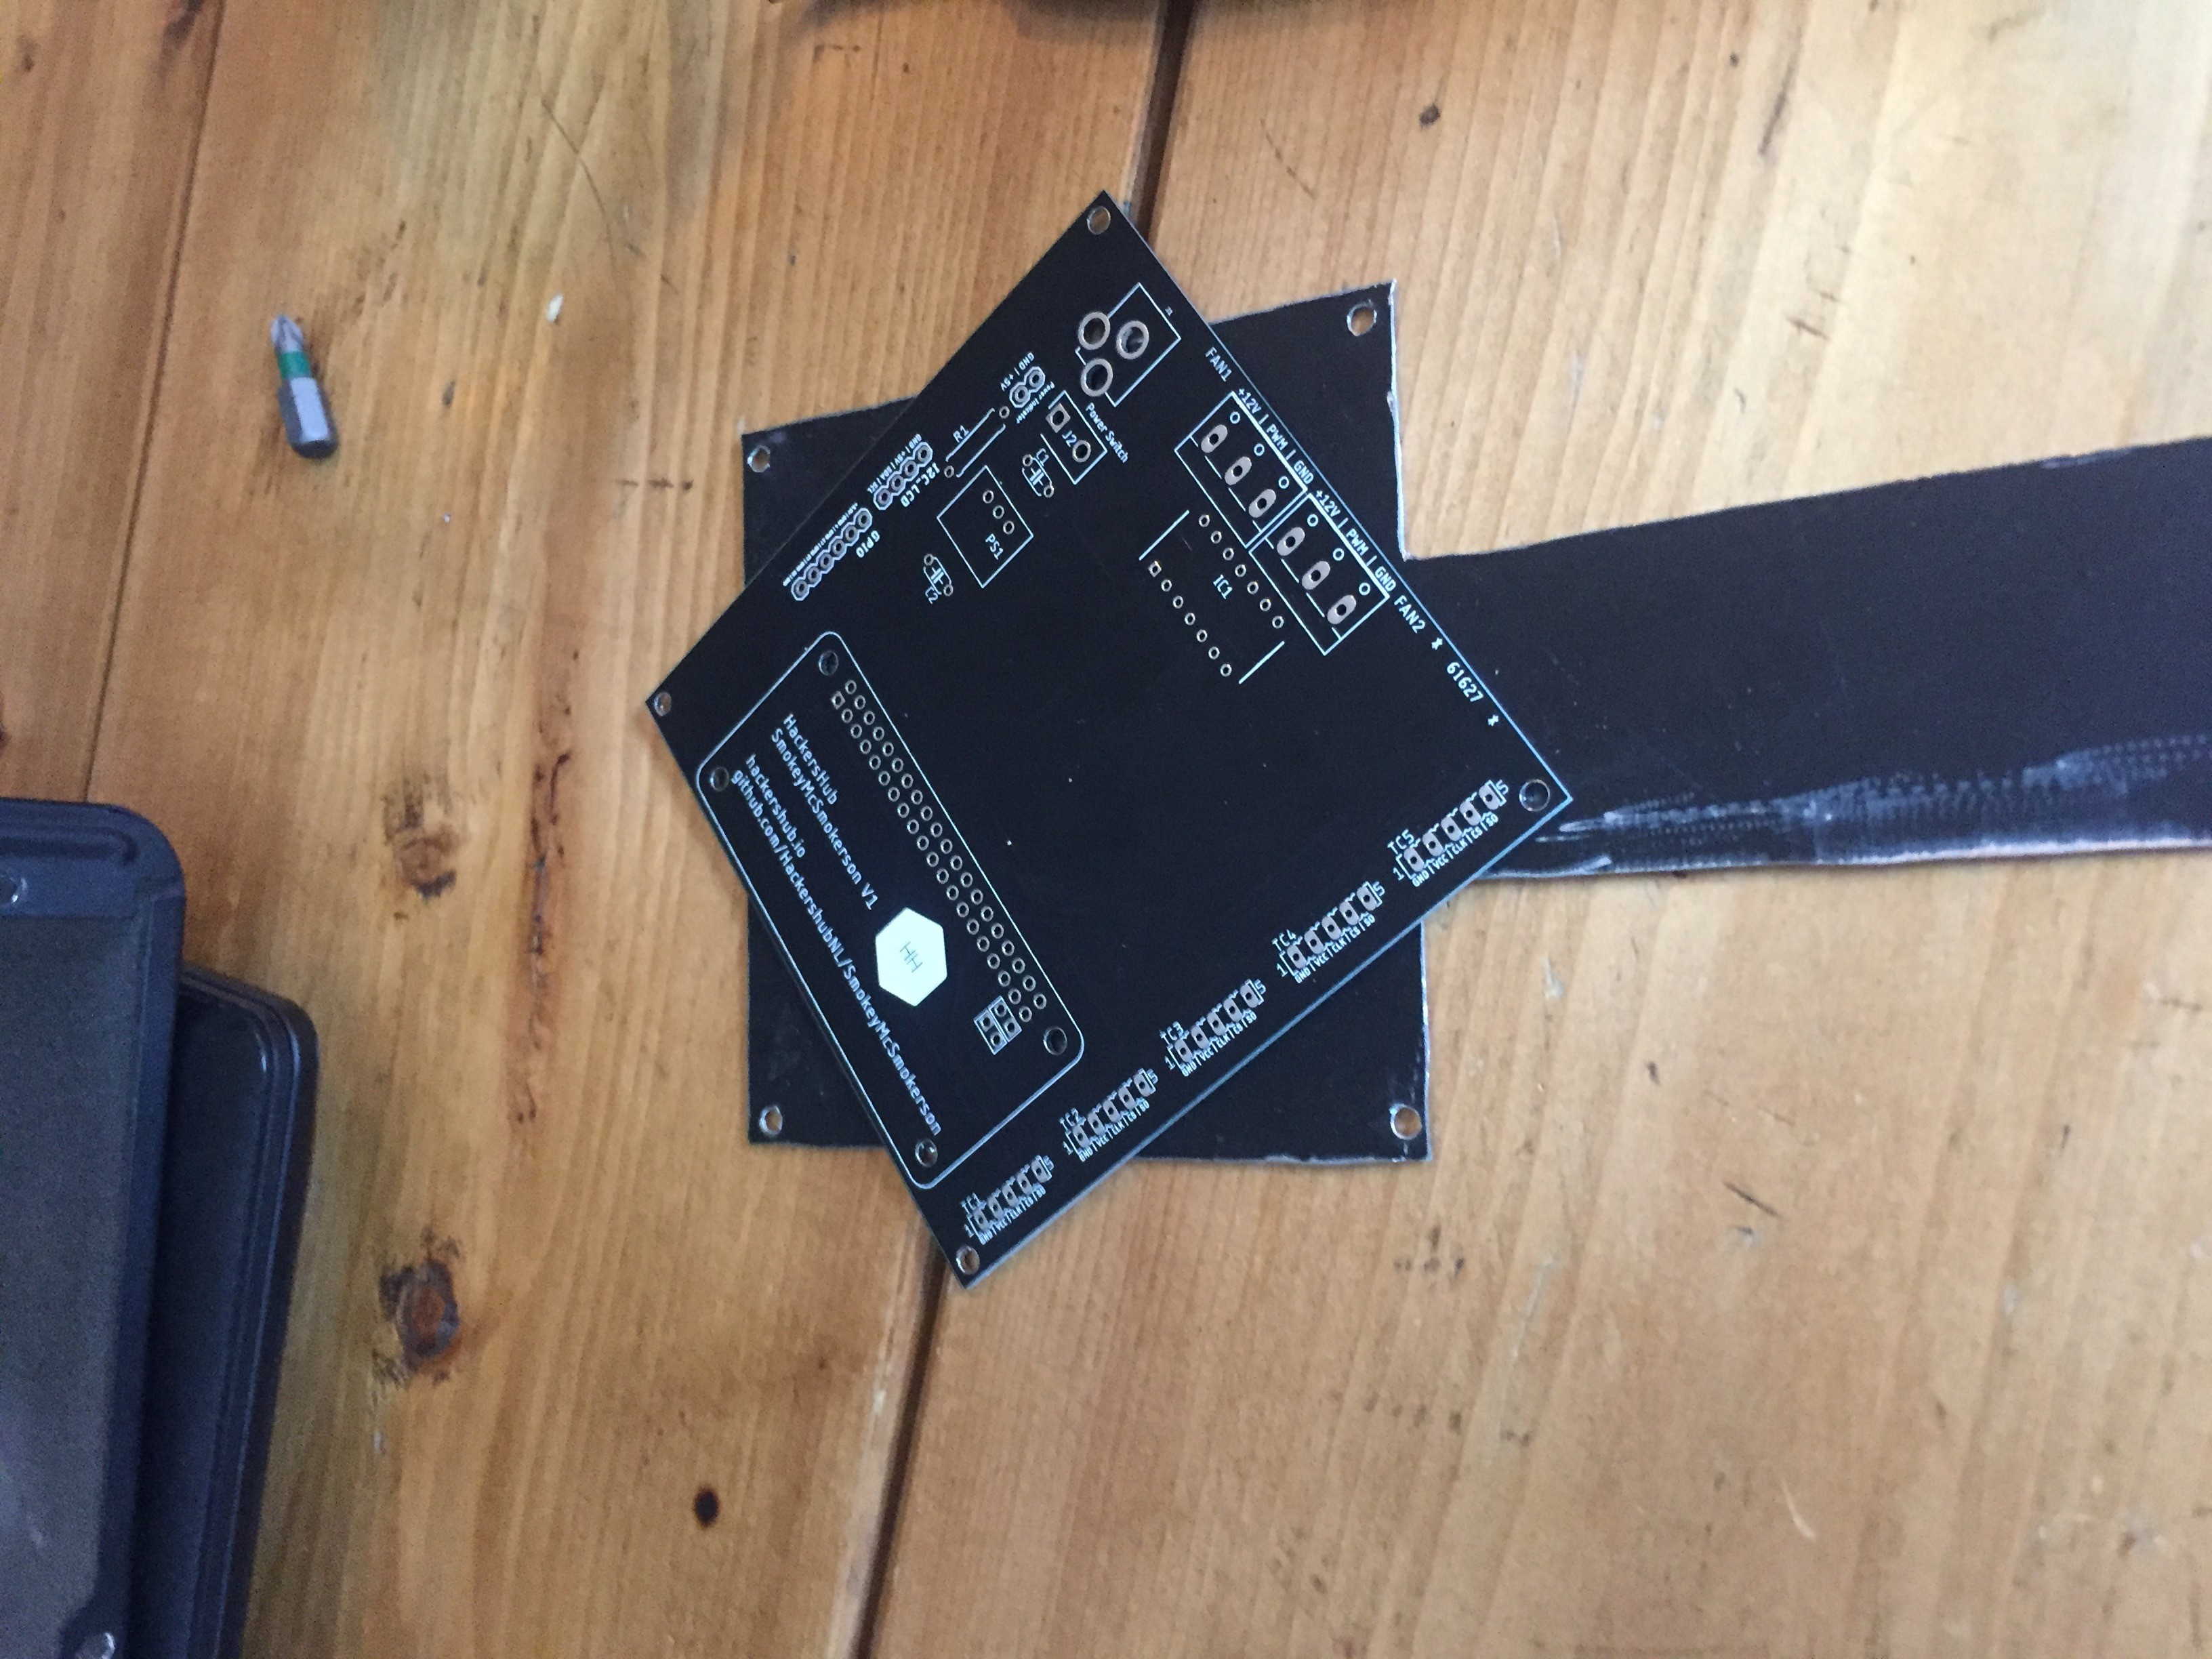
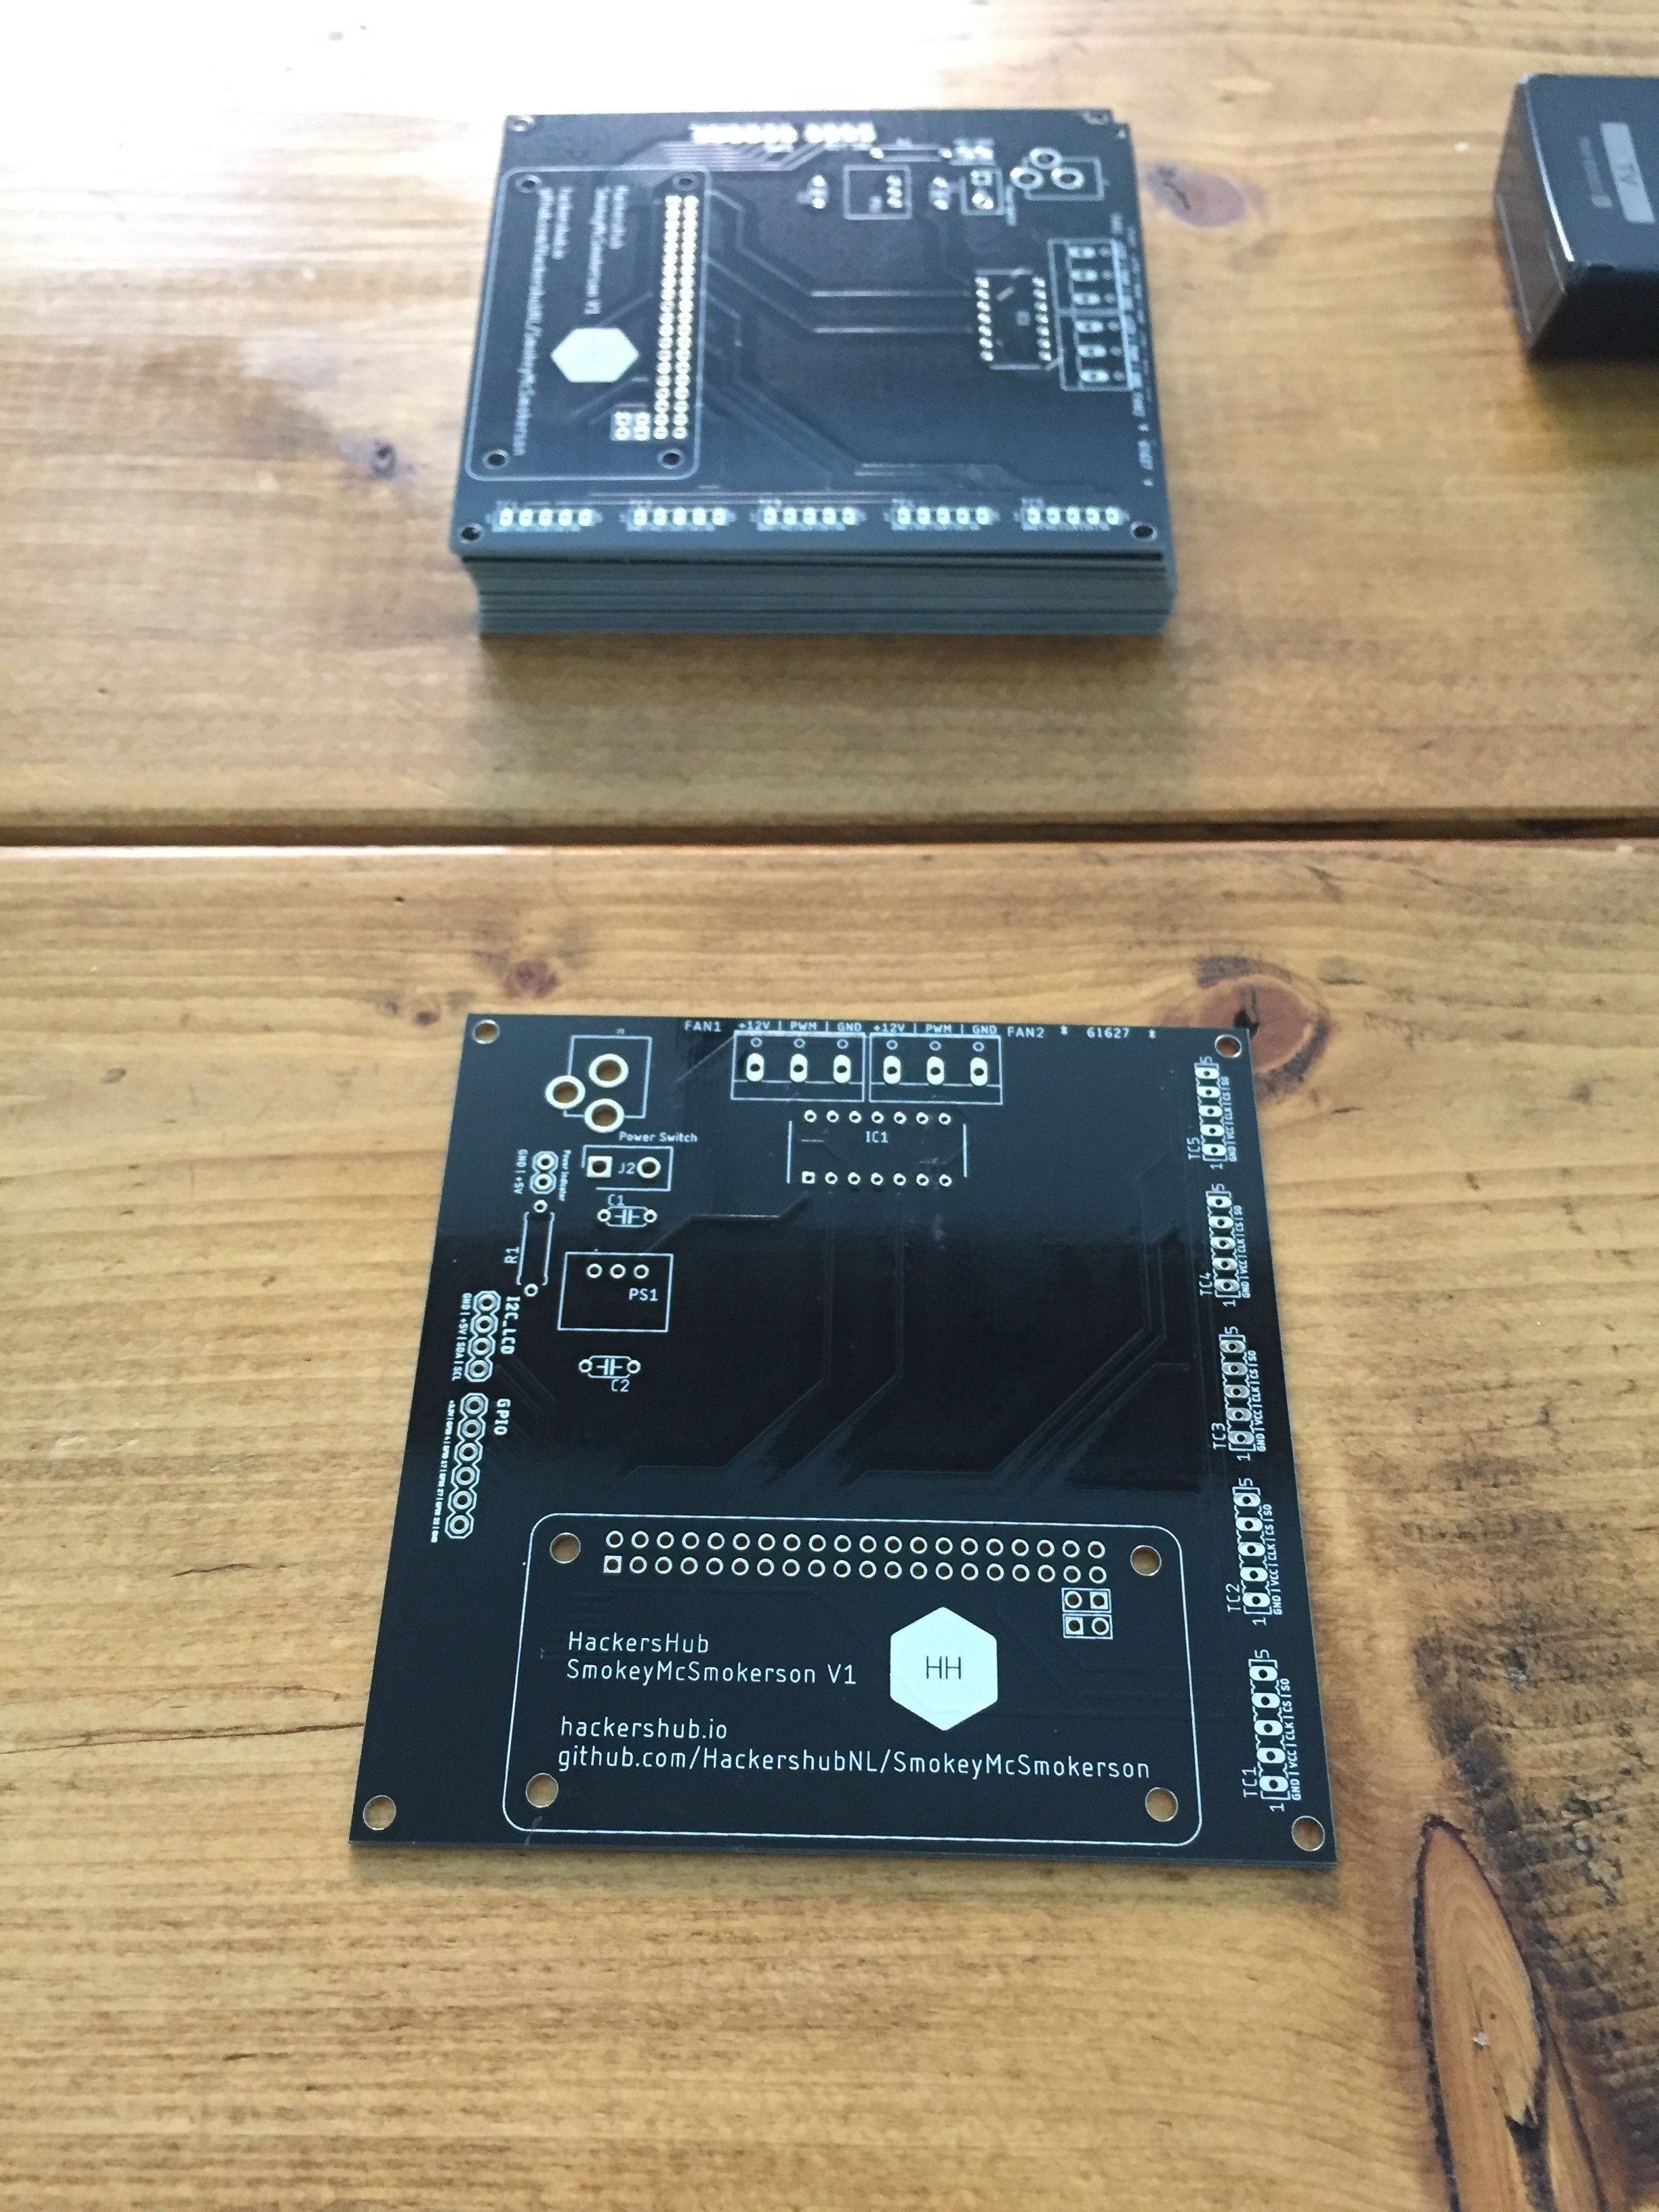
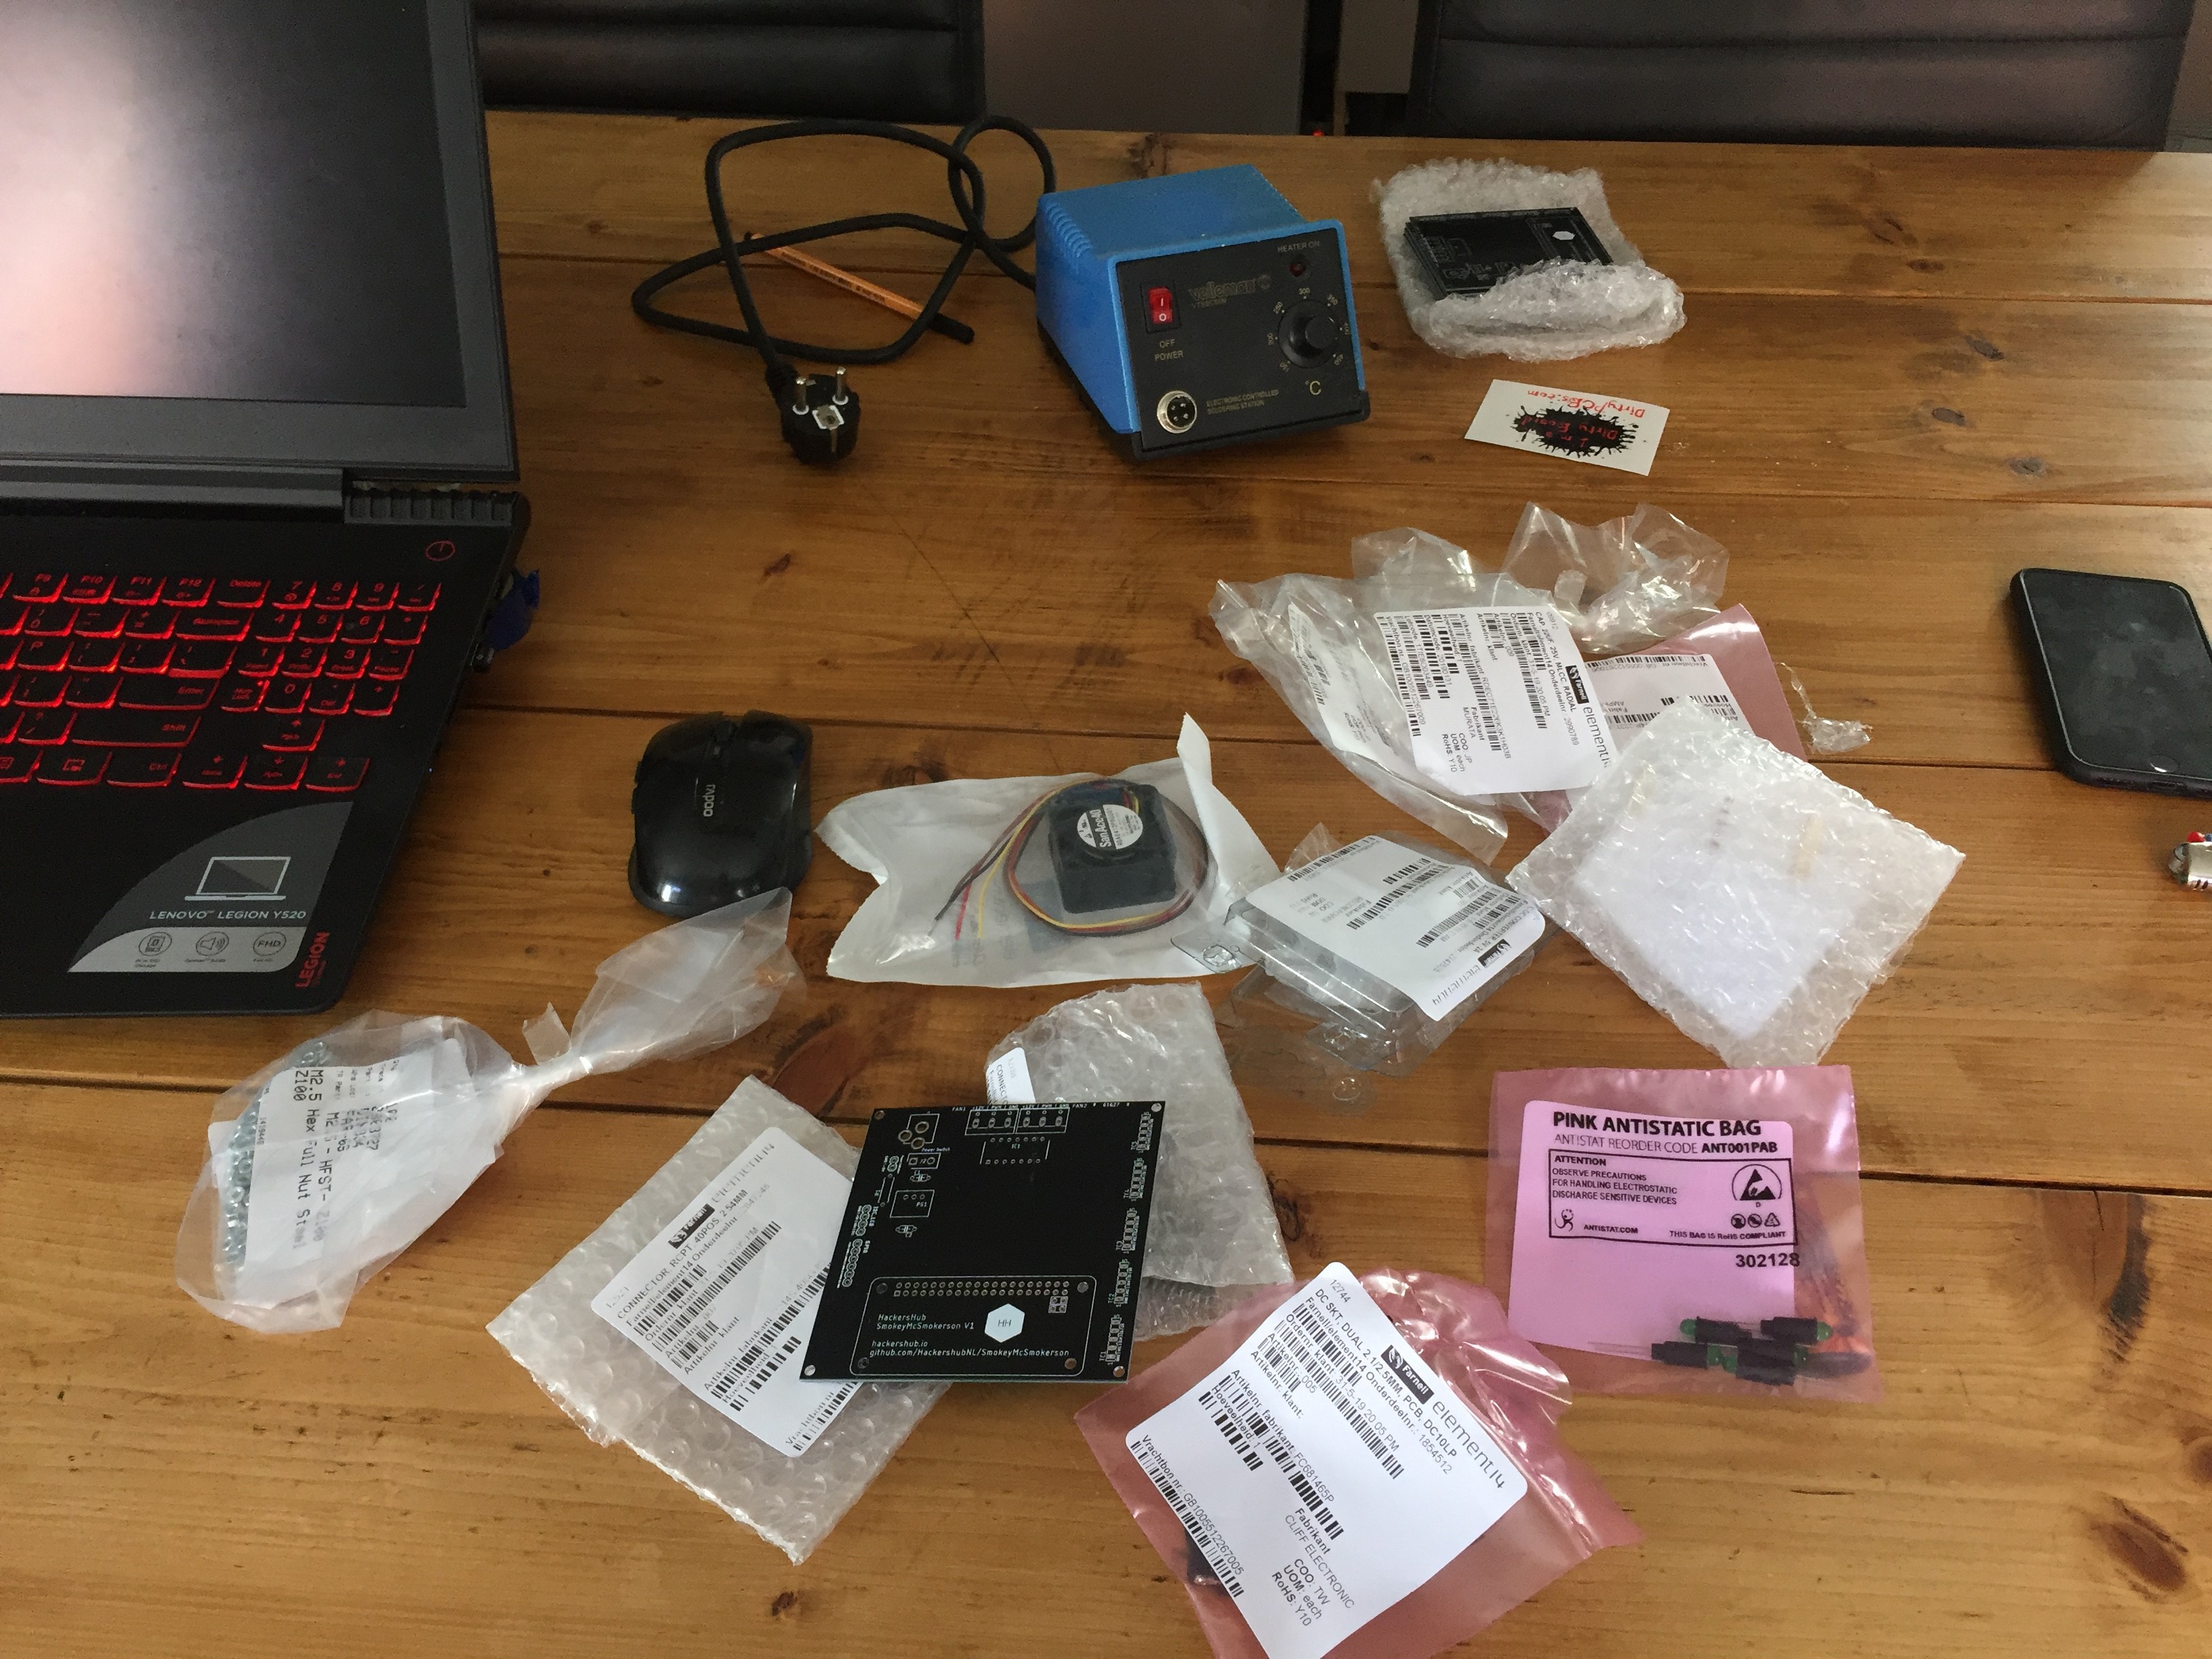
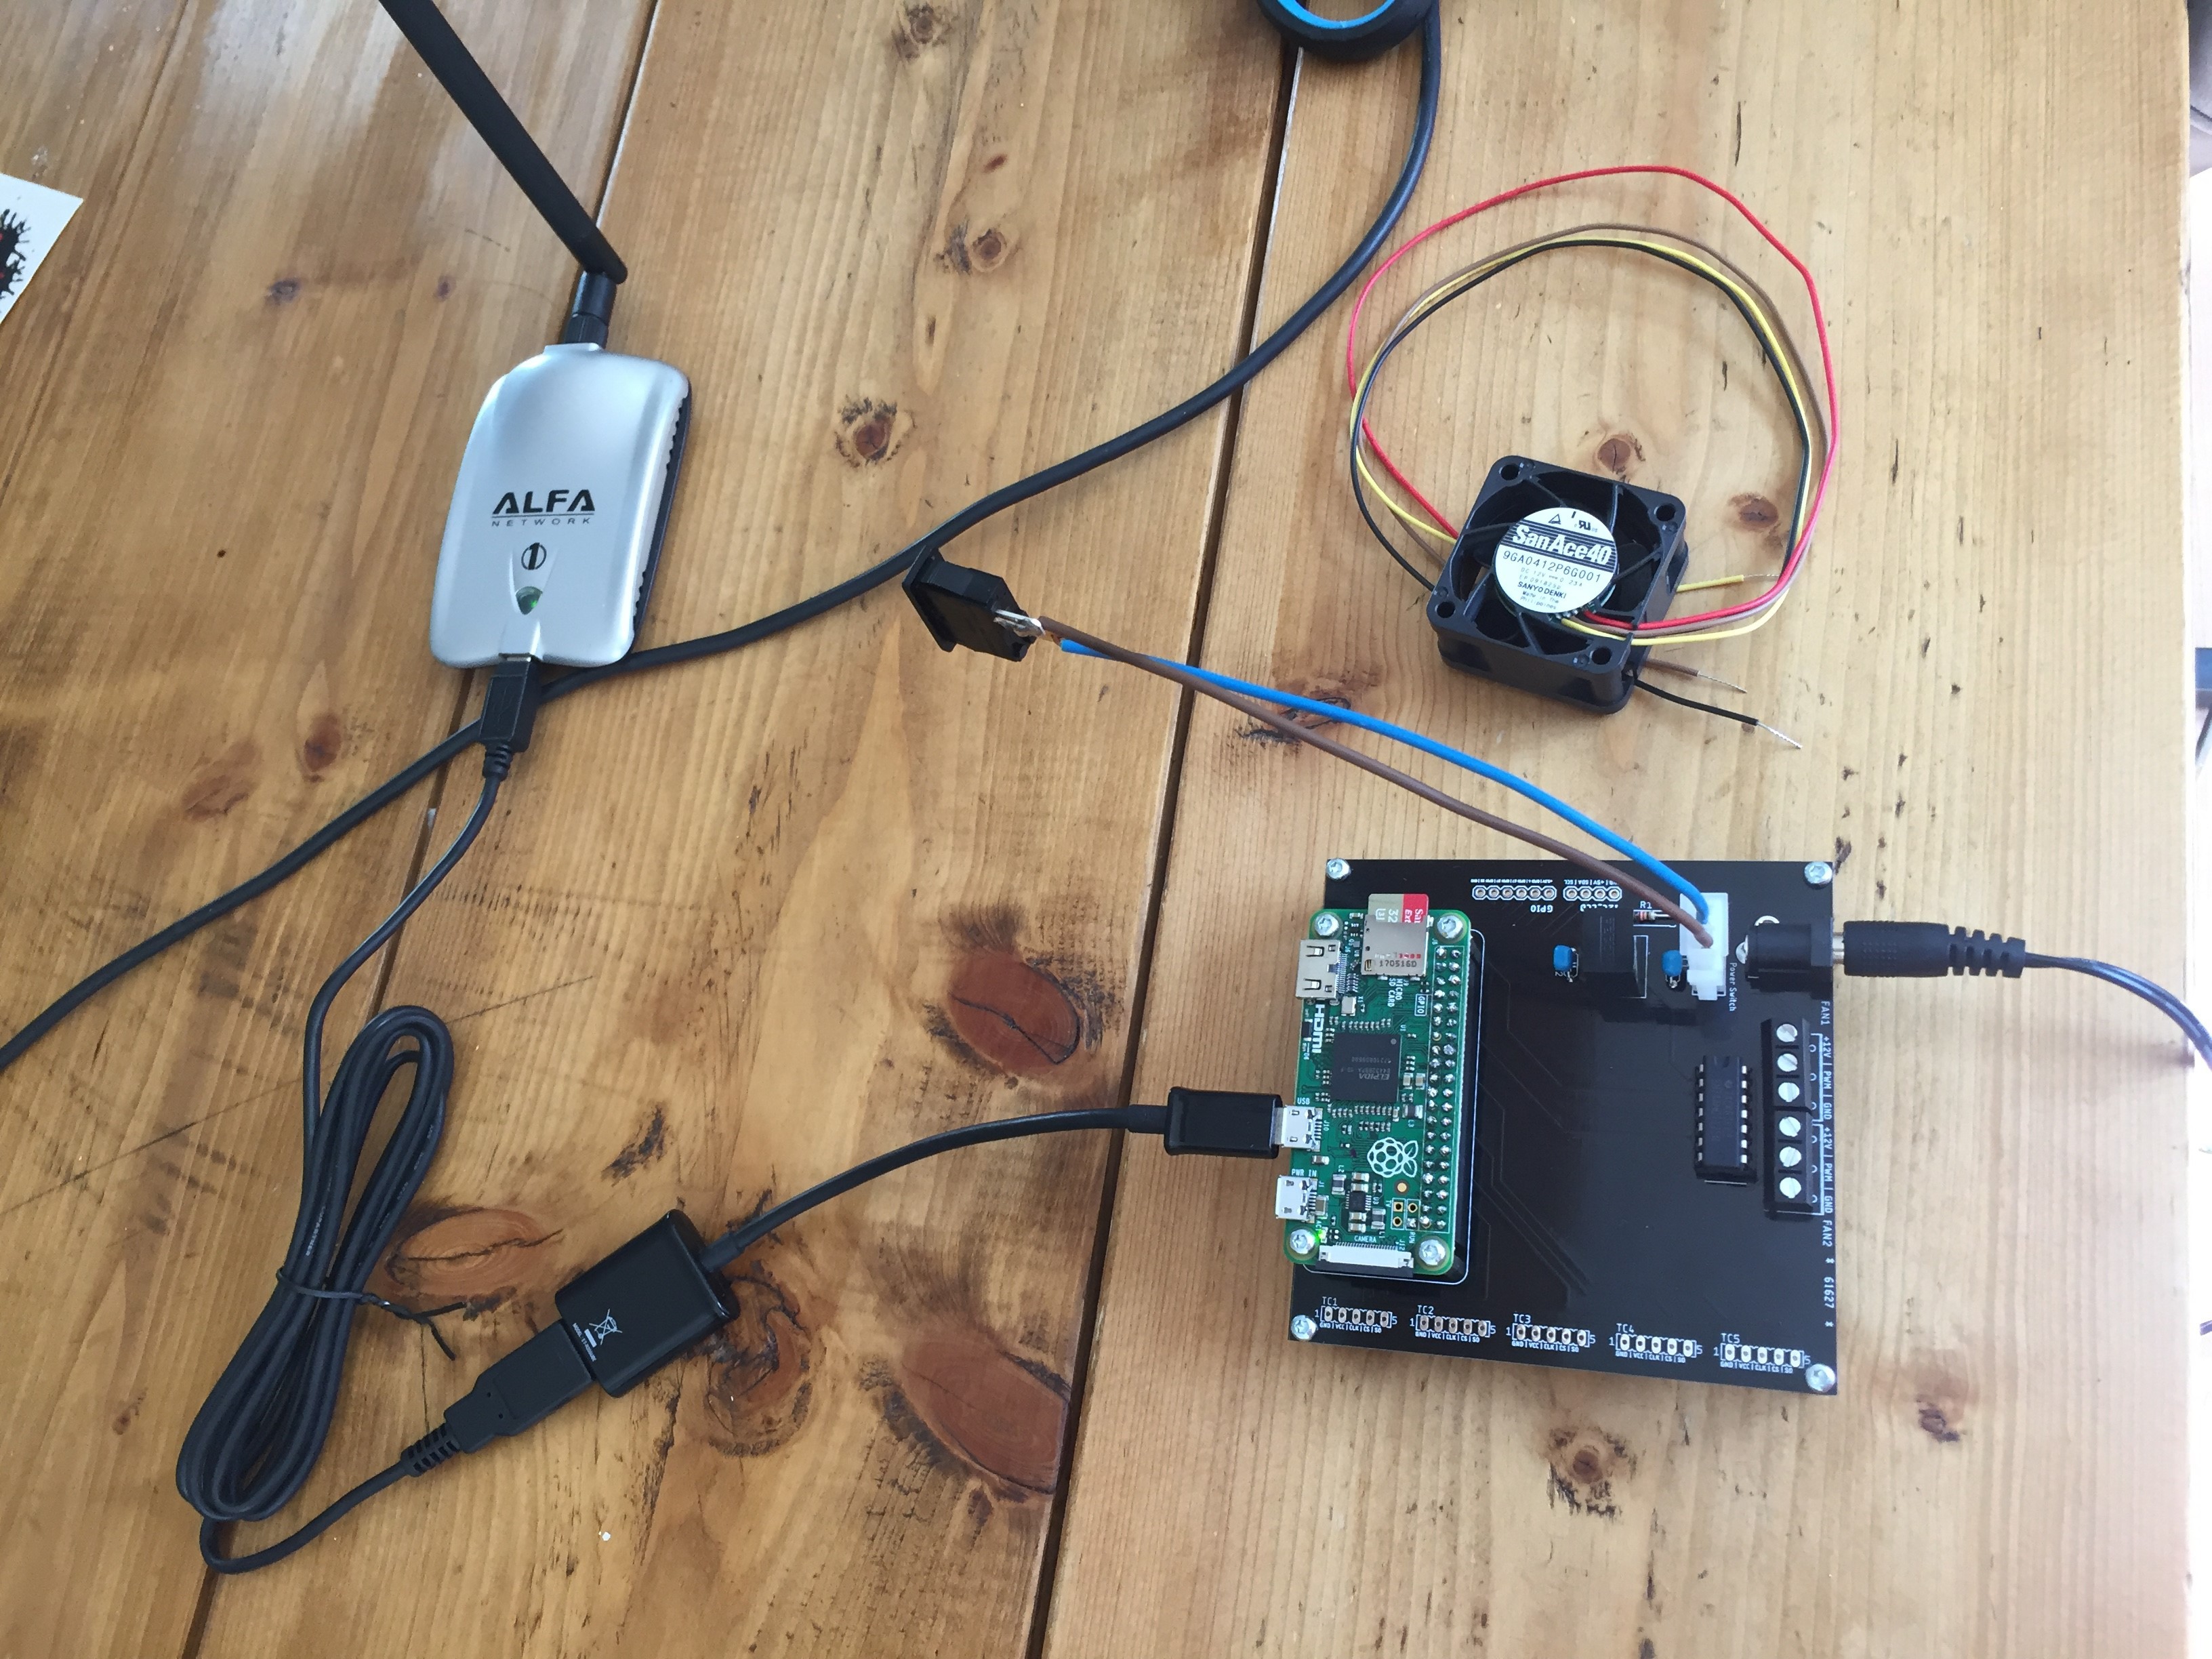
Boards have finally arrived
08/24/2019 at 12:36 • 0 commentsAfter a 3 month waiting time the boards finally arrived from Dirty PCBs.
![]()
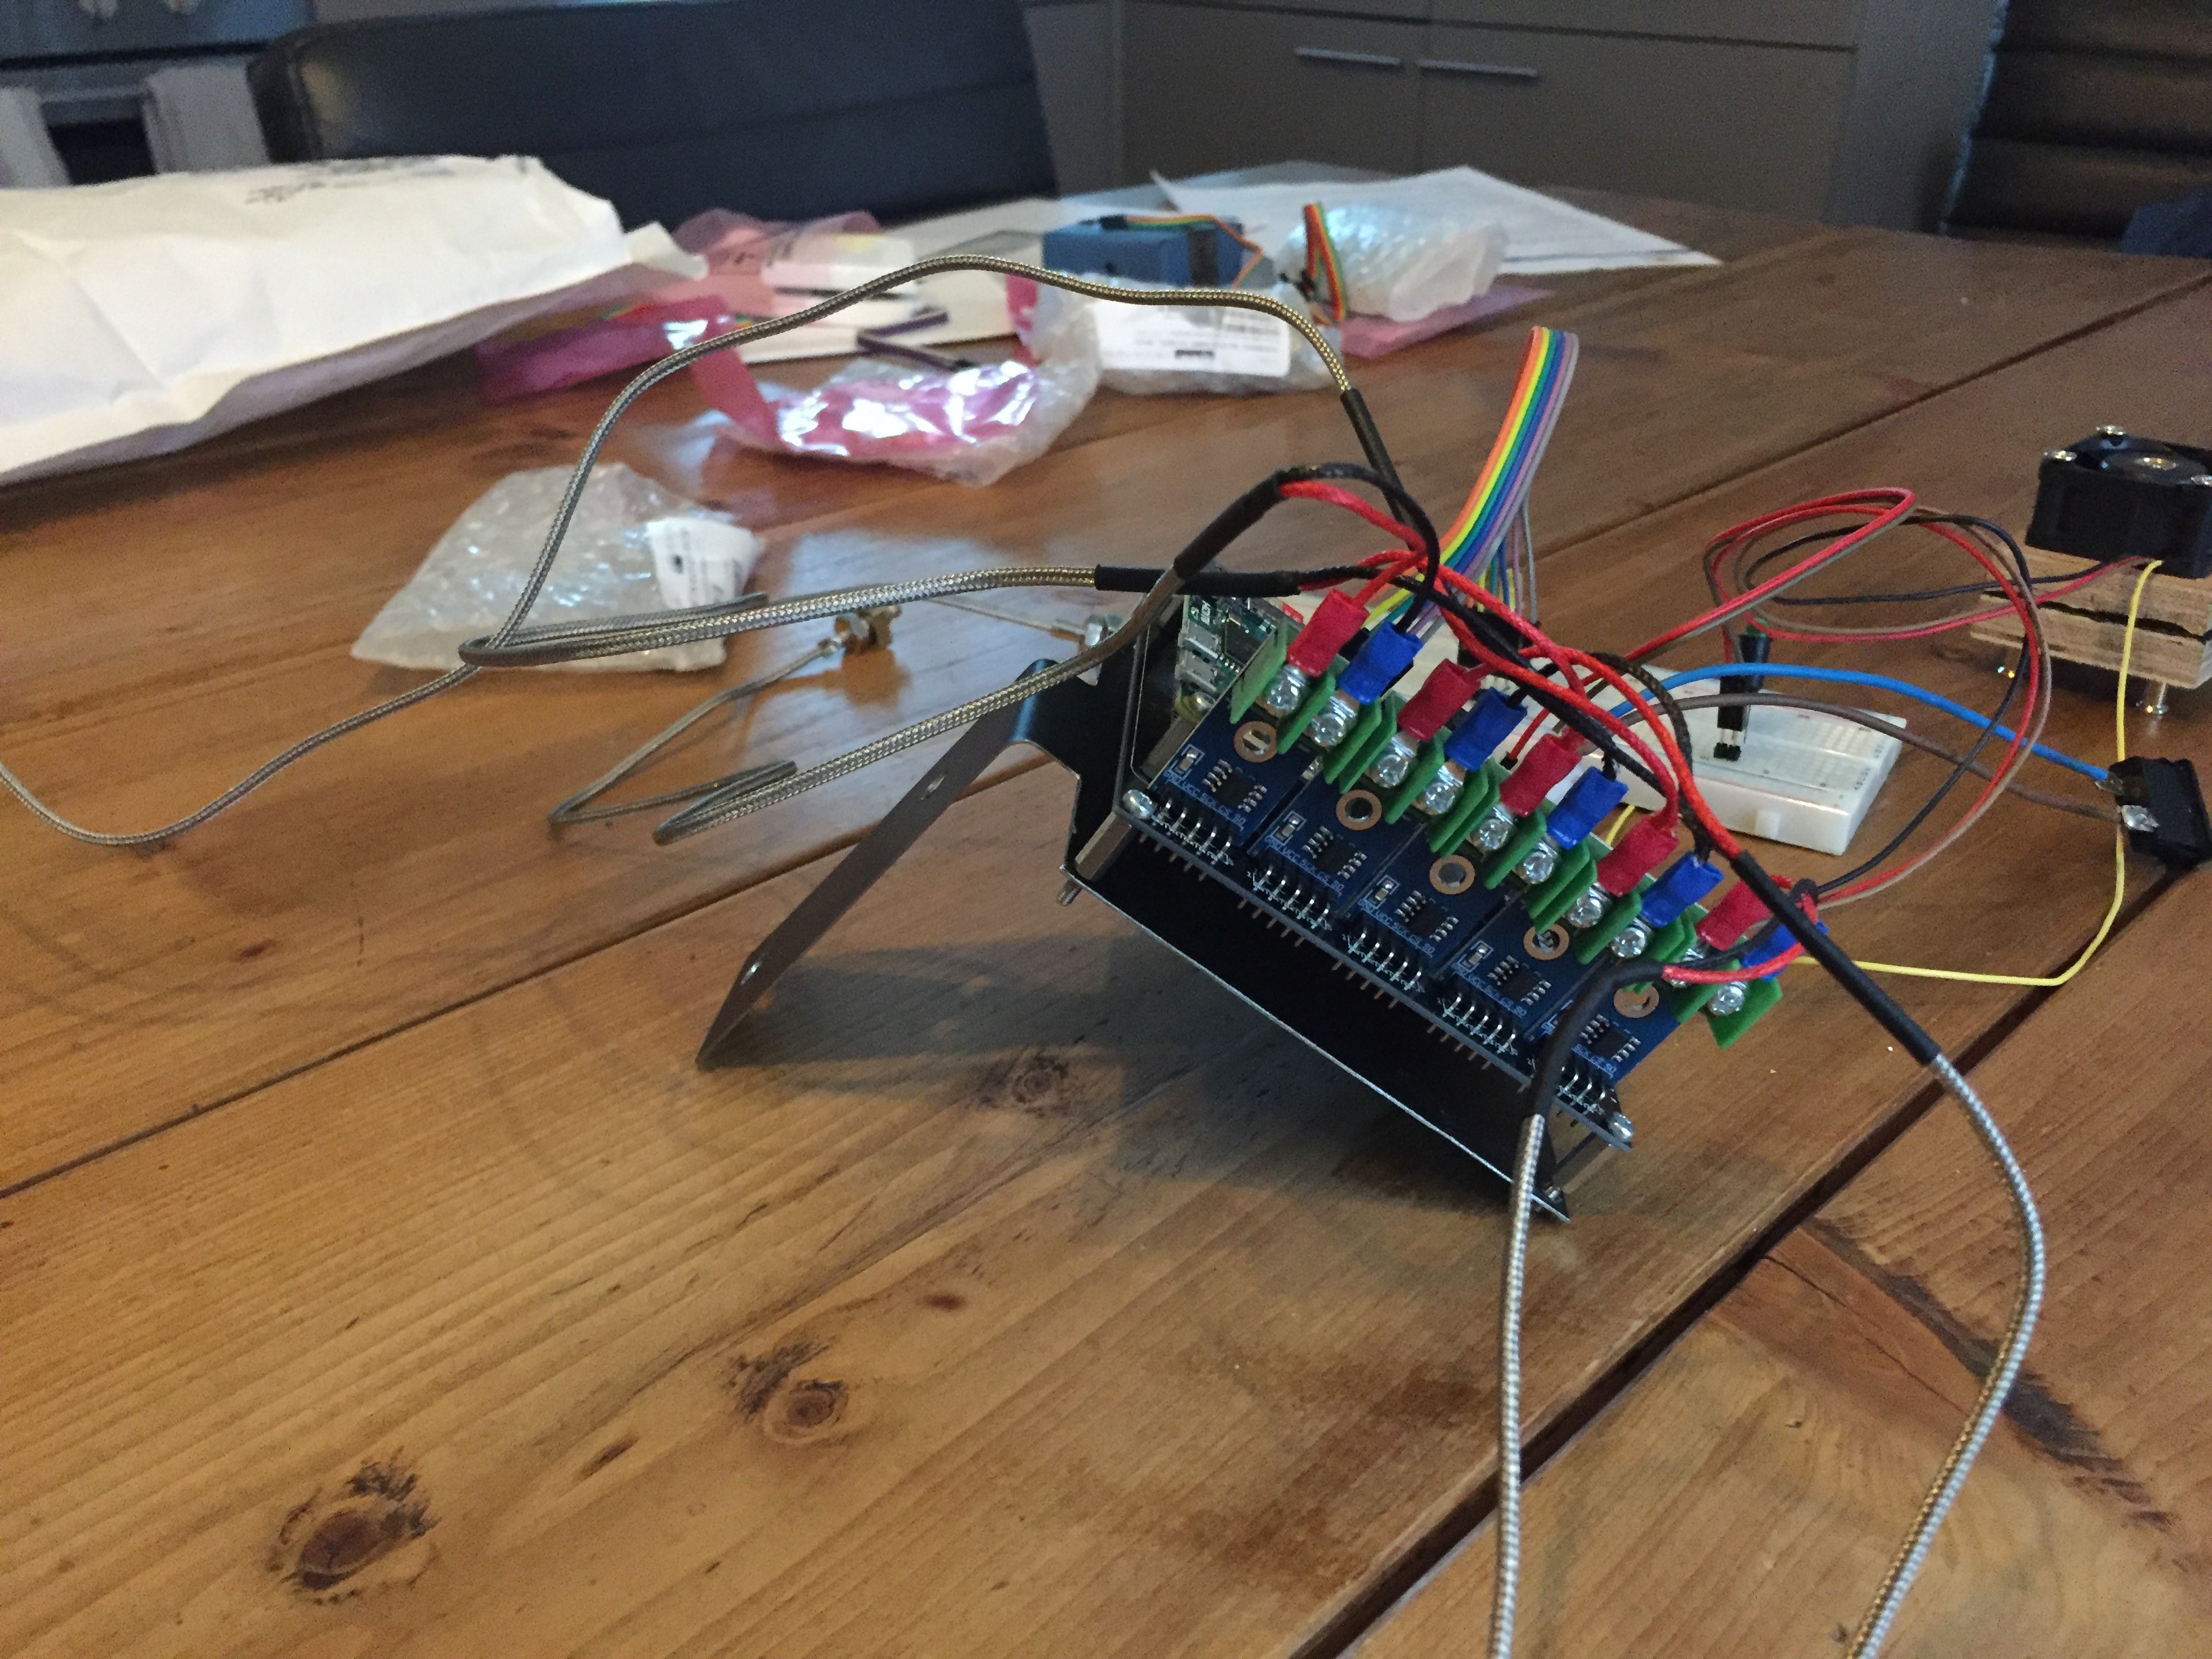
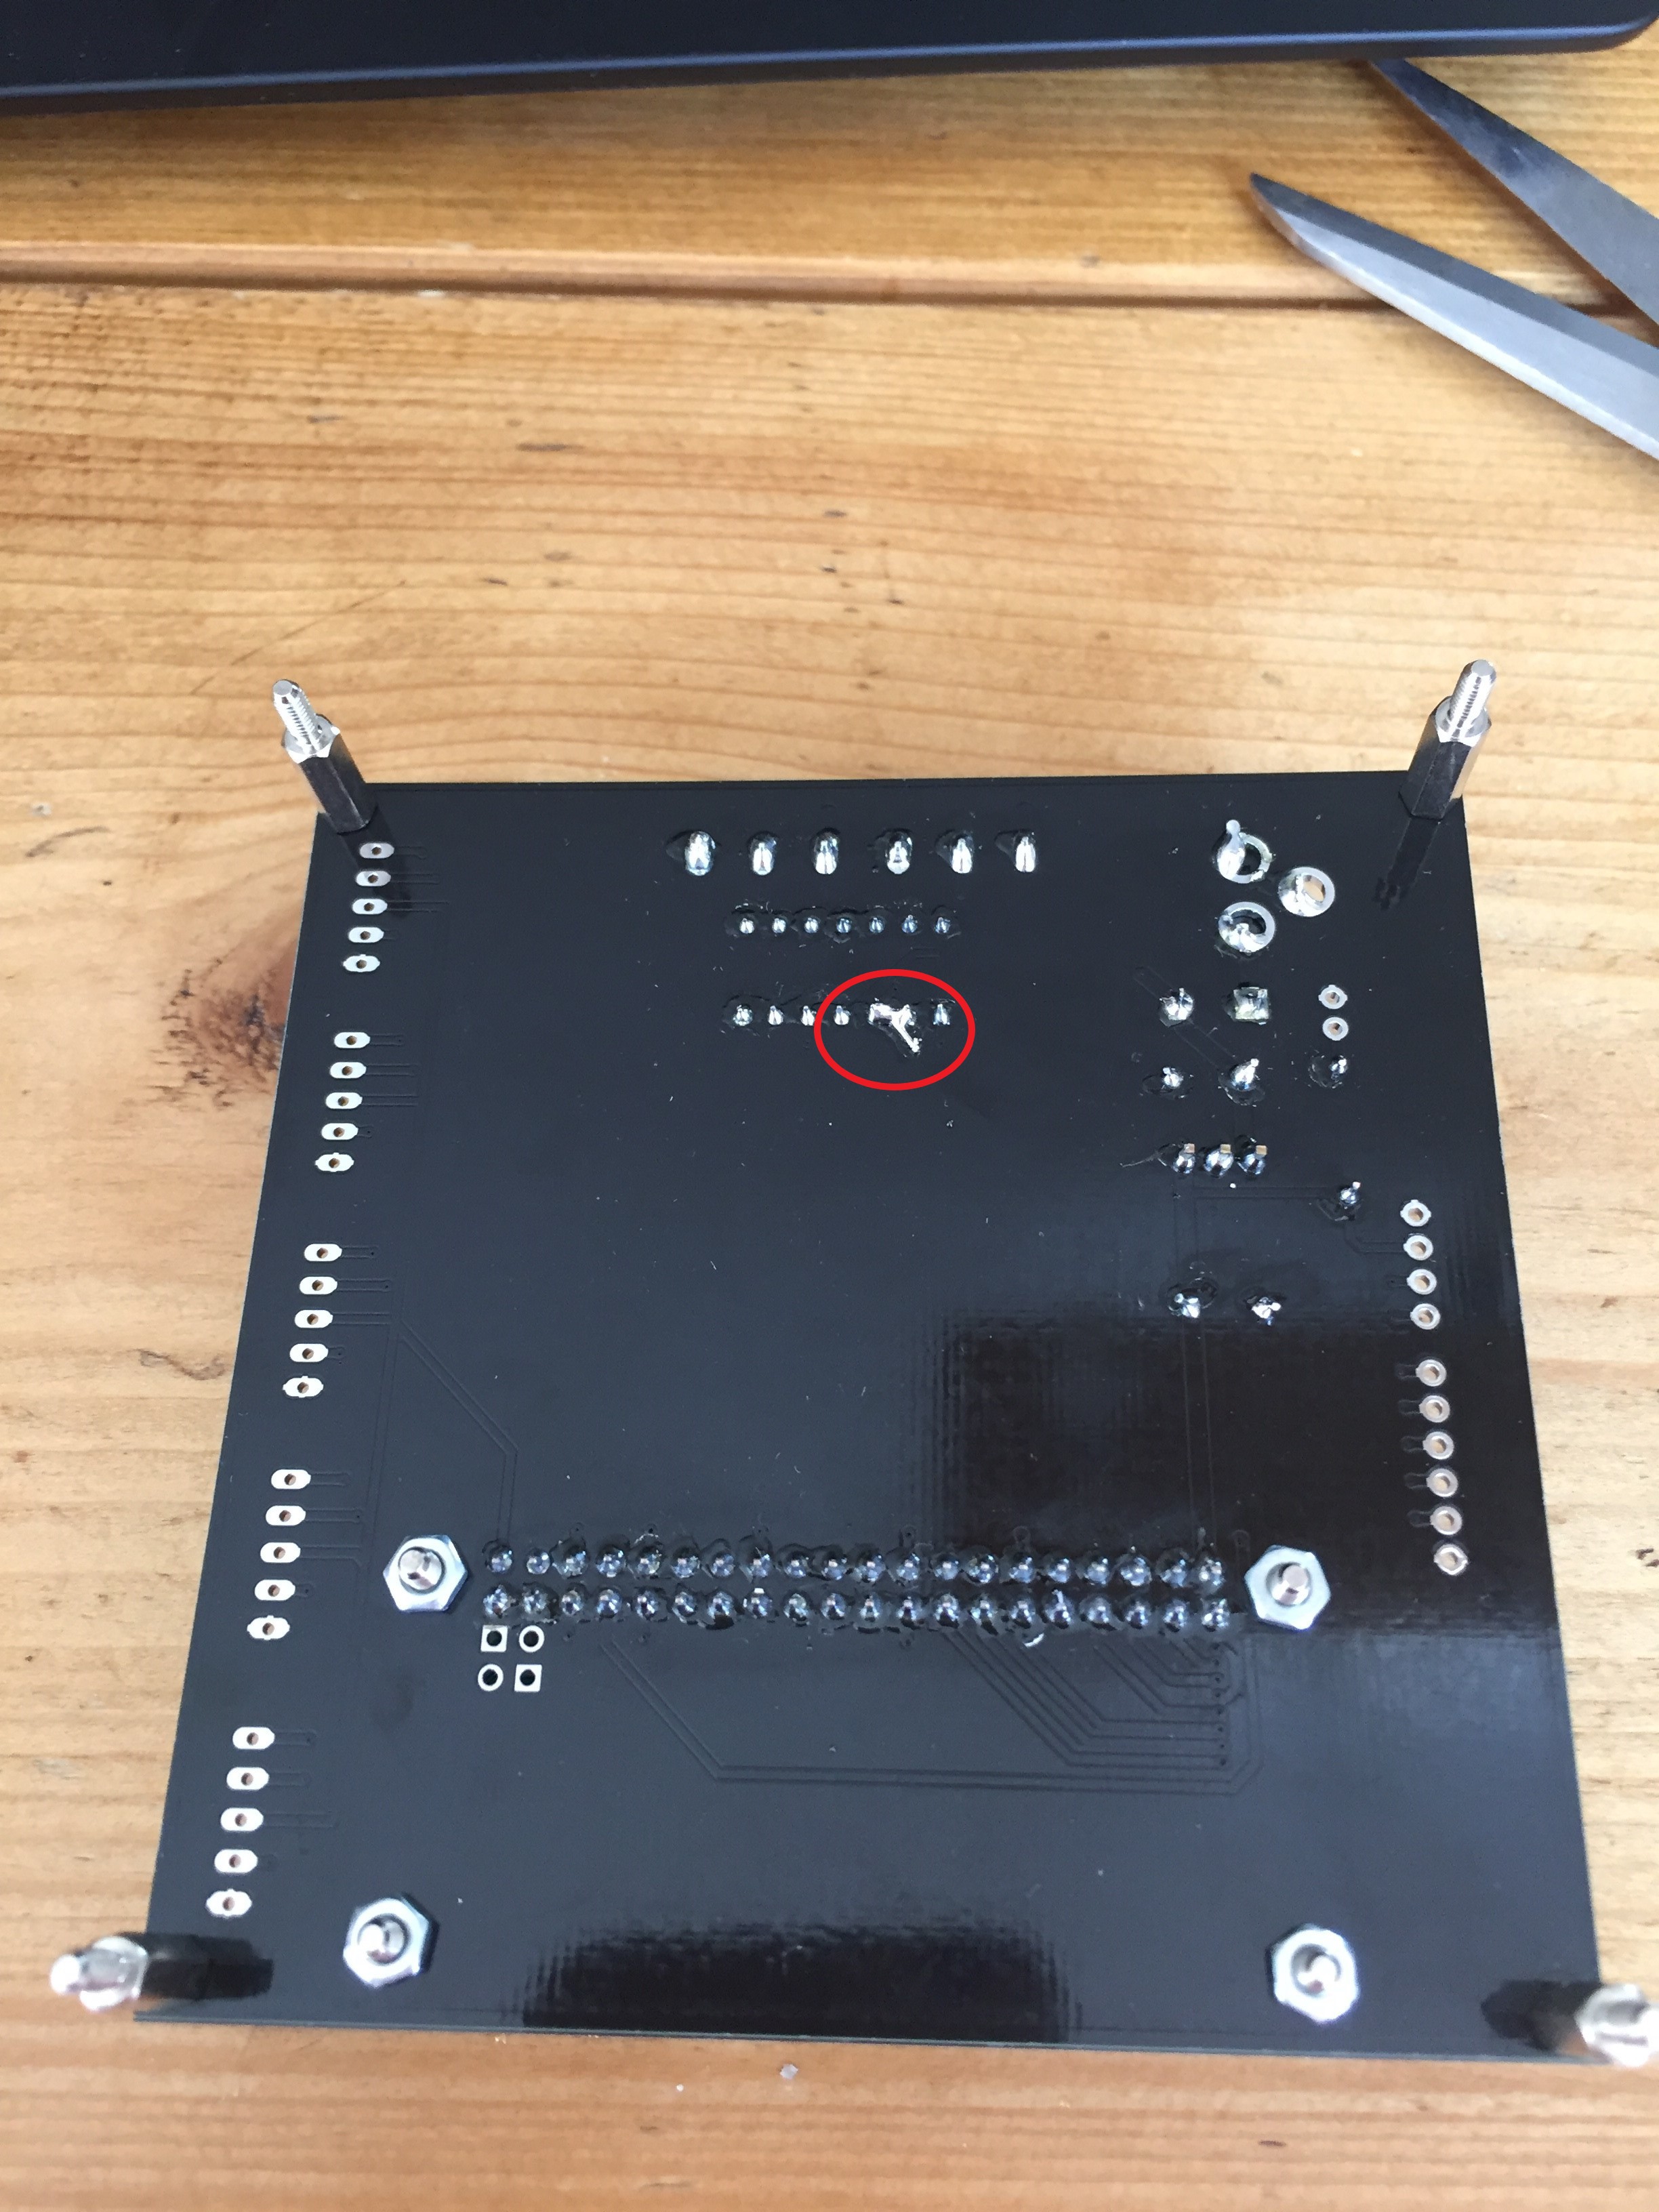
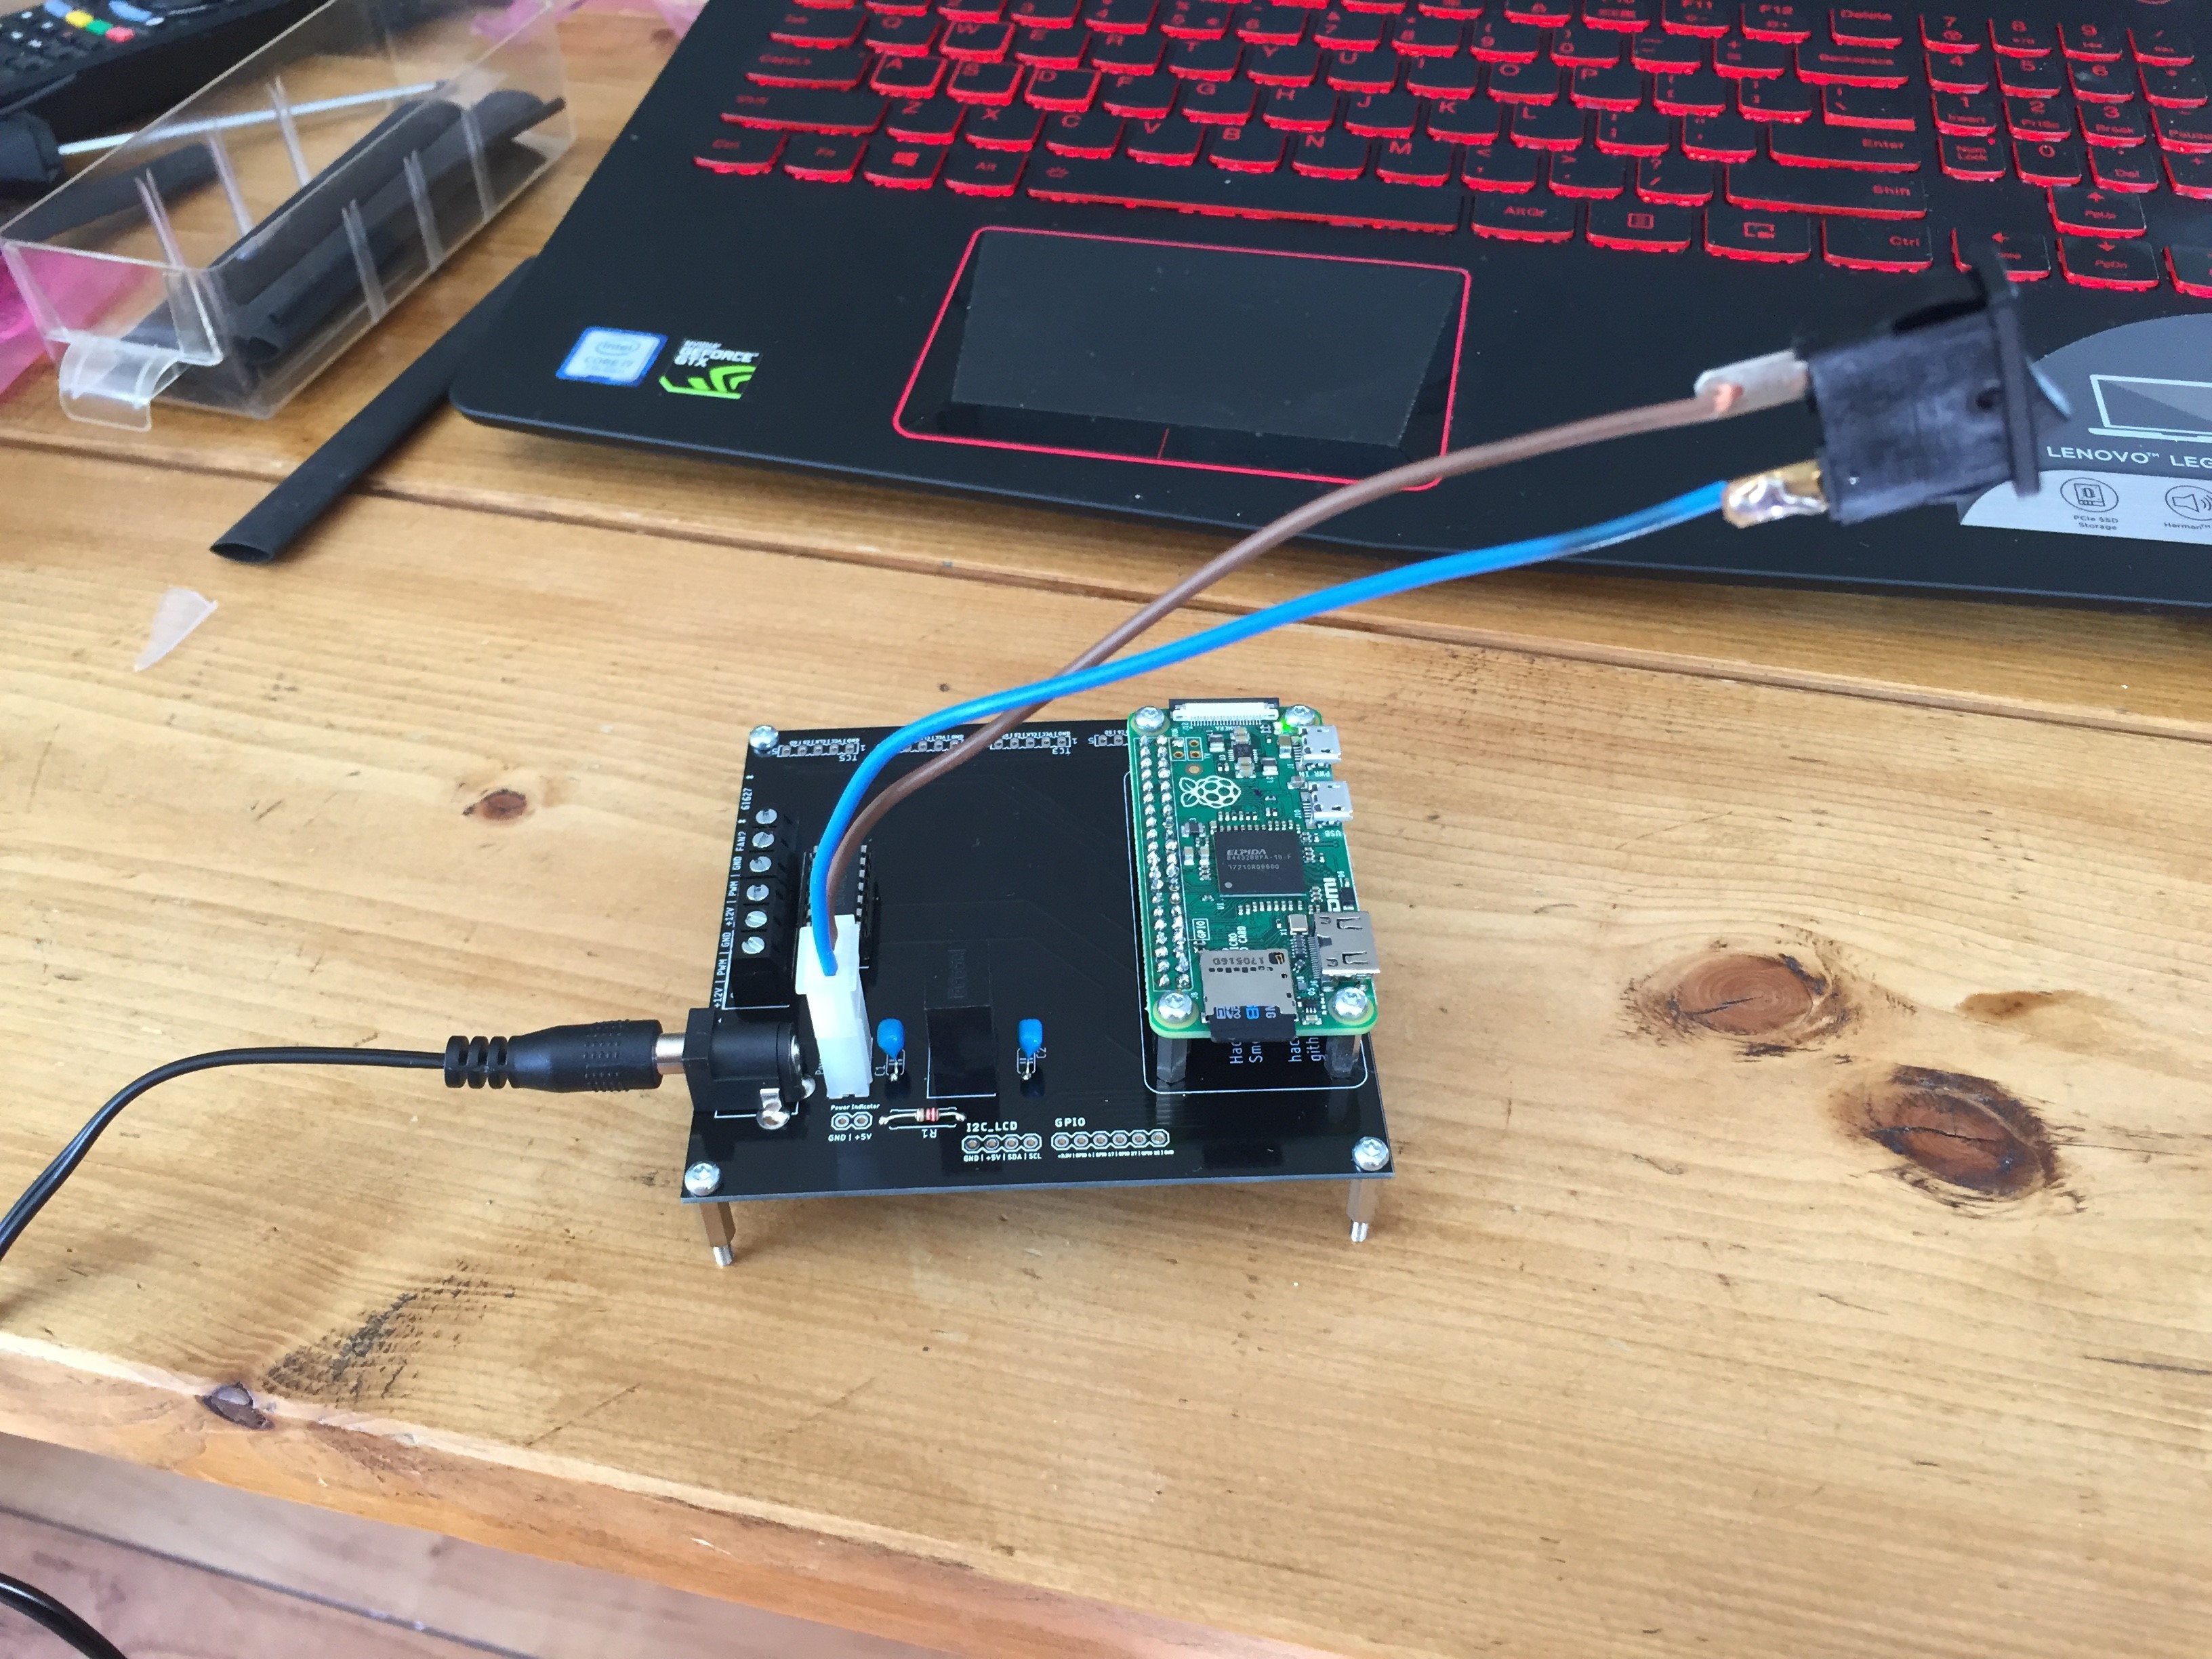
With the first board put together in issue come up where the PWM boost circuit didn't work properly but luckily the fan works just fine with a 3.3V signal so for this version the boost chip will be bypassed aka a hack job :)
![]()
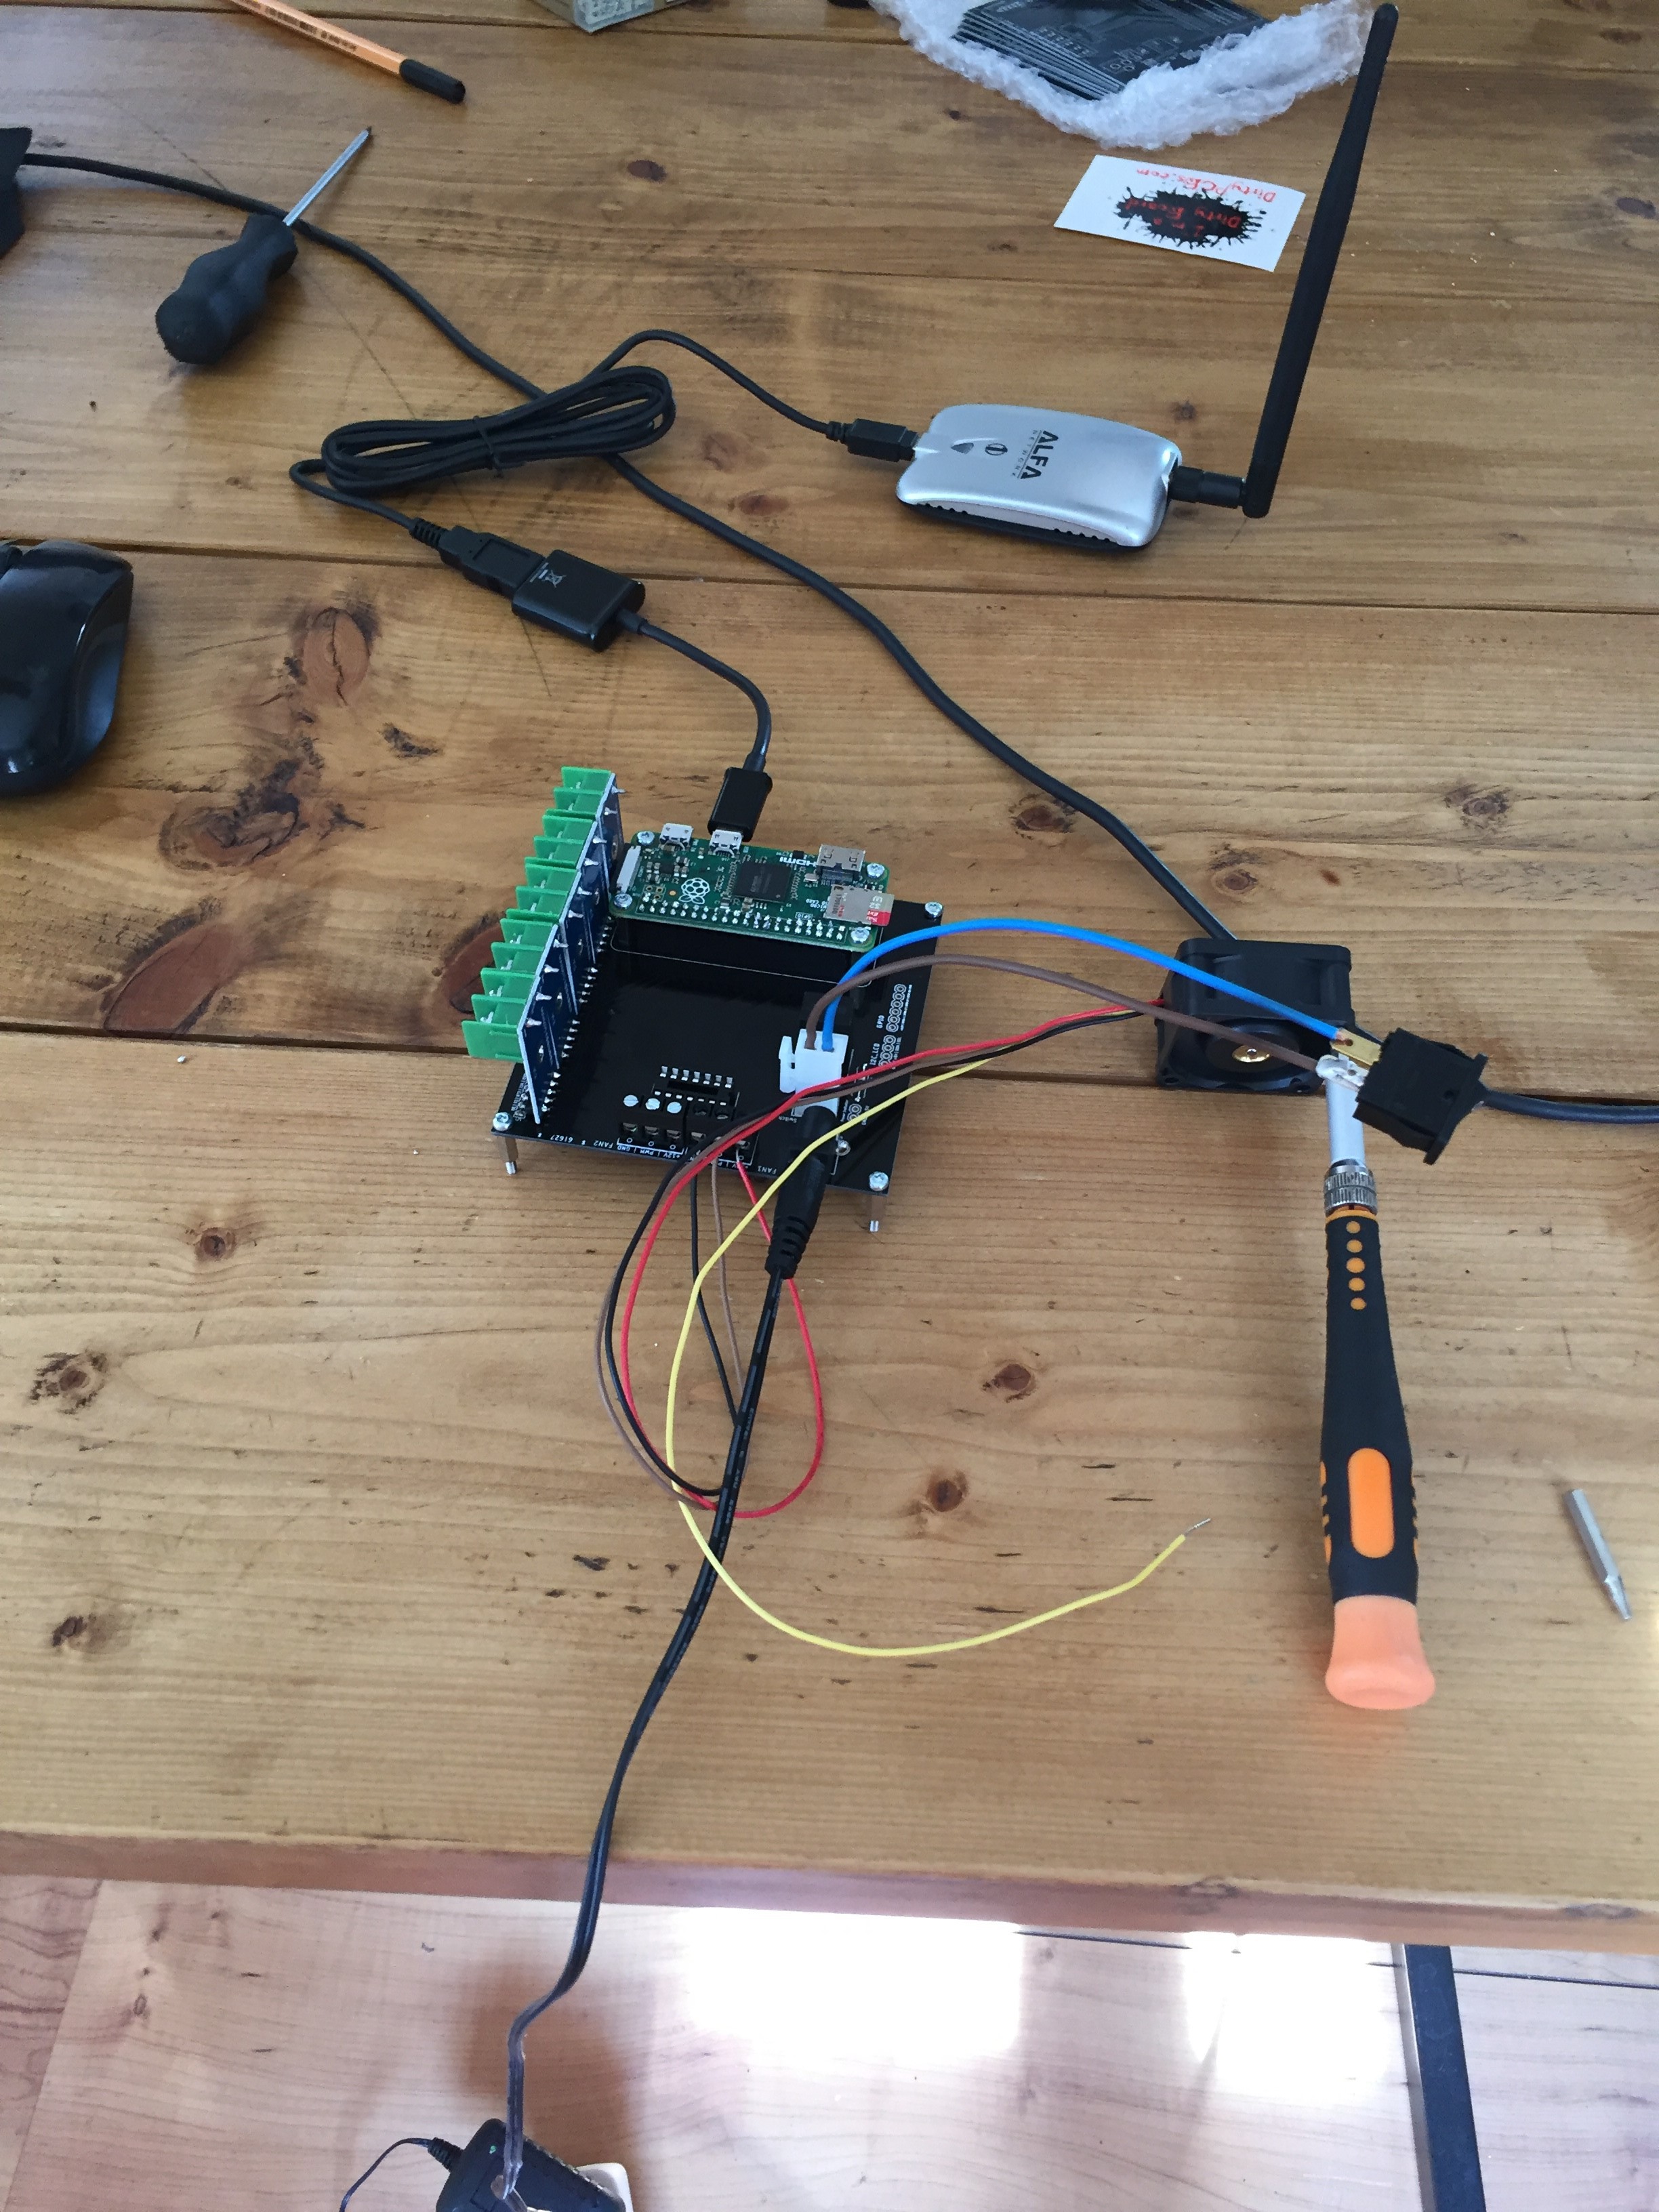
I have updated the code so everything works and the next step is mounting it to the barrel and testing it out. More pics below.
![]()
![]()
![]()
![]()
-
Software V1 fully working
05/31/2019 at 09:54 • 0 commentsFirst version of the software is fully working on a Raspberry Pi with easy setup scripts and guide in the repo wiki: https://github.com/HackershubNL/SmokeyMcSmokerson/wiki .
More updates coming when the hardware has been received.
-
First update
05/28/2019 at 17:33 • 0 commentsAs a first update the following items have been done:
- Initial Smoker design
- Raspberry Pi carrier board design
- Carrier board ordered
- Initial version of controller software and Blynk app
All the code is available in the repo and the Blynk app can be cloned with the following code:![]()