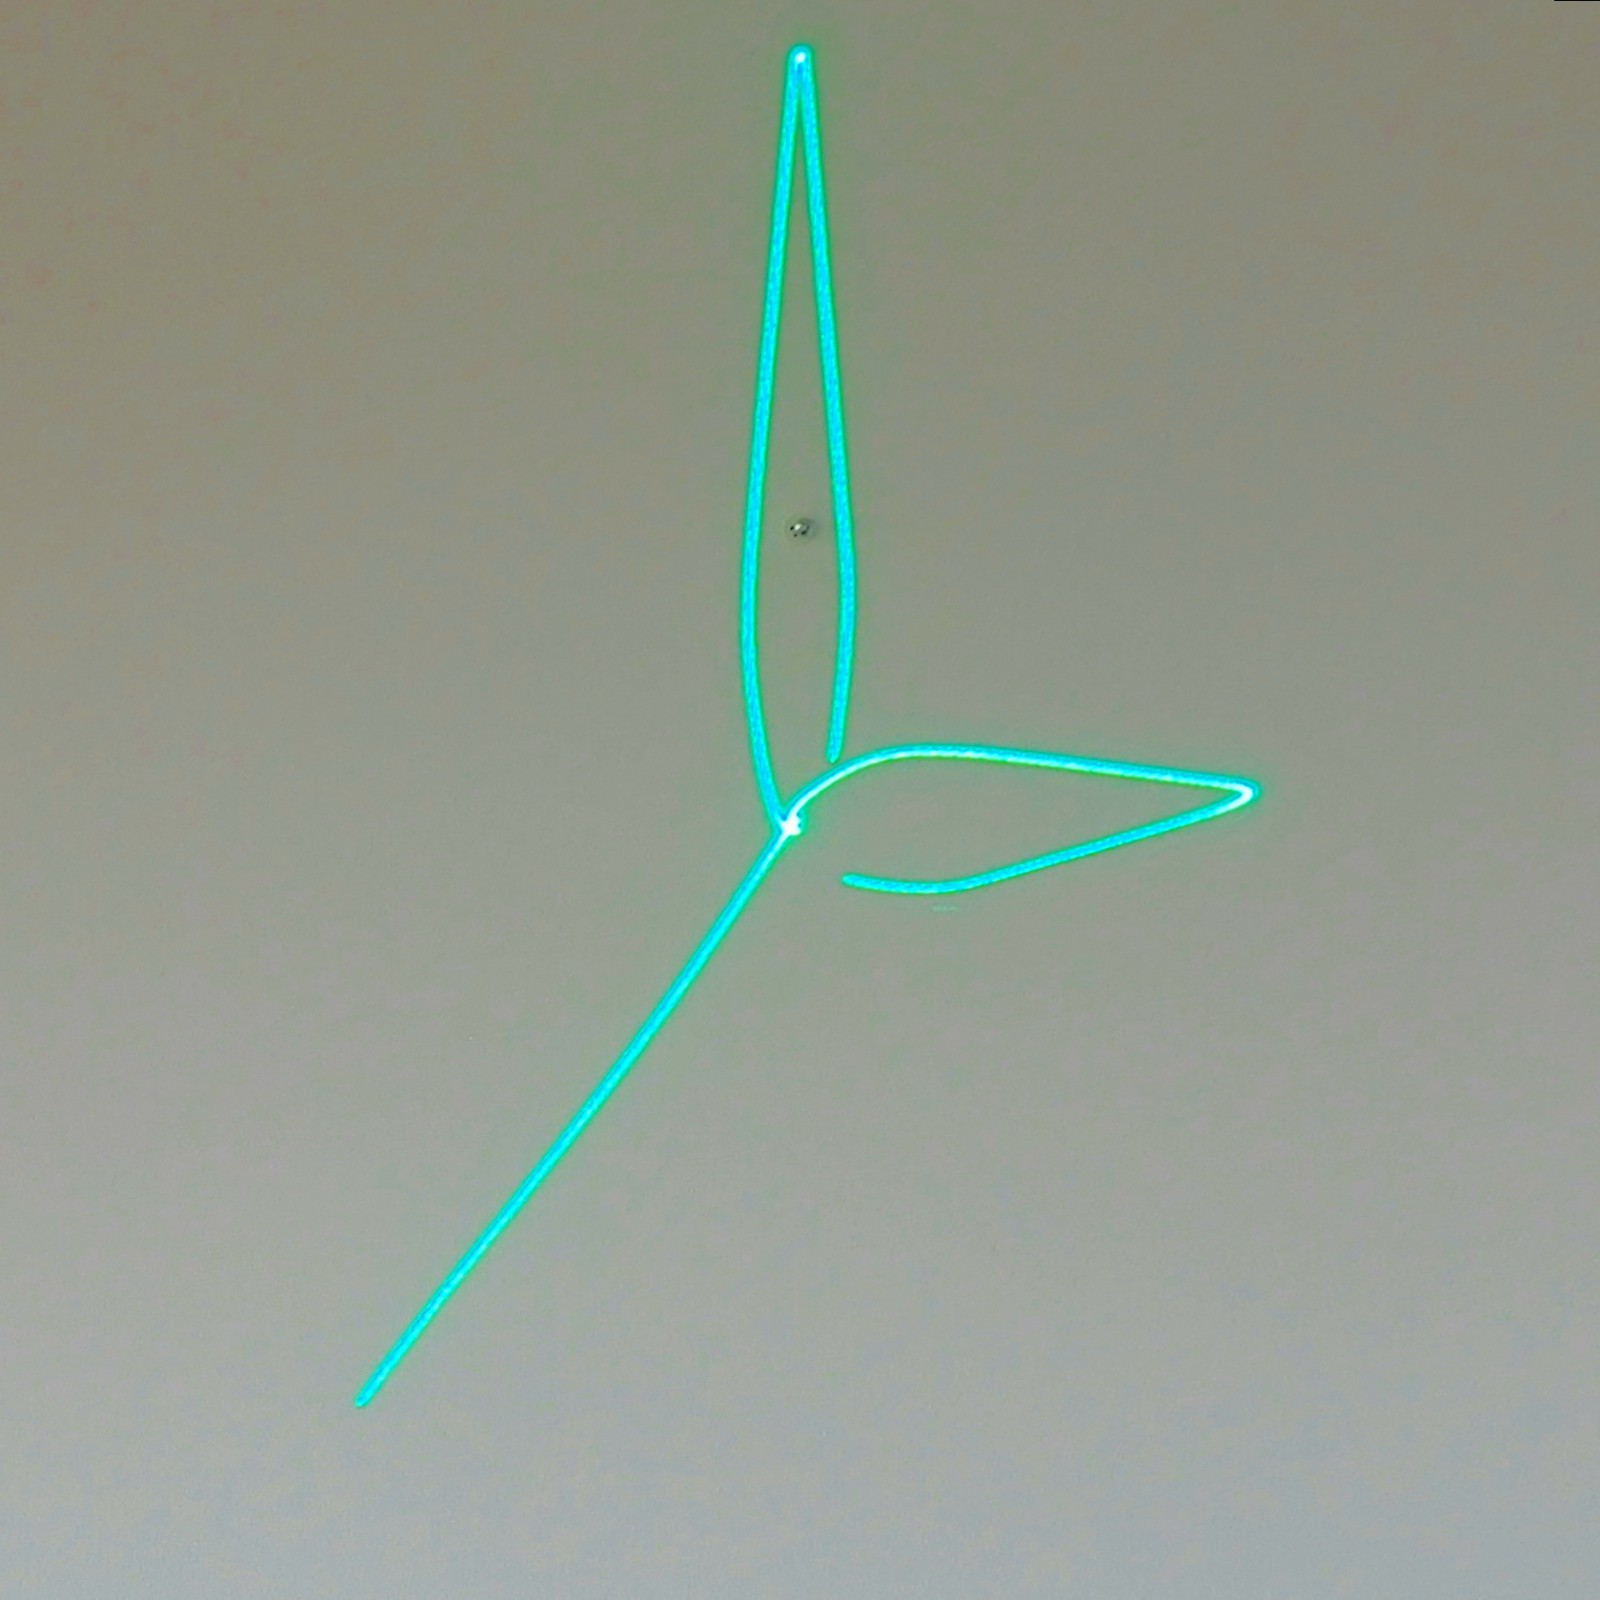
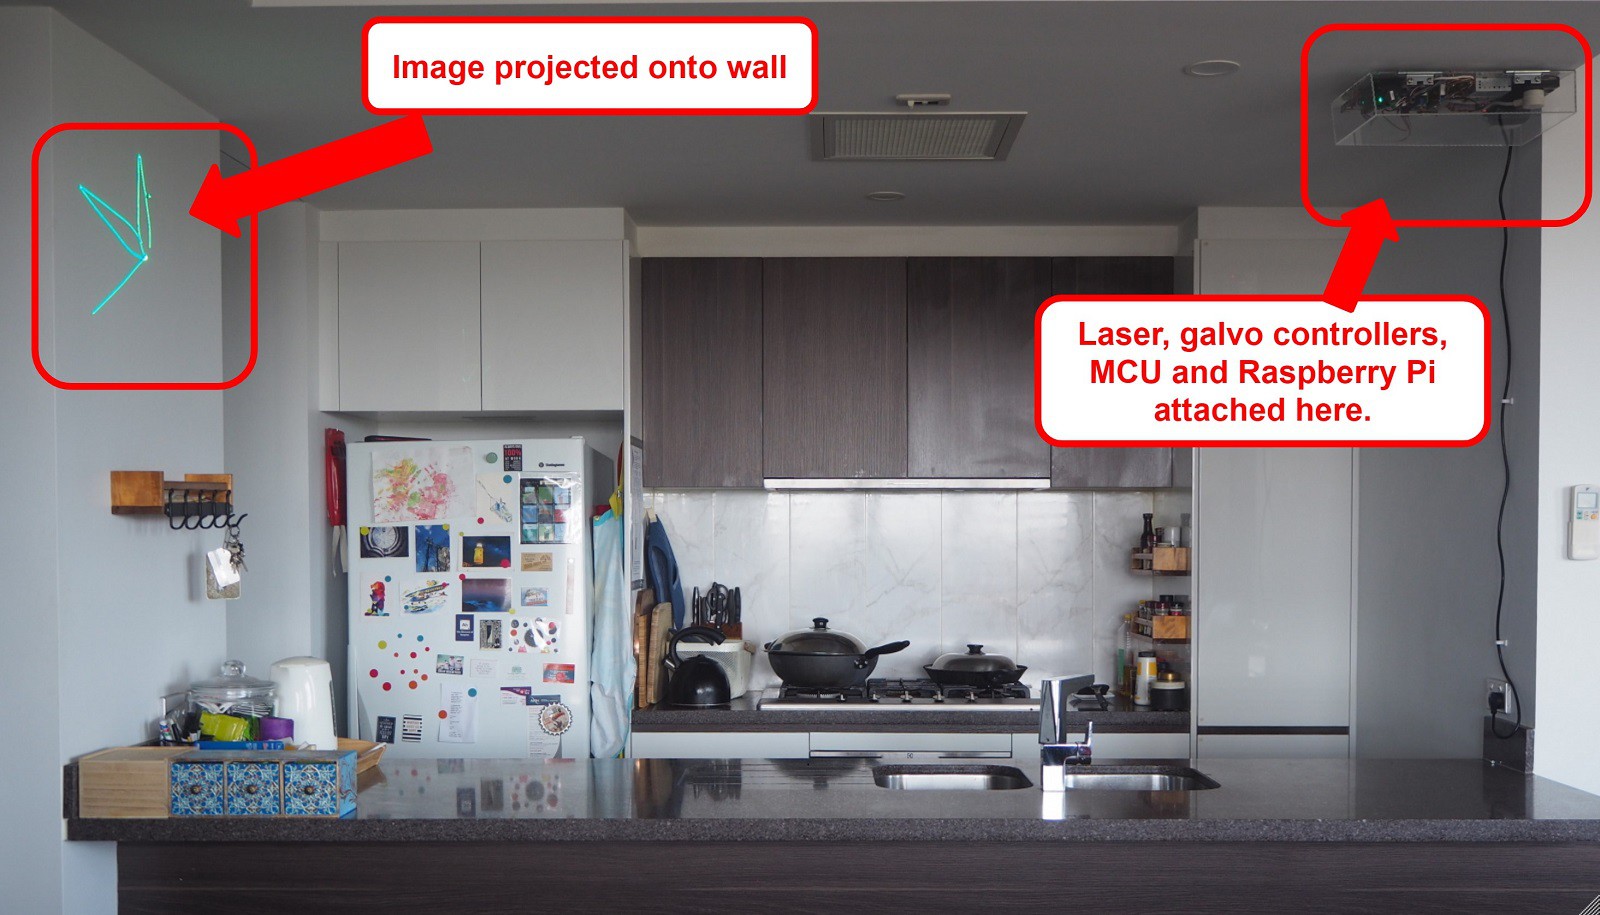
Here are pictures of my old and new clock. The new one has larger, greener hands.

A close up of the clock face:

I’m really pleased with the curvy style of the minute and hour hands. The data passed to the DACs traces a more polygonal shape, but the specified movements are so quick that inertia and the analog power circuitry conspire to bend the line segments smoothly into each other.
The way the hands are each not quite joined on one side of the base is also unintentional. It's because the mirrors haven’t quite steered back to the bottom of the hand before the laser is turned off. But it looks artistic and I’ll keep it for now.
The clock image is difficult to capture on camera - it’s drawn at about 60Hz, which means cell phone cameras mostly just catch one or two of the three hands. For still pictures, I used my fancy Olympus OM-D EM-10II on a tripod and with a long exposure. I've post processed the images to get the color closer to what the eye sees, but it's still not quite there. The single wavelength doesn't play nicely with the camera sensors. Sadly, no camera I own does a job of capturing video of the clock, so I don't have one to show.
Overall the project came out according to The Plan:

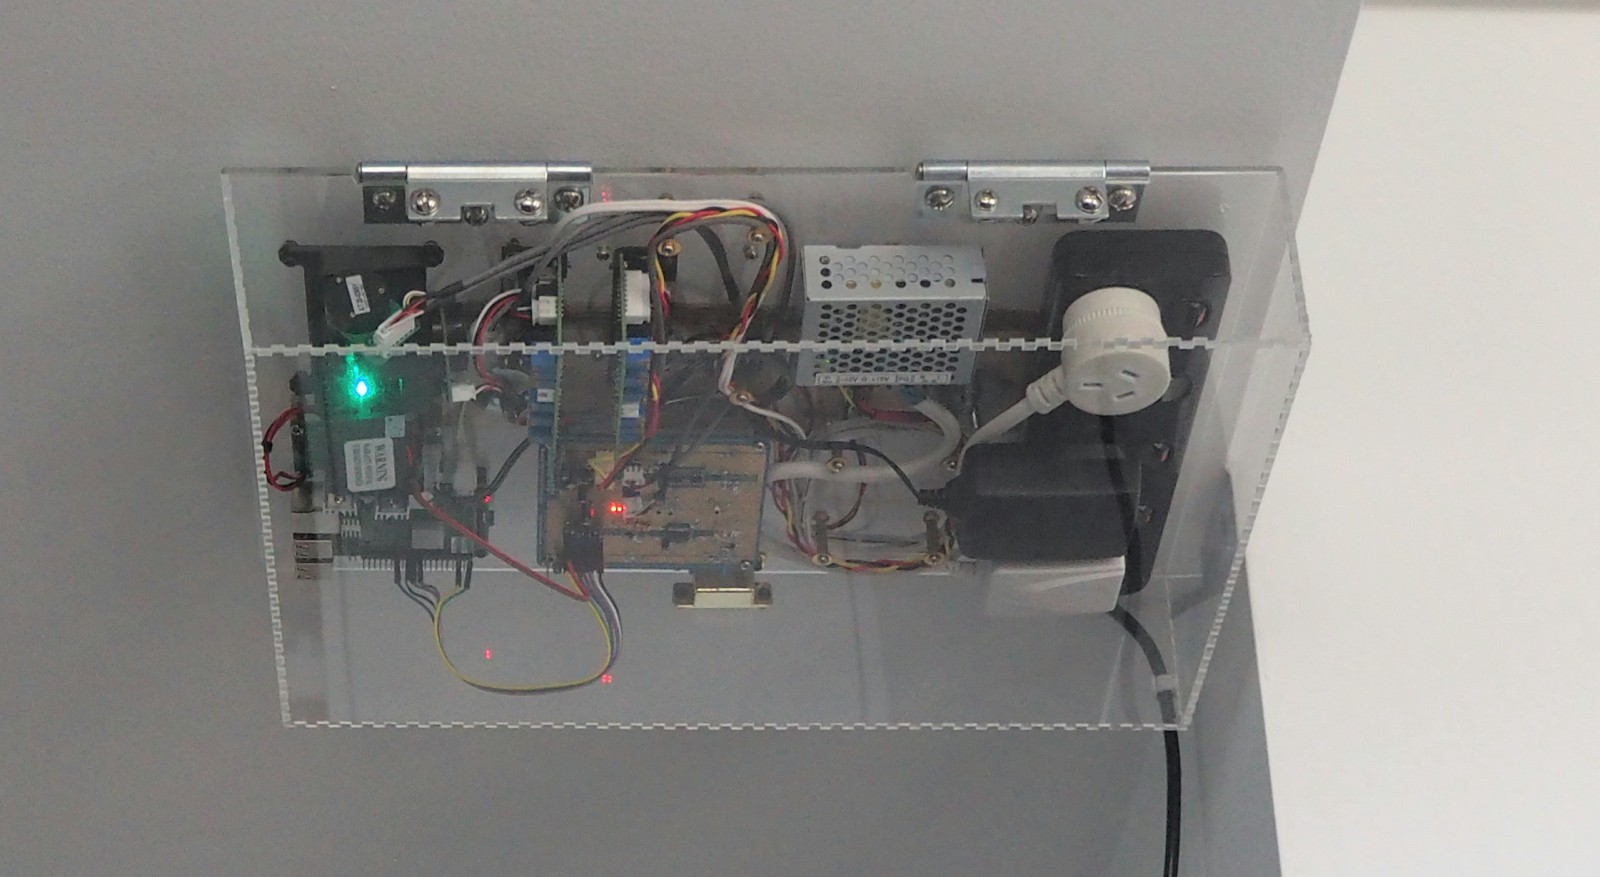
The transparent casing shows more mess than I'd like, but it makes my smile to see all the individual components in there, working hard:

Since Last Post
It's been more than a month since my last post. In addition to the physical cutting of the parts, assembly, realization that I’d glued something together in mirror image, re-cutting those parts, reassembly, realization that I’d glued something else together in mirror image, re-cutting those part, reassembly, and fixing everything into the ceiling, I wrote a lot of Python on the Raspberry Pi.
The Pi has two daemon processes. The first, clock_gen produces XY coordinates that the frame driver will output to the DAC. It packages these into a byte array, in a format suitable for the frame driver and writes the byte array to a file.
The second daemon, clock_push, takes that file, sends its contents to the frame driver, and tells the frame driver to display it.
The code is just good enough to work reliably.
What I Could Do Better
When I look at my clock, I see plenty of potential projects:
- Turn the frame driver into a Raspberry Pi hat: get a circuit board made.
- Use the laser beam analog control to dim the laser at night.
- Presence detection: turn the clock off when no one is around to look at it. I’m thinking of setting up several WiFi connected sensors communicating with the RPi via MQTT.
- Cooling: It would be useful to have a fan blowing air into the case to carry away heat from the CPU, galvos and laser. Because of higher-than-ideal temperatures inside the case, I’ve decided to back off both the frame generation rate and image size.
- Perspective: because of the geometry of the projection, the clock’s hands get longer when they point down compared to when they point up. There are several ways to fix this. One would be to carefully work thought the math of the projection, also taking into account refraction through the perspex case. Another would be to measure the relationship between DAC outputs and laser dot position over the projection area, and adjust outputs accordingly.
- Rewrite in C or Go: Python has been brilliant for getting something up and going, but it’s pretty clear that a rewrite in a more efficient language will result in cooler Pi and better, smoother animations. It would also avoid issues with the RPi's old version of Python SPI dev, which is limited to 4kB transfers.
- Electrical shielding: I live near an electrified rail line. Sometimes when the trains go past, the clock image wobbles. When it’s really bad, the communications between the RPi and frame driver get messed up, and the RPi resets the frame driver.
- Understanding the behavior of the galvos. In particular, I would like to be able to draw a polygon without curves. I have ideas about using a camera to capture the behavior of the X and Y axes under various conditions, and then use that information to modify the data sent to the DAC.
- Adding physical buttons to the clock to allow setting different modes without opening a laptop.
- Adding a web UI instead of or in addition to the physical buttons. Currently I SSH into the clock to change configuration.
- More modes: digital clock, different kinds of clock hand.
What I Learned
- Lots about lasers and galvos. When I started I didn't know much about lasers, and now my house is full of different kinds of lasers and laser pointers. The cat is pretty happy about this state of affairs.
- Fusion 360. I came up to speed on the basics of modelling and integrating. I learned things from prototypes. I made a model of something, cut out some complicated shapes and they integrated nicely with all the other components.
- Glue. I learned to double check the relative position of things against the plans before I apply glue.
- PIC32 and the Microchip Harmony Framework. Both were new to me, and I’m glad to have them under my belt.
- Raspberry Pi: this was my first significant RPi project. I learned a bunch about Linux system administration and configuring a system to be an appliance.
- Jupyter Notebook: helped me to iterate quickly in Python while I figured out which libraries to use and how the math worked. Controlling a laser from a web page was kind of fun.
- Matrix math and linear algebra for creating and manipulating the clock hands.
- I used my oscilloscope in many different ways. At one stage I had 3 analog channels and 4 logic channels going at once.
What is Great
- The frame driver code works! I’ll be reusing it in my next version, if there is one.
- I always know the time when I’m in the kitchen/living room. Previously I had to turn on the light to see the clock in the middle of the night.
- I made a plan, I tried things, and I accomplished what I set out to do, though not exactly in the way I had thought I would.
- I have a clock I can SSH into. That’s cool.
- Also, lasers.
Thanks to everyone who has followed along on this project. The support and suggestions were most helpful!
 Alan Green
Discussions
Become a Hackaday.io Member
Create an account to leave a comment. Already have an account? Log In.
[this comment has been deleted]
In normal operation, the clock takes its time from the Raspberry Pi system clock, which is set from the internet. When the clock is first turned on, the time is wrong for about 15 seconds until the RPi fetches the current time.
Are you sure? yes | no
[this comment has been deleted]
:)
Are you sure? yes | no
[this comment has been deleted]
I think it would be able to draw digits. I'll need to experiment with whether they can be drawn quickly enough to avoid flicker - this is a future project :)
Are you sure? yes | no