 Dementor
-
1Step 1
The first task is to setup Alexa communication with an online service. Here we use Alexa along with IFTTT and Adafruit. Amazon Alexa converts speech to text which is sent to IFFFT. IFTTT then sends different inputs to Adafruit feeds depending on speech texts.
1) Create an Amazon Account and download the Amazon Alex App on your Smartphone. Sign in to the app using your account and setup the Amazon Tap by following the on-screen instructions
2) Create an IFTTT account.
3) Create an account at Adafruit.
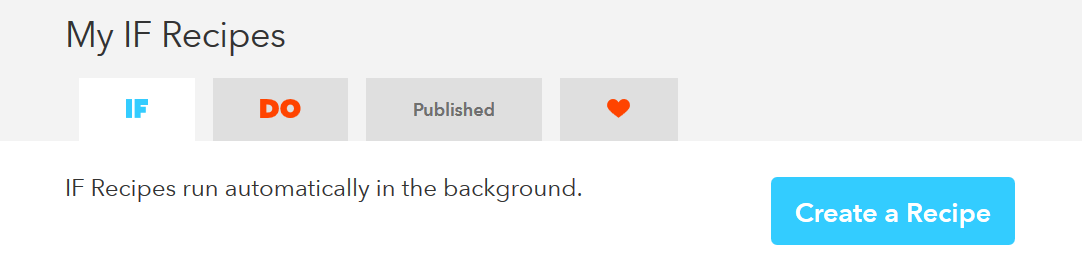
4) Create your first recipe at IFTTT my going to Create Recipe
![]()
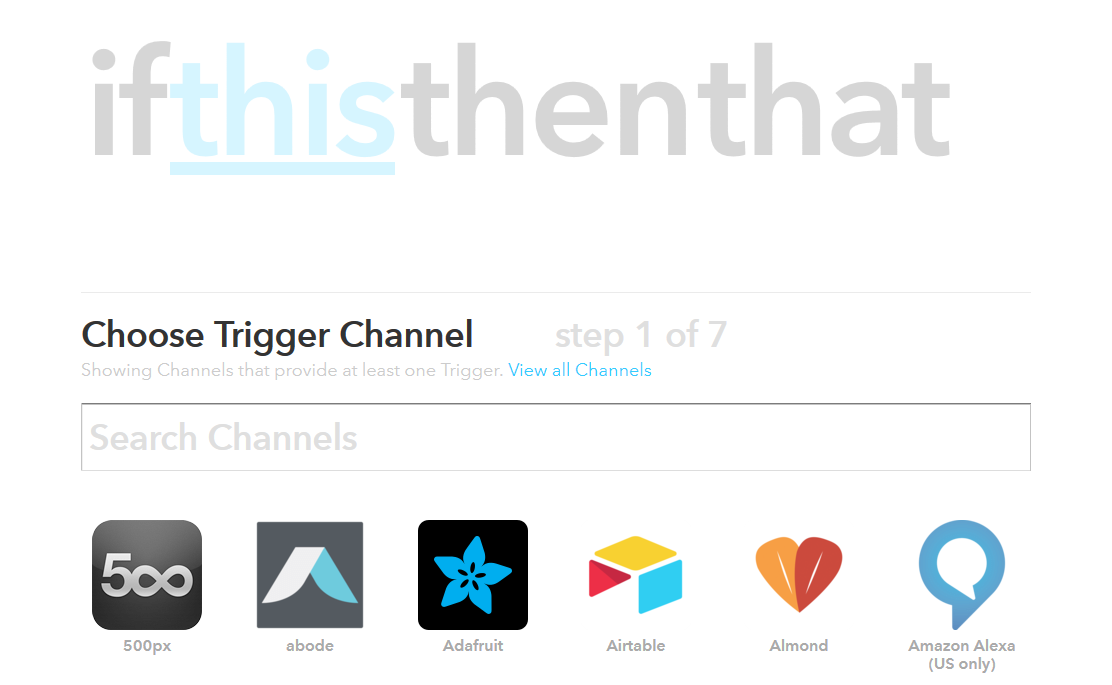
5) Choose Amazon Alexa as the trigger channel. IFTTT will ask you to authorize using an Amazon Account. Use account created in 1) to do so :
![]()
6) Select "Say a specific phrase" in the next step. When asked for a trigger text string in Step 3, use "go straight". This is the phrase that will be spoken to Alexa when expecting the robot to "go forward". The full phrase will be "Alex trigger go forward". Alex trigger needs to be added to tell Alex to process an IFTTT trigger.
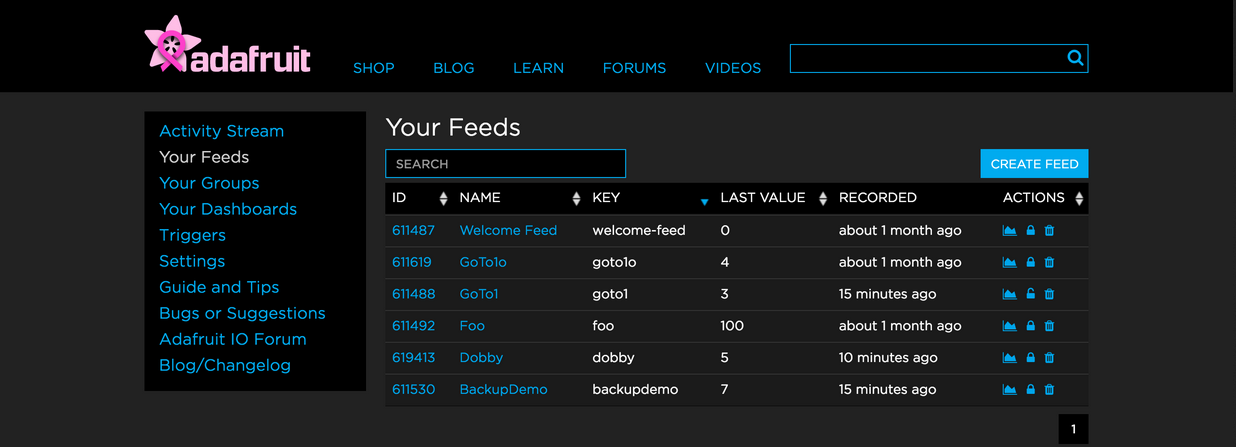
7) Next step is setup Adafruit to receive data from IFTTT. Open a new Browser tab and Login to the Adafruit account created in 3). Dont close IFTTT as the setup is not yet complete.
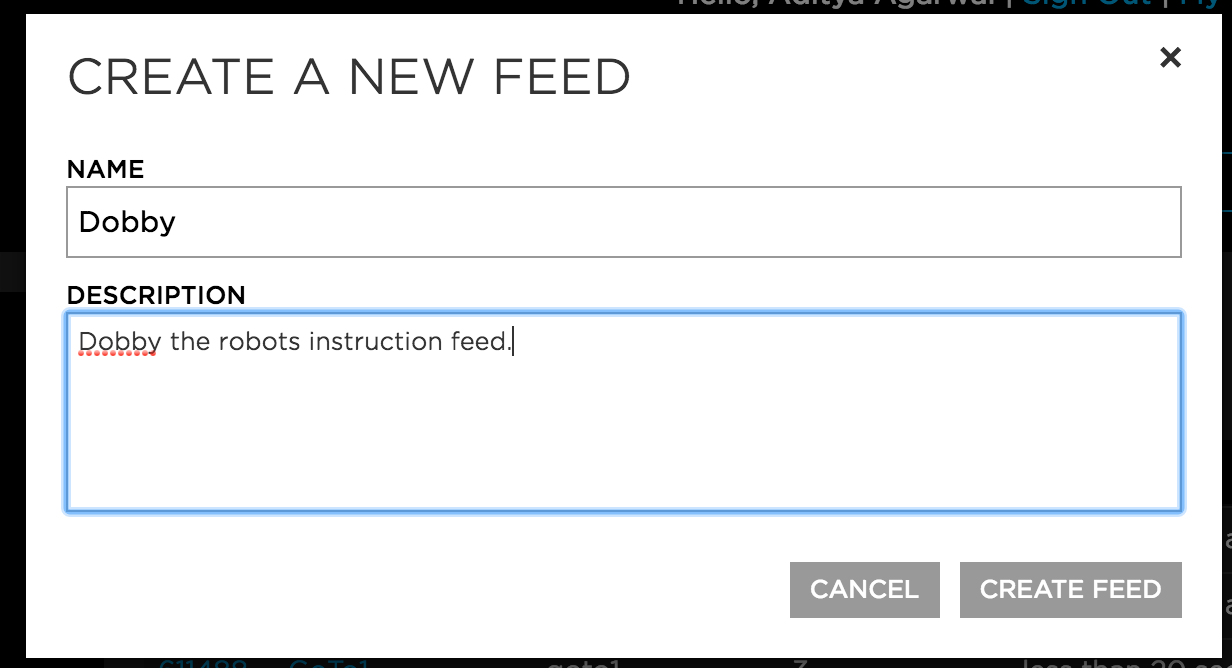
8) Create a Feed on Adafruit by going to 'Your Feeds' option on the left side-bar. We will name it "Dobby"
![]()
![]()
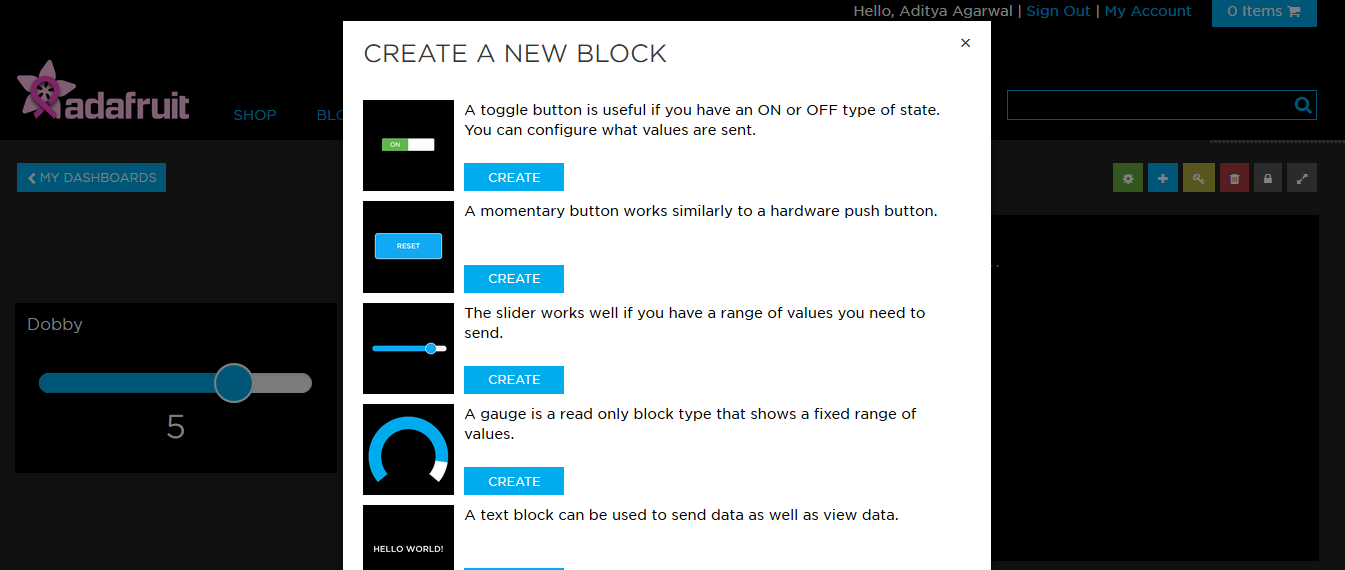
9) Now we will create a Dashboard for debugging purposes to see if correct data is being published to feeds through IFTTT. Create a Dashboard by going to "Your Dashboards" in the left hand-side menu. After creating the Dashboard we will add 2 "Blocks" to it. One will be for seeing data coming in from IFTTT while the other will be for manually sending IFTTT data to a feed to debug if data is being sent correctly to the robot from the feed.![]()
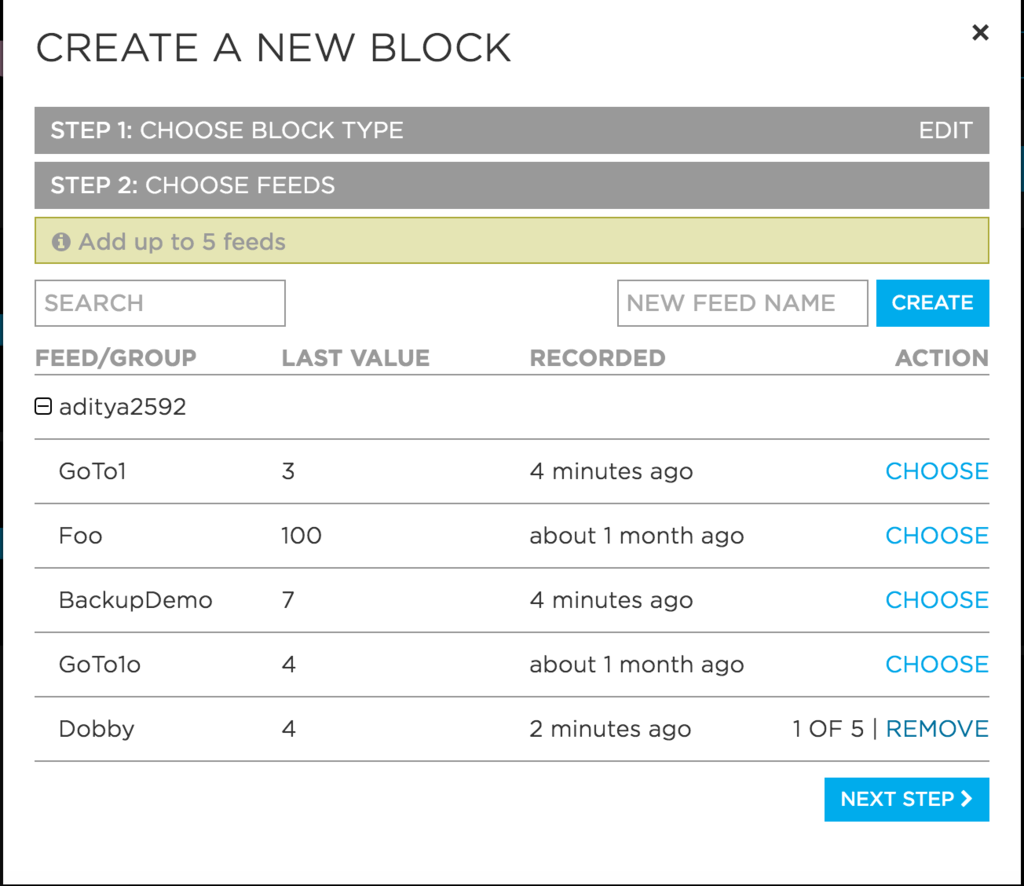
10) Create 2 blocks - A slider (sending data to feed) and a stream (receiving IFTTT data) and select the feed created in 8)
![]()
![]()
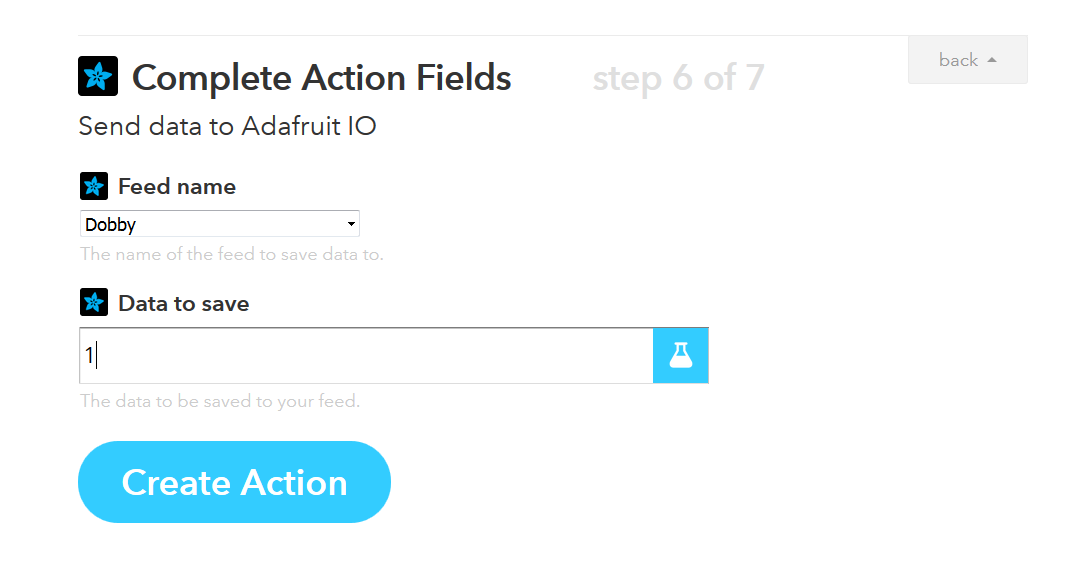
11) We are now done with the Adafruit Setup. Go back to IFTTT and then Choose an action by selecting Adafruit. Use the account created in step 3) to authorize. In the next step, select "Send data to Adafruit I/O".
12) Now select the Adafruit Feed we created earlier. Let us the data to save to the feed as the number "1". This means that whenever we say "Alexa trigger go forward", data of 1 will be saved to our Adafruit feed.
![]()
-
2Step 2
Next step is to subscribe to Adafruit feed on Raspberry-Pi. Adafruit API provides a python API which using the `access_key` provides access to the feeds created by us.
Refer to https://github.com/adafruit/io-client-python for the API on how to access data on feeds and subscribe and publish to them.
Using the API, we subscribe to the feed and control the GPIO outputs to the motors to control the robot. Refer to `dobby.py` in the Github repository.
-
3Step 3
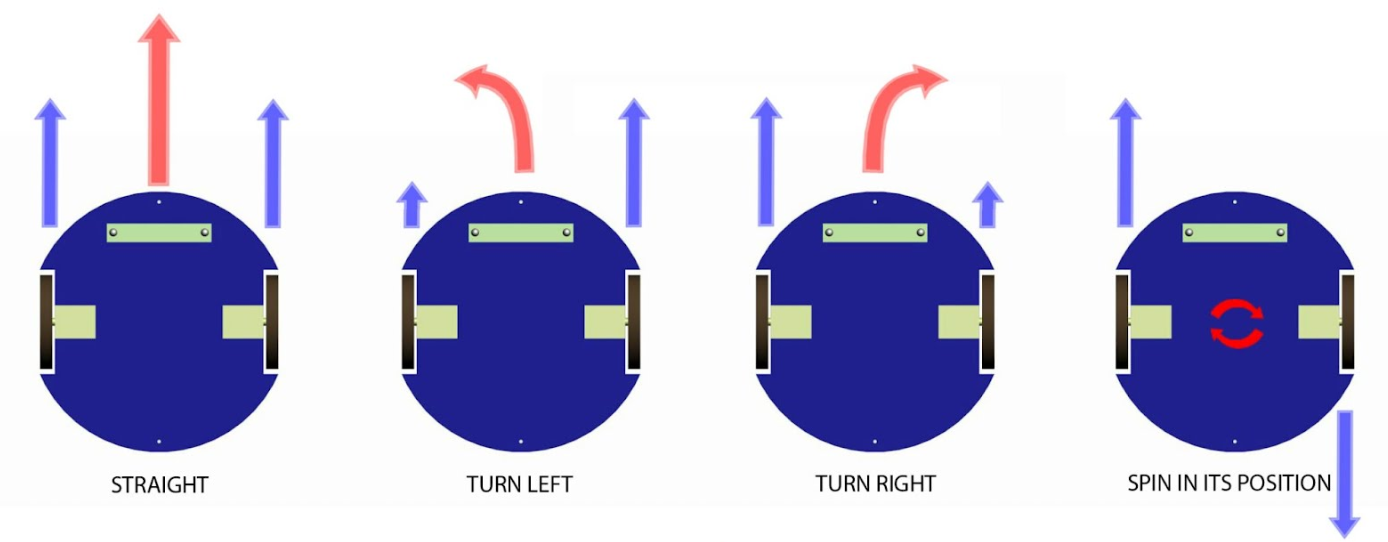
Last step is the GPIO control on the Pi which is used to control motors via a DC motor driver. We are going to use a simple differential drive control for the motors.
![]()
Make the connections between the motors and motor driver as shown in the diagram.
The motor-drivers that were used need 3 inputs to control the motors - Break, Direction and PWM. The PWM pin was given static PWM value to reduce the speed. Giving a high input on Break pin stops the motor while toggling Direction between 1 and 0 changes motor rotation direction from clockwise to anti-clockwiseGPIO pins of Raspberry Pi were set depending on state to make the robot execute the corresponding action. Refer to https://sourceforge.net/p/raspberry-gpio-python/wiki/BasicUsage/ for GPIO control using python on Raspberry-pi.
-
4Step 4
Along with the directions, with a raspberry-pi camera module and the mentioned setup, dobby can be made to take a selfie too. The code is on the github link using the pi-camera python library which is stored locally on the pi.
This image can then be uploaded to facebook or dropbox or any image sharing service using the corresponding API to upload it.
"Dobby Trigger Take a selfie"![]()
Dobby - DIY Voice Controlled Personal Assistant
Voice Controlled Personal Assistant robot to help you stay lazy using Raspberry Pi and Amazon Alexa


Discussions
Become a Hackaday.io Member
Create an account to leave a comment. Already have an account? Log In.