 Radu Motisan
-
The long road
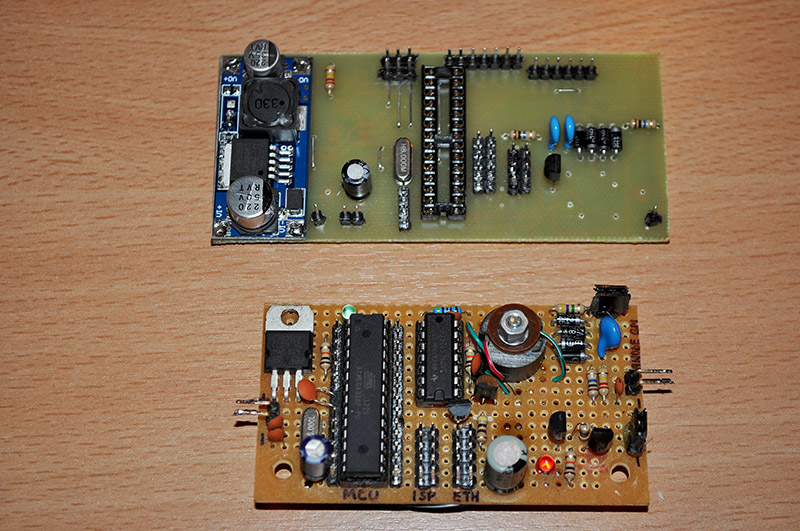
07/16/2014 at 00:26 • 0 commentsIt’s been a long road getting here, a road paved with constant innovation. And it’s a longer road ahead. The first uRADMonitor was a crude prototype, with jumping wires on a test board, it got its own PCB soon. The following models were a new design, more compact using the smaller SBM-20 and SI-29BG tubes, with several improvements. There were many details to change and to improve, and experimenting with compact high voltage inverters, Geiger tubes and discriminating/counting circuits for the last two years, surely brought a lot of progress for the benefit of this ongoing project.
![uradmonitor_1]()
![uradmonitor_8]()
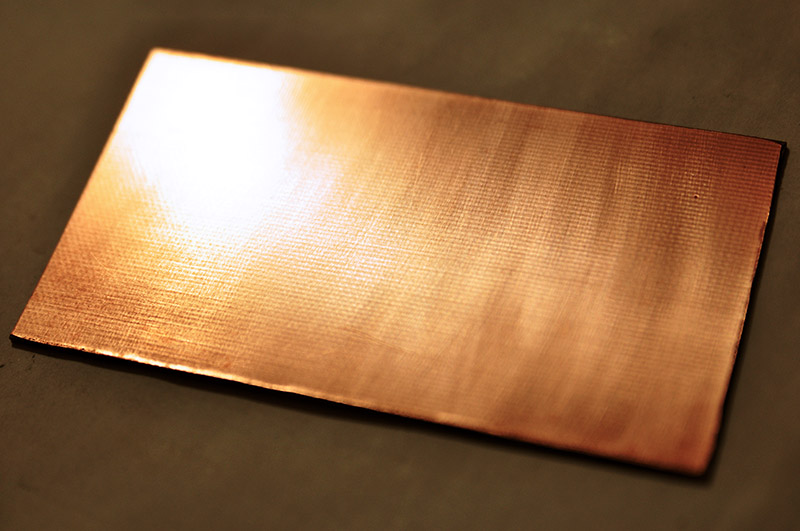
Following the last 5 monitors sent to various corners of the world, a new batch has been prepared. And while waiting to finalise the discussions with several Chinese factories, this batch has been manually developed. Here are a few pictures and explanations, showing the tedious process of building a uRADMonitor unit. It all starts with a shiny piece of PCB carefully cleaned and polished to remove any grease and dust:
![building_uradmonitor_01]()
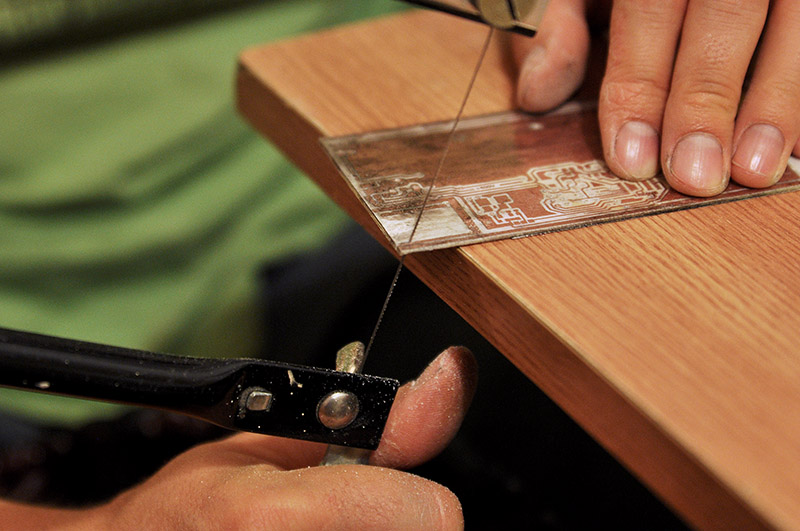
We then print the PCB layout designed using a computer software, and etch the PCB using a corrosive agent. If we are lucky we get clean nice traces:![building_uradmonitor_02]()
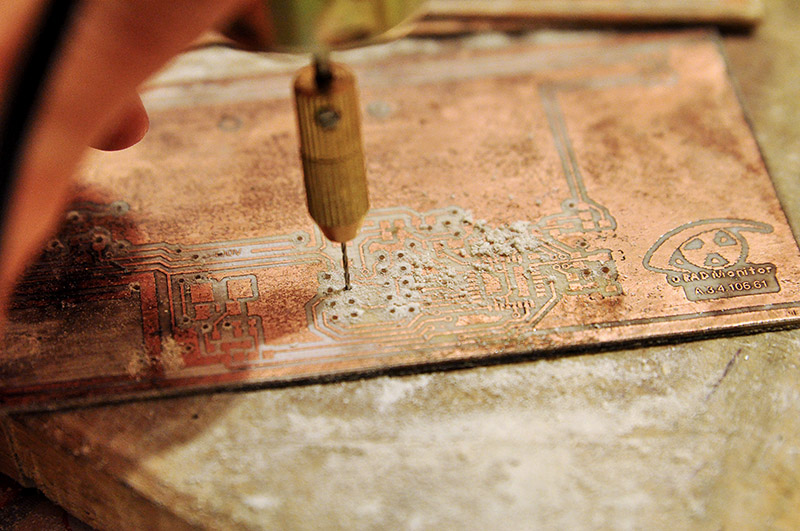
To be able to mount the components, a few carefully aligned holes must be drilled. We use a tiny drill.![building_uradmonitor_03]()
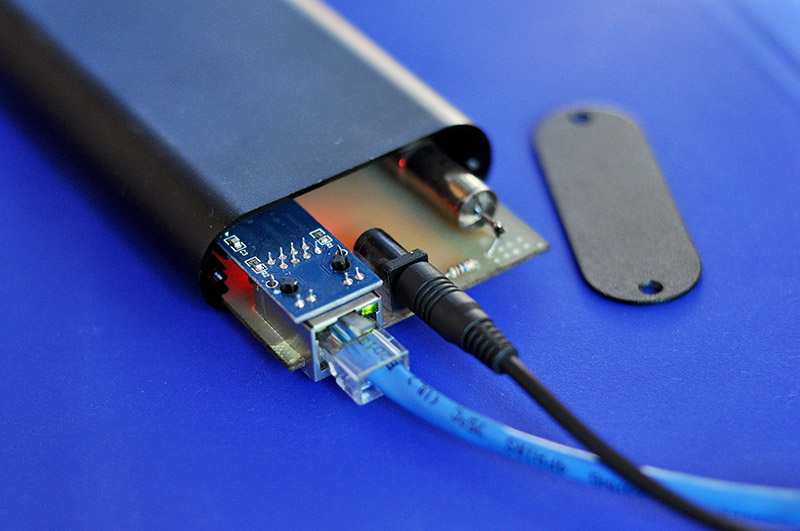
The Ethernet module is mounted as an addon to our PCB, so we need to make some space for it.![building_uradmonitor_04]()
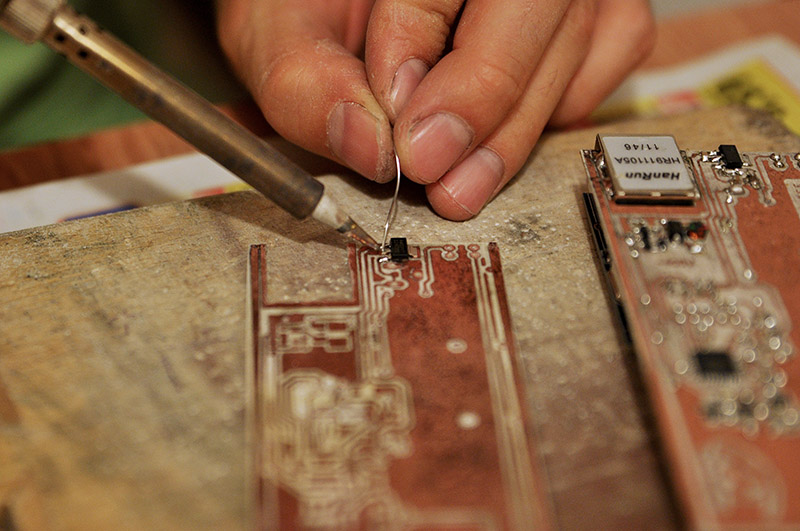
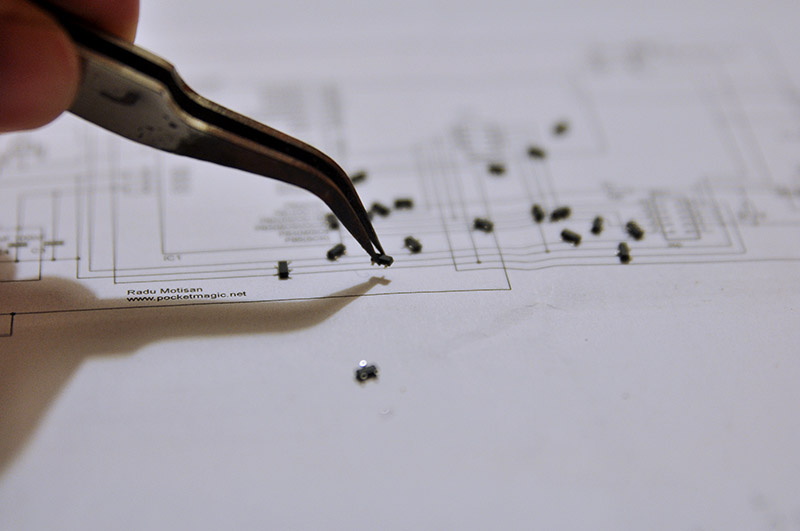
Next, we’re ready to start soldering the components. But they are so small, barely visible to the naked eye. Tweezers prove handy. The process is slow and requires a steady hand and attention:![building_uradmonitor_05]()
![building_uradmonitor_06]()
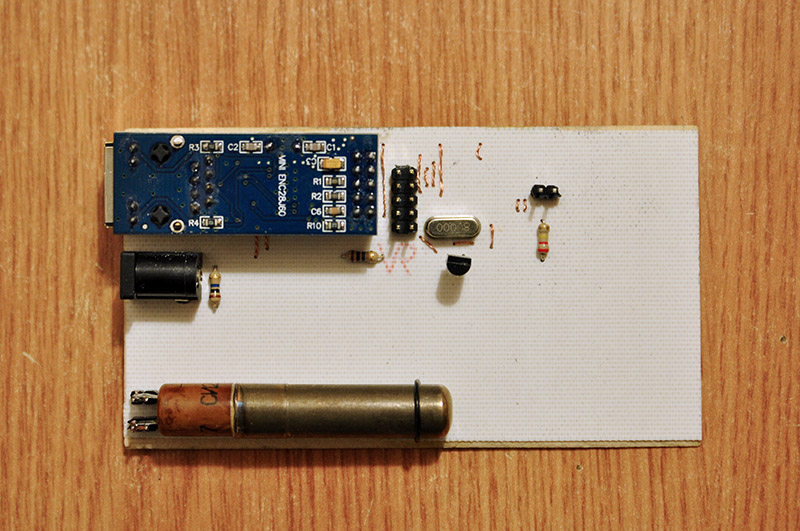
After a few hours, the board is ready. The Geiger tube is added last because it is fragile.![building_uradmonitor_07]()
And we’re still far from being done. The aluminium enclosure requires working with power tools, cutting, drilling and smoothing the edges.
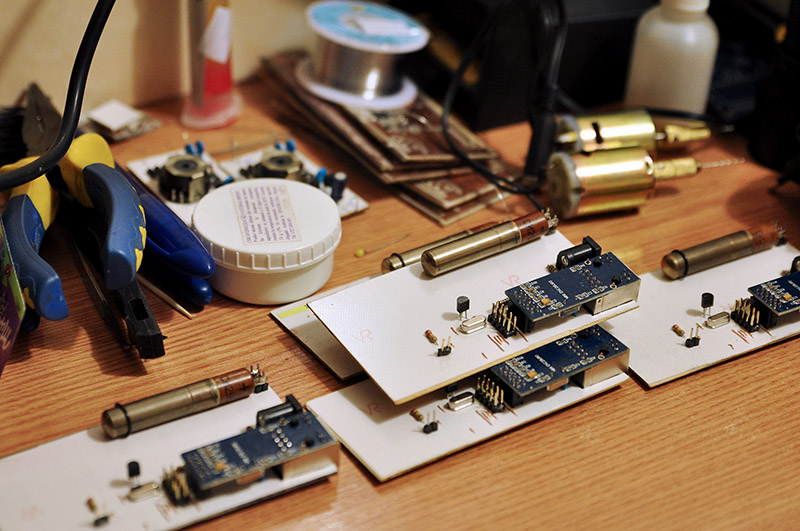
Then the software must be written into the microcontroller, and the calibration tests can be performed. This takes close to another full day of tests and tweaking.But this is all for today. The next batch of devices is almost done, for their approaching departure to distant locations all over the Globe.
![building_uradmonitor_08]()
-
The first unit in the United Kingdom
07/11/2014 at 06:57 • 0 commentsThe first unit in the UK went online today, right after the one in Czech Republic.
![]()
The network is rapidly expanding for global coverage, as an open civilian radiation surveillance tool. The more units we have, the better we can understand the changes in radiation levels, as caused by weather or other factors. See a comparison of the recorded values, here: The first unit in the United Kingdom
-
New unit in Prague
07/10/2014 at 08:15 • 0 commentsThe uRadMonitor network is constantly expanding for better Global coverage and a new unit has just become operational in Prague, Czech Republic. Feel free to support this project and join the network!
![]()
You can see the new unit's readings on the Global Radiation Map, and a comparison between its current values and the initial tests performed in Romania, here.
-
Some colour
07/02/2014 at 21:09 • 0 comments![14_06_30_header]()
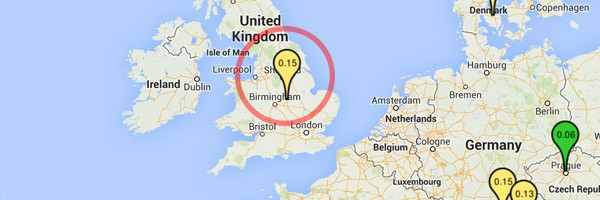
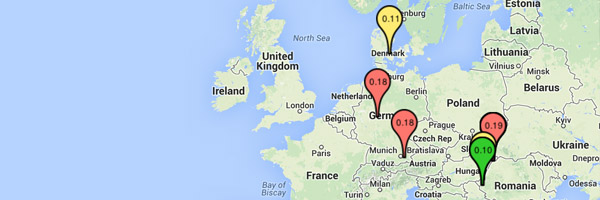
To make data visualisation more appealing, the map has been updated to show the pinpoints in colour, and with the last radiation dose value as a label. This value influences the colour of the pinpoints. Black are those offline, green are areas with radiation dose under 0.10uSv/h, yellow for under 0.17uSv/h and red for bigger doses. But these numbers are the very last values, that are non integrated (averaged) so for better indications click the pinpoints to open the detailed view where you can also see the trend for these numbers.
More here.
-
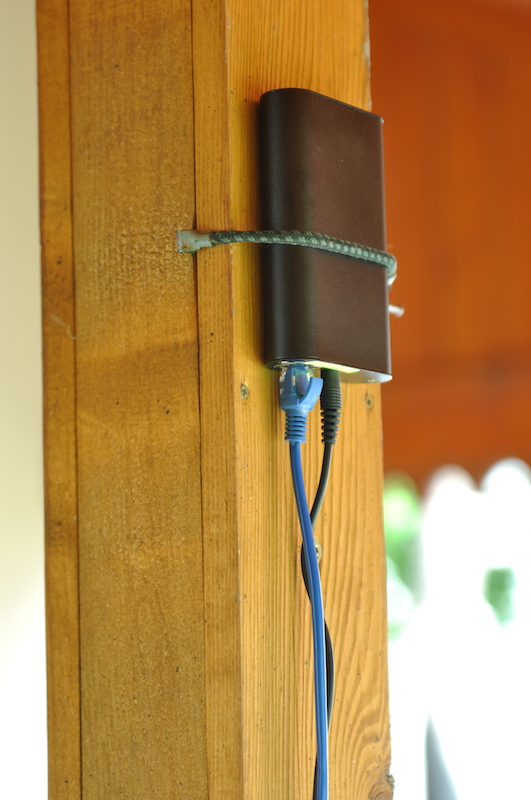
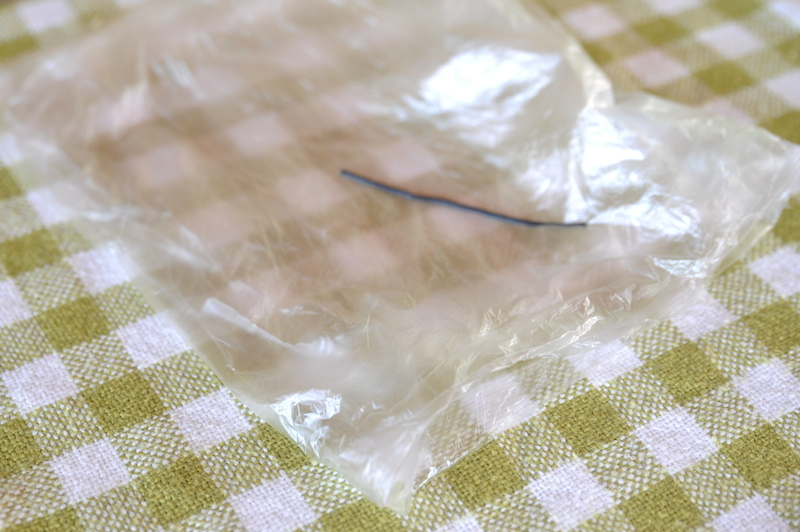
Tips on installing a unit
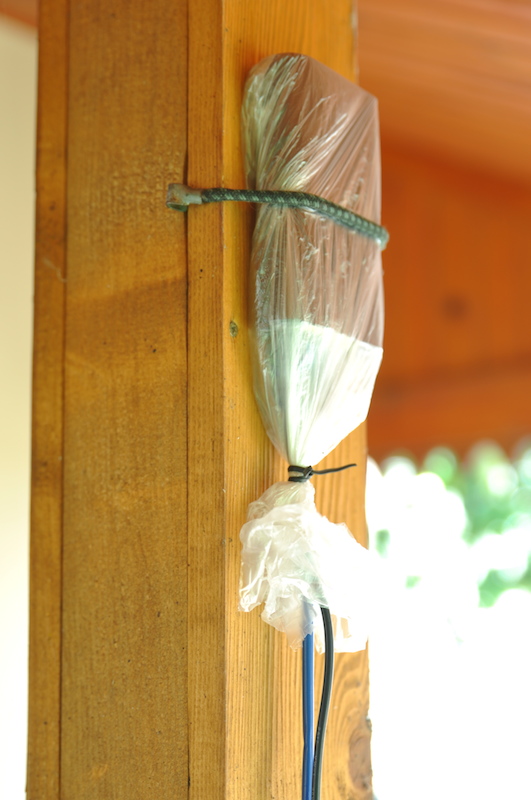
07/01/2014 at 20:34 • 0 commentsuRADMonitor should be mounted outside, but not directly exposed to rain or sun. A covered spot with some shadow in the free air is ideal (under the balcony, on a wall with protection from the Sun, etc). If the unit should be placed in a location where rain is likely to reach, consider protecting the uRADMonitor device with a plastic case. Should water get inside the unit, the device would be compromised. See the pictures below:
![mounting_uradmonitor_rain_protection]()
Using a simple plastic bag (or several for multi-layer), we can protect the unit by mounting it inside the bag with the wires exiting on the bottom. The complete guide, can be found here.
-
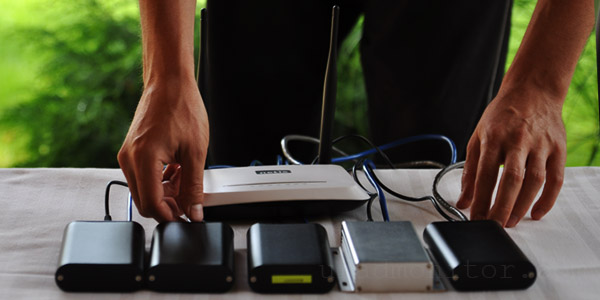
Five more units to join the network
07/01/2014 at 20:27 • 0 commentsIn an effort of expanding the network, five more units are set to join the network in the following few days. They will get online in various locations all around the globe, to offer increased coverage and a better understanding of the background radiation variations.
![uradmonitor_parallel_units-2]()
One of these 5 units is on its way to Japan as we speak. It is 3 times after Fukushima - the unit was measuring normal radiation levels before it left, it will be interesting to see what we'll get at the destination. More on this on the blog.
-
Posting the project on Hackaday
06/29/2014 at 08:19 • 0 commentsThe uRADMonitor was featured on Hackaday some time ago . This is the first project submitted to their exciting competition. More updates will follow.
Global radiation monitoring network
The uRADMonitor is a plug-and-play, low power, self contained radiation monitoring device, connected to a centralised server component.


