Kenneth Marut
-
Revisions in process!
08/29/2019 at 15:24 • 0 commentsBeen working on a couple revisions to the PCB/Enclosure that I want to have done before making another prototype. I decided to go with all thru-hole components for the upper PCB, since this board will have to be hand assembled anyway, might as well stay consistent. Additionally, I swapped out the bulky 30-pin connector to a flex-cable connector to save space, and cost. I also notched out a section of the top board to make some clearance for the MIDI connector, this allows me to lose about 1/4" of thickness off the enclosure.
![]()
![]()
![]()
![]()
-
Prototype Assembled!
08/22/2019 at 16:07 • 0 commentsI just finished assembling the final prototype. Hit a couple snags in my enclosure design where I ended up needing to dremel some bits of plastic out, but that's to be expected. I took some photos along the way. Really happy with how they turned out. The look of the yellow and red LEDs is really cool, and I love how you can see the electronics through the plastic!
I have a couple bugs to work out in my firmware, but I'm really close to finishing. Once everything is in place, I'll try to prep a demo video.
![]()
![]()
![]()
-
Decals!
08/21/2019 at 21:30 • 0 commentsTotally geekin' out with how cool these decals turned out. I've never used this method before, but it was incredibly easily and straightforward. Super excited!
![]()
![]()
![]()
-
Enclosure Prototype Progress
08/20/2019 at 20:26 • 0 commentsWanted to share a couple photos of the prototype enclosure so far. I'm really happy with the results of my printer and the attempts at trying to get this thing as glossy as possible. I should be receiving my custom dry-transfer decals in the mail tomorrow so I'll hopefully be able to assemble the entire thing very soon!
![]()
![]()
-
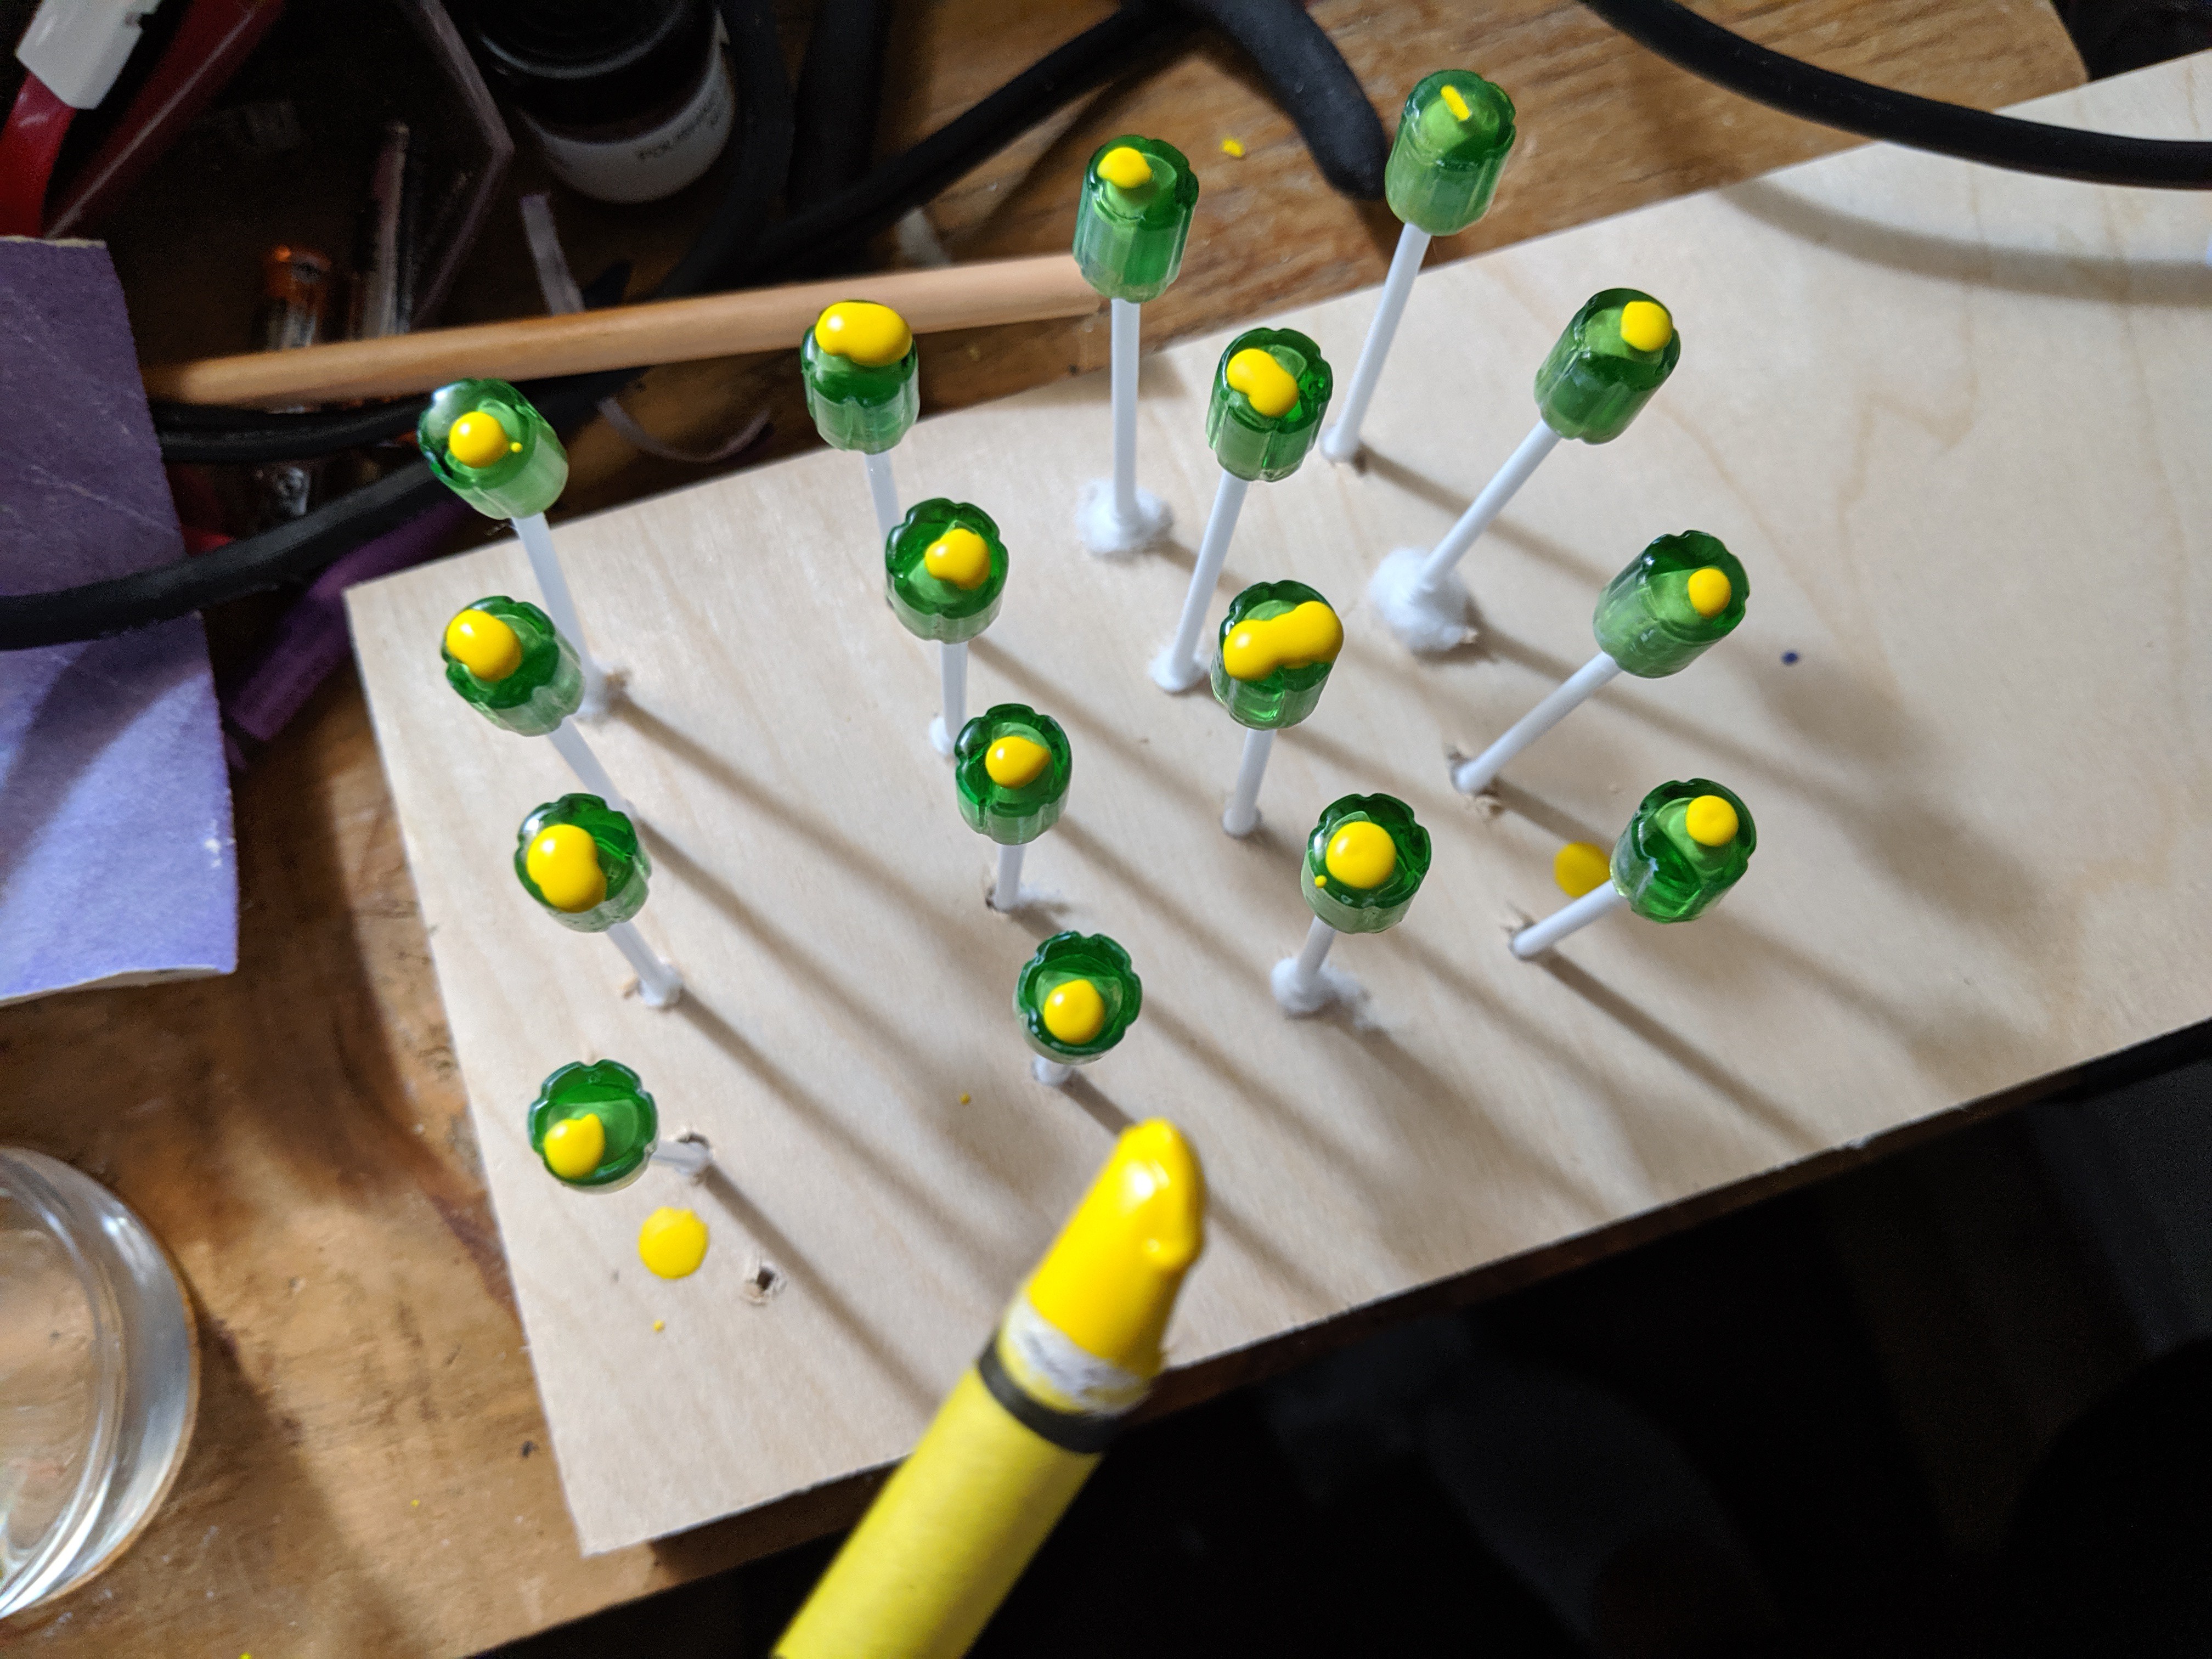
Pretty nifty wax-melting technique
08/19/2019 at 15:53 • 0 commentsReally impressed with how the Crayon technique worked for adding some color to these knobs! Used my hot air station to melt the crayon directly on top of the knobs, then I took each knob to my dremel w/ brush attachment to clean them up. I will definitely be using this technique in the future!
![]()
![]()
-
Prototyping knobs for potentiometers
08/16/2019 at 18:57 • 0 commentsI printed 16 potentiometer knobs on the resin printer and built a little jig to hold them in place while I clear coated them and let them dry. Q-tips to the rescue!
I am going to attempt the crayon method to fill in the tiny notch on top of each knob with some yellow wax
![]()
![]()
-
Audio Design So Far
08/14/2019 at 19:12 • 0 commentsWanted to share the synth block diagram so far, it's getting pretty ridiculous! Still some changes coming but so far so good
![]()
-
Packaging Concept #1
08/14/2019 at 16:44 • 0 commentsA fun "action figure" style packaging concept I designed (not complete, but pretty fun tangent from writing code)
![]()
![]()
-
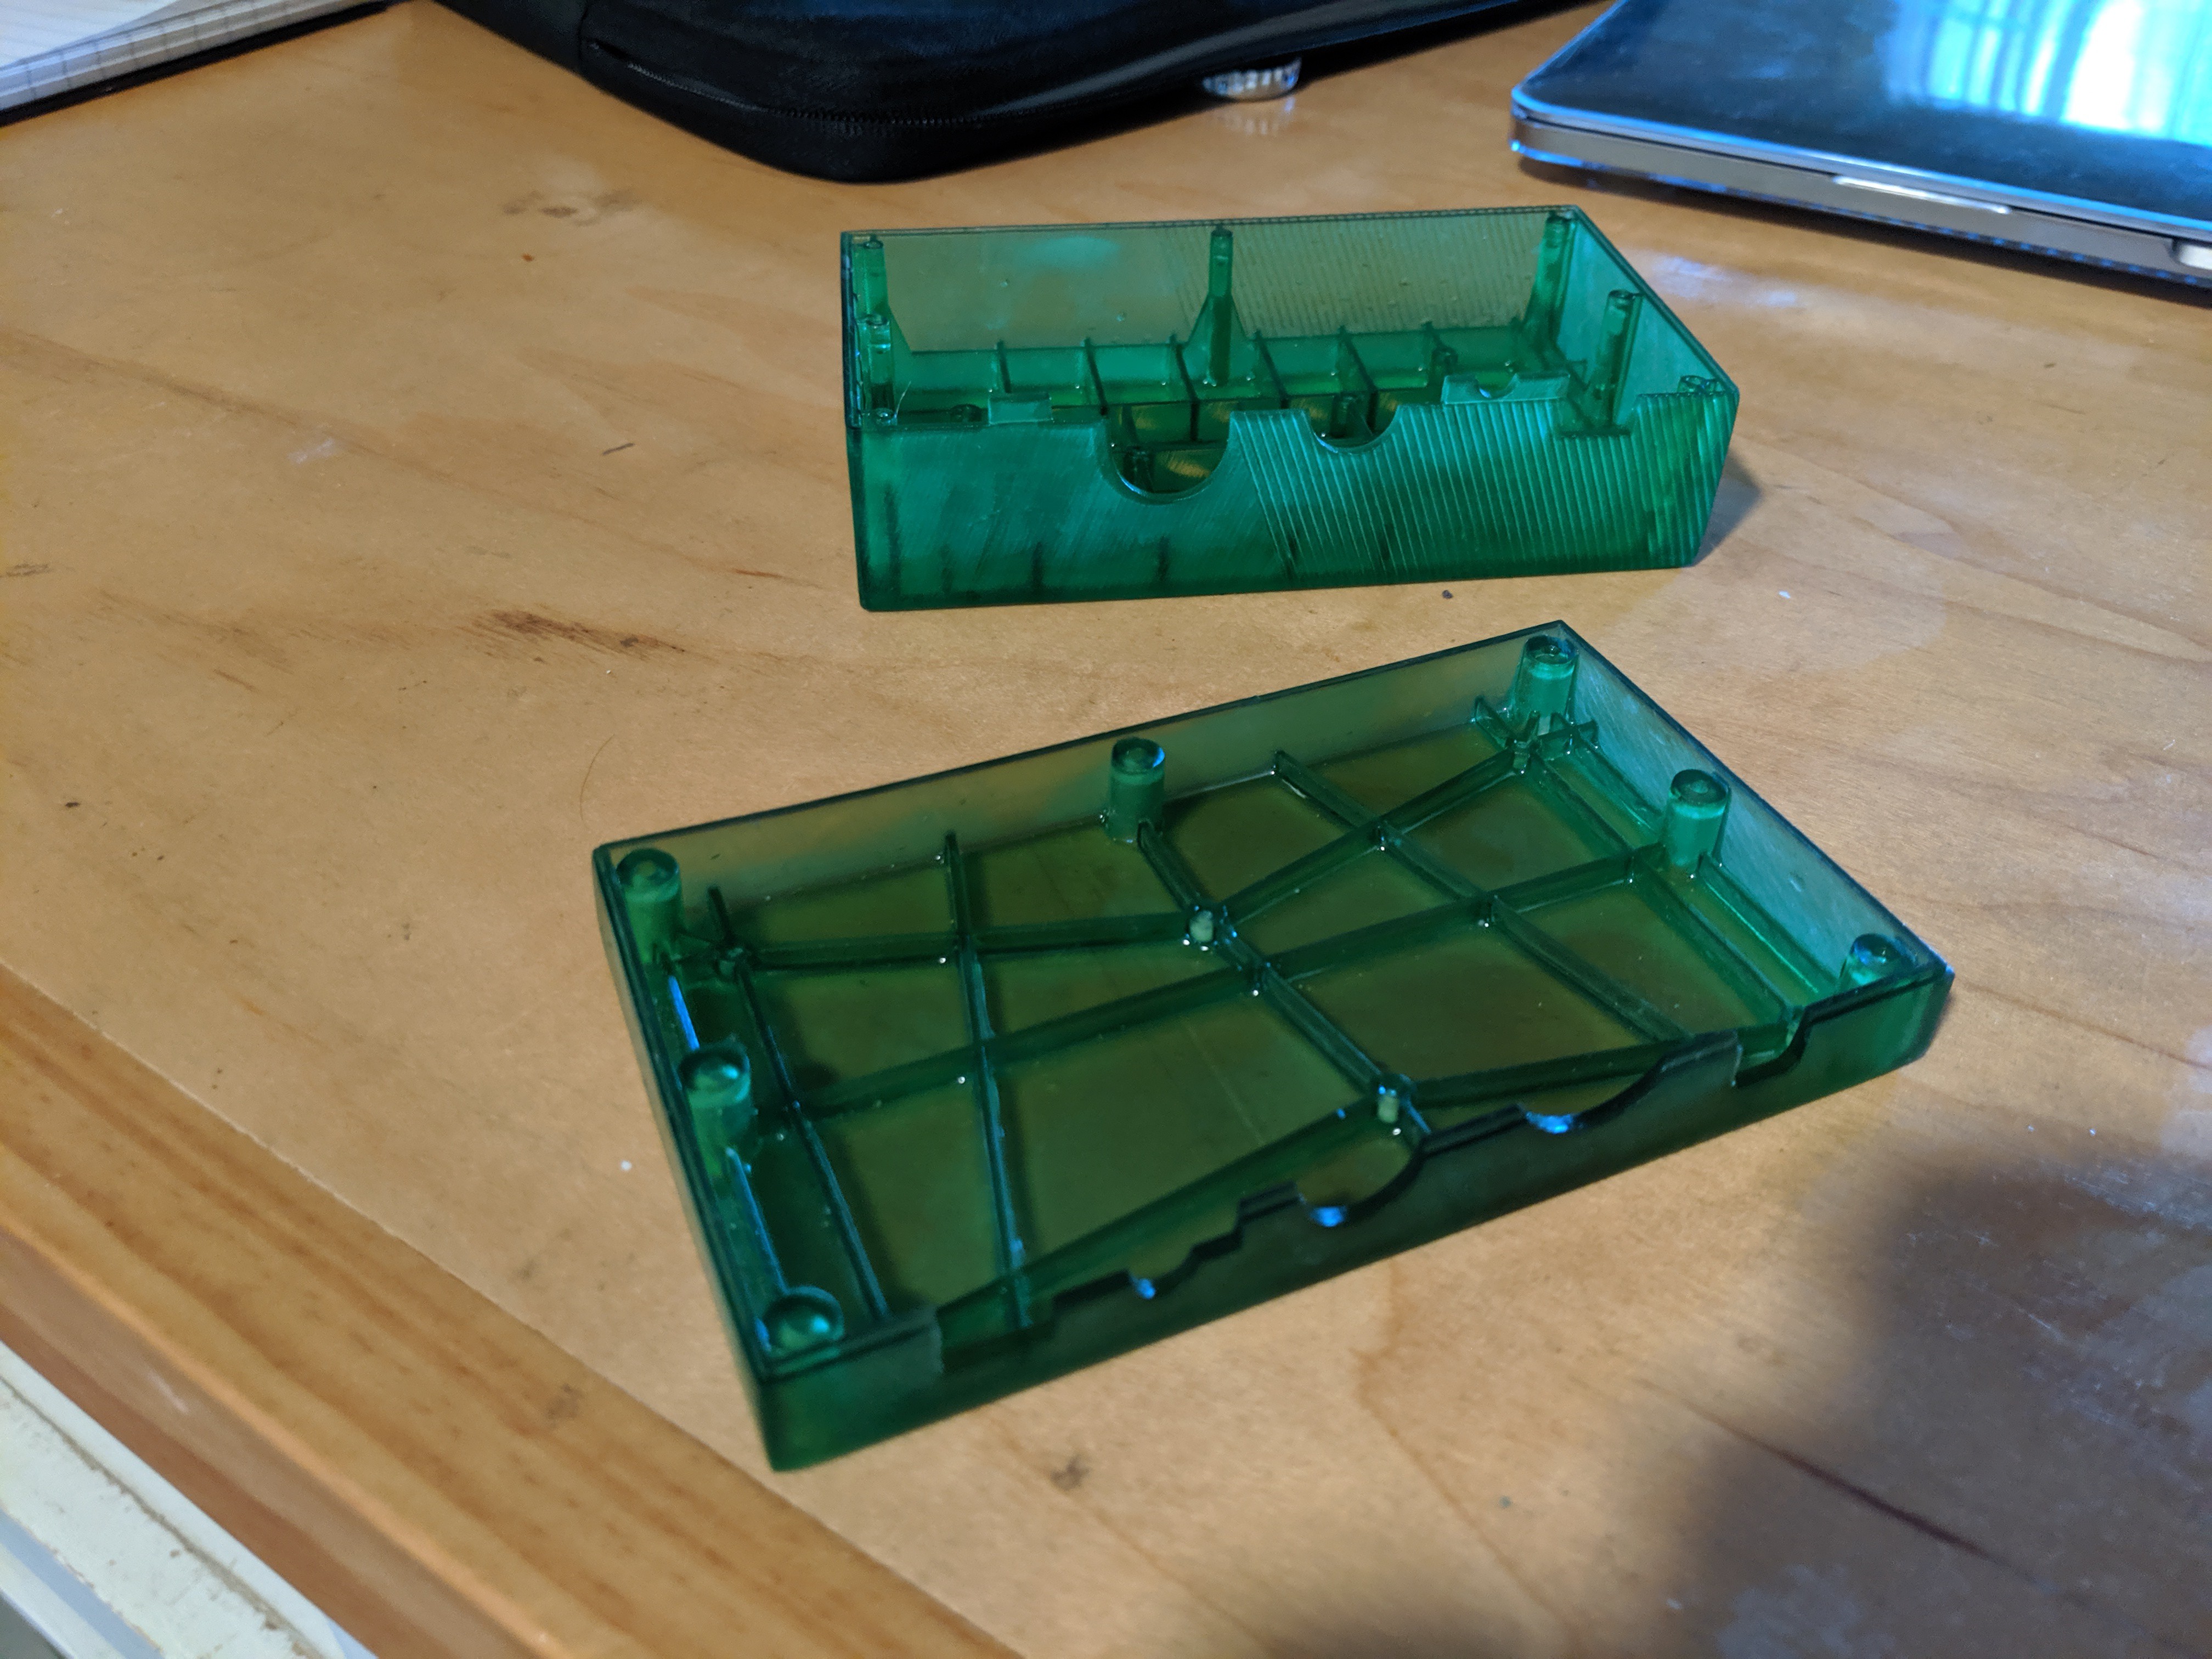
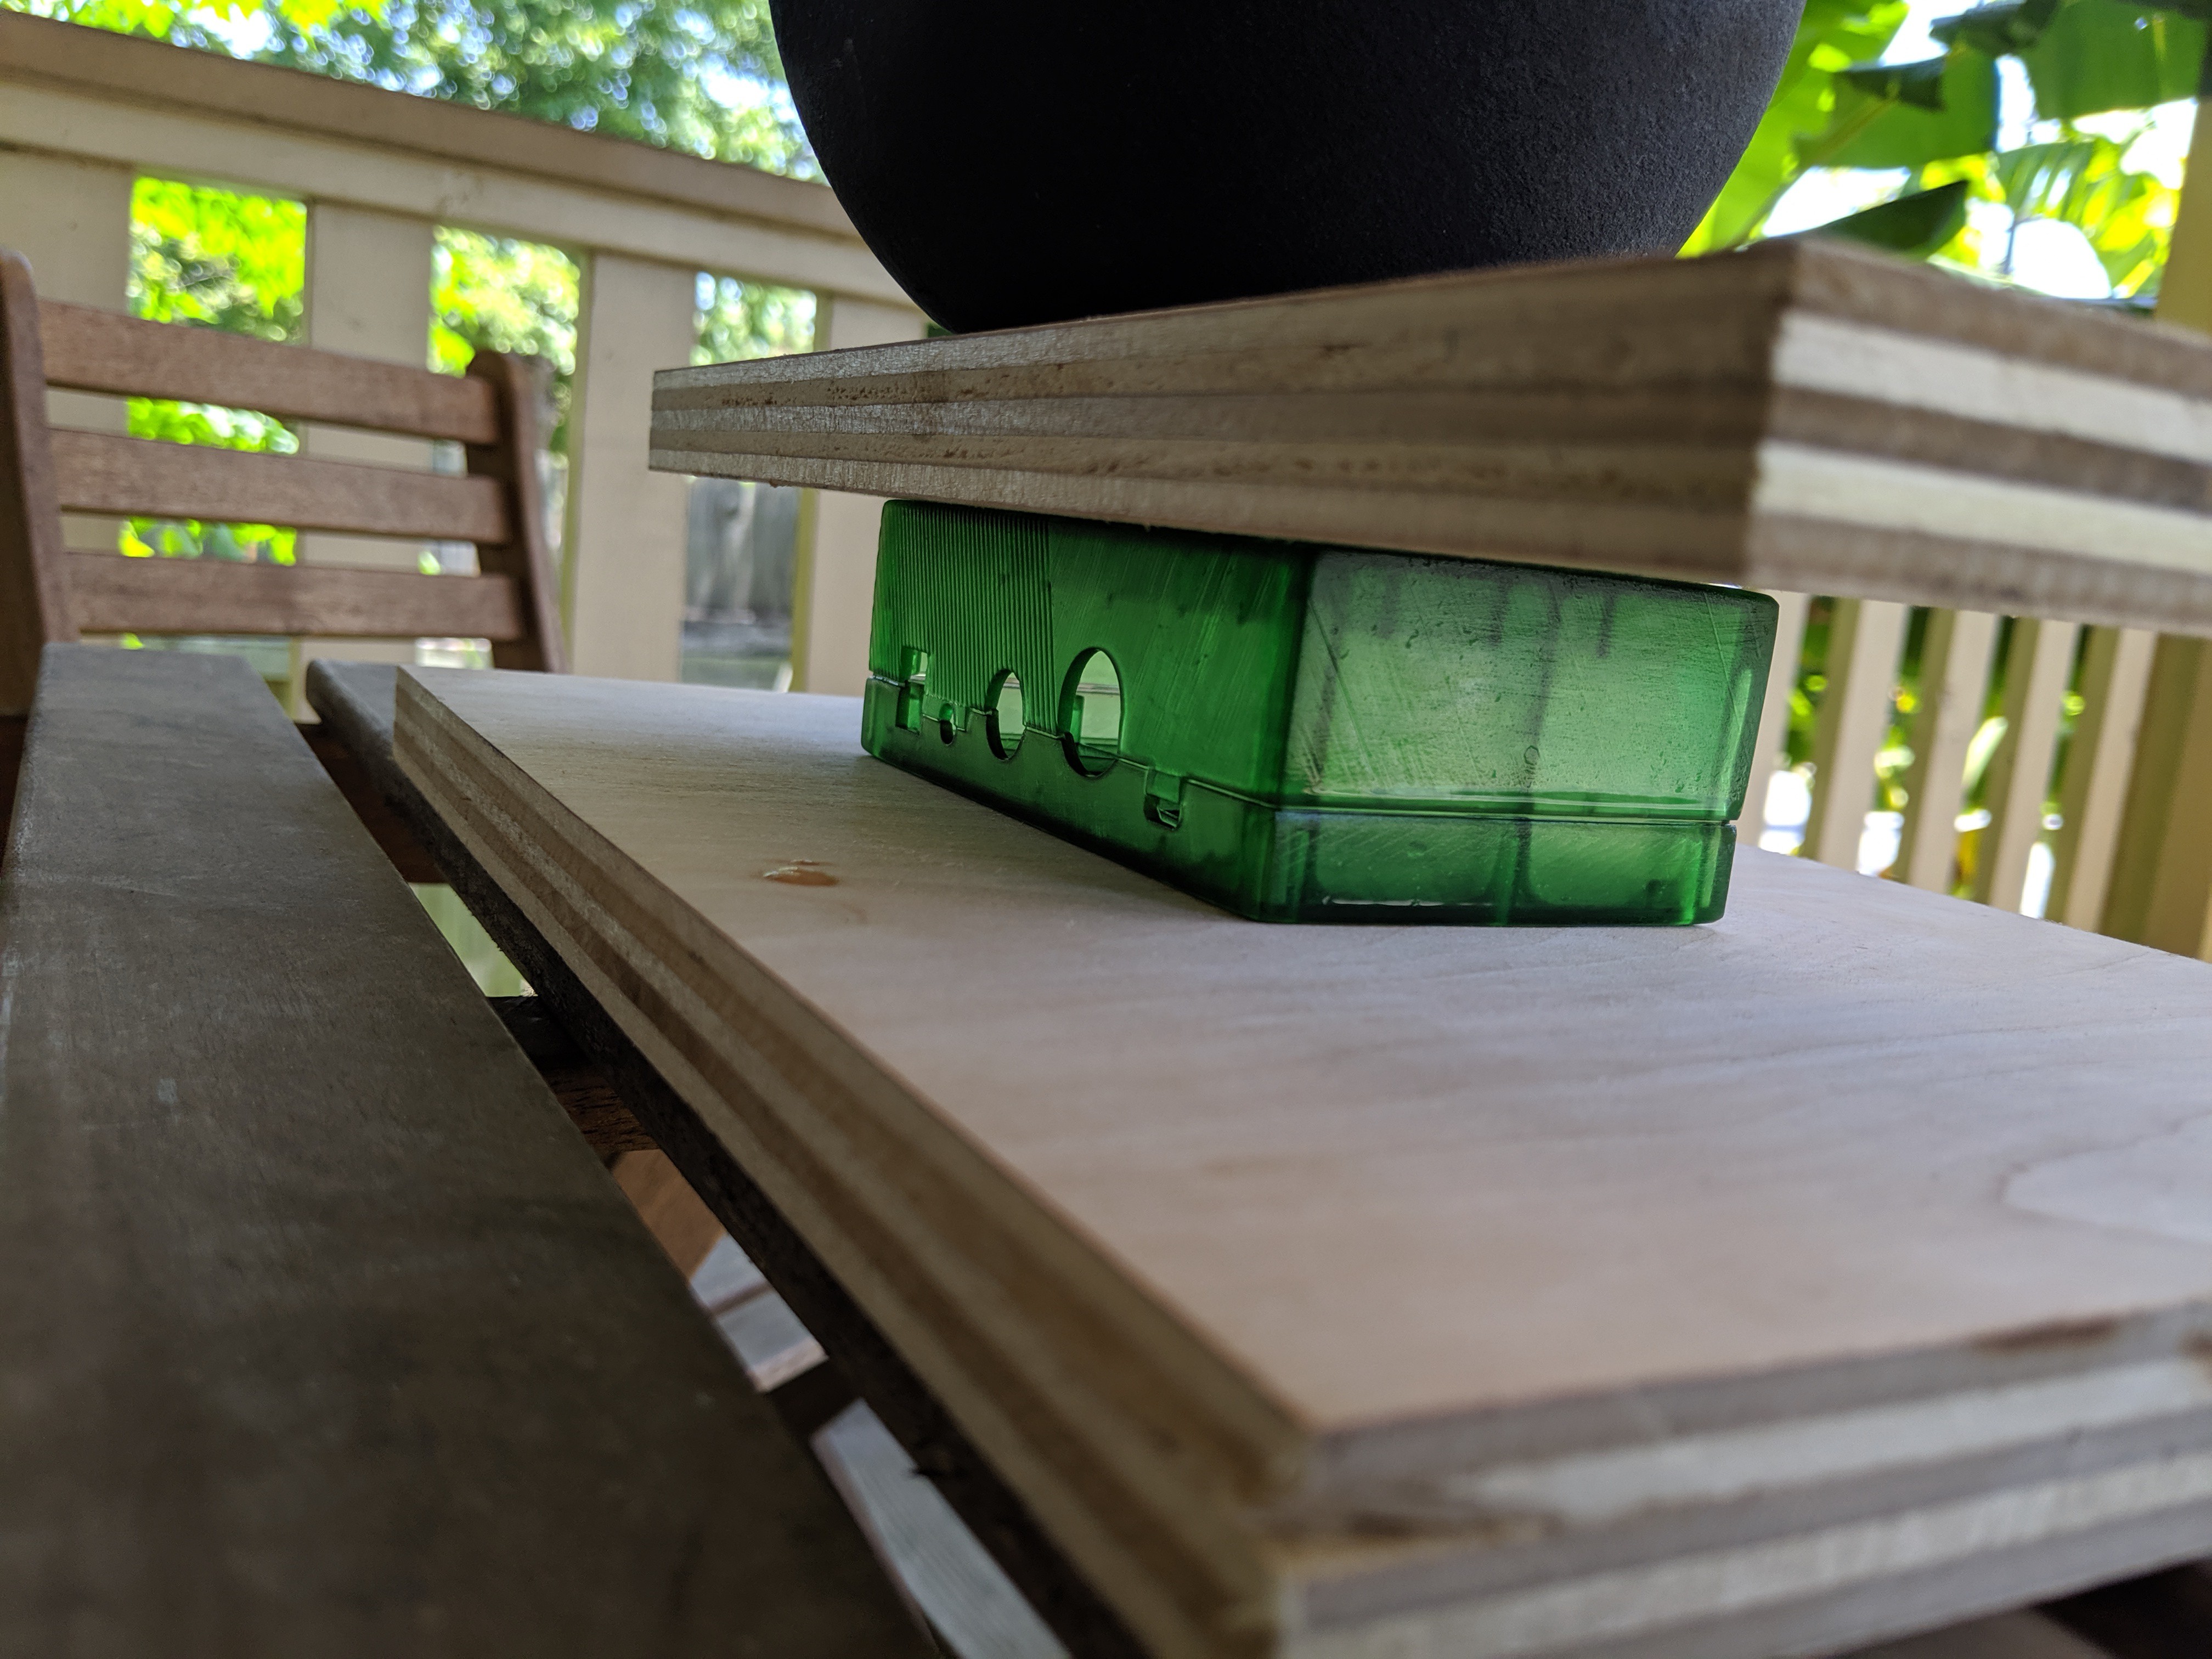
Greeeen
08/09/2019 at 19:33 • 0 commentsPrinted out a final prototype enclosure using some transparent green resin. I honestly think these are the best prints that have ever come out of my machine. There's only a tiny bit of warping which I'm hoping to flatten out with a 20lbs weight. Still need to do a bit of post processing to get a high transparency finish, and also looking into options for decal application
![]()
![]()
![]()
![]()
-
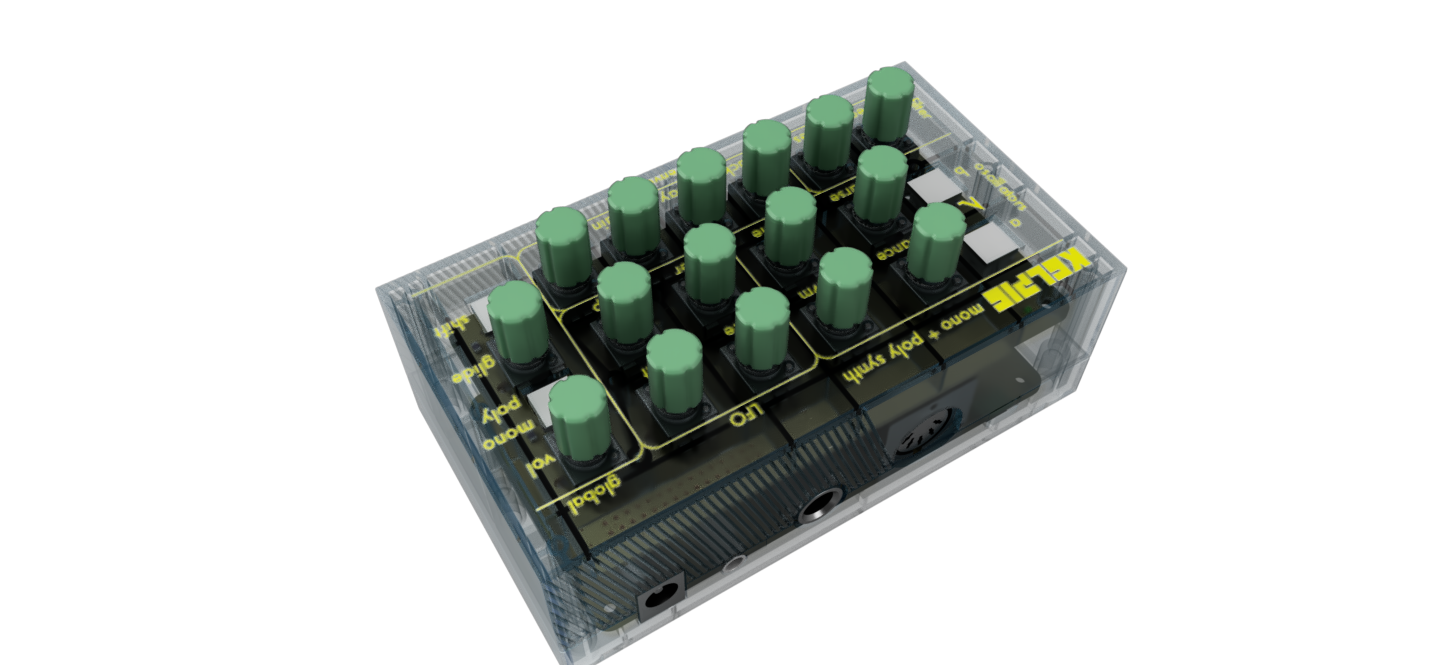
Initial graphical assets and knob layout
08/07/2019 at 17:44 • 0 commentsI got started on some very initial graphical assets for the control panel of the synthesizer. I'm realizing now that this would probably would pretty awesome if it was applied via screen printing. I don't have the capability to do that at home with my current tools, but I'll hopefully be able to fake it using some other methods for the time being
I've also made a lot of progress on the firmware and have gotten 12 individual voices sounding in polyphony, each with their own amplifier envelope, which is totally awesome. Whenever a key is pressed, the code checks a 12 note buffer for the next available spot where
envelope.isActive() == falseit then finds the first available voice and activates that note. When the note finishes sounding, it is removed from the buffer. The next step is to add a filter envelope to each voice to get some more dynamic sounds!
Stay tuned!
![]()
![]()
![]()
KELPIE: Subtractive Synth for Keyboard Controllers
A portable, cheap, and easy to use, monophonic + polyphonic digital synthesizer for use with a MIDI controller