Close
0%
0%

3D Printed Exoskeleton Arm

3D printed fully customizable exoskeleton arm development kit

Similar projects worth following
I remember watching my grandmother struggling when moving heavy things around when I was younger. So when I was 15, I had big plans on making an exoskeleton arm that would help her.
I had a notebook filled with sketches and designs (I turned whole house upside down to find it but I think it's lost) of the ExoArm using buttons and no microcontroller. Good times. Now that I'm older, I have a new goal. The goal is that people who can't afford to buy those expensive exo-arms, have a chance of making one by themselves.
This time, wth 3D printing.

You can find all the files on the GitHub repository!

After thorough consideration it became clear that development kit is the best purpose for this project. This means that people can simply download 3d files, gather electronics and start building on from code that is already written. It is a great way to learn about human motion, PID regulators, motors, robotics and if nothing else tickles your engineering sense, it makes you feel a bit like Iron Man.

Other possible usages:

  • Development kit
  • Rehabilitation (motor could counter your movement with predetermined force)
  • Help with lifting (I received many mails from people who were in an accident and could hardly move their forearm. In that case, muscle sensors could be a good answer)
  • Starter kit for newcomers to electronics and engineering
  • And much more..

About this project:

Due to lack of time for proper development (the project was placed in motion a month ago) we allocated 80% of our time on 3D modelling, design and finding purpose. Other 20% was used for code and electronics.

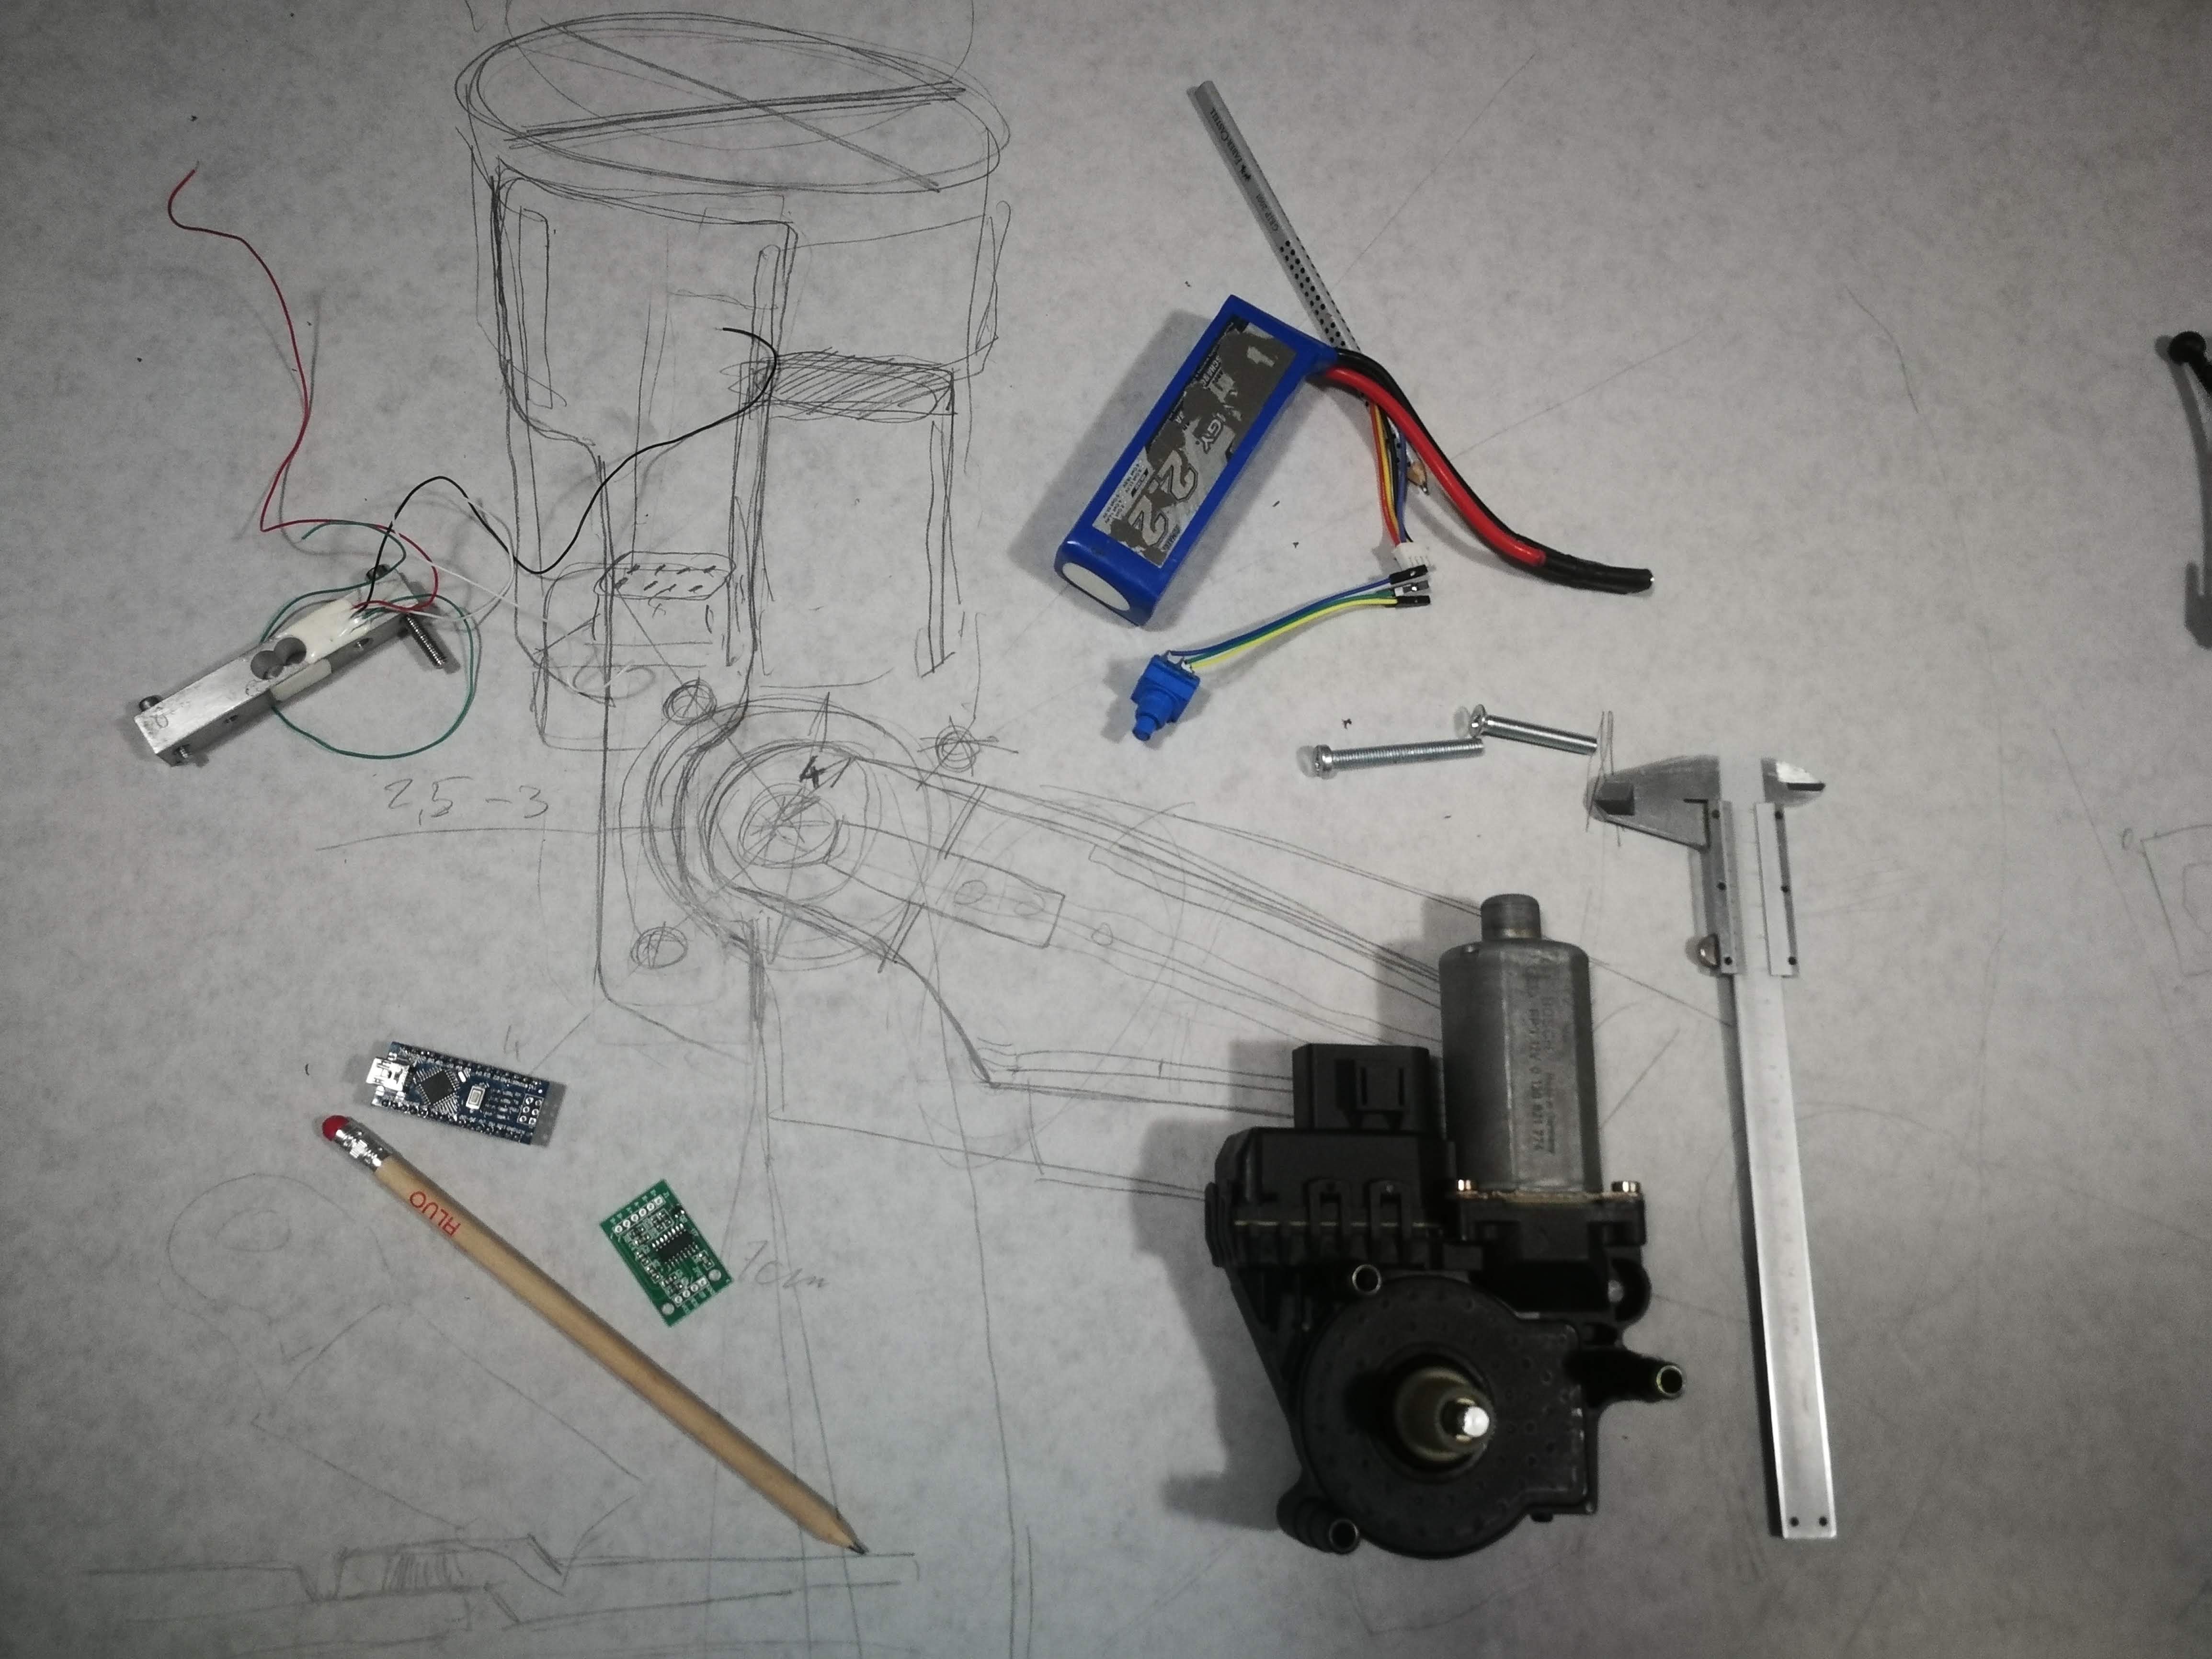
Because of our low budget we had to resort to some interesting measures. As buying a electric motor specifically design for this use-case was too expensive and out of the question we had to be resourceful. We used an old windshield motor from a car as it was cheap and did the job just fine. It does have it's drawbacks tho as it is a bit big.

As this is just the first prototype version and is not finished in any way we noticed quite a few use-case scenarios for further development. Exoskeleton arm could be used as workplace tool helping physical workers with tedious repeating workplace tasks which can lead to workplace related injuries.

It could be also used as a rehabilitation tool which would help people with arm injuries (muscle and nerve damage). It would help them with moving the arm in a pre-determined, correct pattern.

Last use-case that we noticed and focused on is of more educational nature. During the project we have learned a lot about electronics, cad modelling, ergonomics and other interesting fields. We think that creating a working prototype was a fun and interesting experience. Being open-source we intend to share blueprints so other people could learn and have the same fun we had while designing their own version of our idea.

Had we started few months ago or what our future plans would be:

  1. Make the exo-arm fully modular. For example, now it can only fit an adult
  2. Find even smaller and lighter motor
  3. Pack all the electronics in a single PCB to save space and make it look better.
  4. Come up with a decent control algorithm.
  5. Add muscle sensors to biceps and forearm. It might help with point 4.
  6. Add endpoint switches that disconnect power from motor in case something goes wrong.
  7. Further development of cad model. Optimizing thickness, adding additional ribs for strength and making it look better.

The first version of the exoskeleton arm (2017 project) was made from aluminum, wood and things I found lying around garage. This year, I decided to implement the latest trend, 3D printing. It's much more customizable, scalable and alltogether better. 

The windshield wiper motor that I used on previous version is now replaced with car window motor, because It's smaller, little lighter and has less torque. 

Hardware, such as electronics and sensors is the same, because I still think it's the best option. Especially if I want to keep the costs low. 

Code is also more or less the same, with minor fixes and upgrades. Check the project logs for extended explanation. 

exo v13.step

CAD files

step - 5.02 MB - 08/26/2019 at 10:12

Download

exoarmV2.ino

Updated code for Arduino Nano.

ino - 4.08 kB - 08/25/2019 at 13:04

Download

stl_v2.7z

stl files for 3D printing. If you have printer with less than 300mm dimensions, you will have to cut the objects.

7-Zip - 1.41 MB - 08/25/2019 at 13:03

Download

View all 9 components

  • Mounting the exoarm to body

    Kristjan Berce08/25/2019 at 13:36 0 comments

    We are currently using cotton belts that were made by a dressmaker. Unfortunately it's impossible to single handedly fasten them because they lack the proper mechanism. They are also not elastic with makes the problem even worse. 

    One of the biggest challenge will be to figure out a way for proper mounting, without the exoarm slipping down or rotating when it shouldn't.

  • Electronics

    Kristjan Berce08/25/2019 at 13:20 0 comments

    The red part is X711 module for straing gauge. 

    The motor driver that I'm using is way overpowered for this motor. The window motor will draw ardoun 1.5A at no load and 4A at stall torque. I'm saying this because this motordriver is pretty expensive and you could get away with weaker and cheaper one.

  • Animation

    hain.miha08/25/2019 at 13:15 0 comments

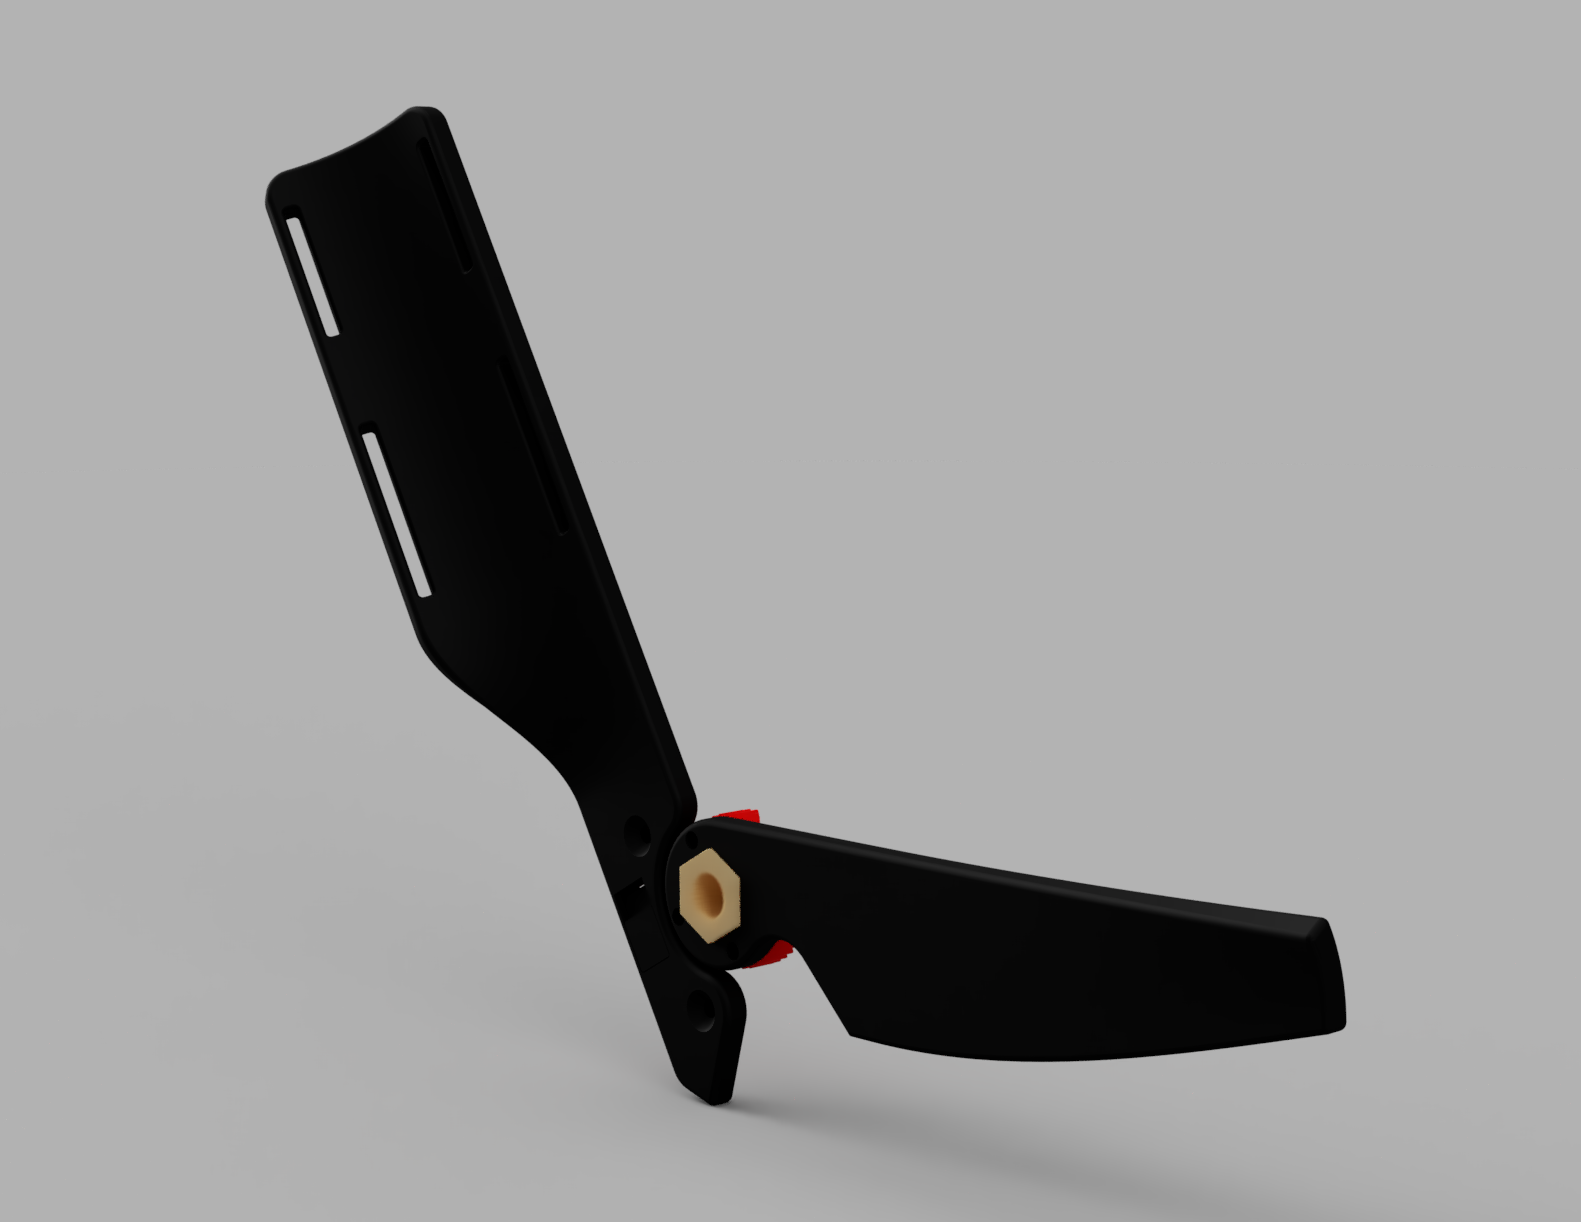
    We created animation showing the range of motion of exoskeleton arm. Range of motion is 105° from vertical. While designing we had to take human anatomy into account. Range of motion has to be limited both ways to avoid overextension and correlated joint injury.

  • New 3D printable design prototype

    Kristjan Berce08/11/2019 at 13:44 0 comments

    Few comments:

    - This design is far from finished, however we are using this to get some sense of curvatures and best way to mount it.

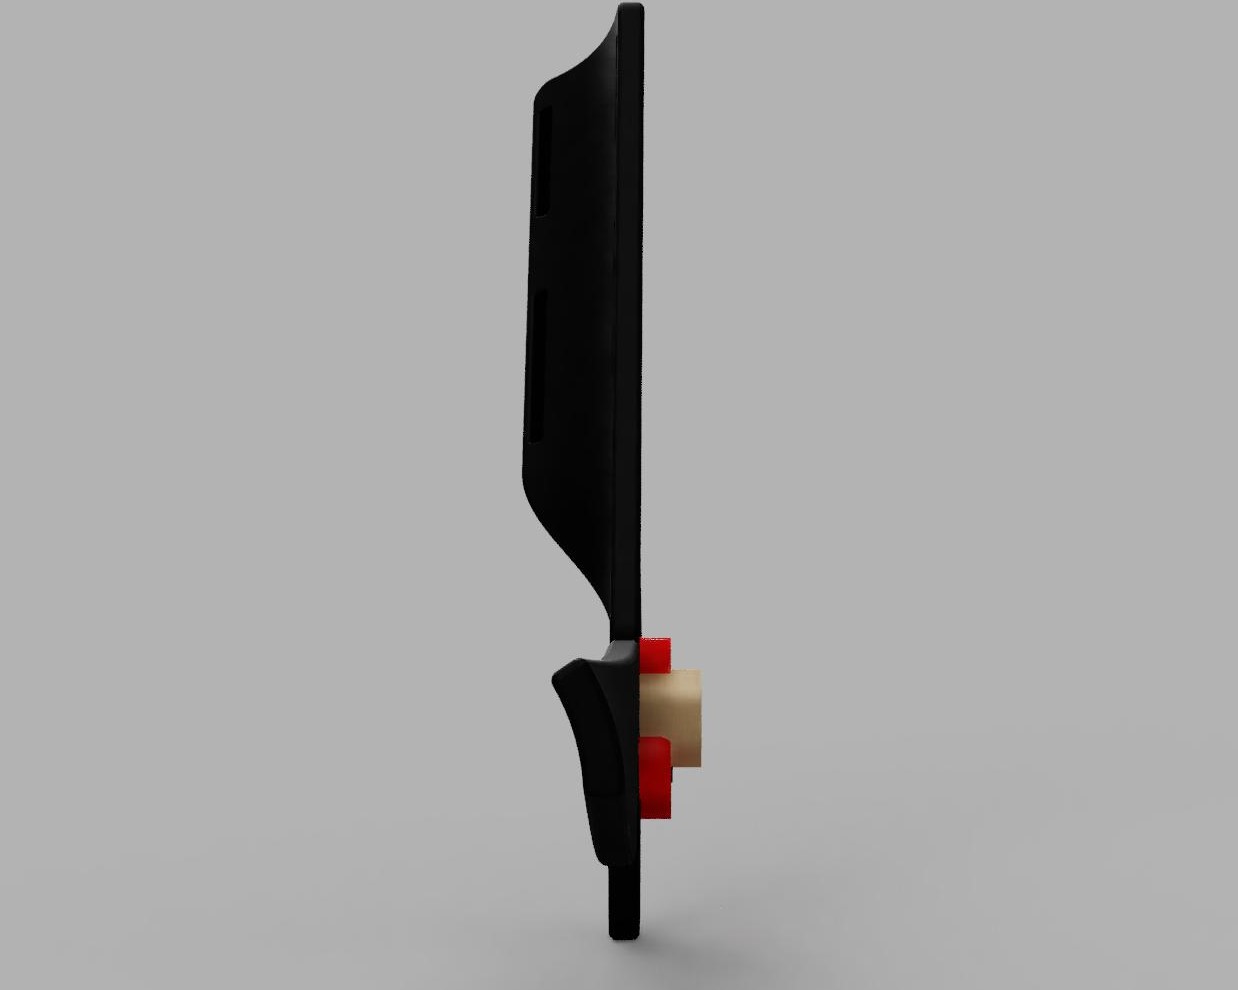
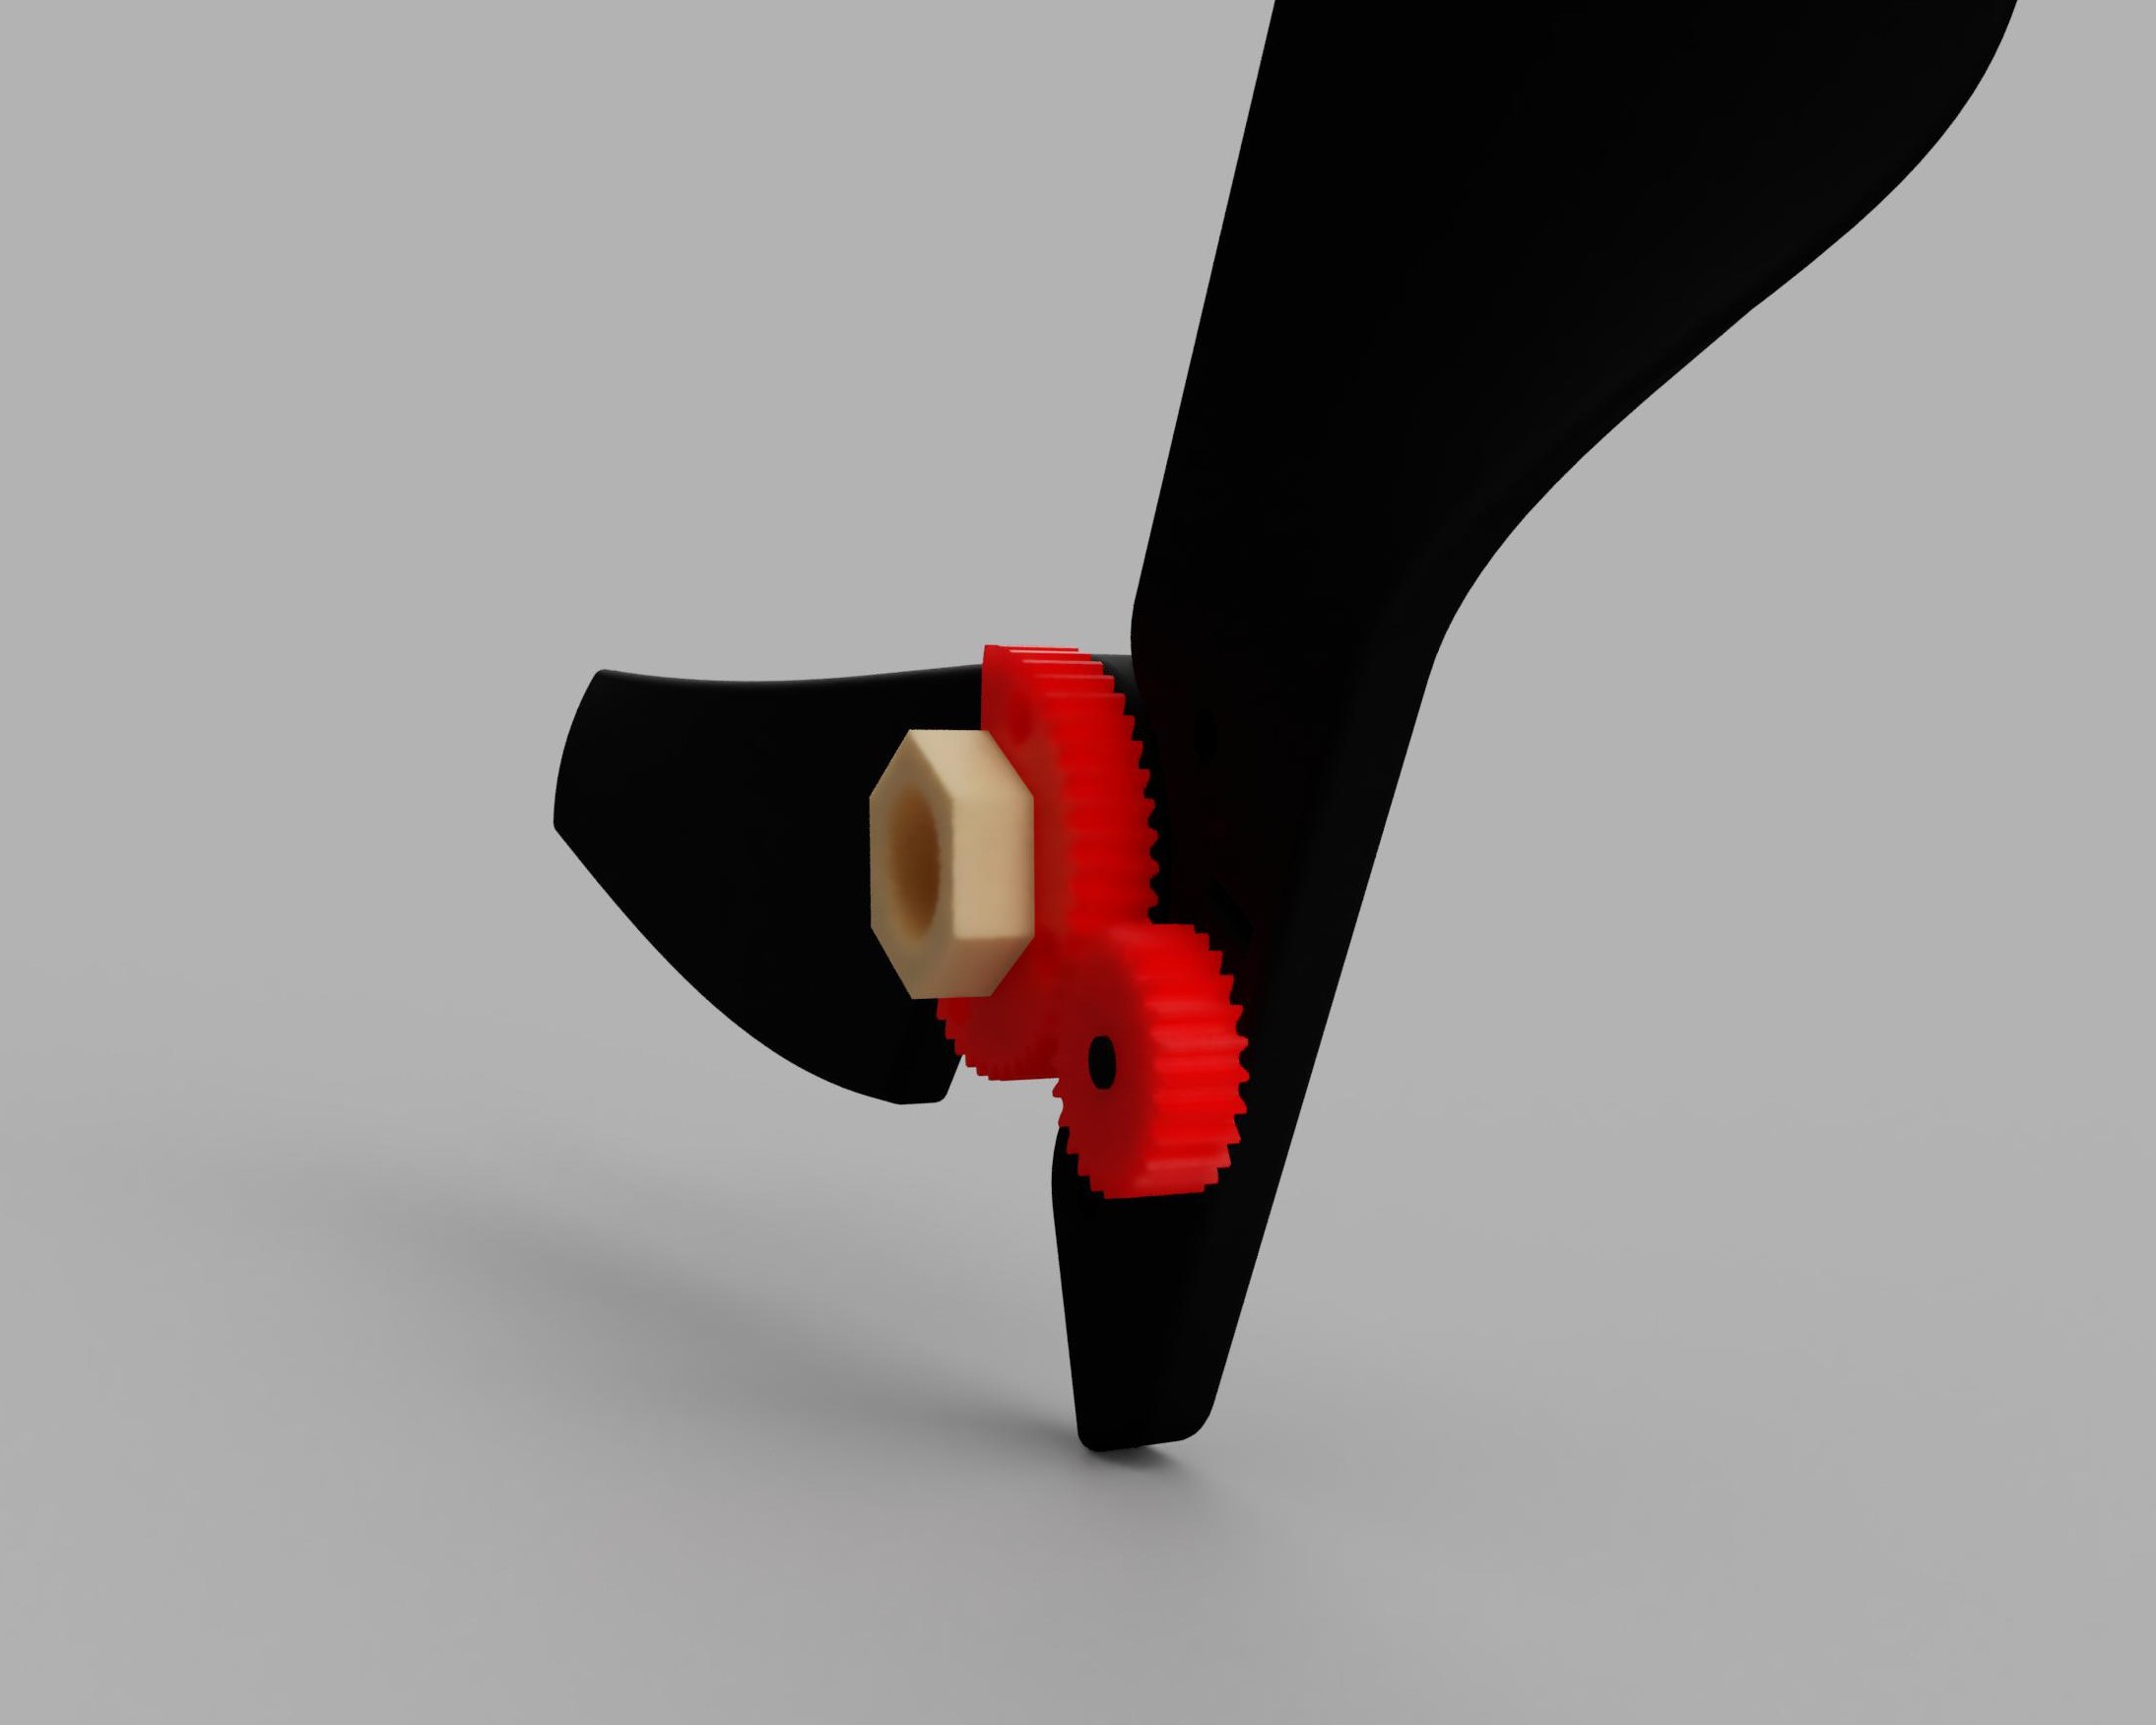
    - Red gears are used because I had to move potentiometer (elbow angle sensor) away from the center of rotation due to practical constraints. So now it's excentric and thankfuly still in the range of movement (gear ratio) .

    - There is still no power window motor 3D model, so the only way for you to see how it's mounted is to look at the last picture and try to see the motor sketch. 

  • PID control

    Kristjan Berce08/01/2019 at 12:19 0 comments

    Here is a little test with PID control. As you can see it can hold a position pretty well. The PID is not tuned. That's why you can hear that beeping sound coming from the motor. 

    Now all I have to do is to join PID control with intuitive movement, so that I can actually lift something. 

    This video is without any regulator/power:

    Here you can see PID regulator in action. It is designed so that it holds a setpoint (angle), and tries to do that no matter whether there is a force on it or not)

  • Muscle sensor and why not

    Kristjan Berce08/01/2019 at 12:15 0 comments

    I tried using it and it did not work as I thought it will. Not even a bit. See the problem is that when you put the electrode on your biceps, you can trigger it just by stretching your skin. it causes so much electricity that it false triggers and device thinks that you send a muscle signal. So when the Exo-Arm is fastened to your arm, the belt will stretch your skin, especially at the biceps. What happens? Exo-Arm flexes, but does not let go, because it thinks you're still sending signals to the biceps when the only signal is your stretched skin, if that makes any sense.

    Will stick to load cells (the same part that is used in weights to read weight). Will require some adaptations however. 

View all 6 project logs

Enjoy this project?

Share

Discussions

Eric Ovelgone wrote 11/17/2021 at 17:48 point

Working on similar project... love to hear your thoughts or comments.  http://darkrubymoon.blogspot.com/2021/10/amped-assistive-muscle-powered.html

  Are you sure? yes | no

notrobot23 wrote 07/31/2019 at 17:44 point

Please could you respond, I am under a bit of a time crunch. 

  Are you sure? yes | no

notrobot23 wrote 07/30/2019 at 22:01 point

Where did the component diagram go, could you say which external library are necessary for the code, and add soldering equipment to the list of needed items.

Other than that awesome project Kristjan.

Please message me or update asap, as i'm building off your design right now, and my coding experience is very limited (a bit of c++).

  Are you sure? yes | no

Similar Projects

Does this project spark your interest?

Become a member to follow this project and never miss any updates