-
Log 7
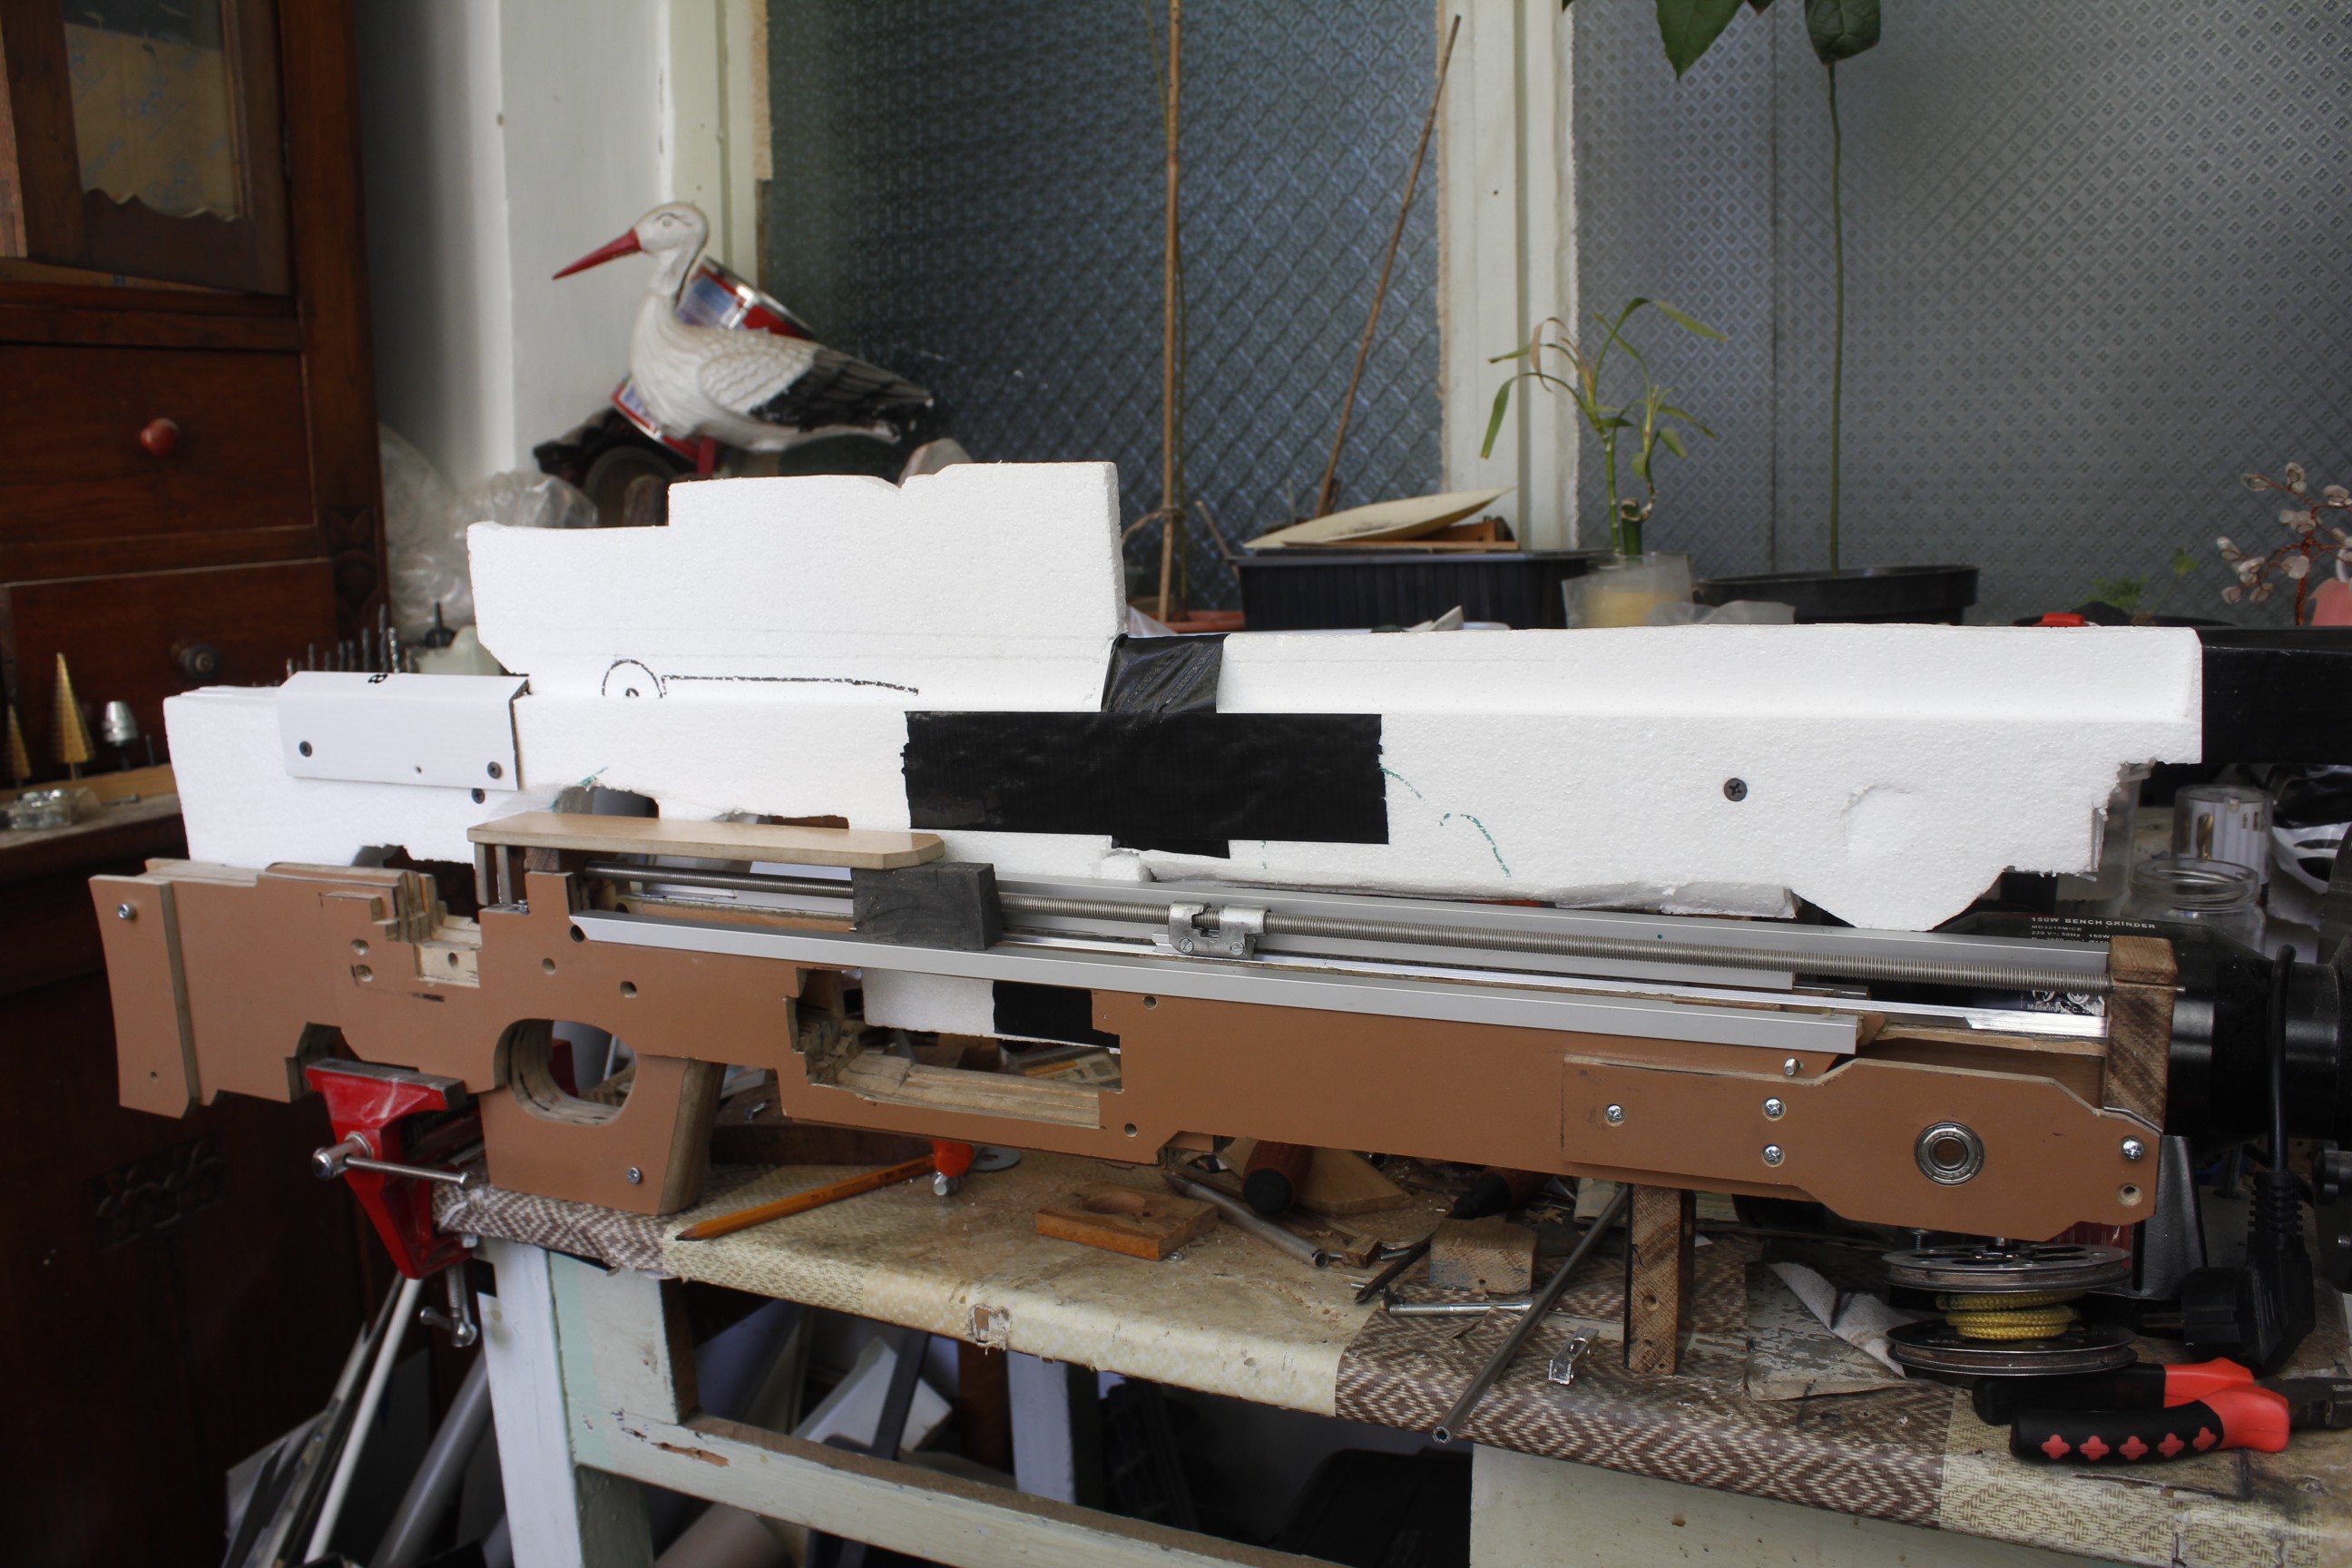
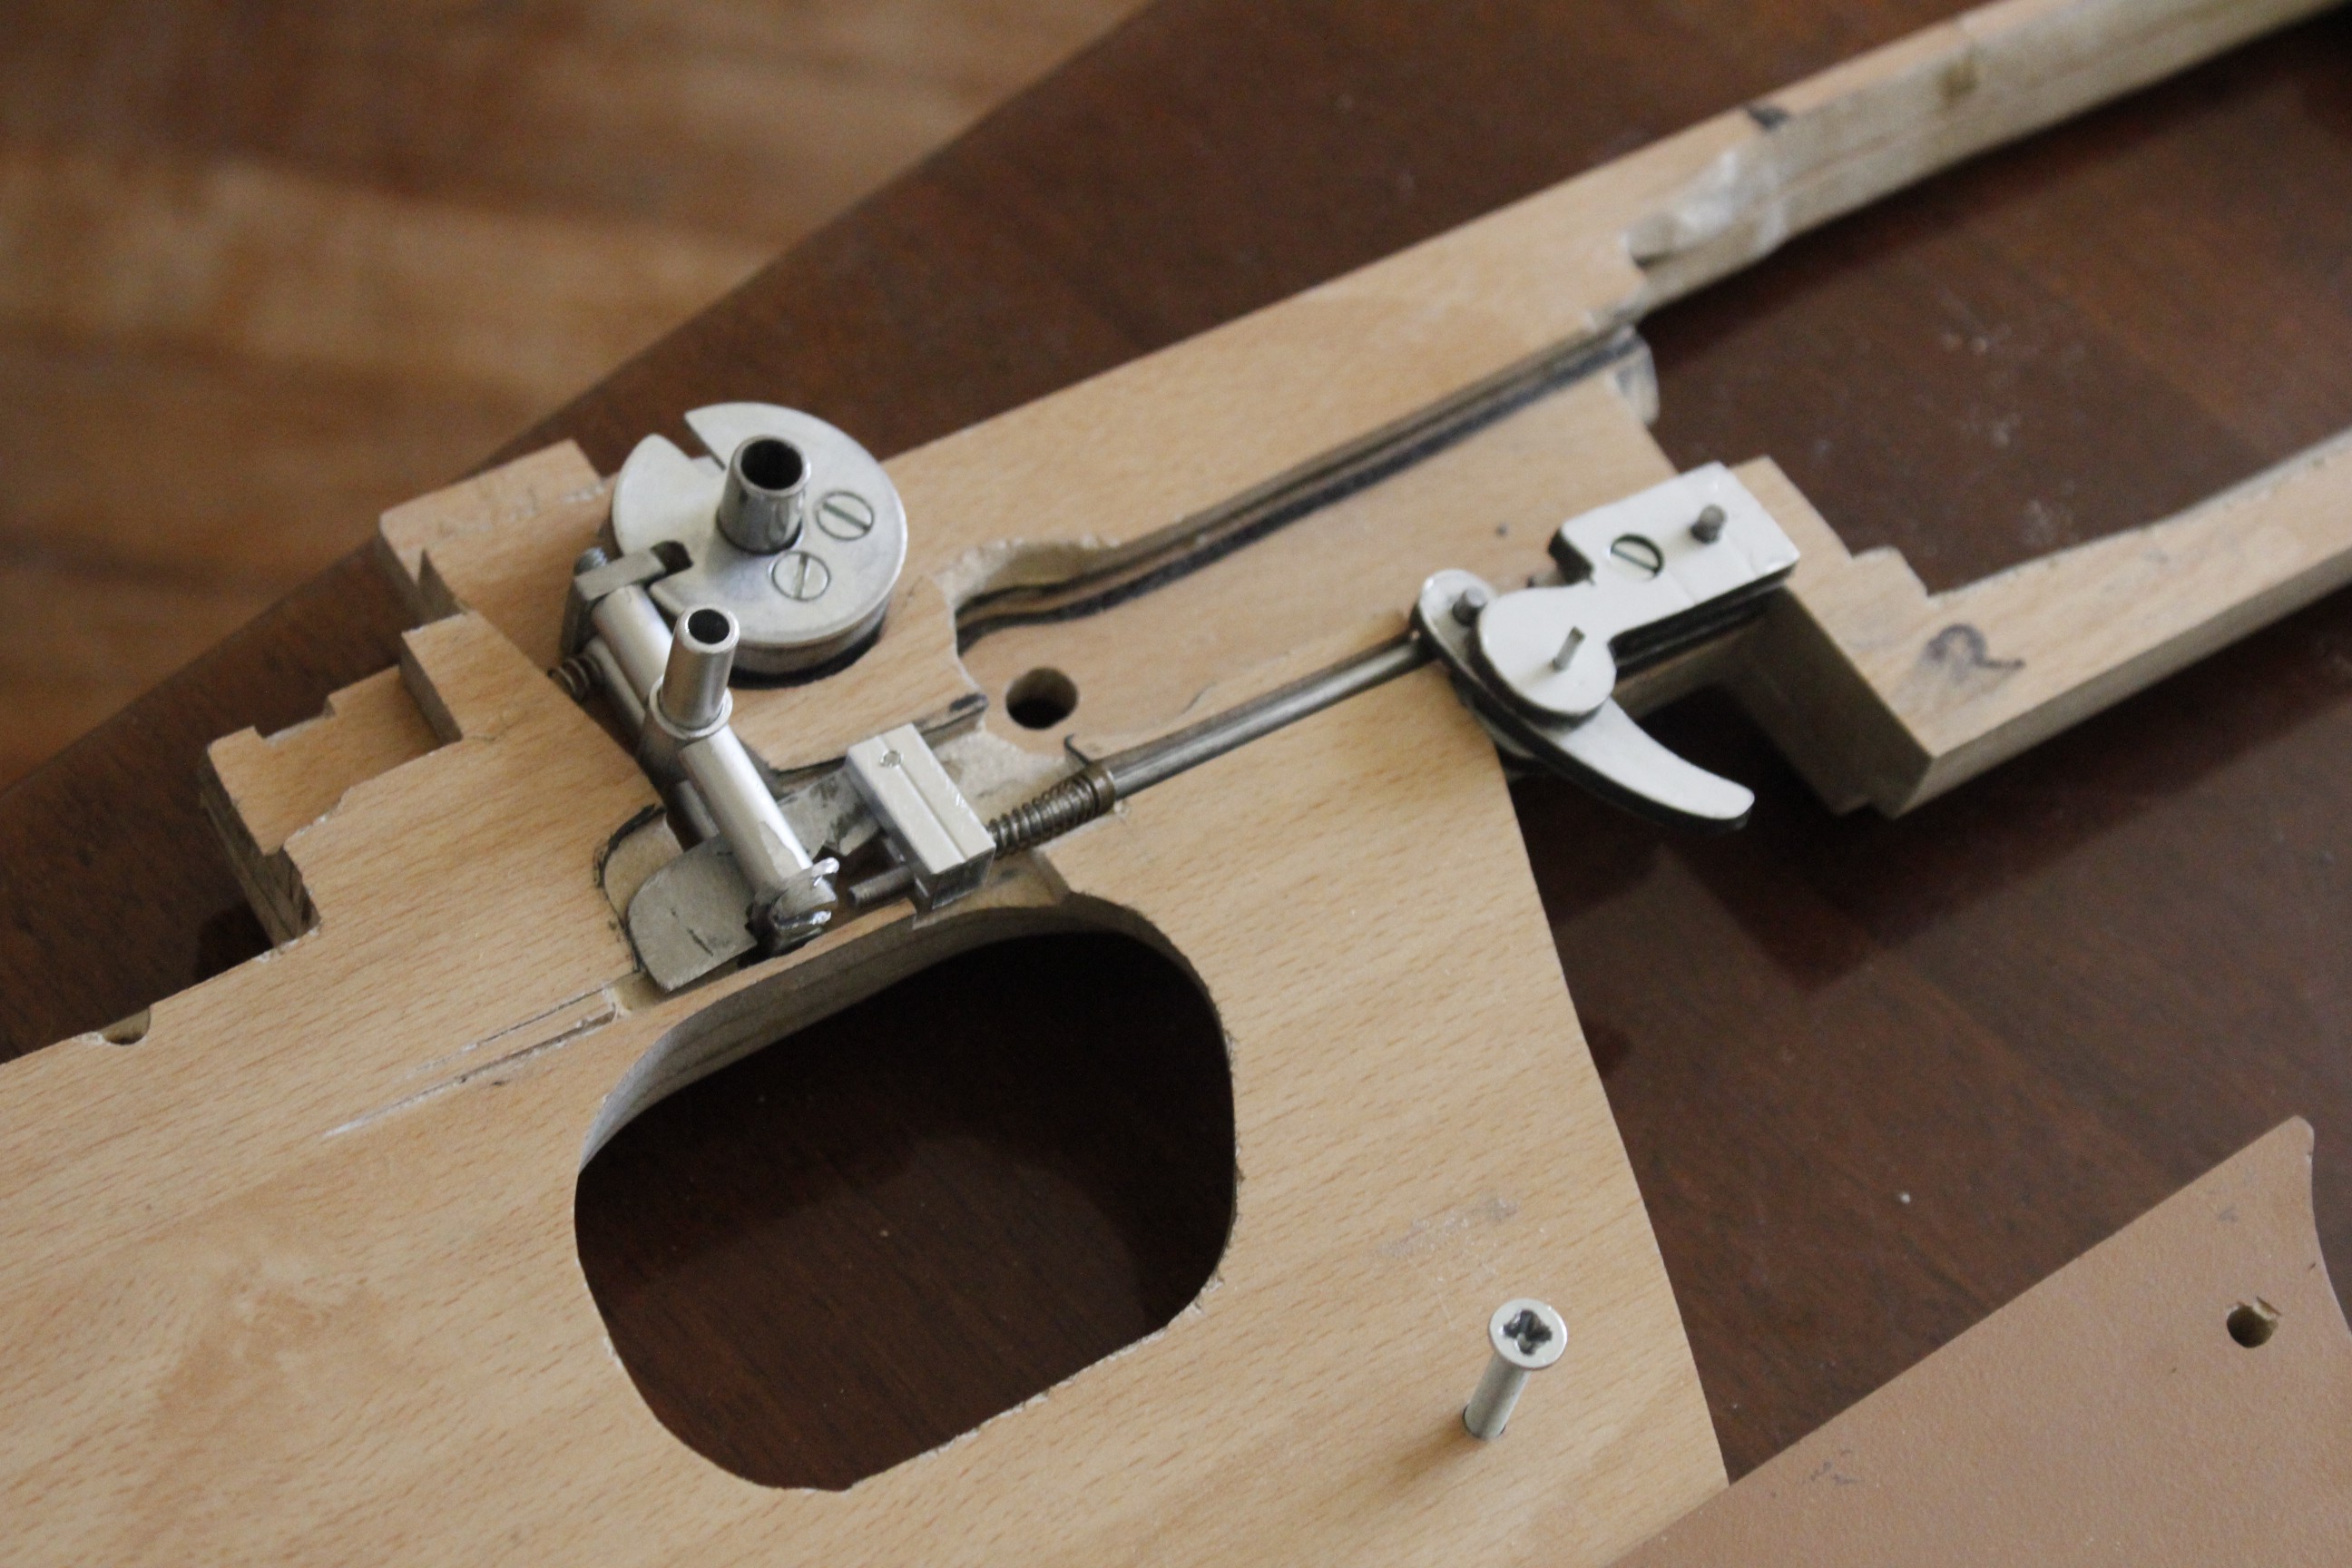
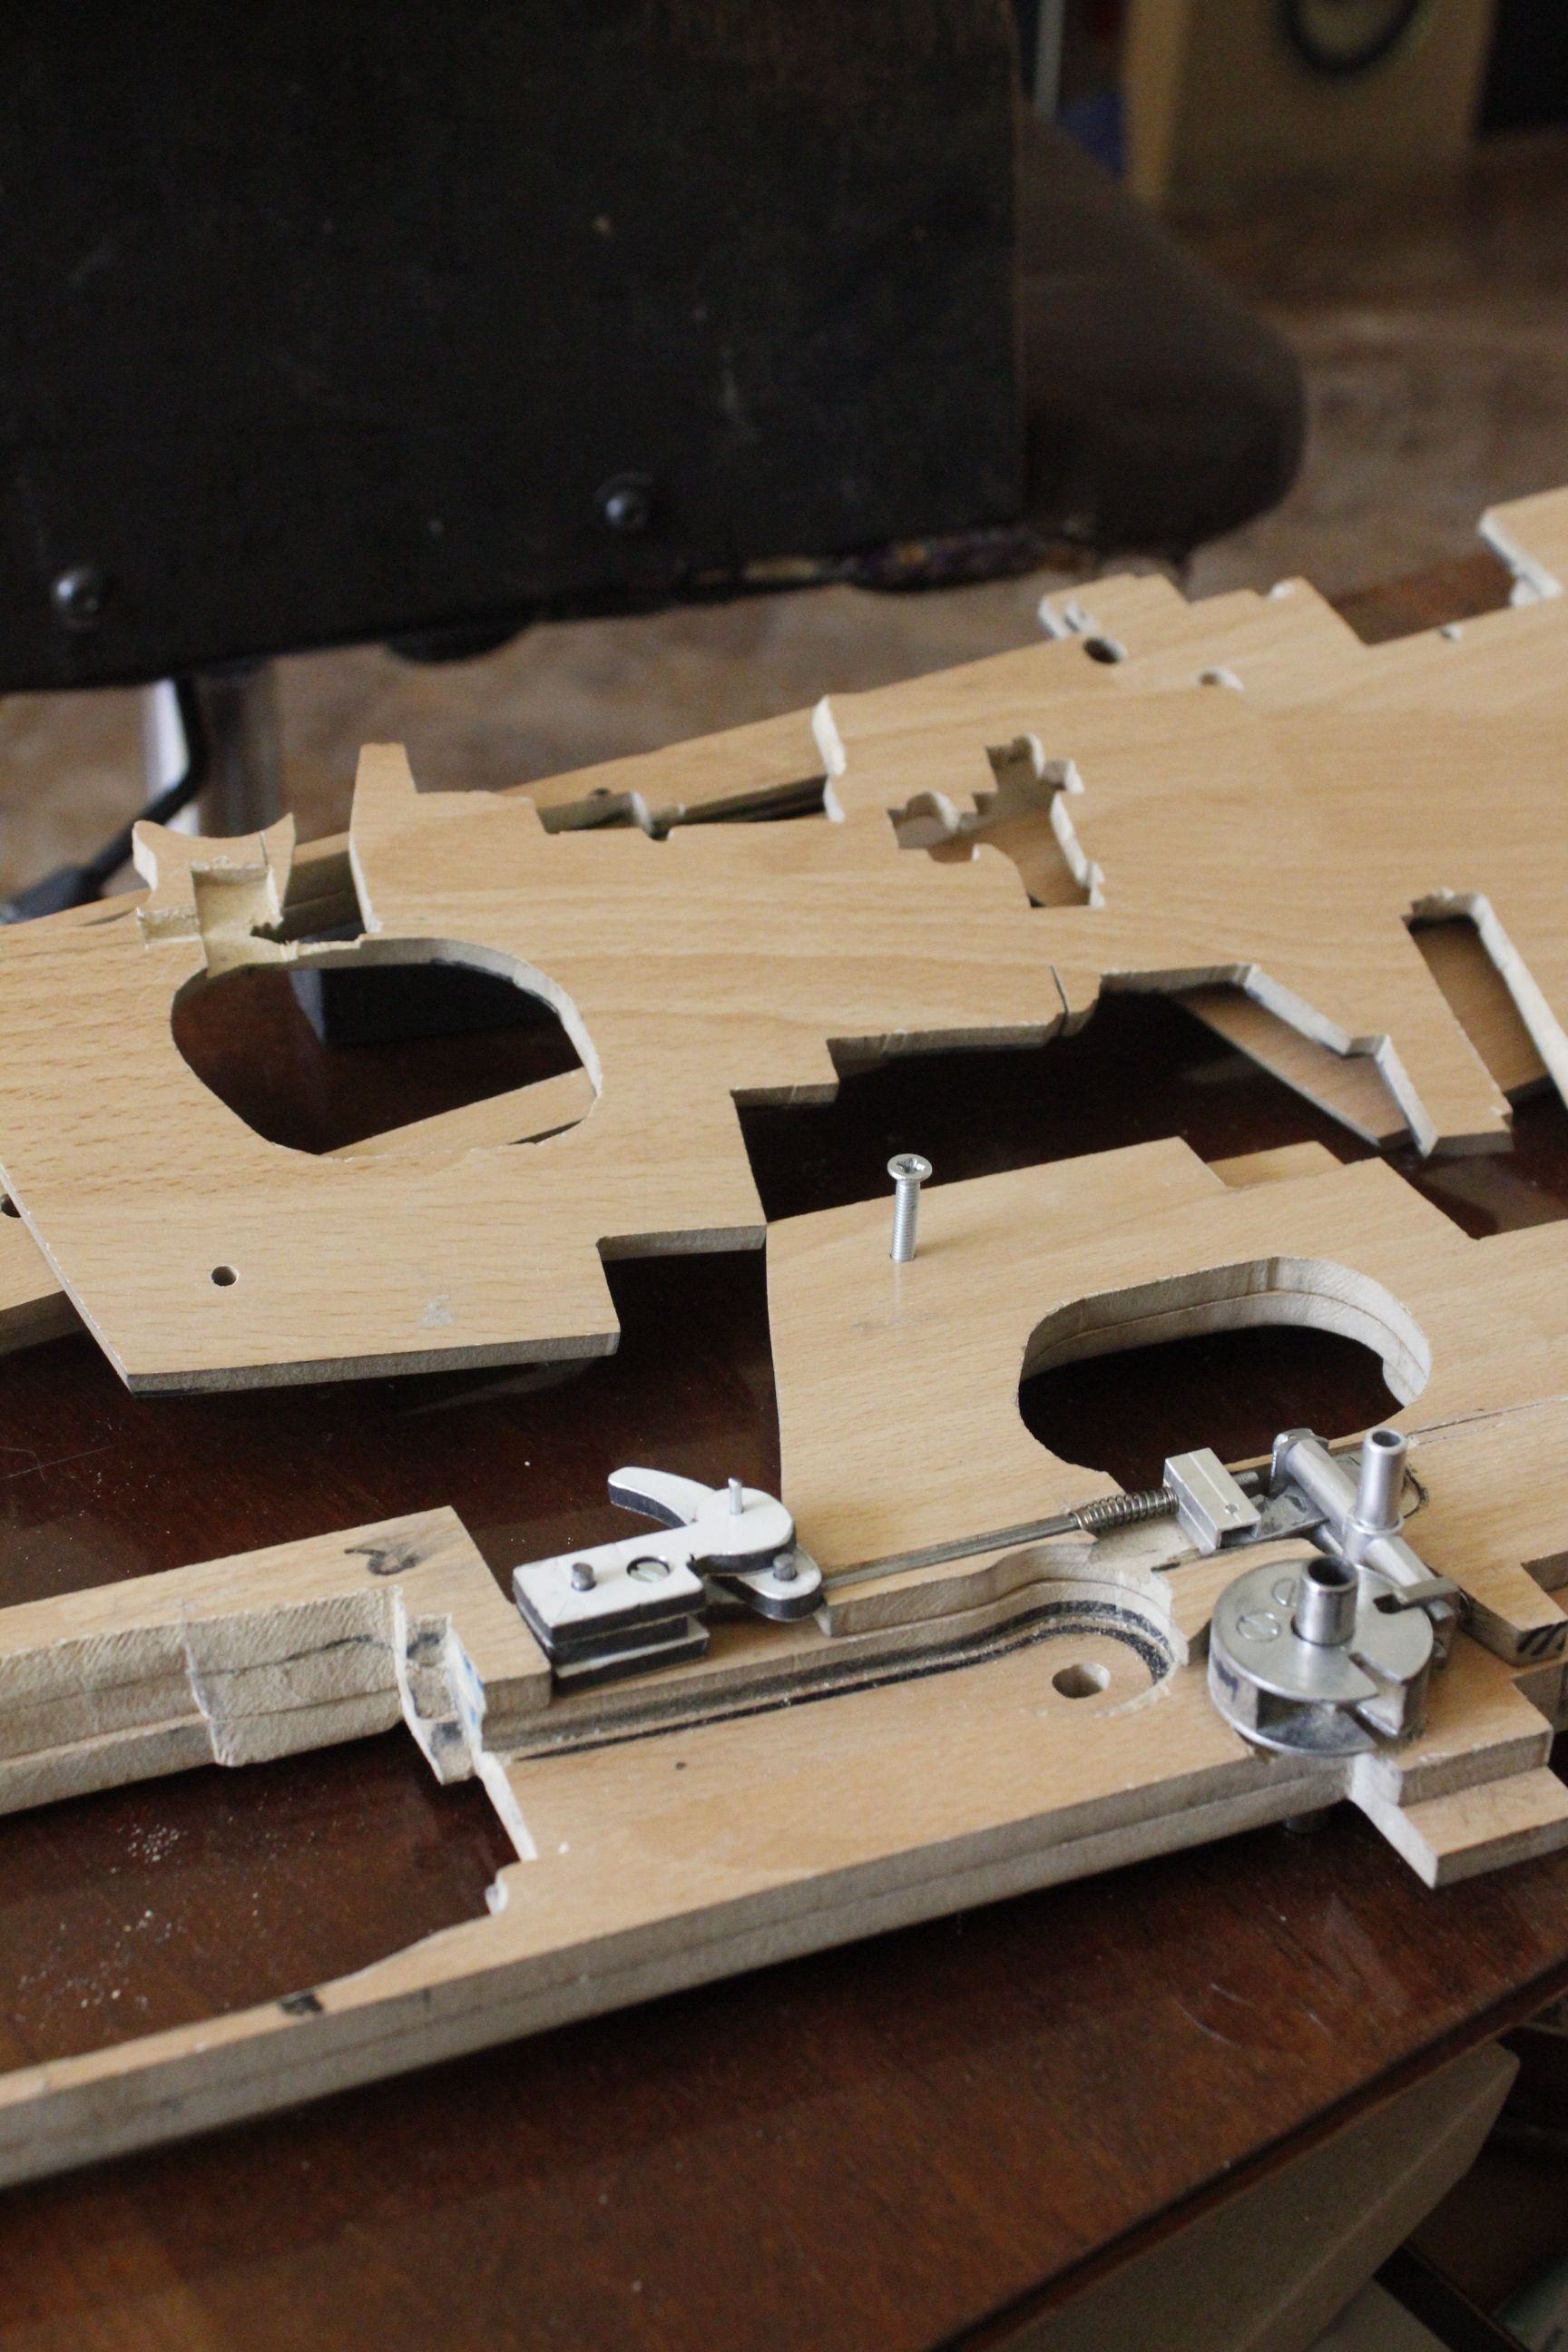
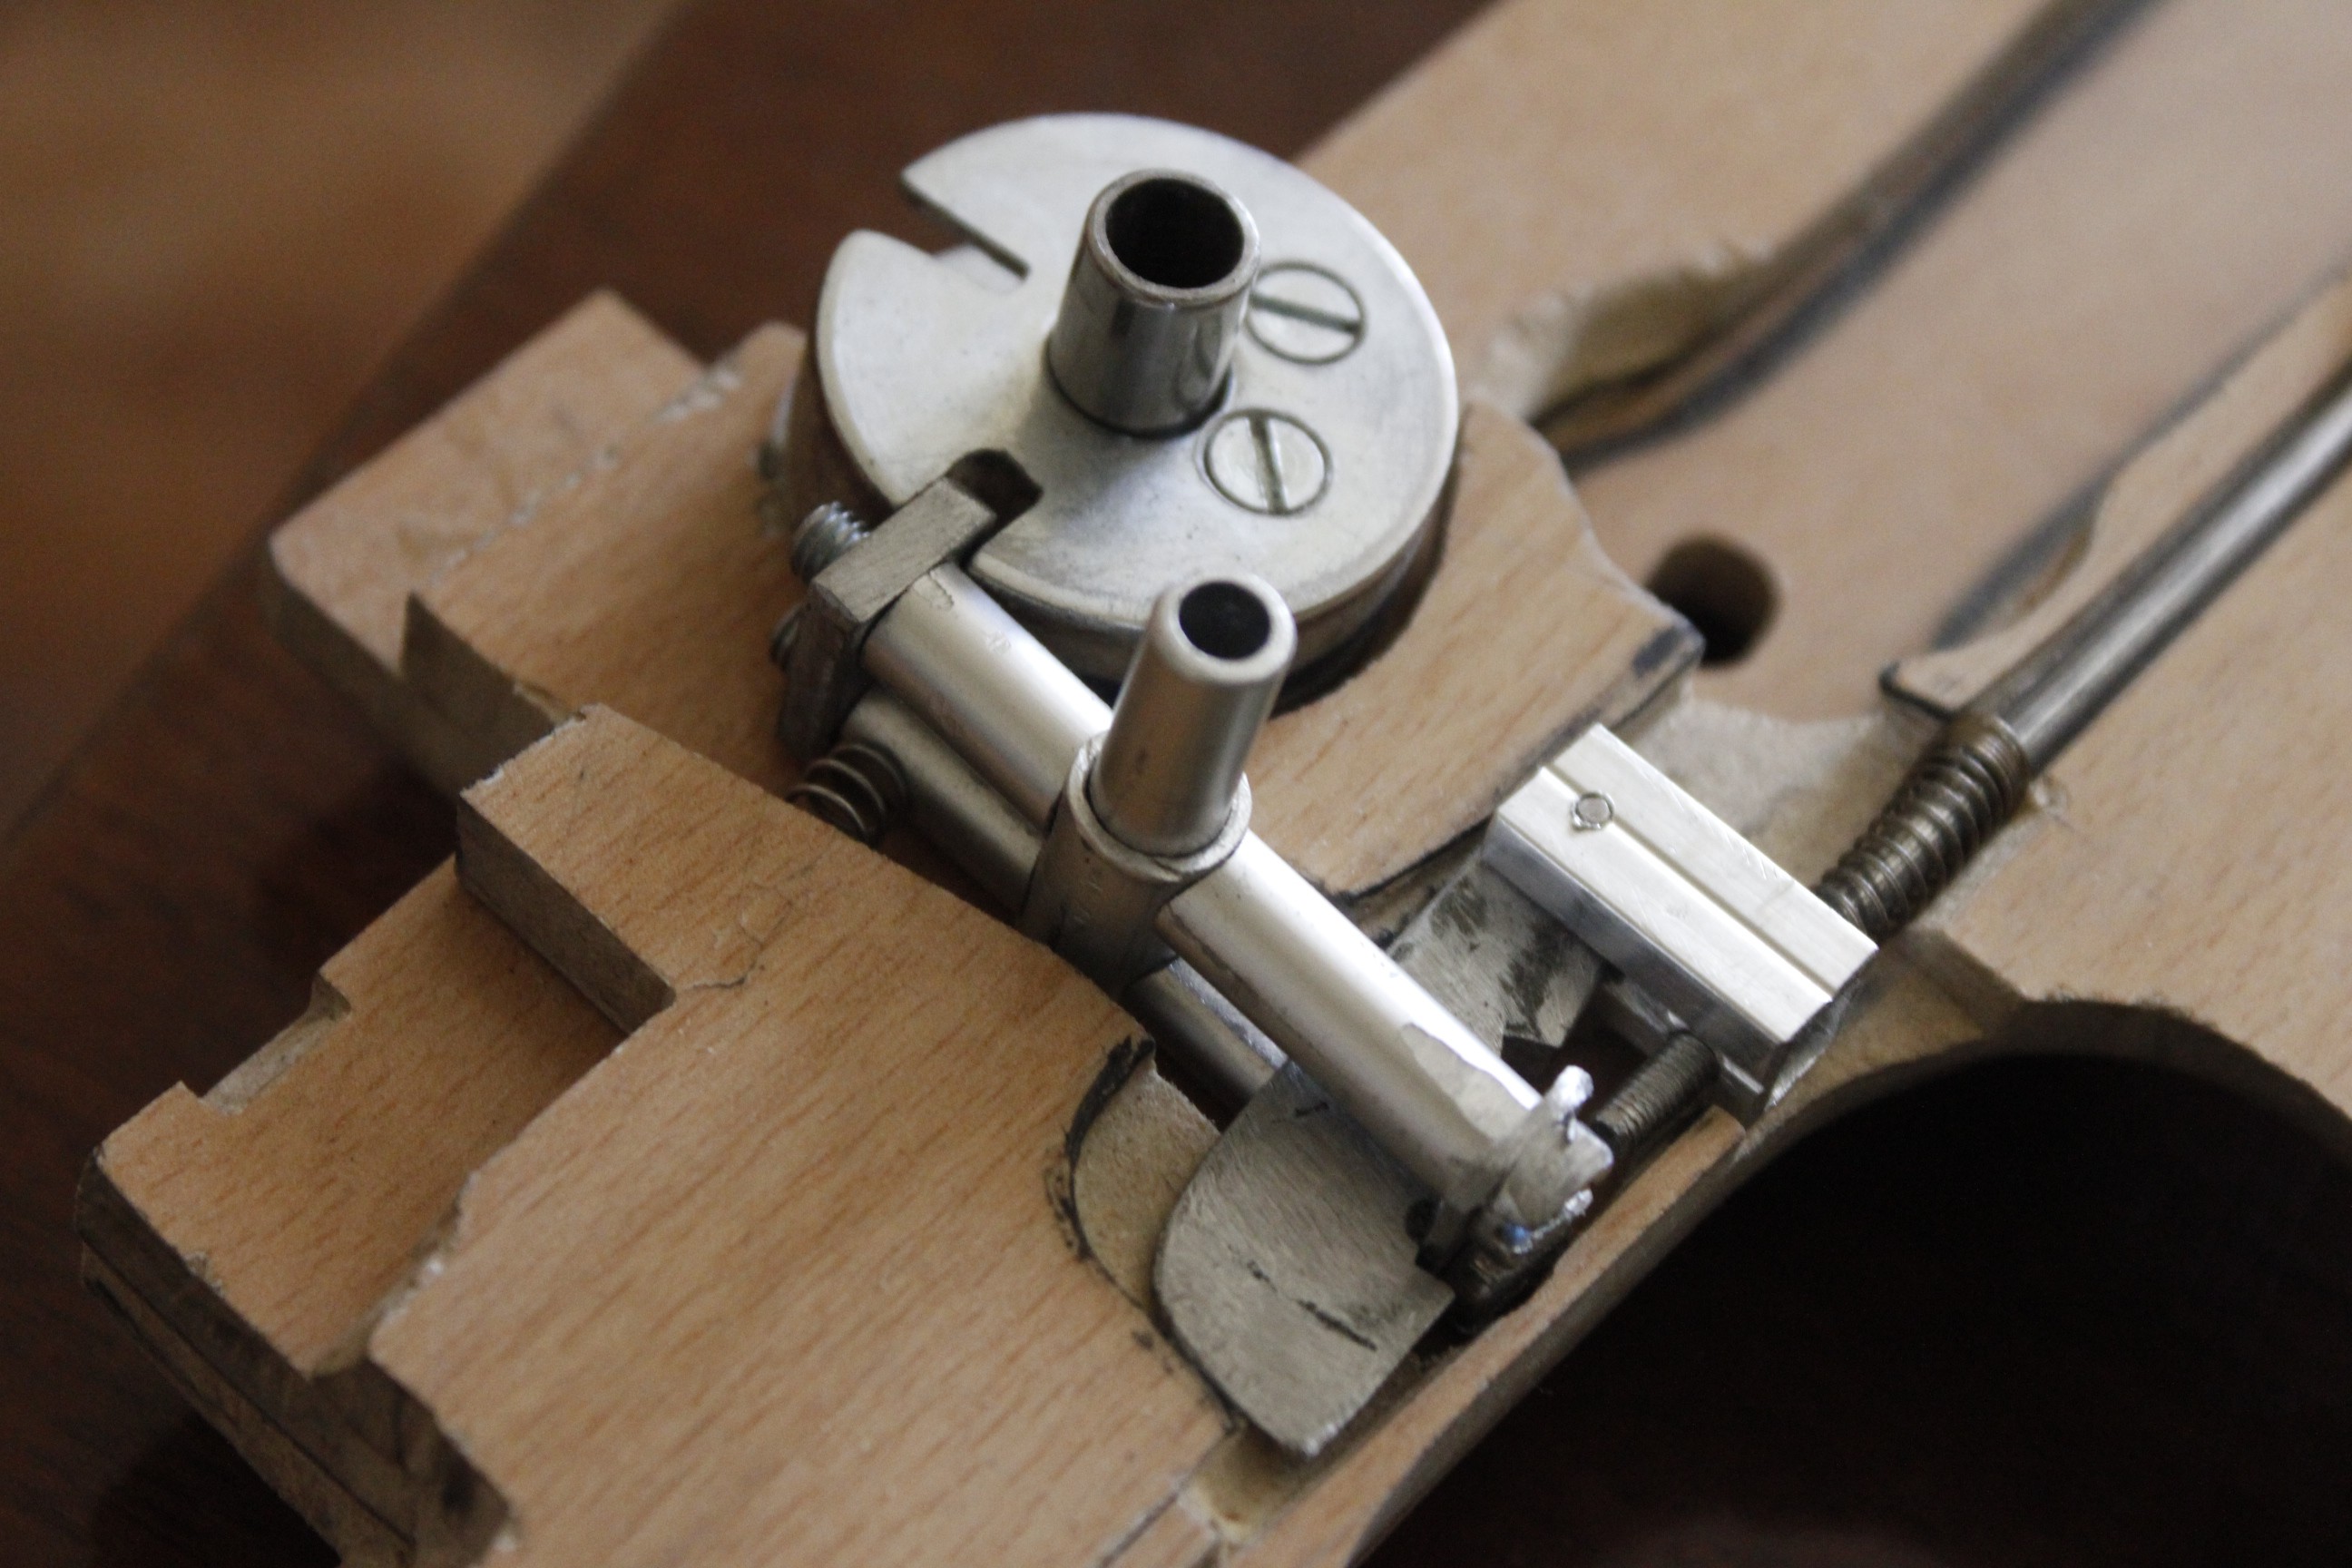
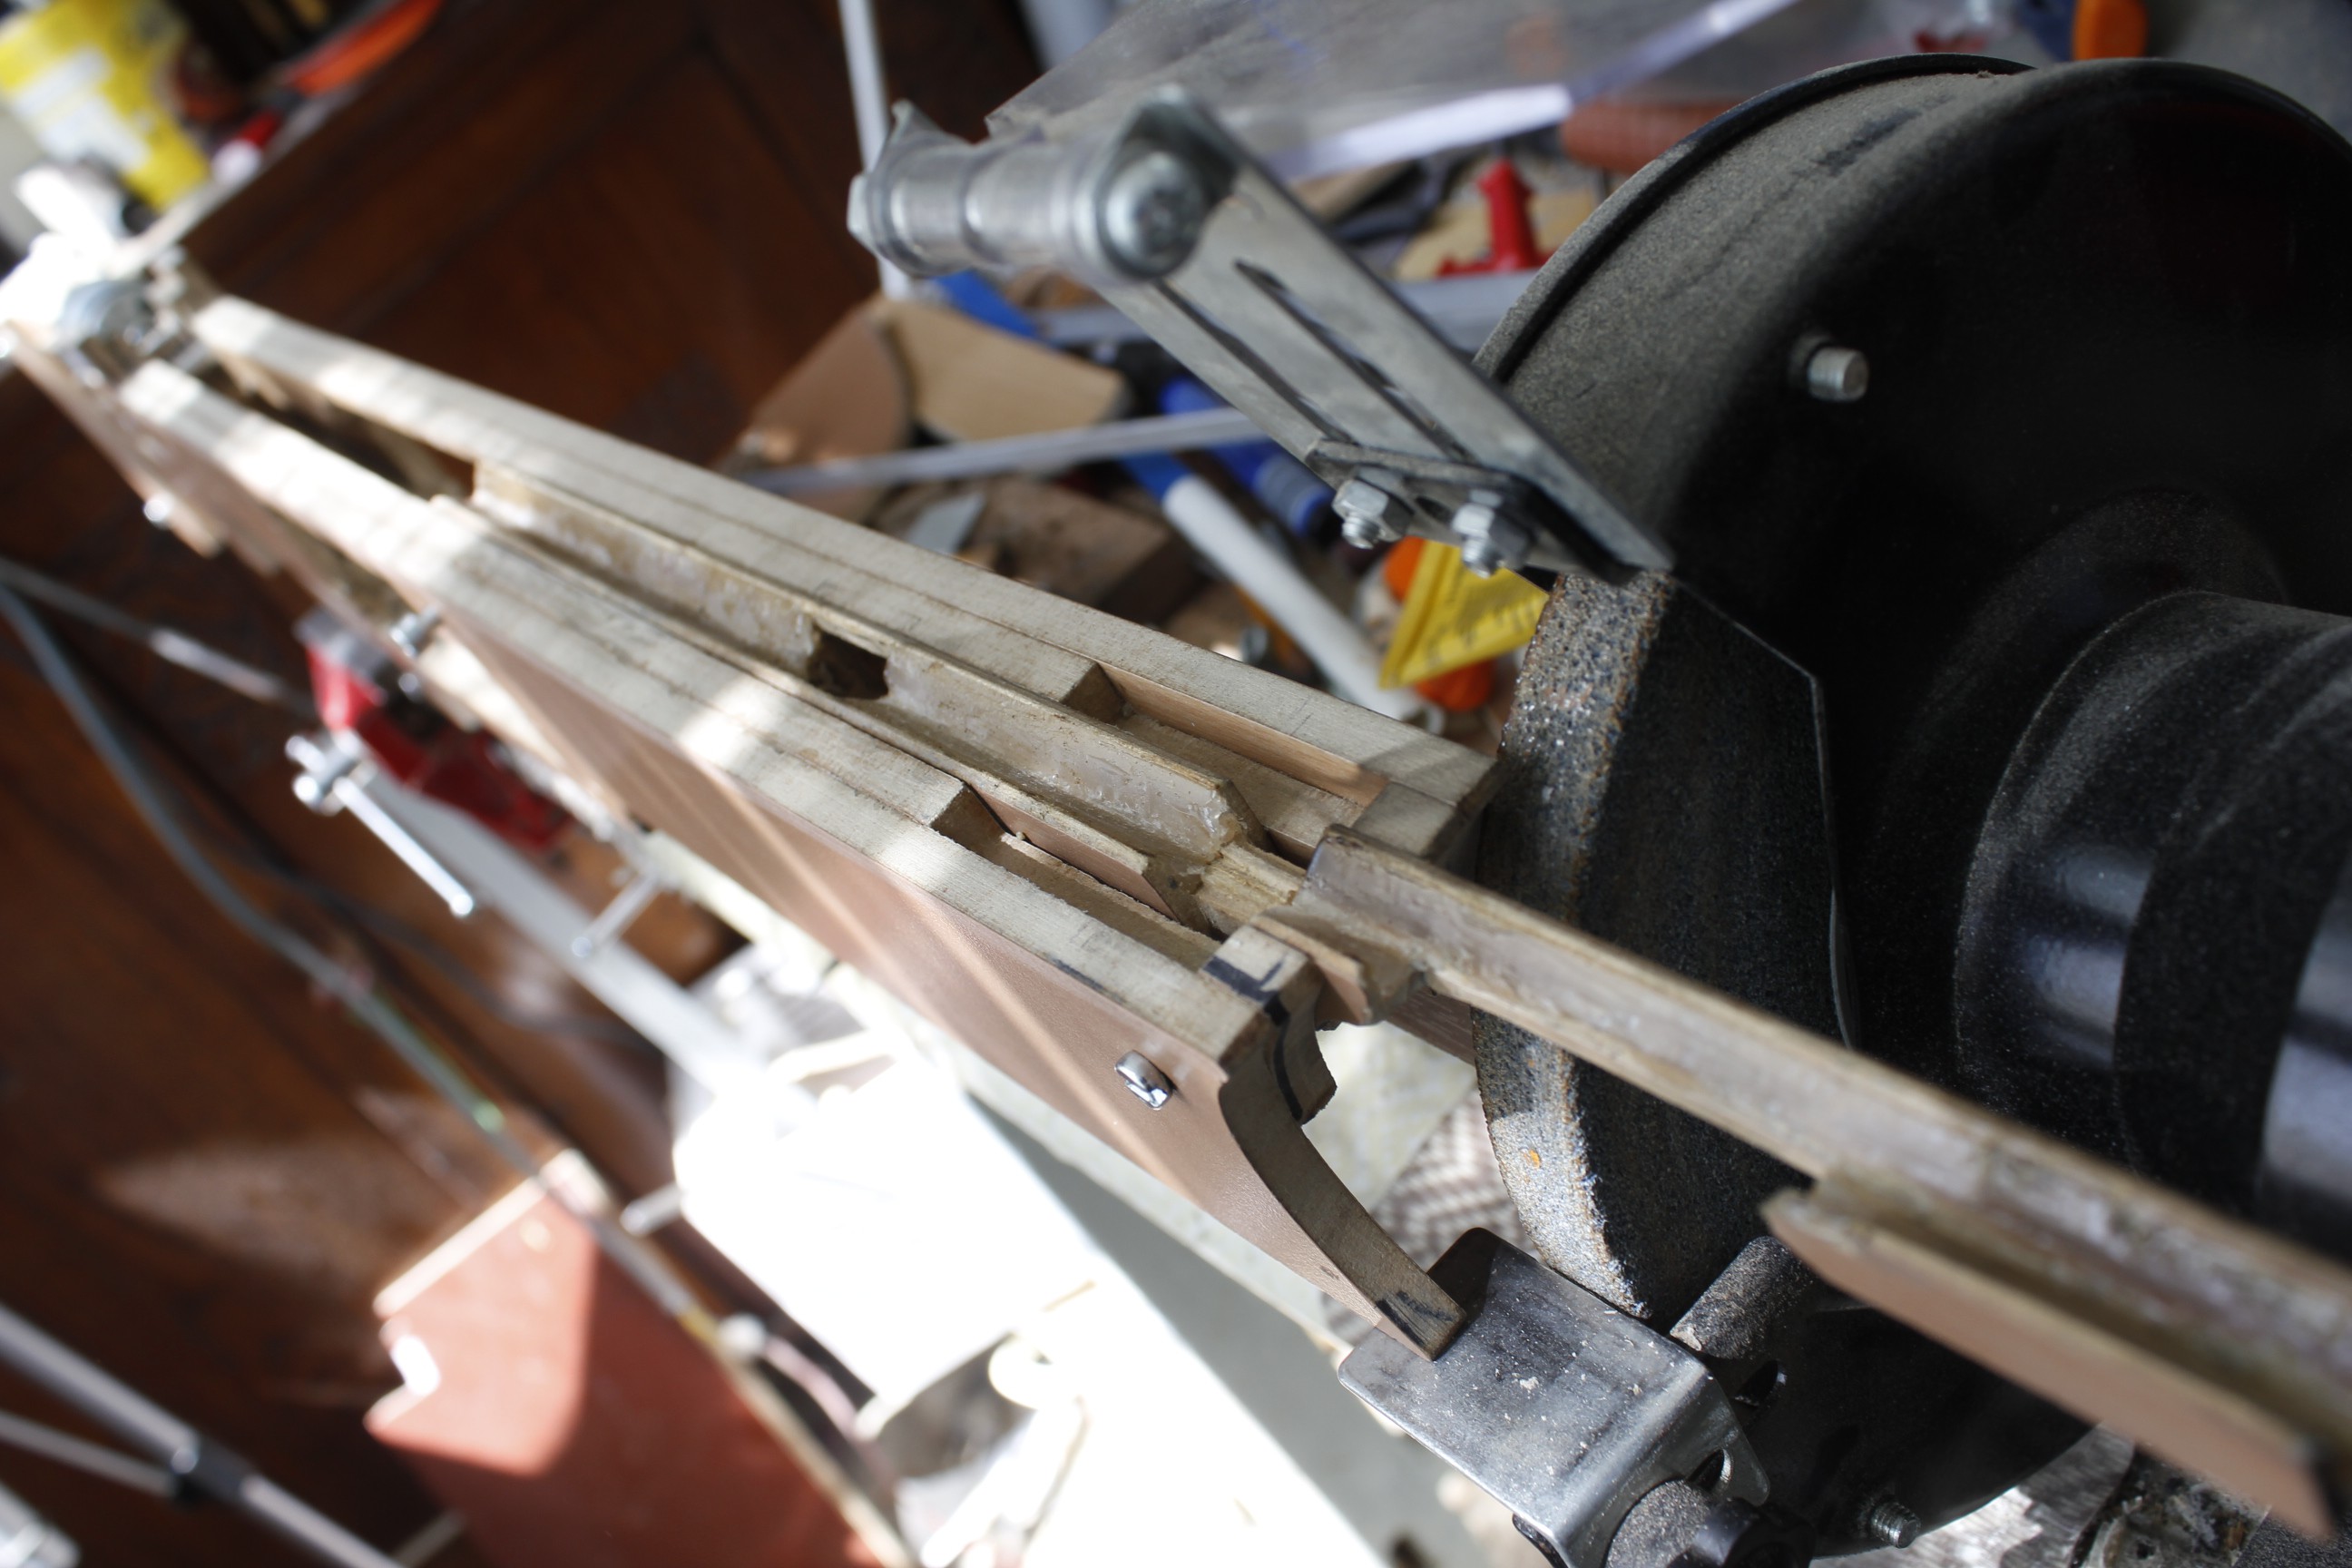
09/08/2019 at 17:52 • 0 commentsI had promised (mostly to myself) to test the mechanics this week but I kept getting distracted with minor parts. However, that means I am very nearly done with fabrication.
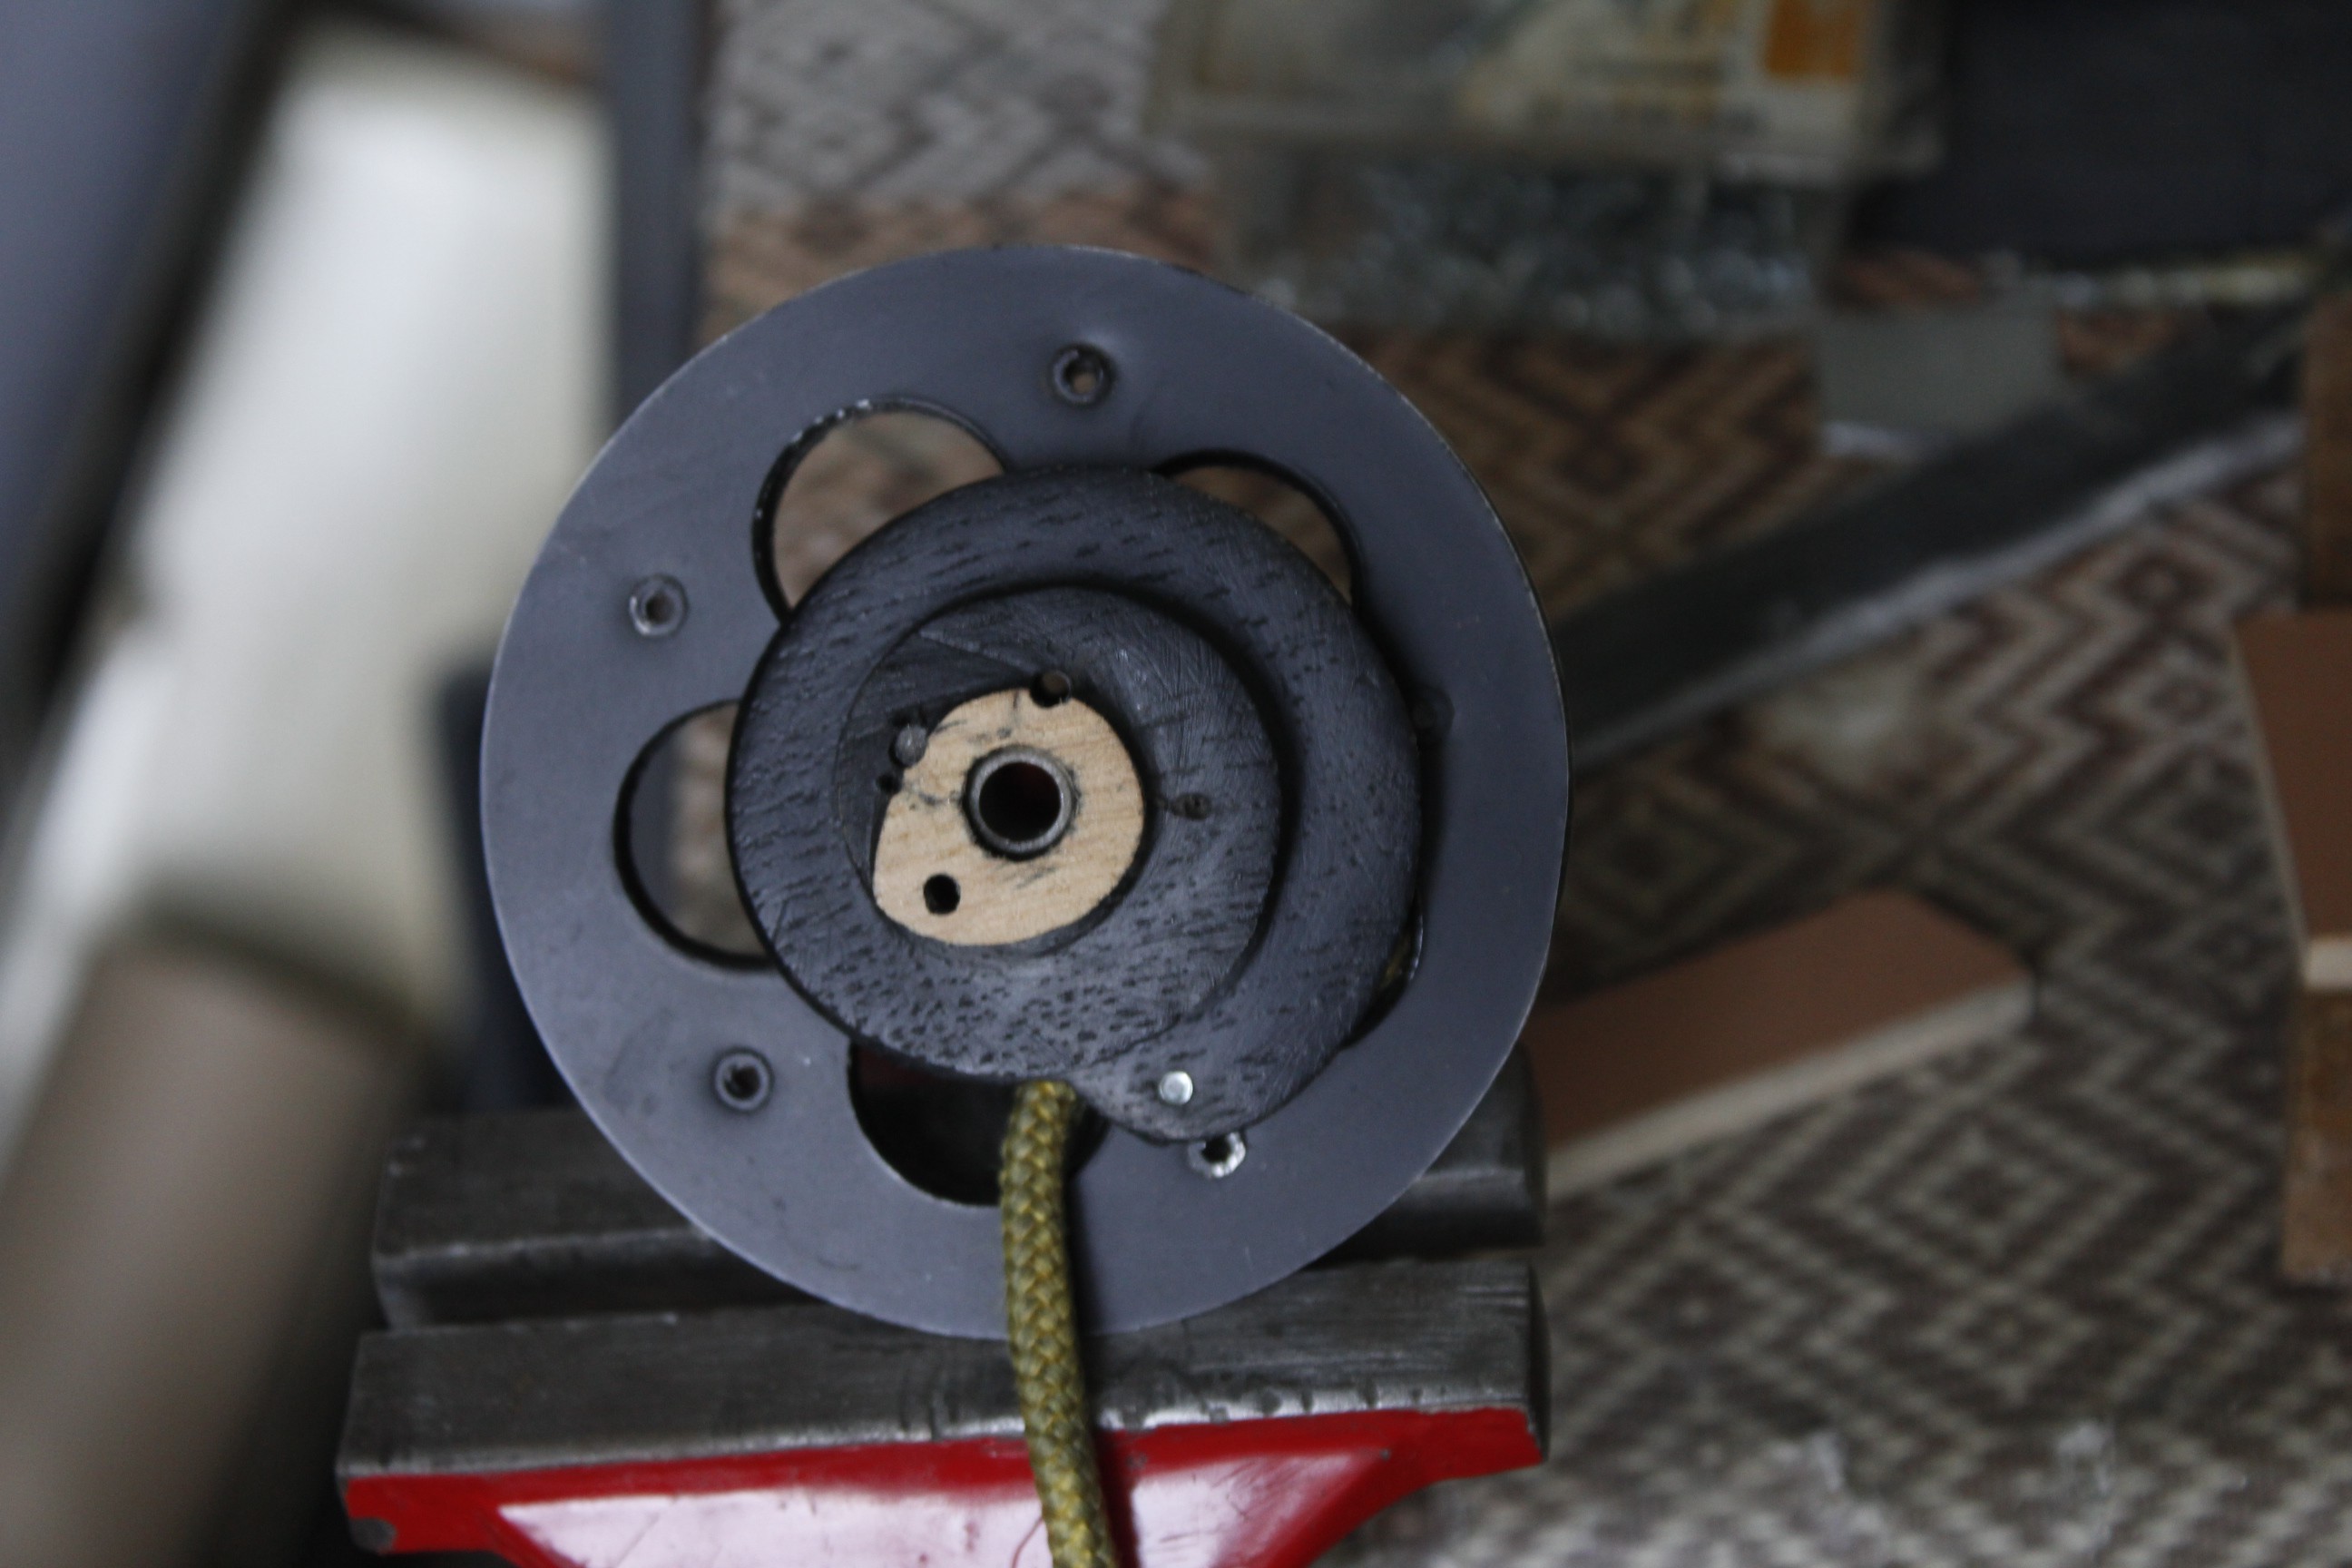
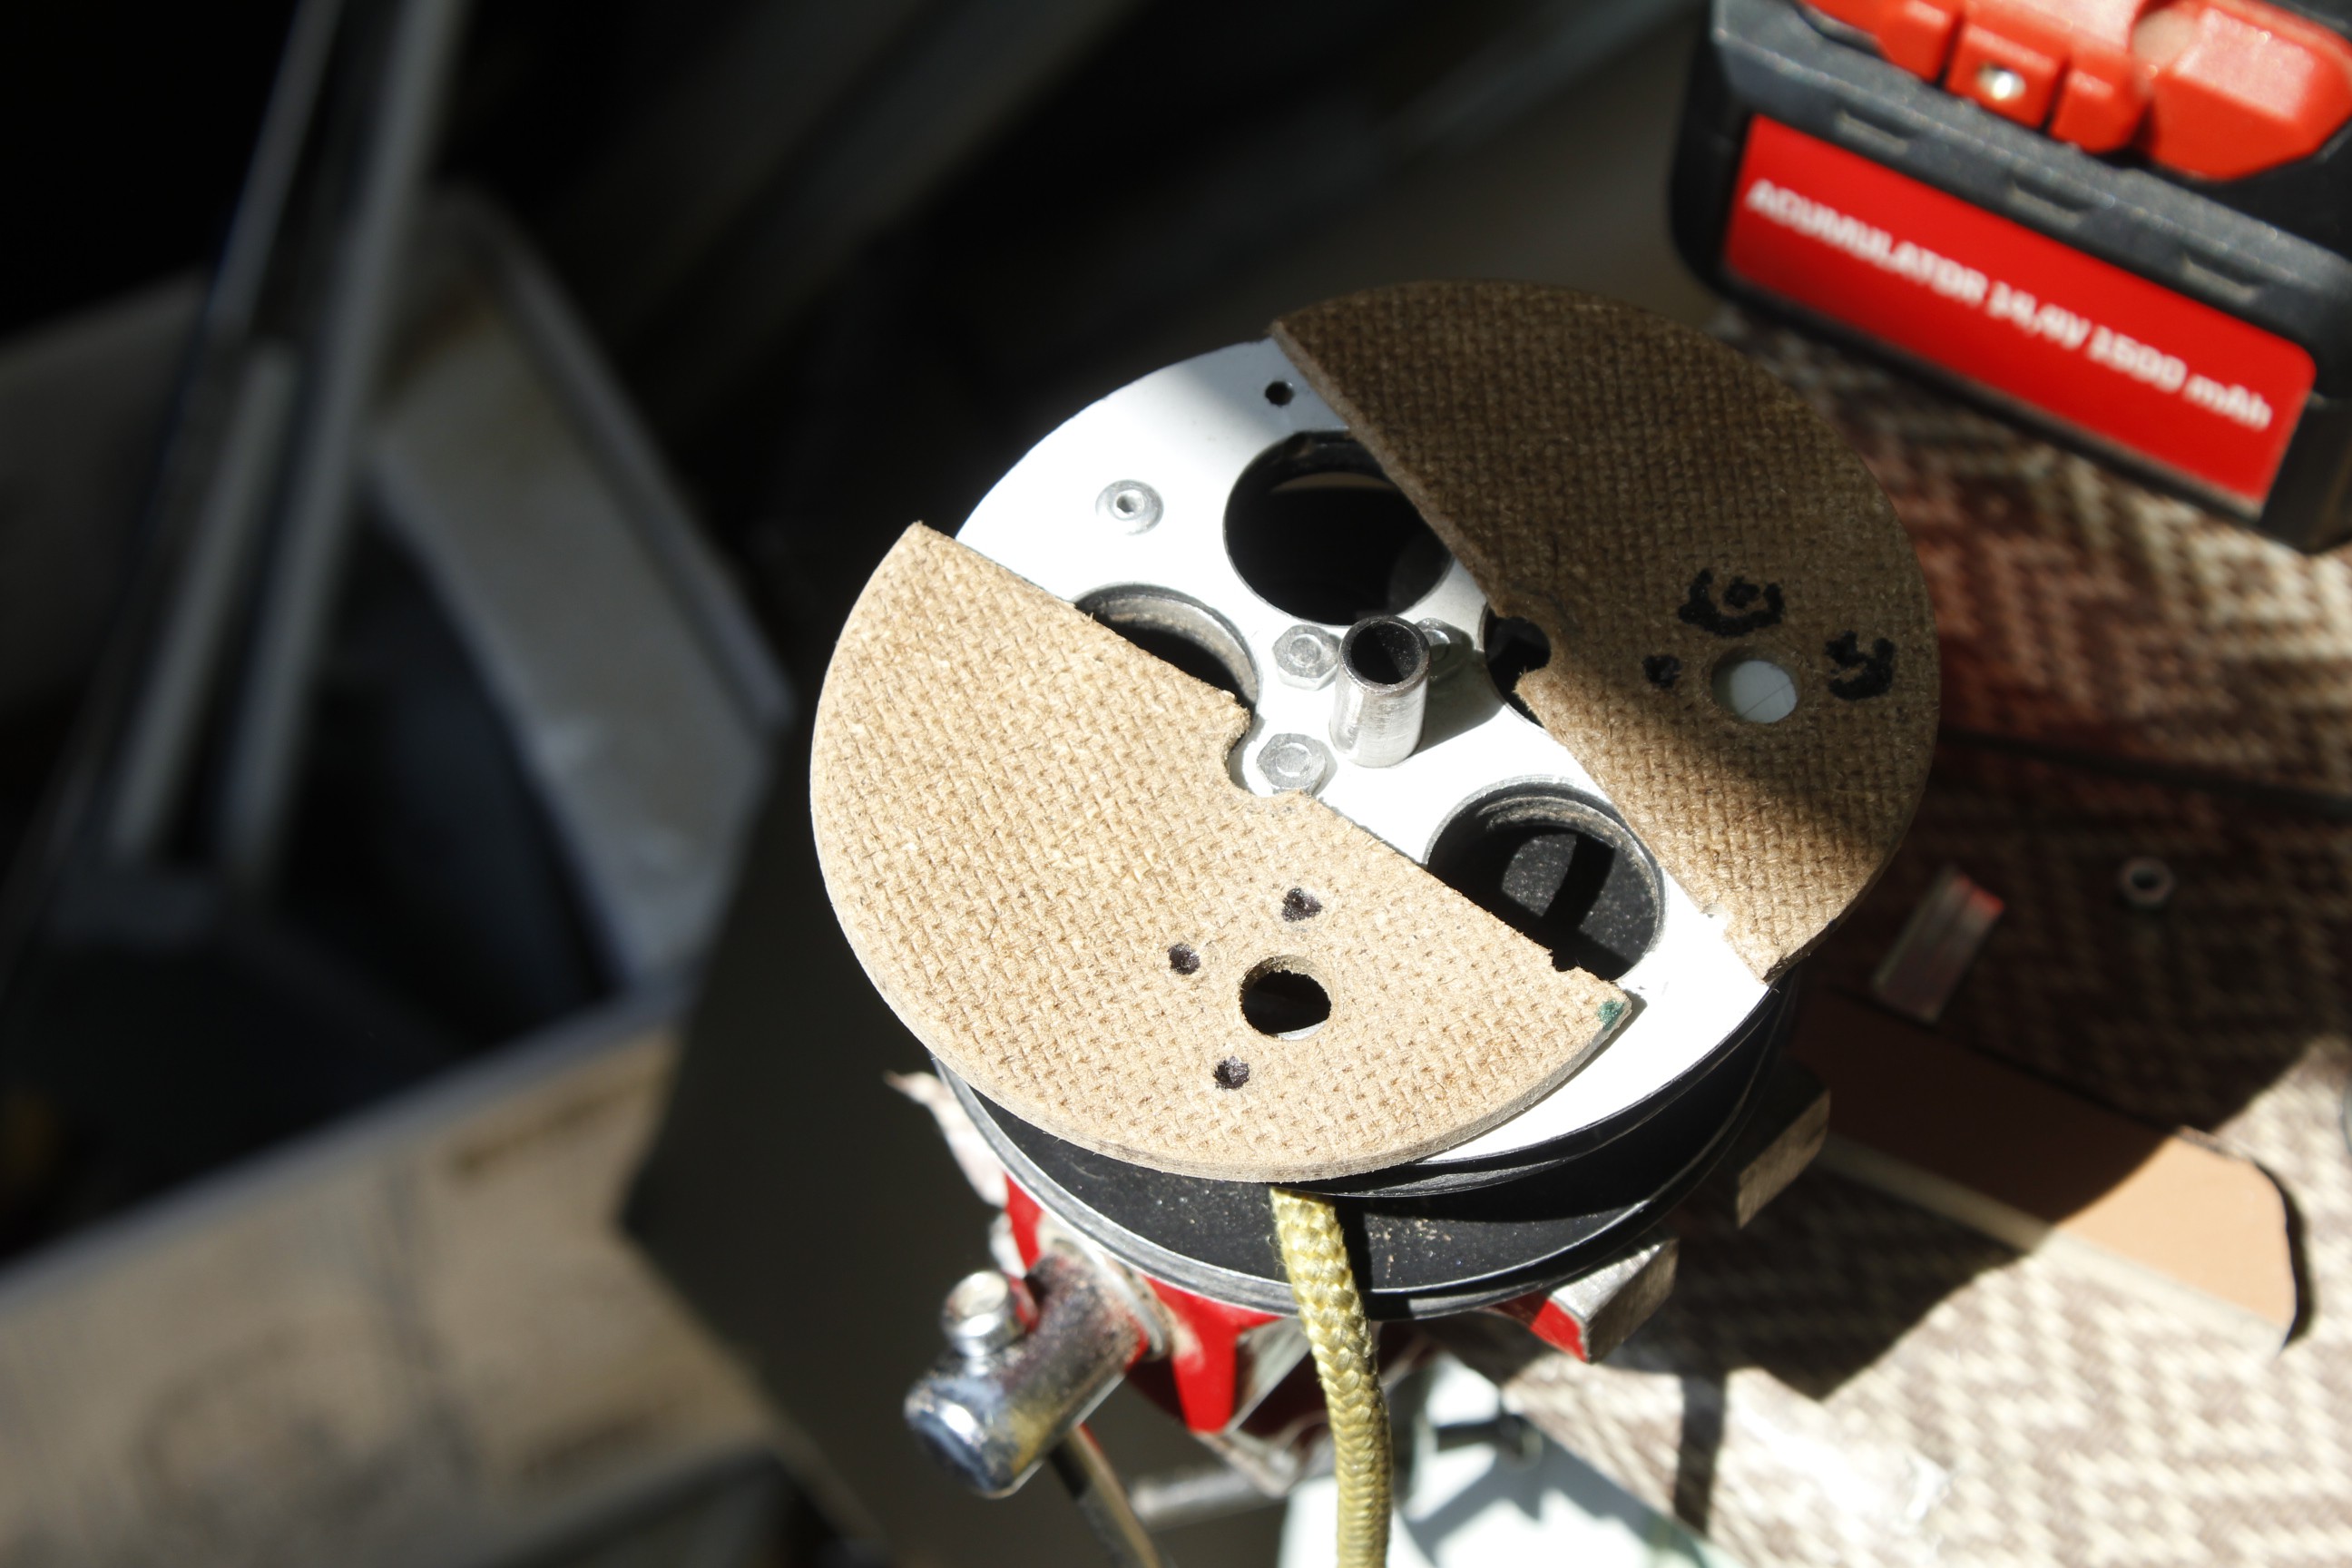
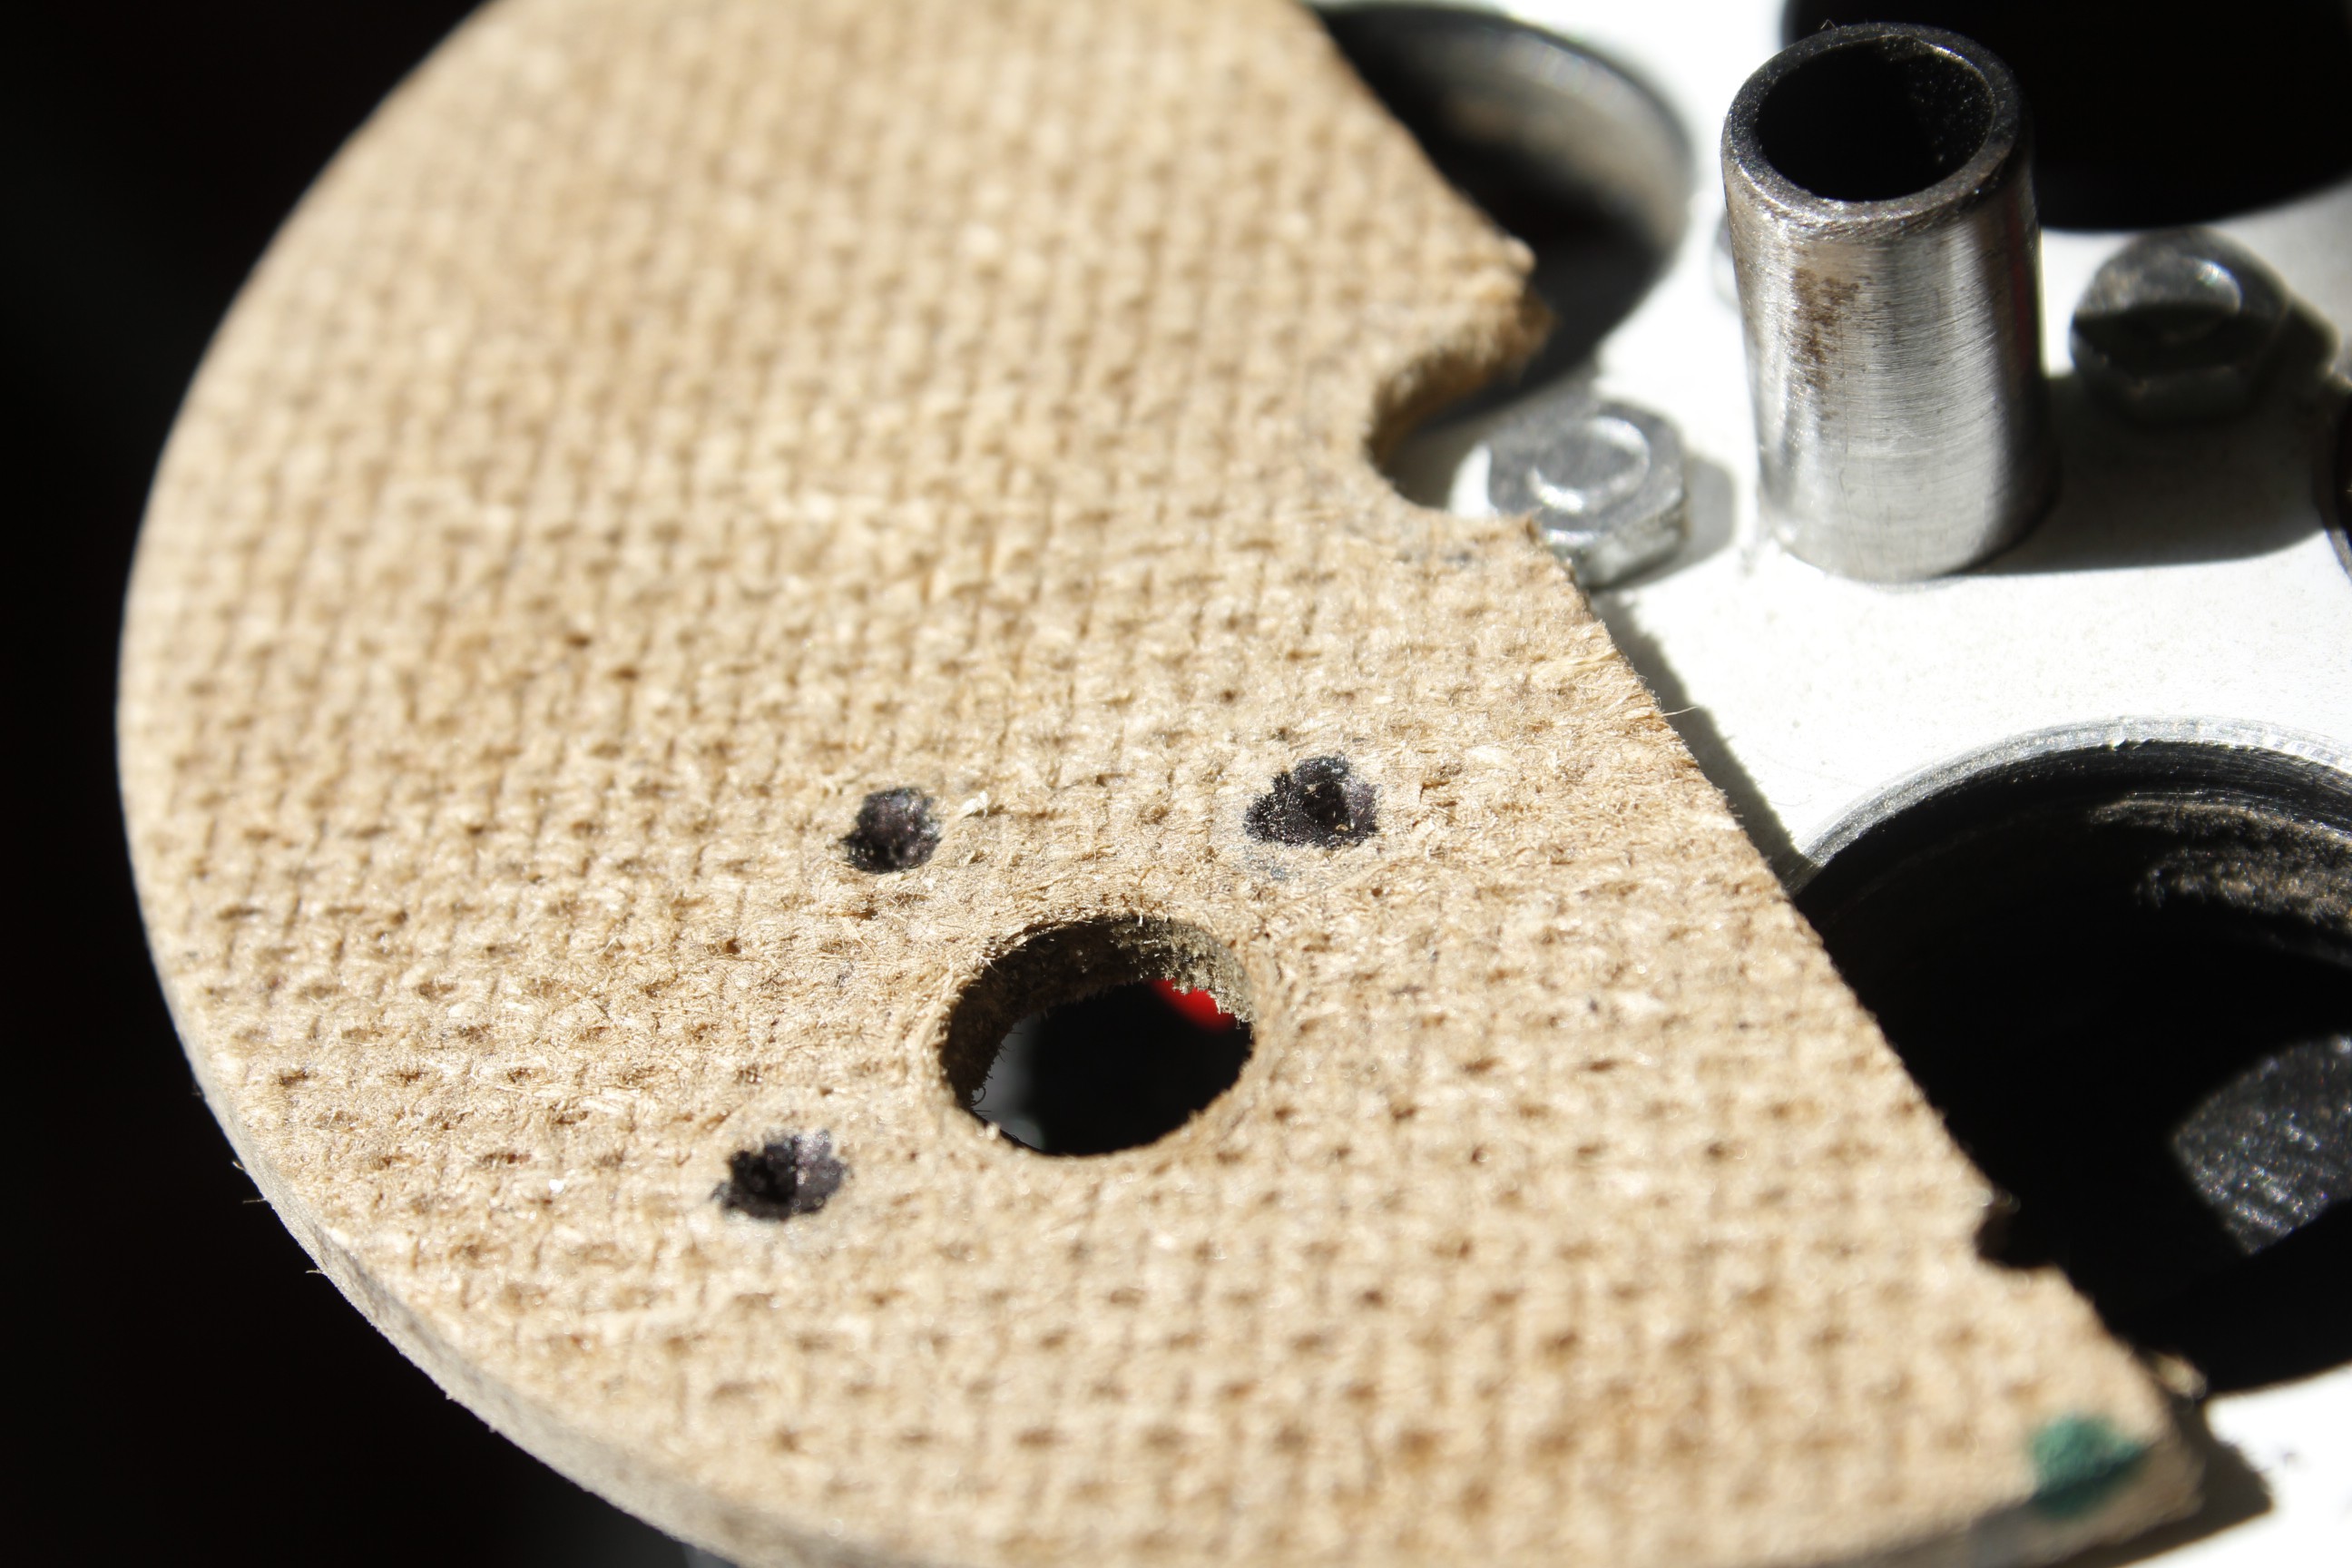
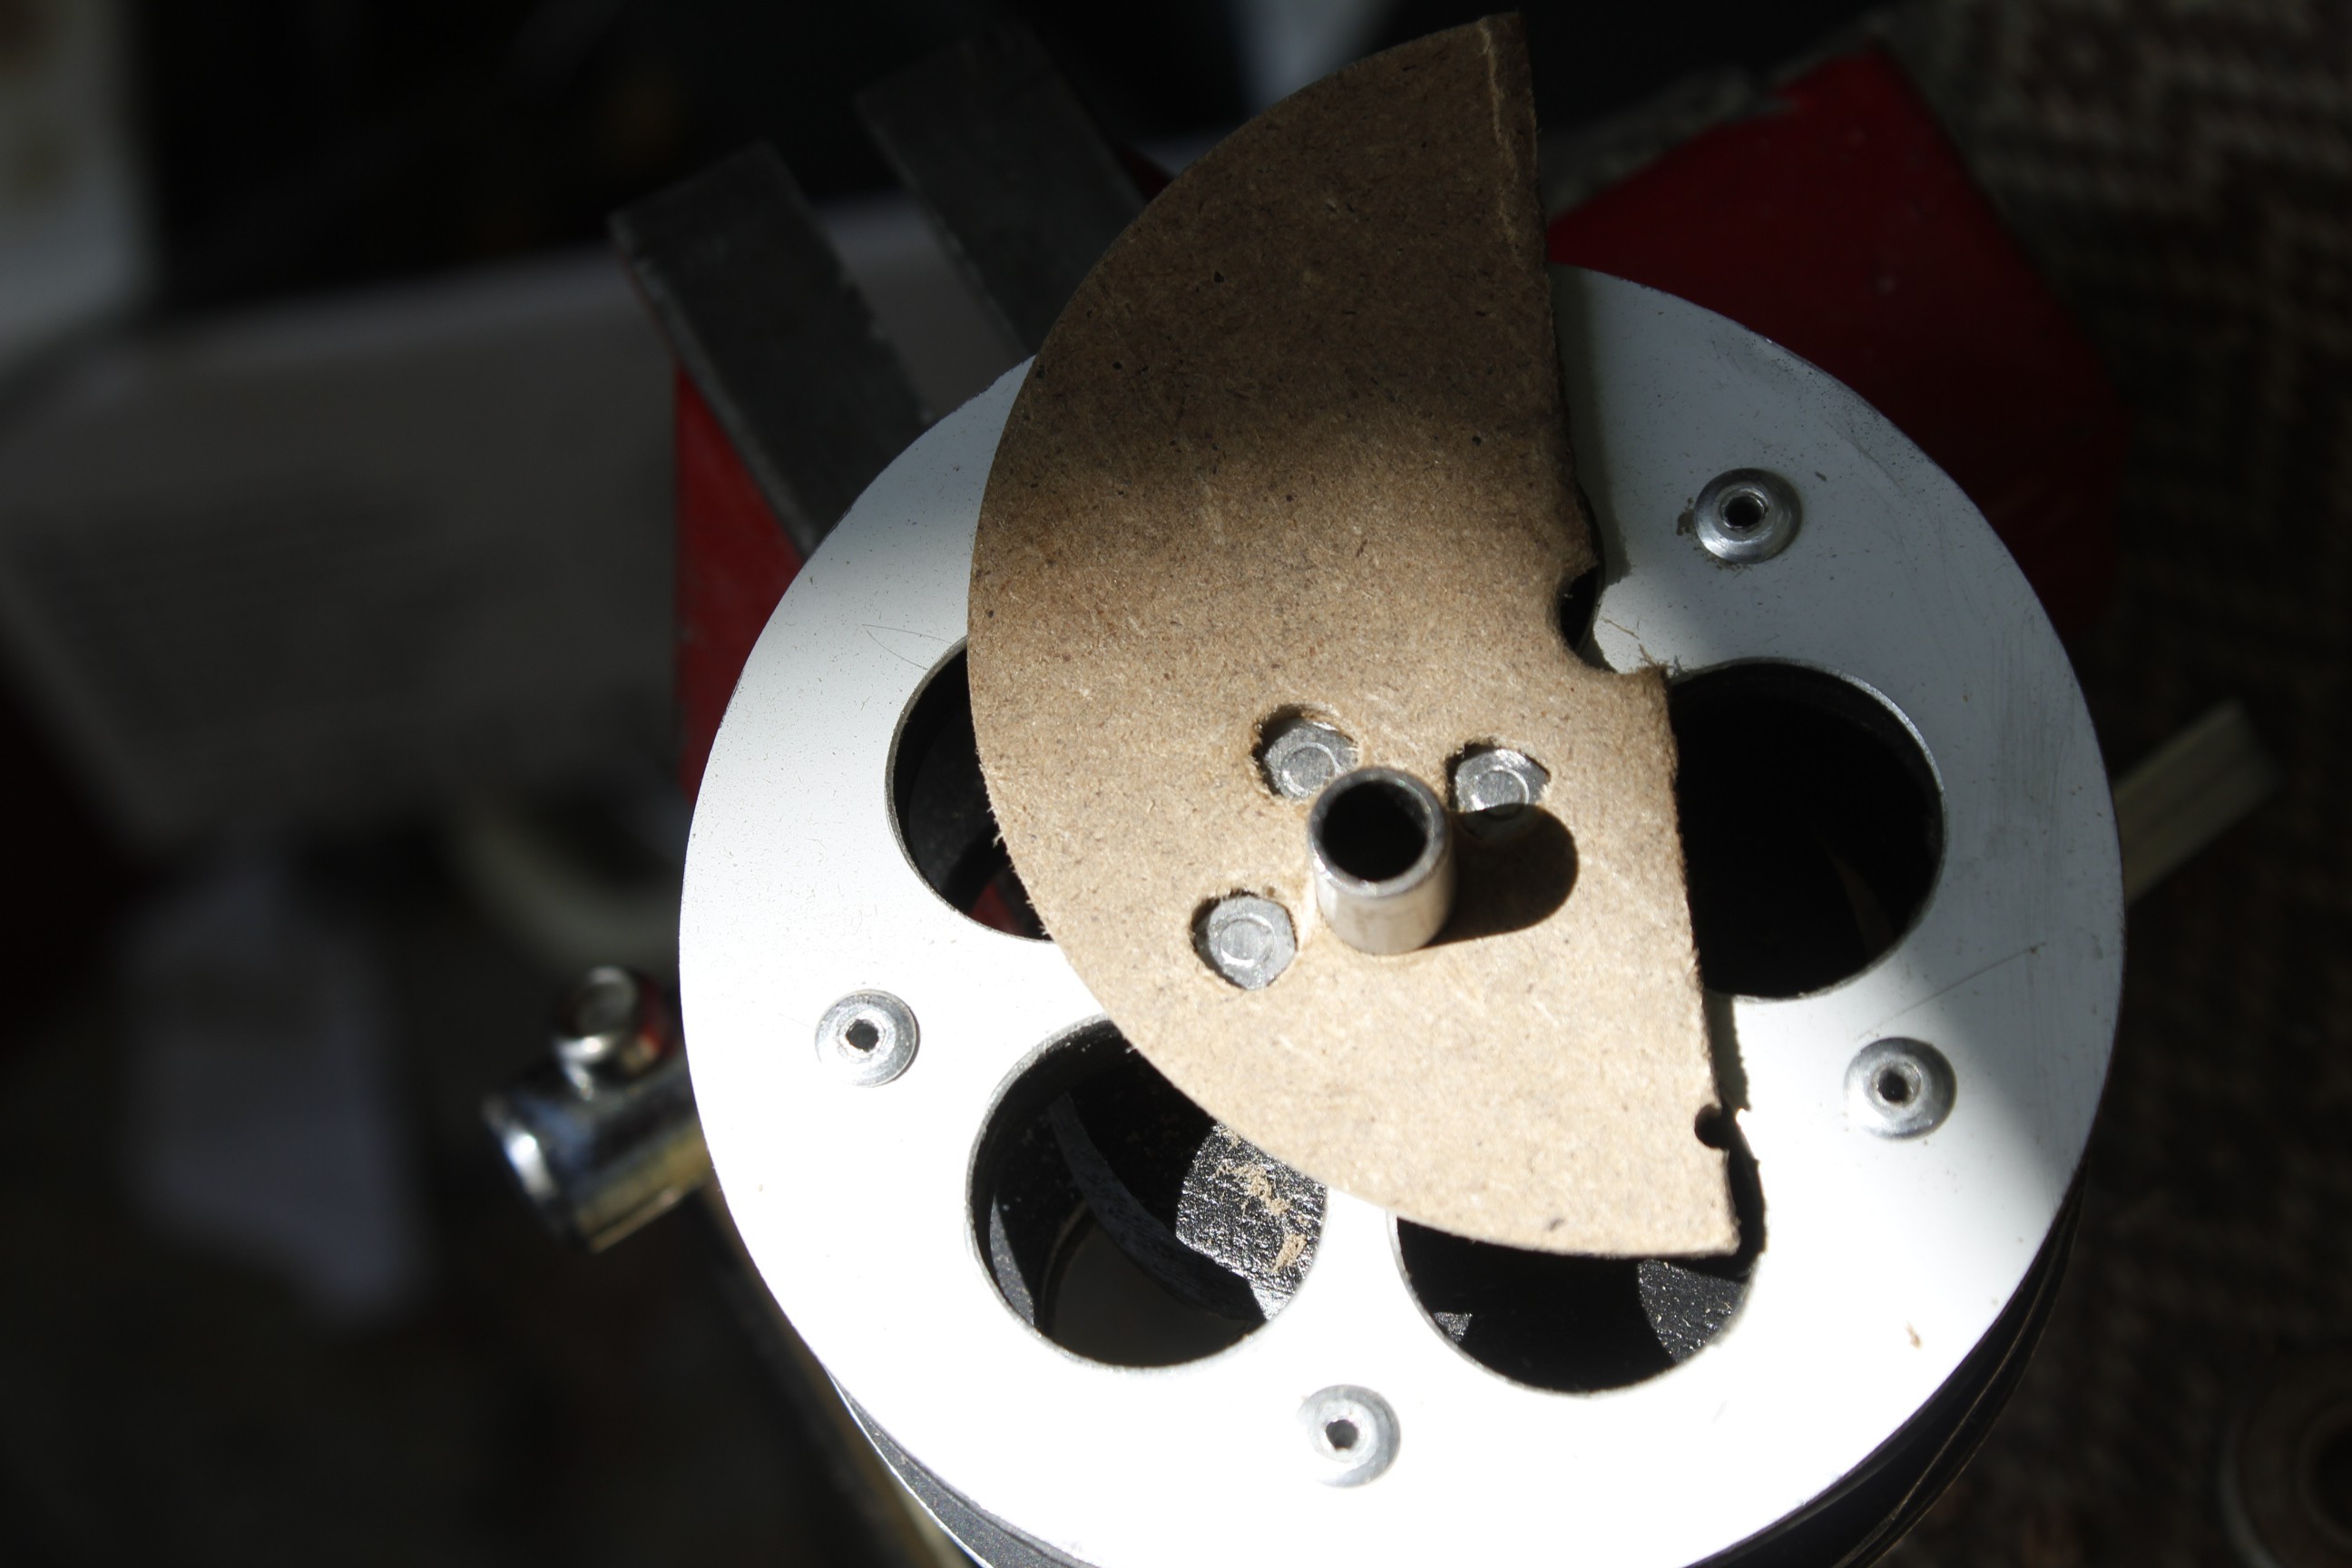
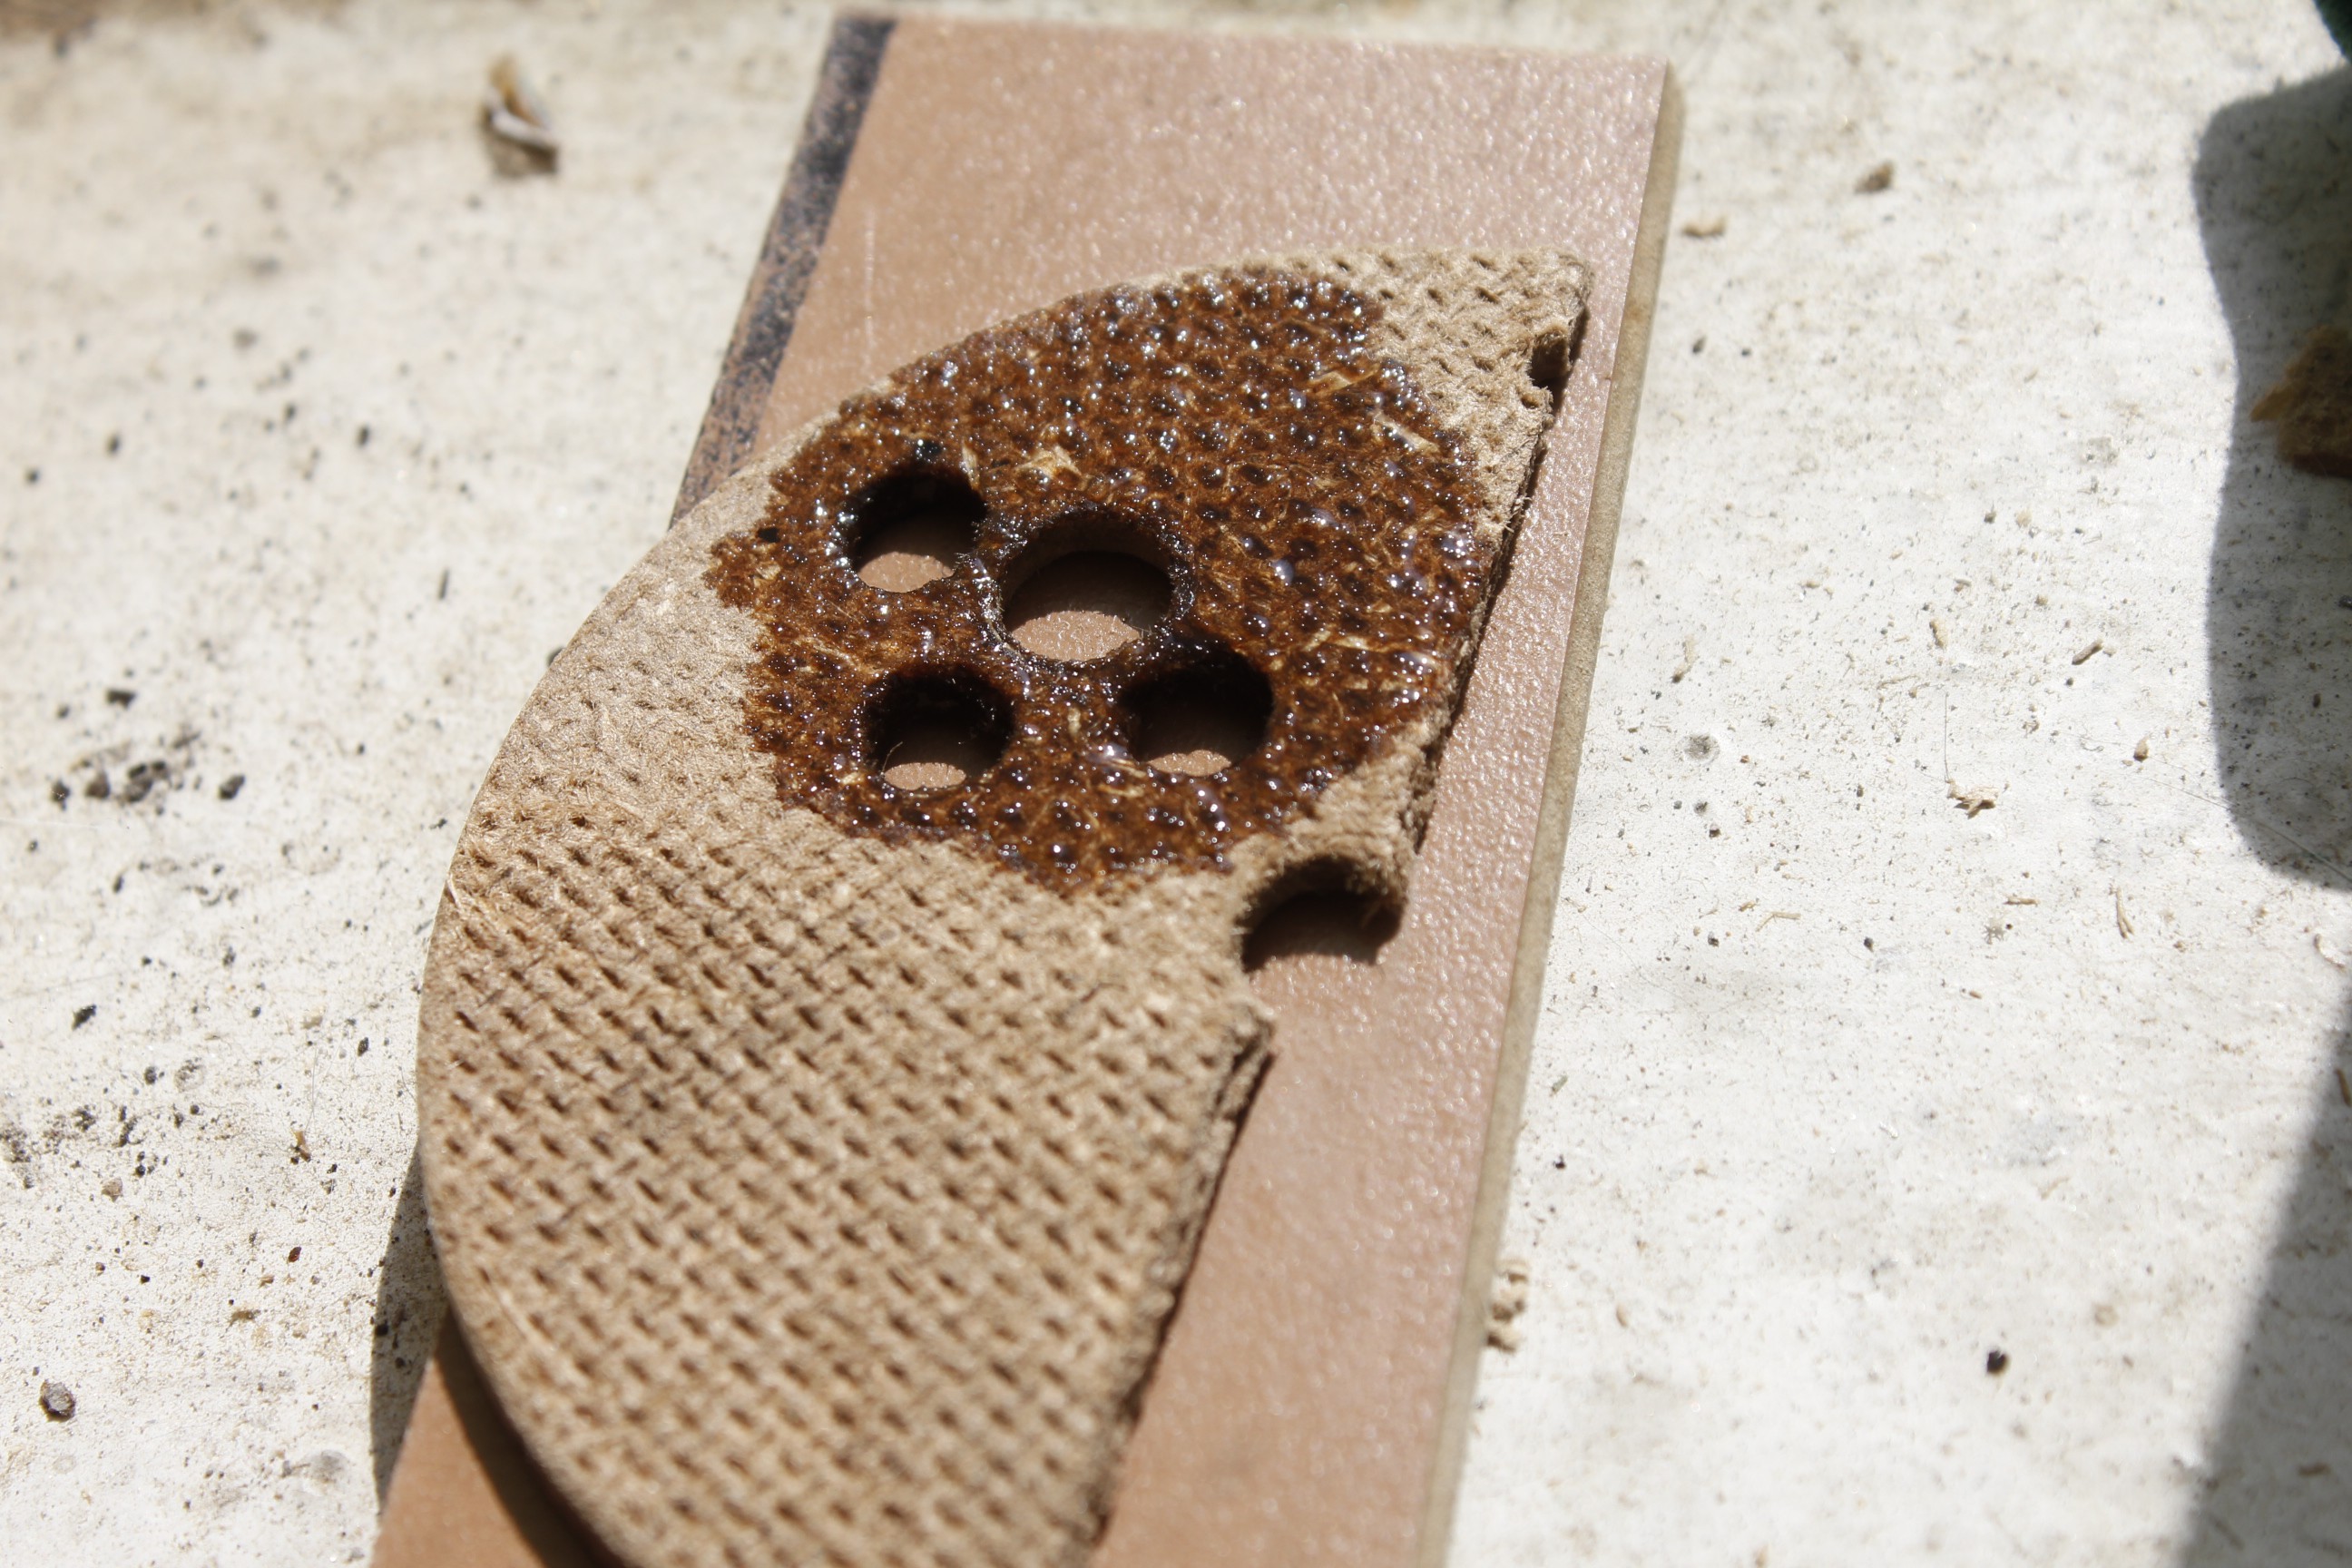
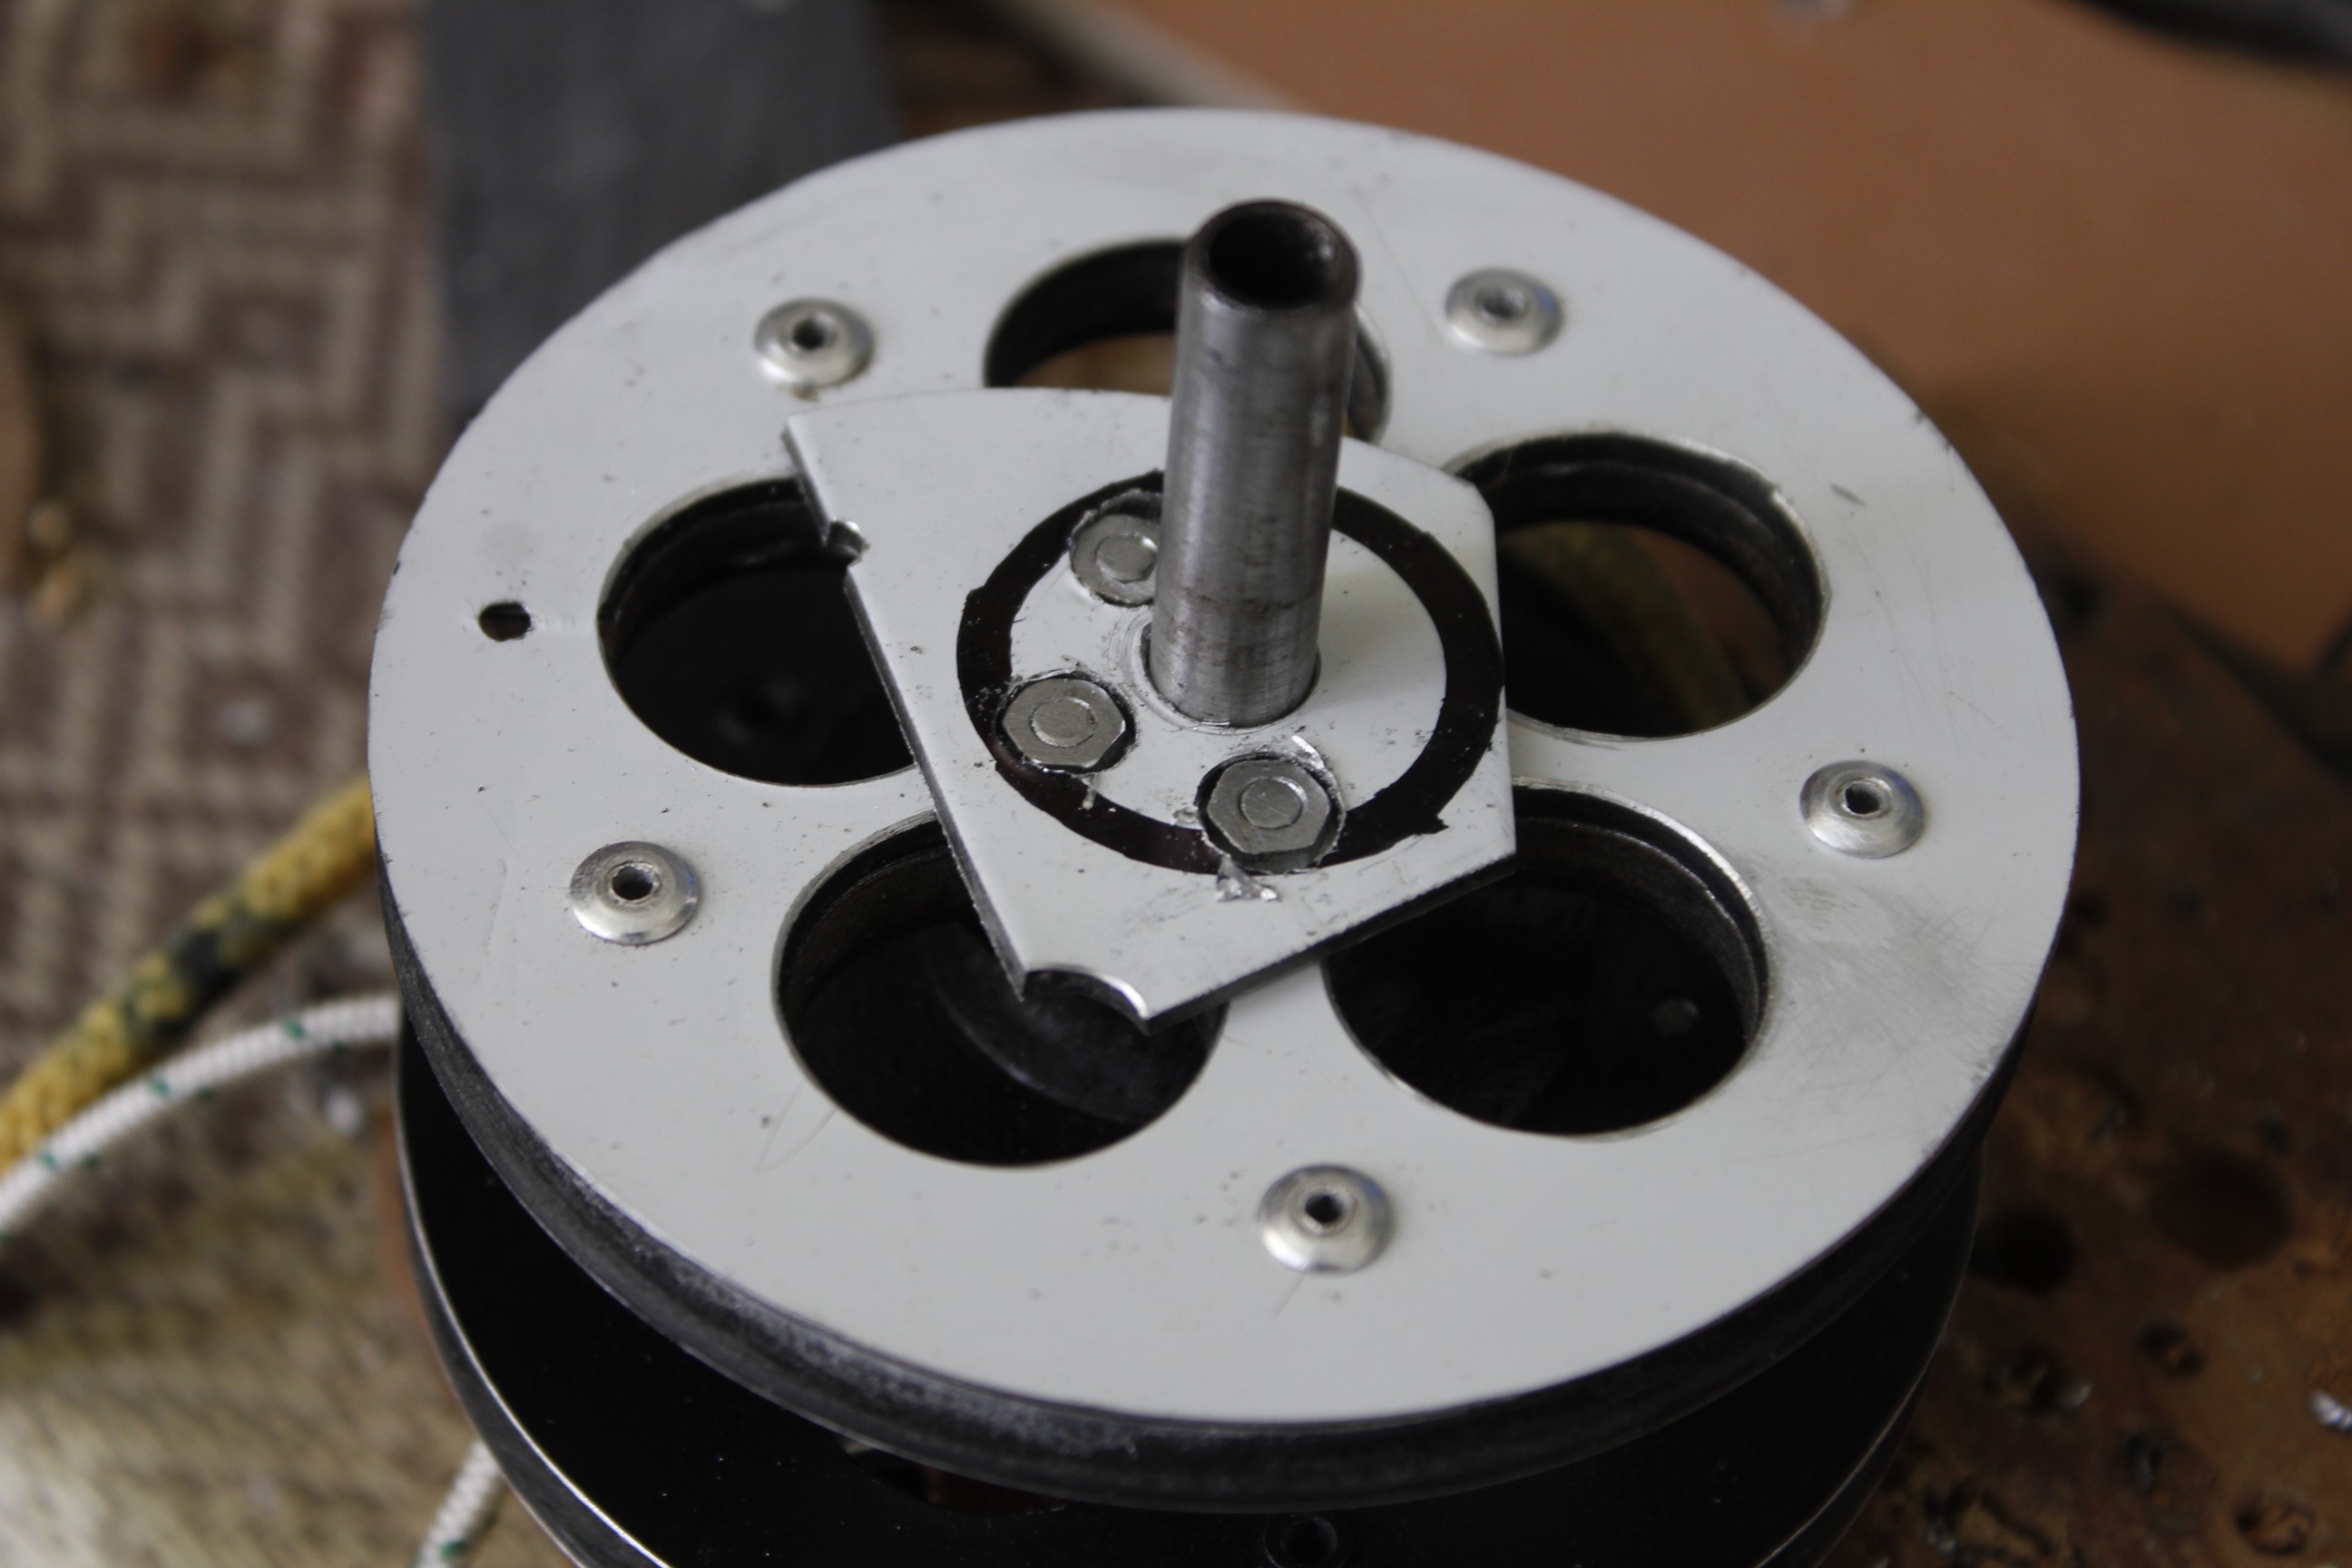
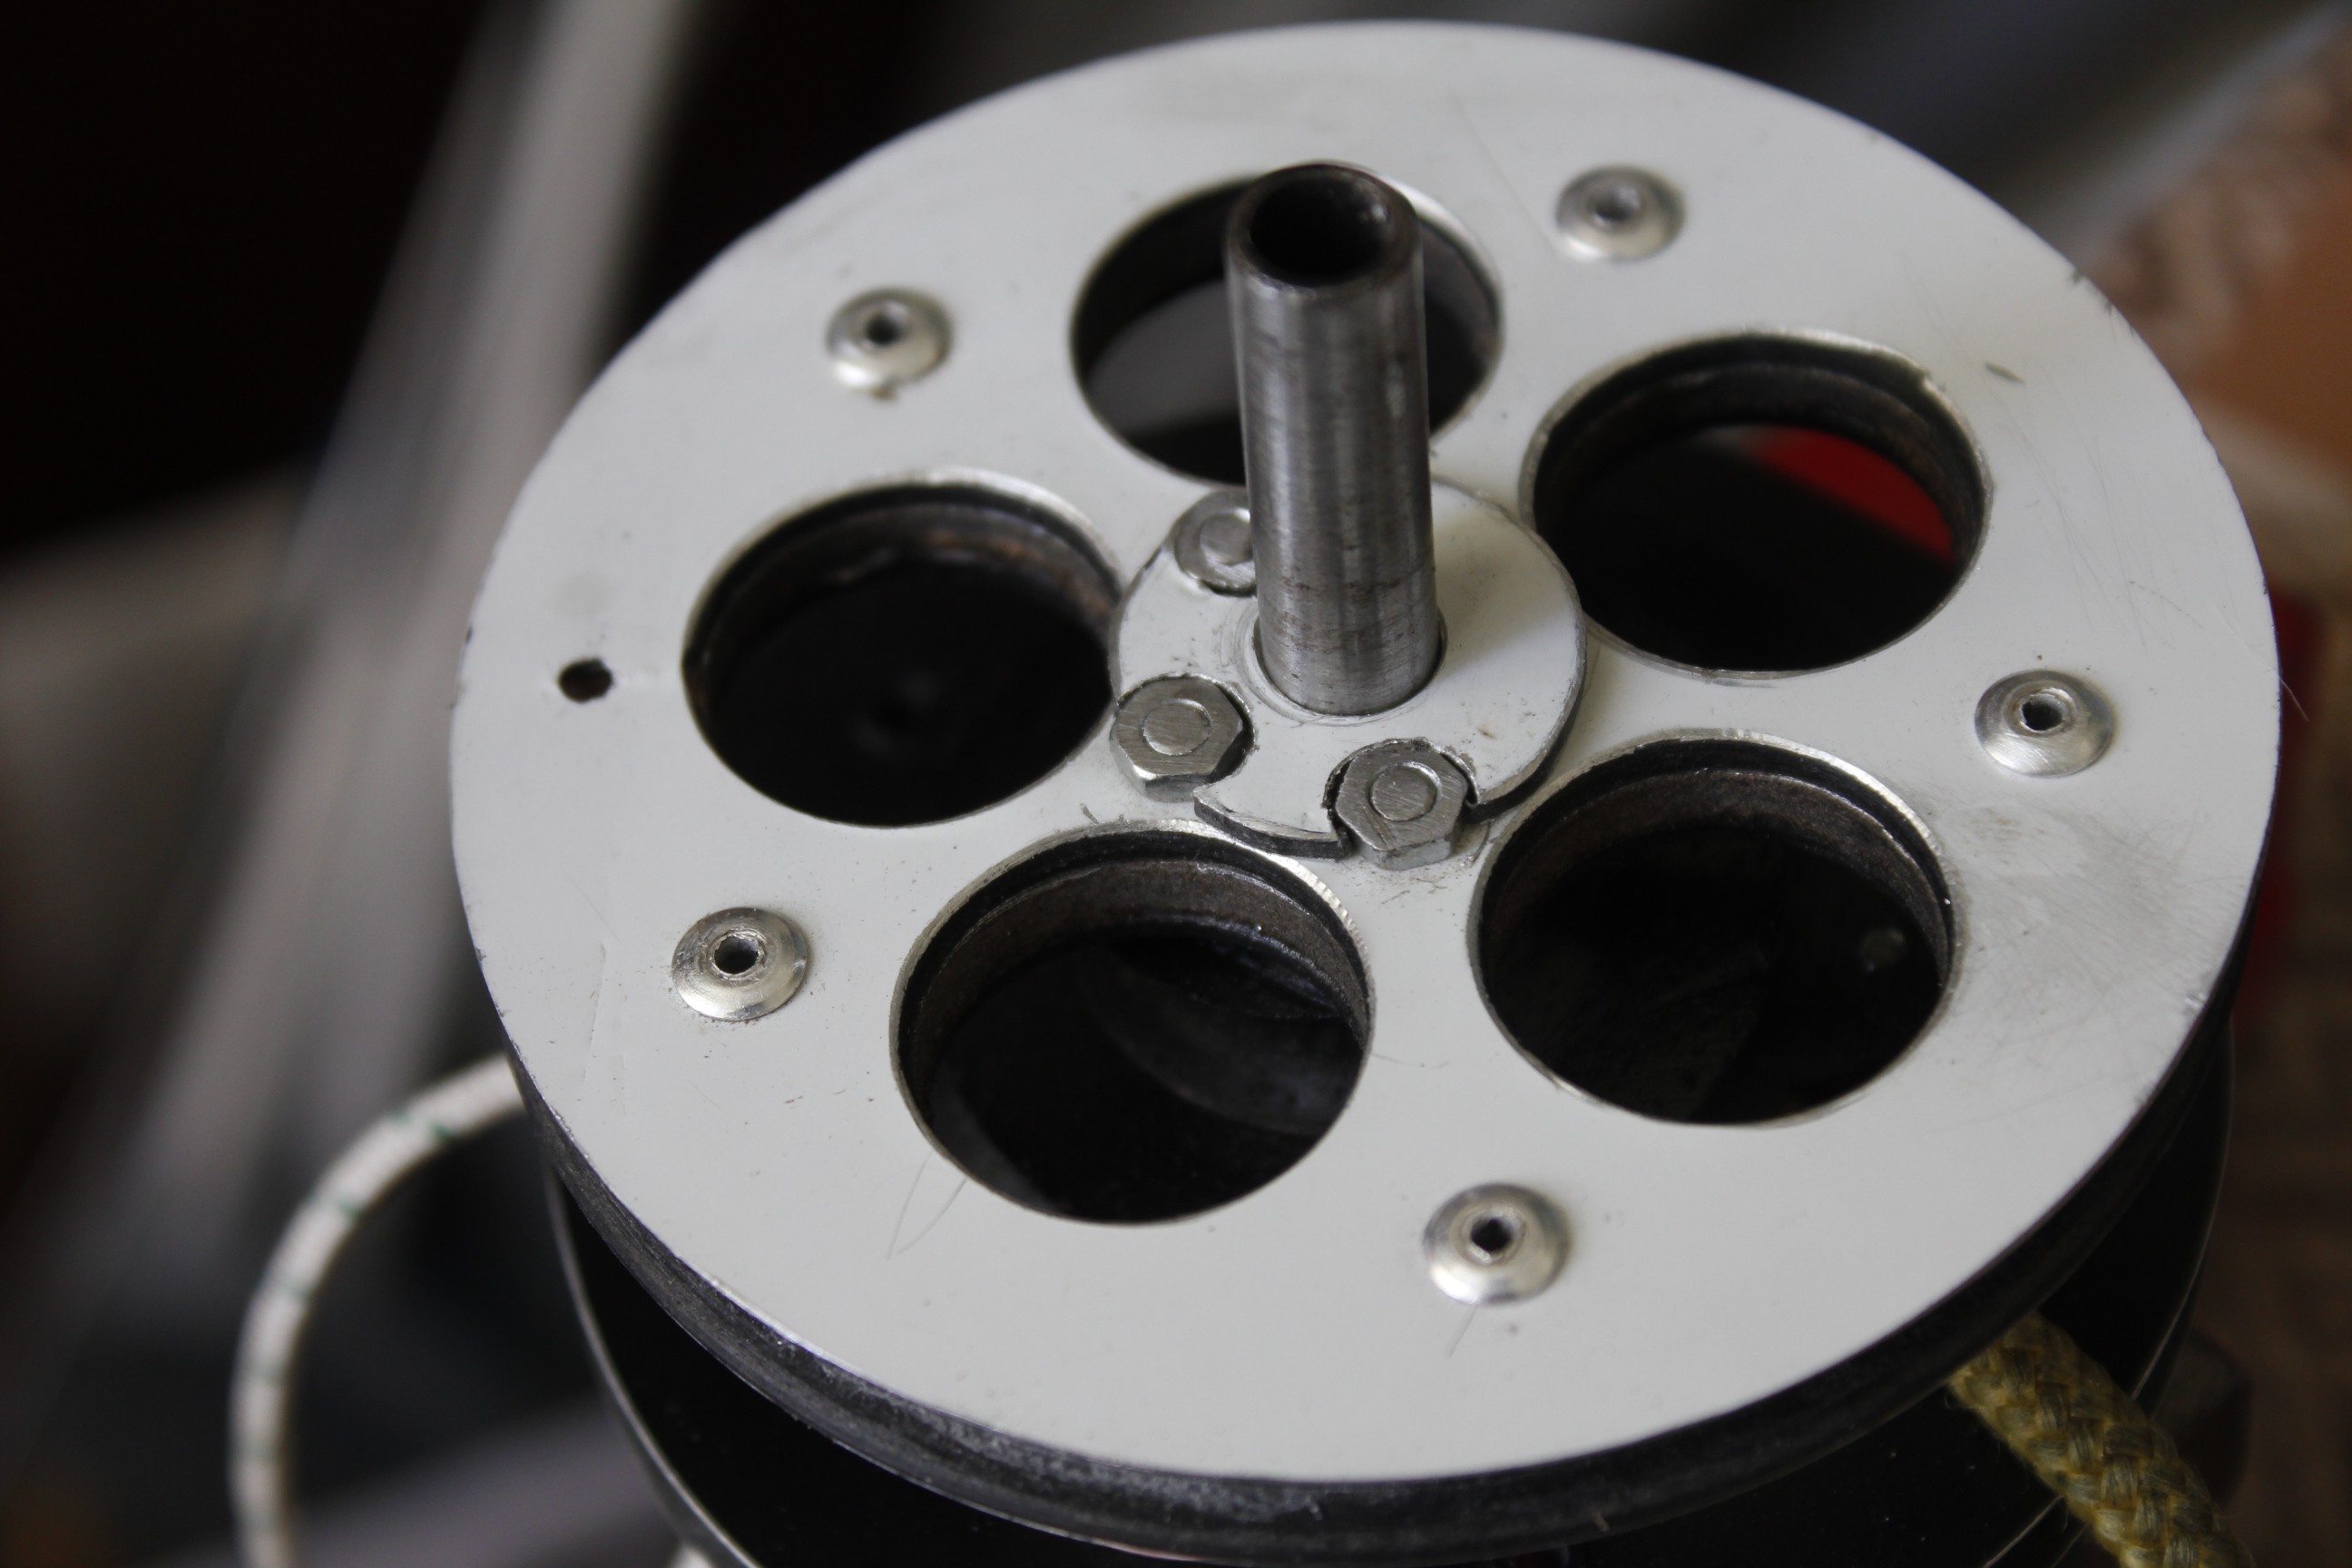
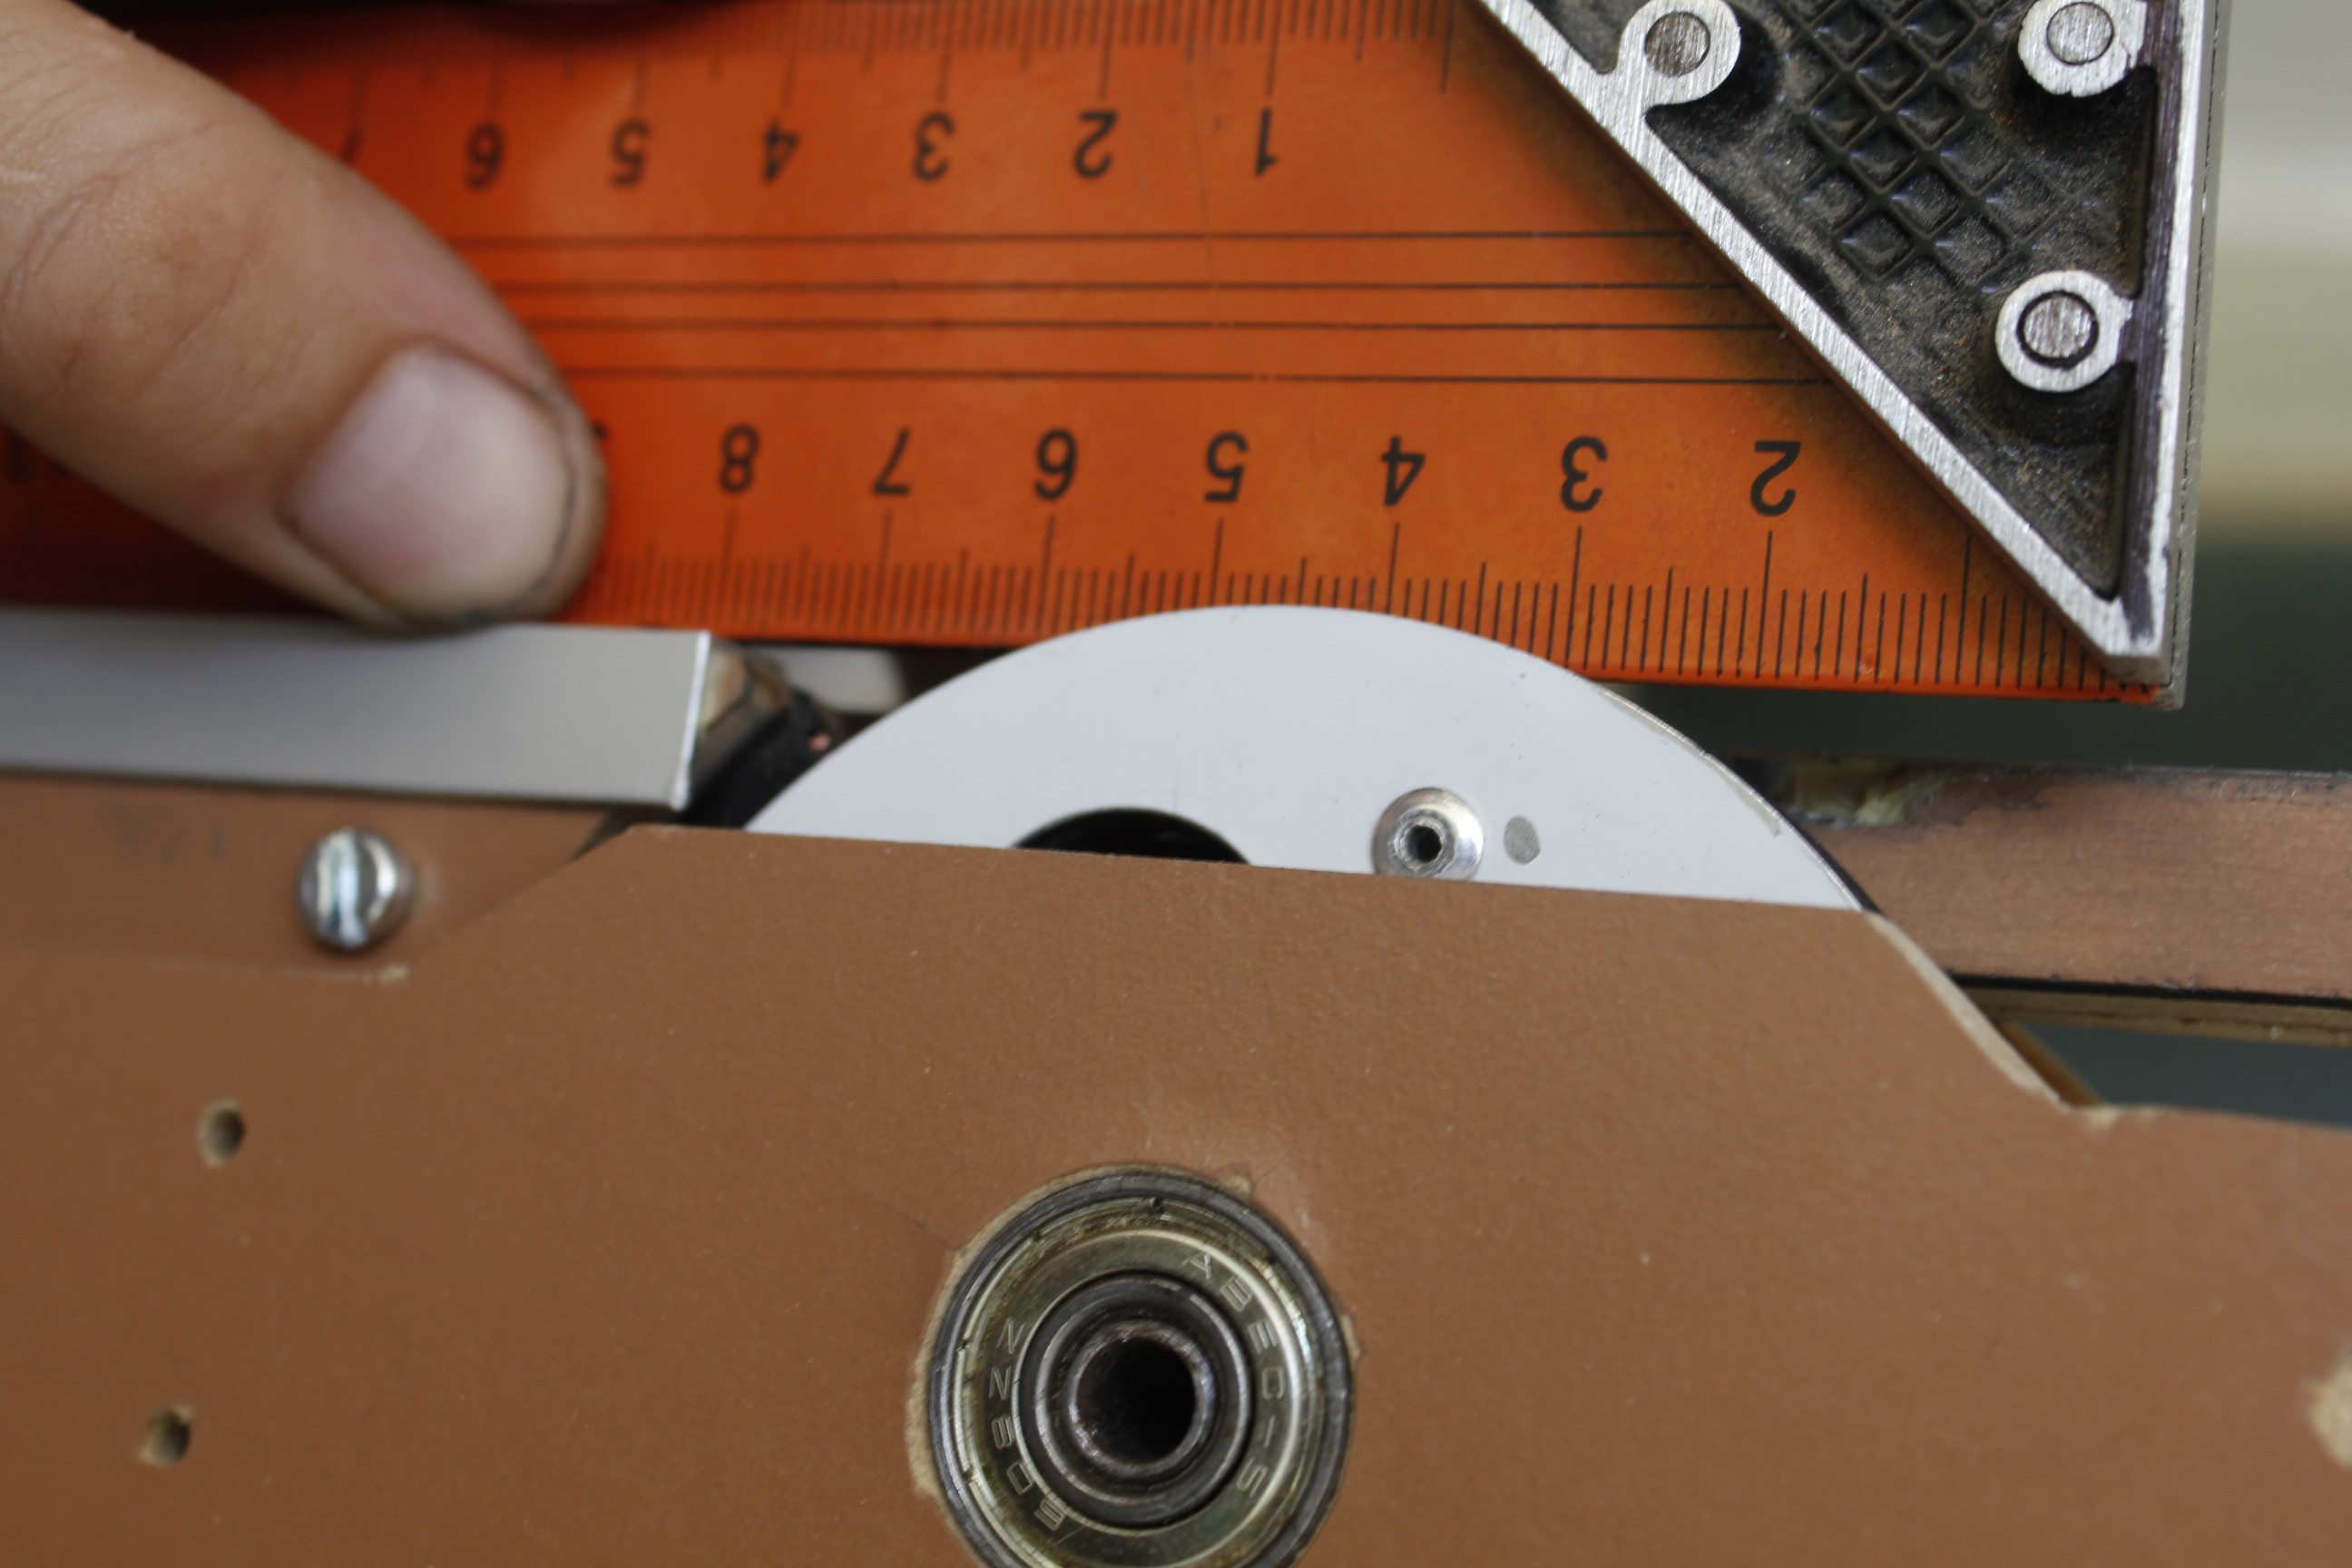
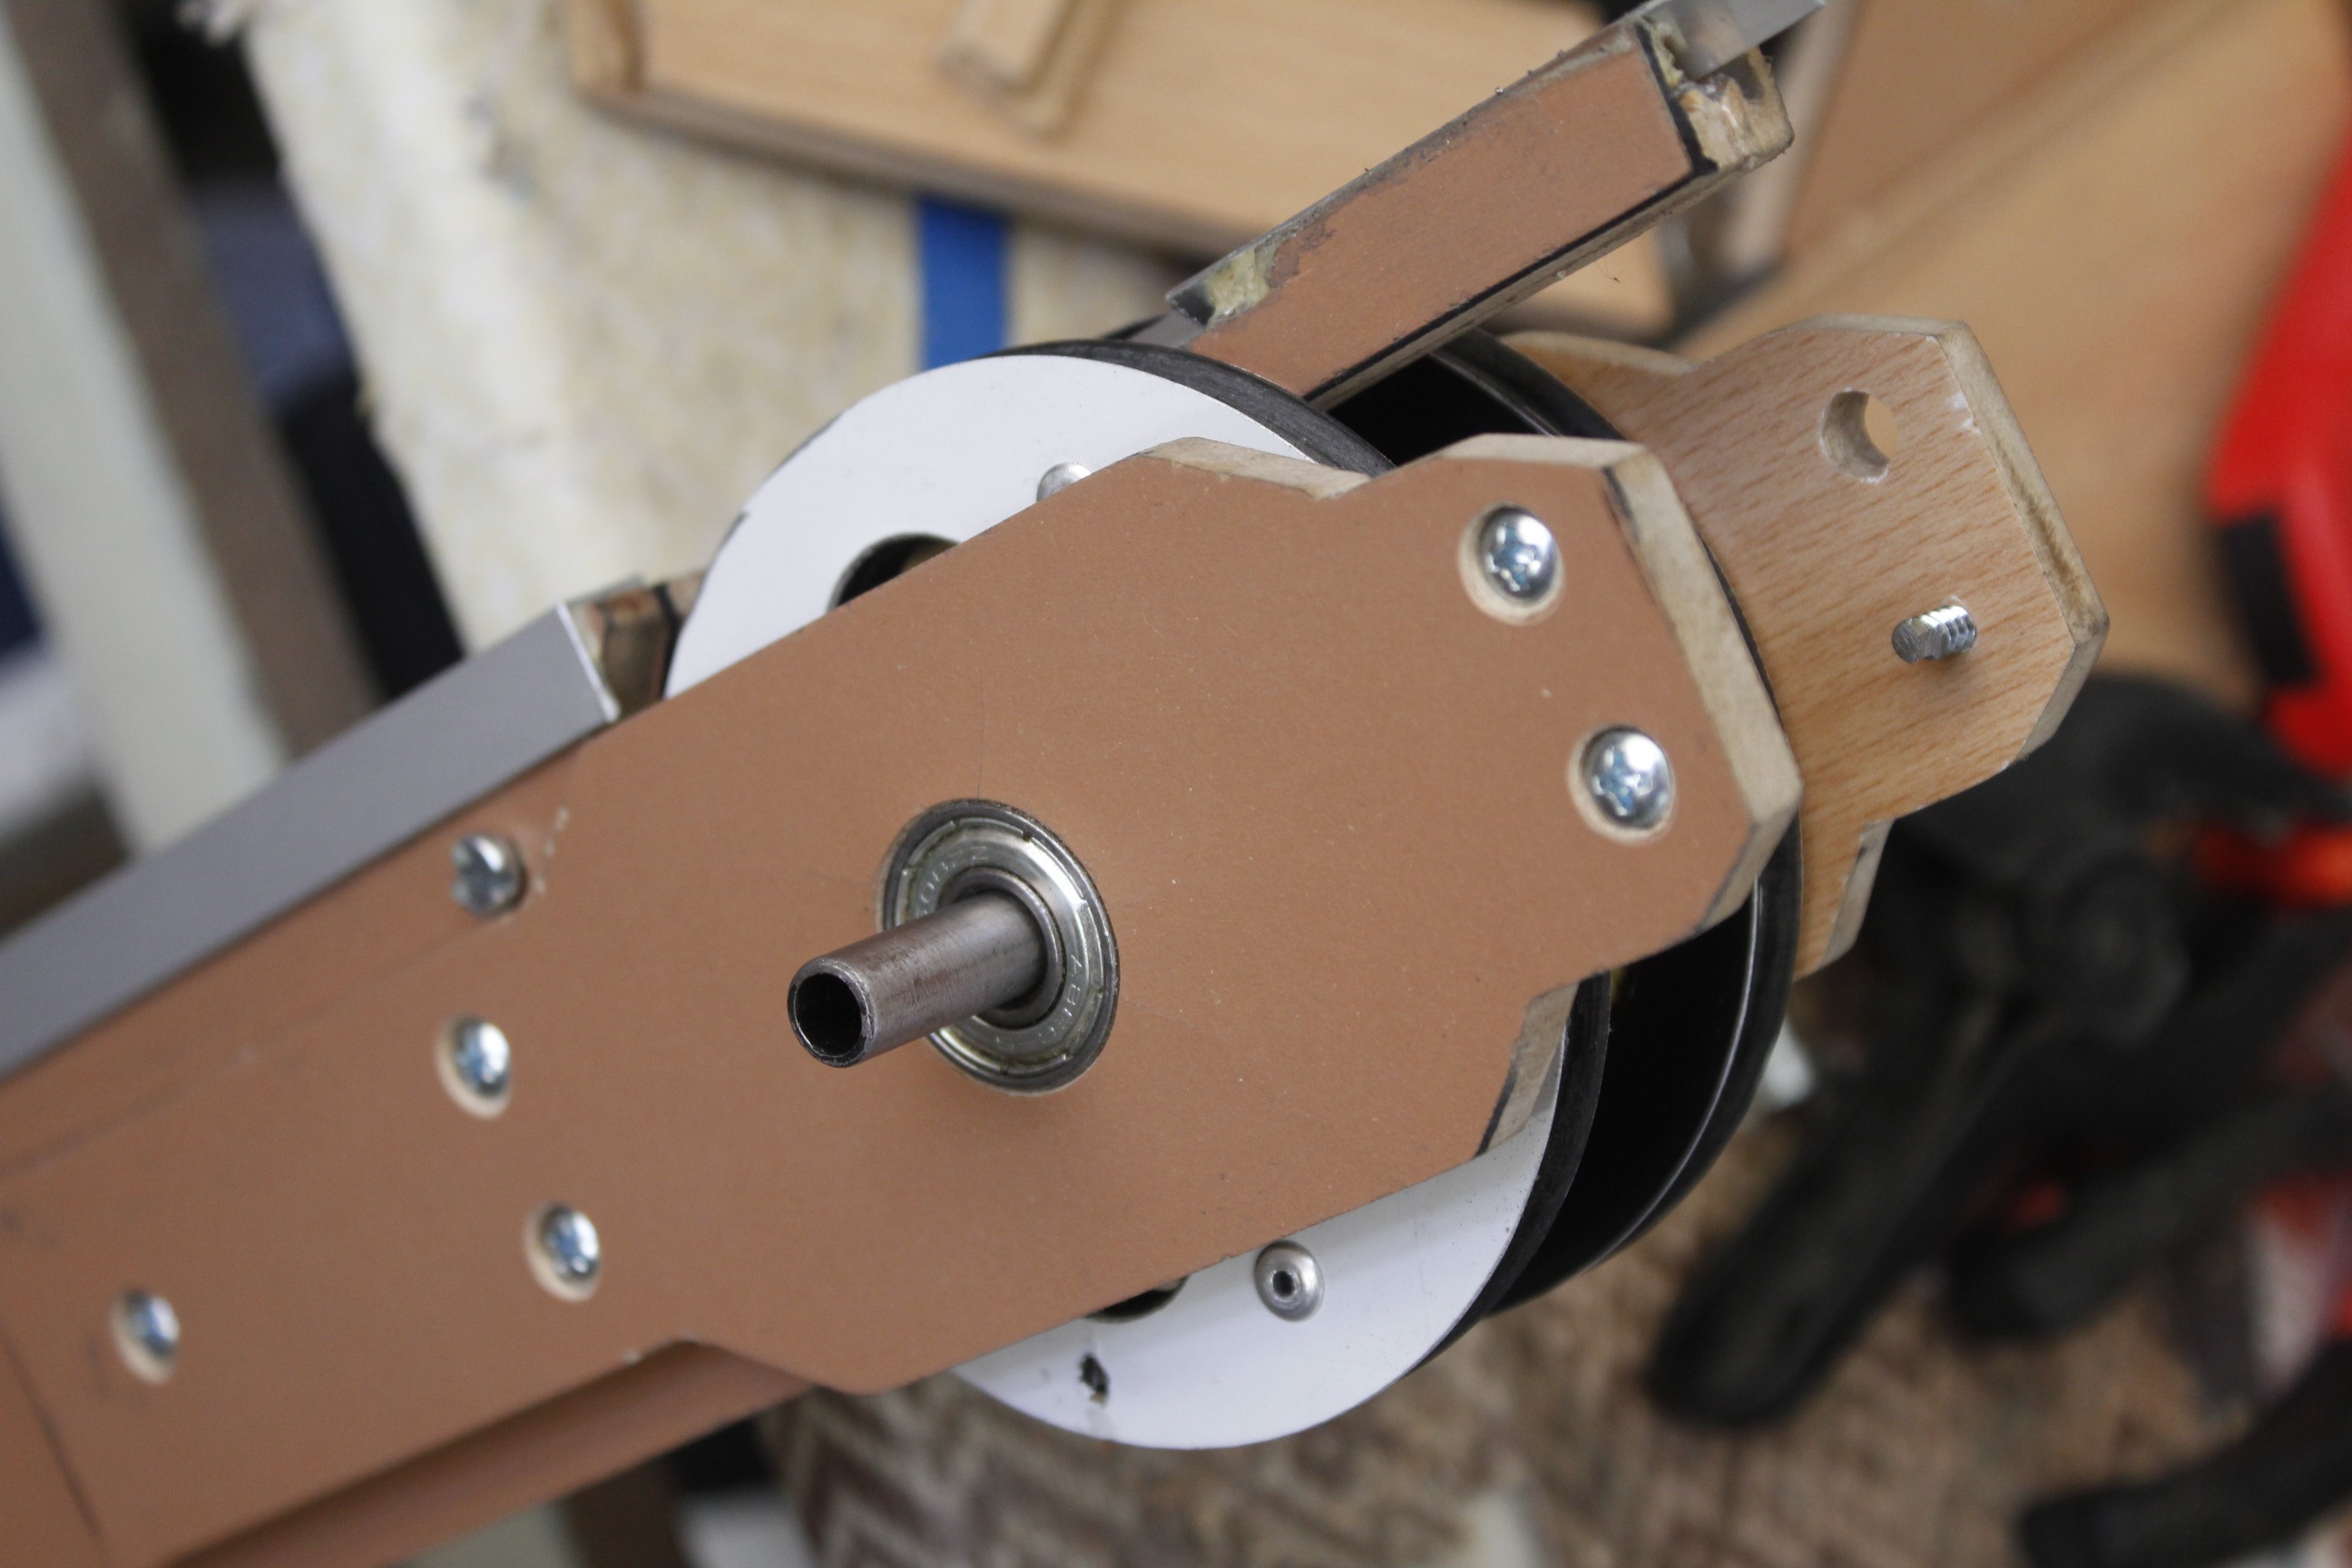
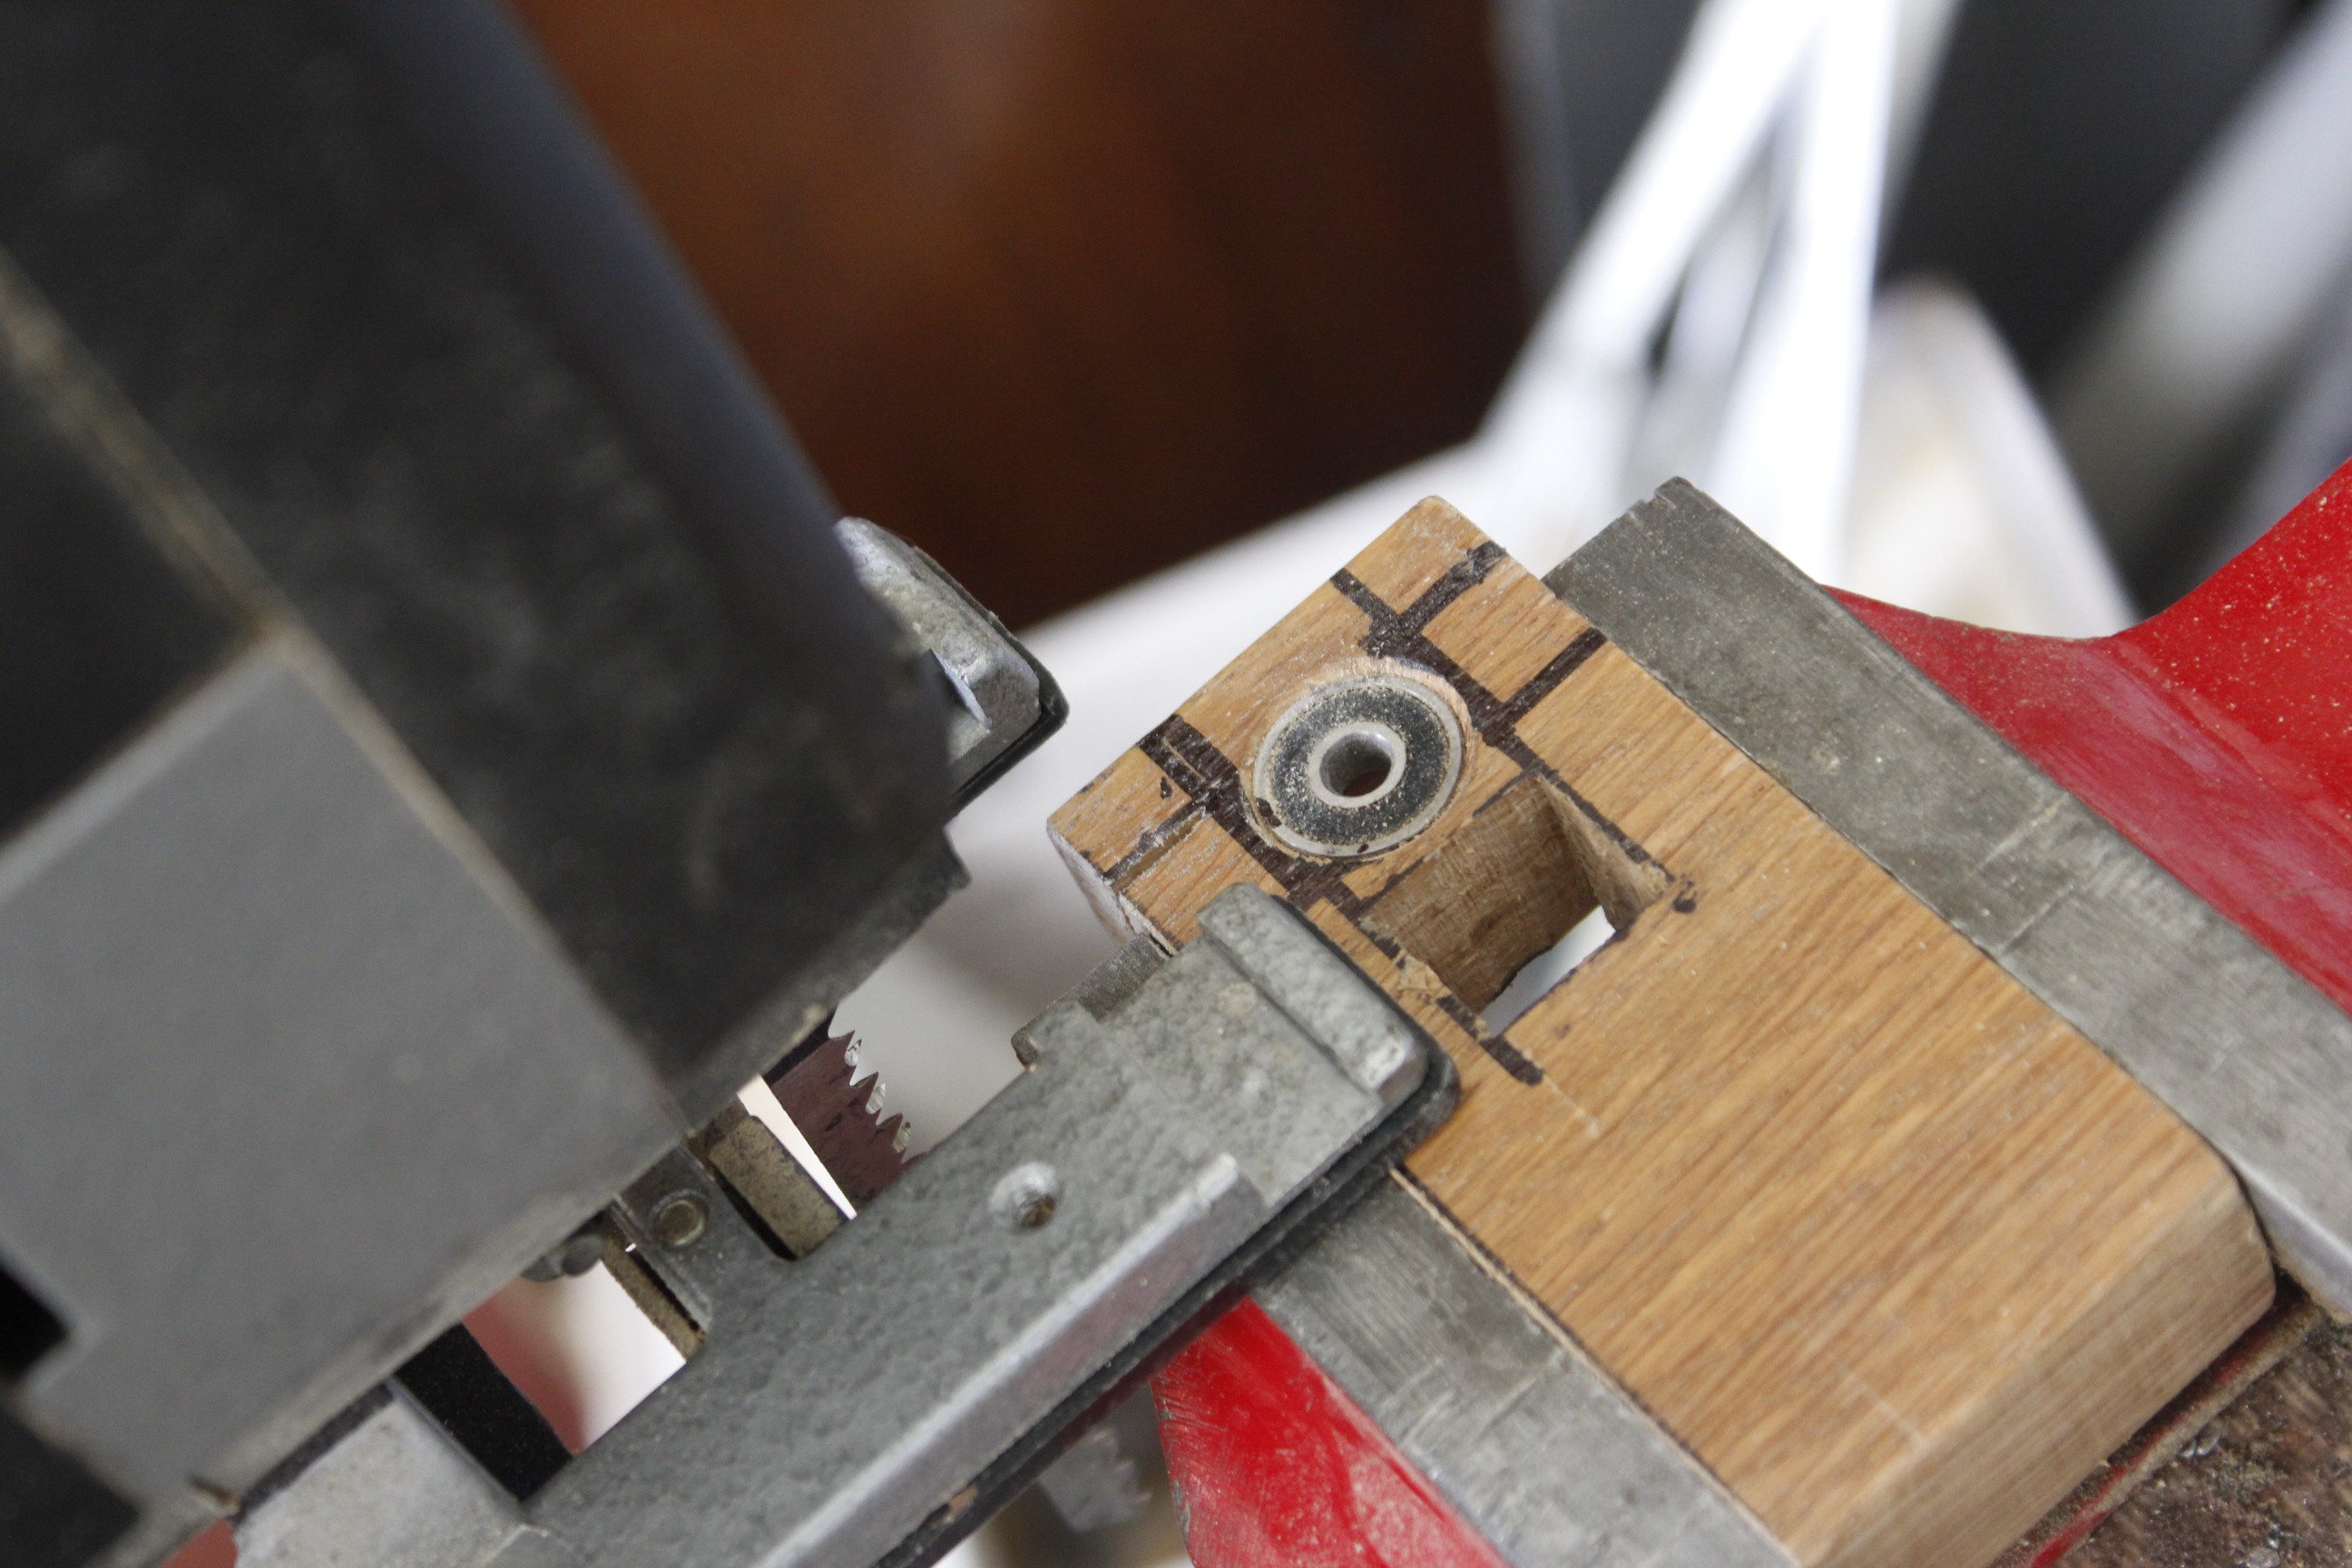
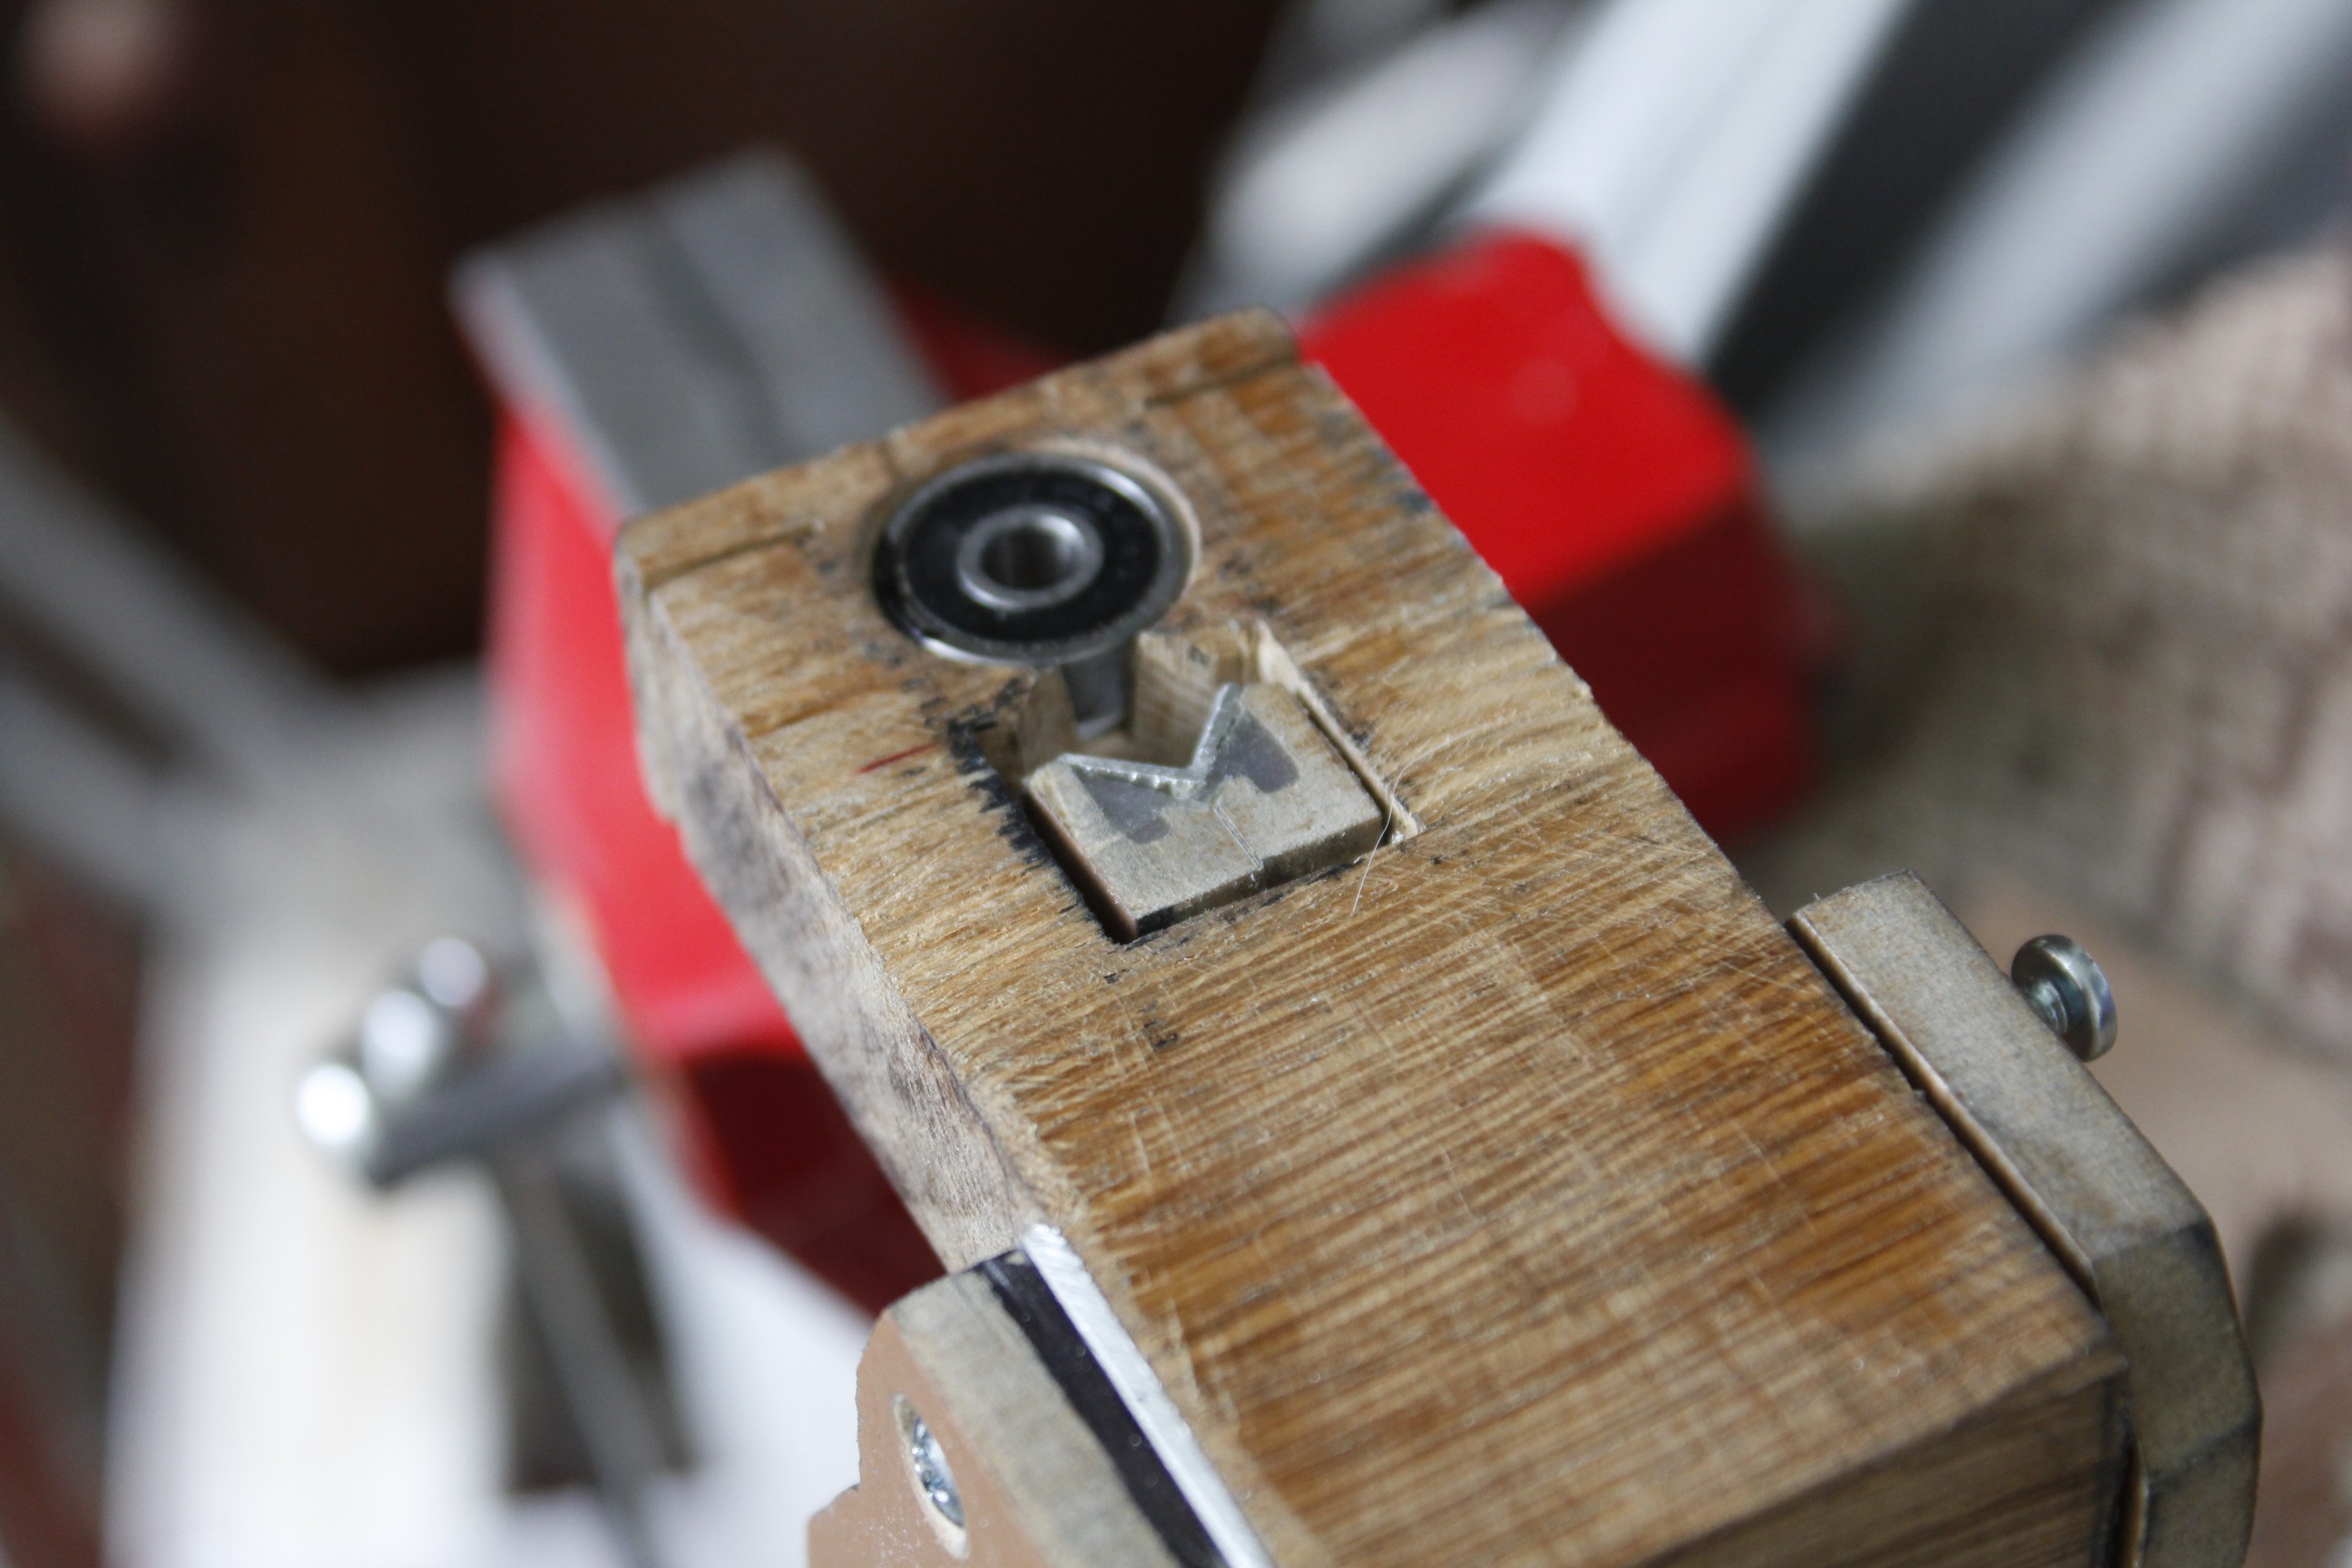
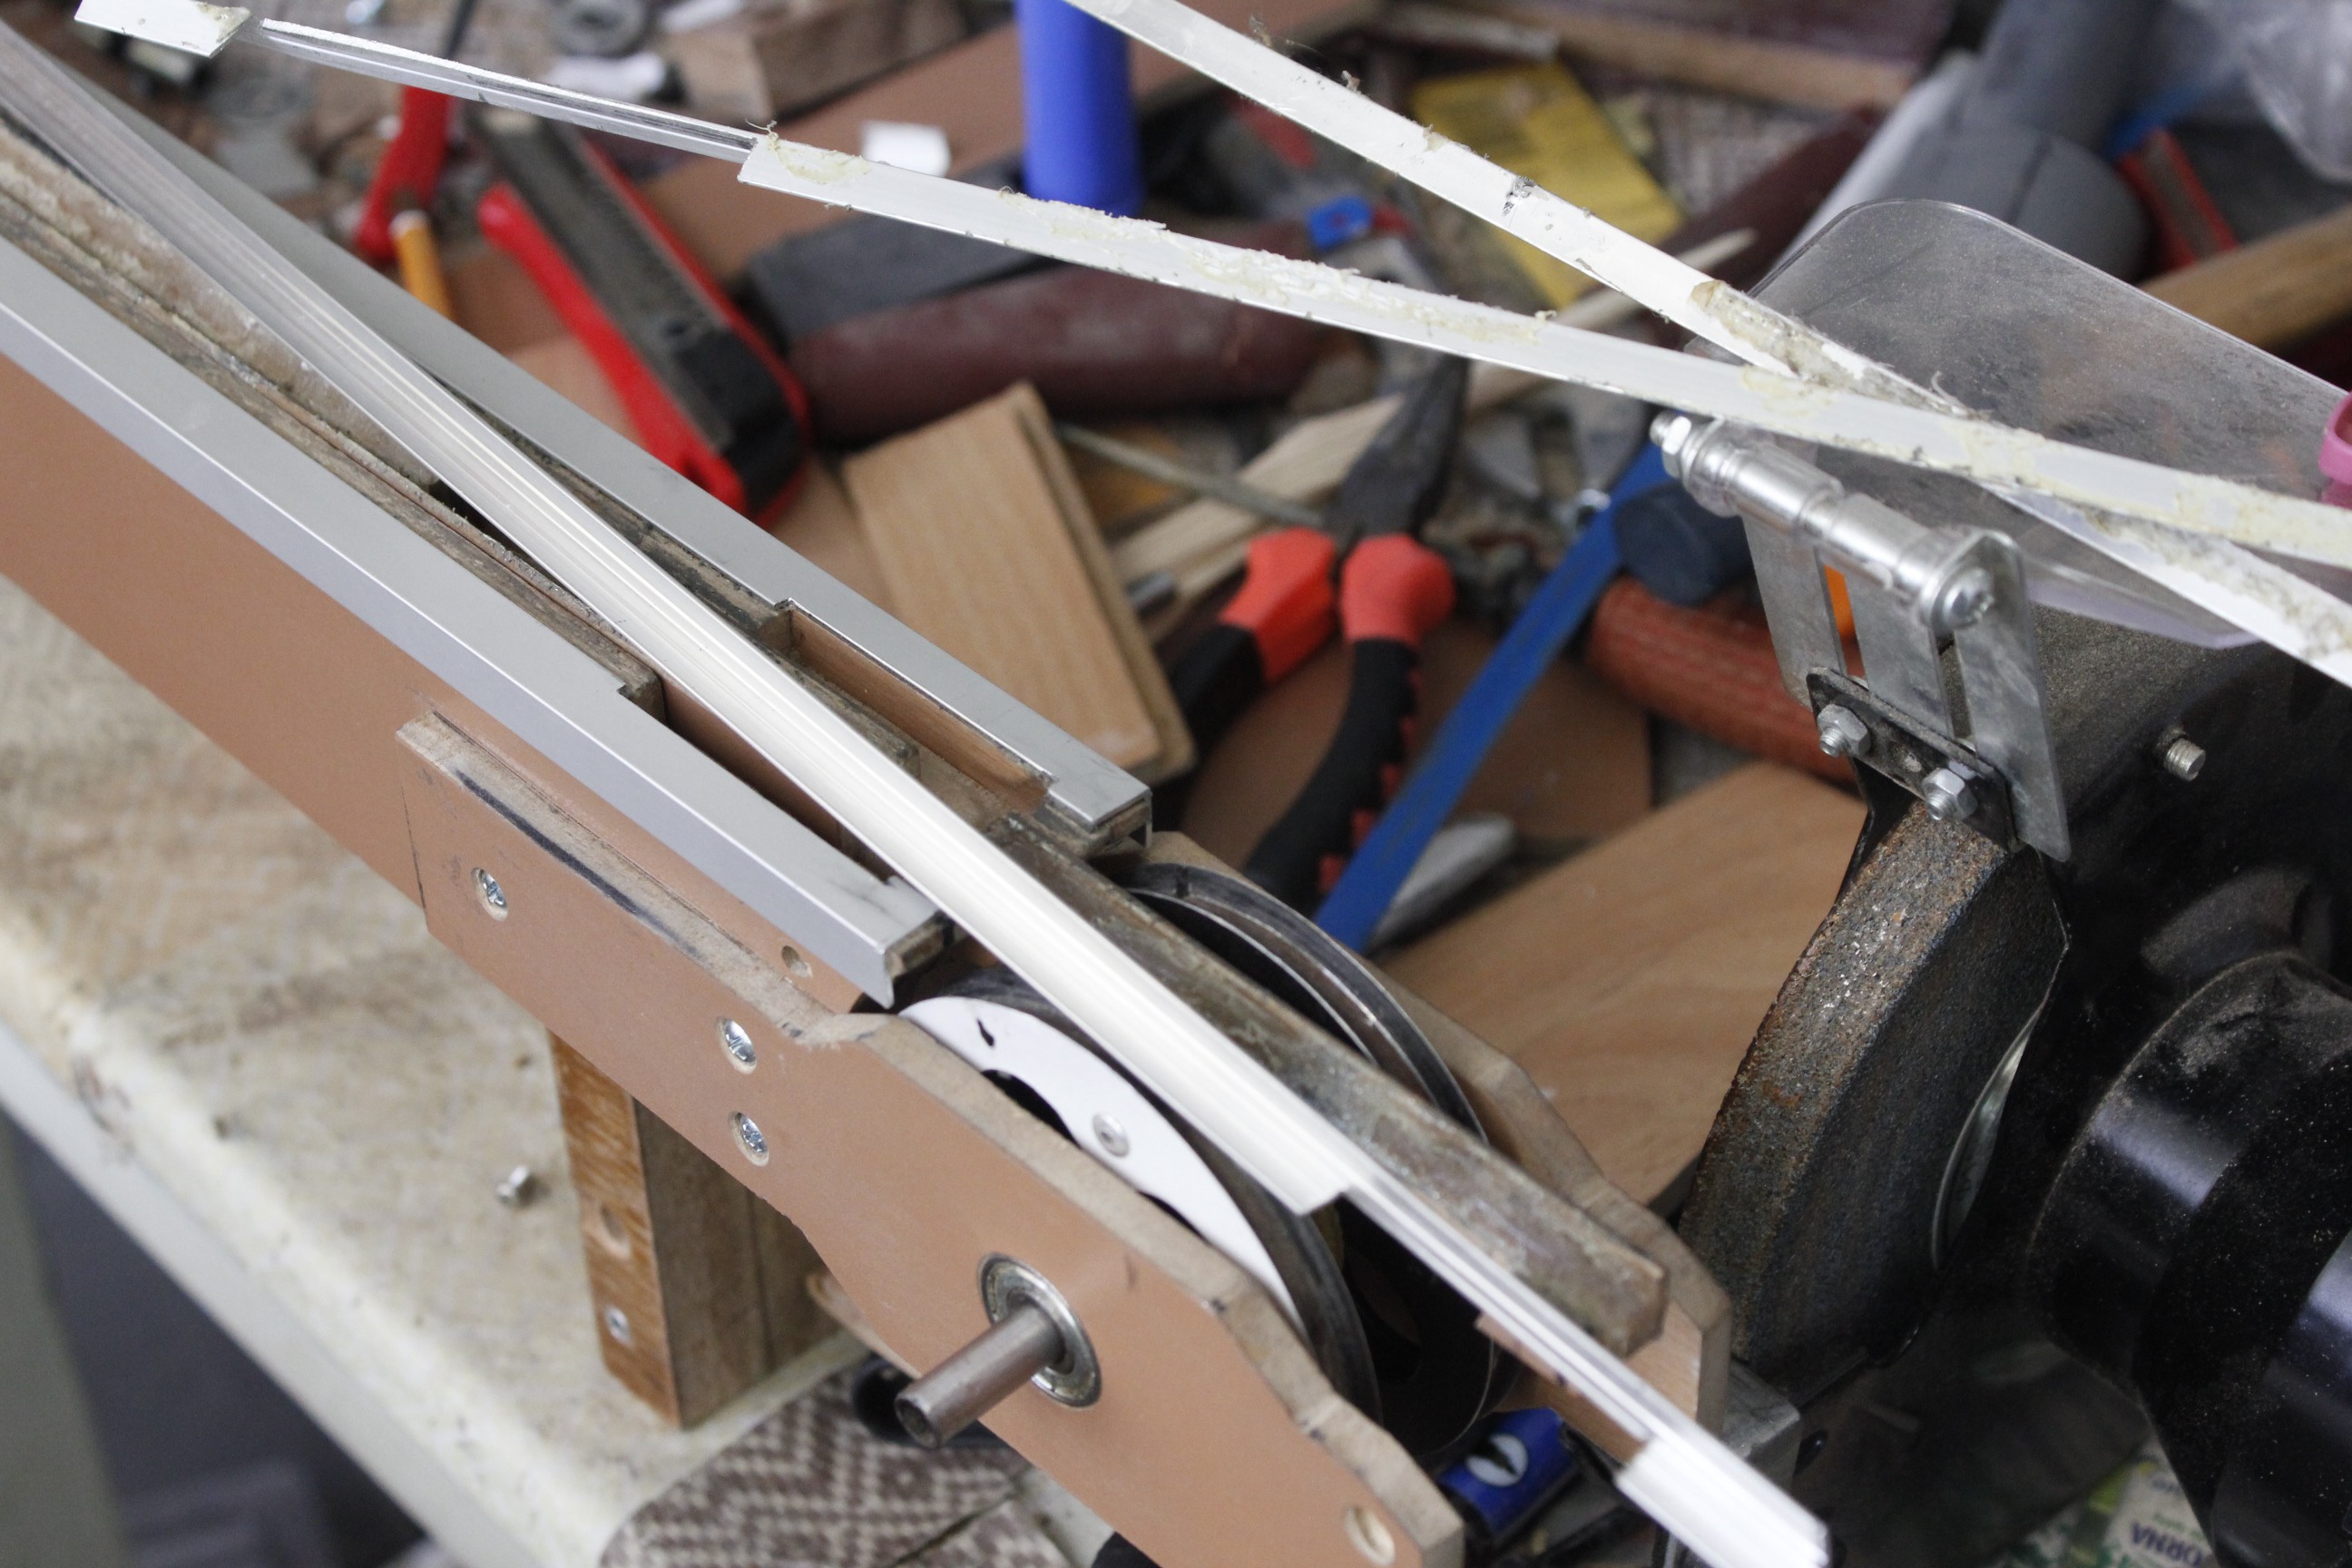
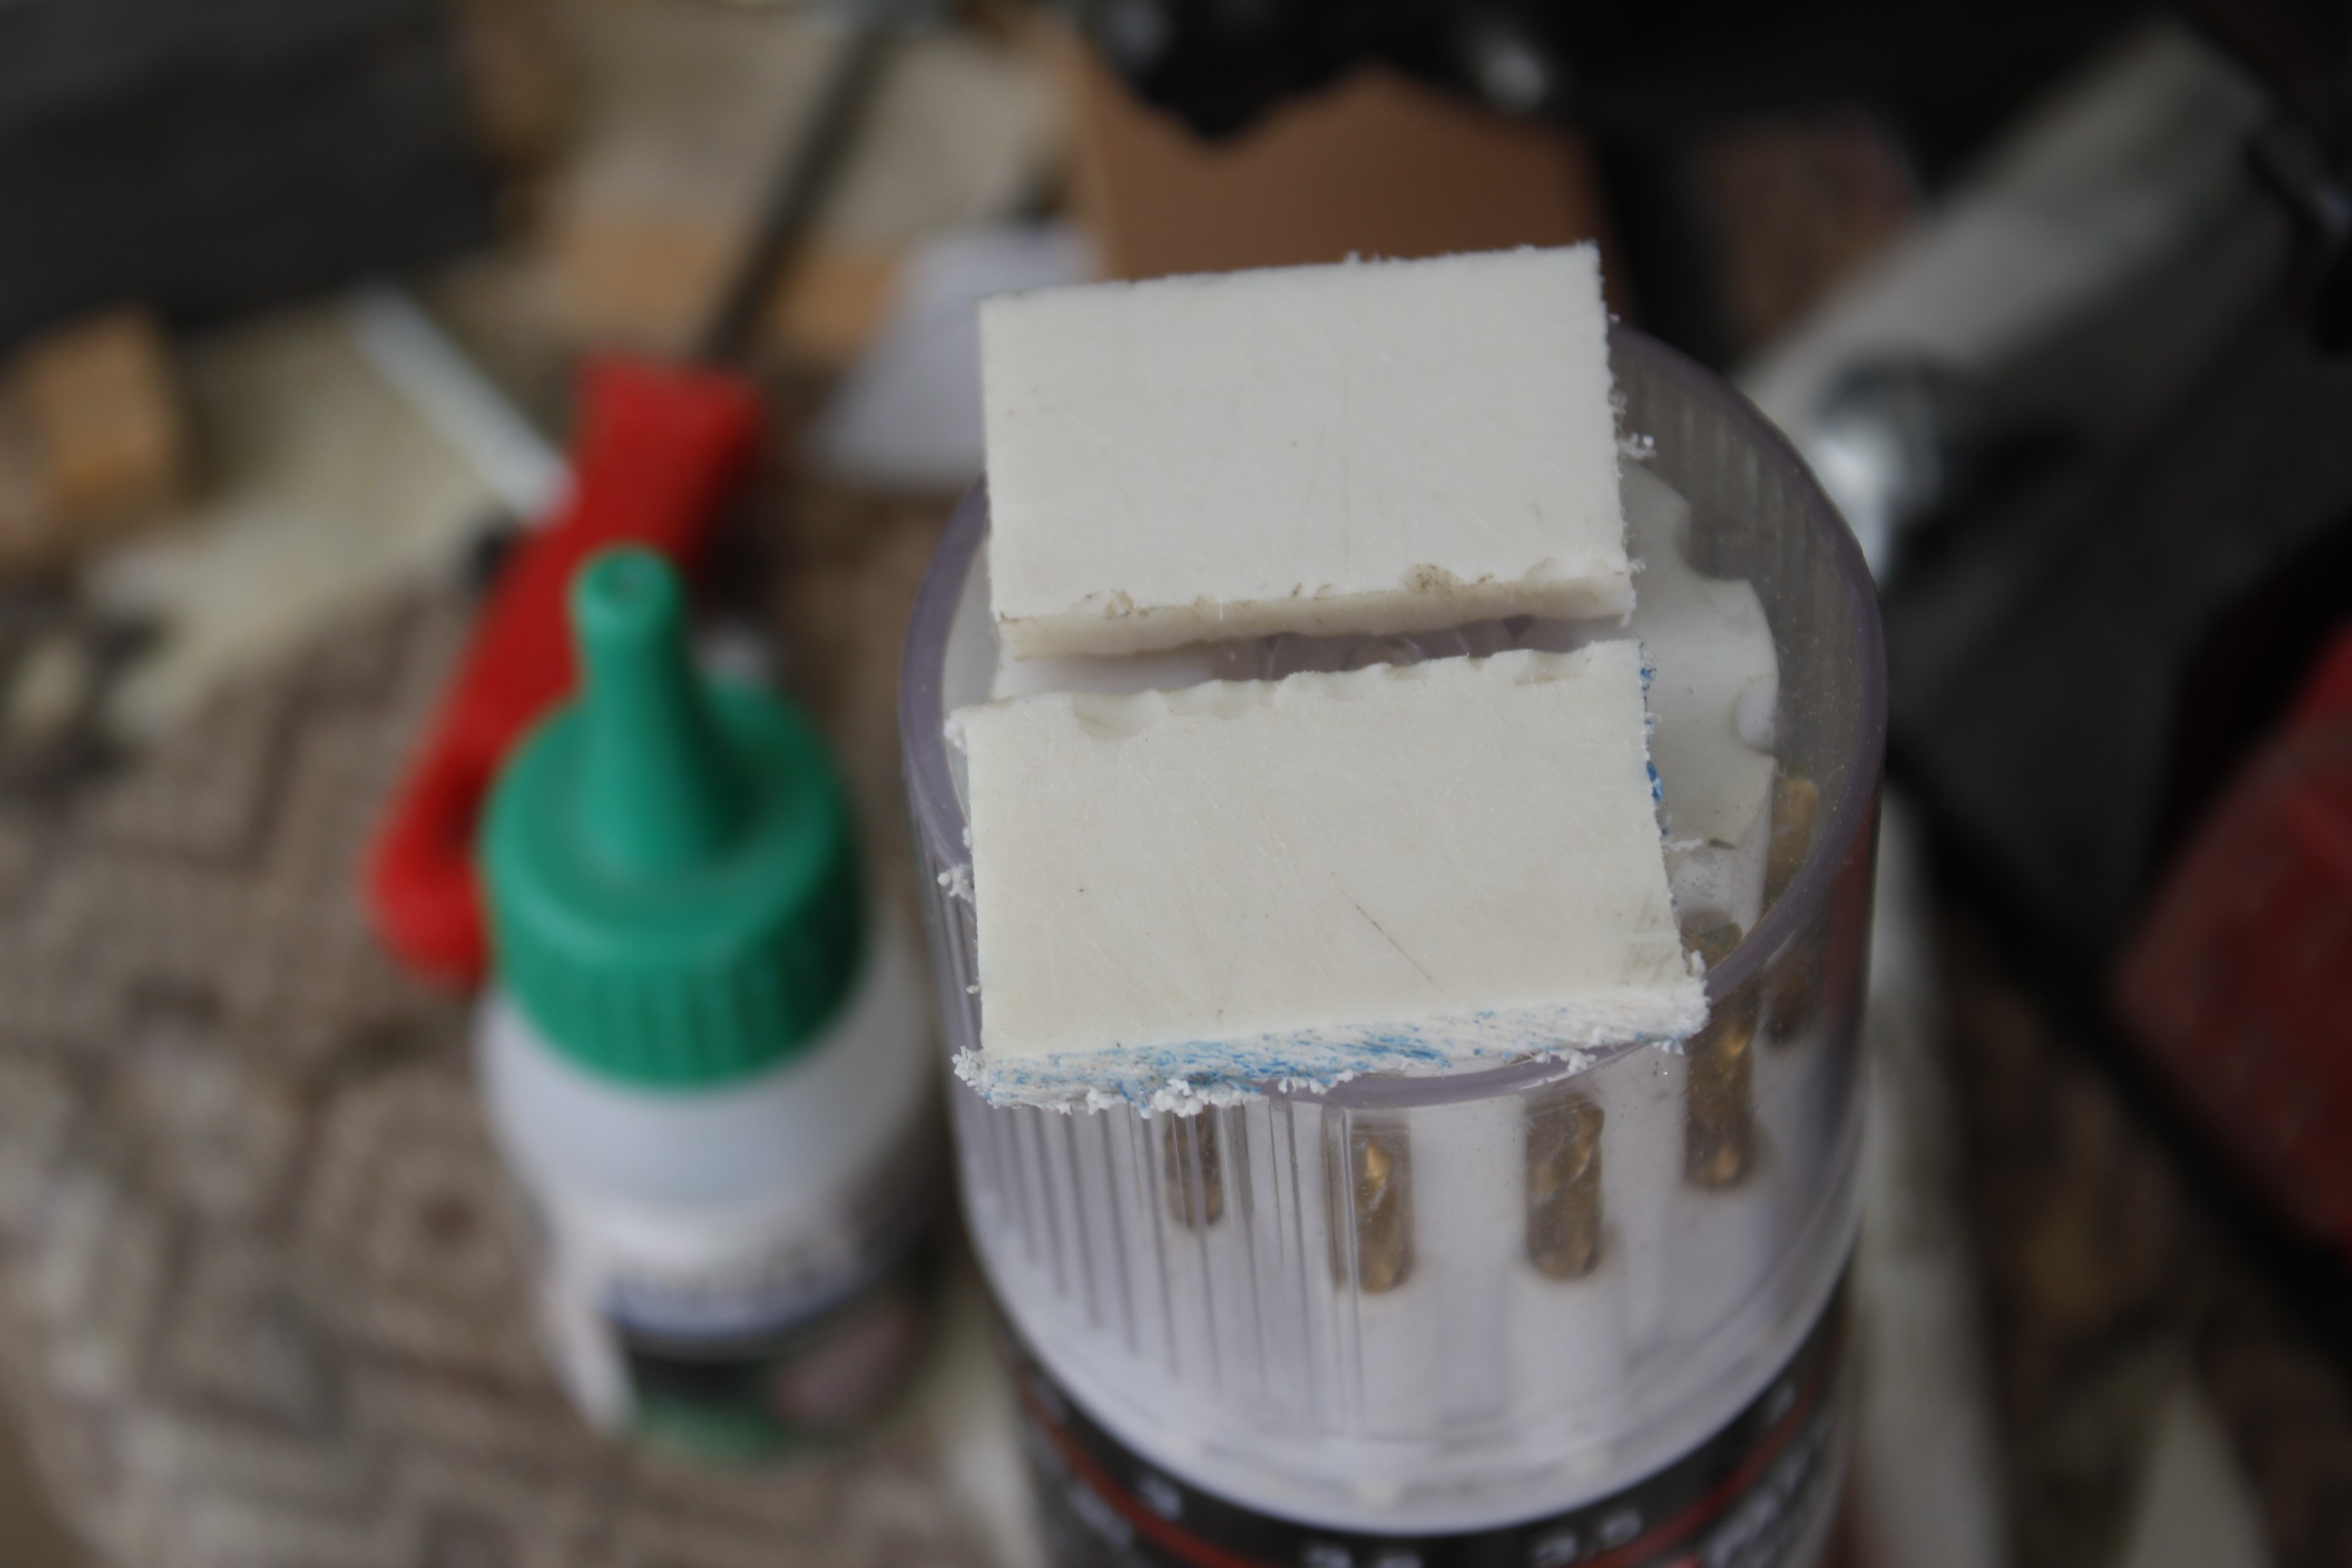
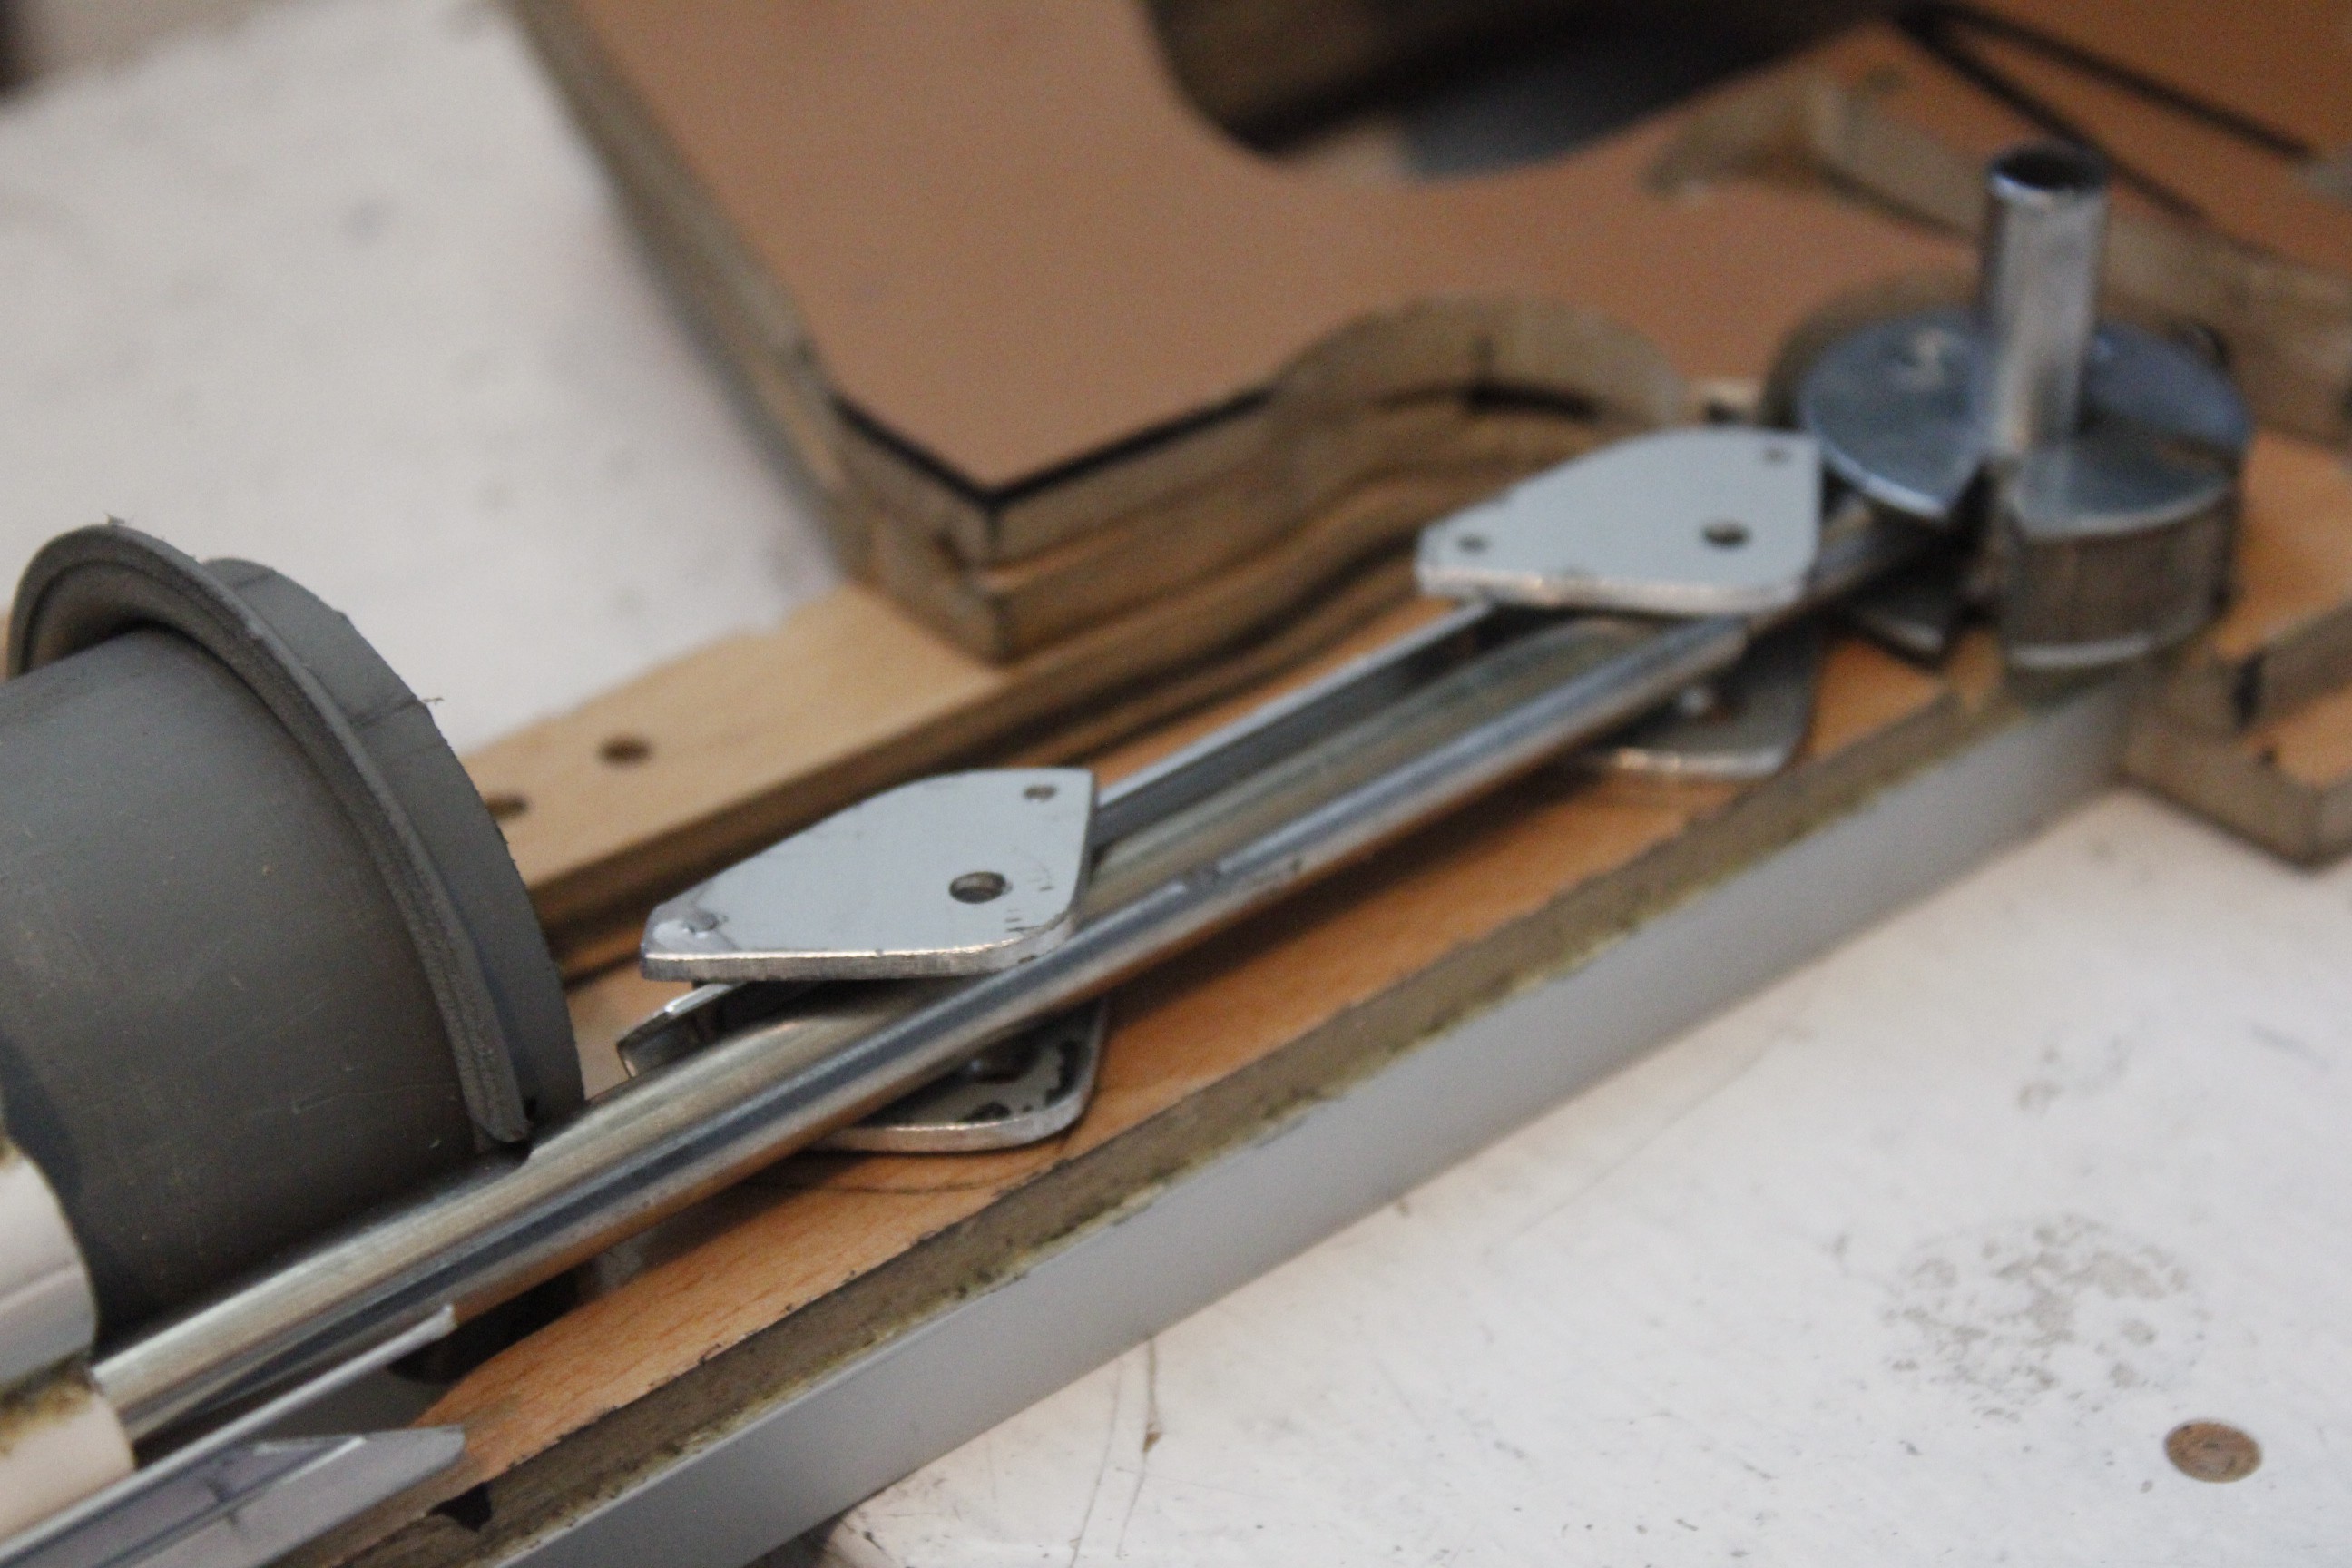
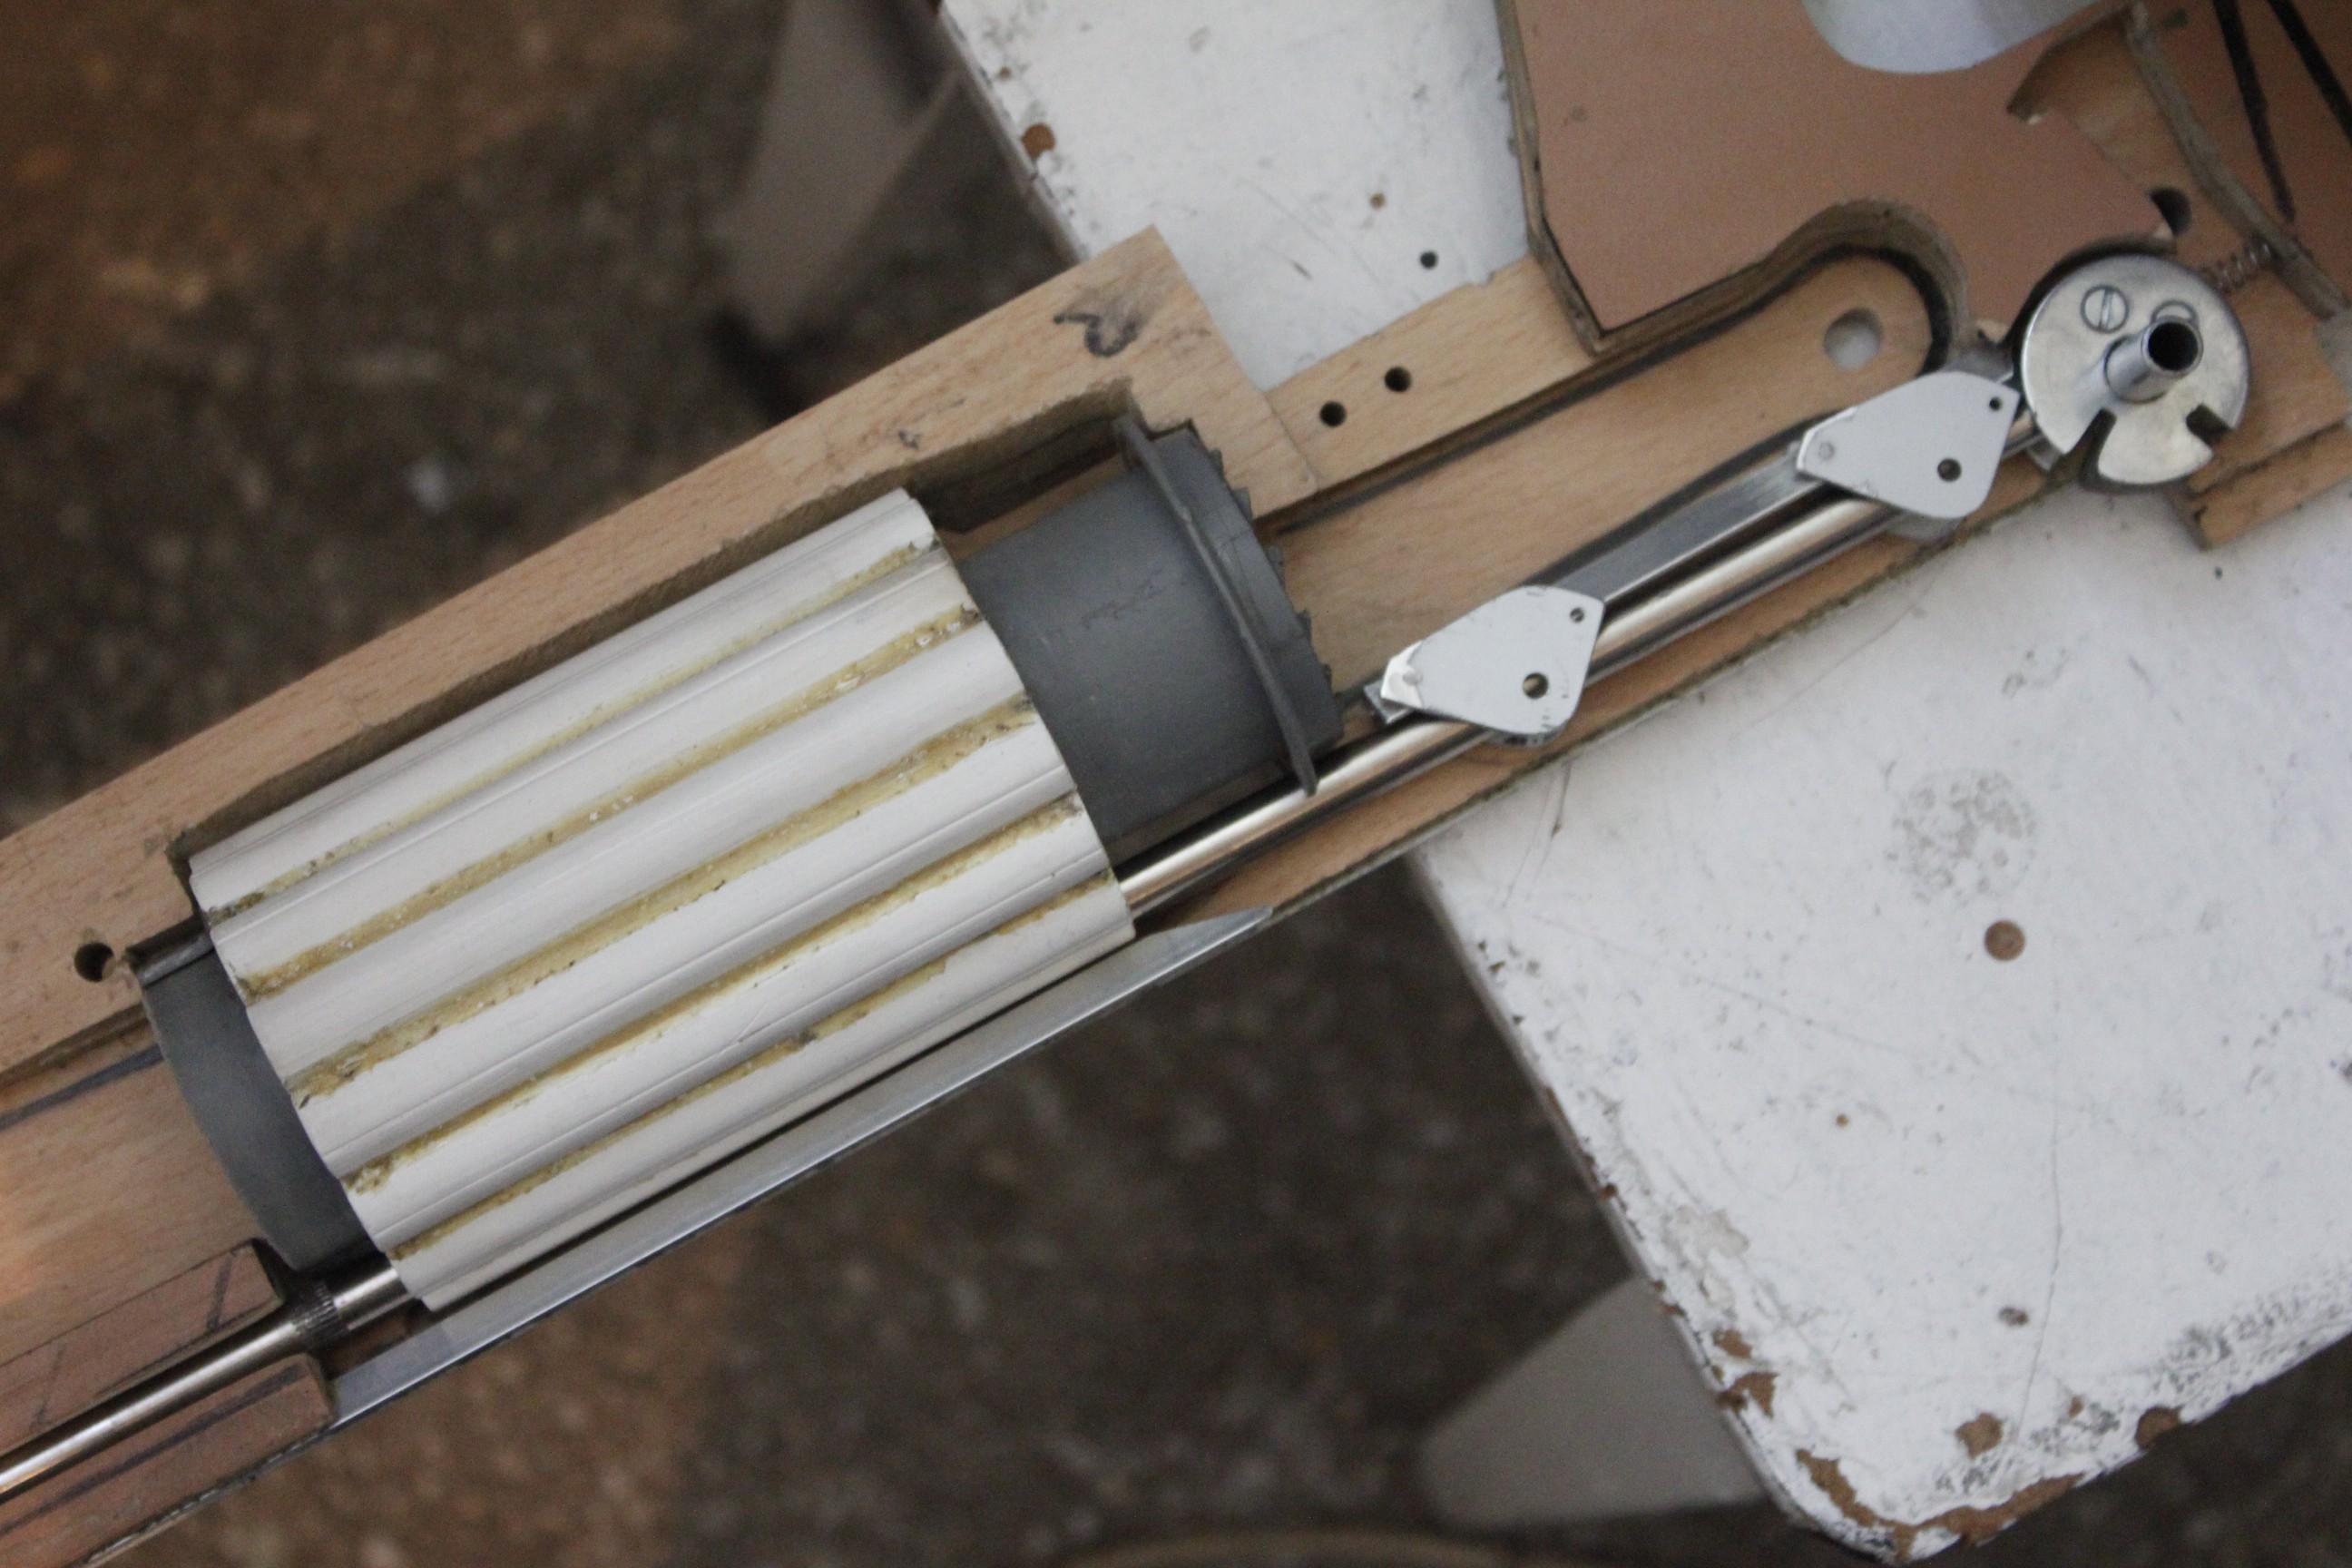
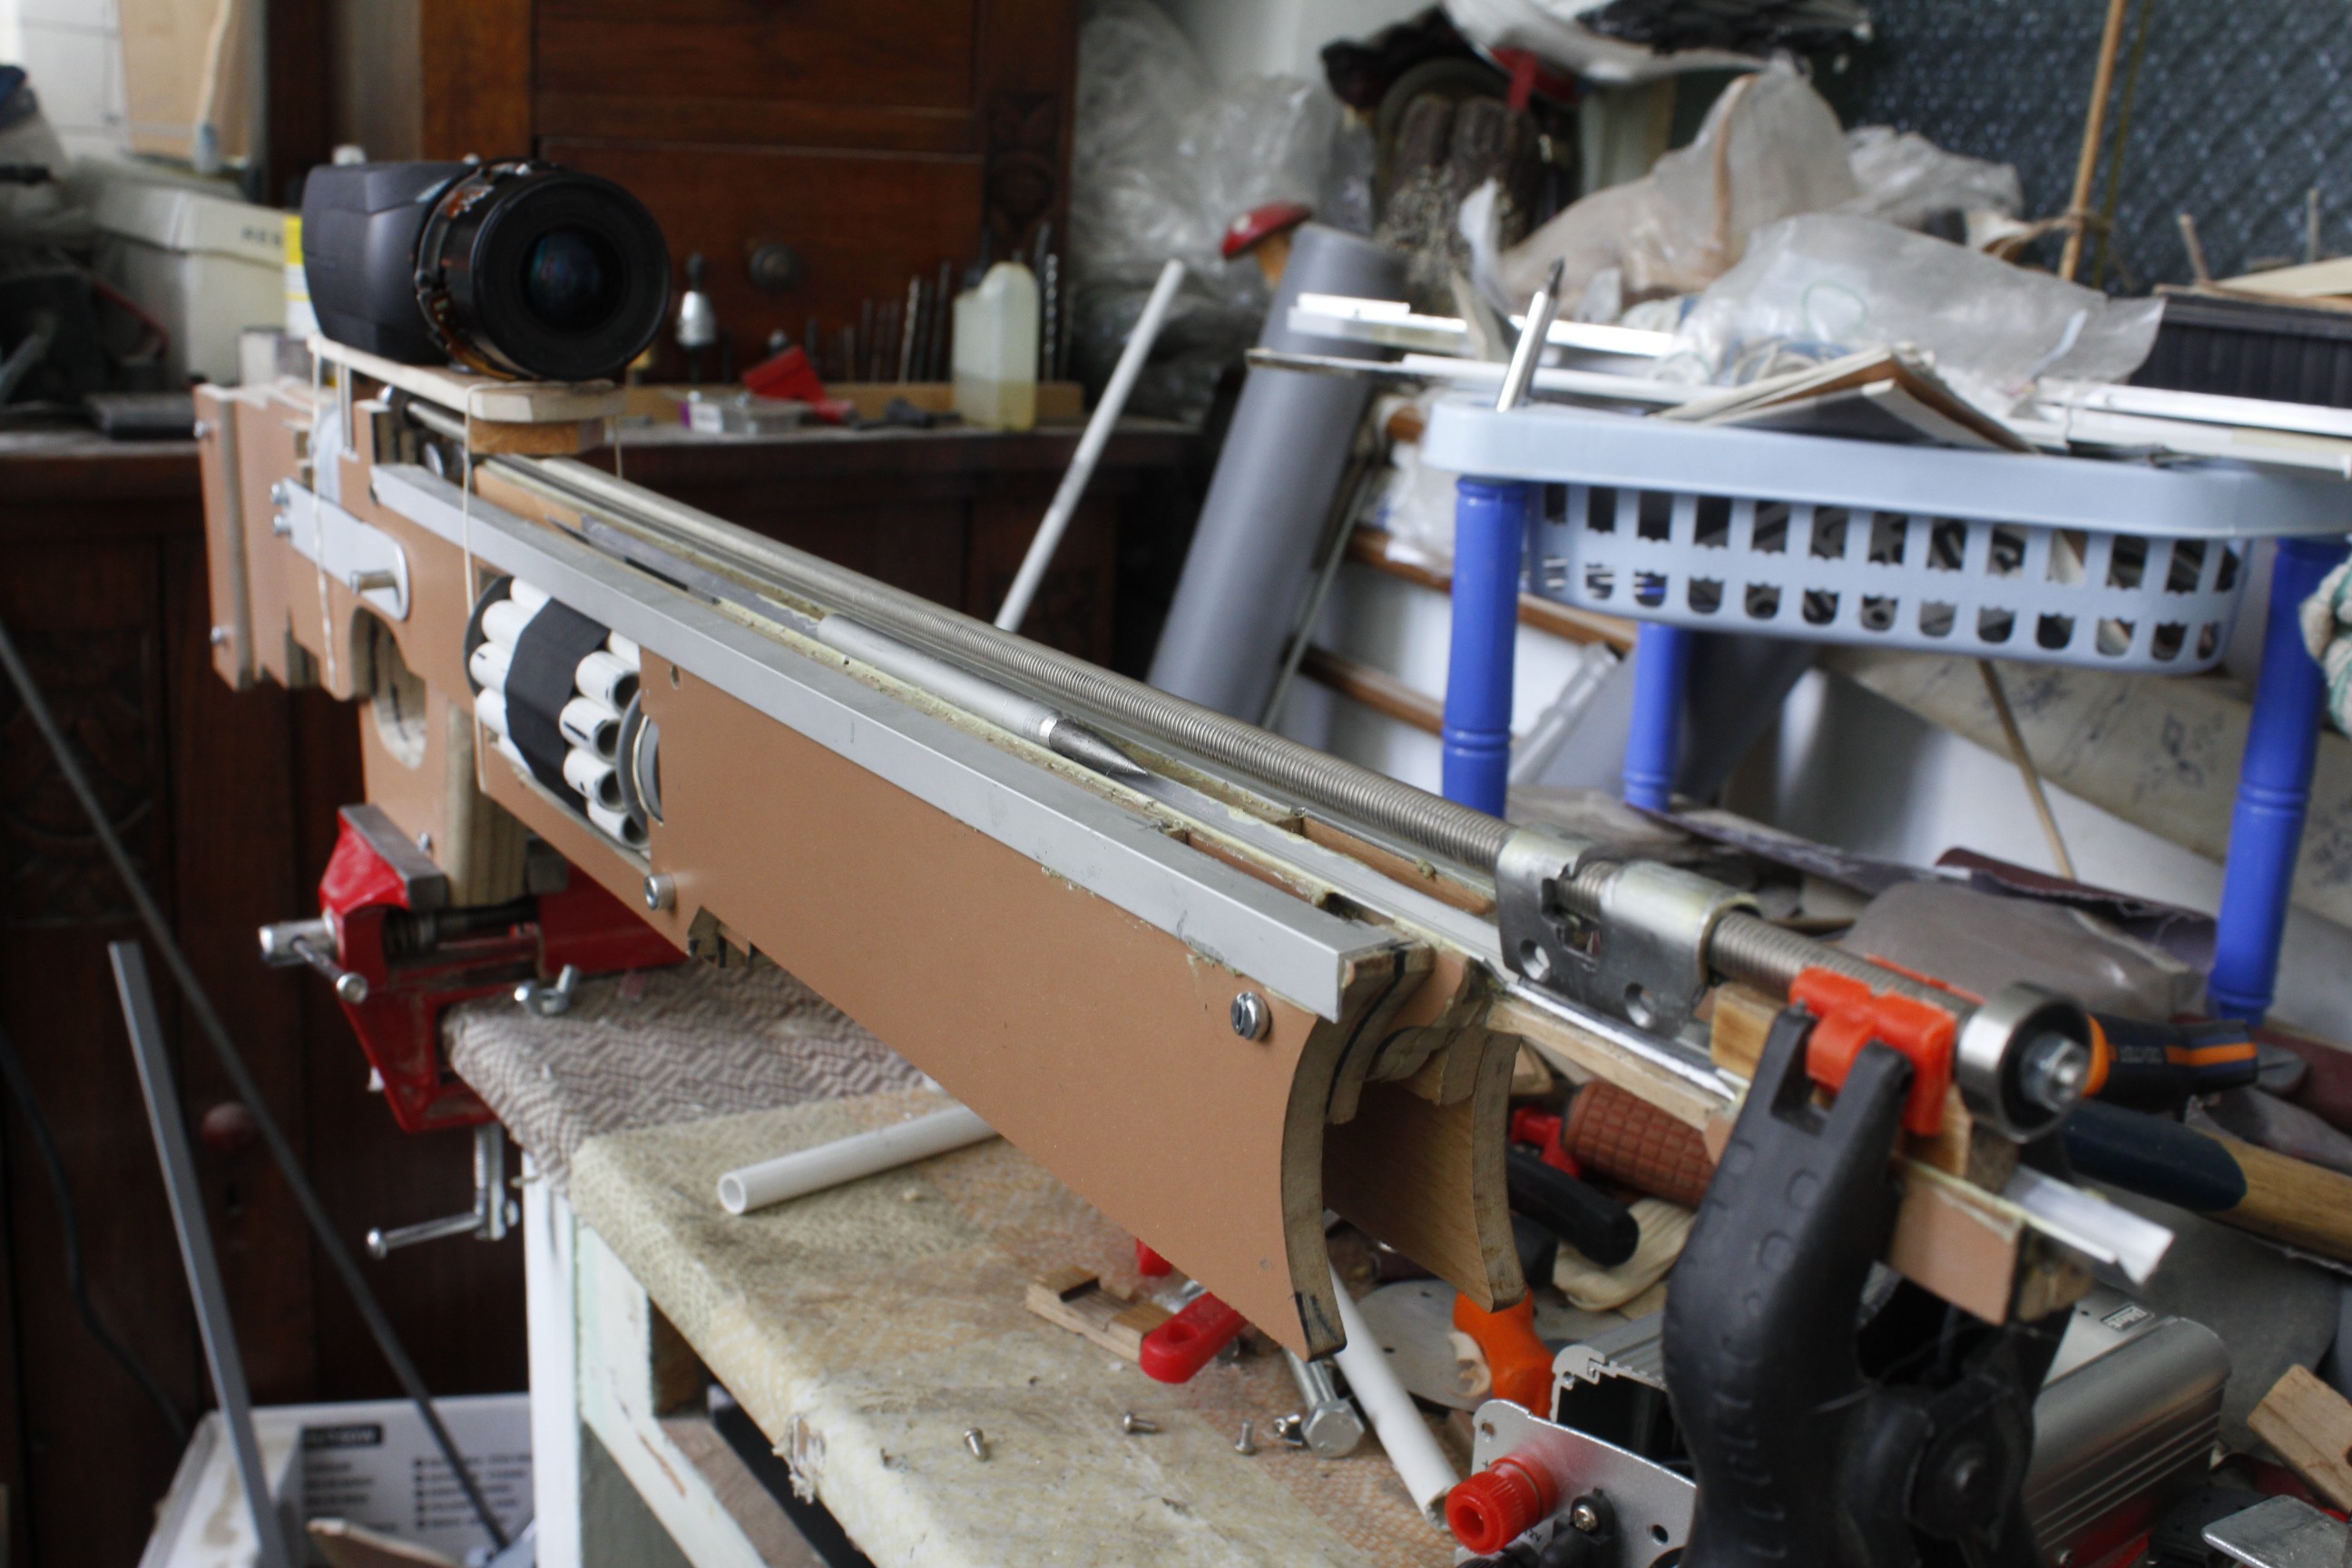
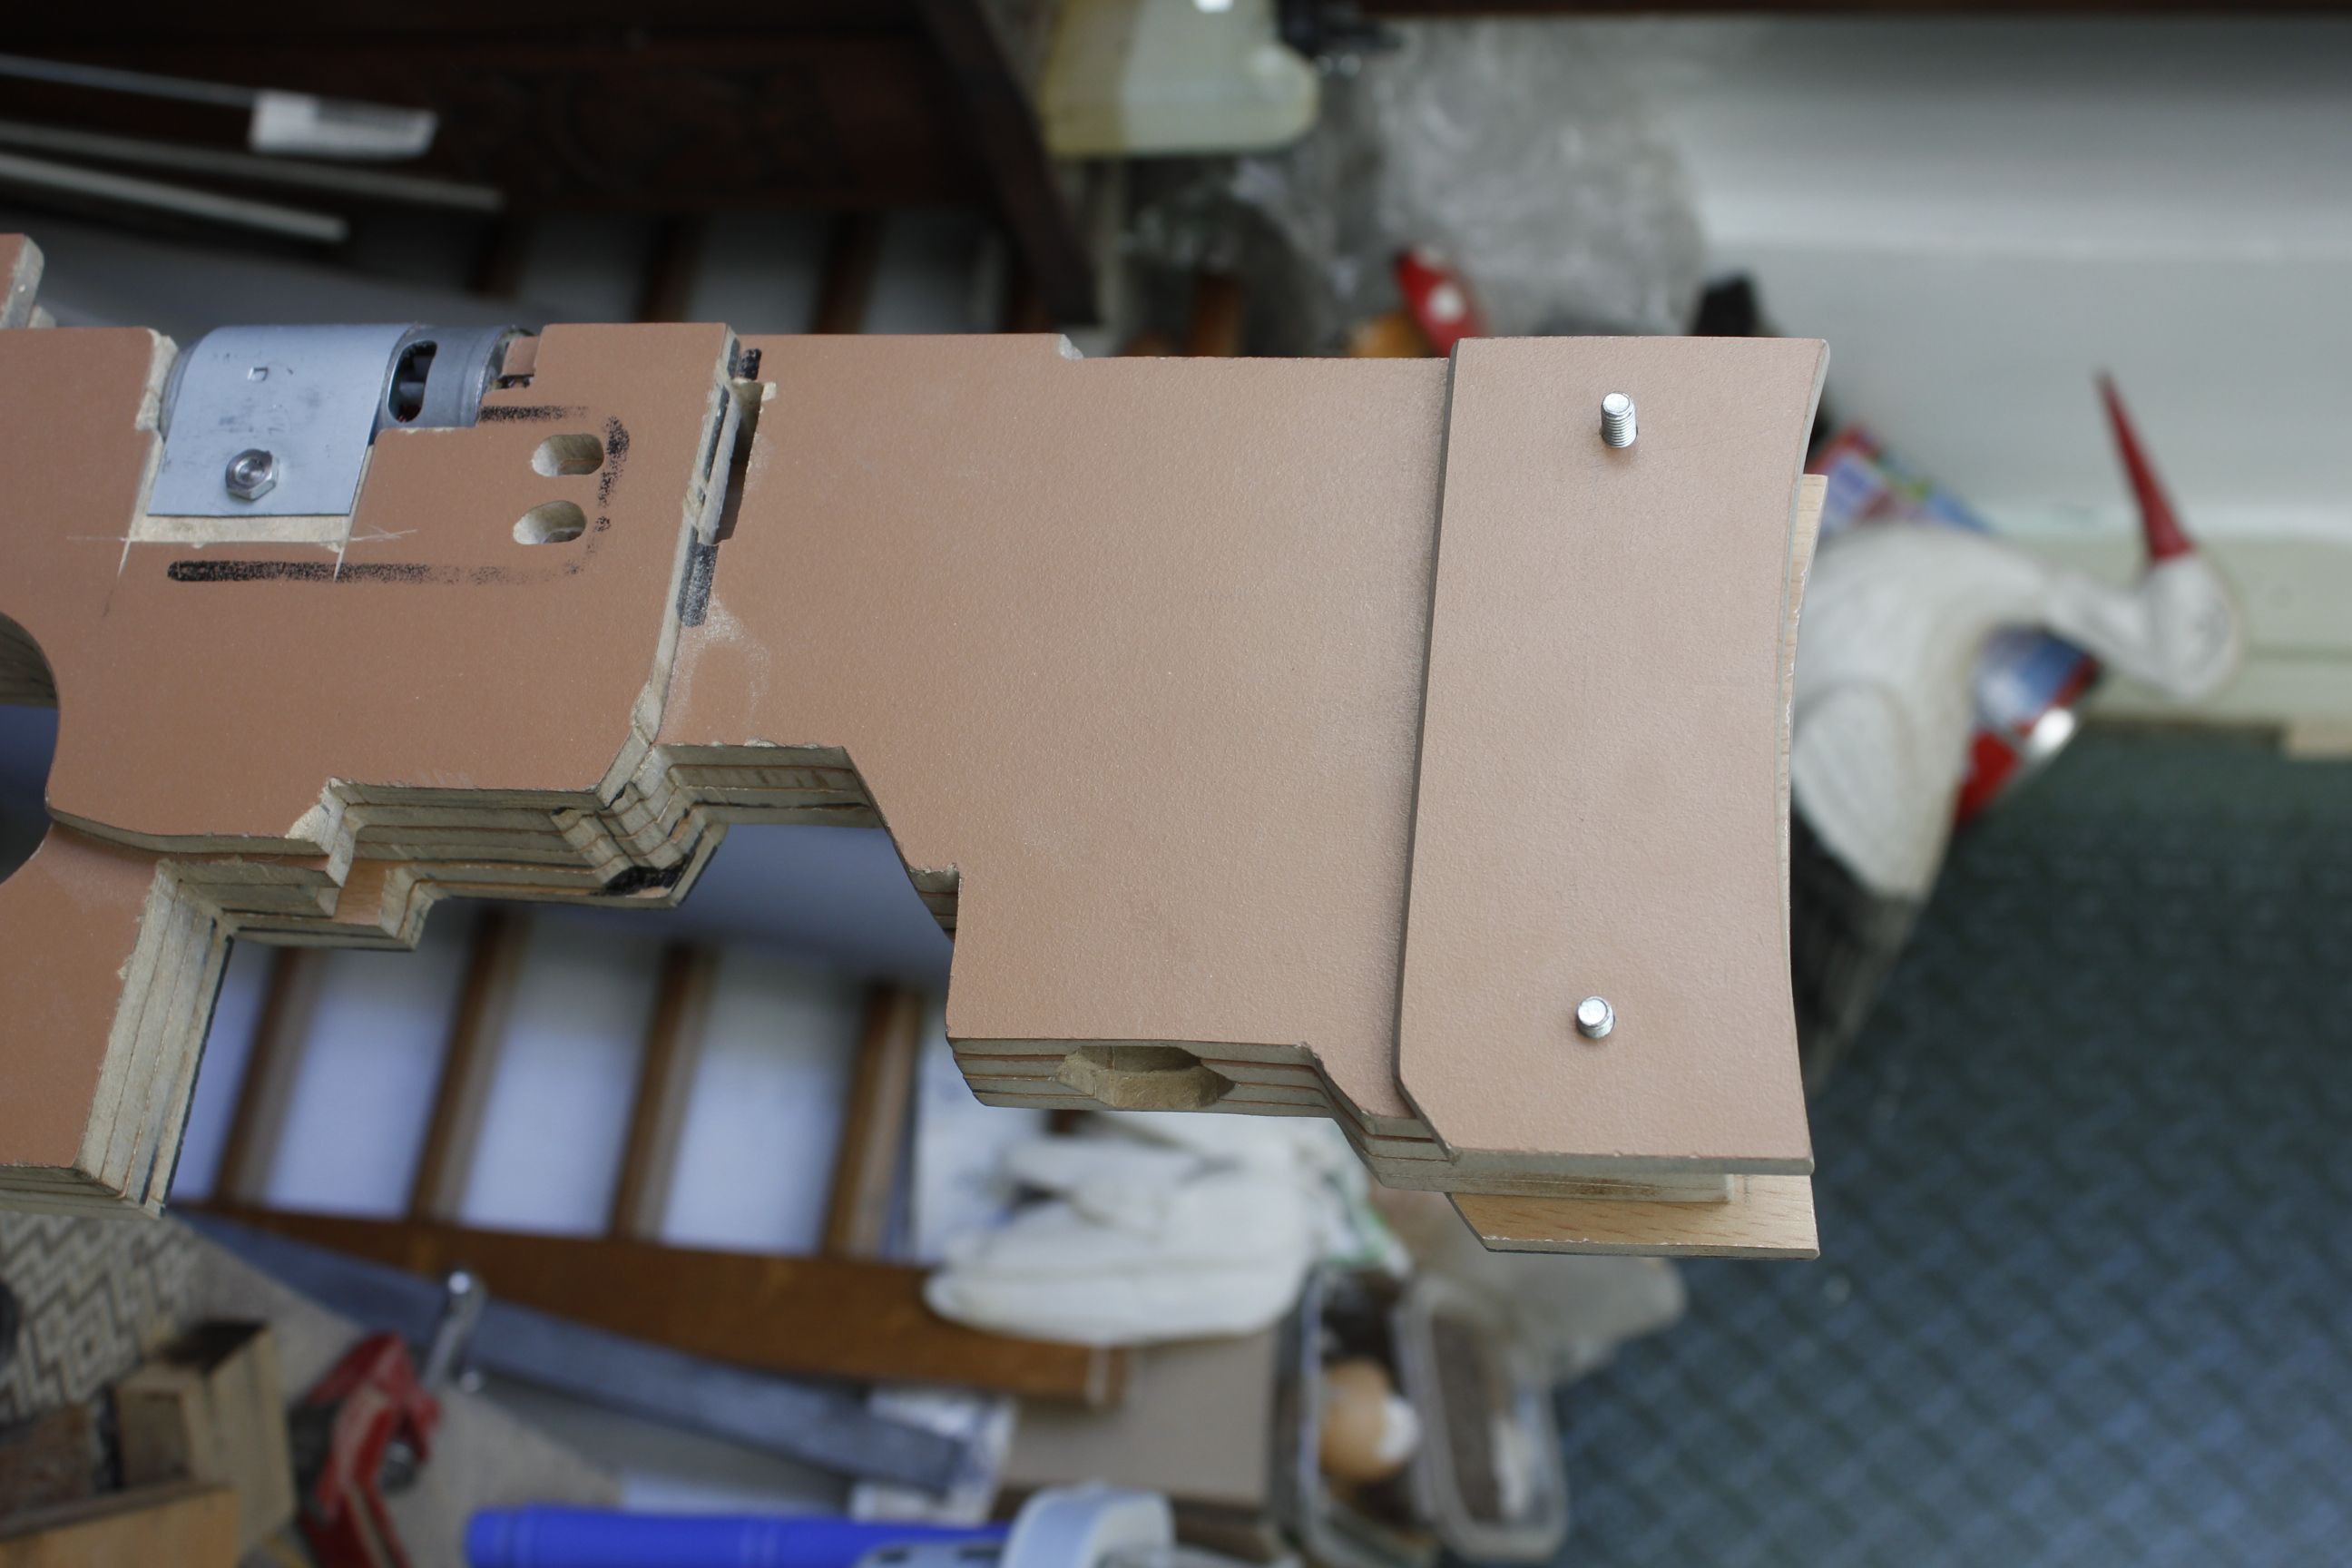
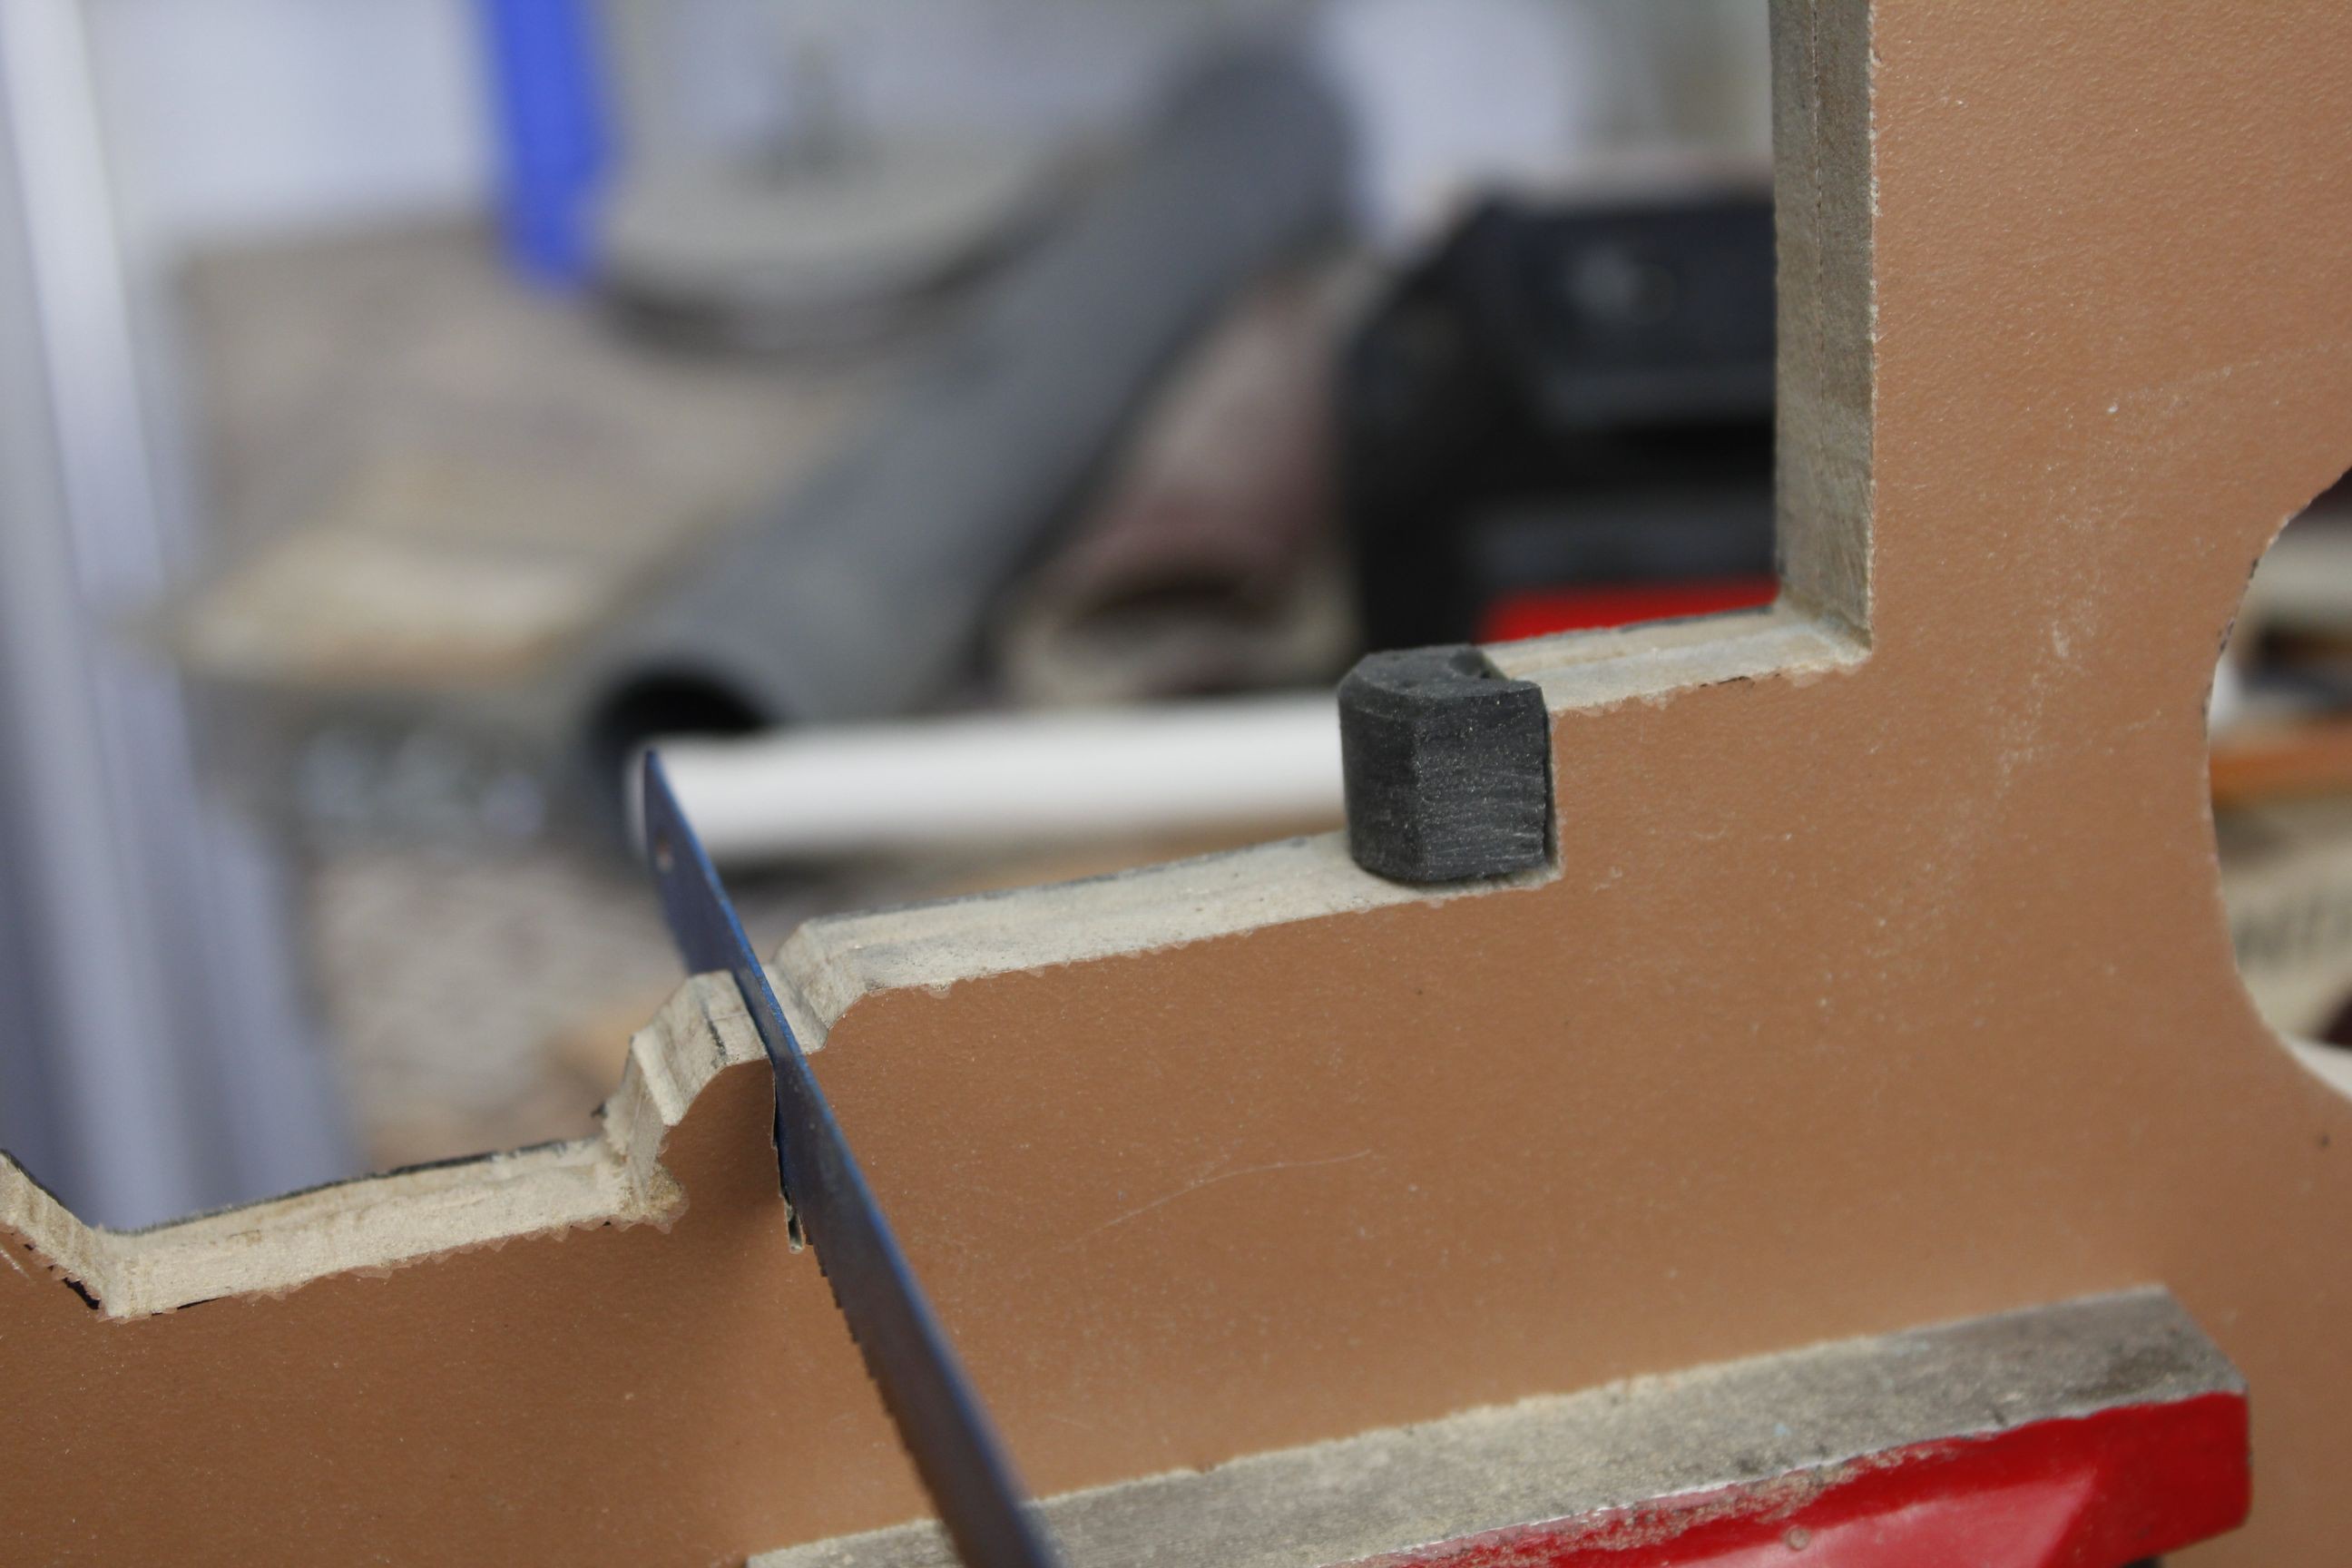
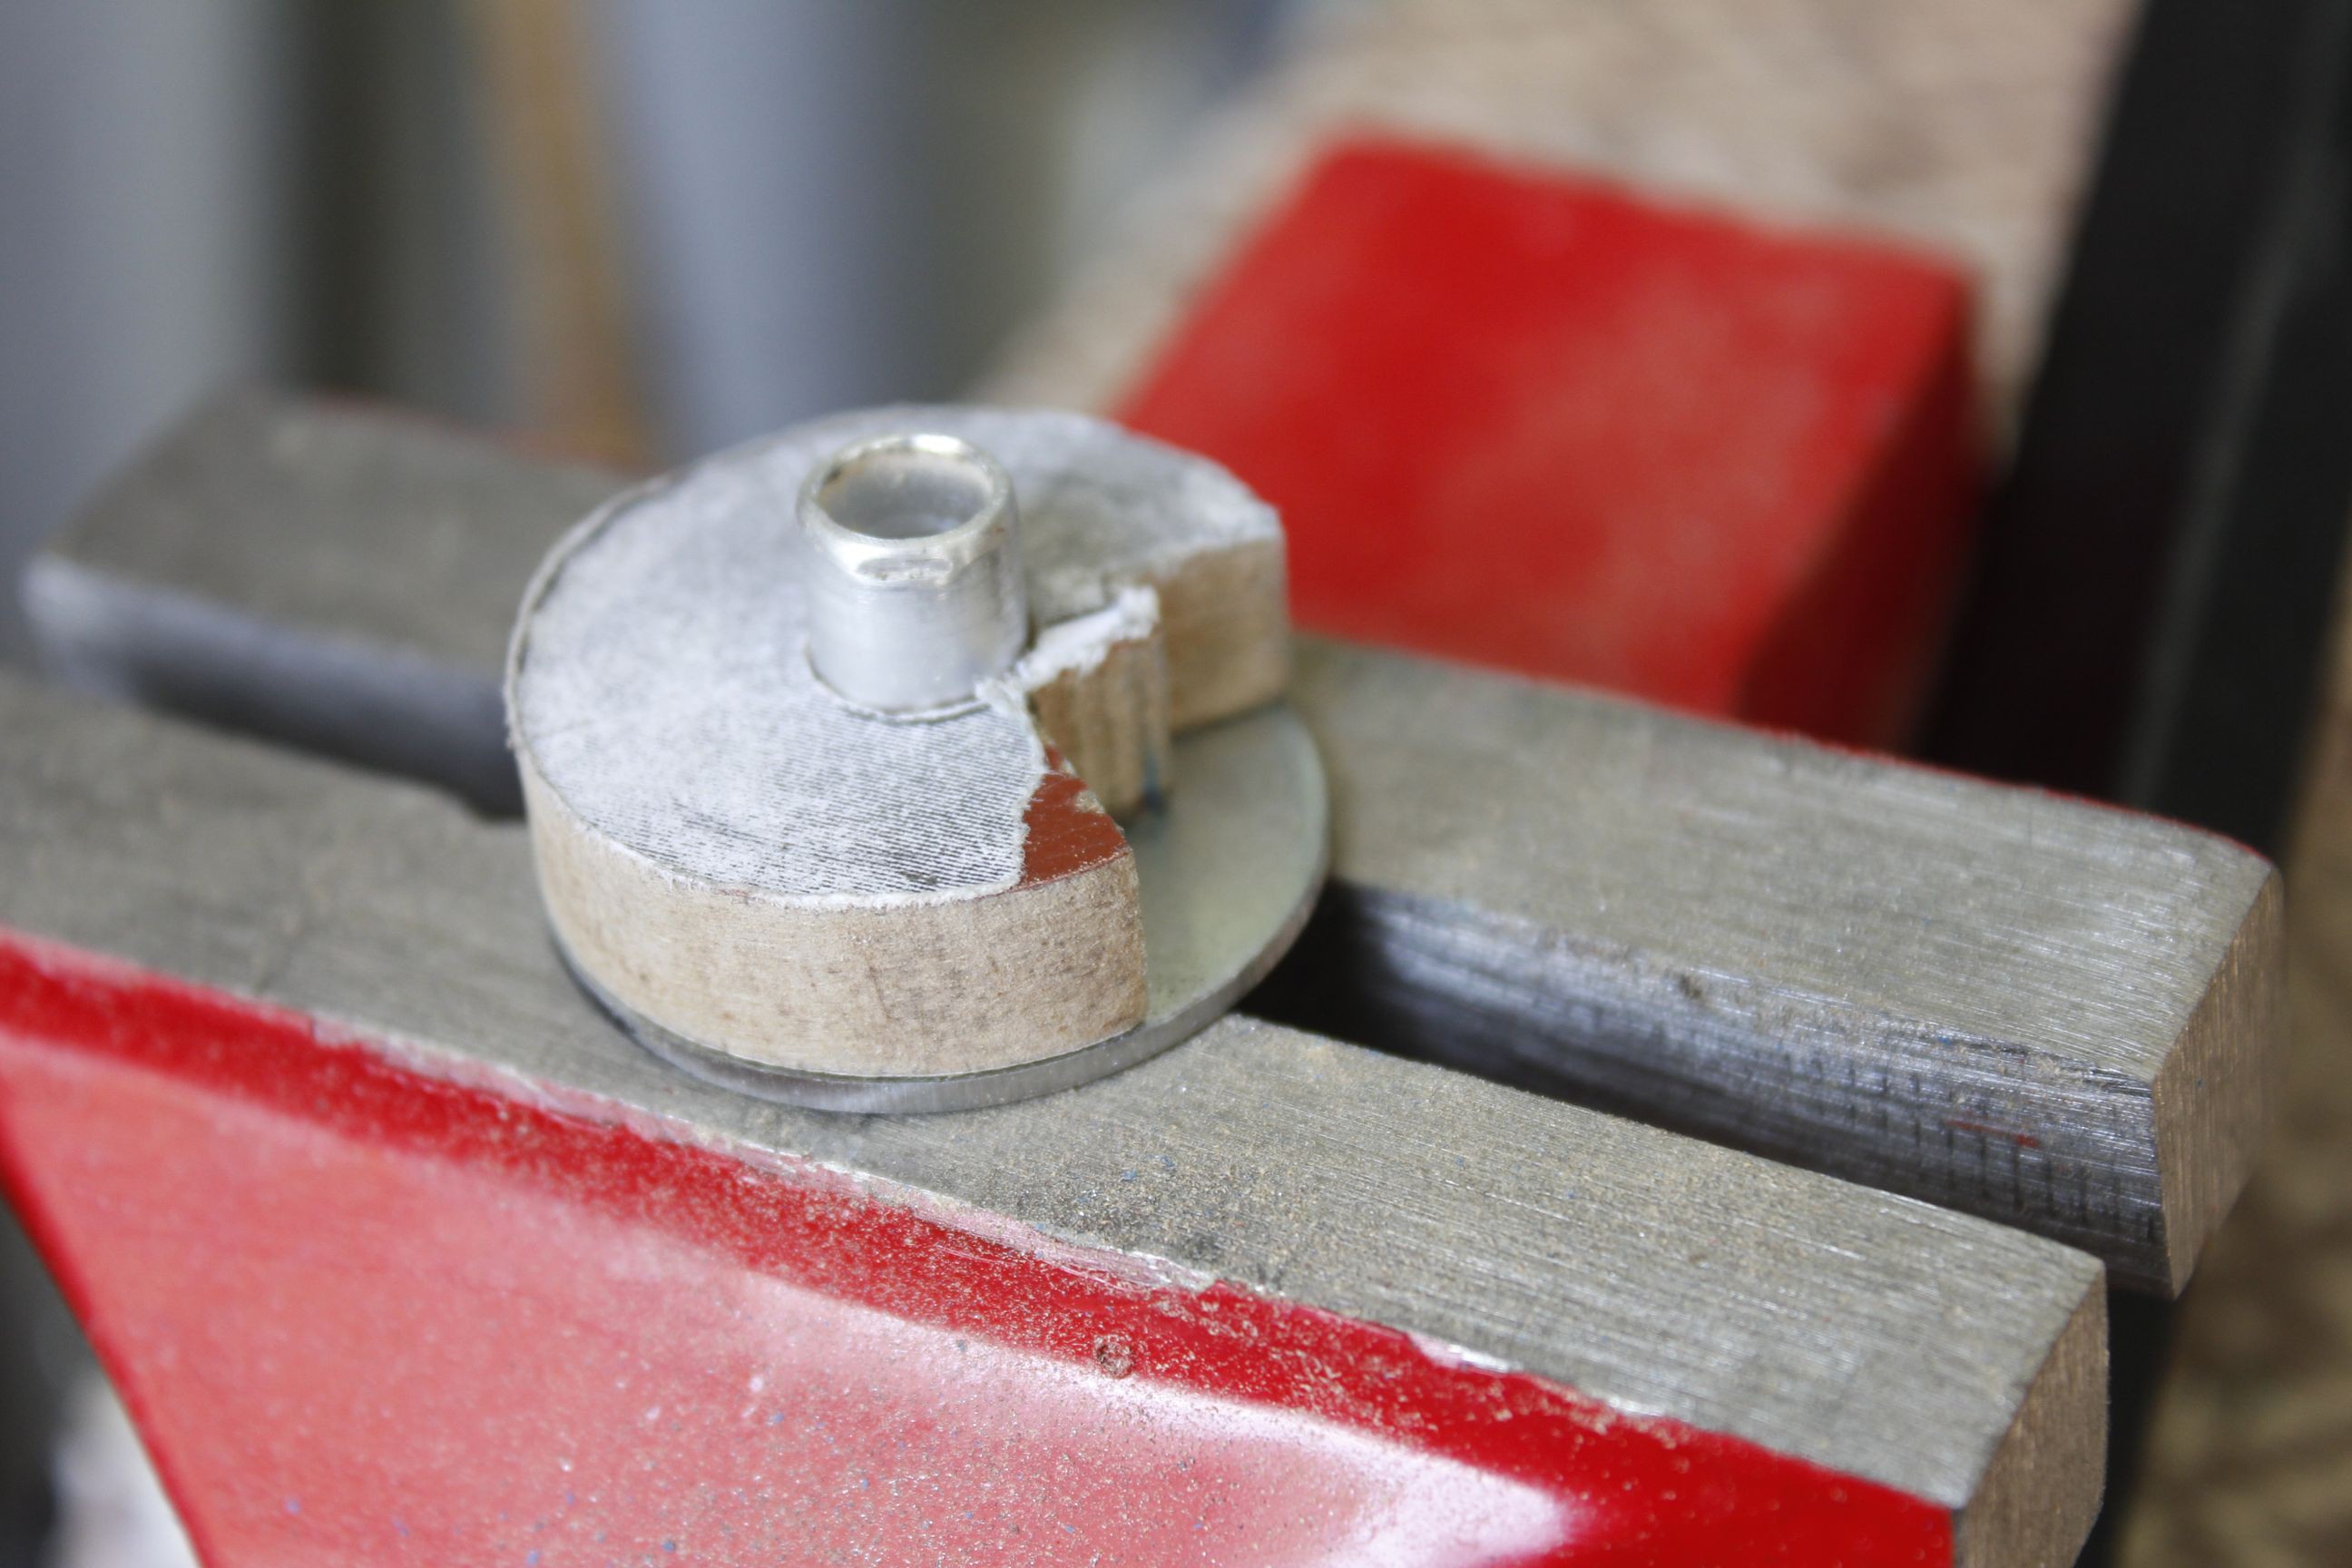
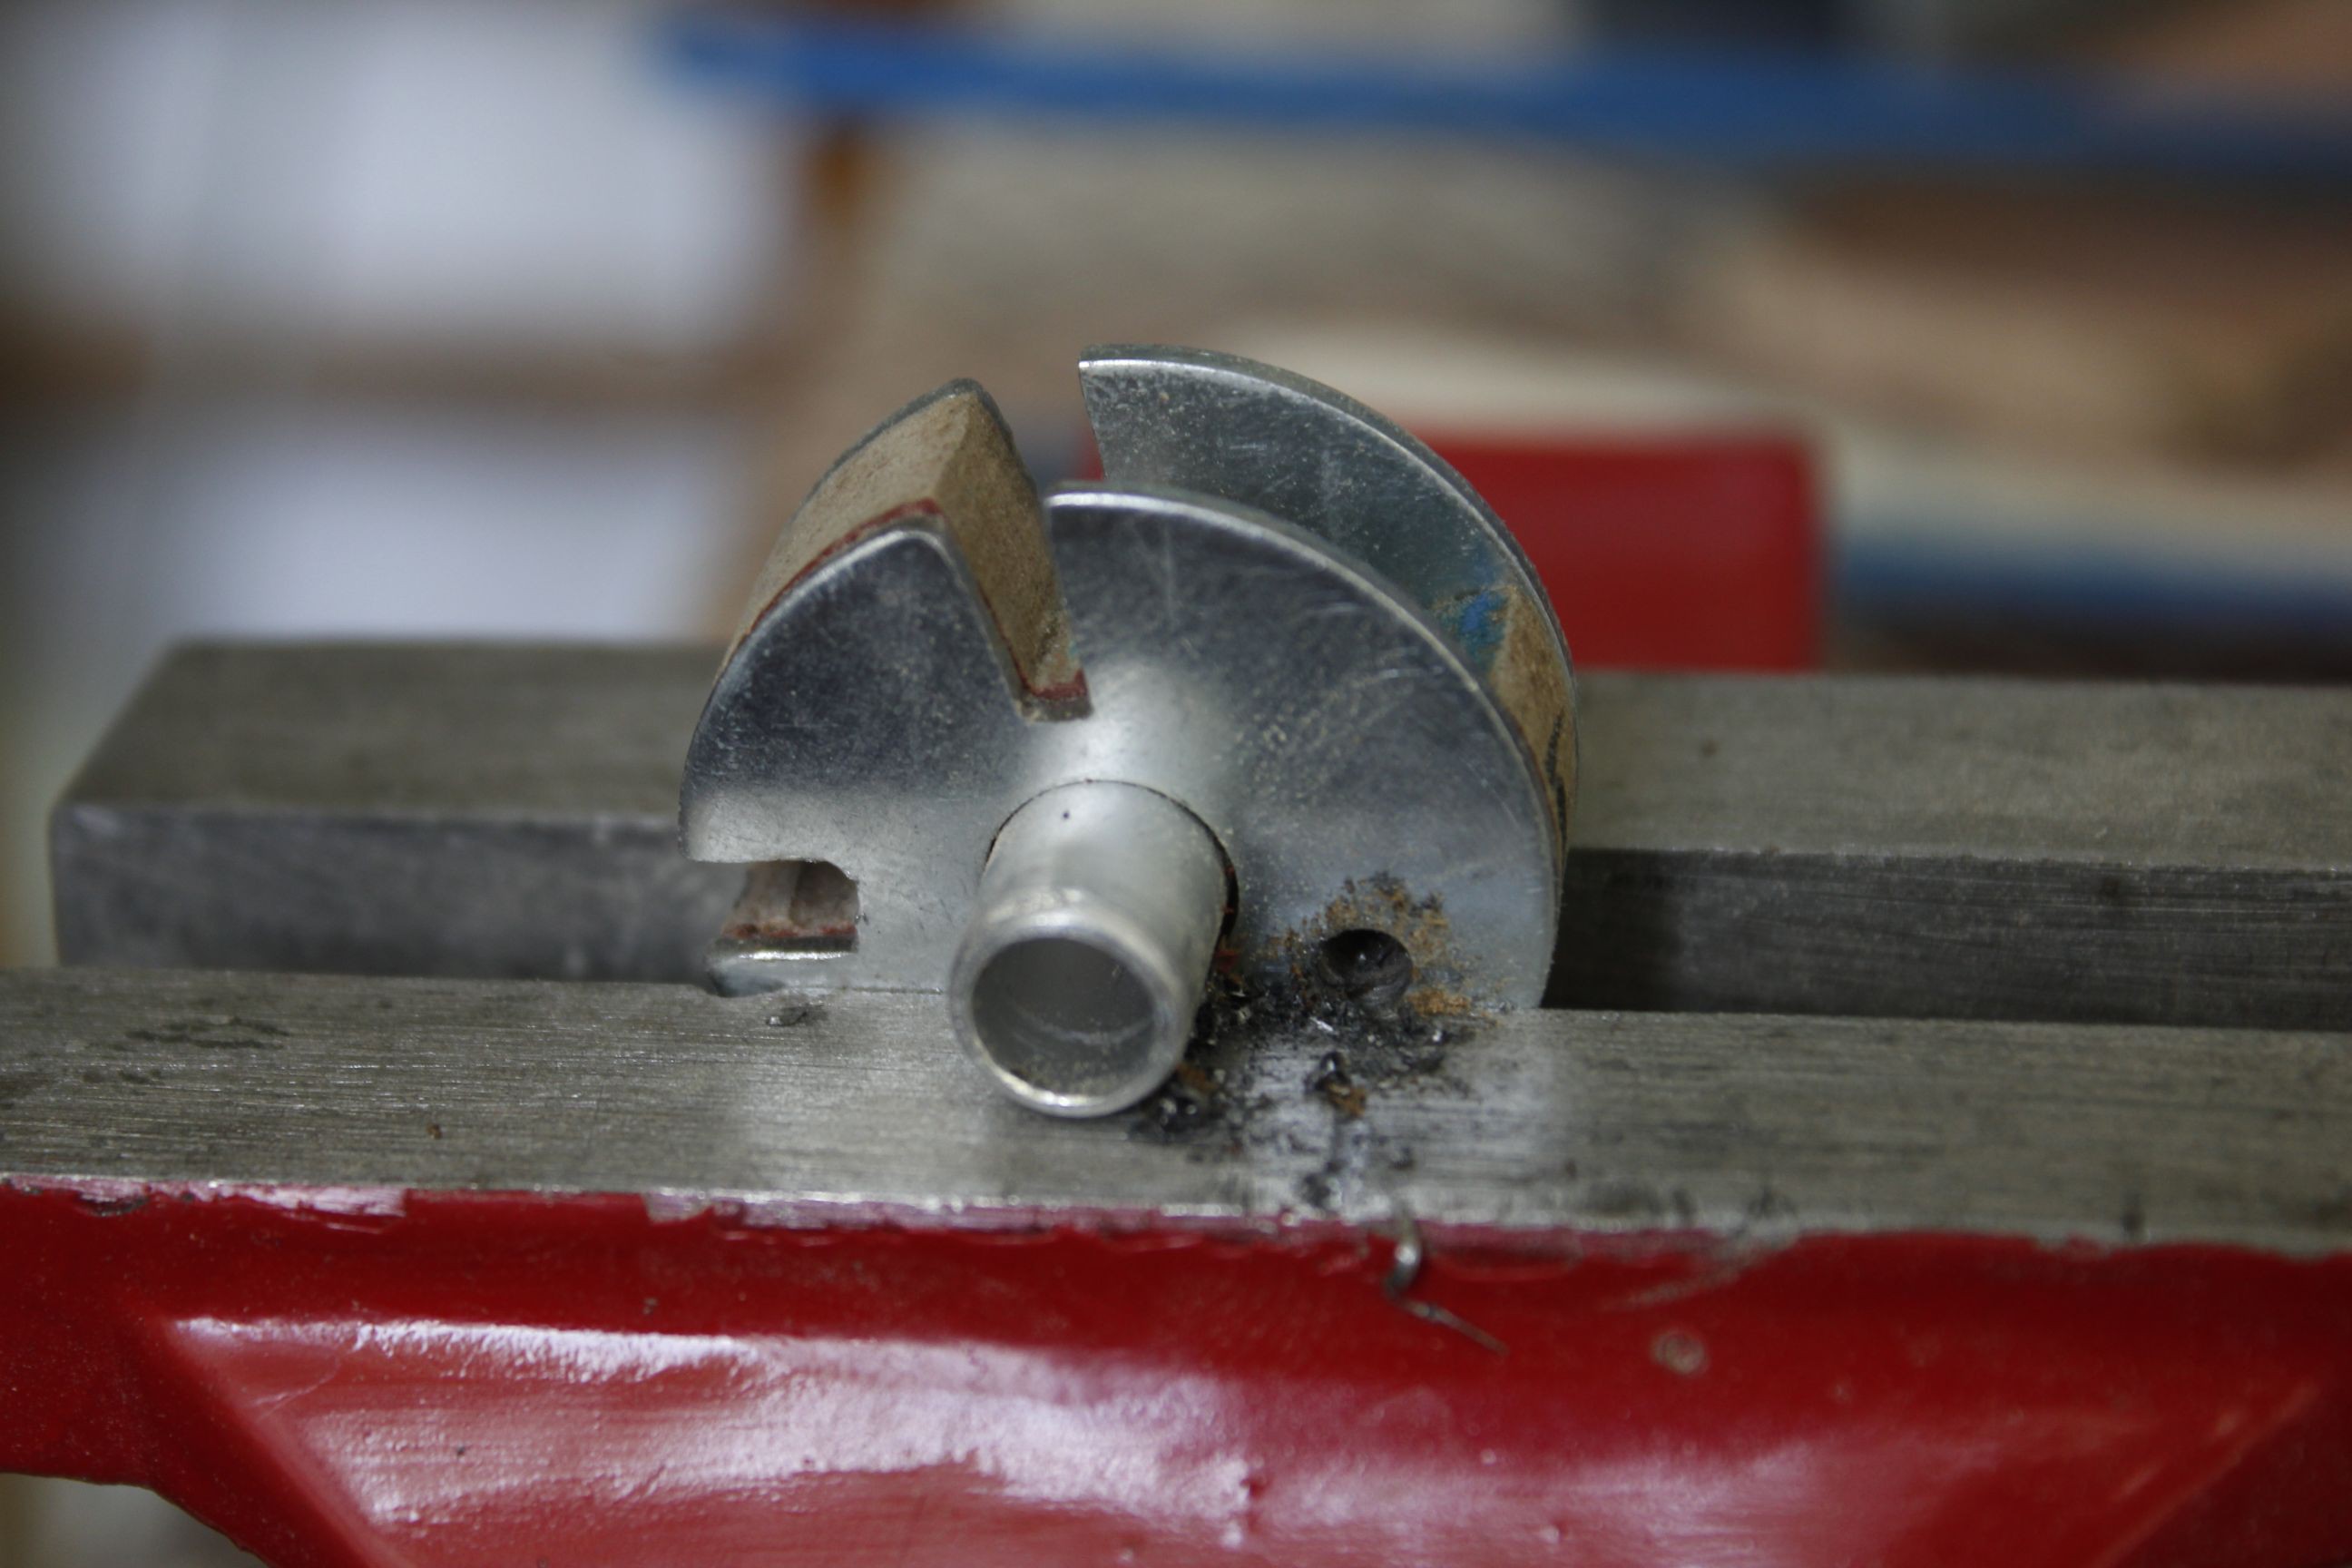
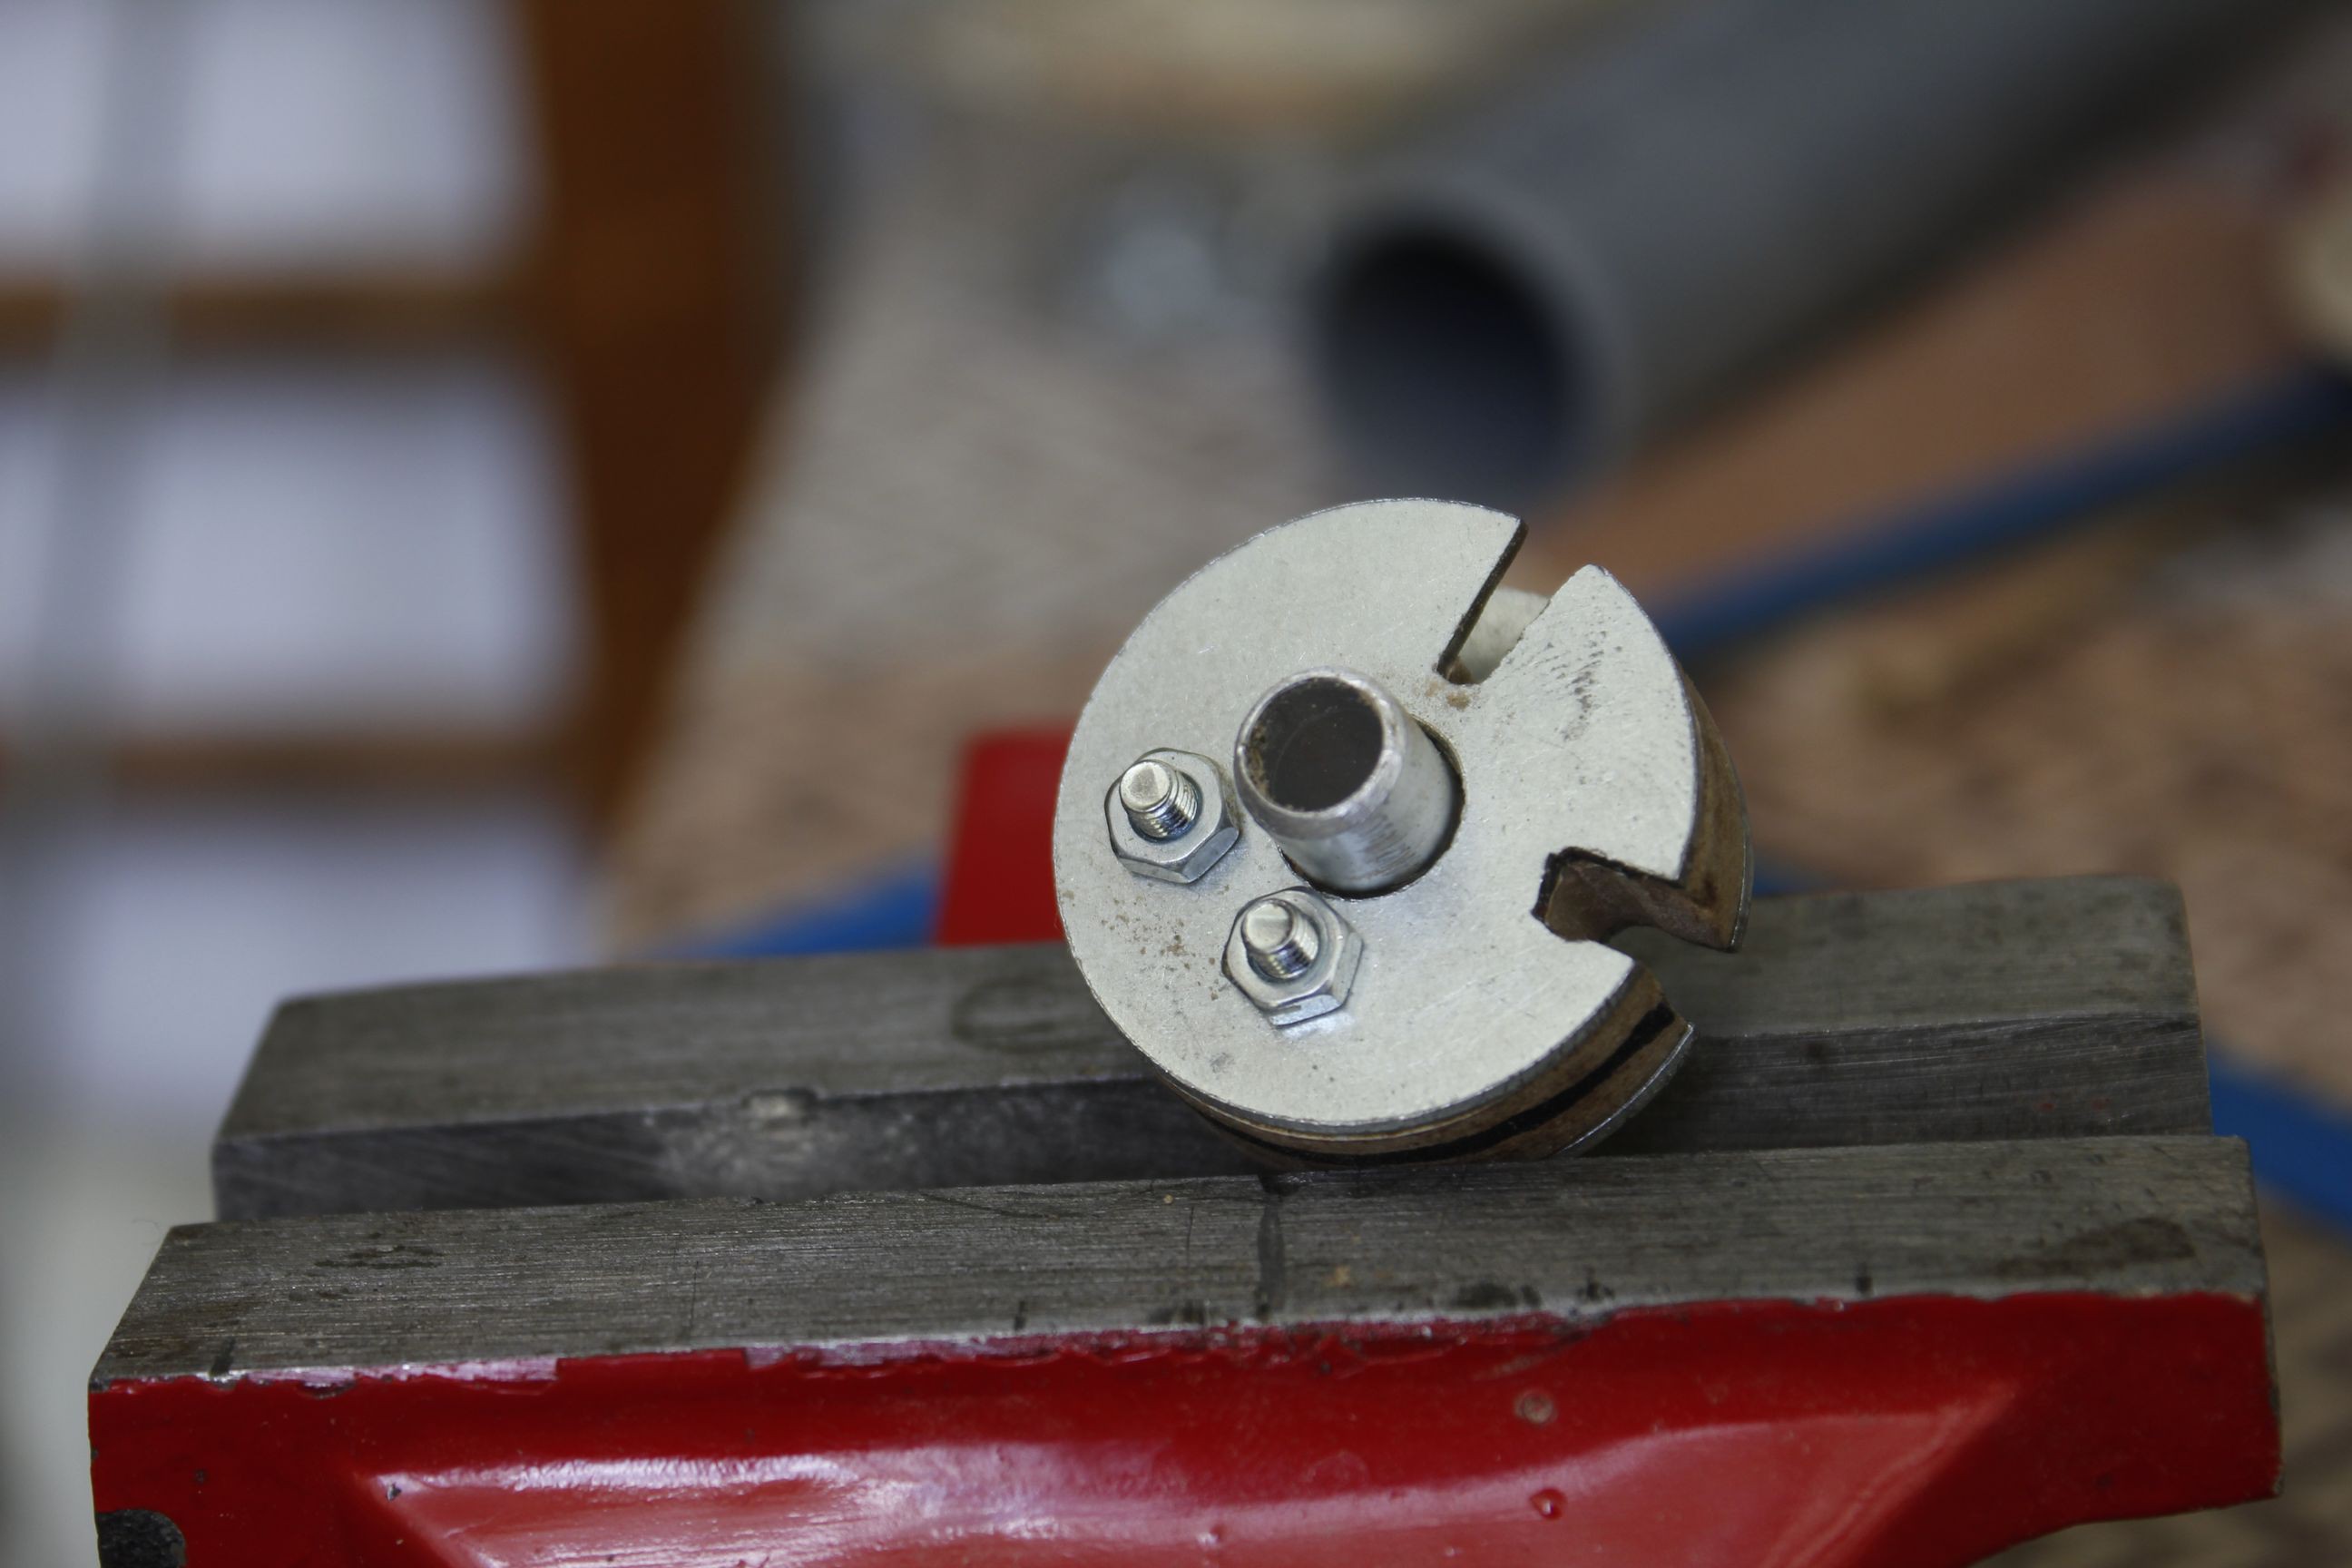
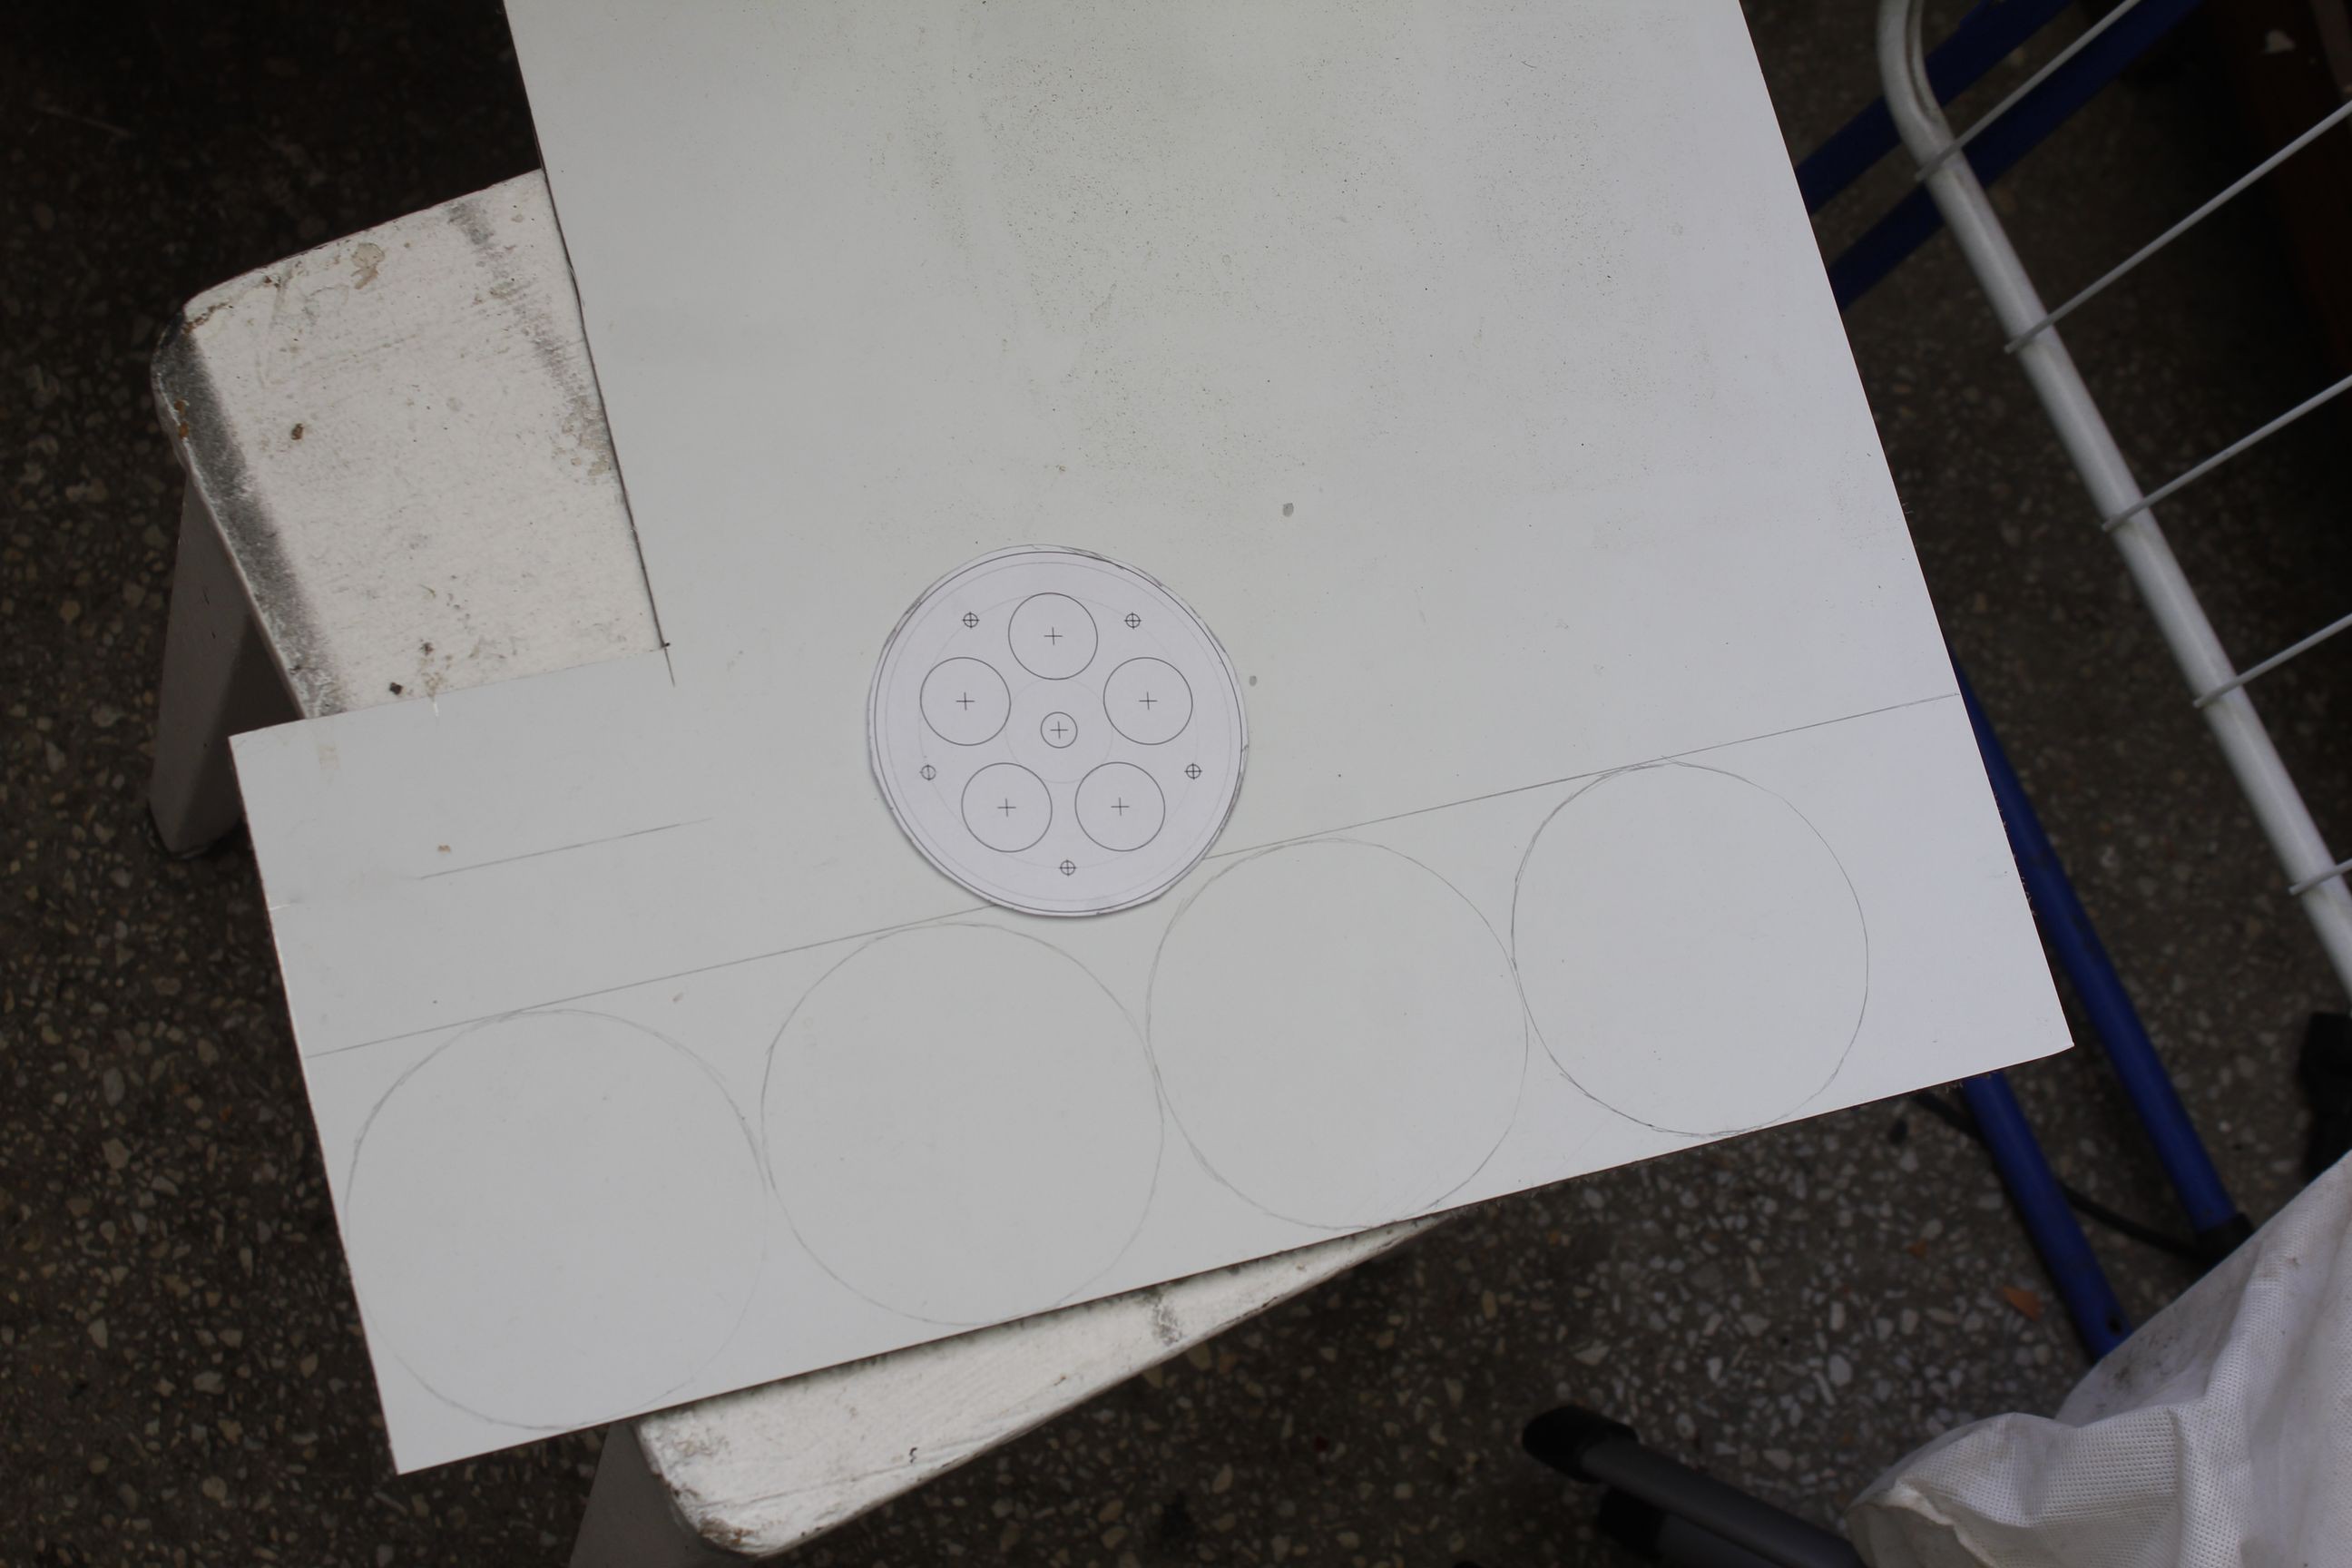
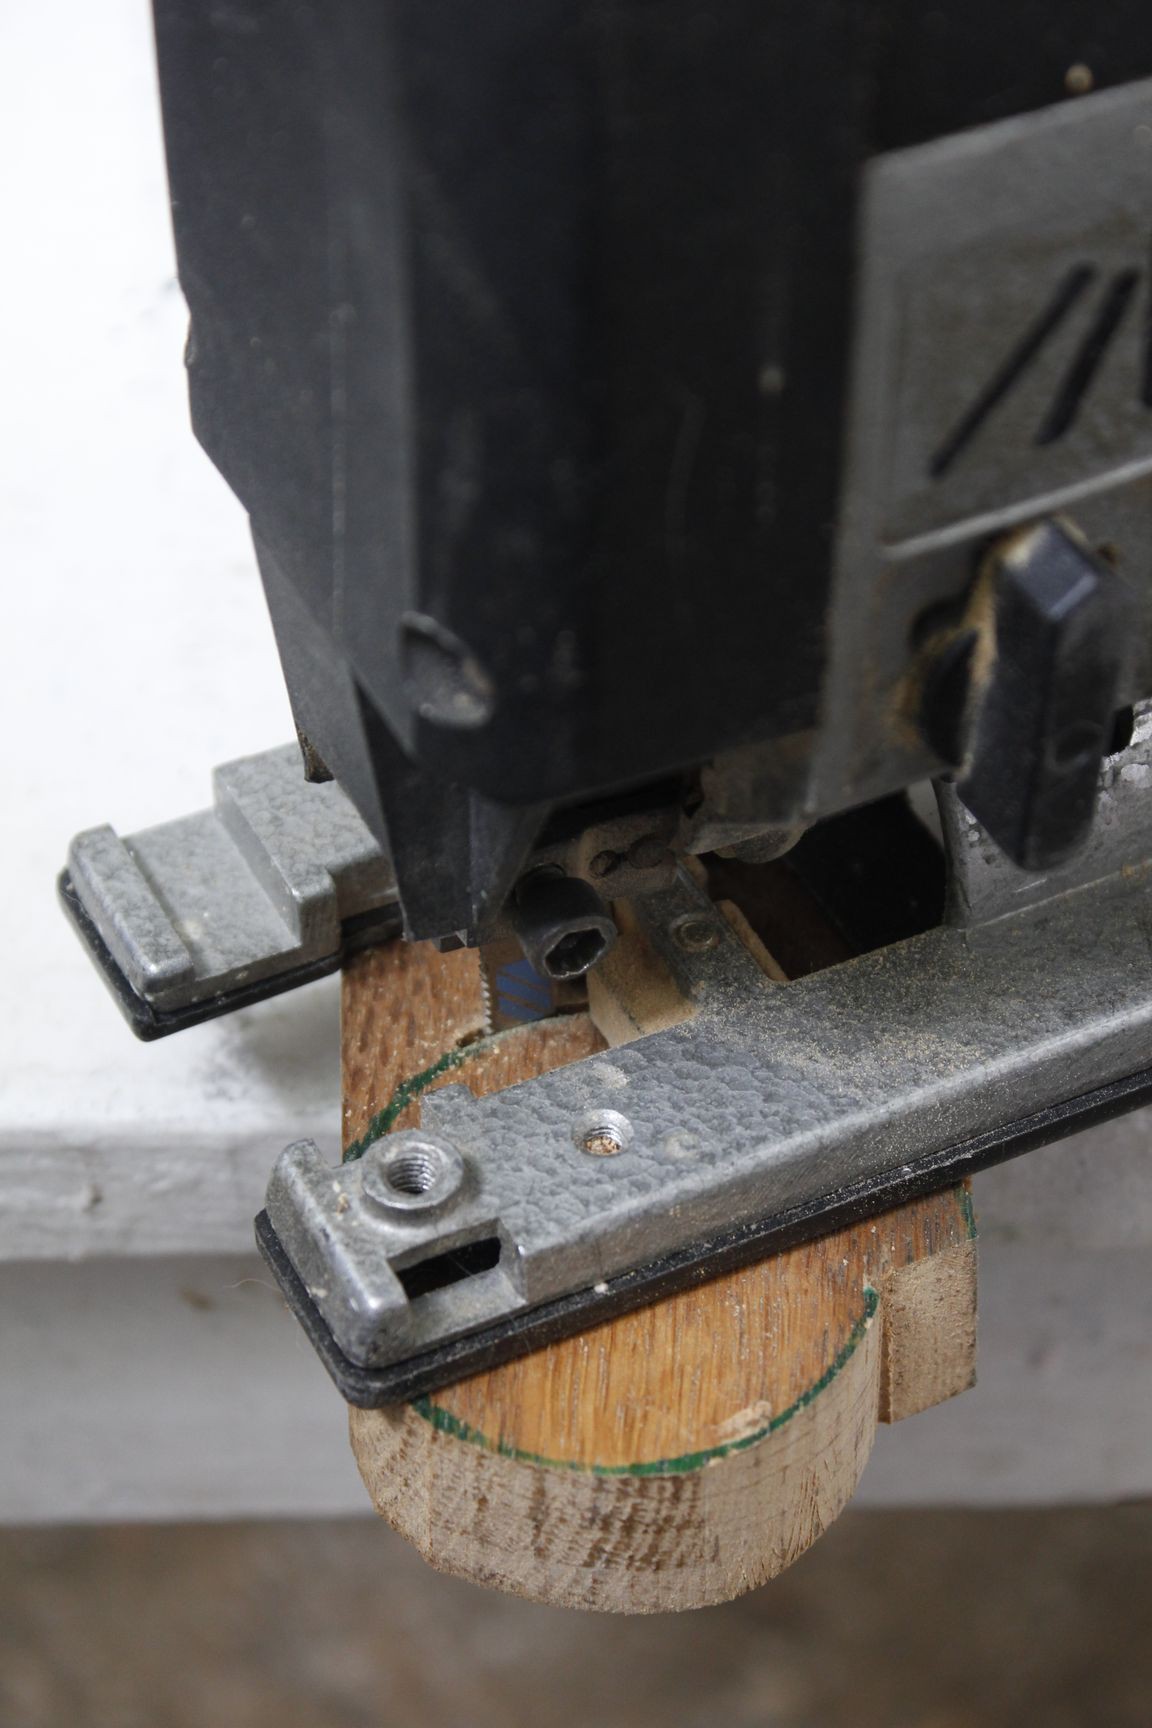
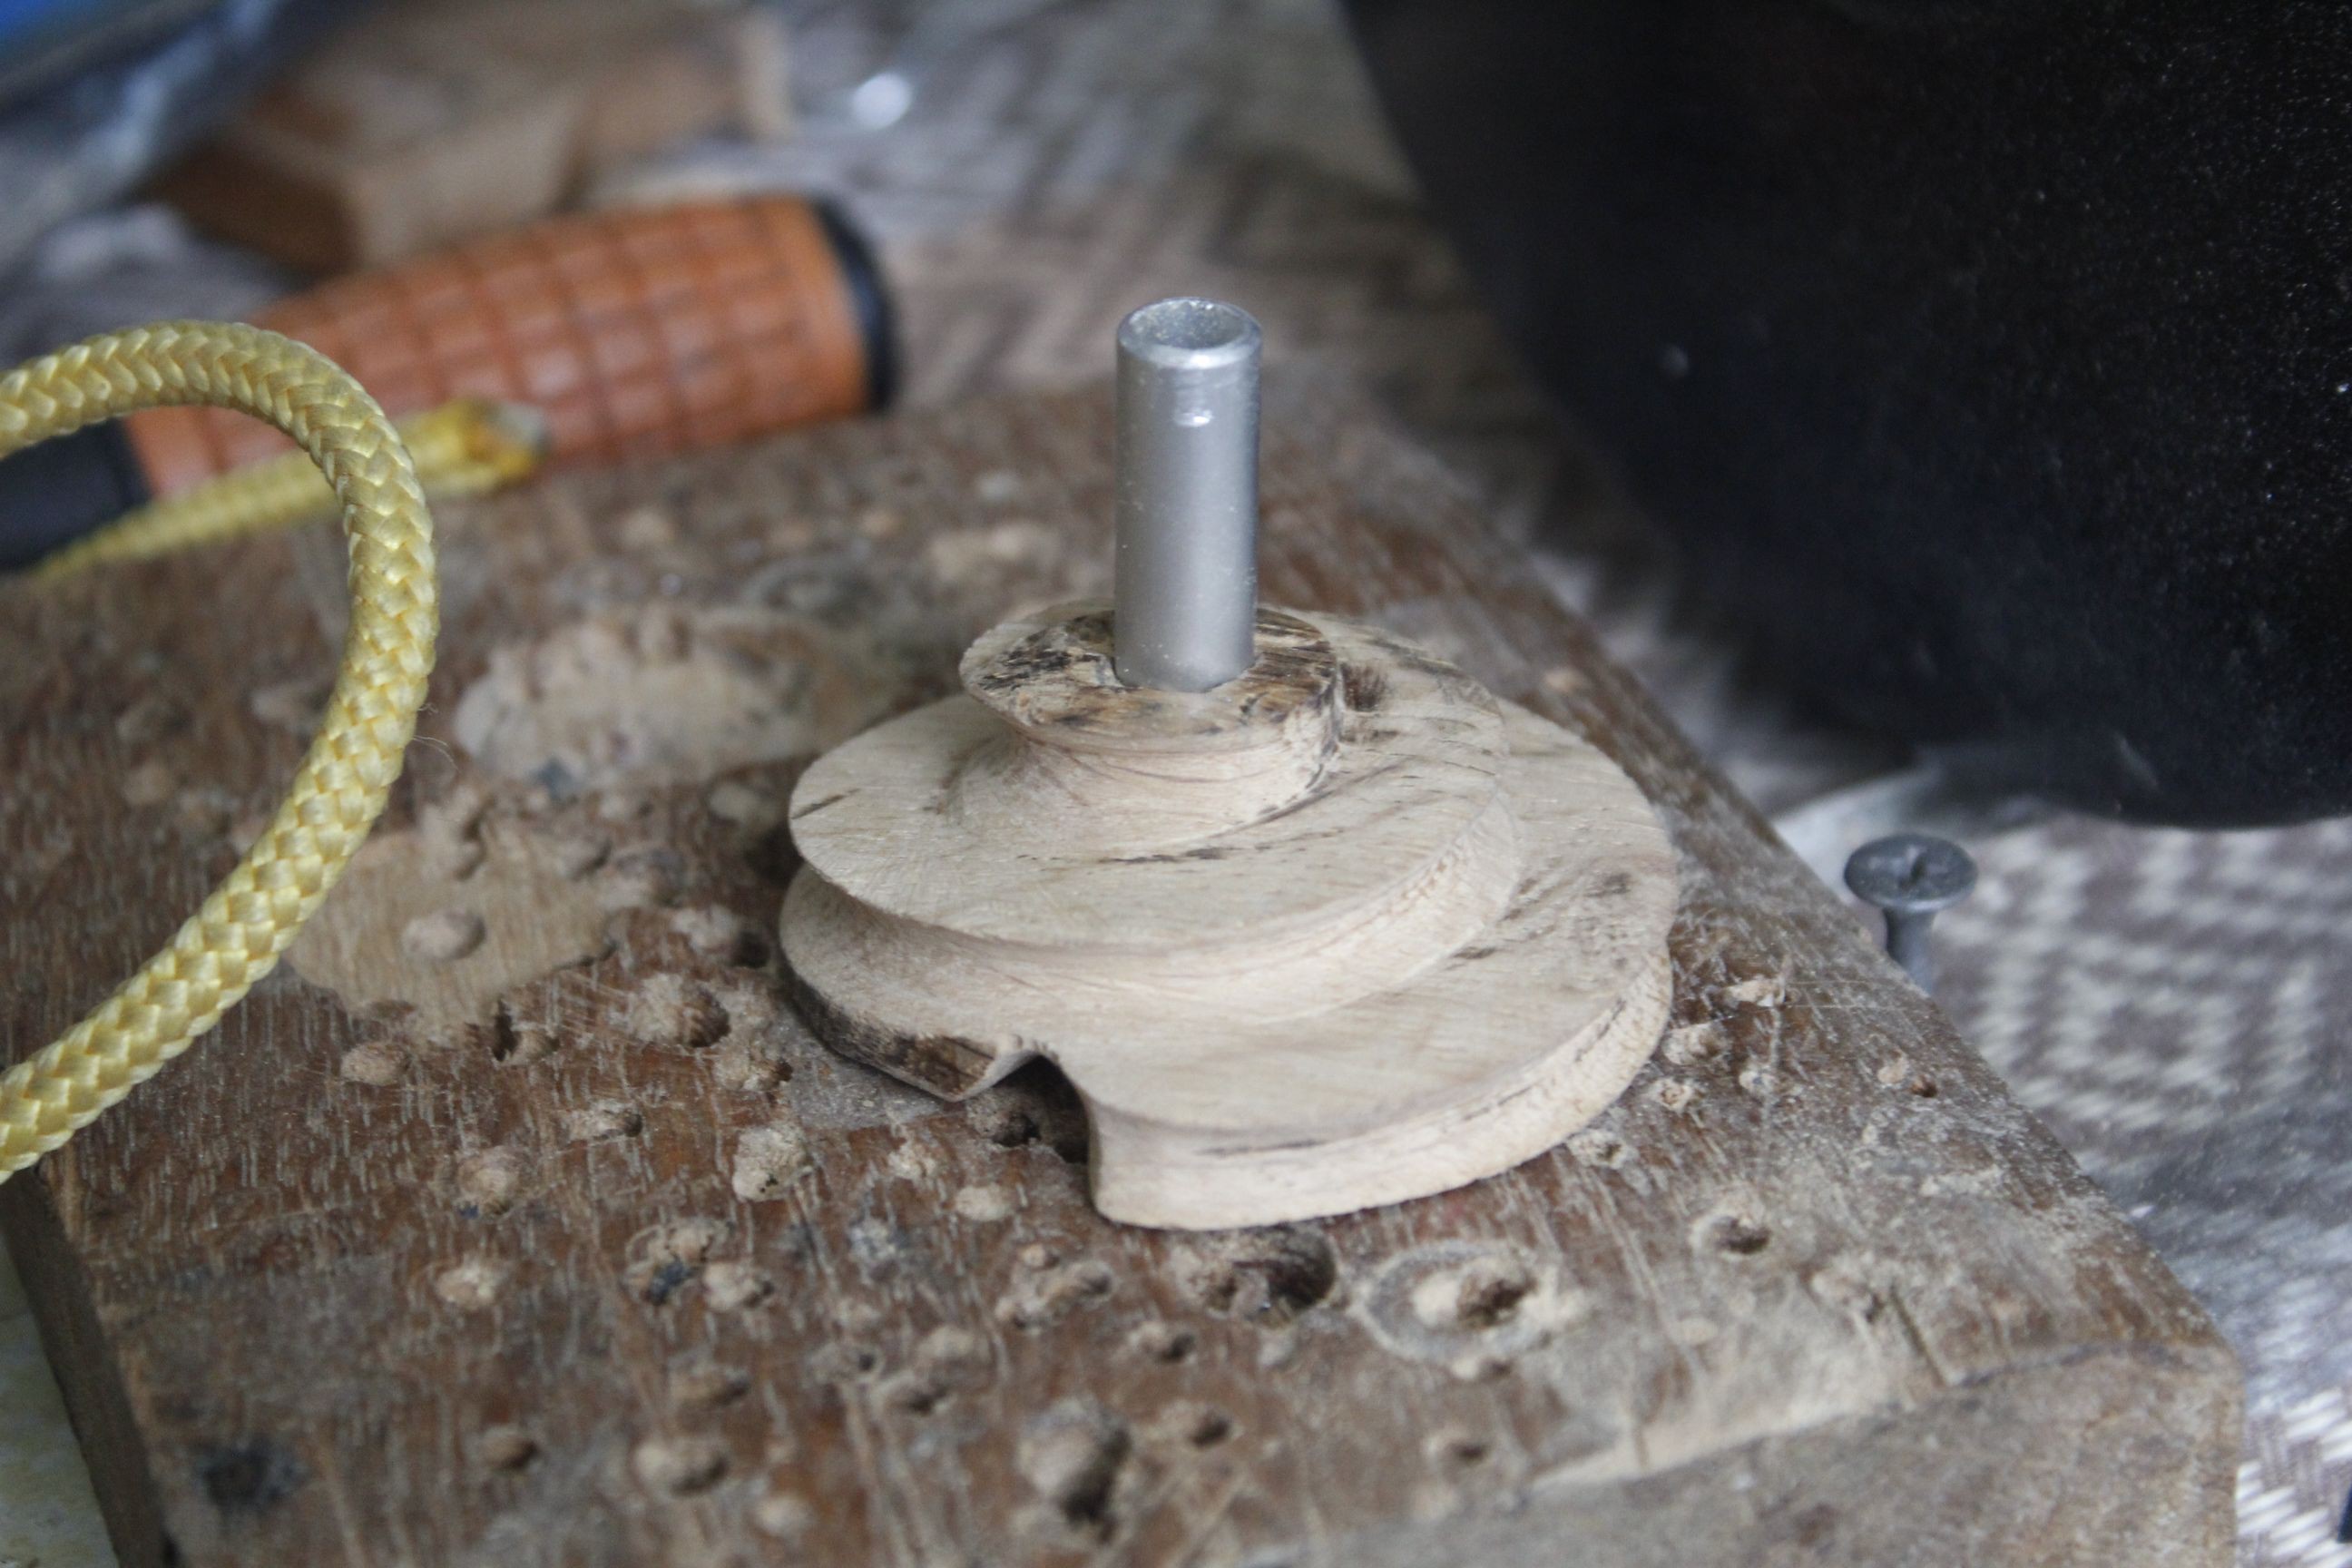
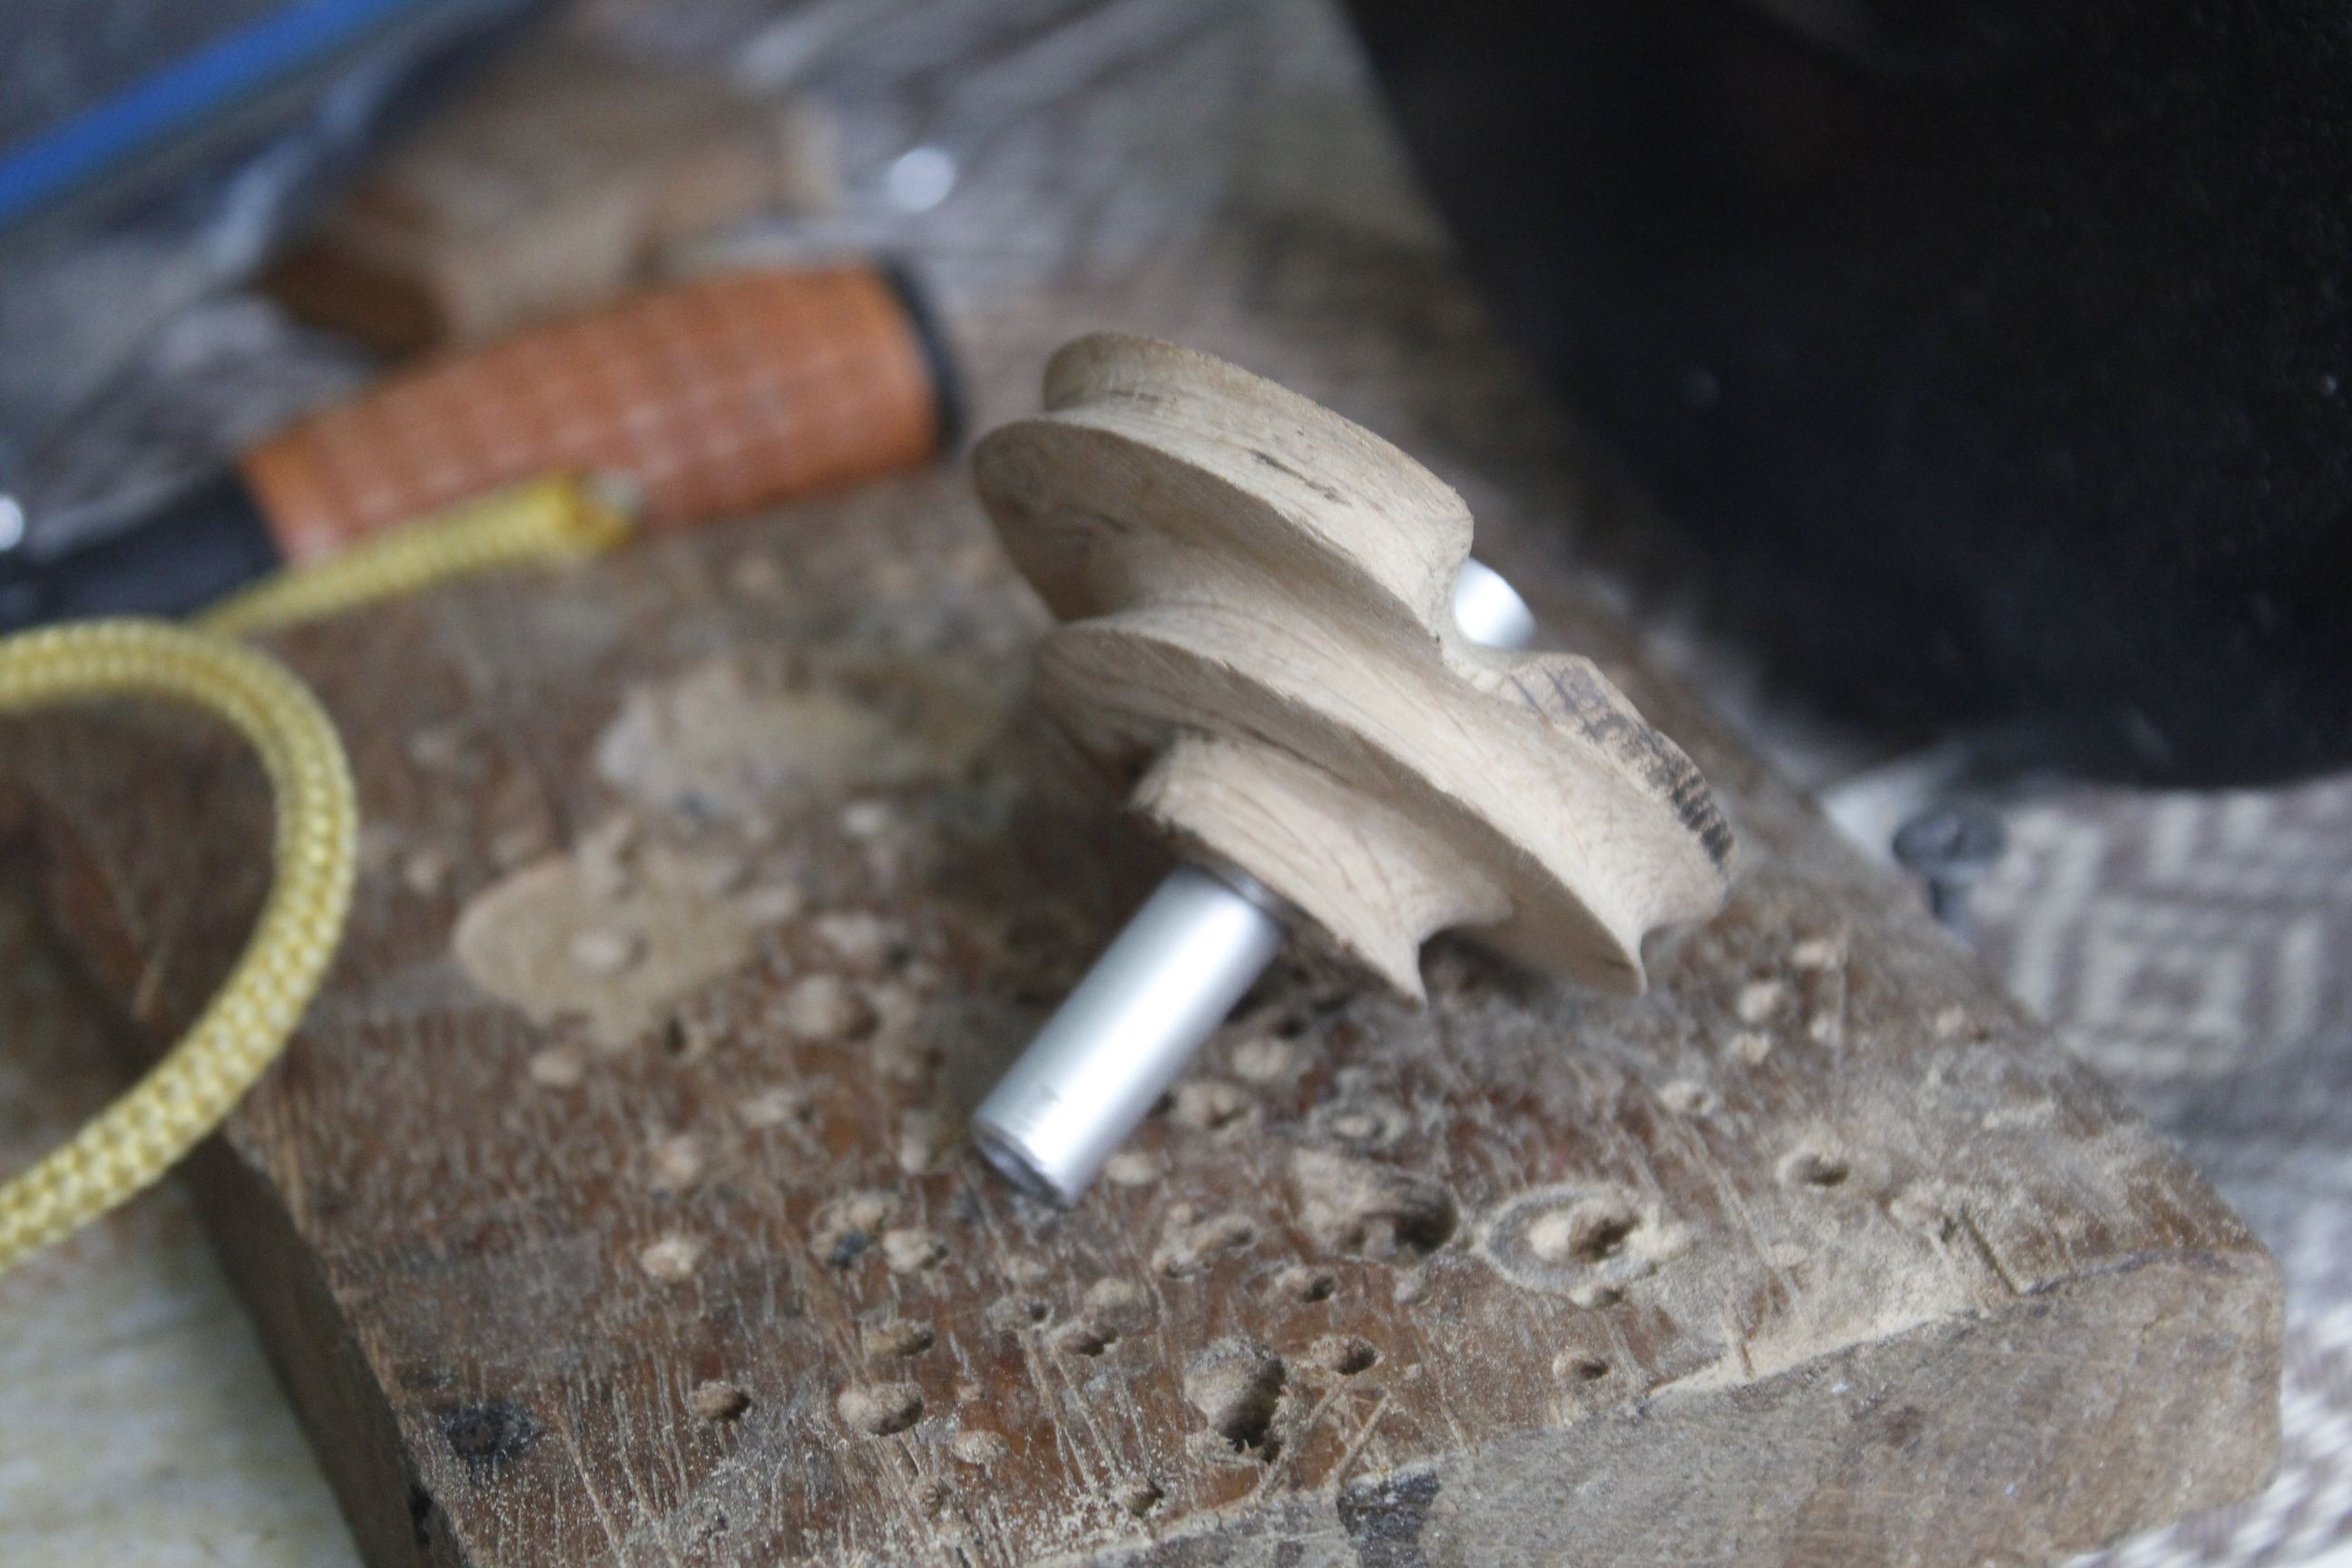
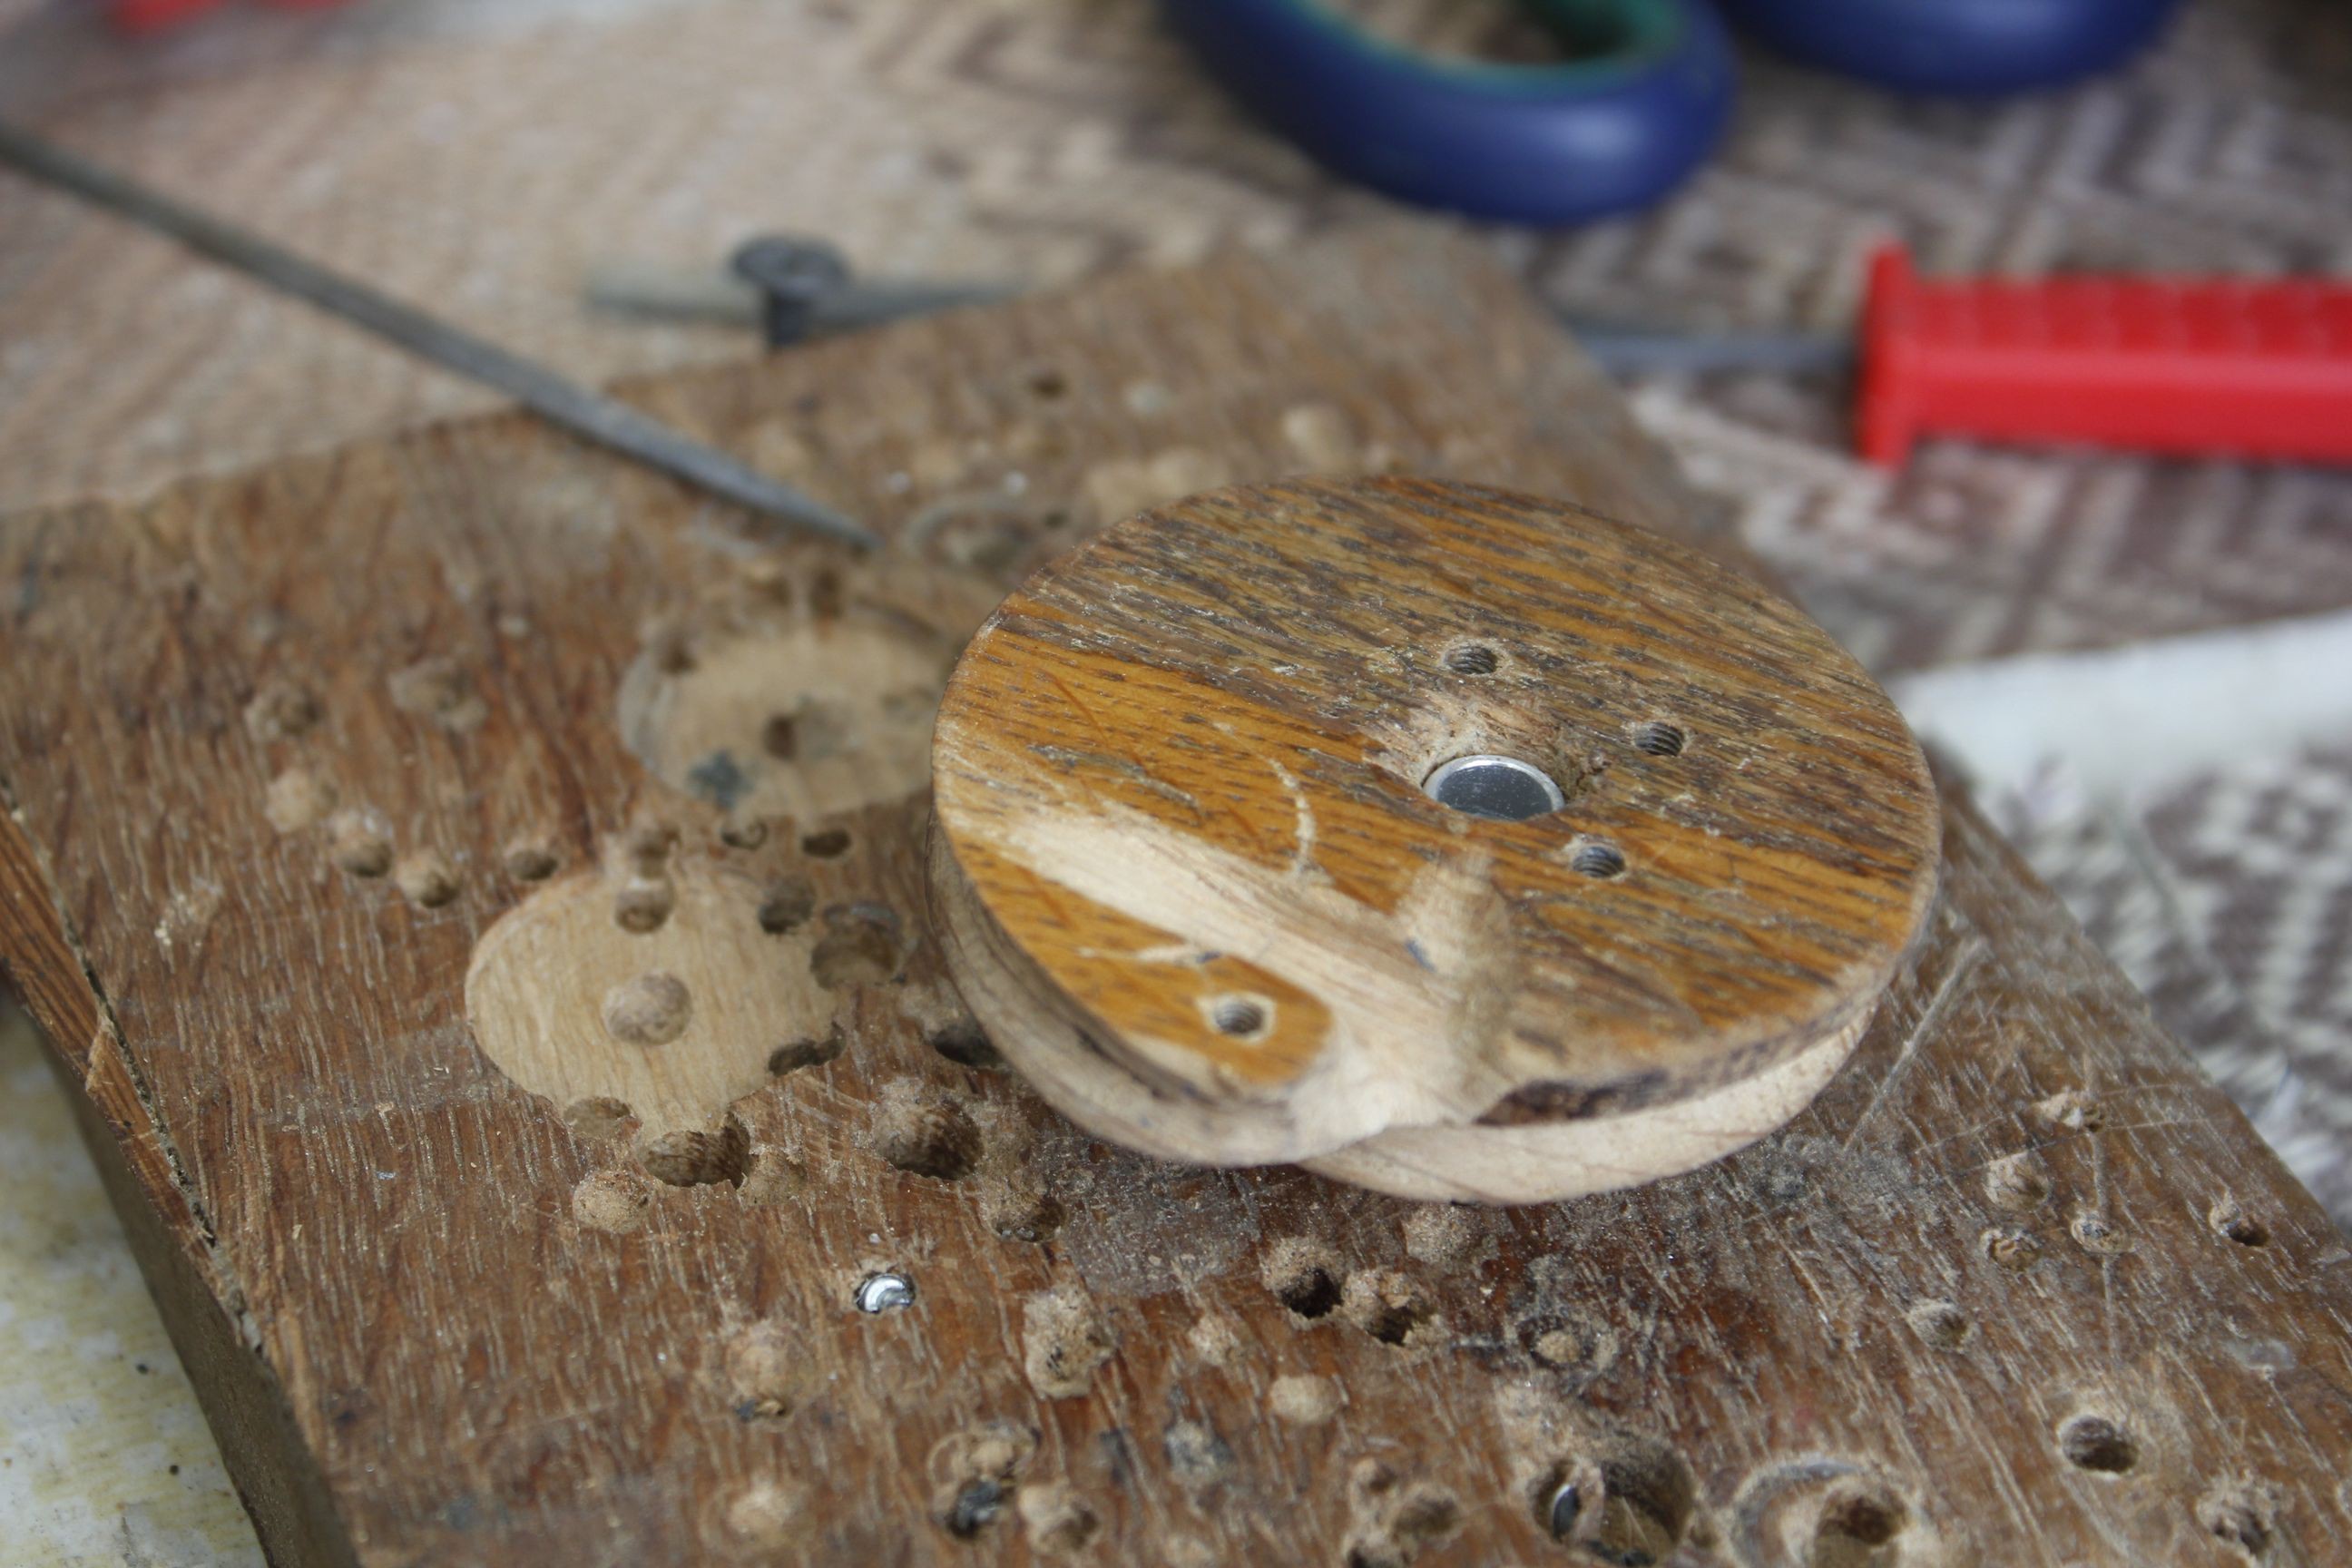
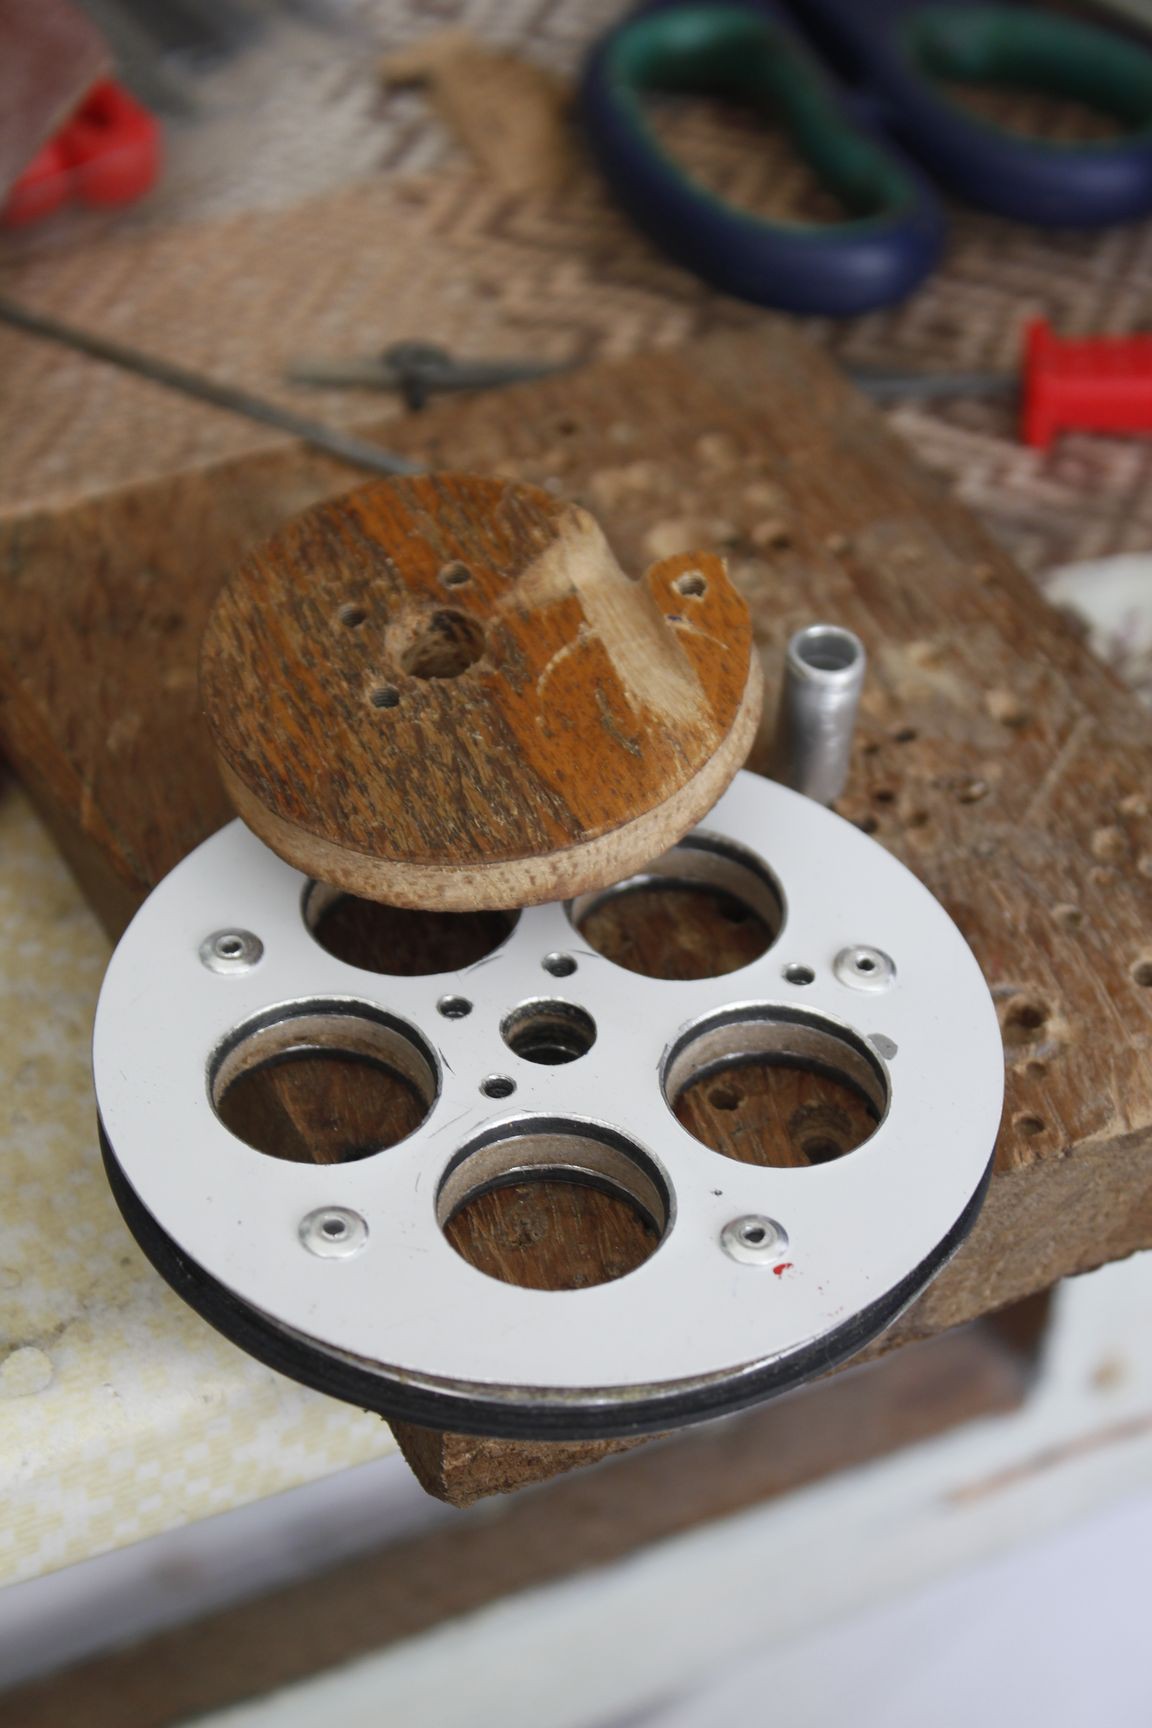
To finalize the cam assembly the spiral was trued up and some spacers made: first I tried MDF impregnated with CA but they were not strong enough, so I remade them from Dibond scraps.
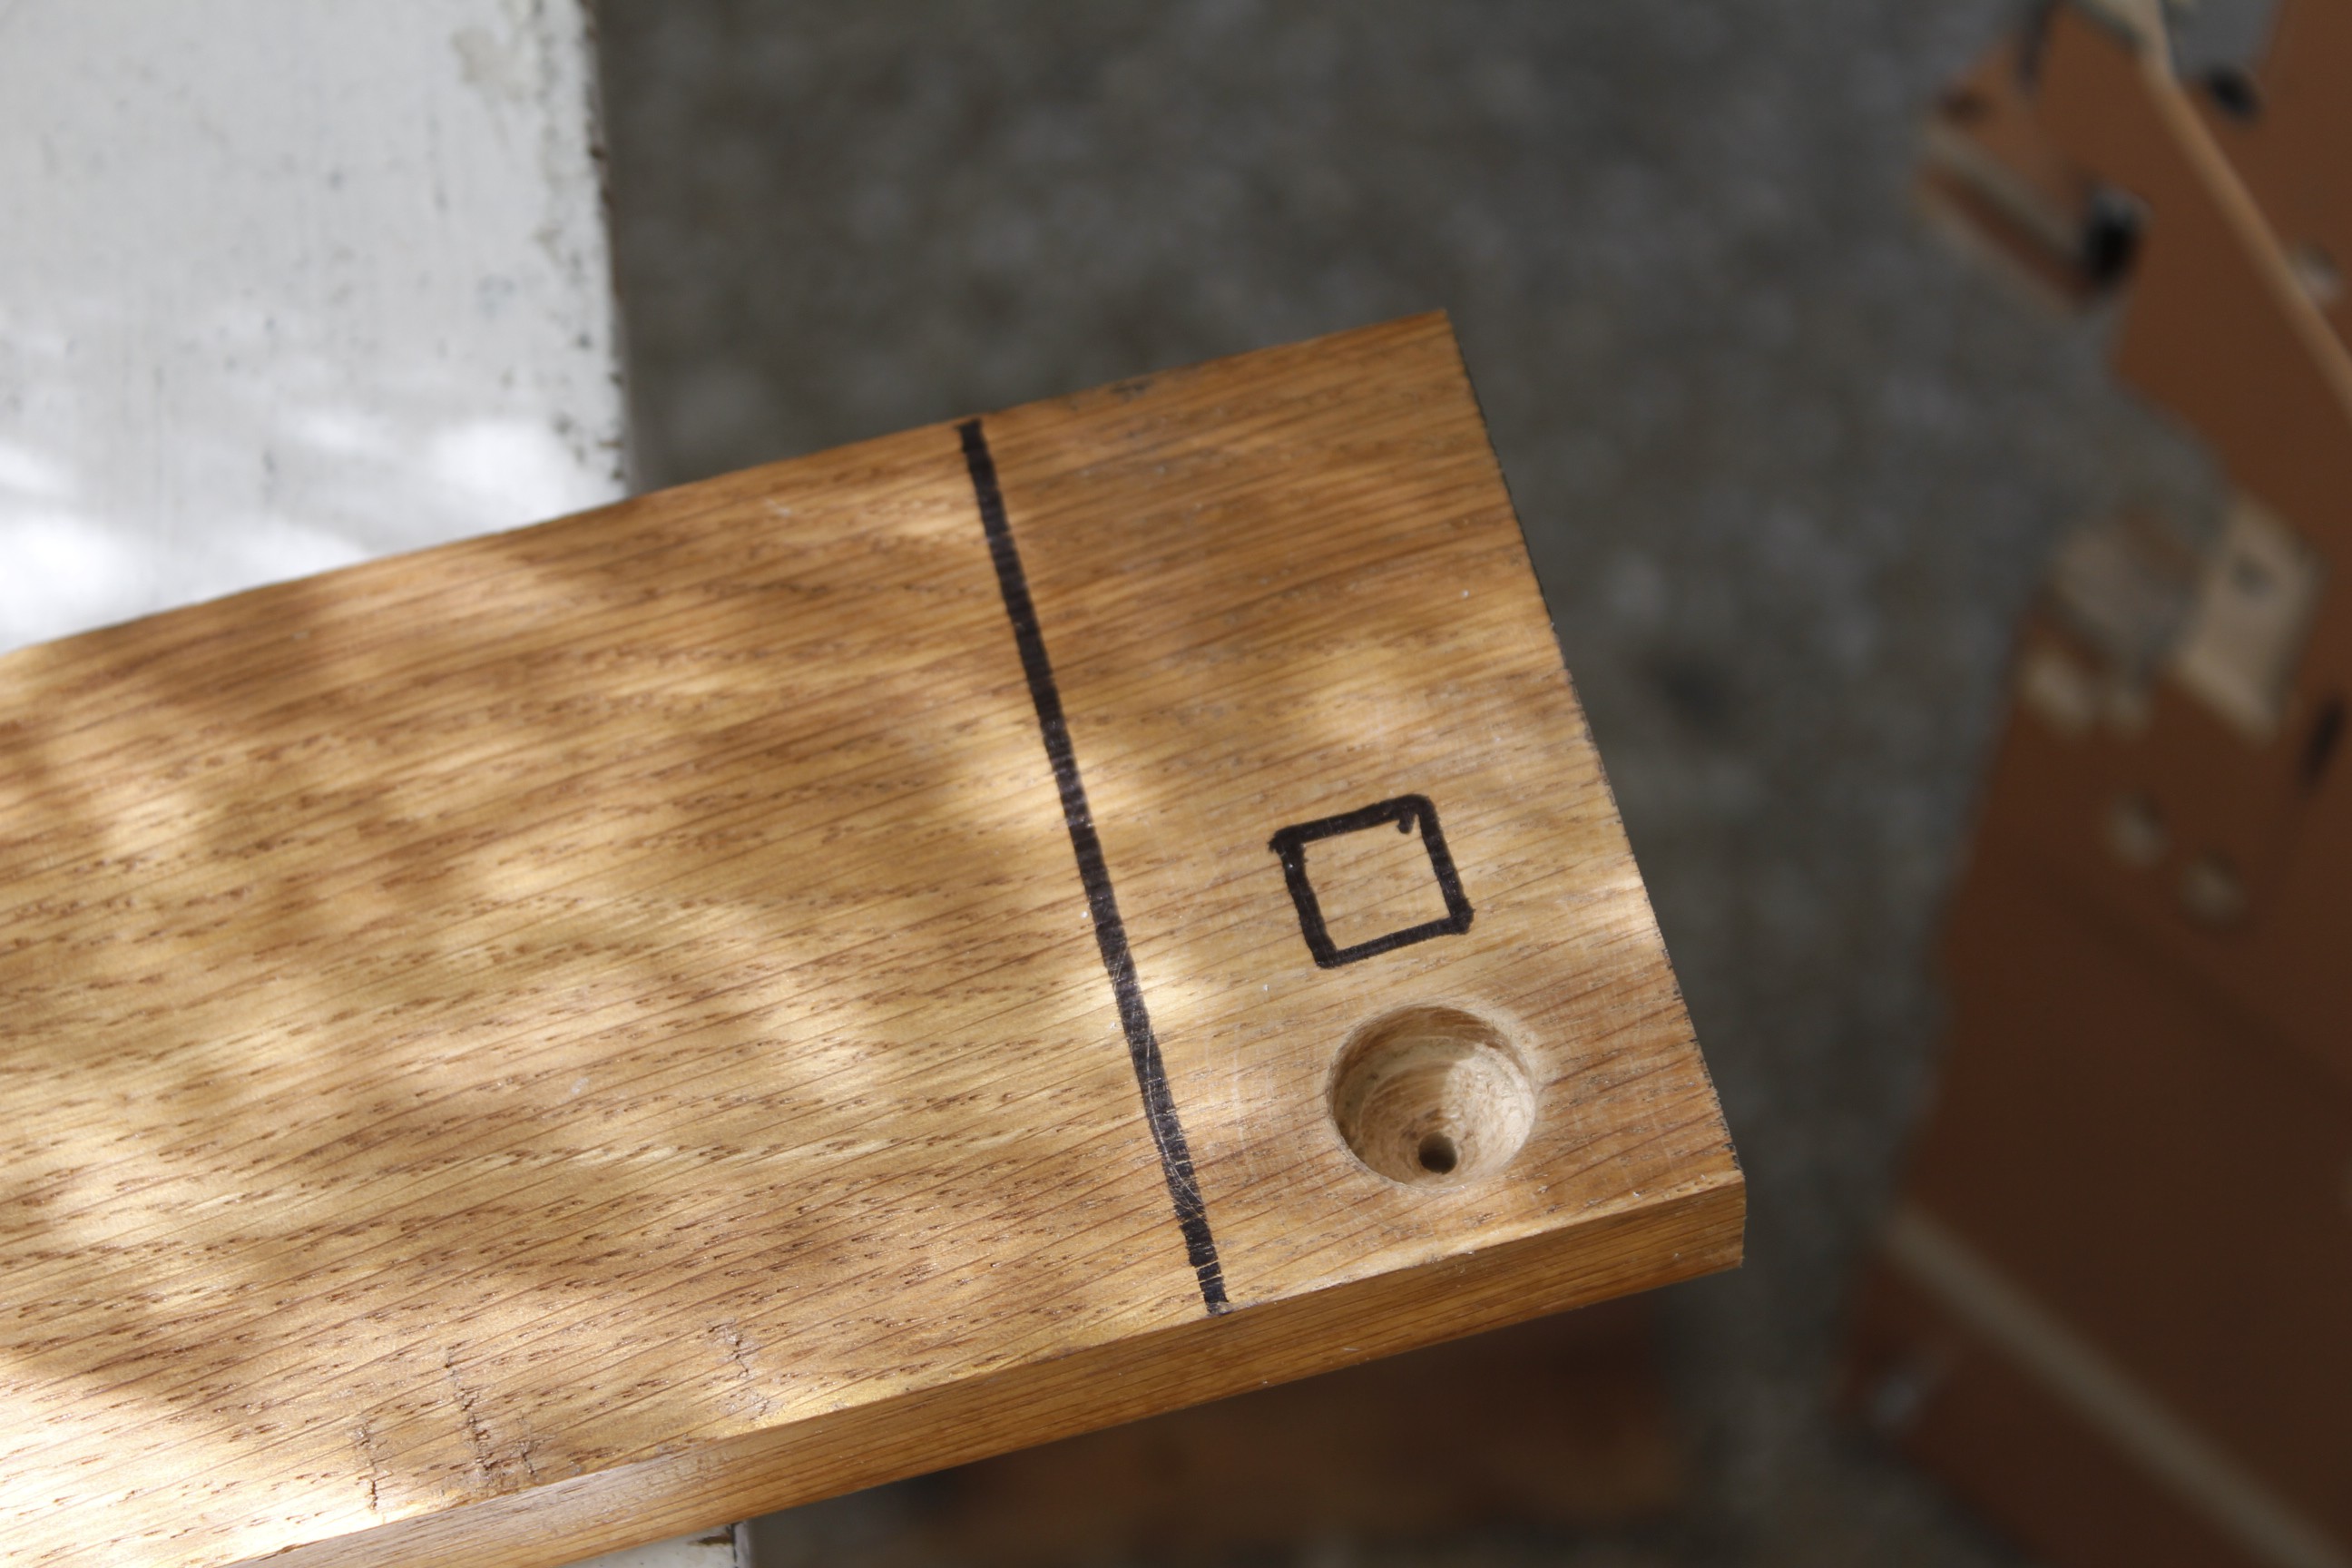
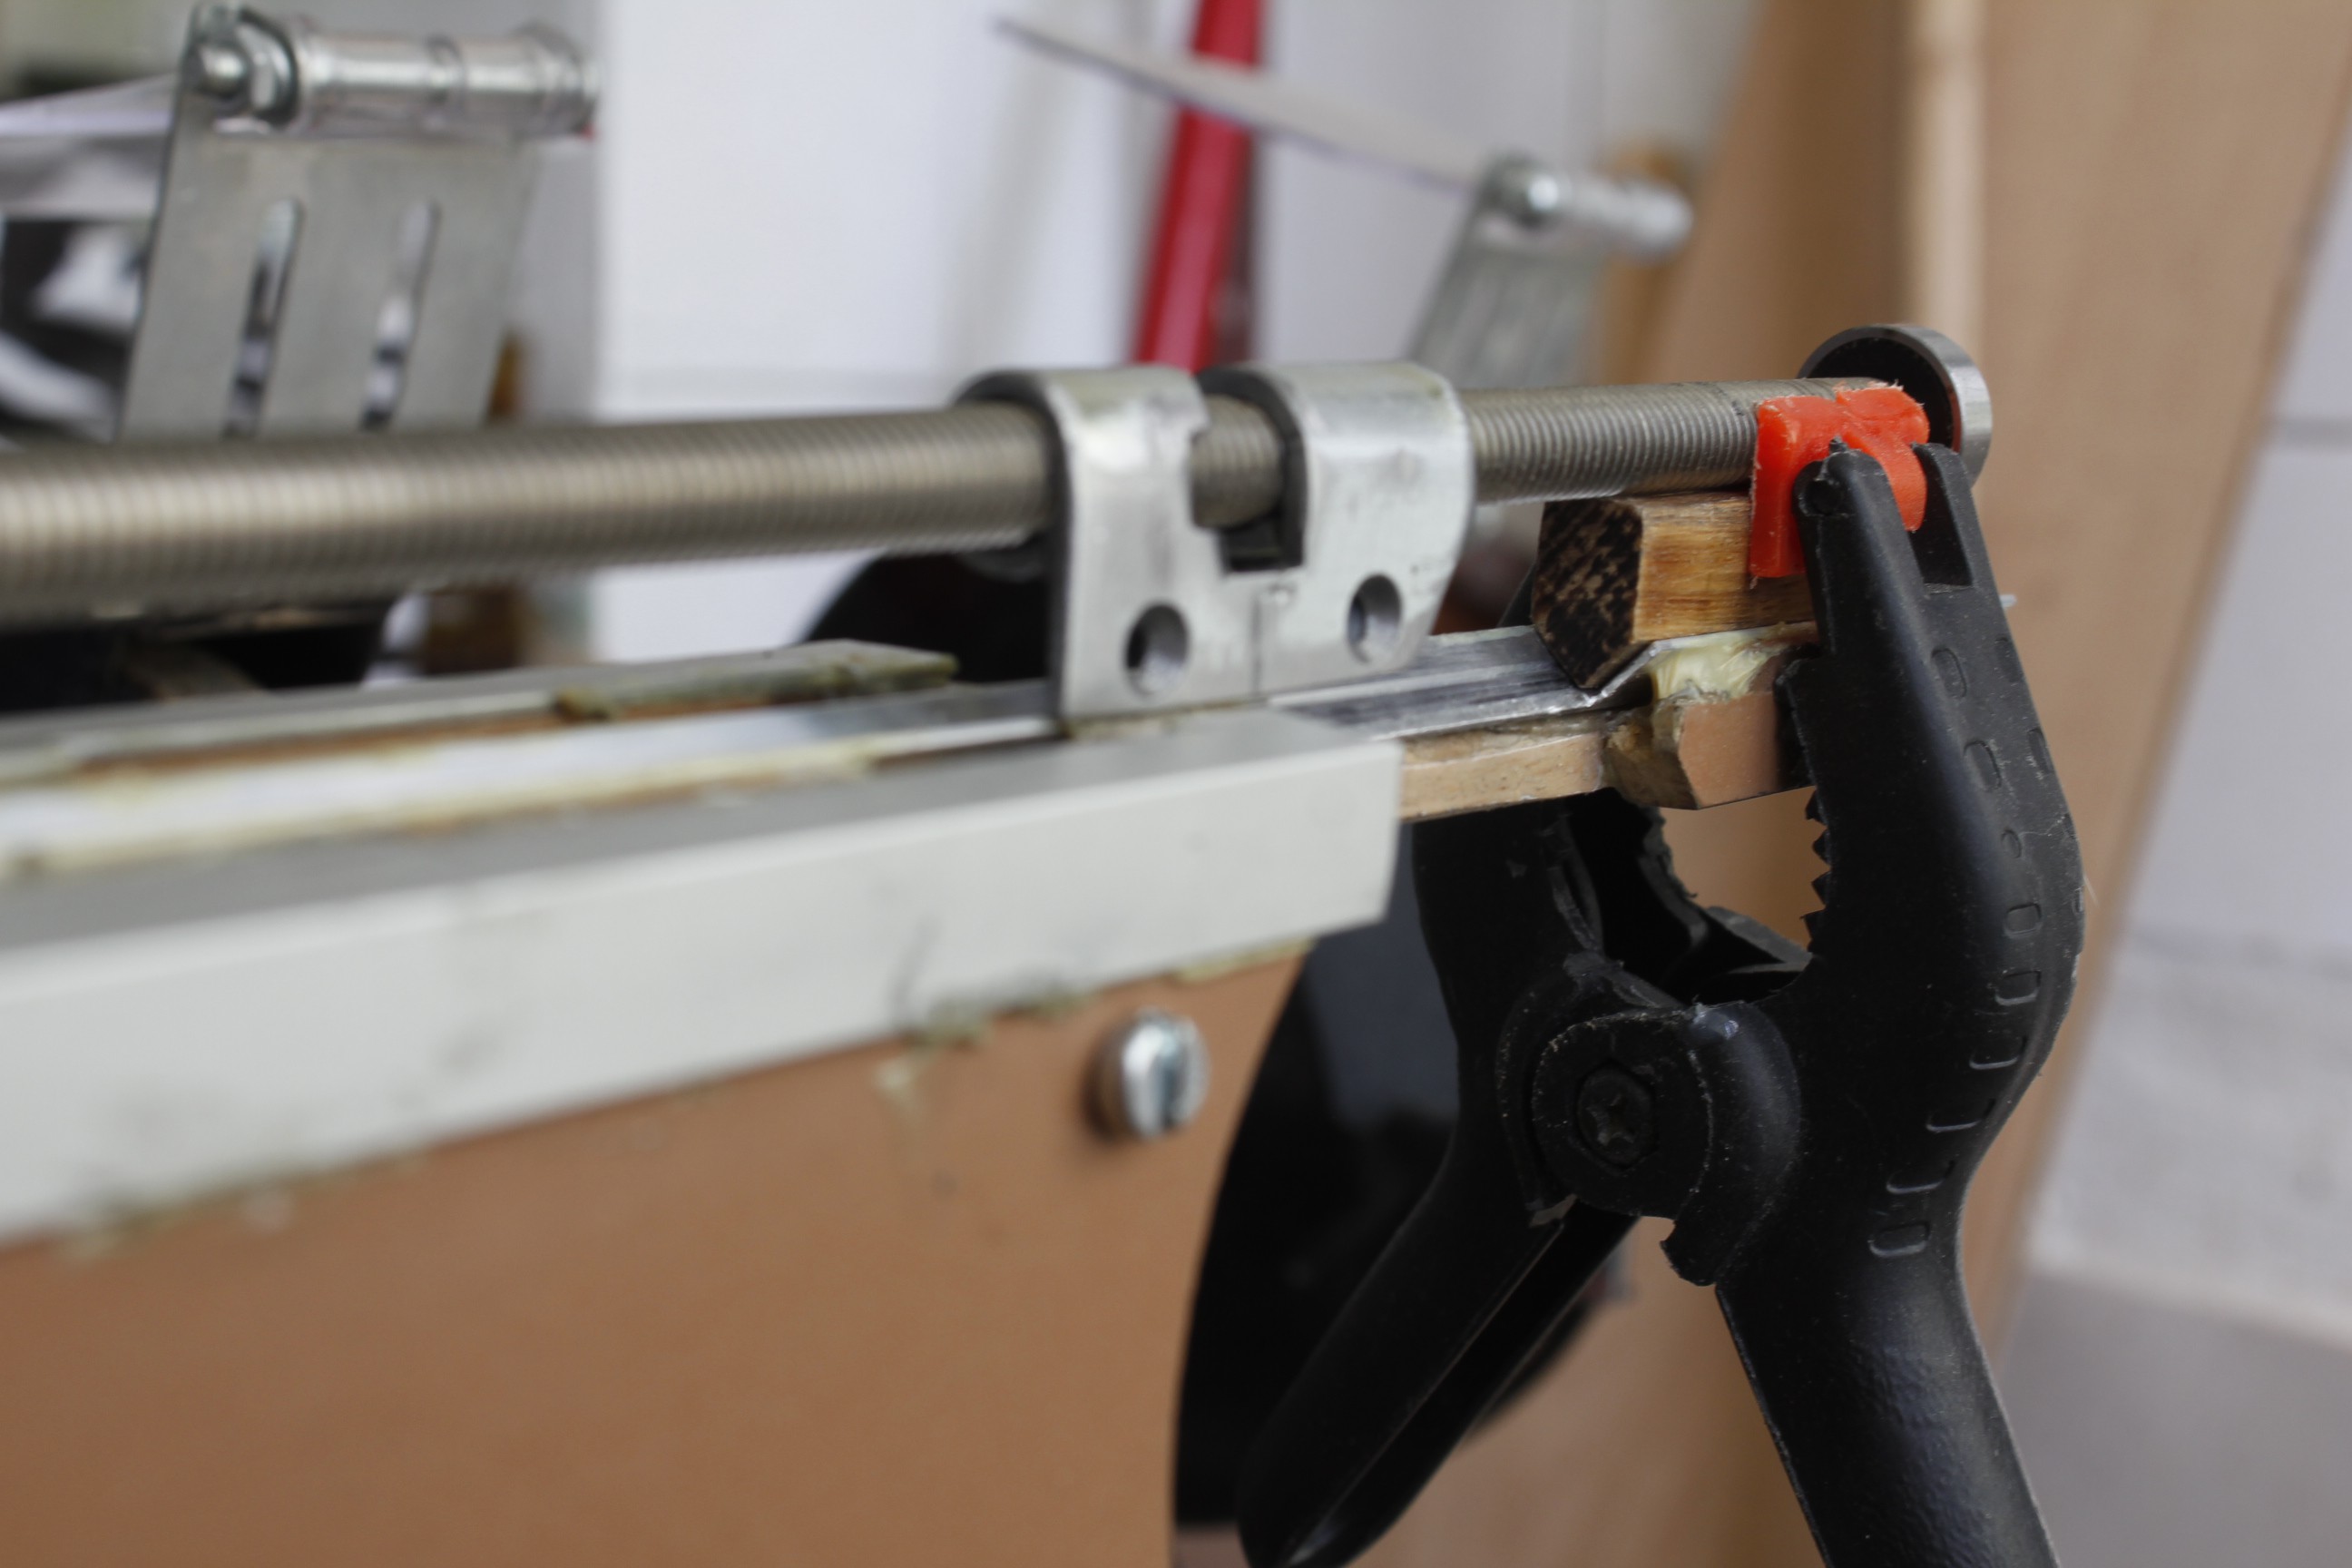
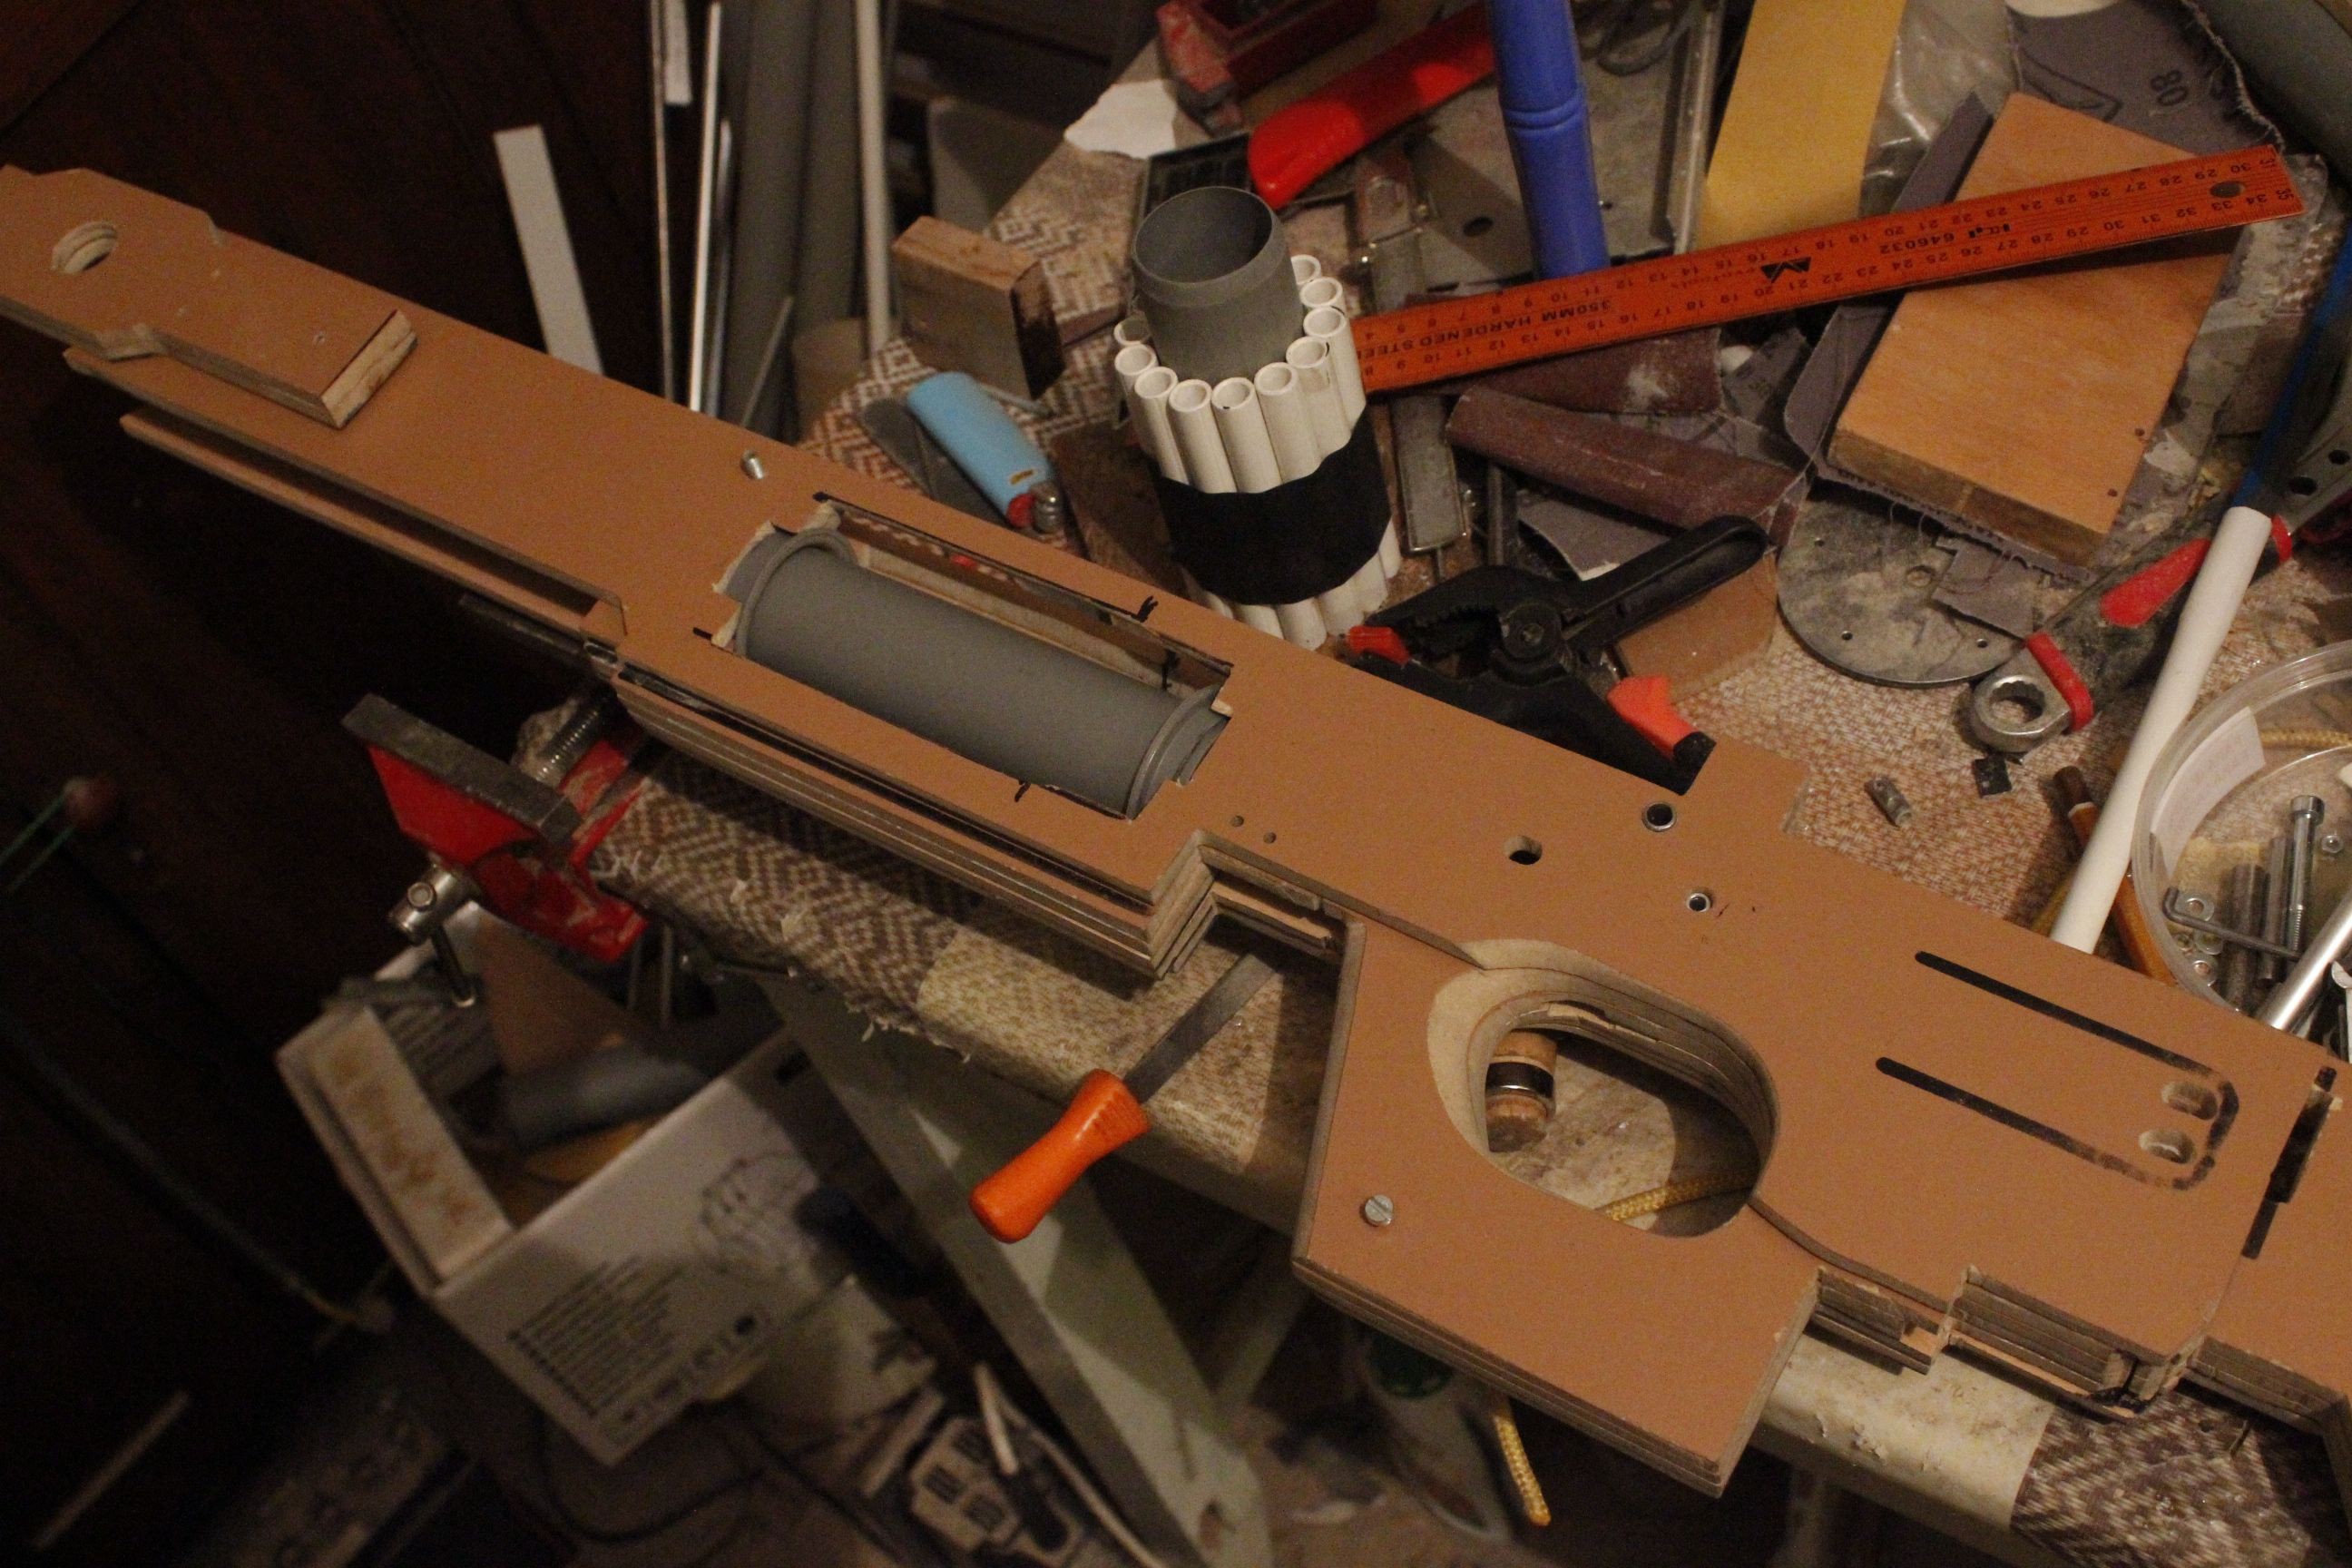
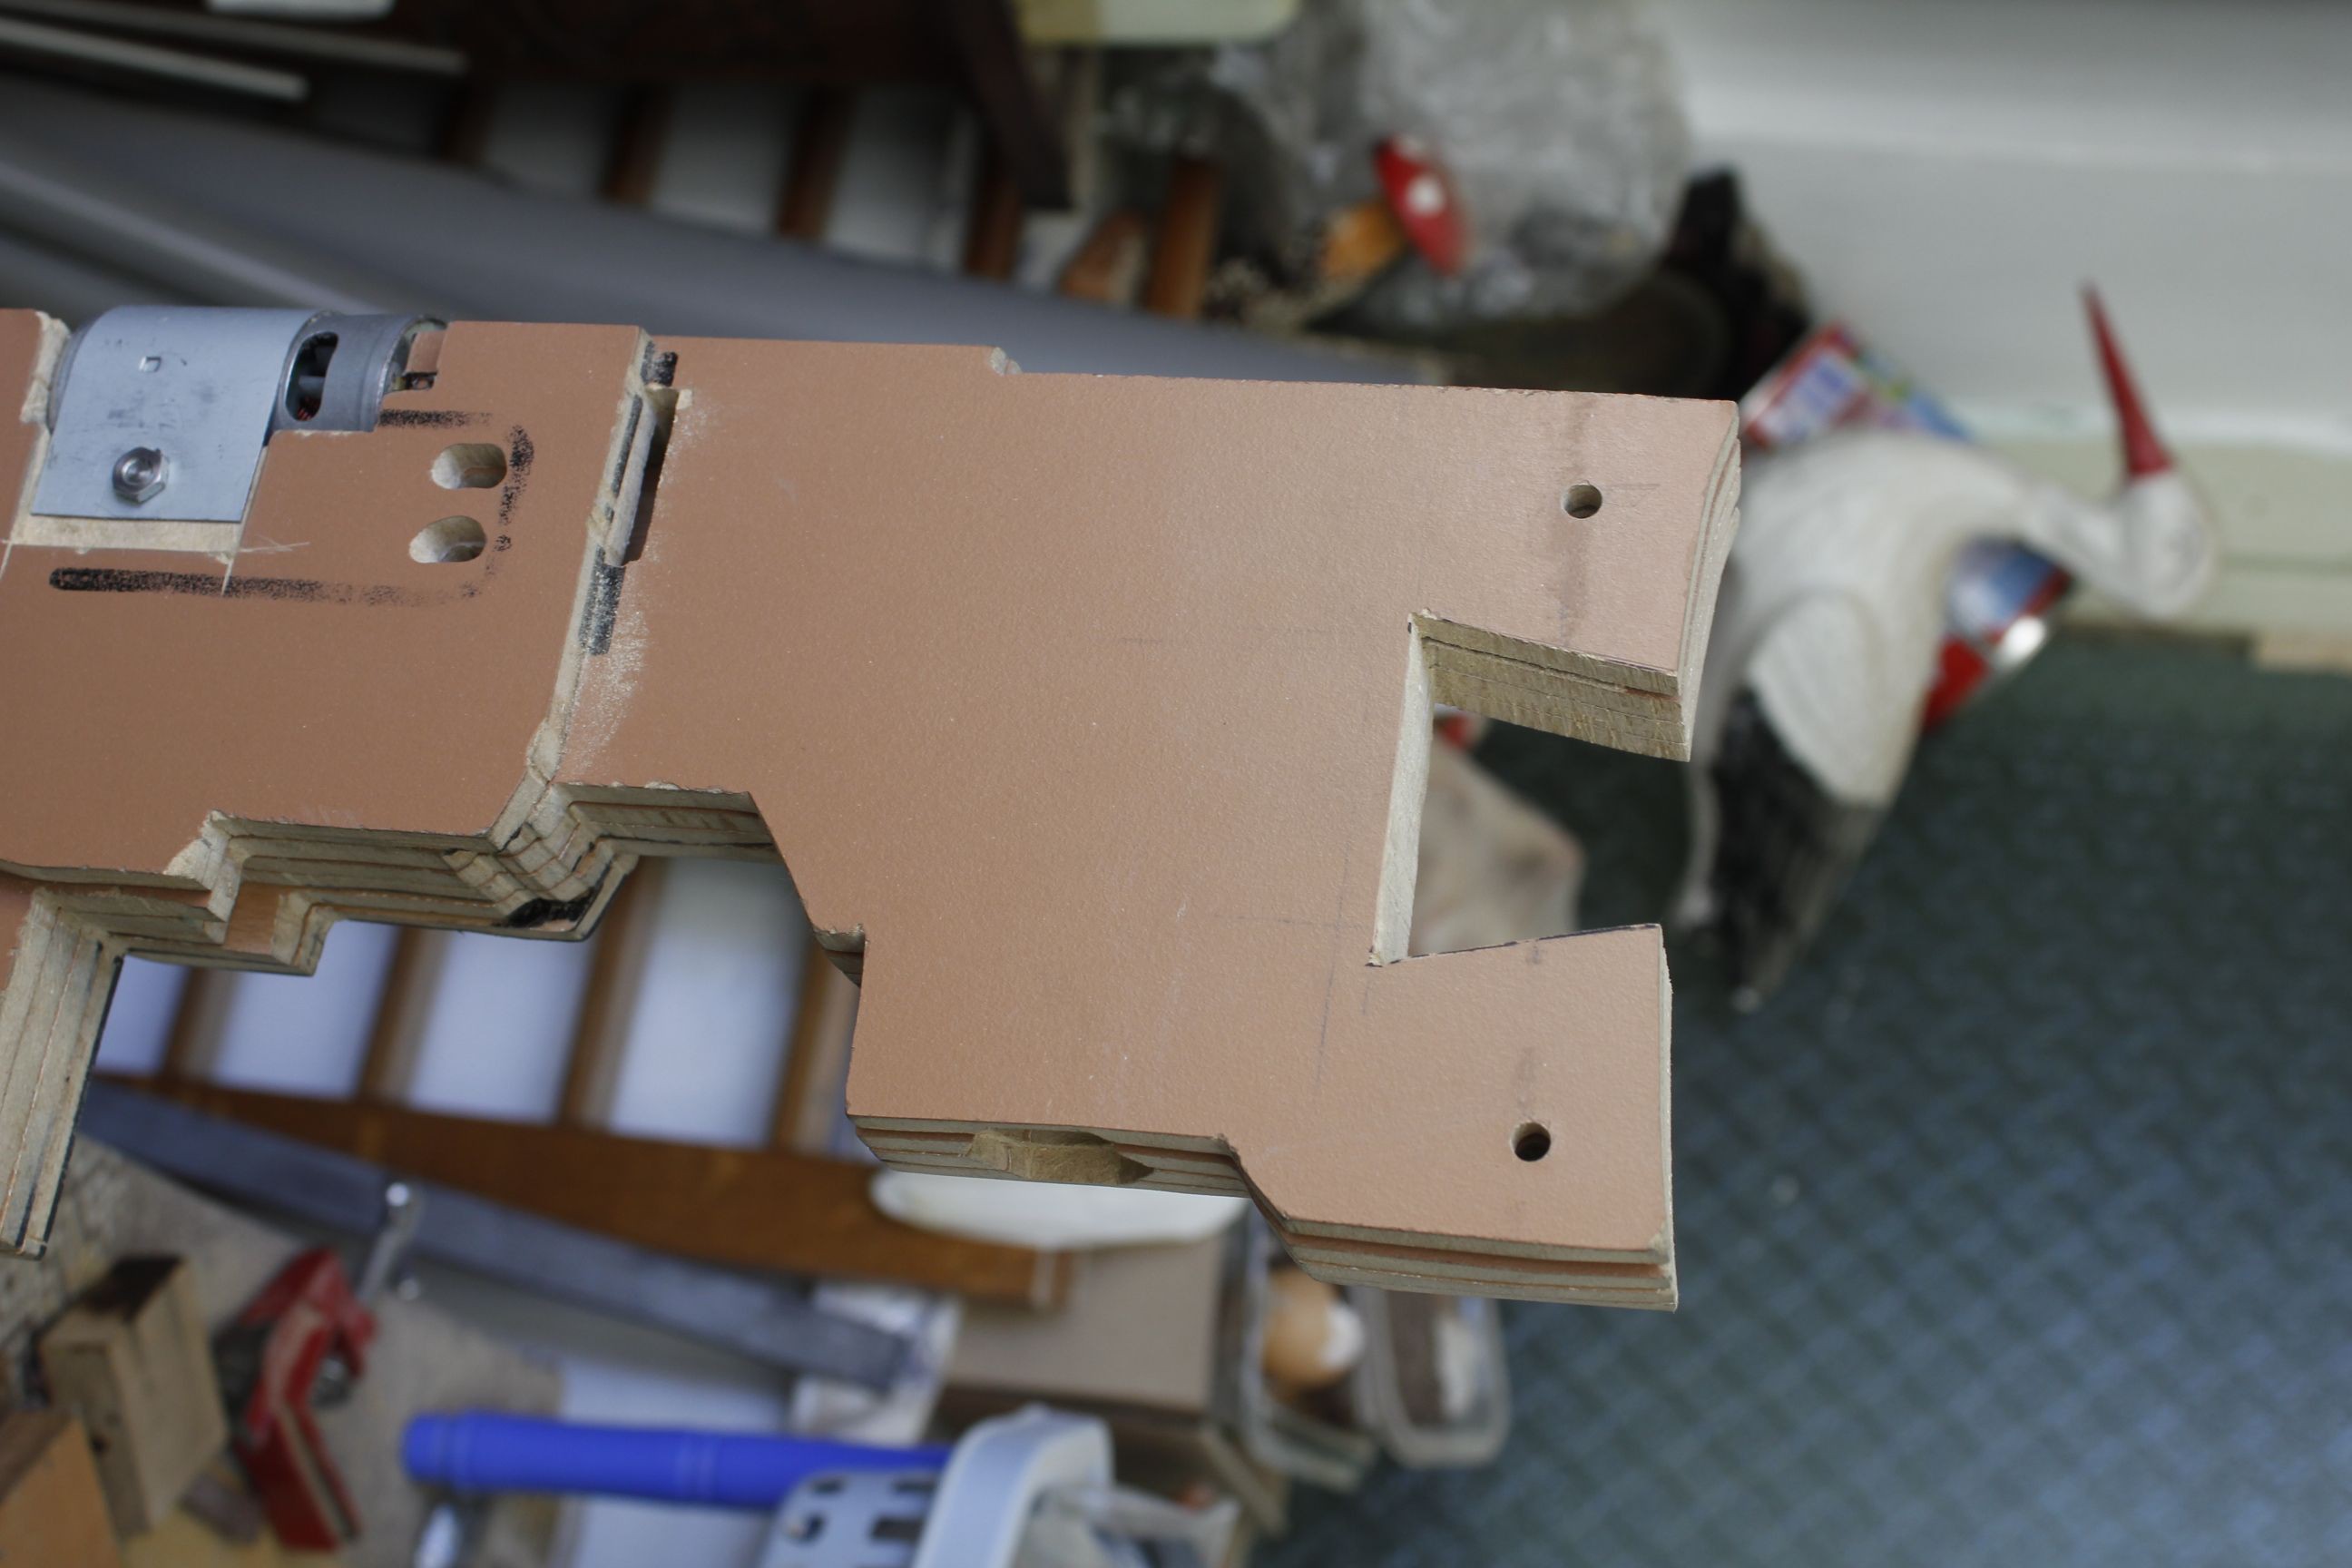
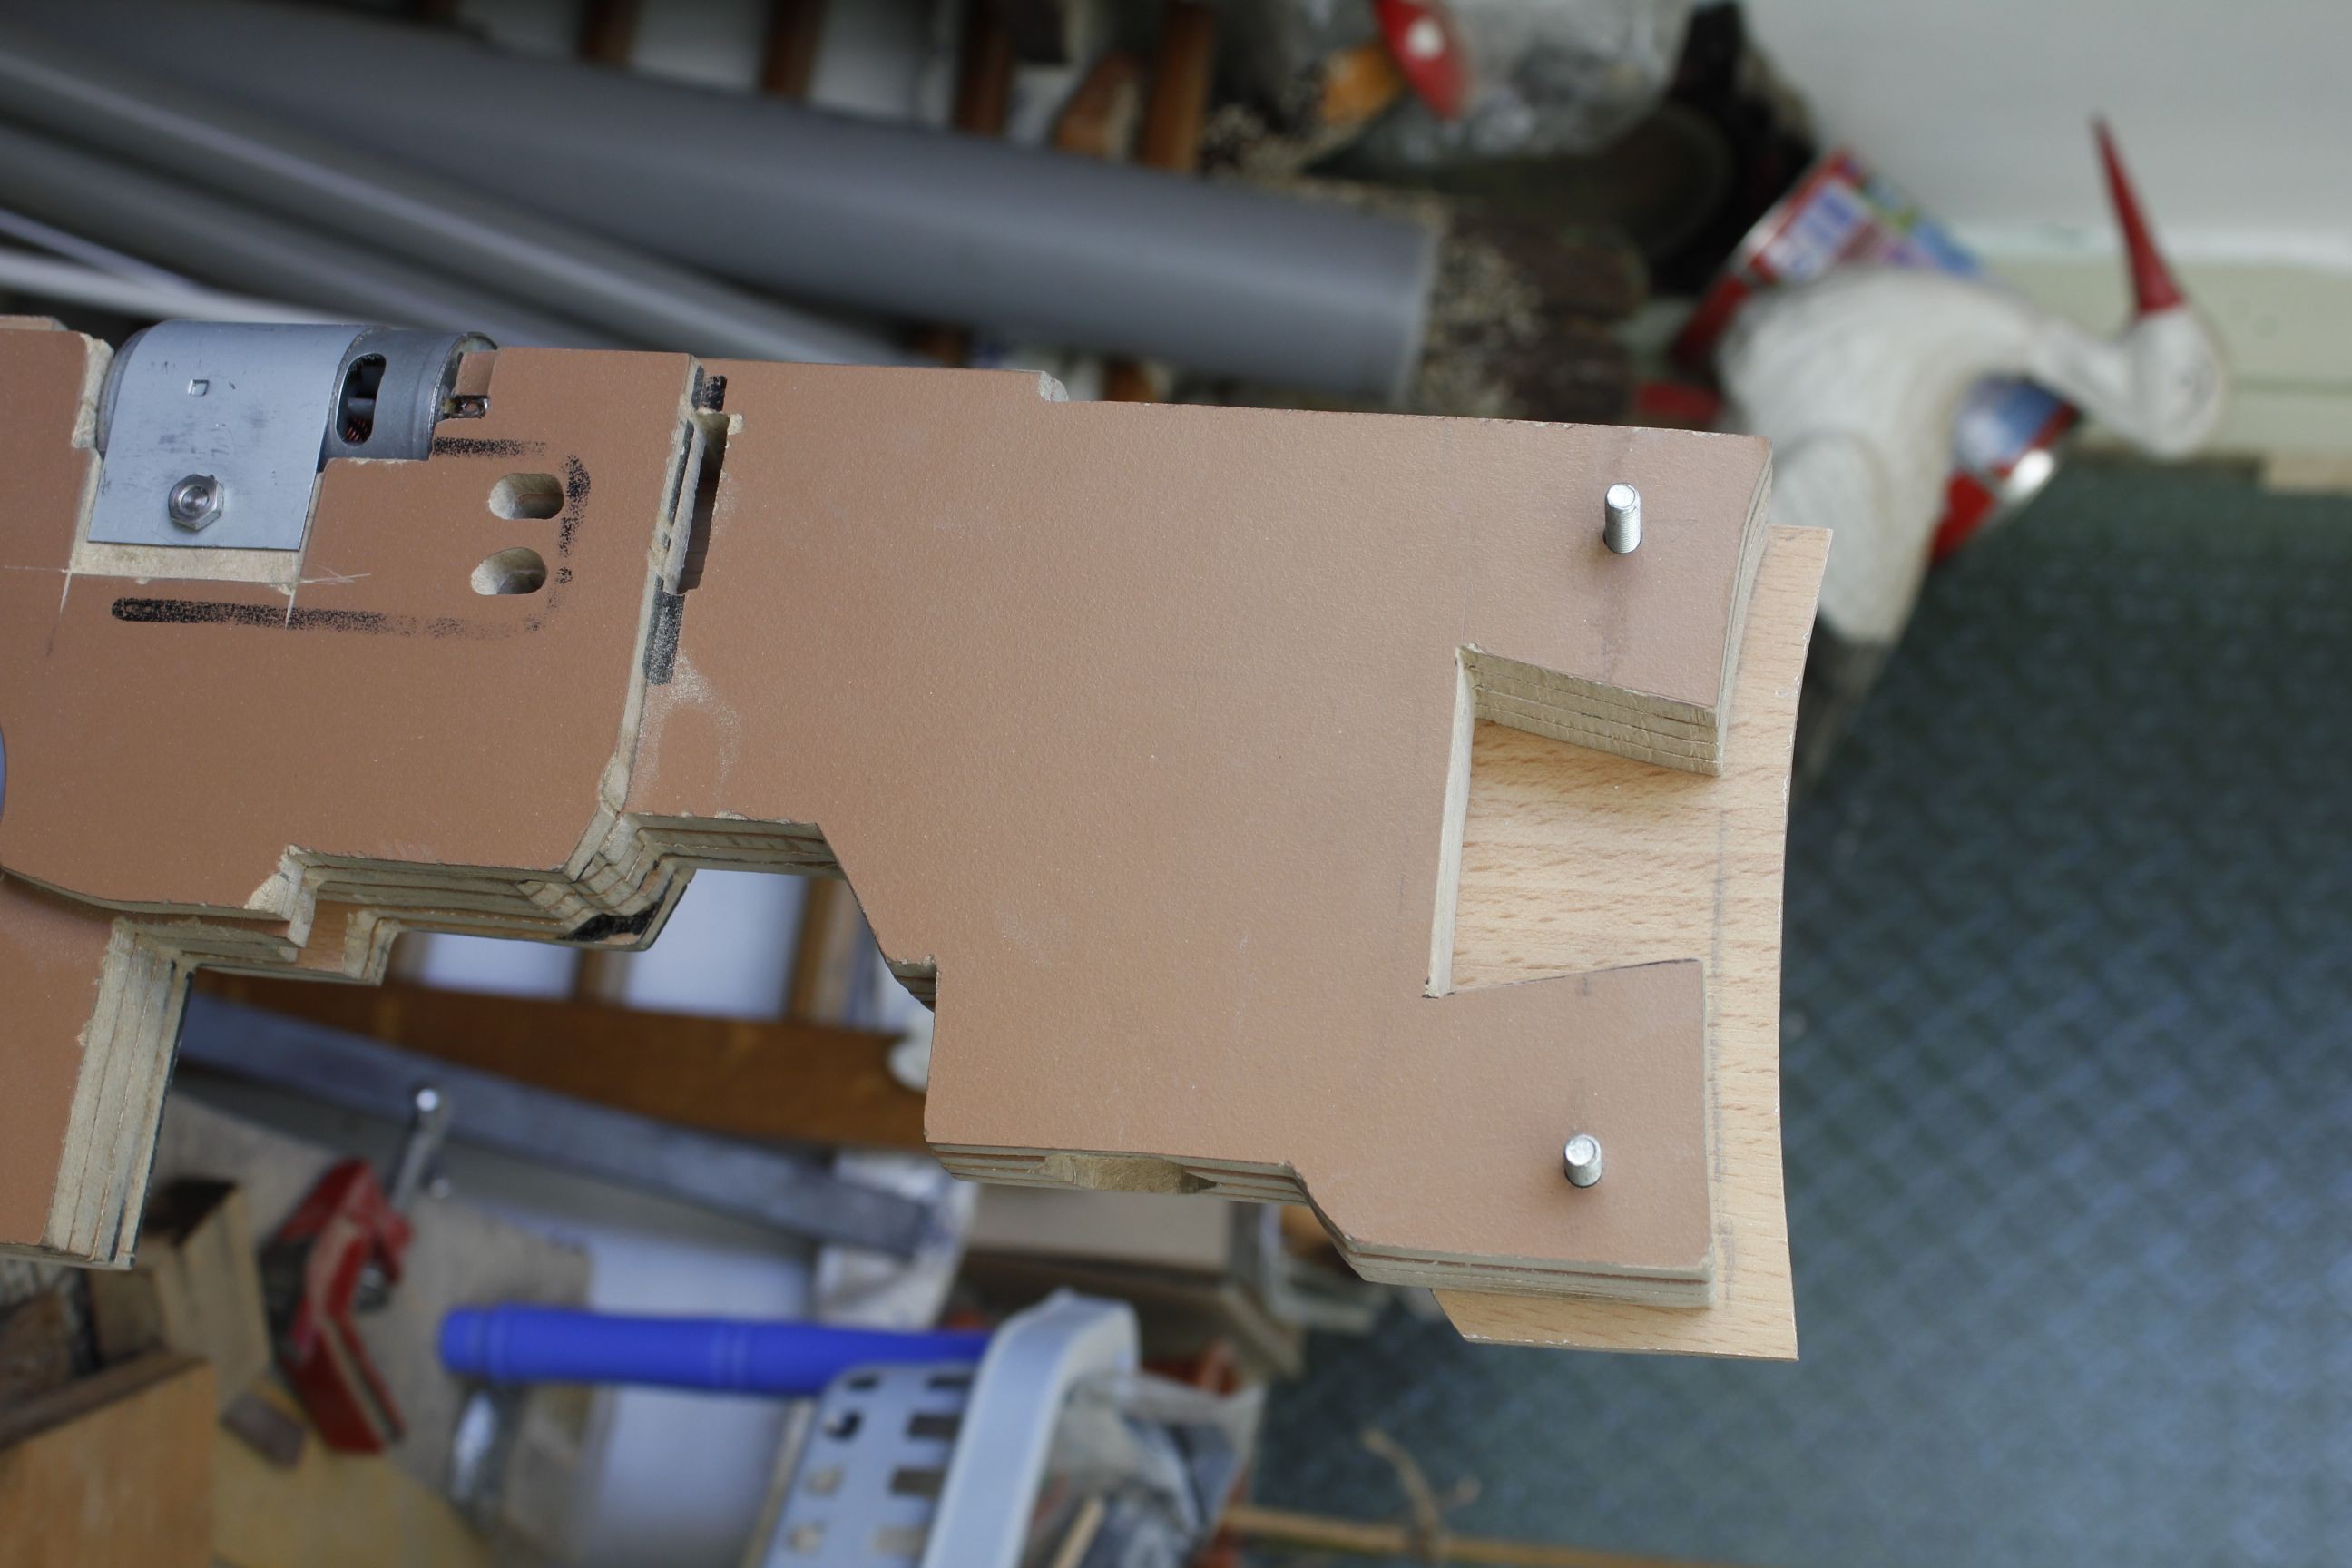
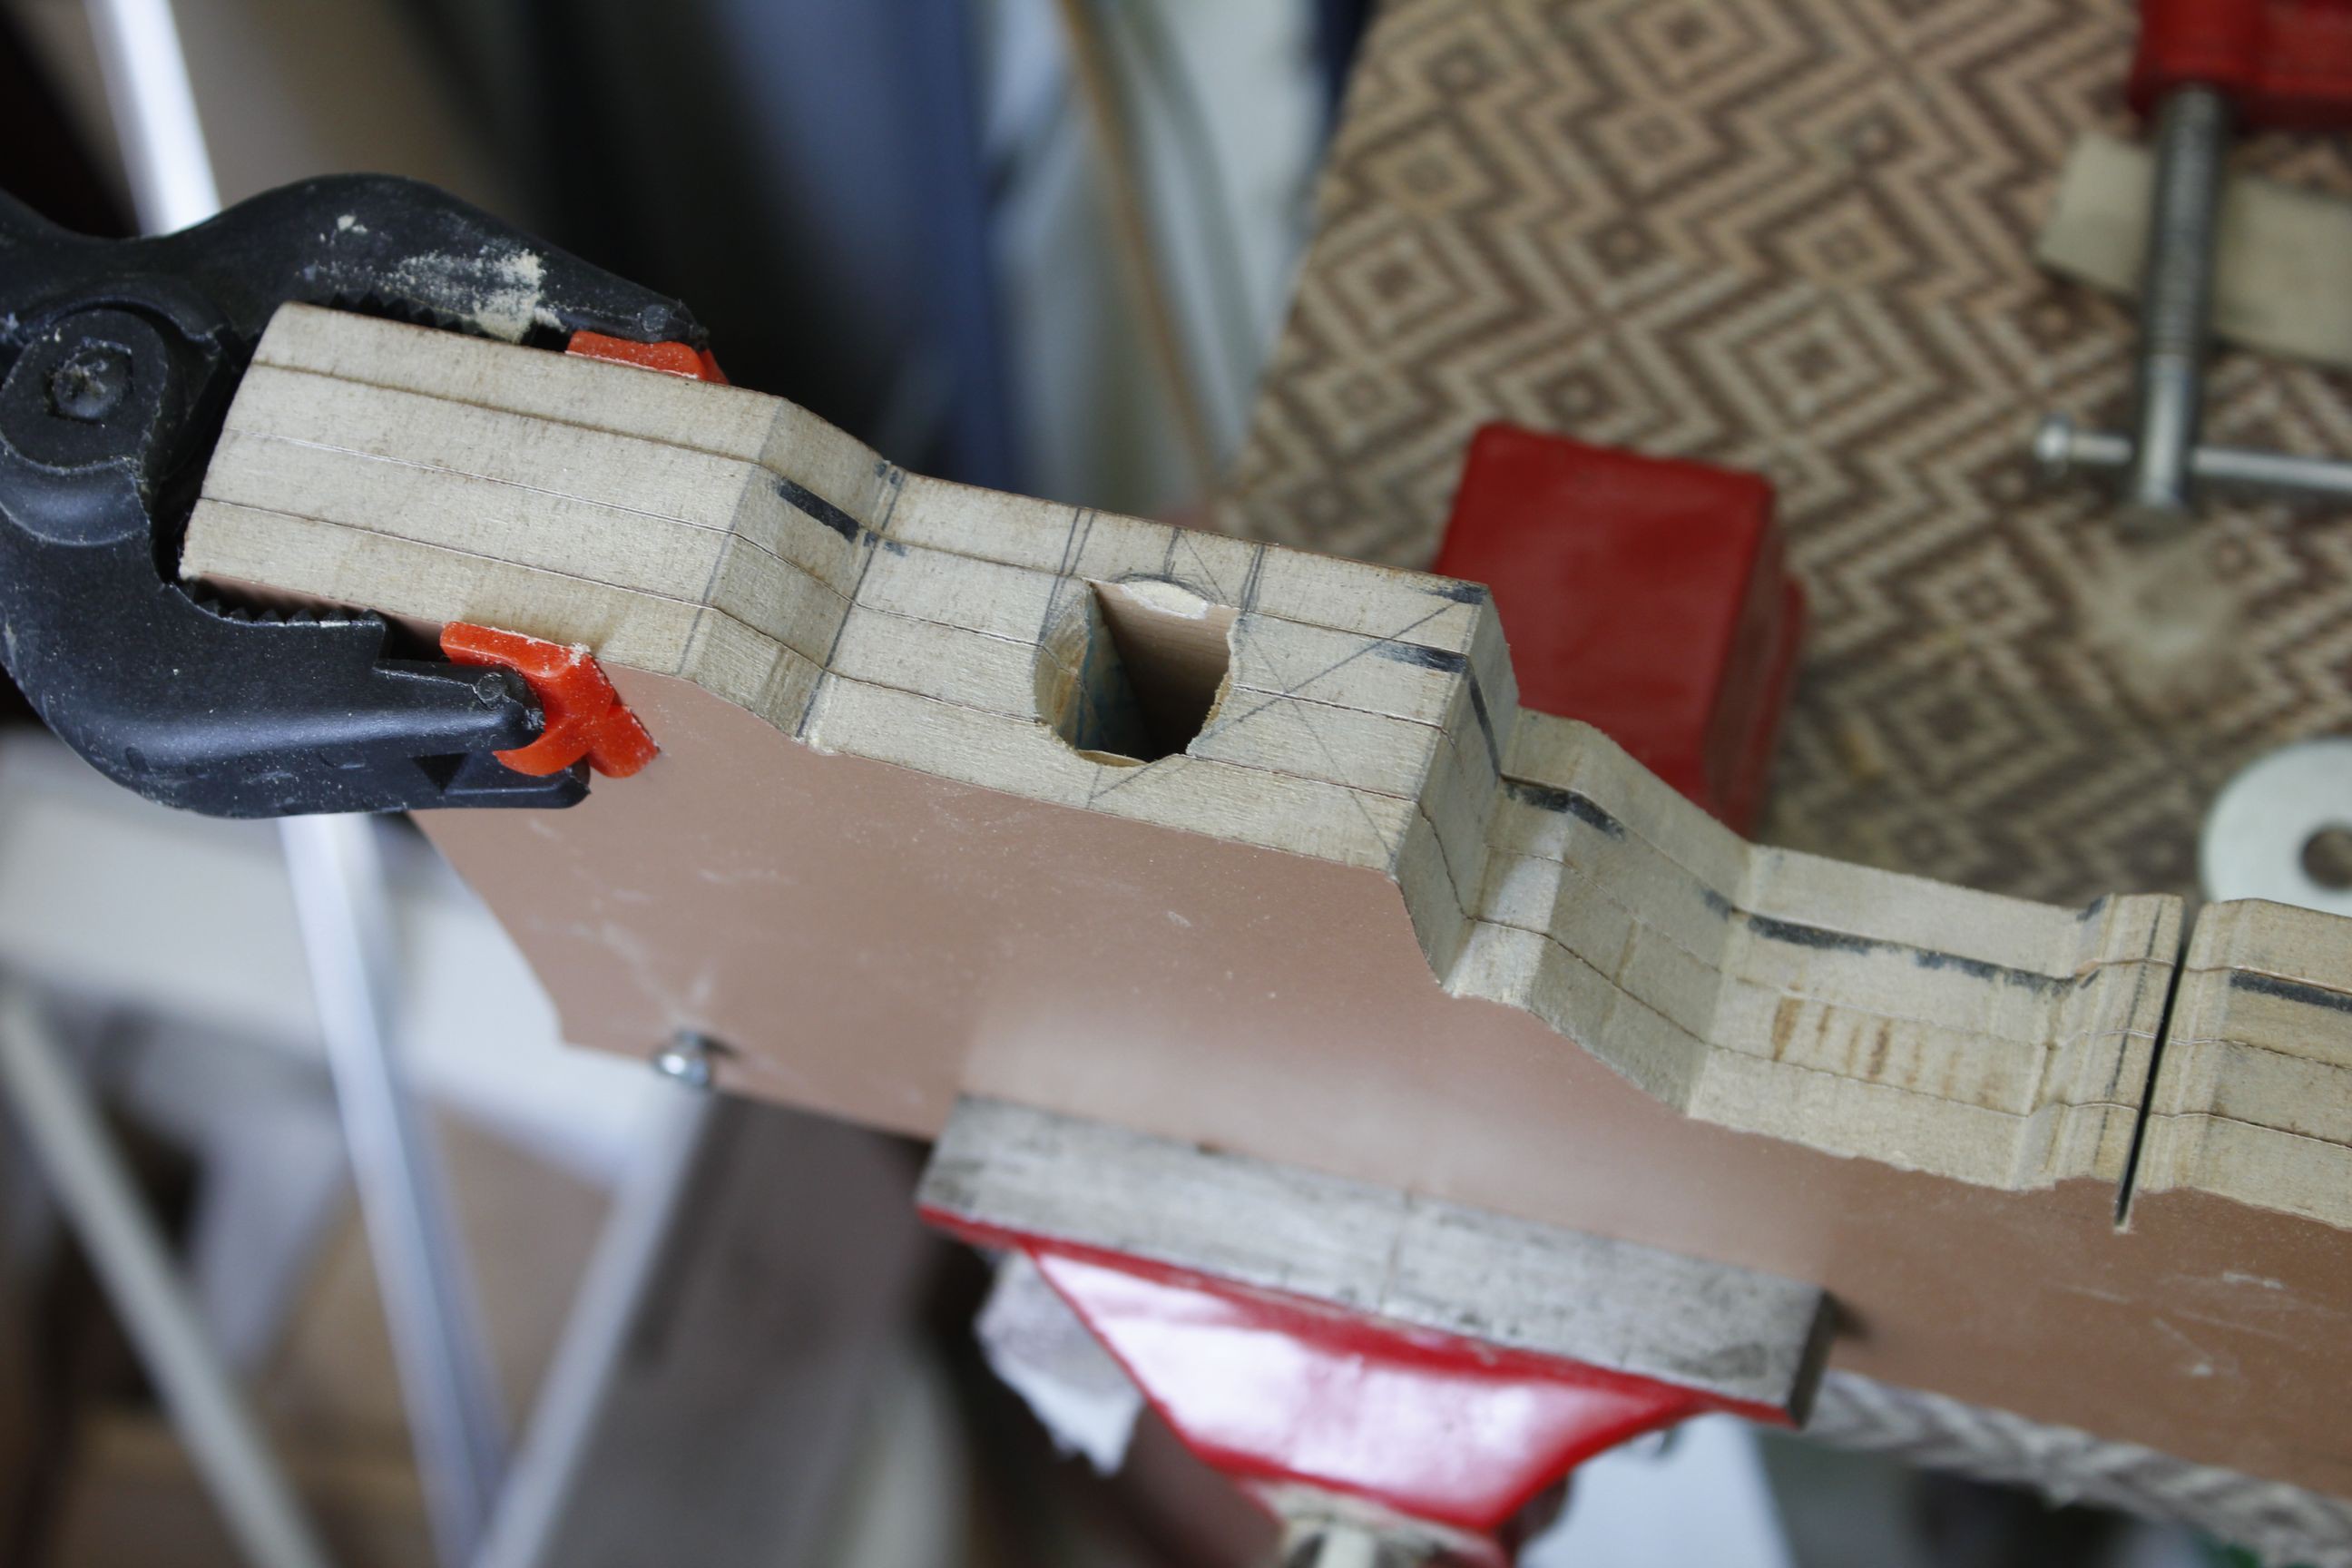
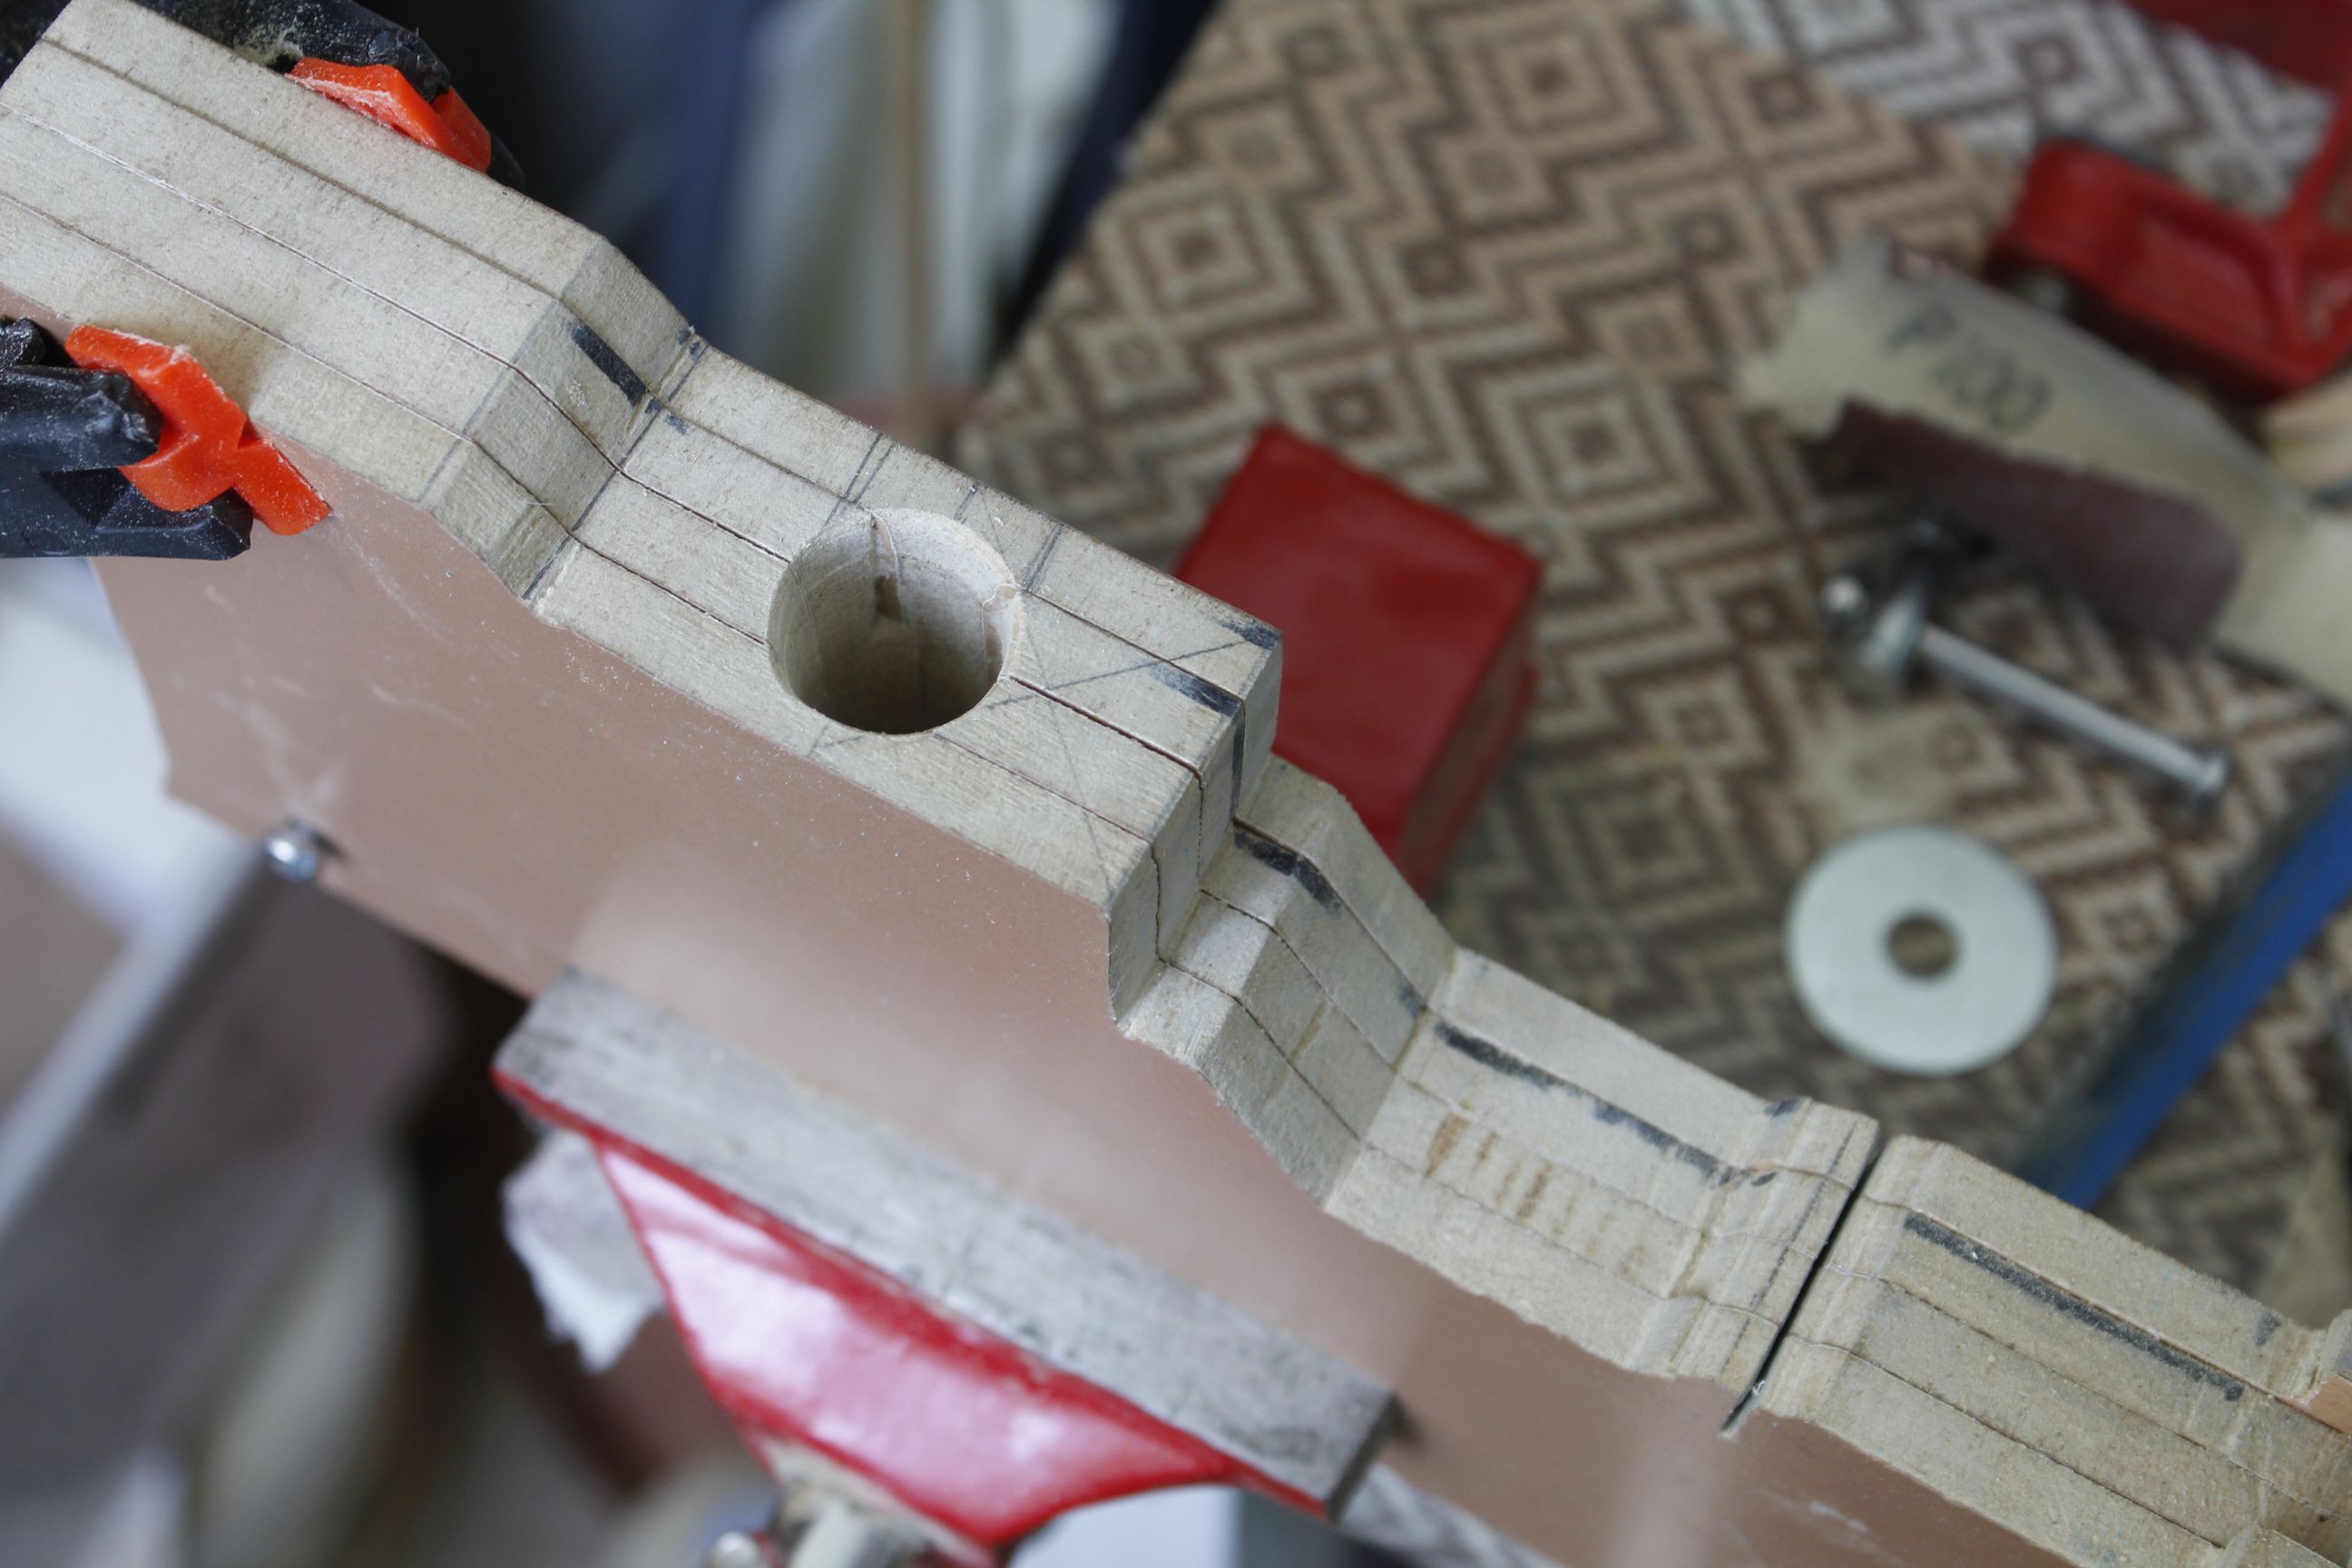
That allowed me to align everything and glue the forward assembly in place. I hadn't properly planned this part out, which lead to me having to cut the hardwood transverse element no less than three times.
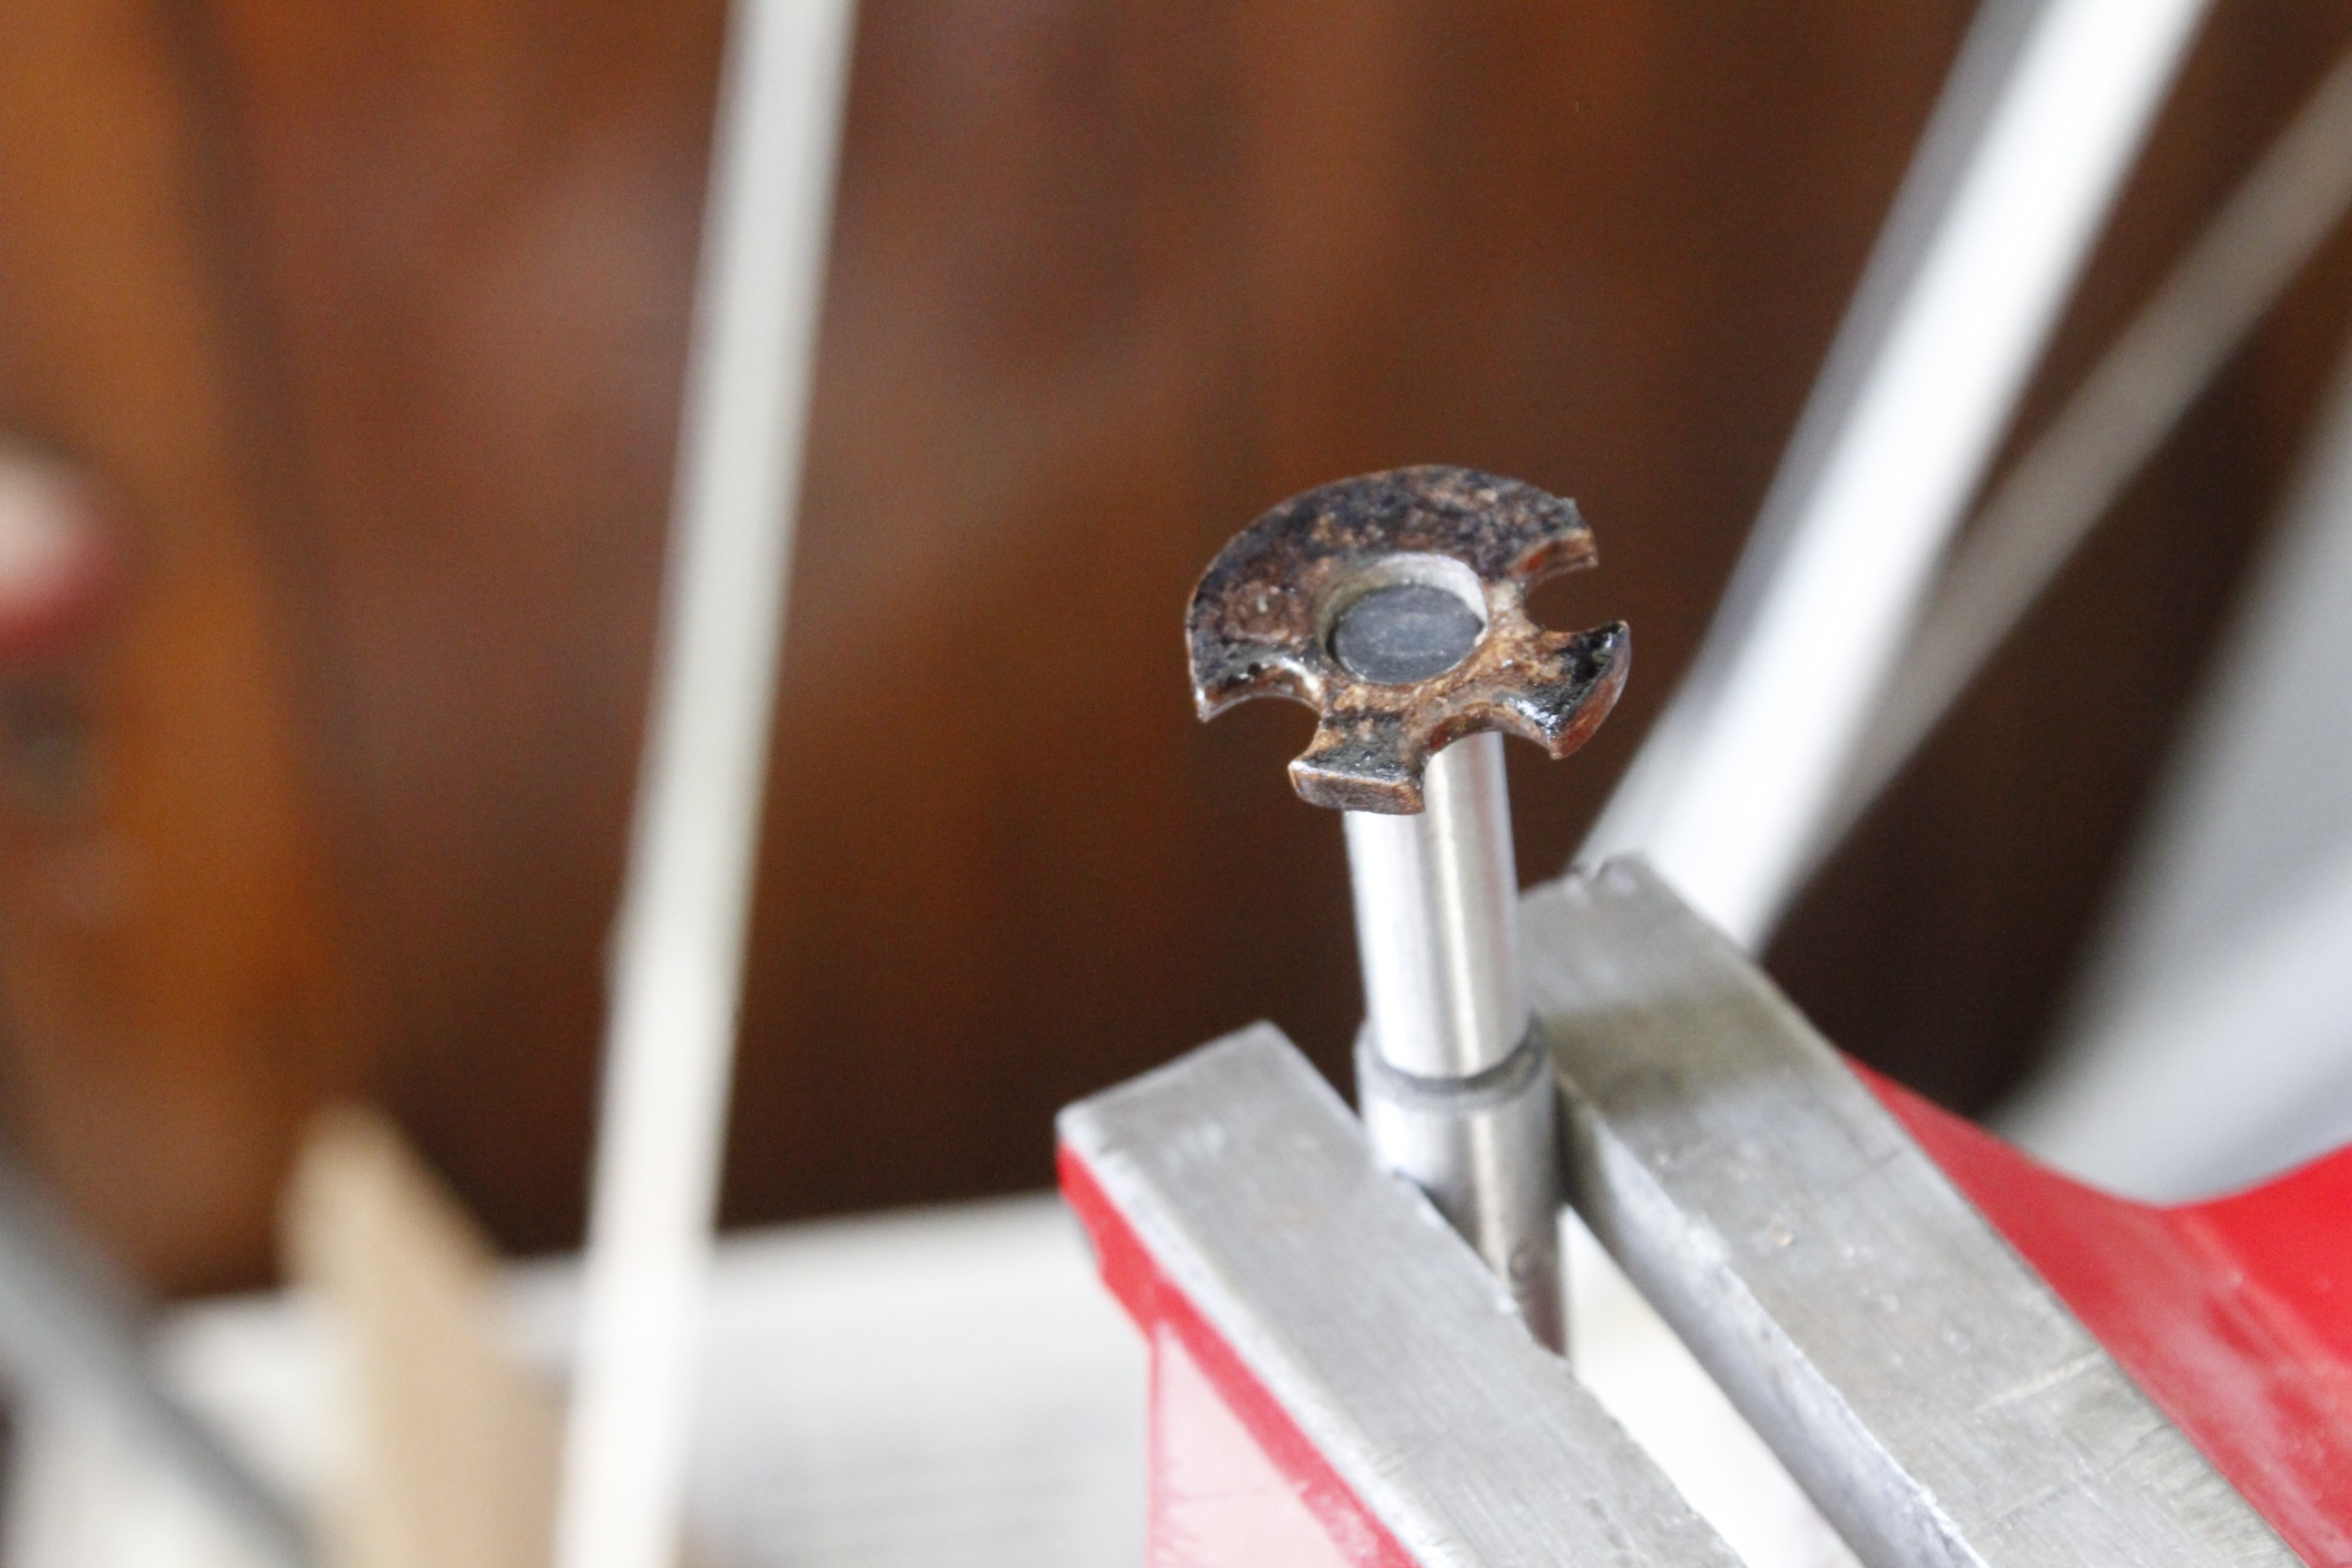
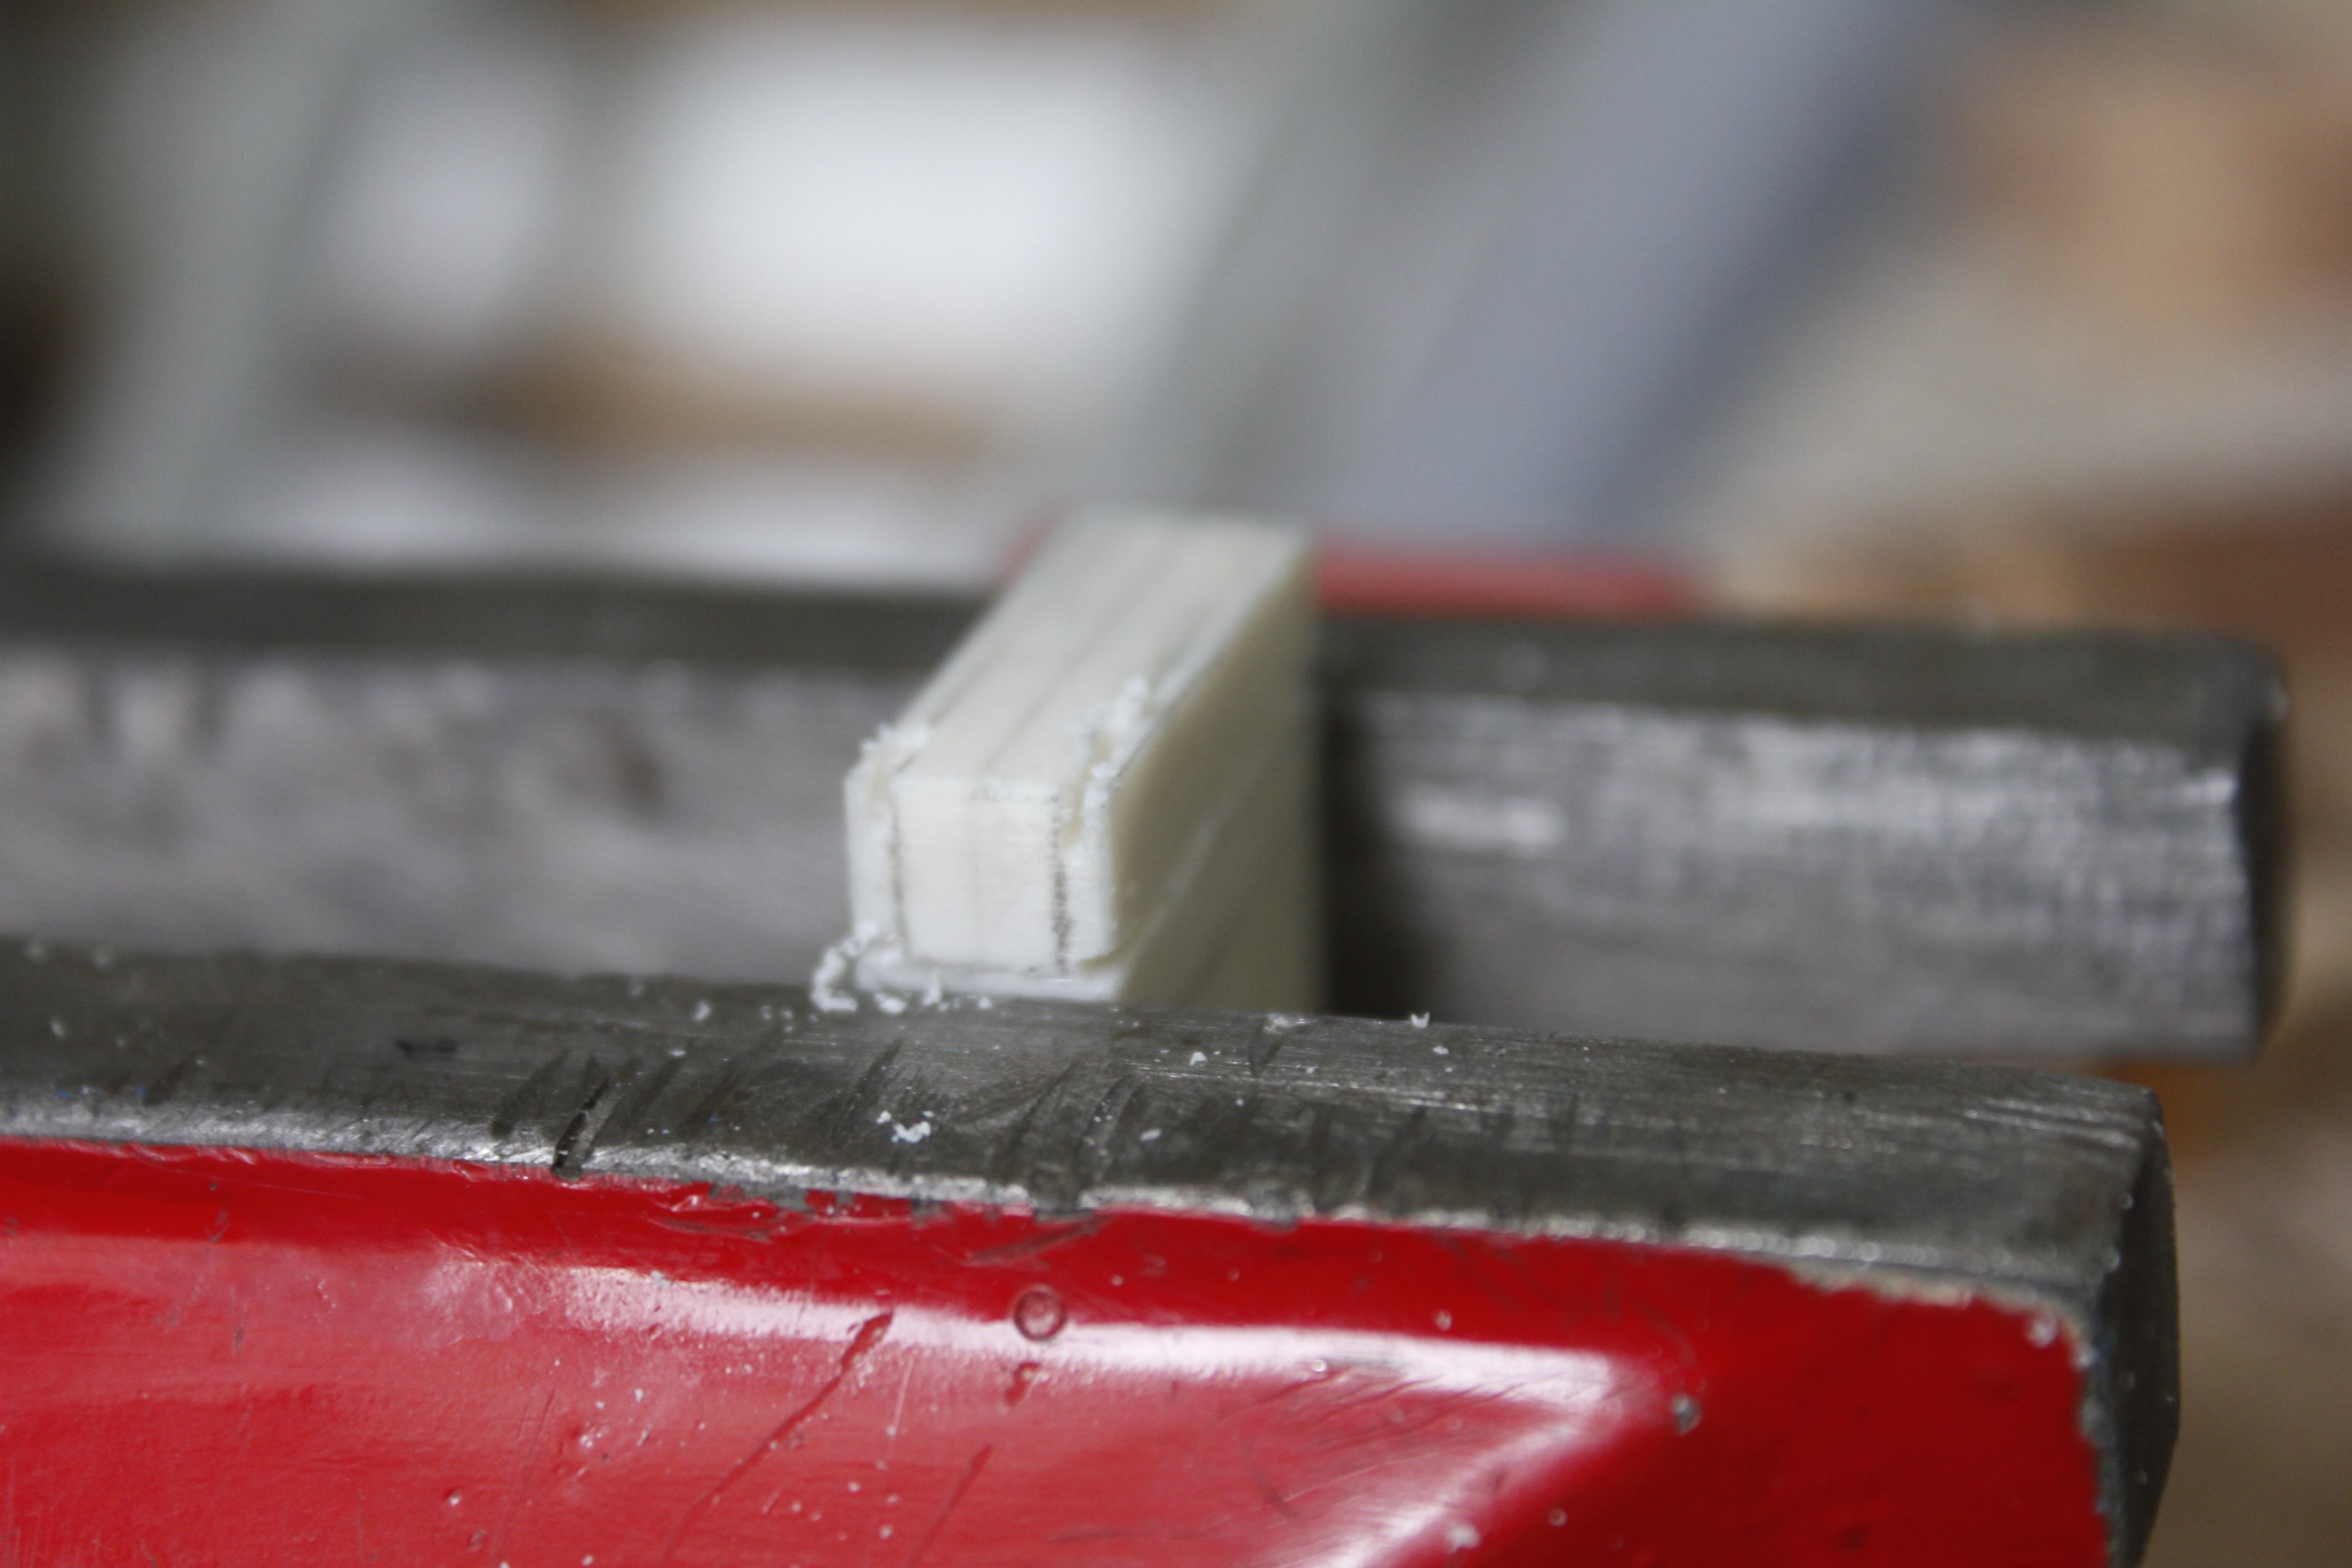
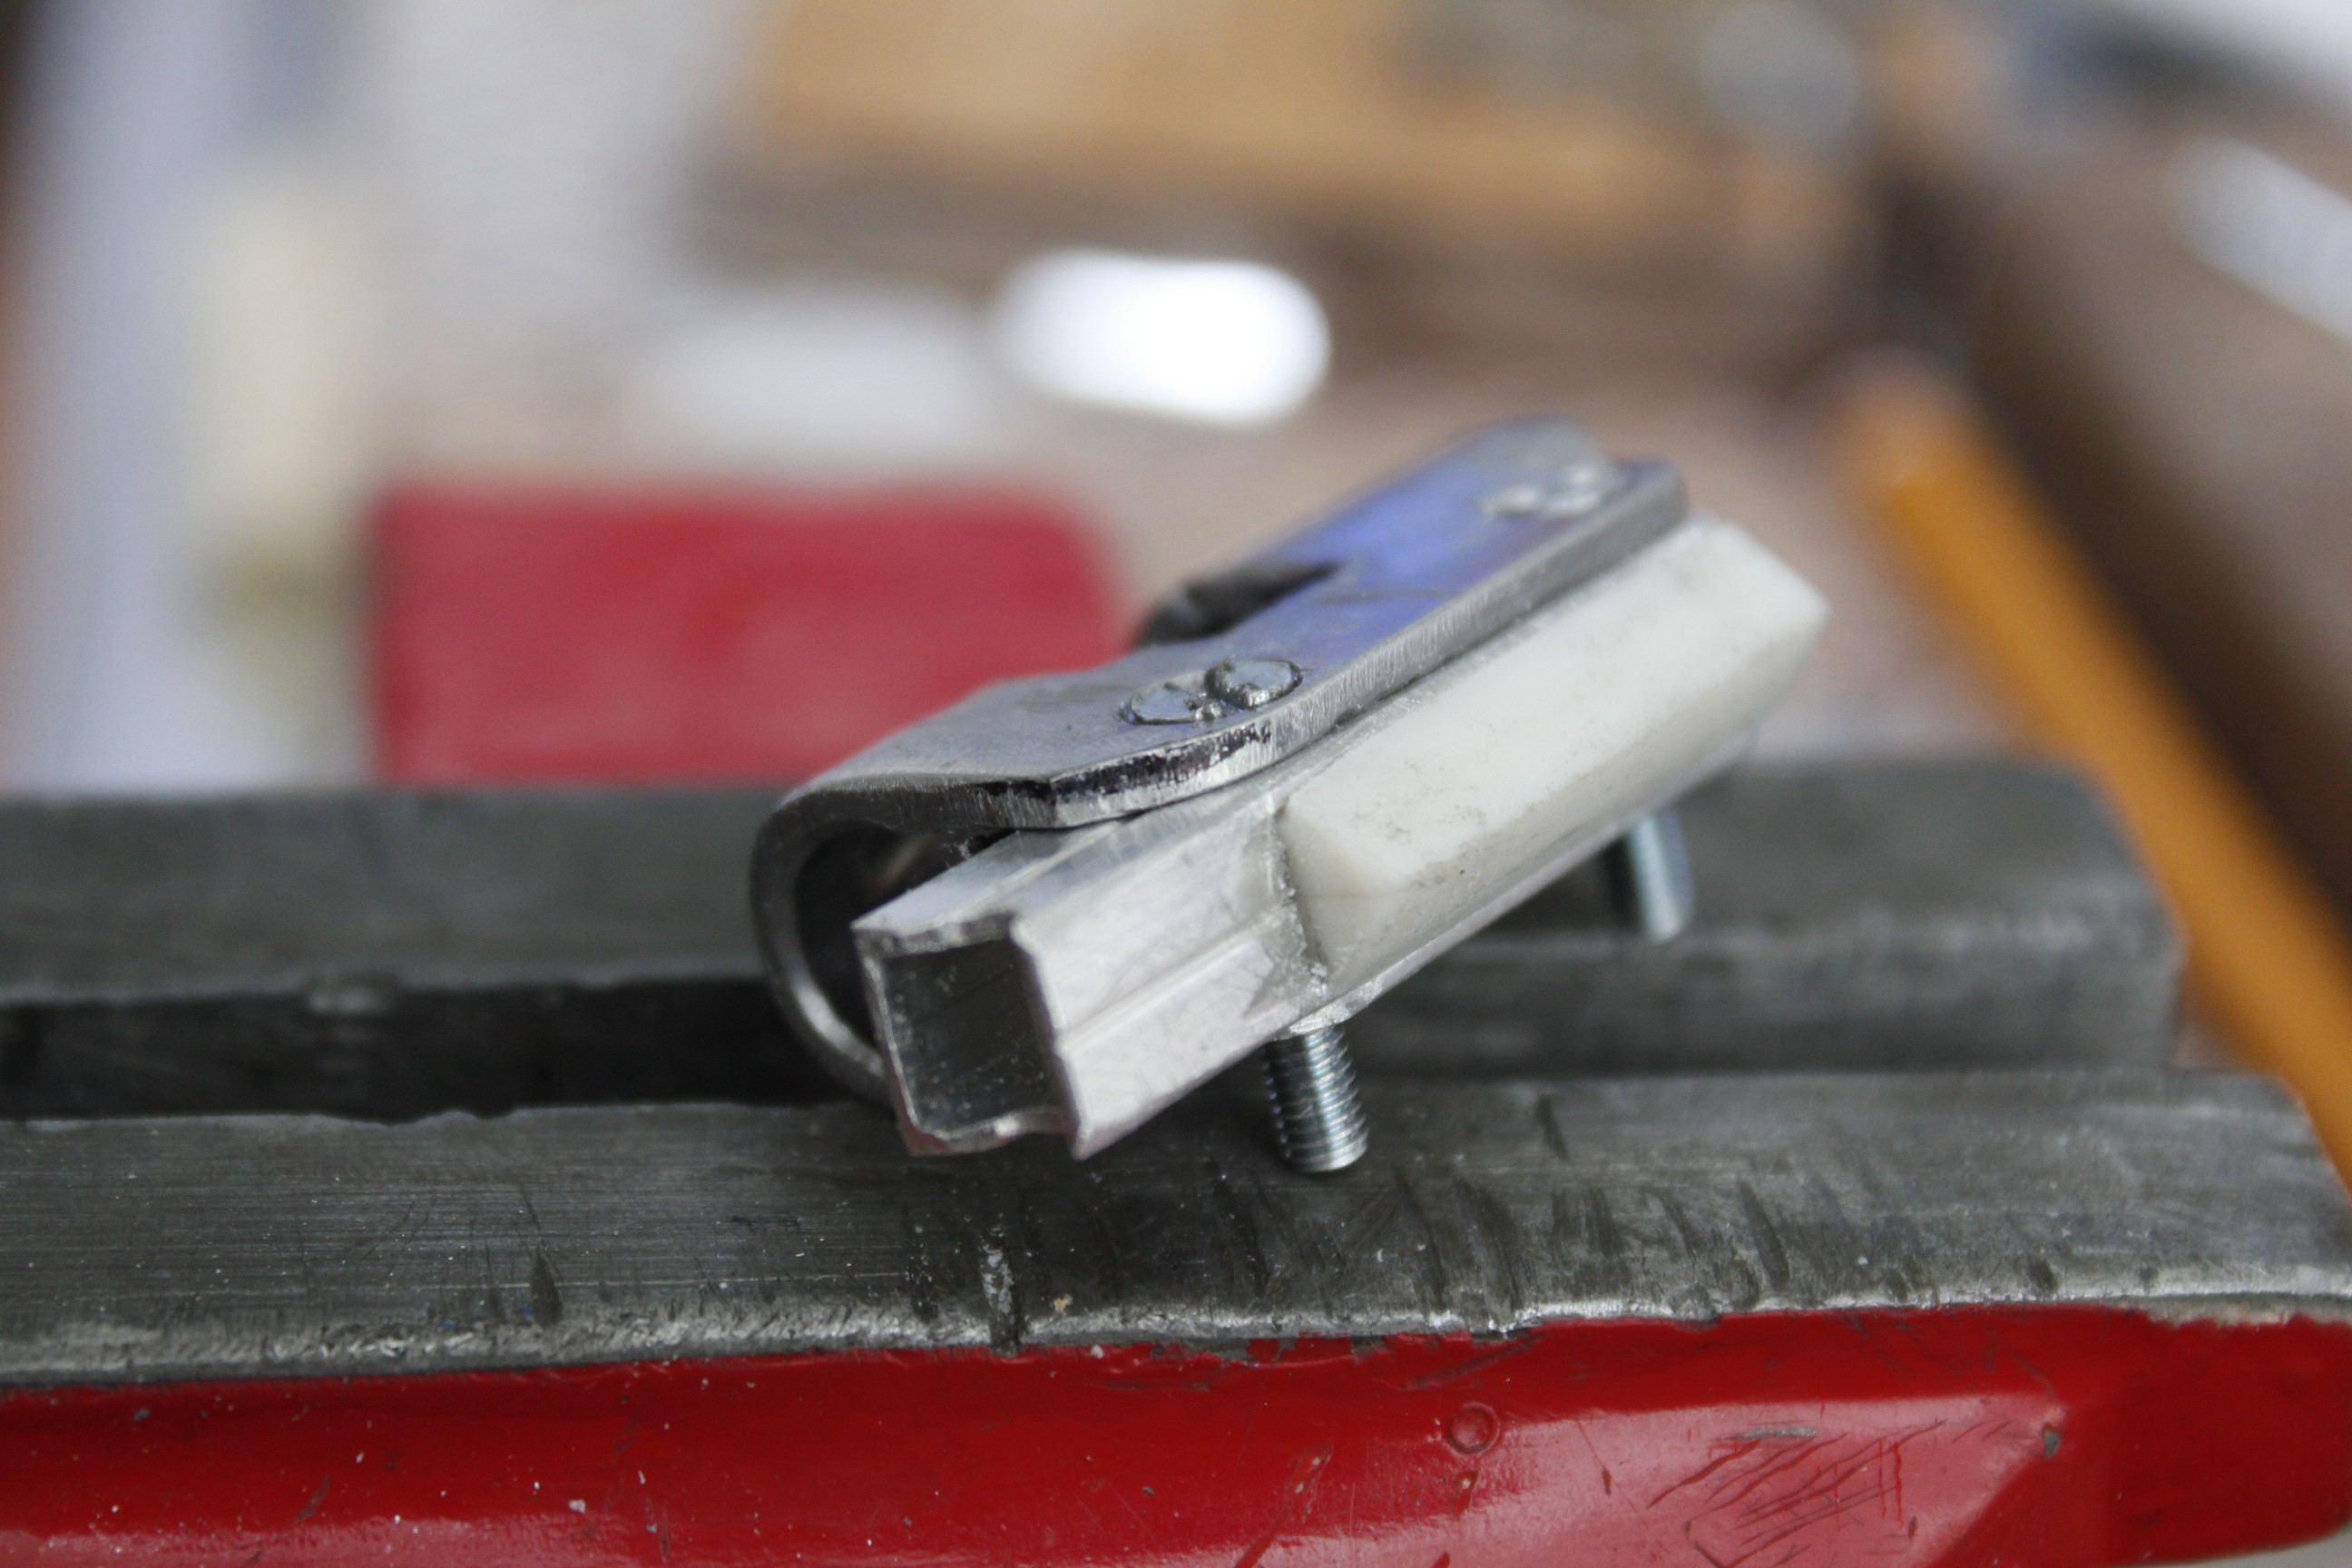
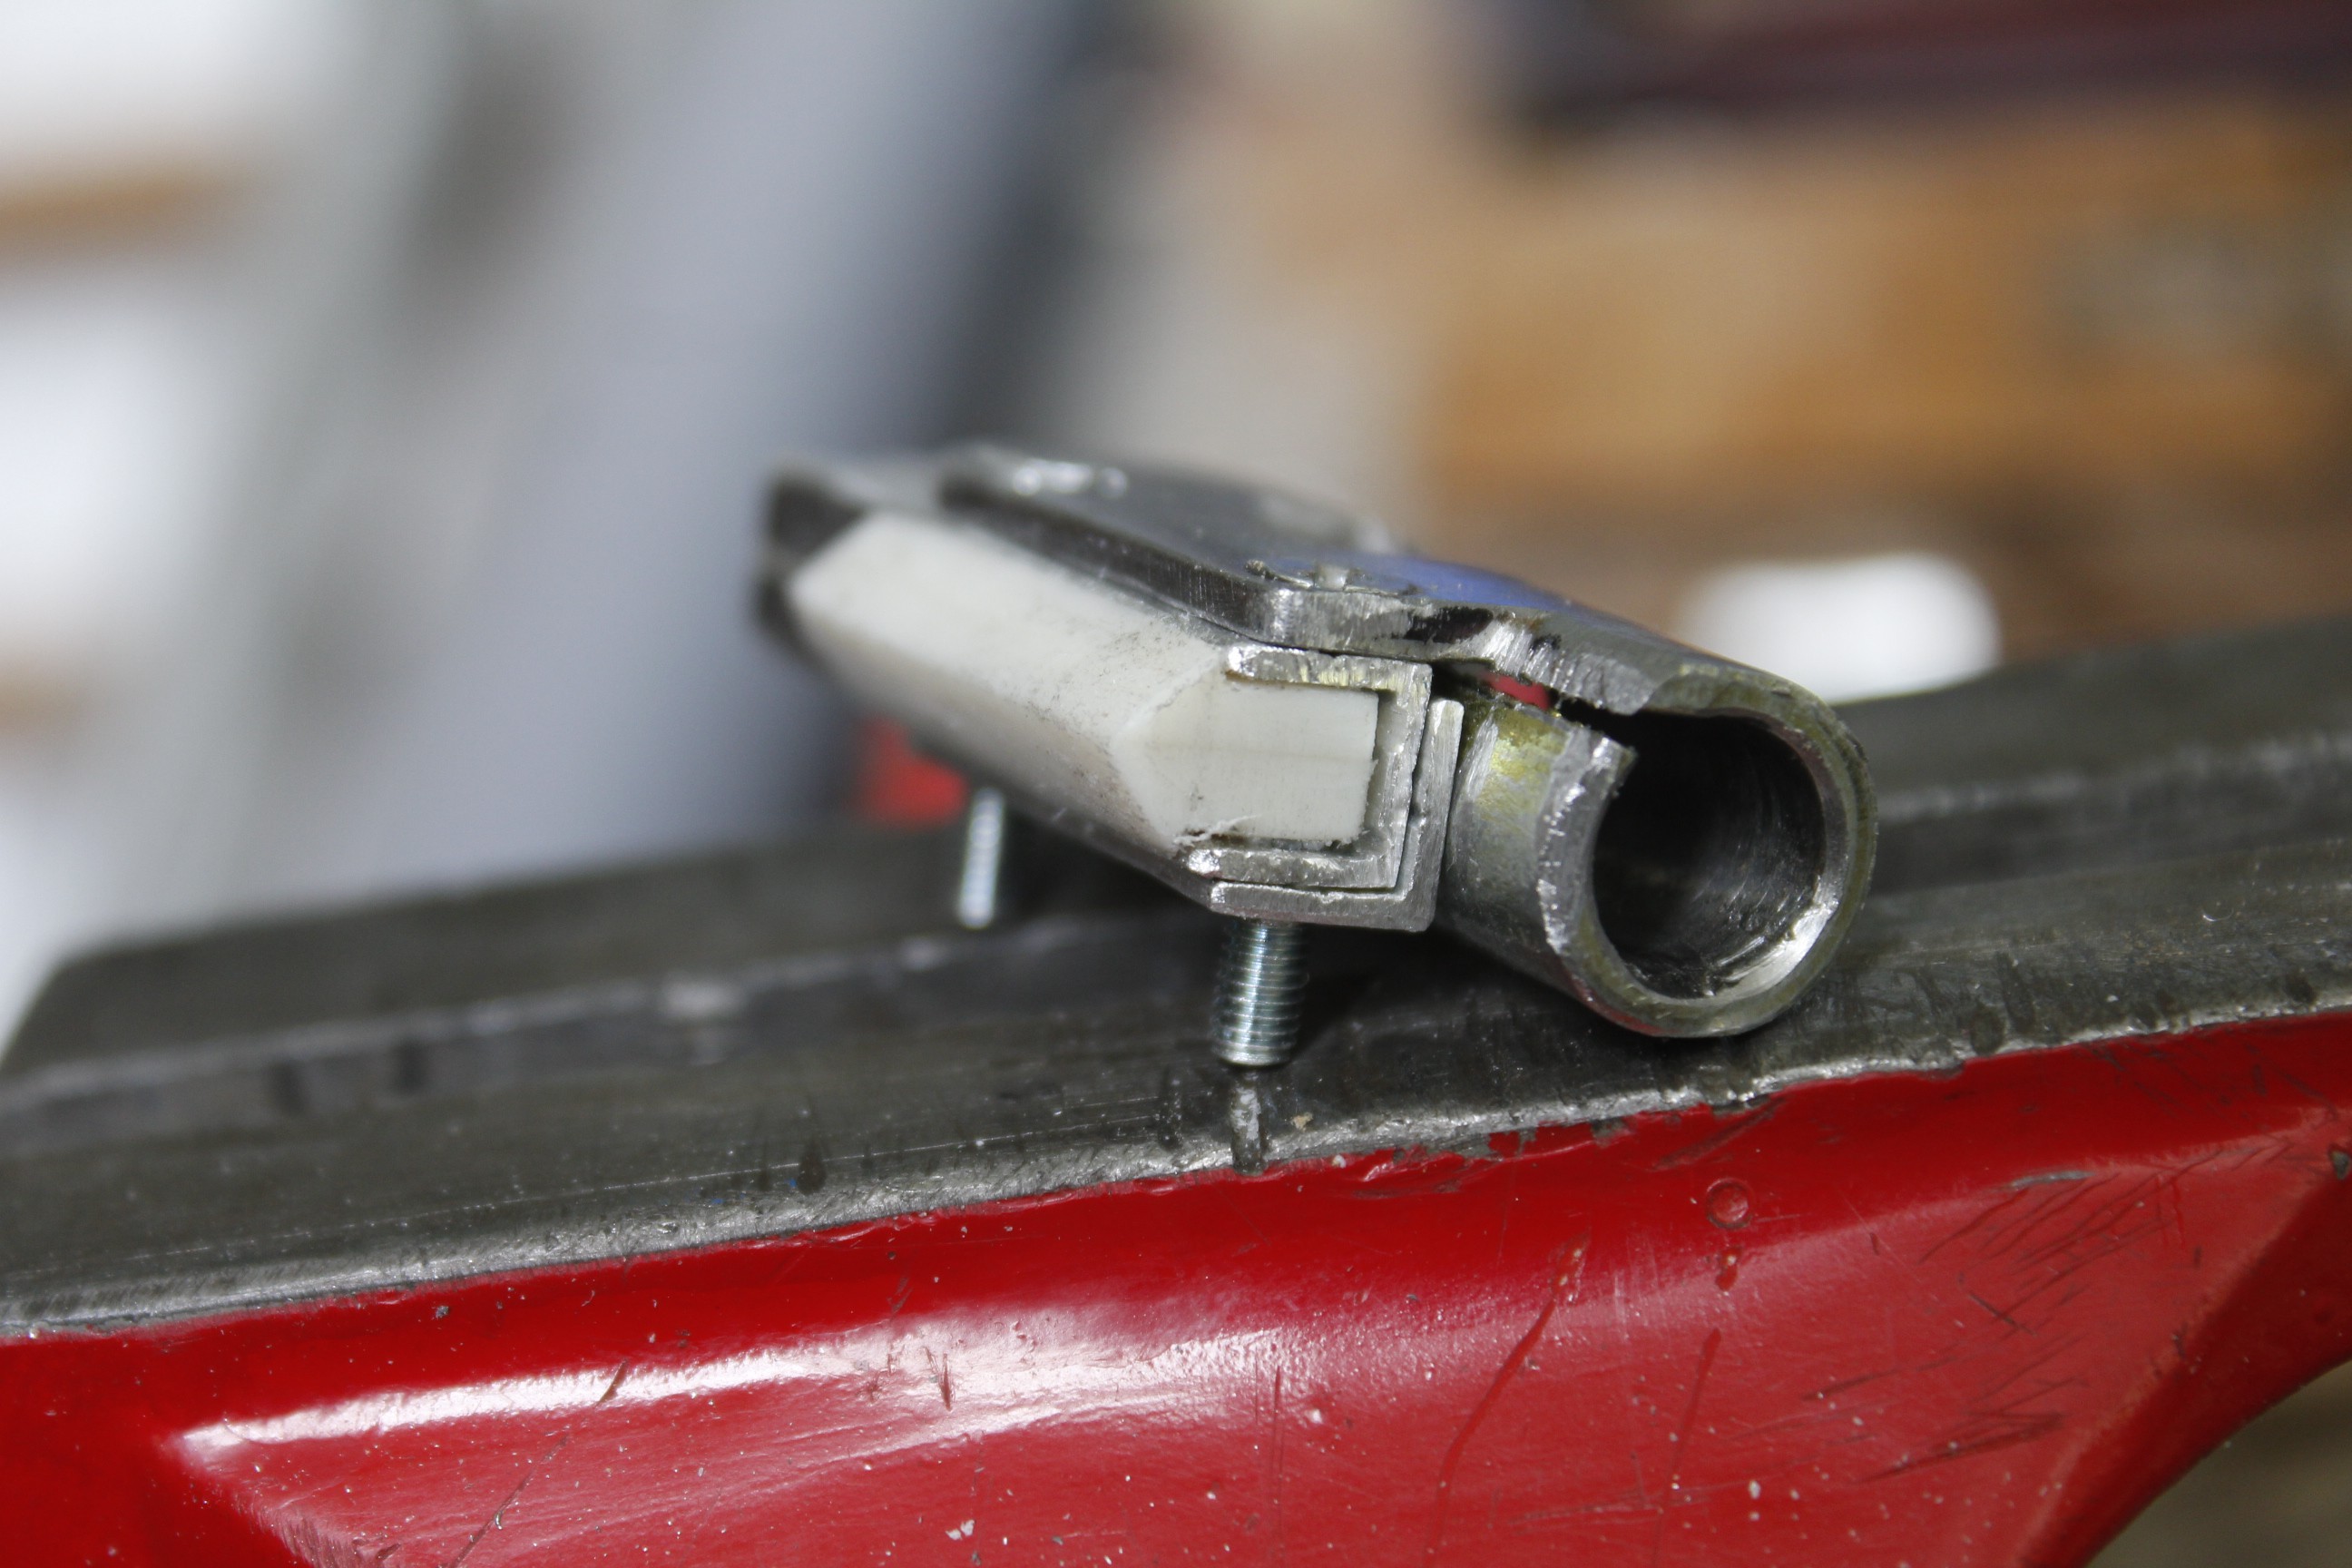
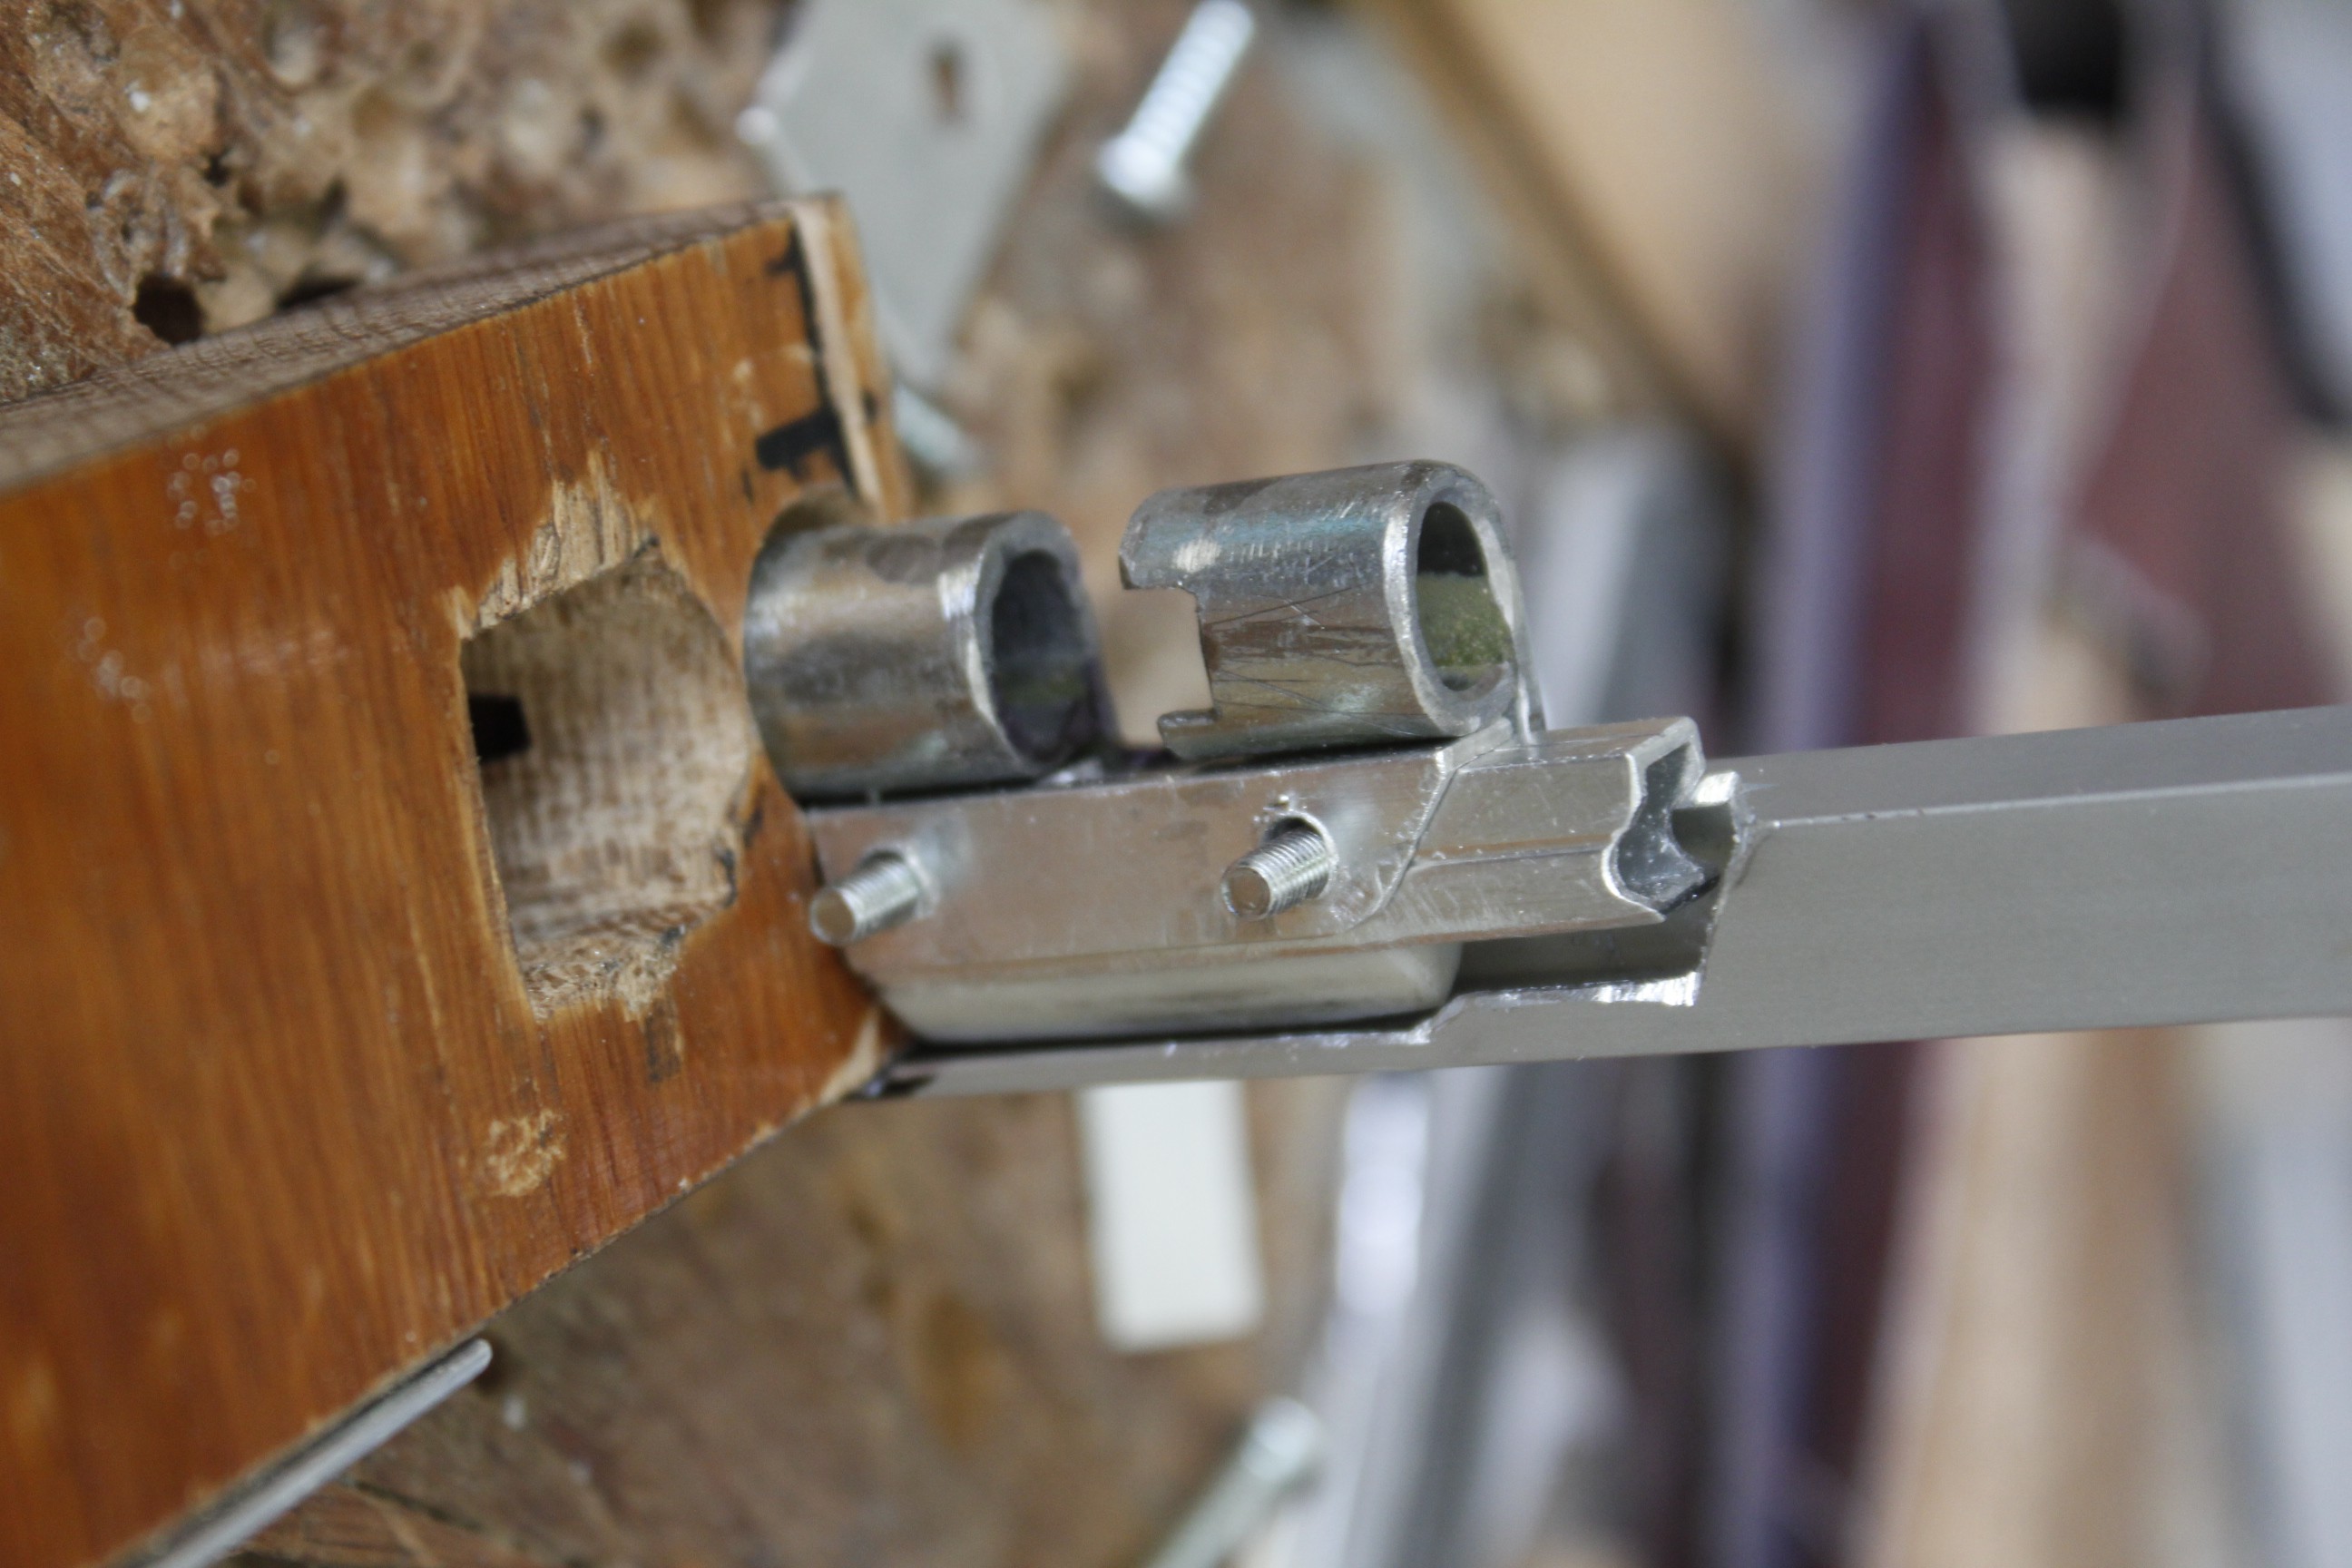
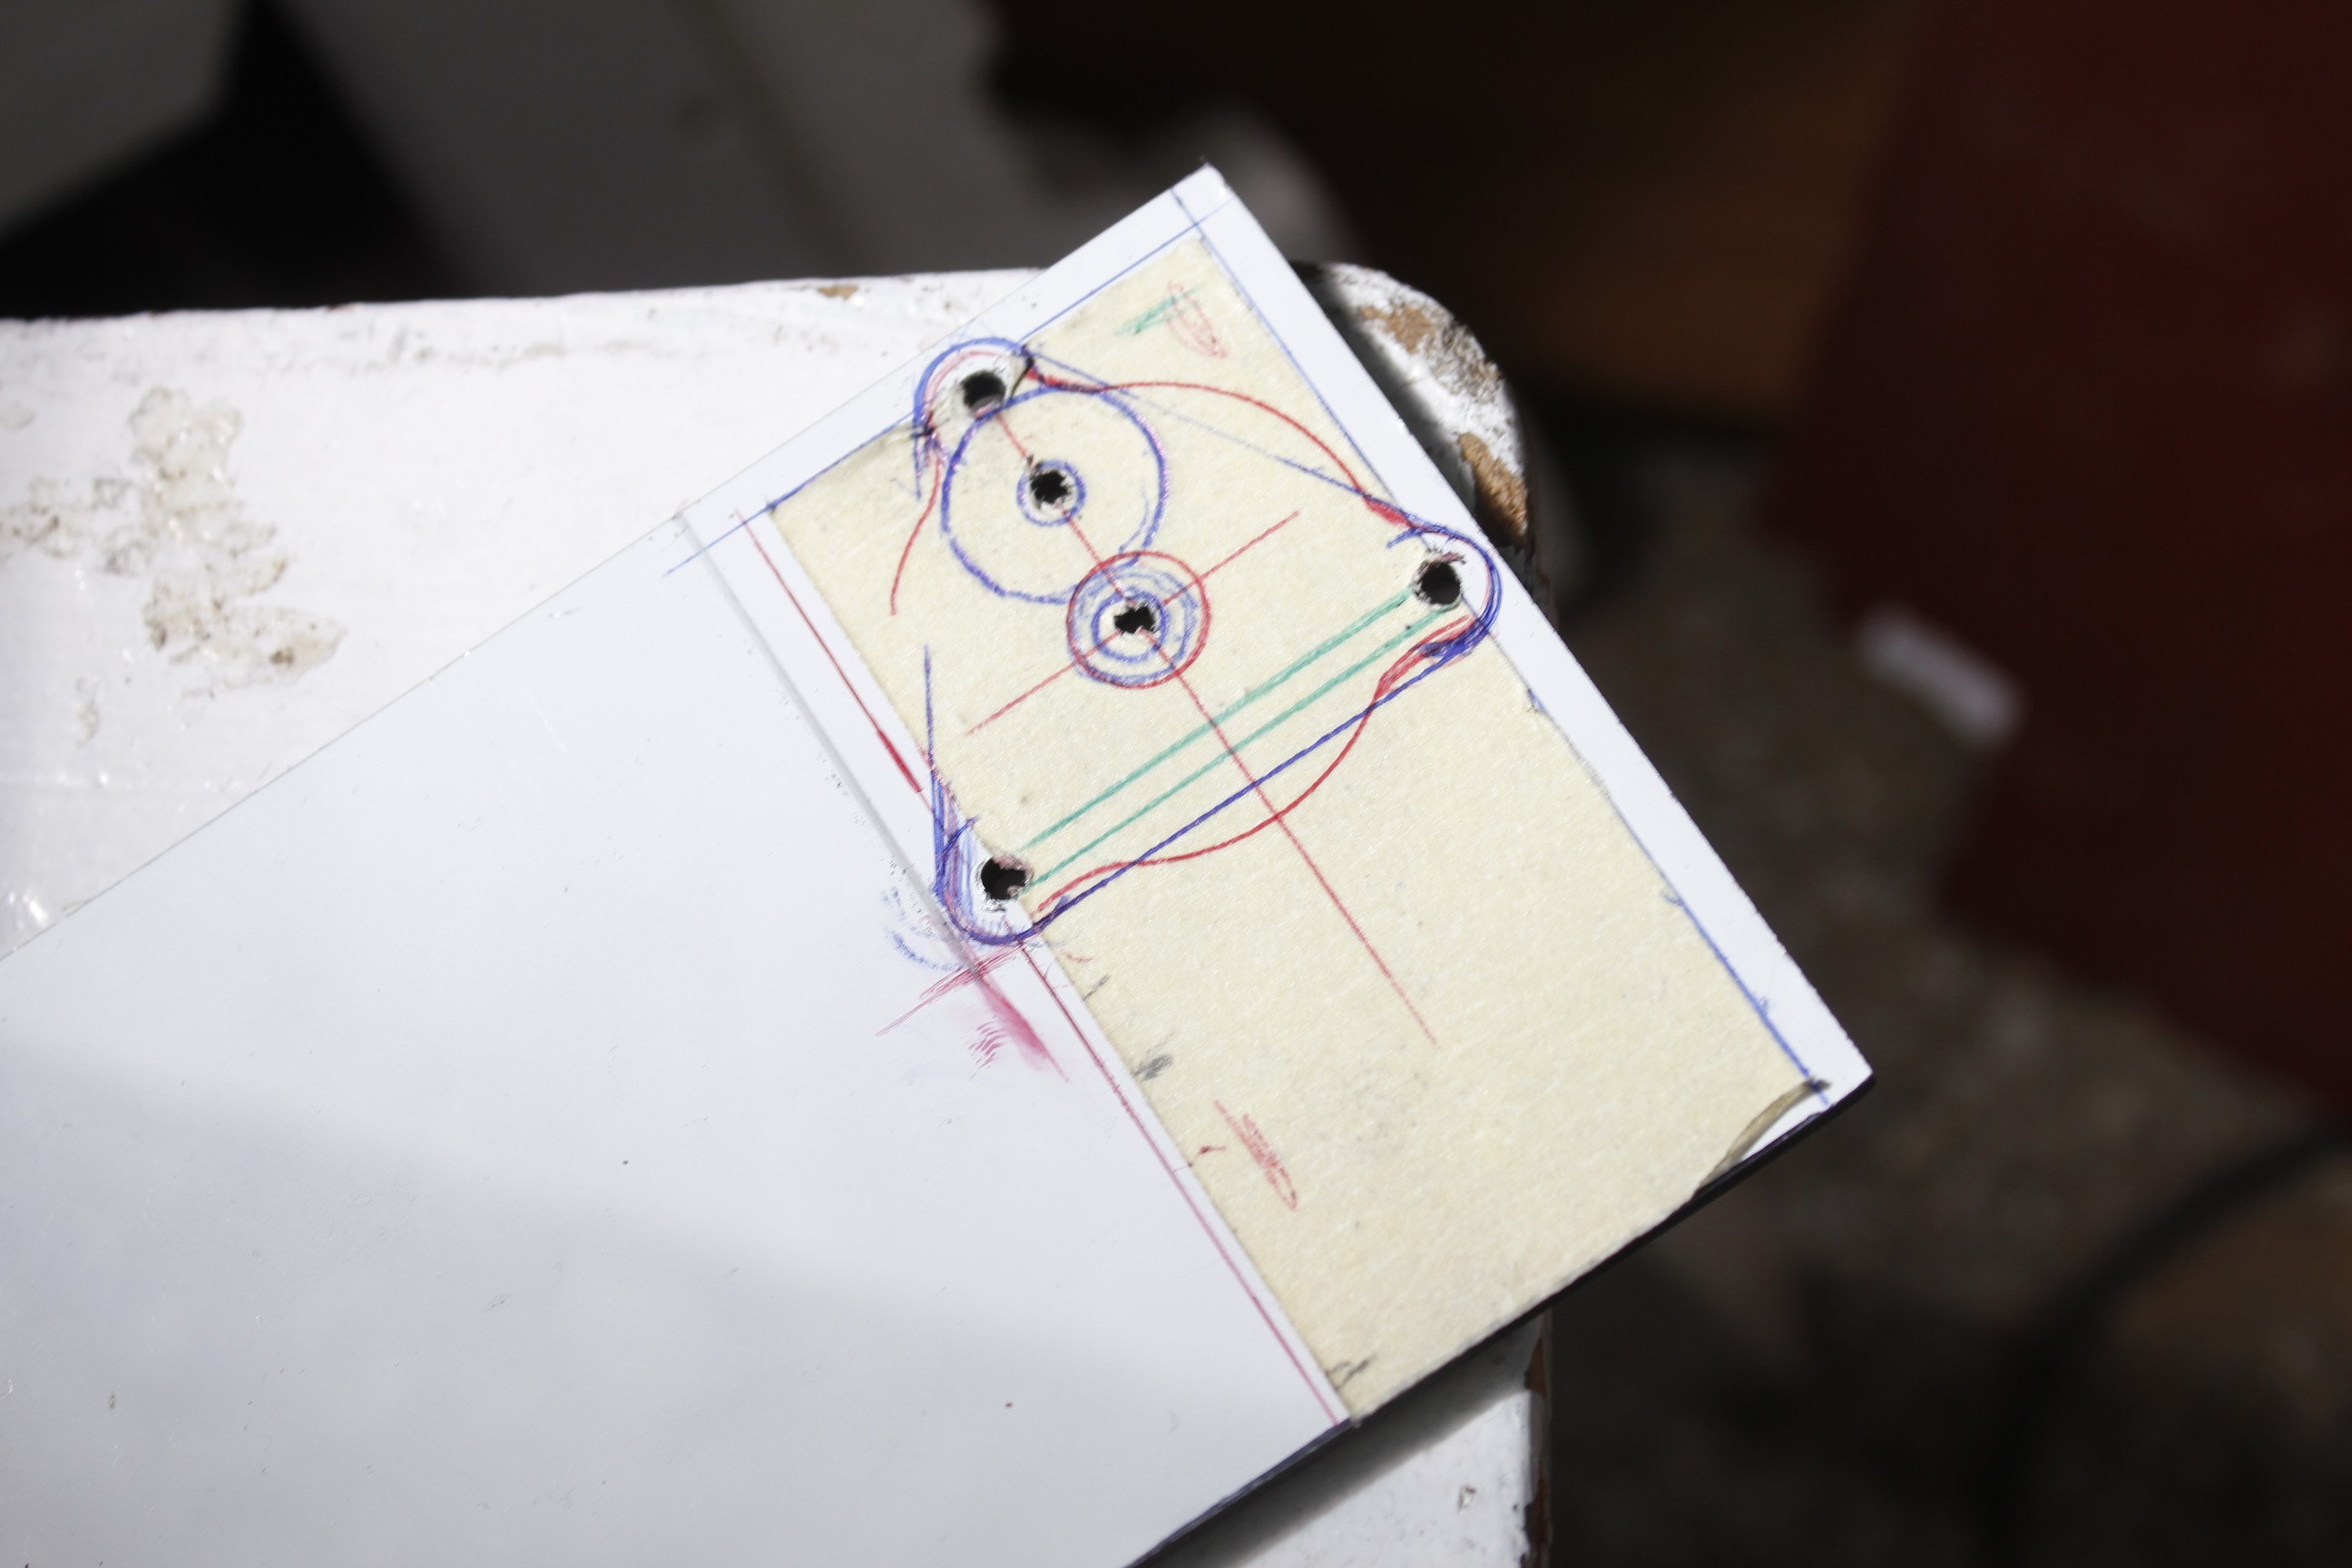
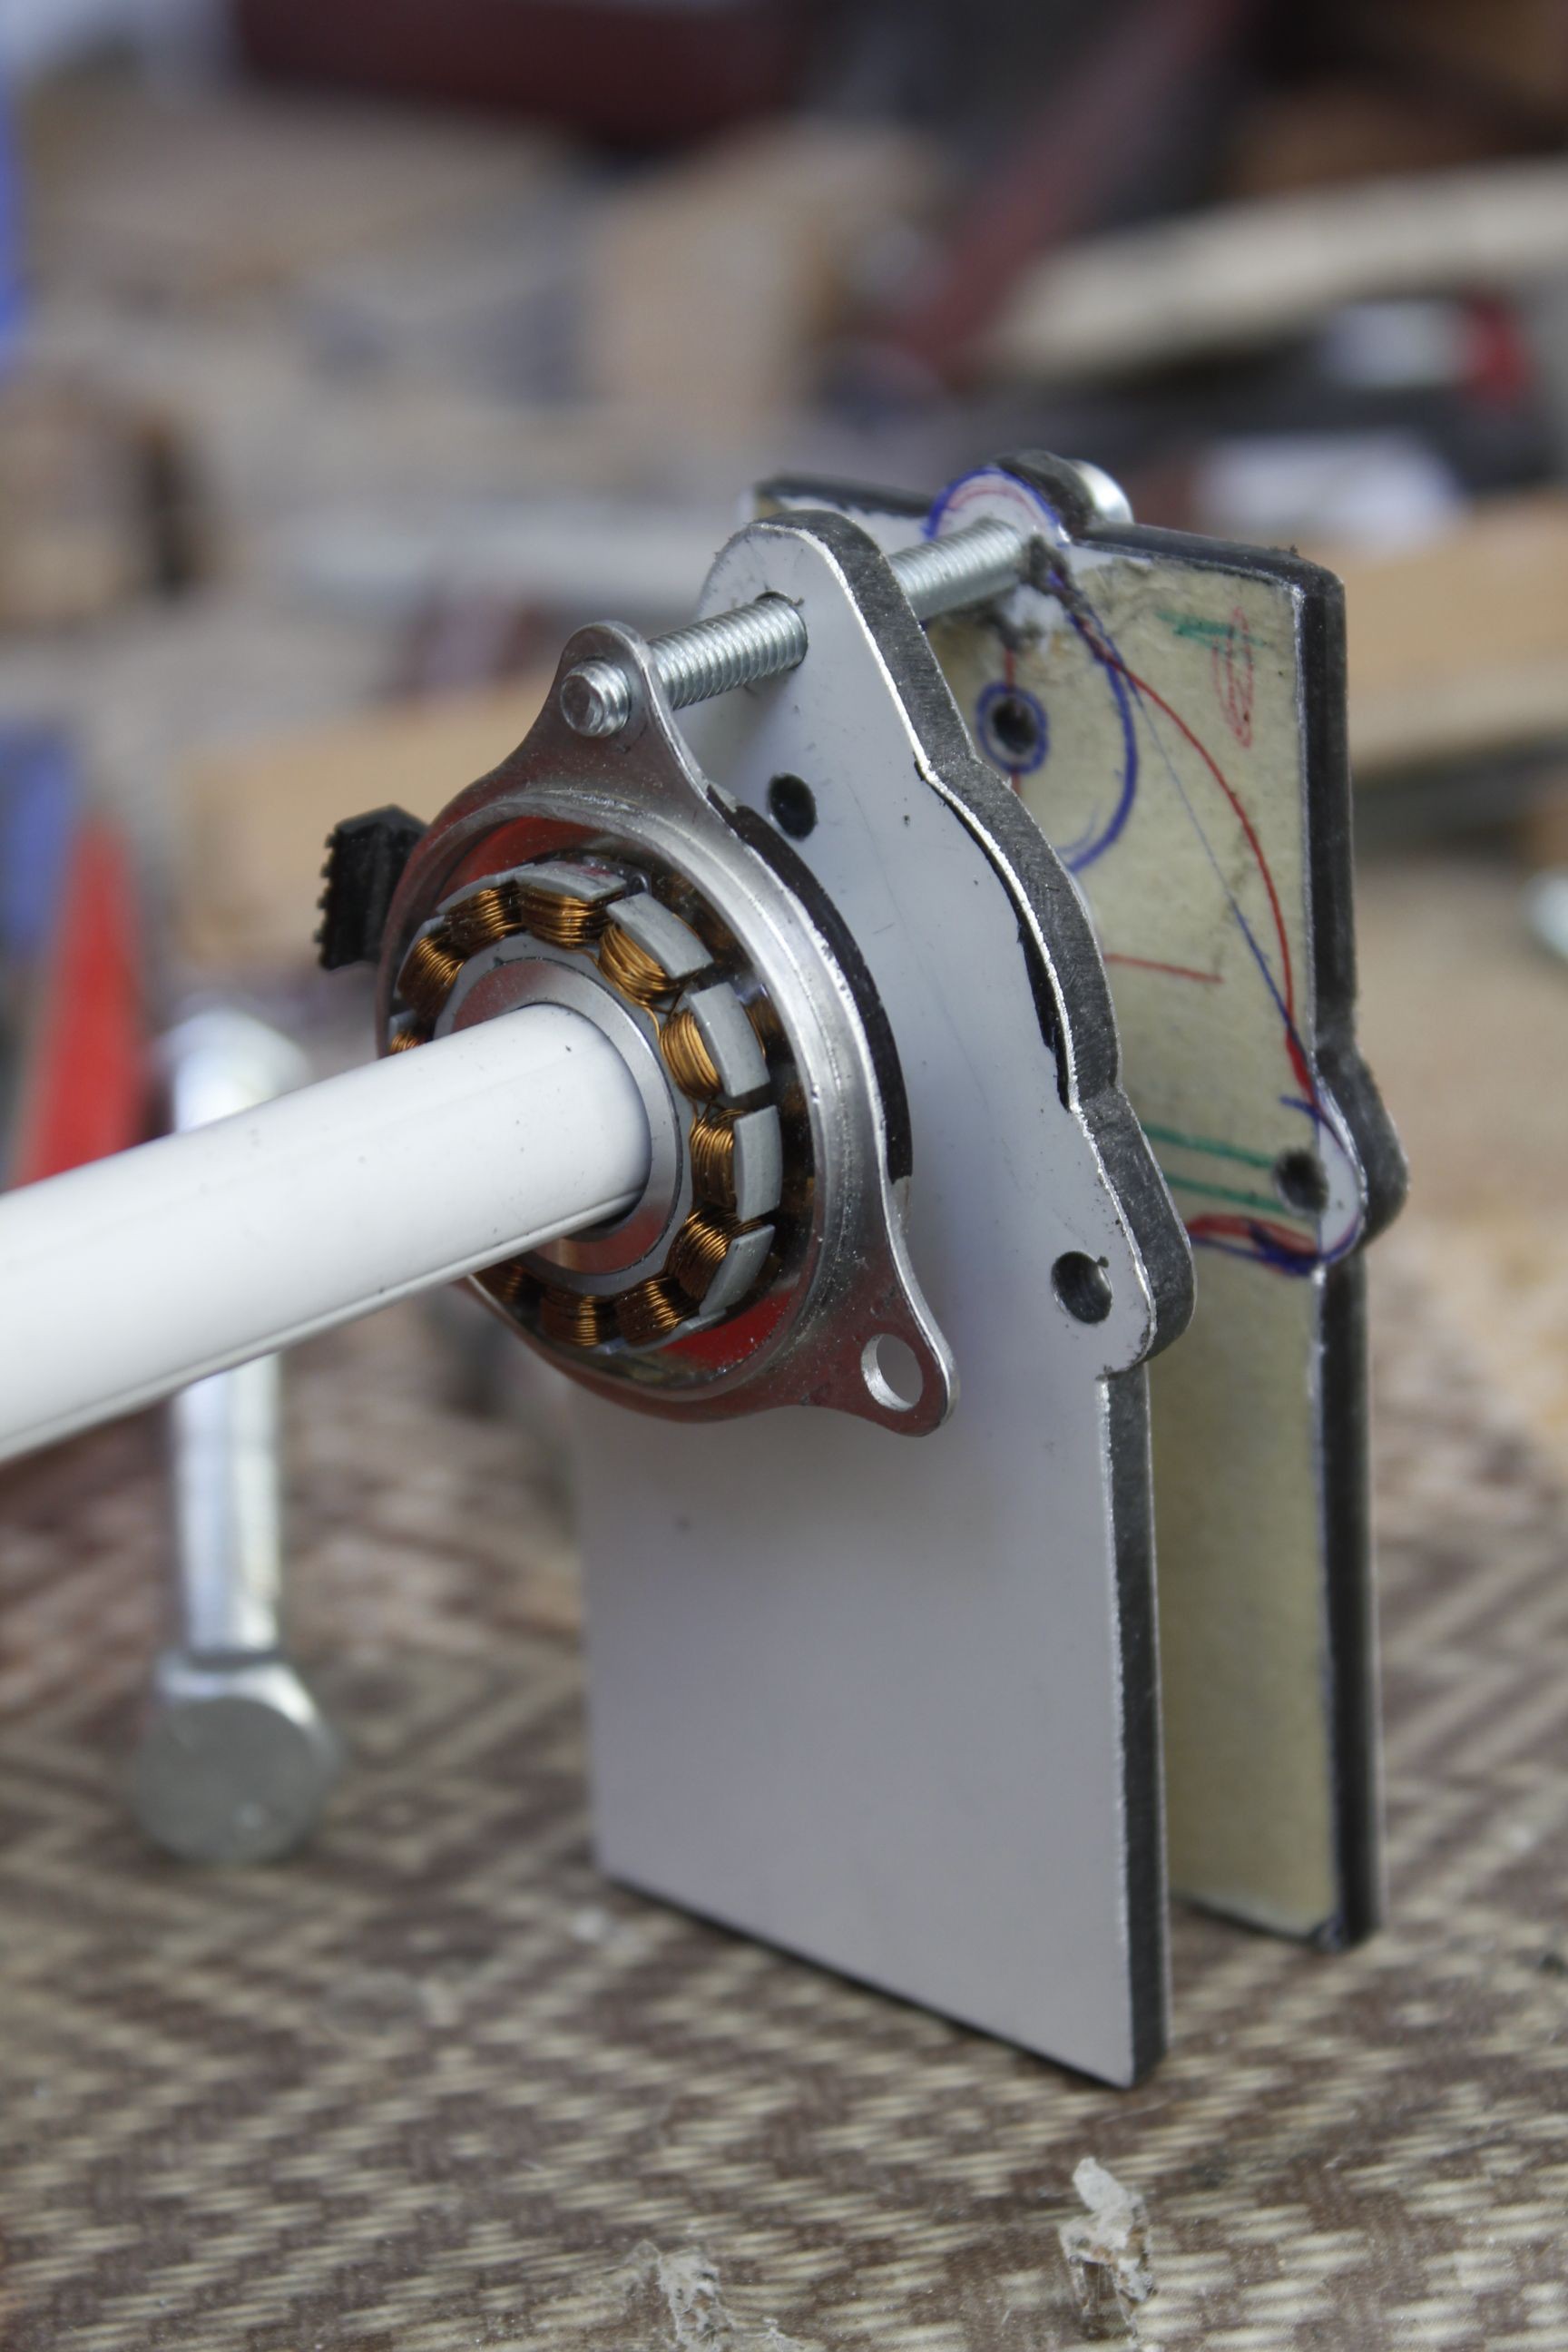
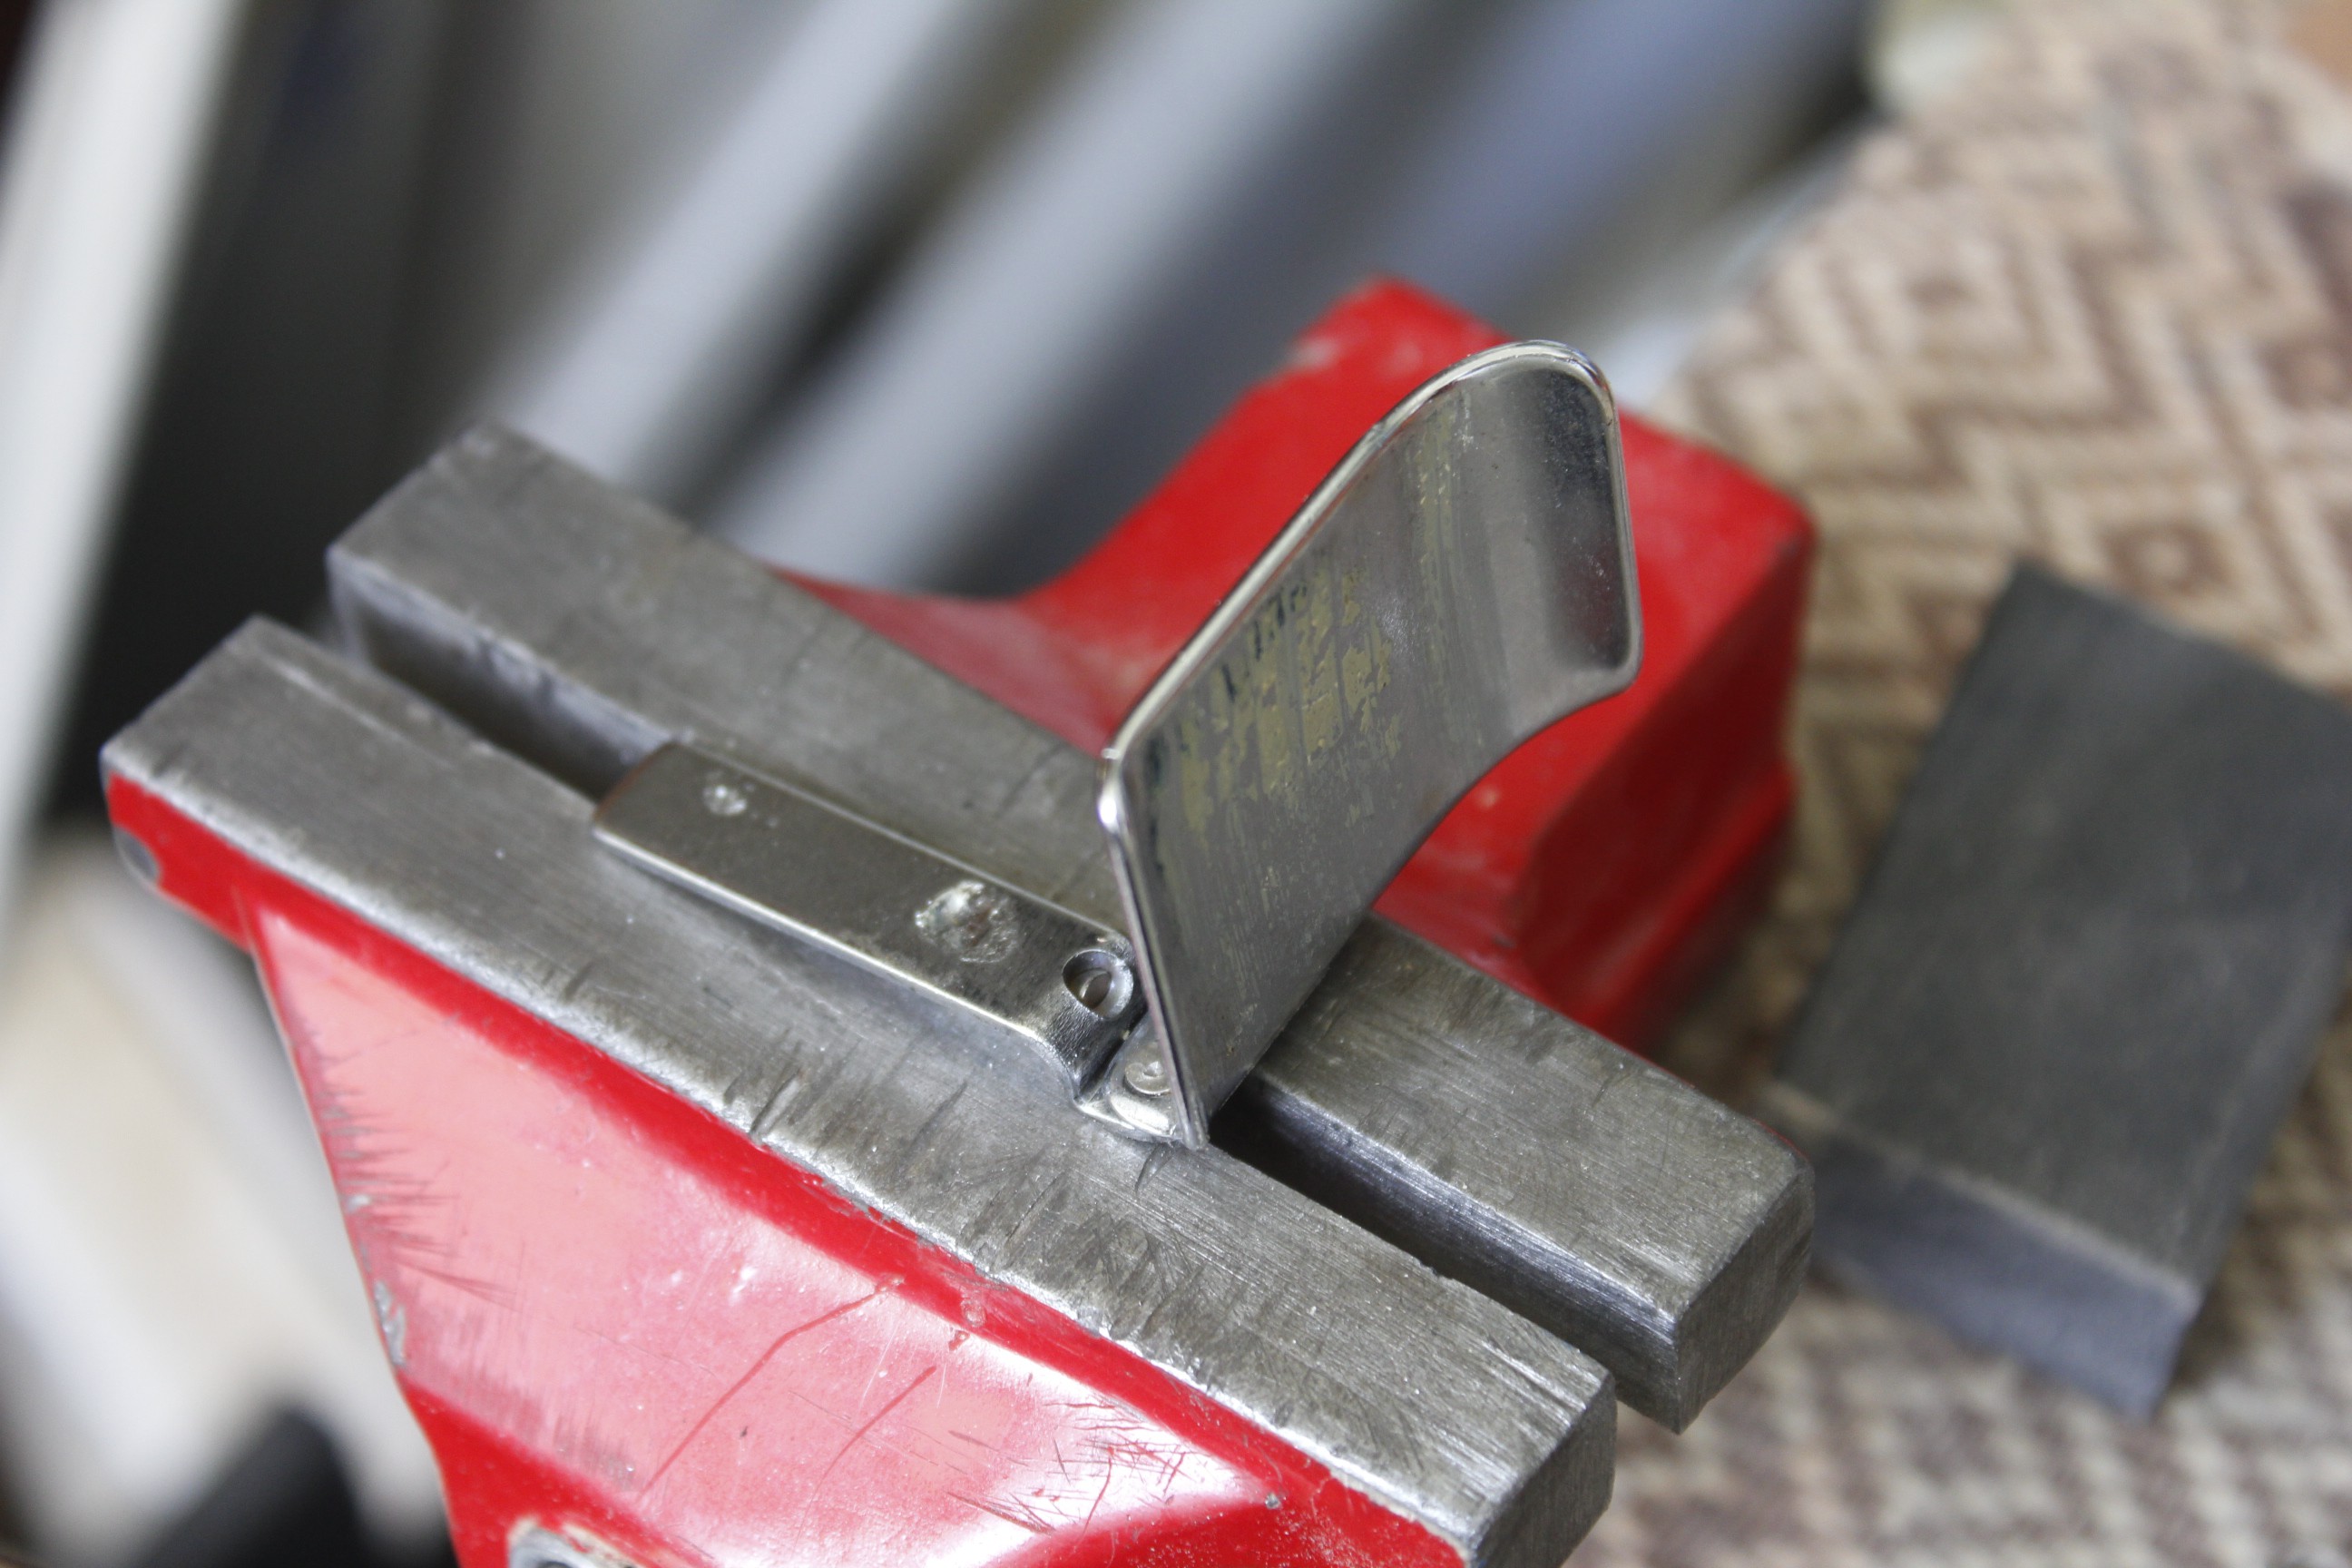
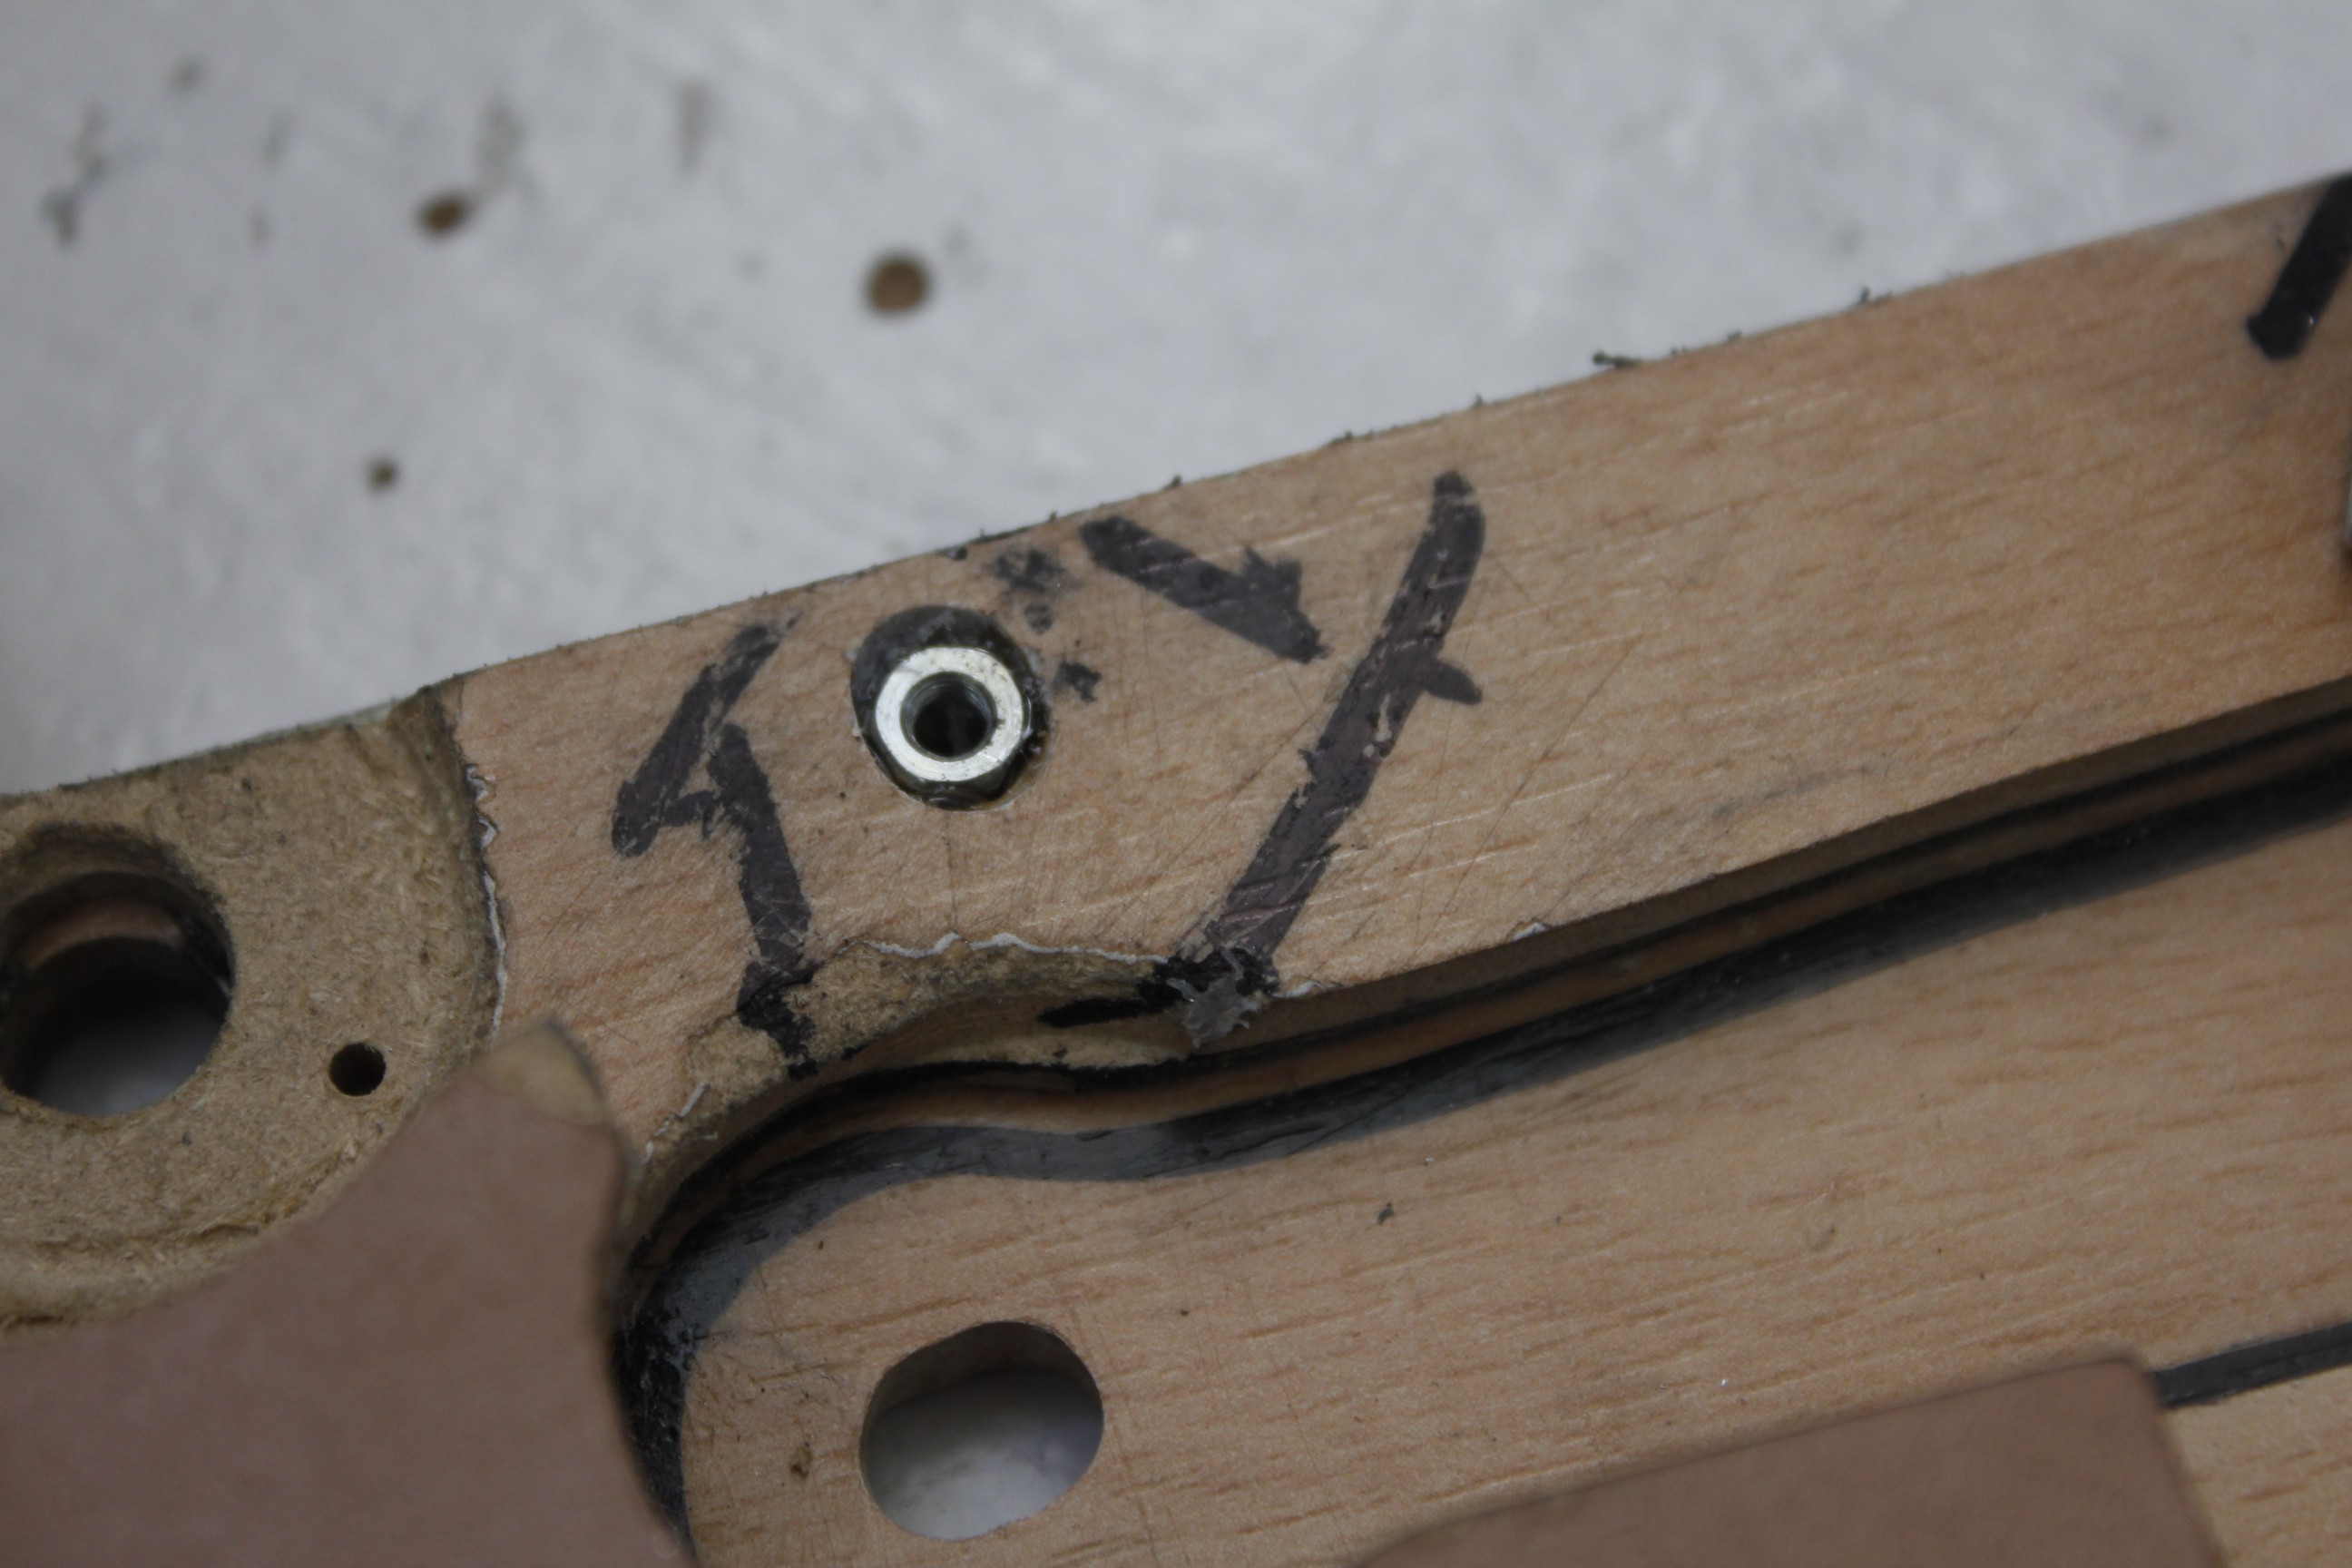
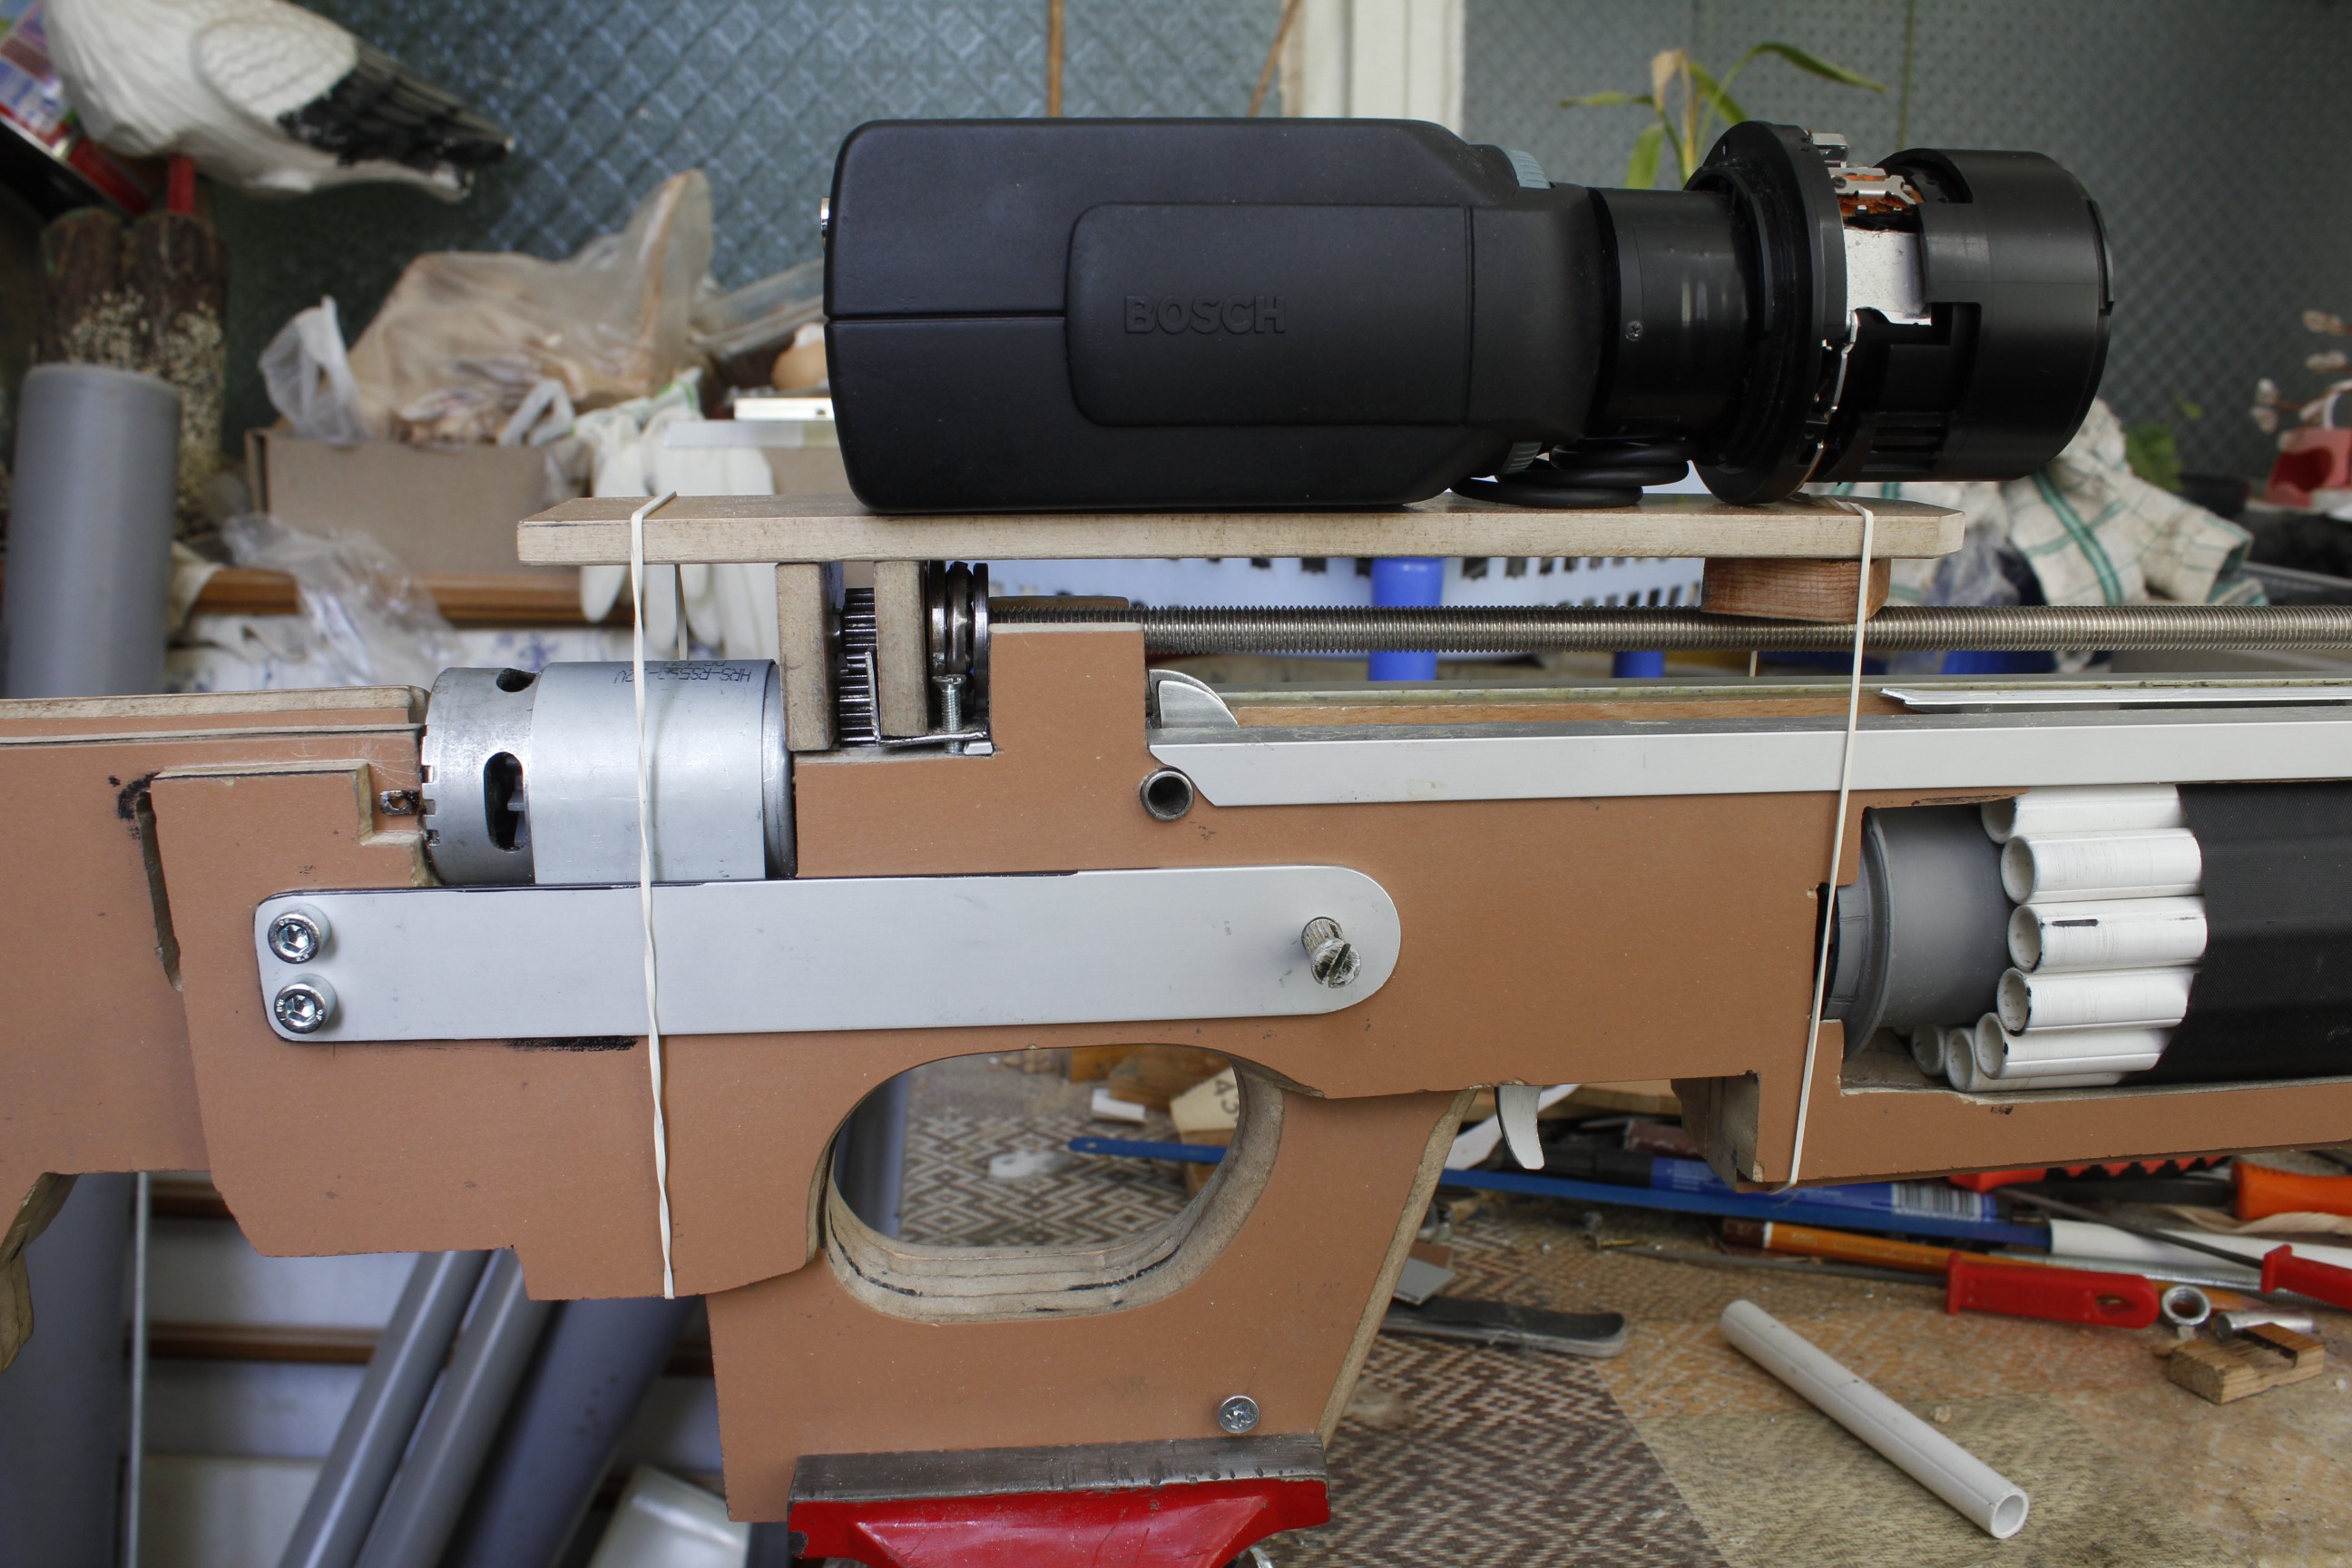
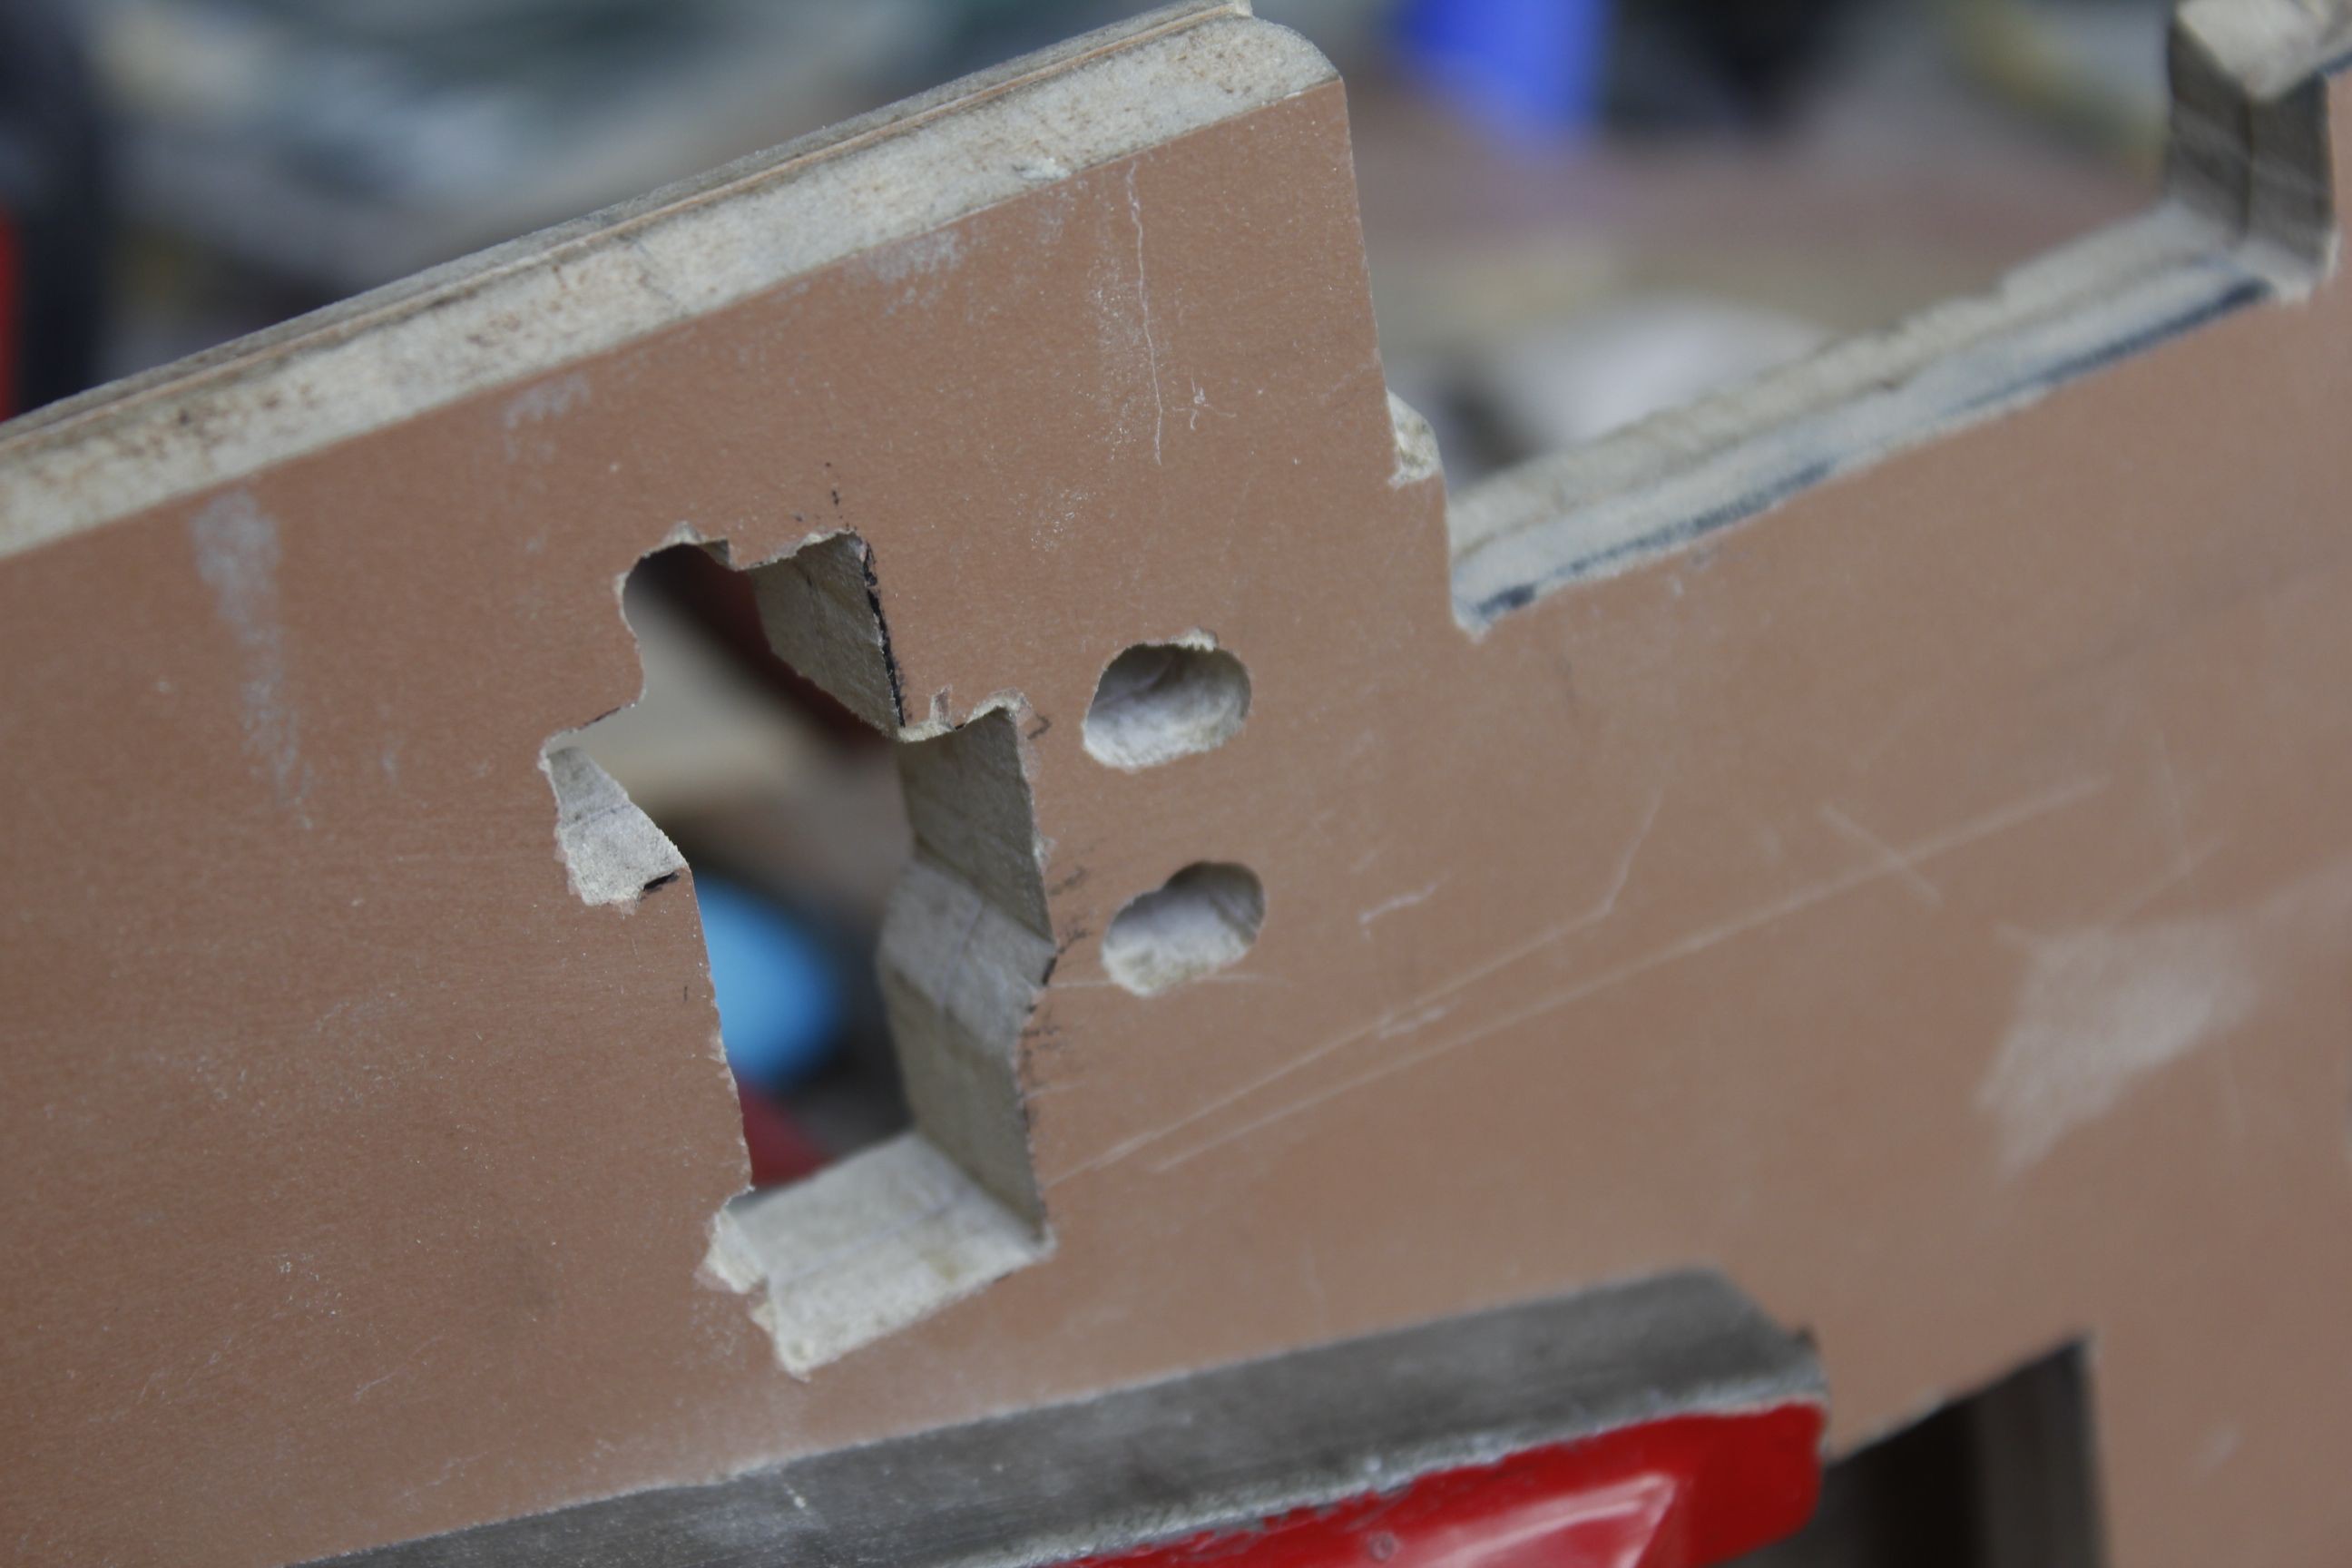
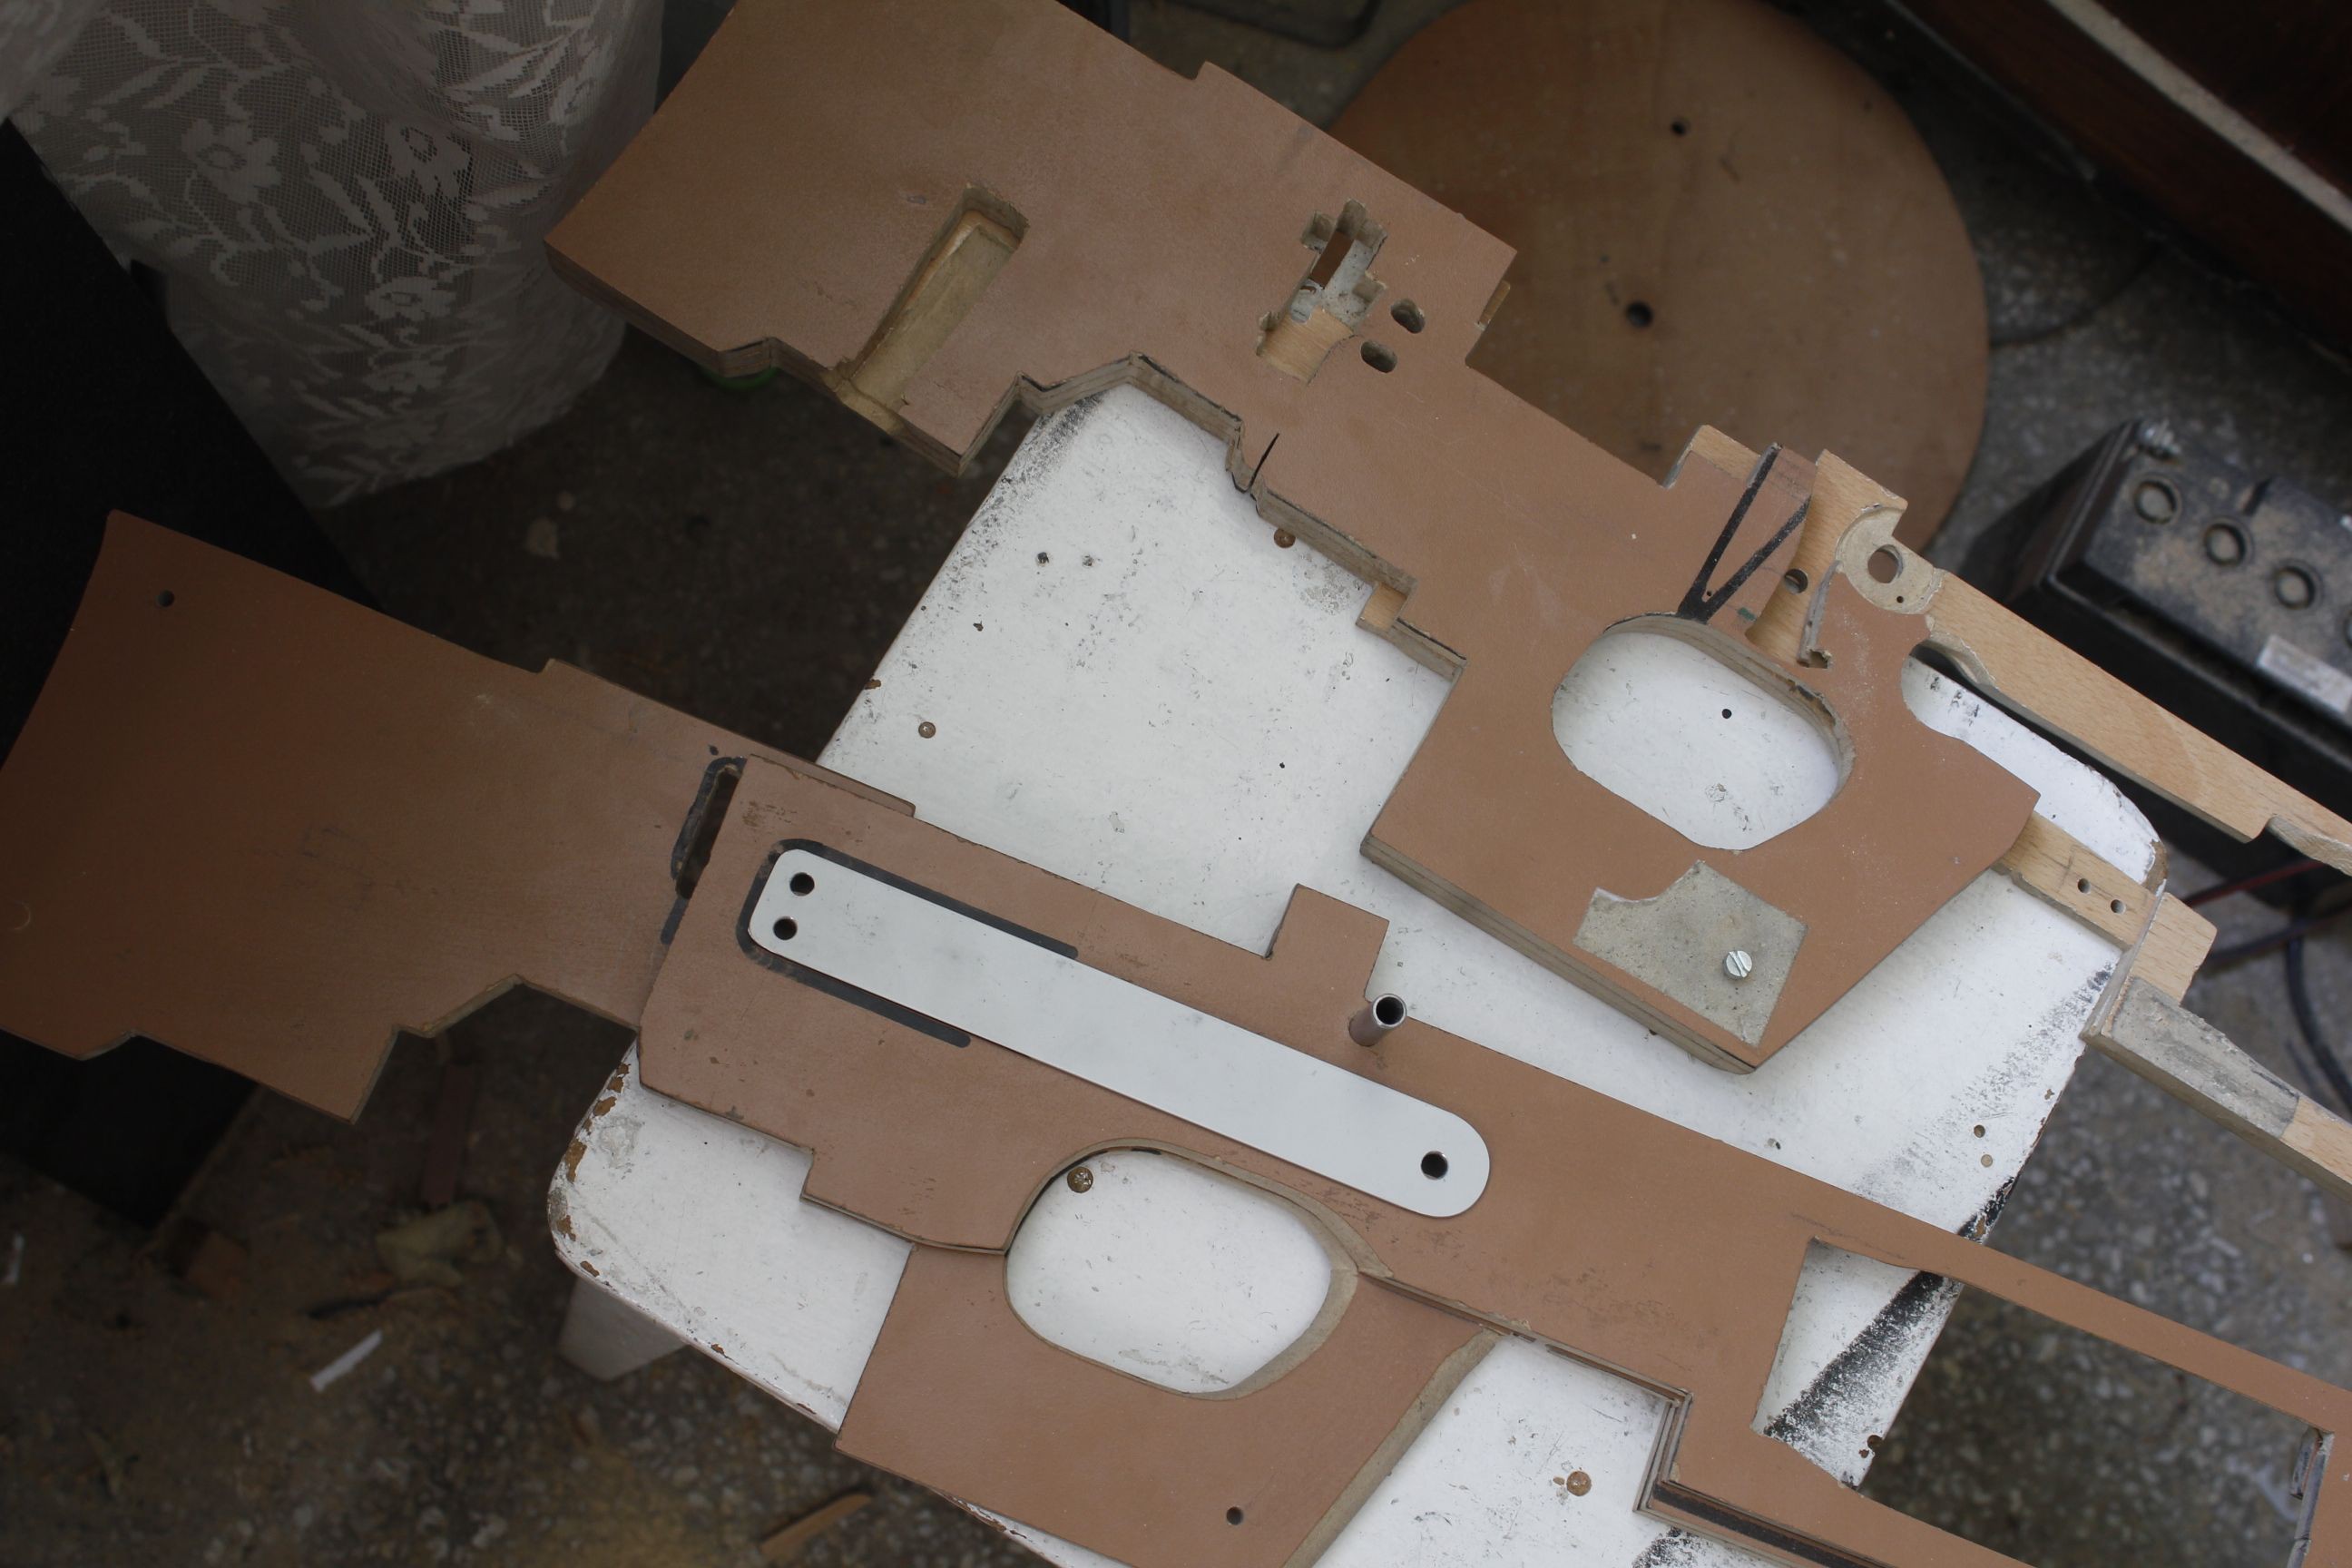
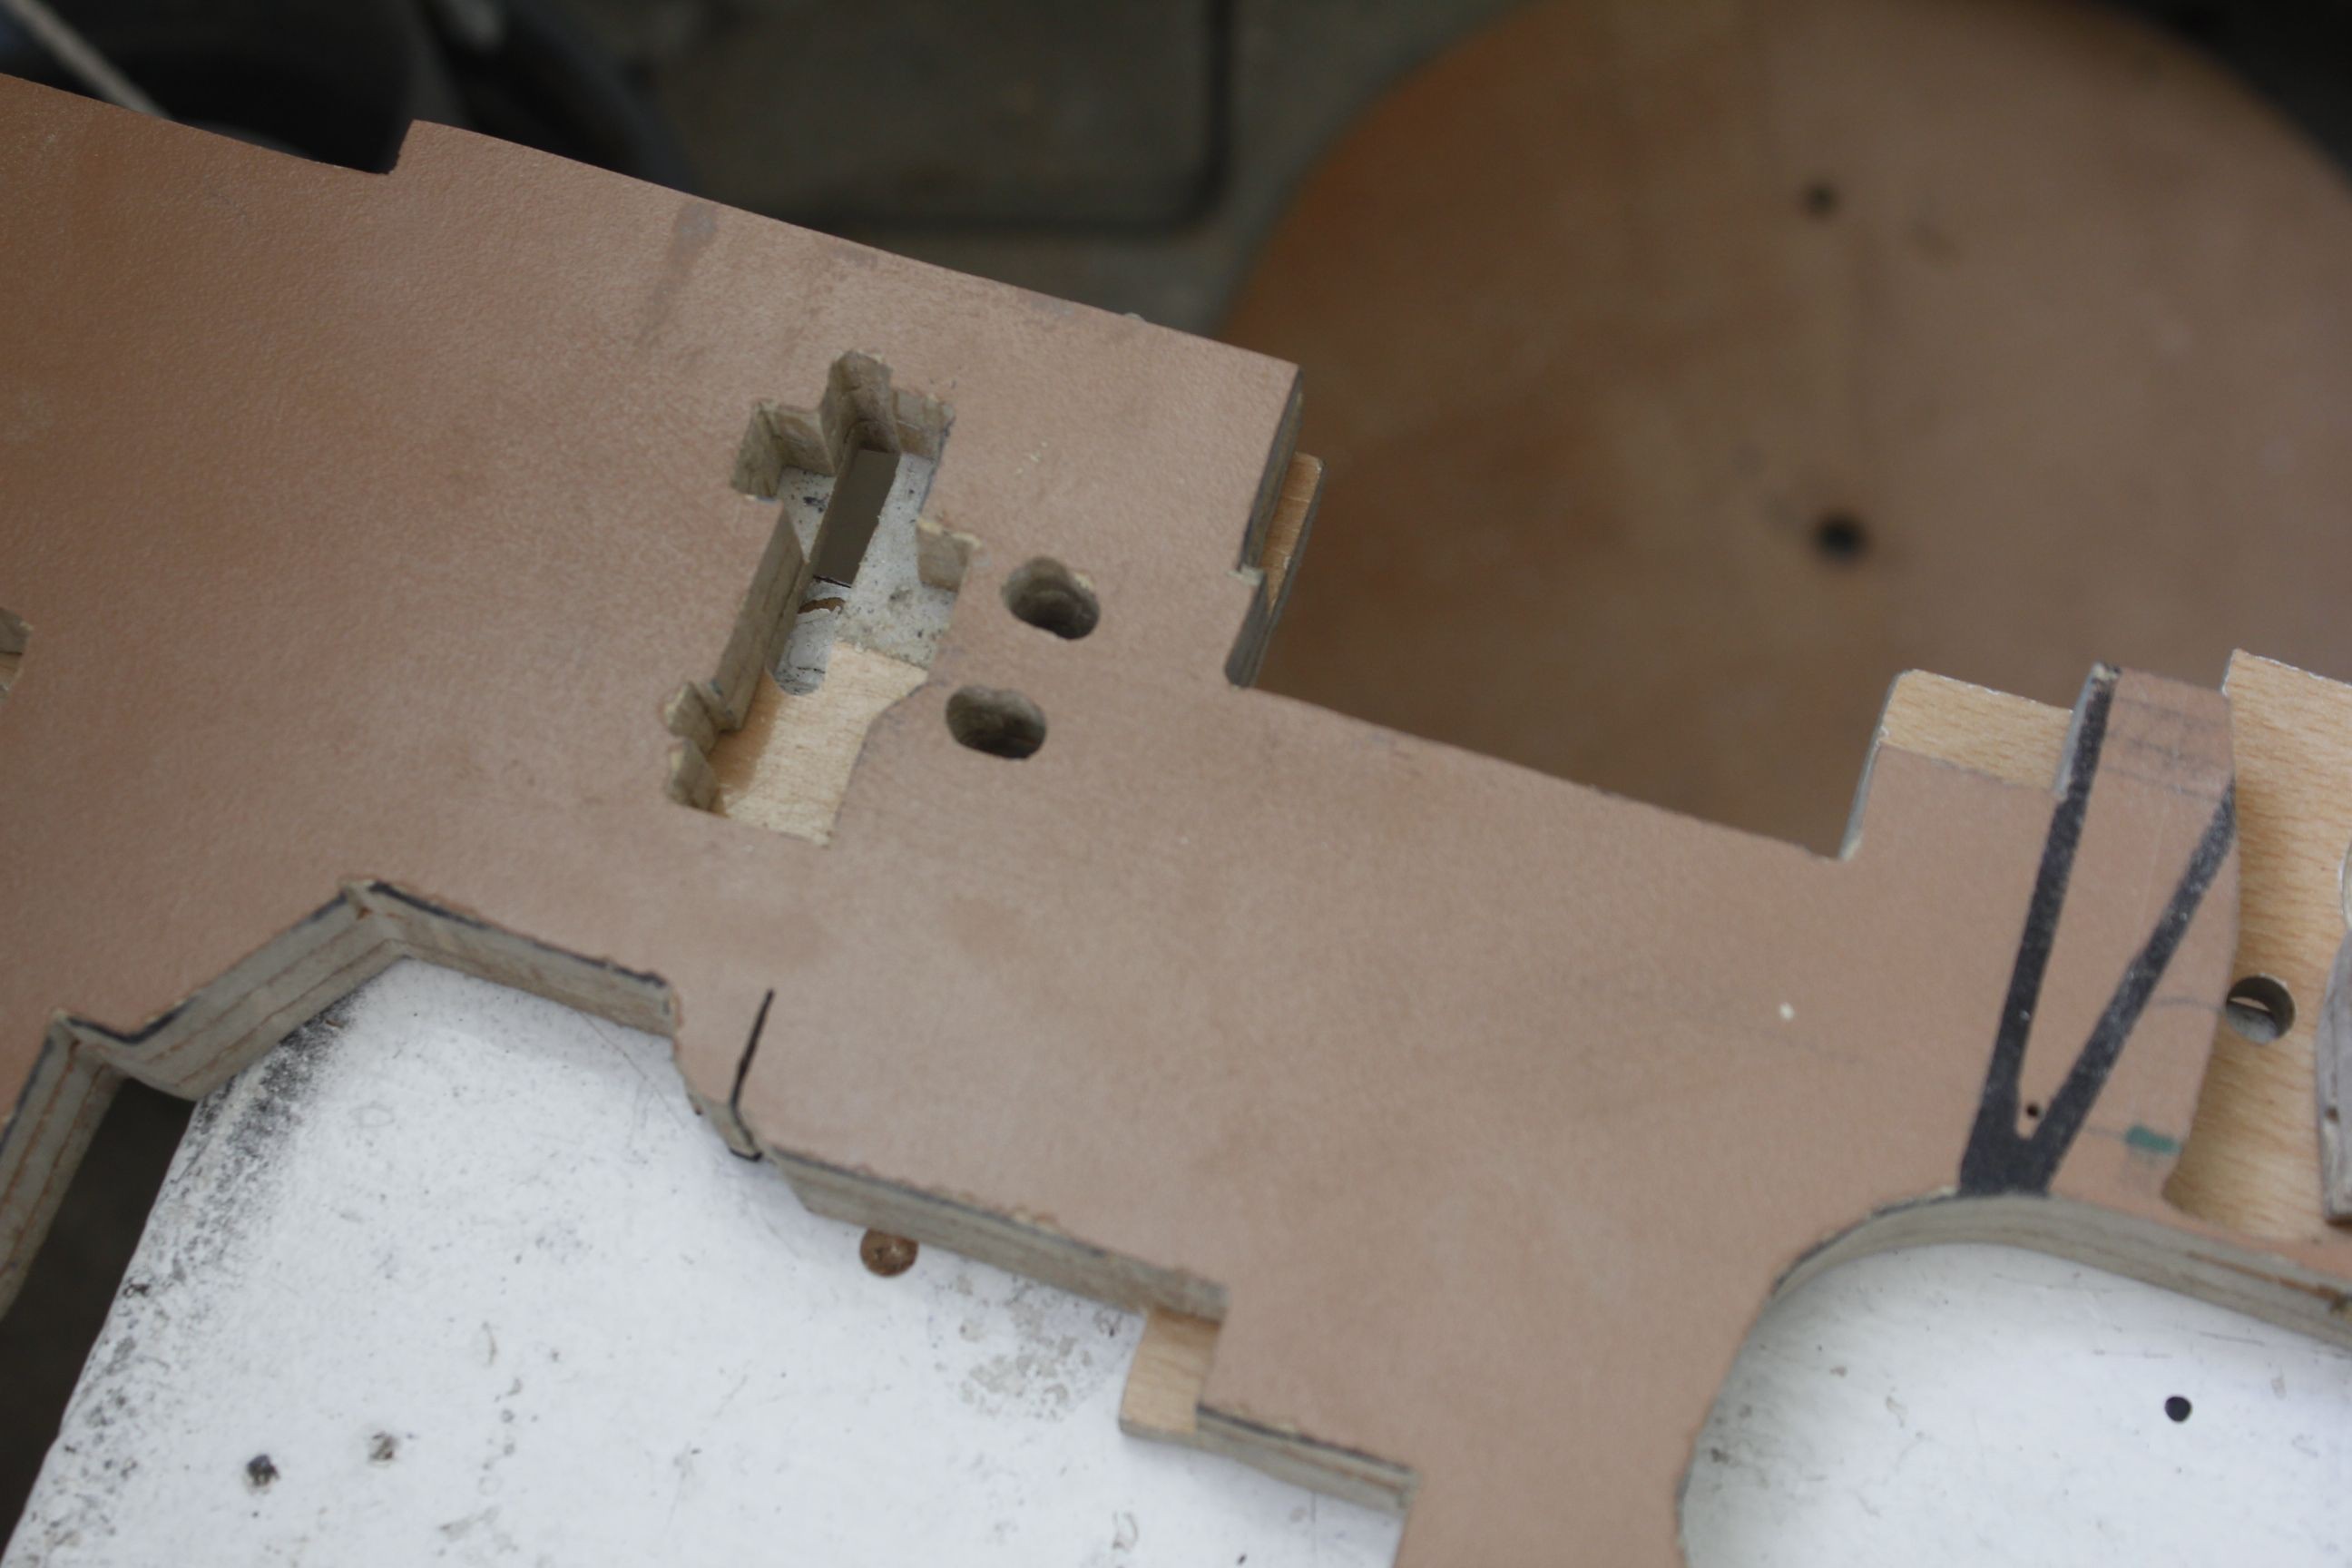
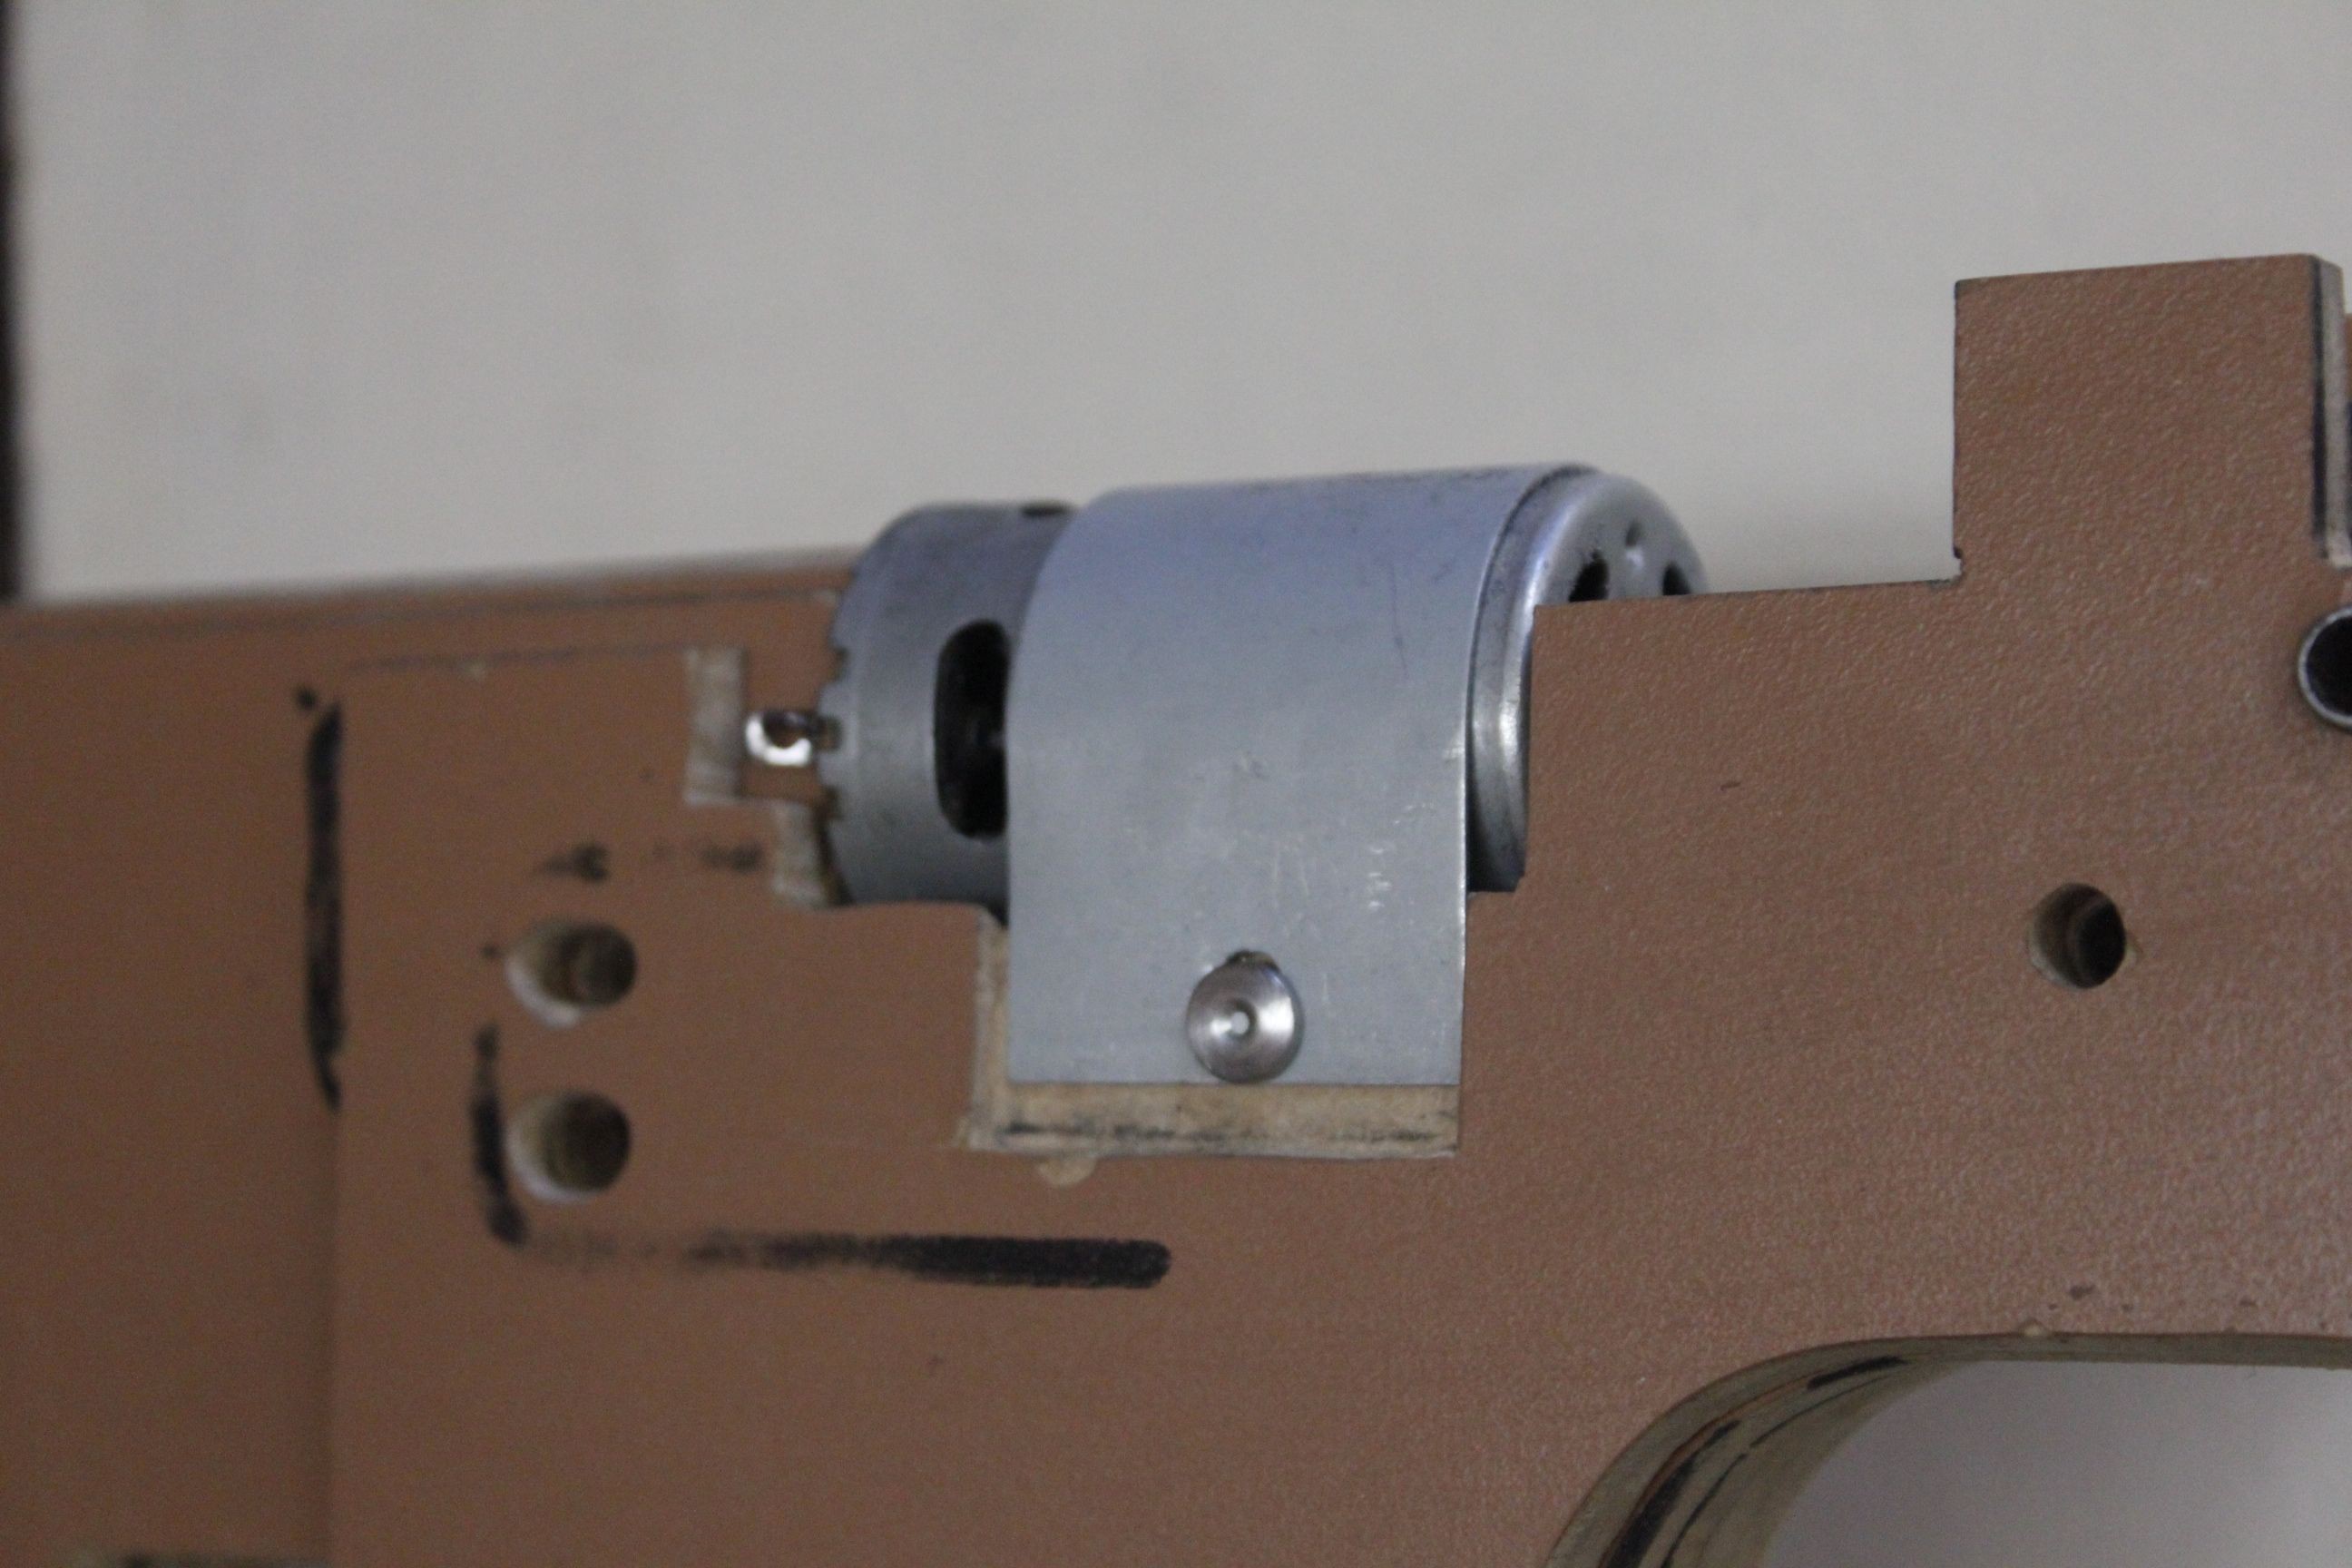
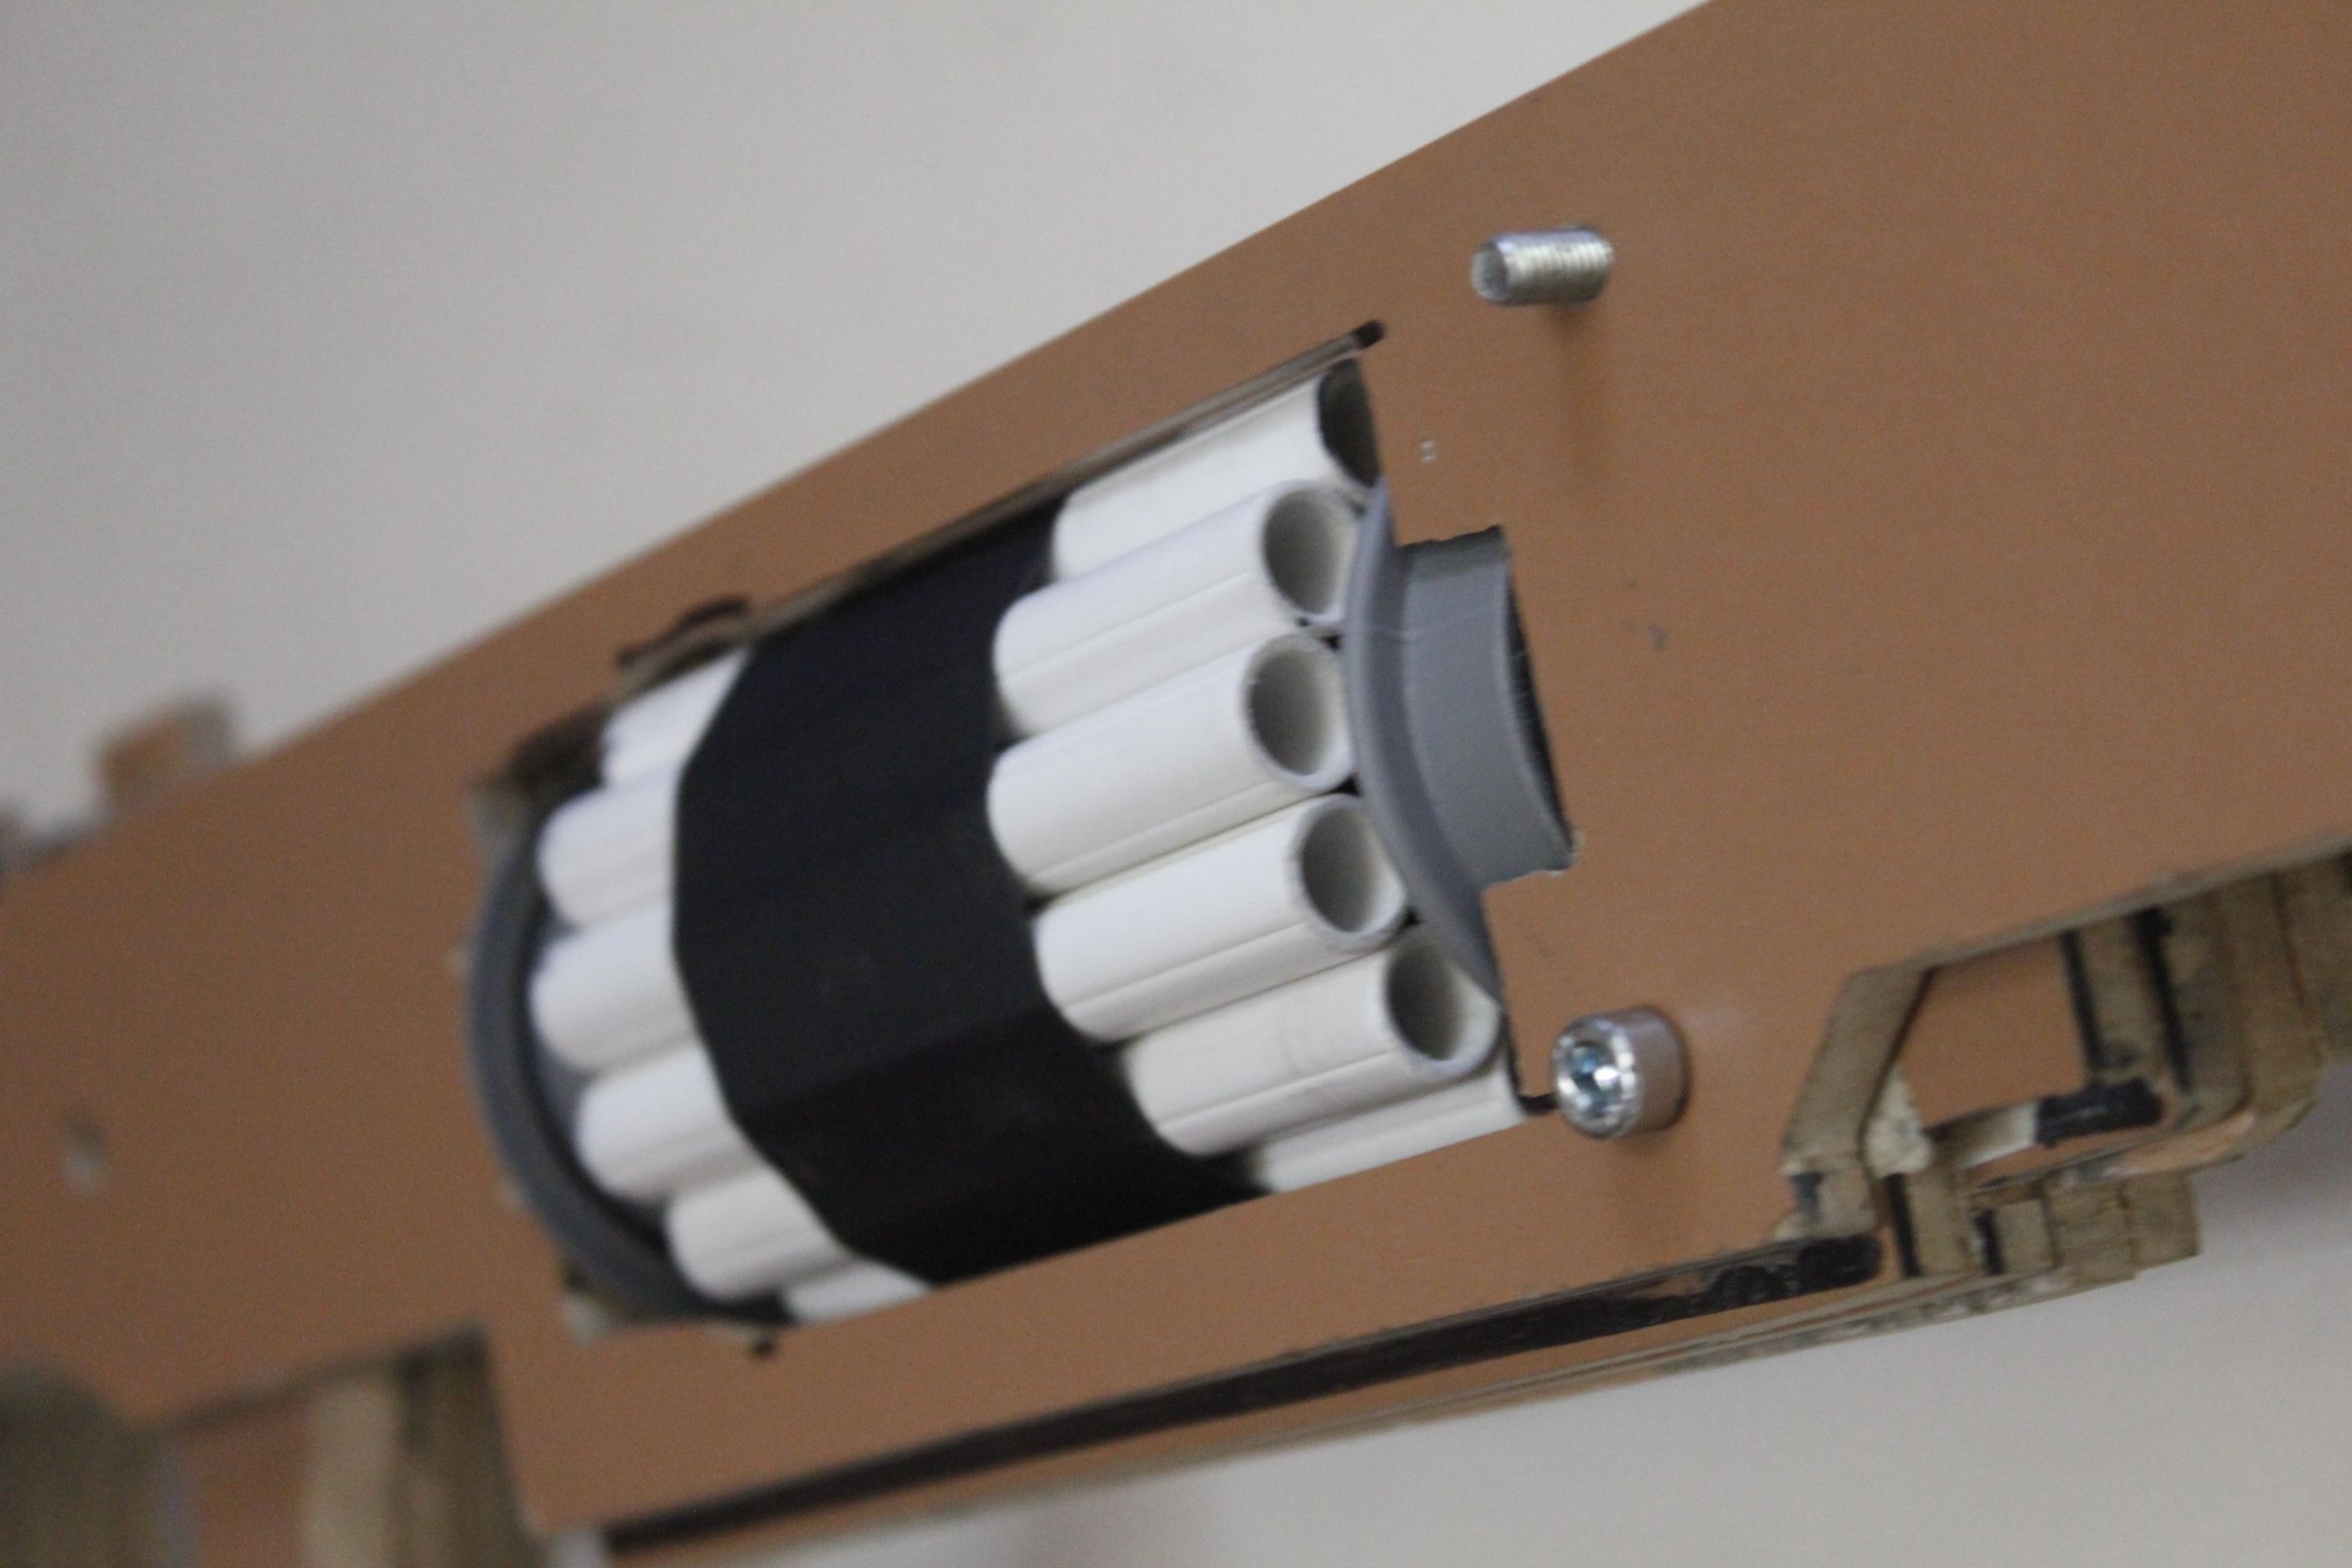
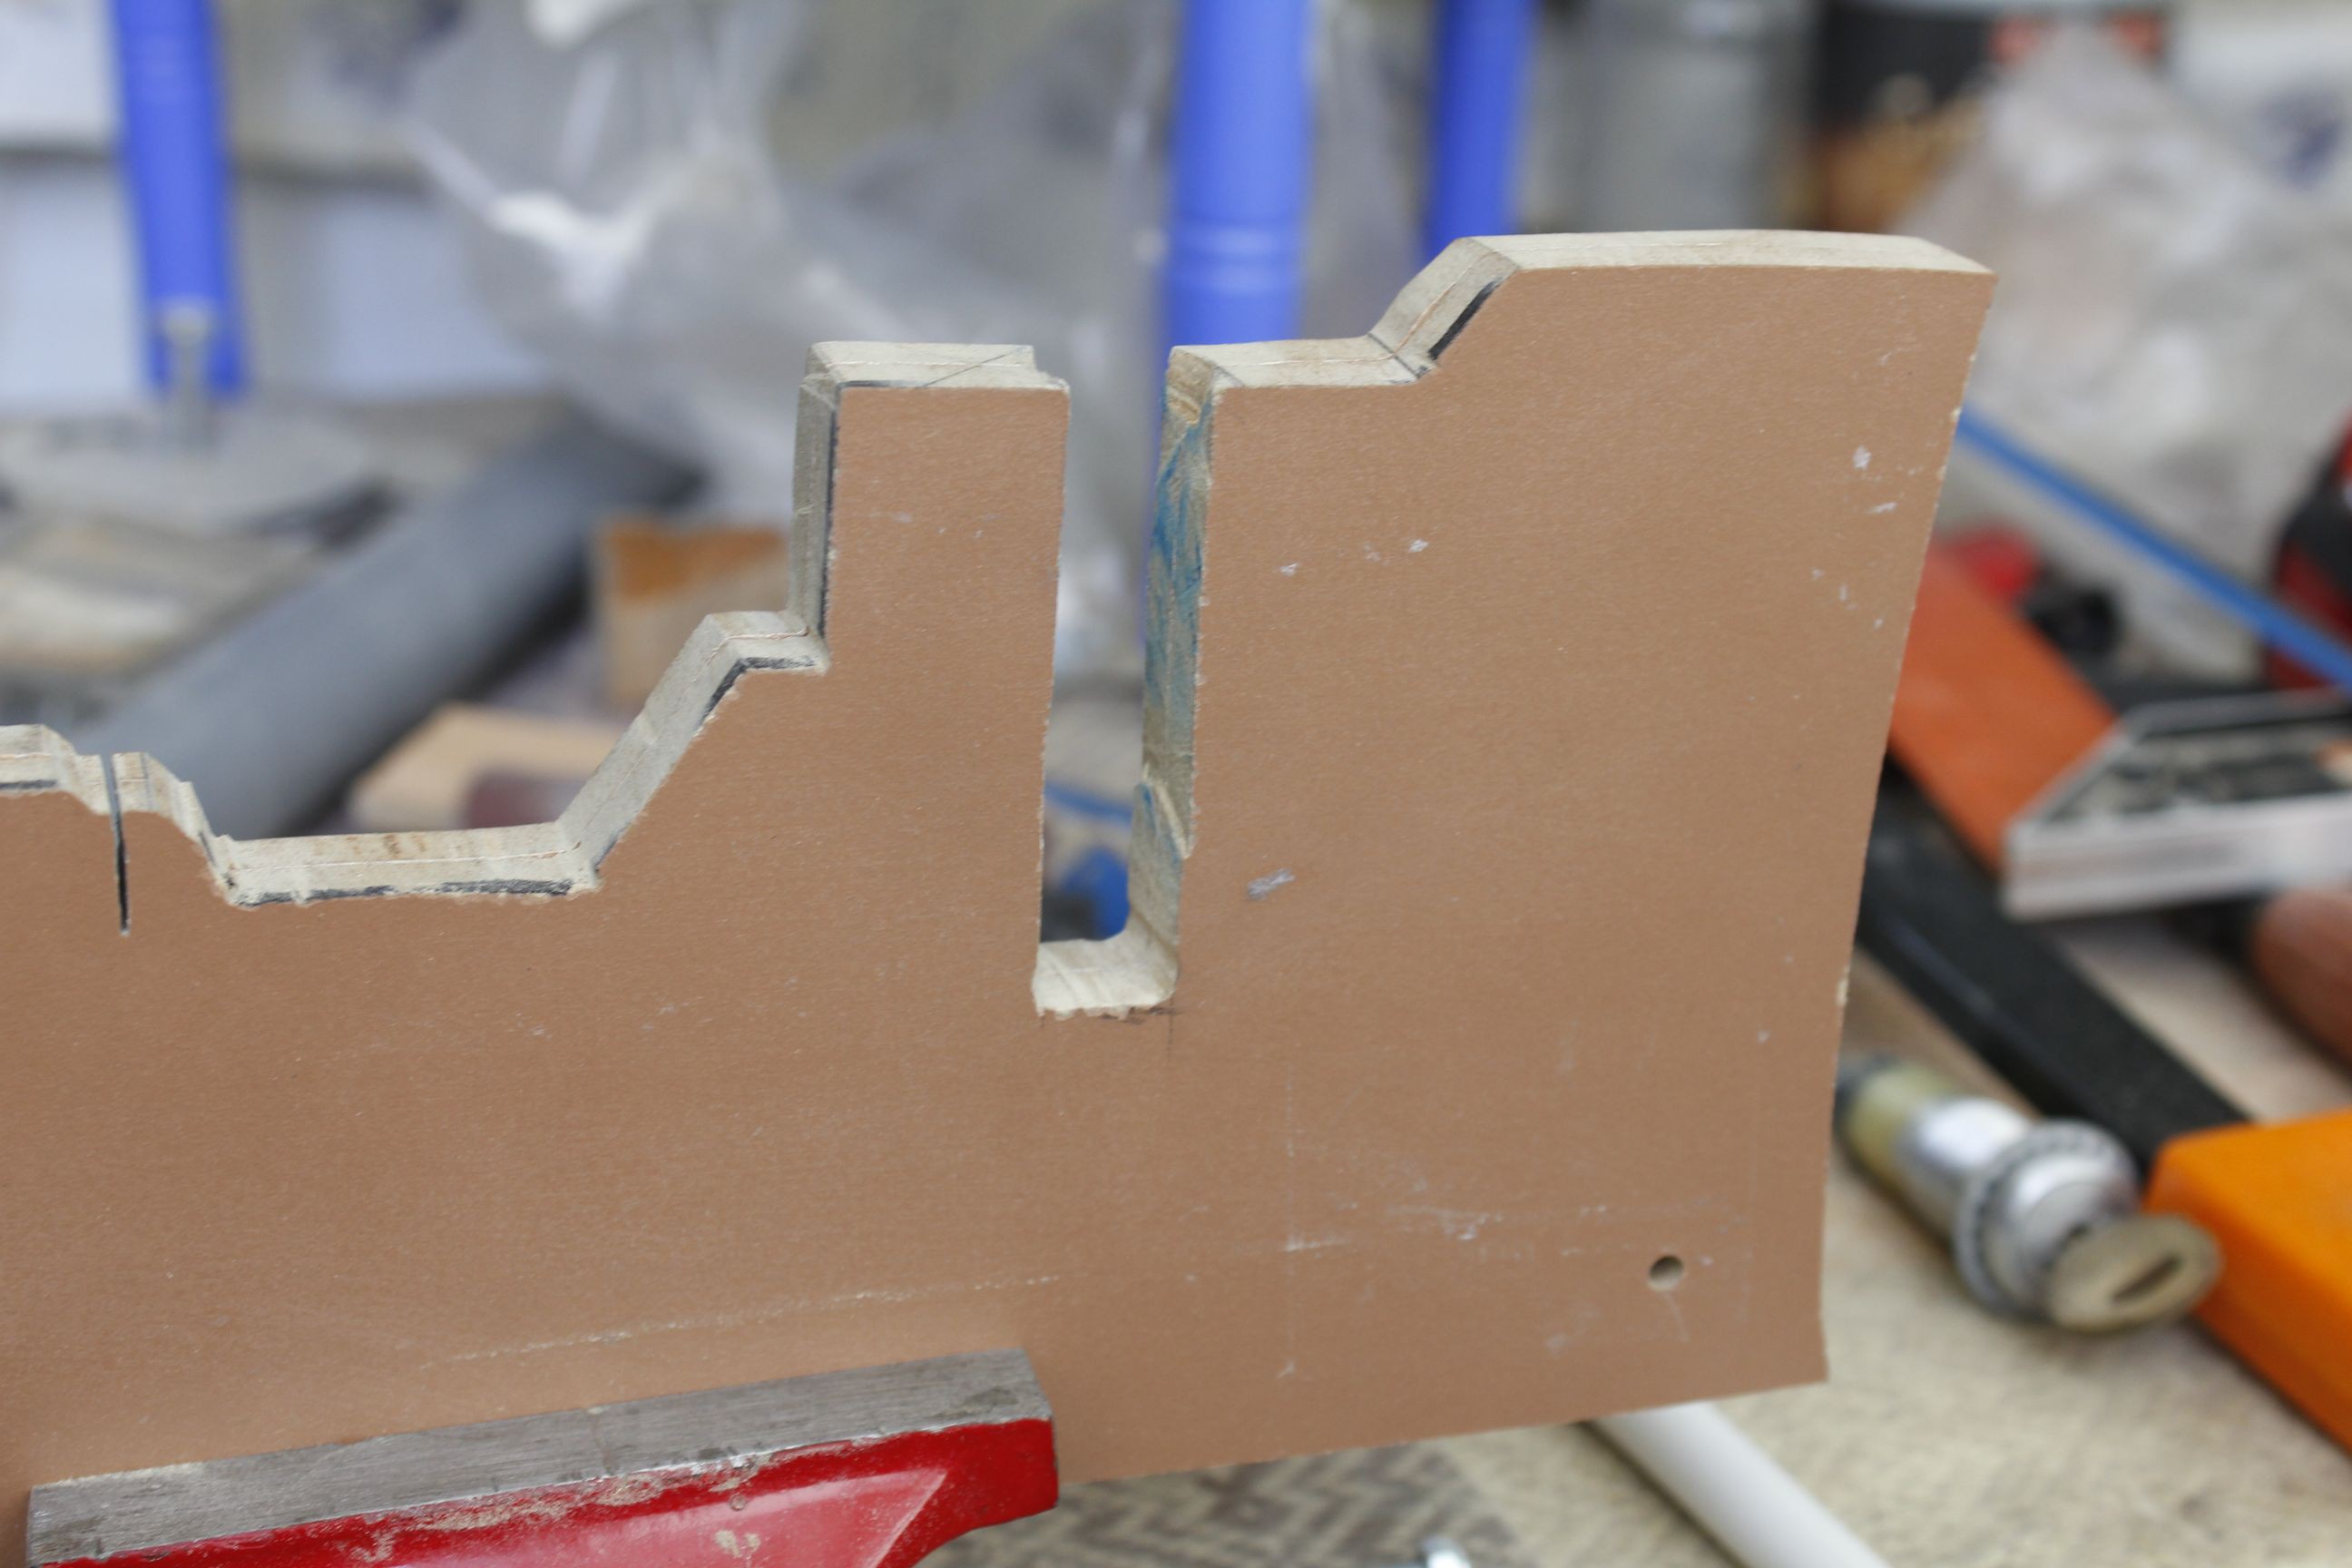
While on the subject on doing things thrice, it turned out I had cut the slot almost a centimeter too long, making it ever so slightly weaker than it needed to be, so I replaced it, again. After finding a pretty part in my box of greebles I also decided to redo the trigger. The same box provided a brilliant end piece for the coil frame: a brushless motor stator. The reloading shuttle was then completed and the reloading ramp mounted.
-
Log 6
08/25/2019 at 12:56 • 0 commentsGood news, everyone! Documentation has taken a back seat to getting things done, I hope understandably so. So I’m going to stick to a briefer play-by-play for now. Though things are coming together:
Was rather stuck on how to motorize the magazine, dreading the thought of having to file matching teeth for a gear, then I got inspired by the classics, channeling a bit of the old Sam Colt. So a ratcheting system is to both move and index the magazine, and I got away with filing 14 teeth instead of dozens.
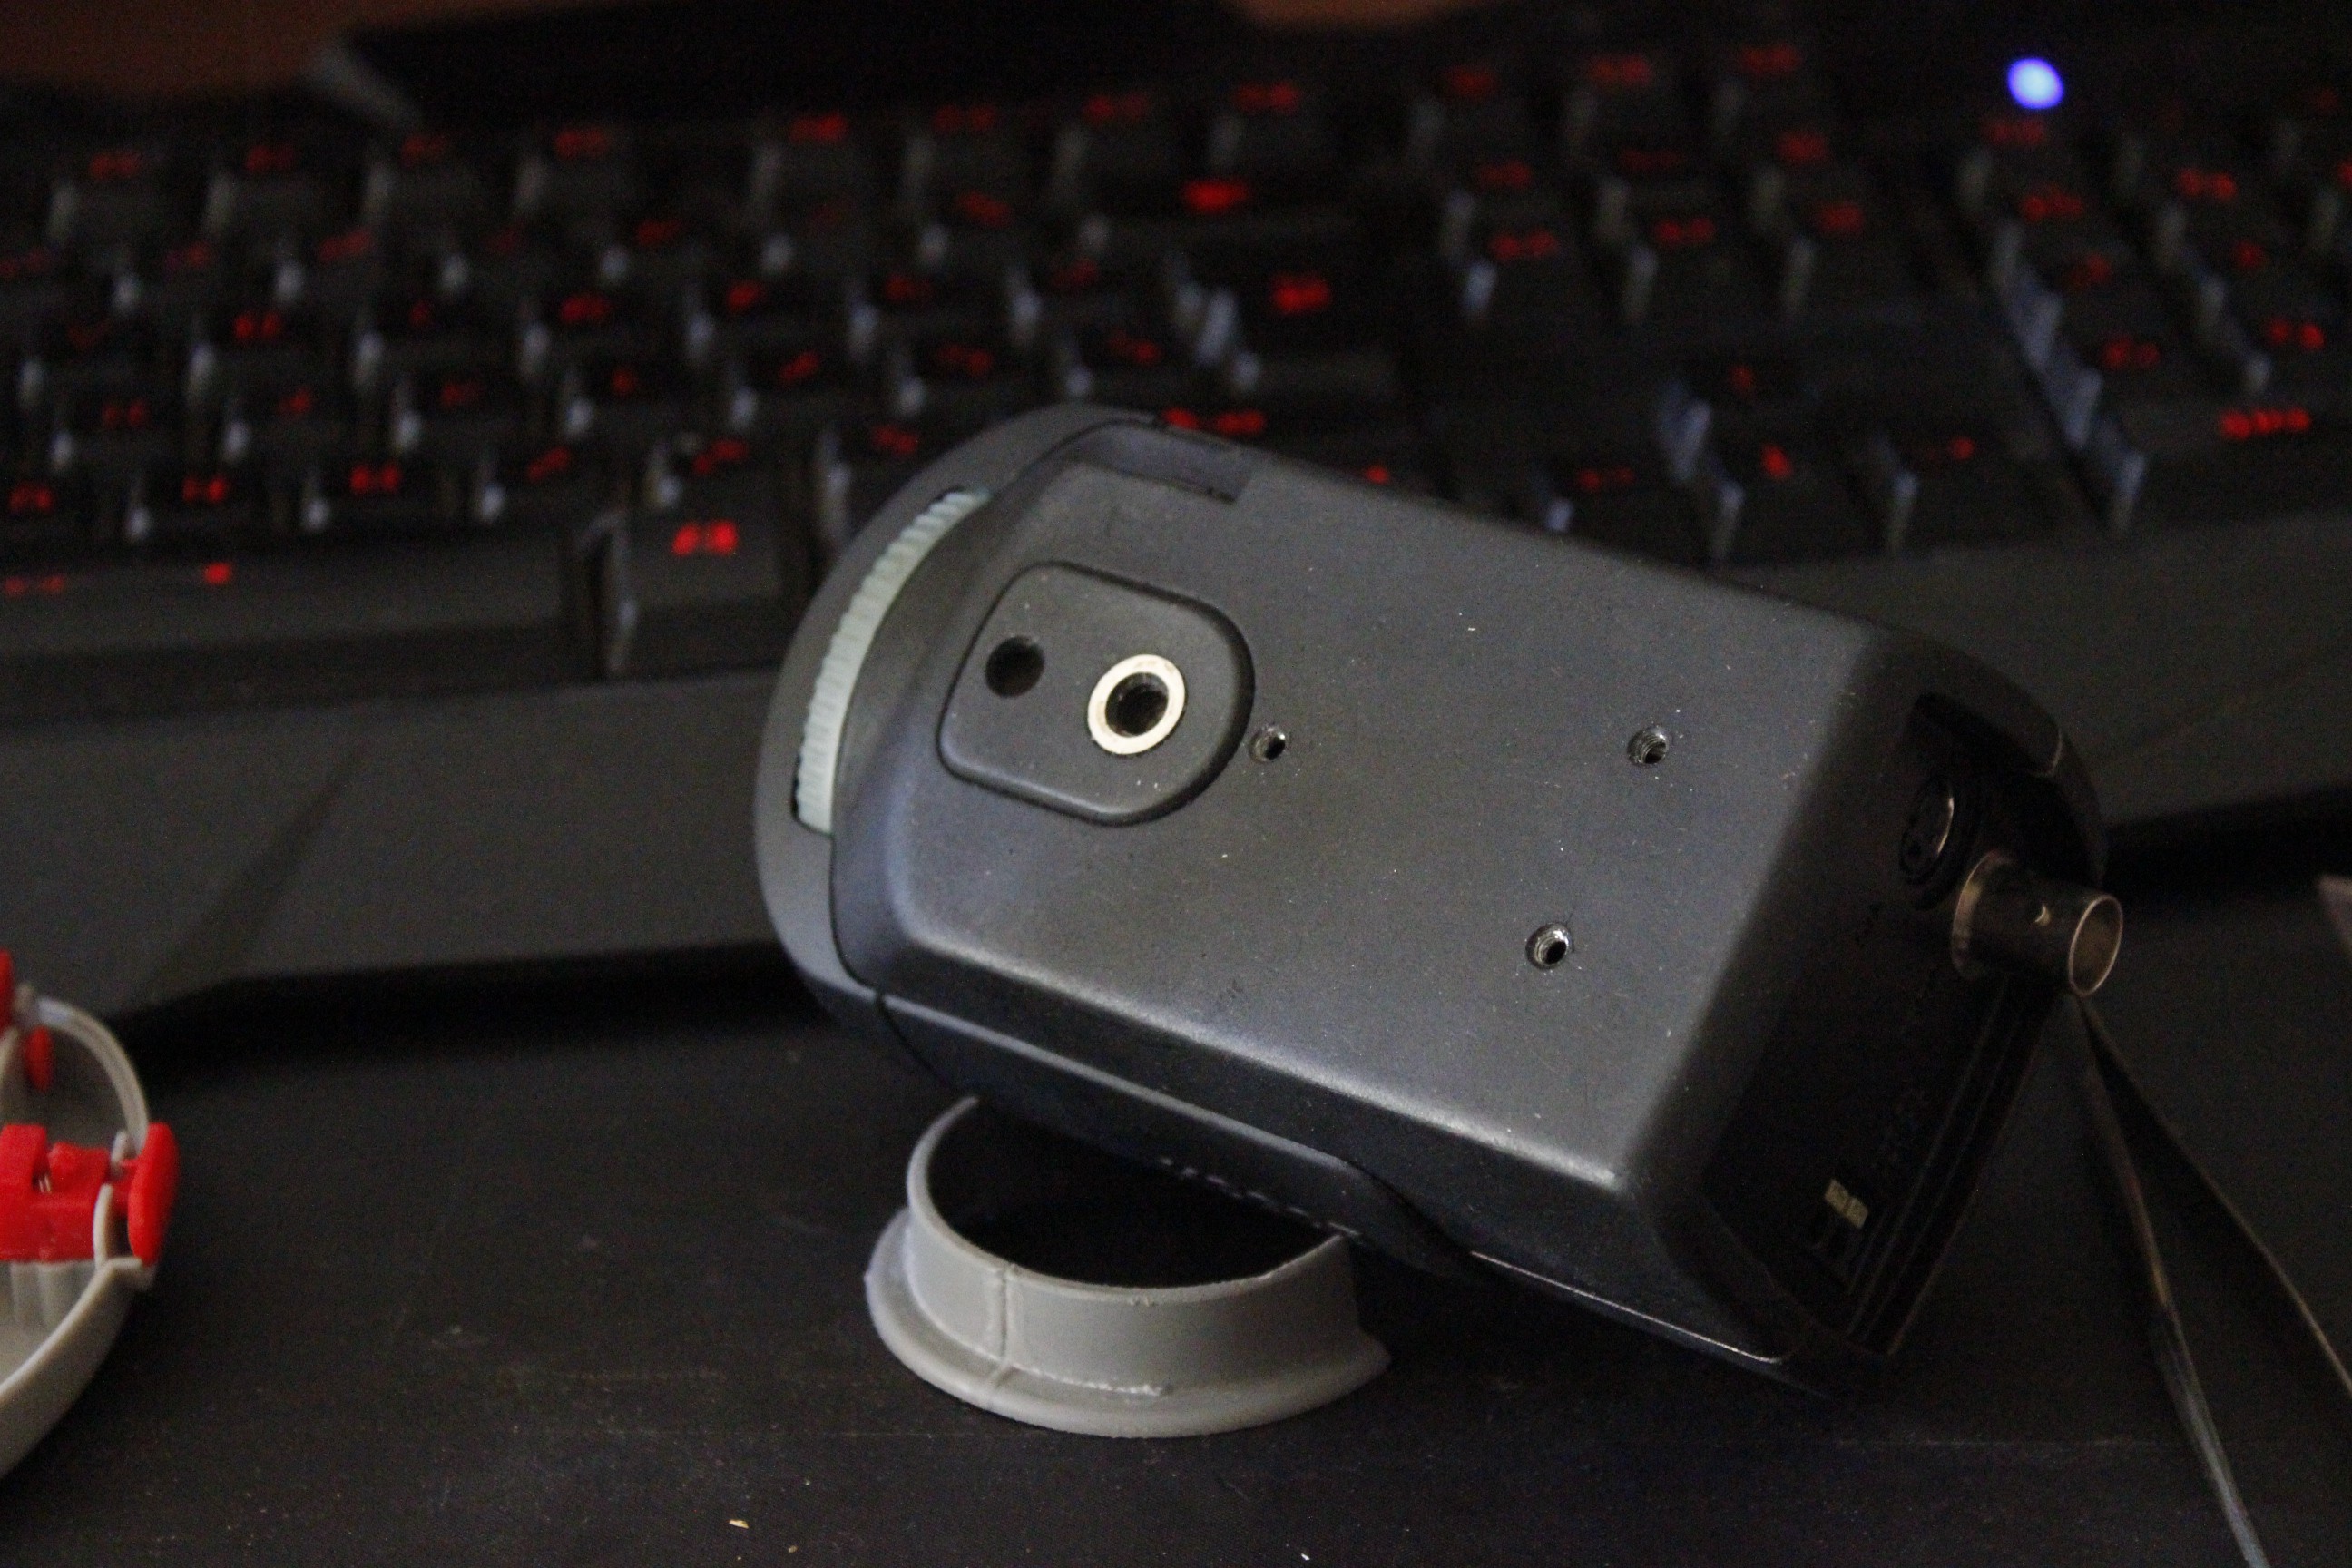
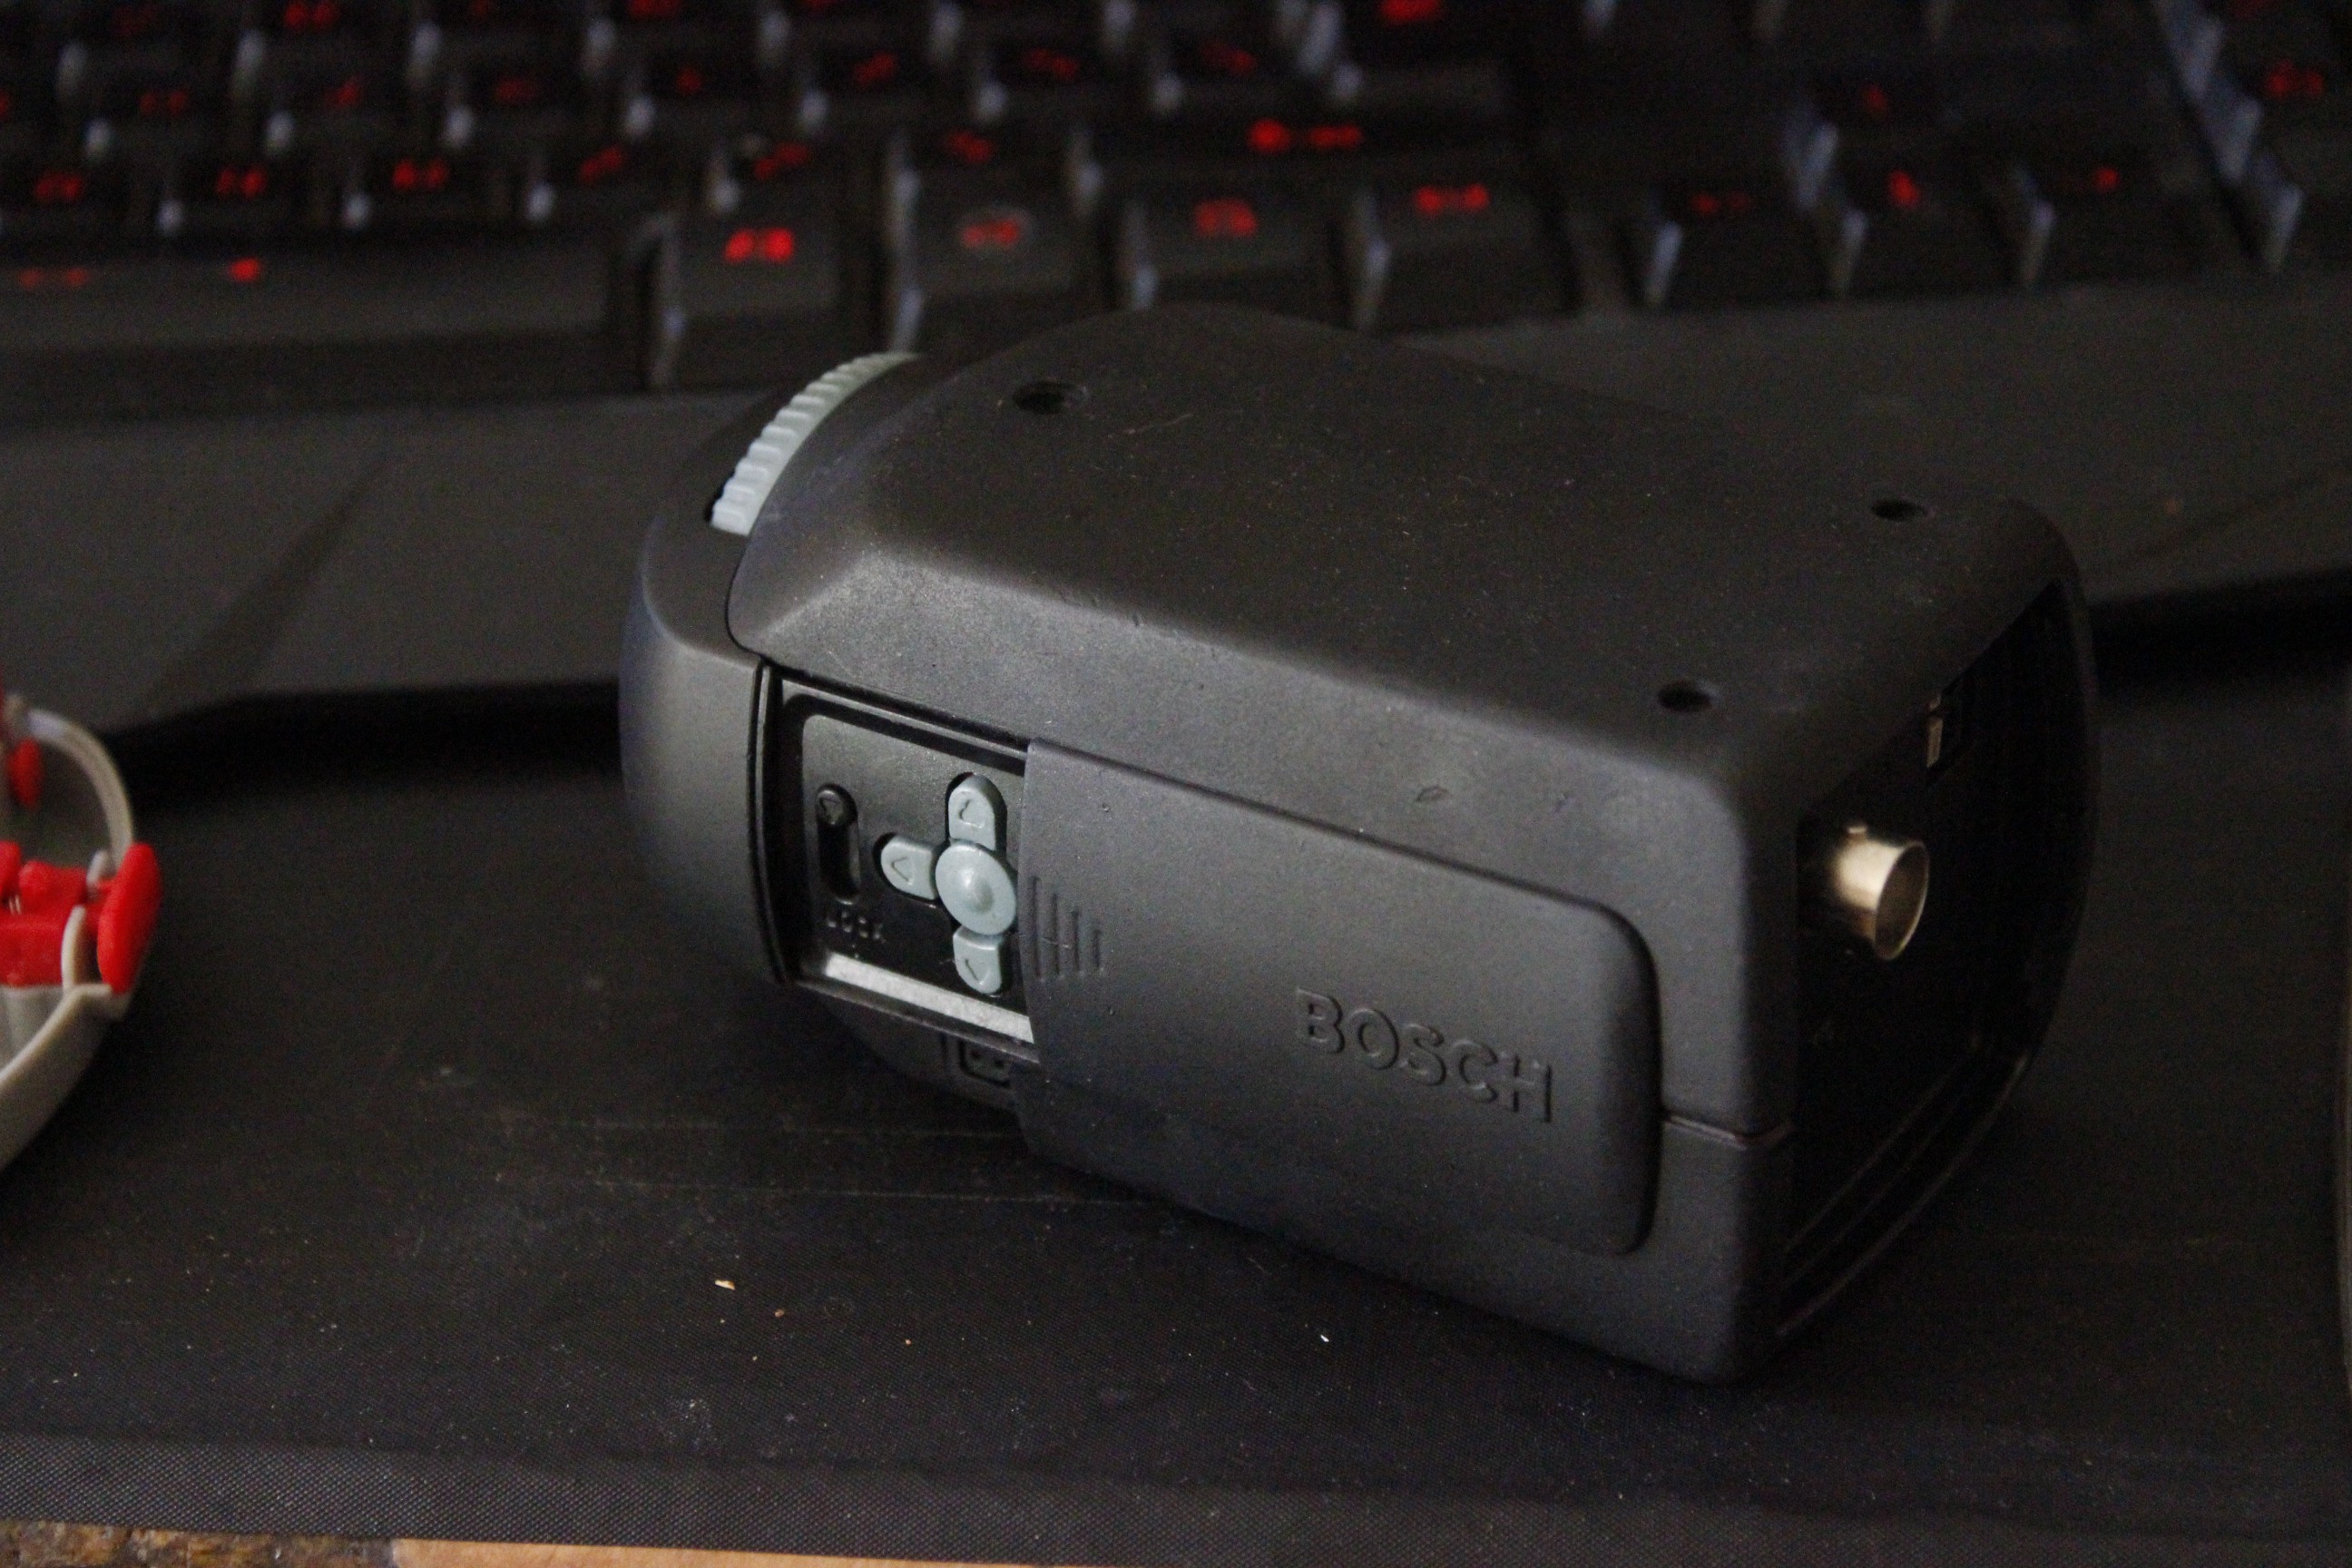
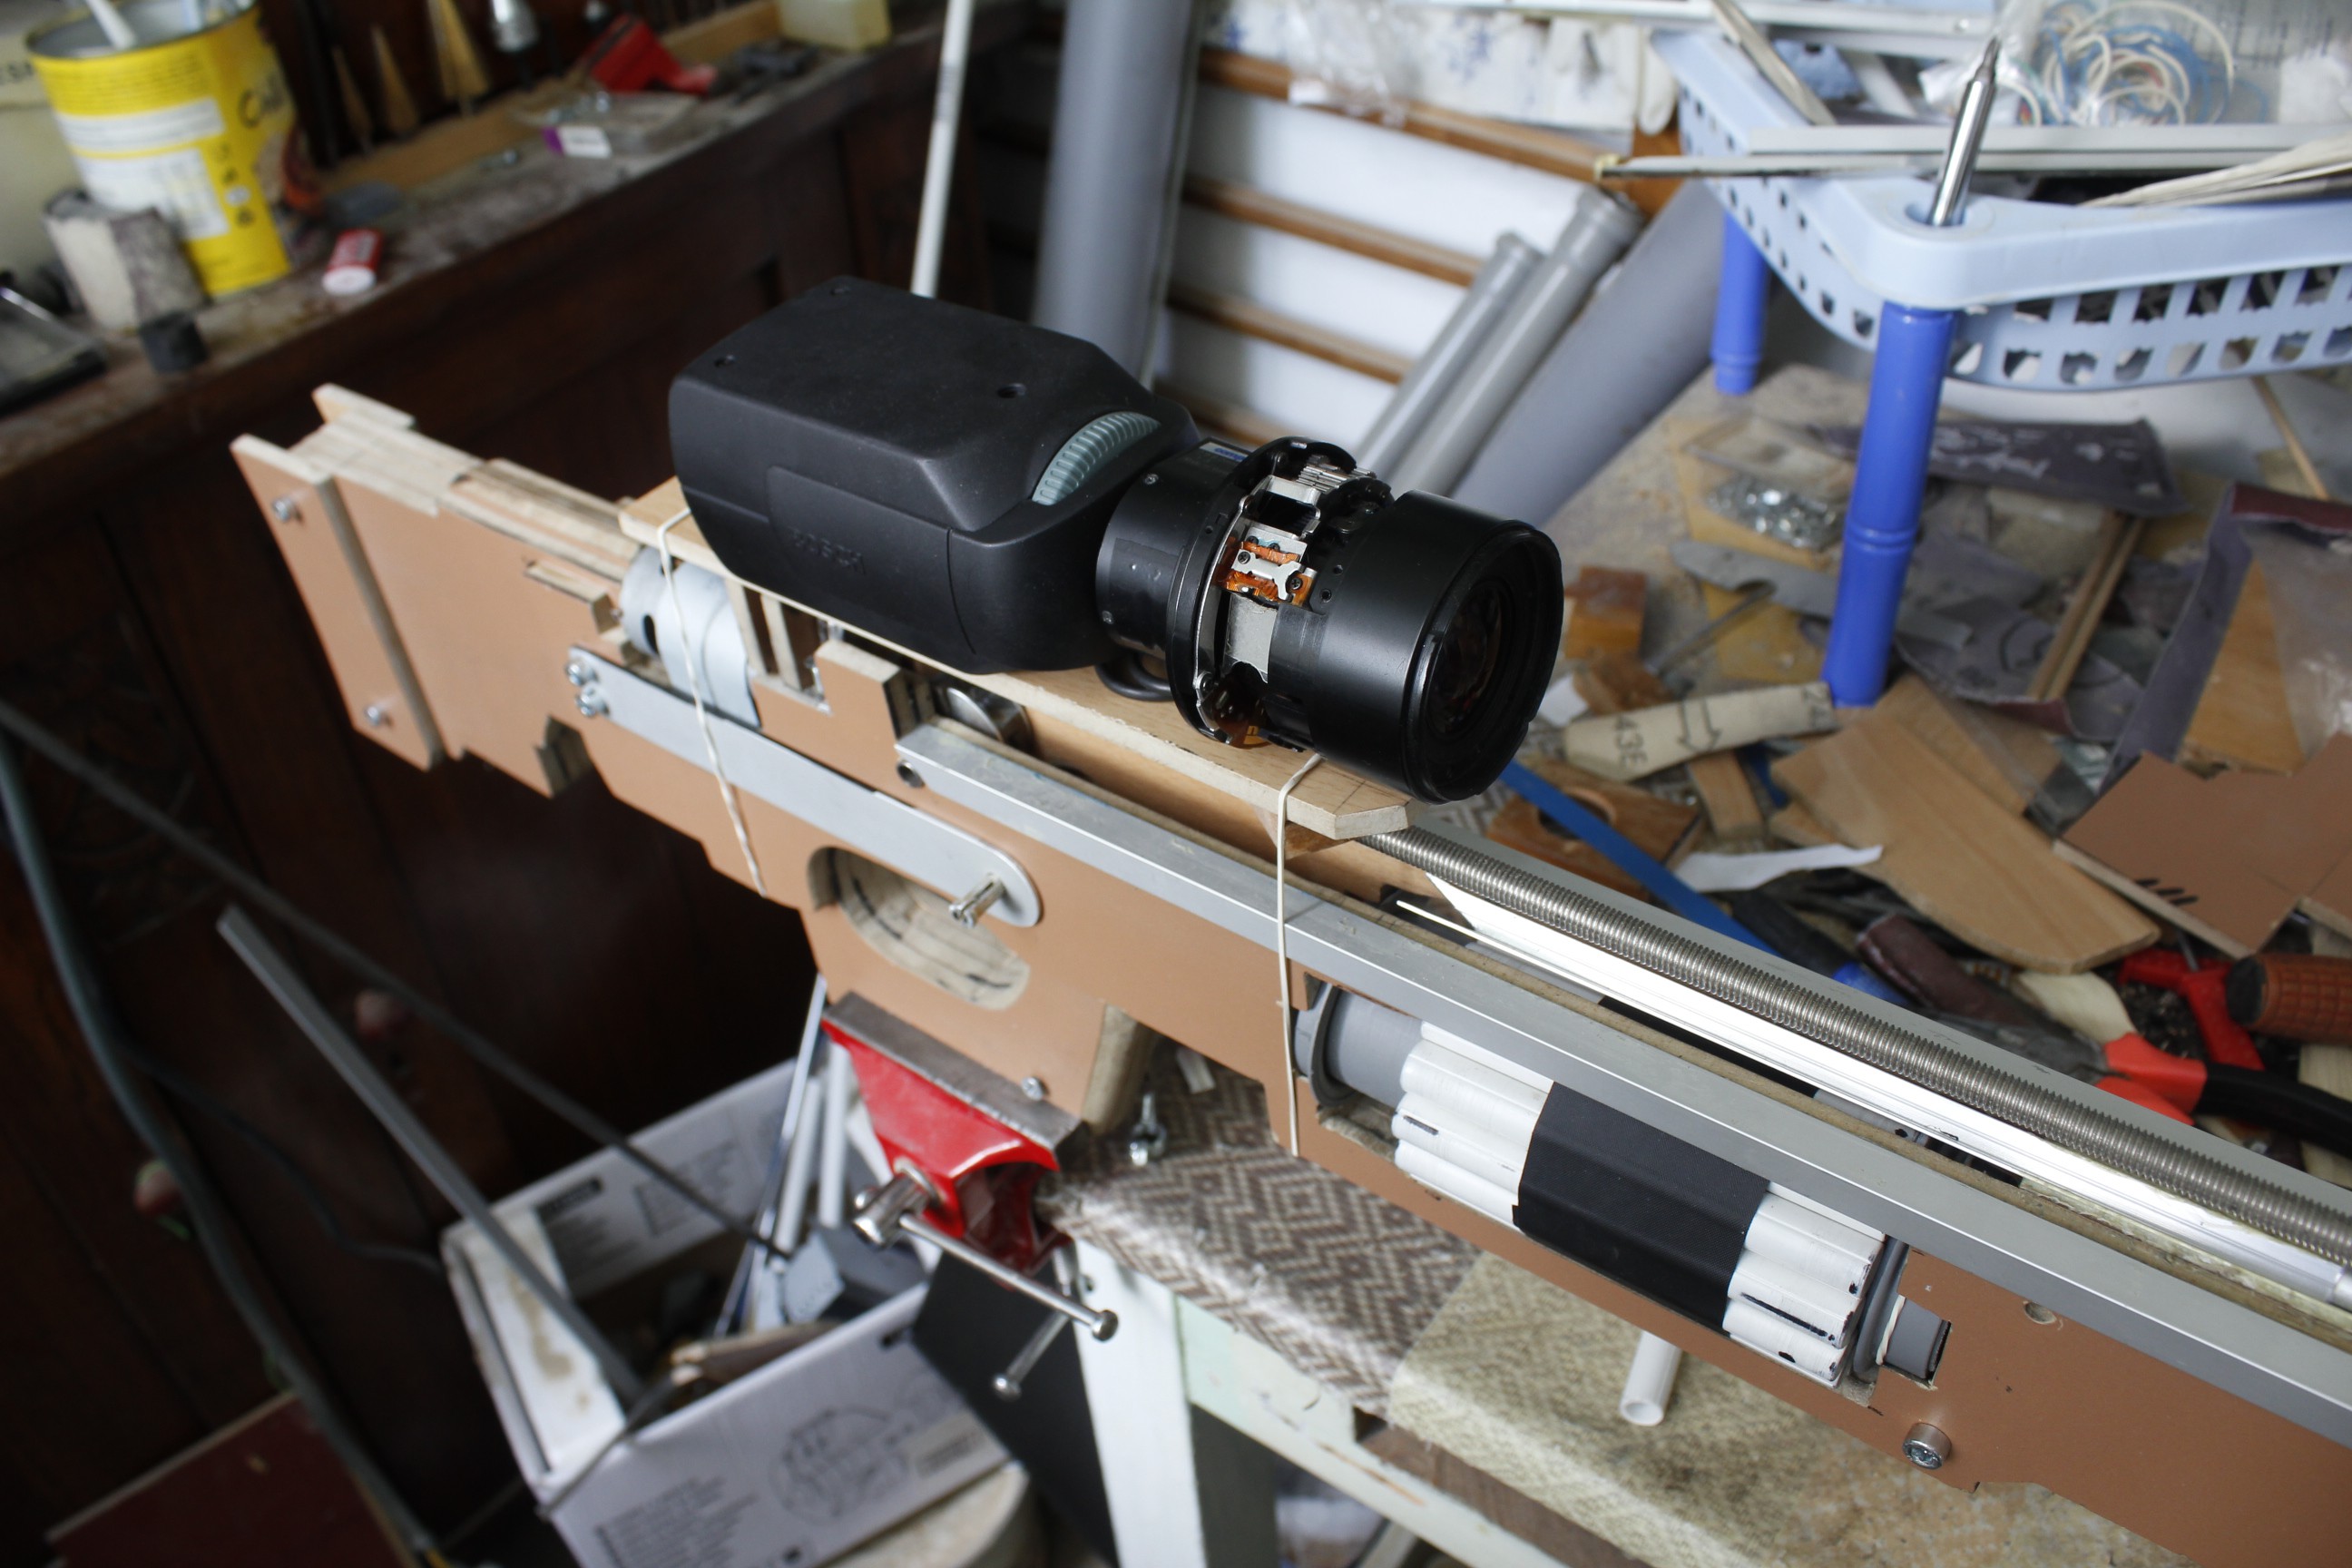
Took this time to drill out and paint the security camera. Who needs an oven when it’s August?
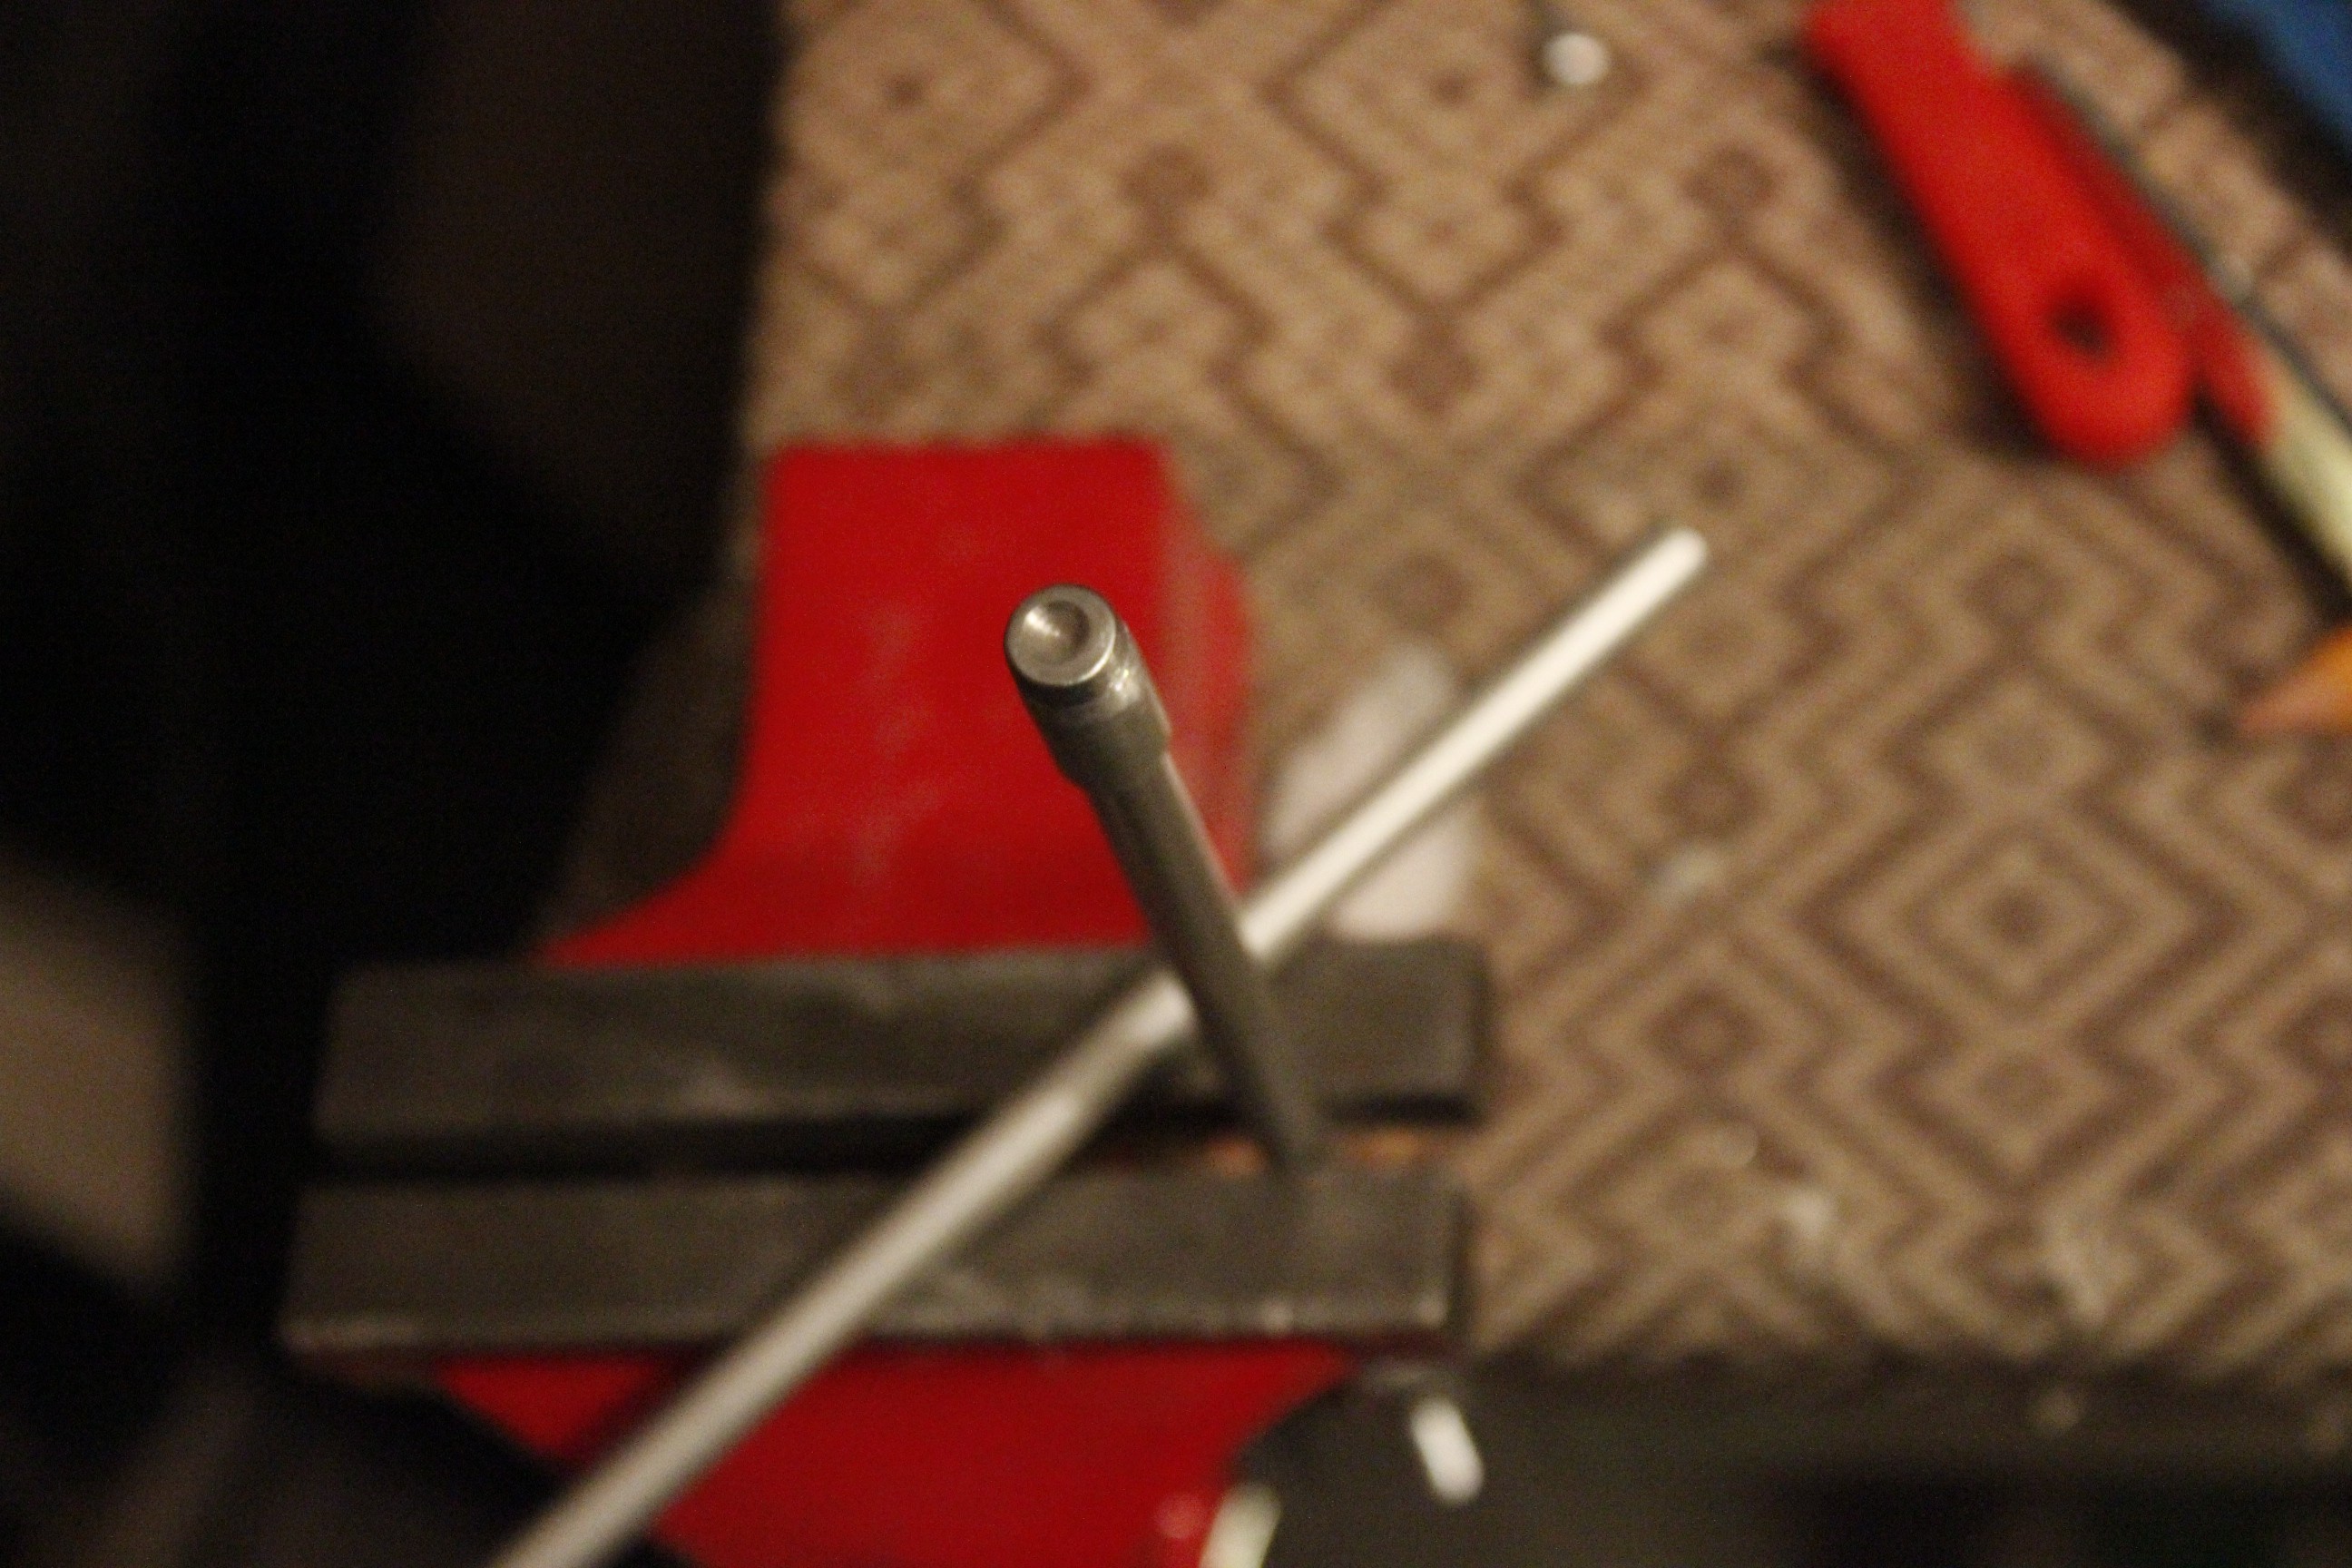
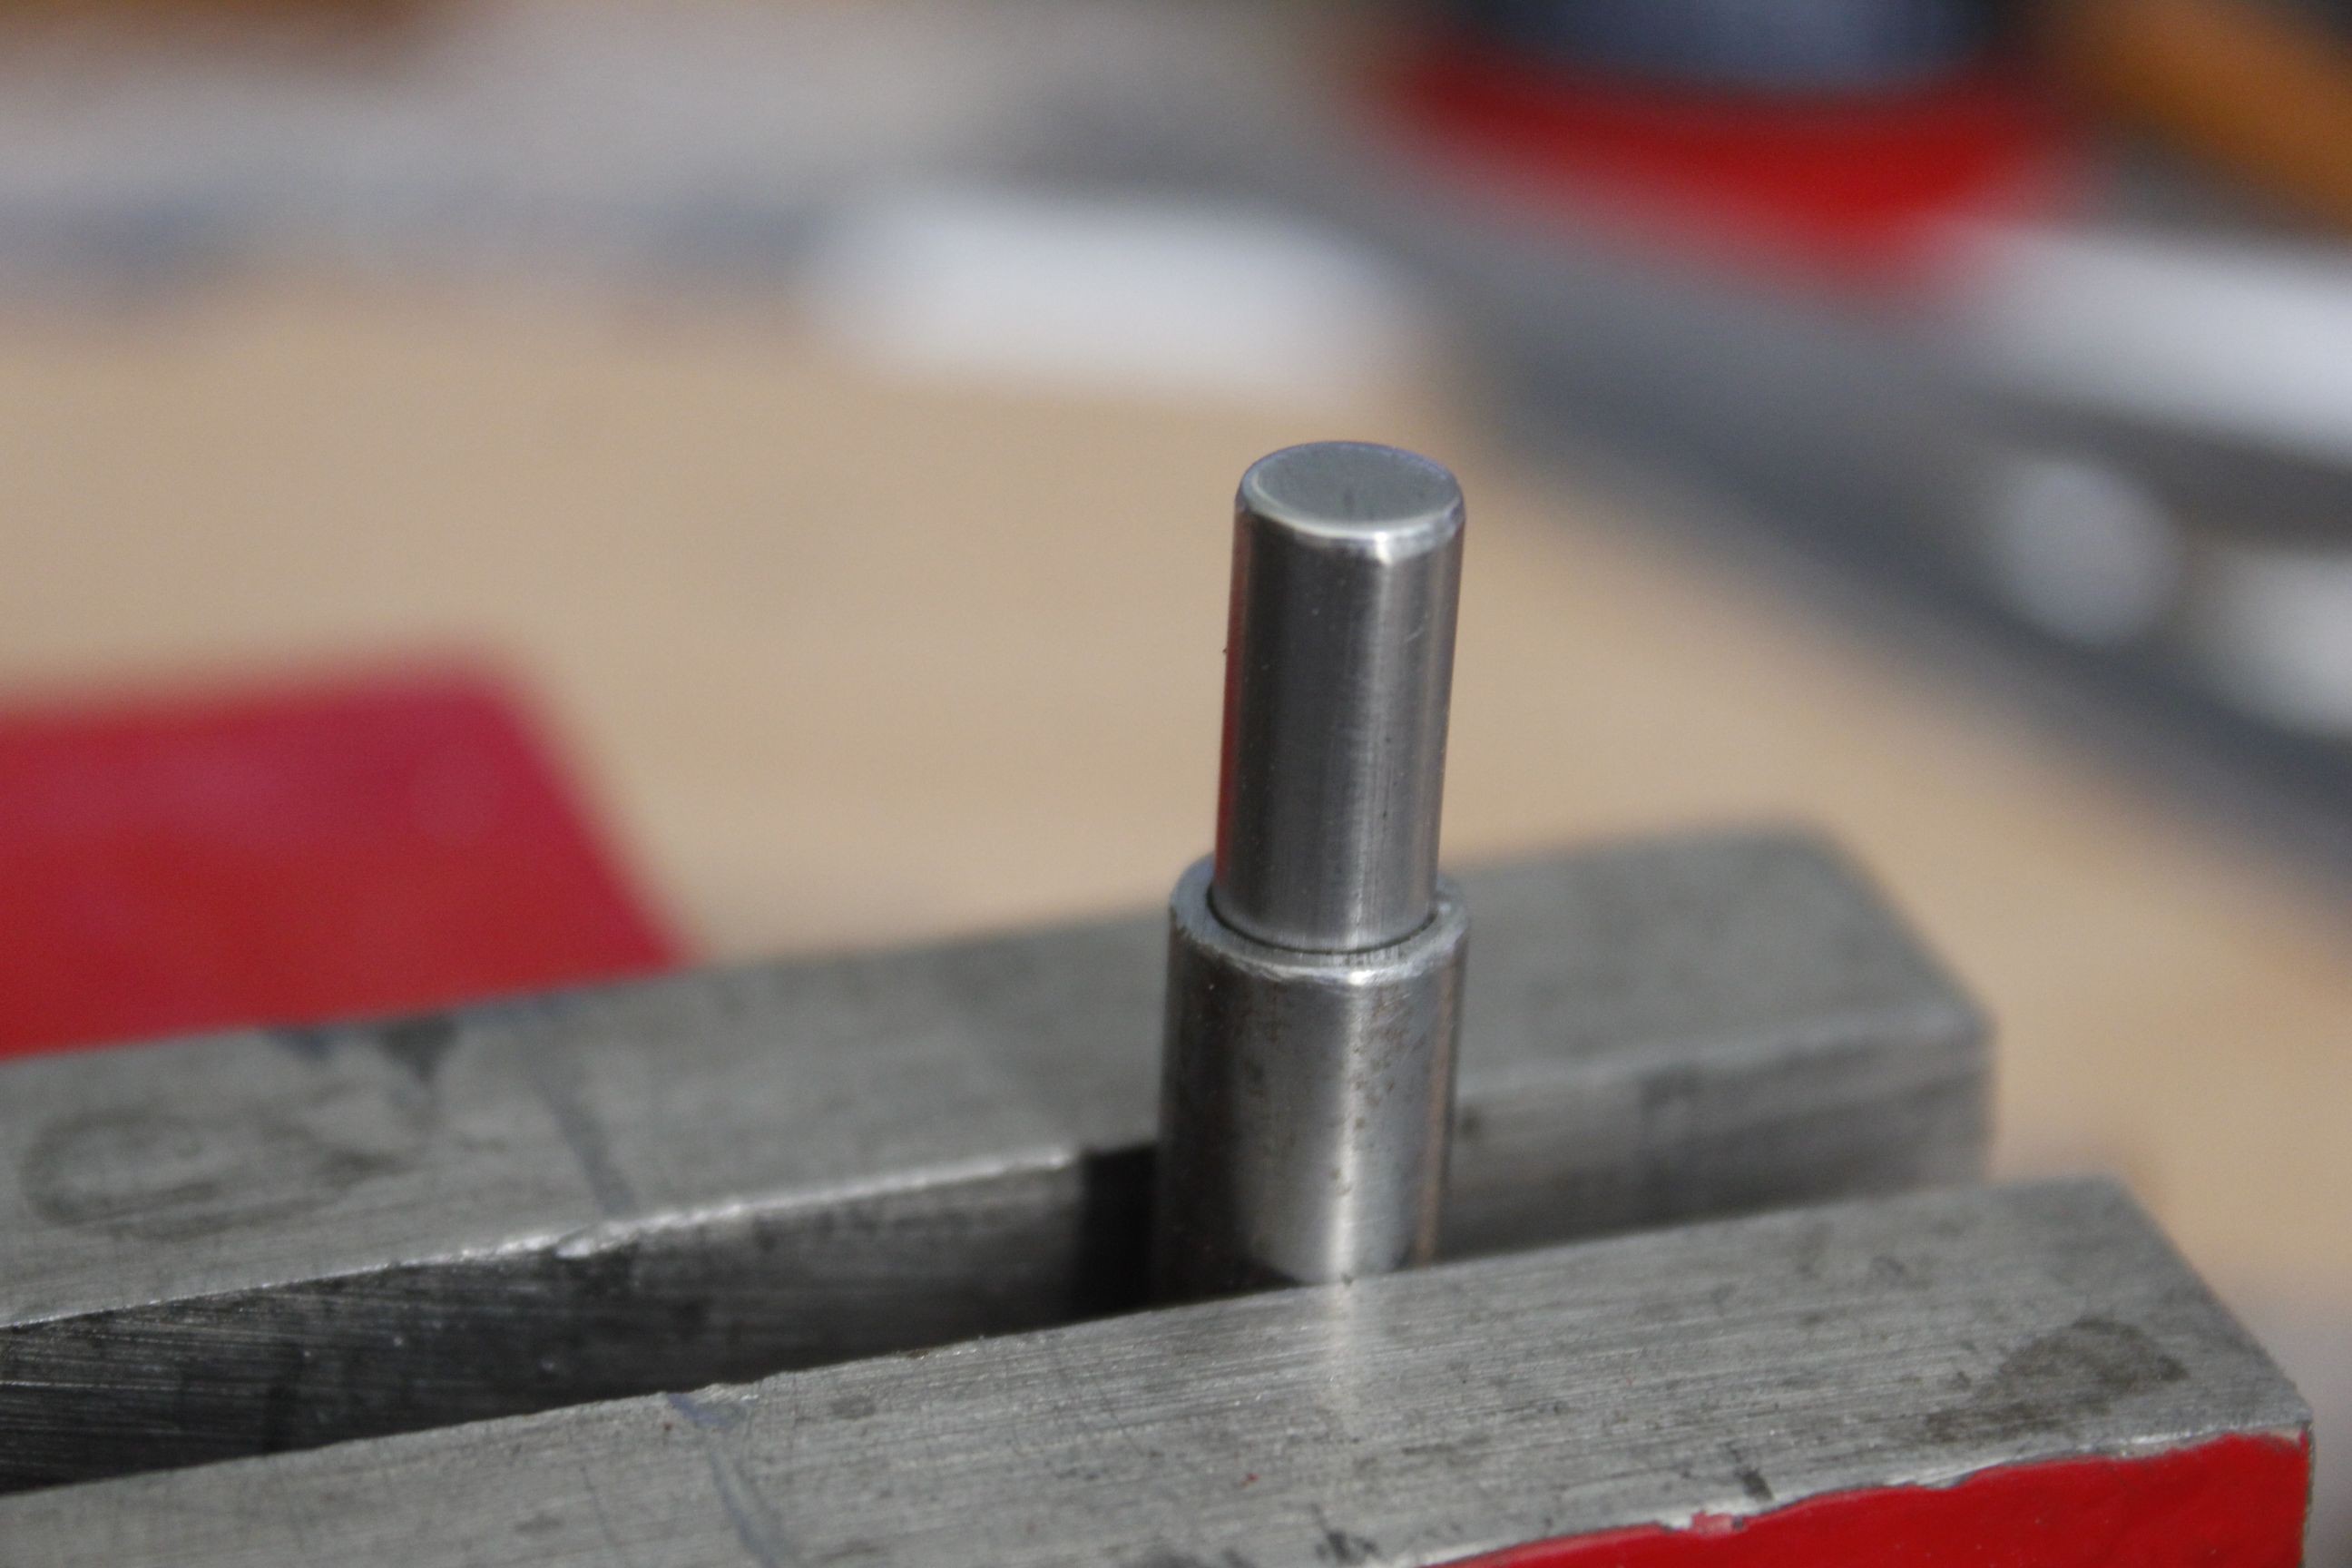
Turned out I had to redo the pusher as I had made it too short. Took this time to grind a bolt for the interfacing bit, thus finishing this part of the mechanism.
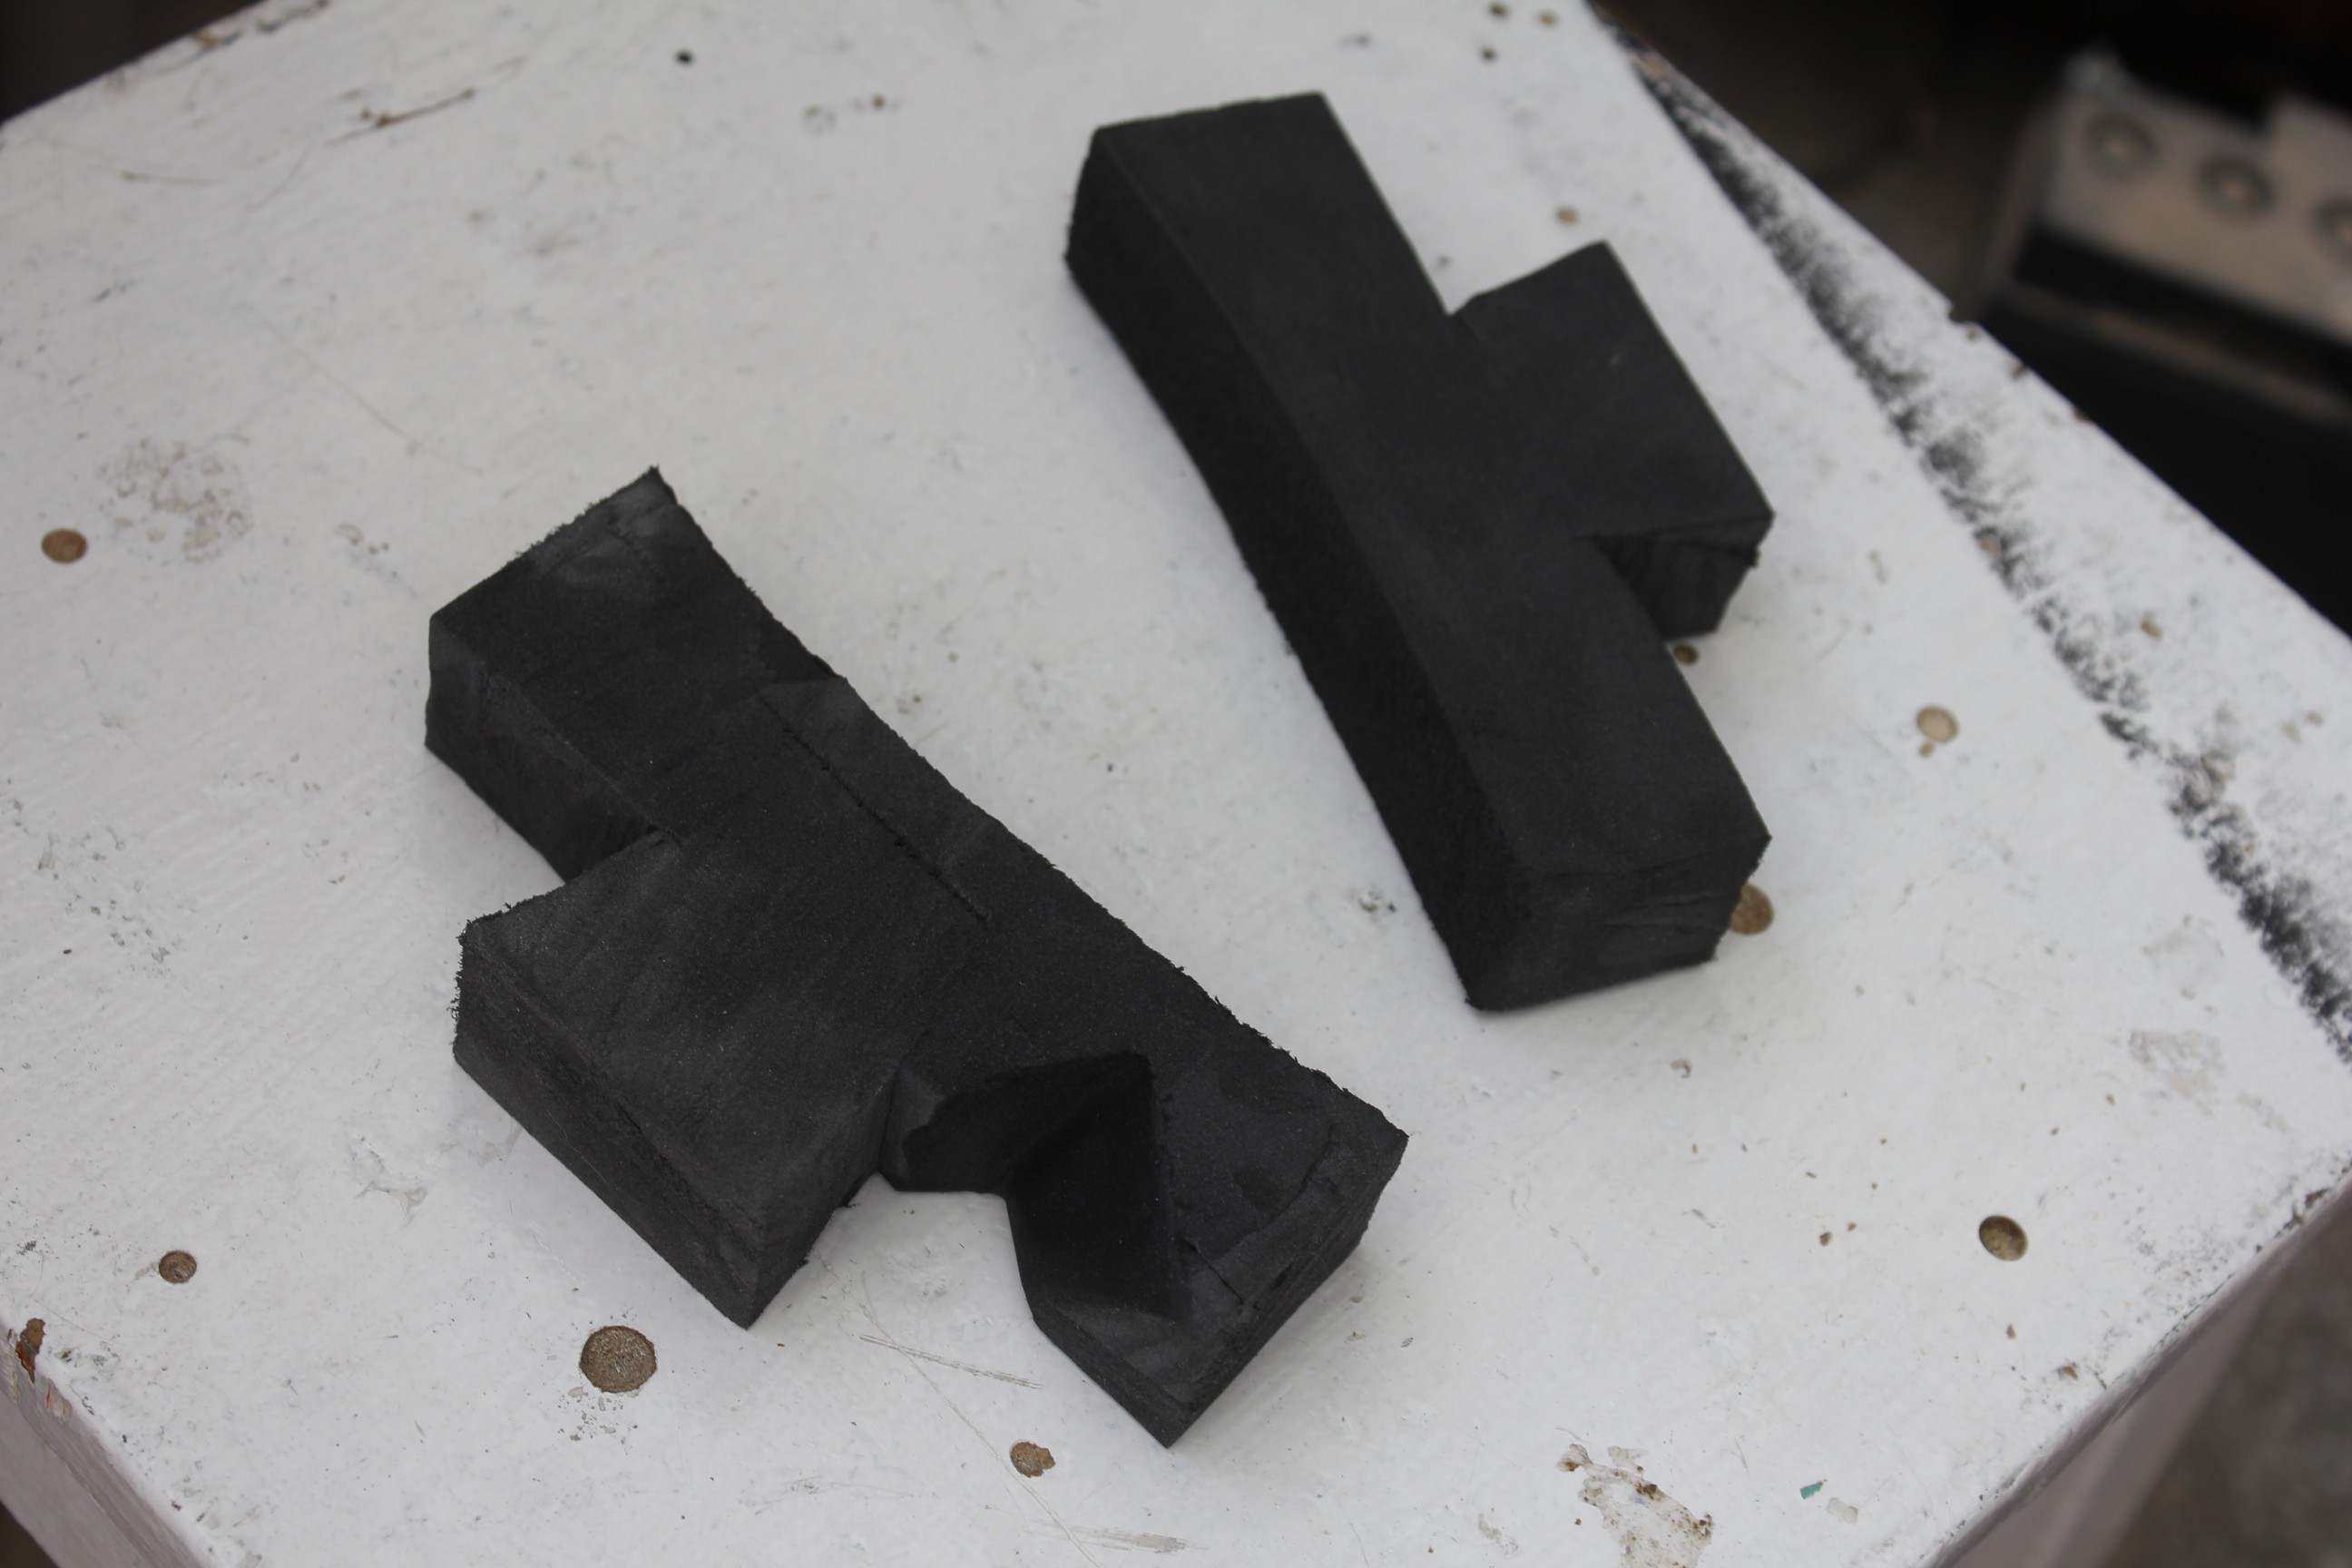
On the theme of remaking parts, the foam recoil pad slipped on the grinder just as I was finishing it, so I had to make another.
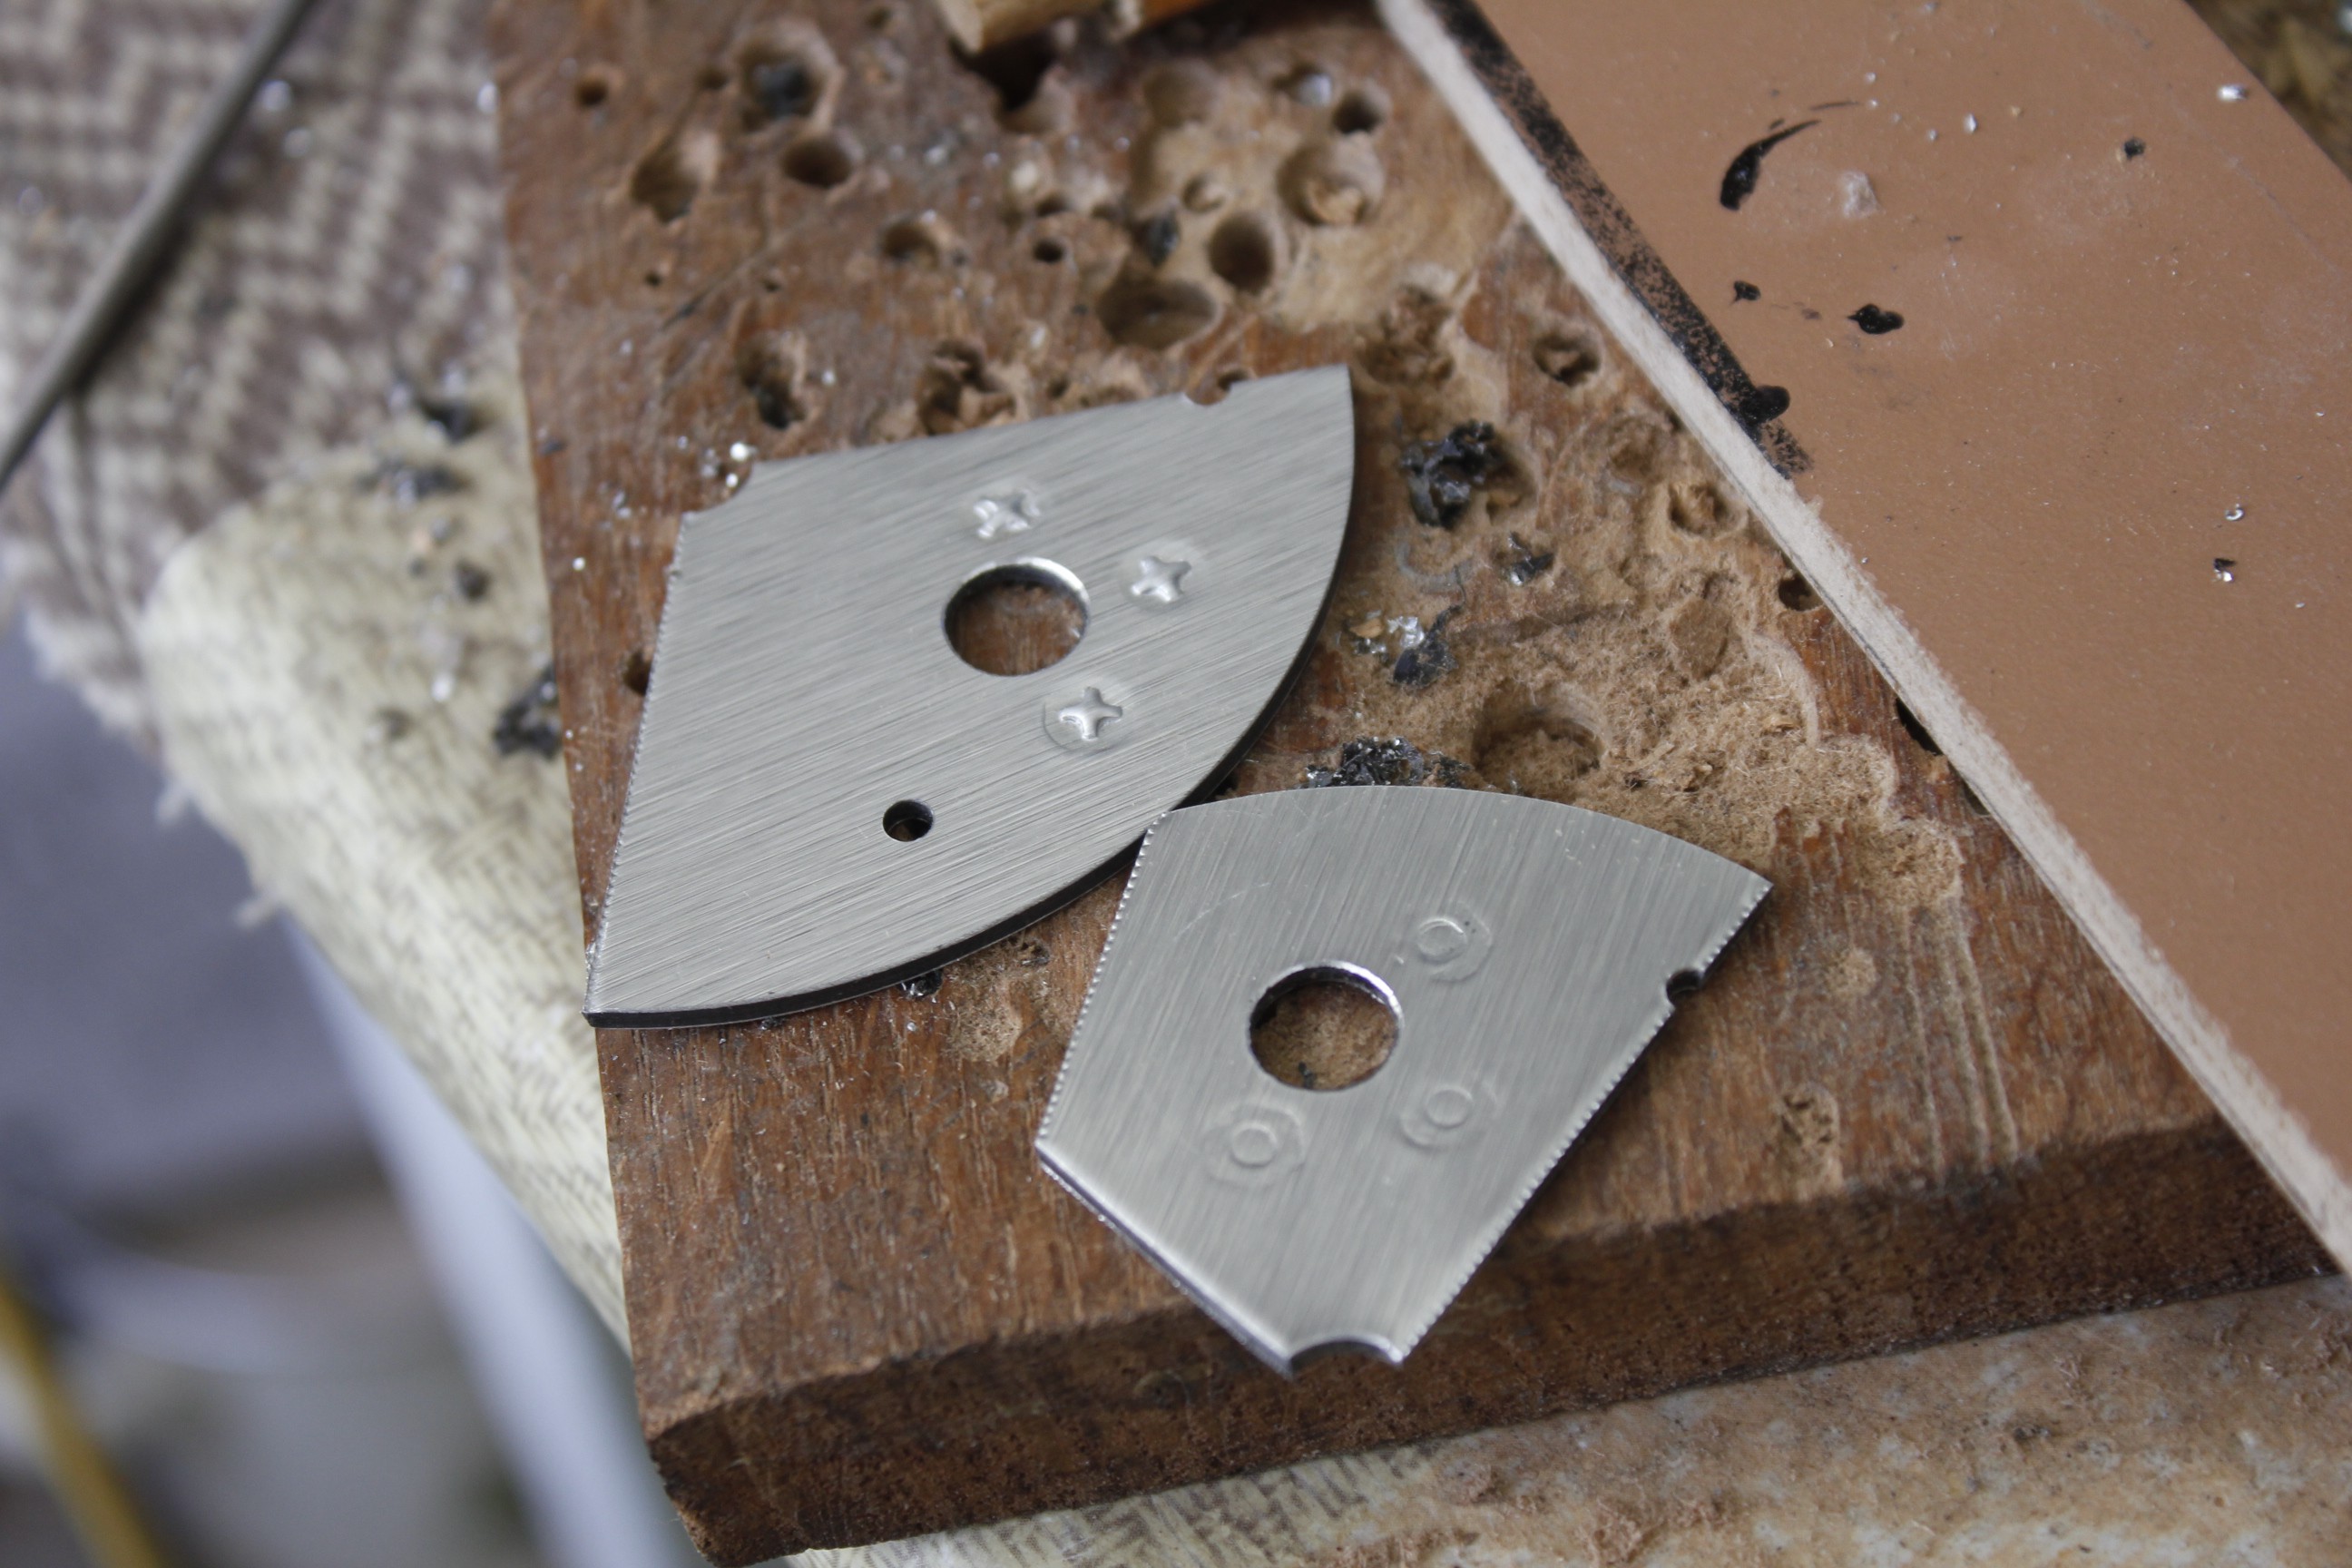
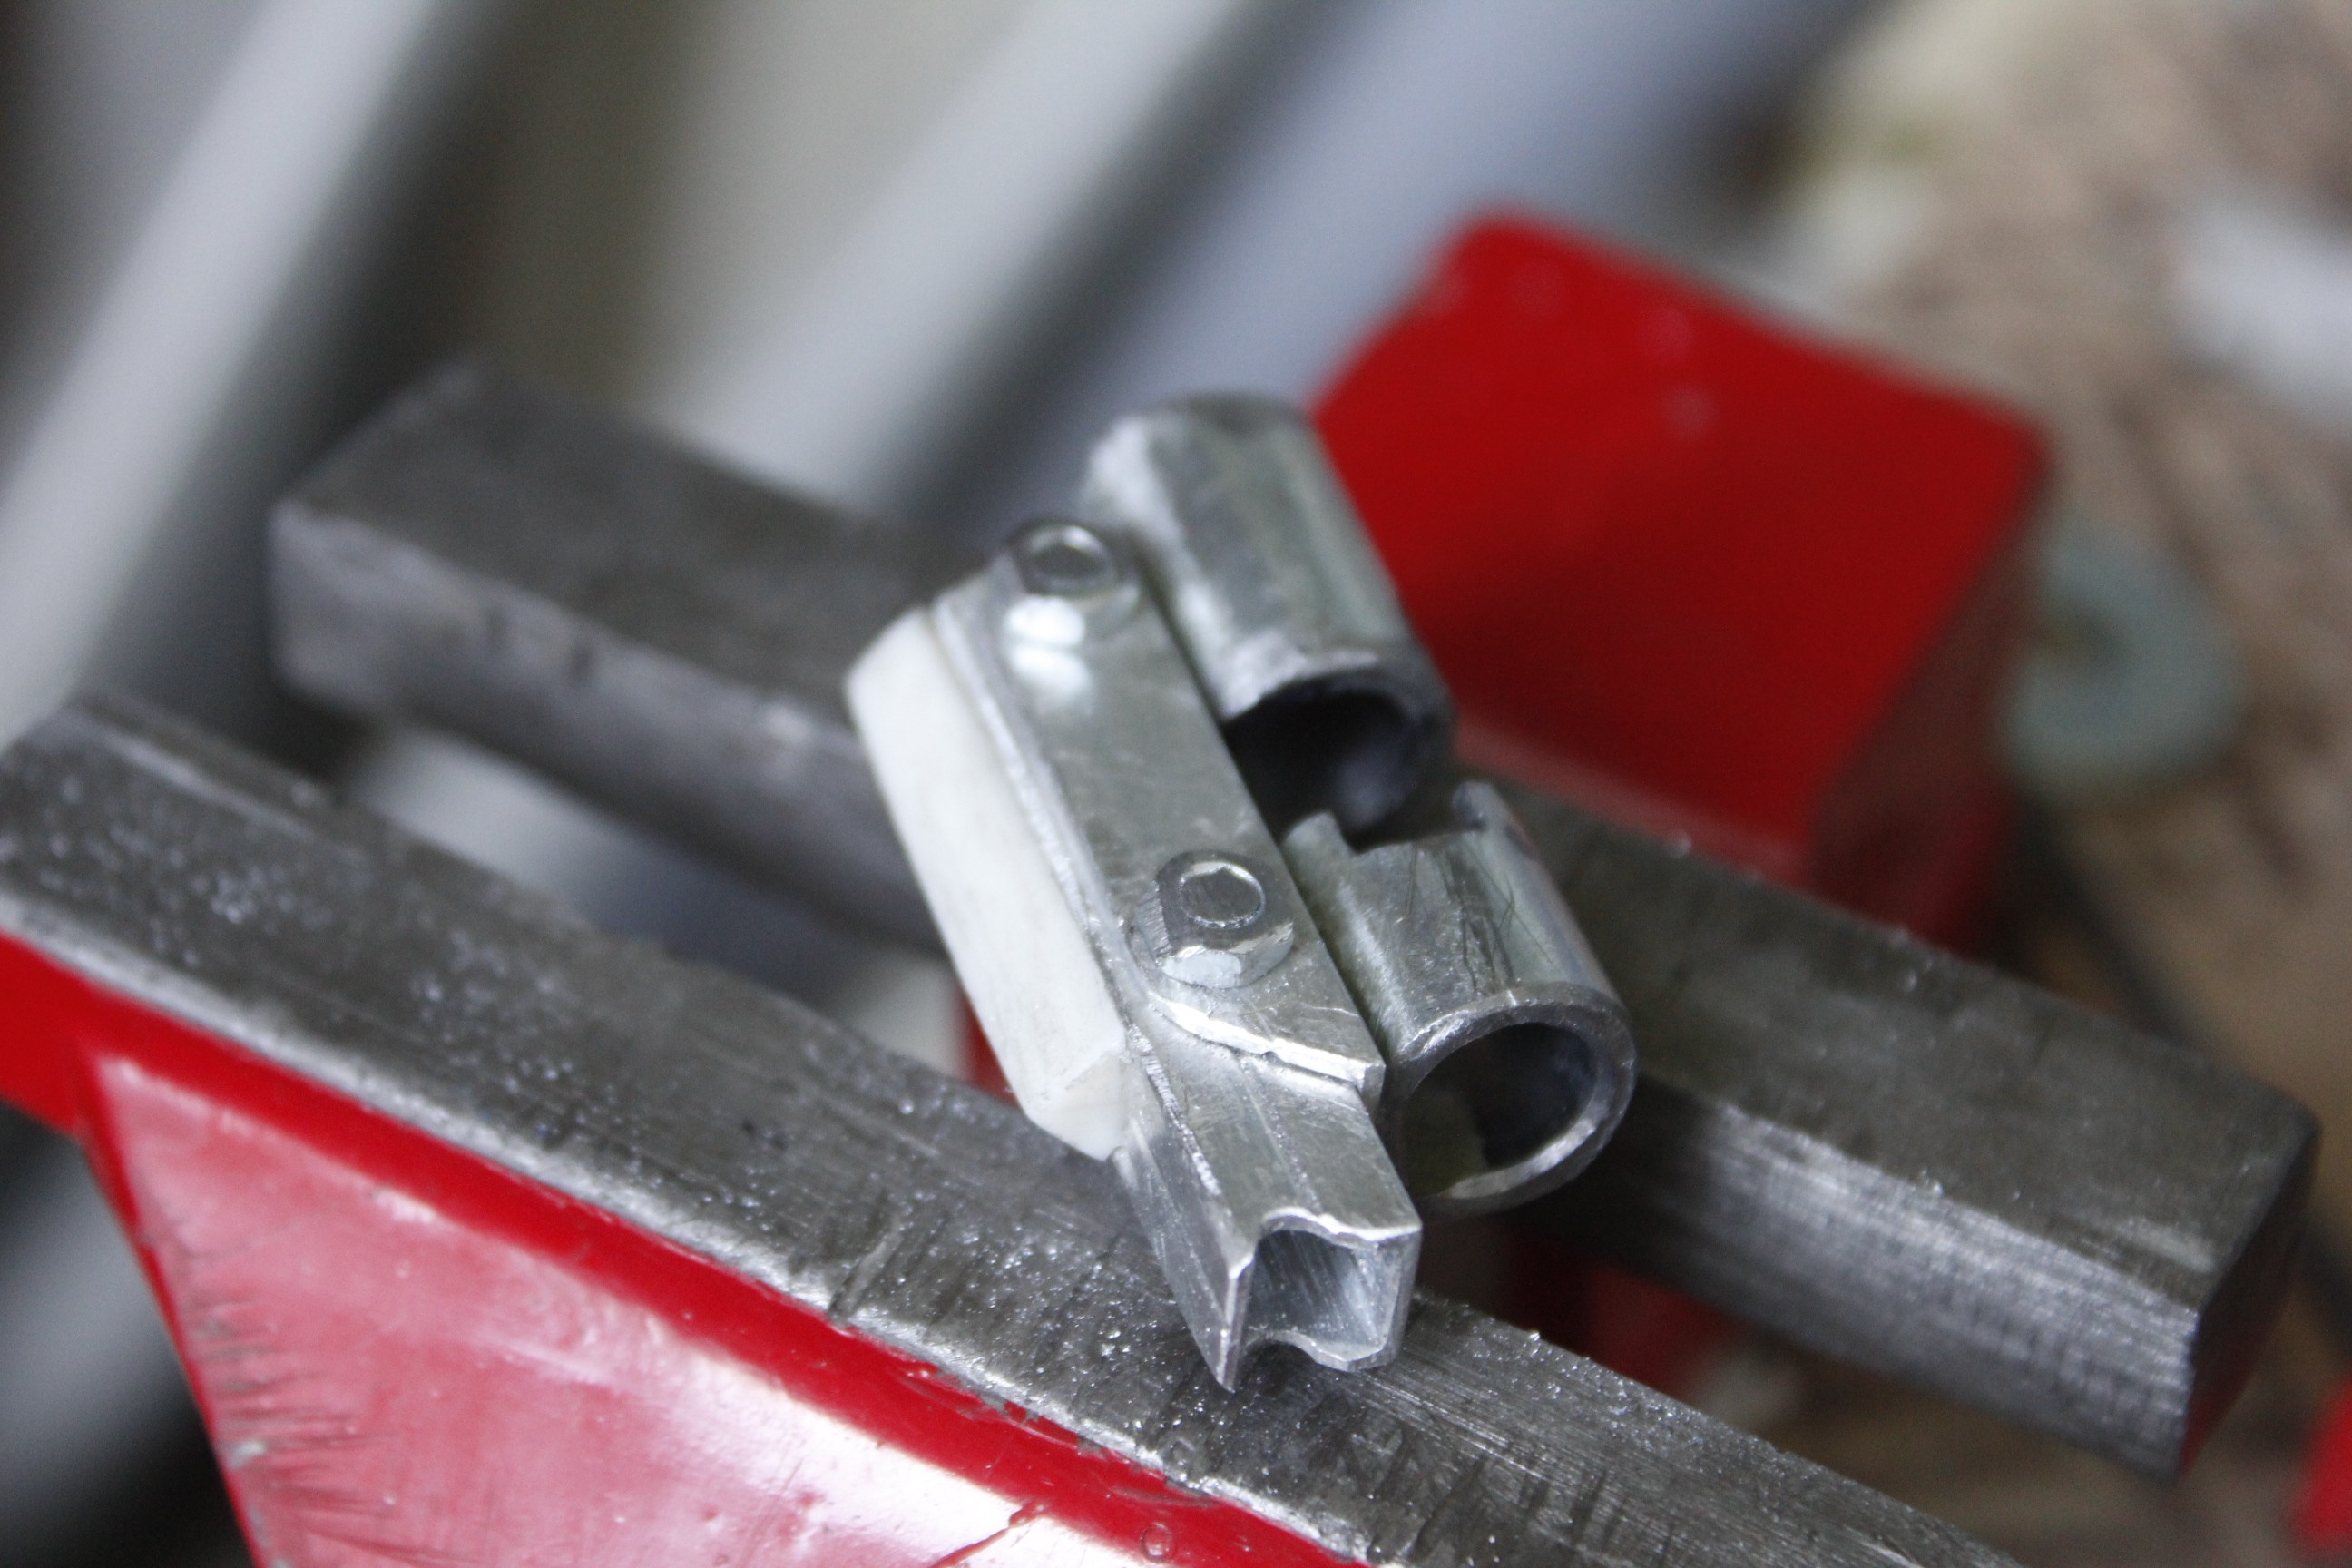
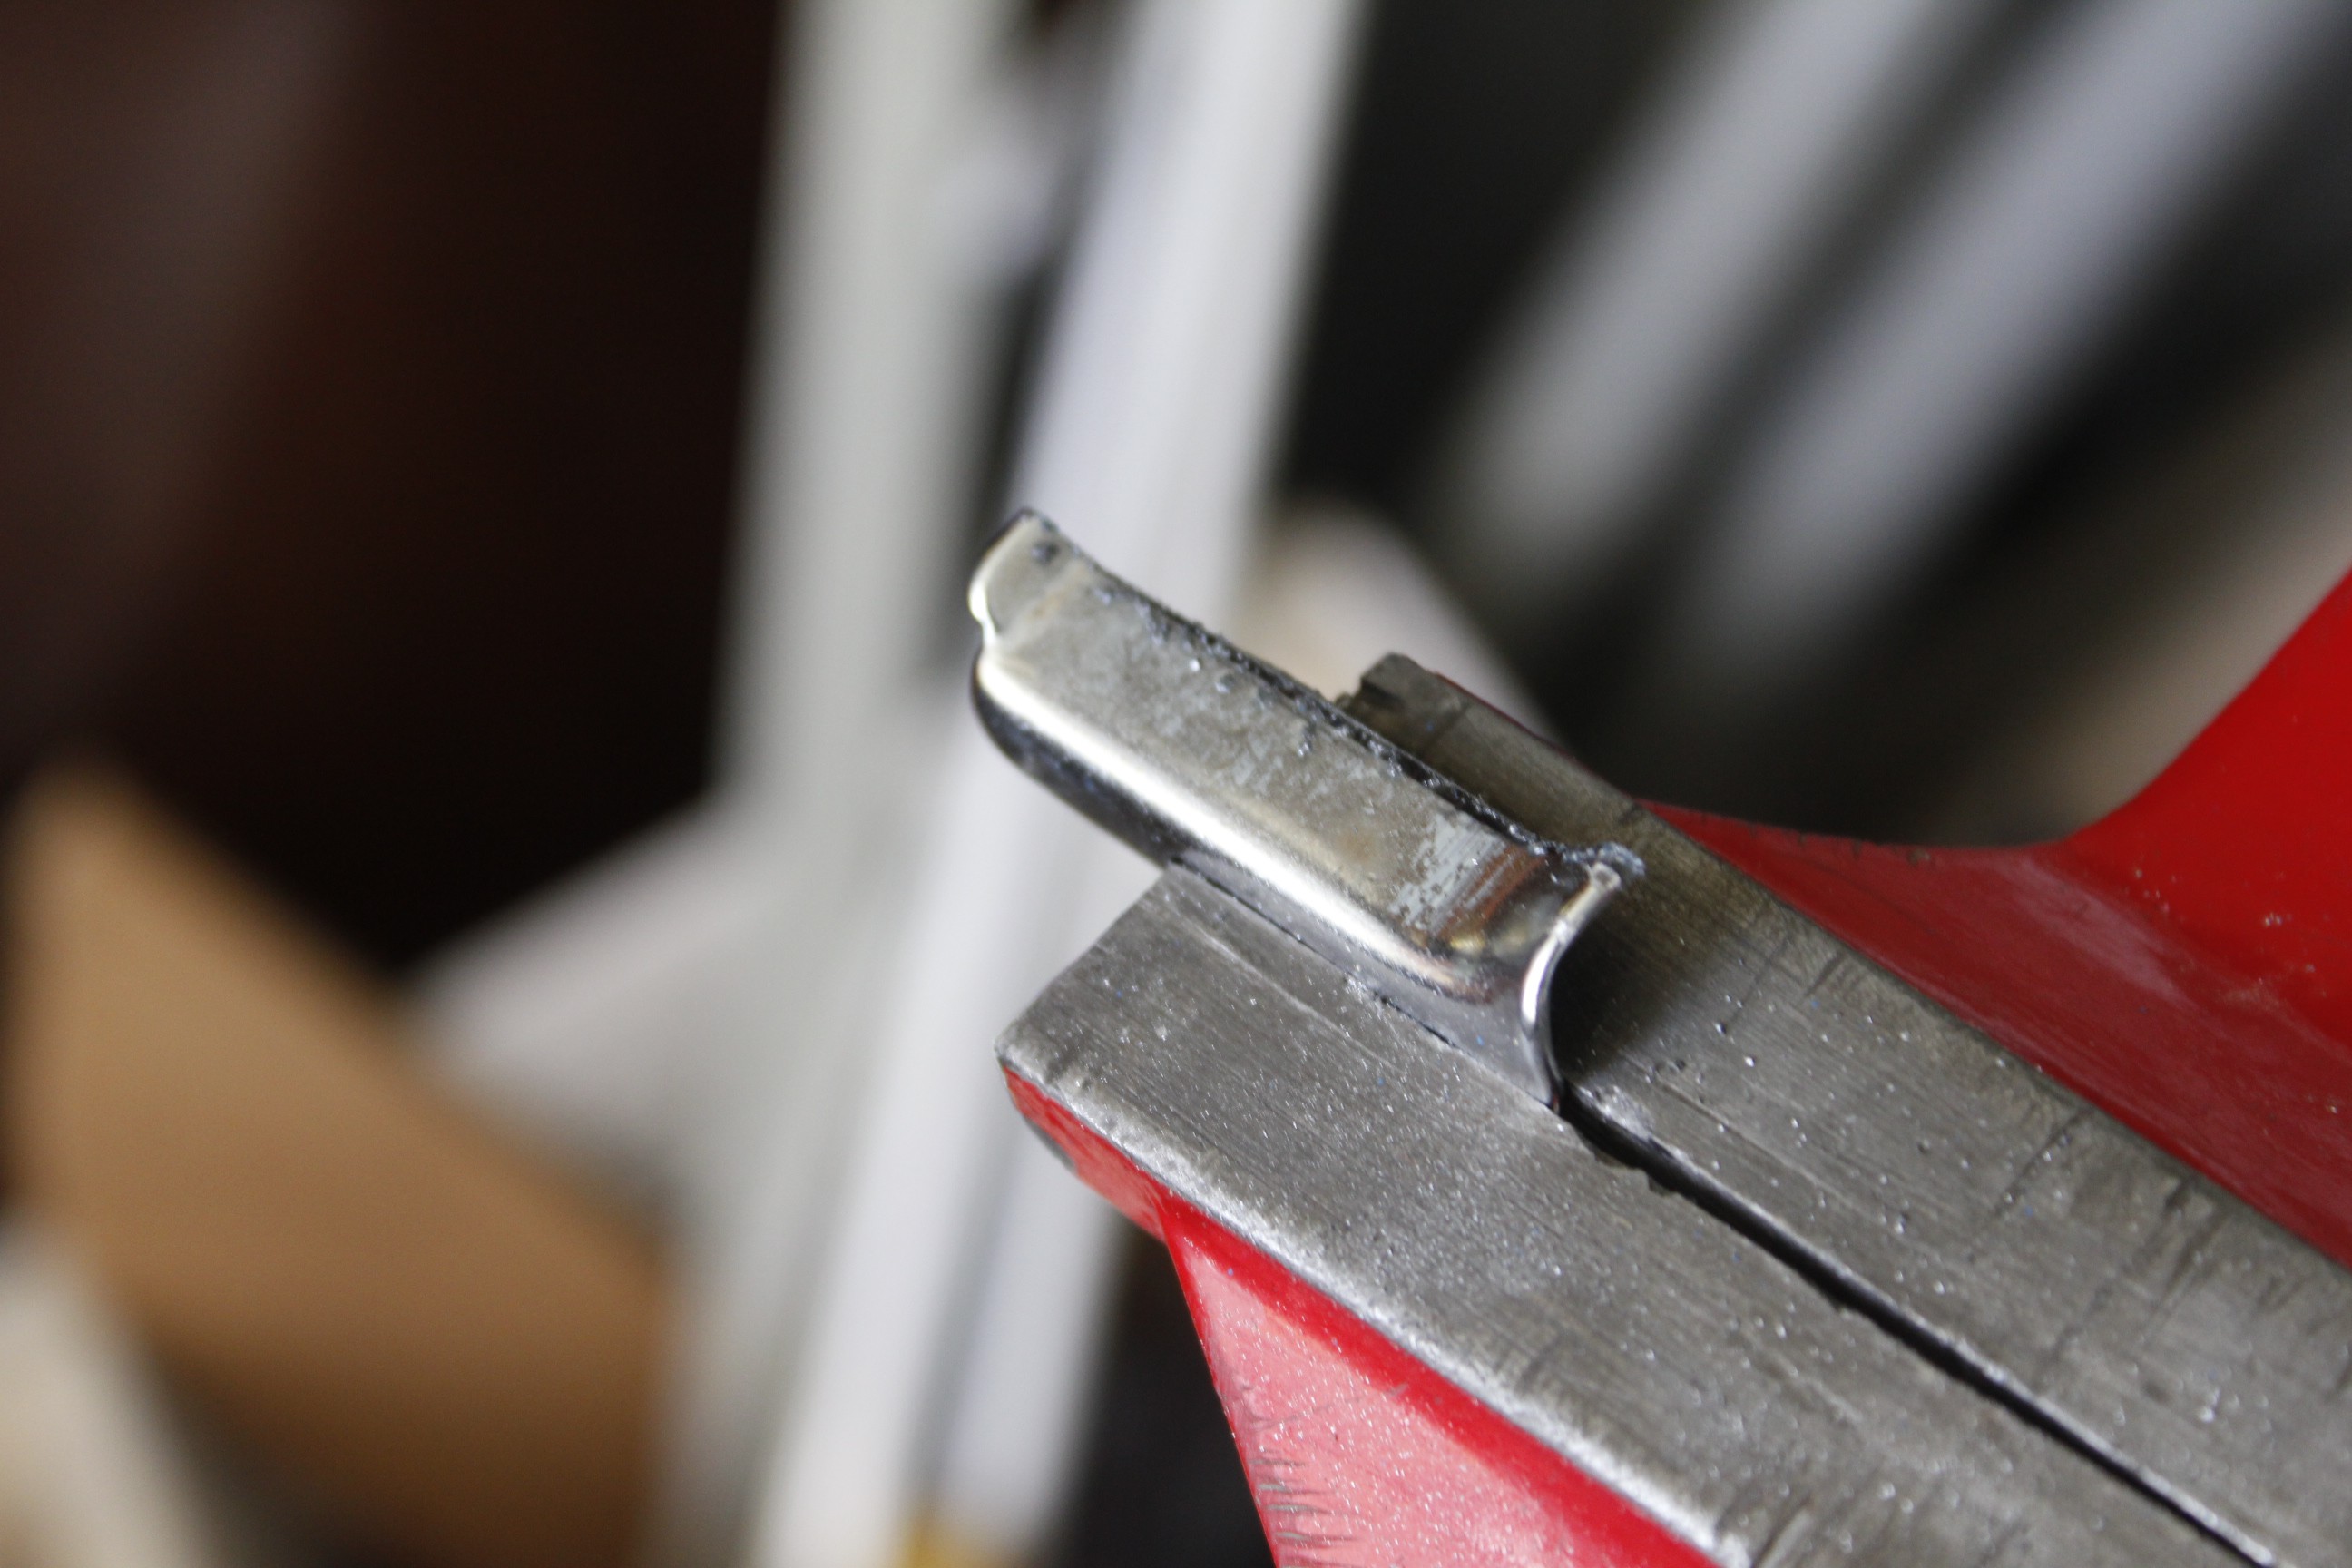
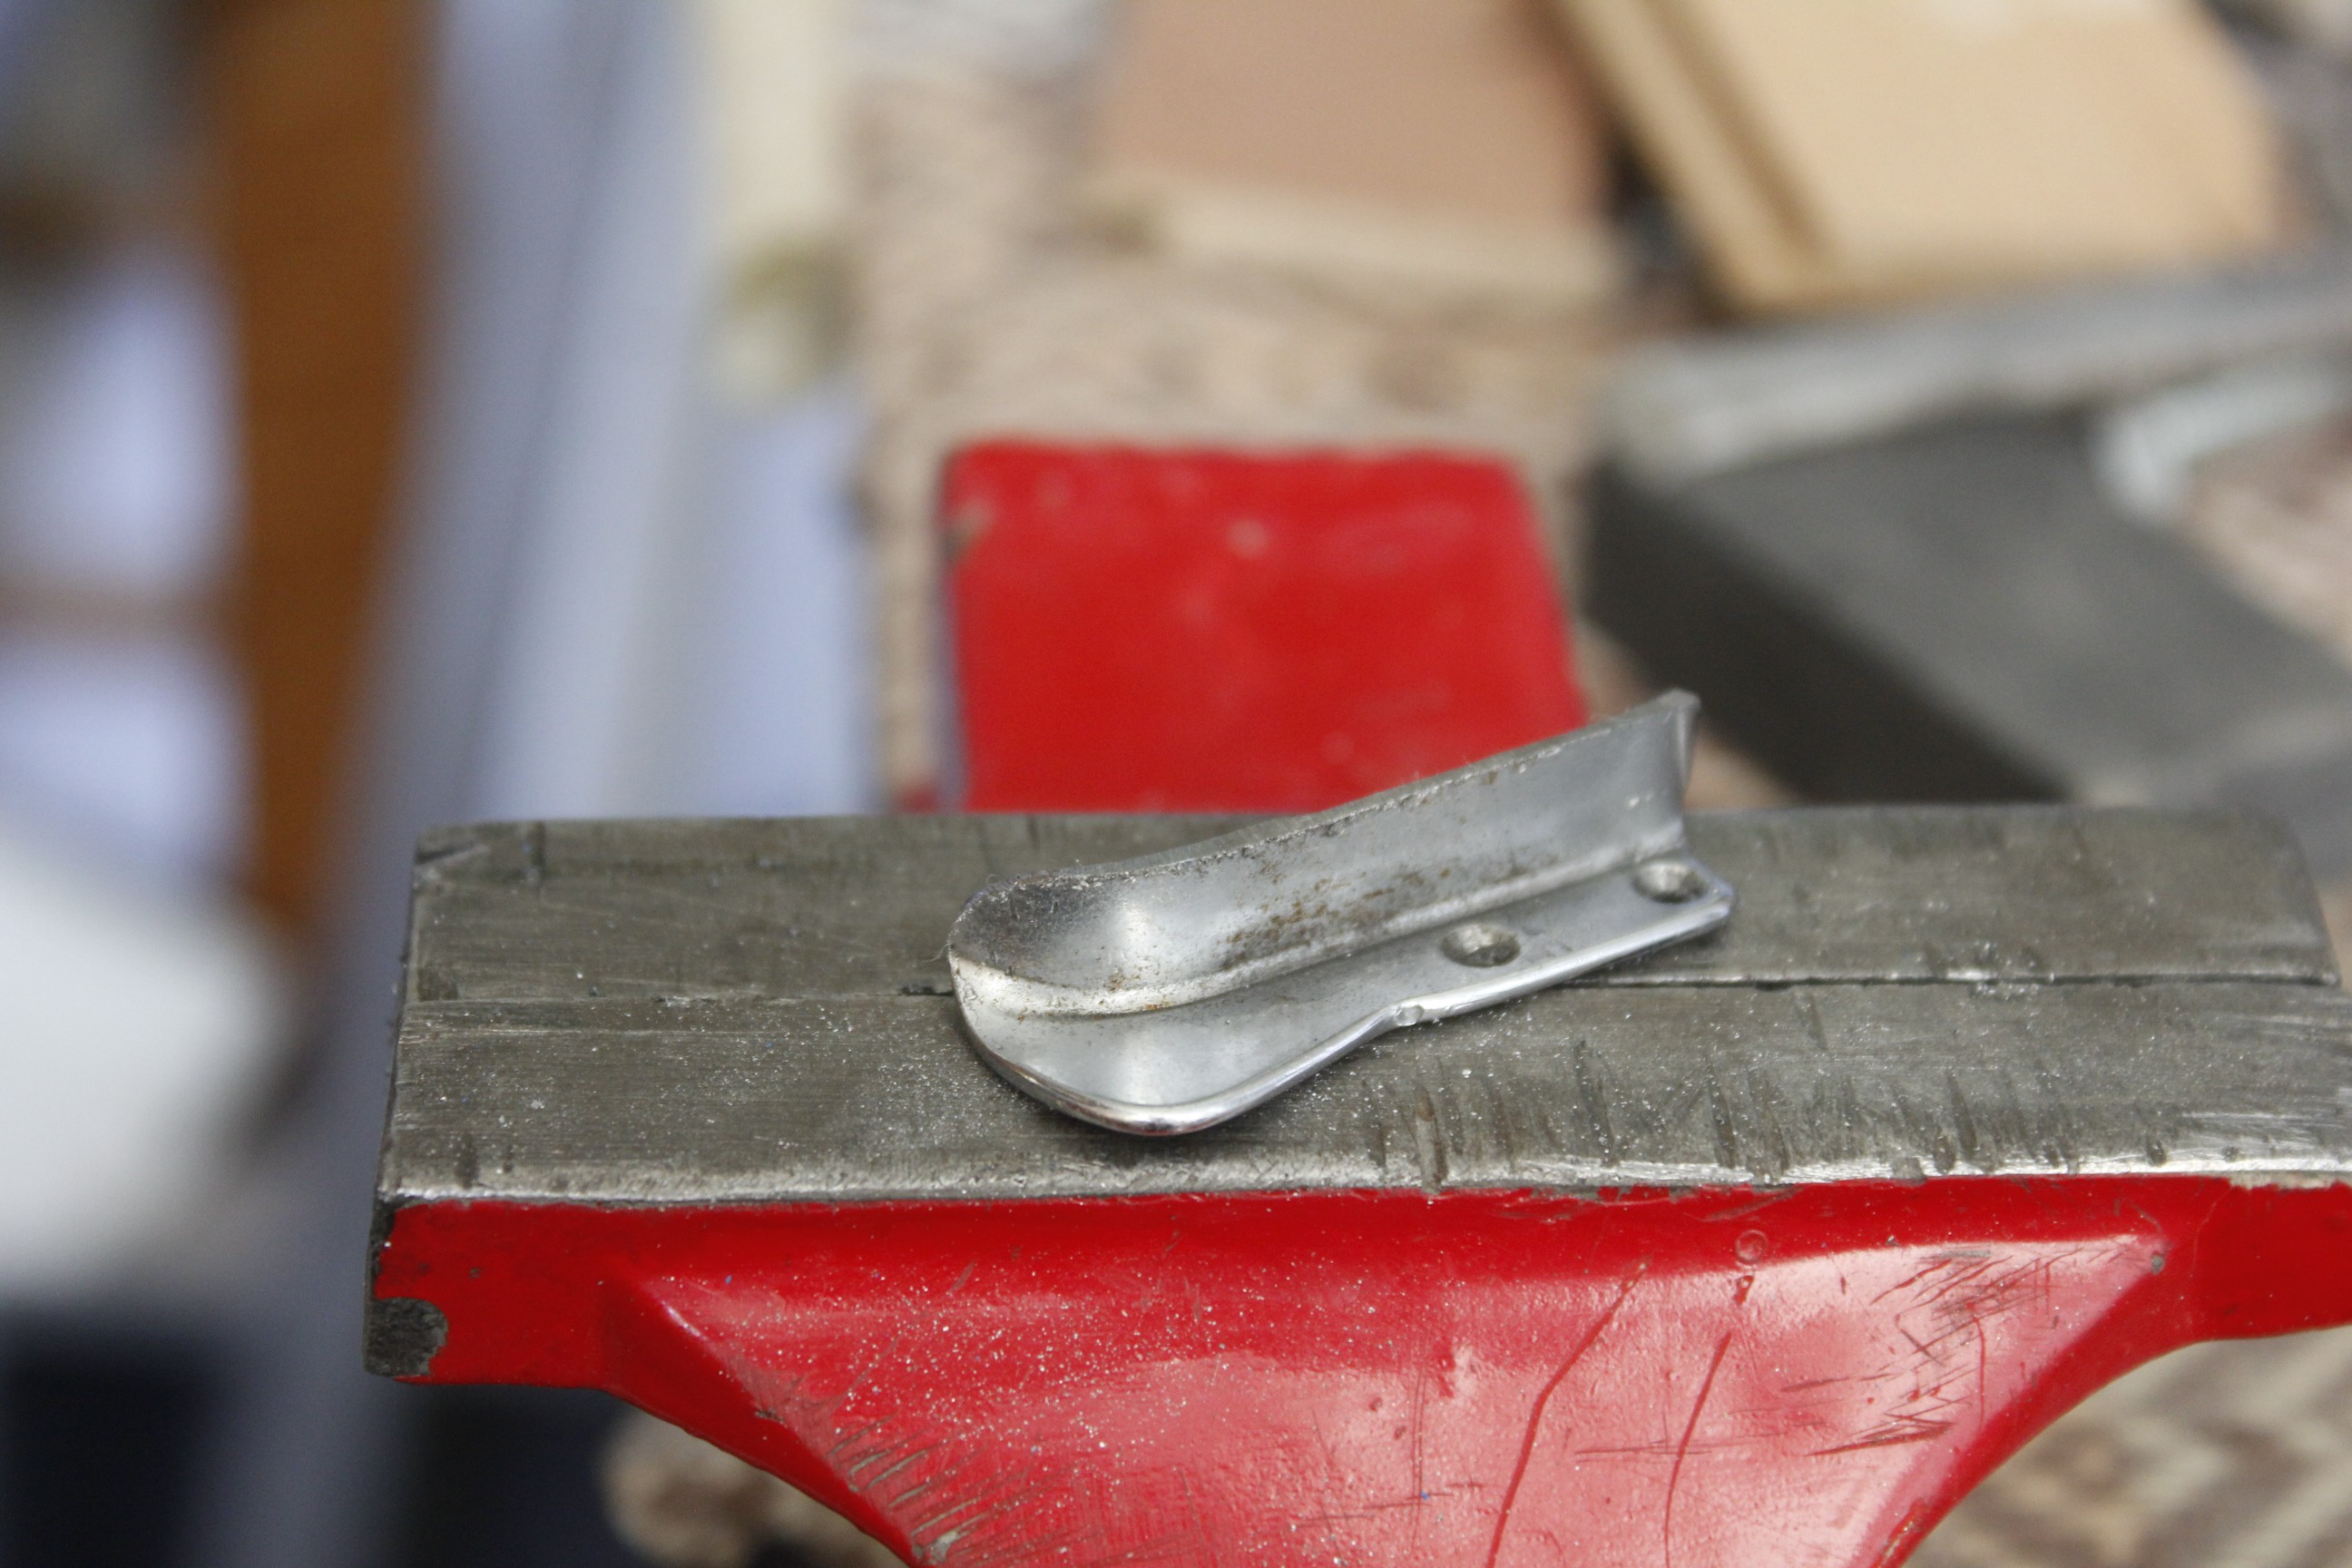
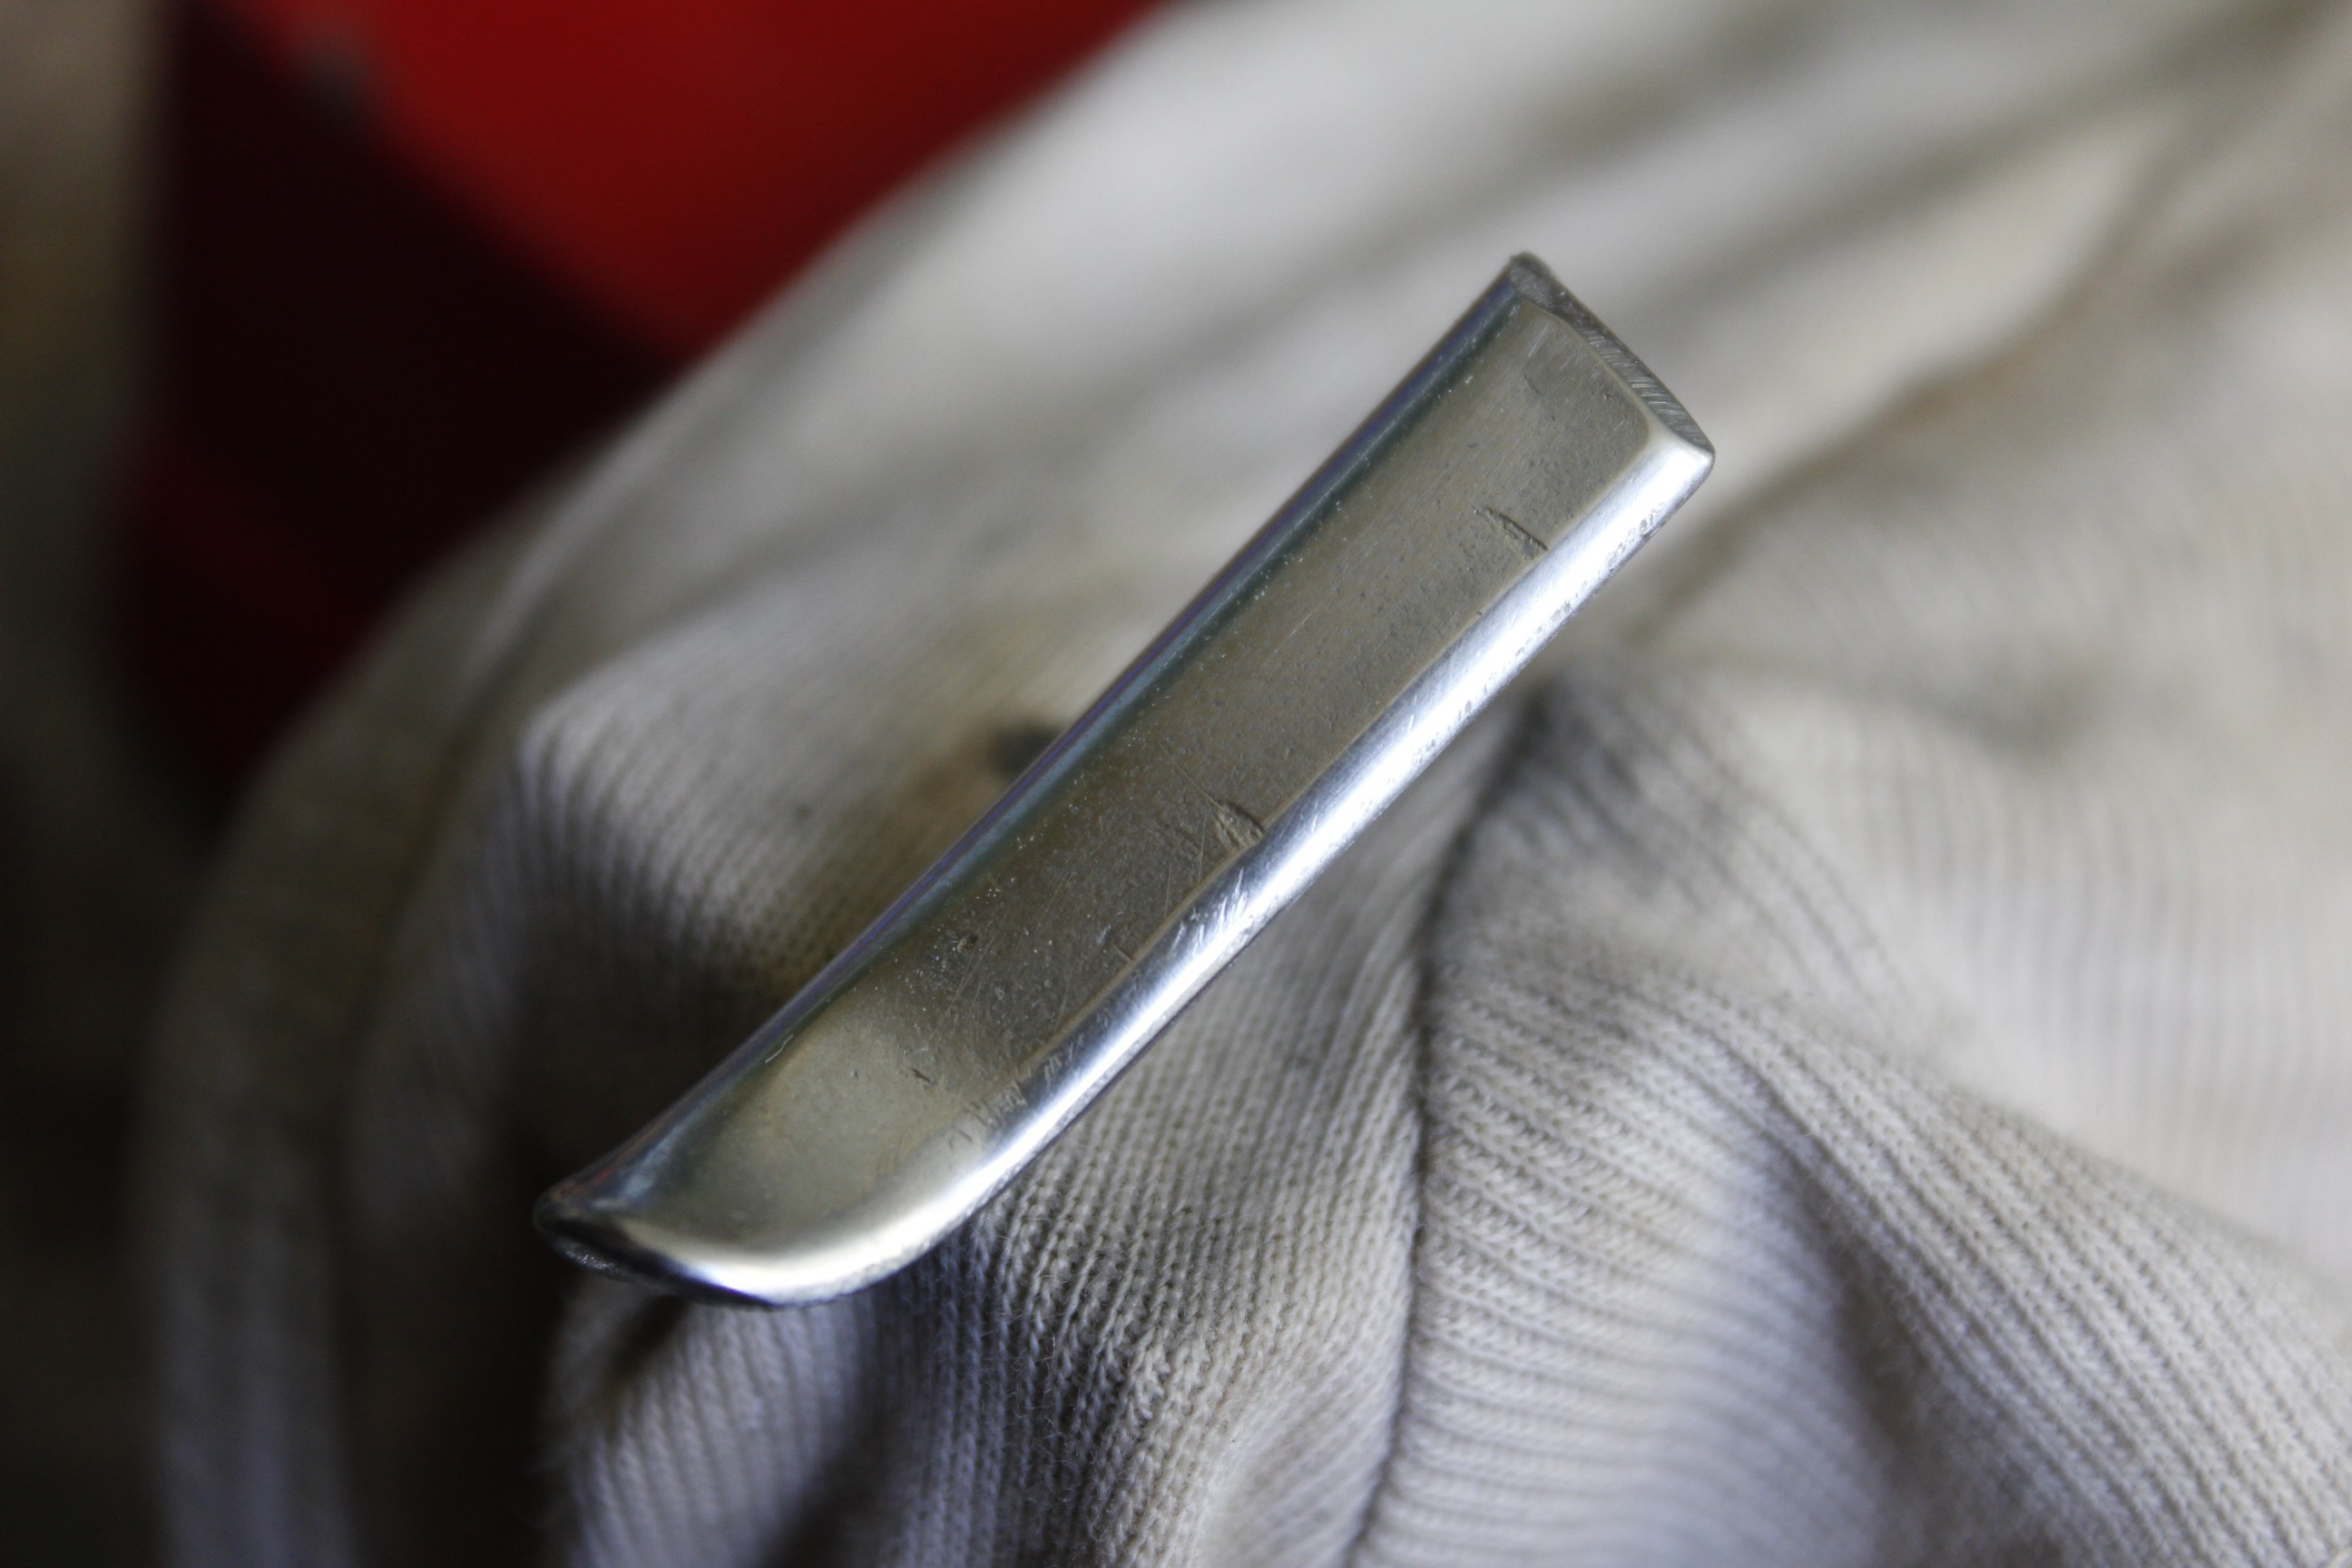
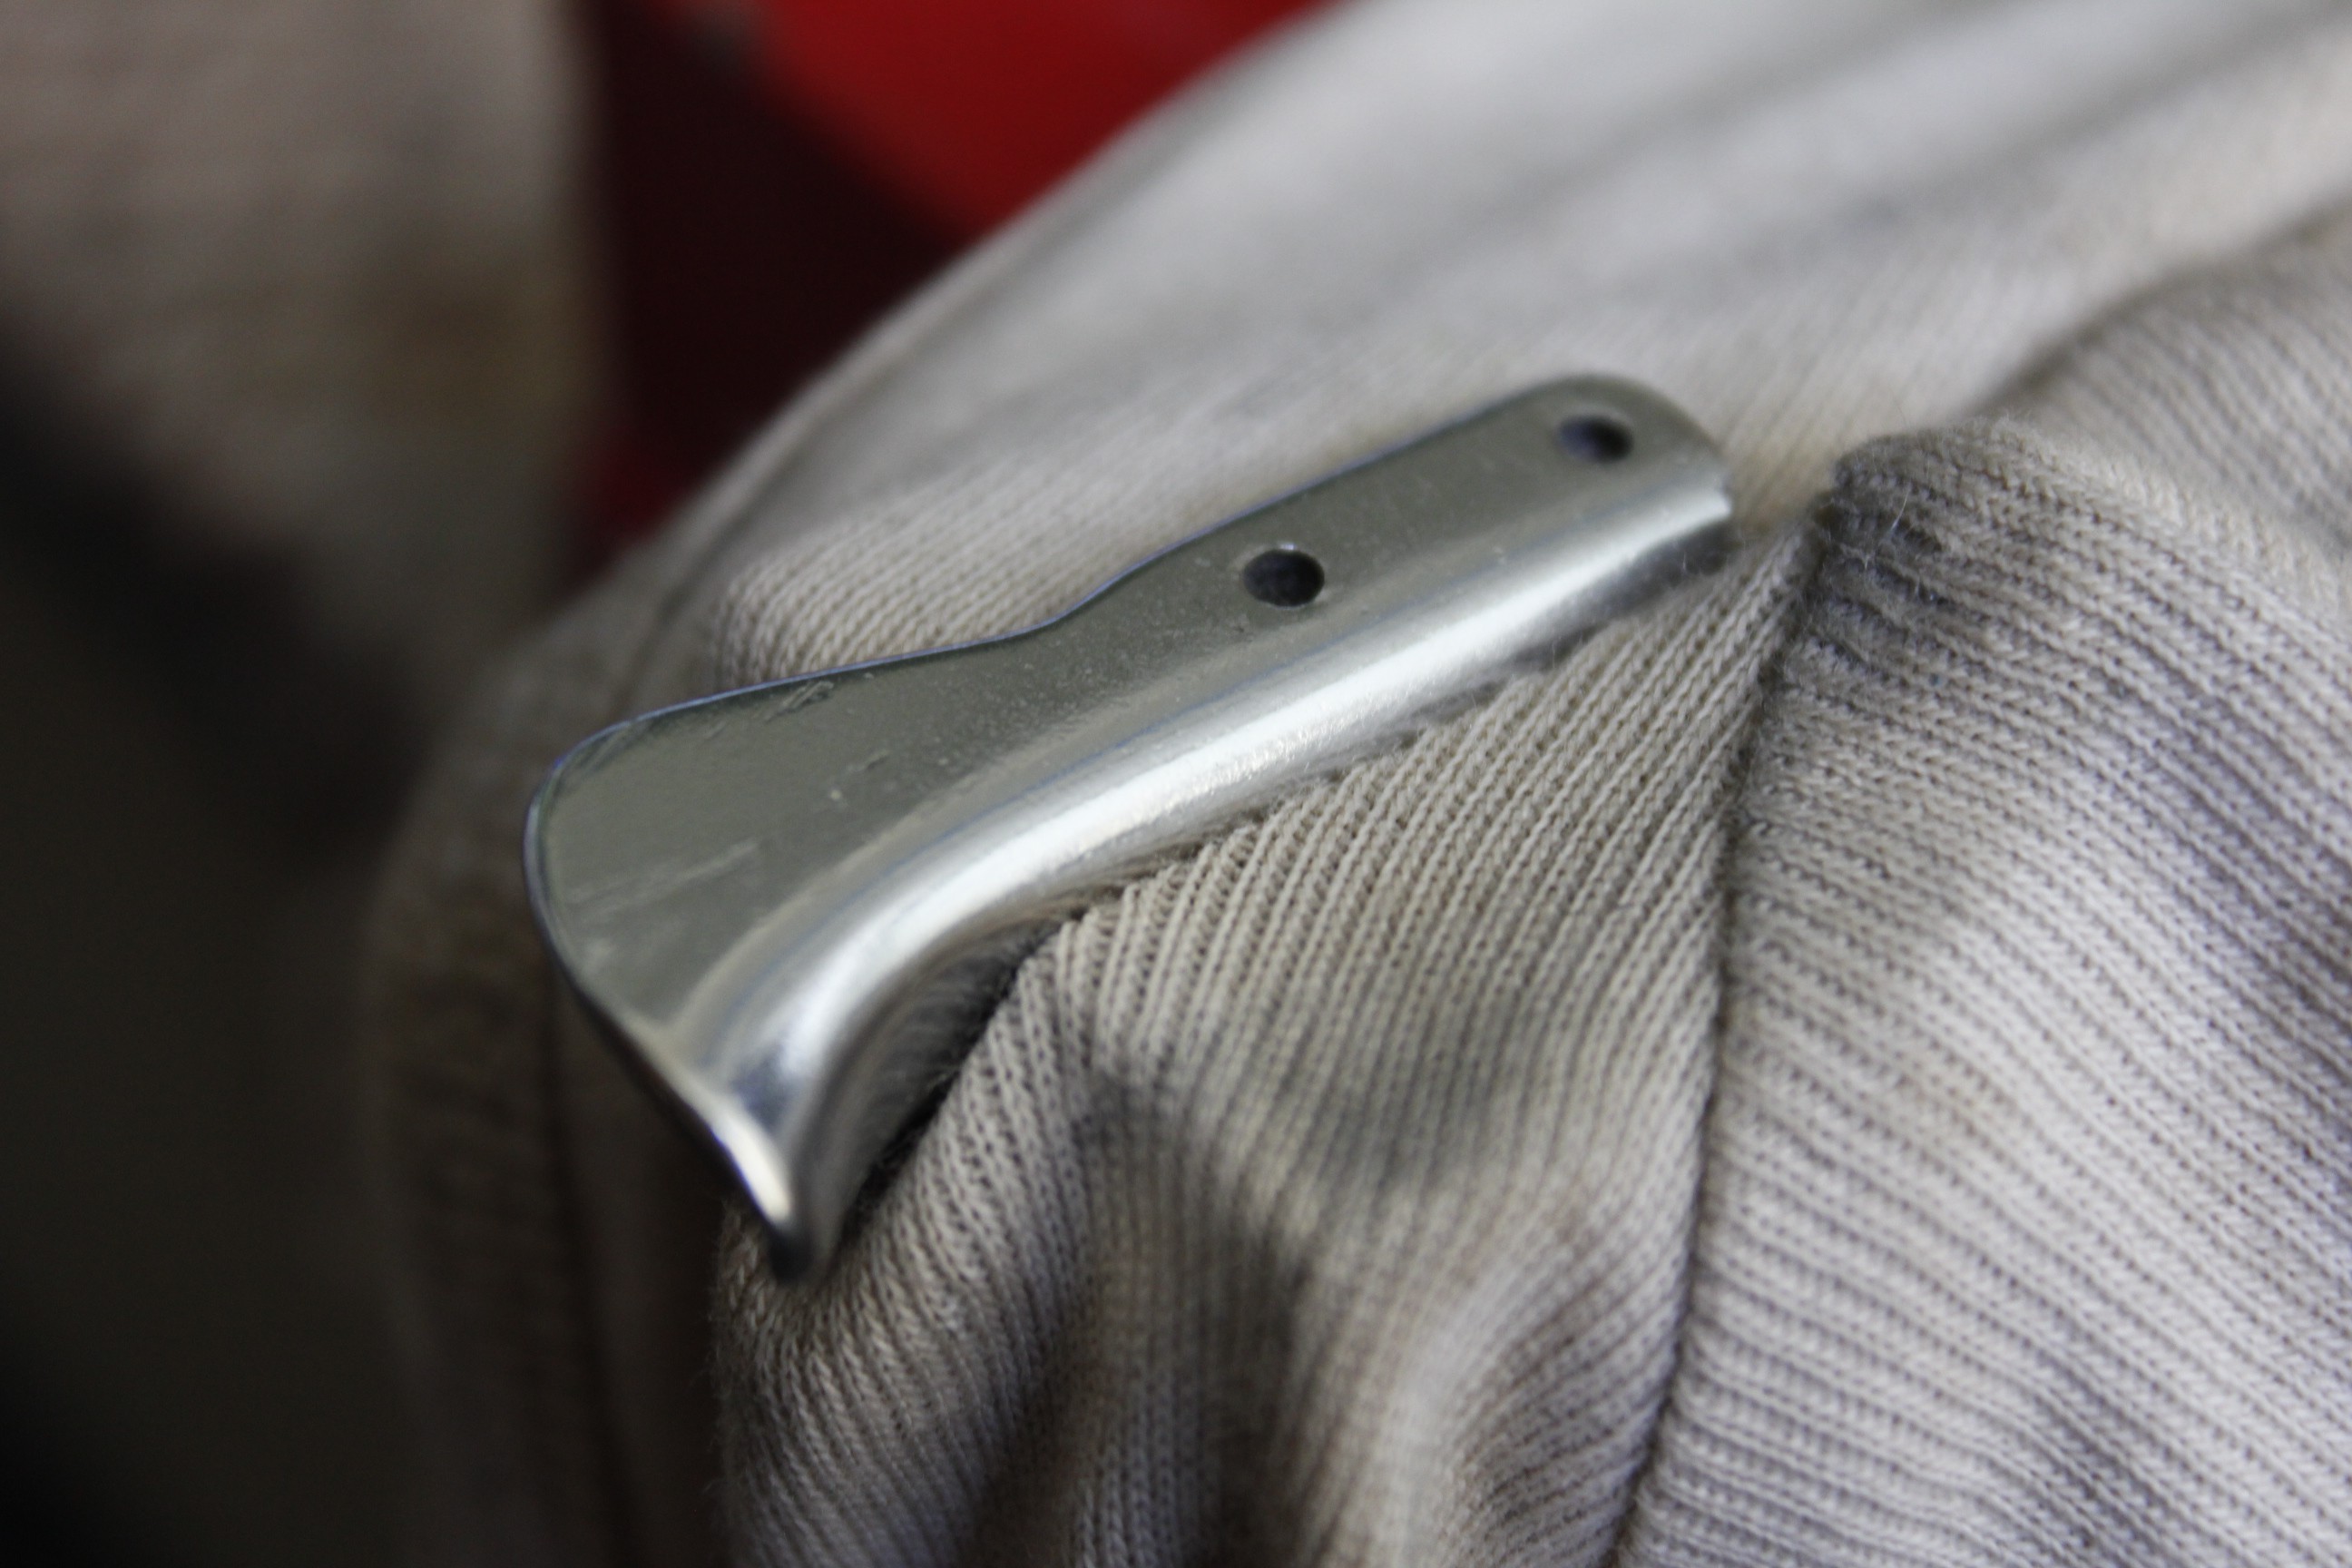
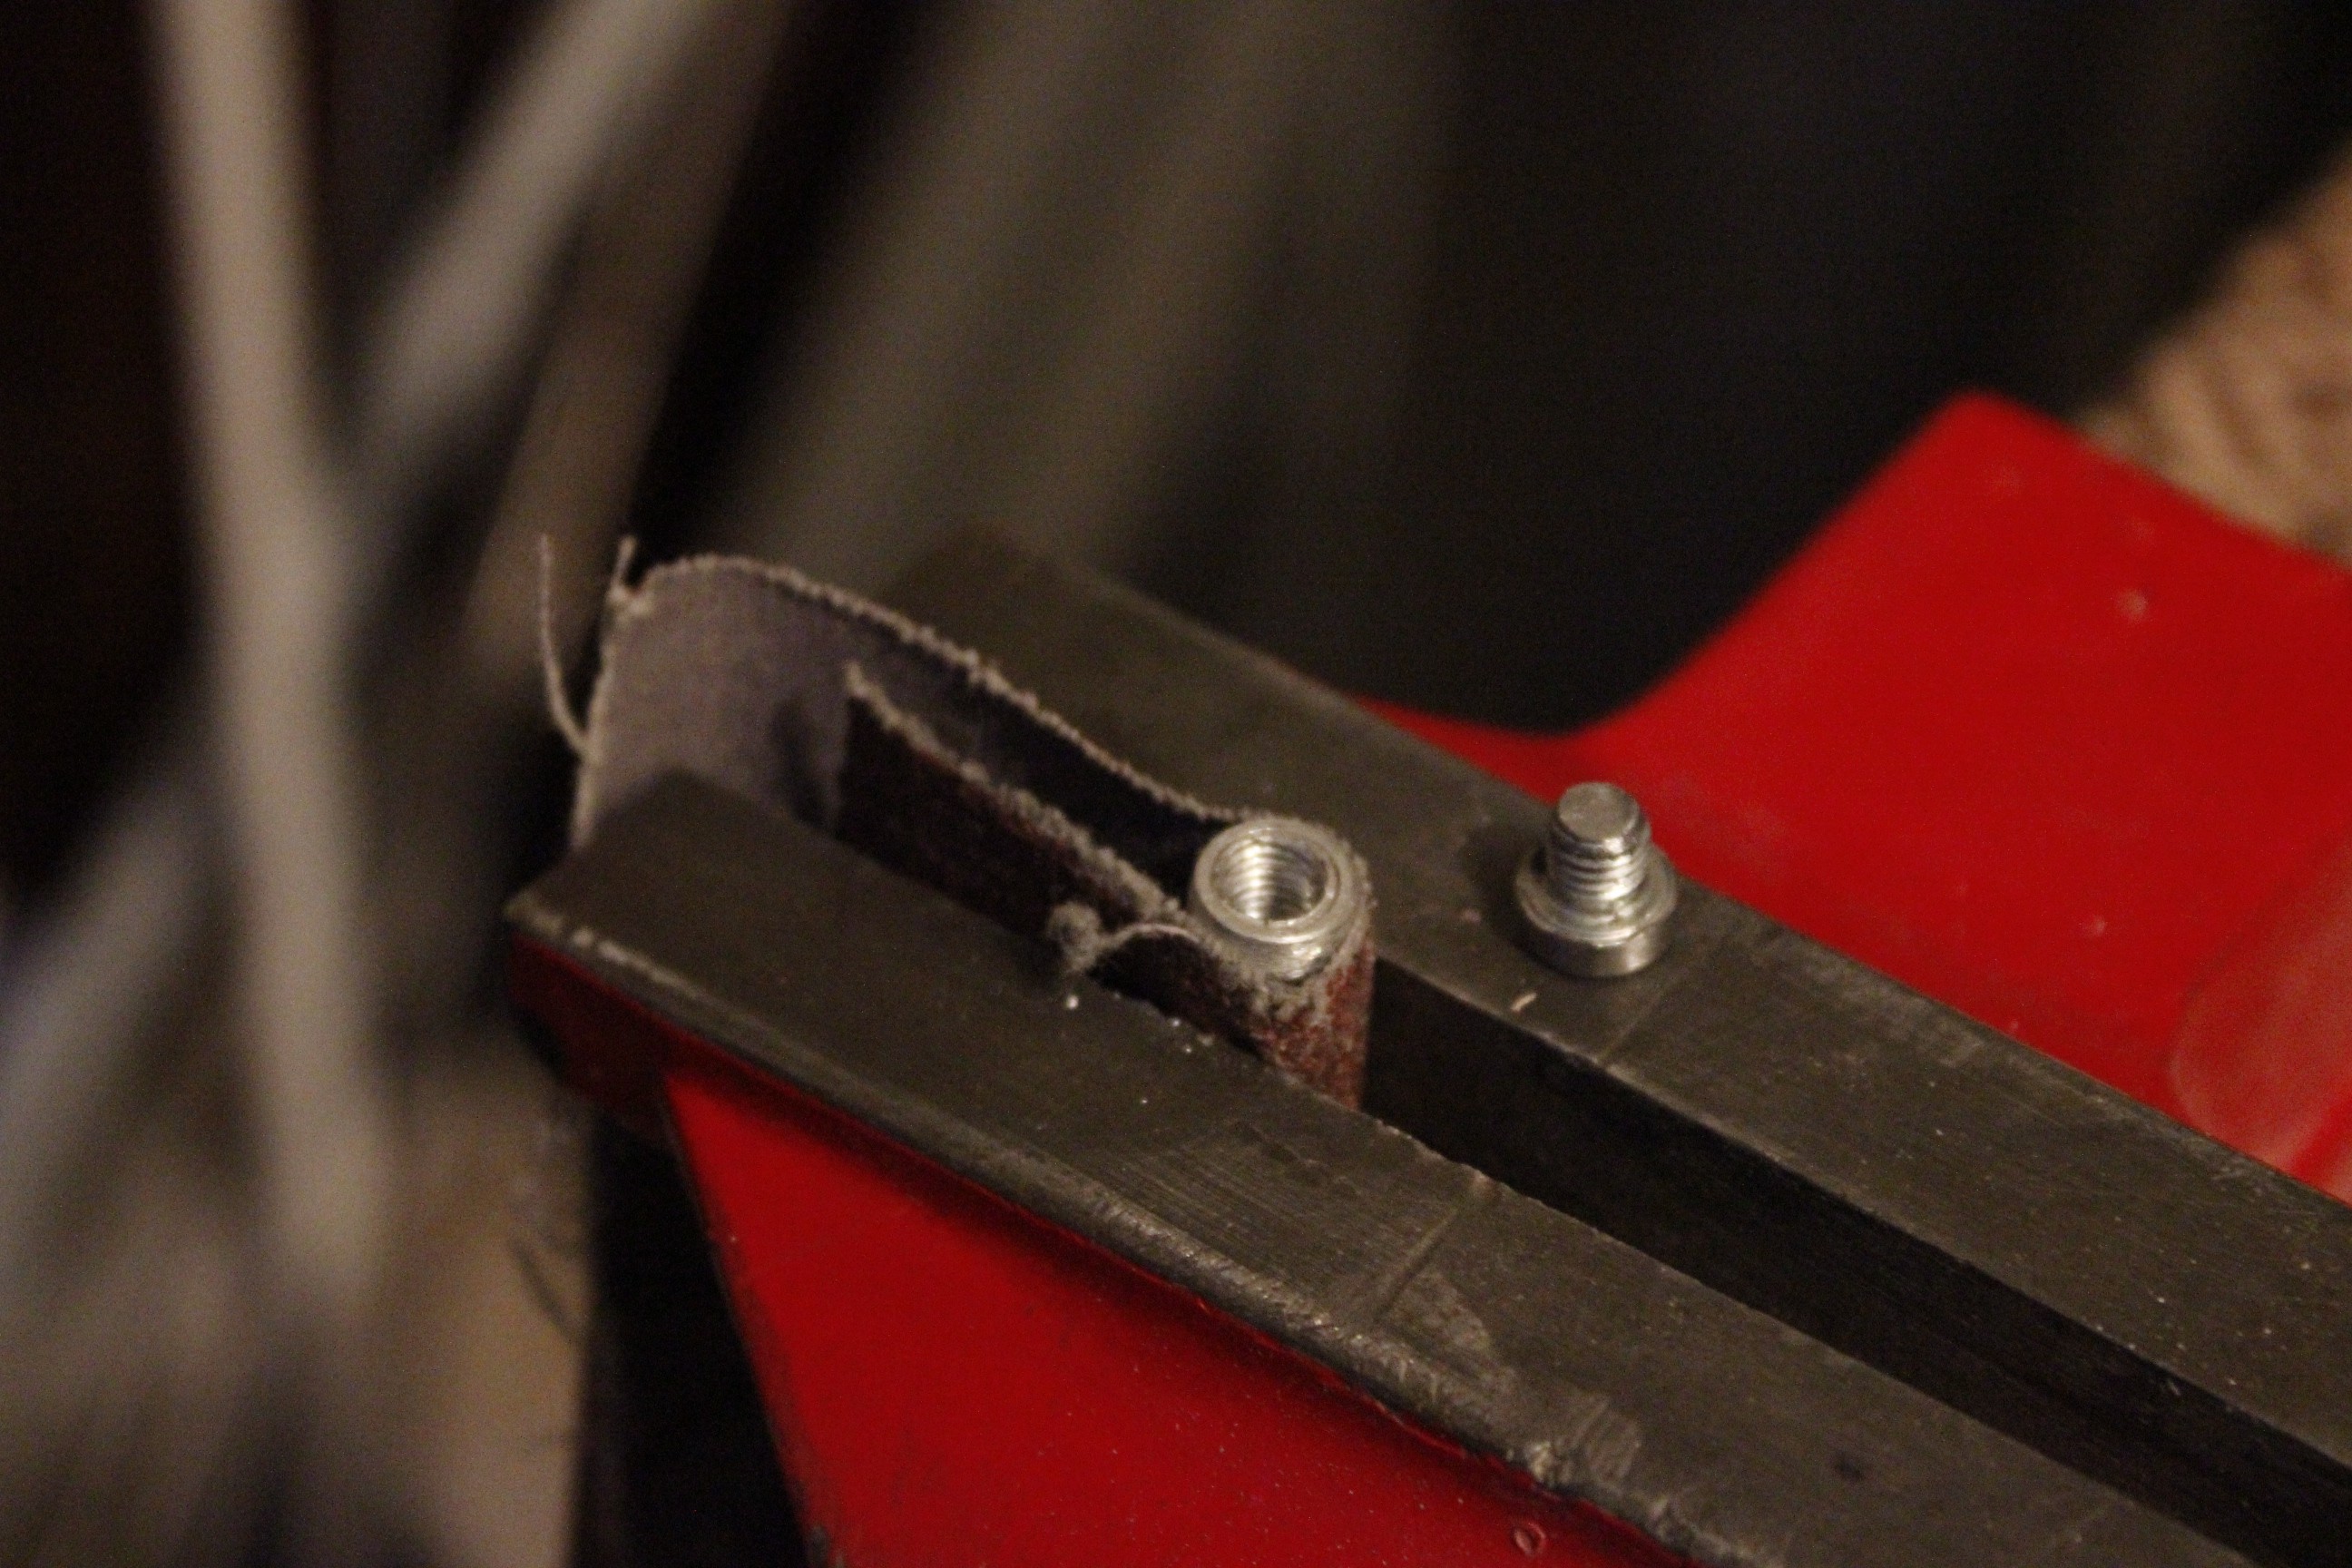
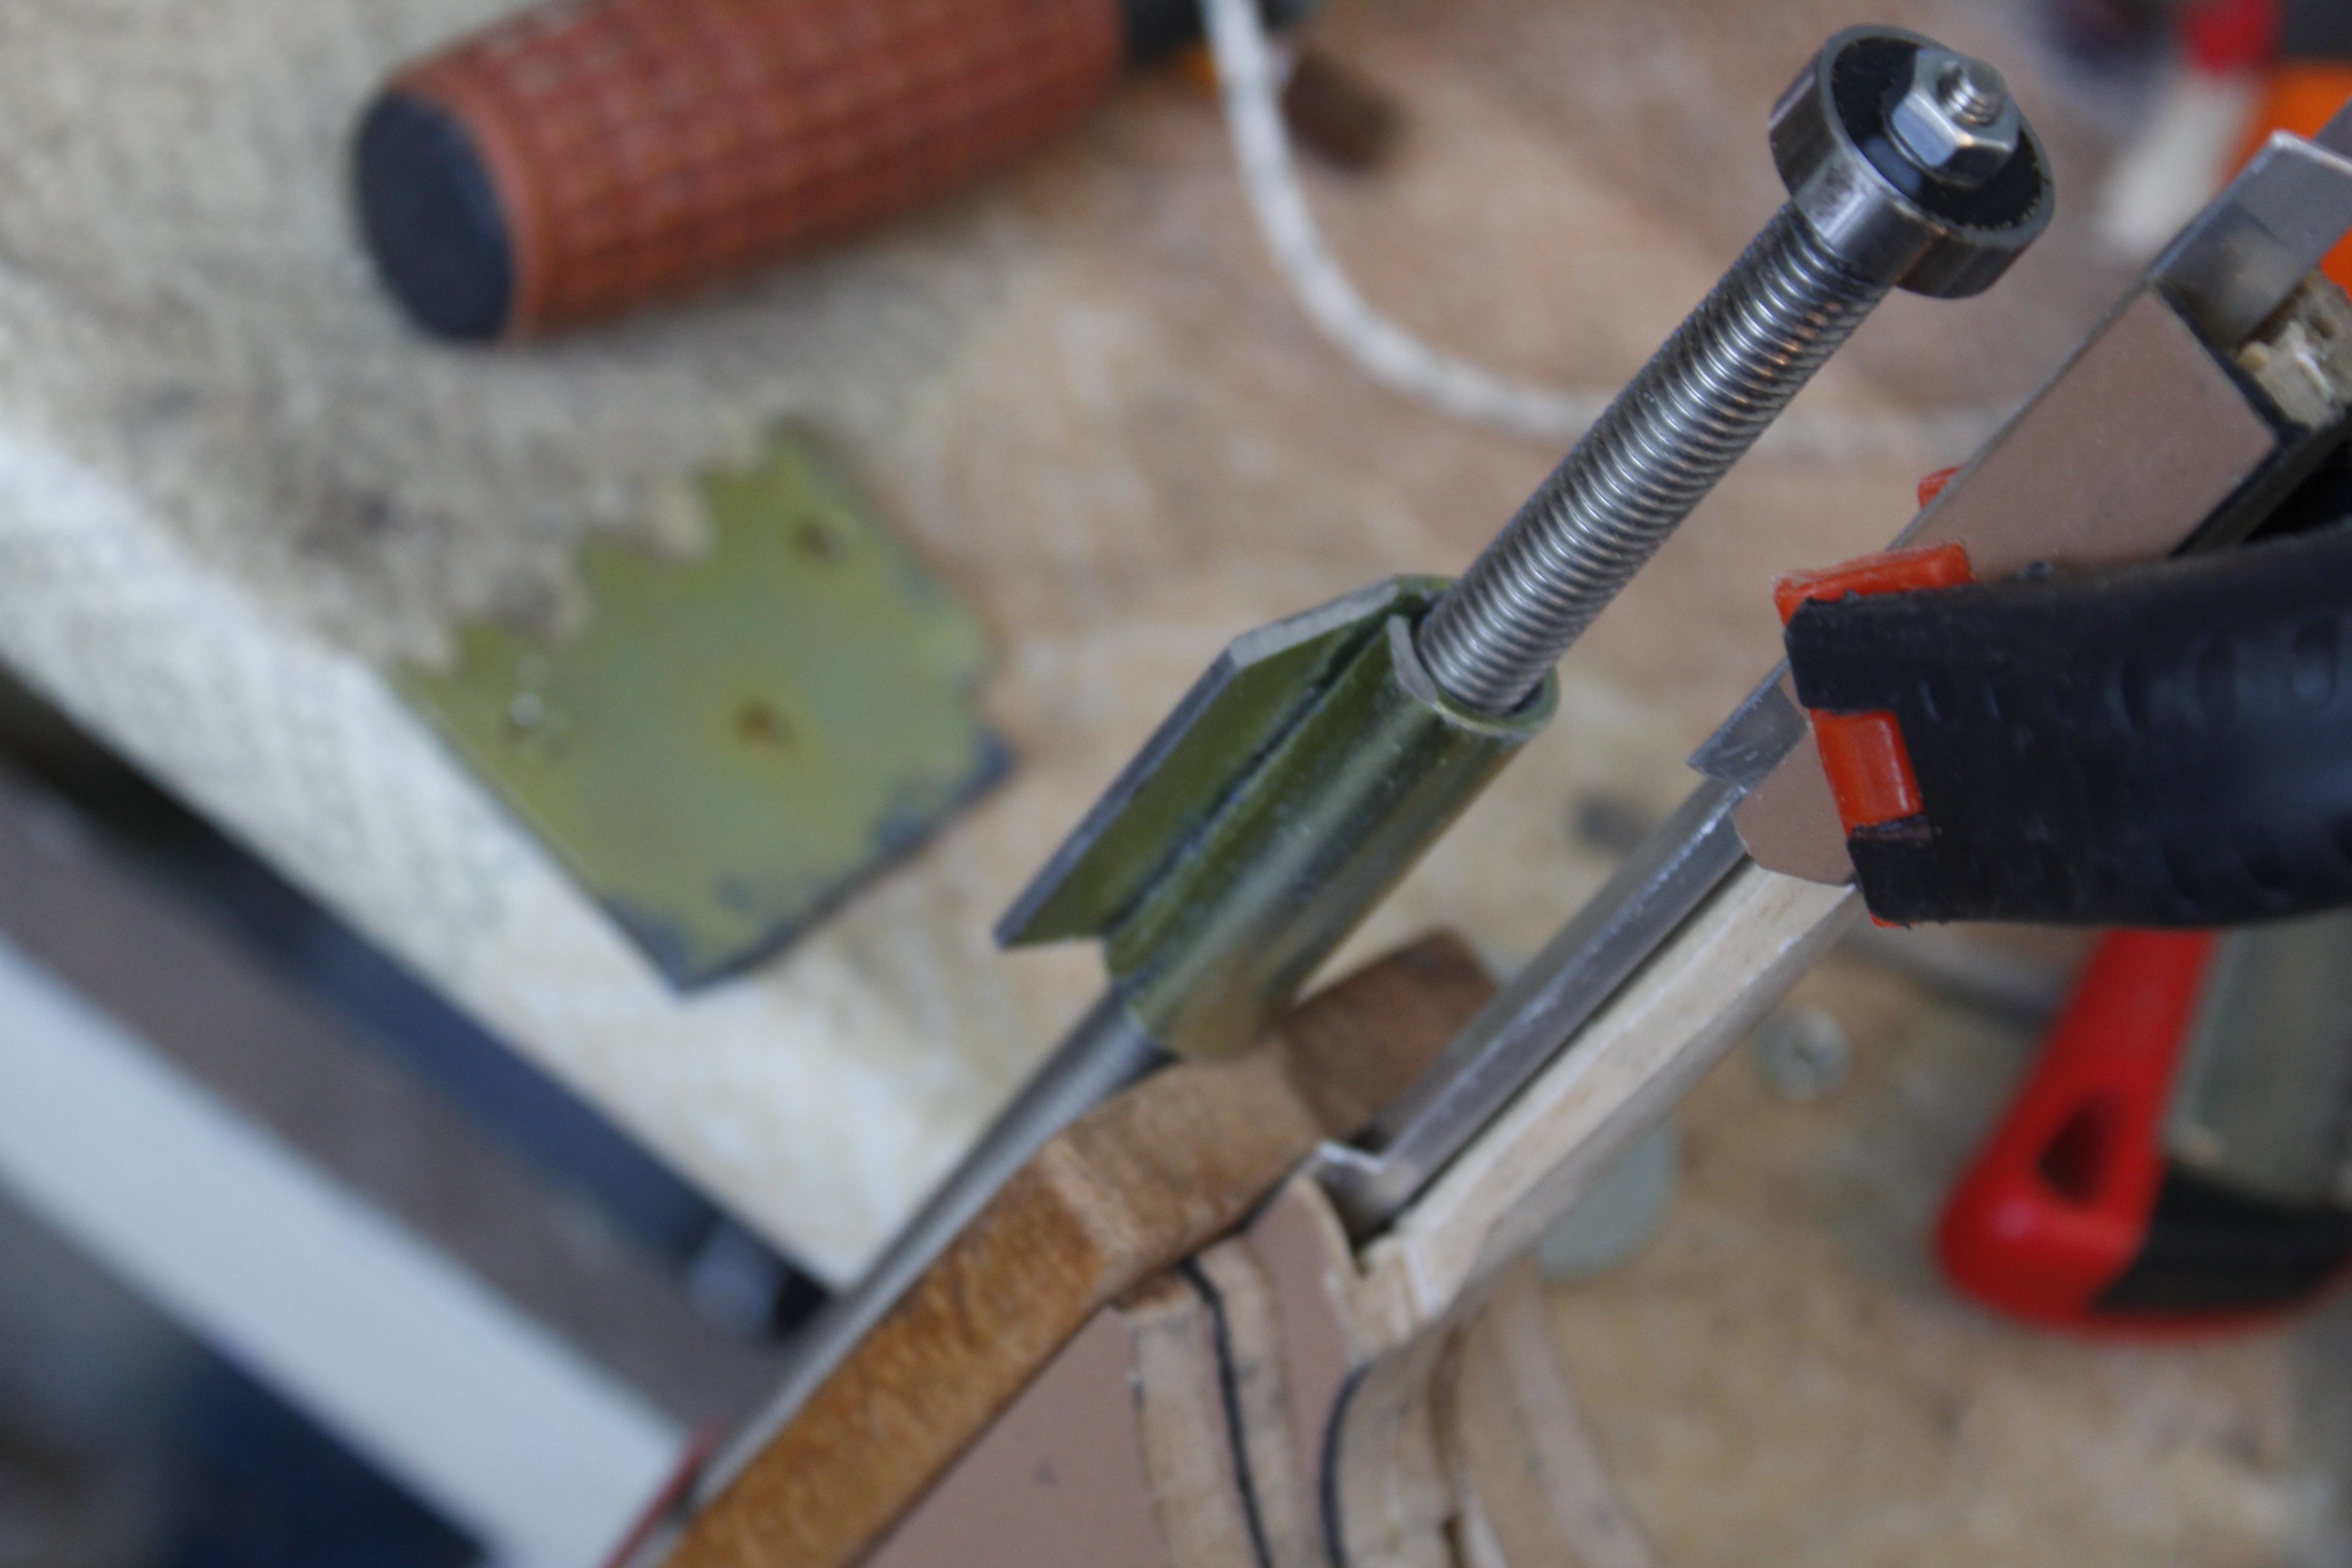
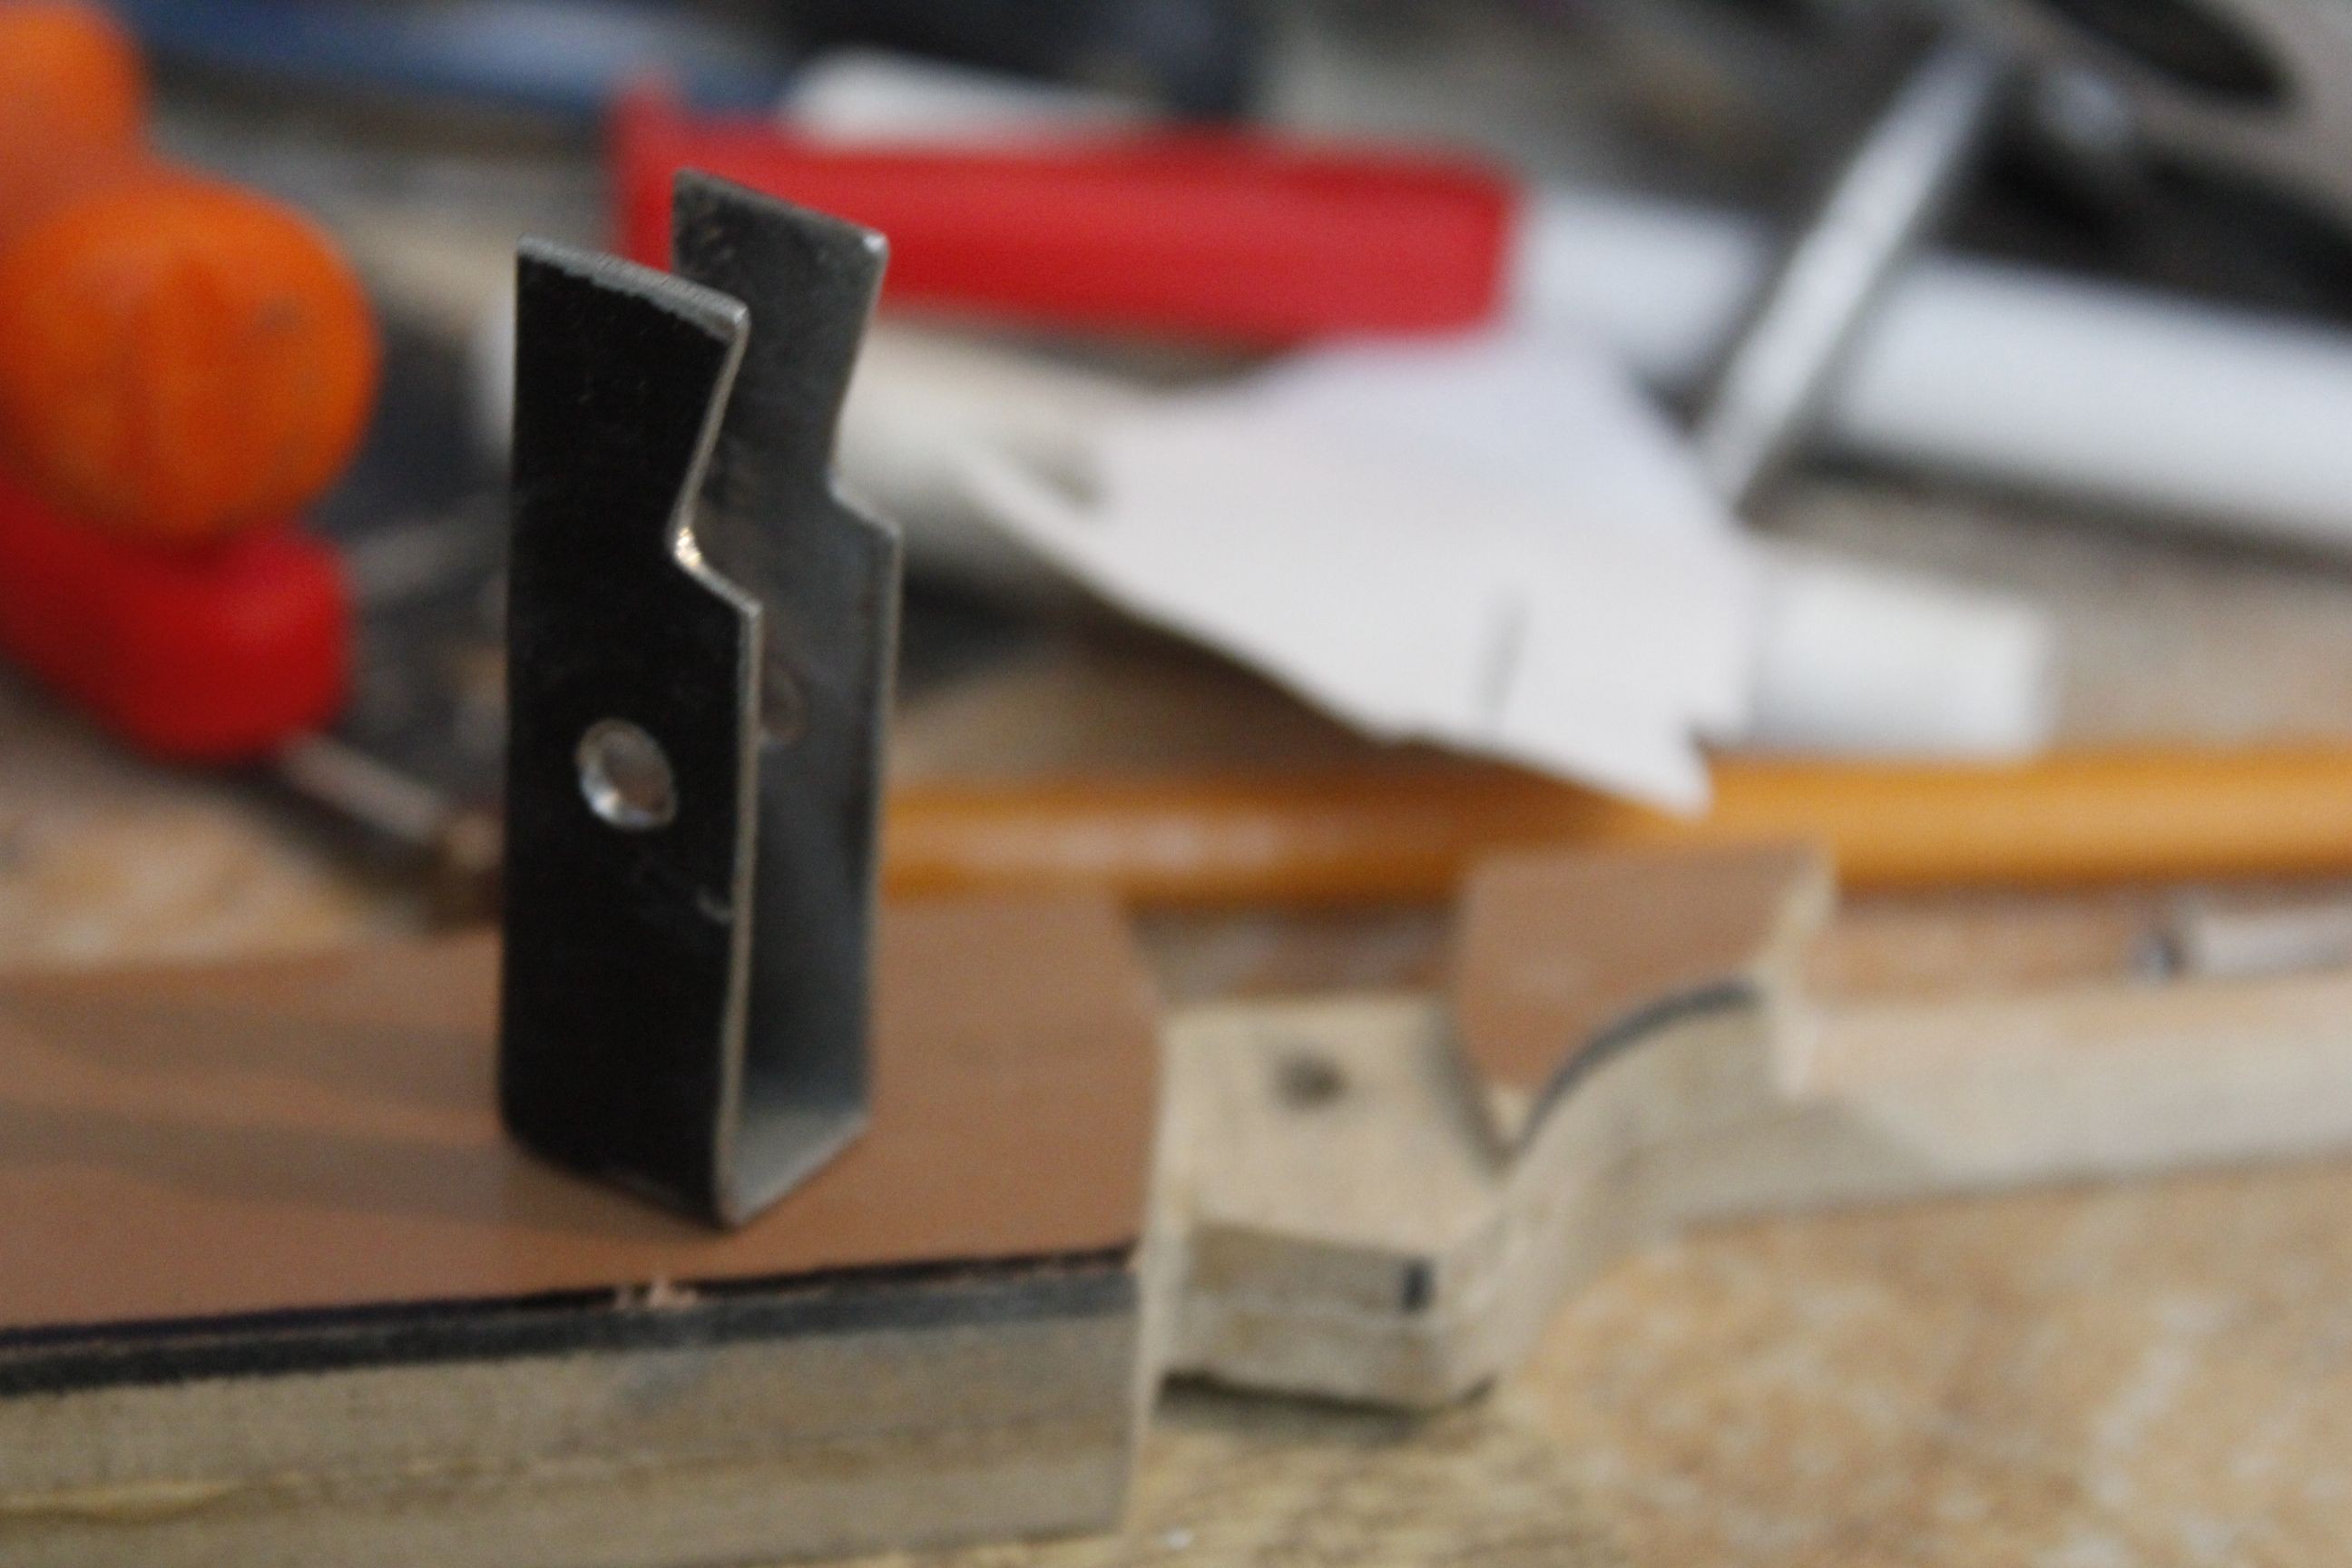
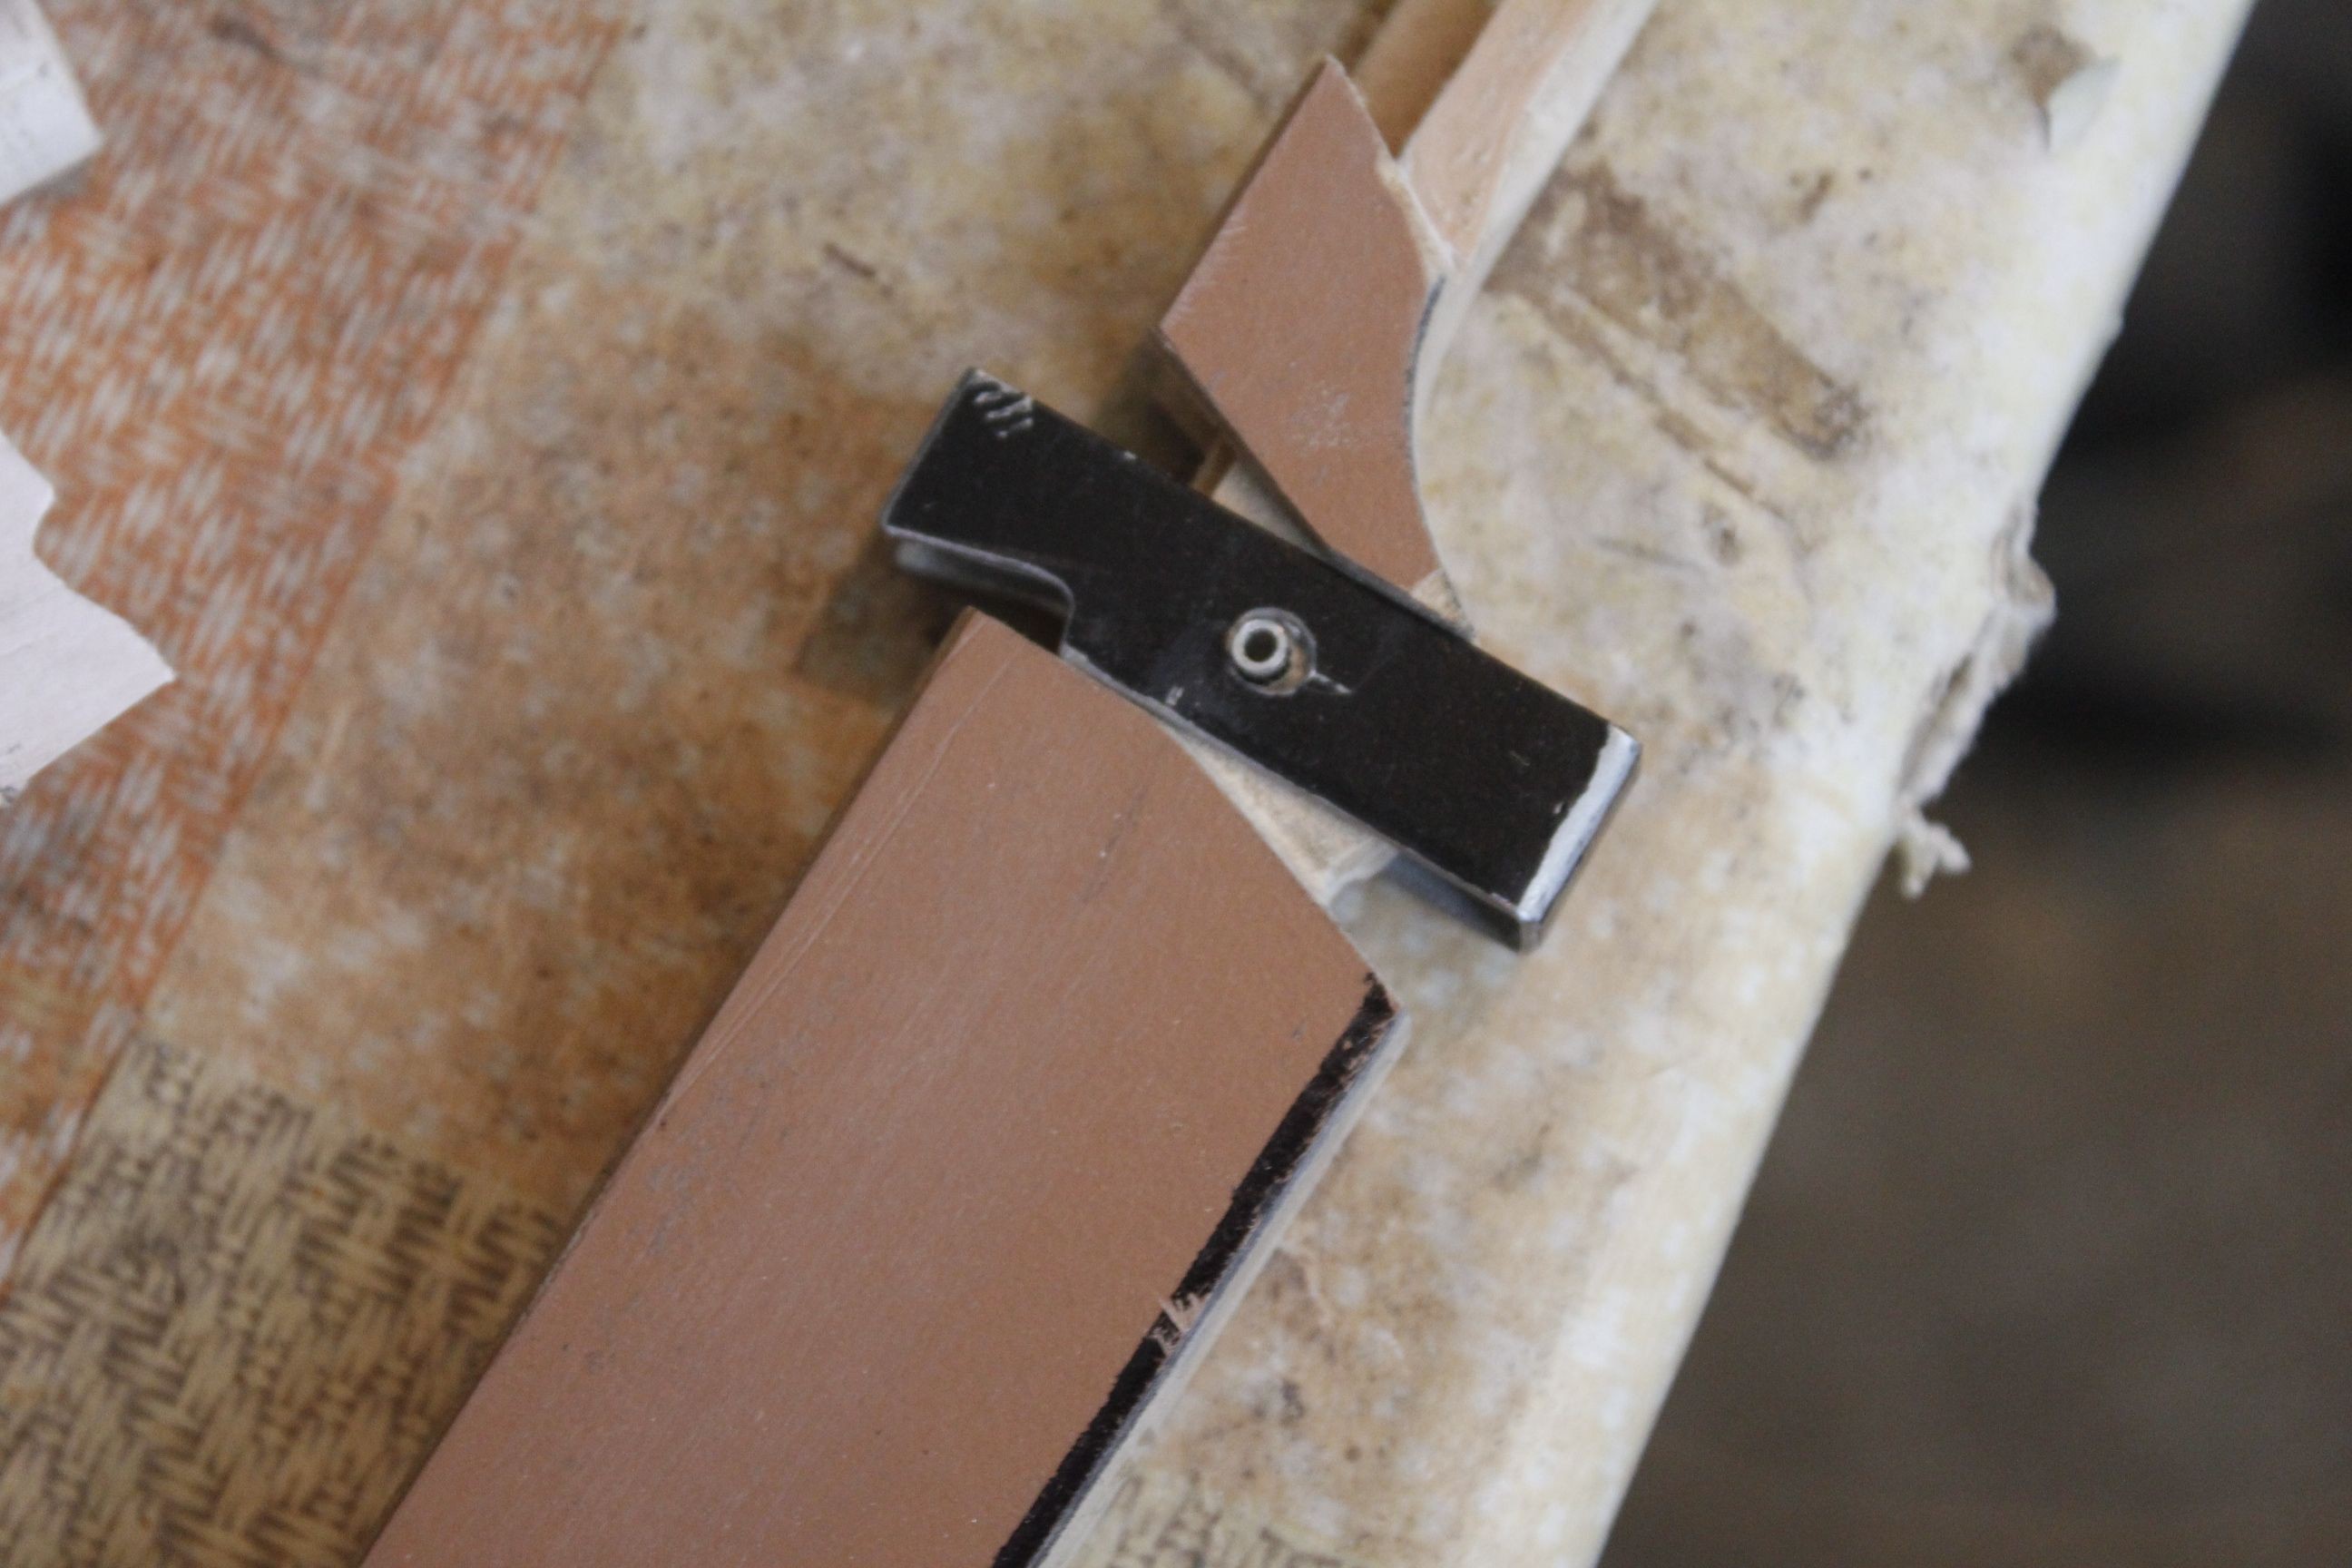
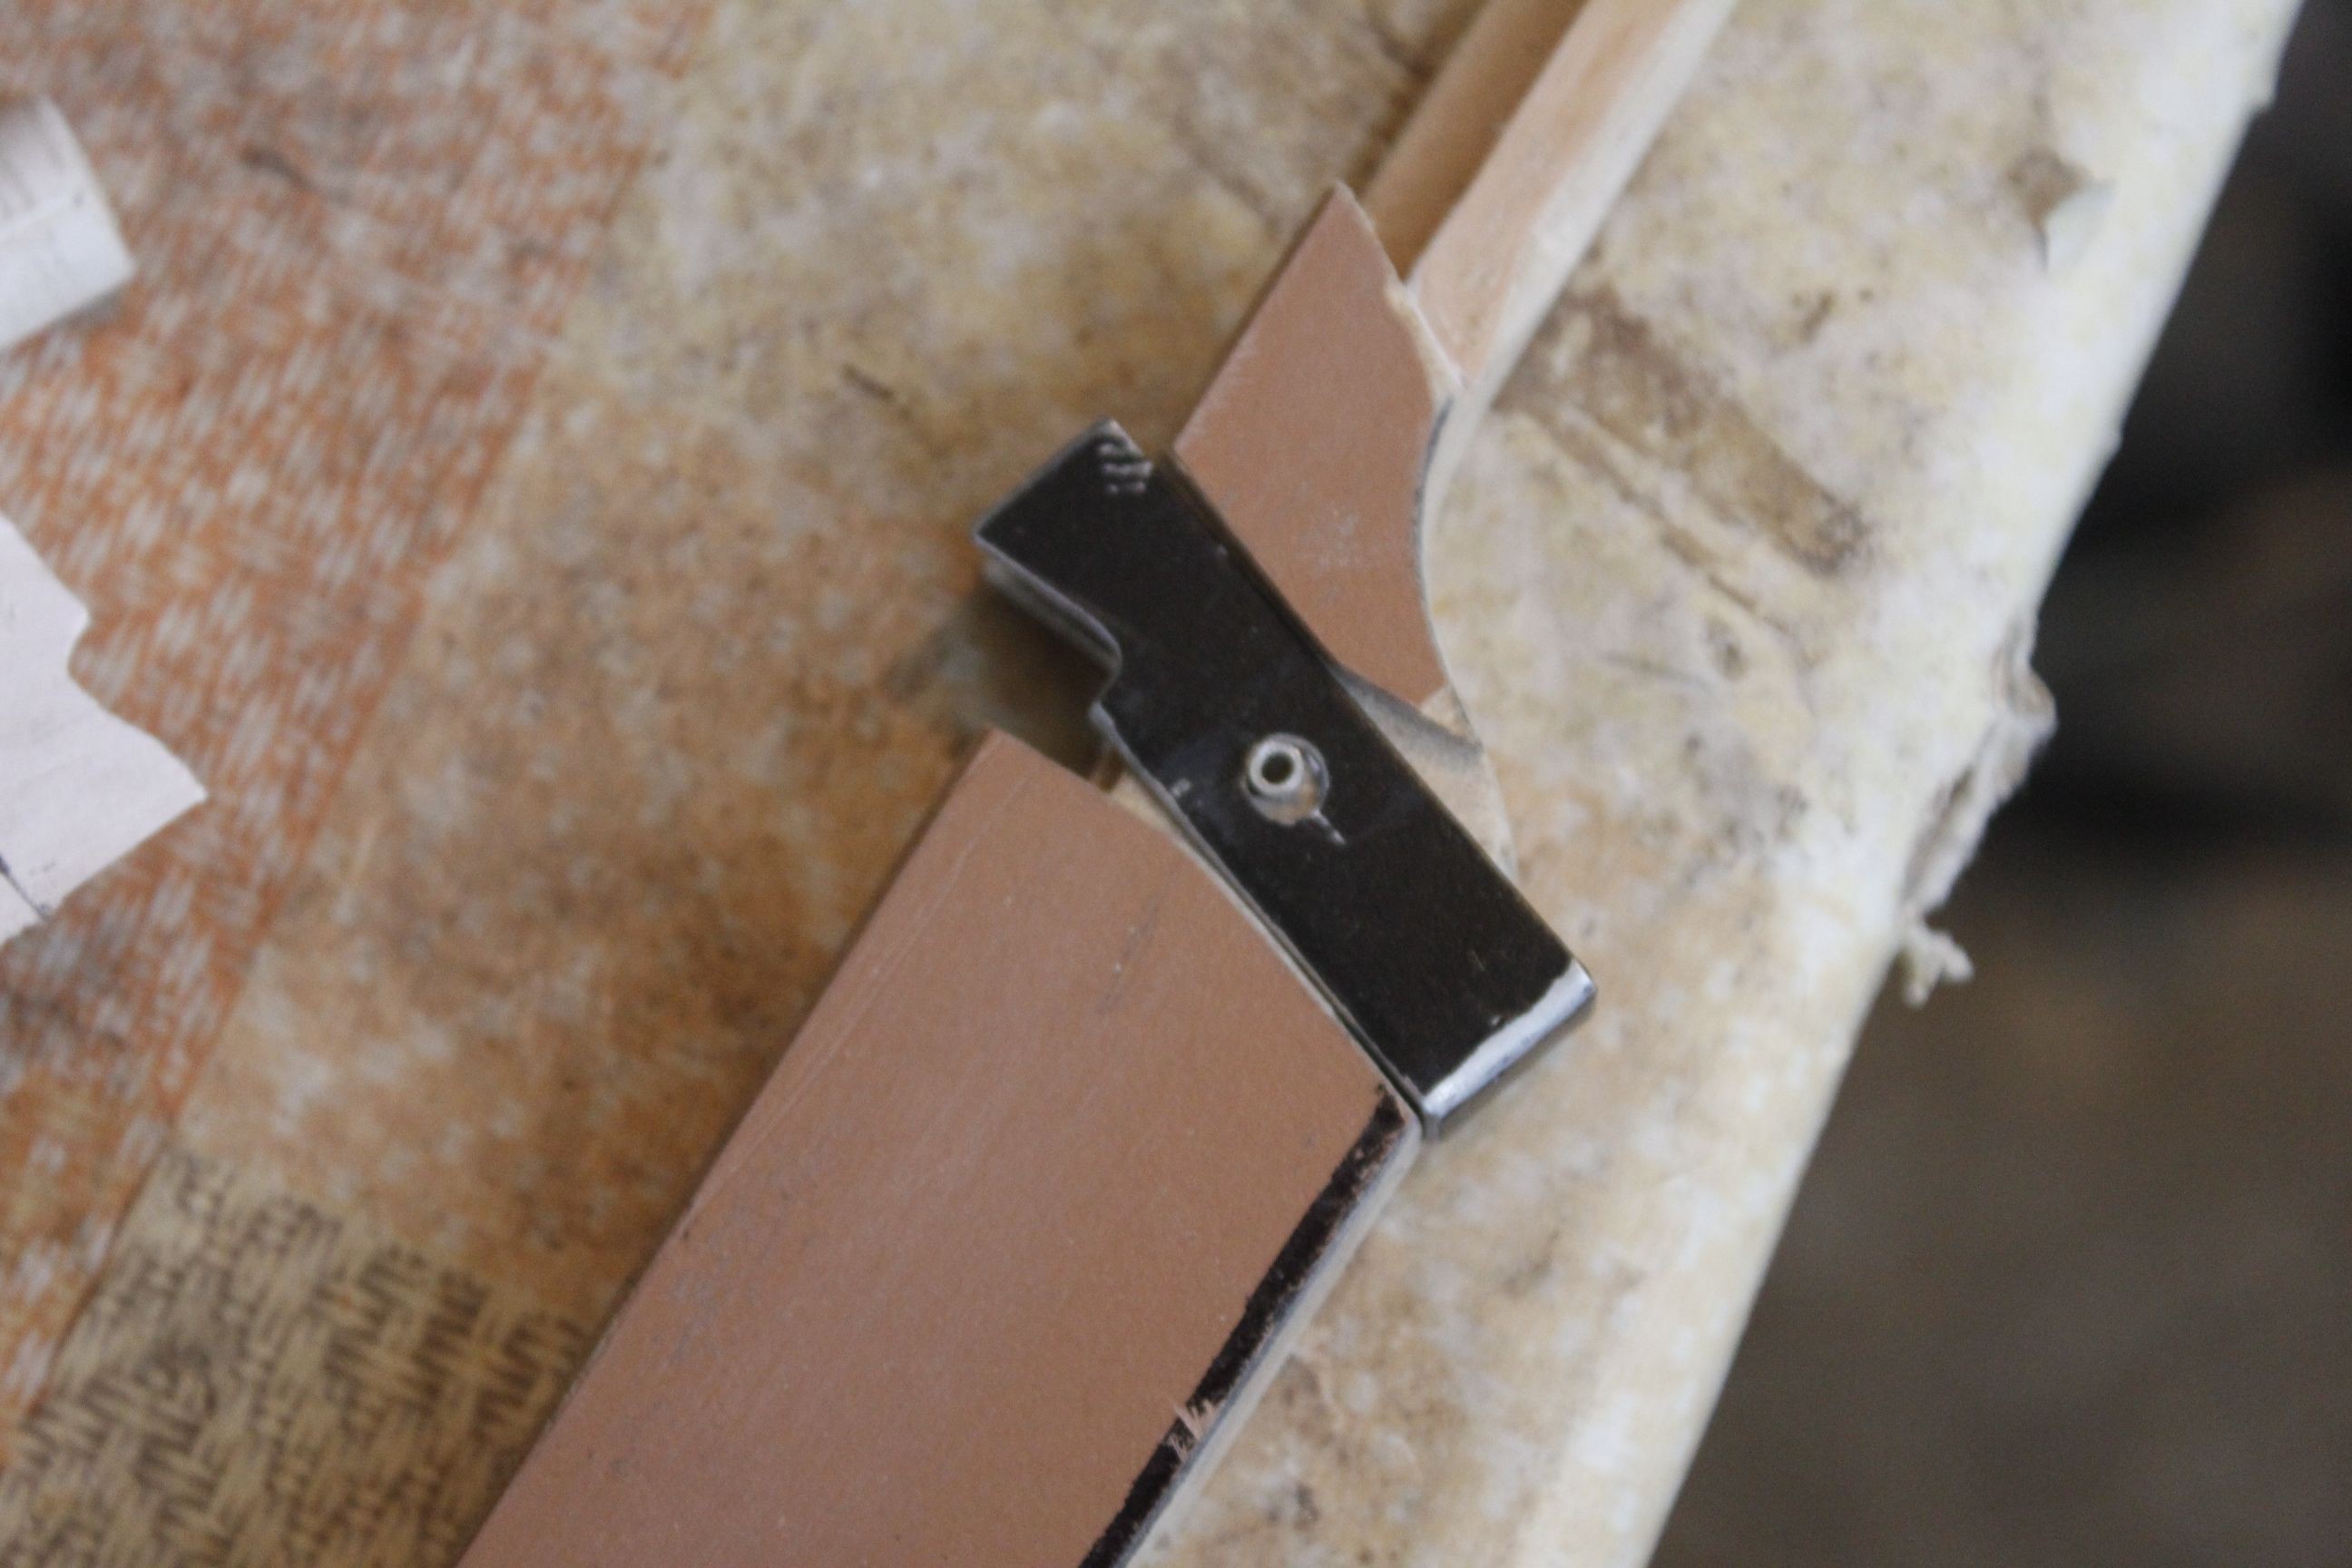
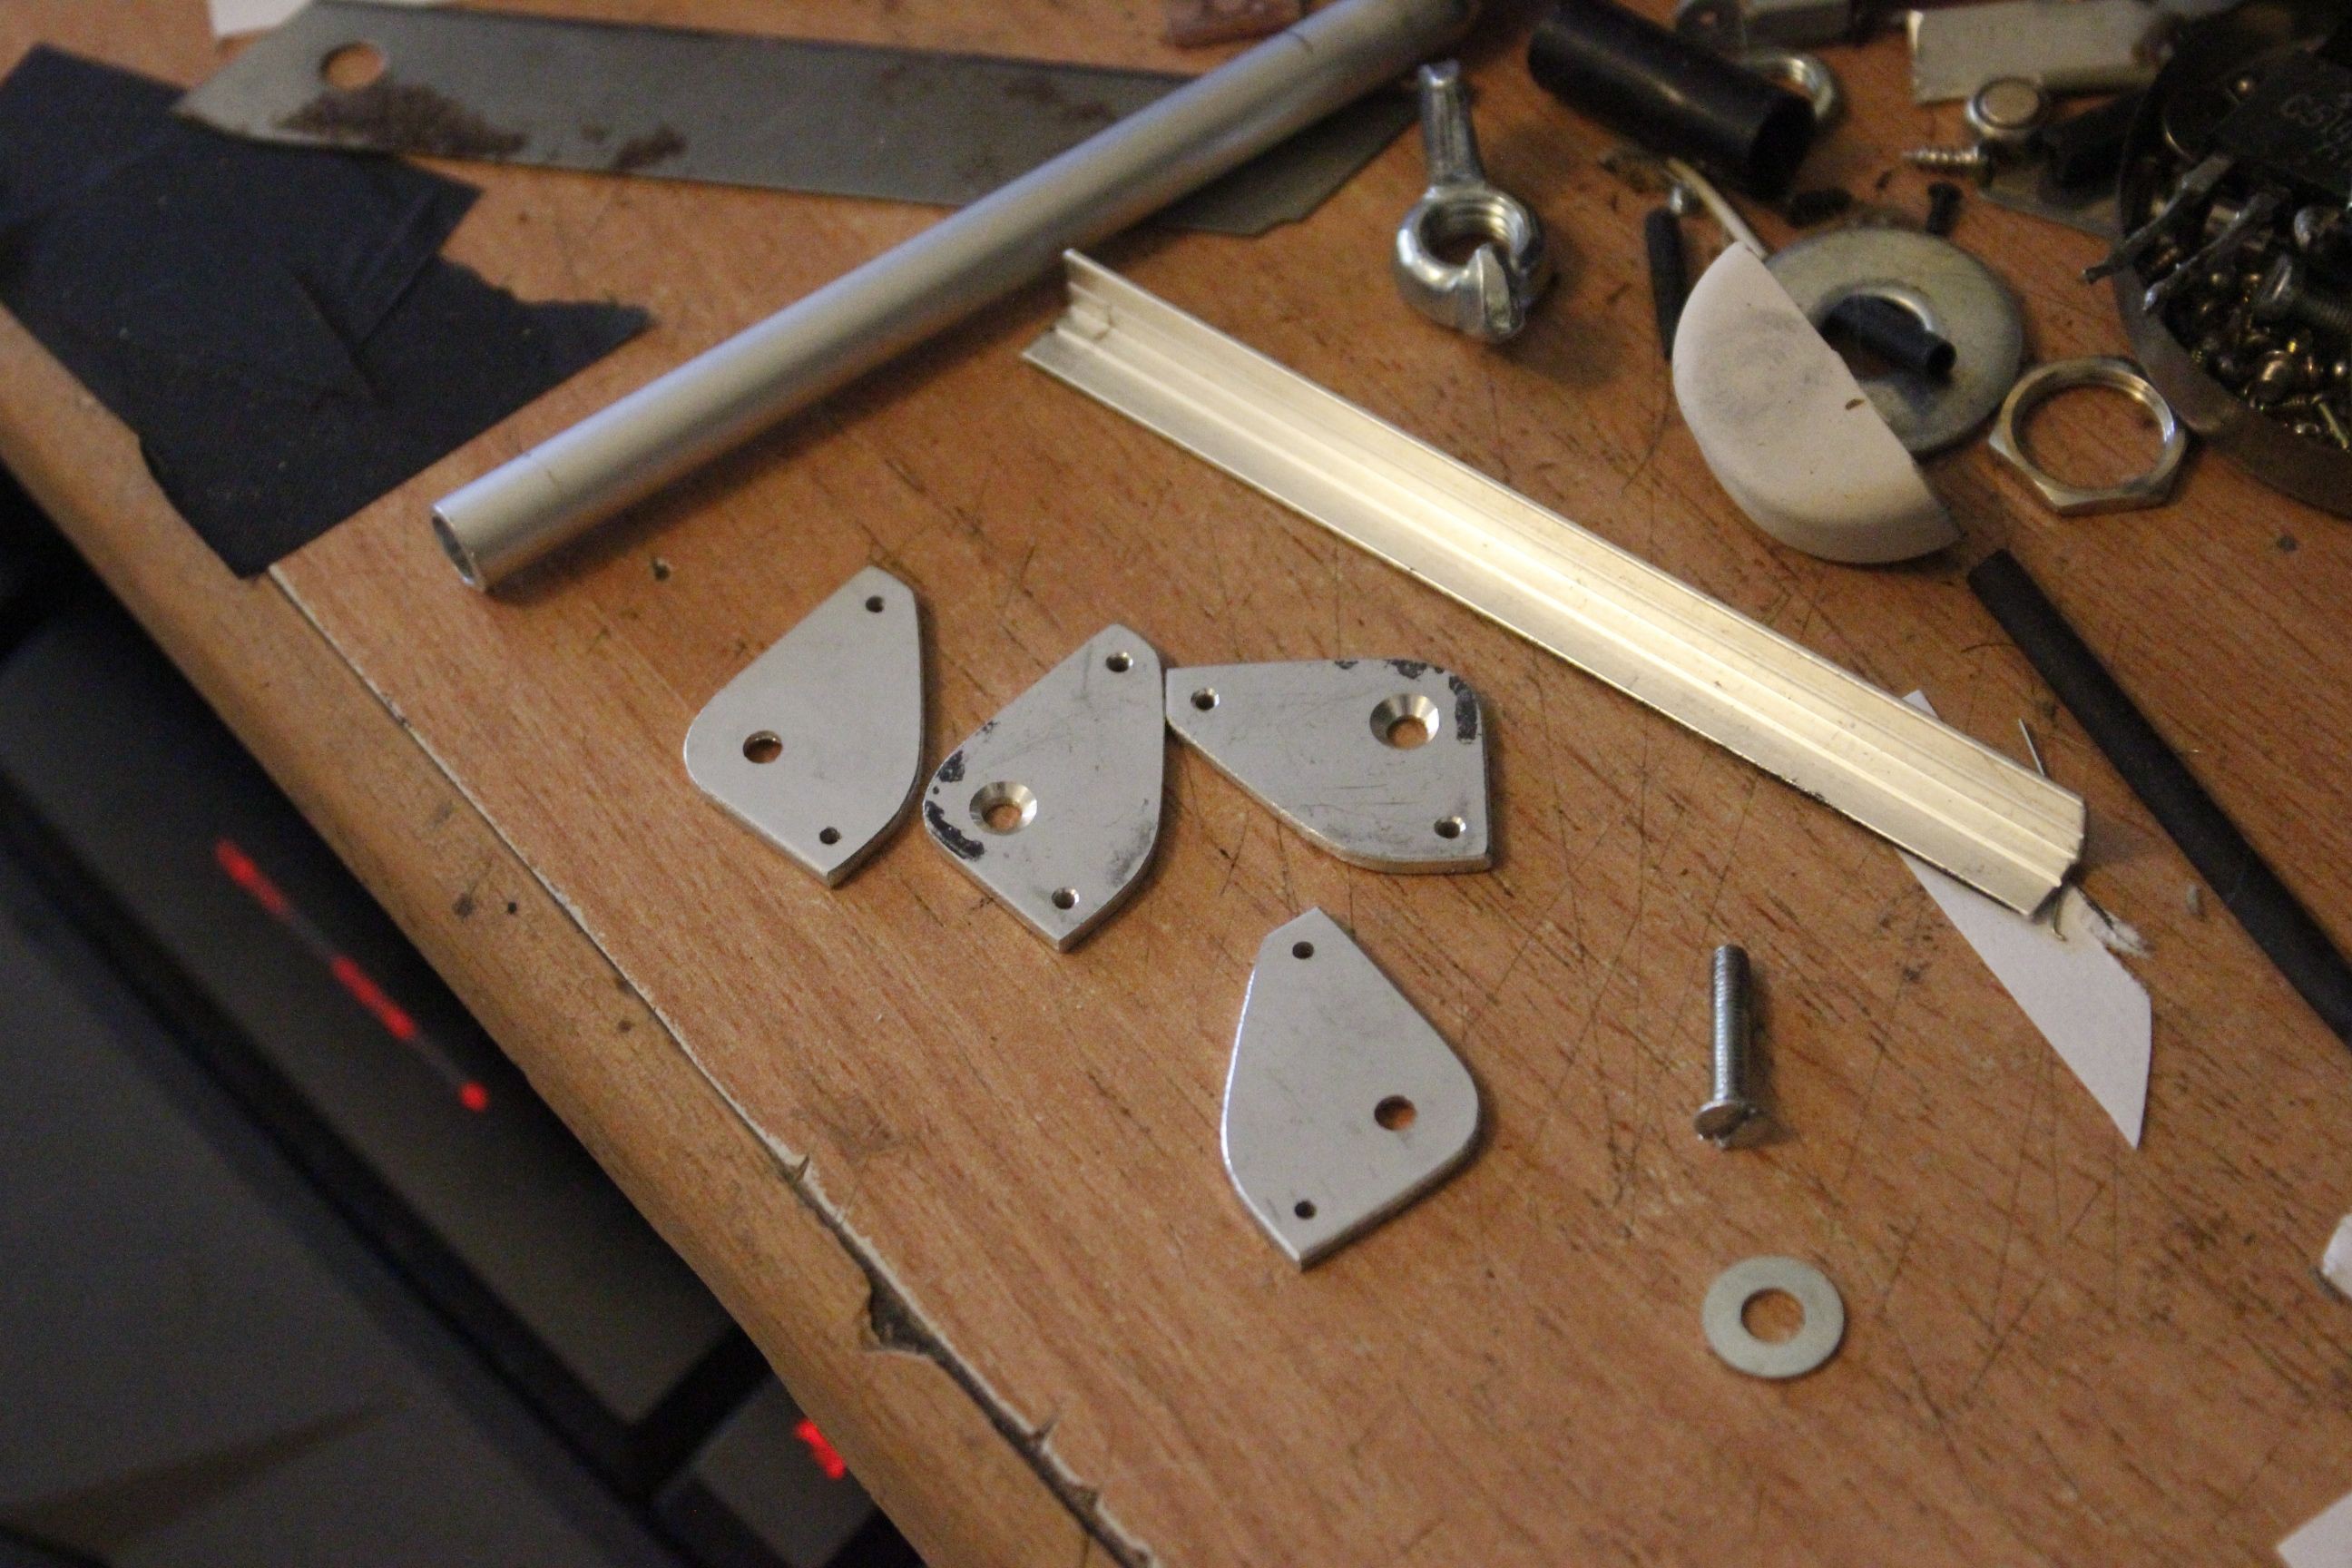
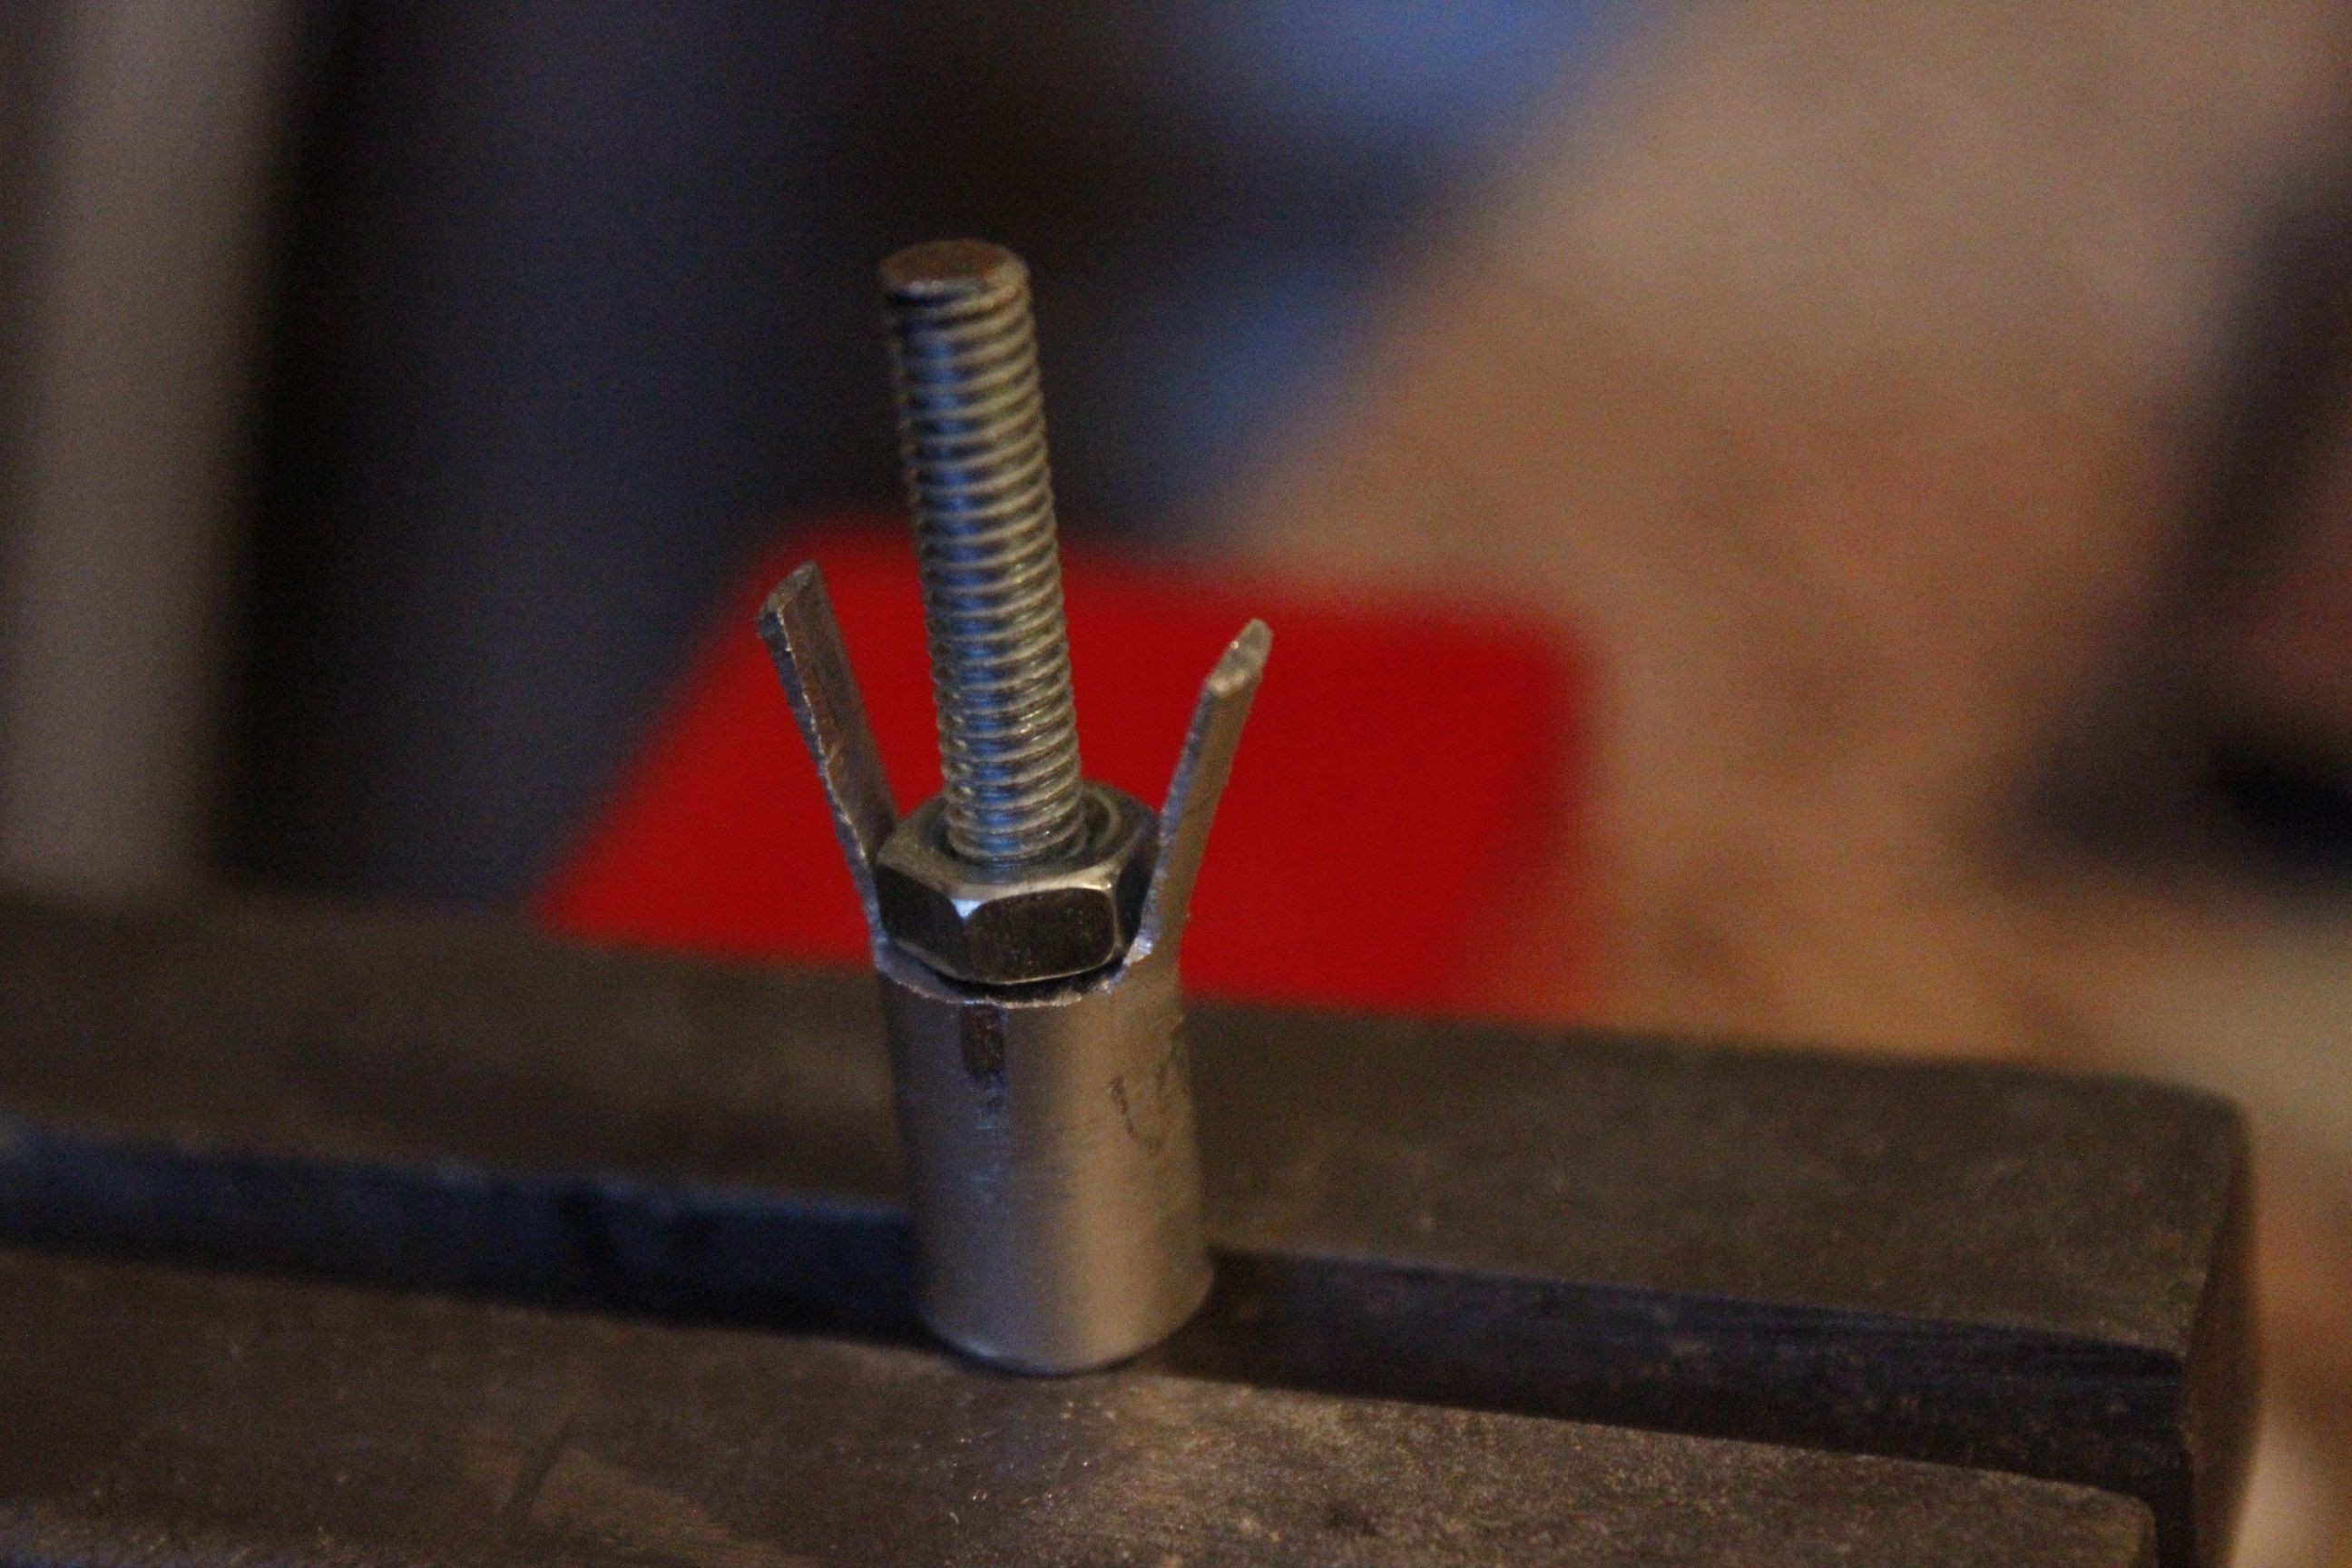
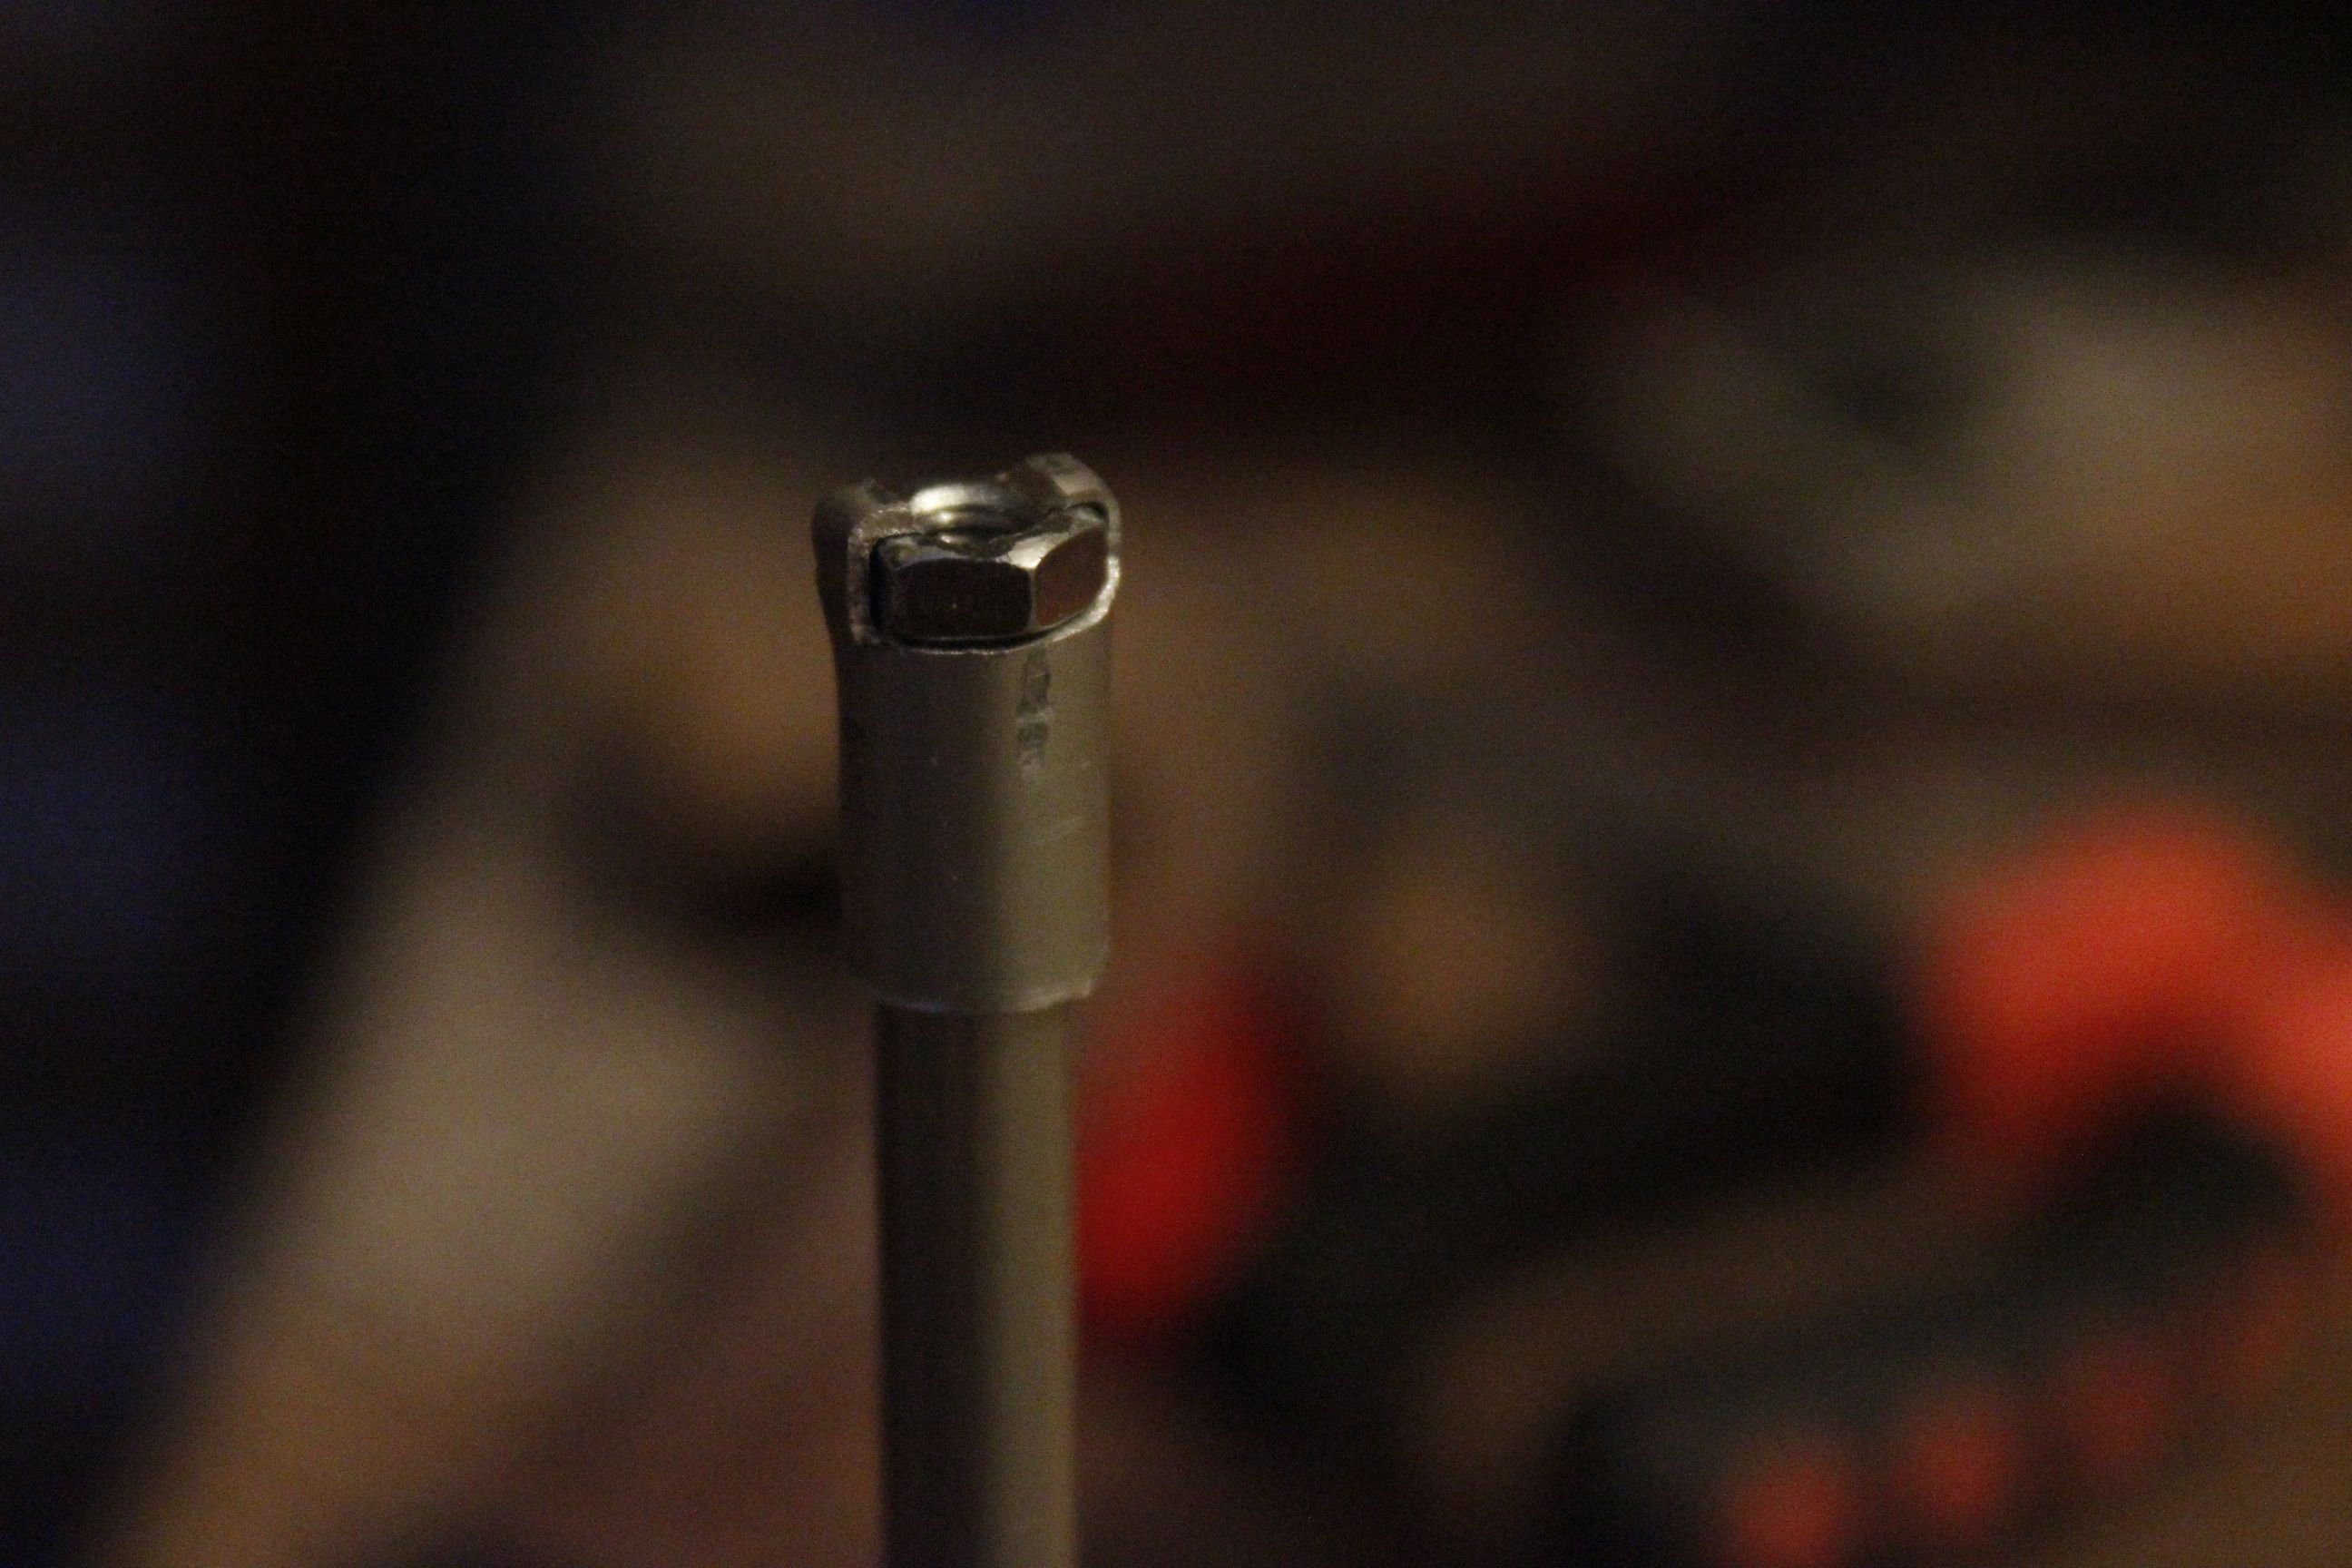
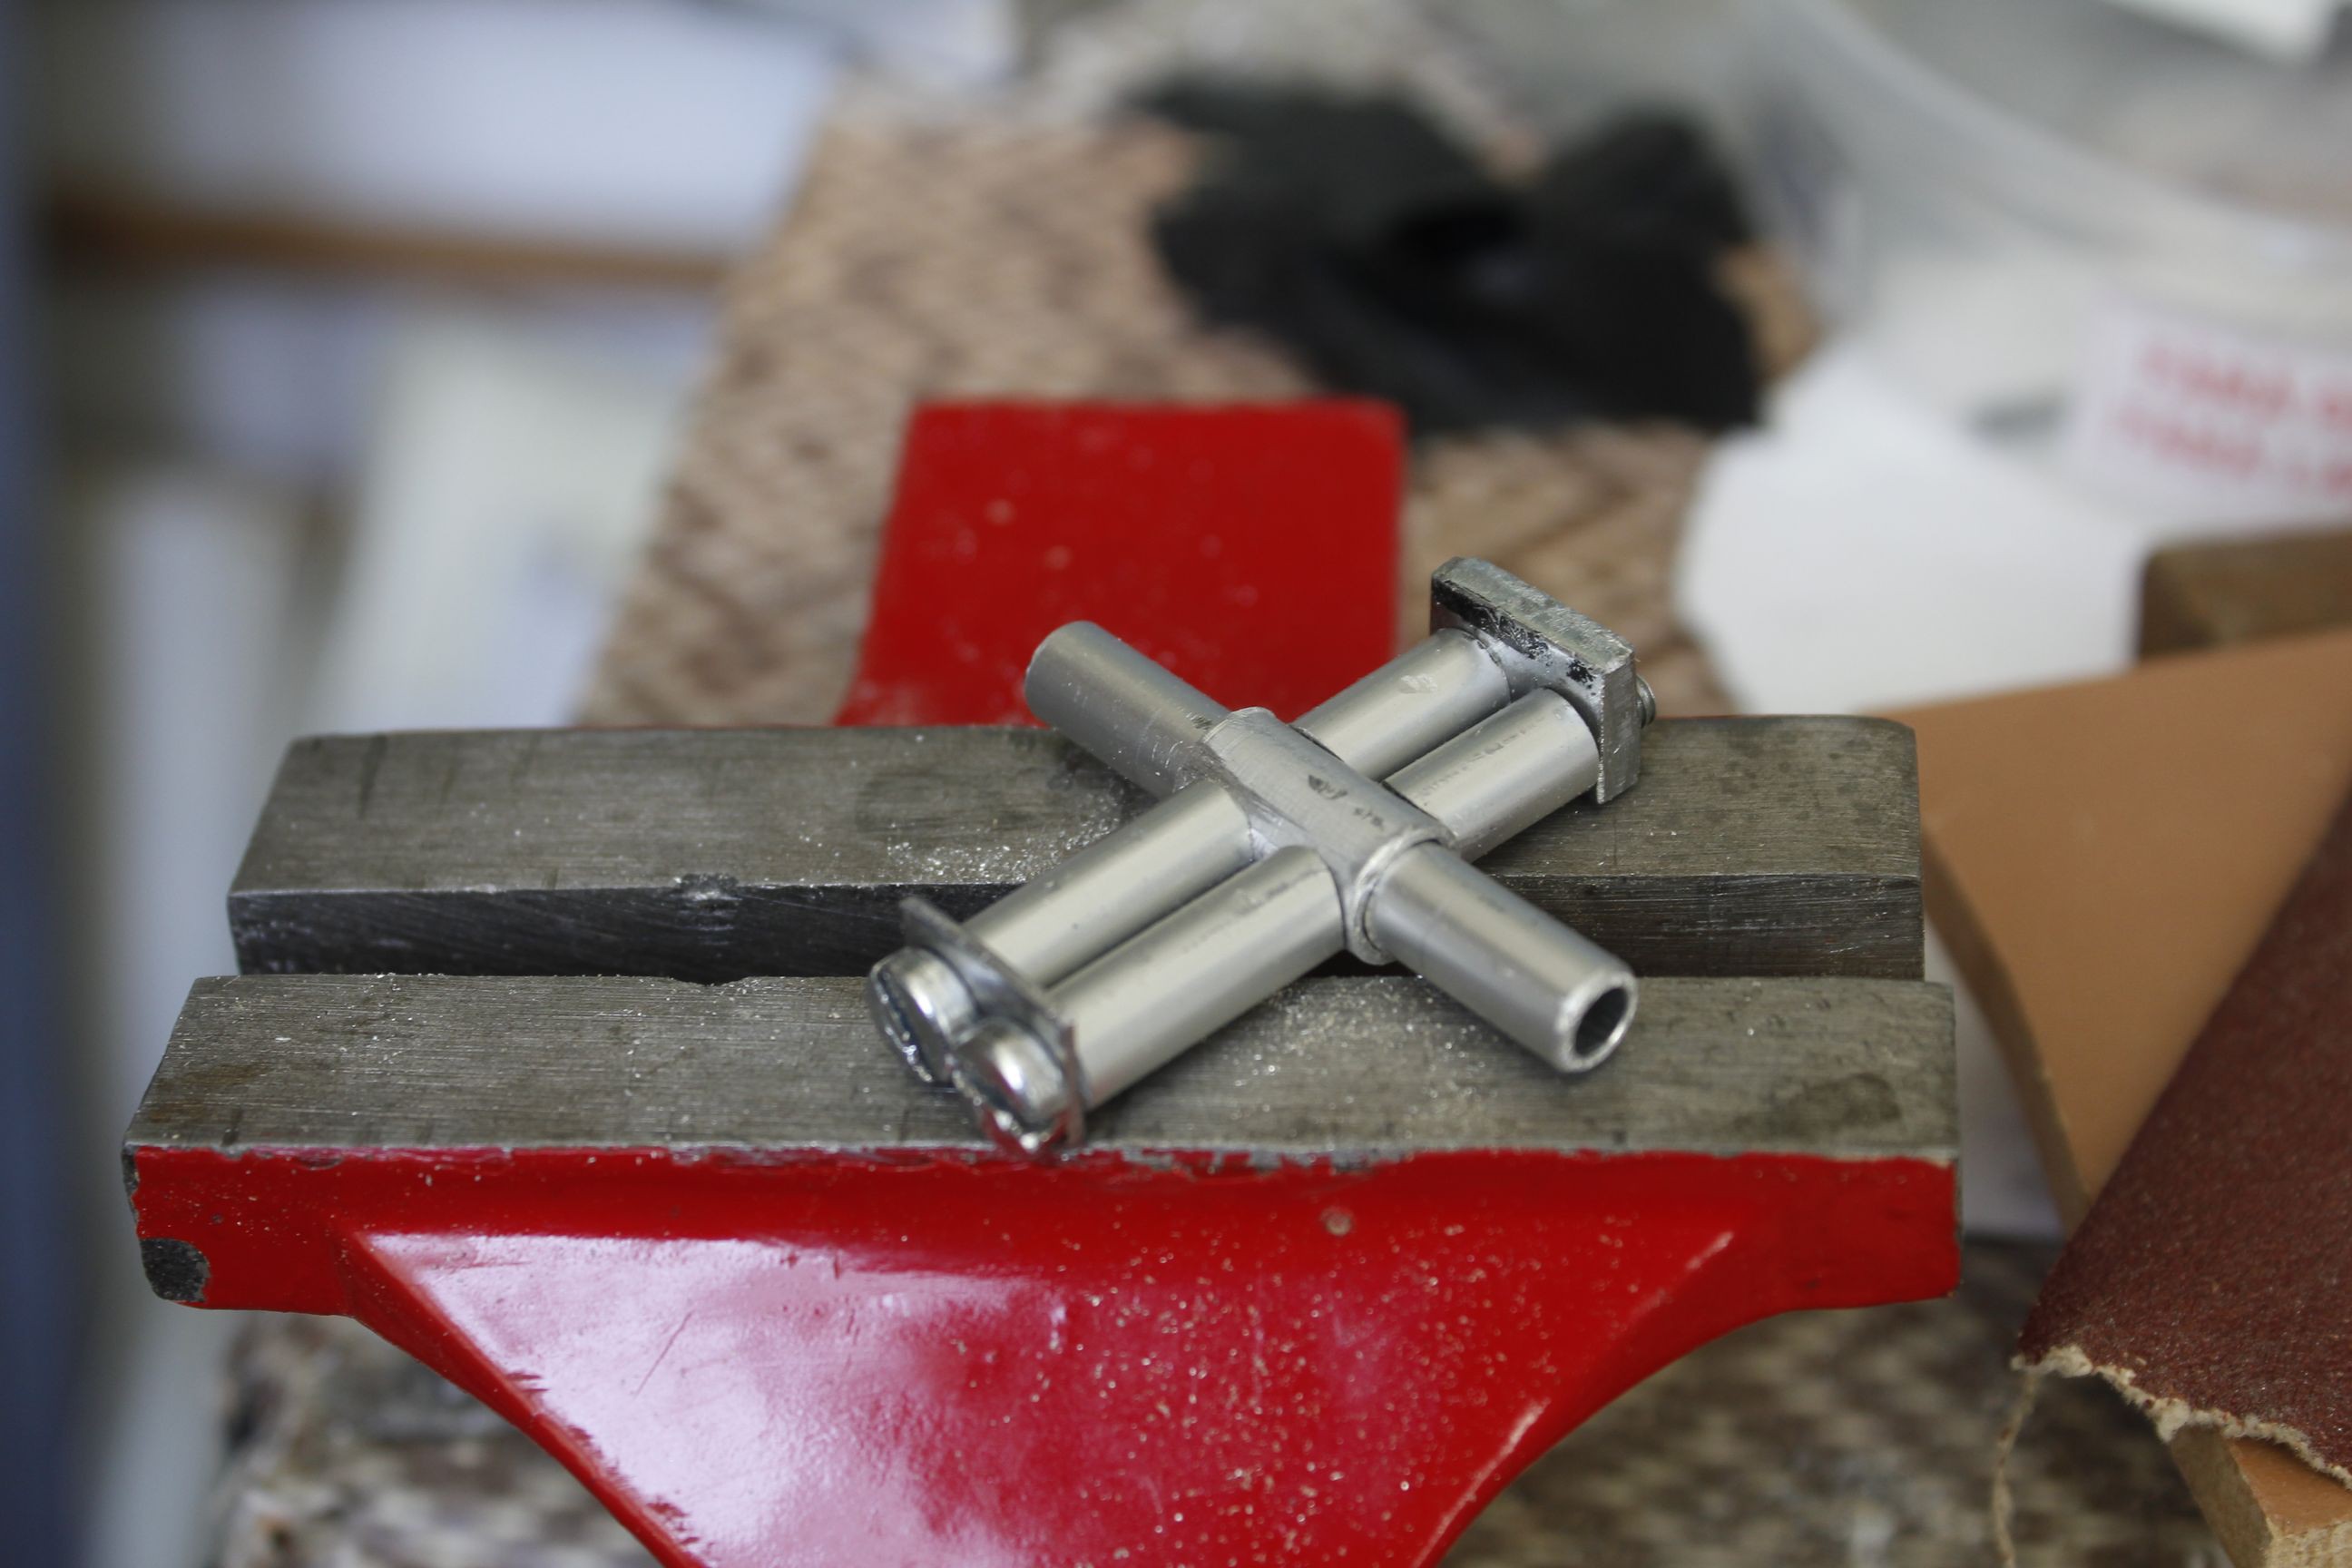
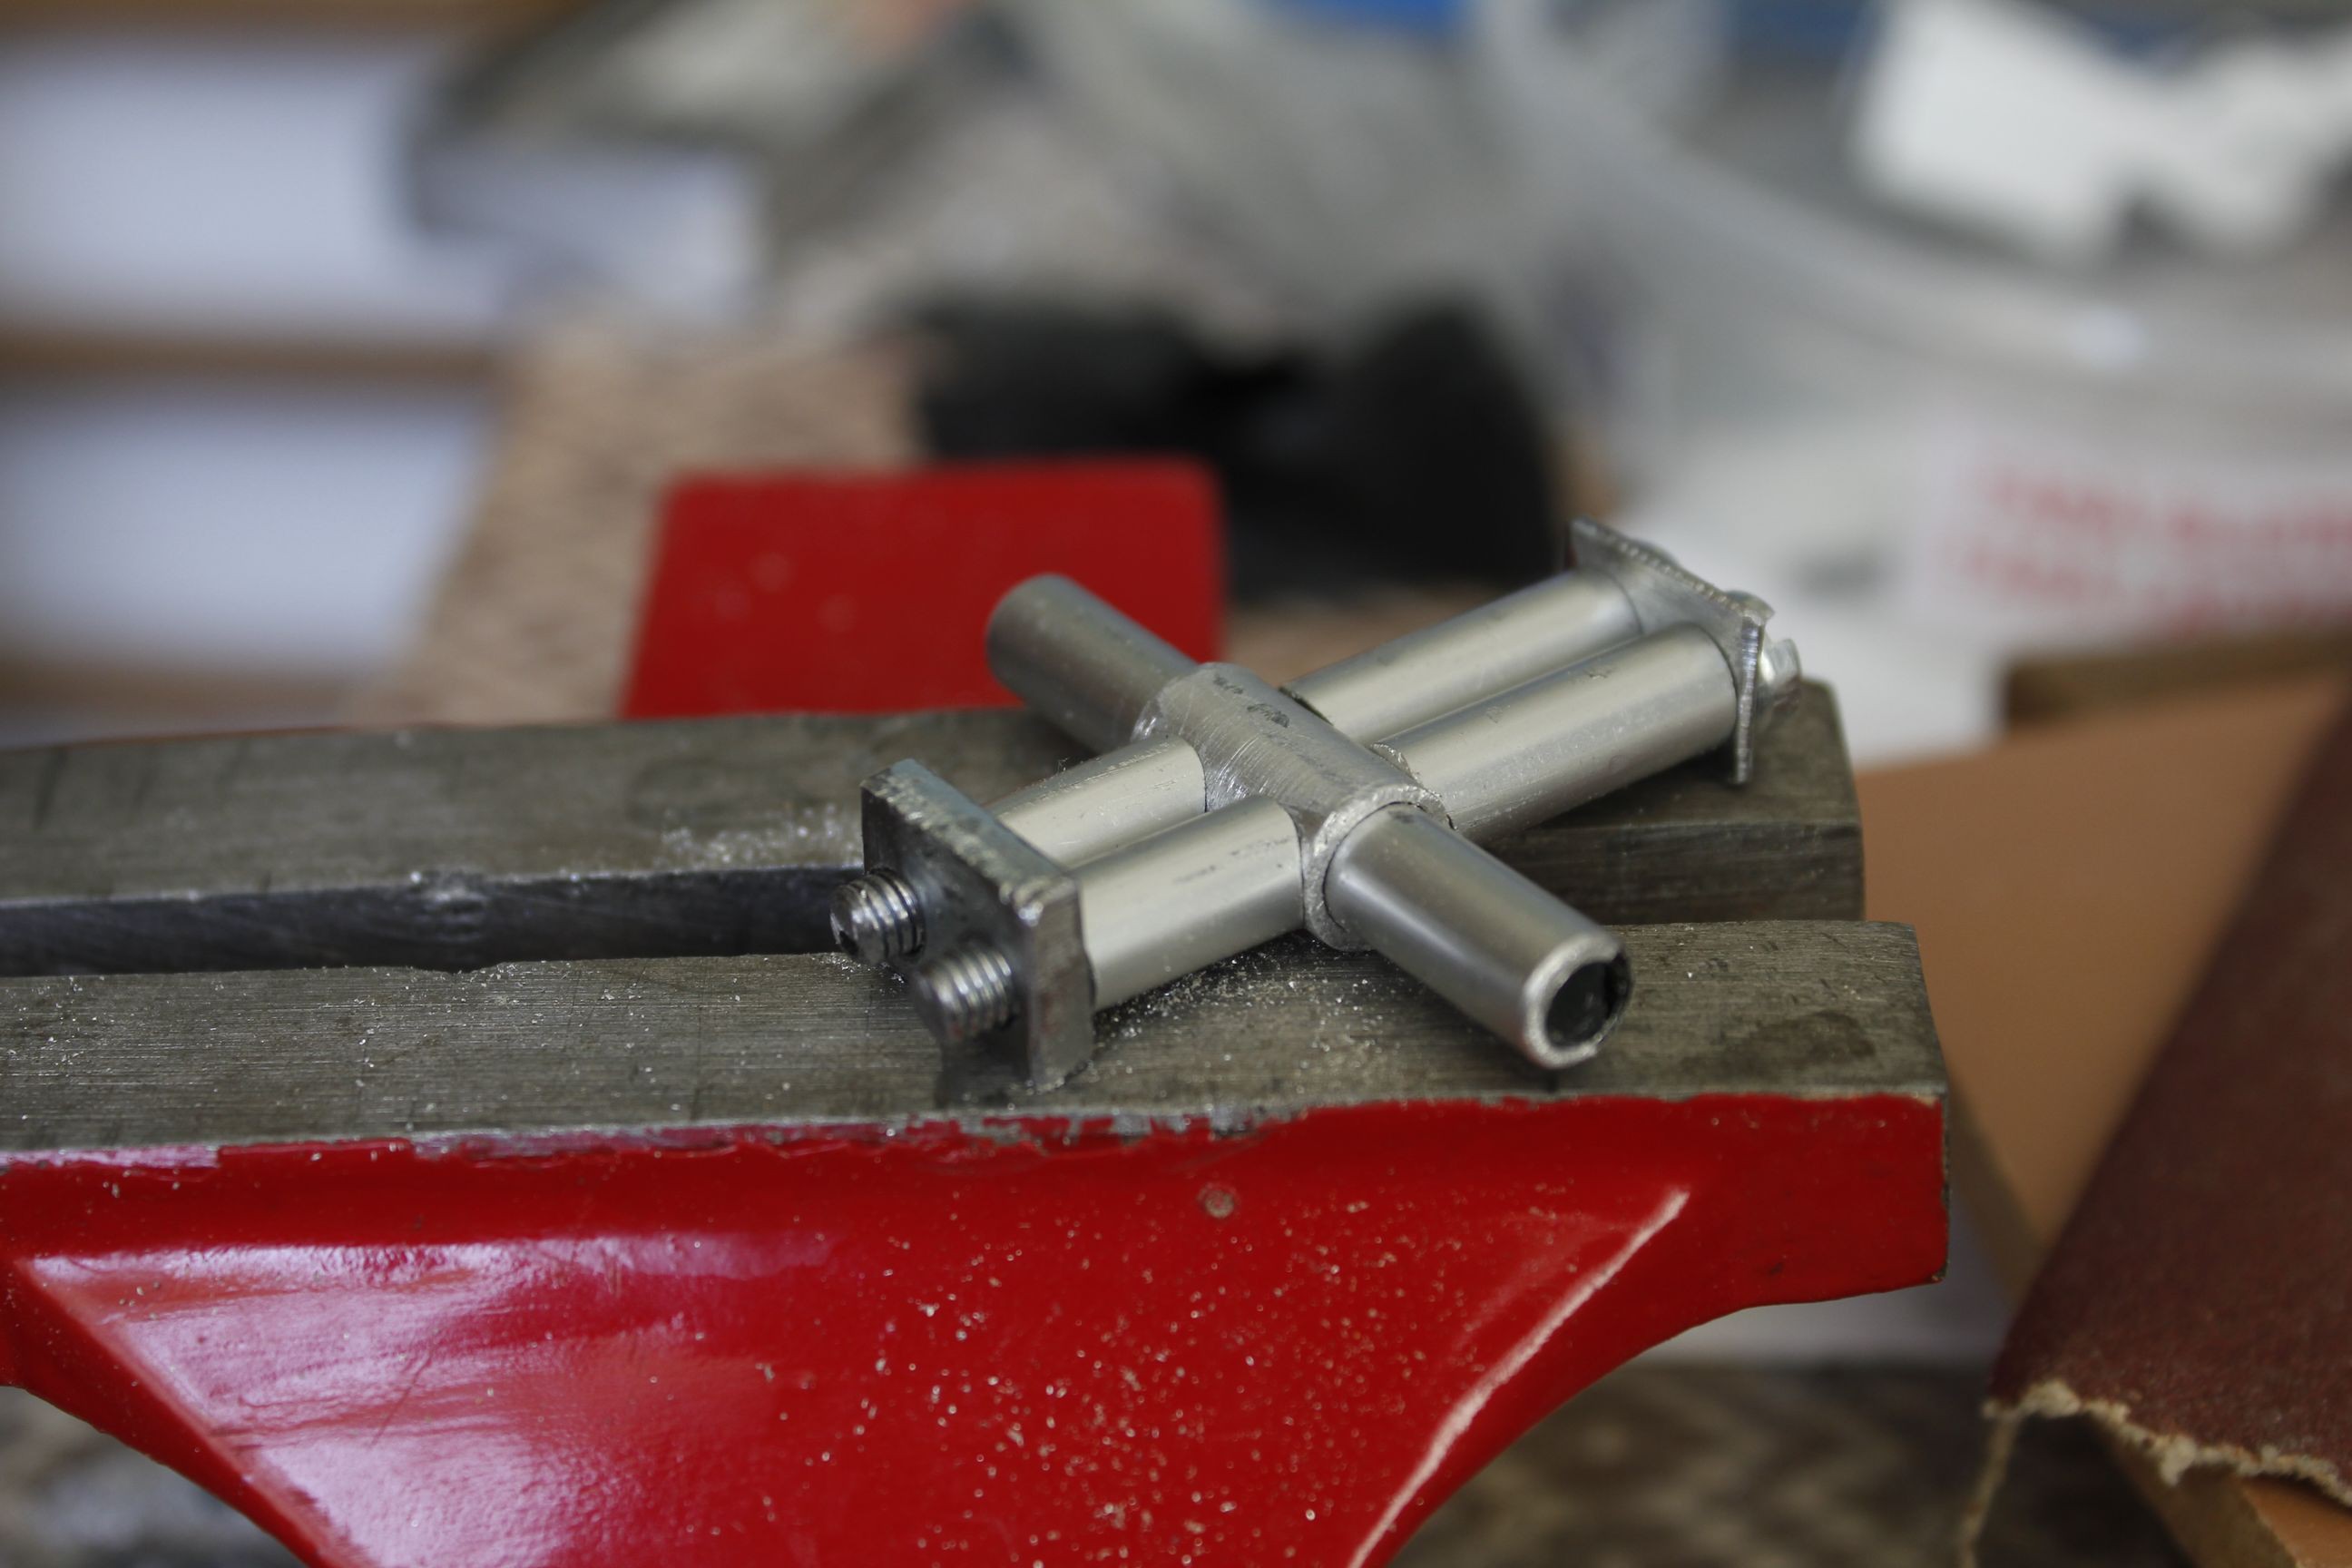
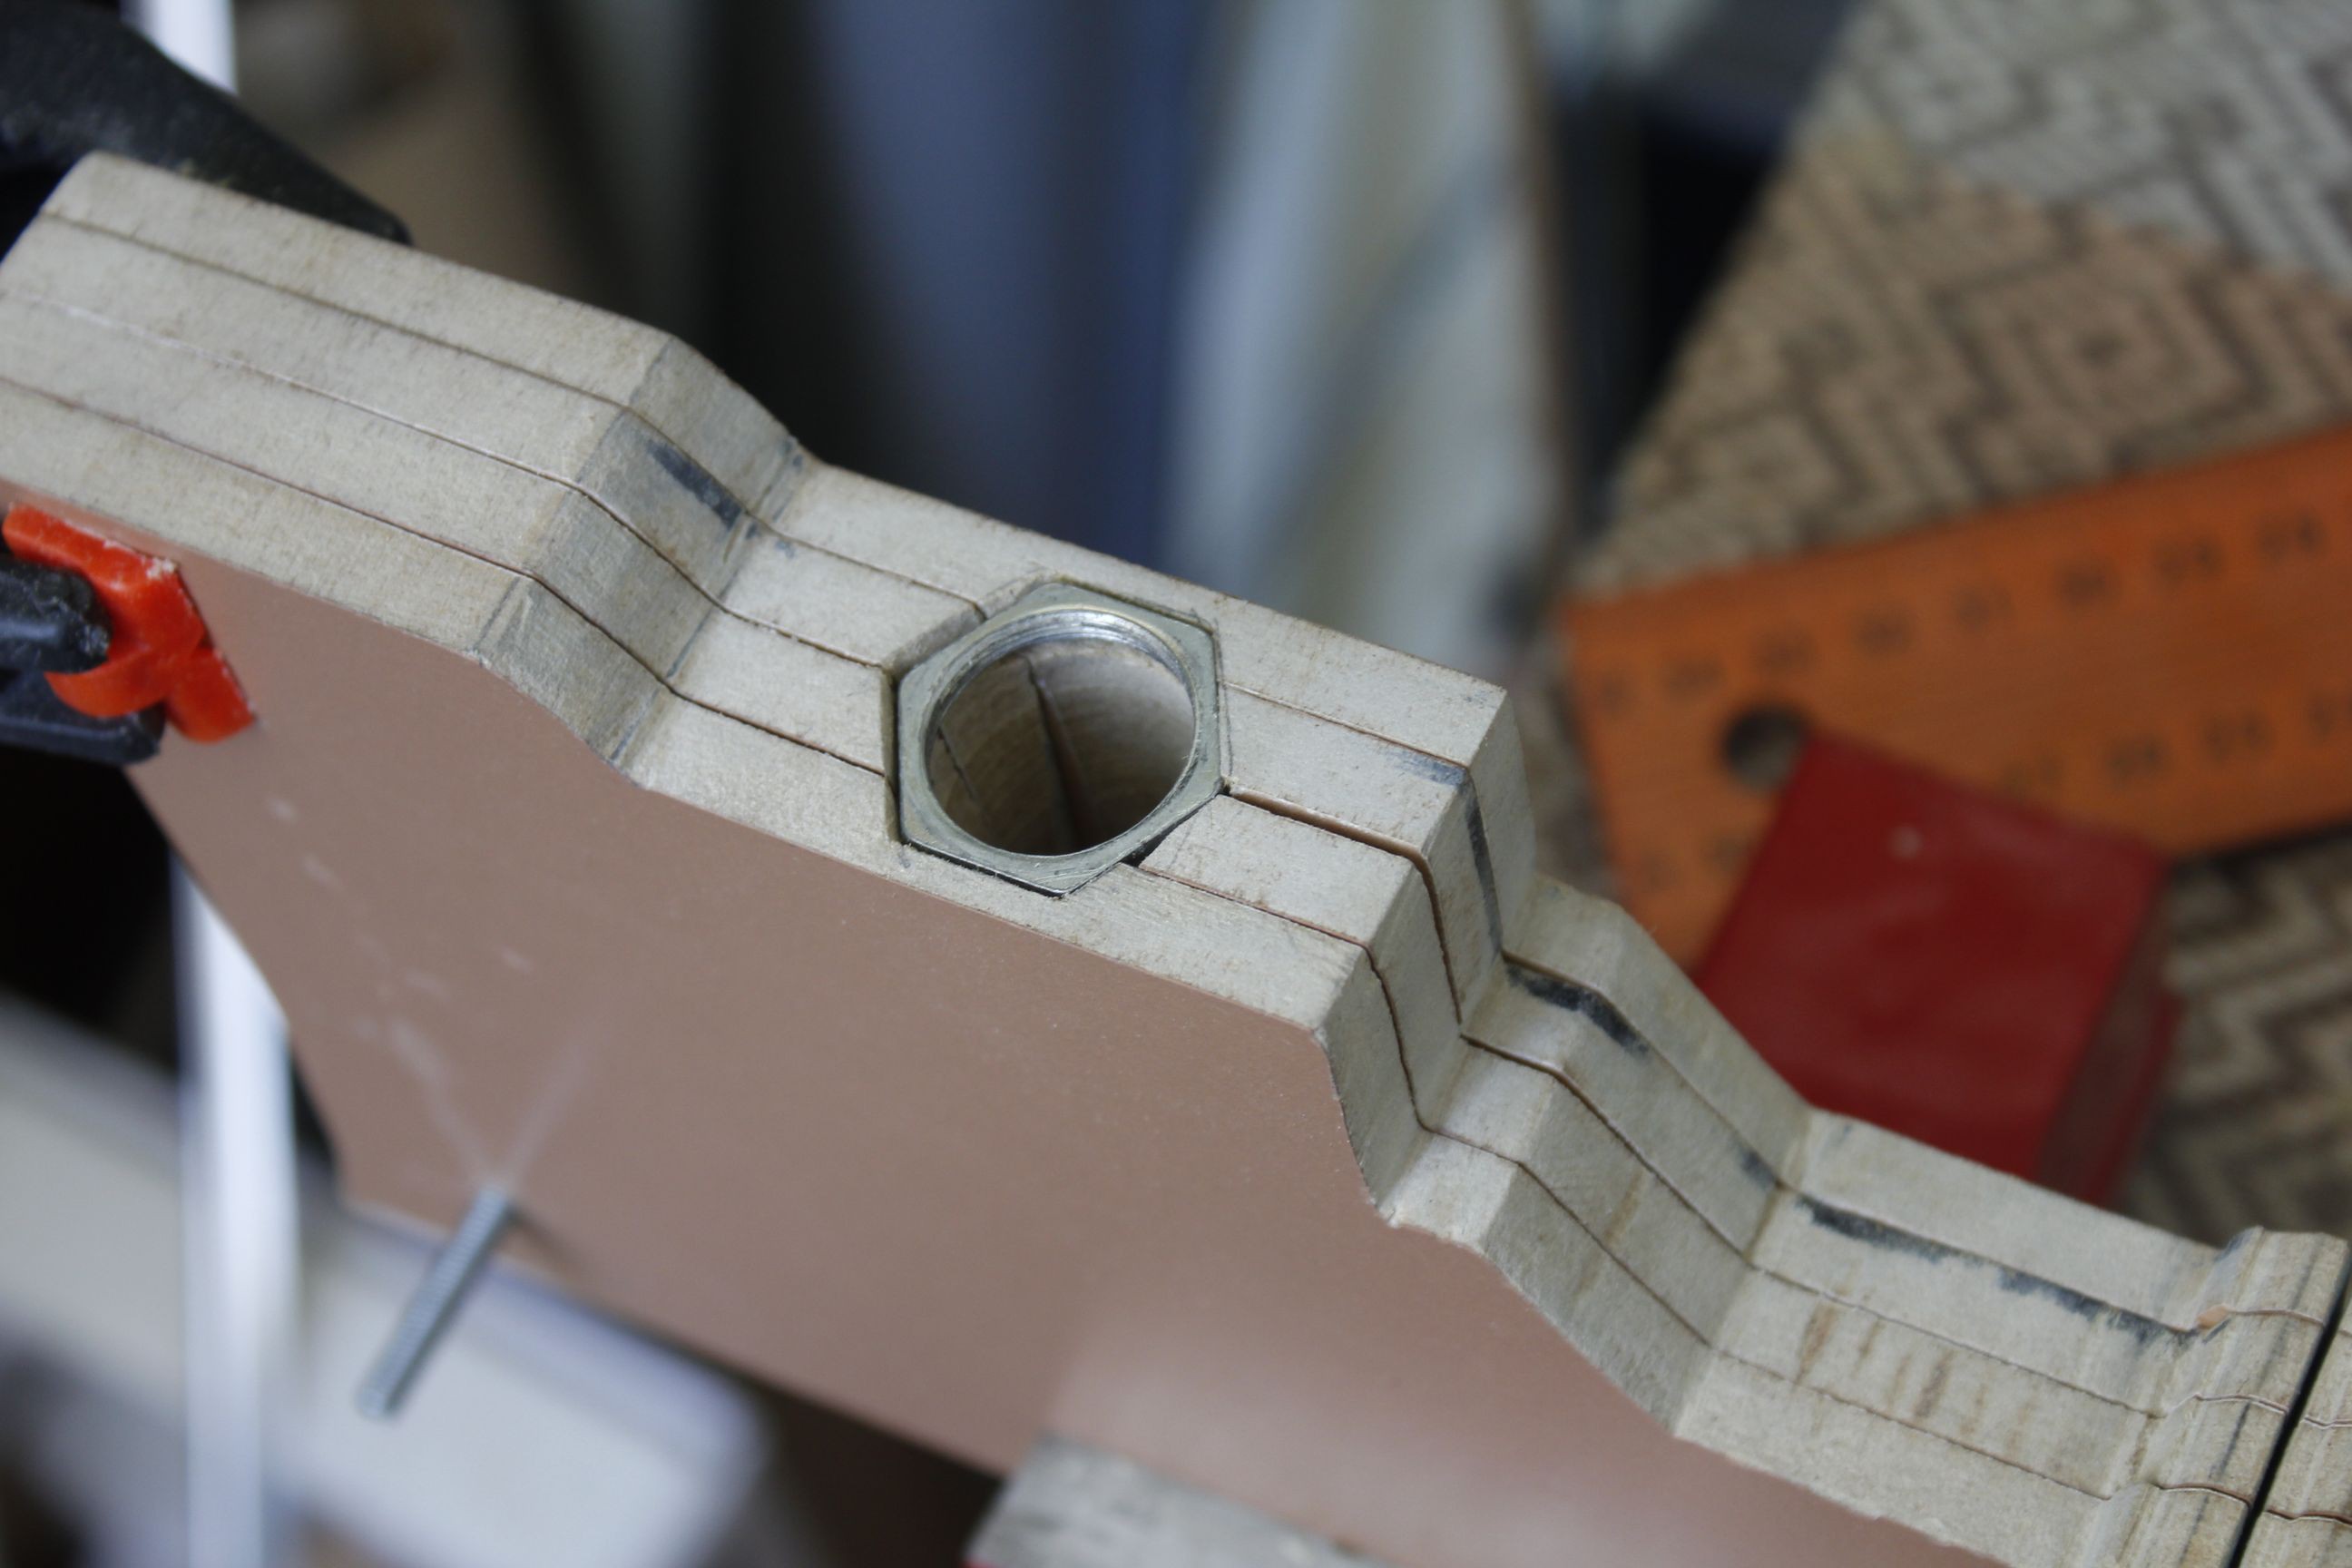
Next came a crucial component that I had initially planned to make from rather thin sheet stock. Luckly I had part of a hinge that was already mostly the right shape. Here it’s pictured with the initial nut I tried to fit but I later found a better fit.
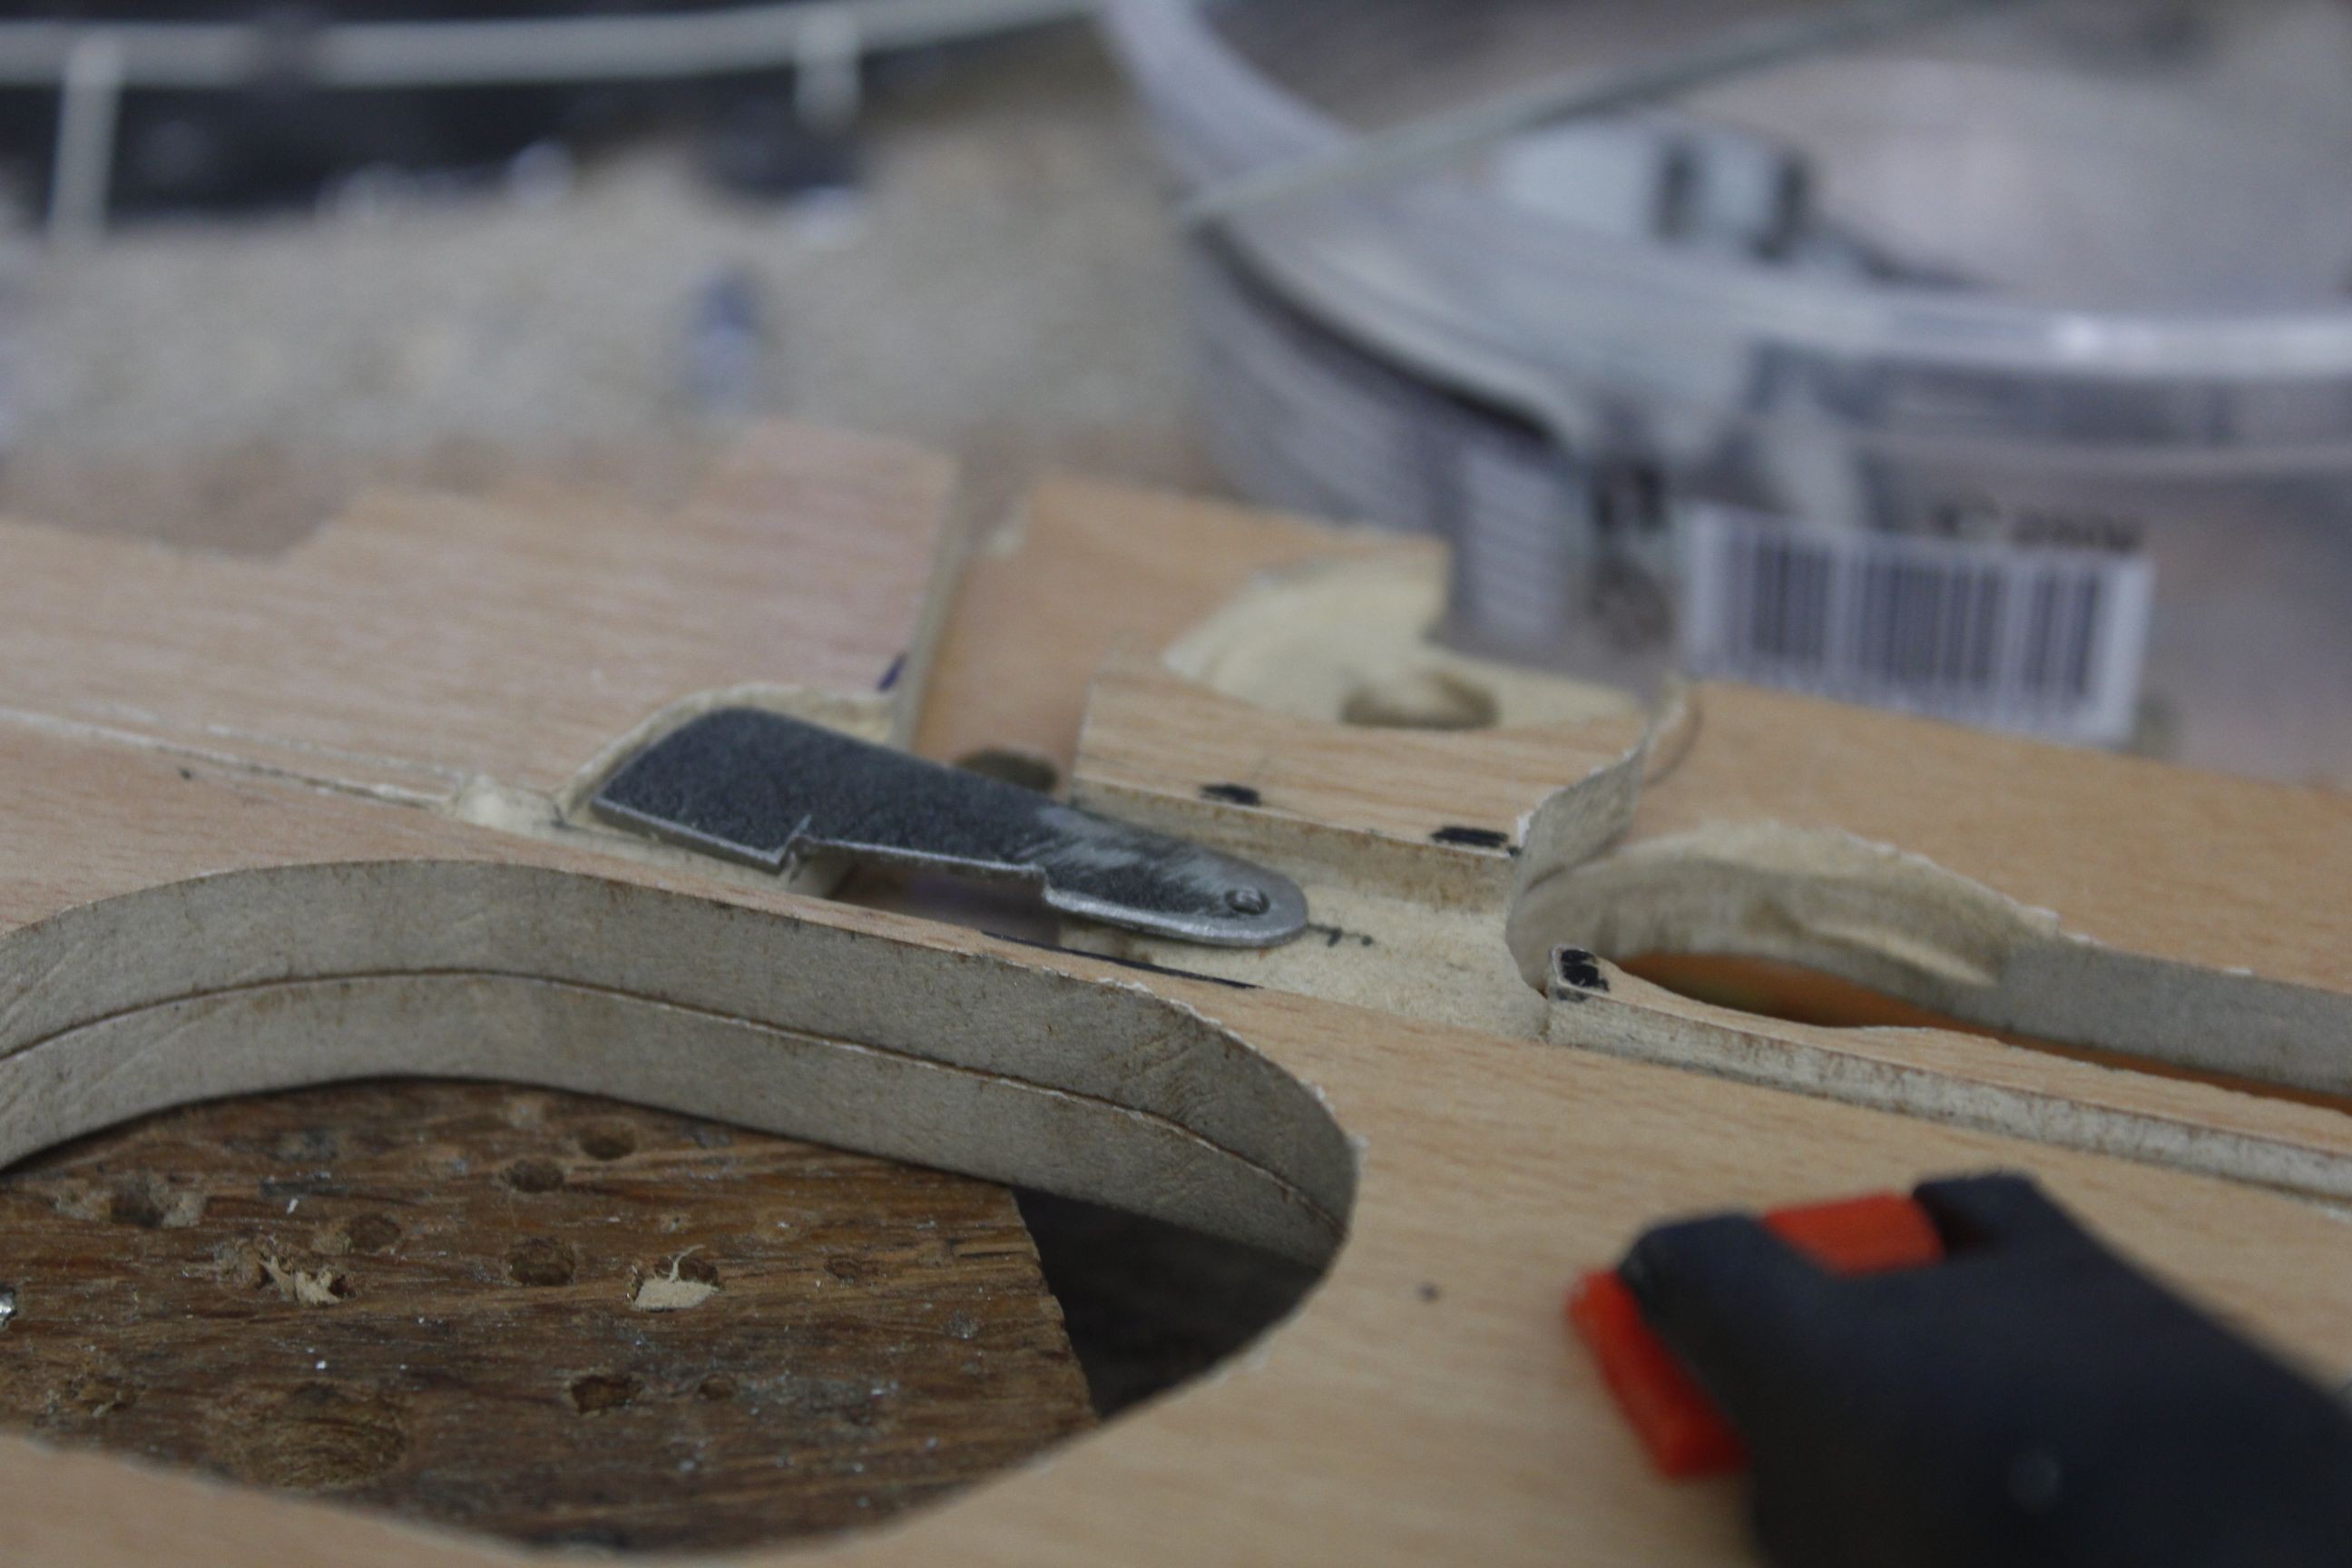
I added proper springs and did some fitting on the trigger group. The disconnector is yet to come since I’ll have to finish the ramp assembly first.
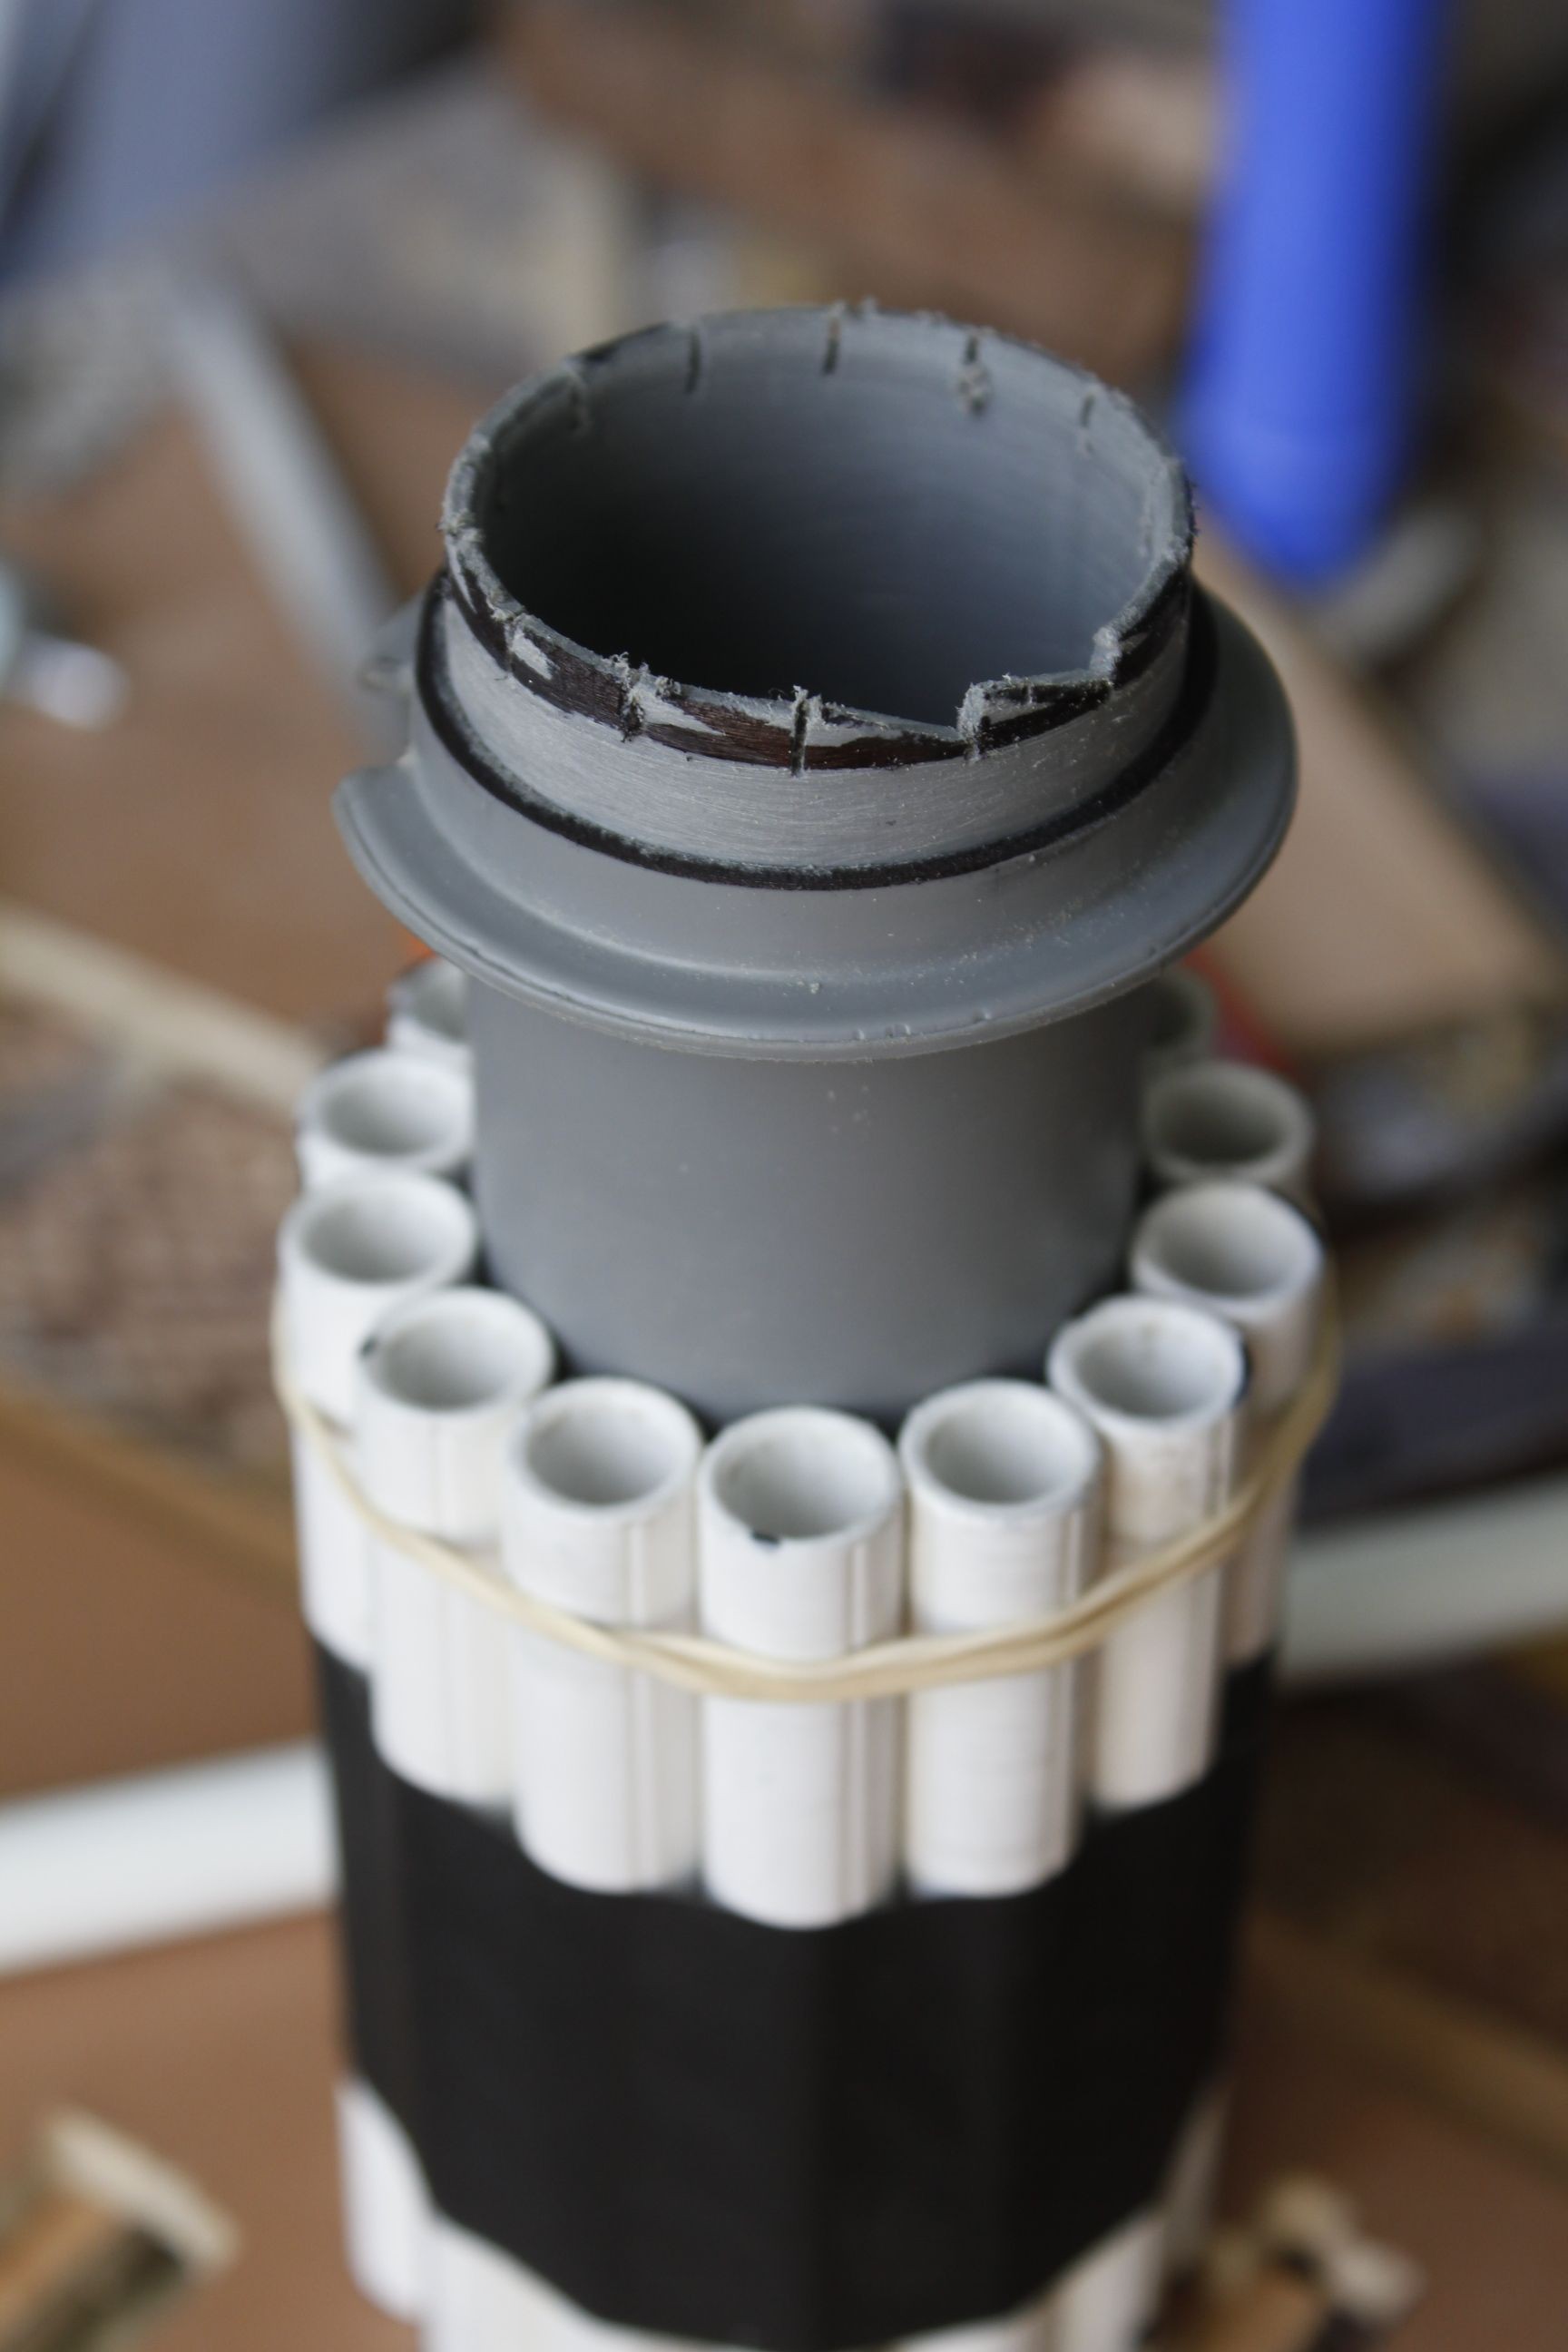
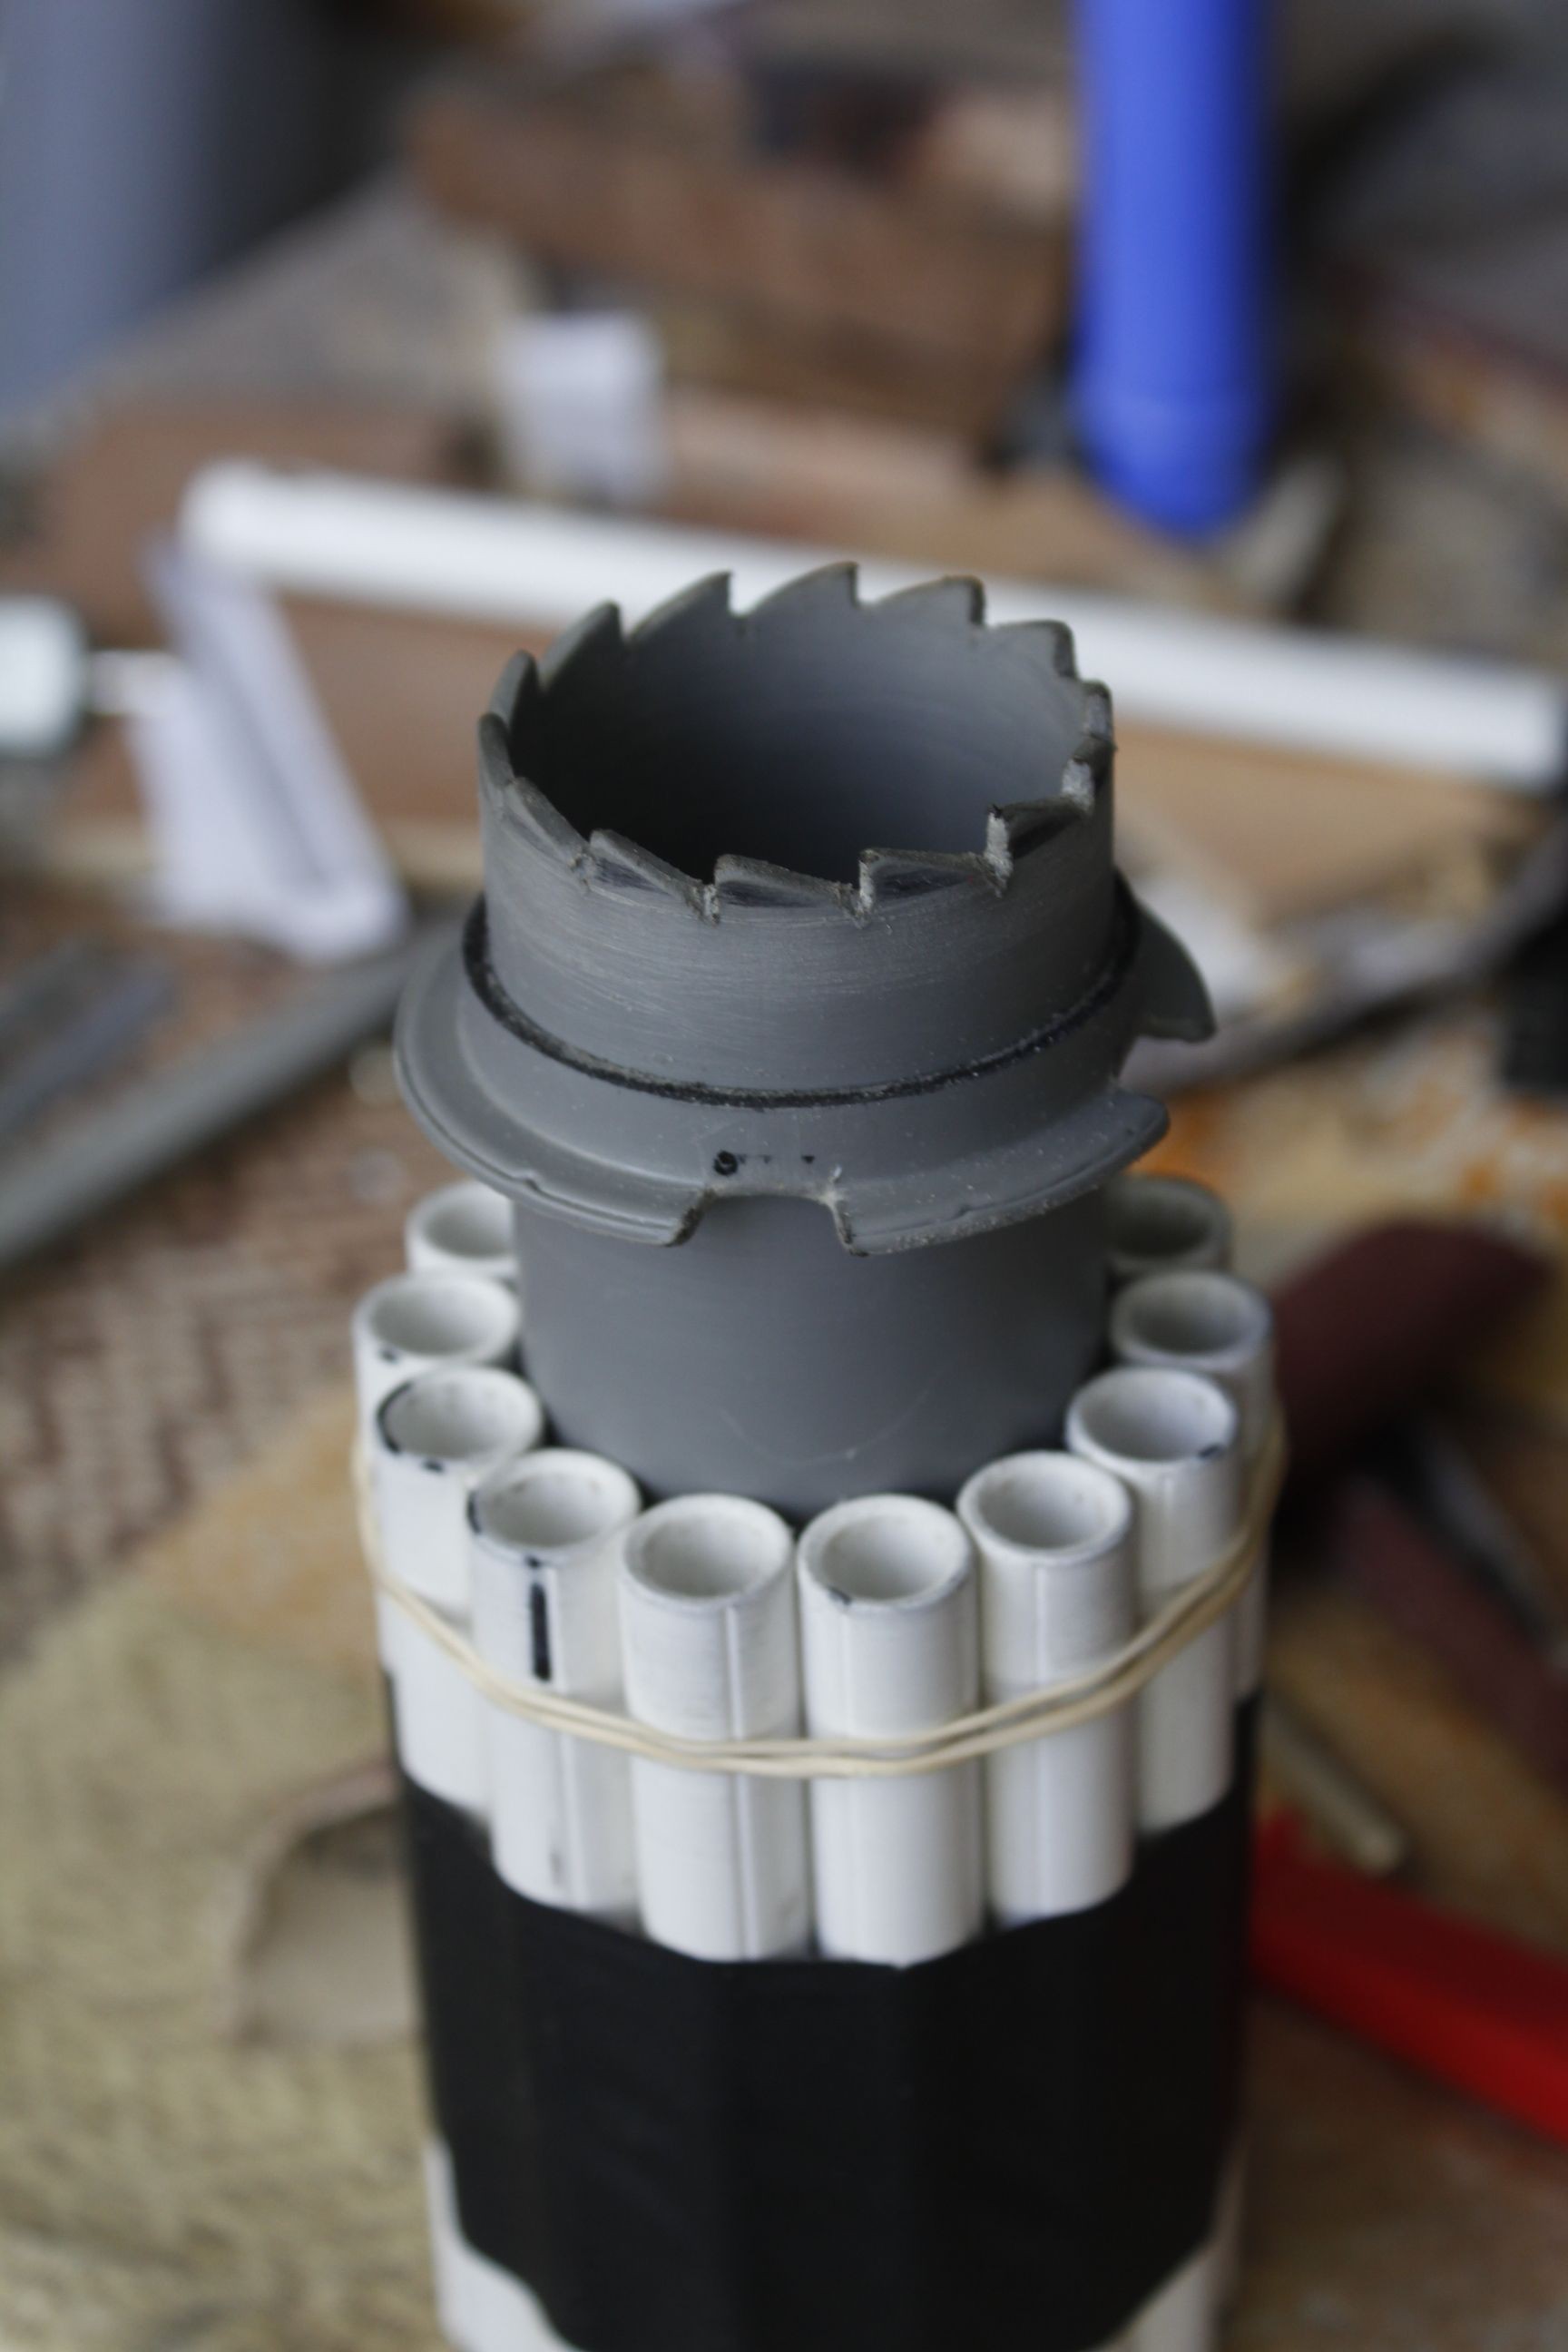
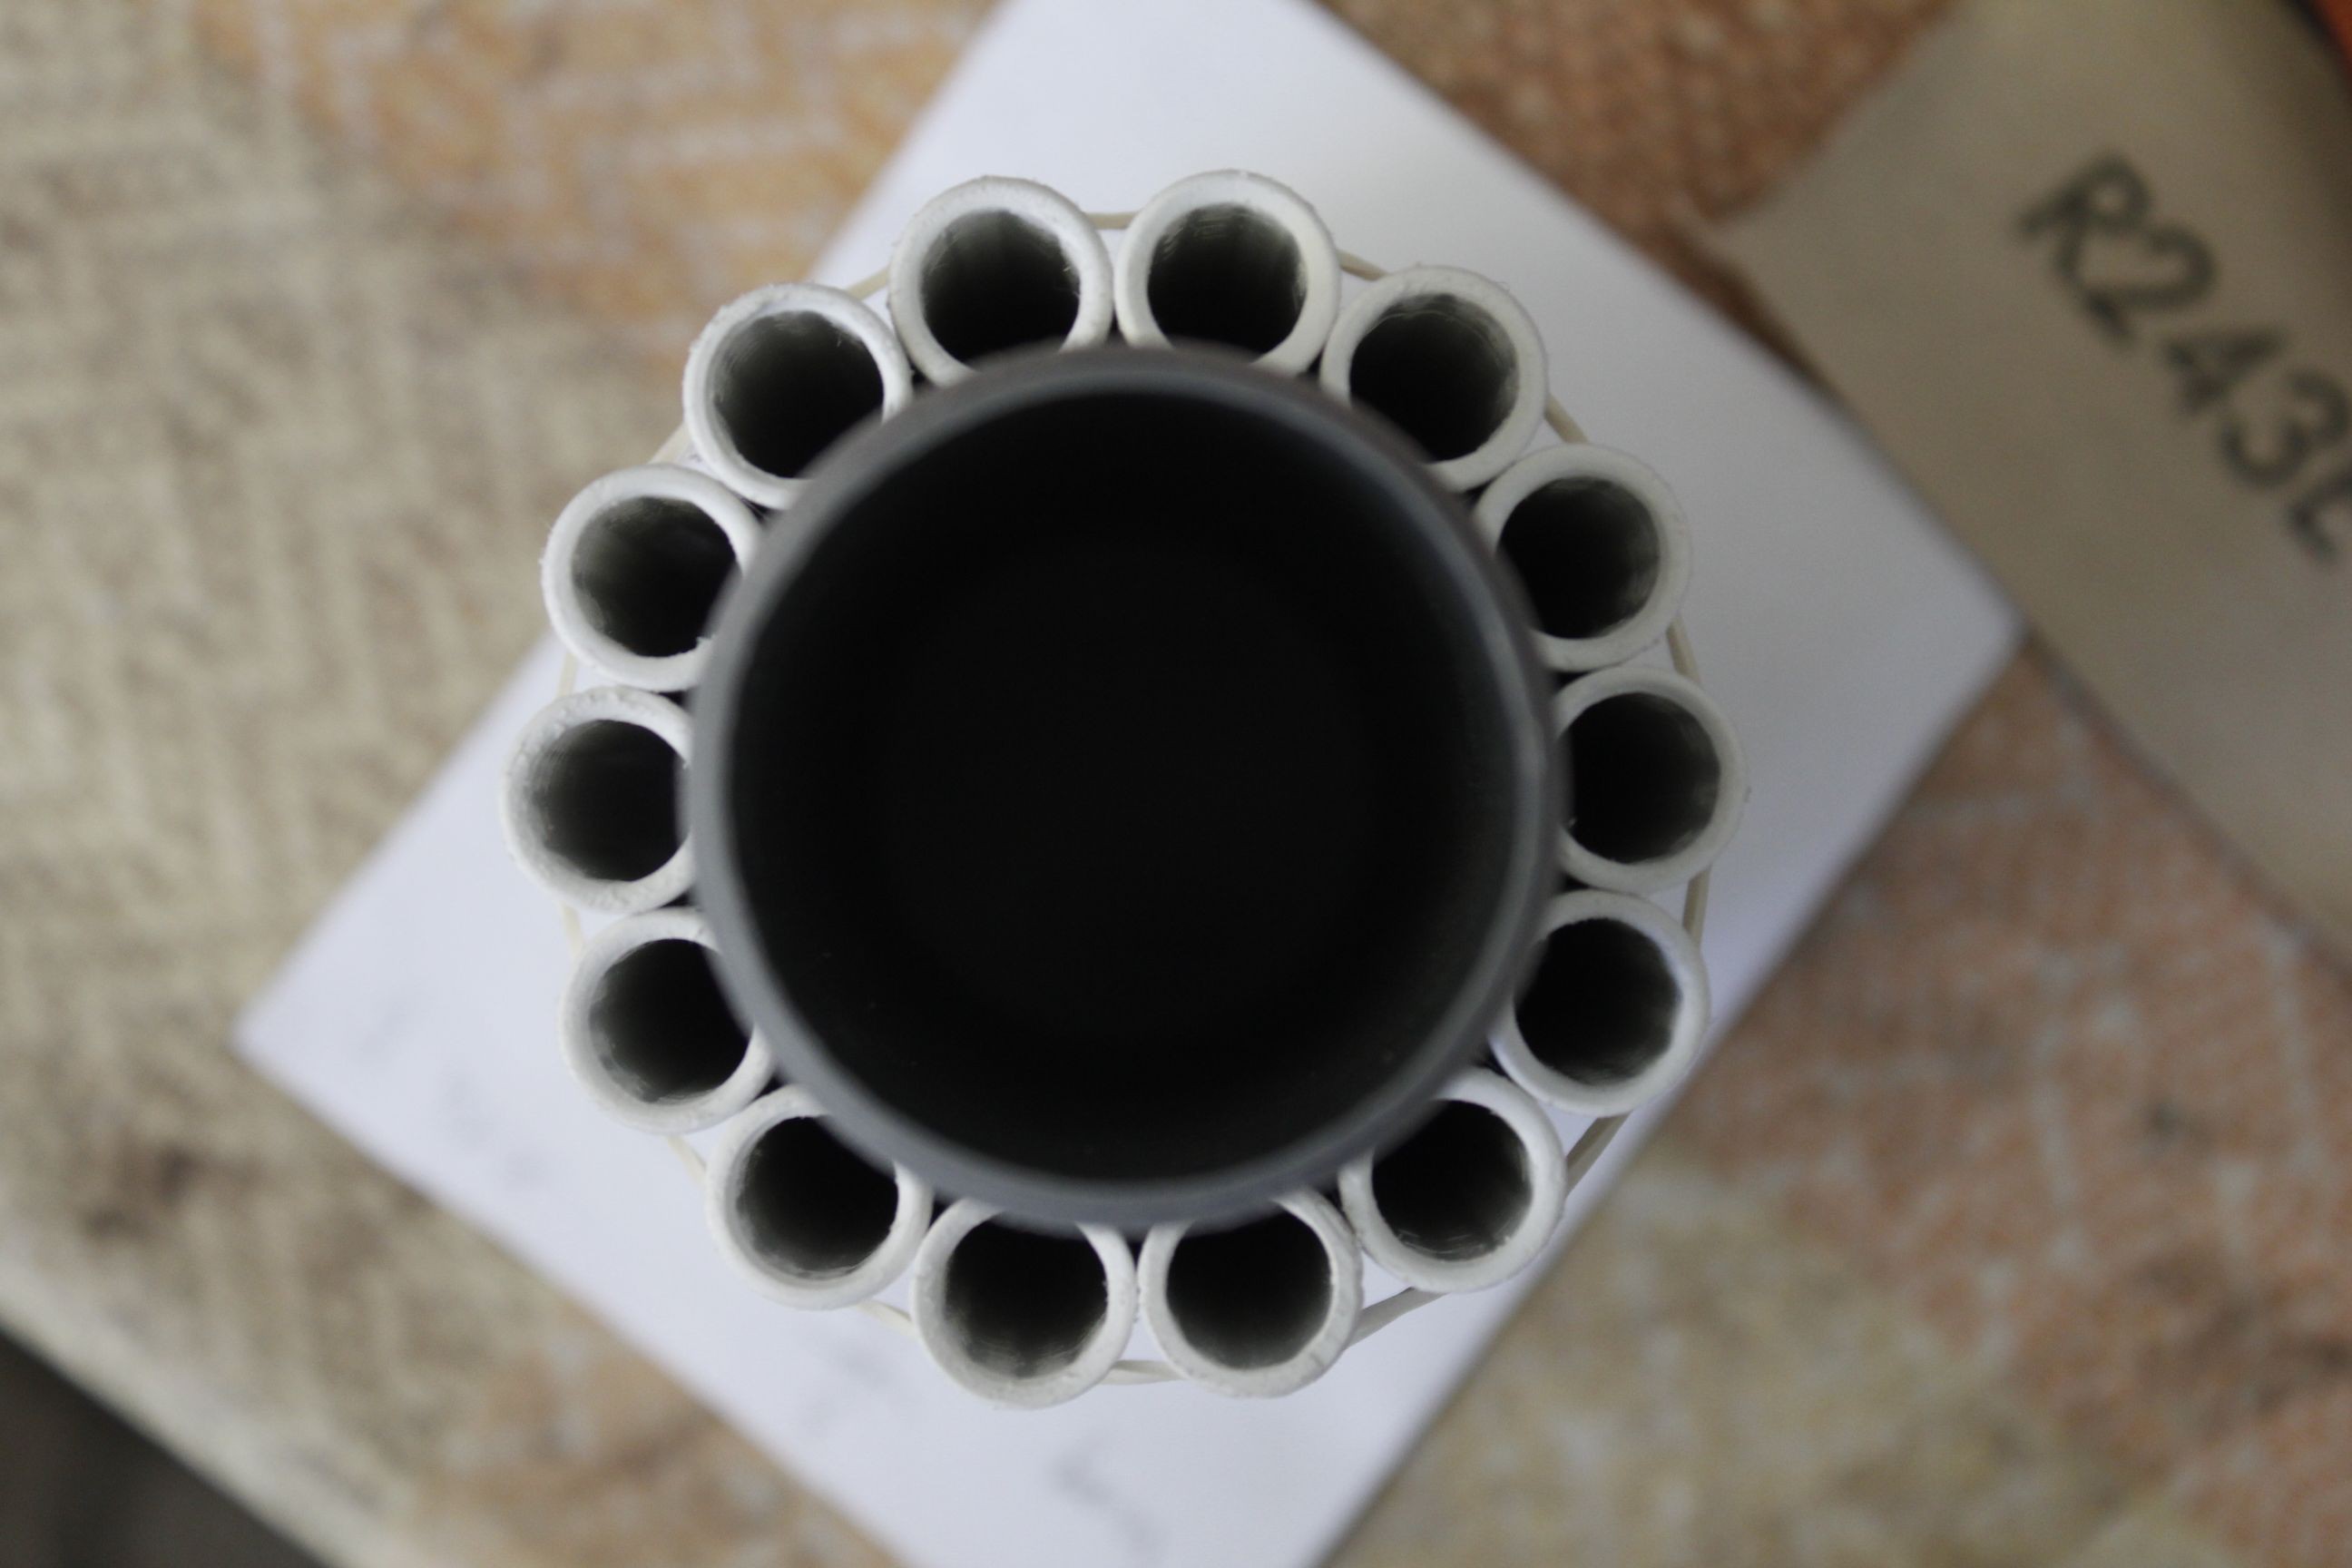
After a lot of filling with hot glue and cutting it back and gluing and deciding I wasn’t satisfied, and having to do the whole thing again including a new track, the “barrel” was finally in place.
The beast in its full glory, resting upon my own Empire of Dirt:
-
Log 5
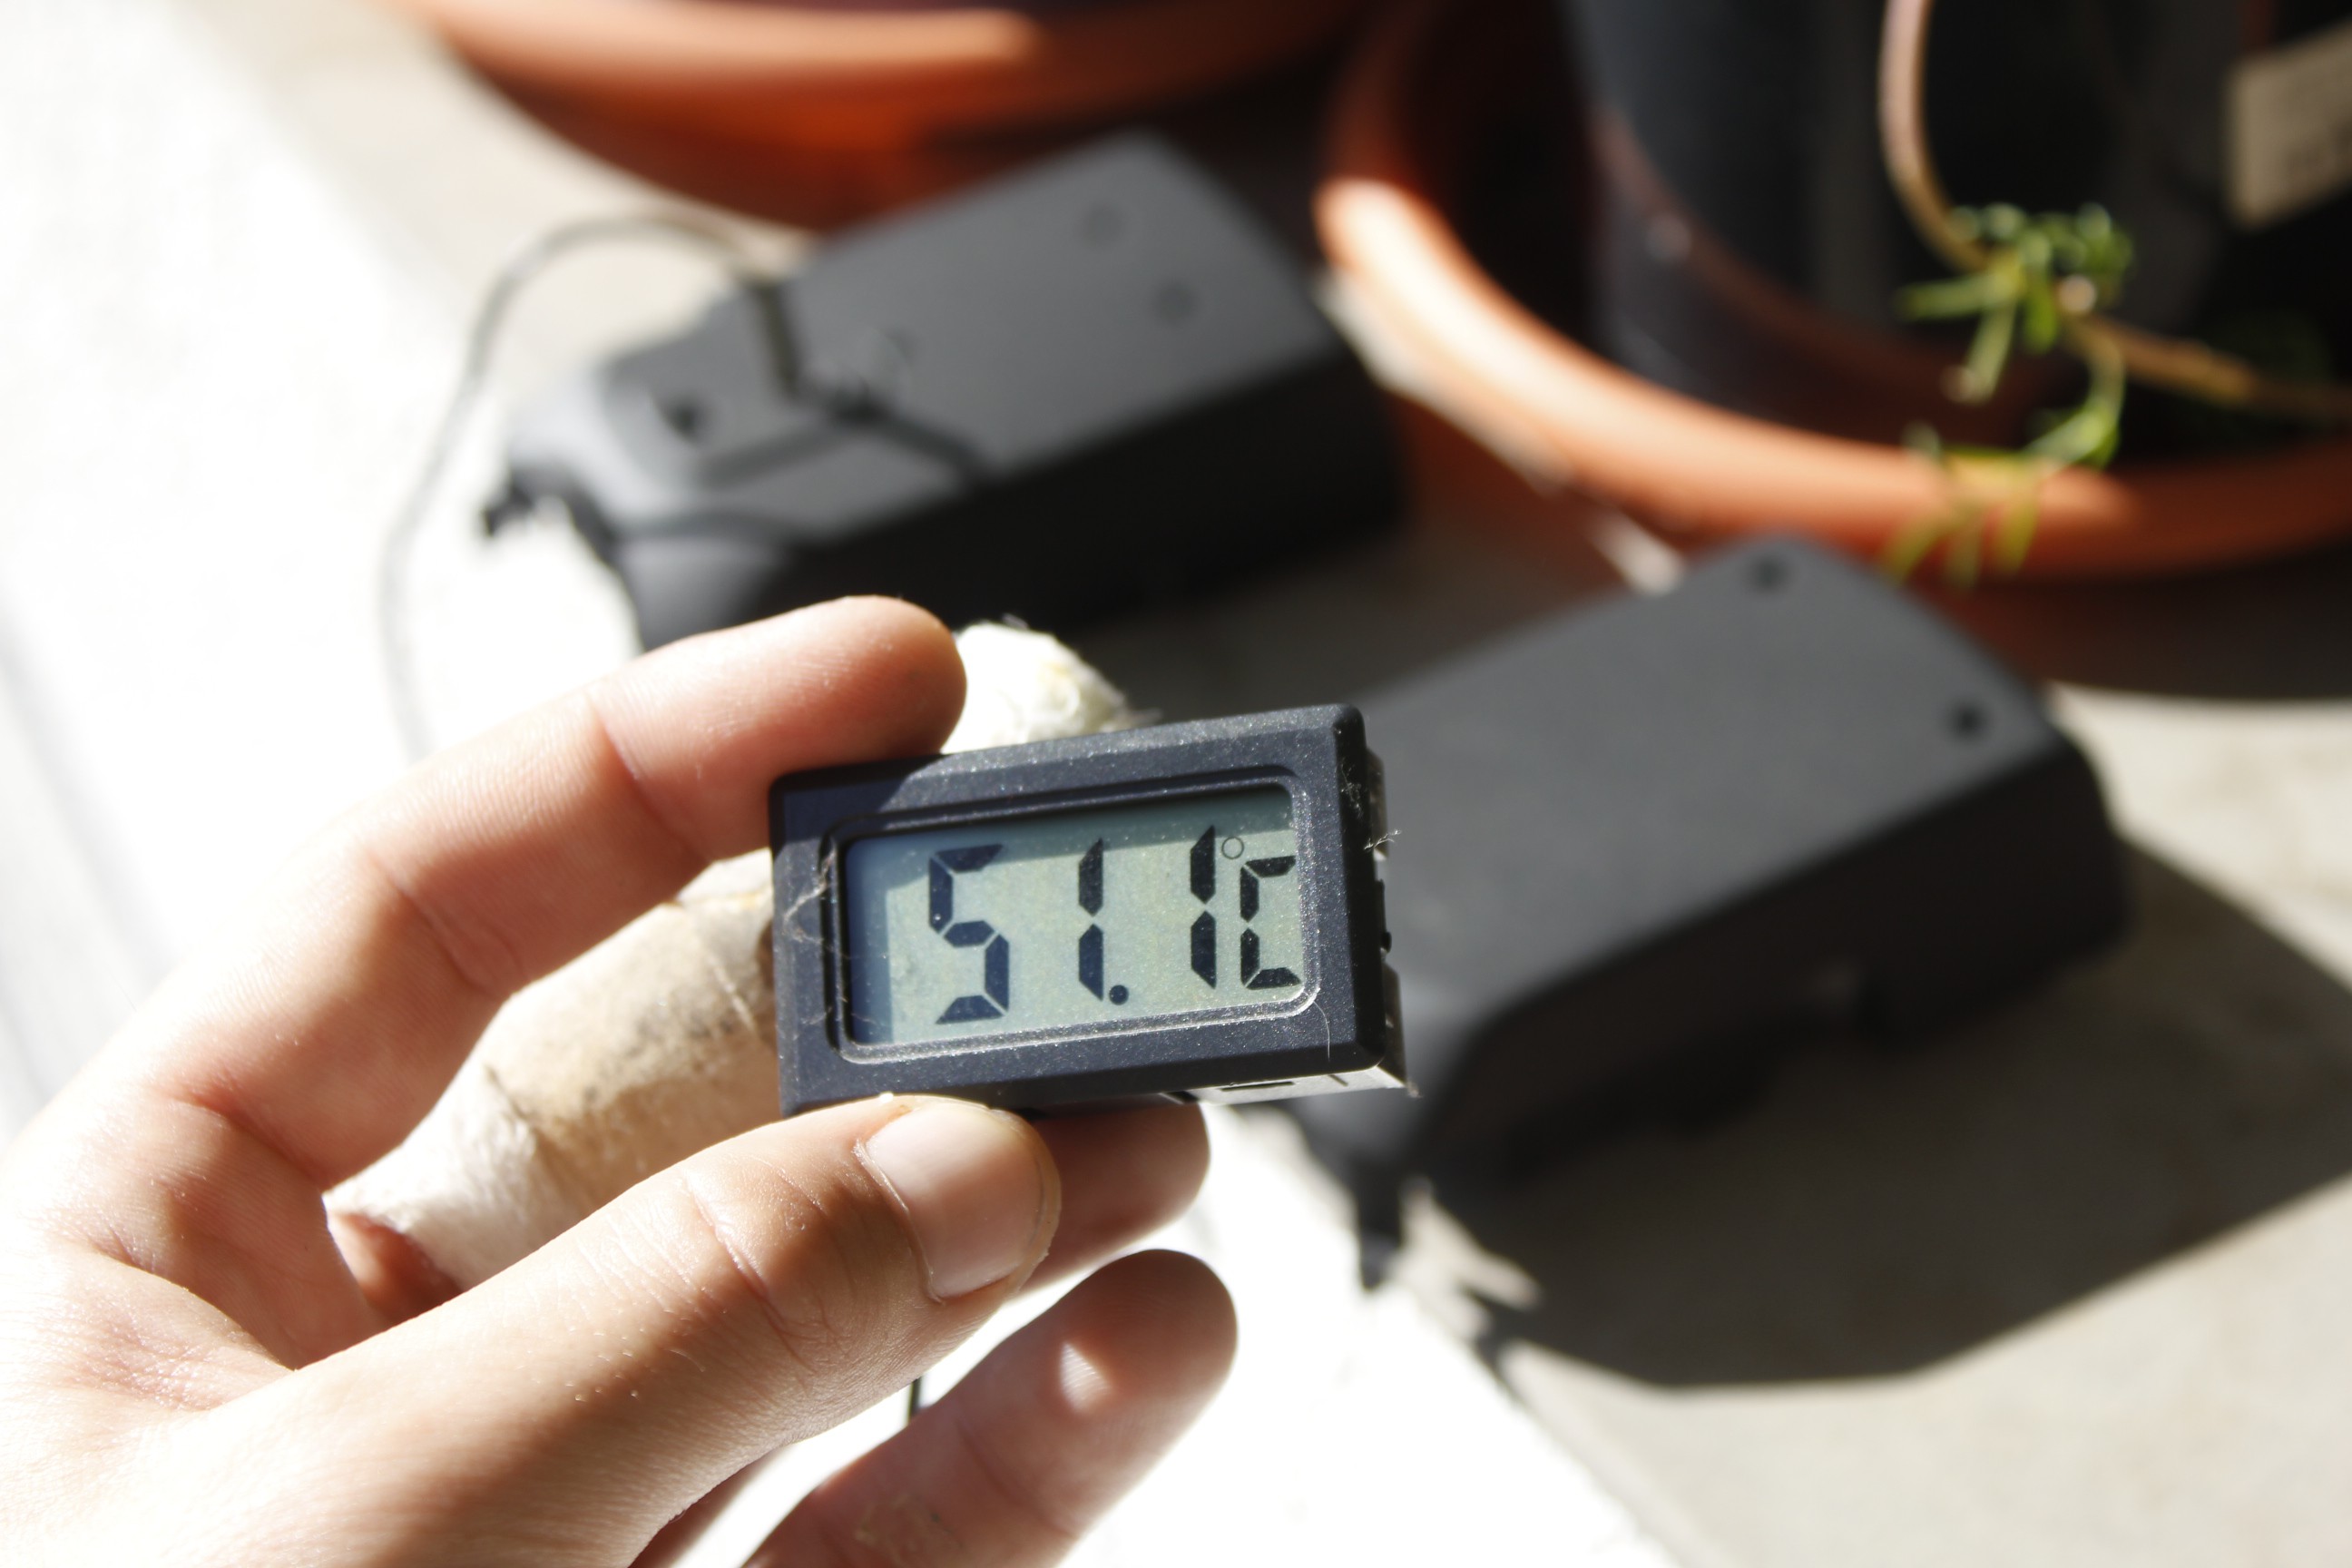
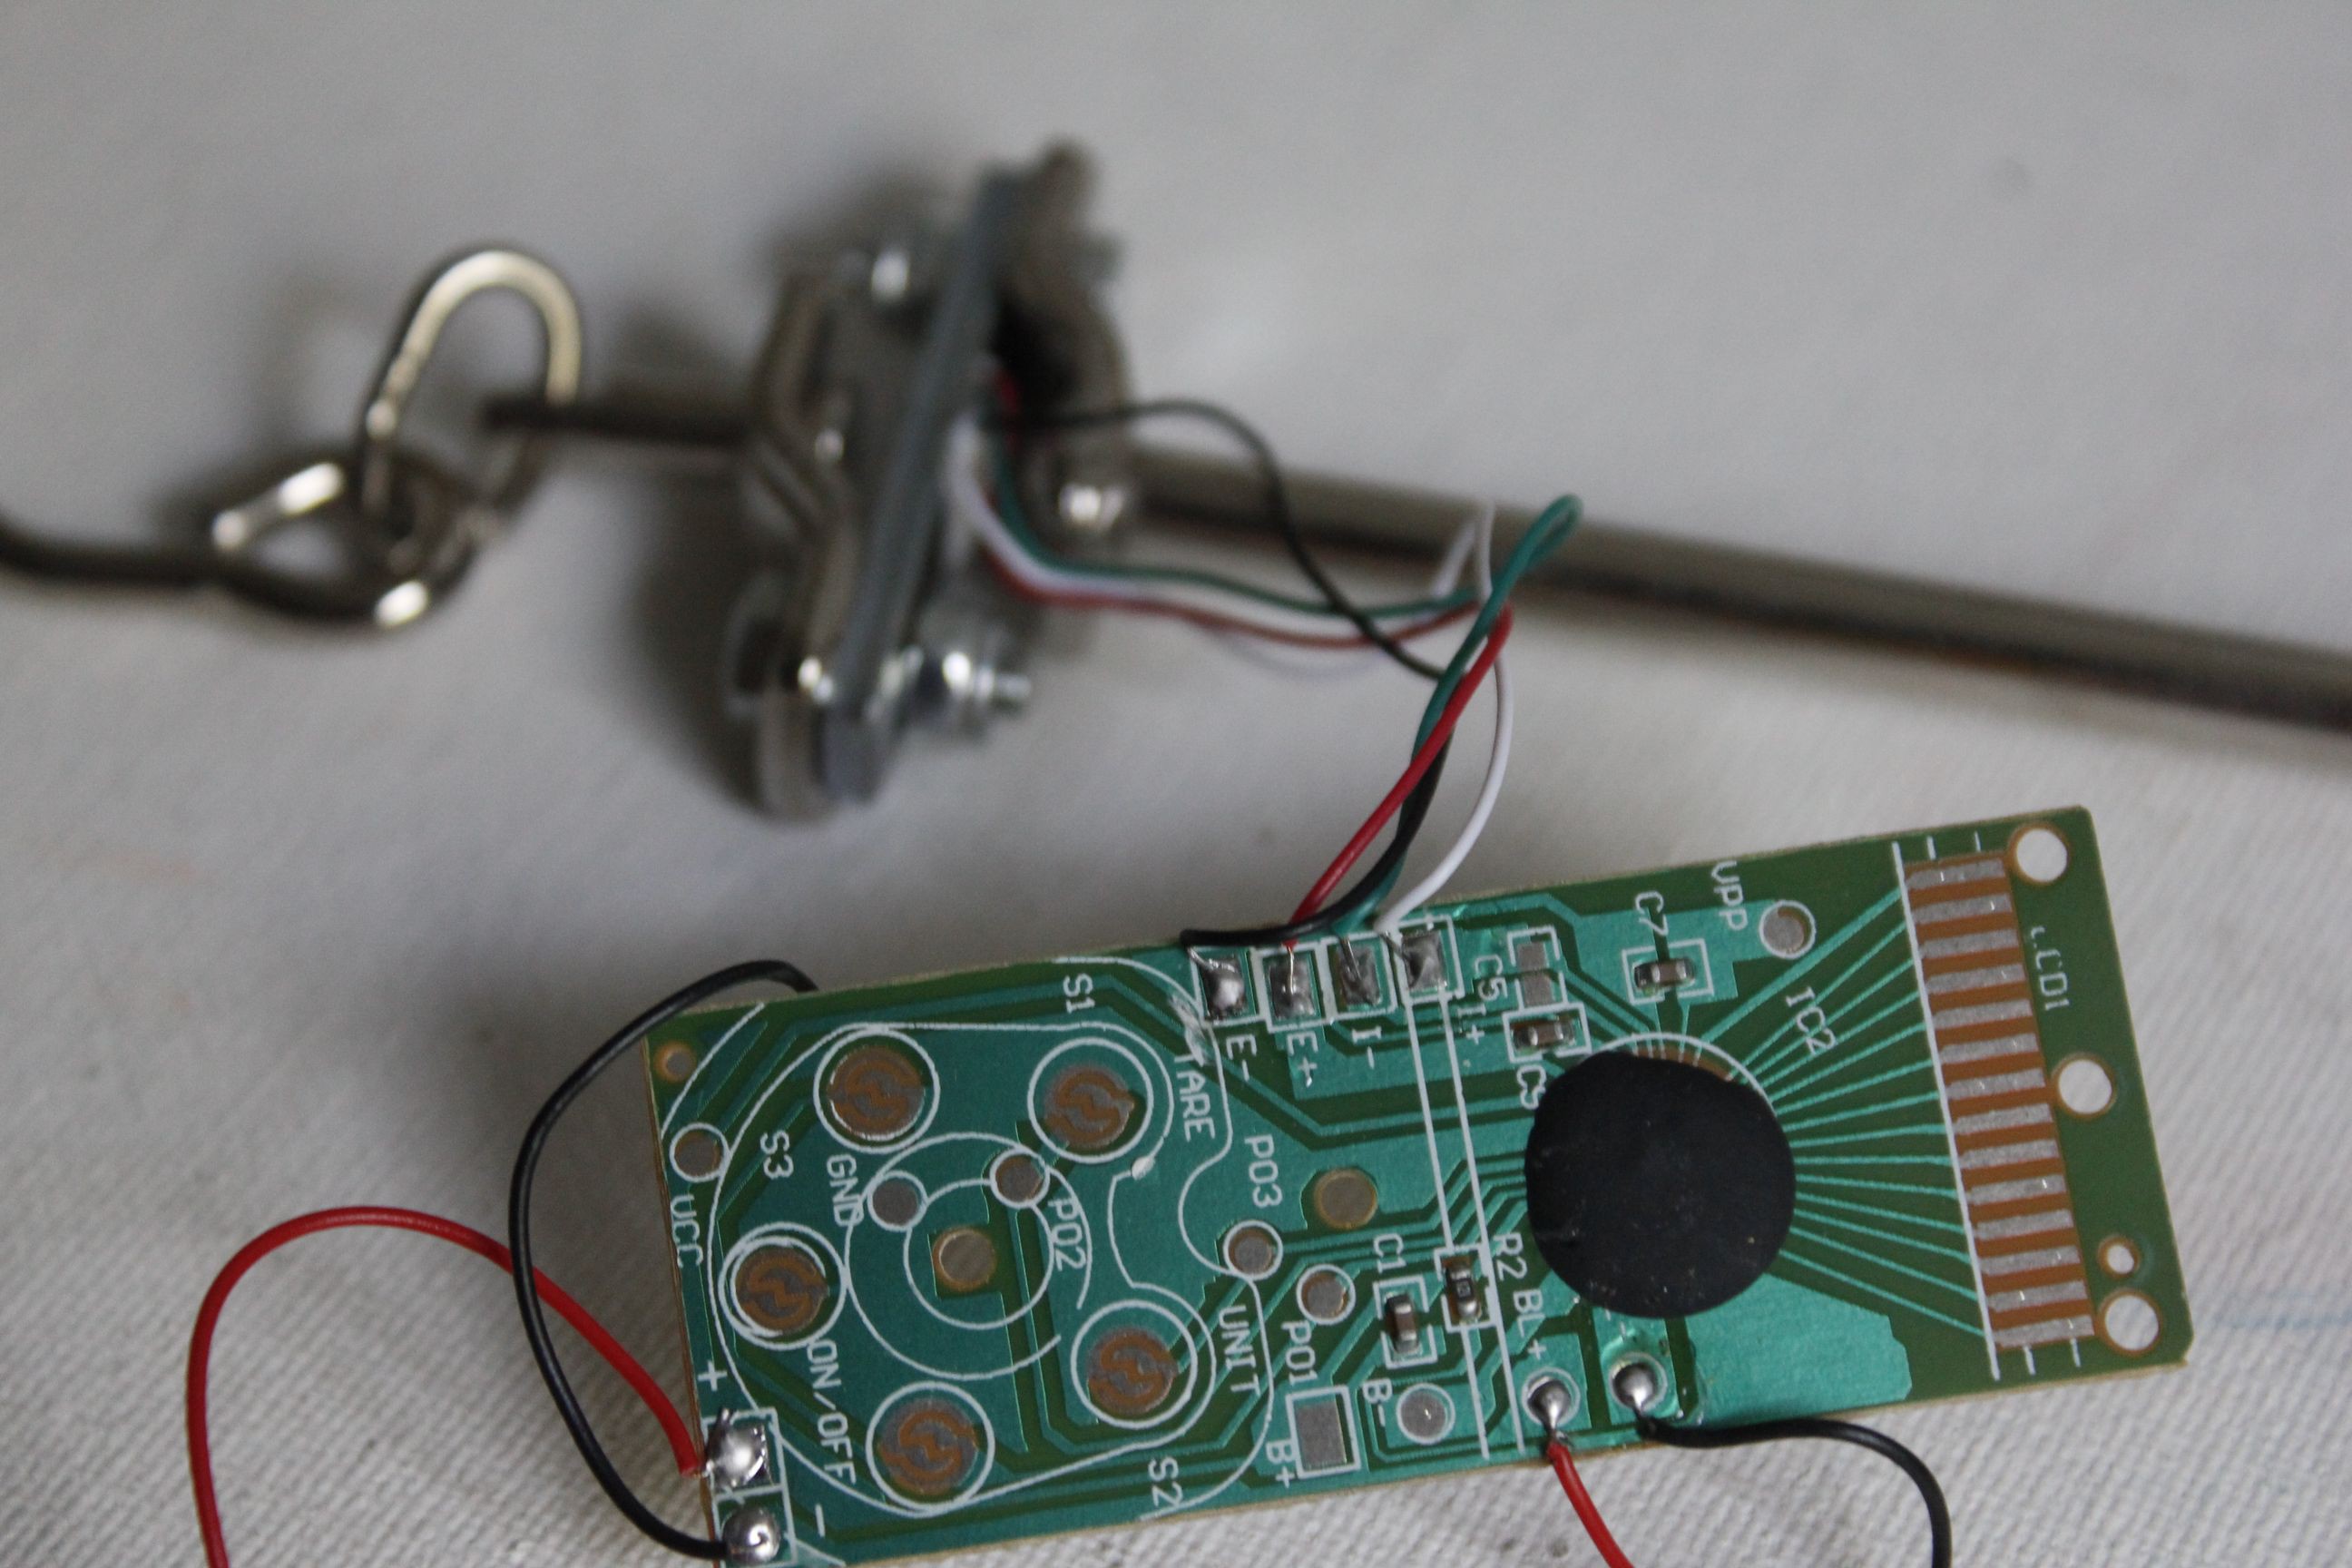
08/18/2019 at 21:08 • 1 commentMore progress was made after sourcing a strain gauge from a handheld digital scale. This will allow to compensate for variations in elasticity due to temperature and the rubber hysteresis effect by measuring tension and factoring it into the ballistic calculation. Slots for it and the required linkage were cut, followed by some more work on the magazine well, stoppers, and the butt plate insert.
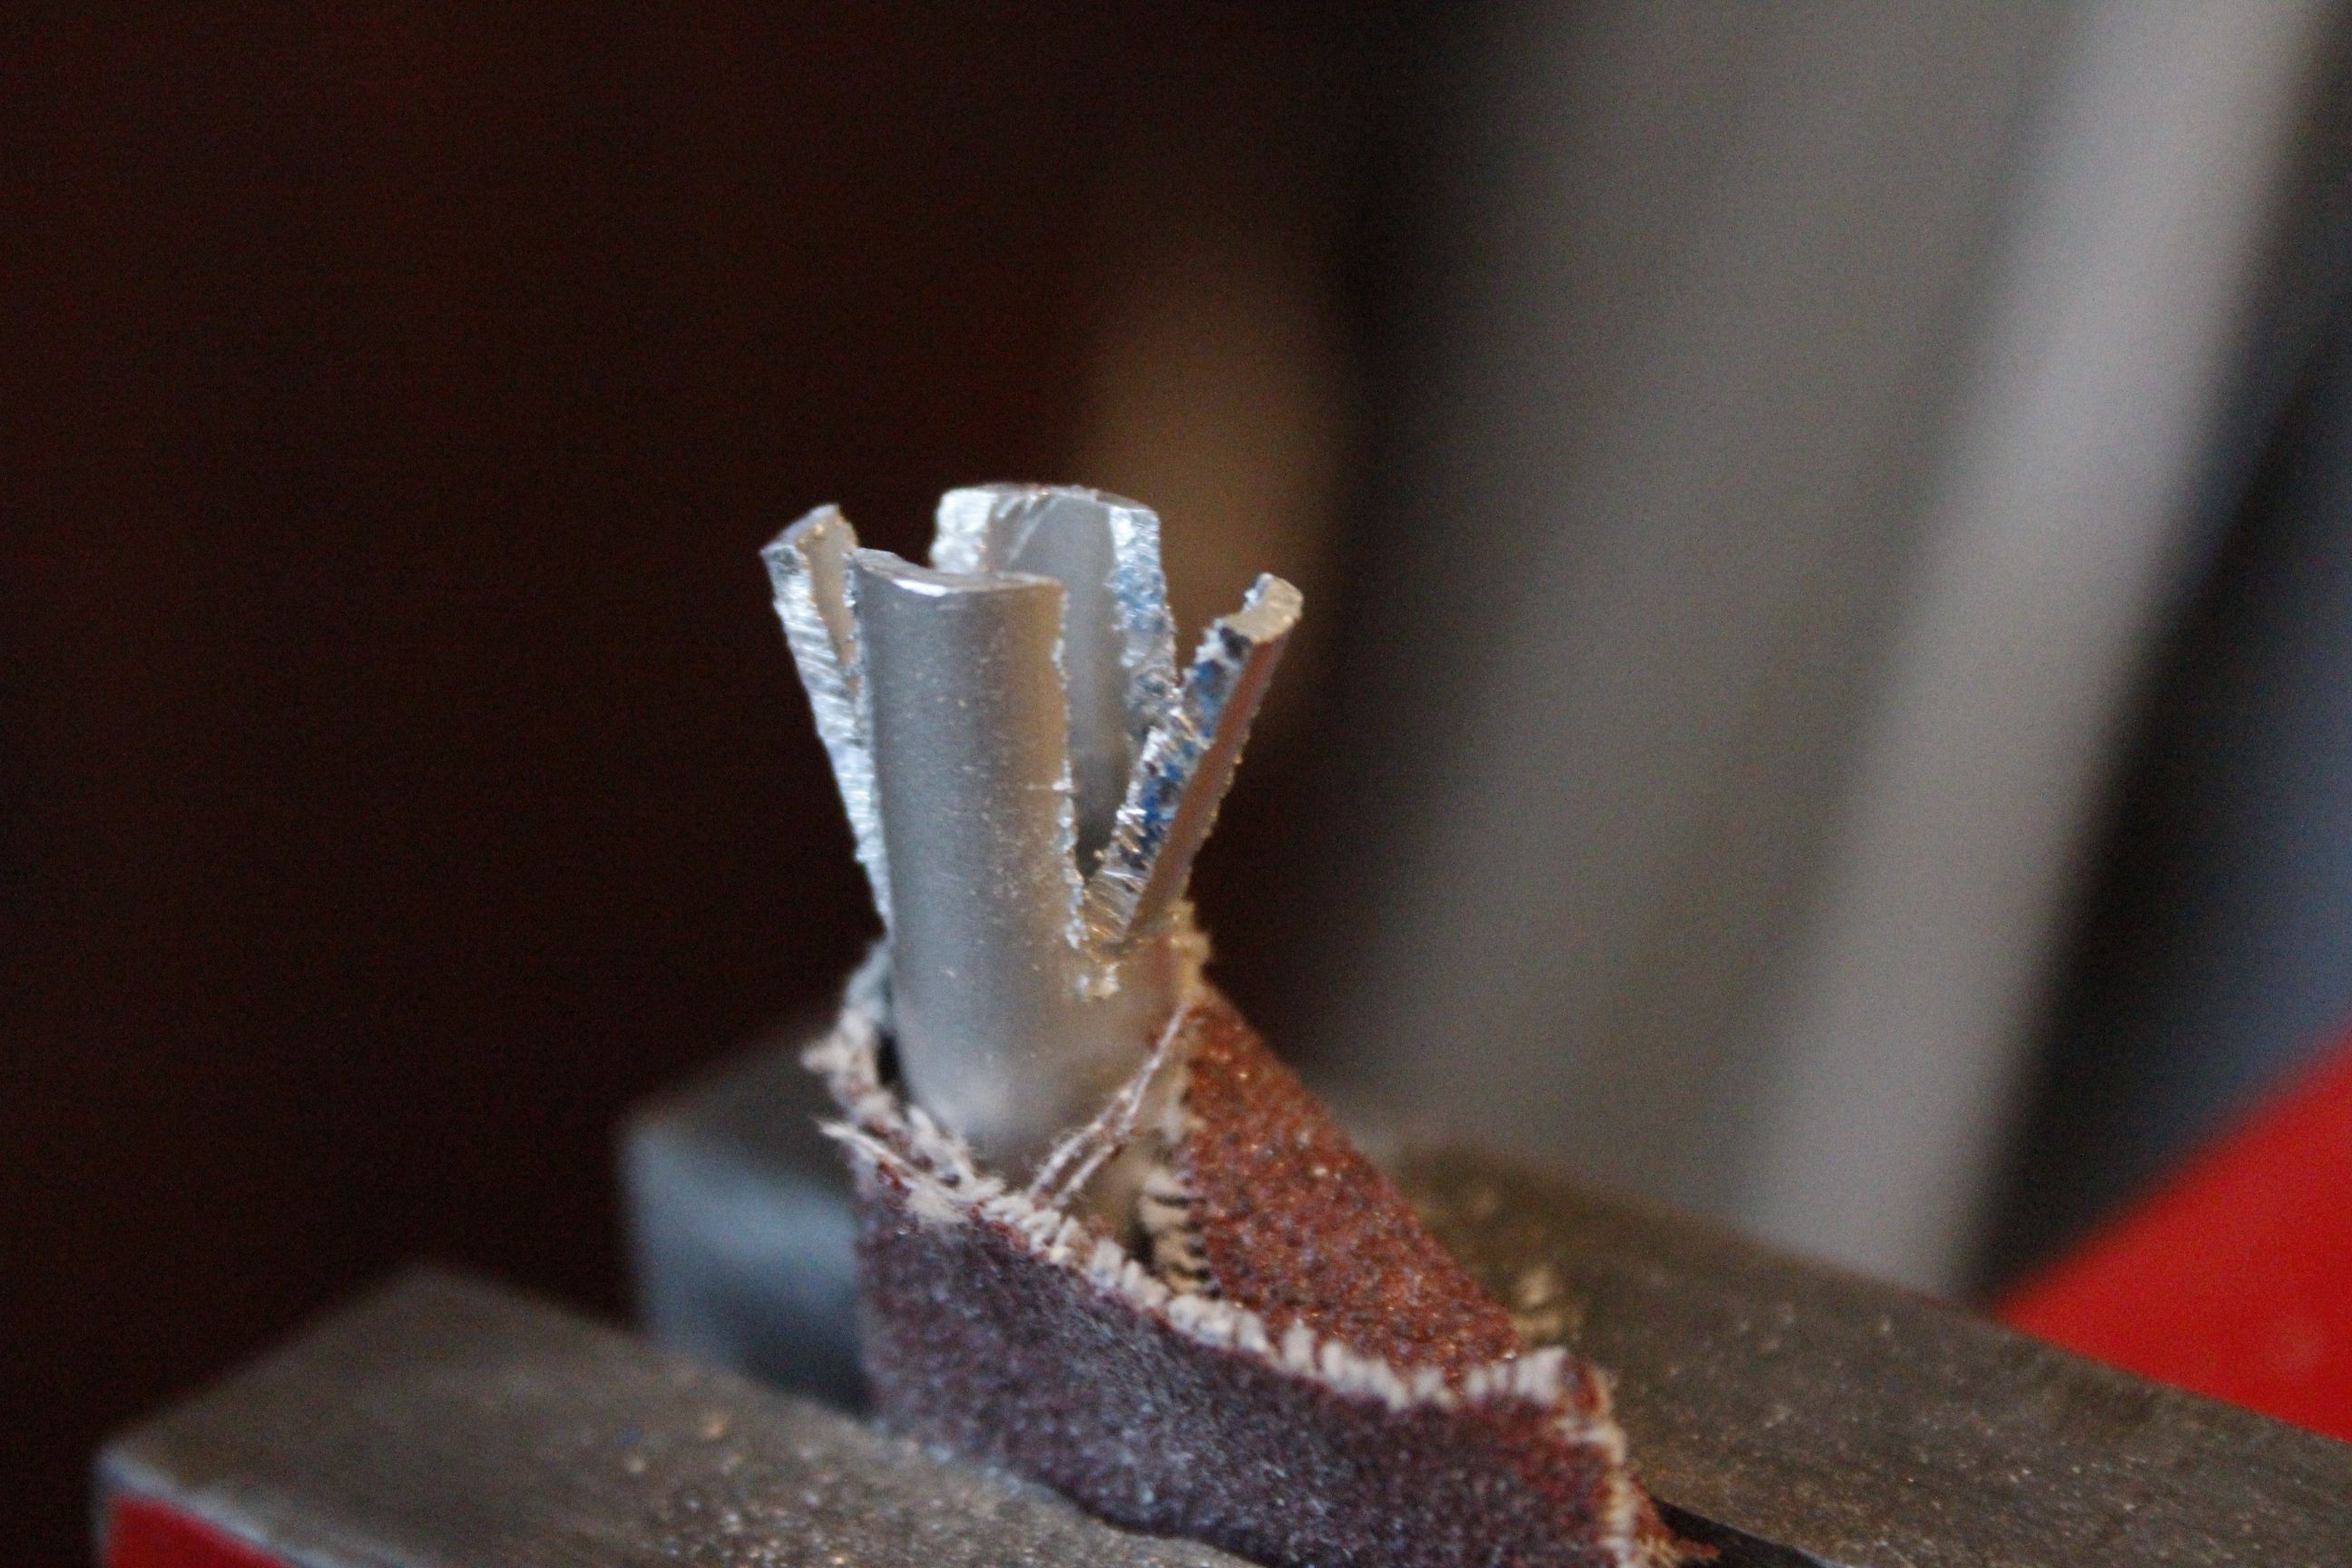
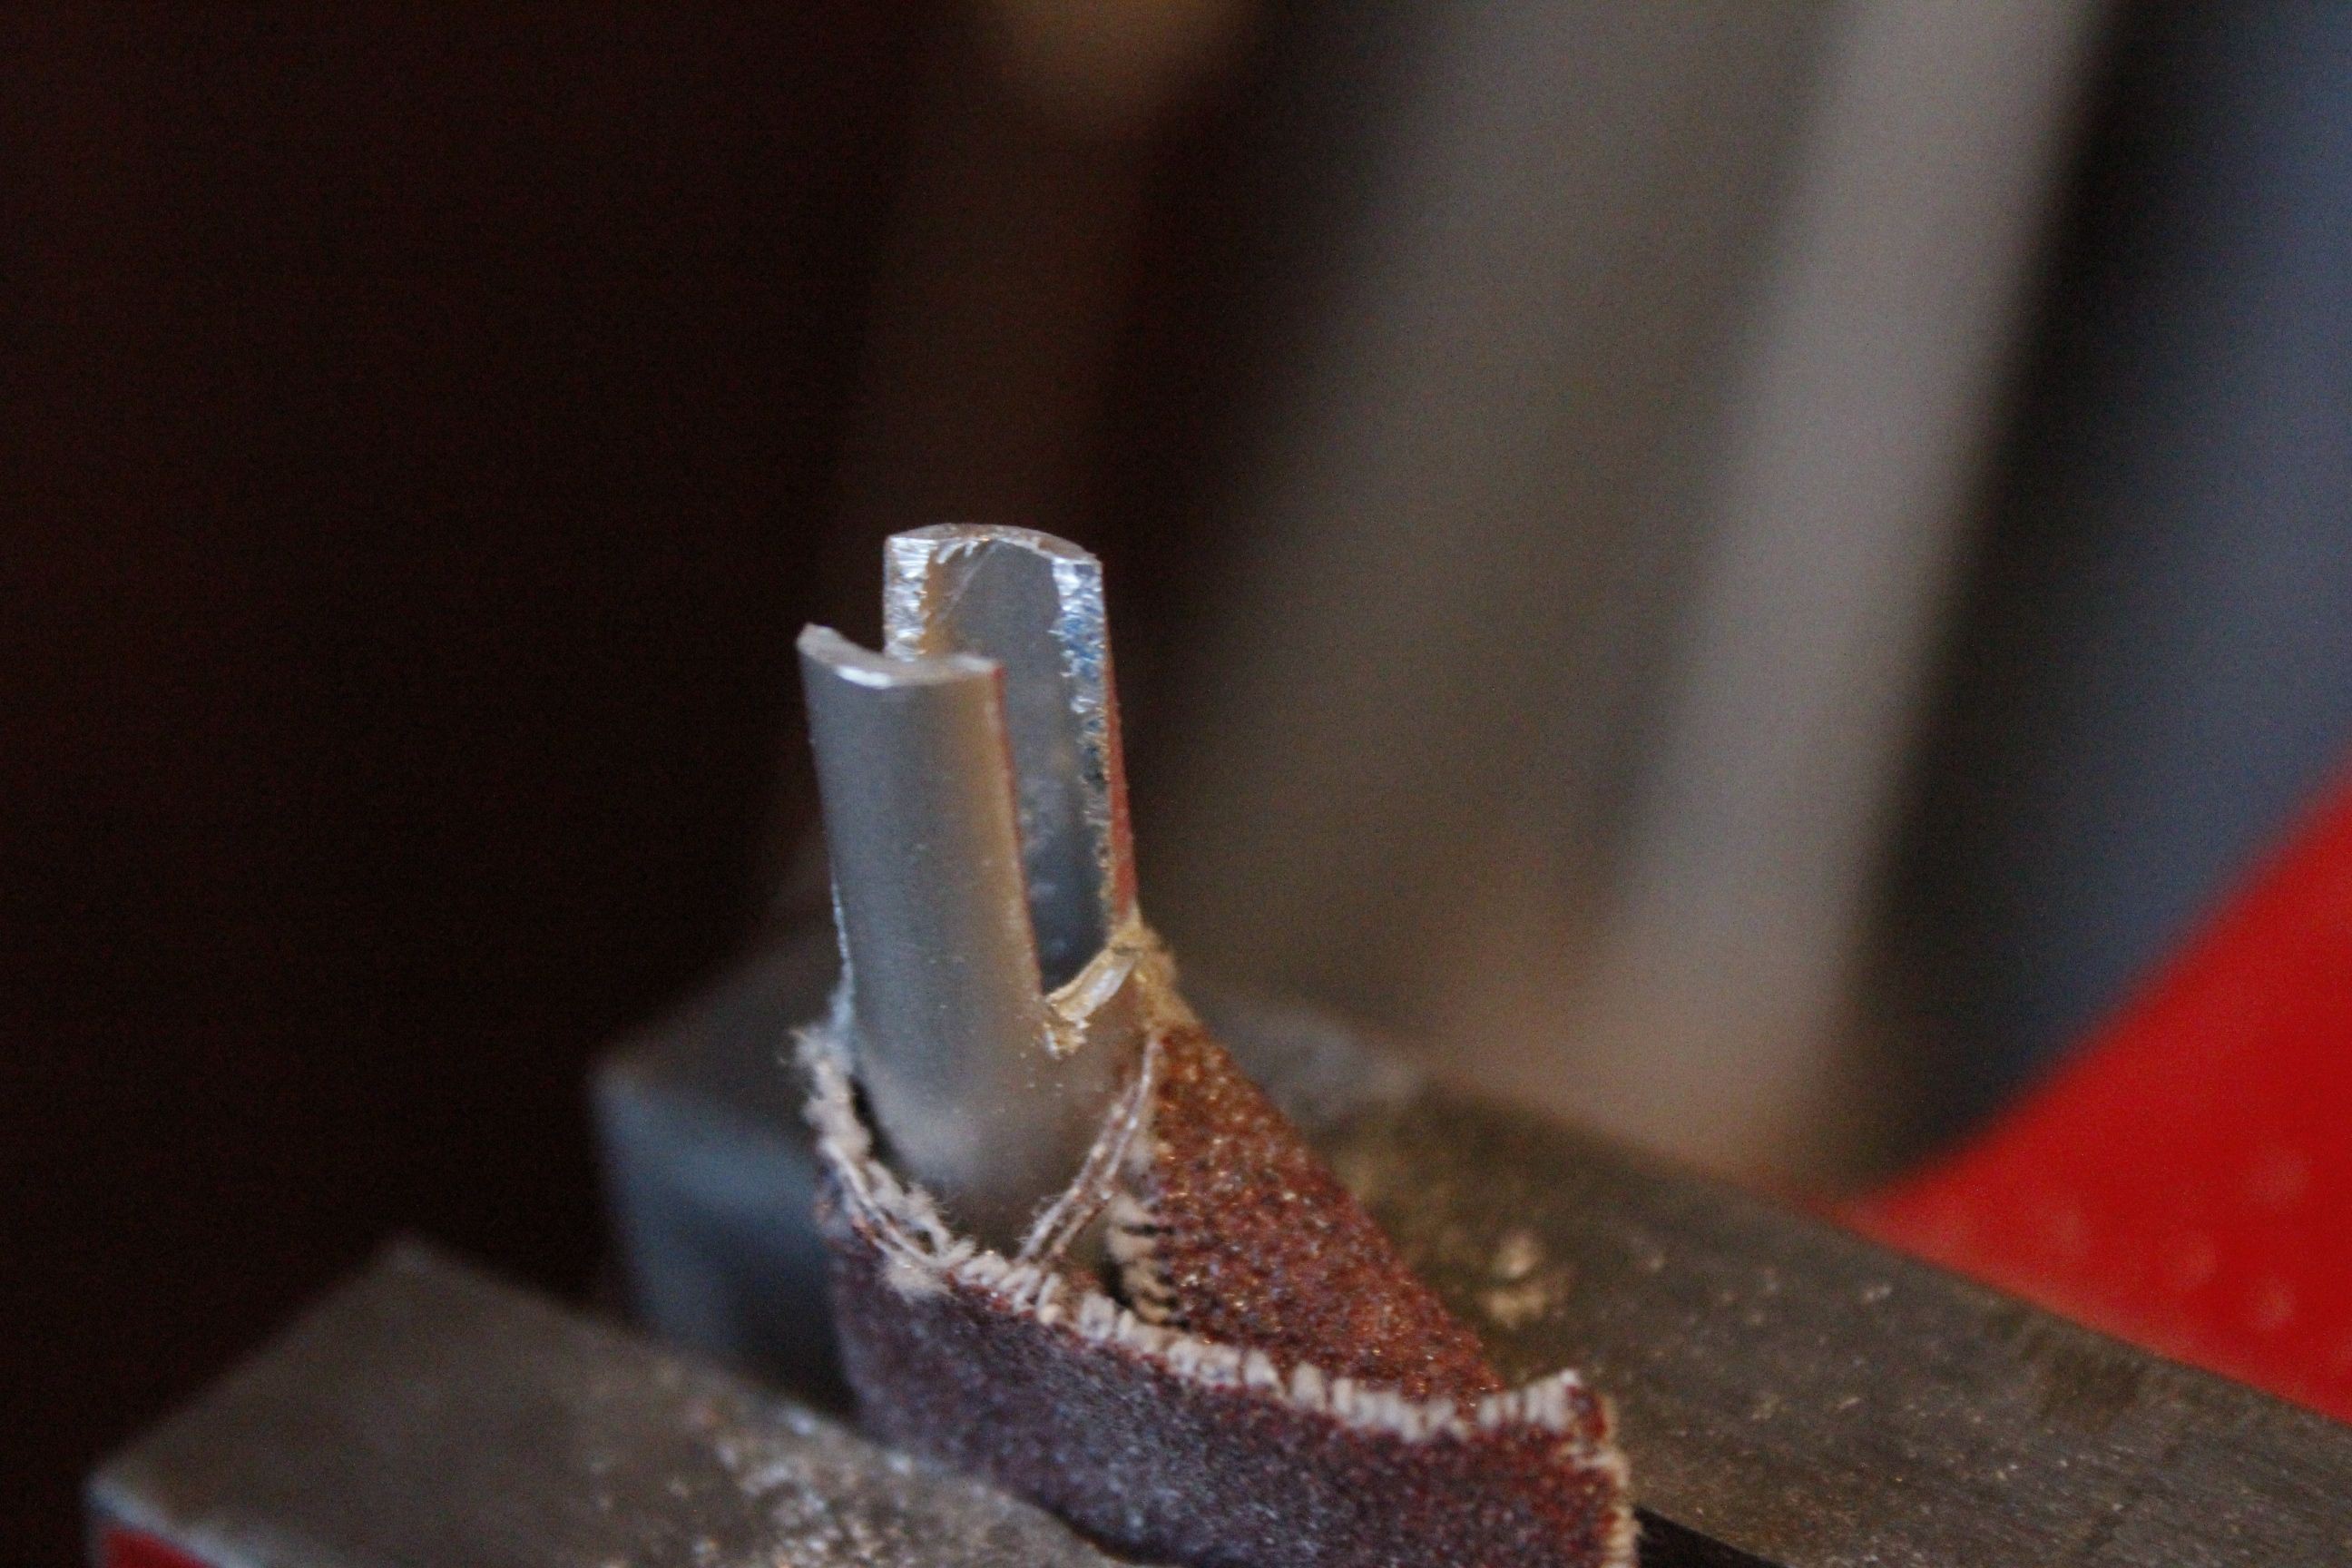
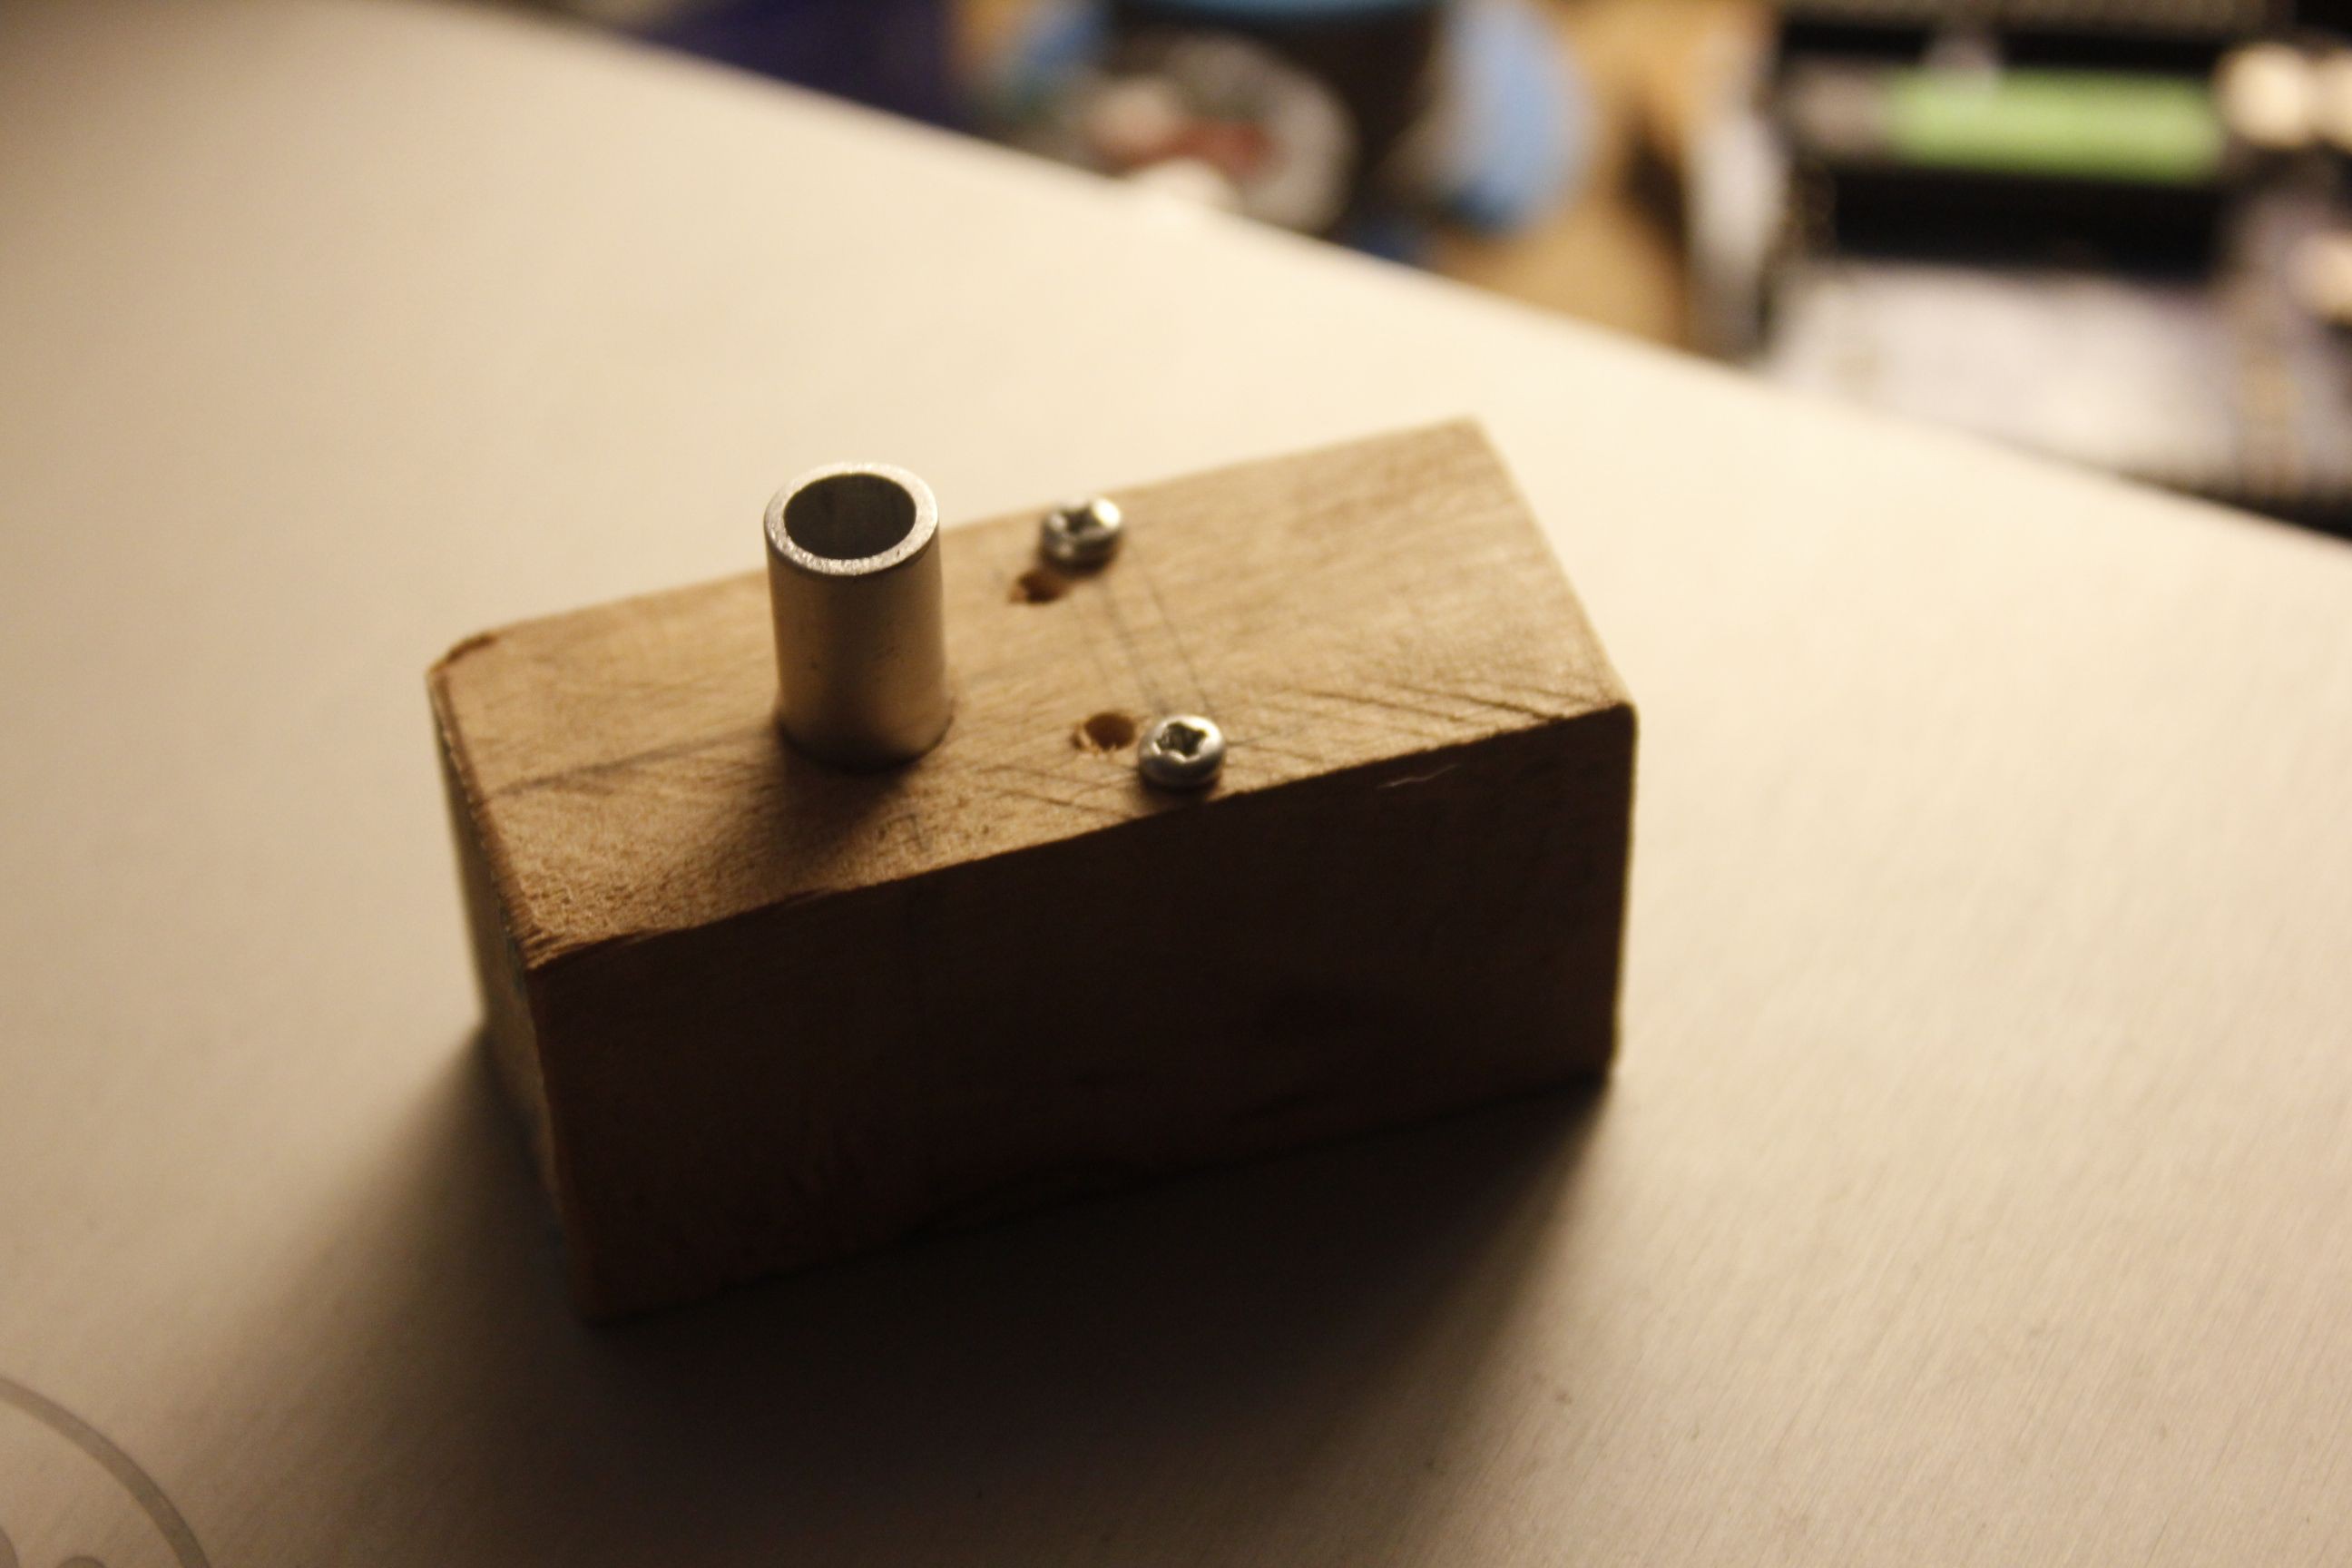
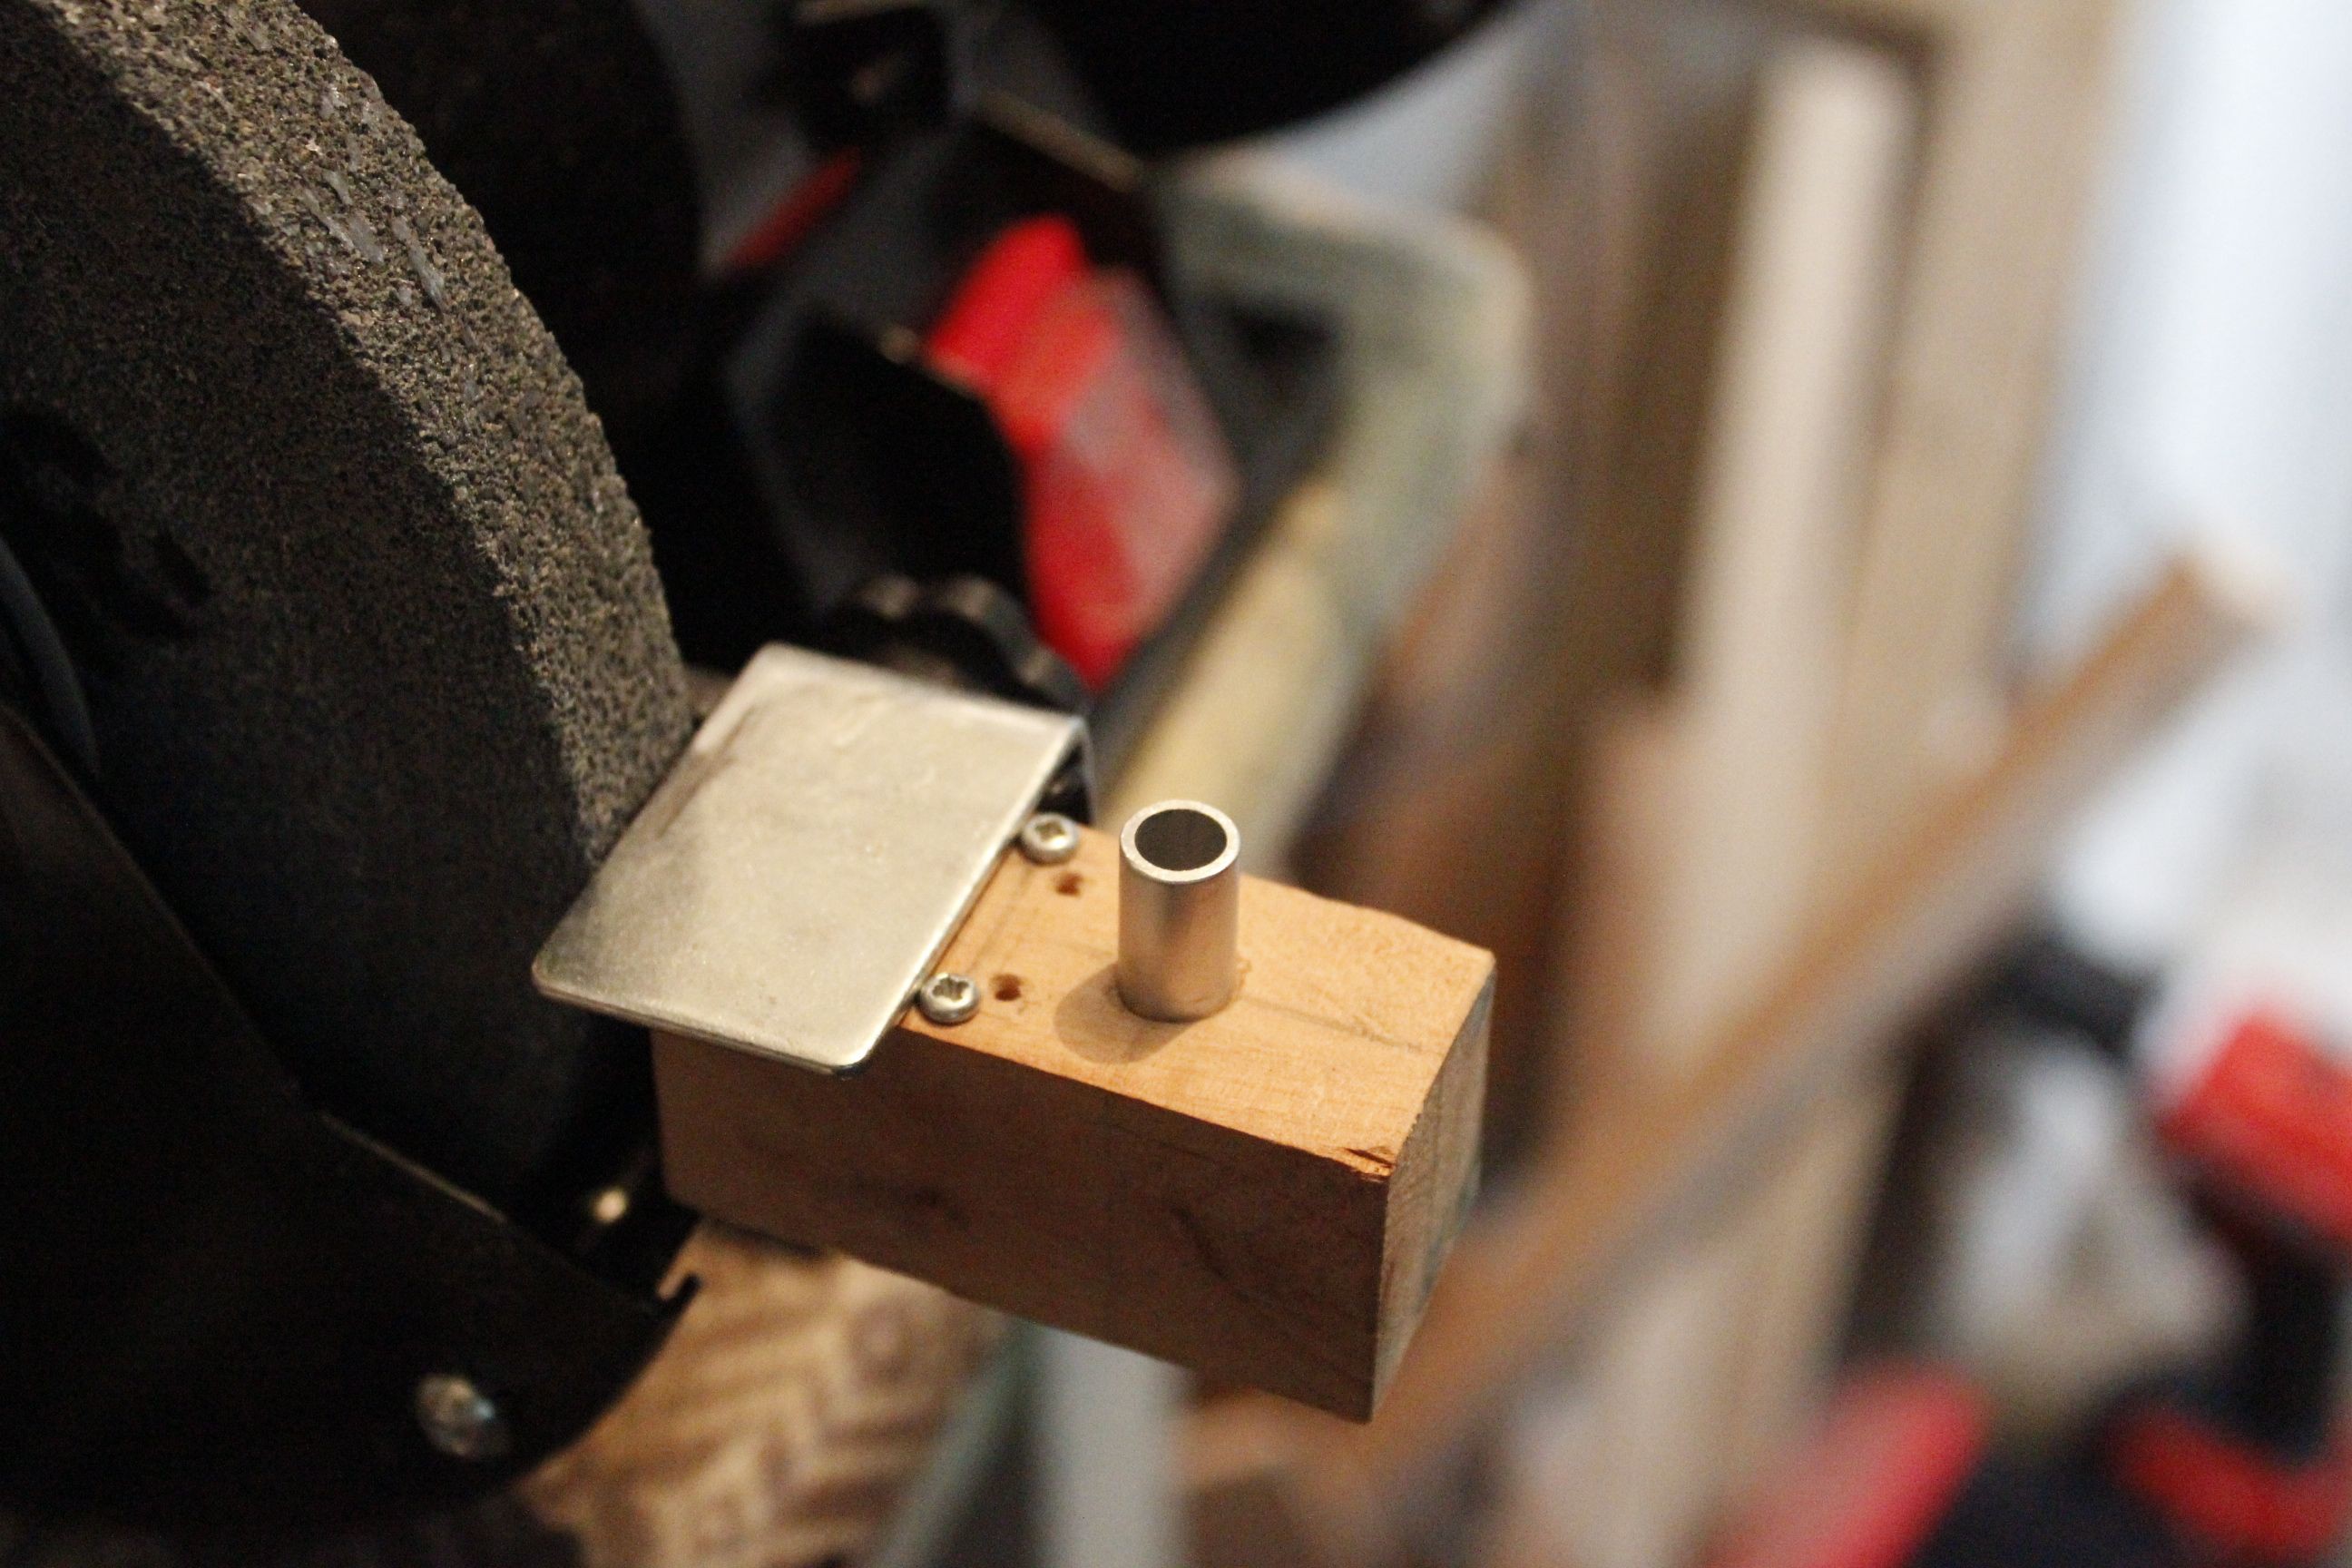
The aluminium parts for the projectile ramp were cut and ground to shape. A captive nut assembly was constructed out of aluminium pipe, then the rest of the main motor assembly.
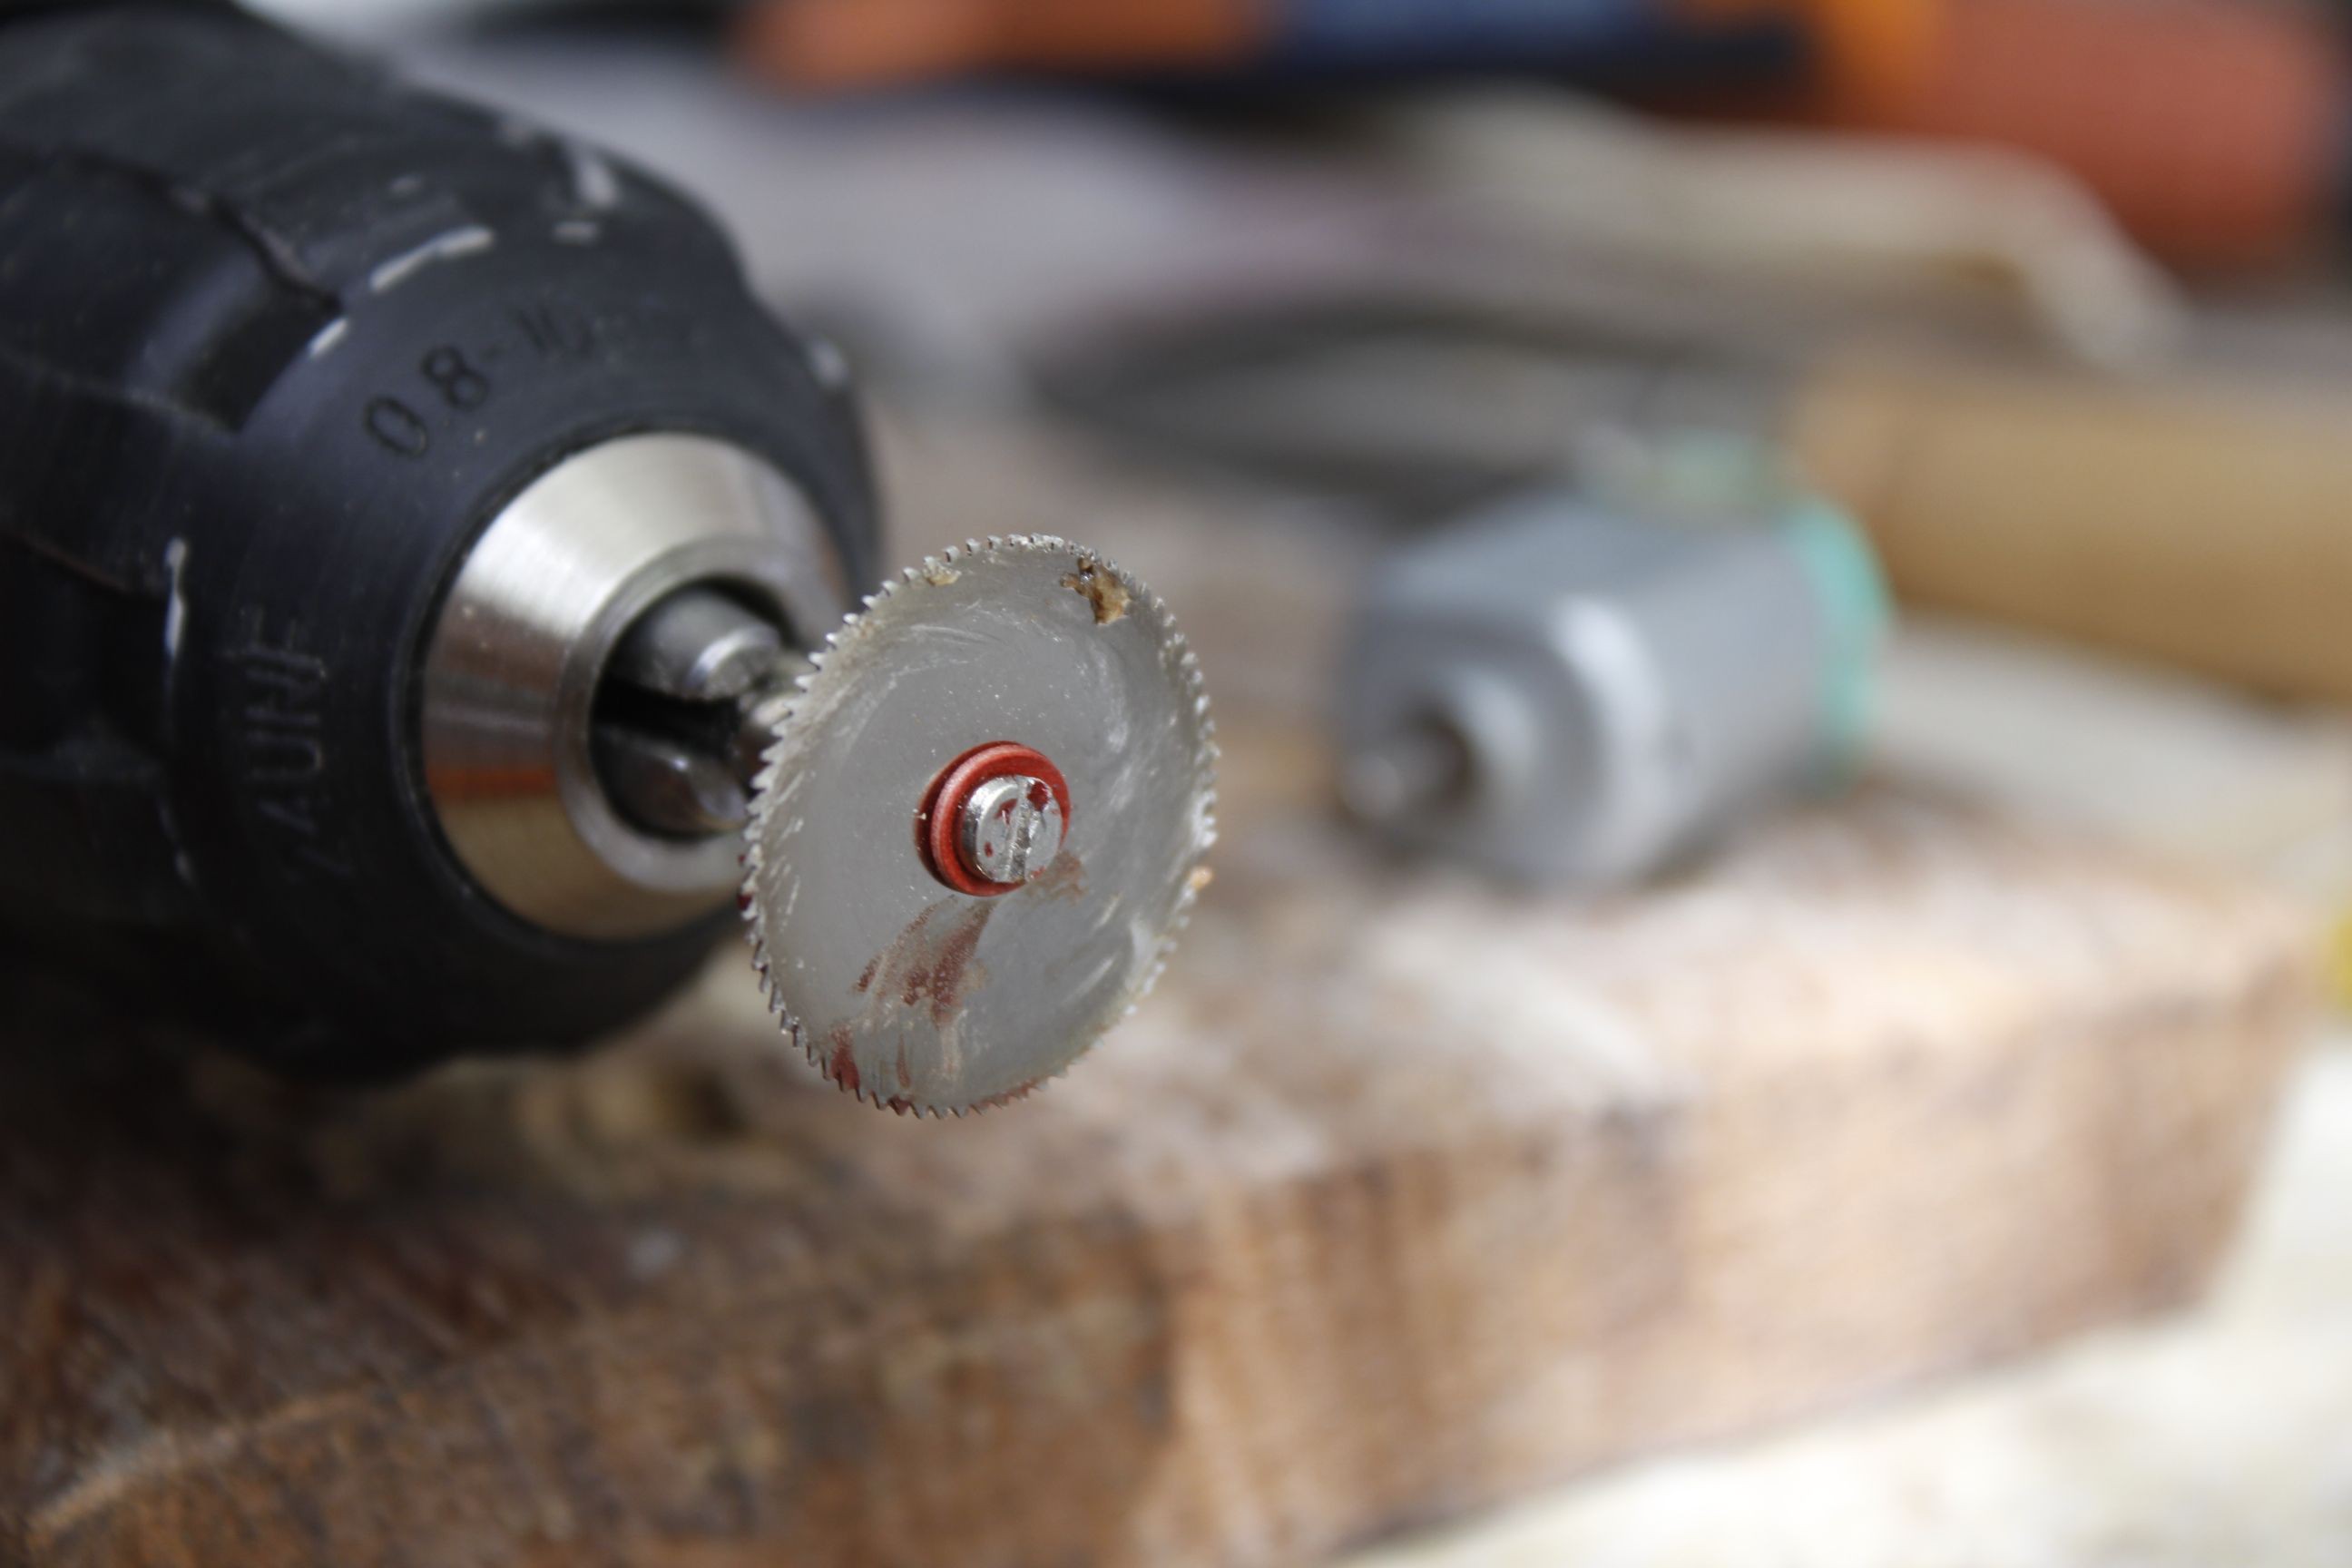
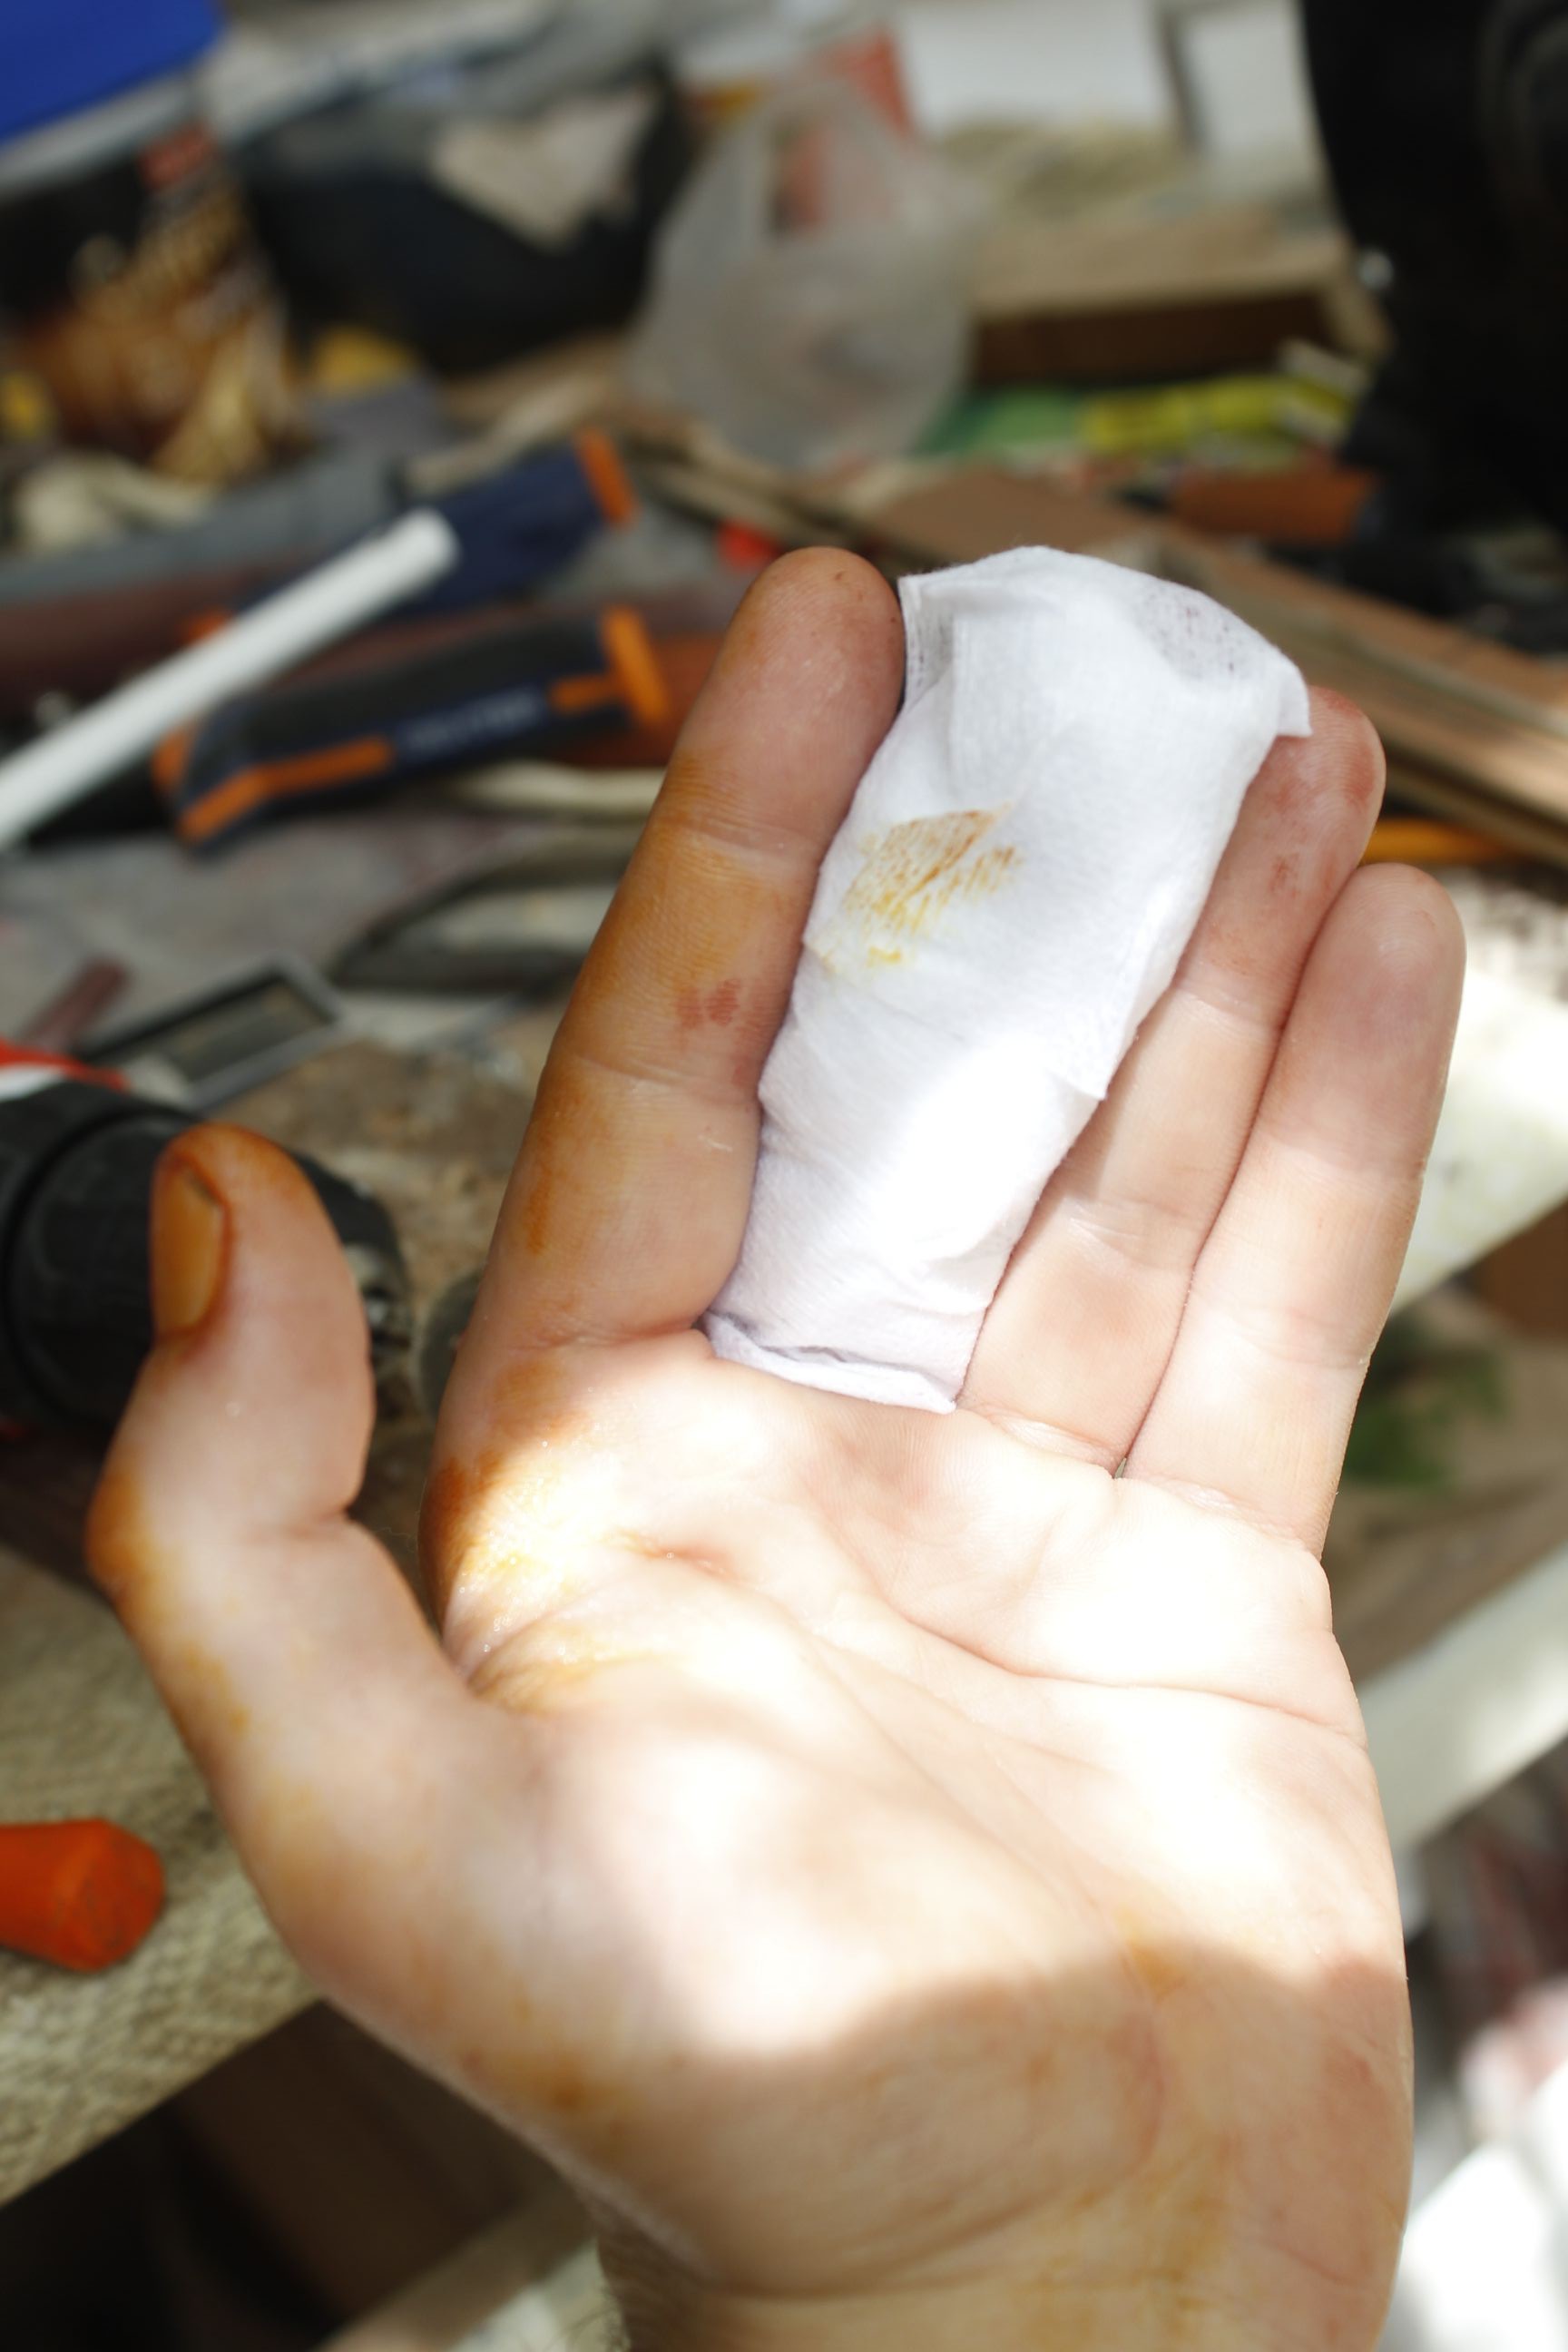
And then I had a little accident where my Dremel saw blade slipped into my left middle finger, requiring a visit to the ER for some stitches. I wasn’t sure I would be able to include all the features I wanted before the deadline but now I guess I’ll just have to focus on getting it to any working condition with less time and without the full use of my limbs. Wish me luck!
-
Log 4
08/09/2019 at 00:13 • 0 commentsParts for the magazine were cut consistently using another quick jig, then sanded/deburred.
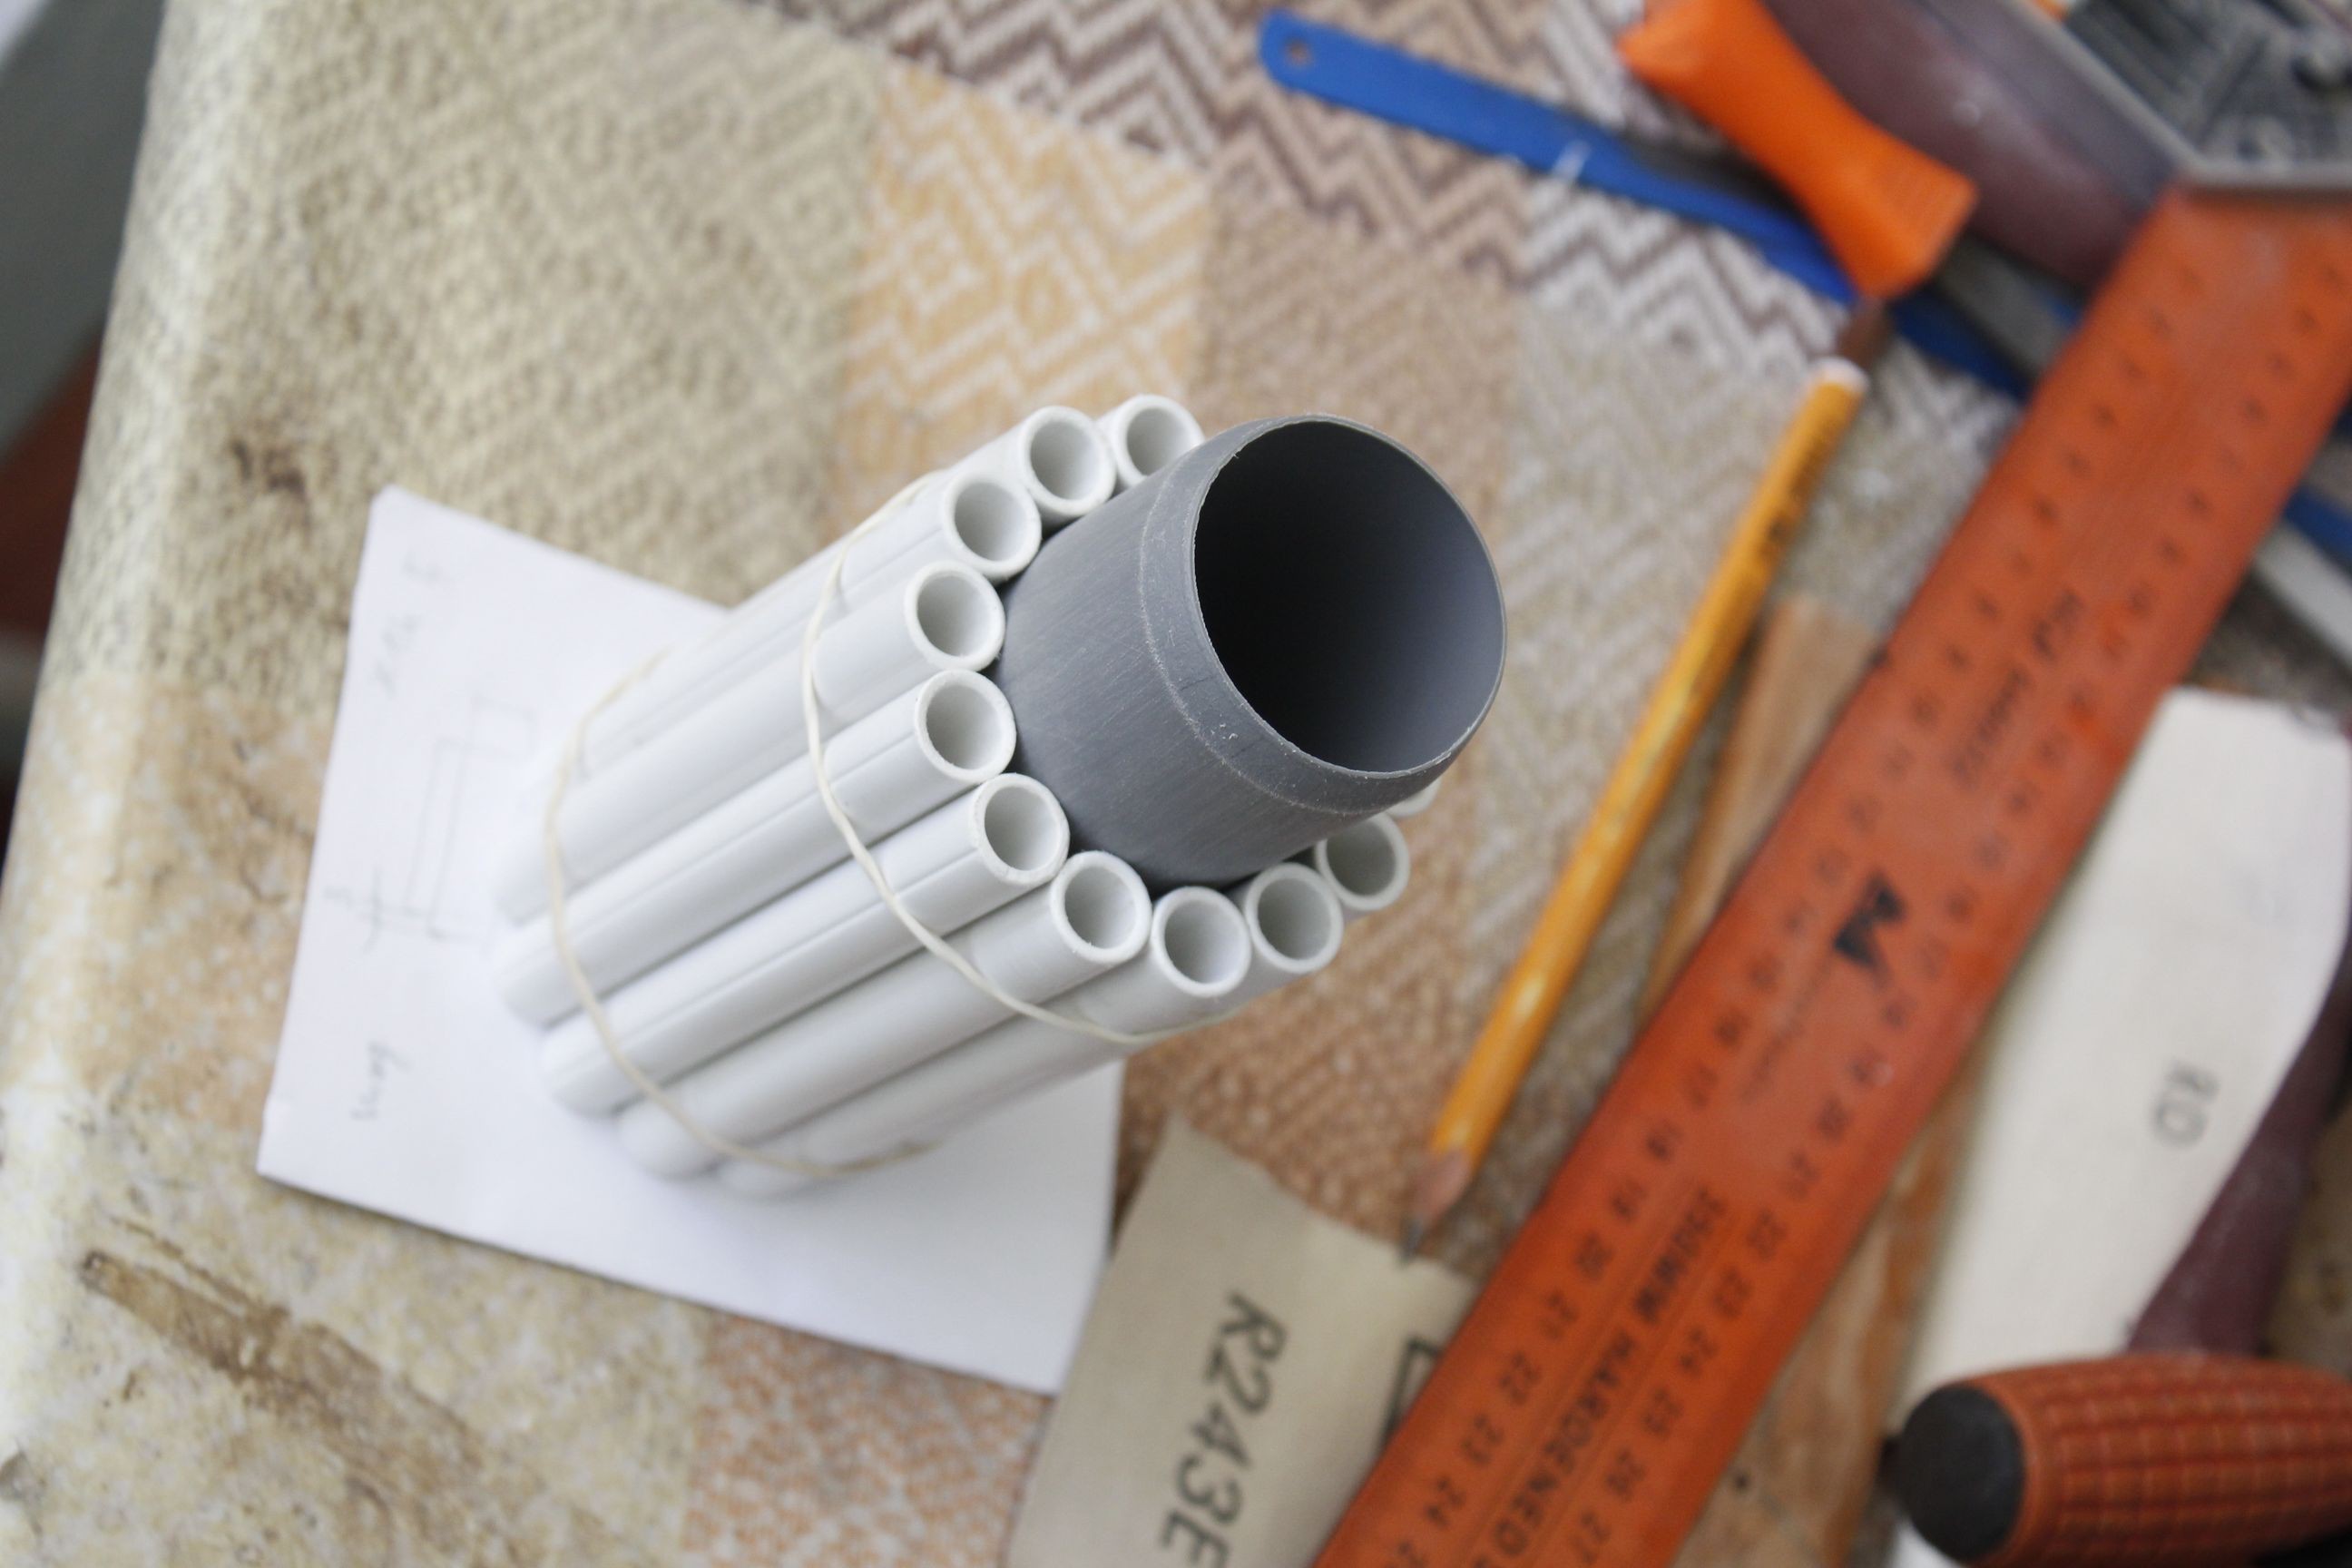
Ample use of the available tube stock when constructing the trigger group, with the rest of the parts being fabricated out of sheet metal, rod and bolts.
-
Log 3
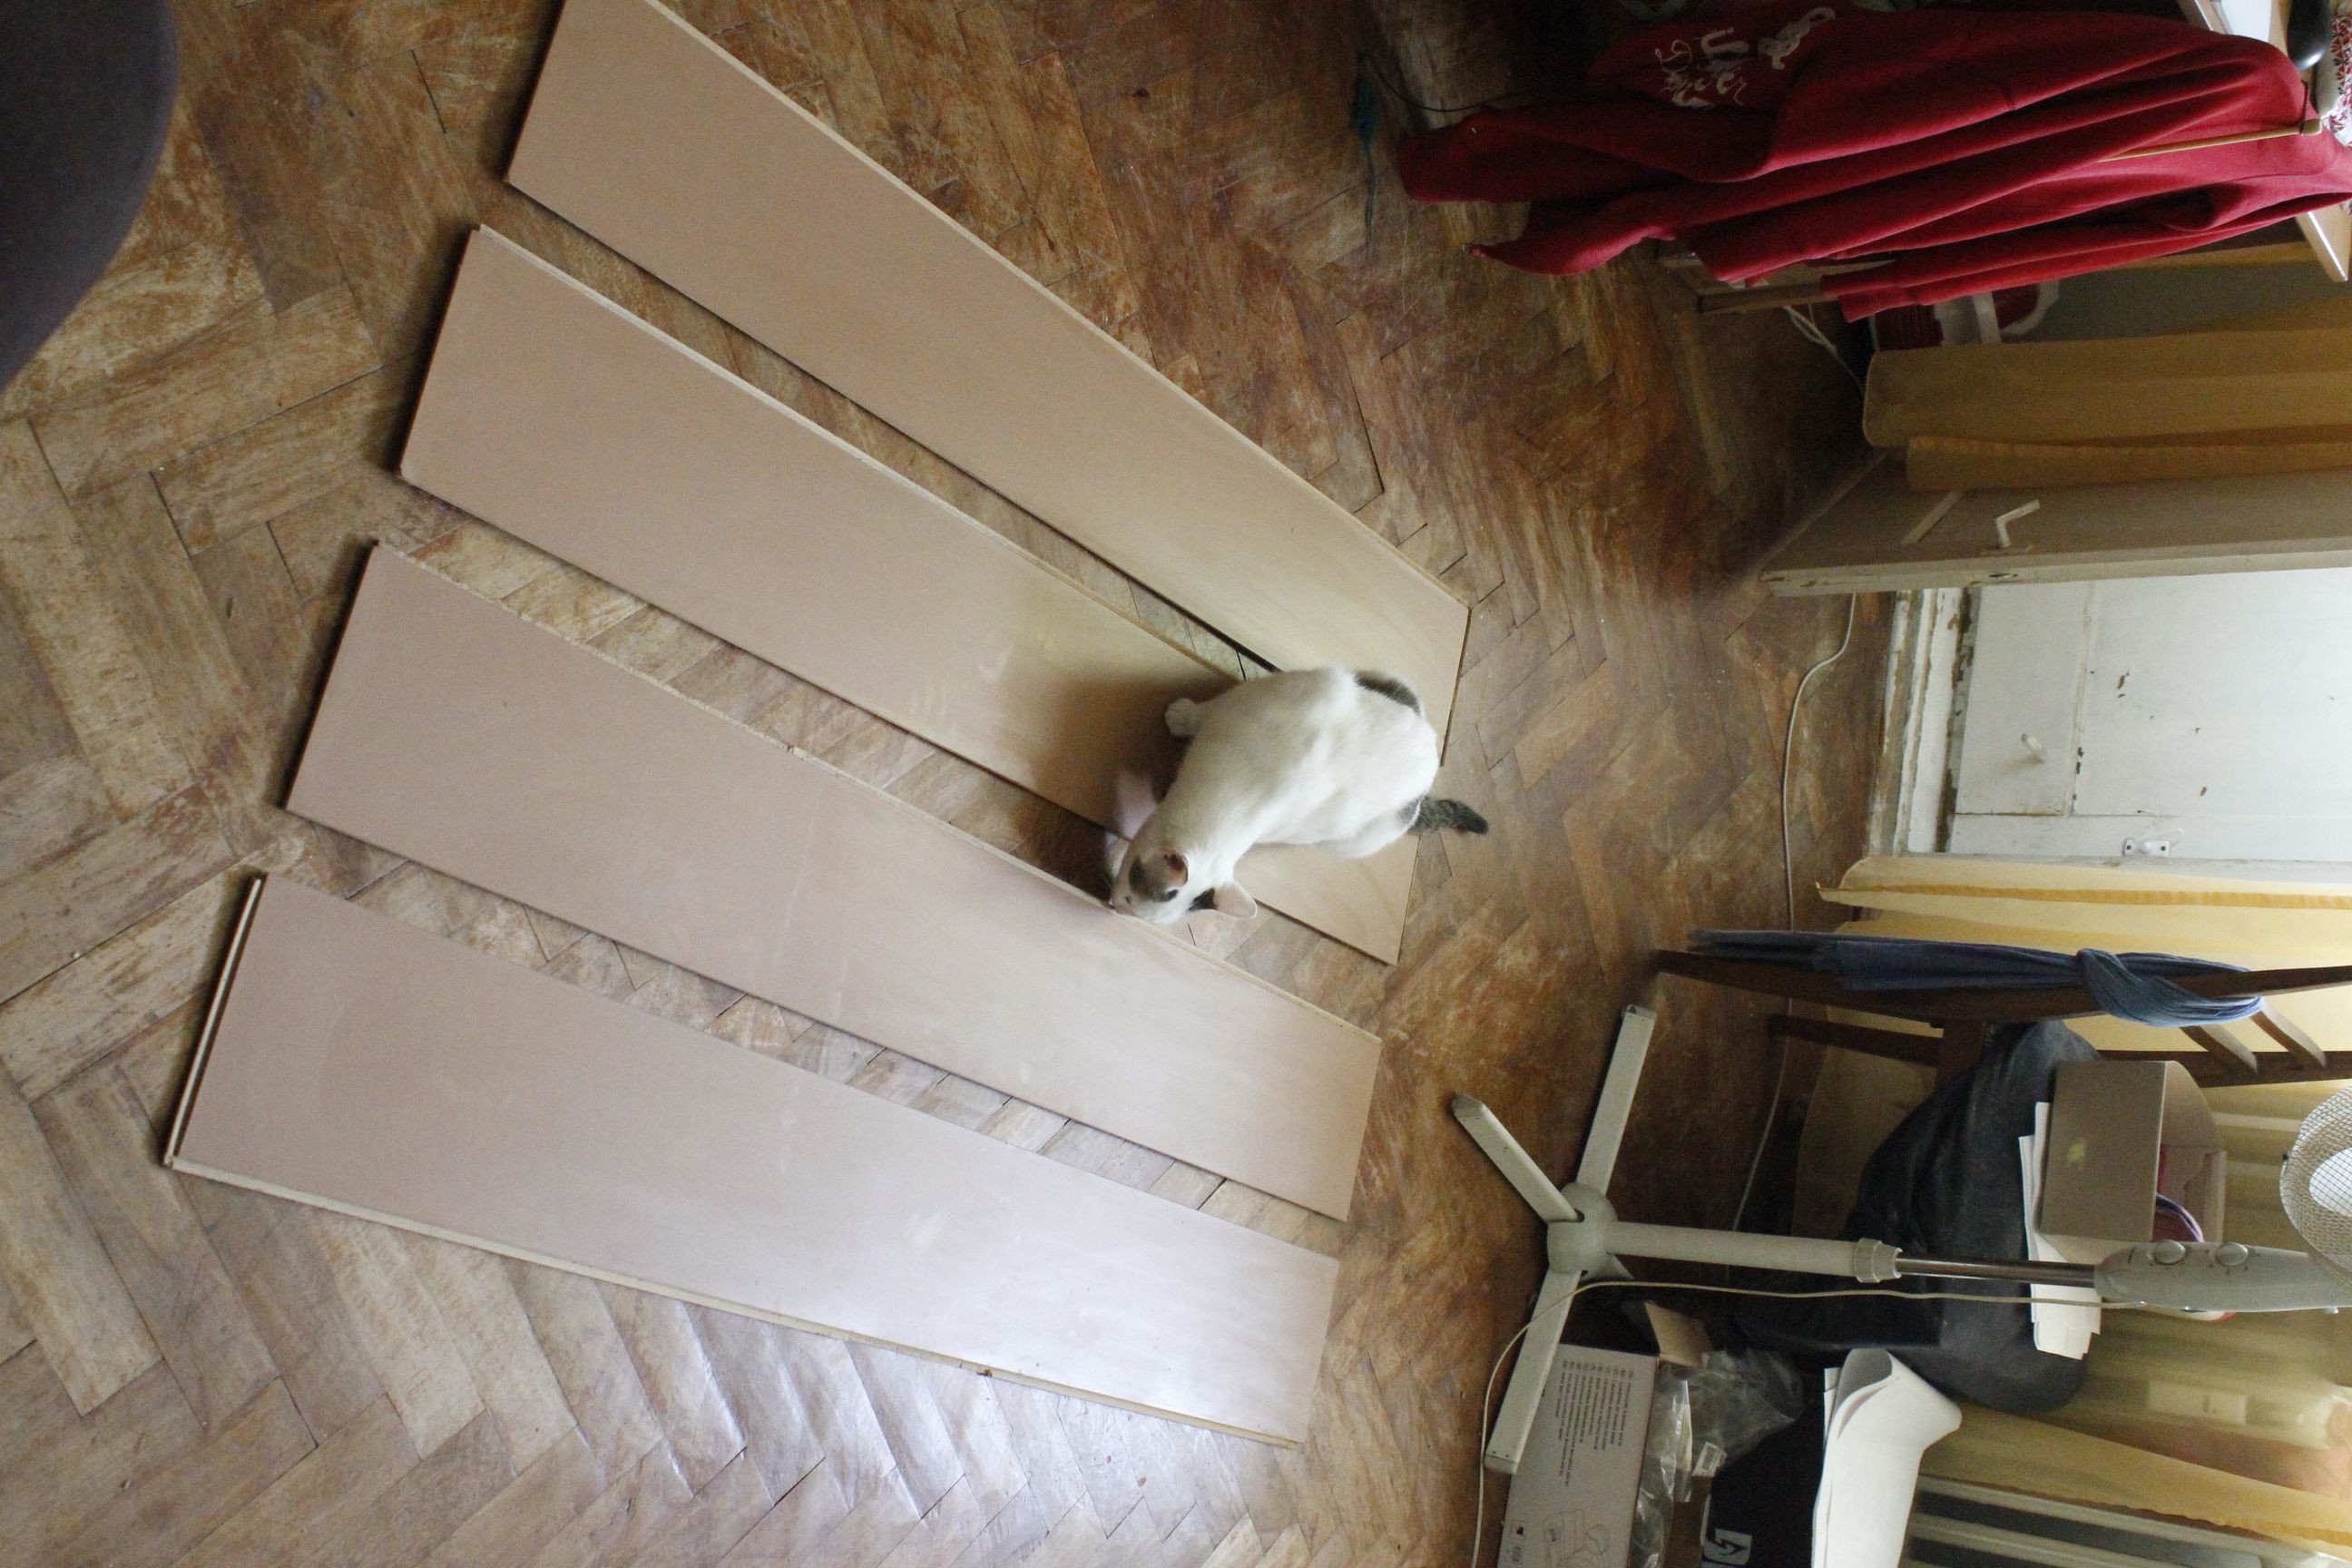
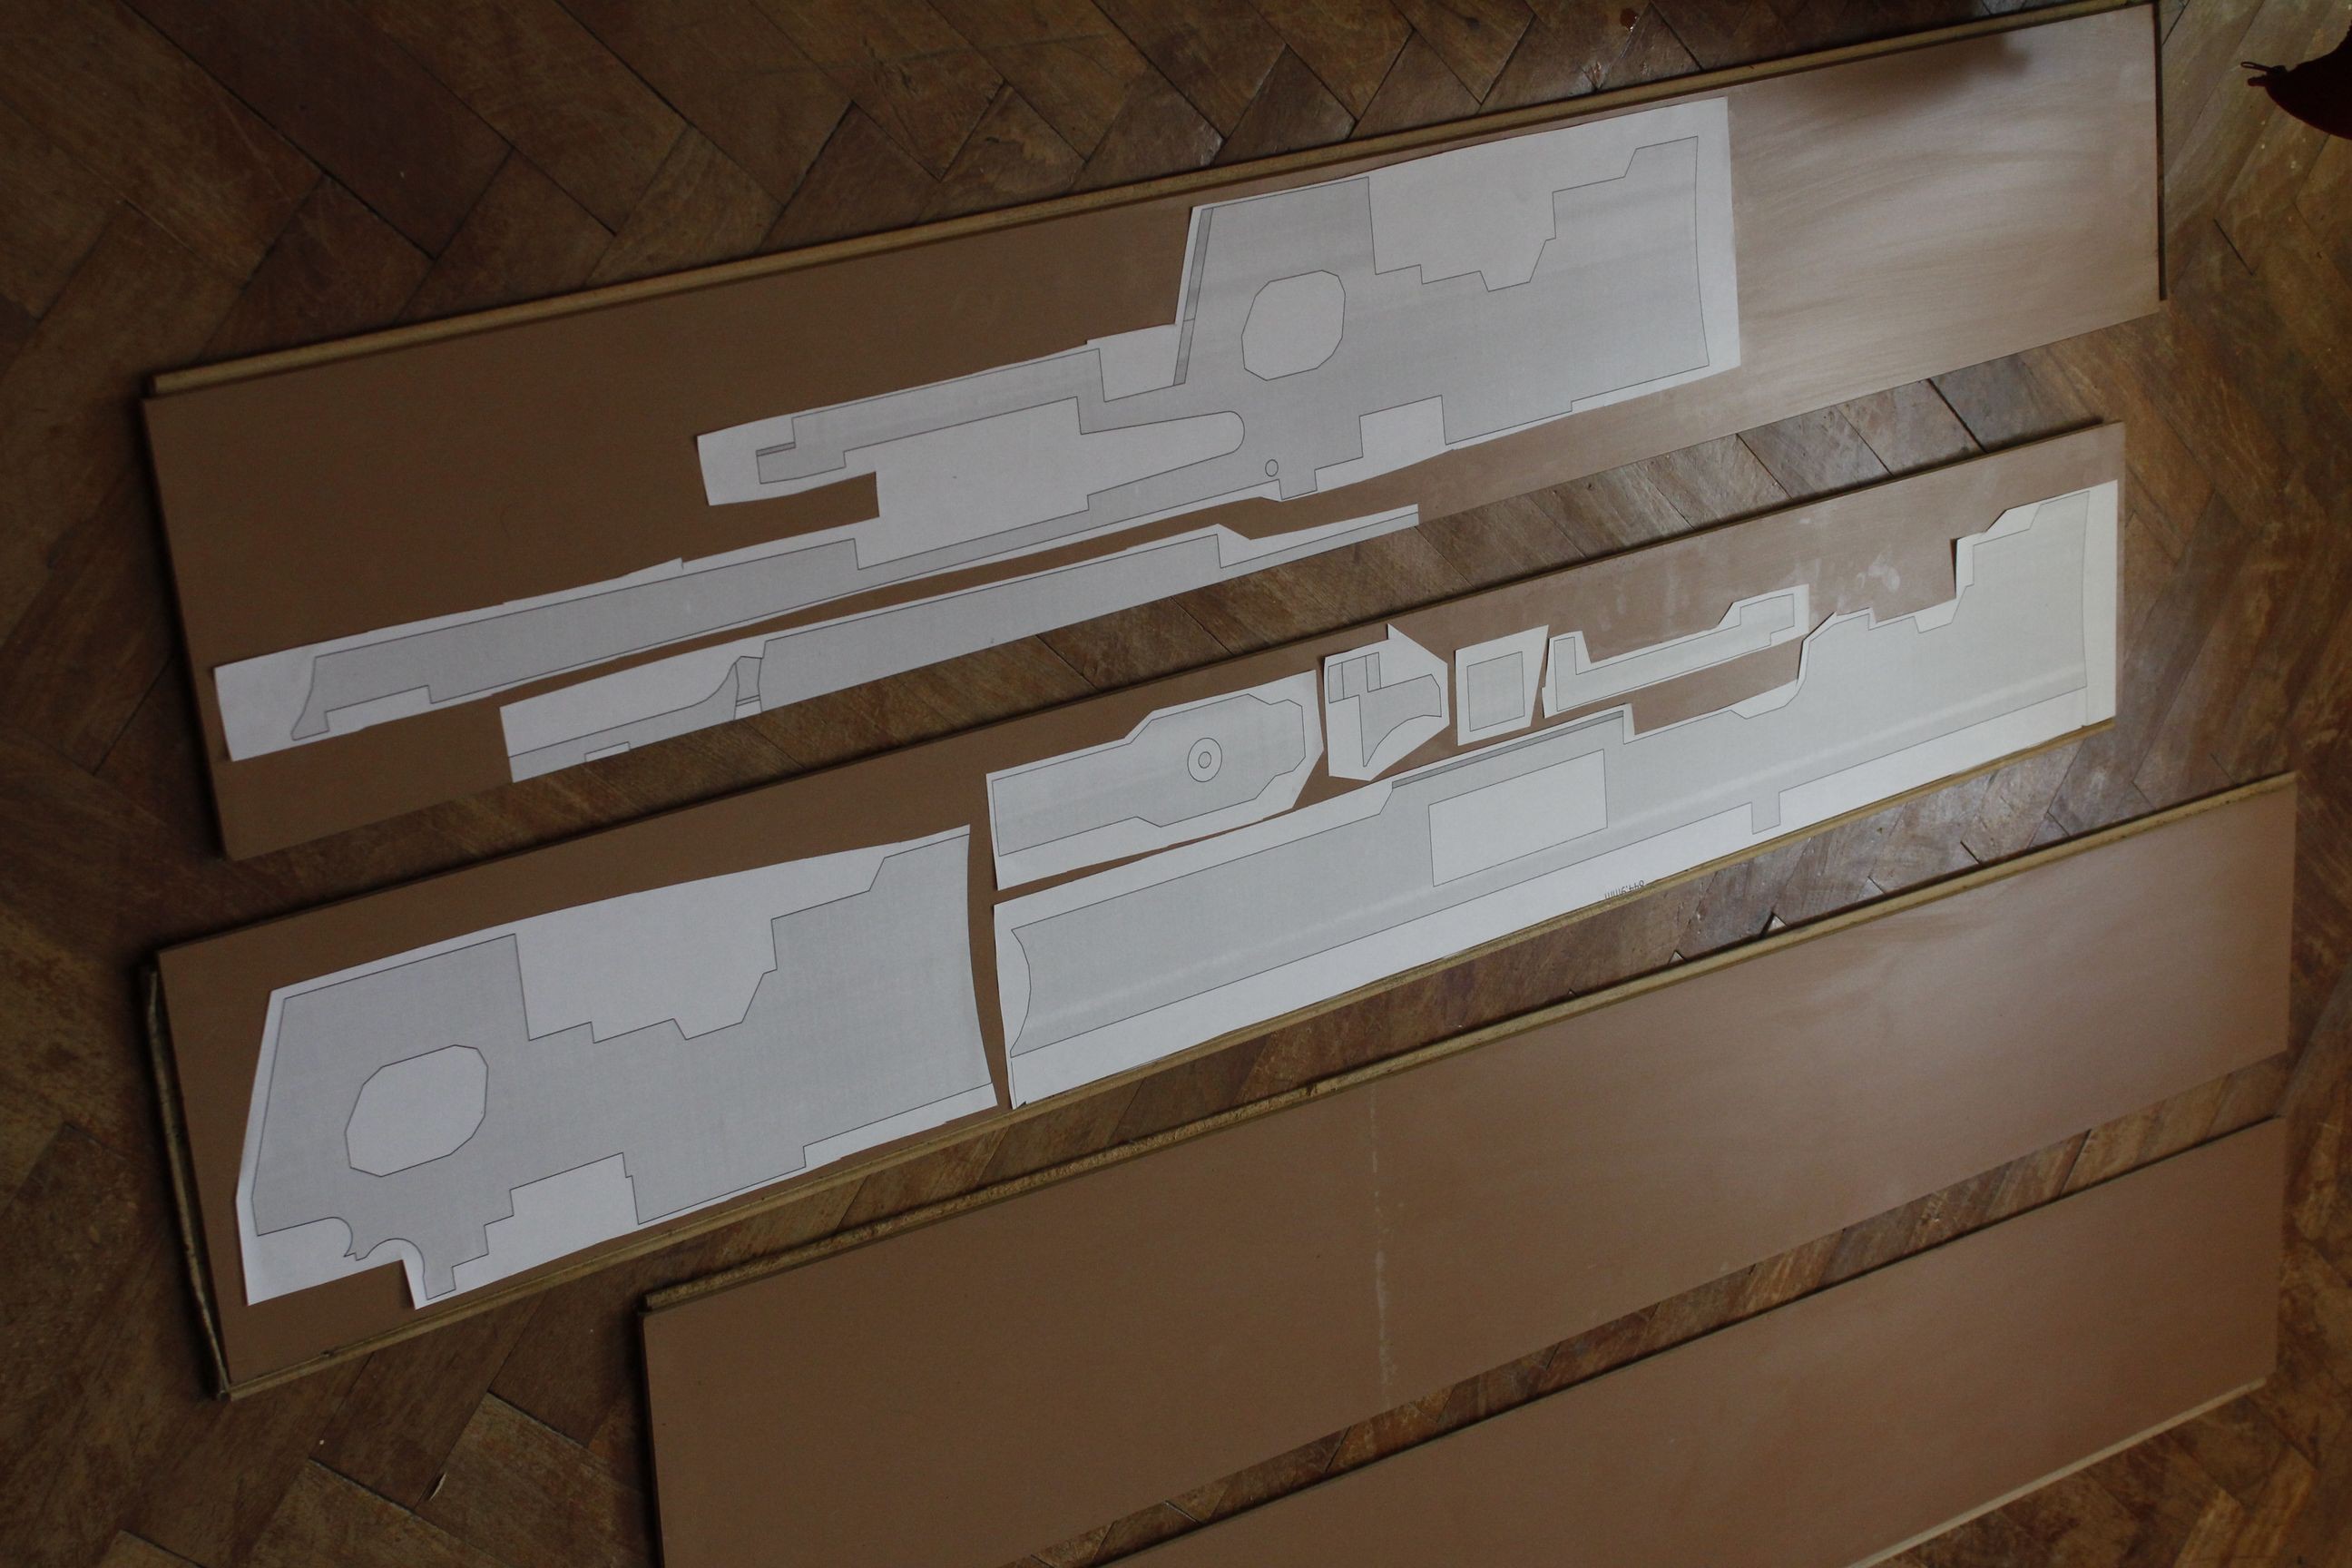
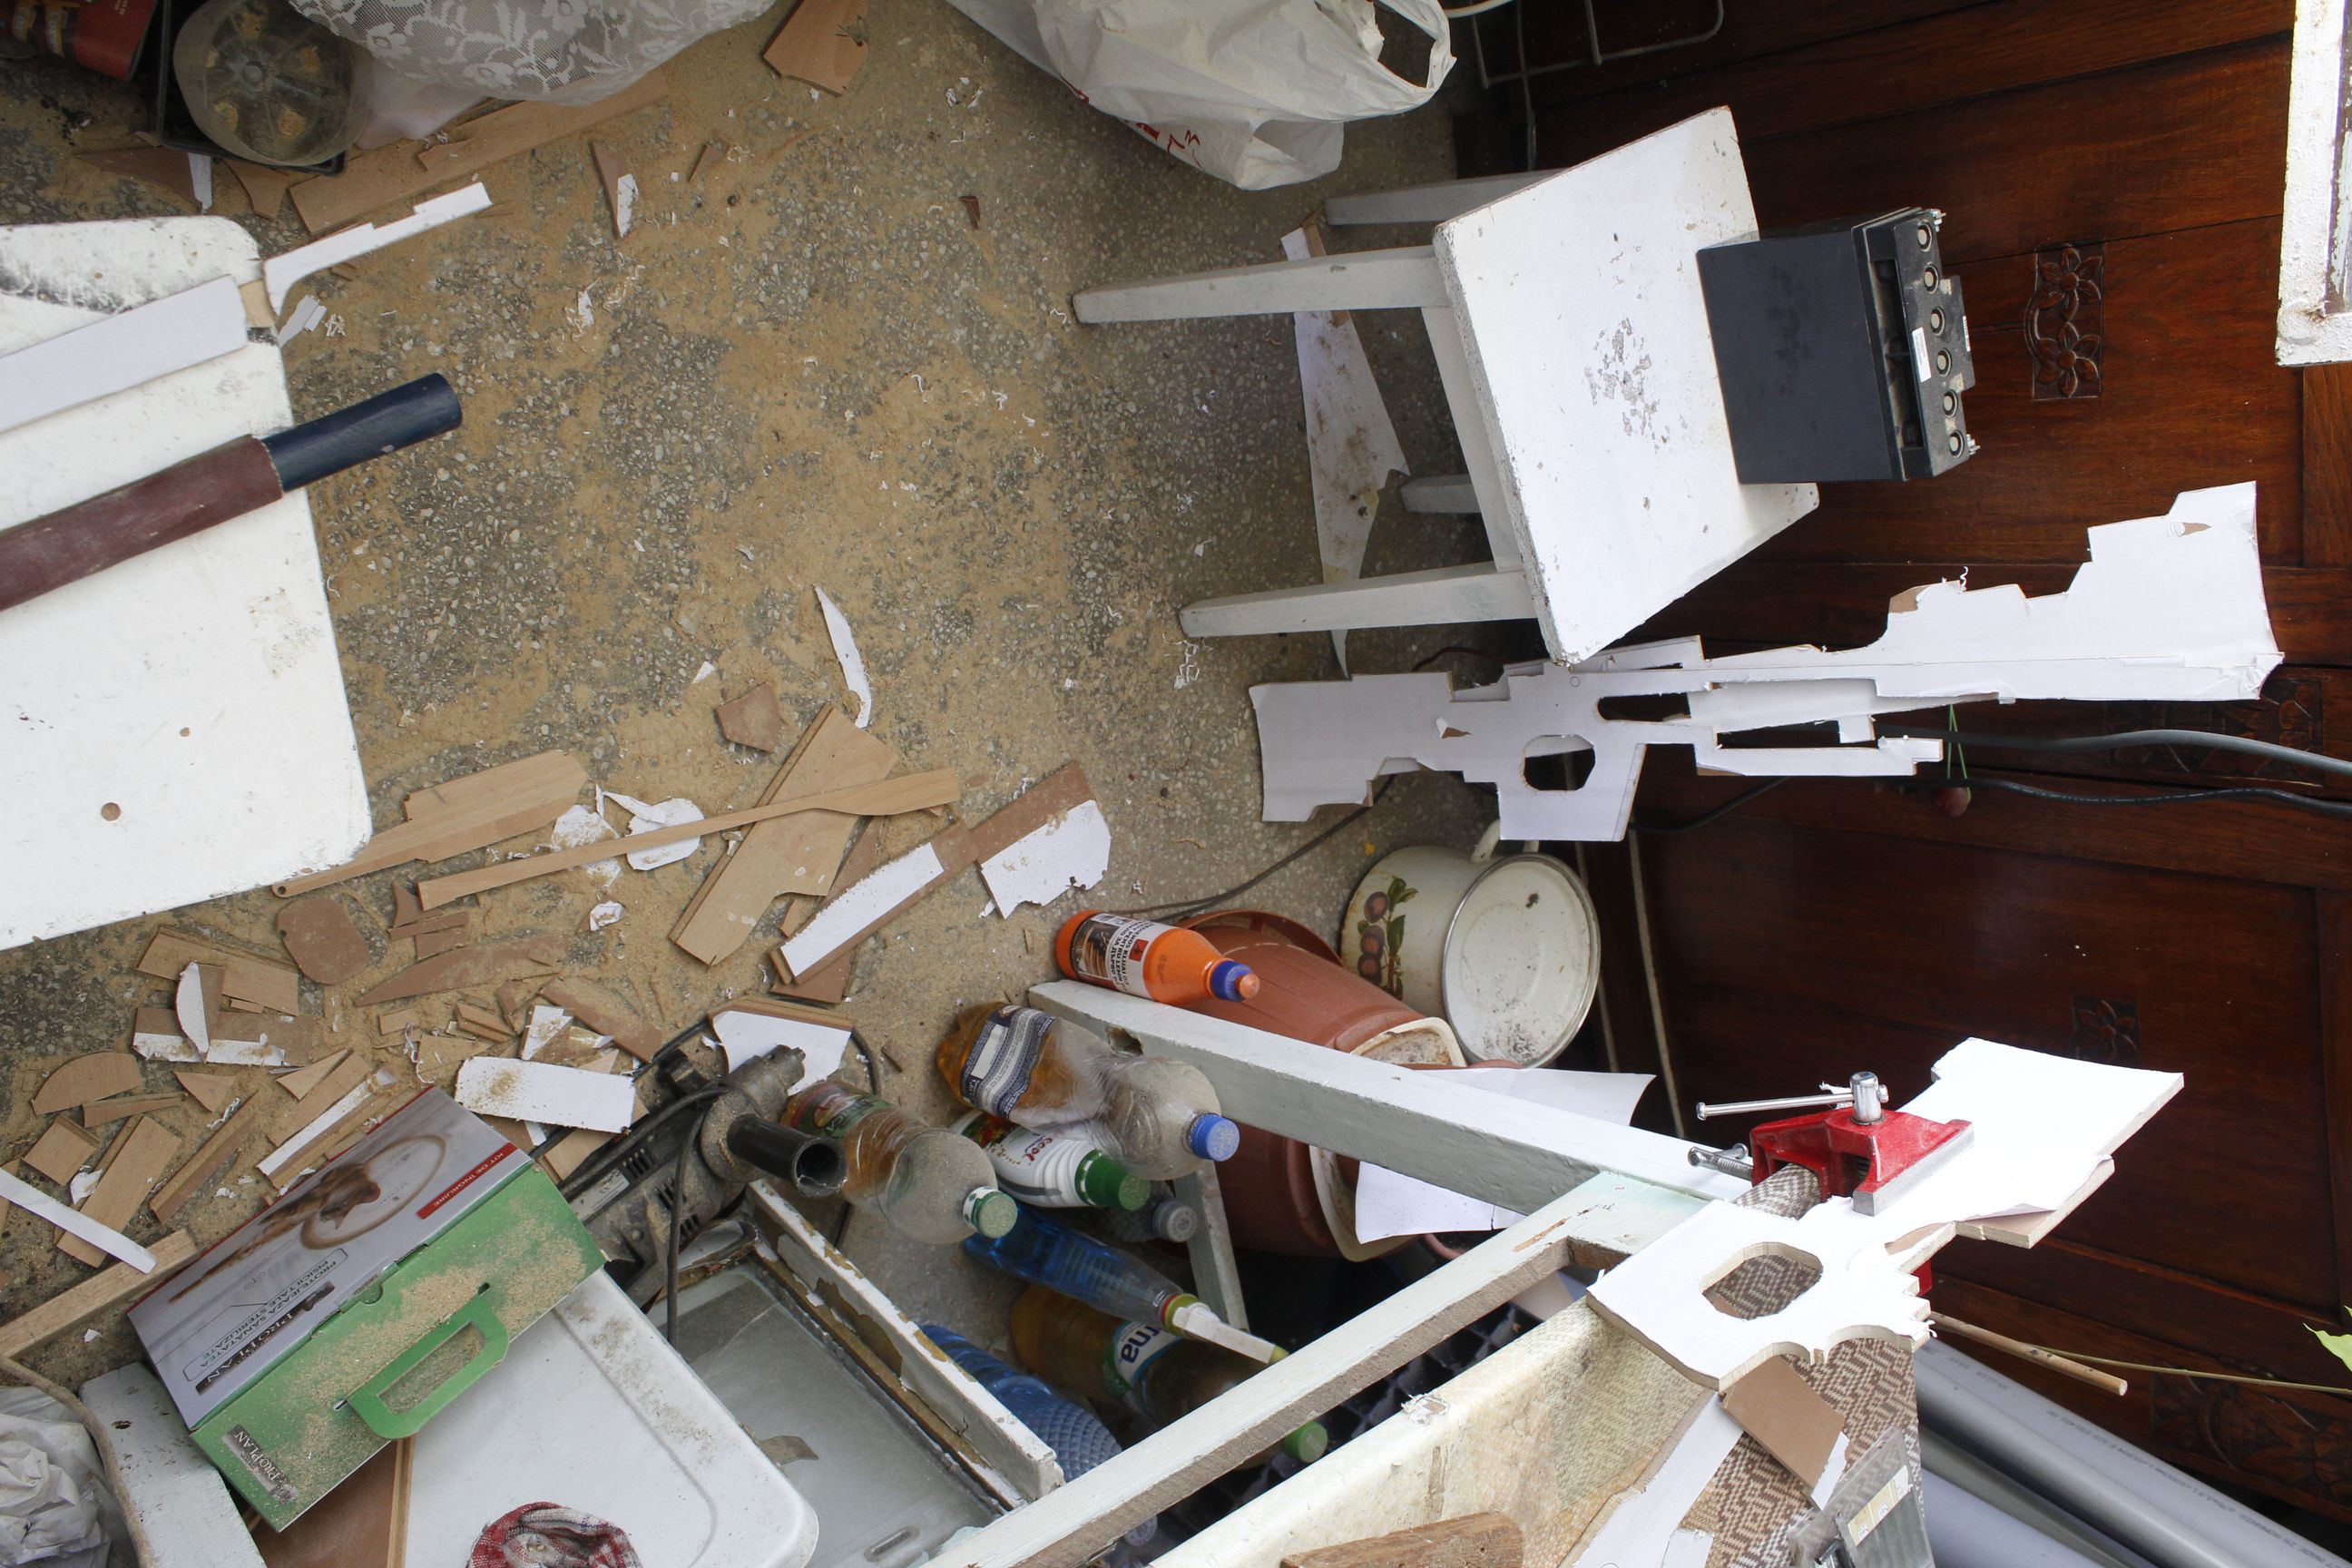
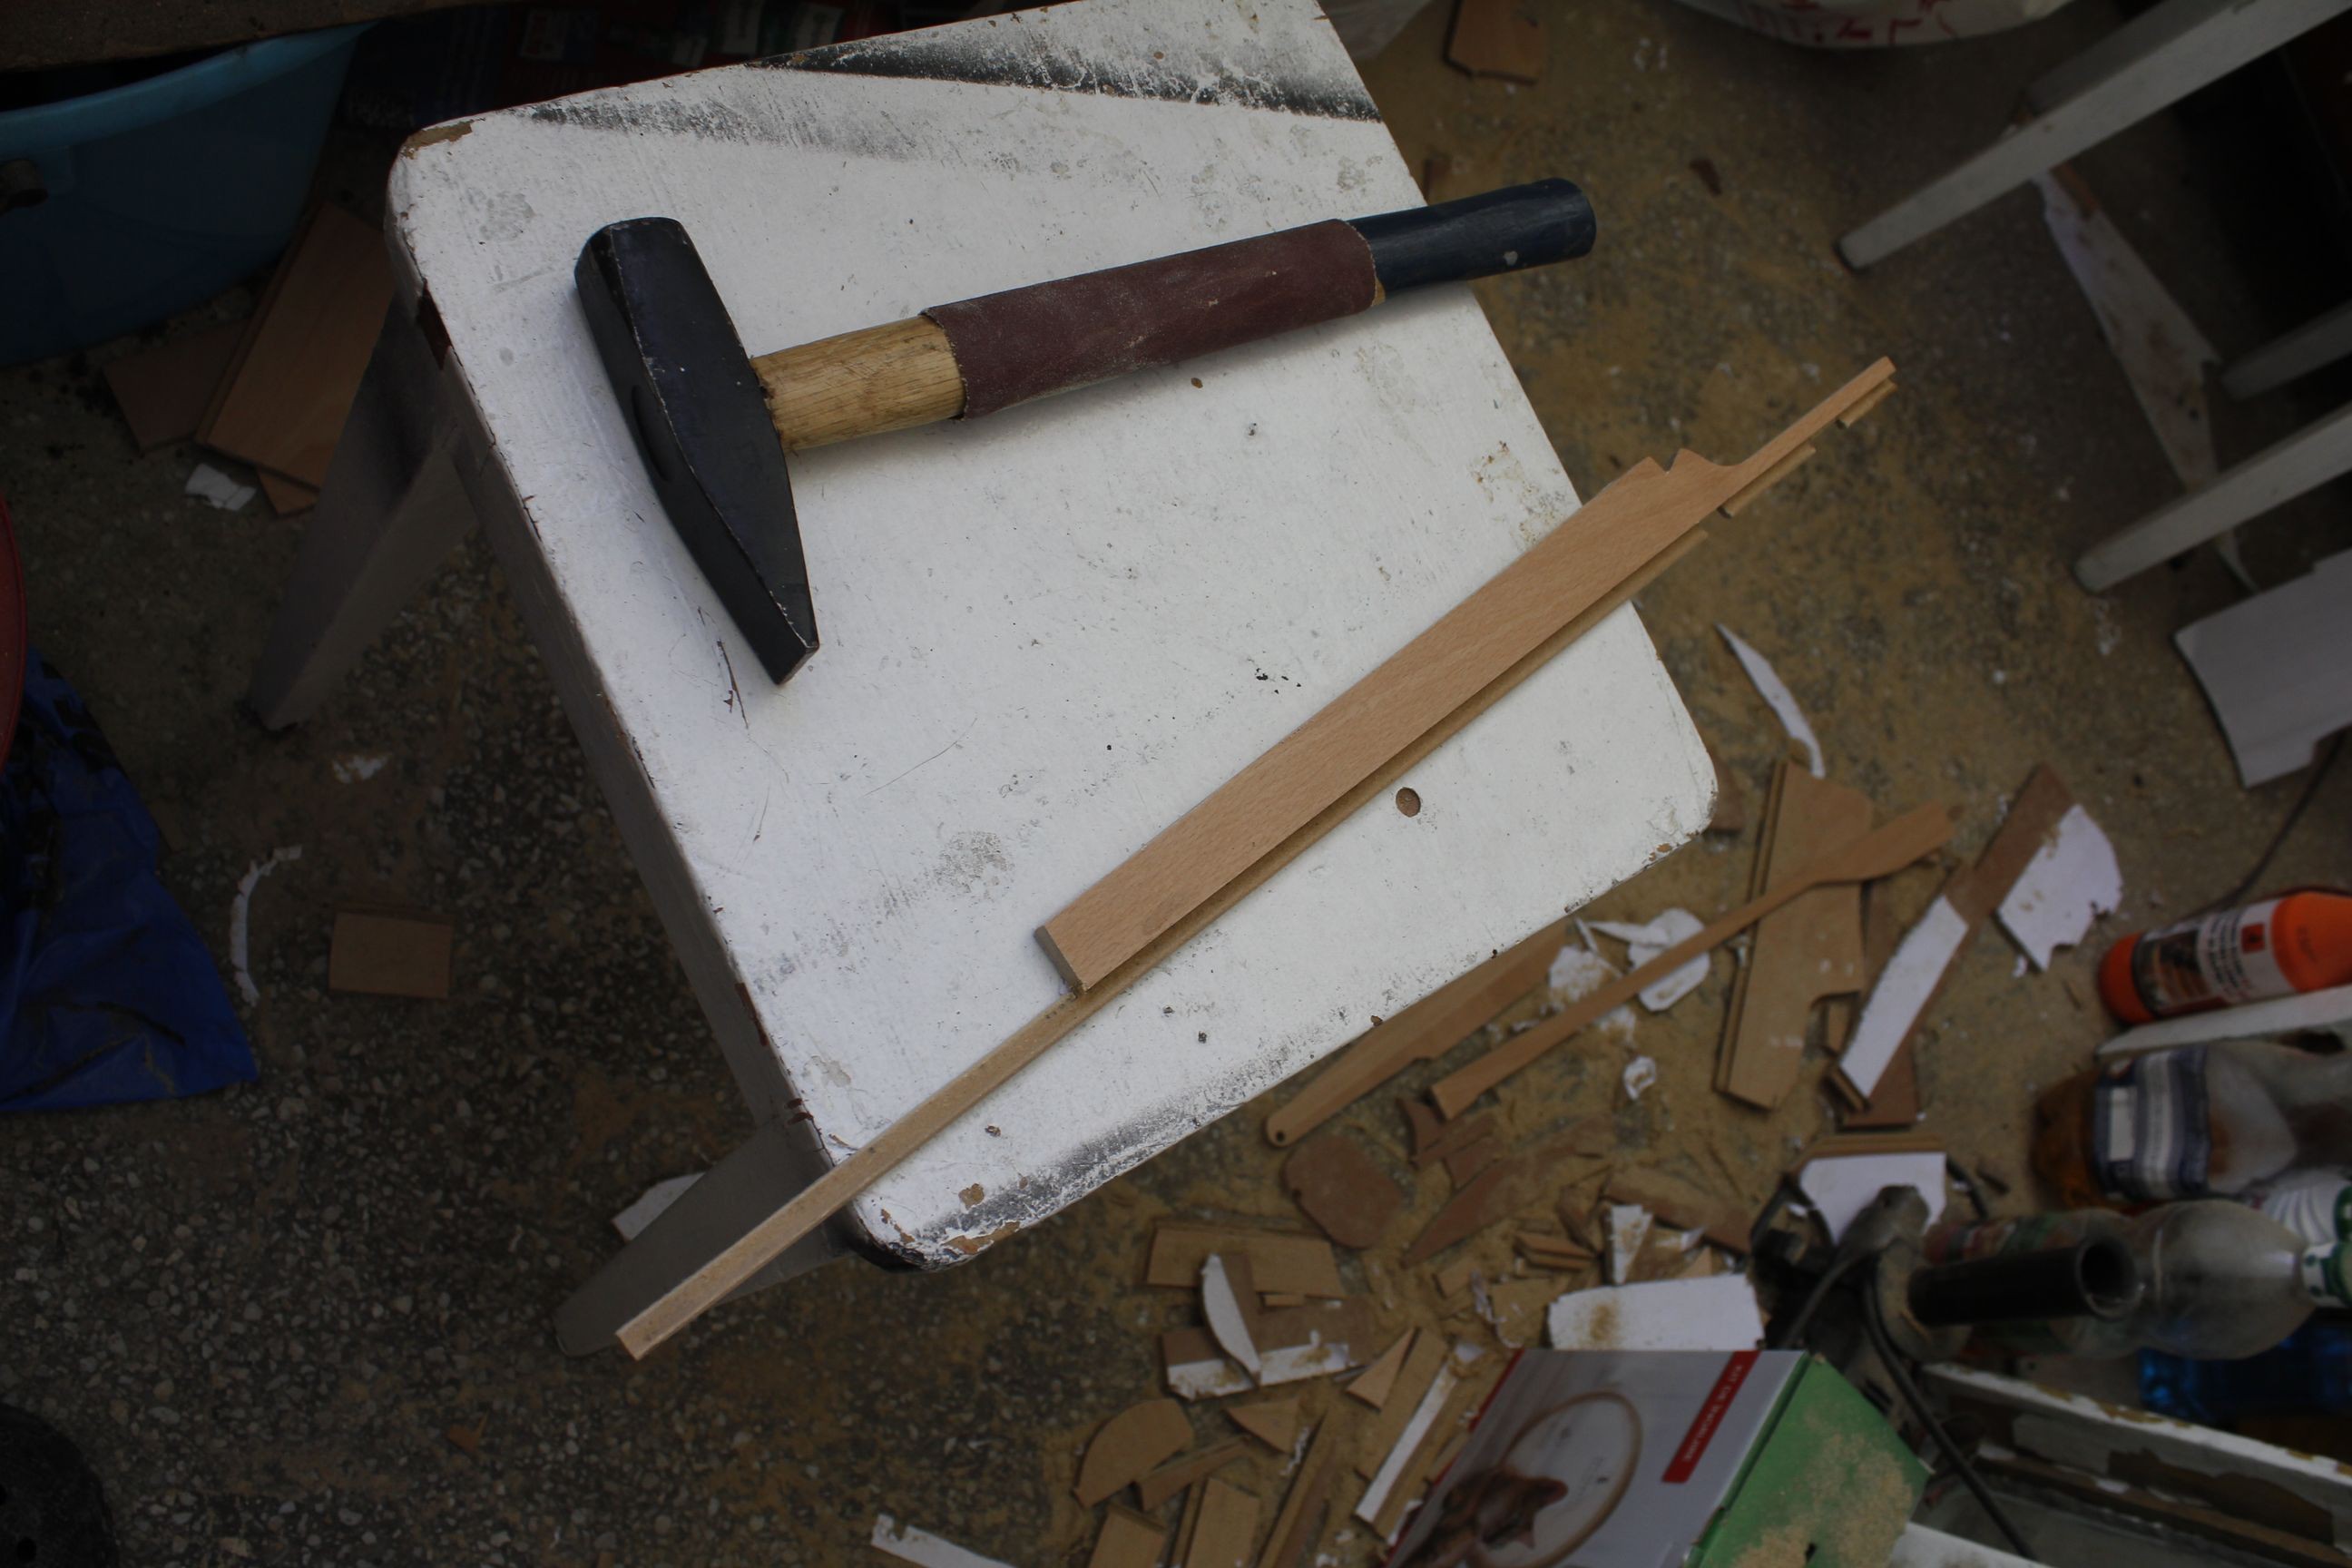
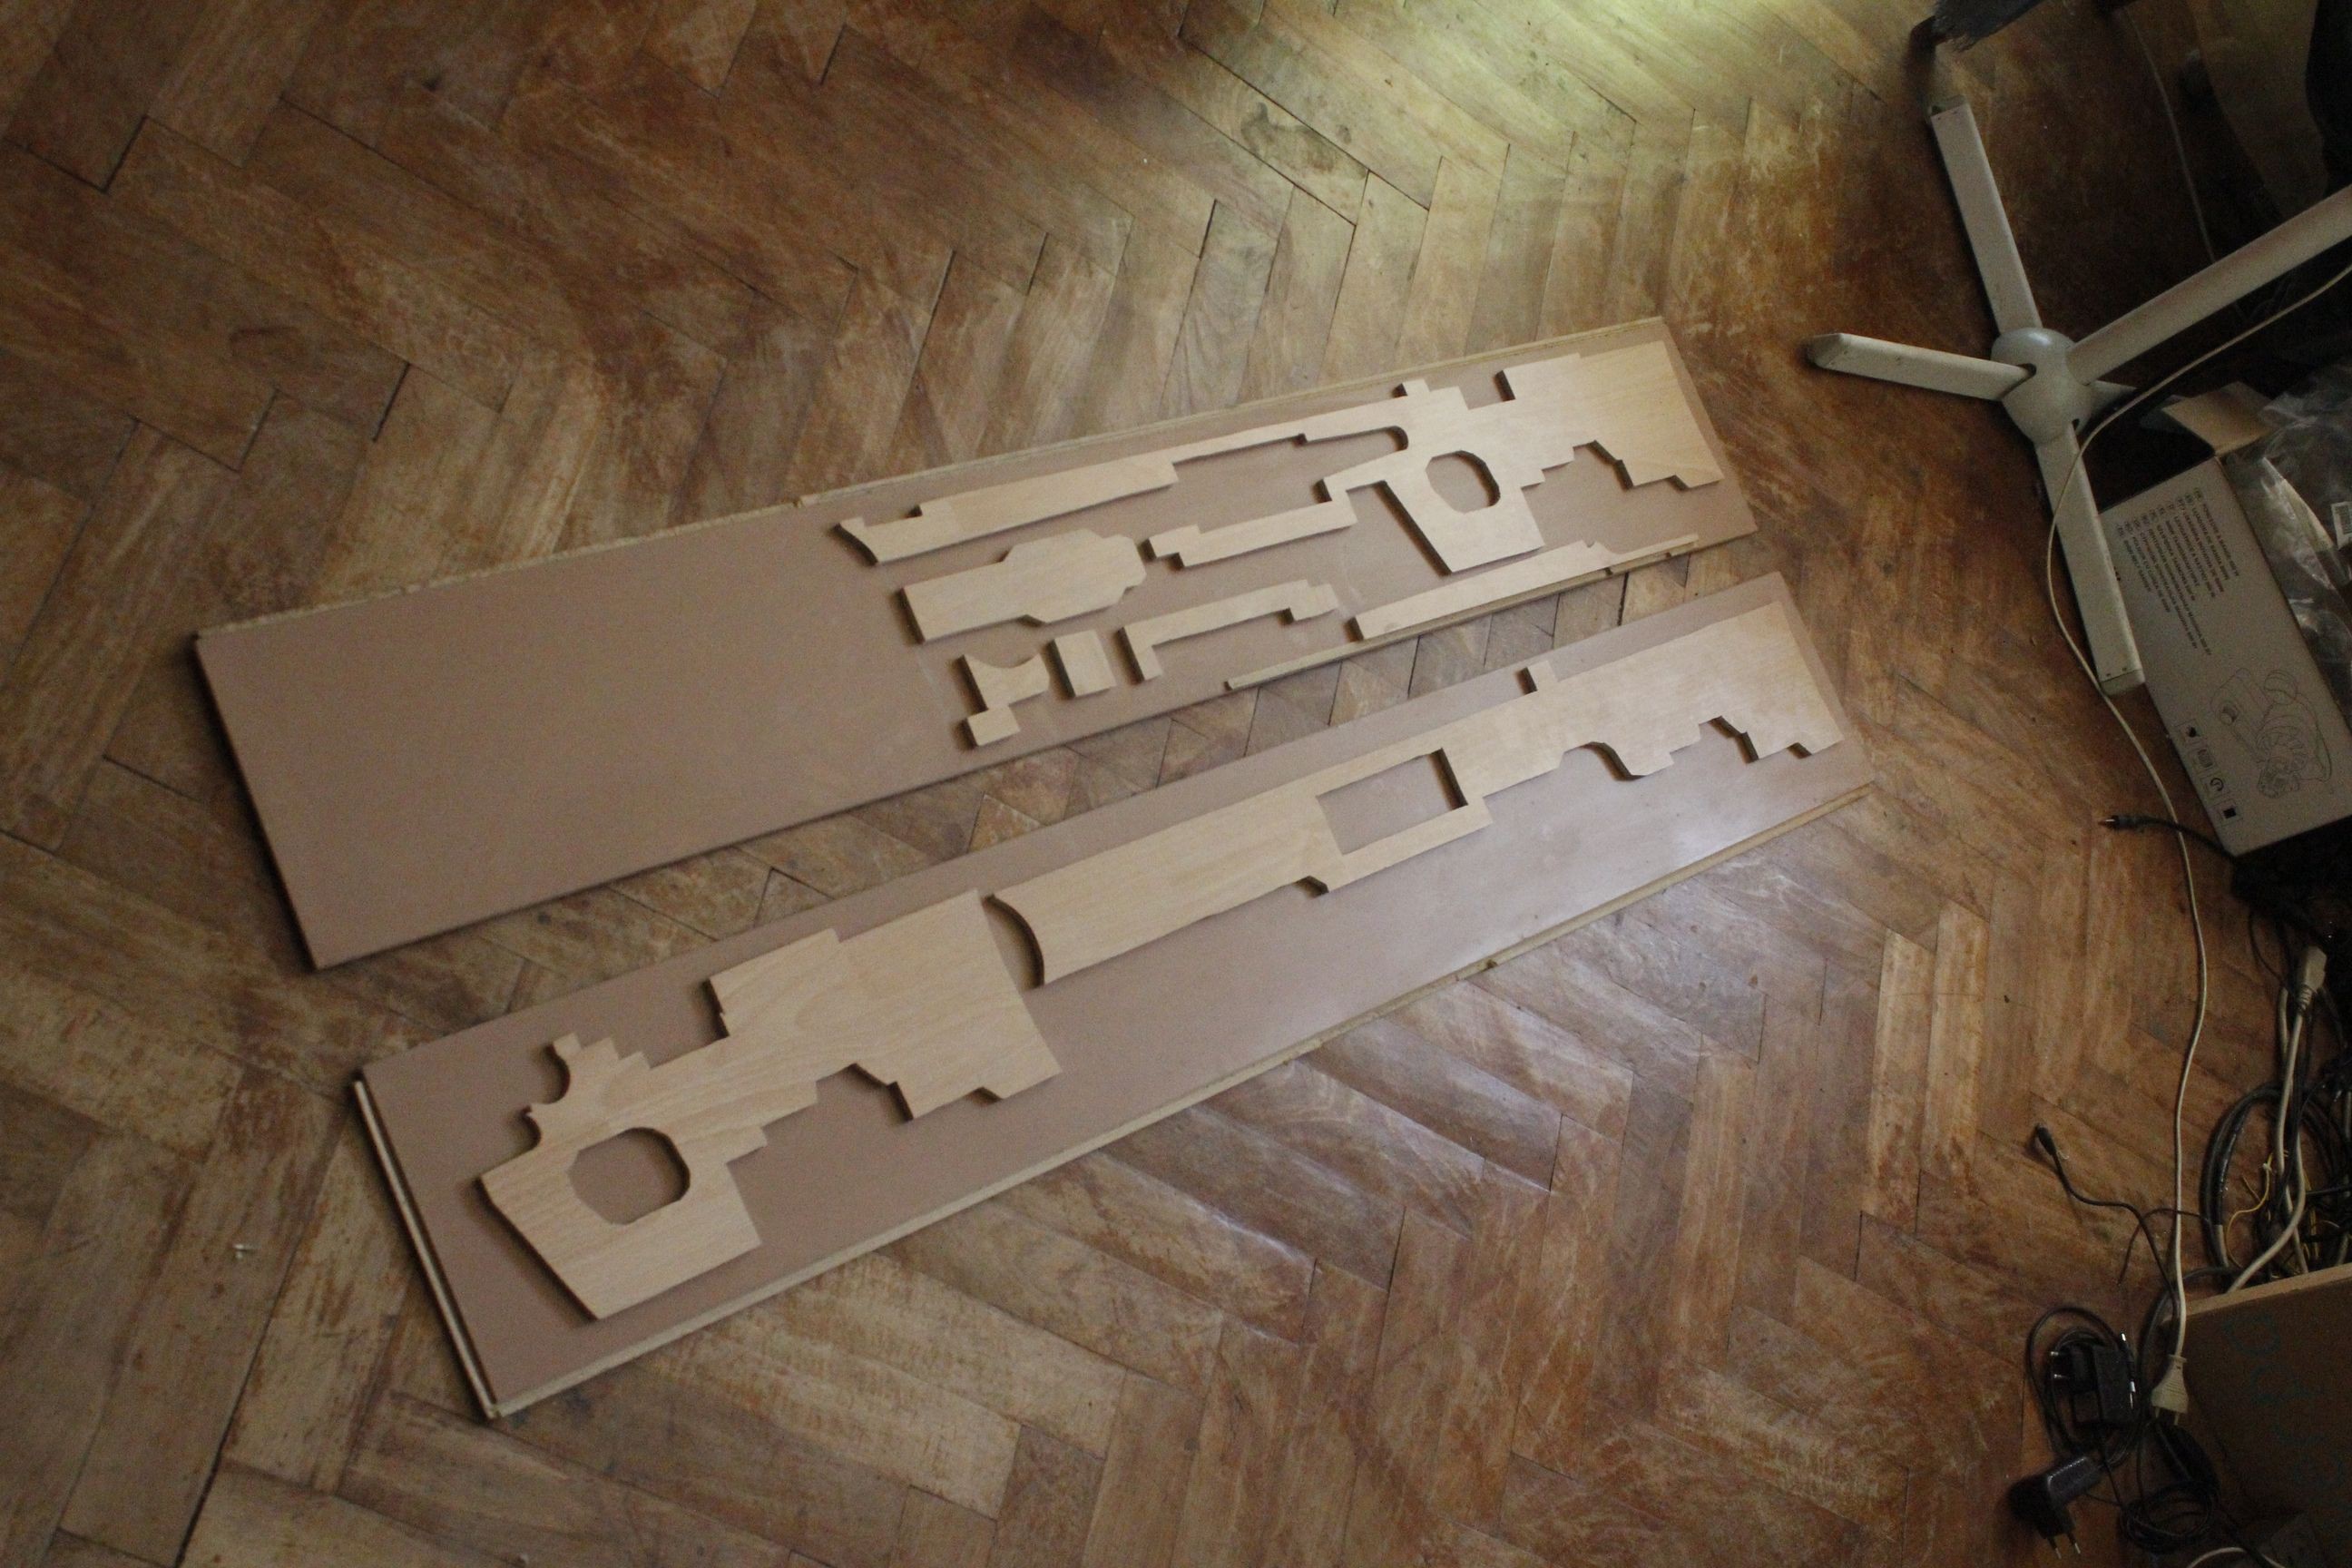
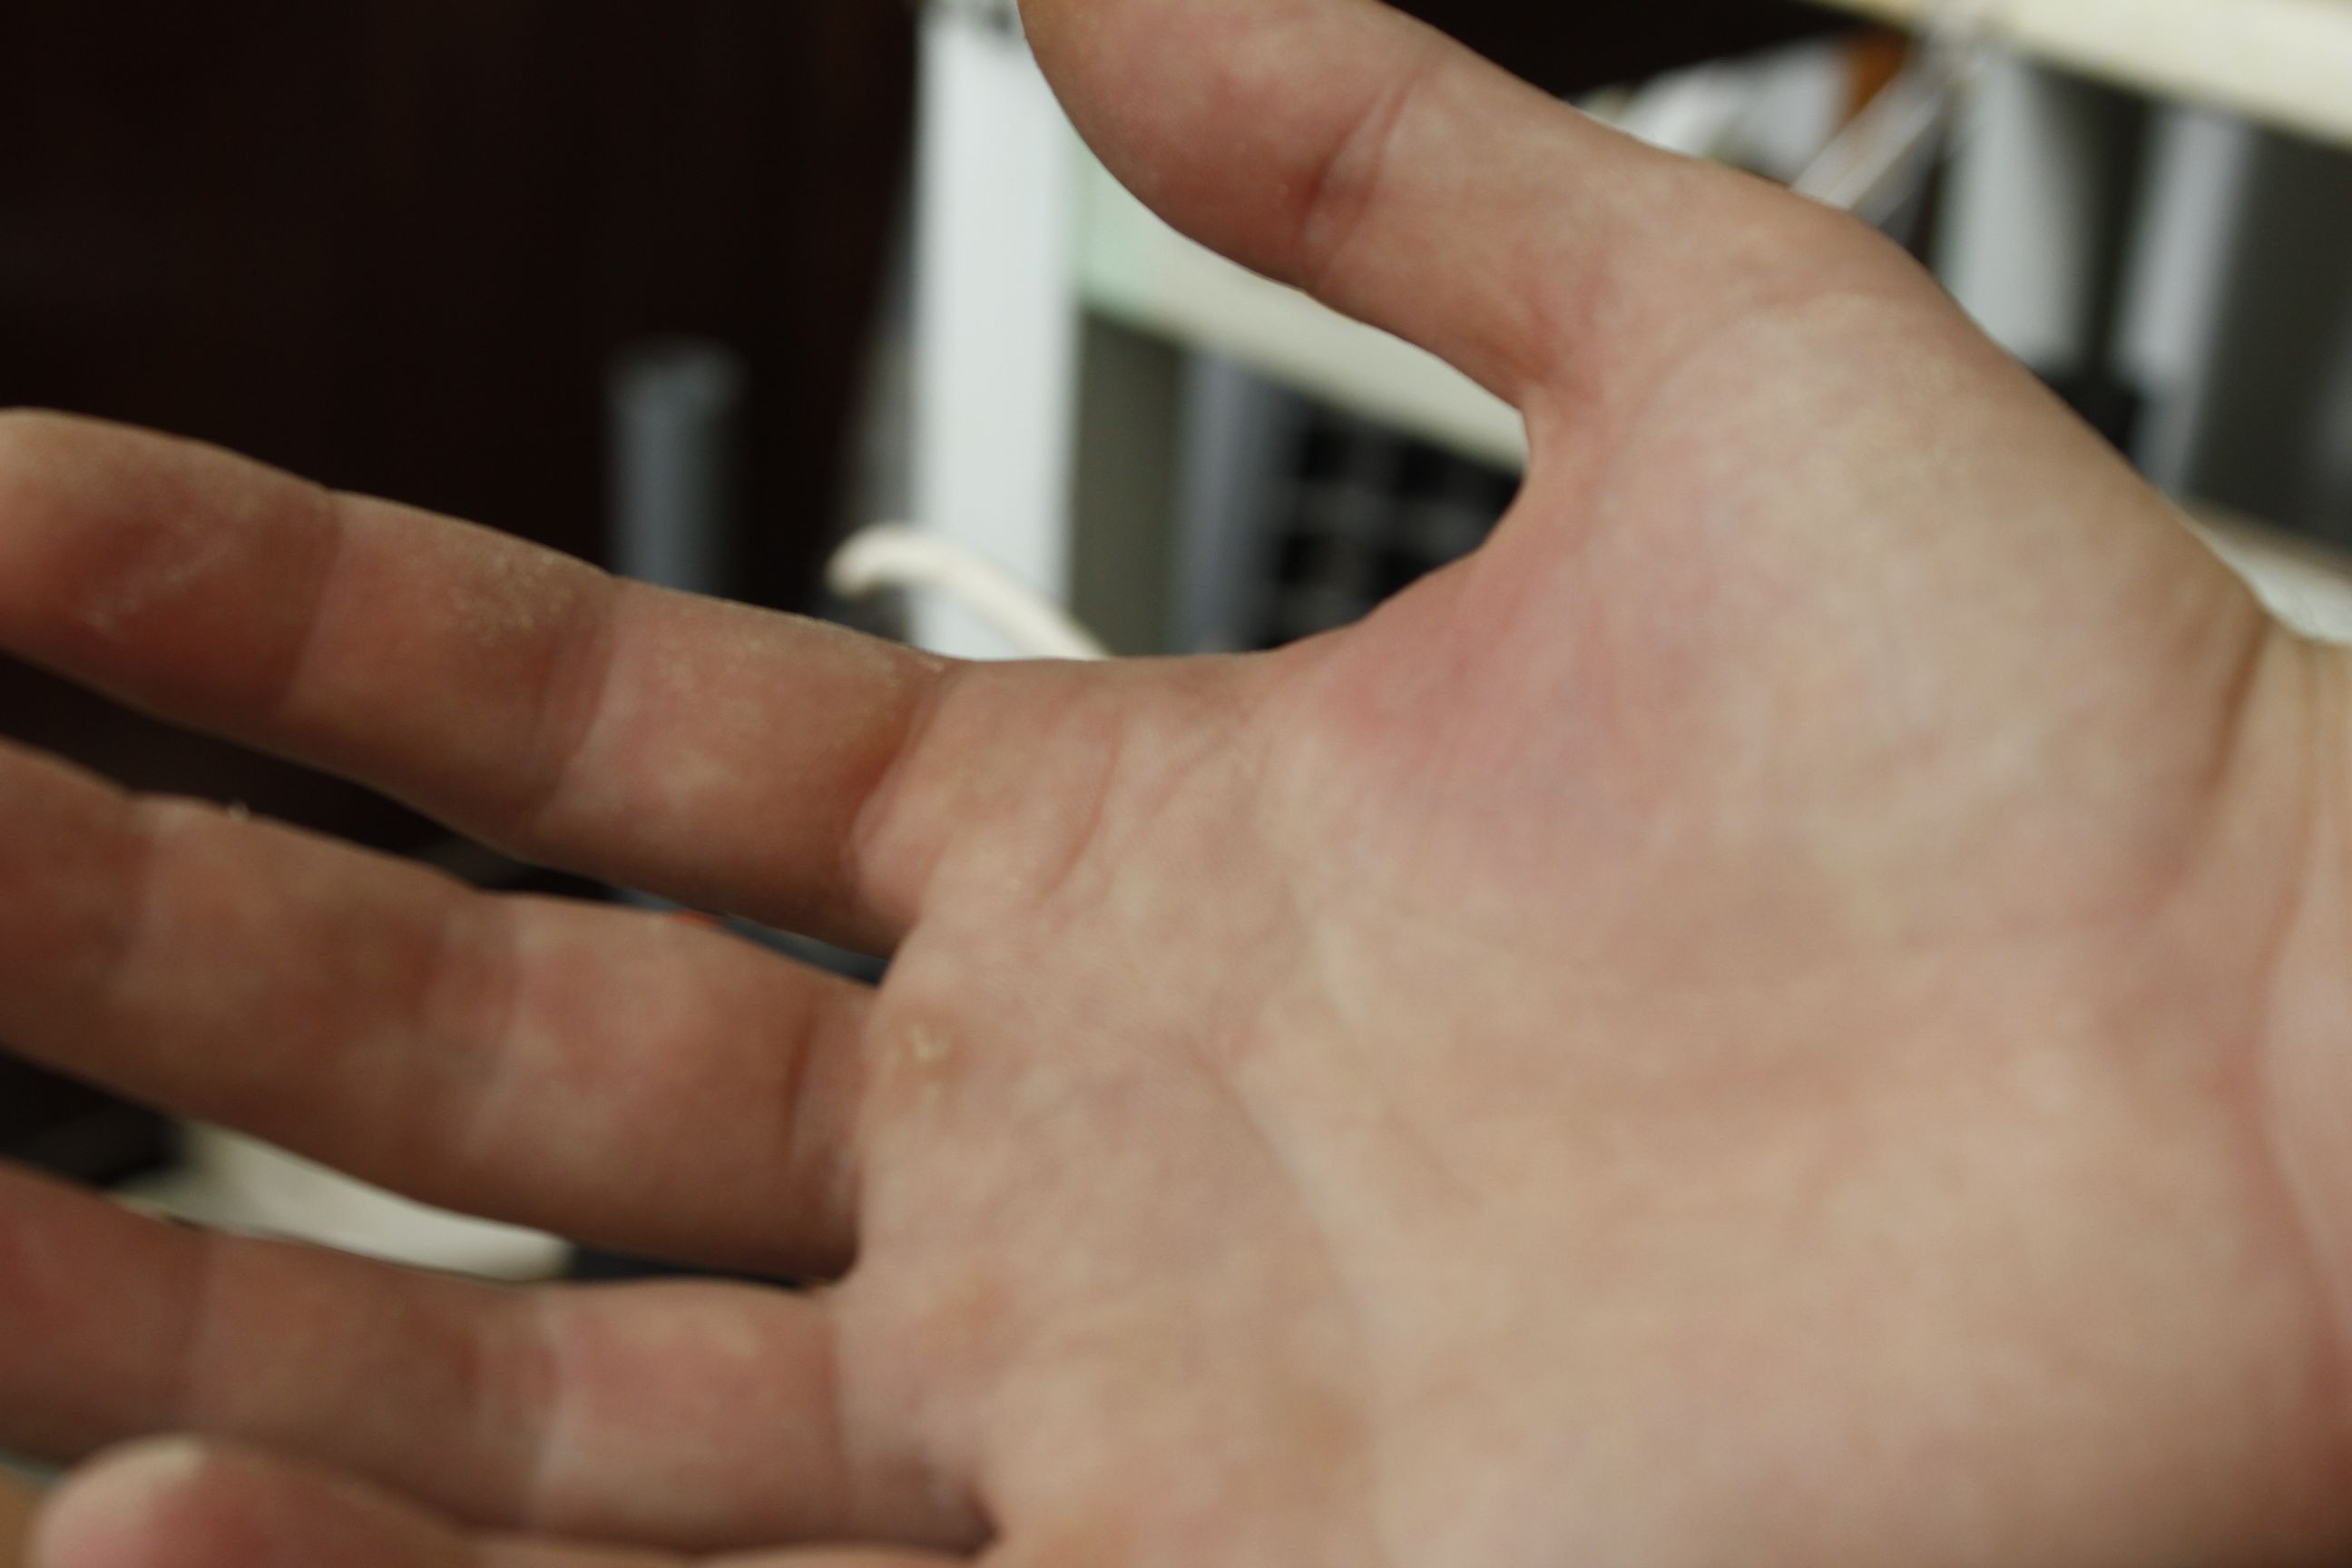
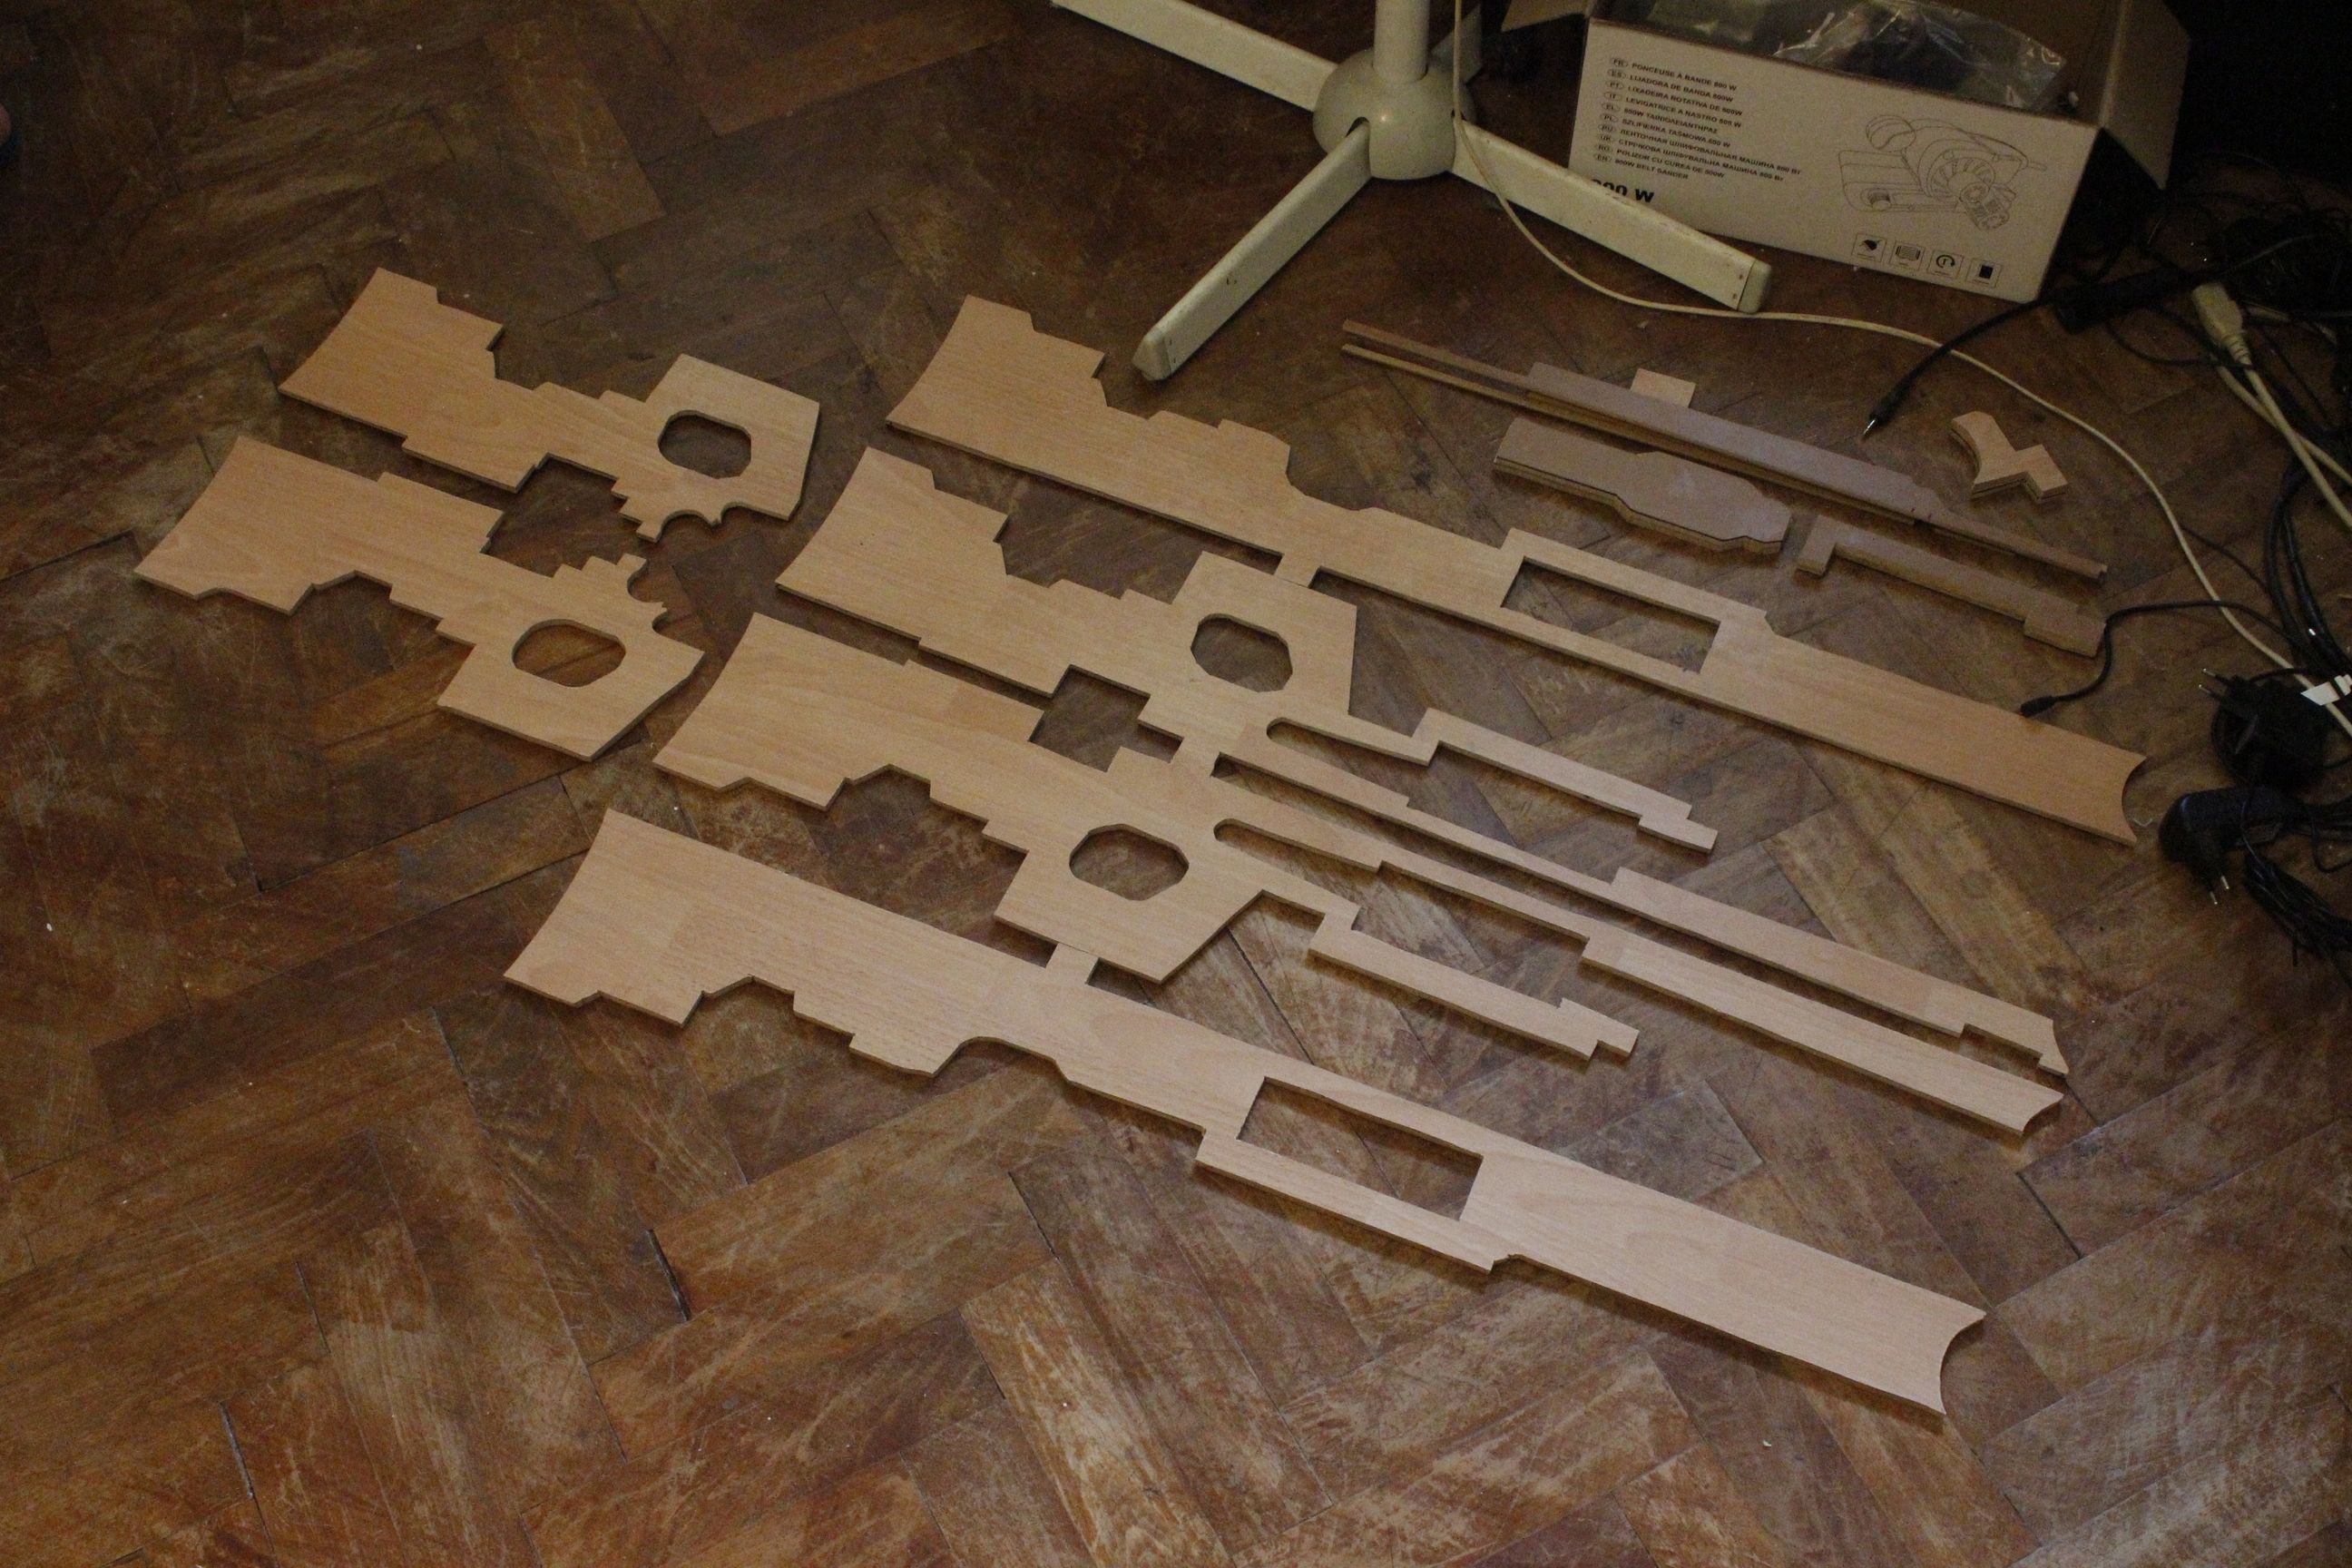
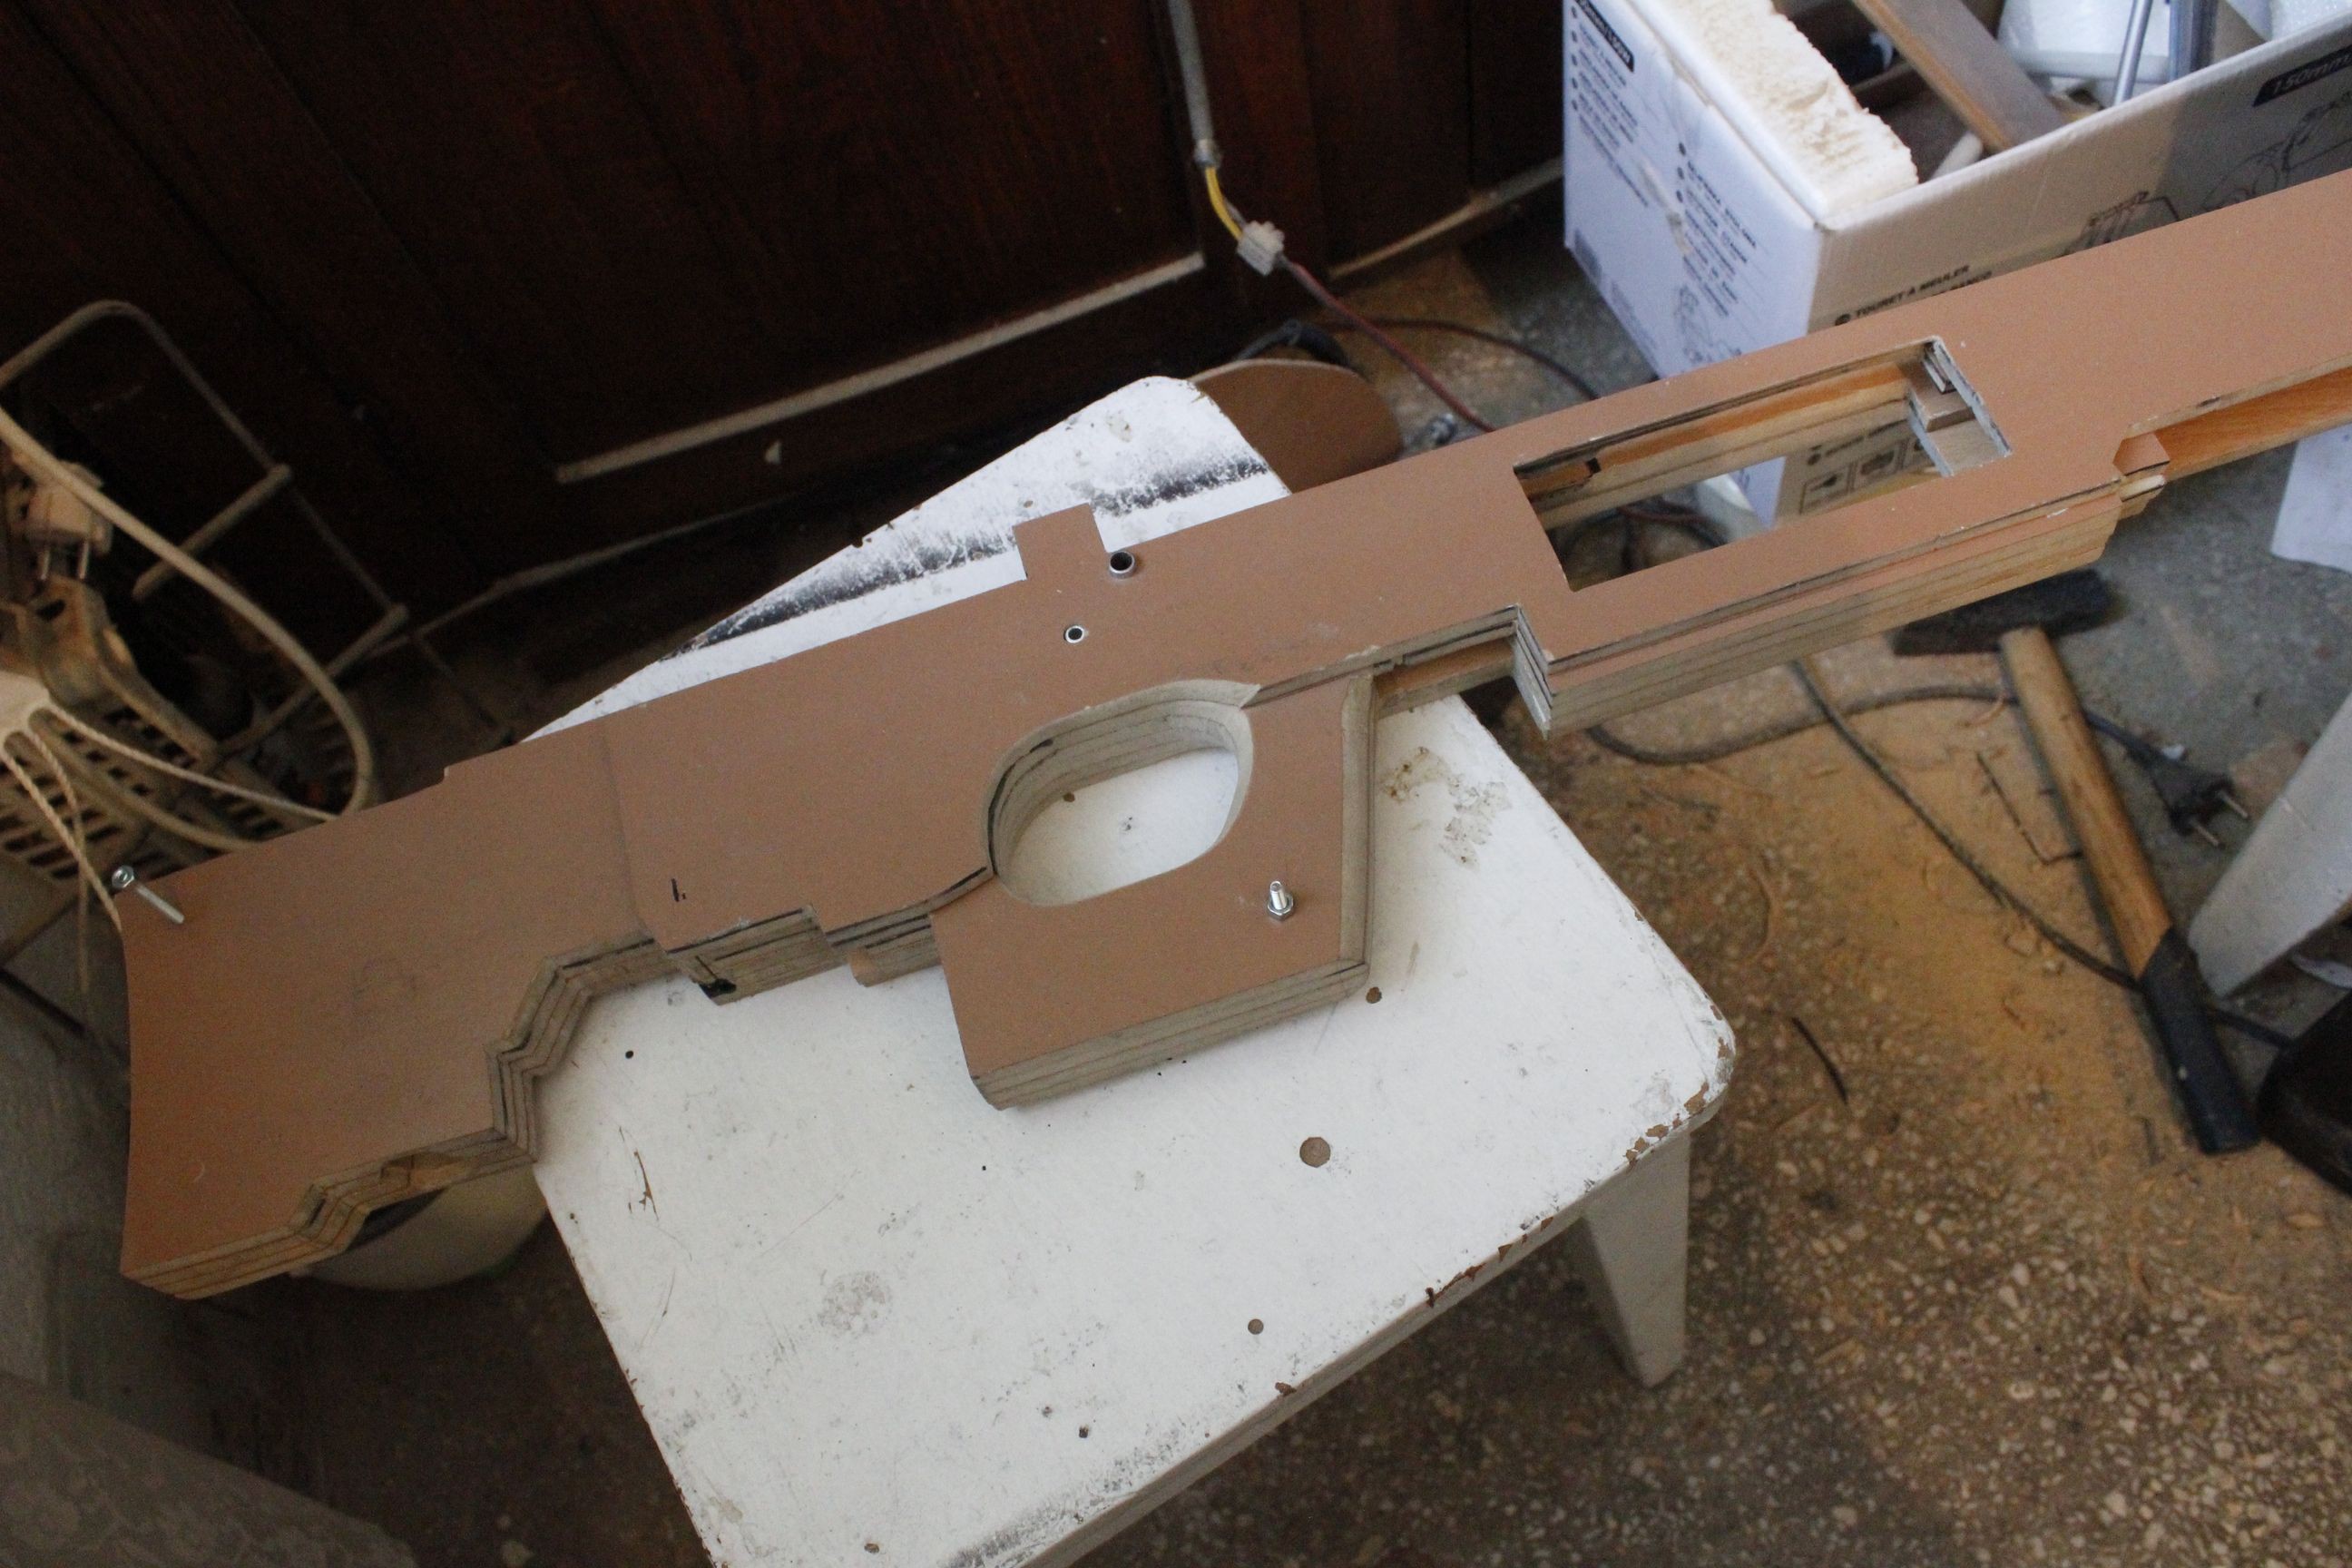
08/09/2019 at 00:11 • 0 commentsA long session of scroll saw use left my hand bruised and sore as the 4 sheets of MDF flooring were cut using a printed template on one pair and transferring the cut parts to the other. Two registration holes were drilled all the way through for long M4 screws. Preliminary sanding of the top and handle area followed and we are left with a frame that can be clamped together and sanded to final dimensions.
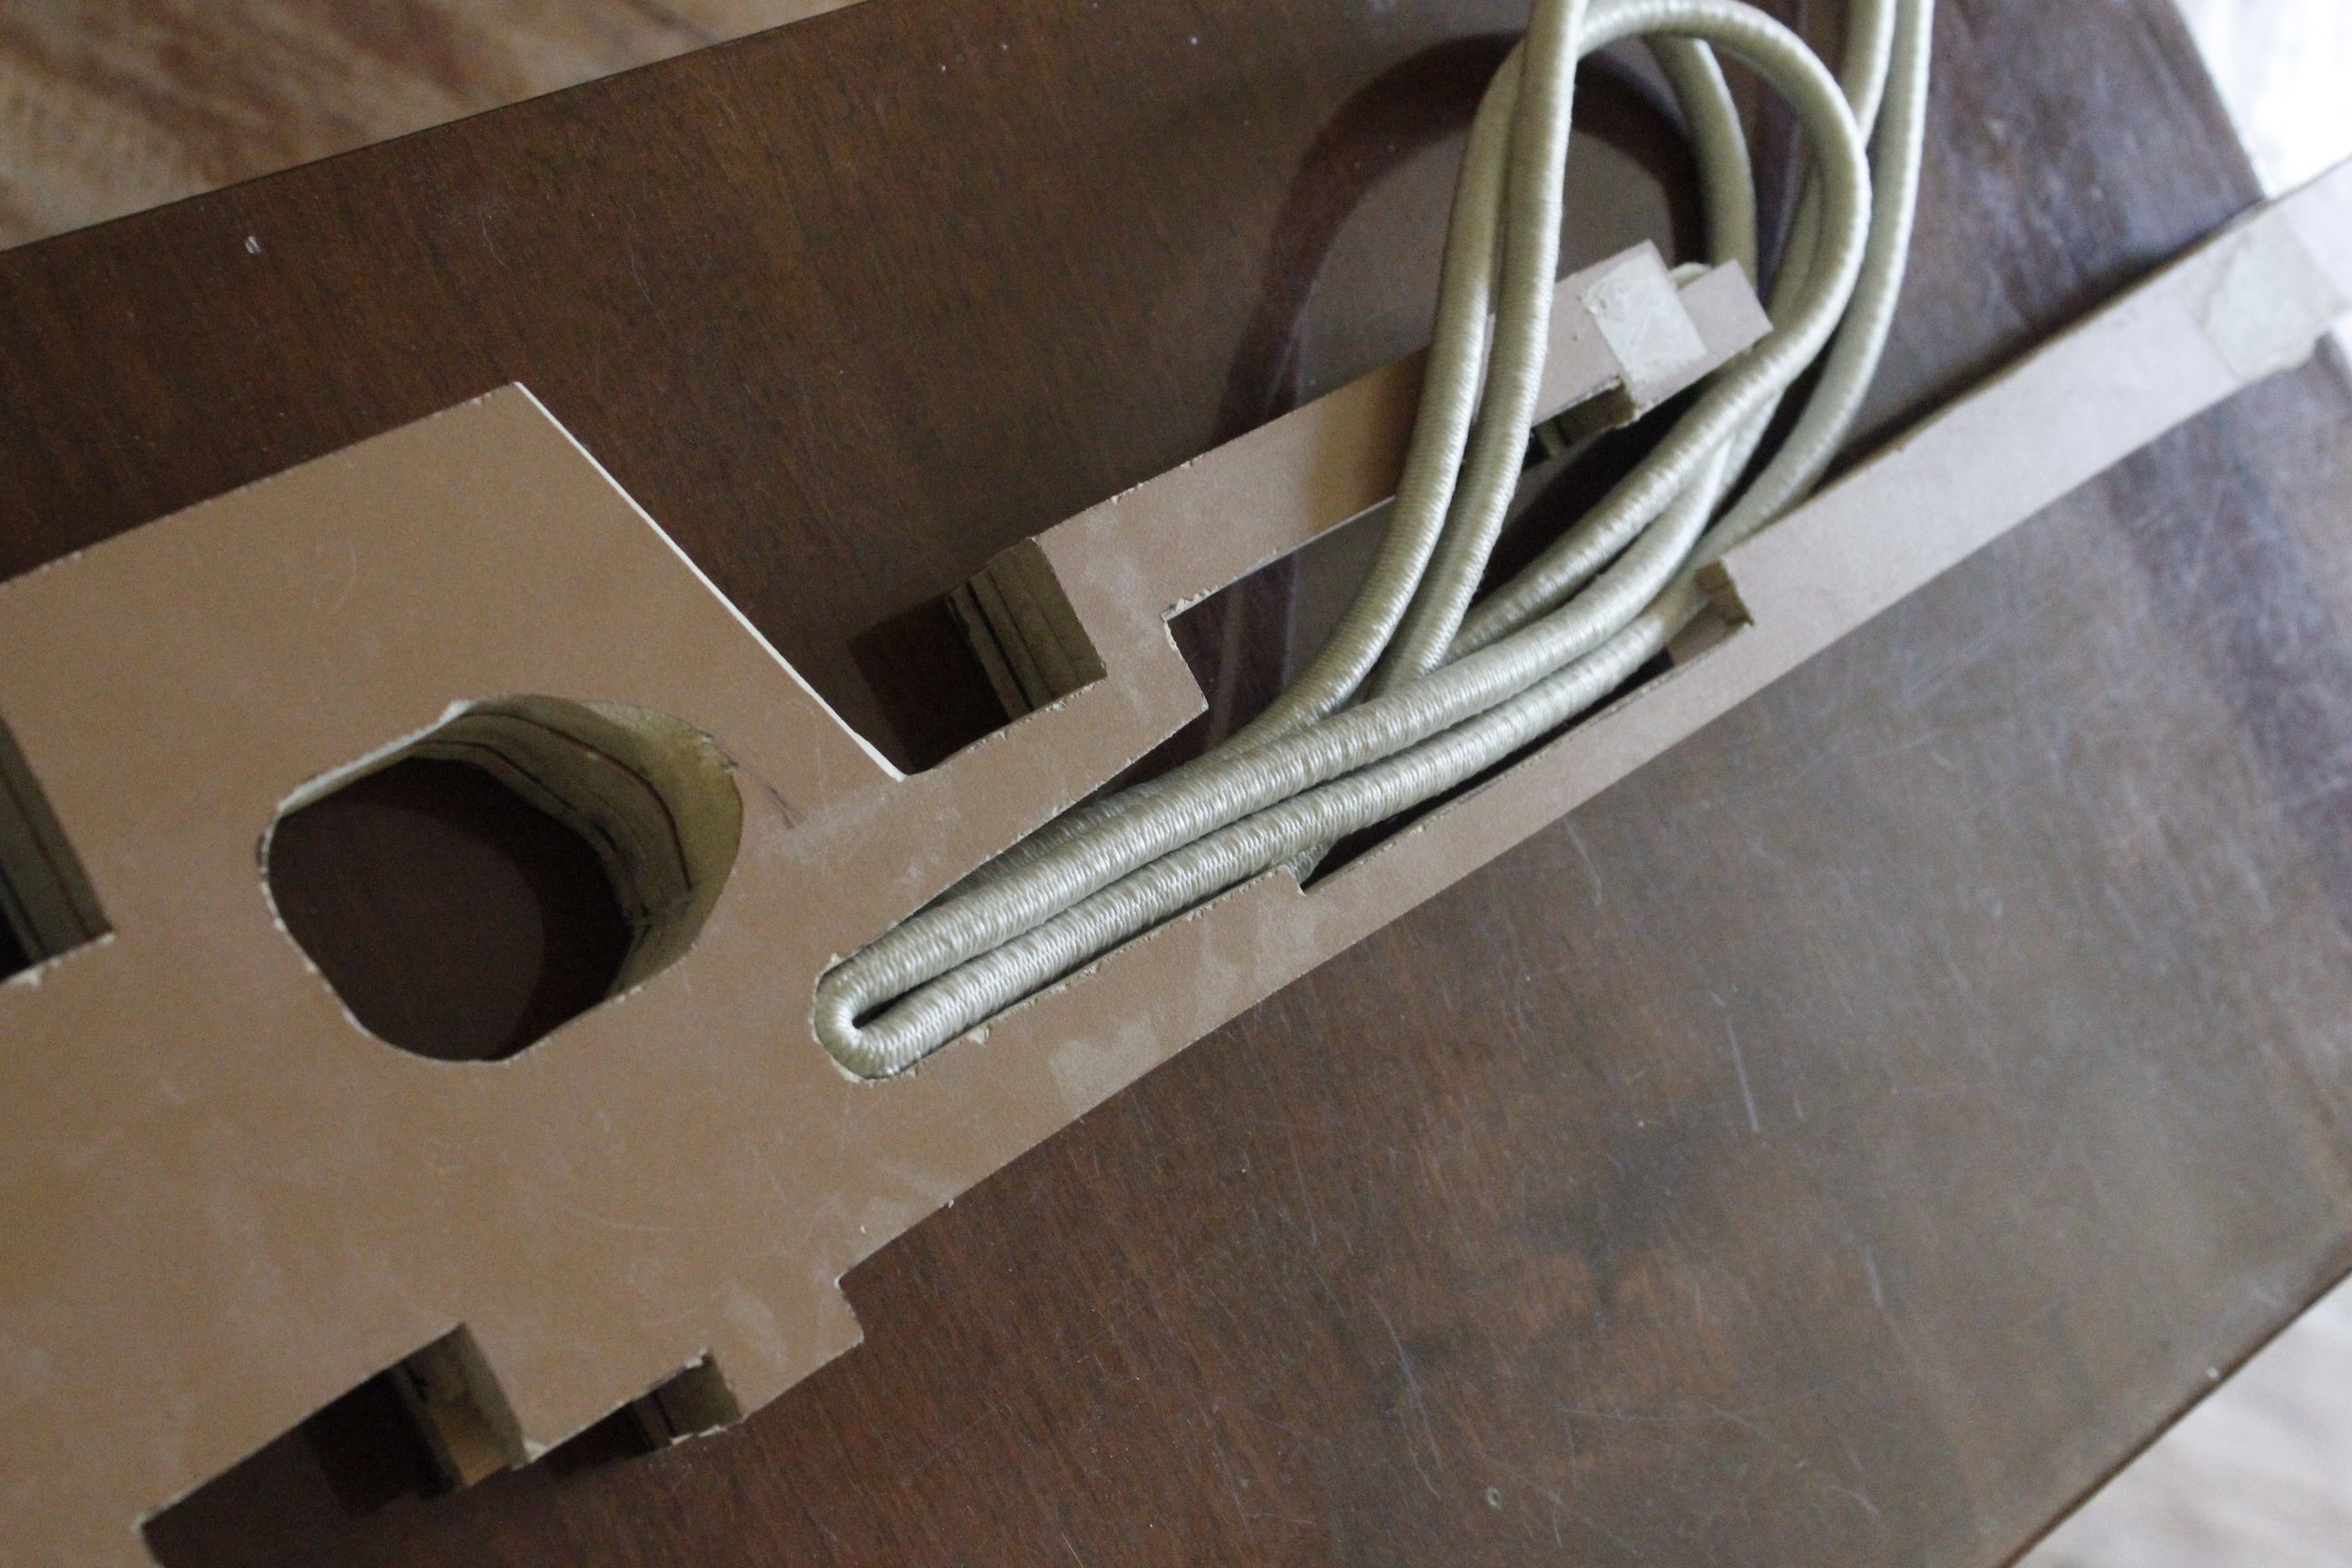
First the elastic bands were fitted to their slot, with some more room made at the anchoring point.
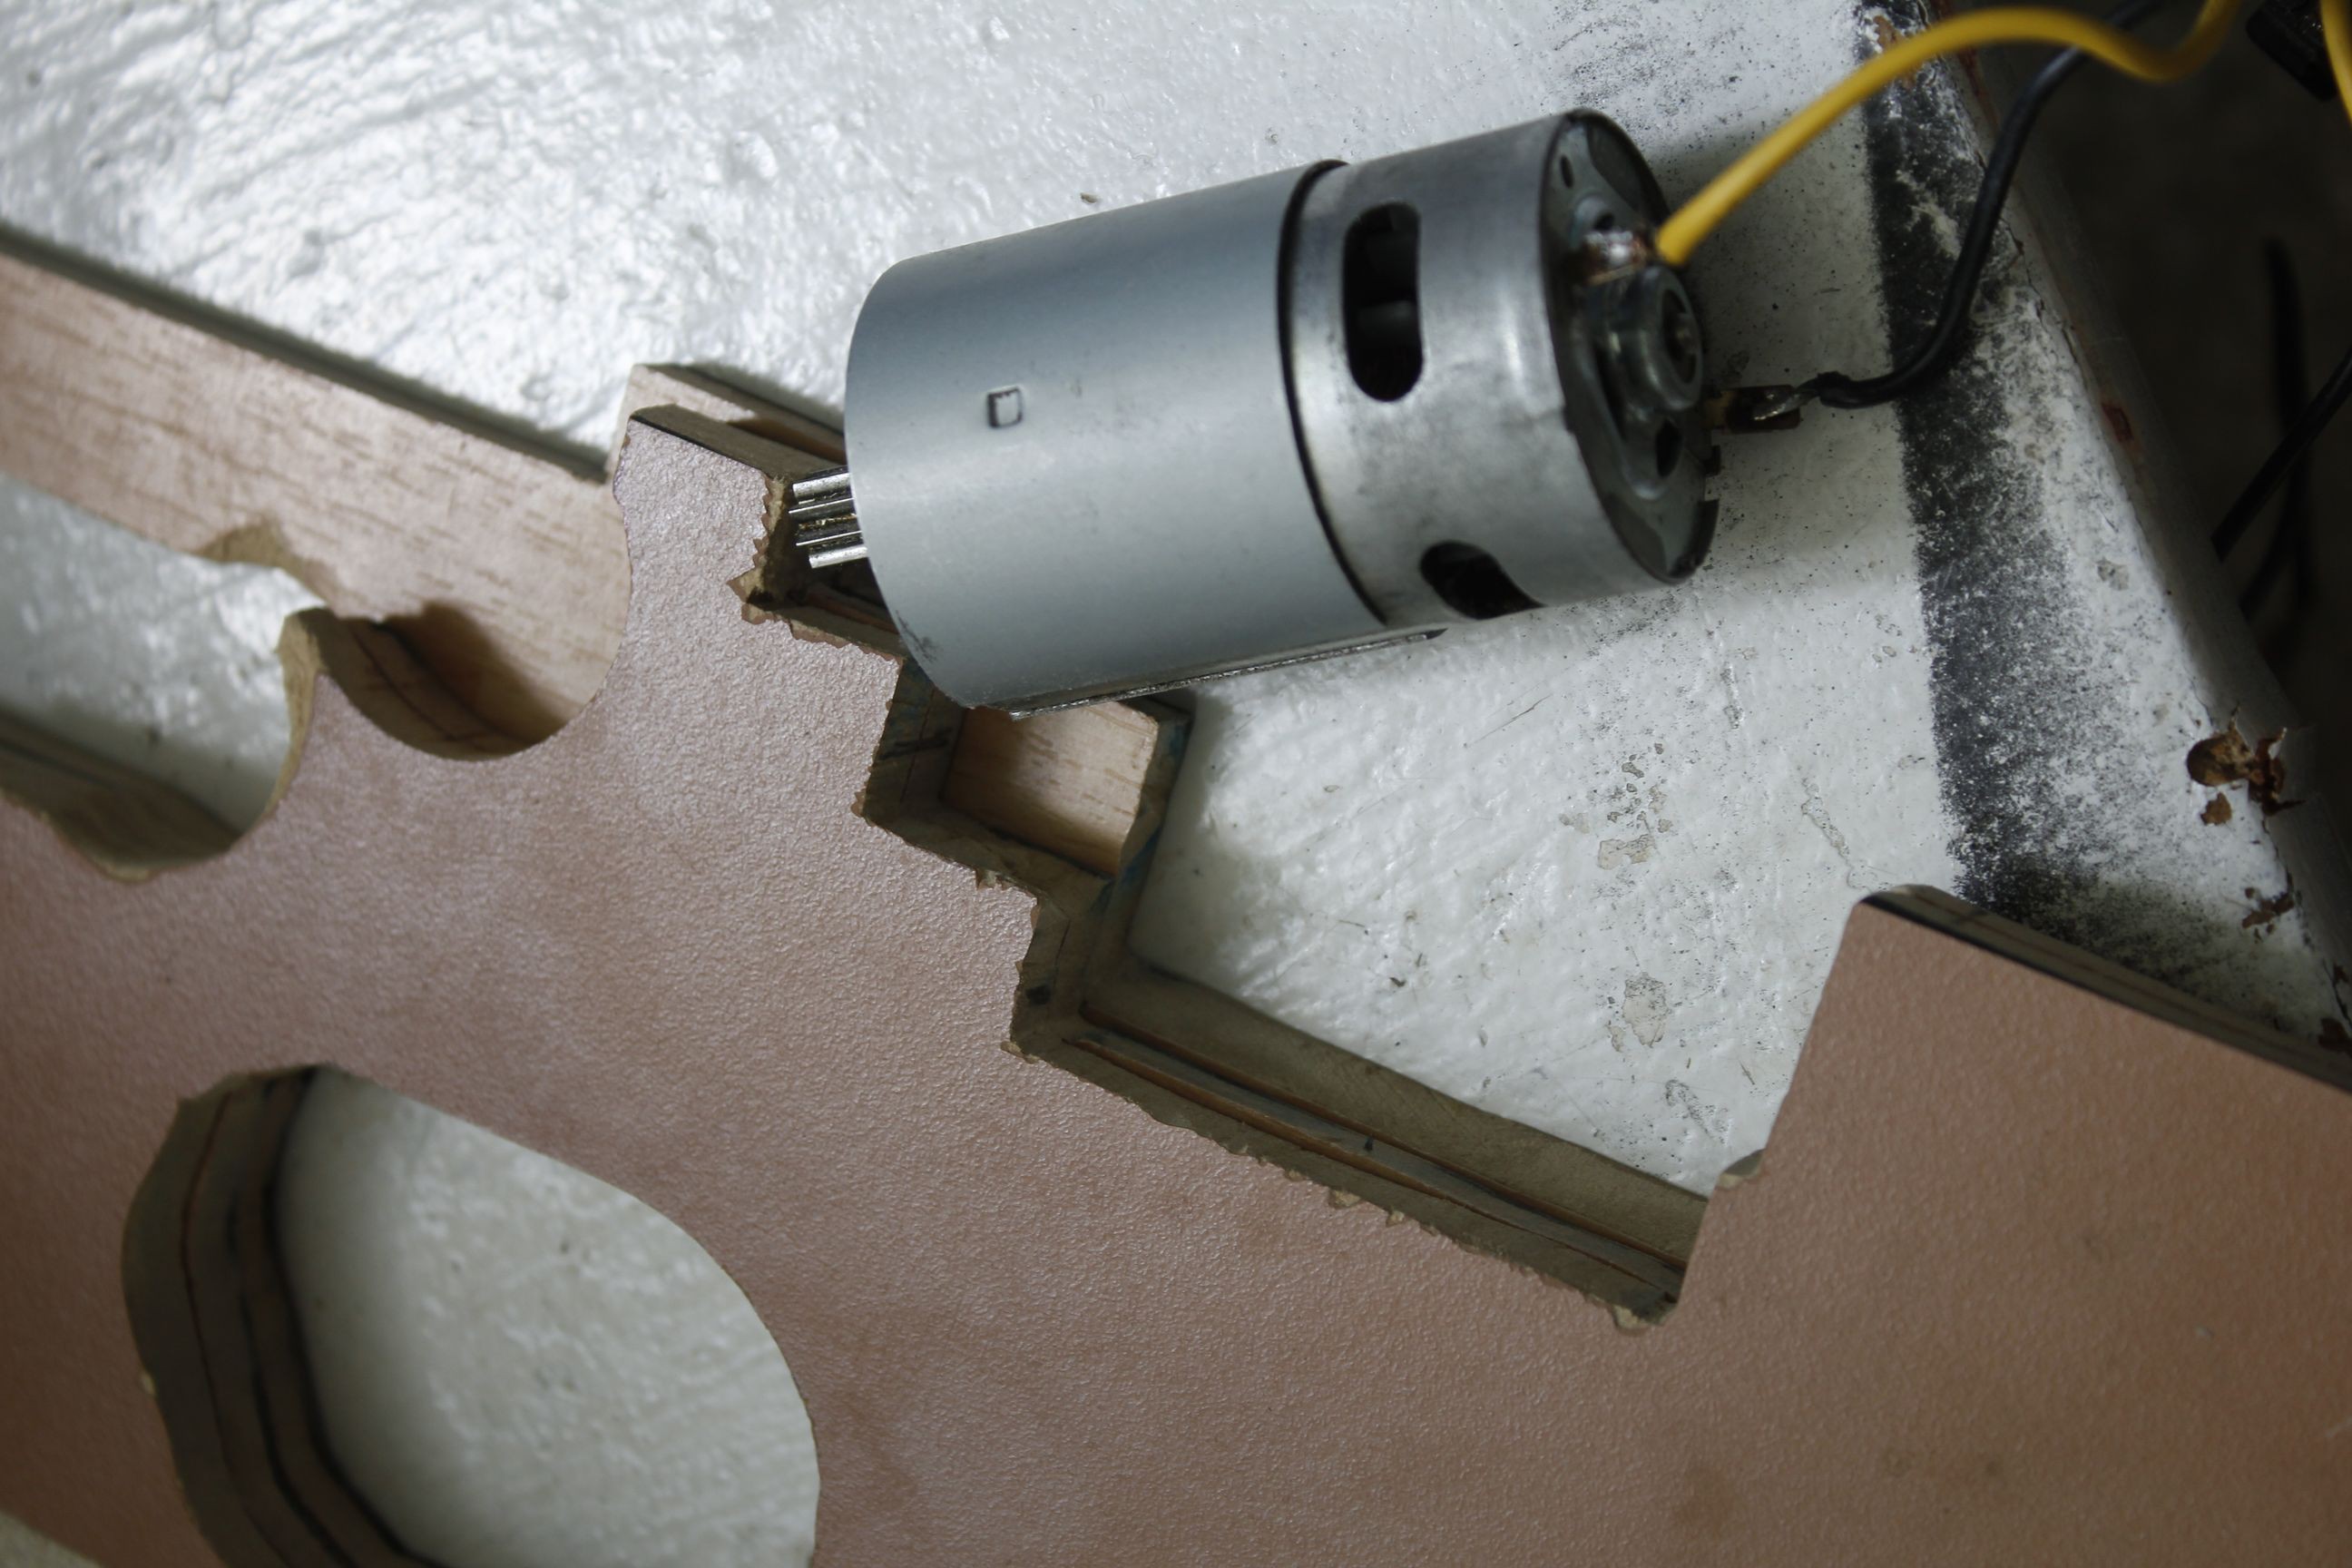
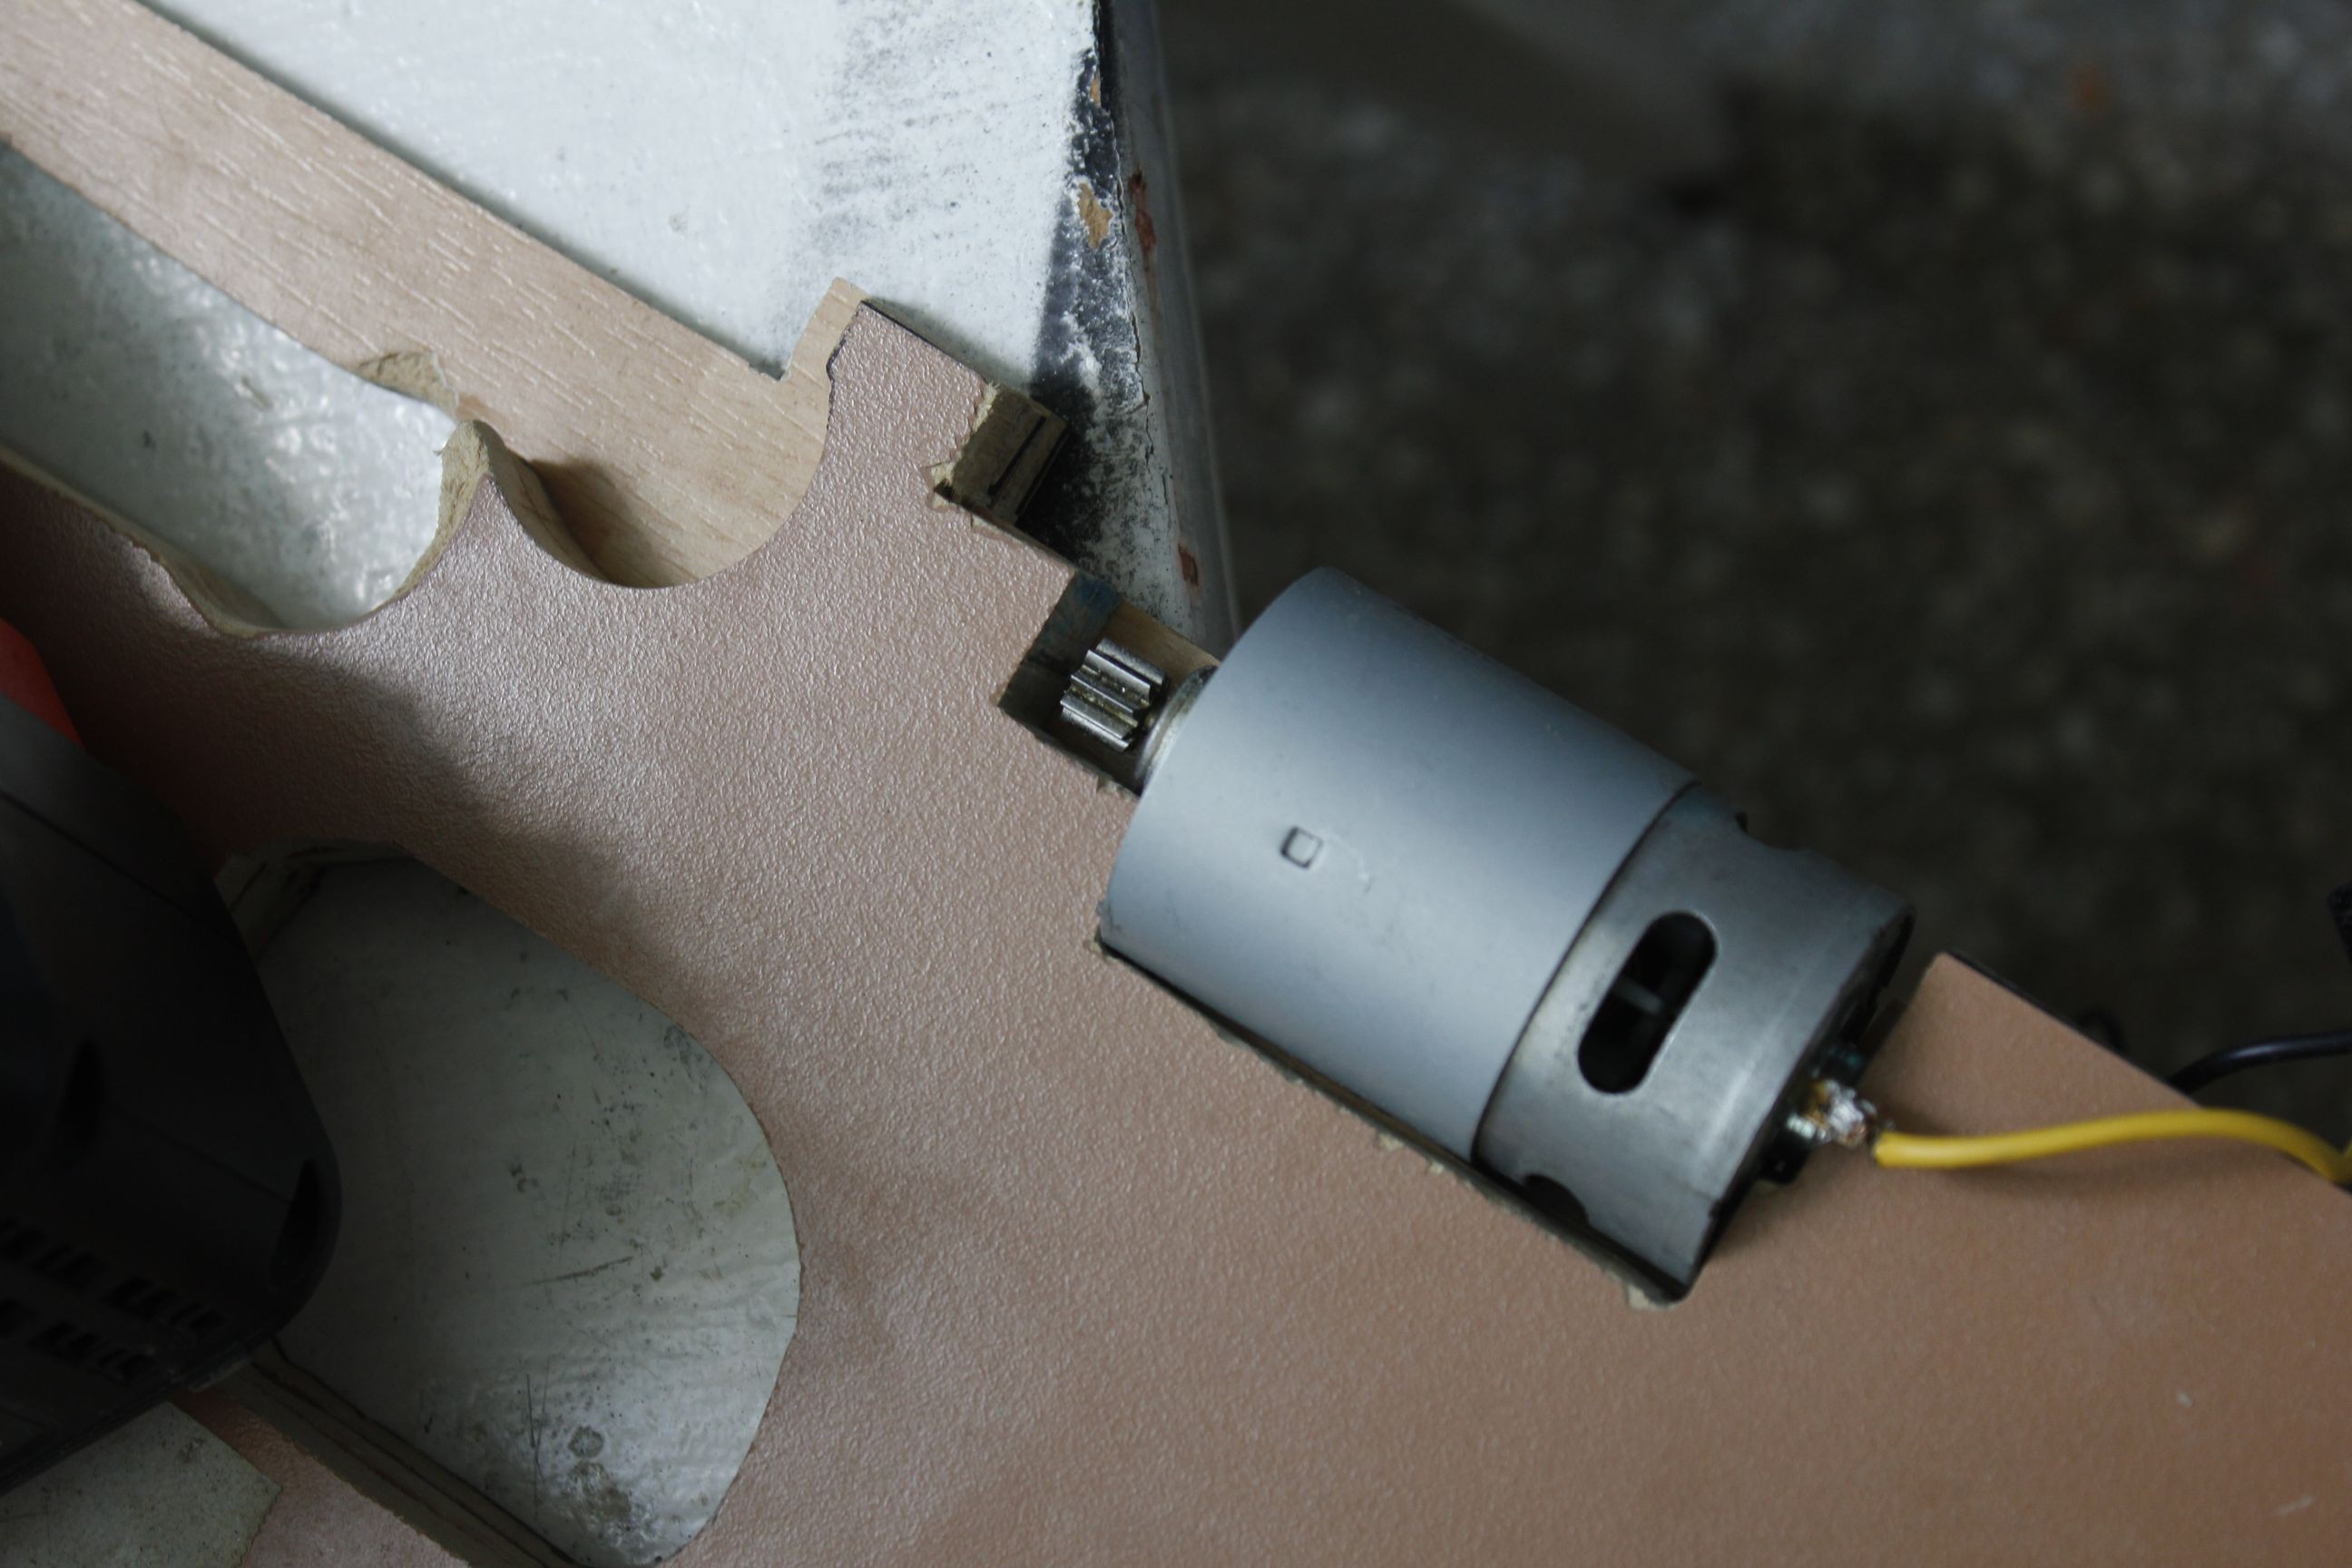
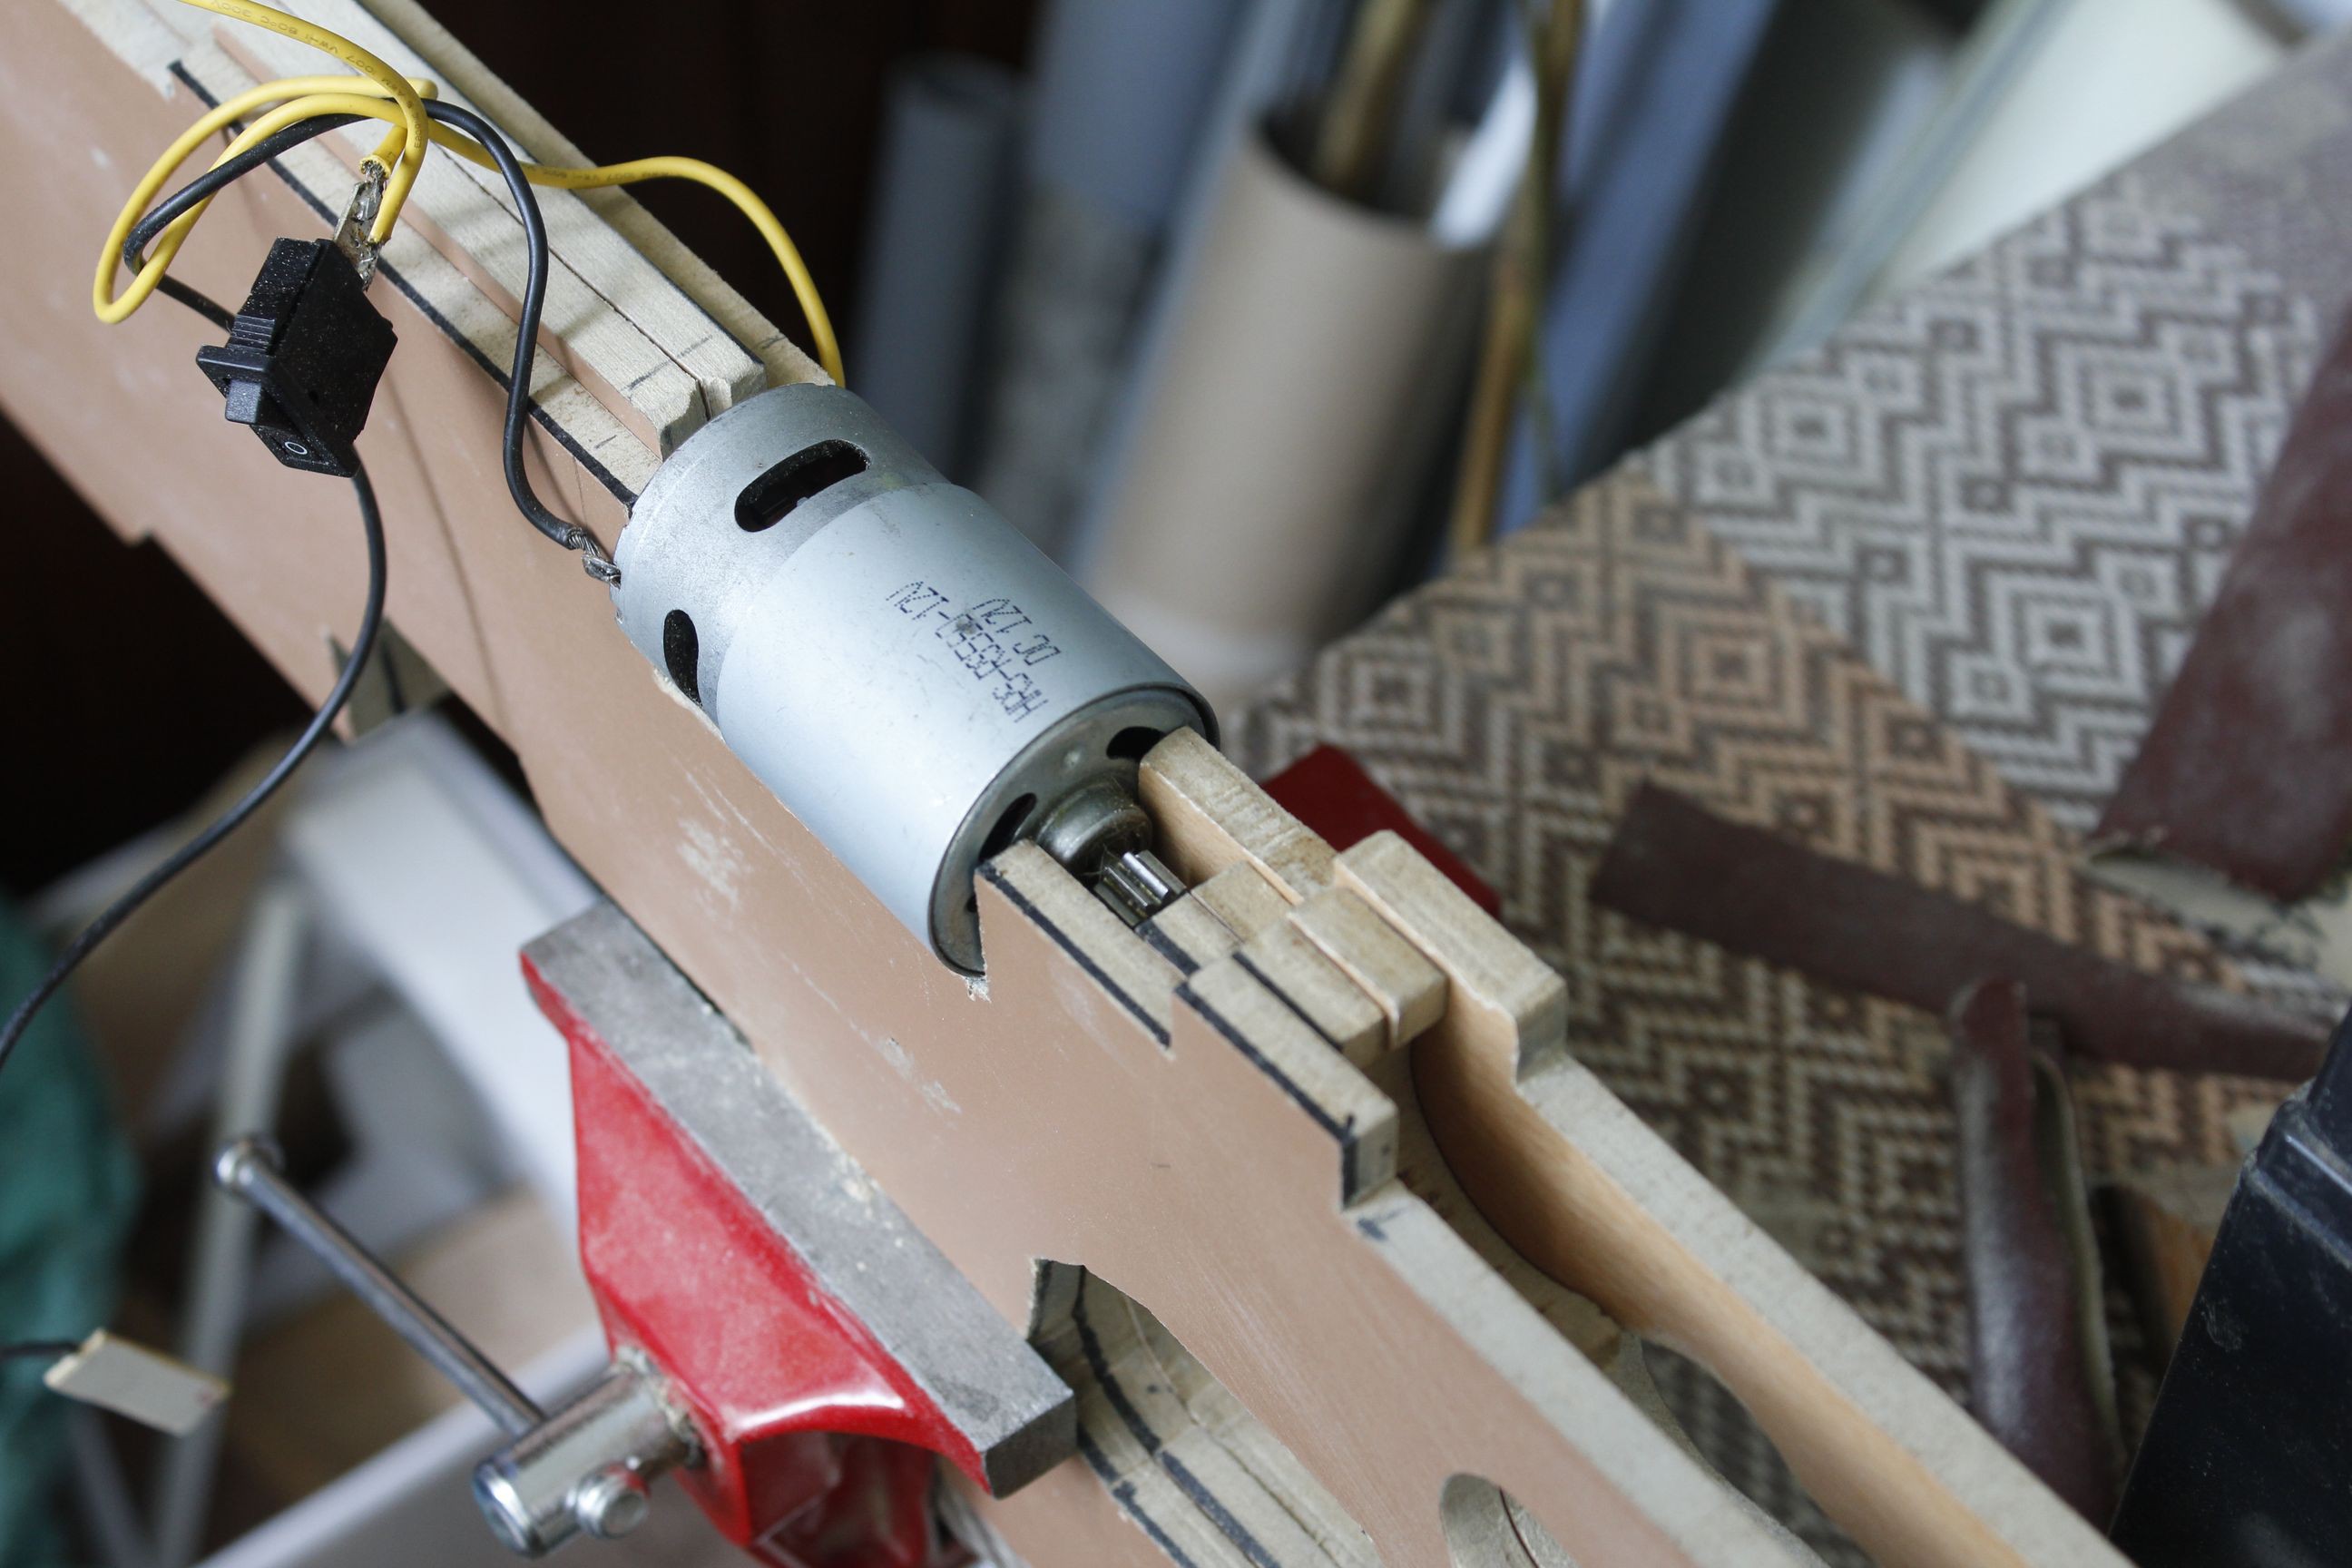
Then the slot for the main motor was sanded to a tight fit.
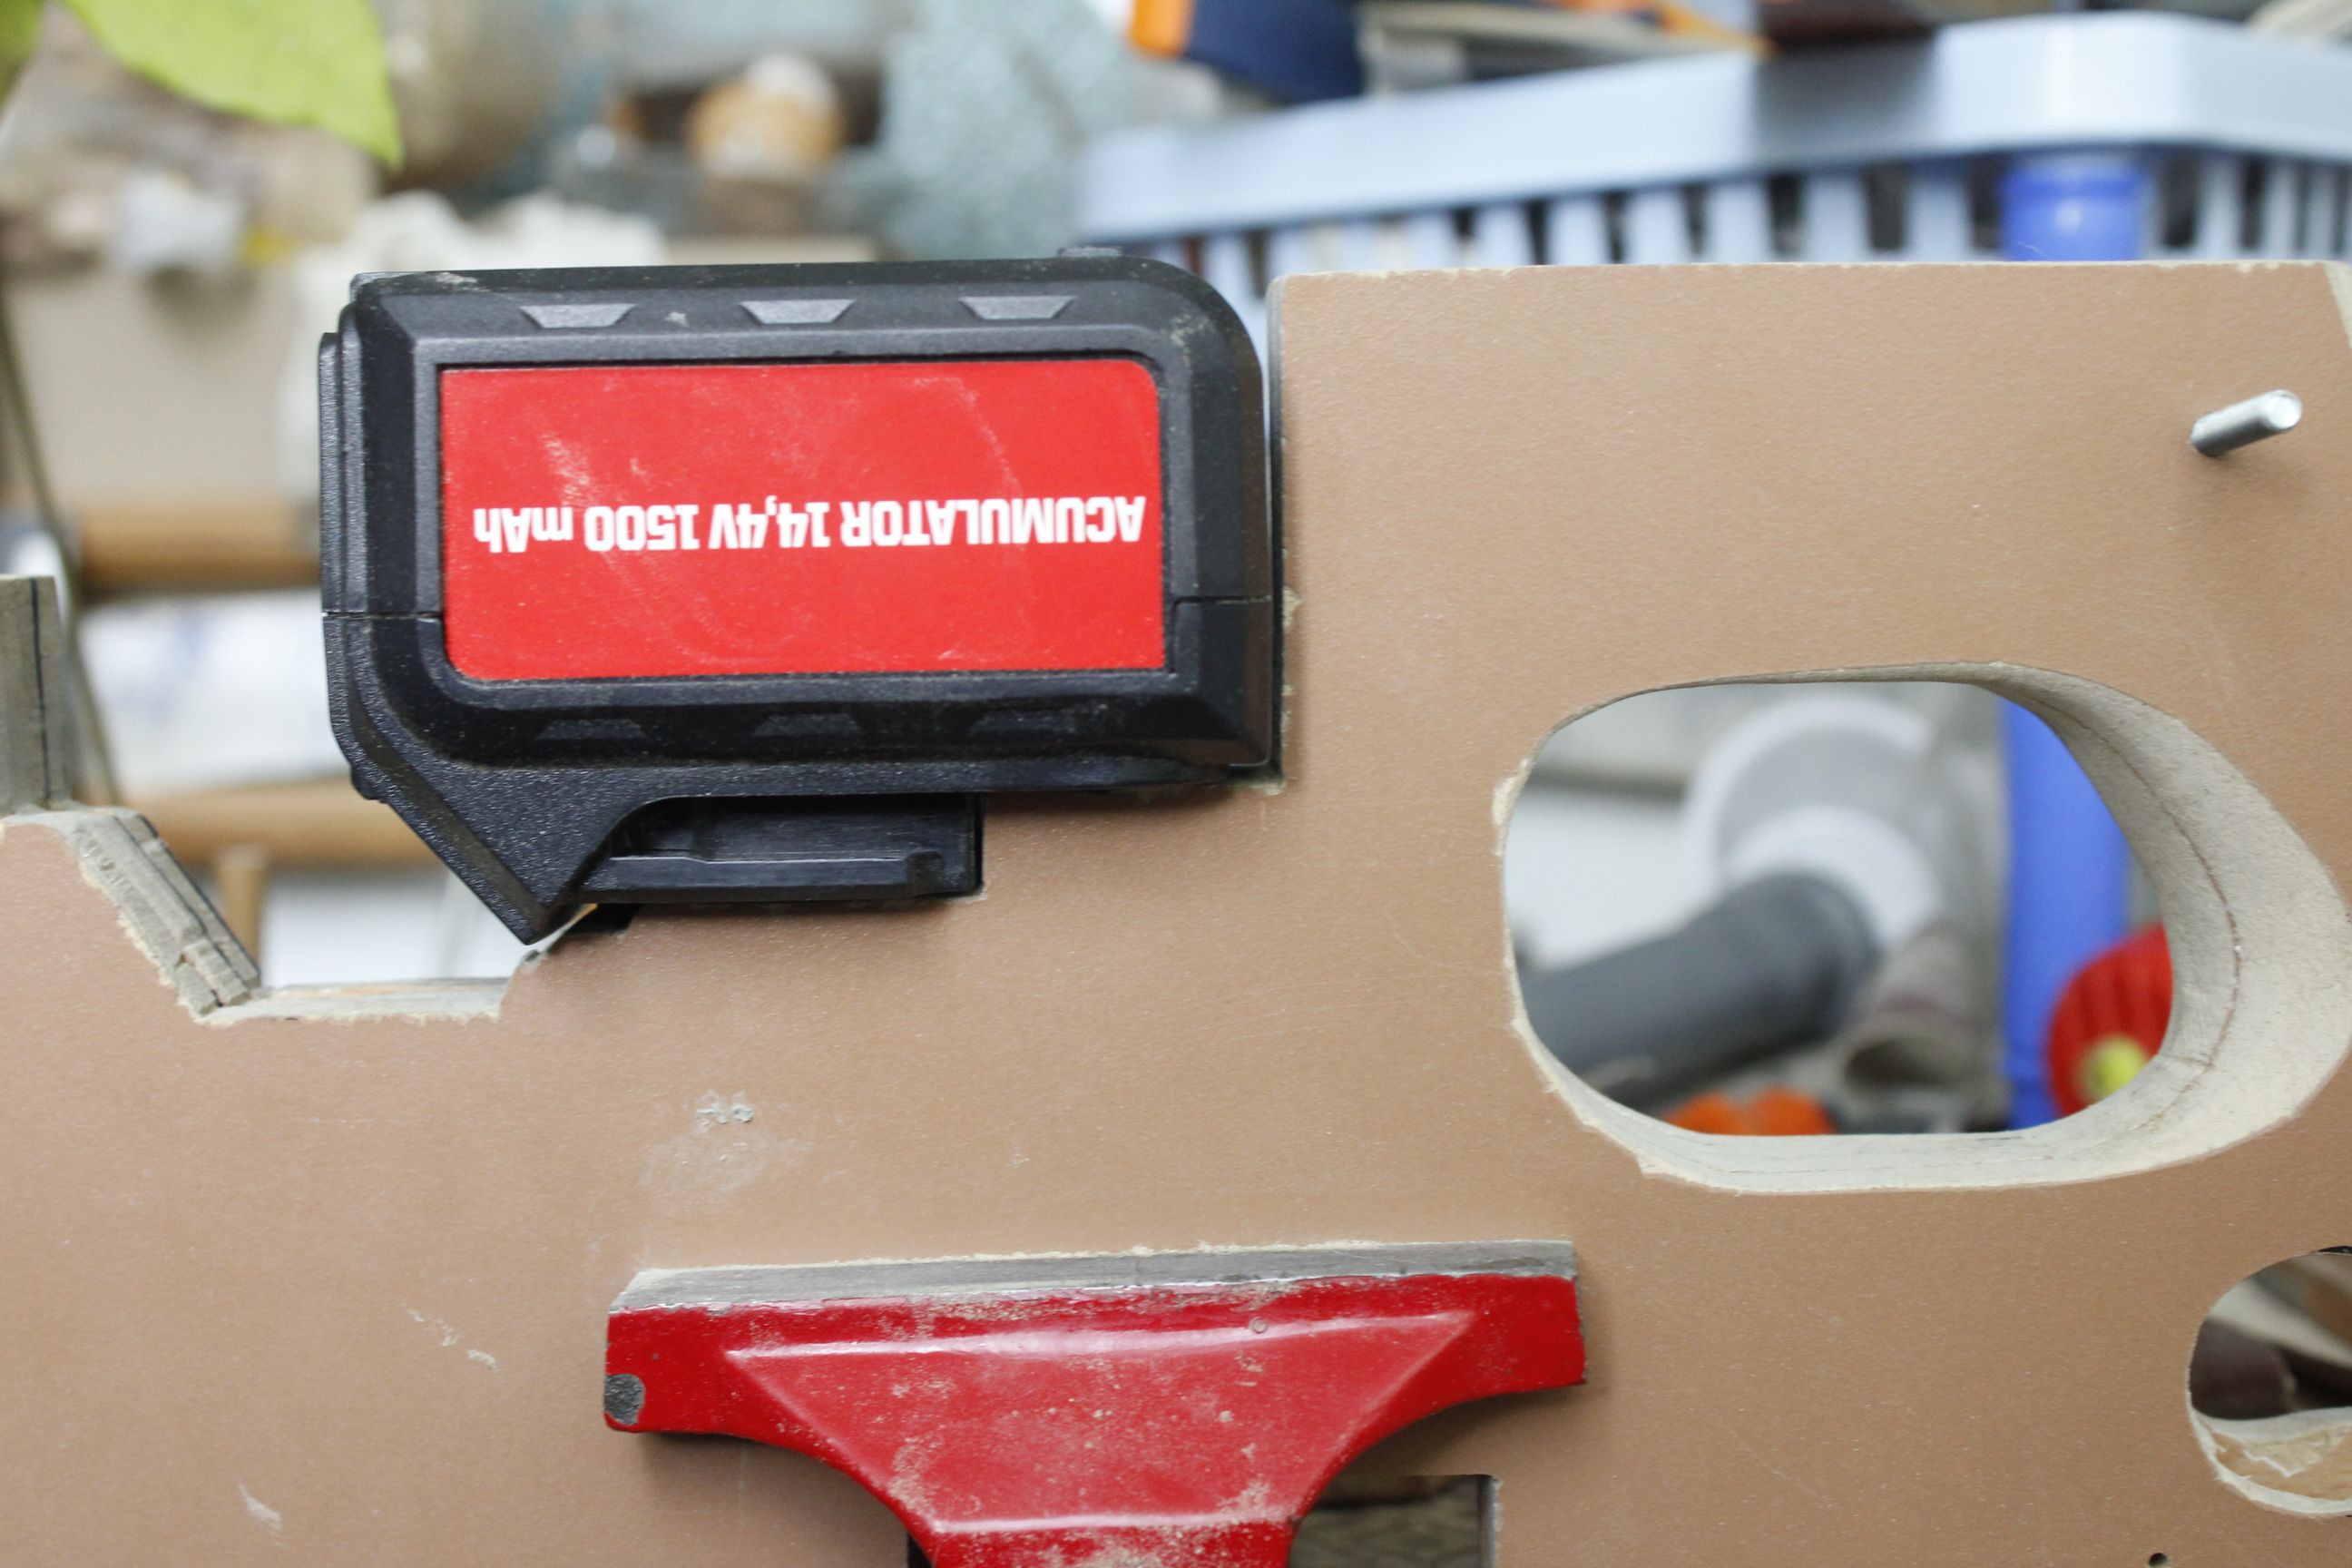
The slot for the rechargeable battery followed, with provisions for locking into place and a tensioning rubber slug.
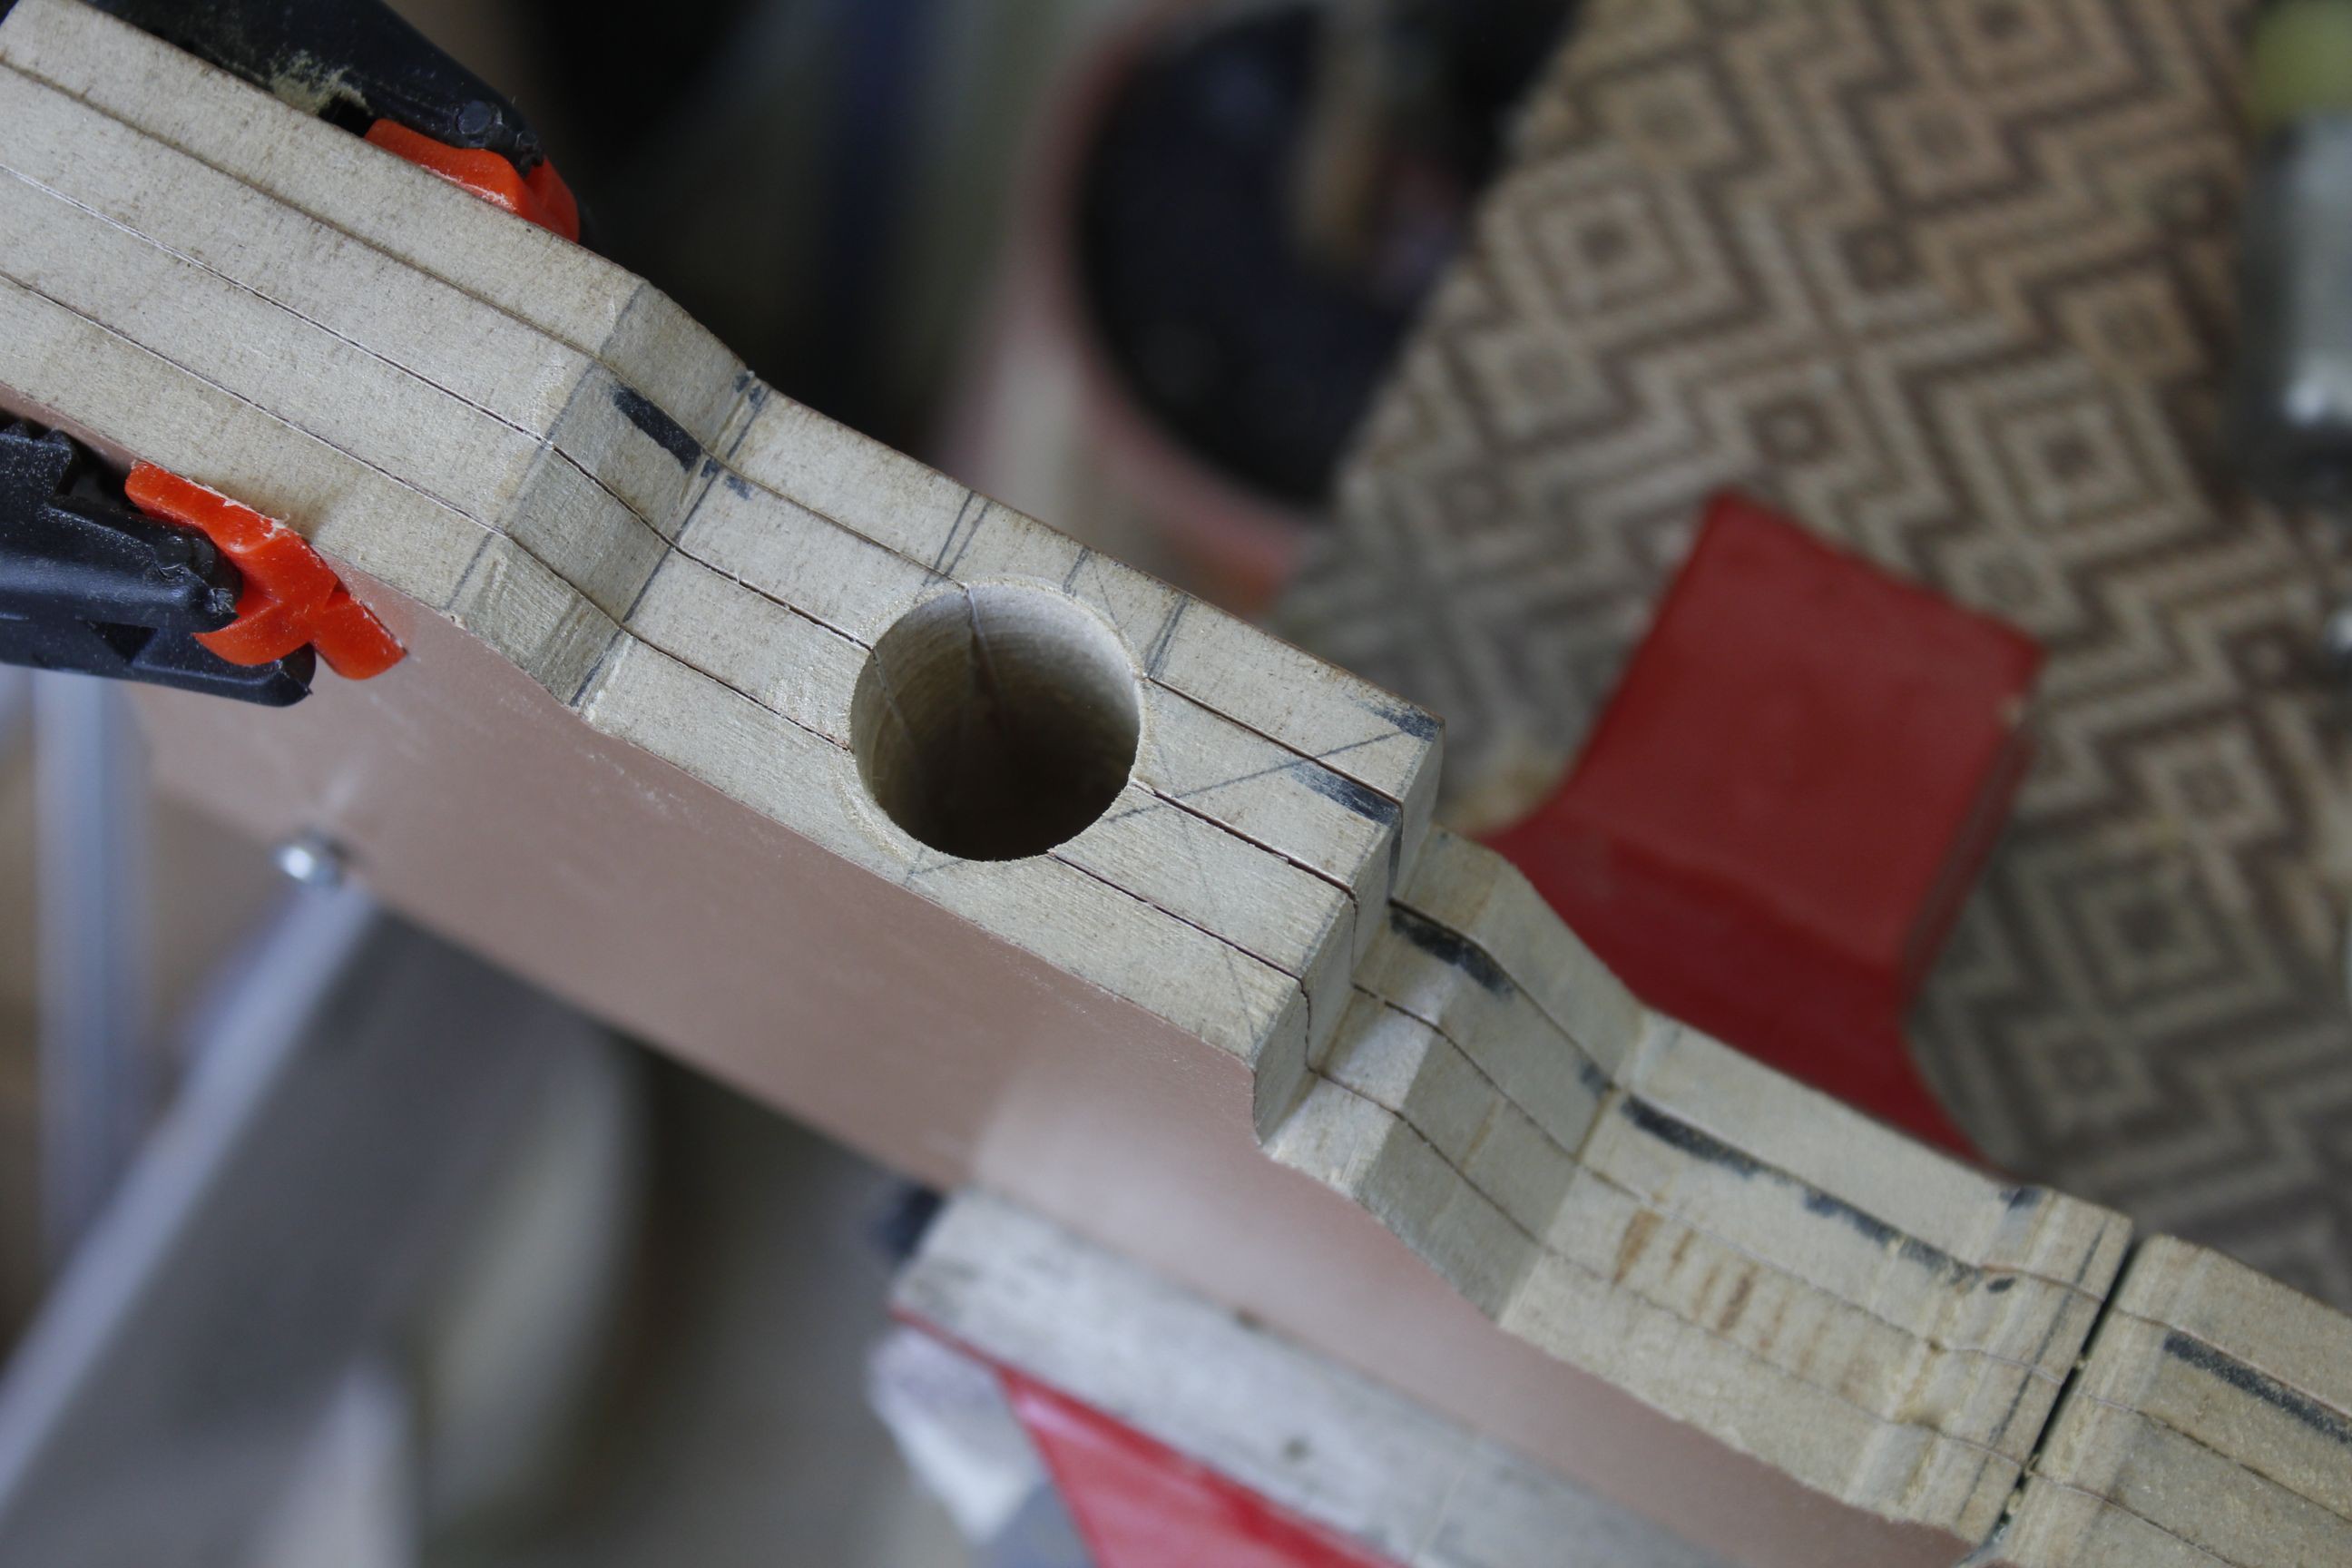
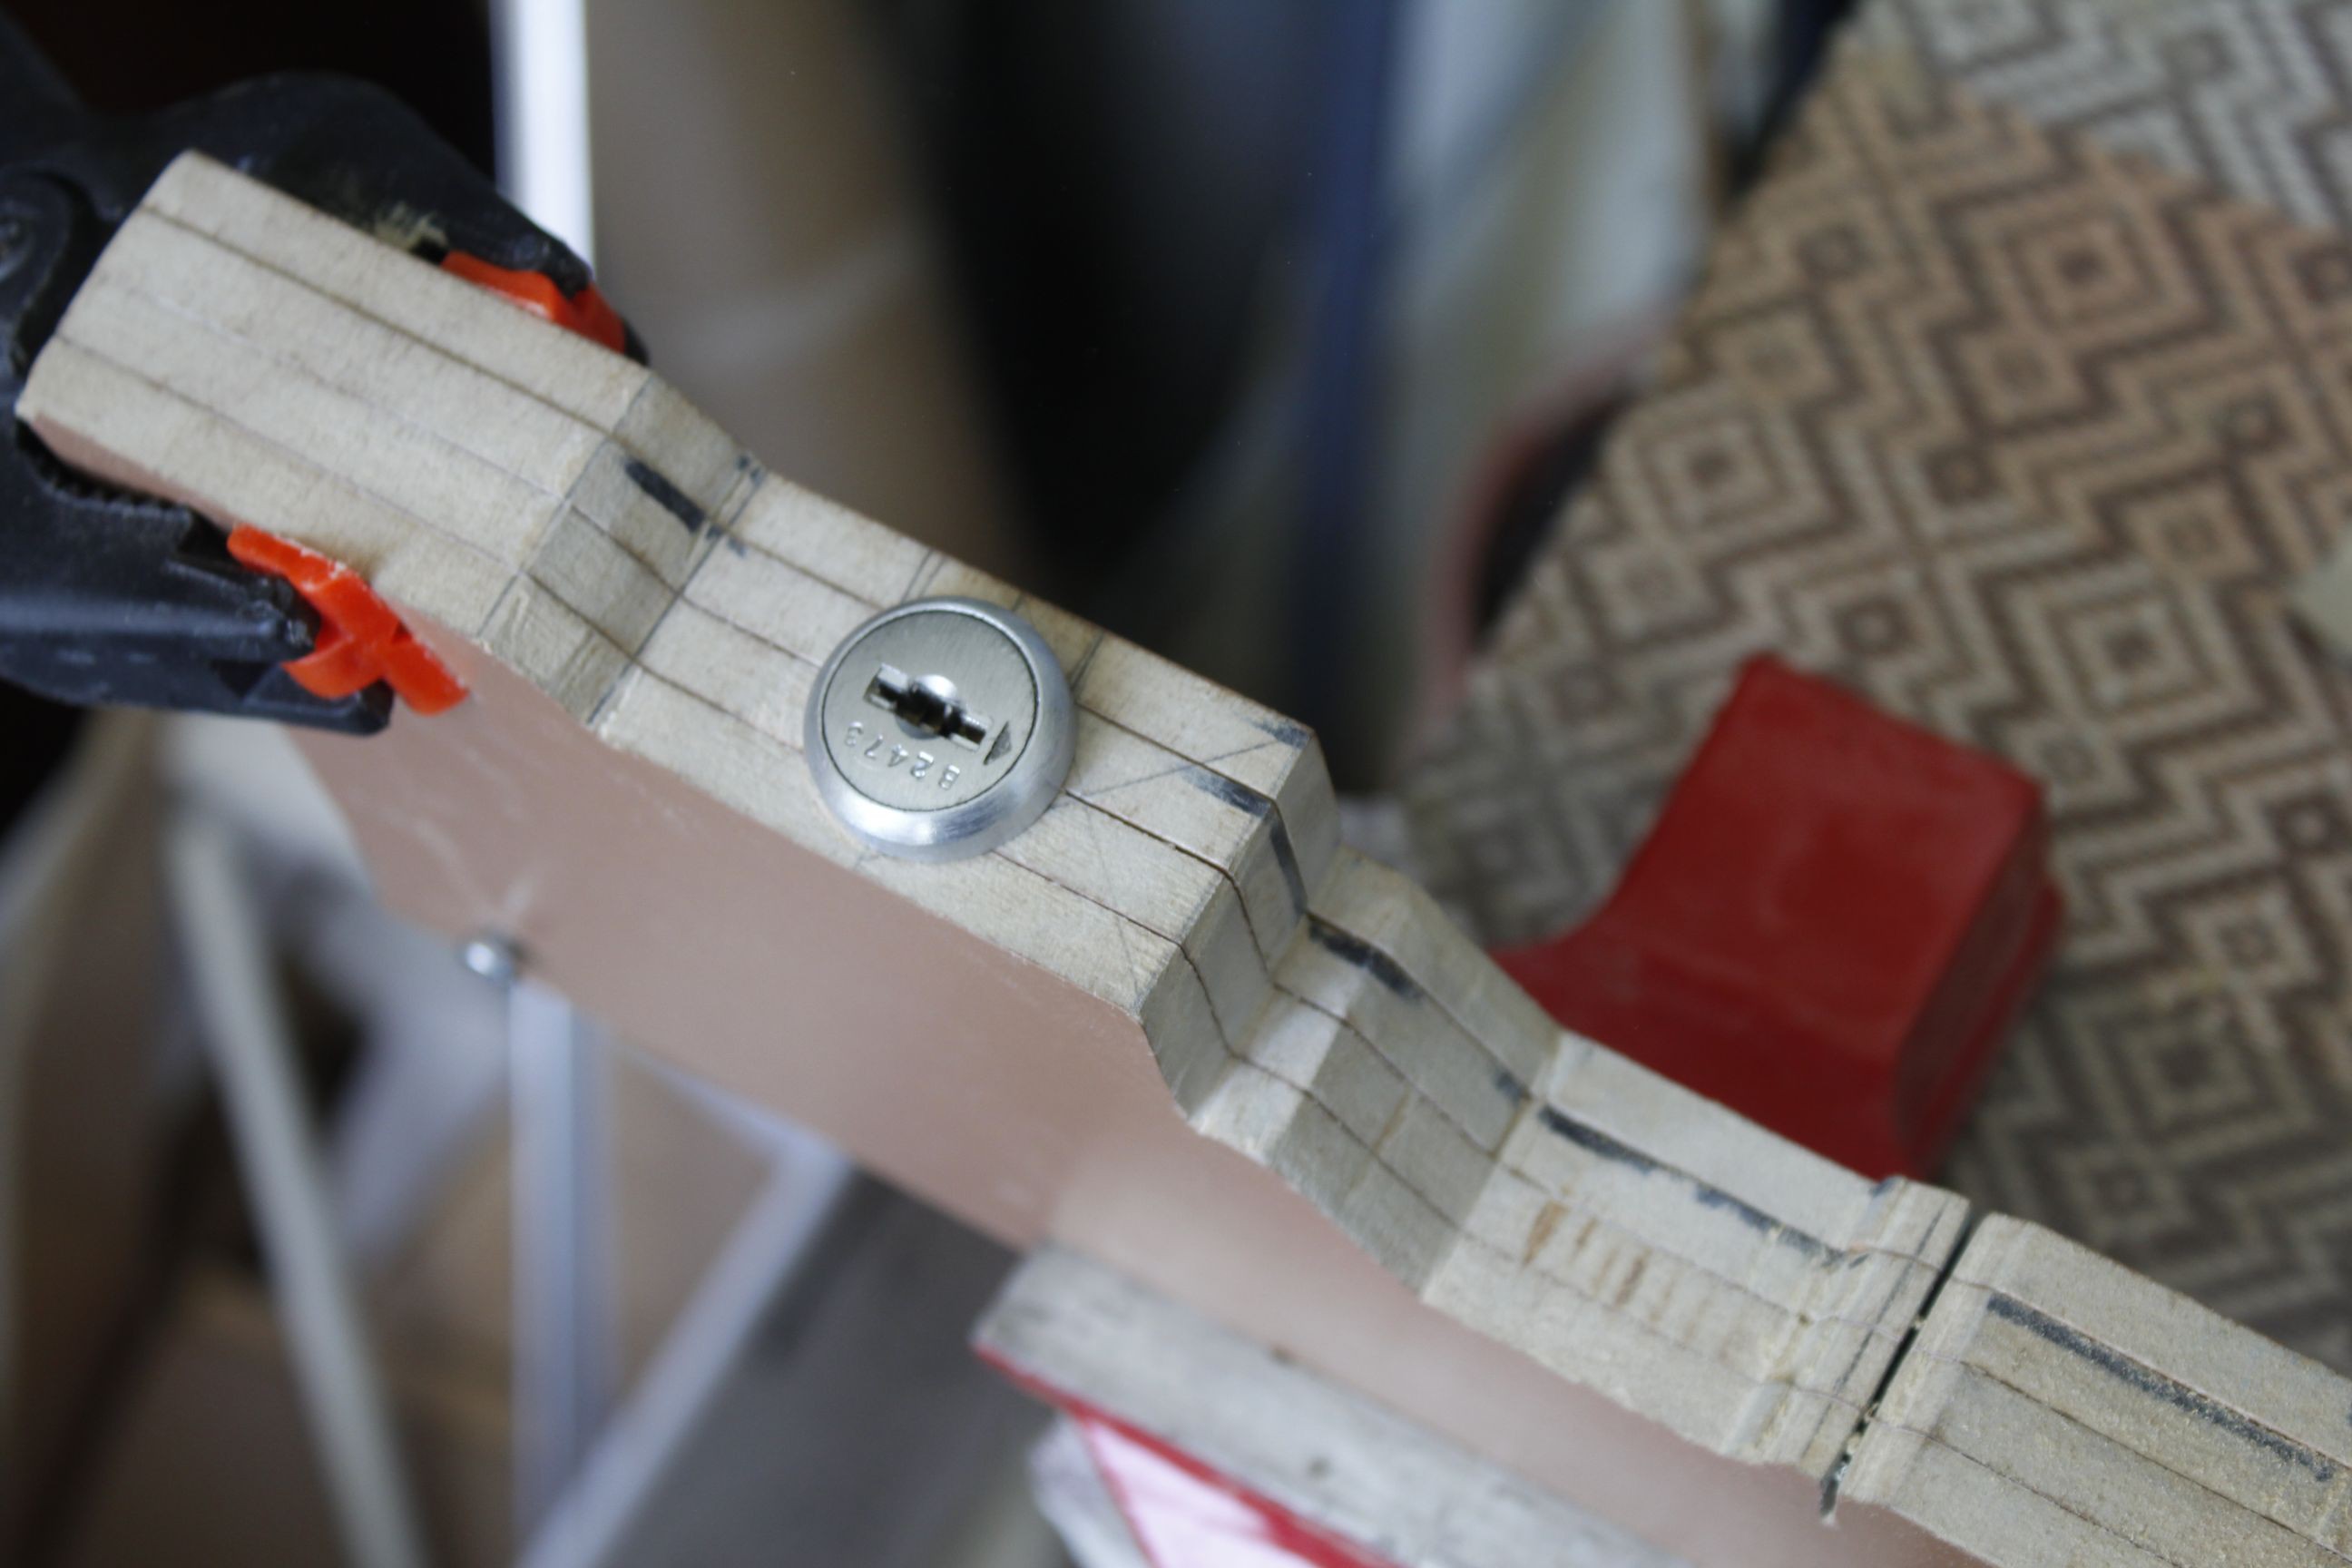
Finally a cylindrical slot was cut for the keyed main power switch.
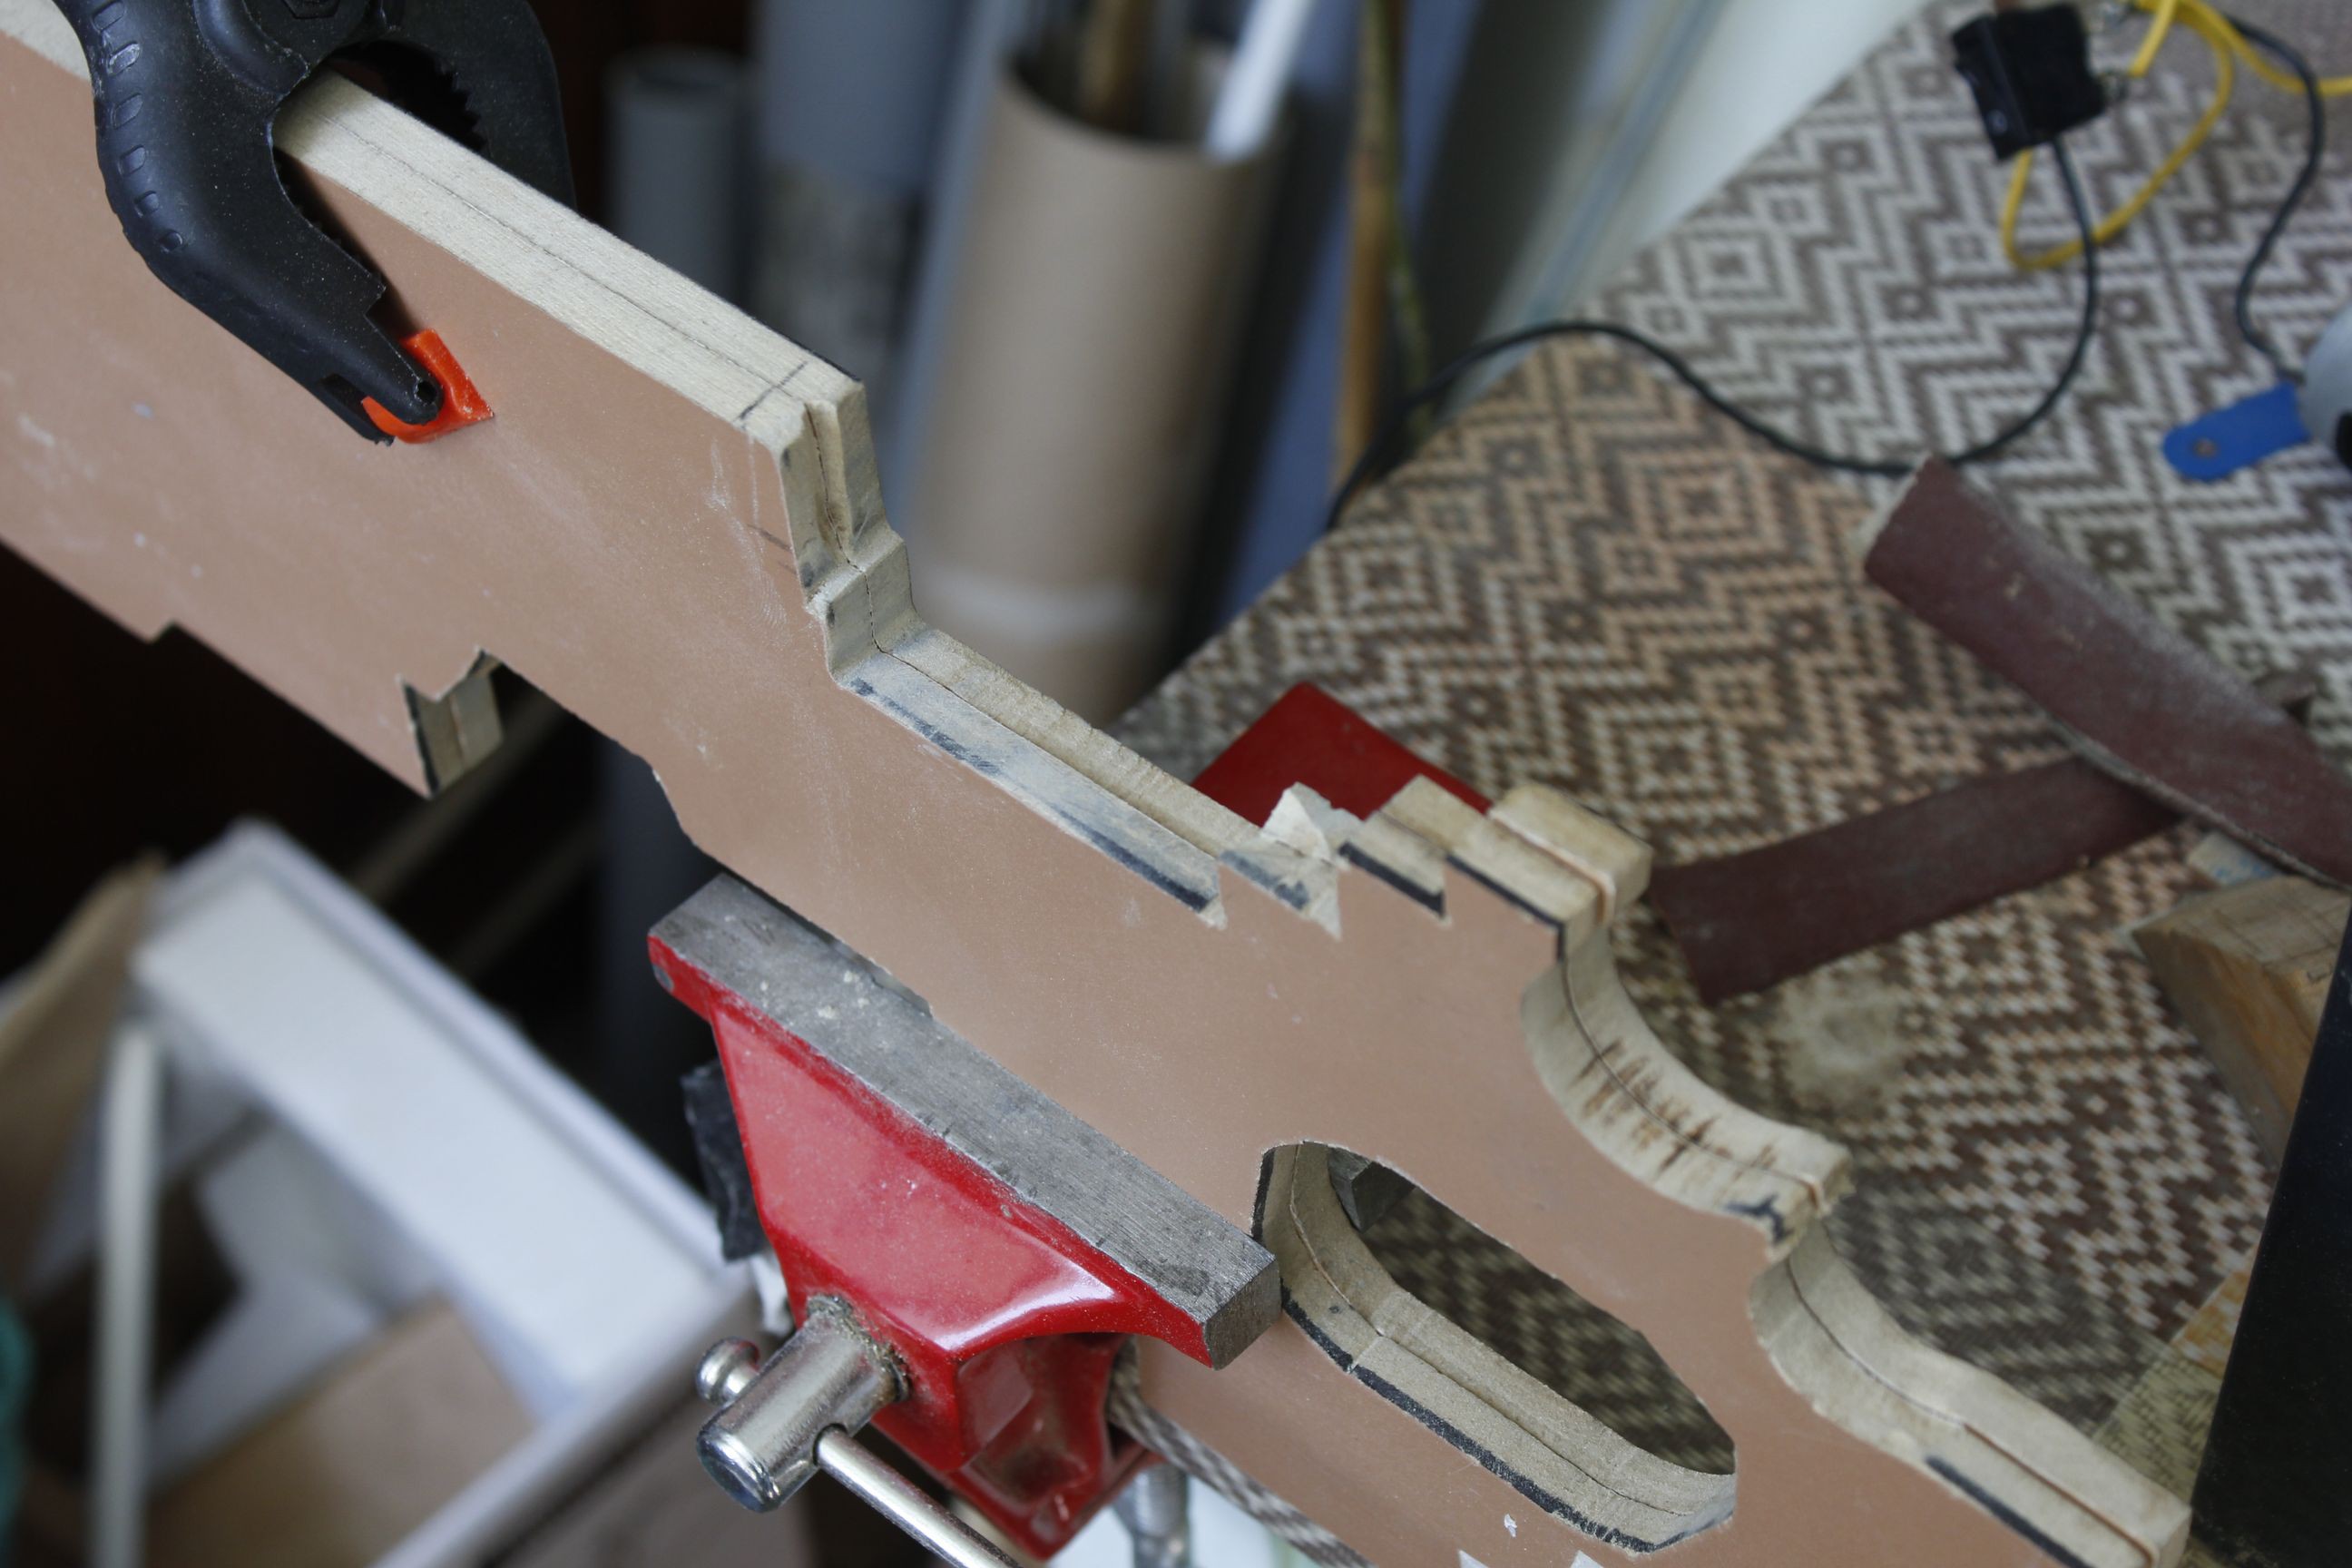
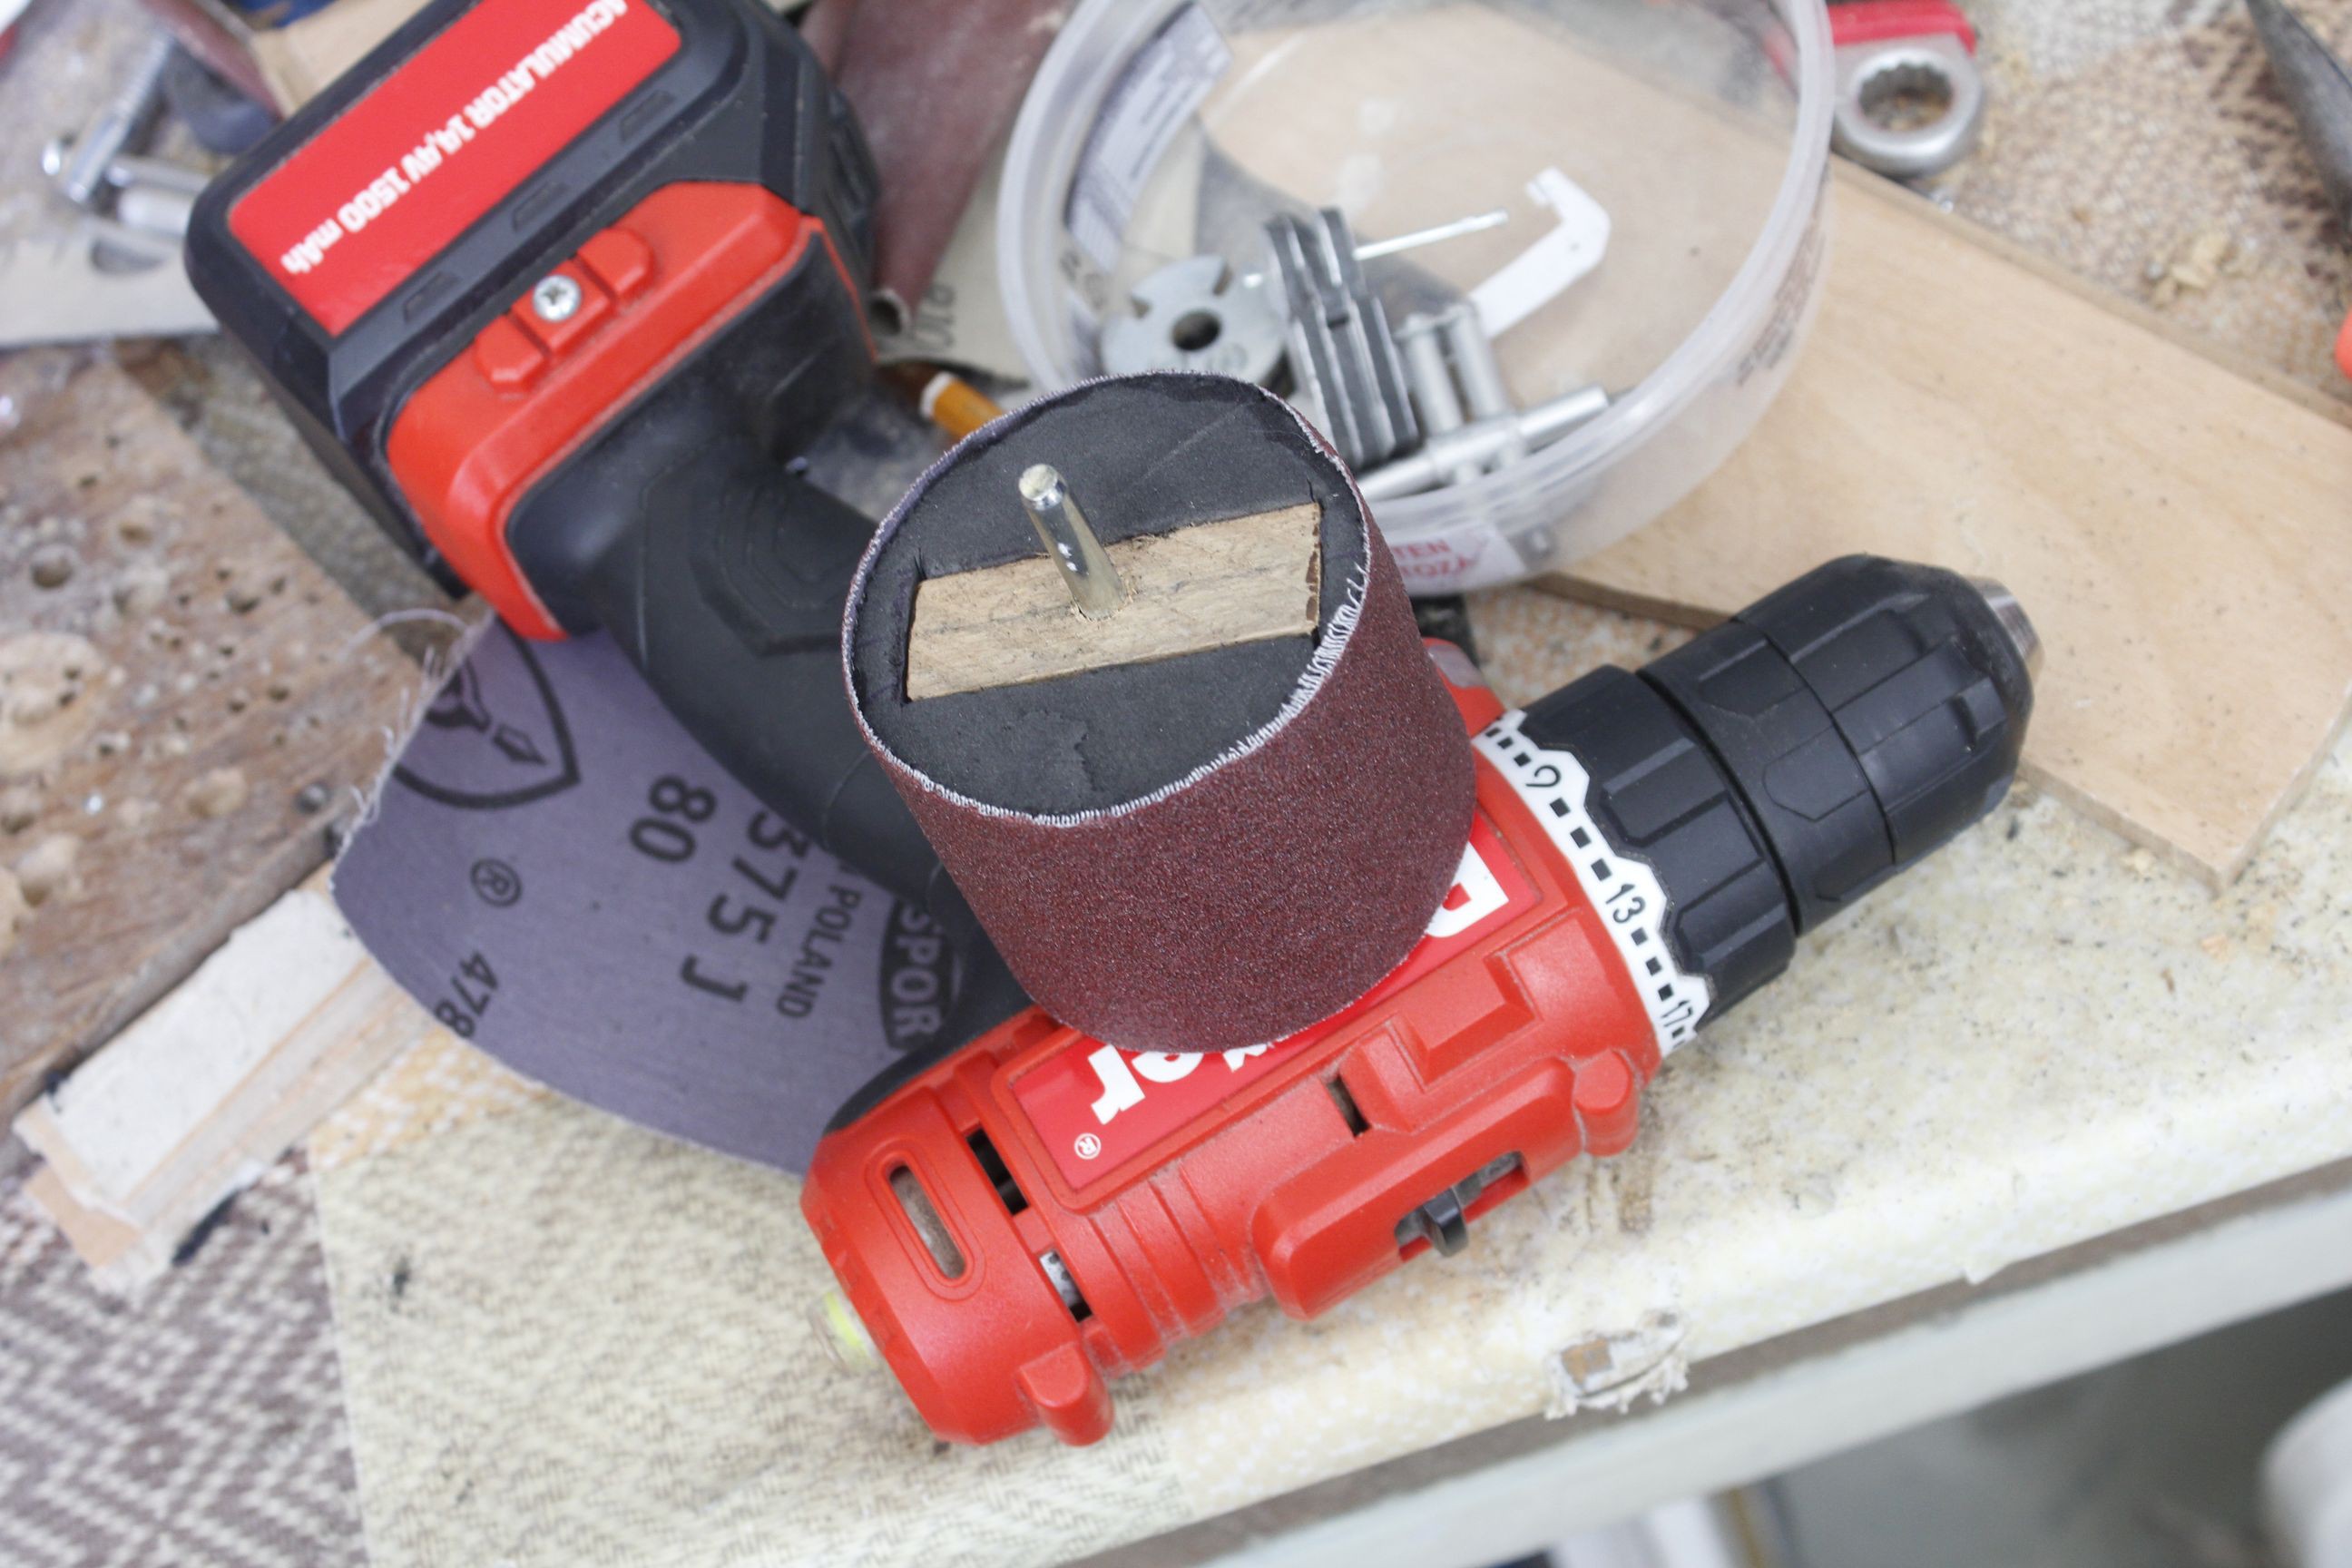
The large space for the magazine proved much harder to finalize, with an entire day dedicated to it and a custom sanding drum constructed, to mediocre results. The technique of using a hacksaw blade in a rasping motion was more effective, but it still involved much back-and-forth between registration, clamping, checking, de-clamping and actual work.
-
Log 2
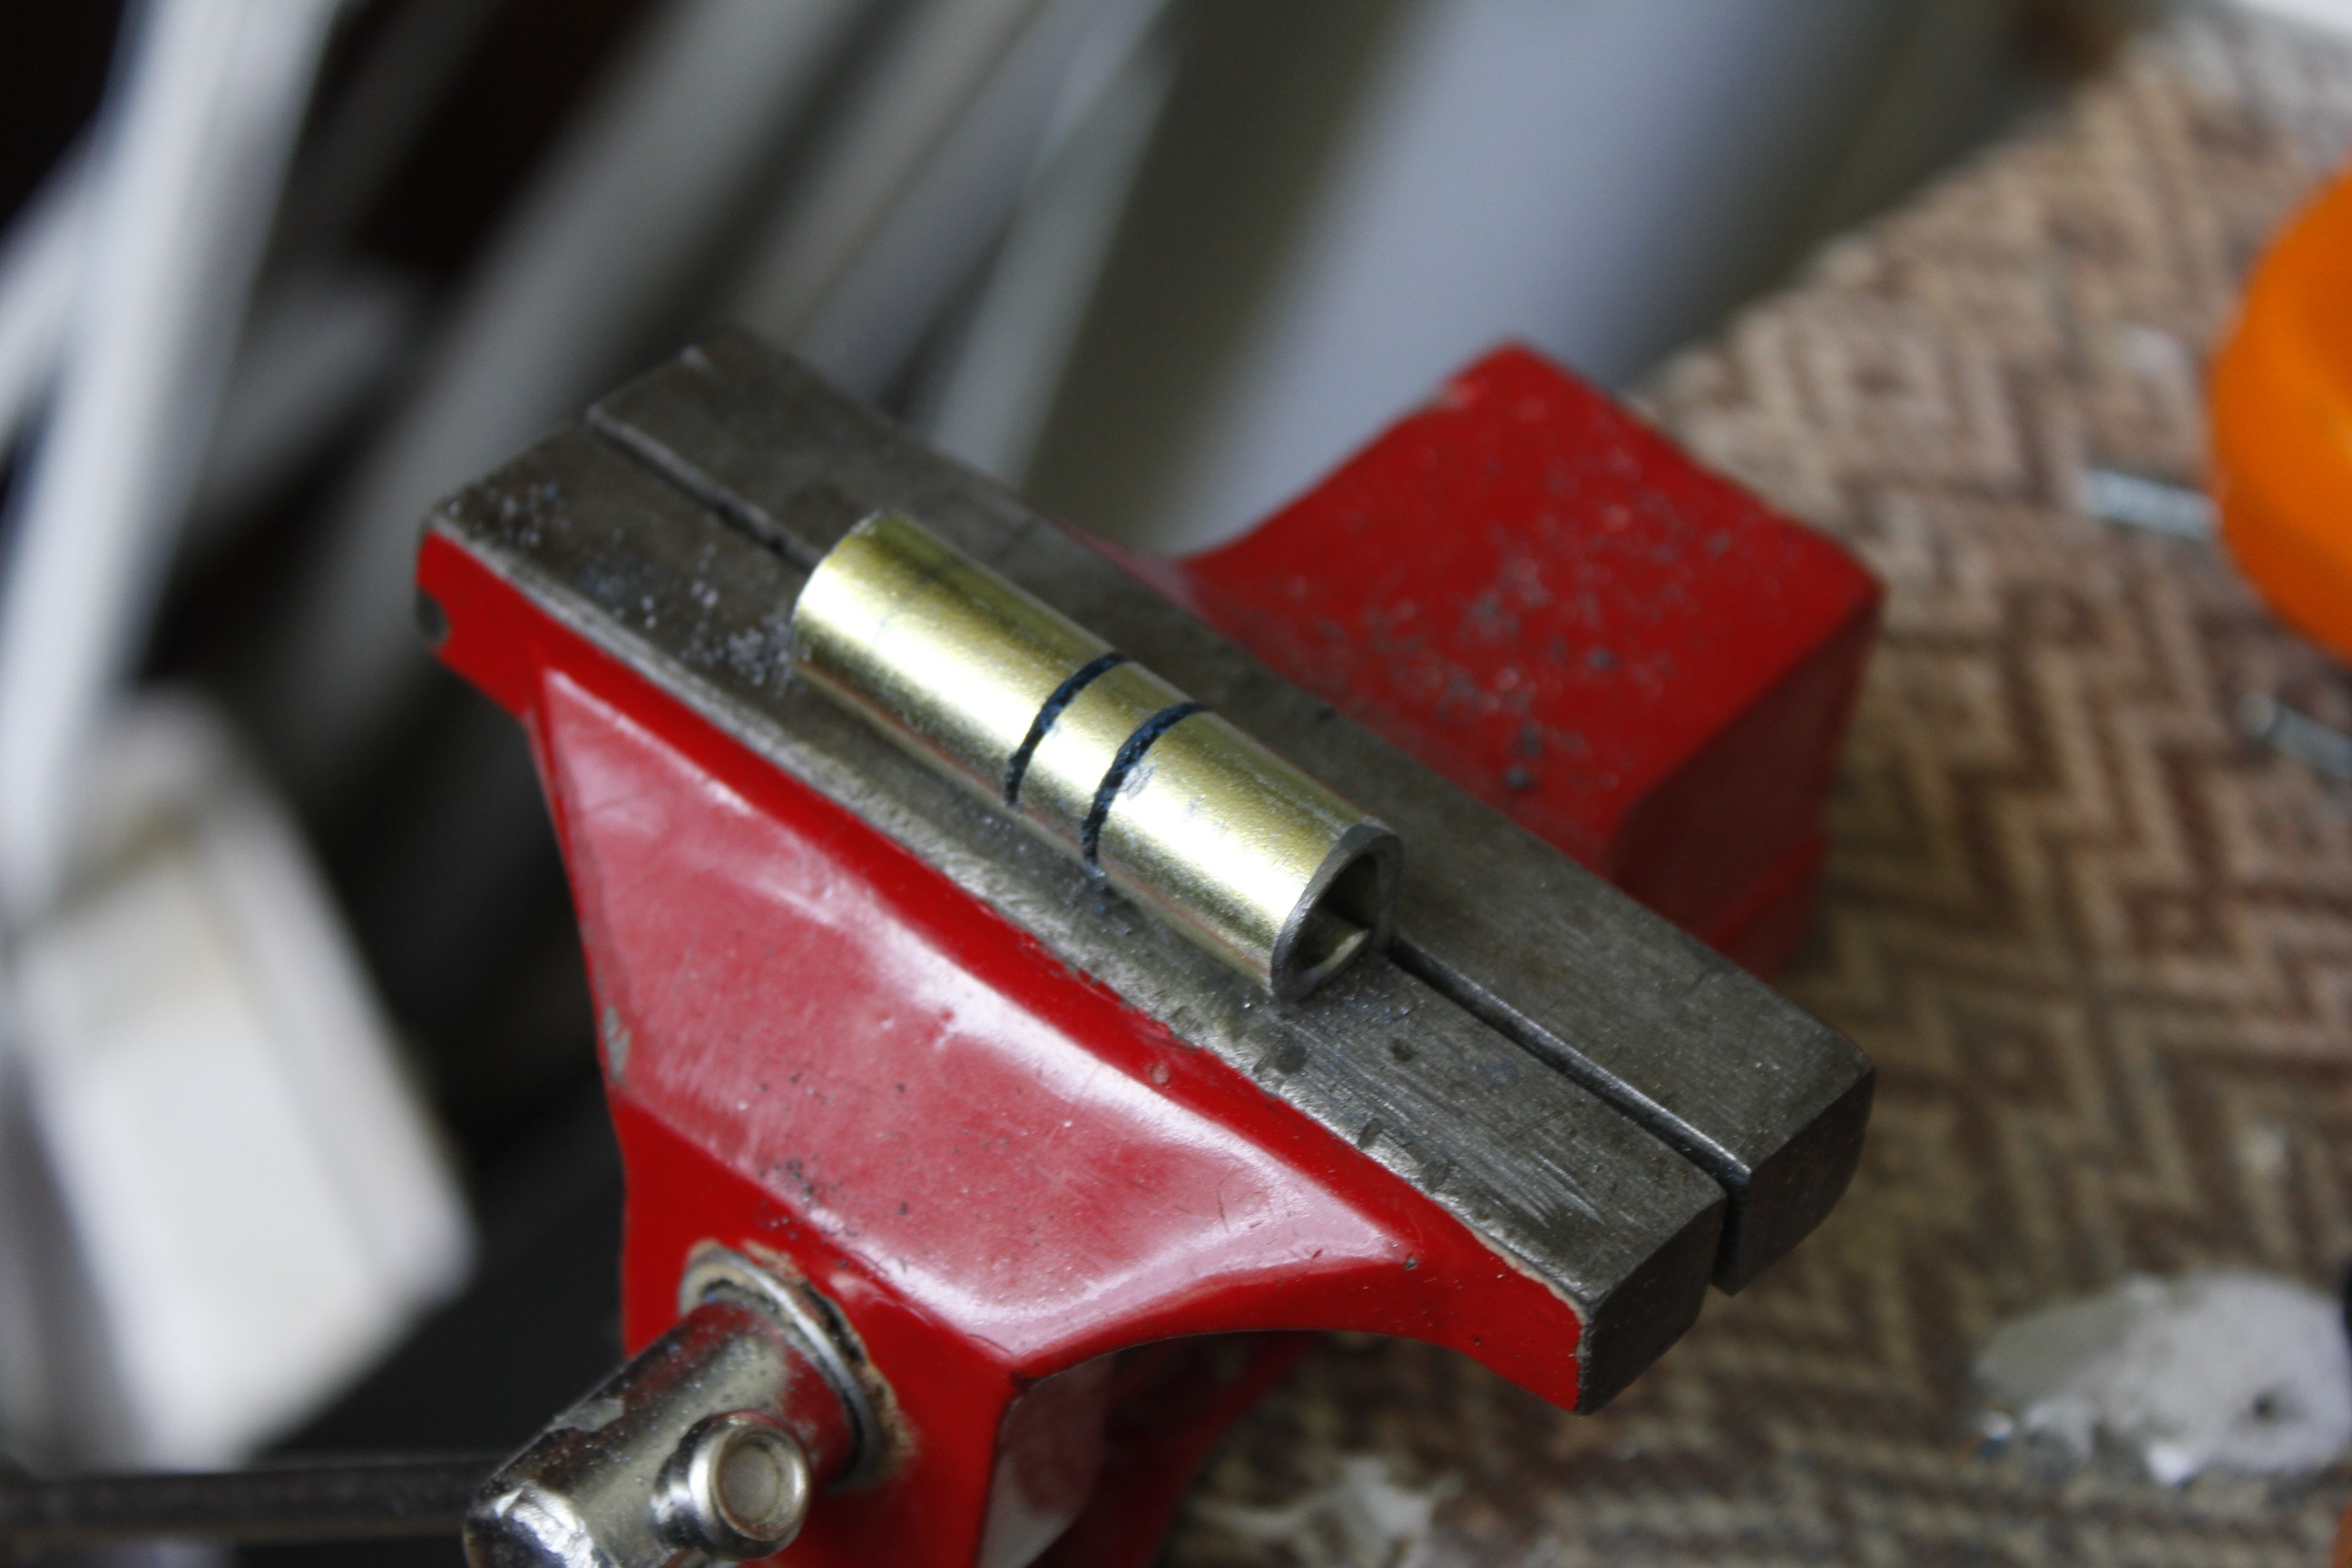
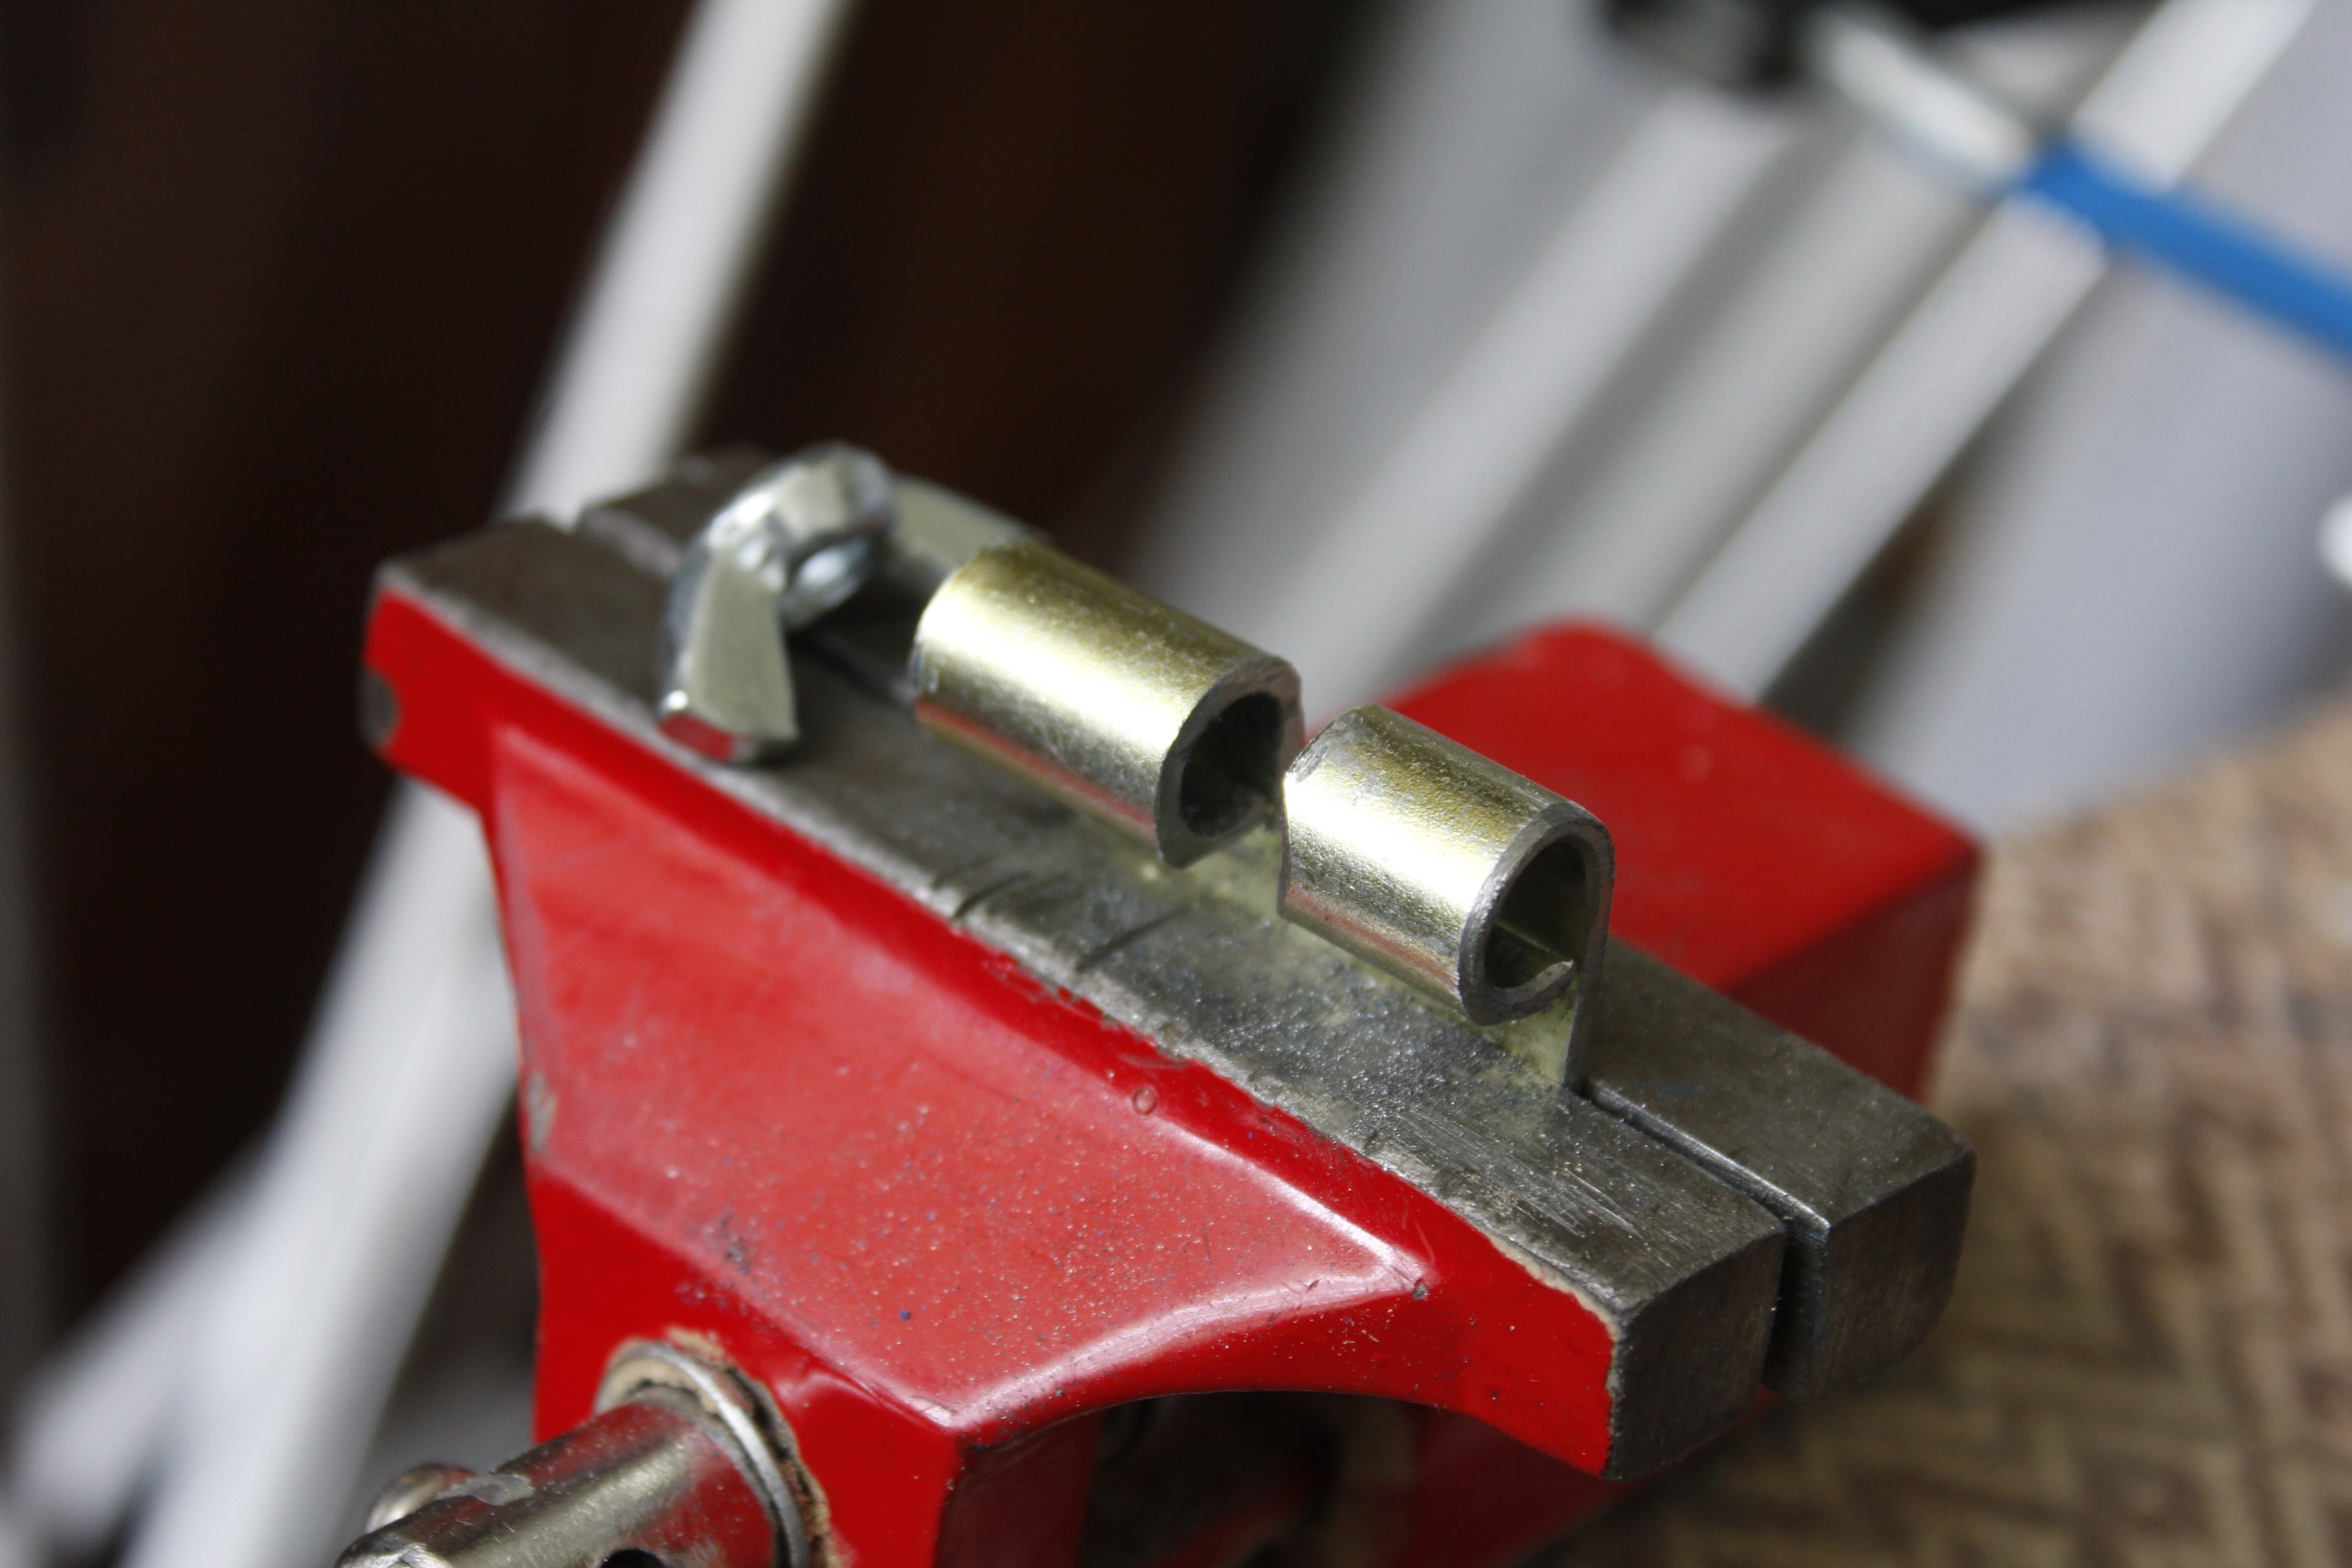
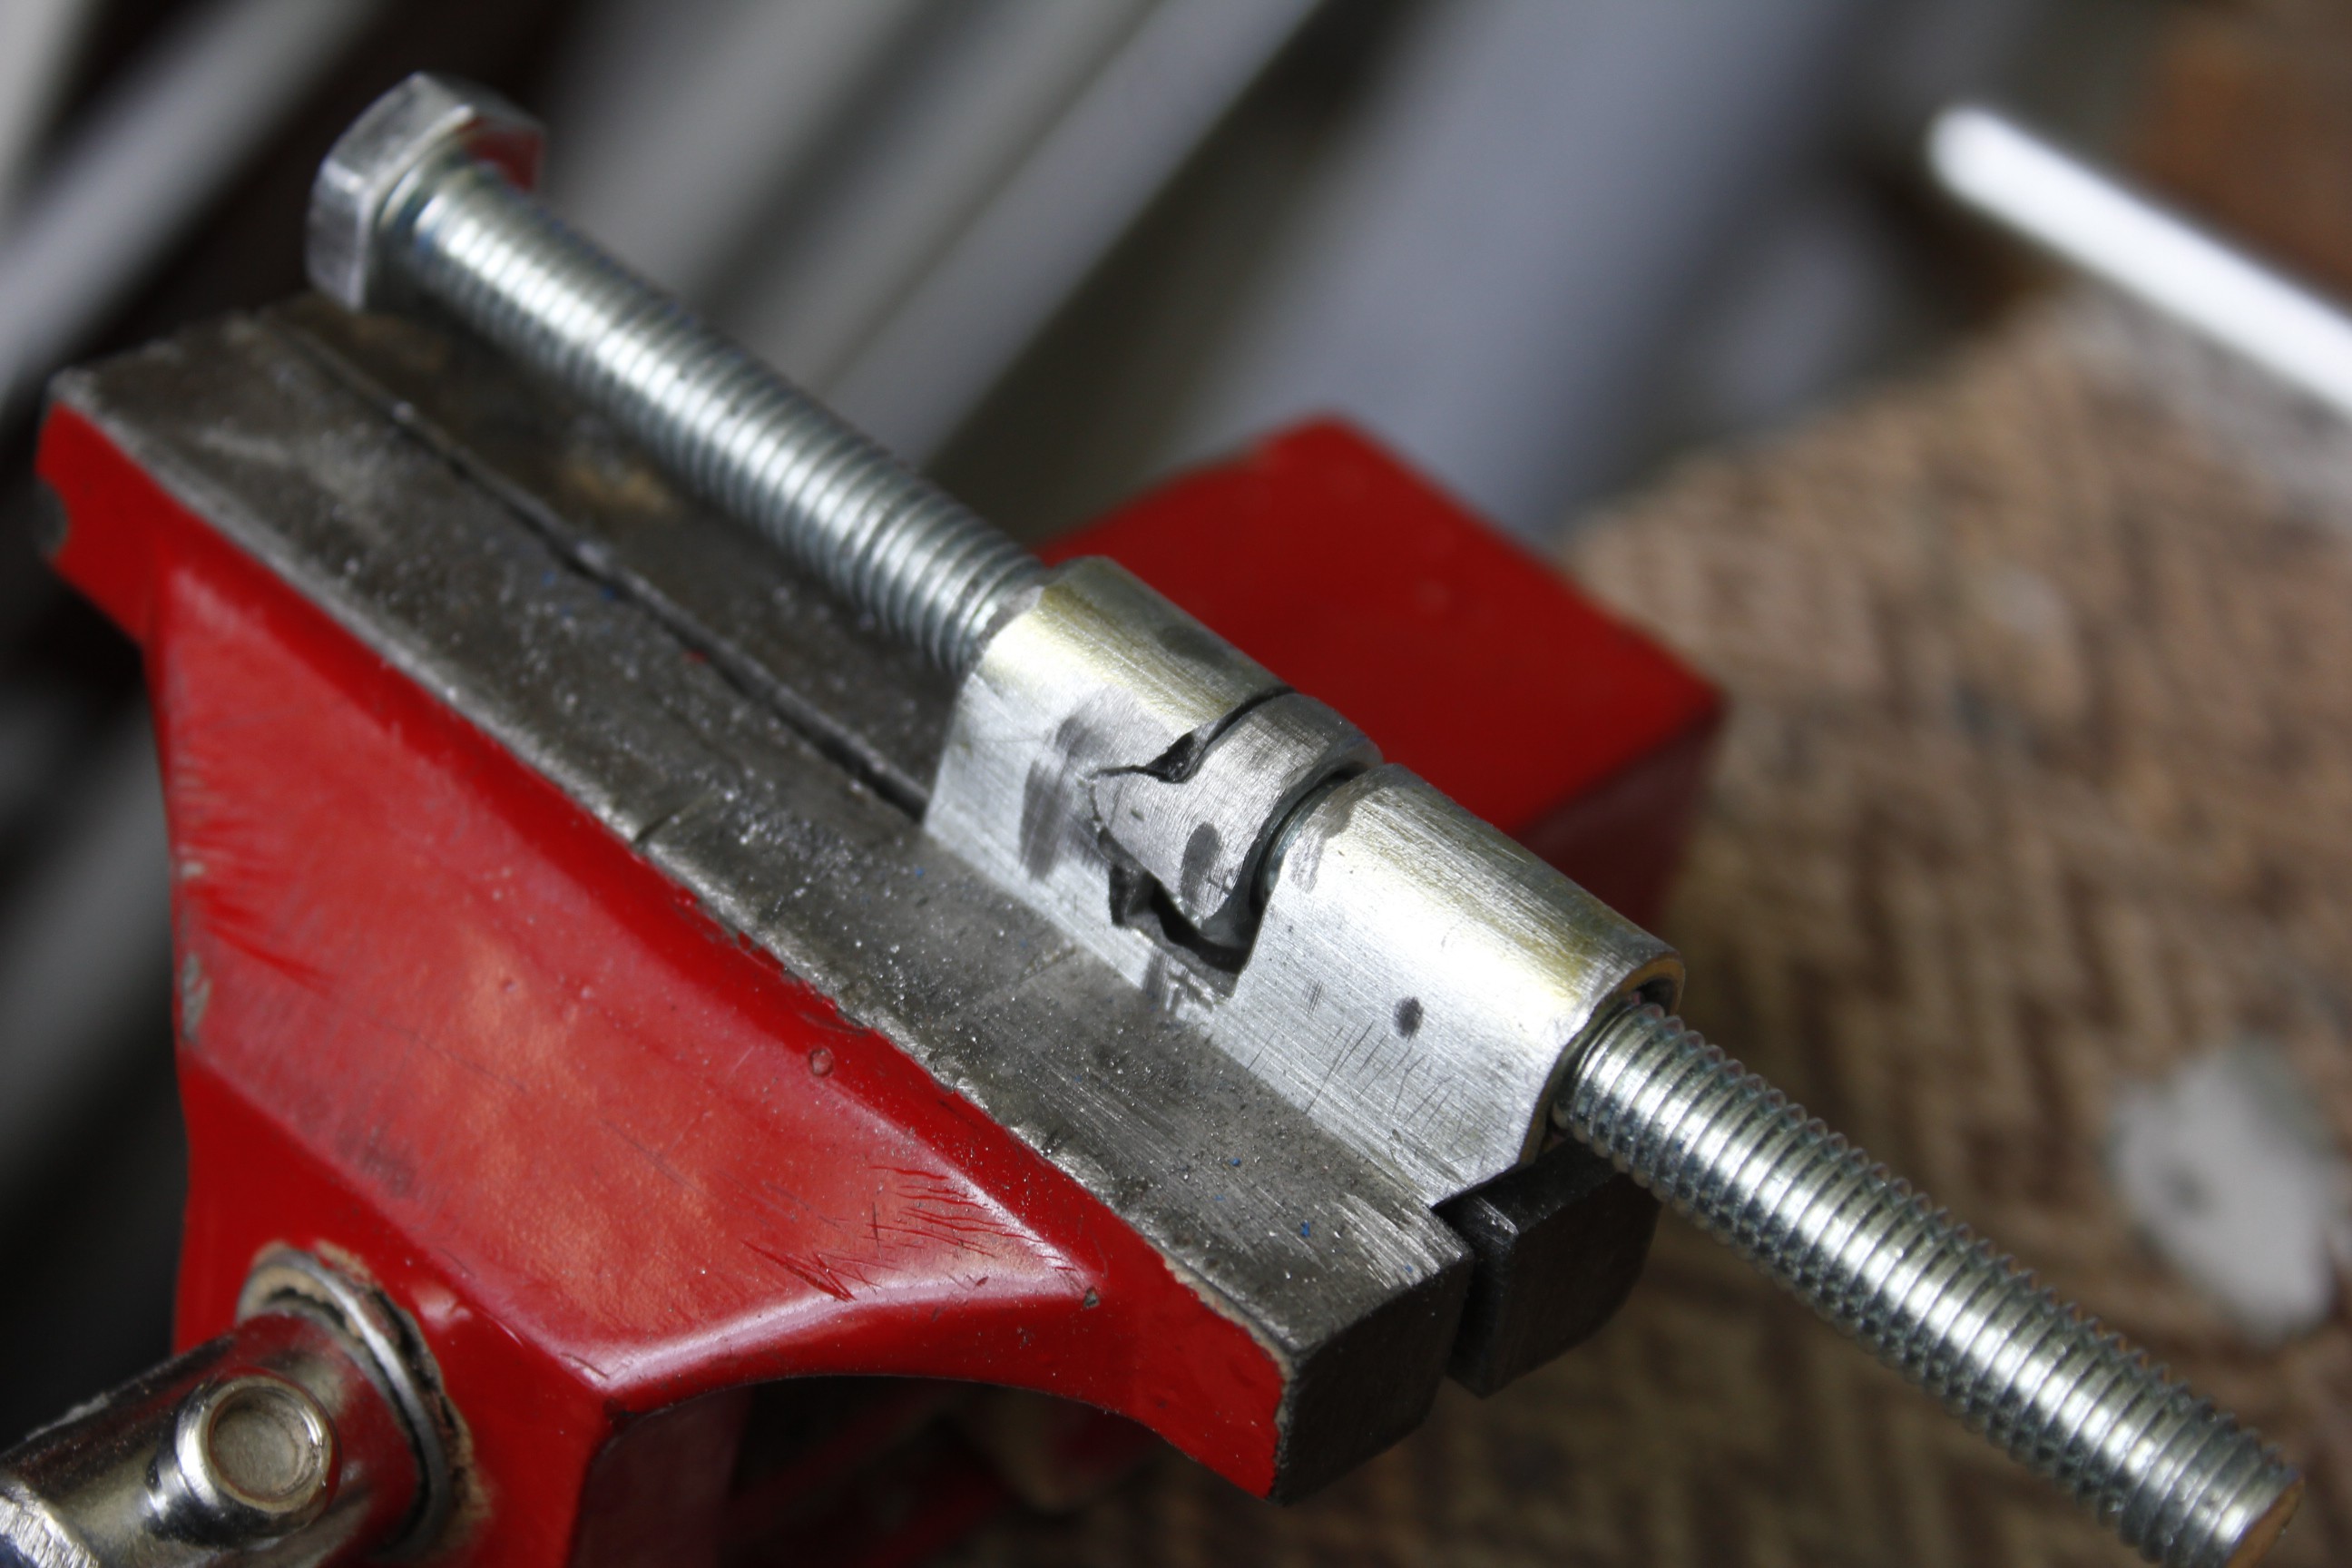
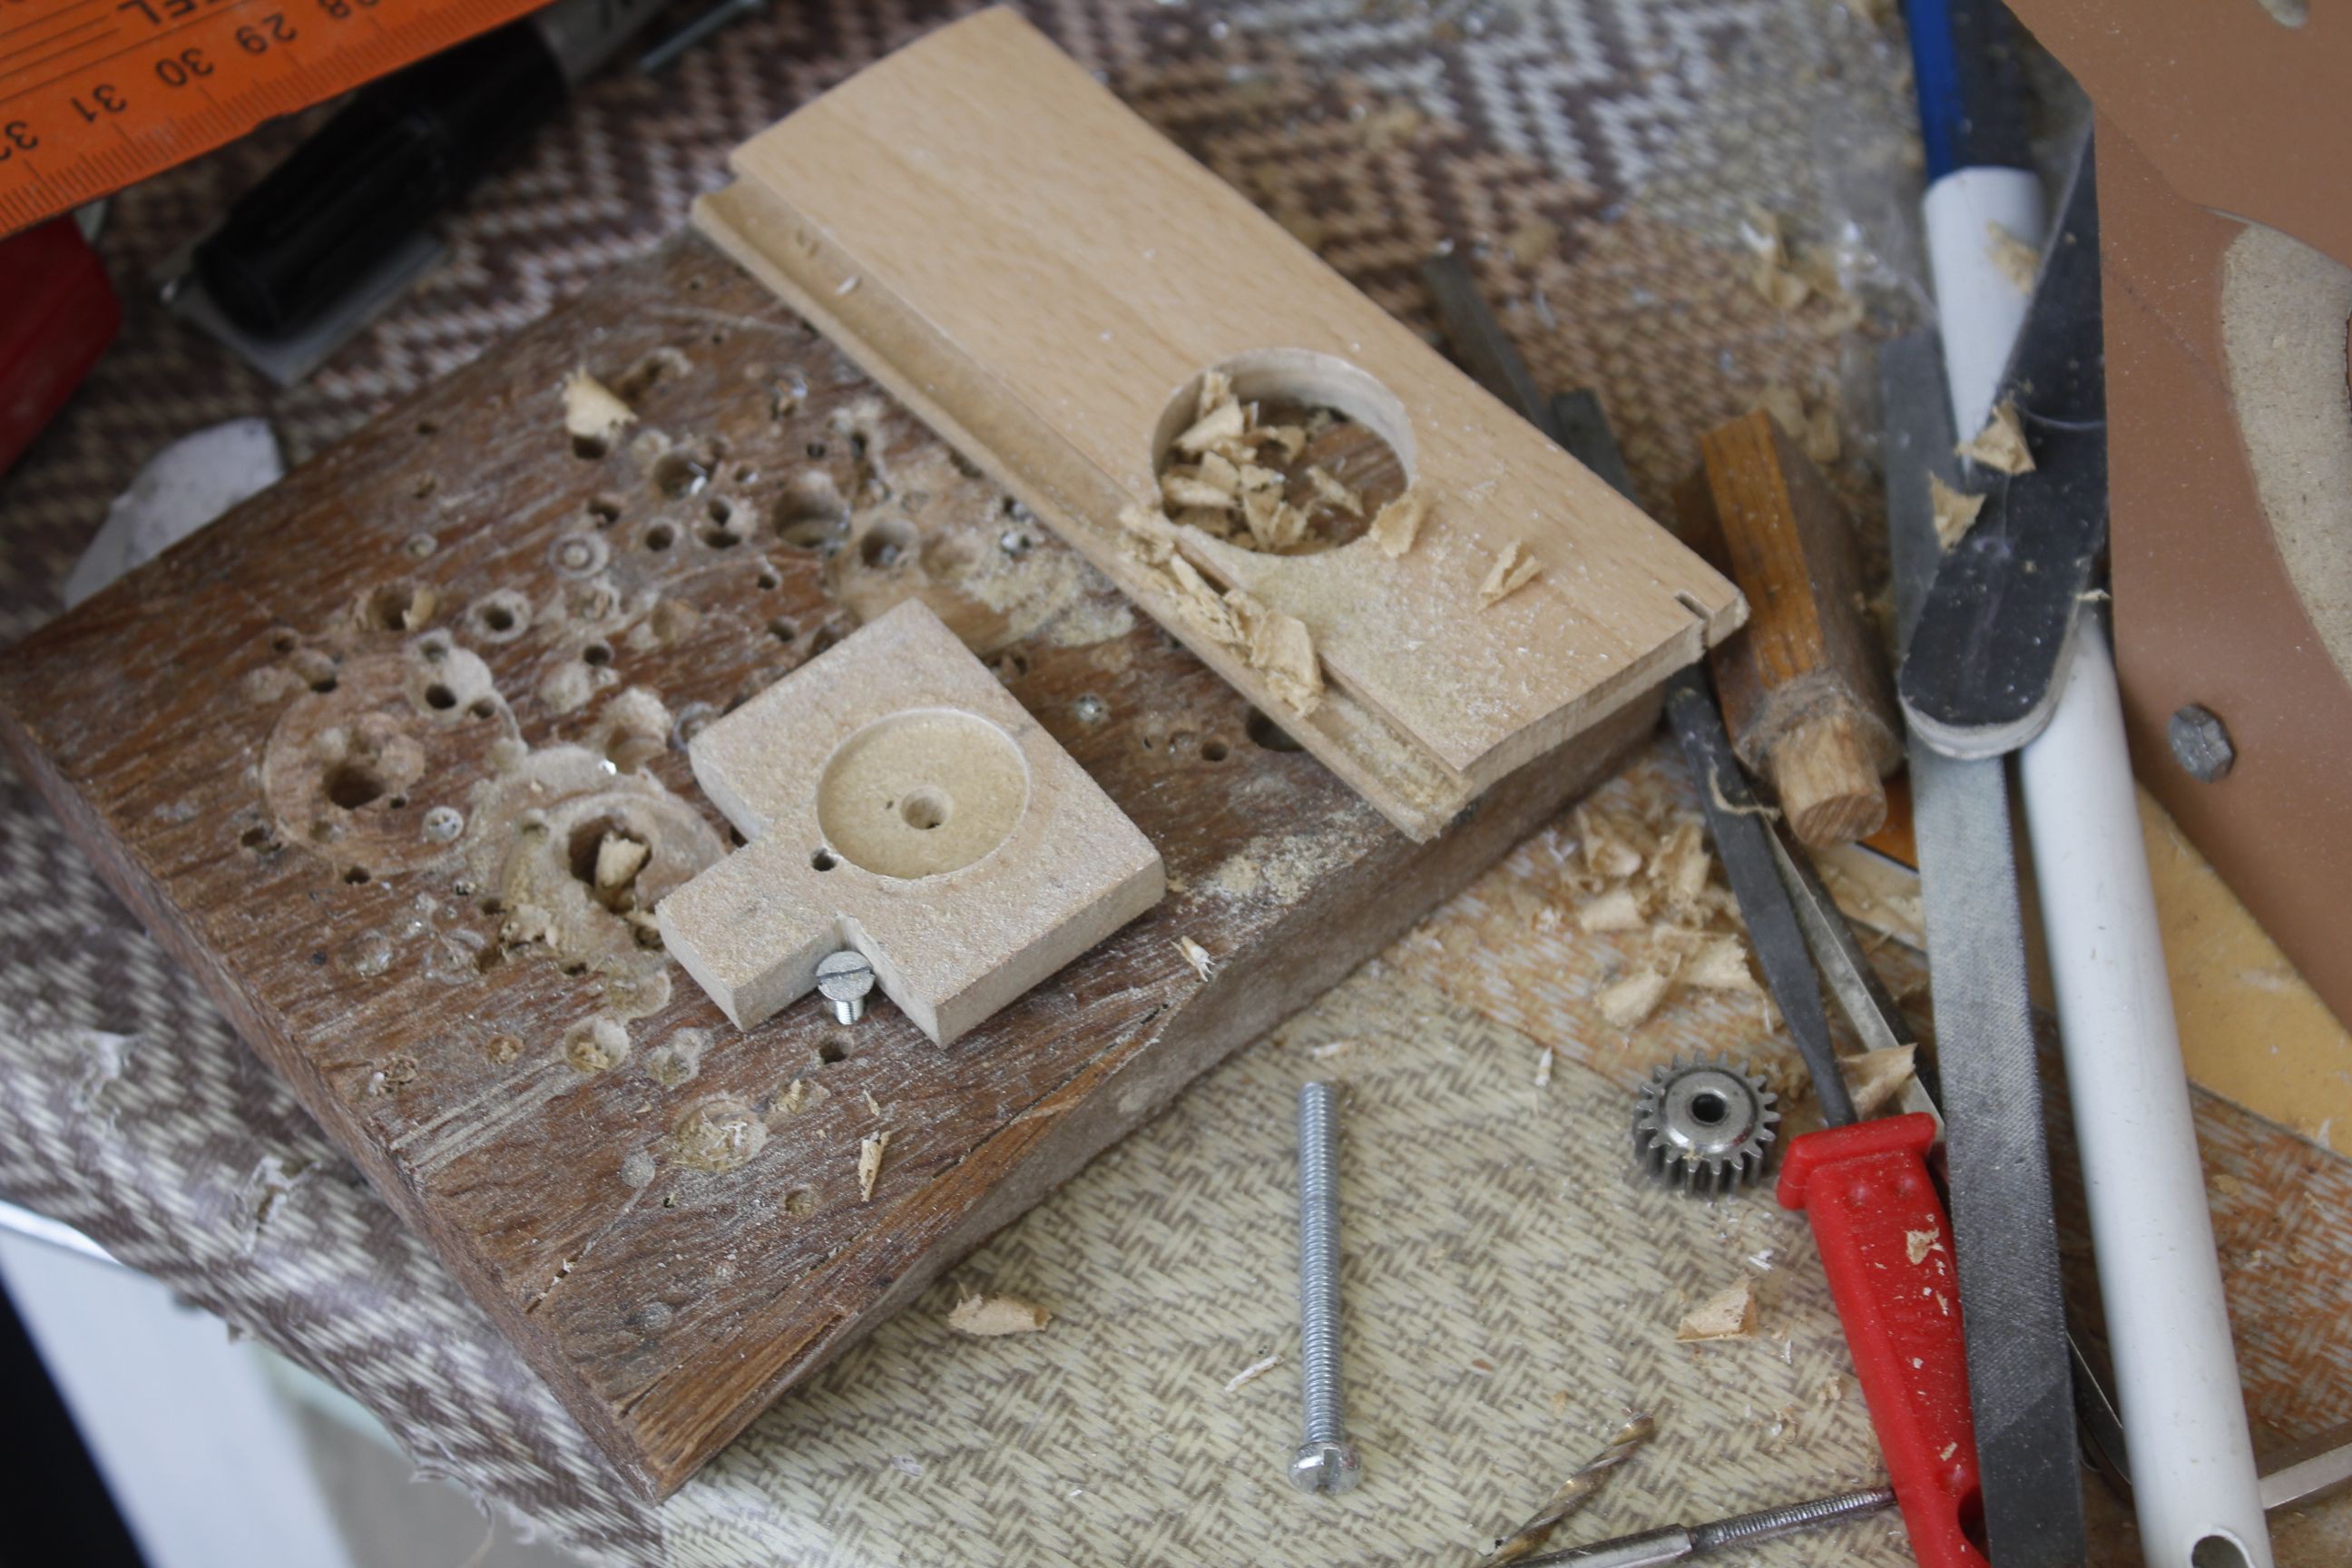
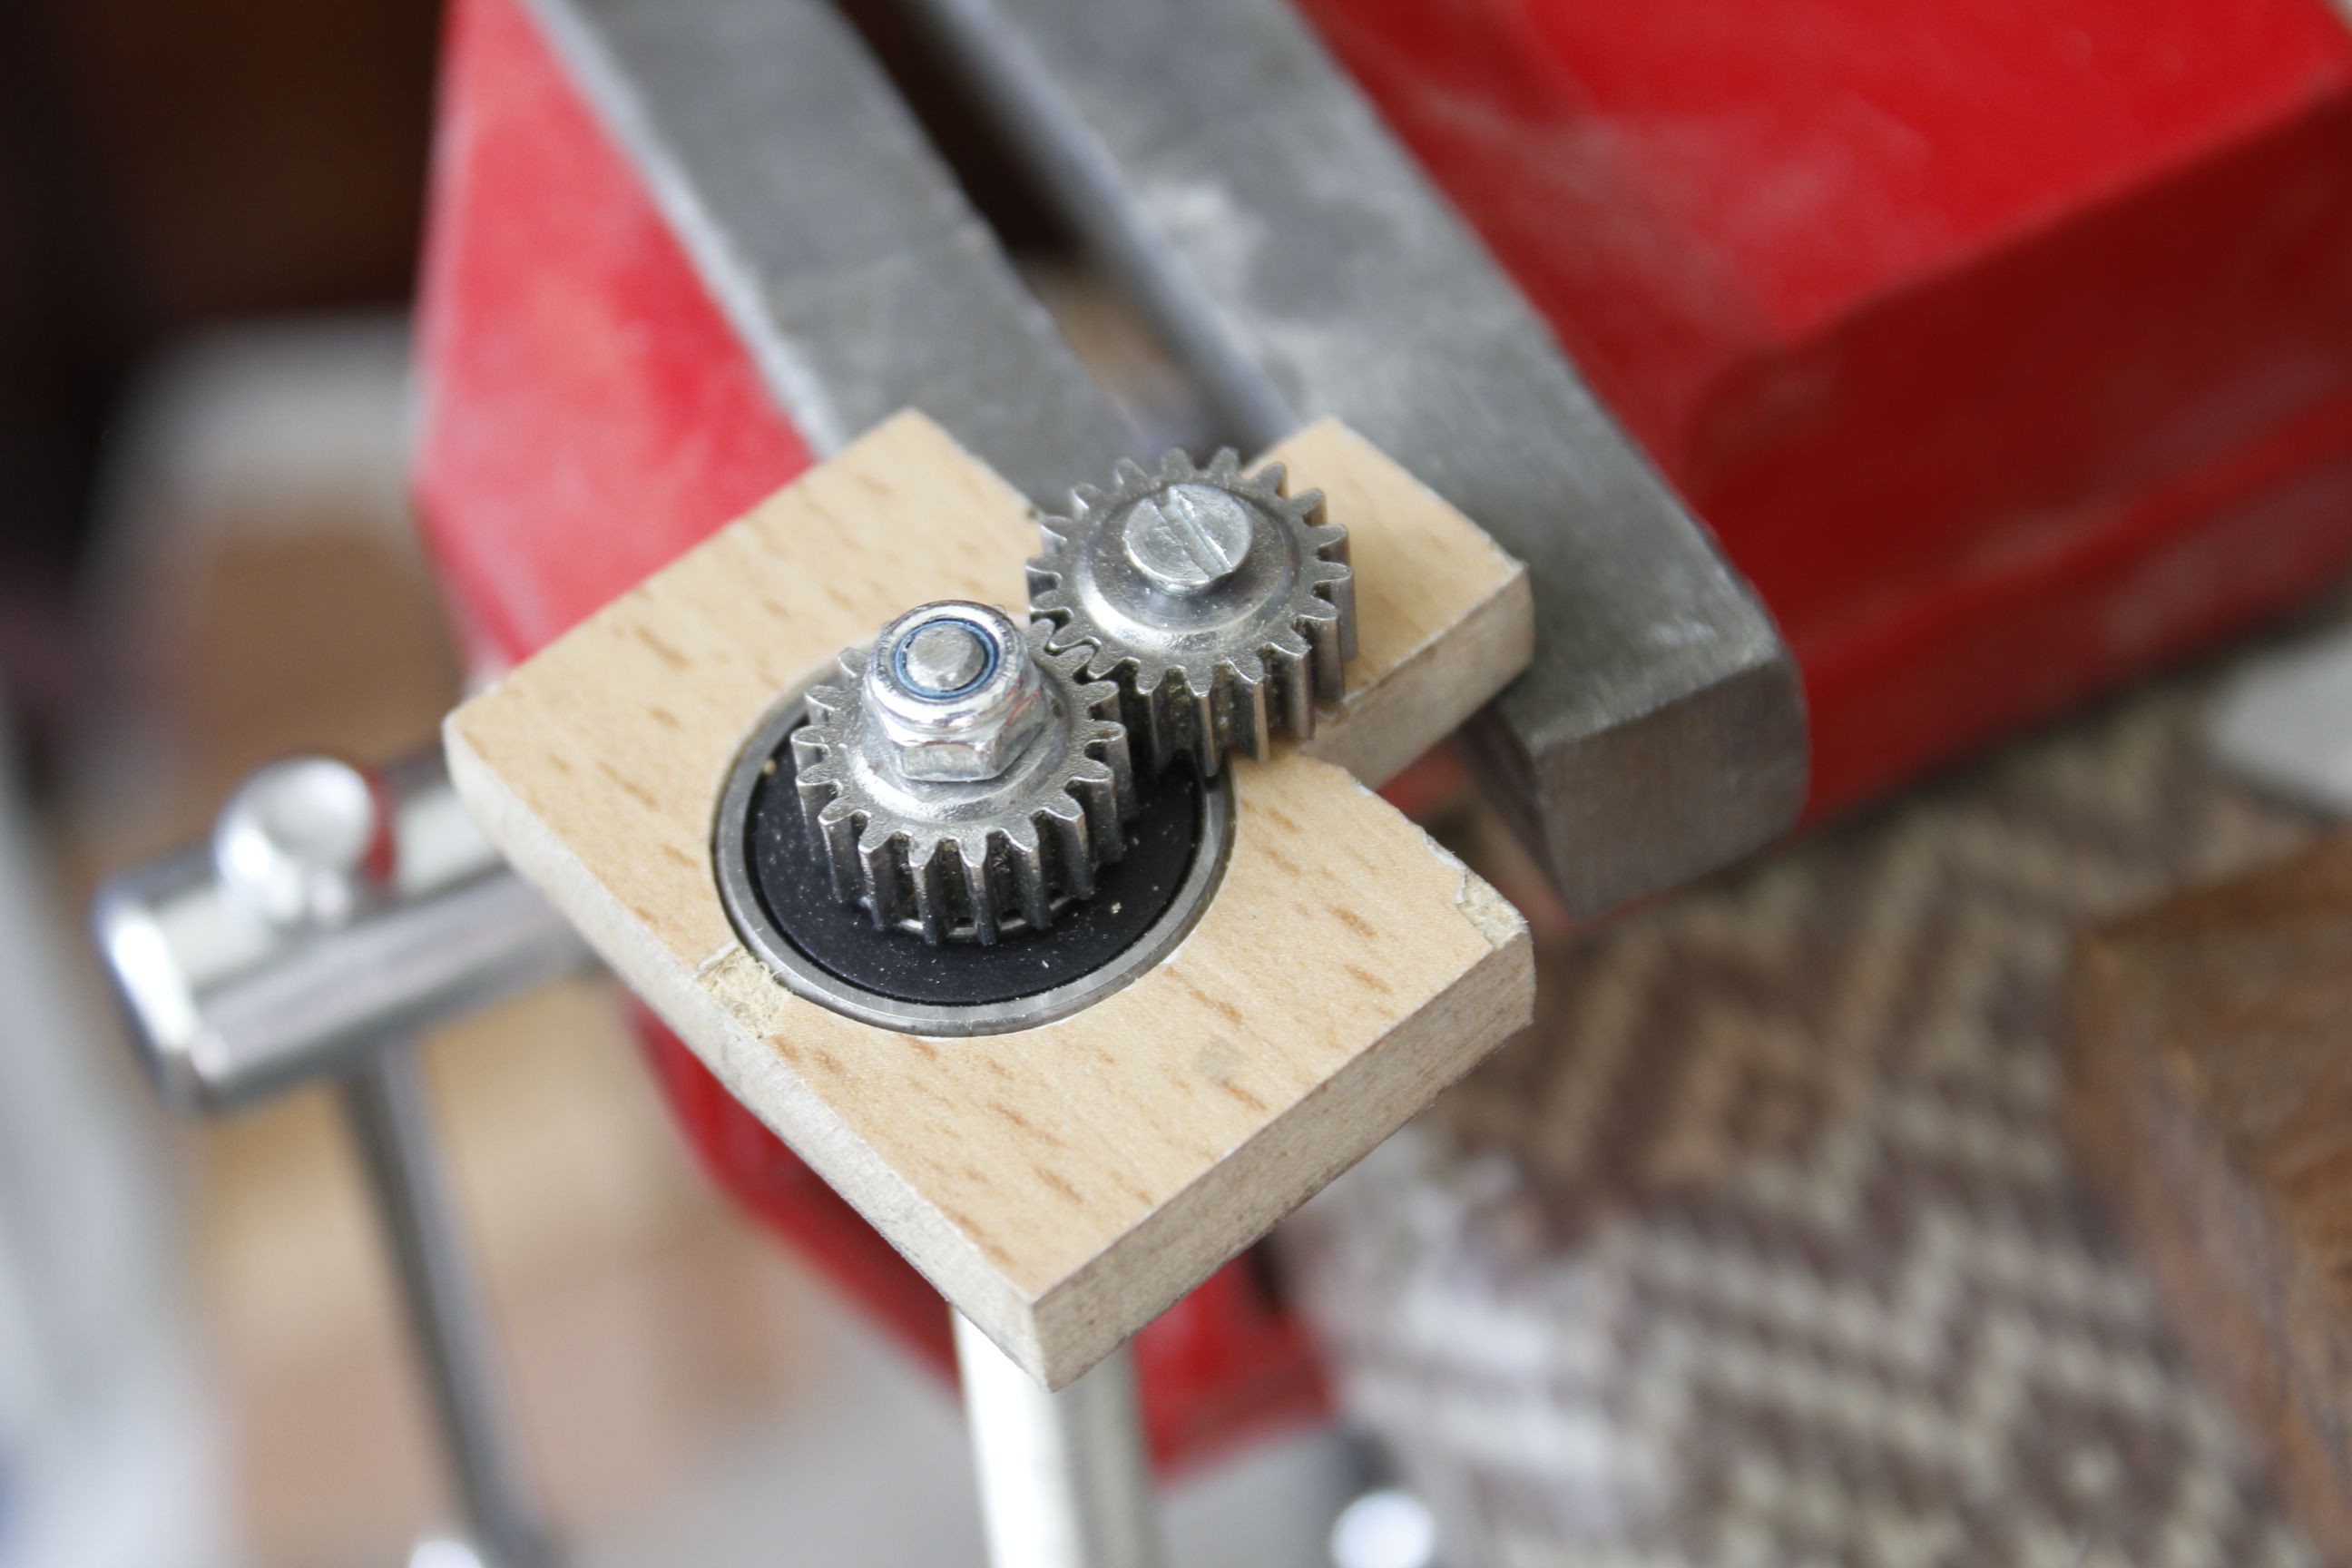
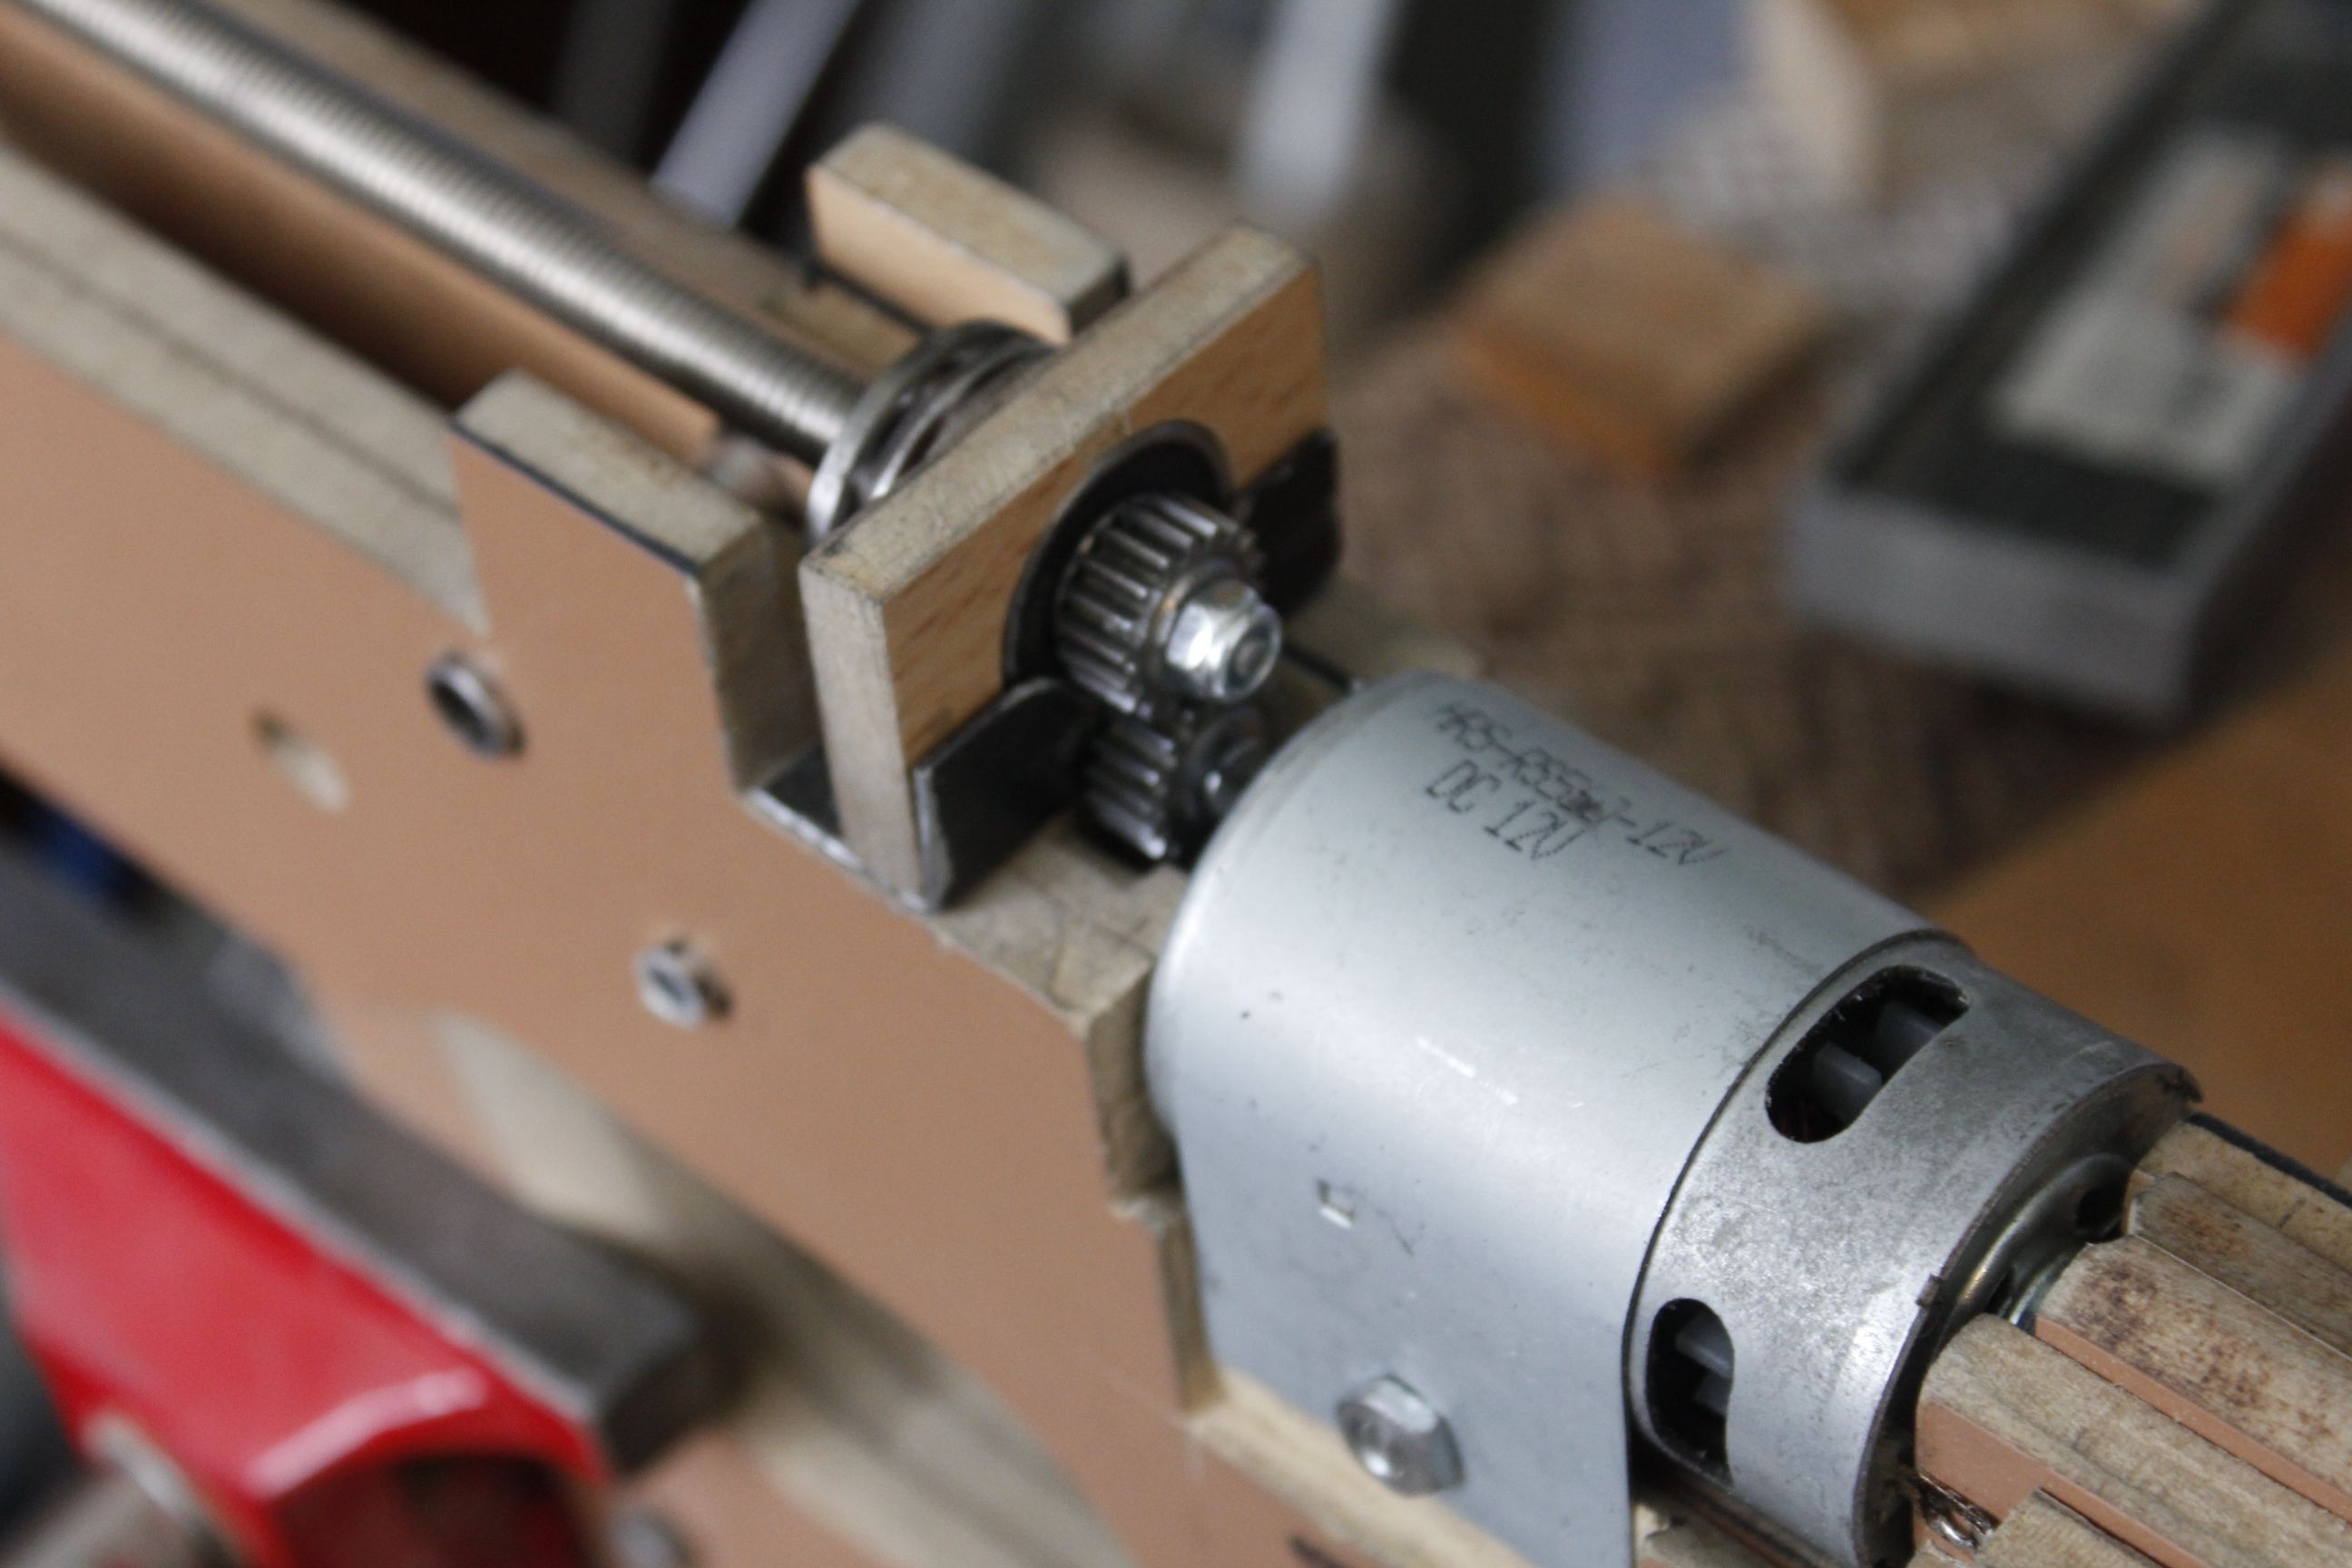
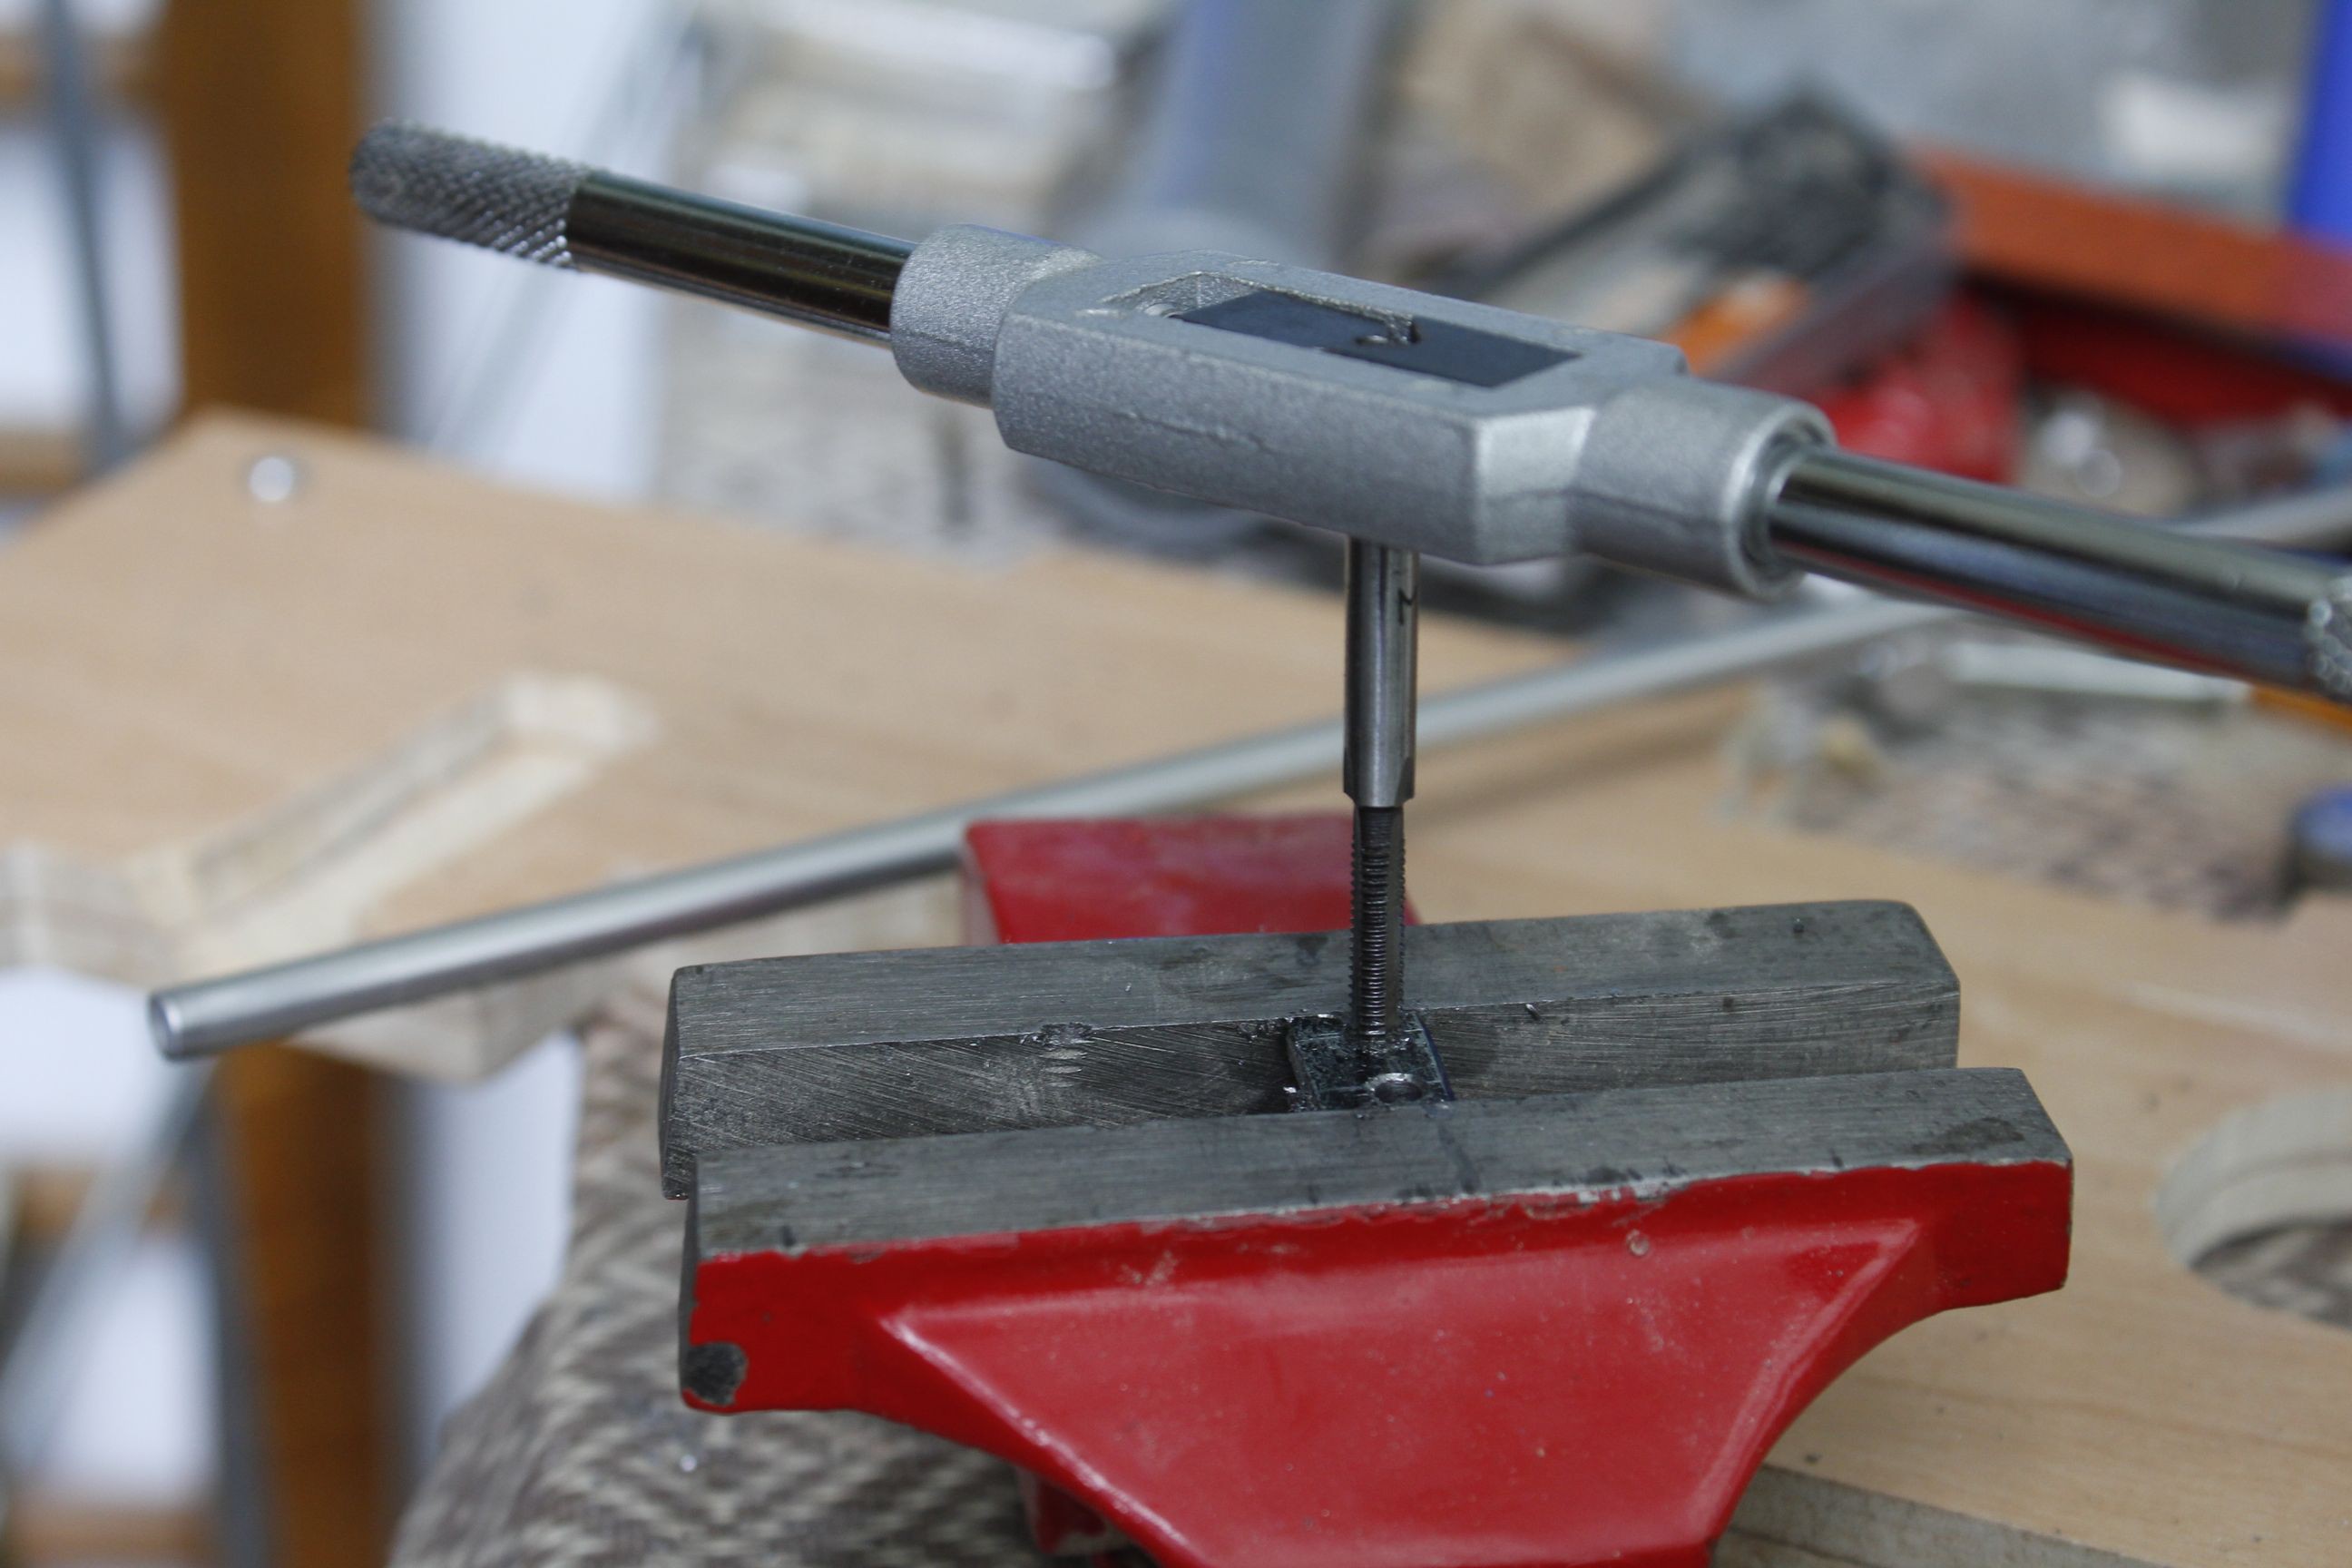
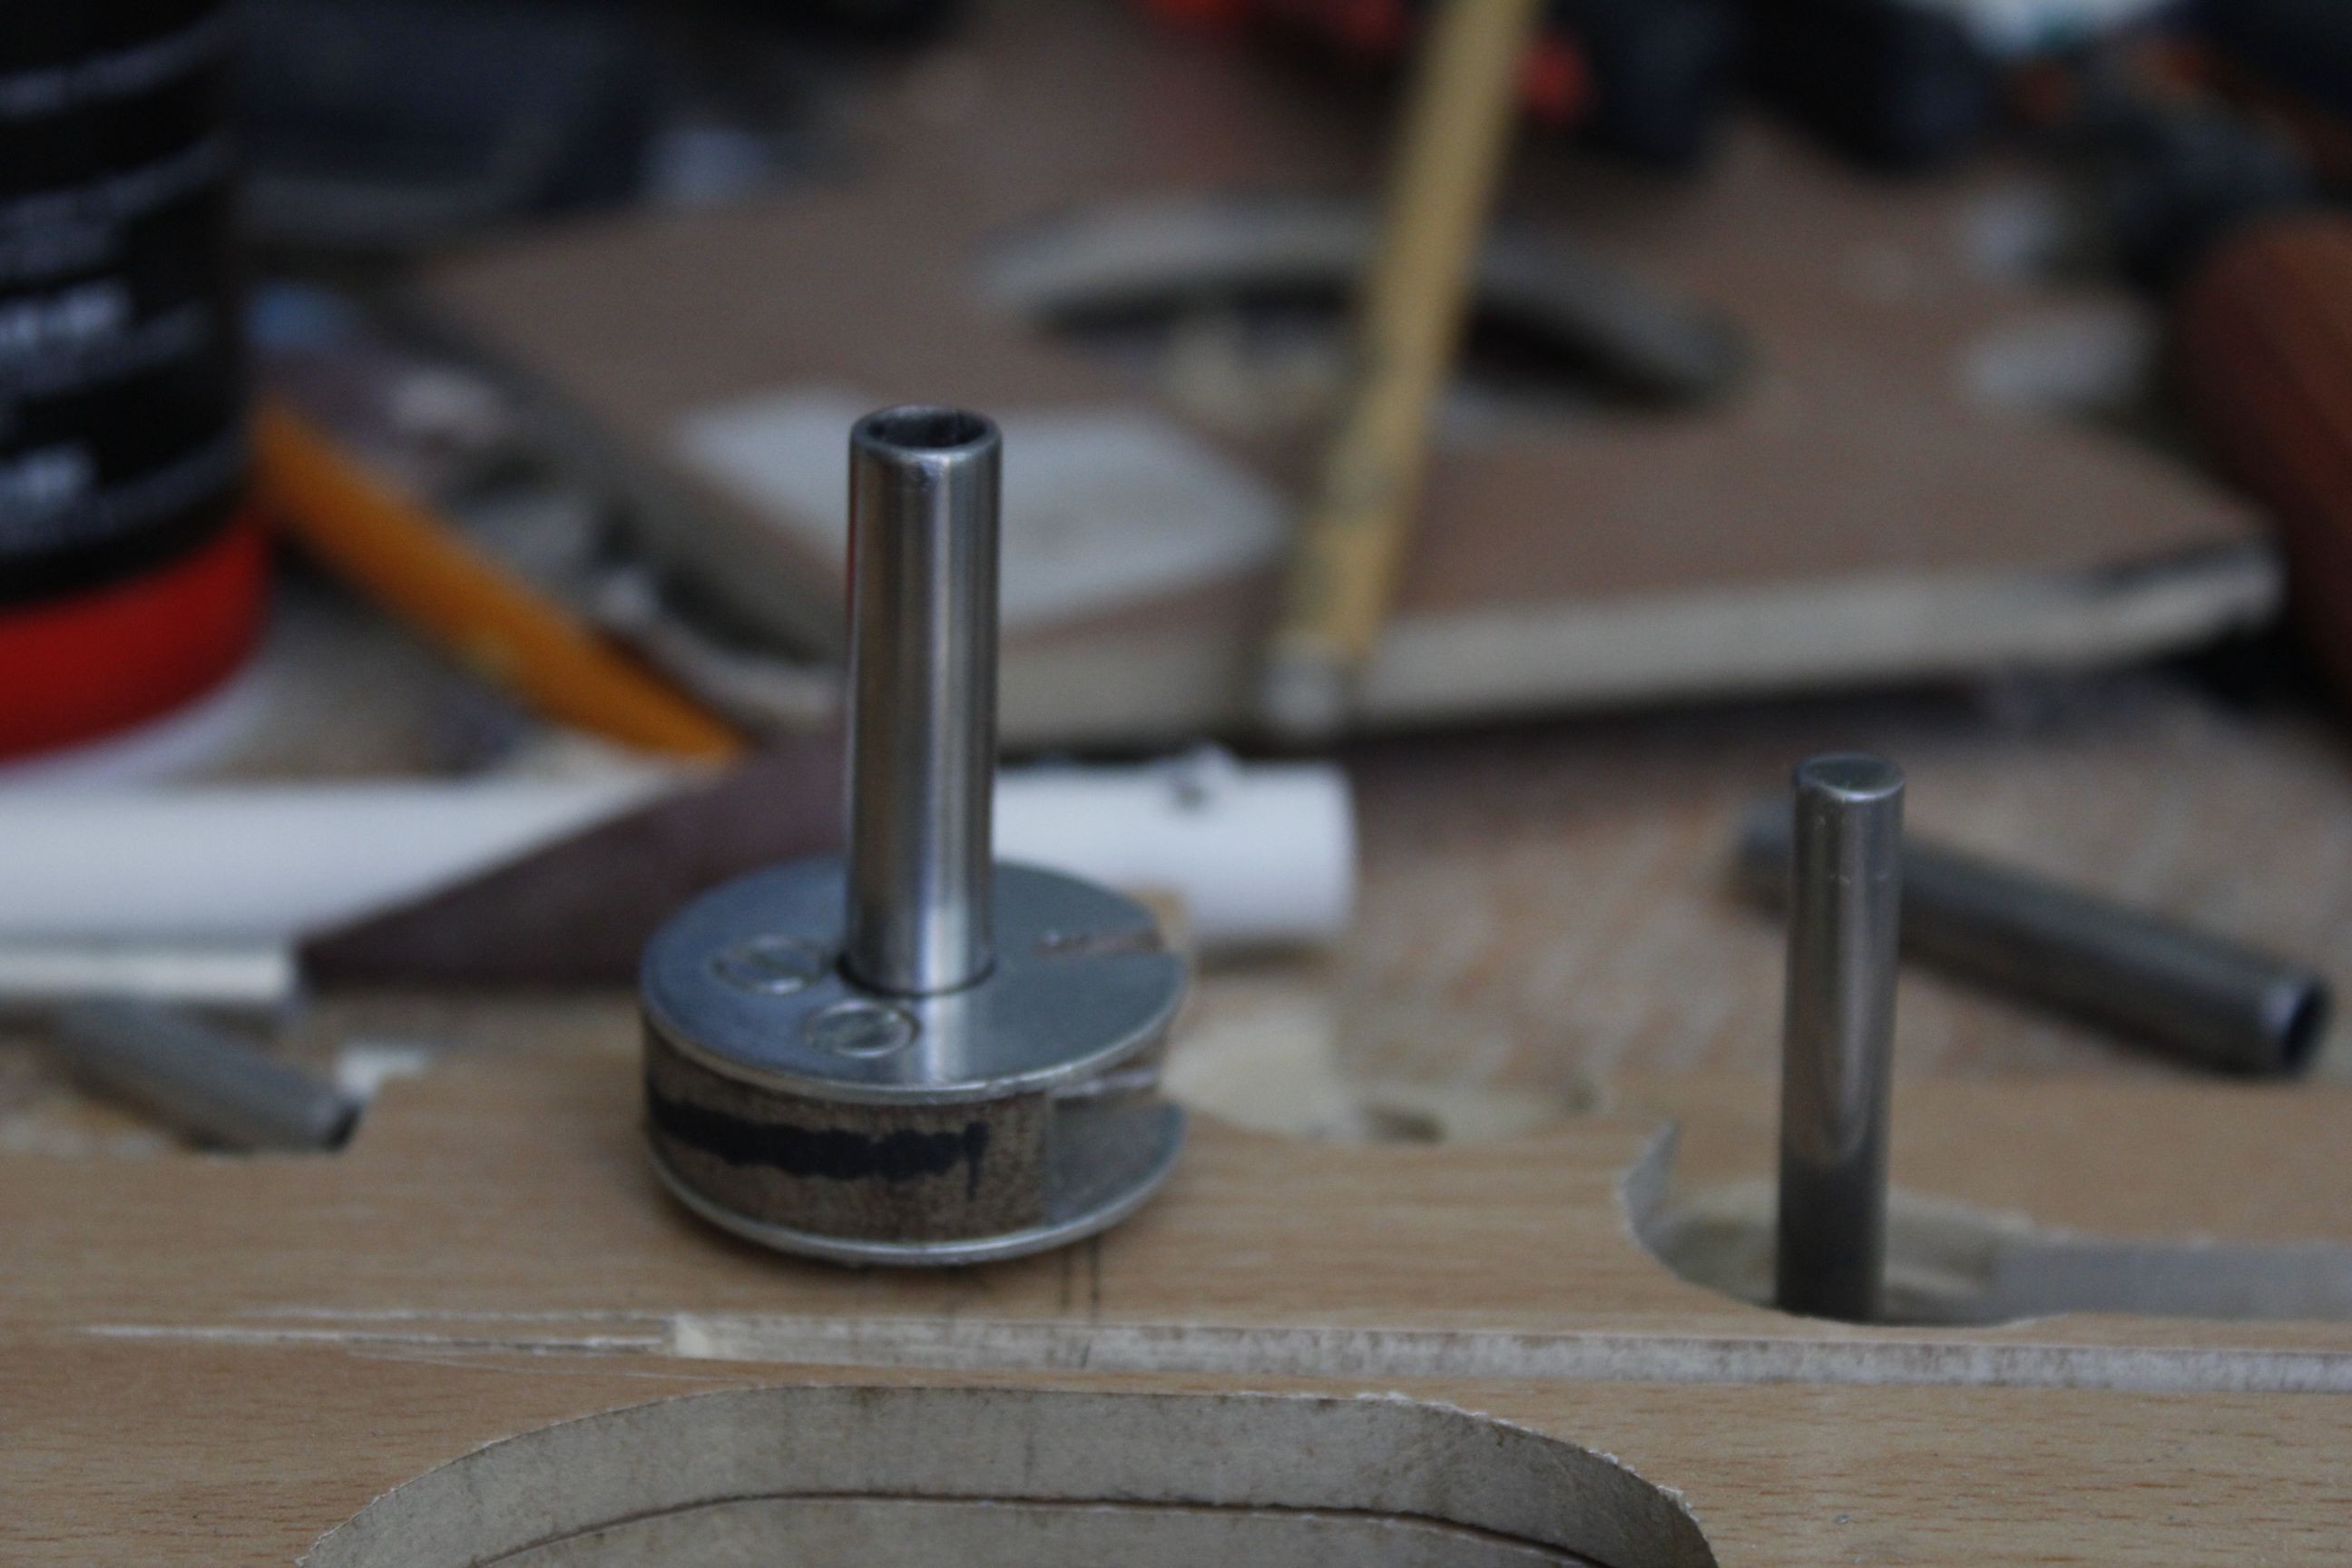
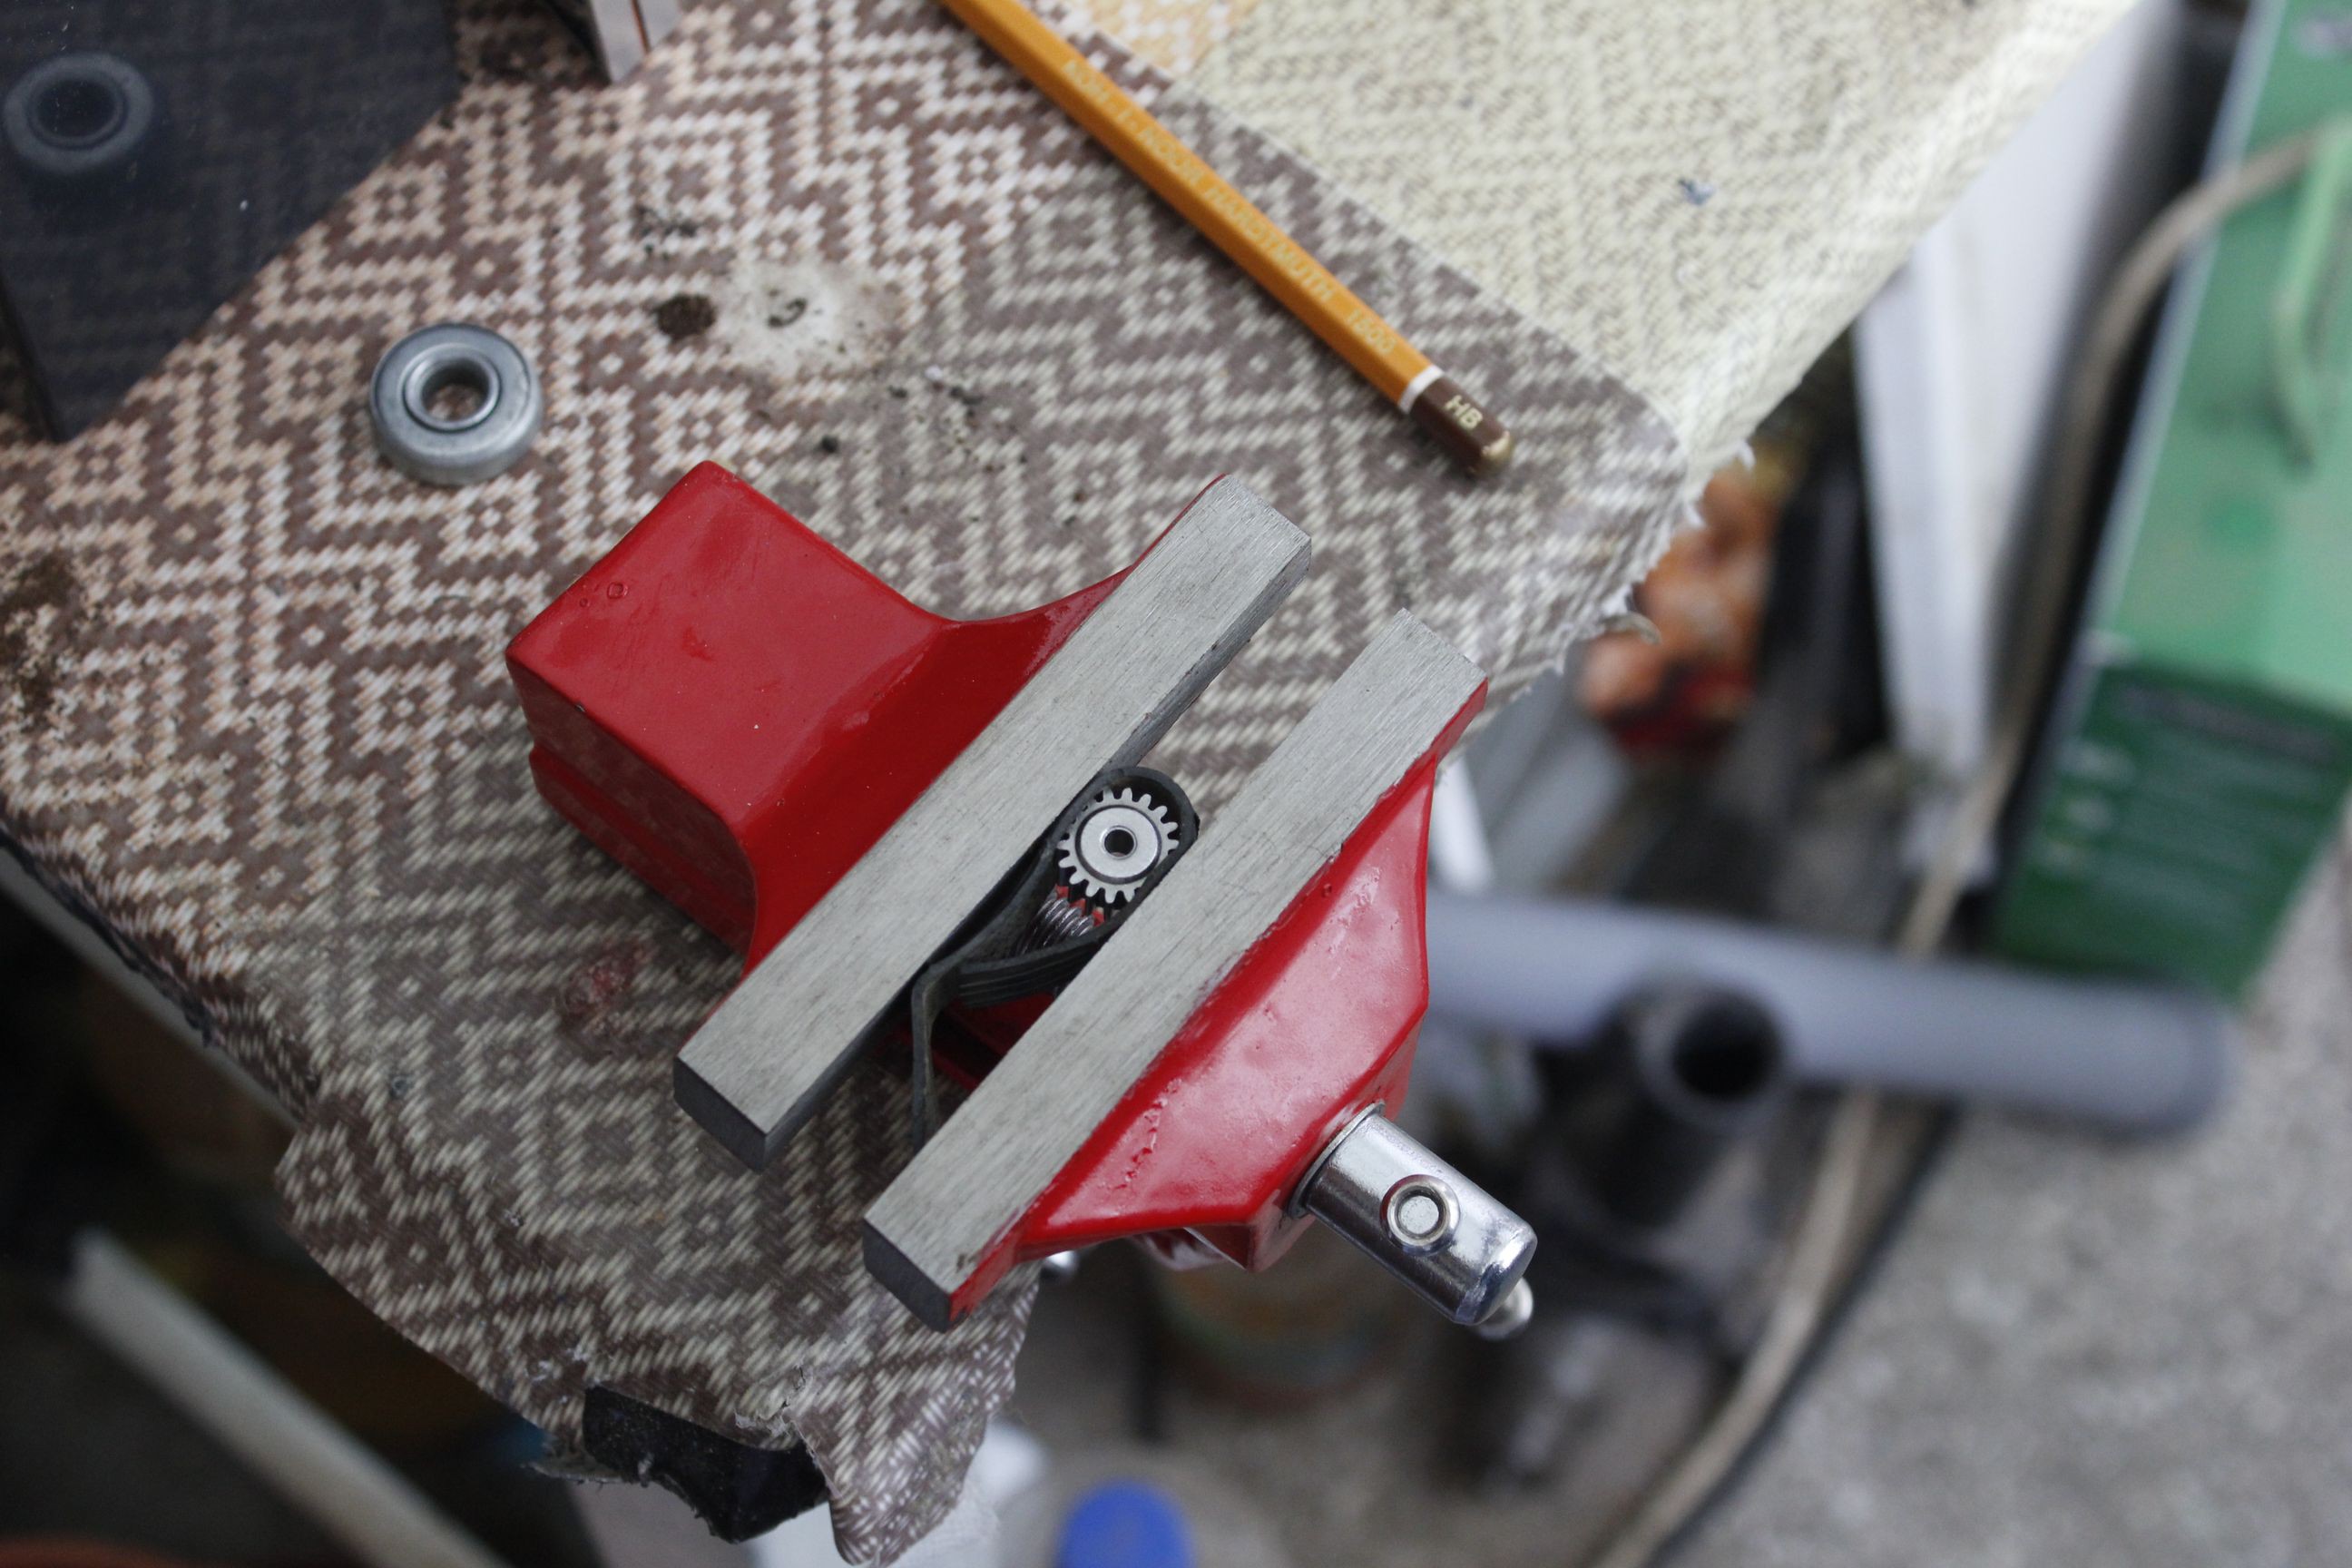
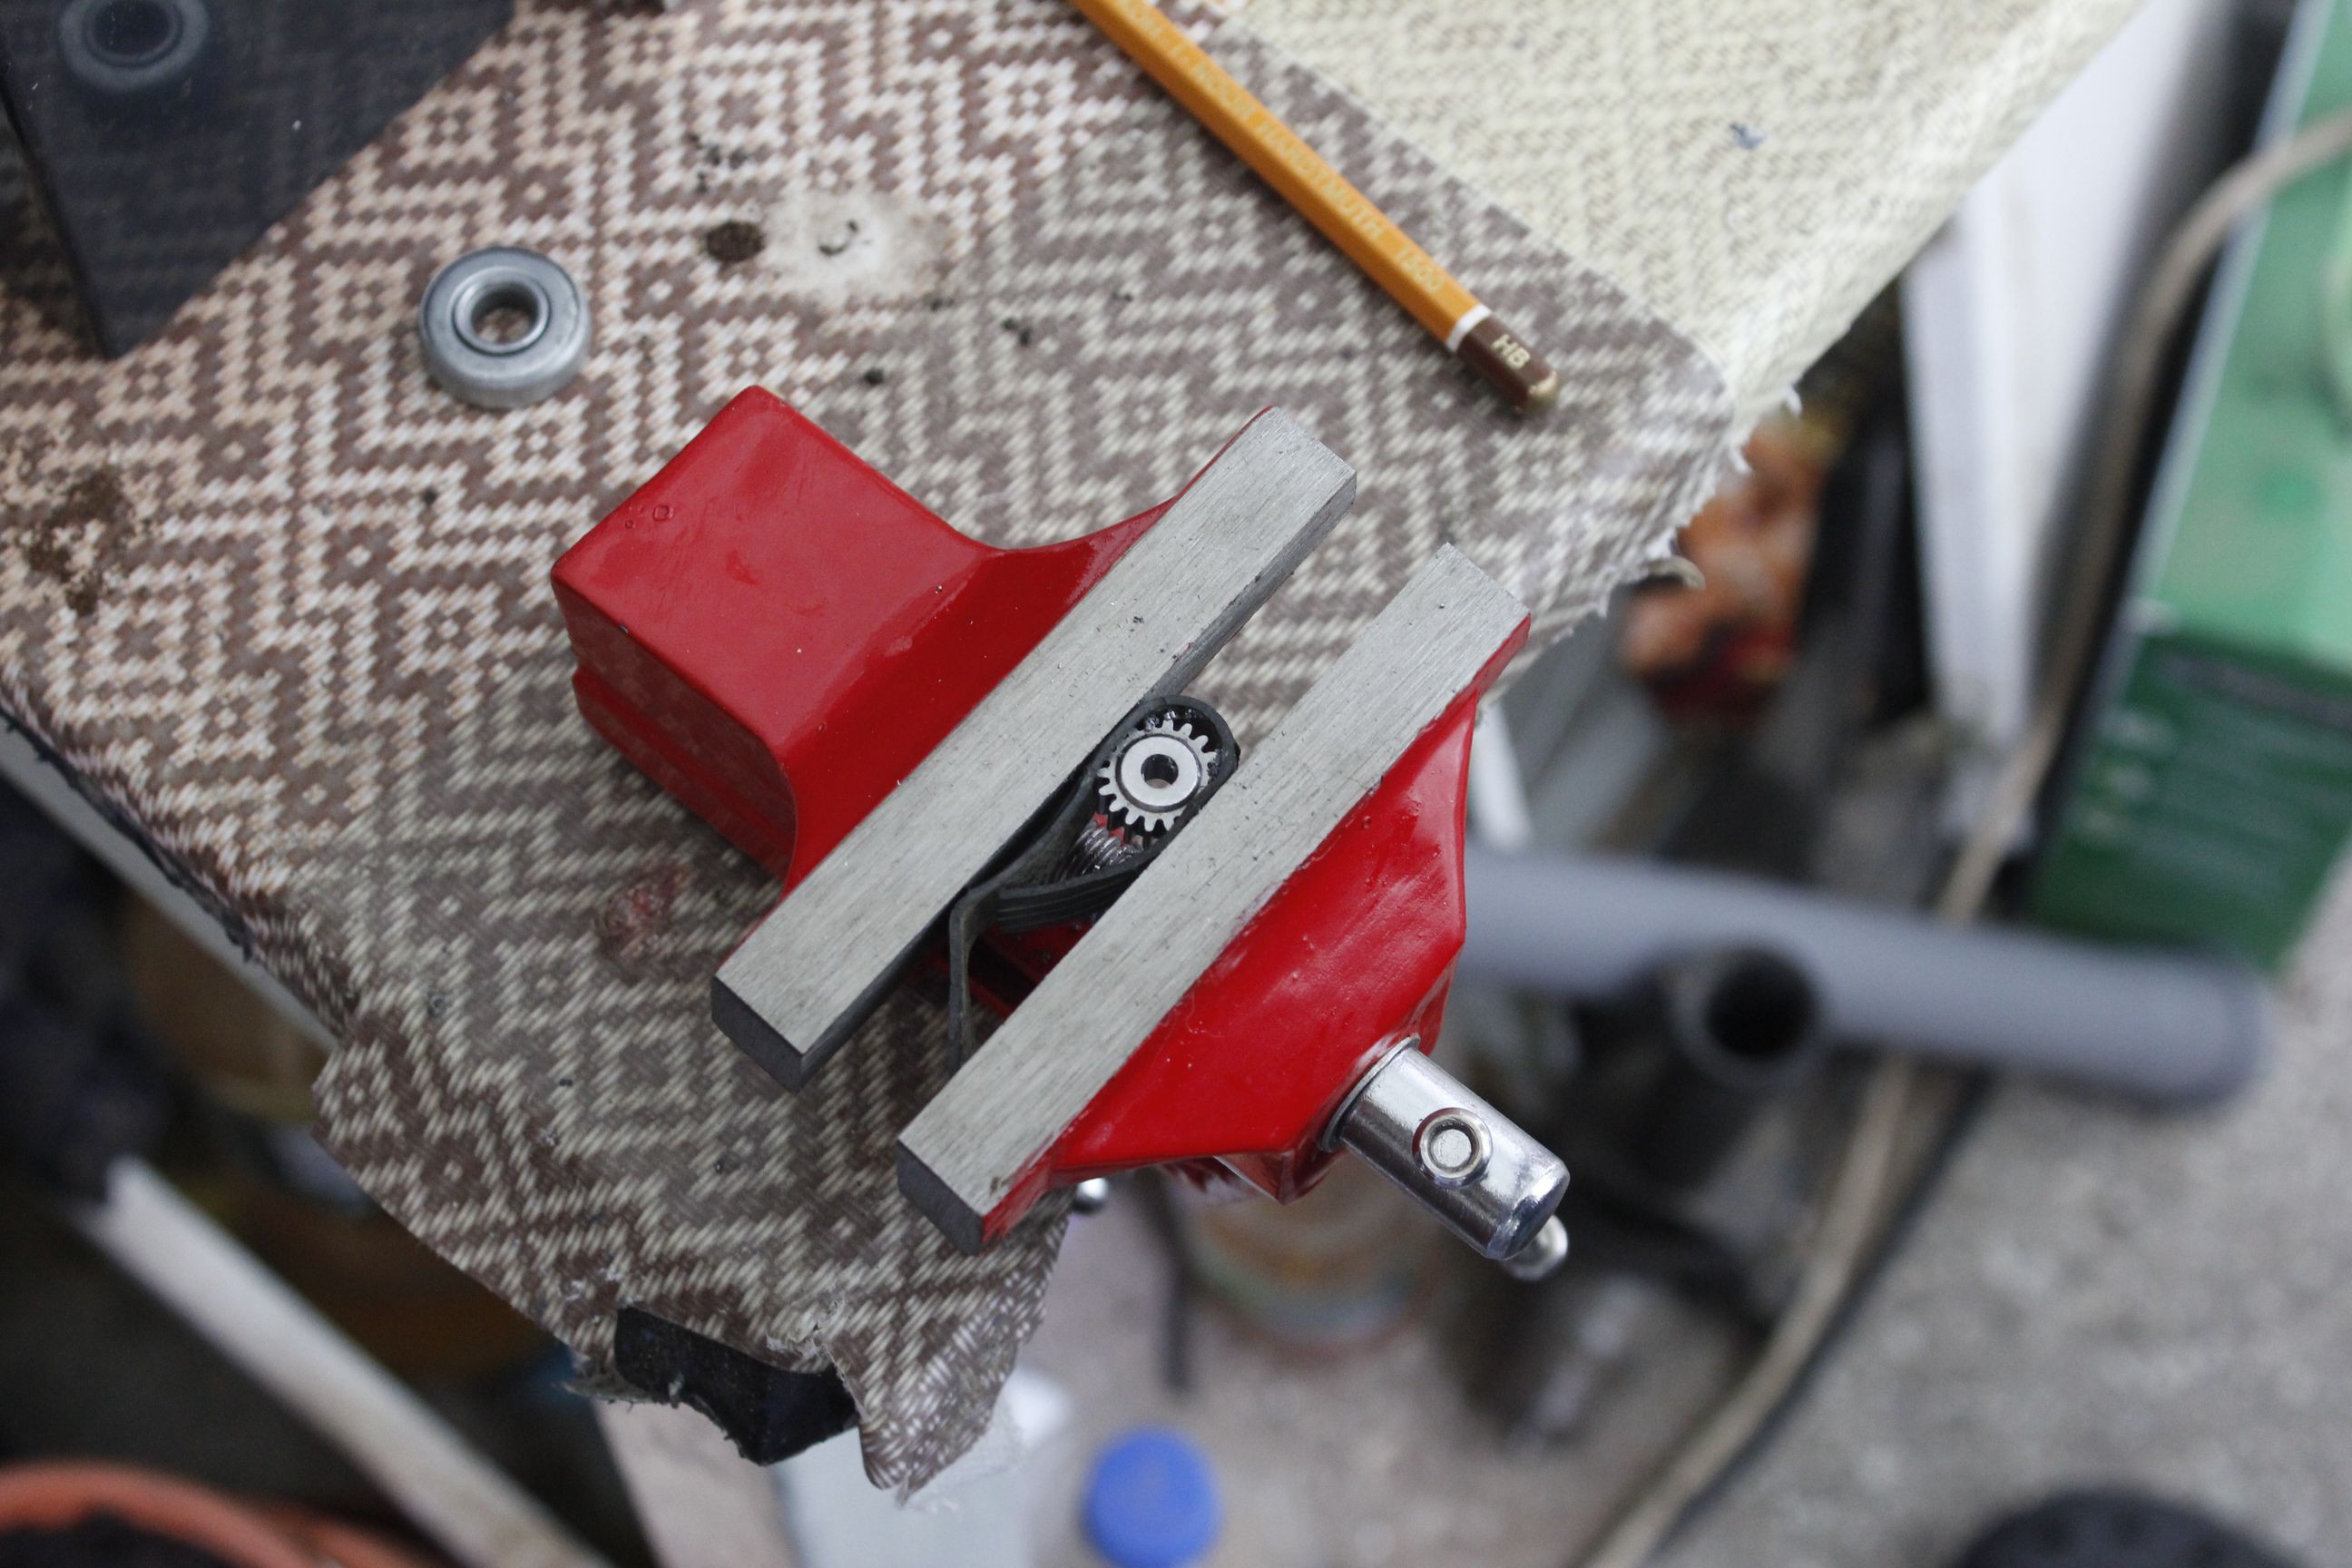
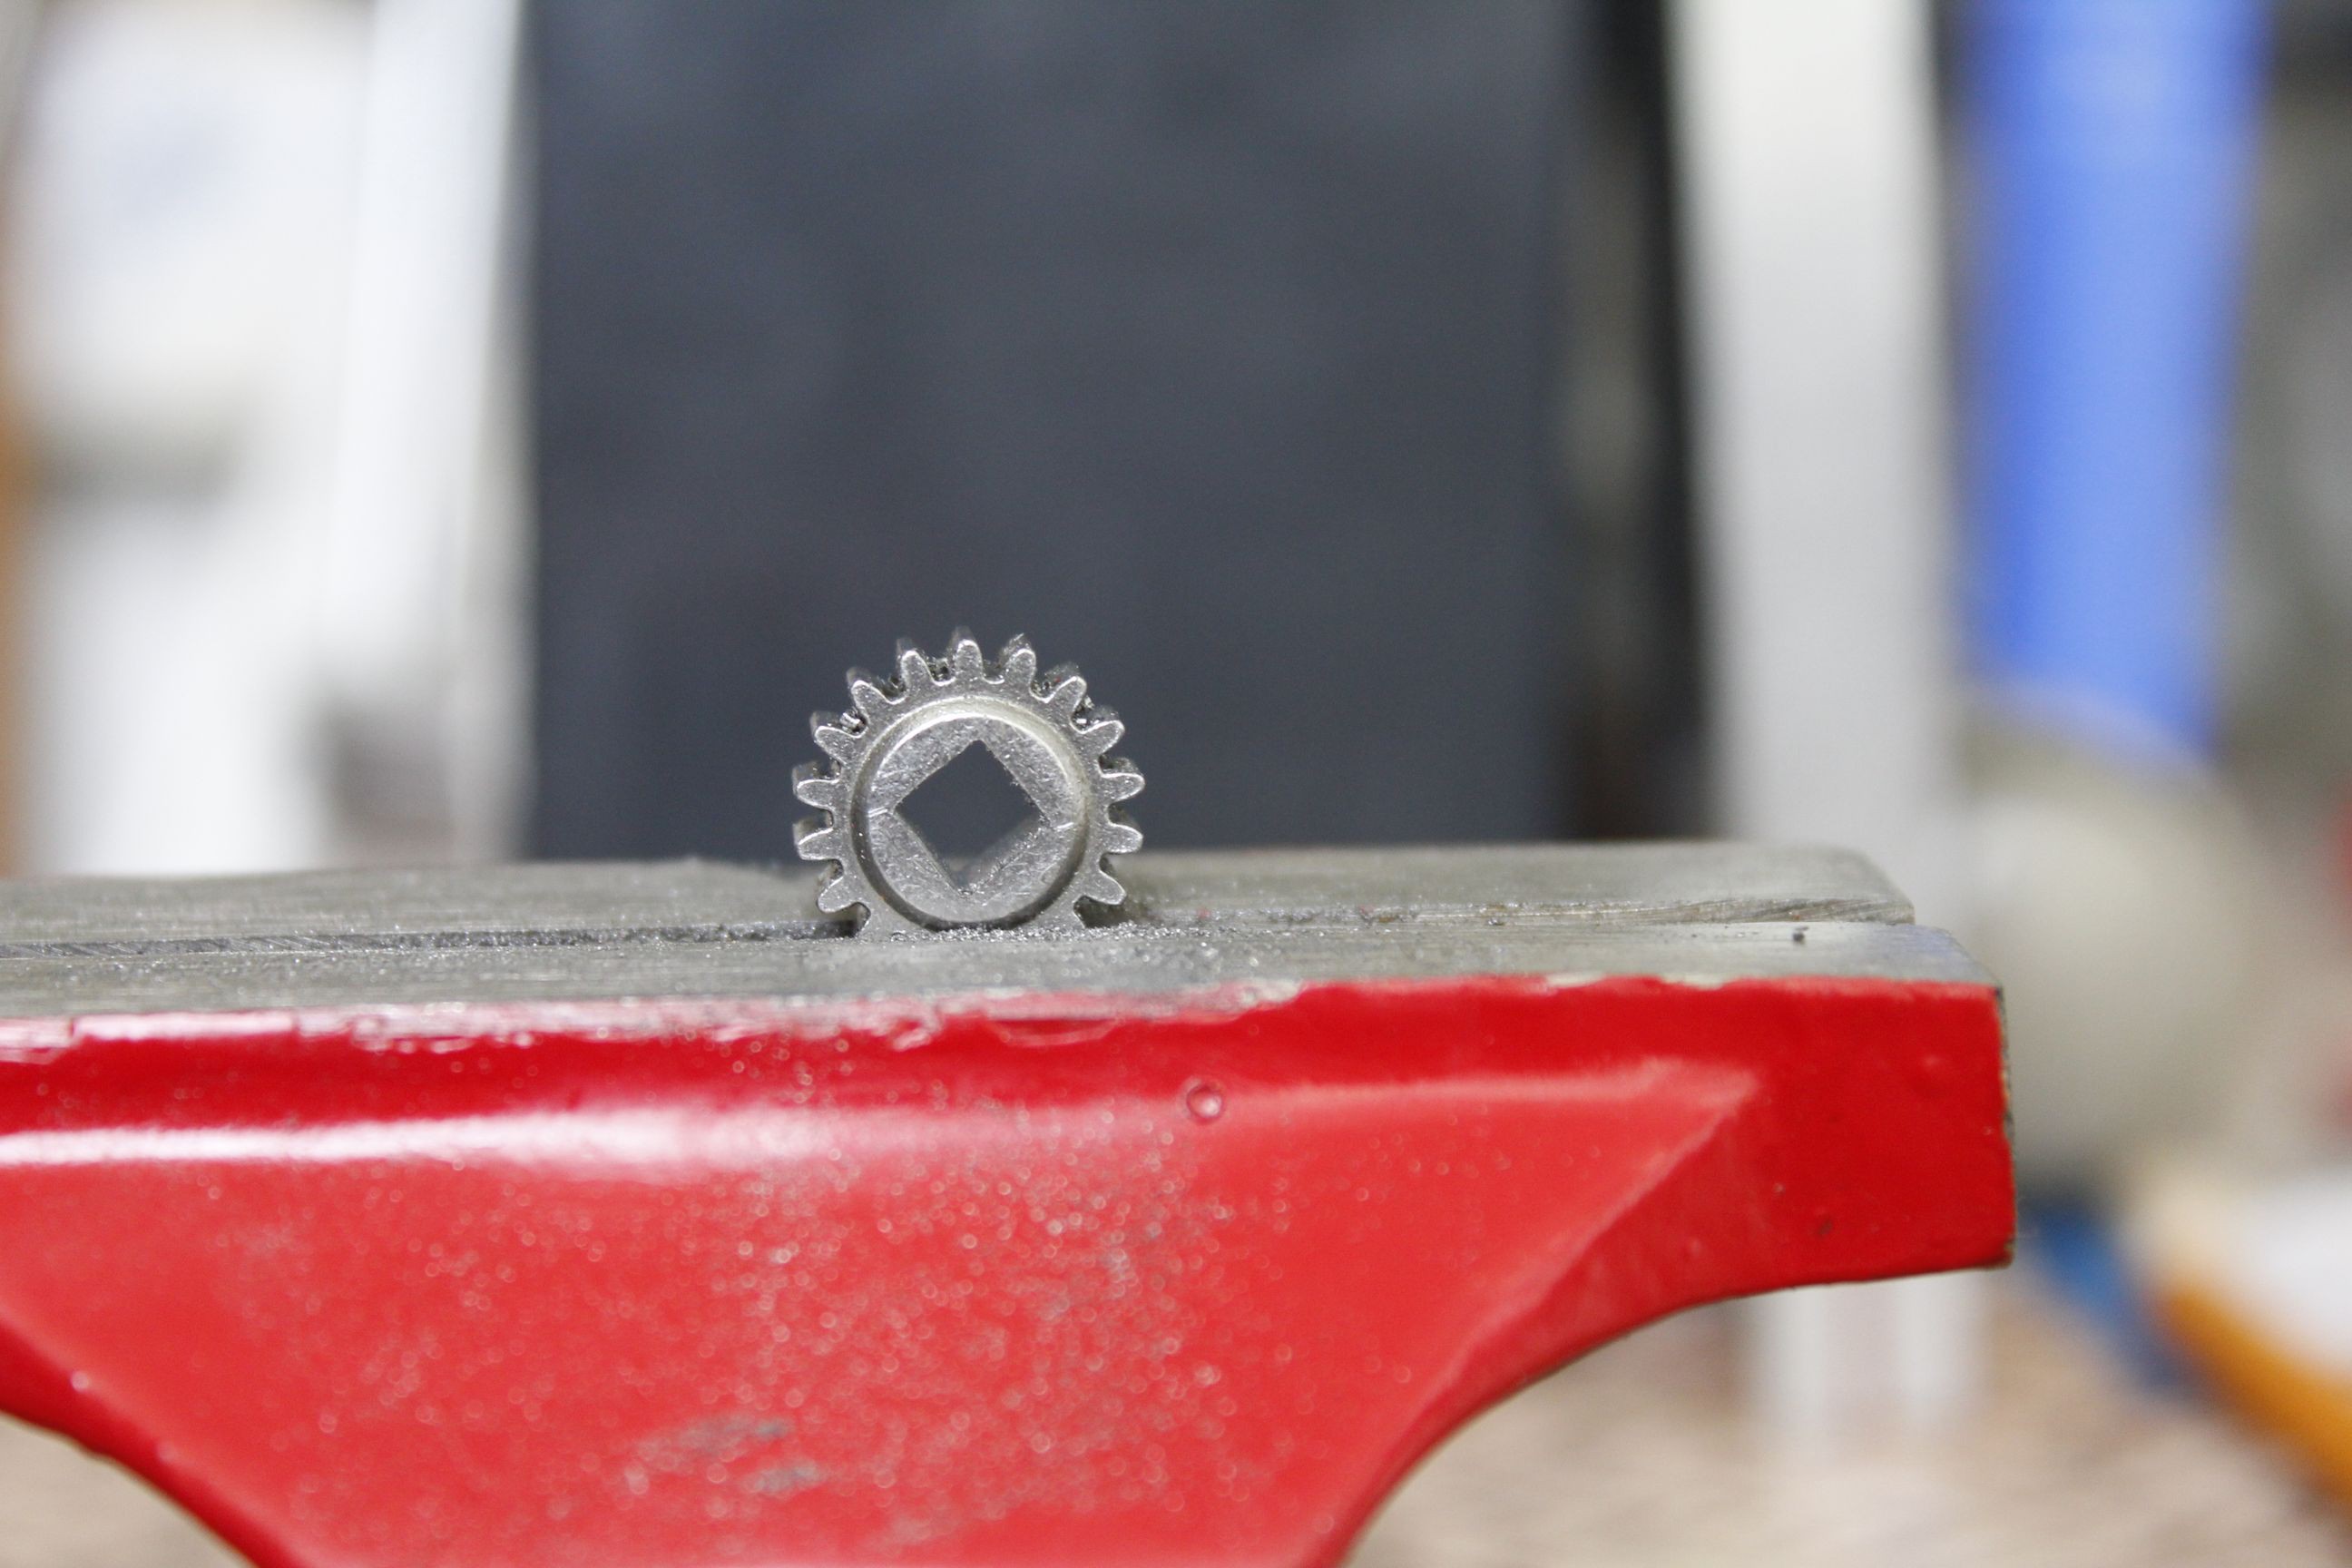
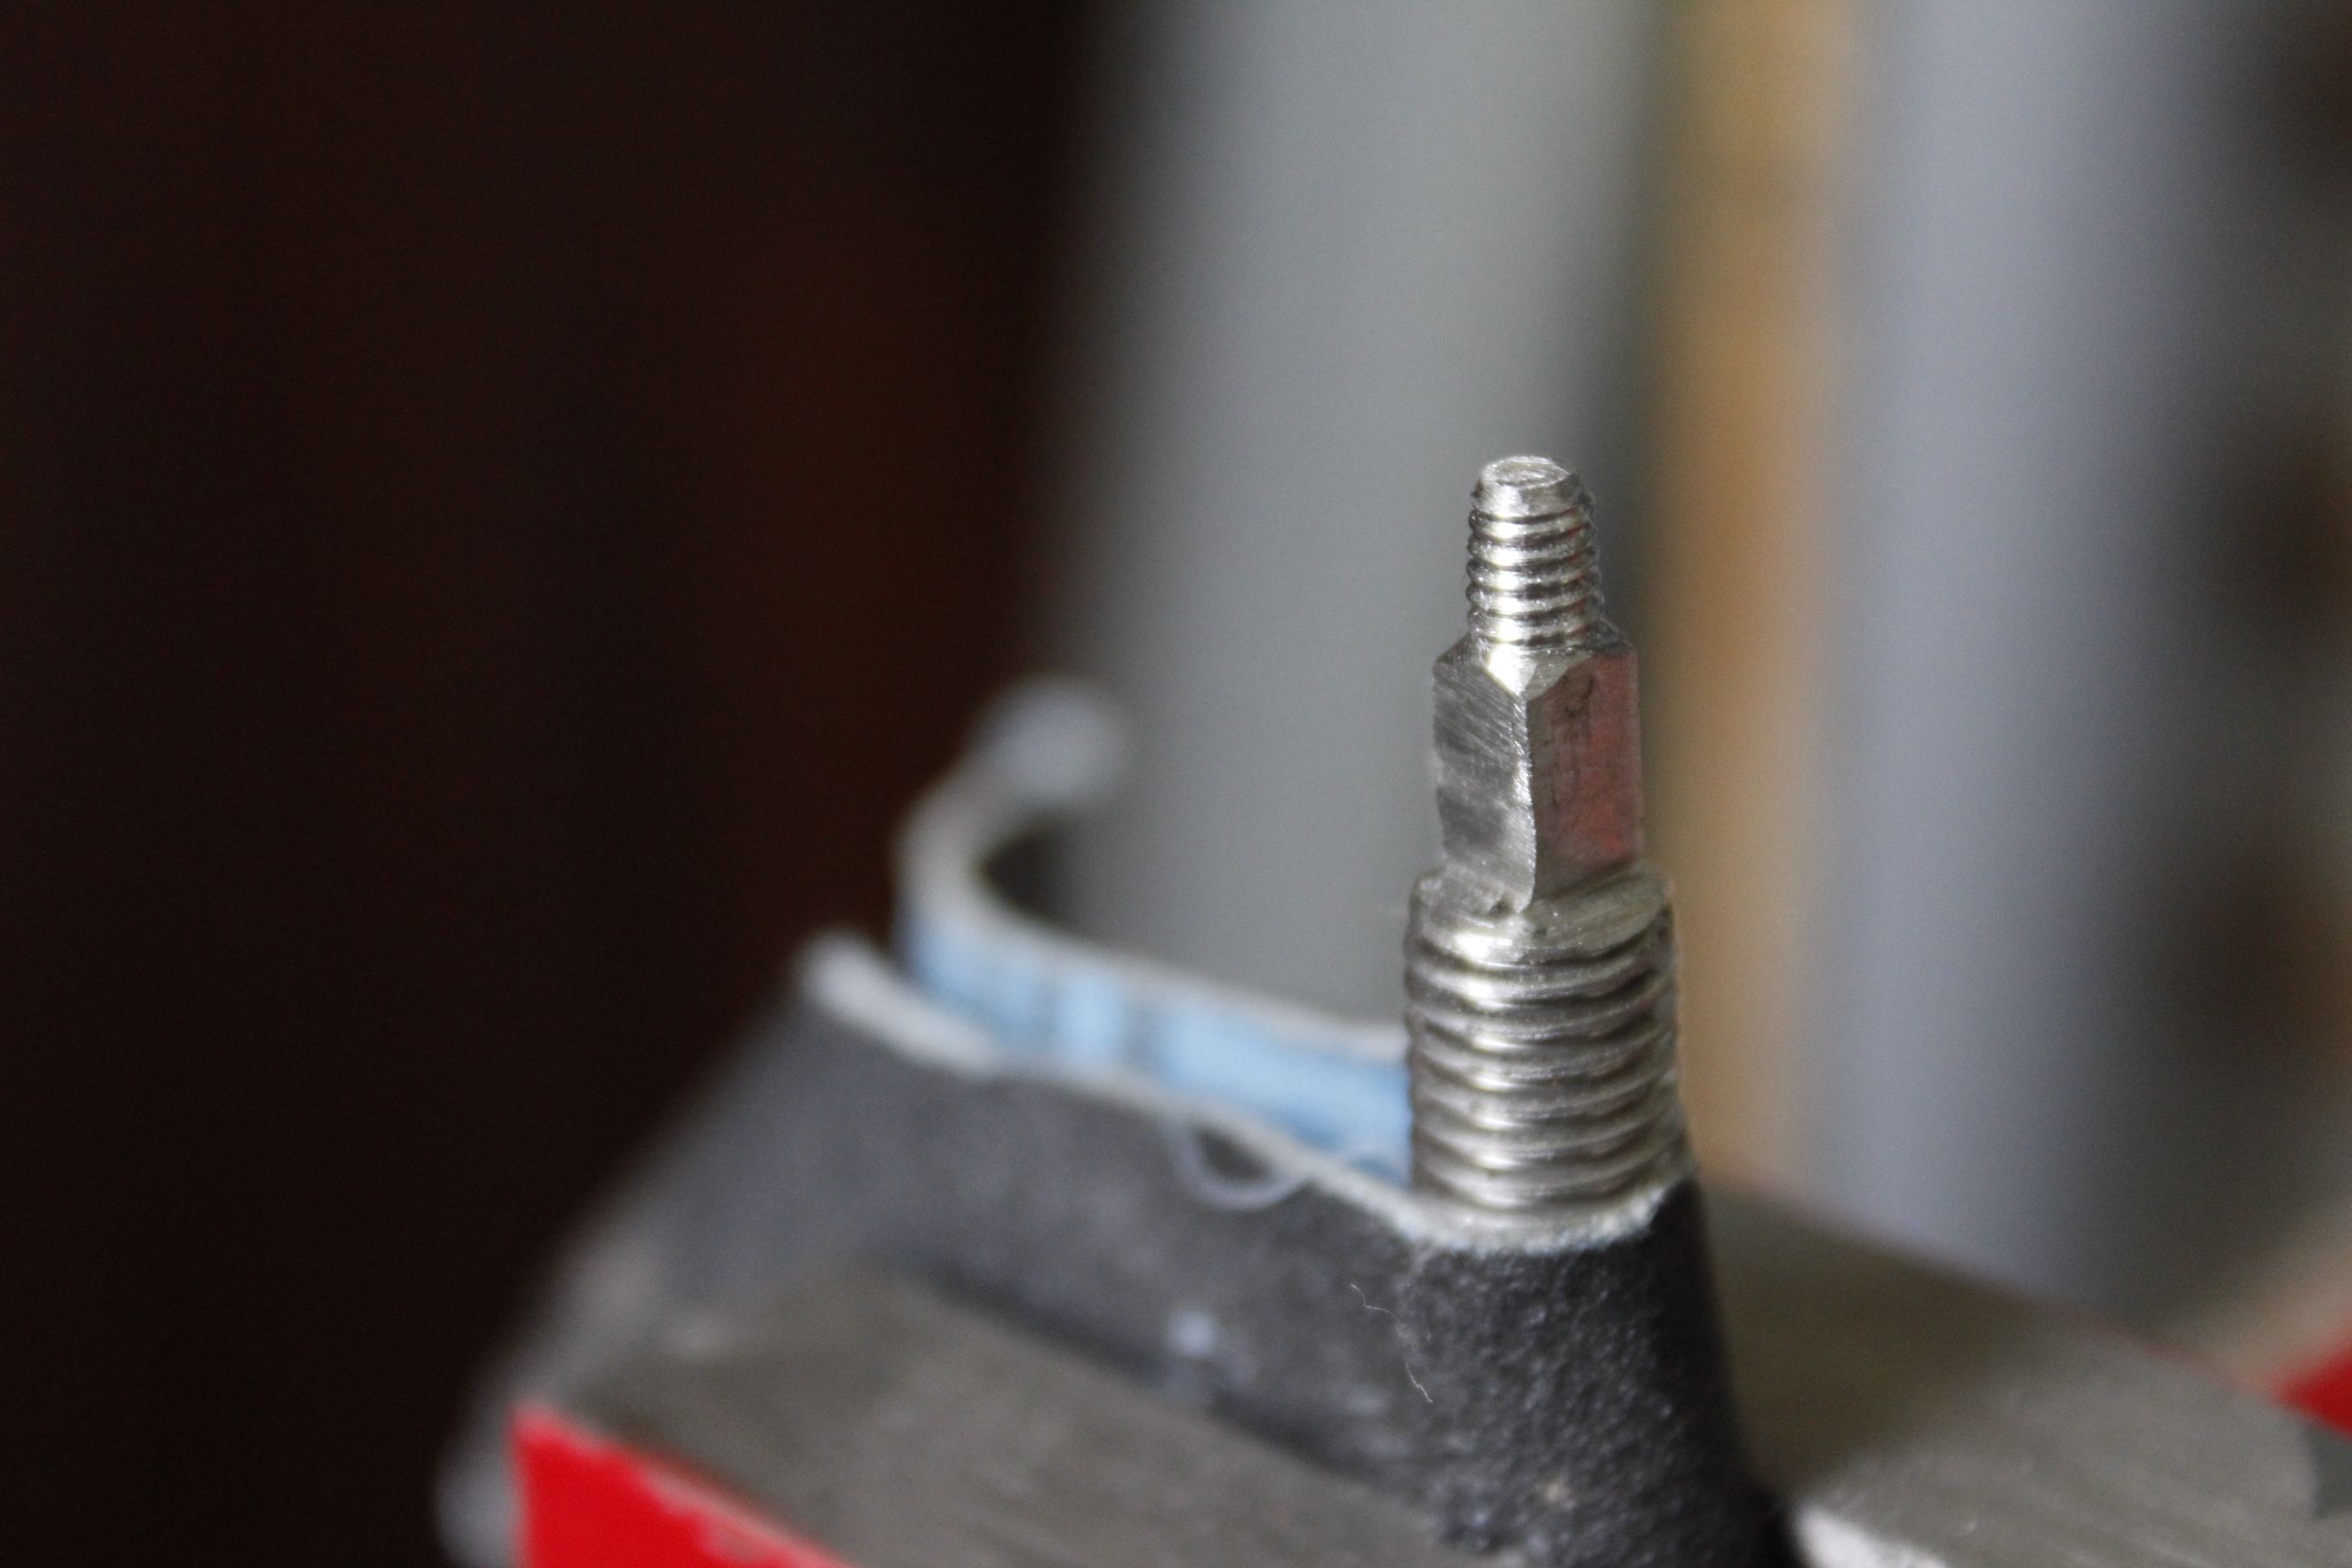
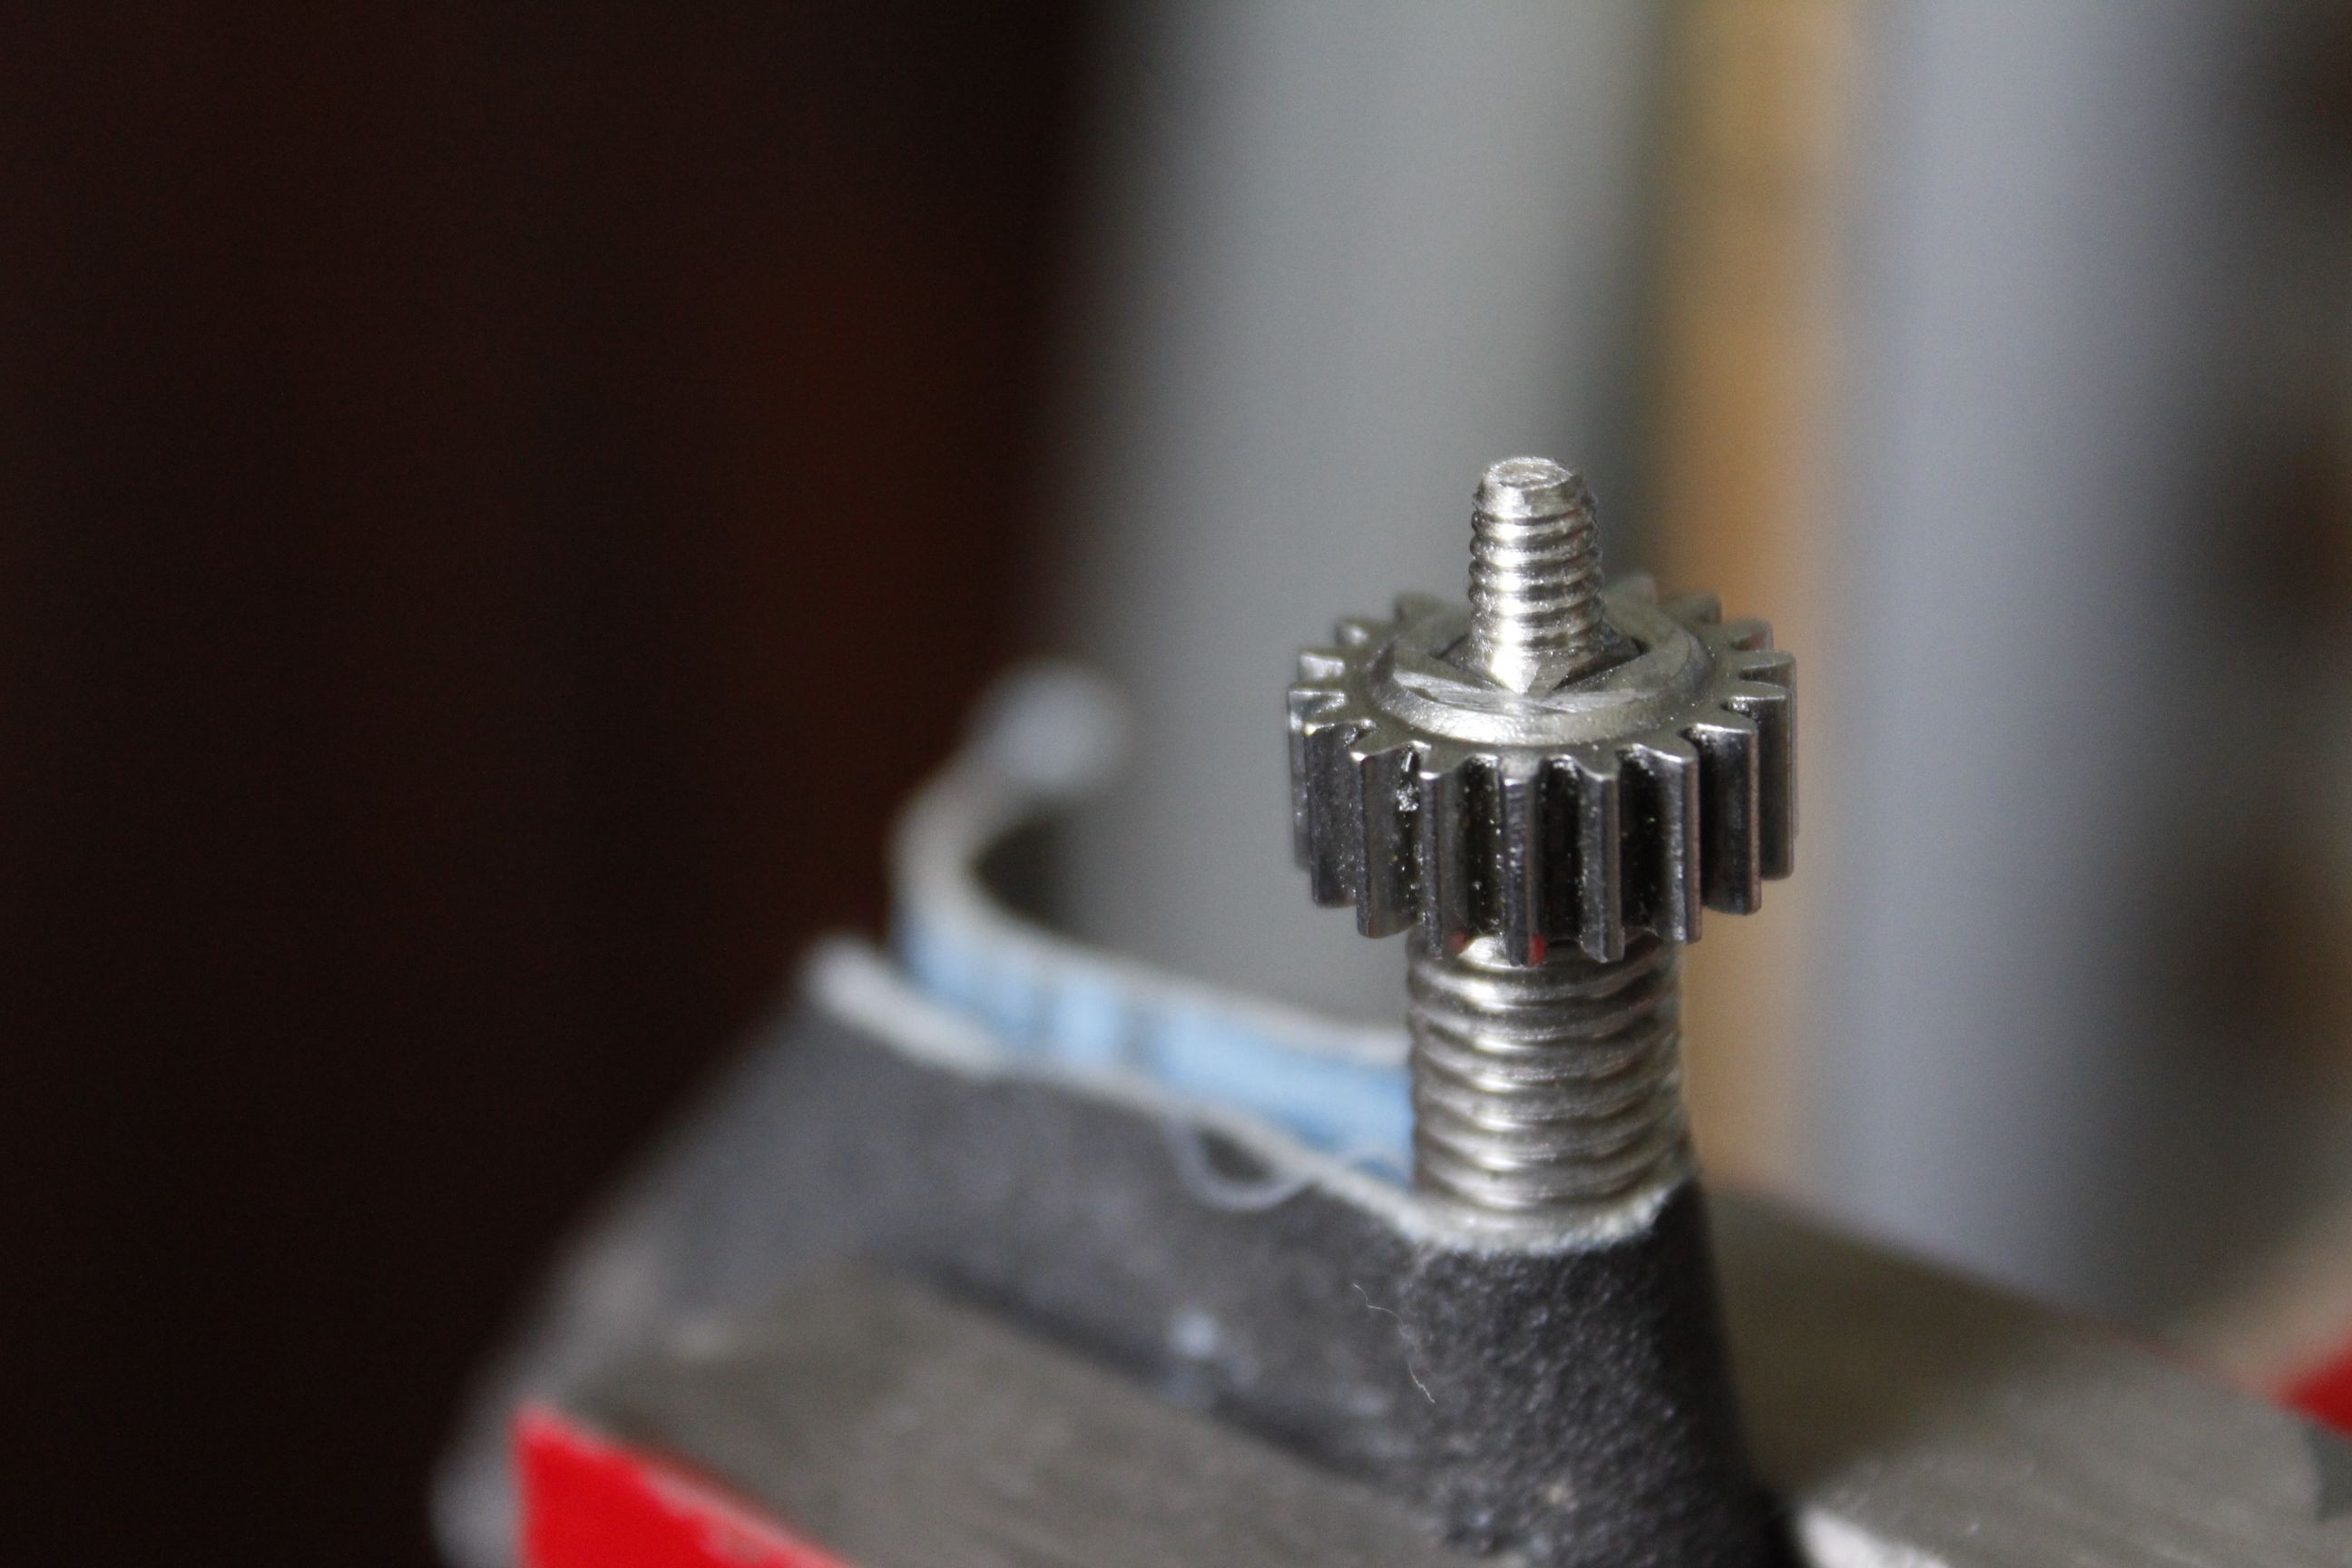
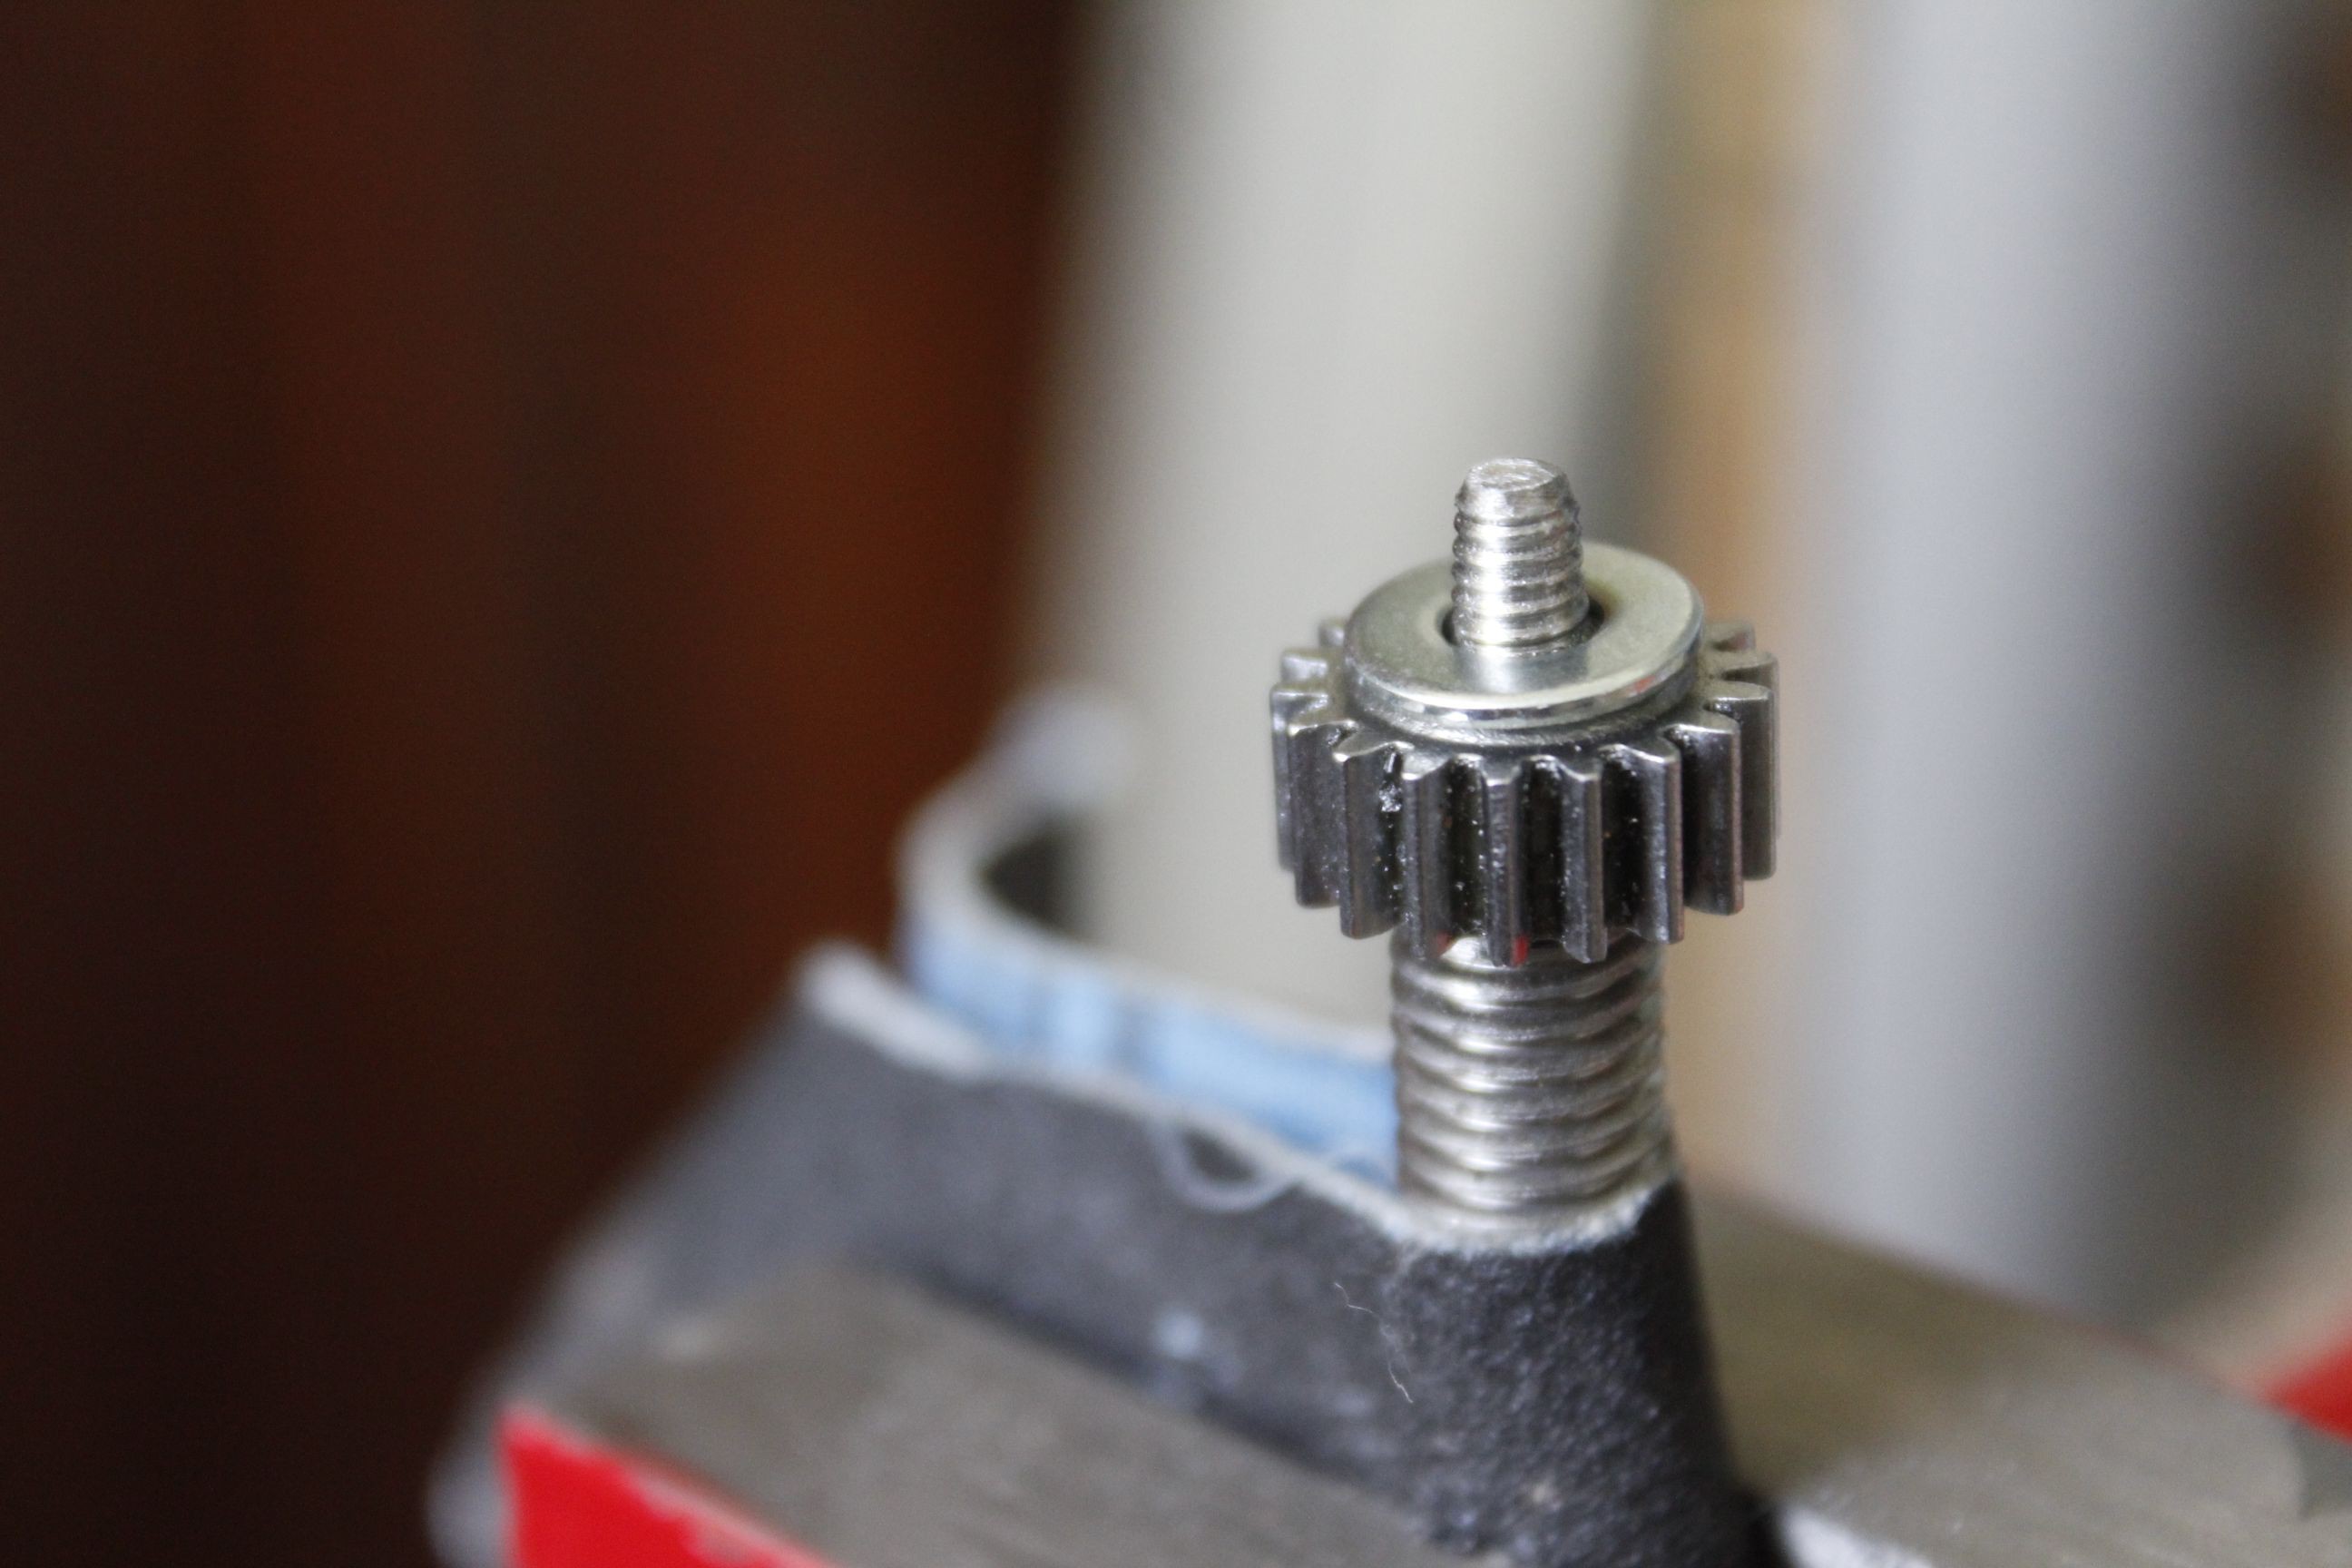
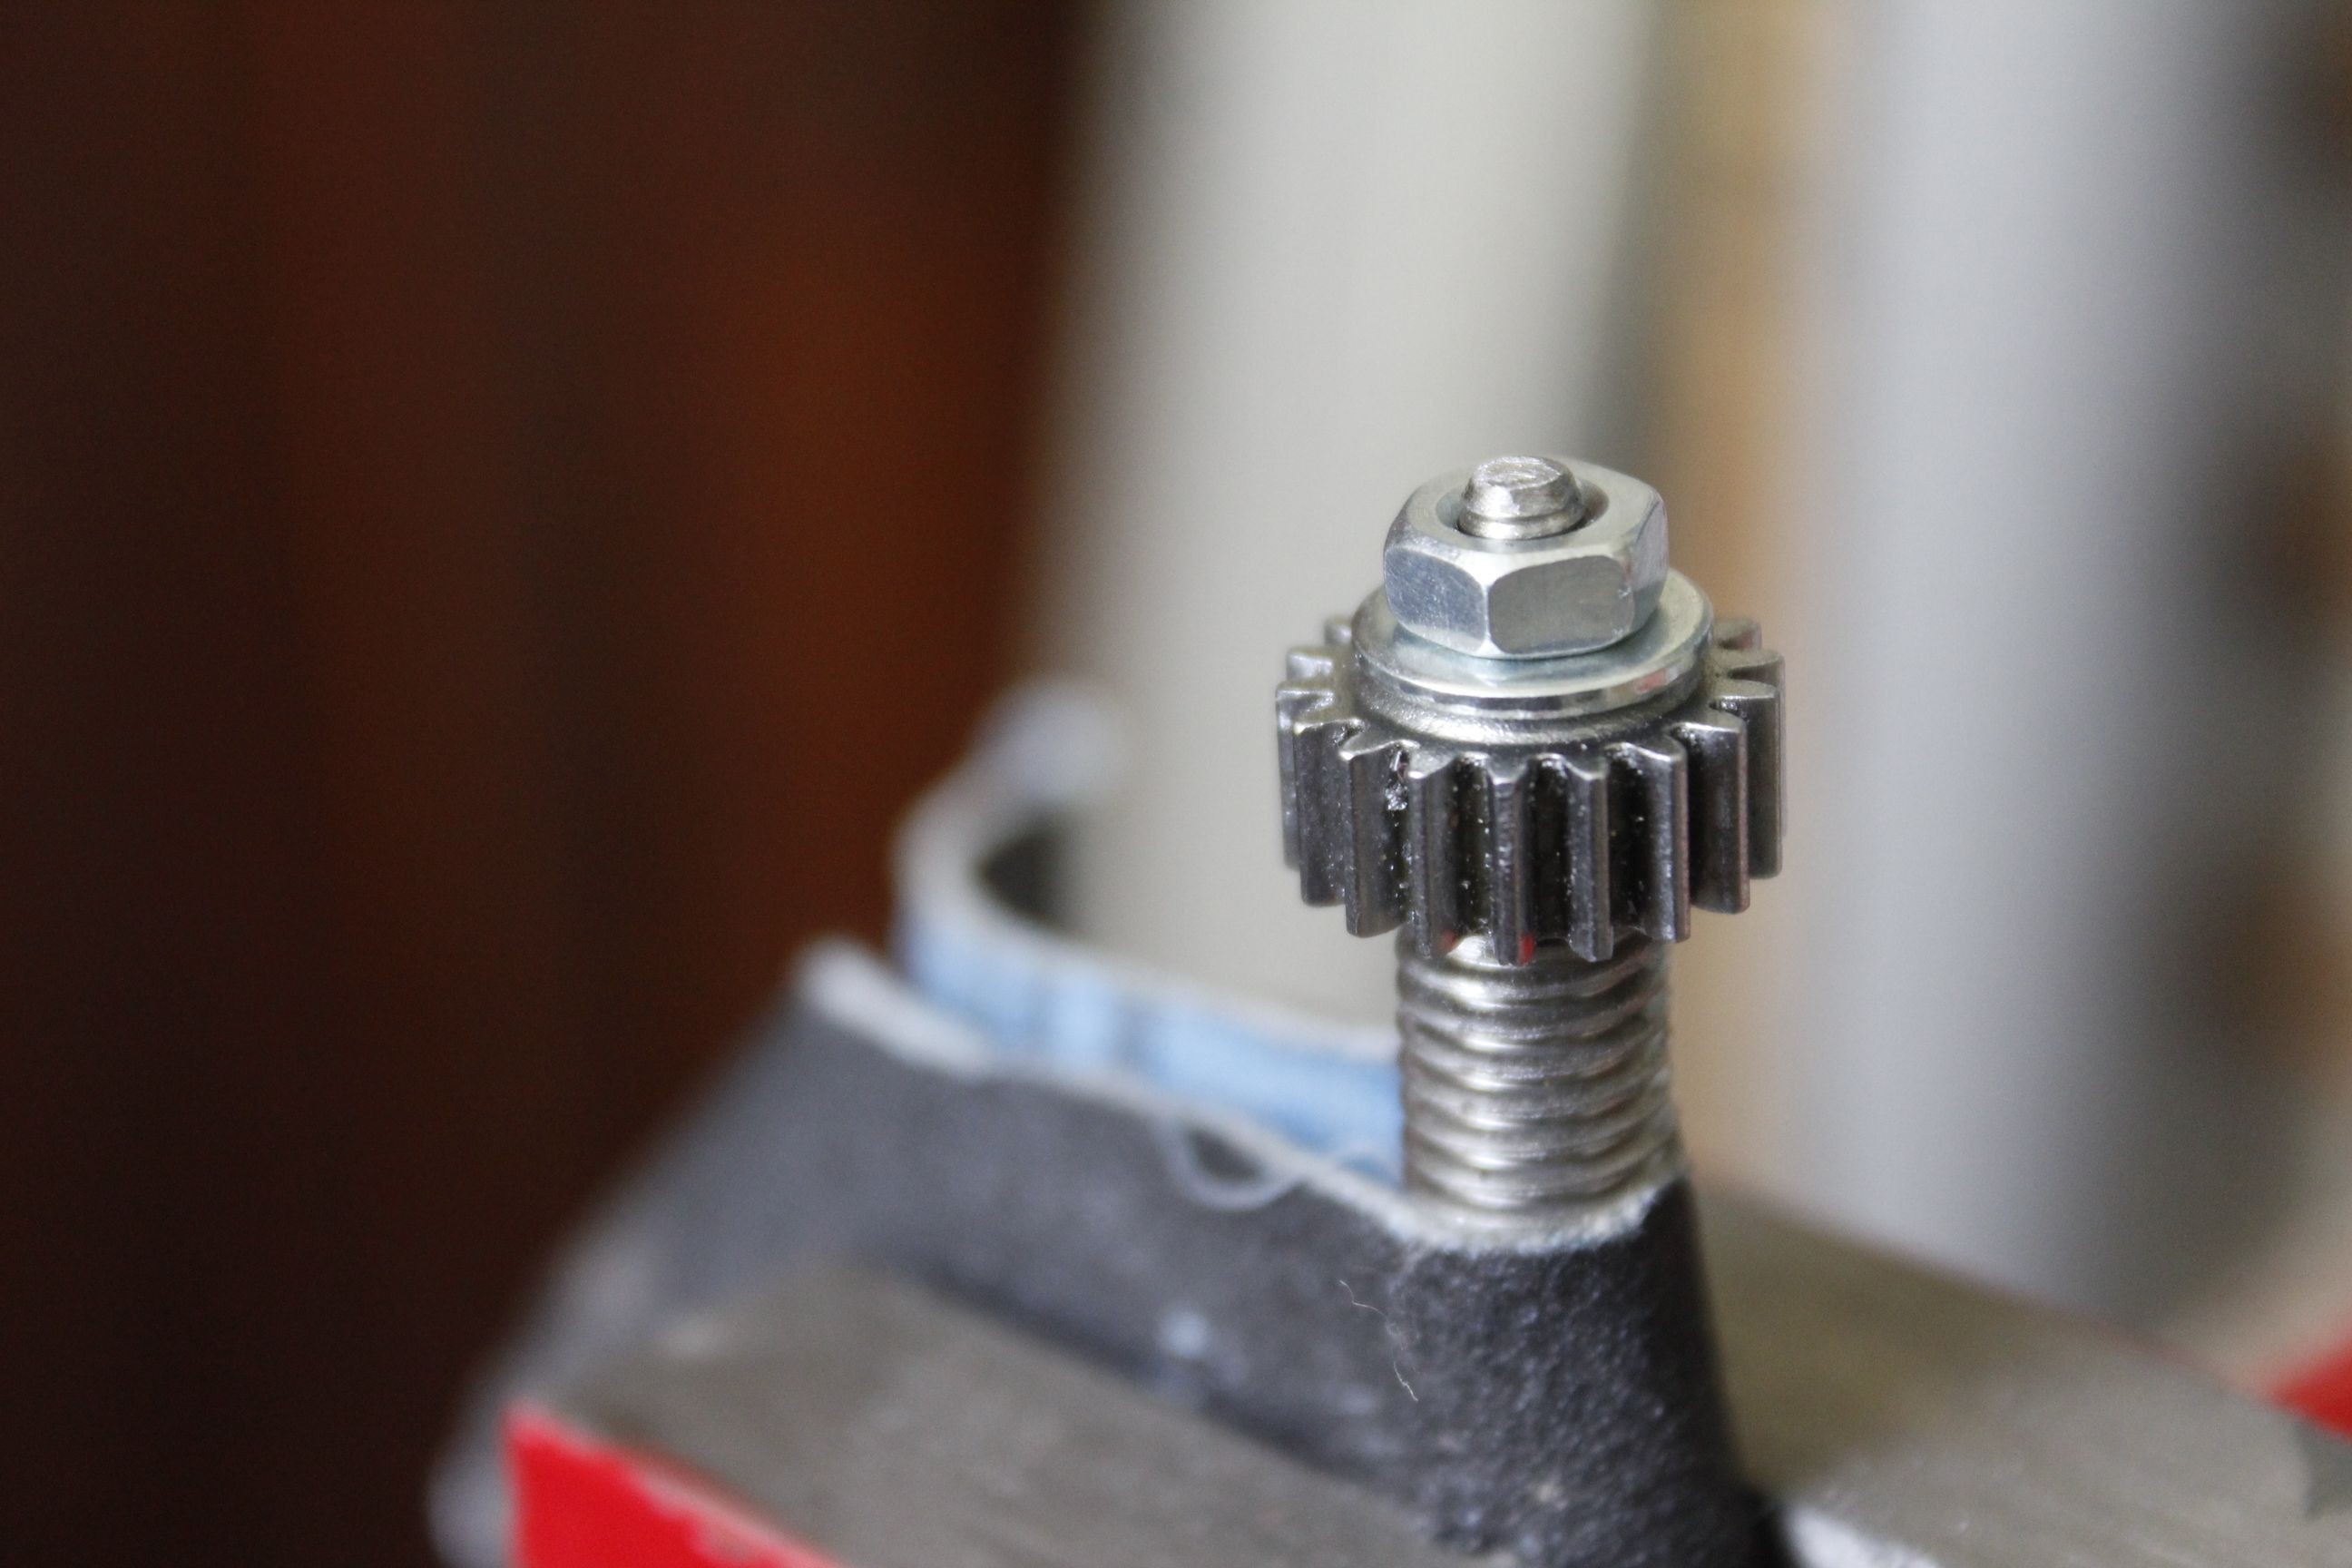
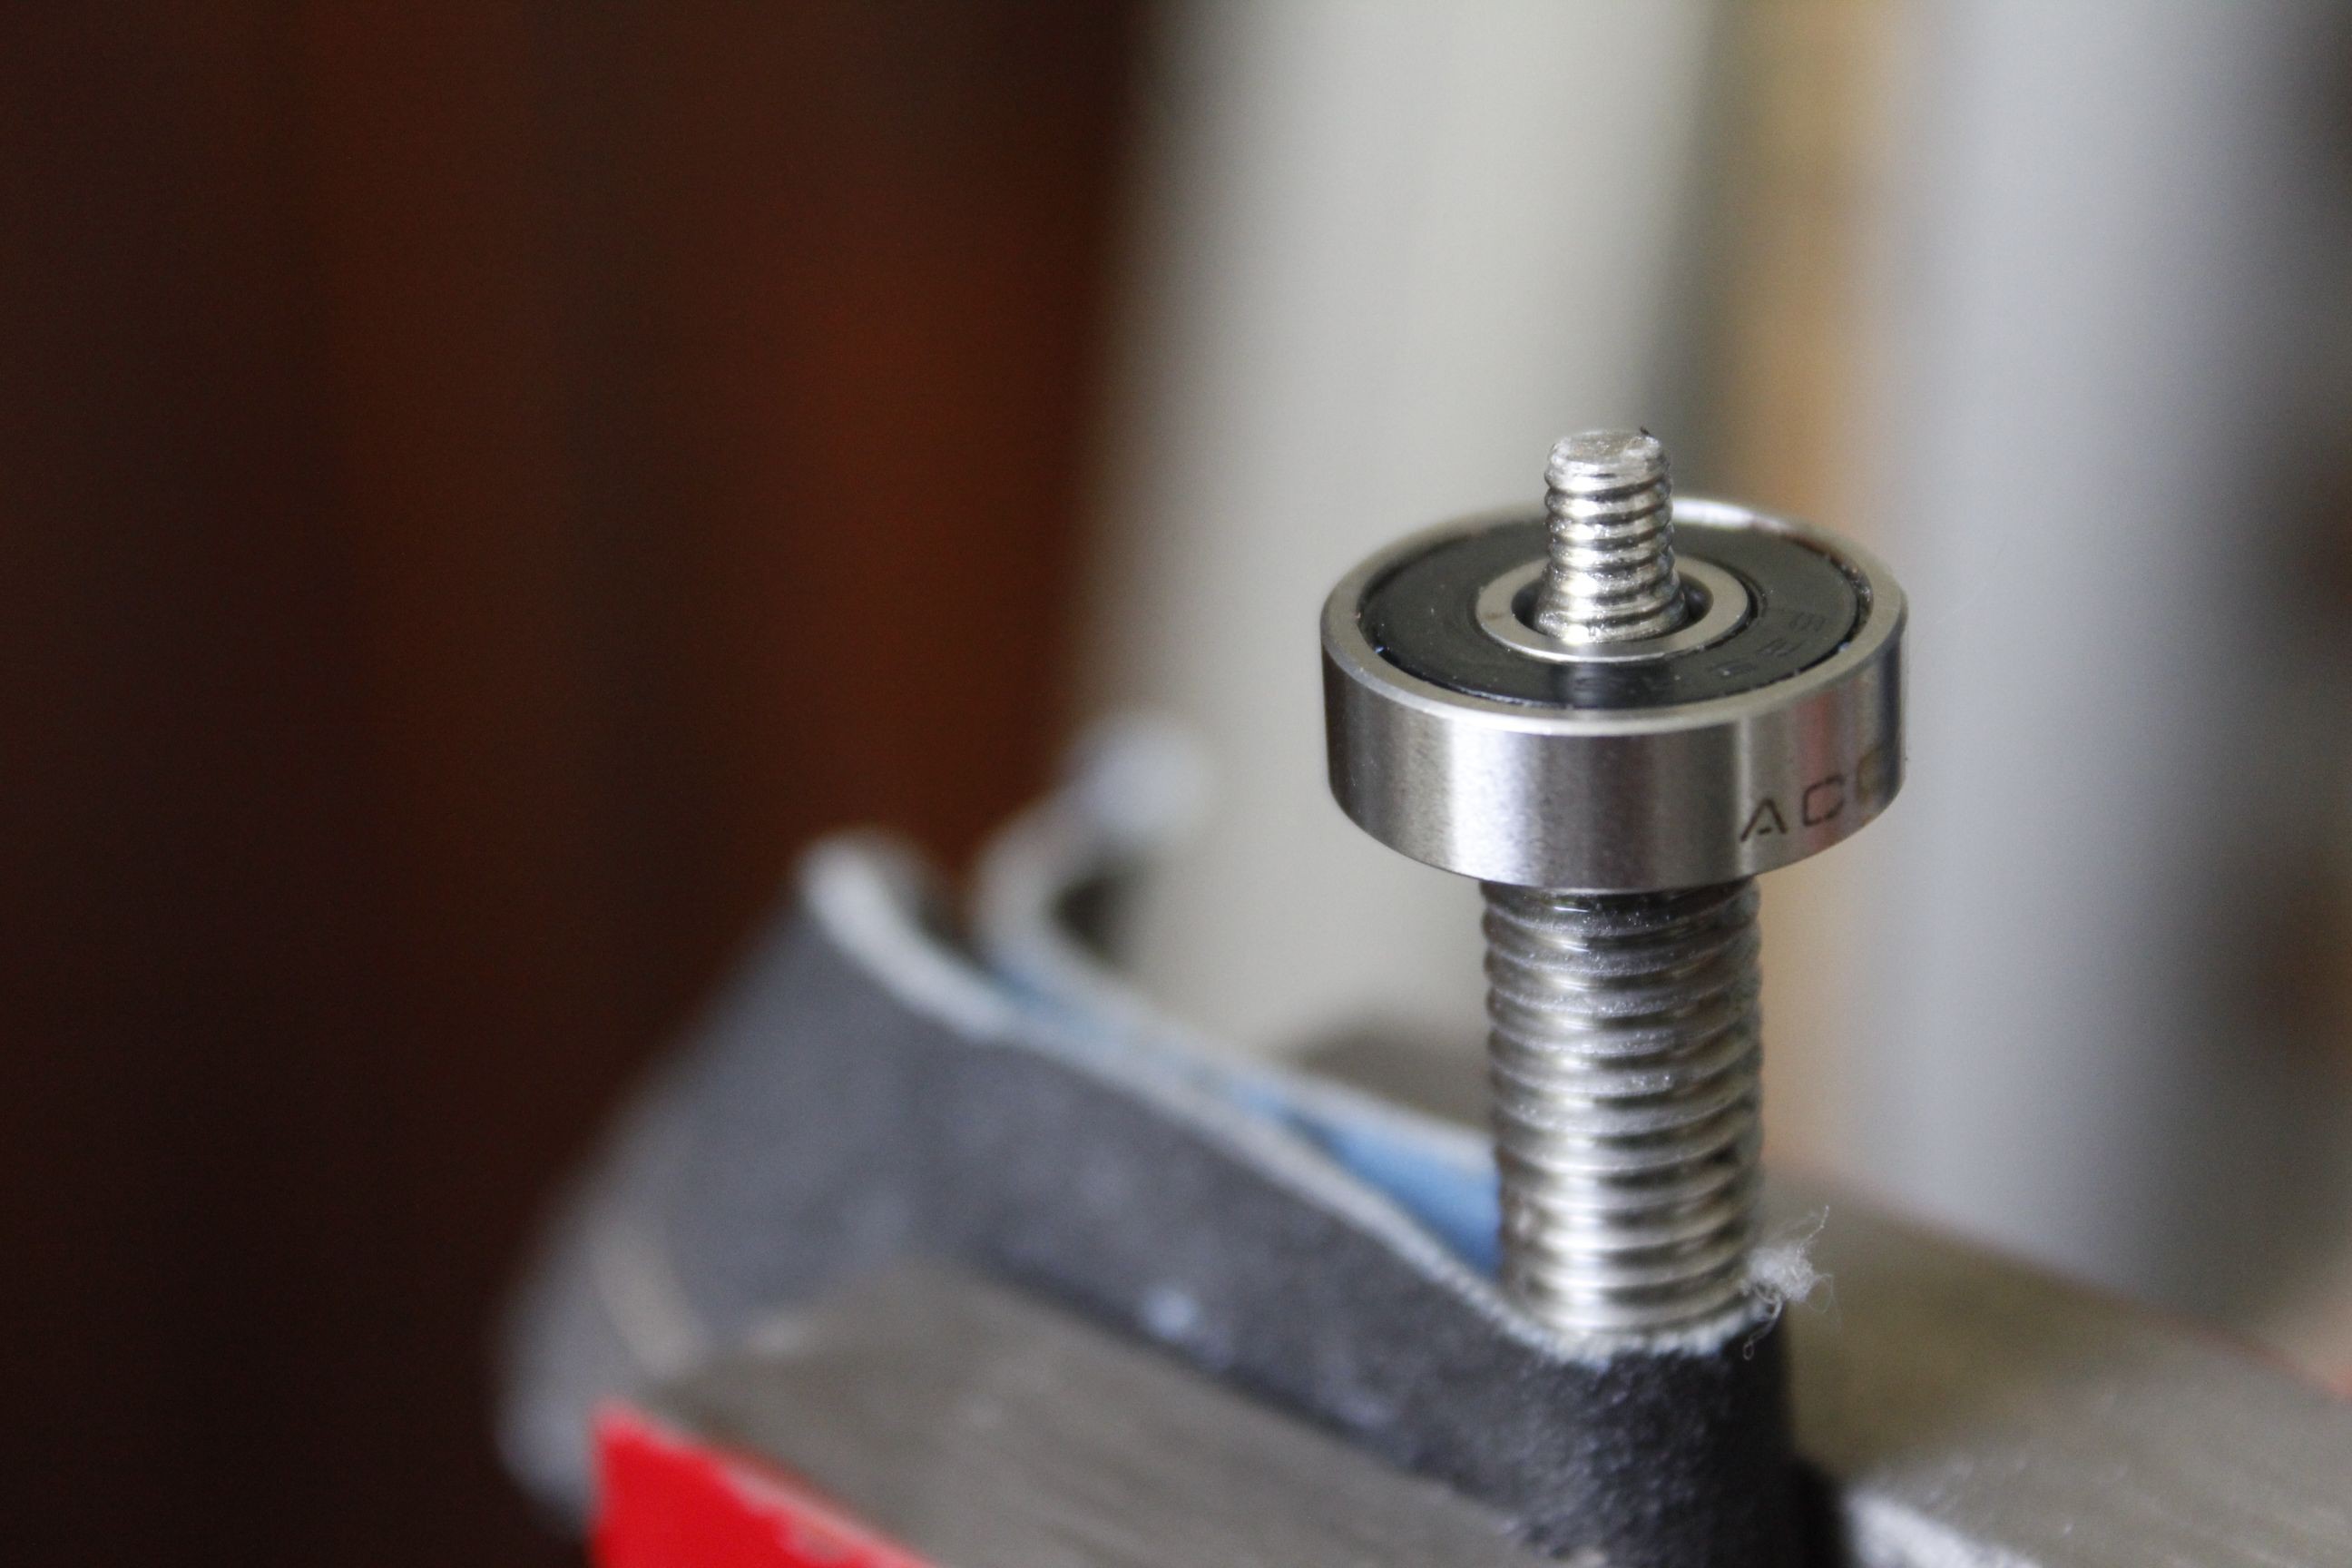
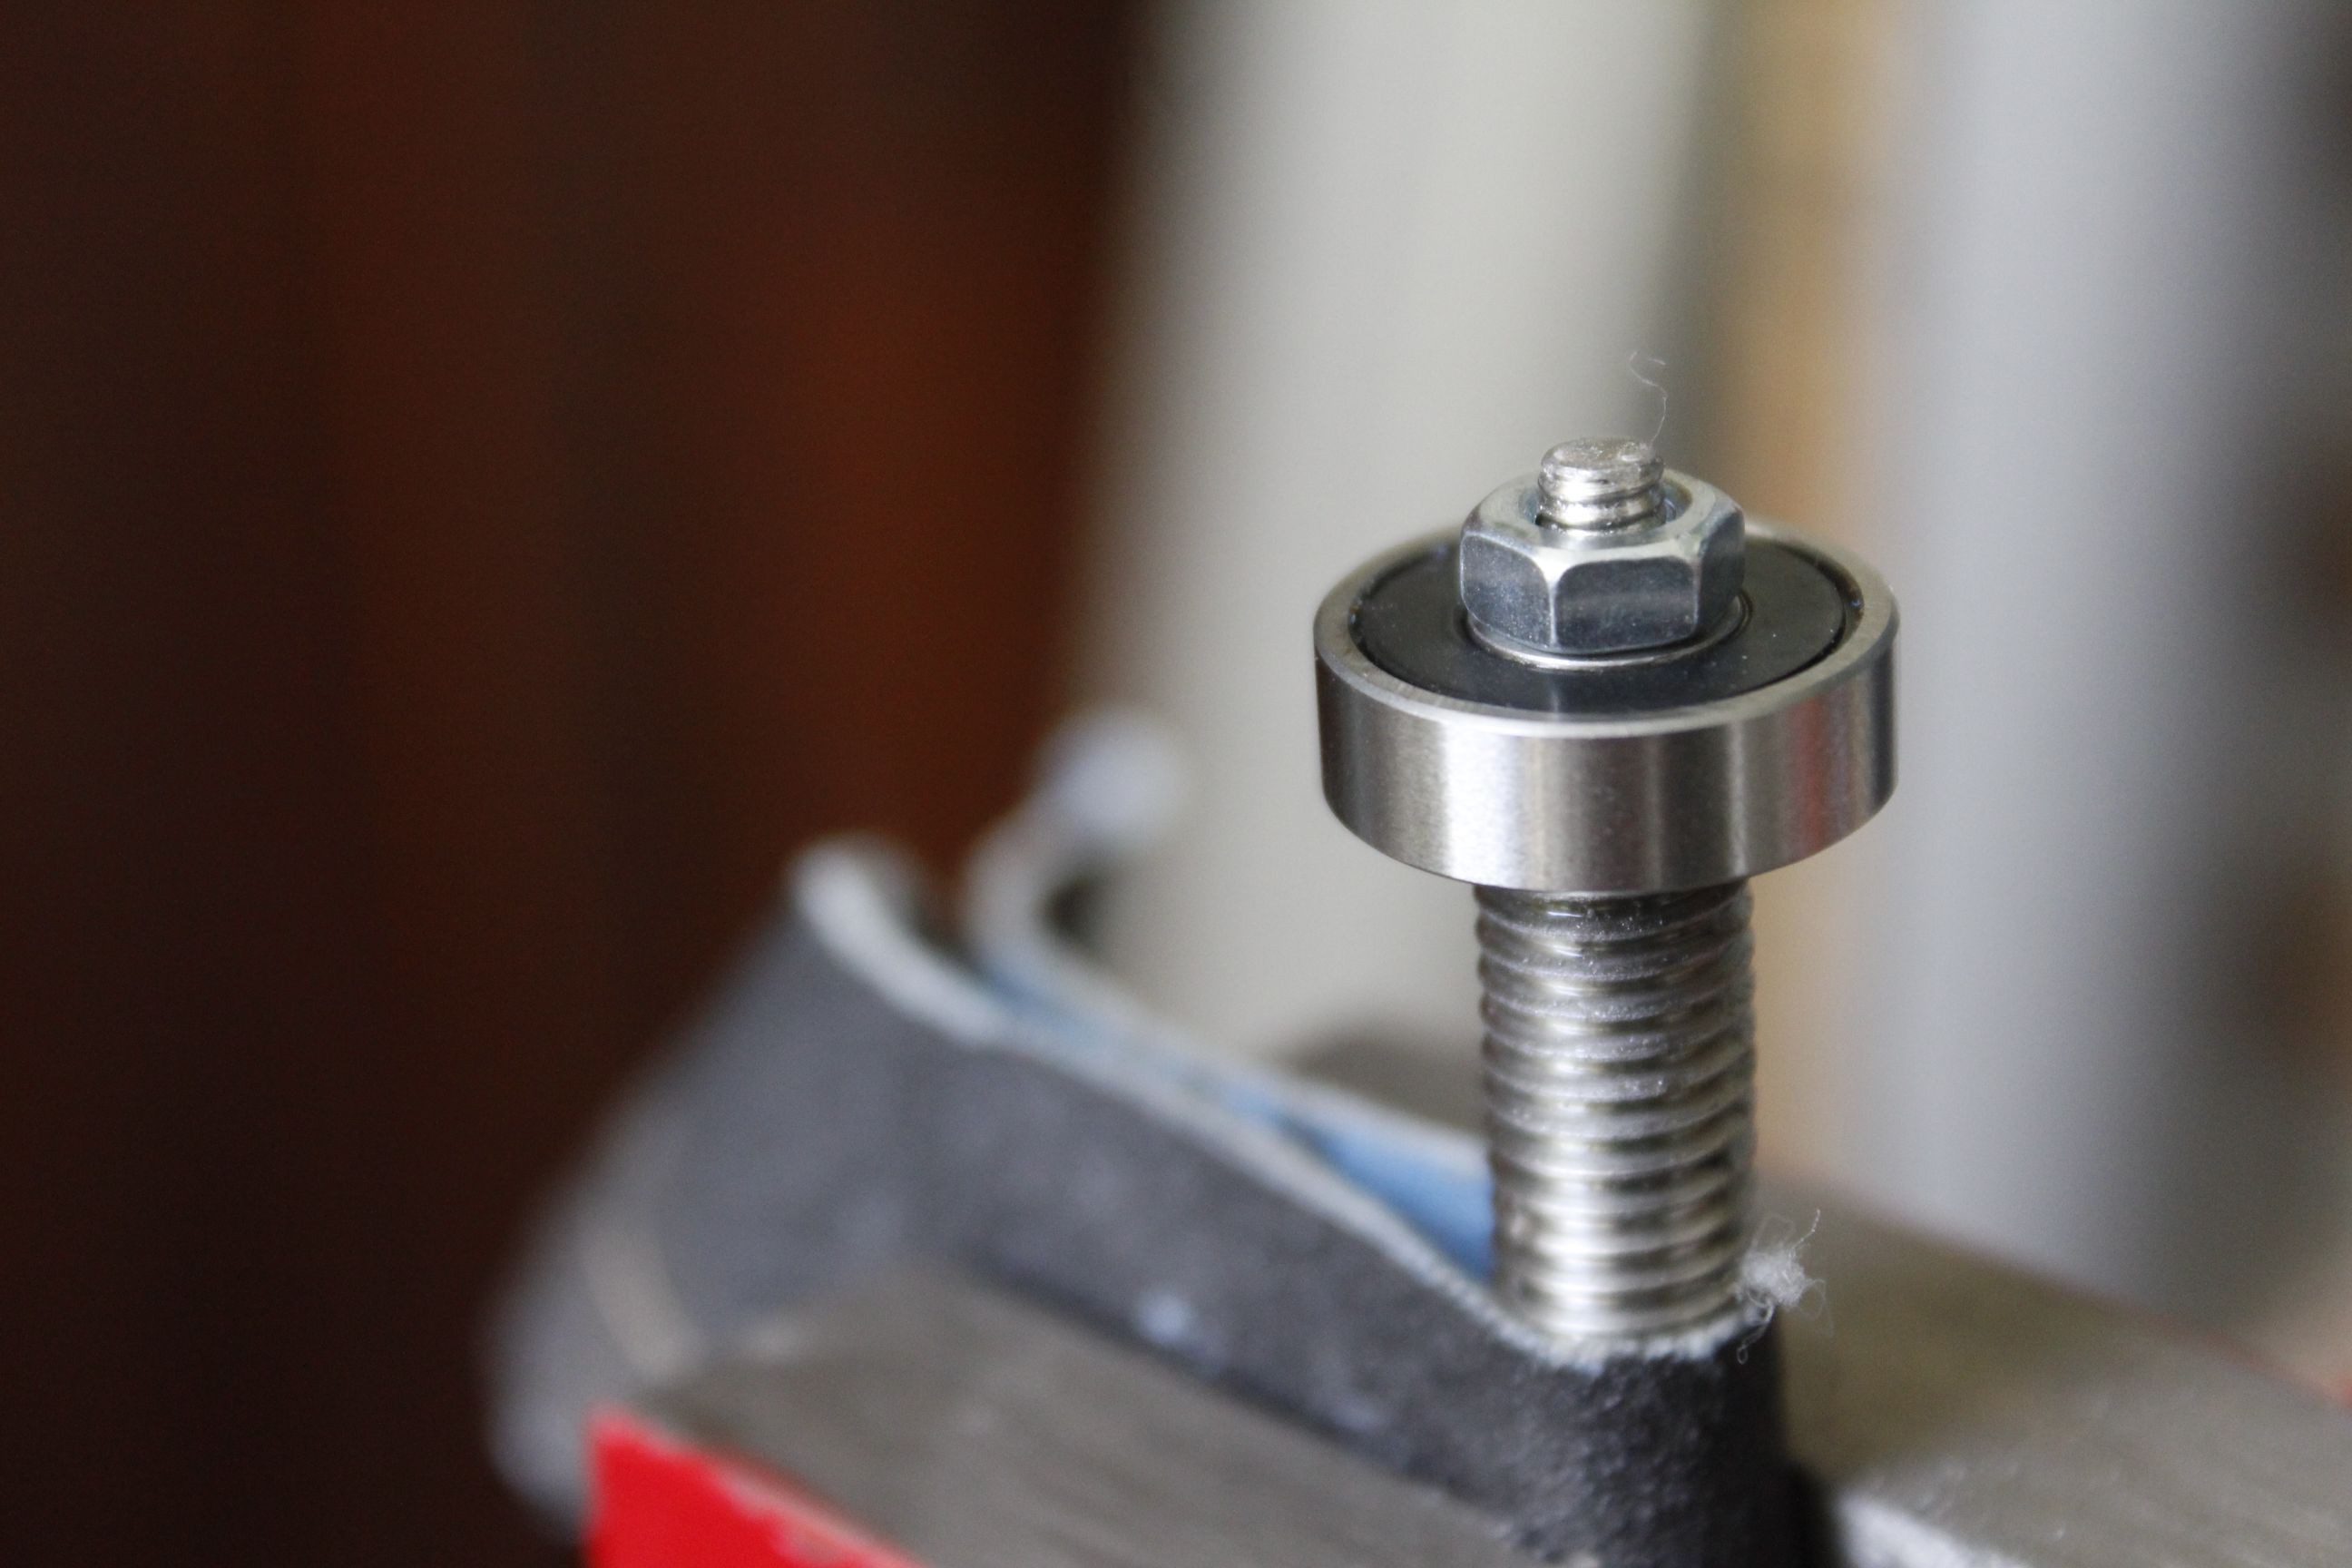
08/08/2019 at 23:58 • 0 commentsThe following component was the reloading threaded rod assembly, which includes bearings, a gear and means to attach them in a reversible fashion. In addition to the motors, the cheap hand drills also provided their (cca. 10:1) planetary gear reduction, and one of the metal gears contained was used in this assembly, while another serves as an intermediate gear that couples it to the main motor. The gear was hand filed to a square interior slot, and the threaded rod ground to the corresponding mating shape. Other diameters and threads were also created for bearings and nuts.
The rolling nut was constructed from a hardwood cylinder sandwiched between two M8 washers and rolls on an 8 mm pipe. Slots were cut using a hacksaw and then filed.
-
Log 1
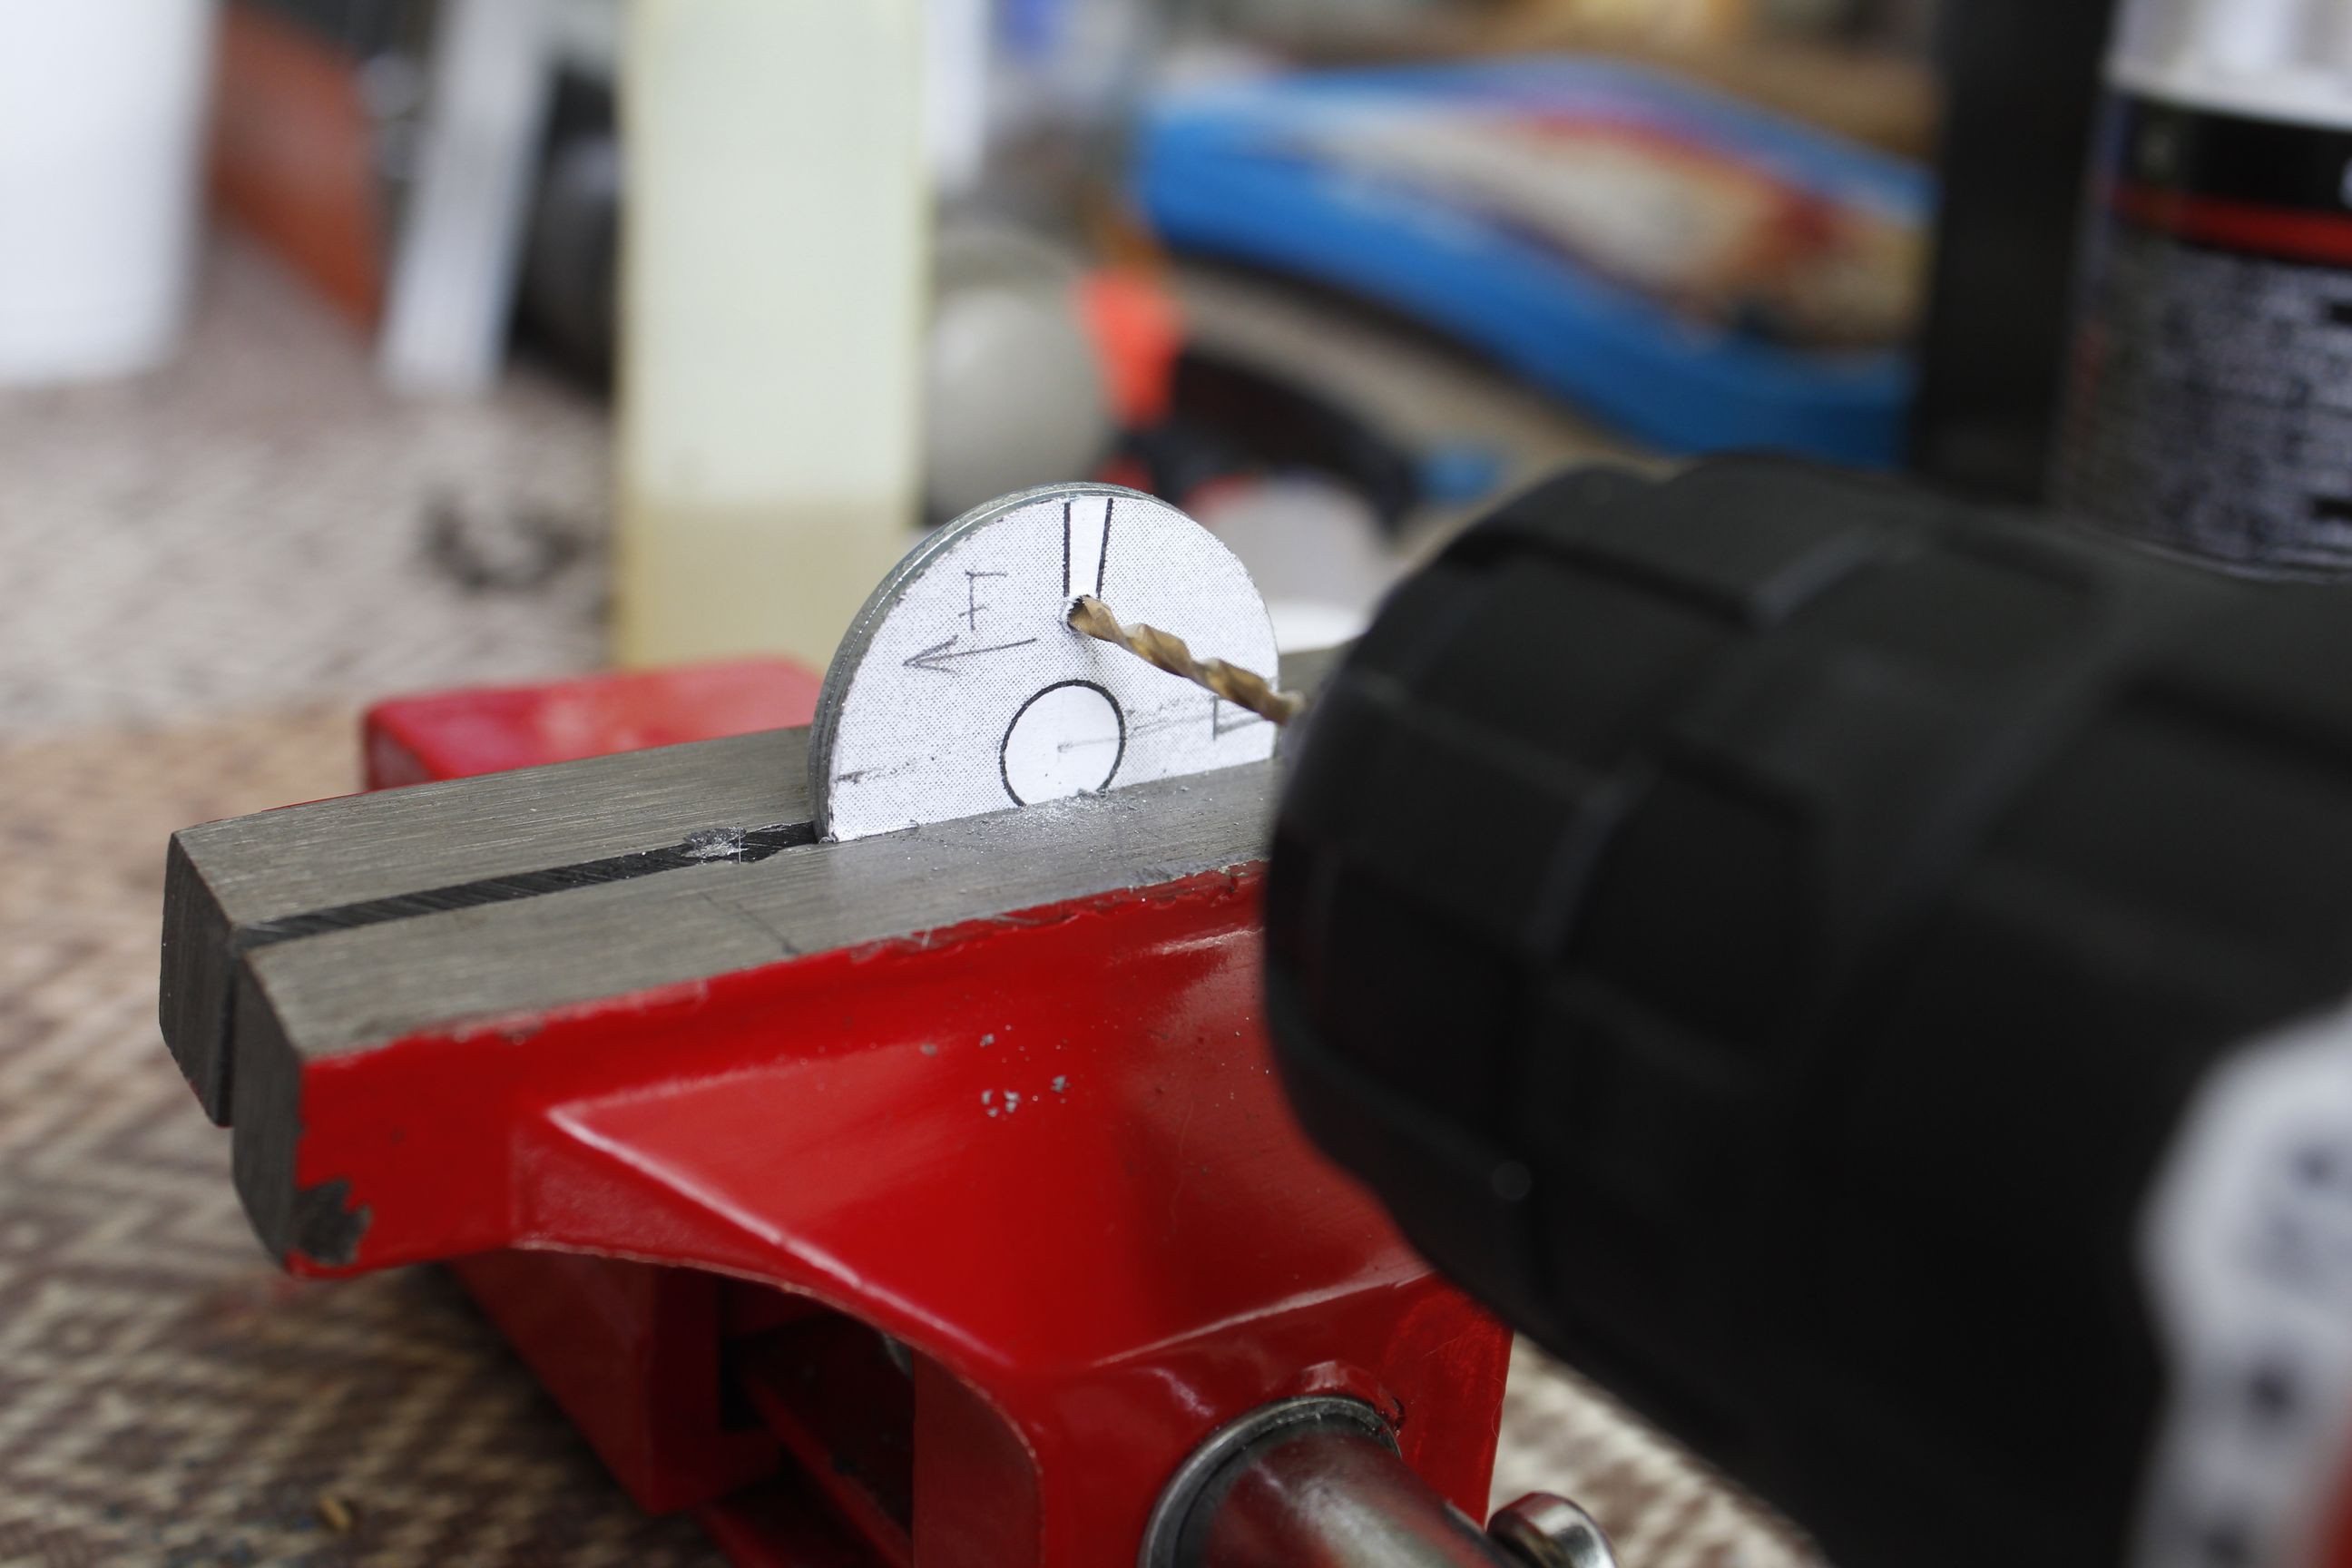
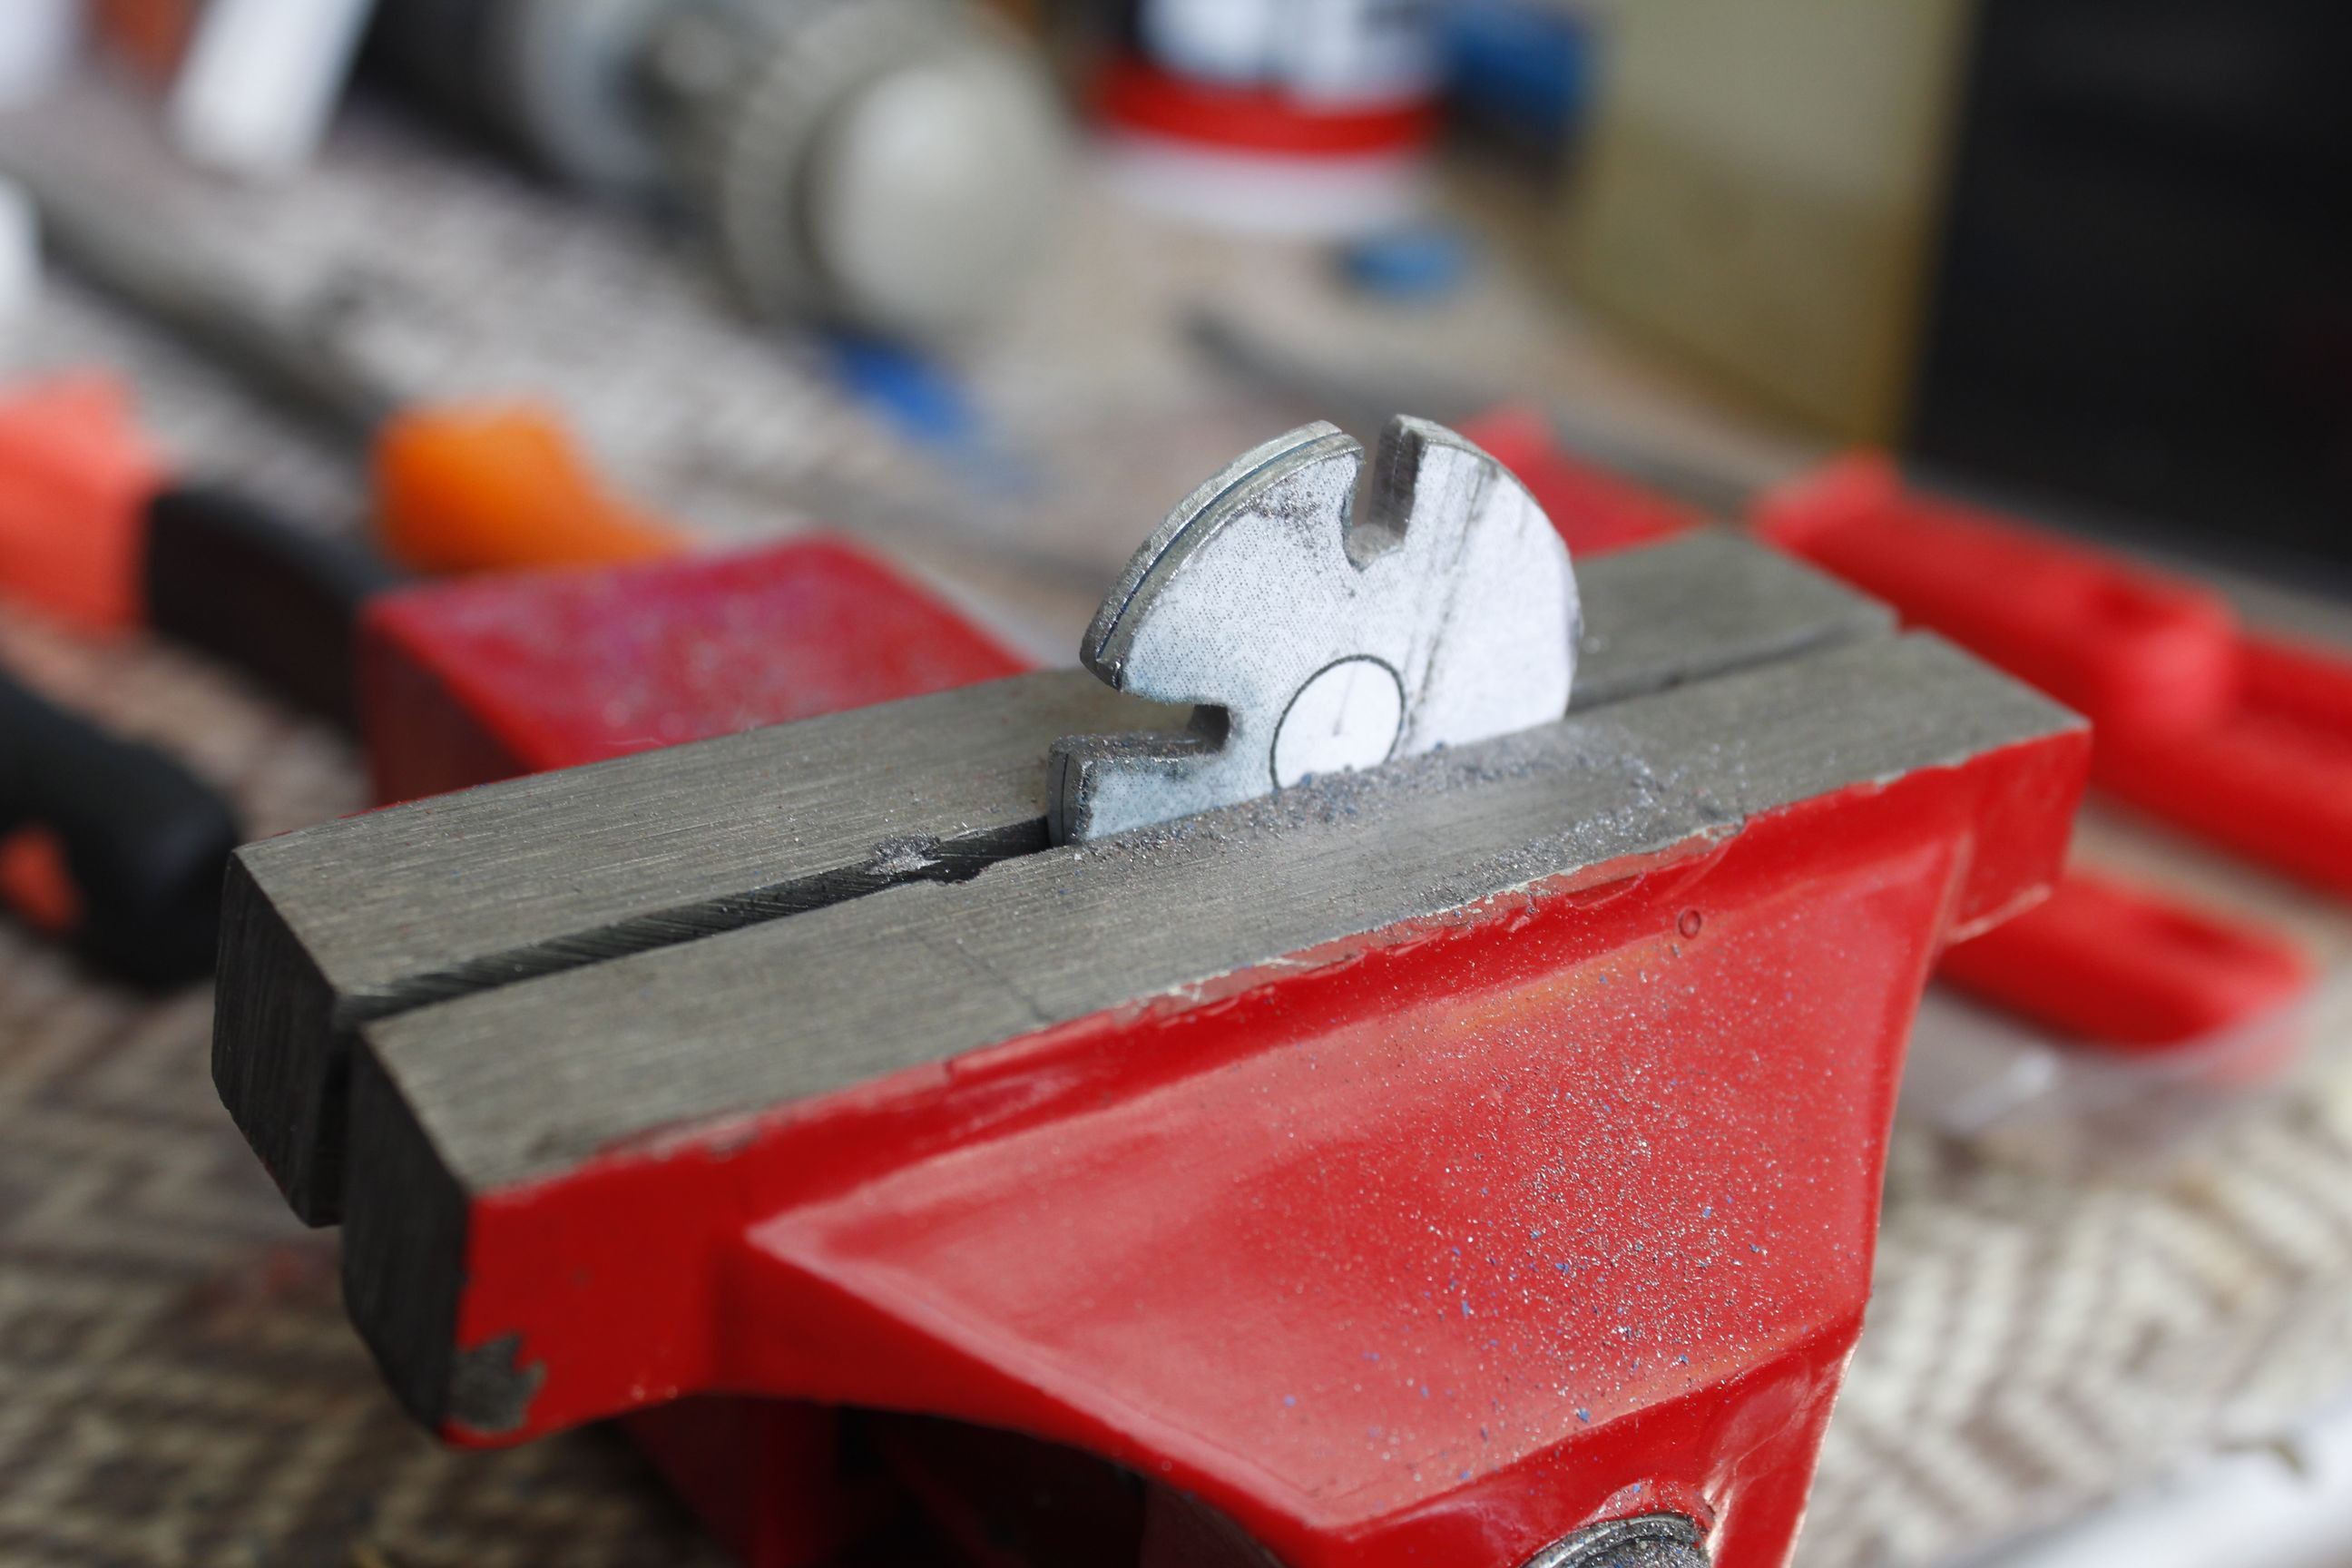
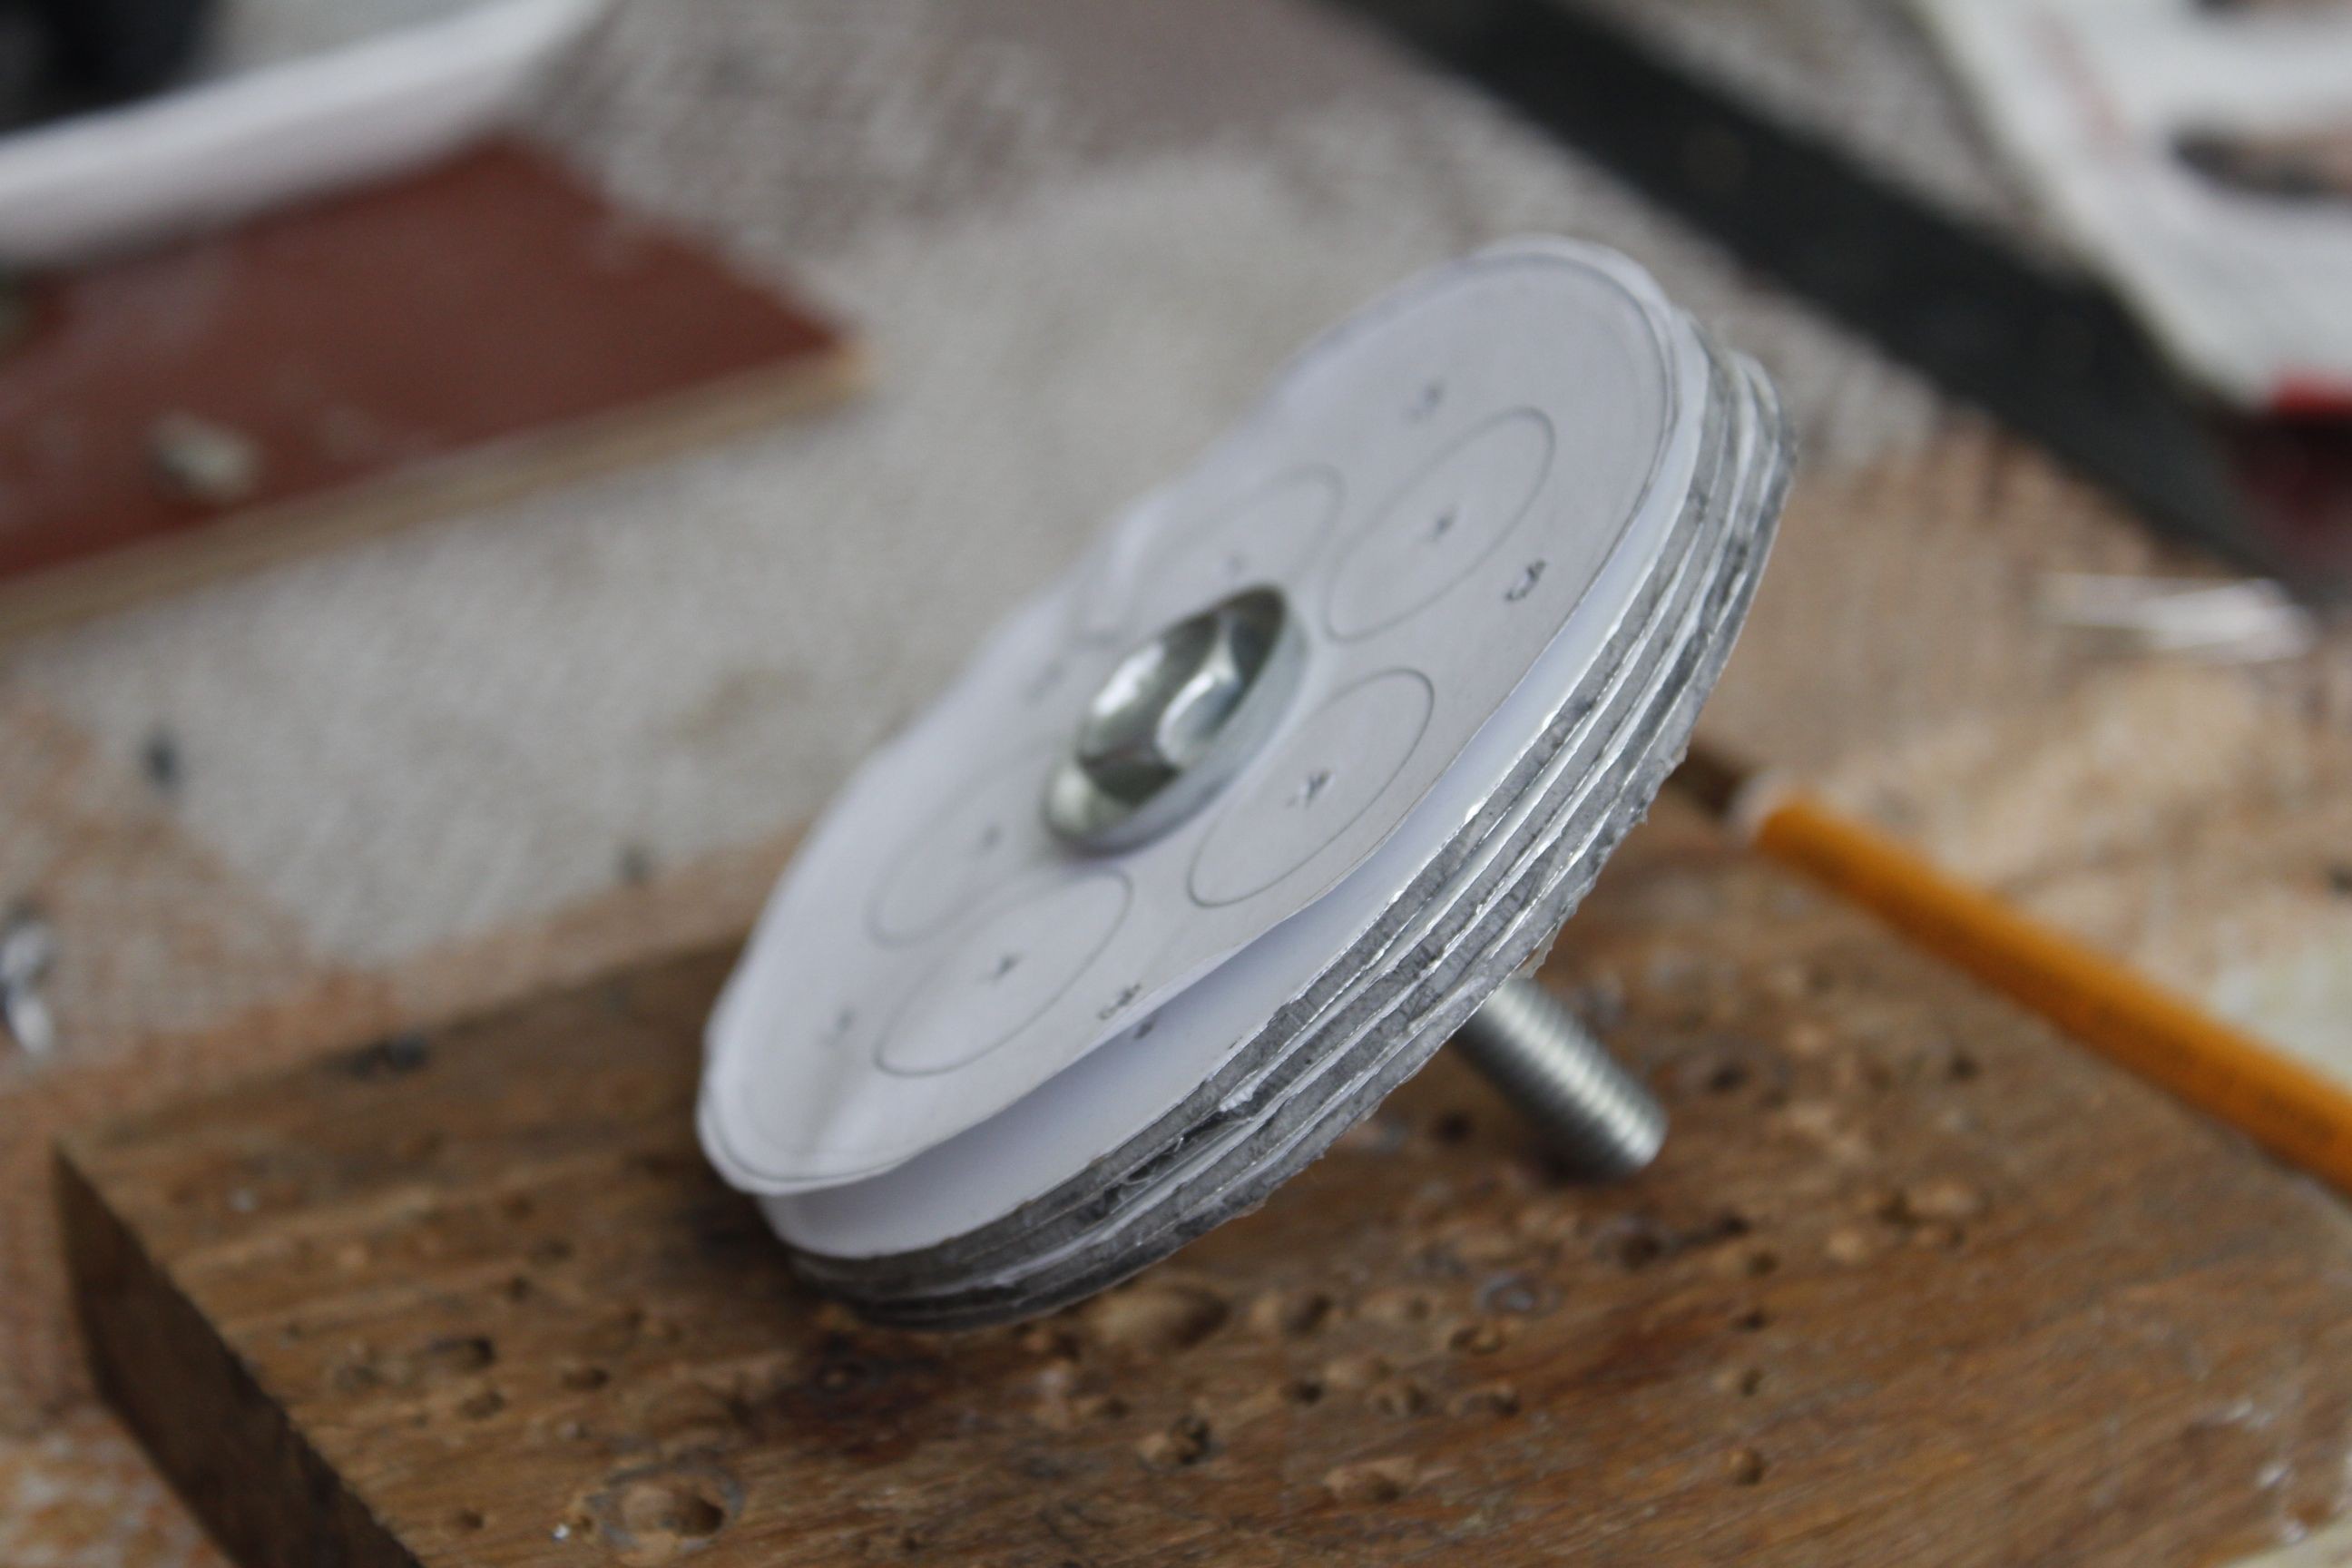
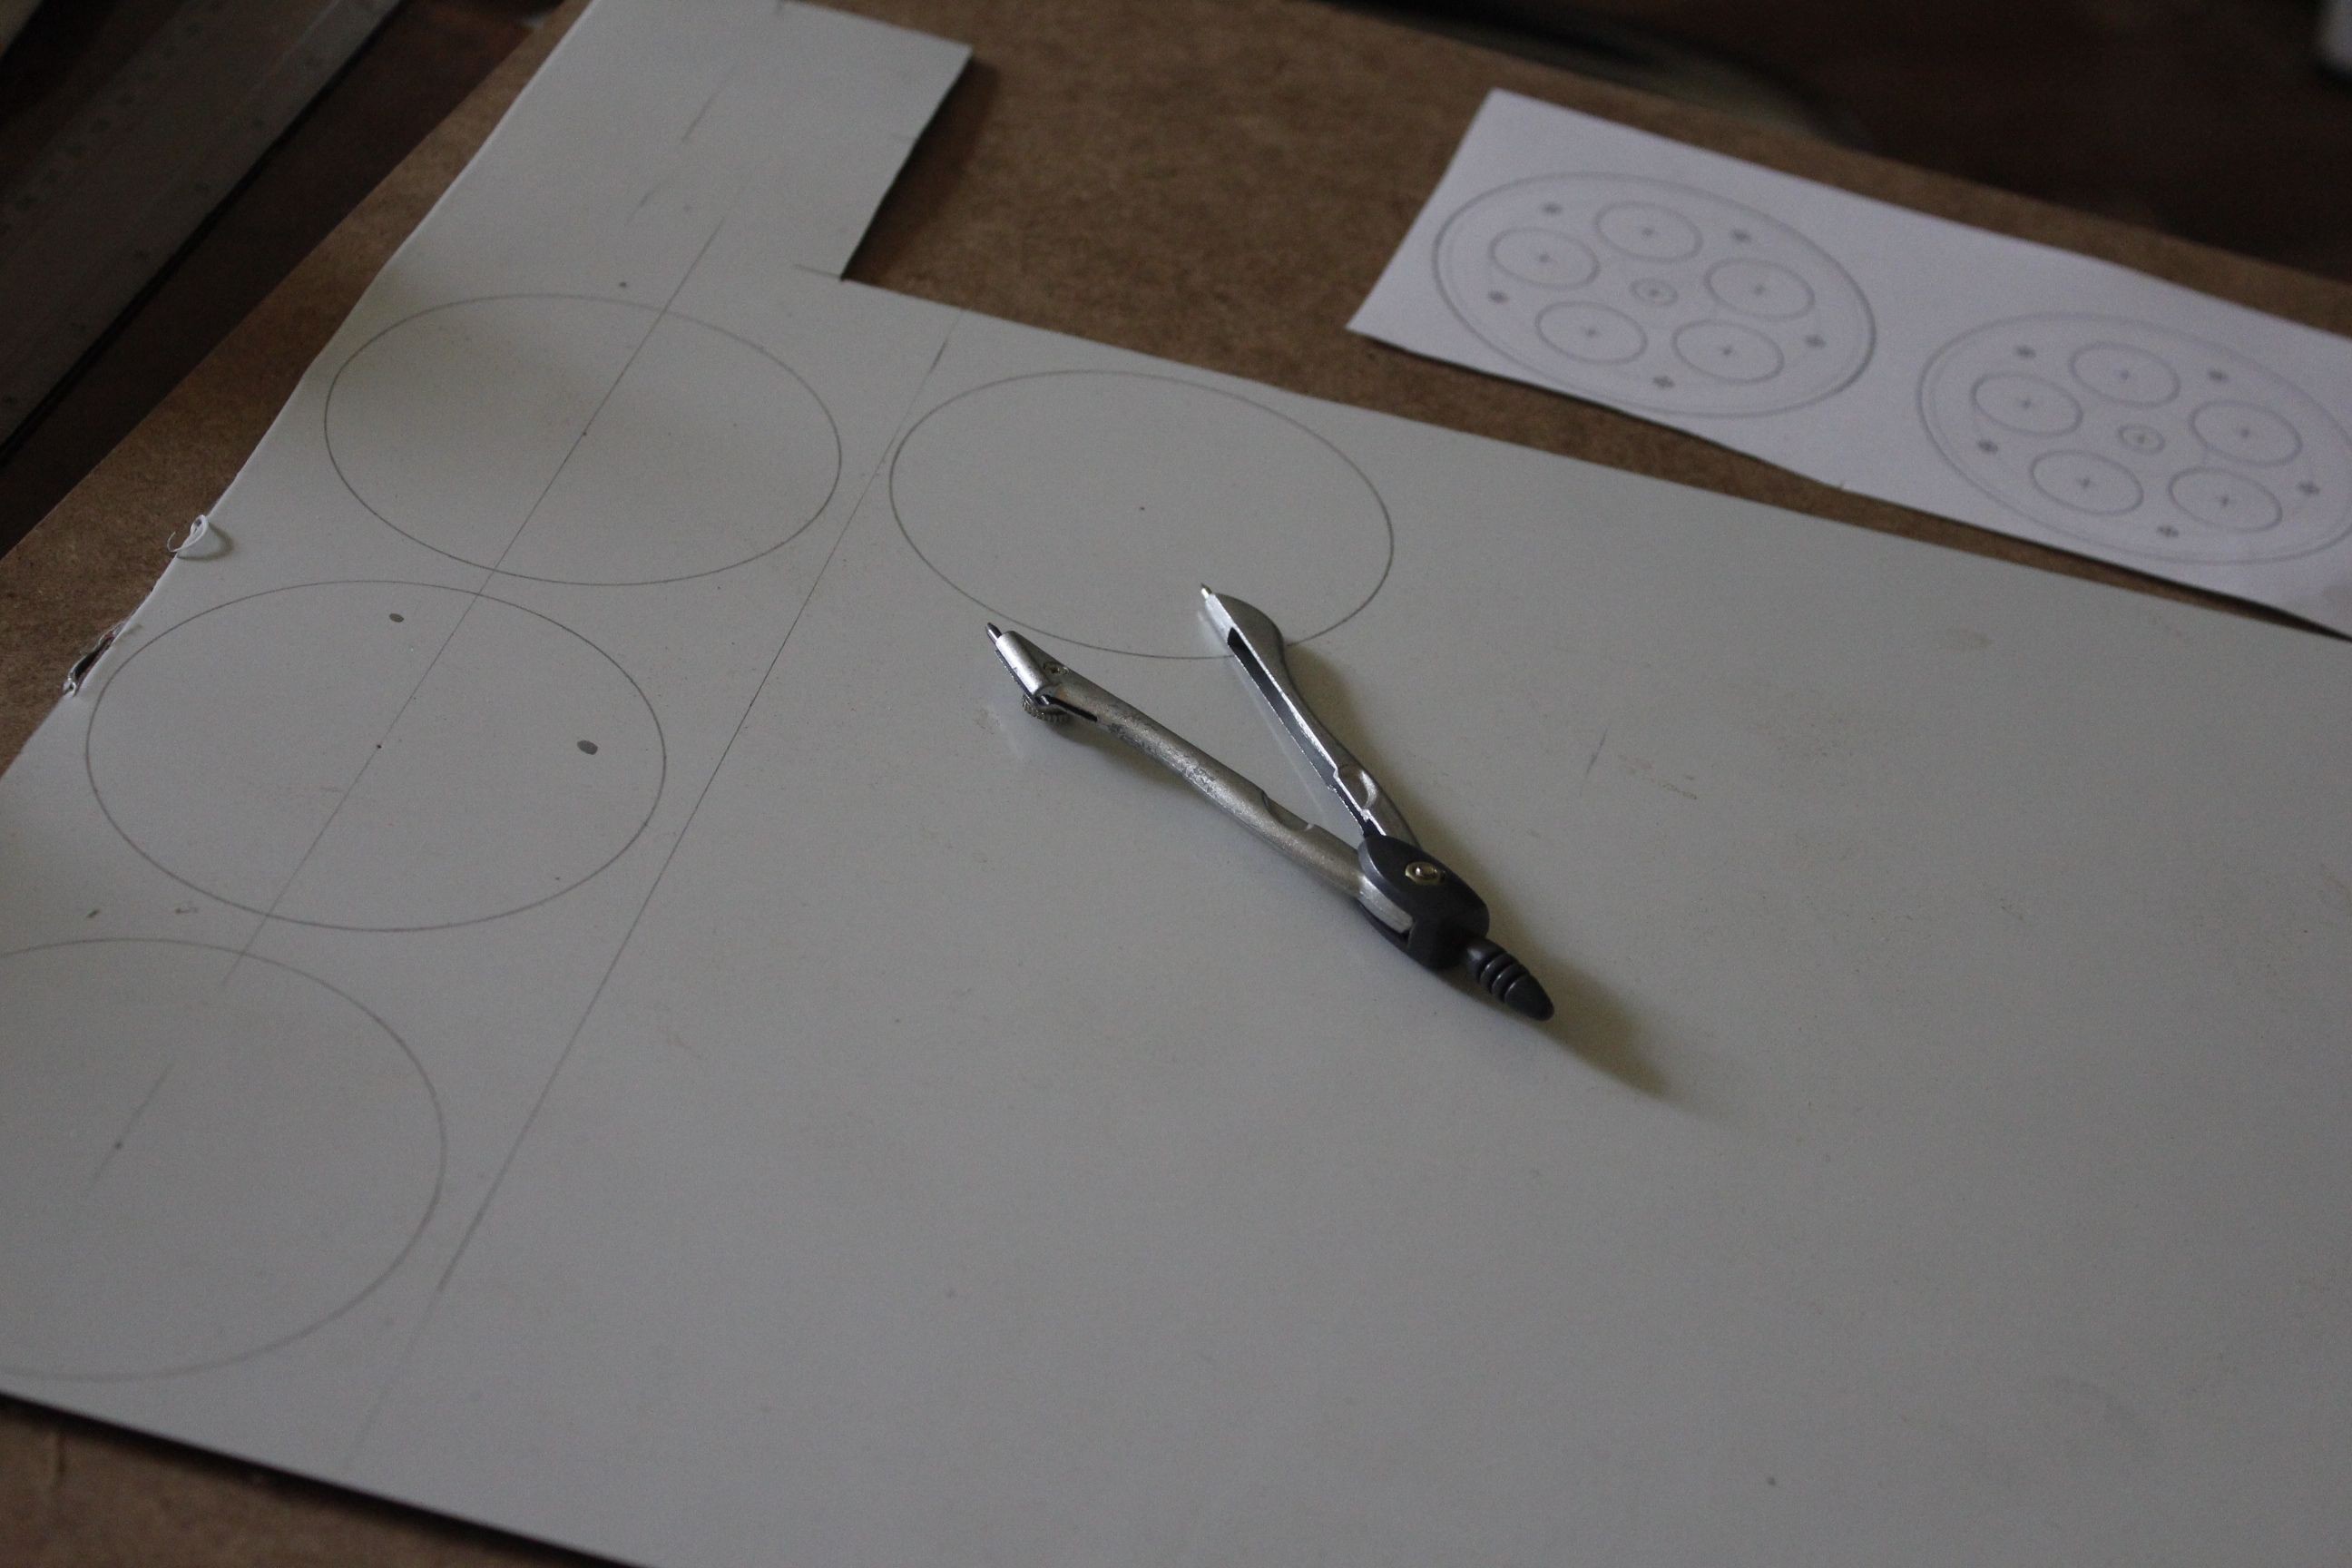
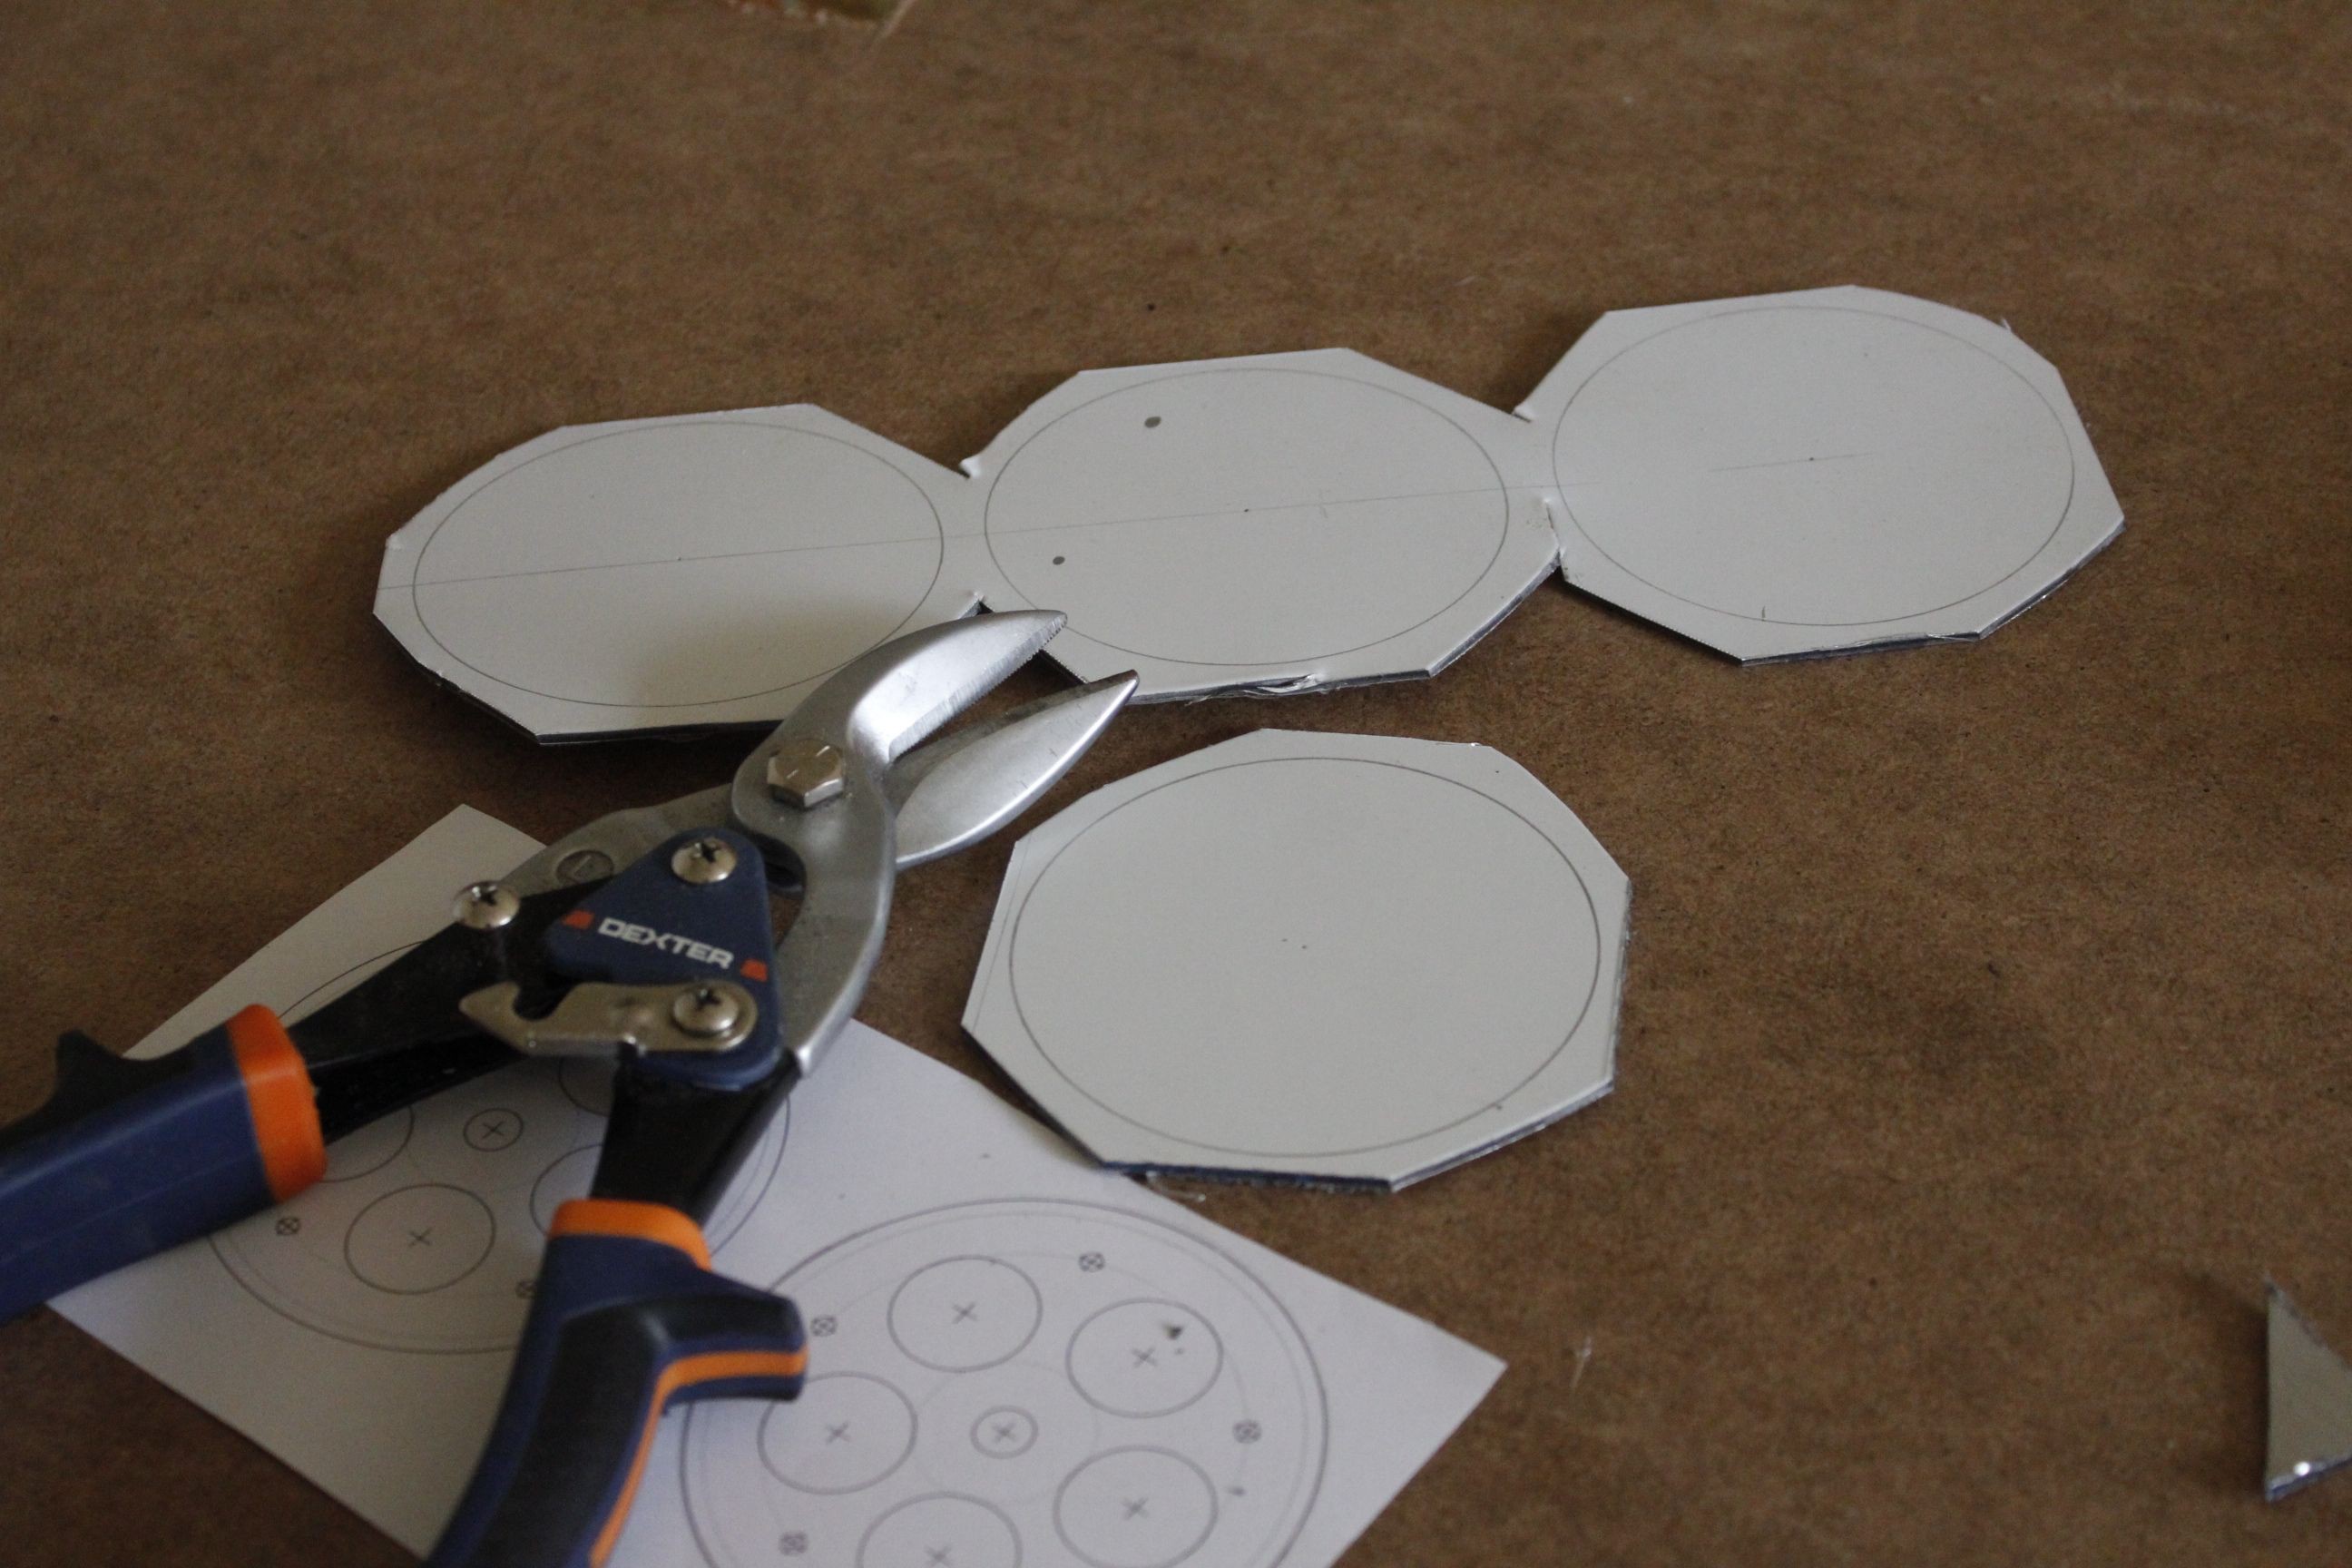
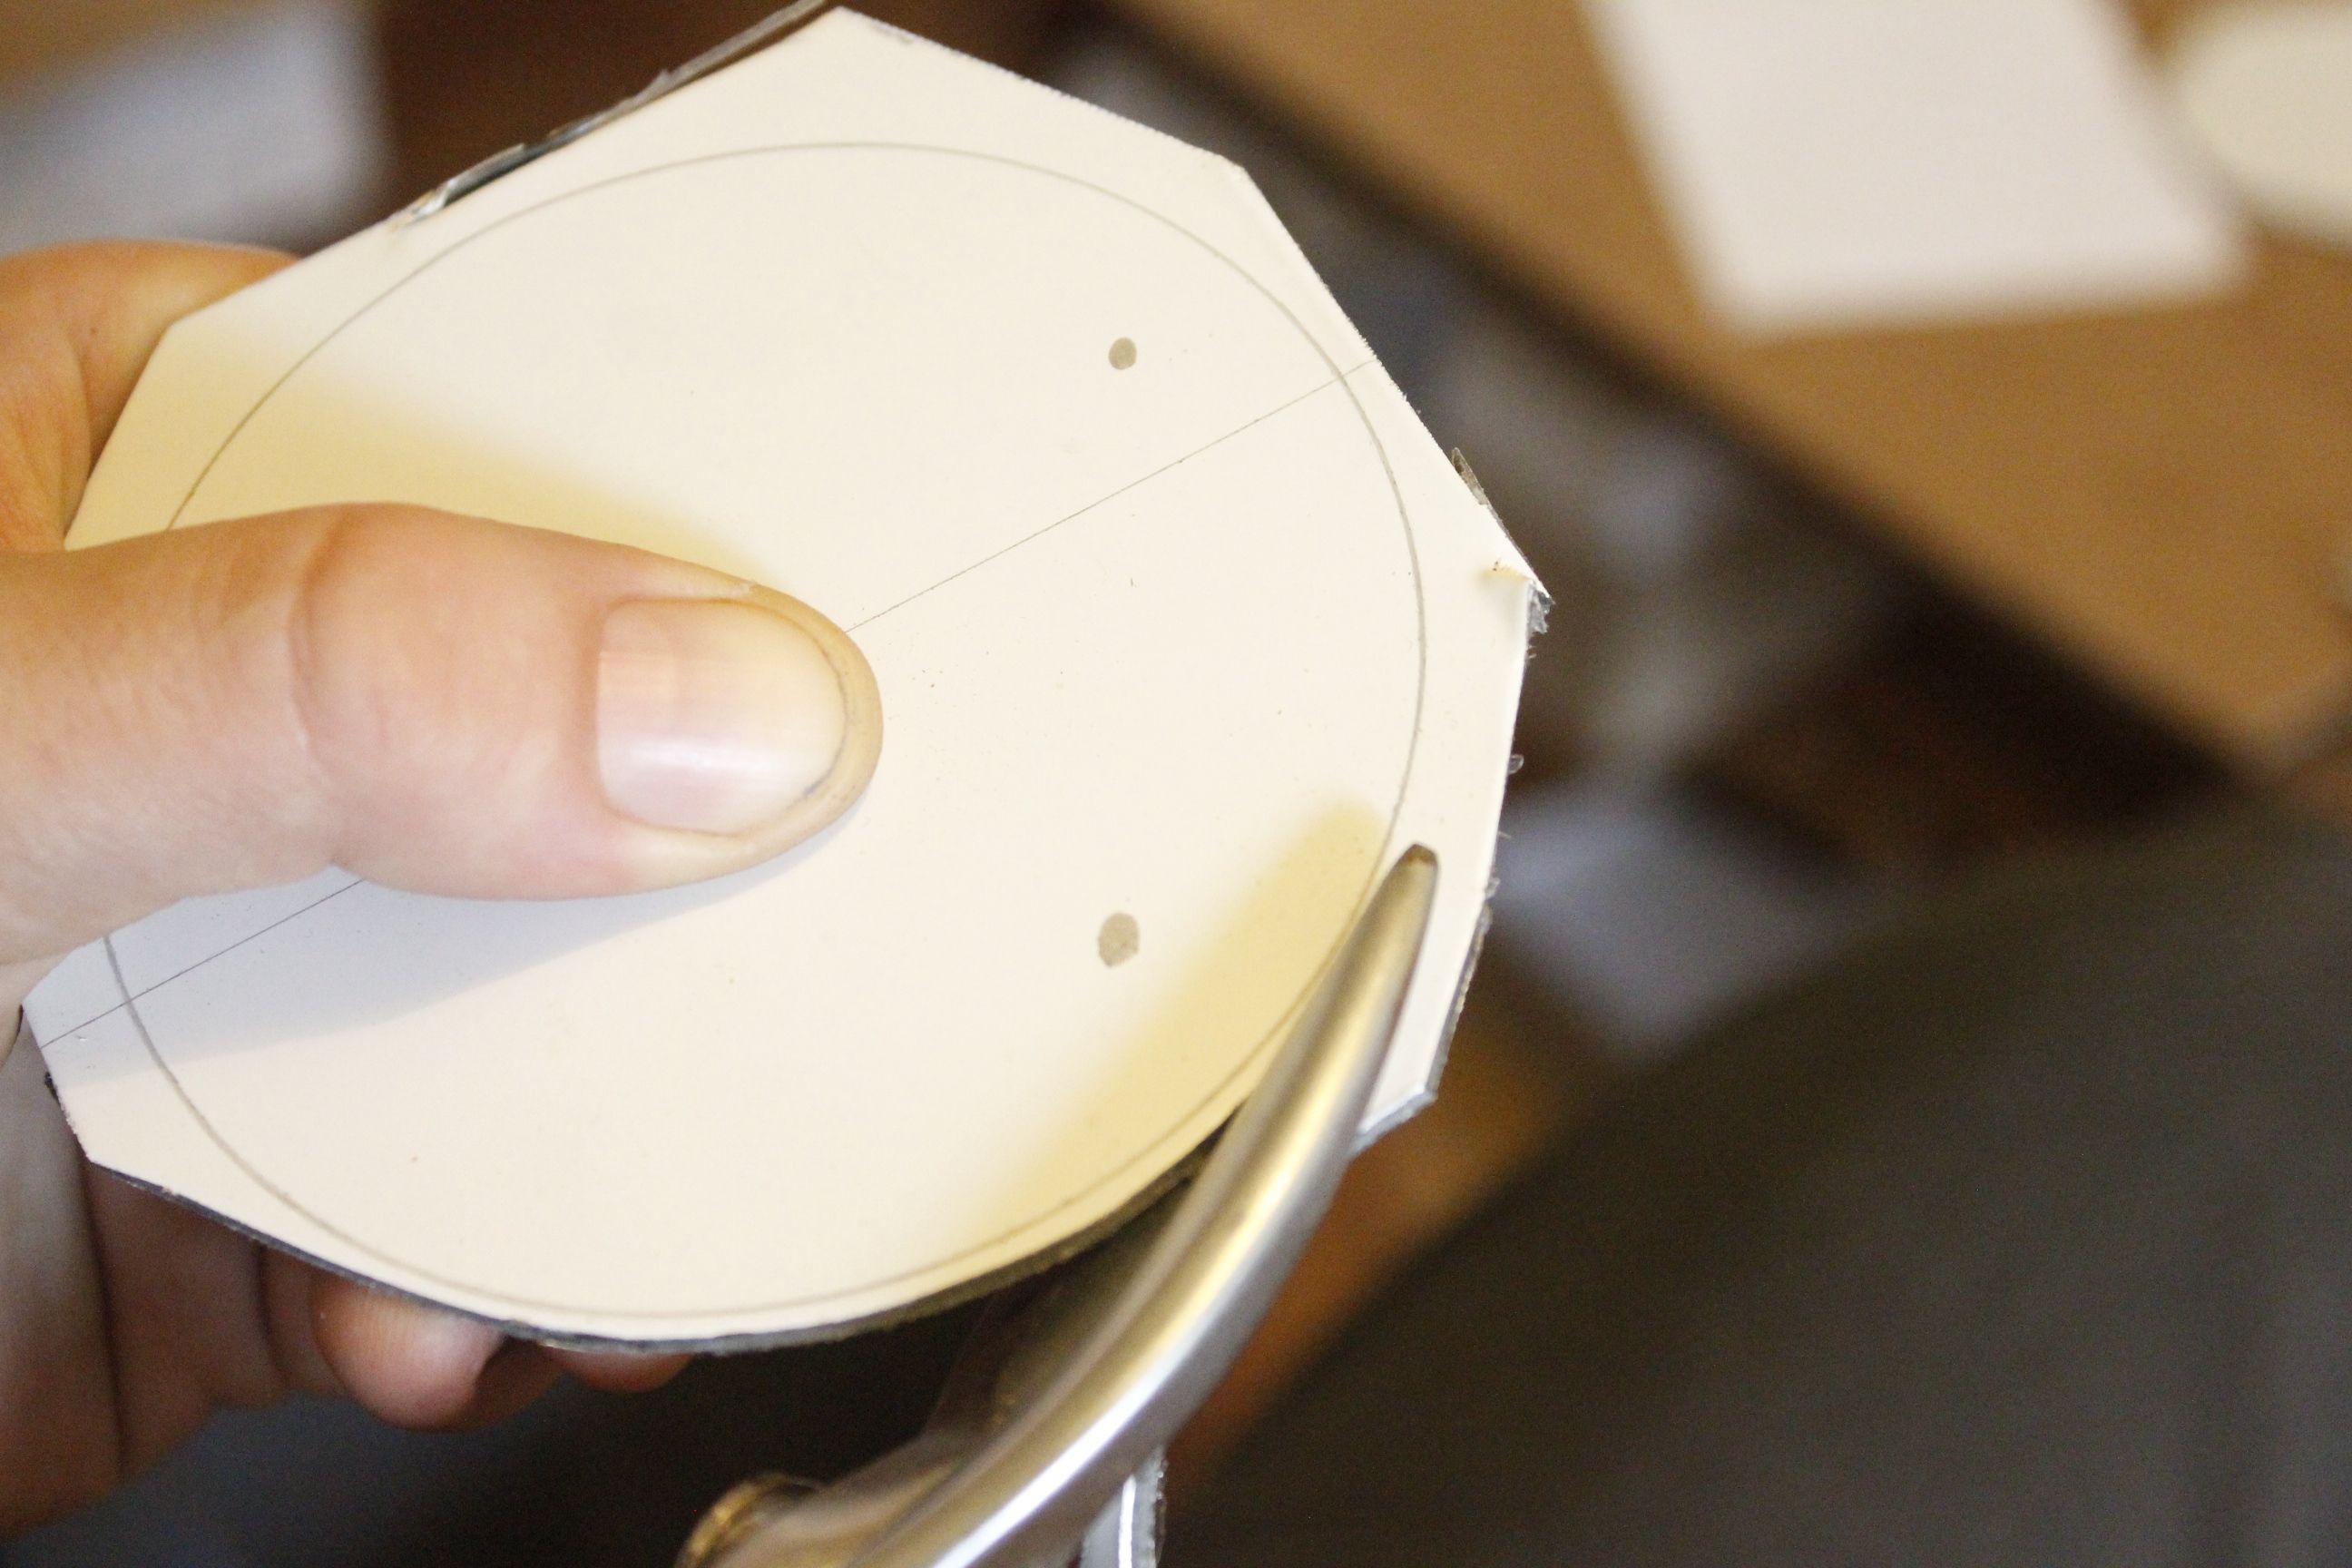
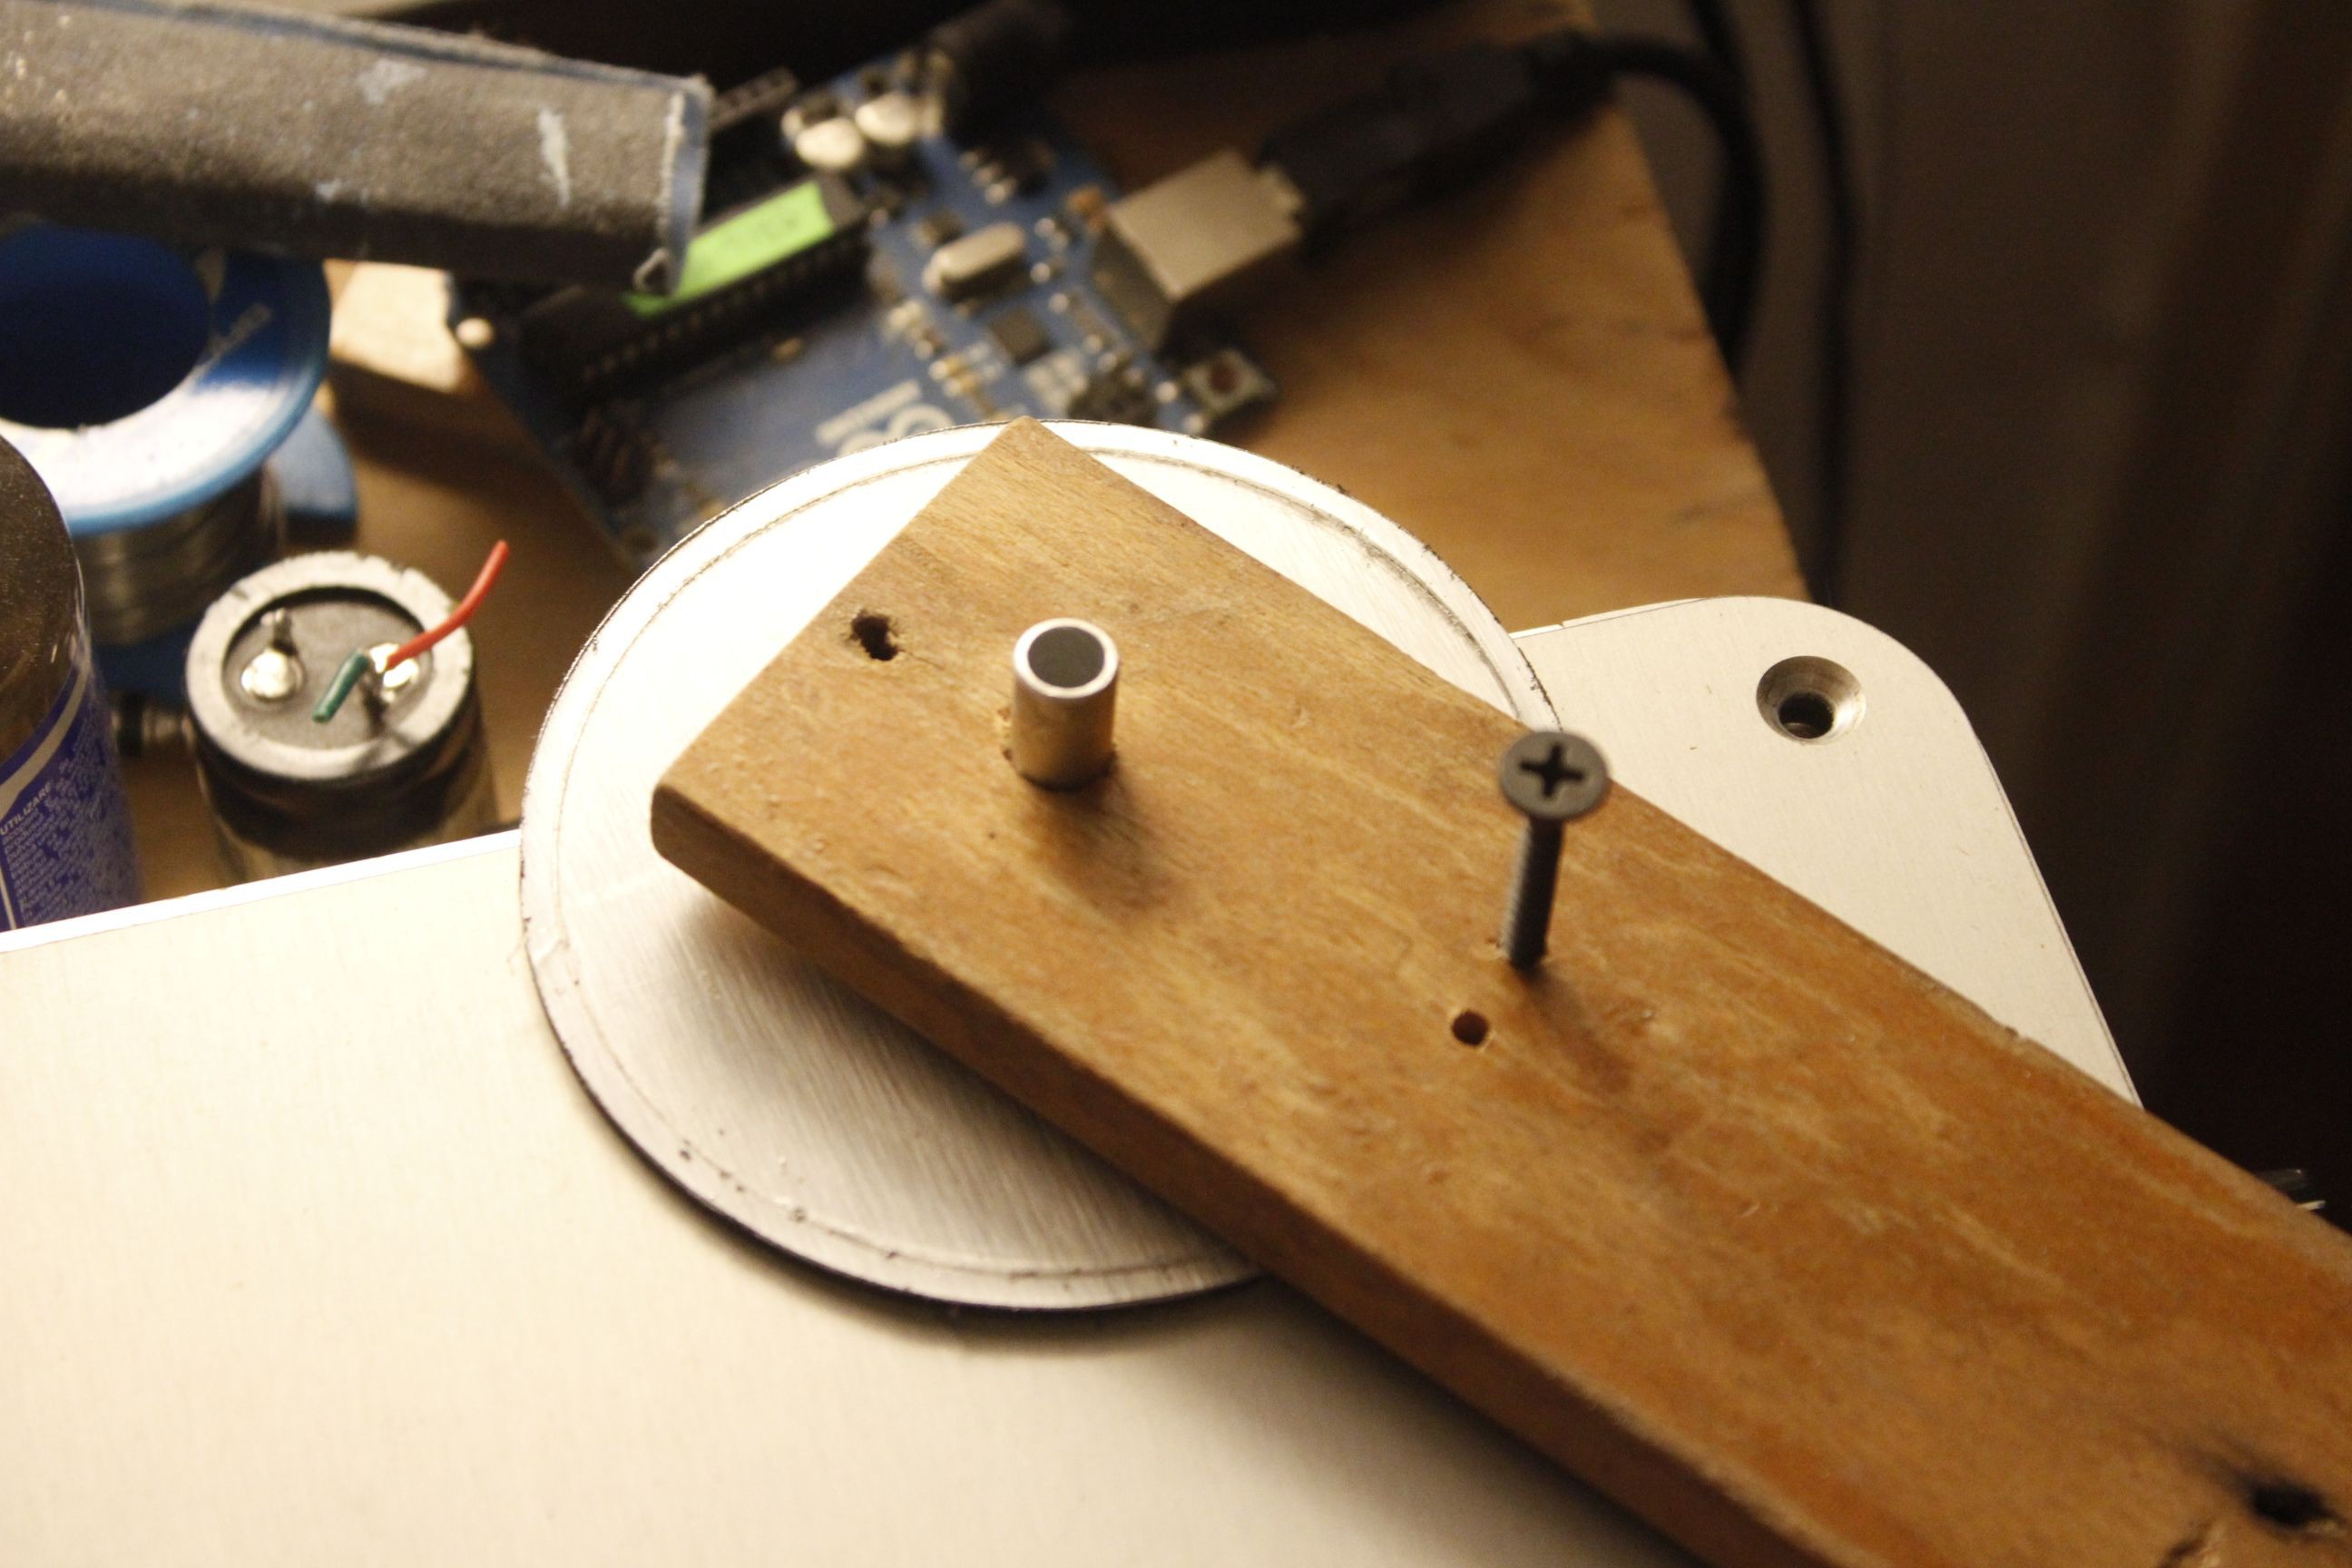
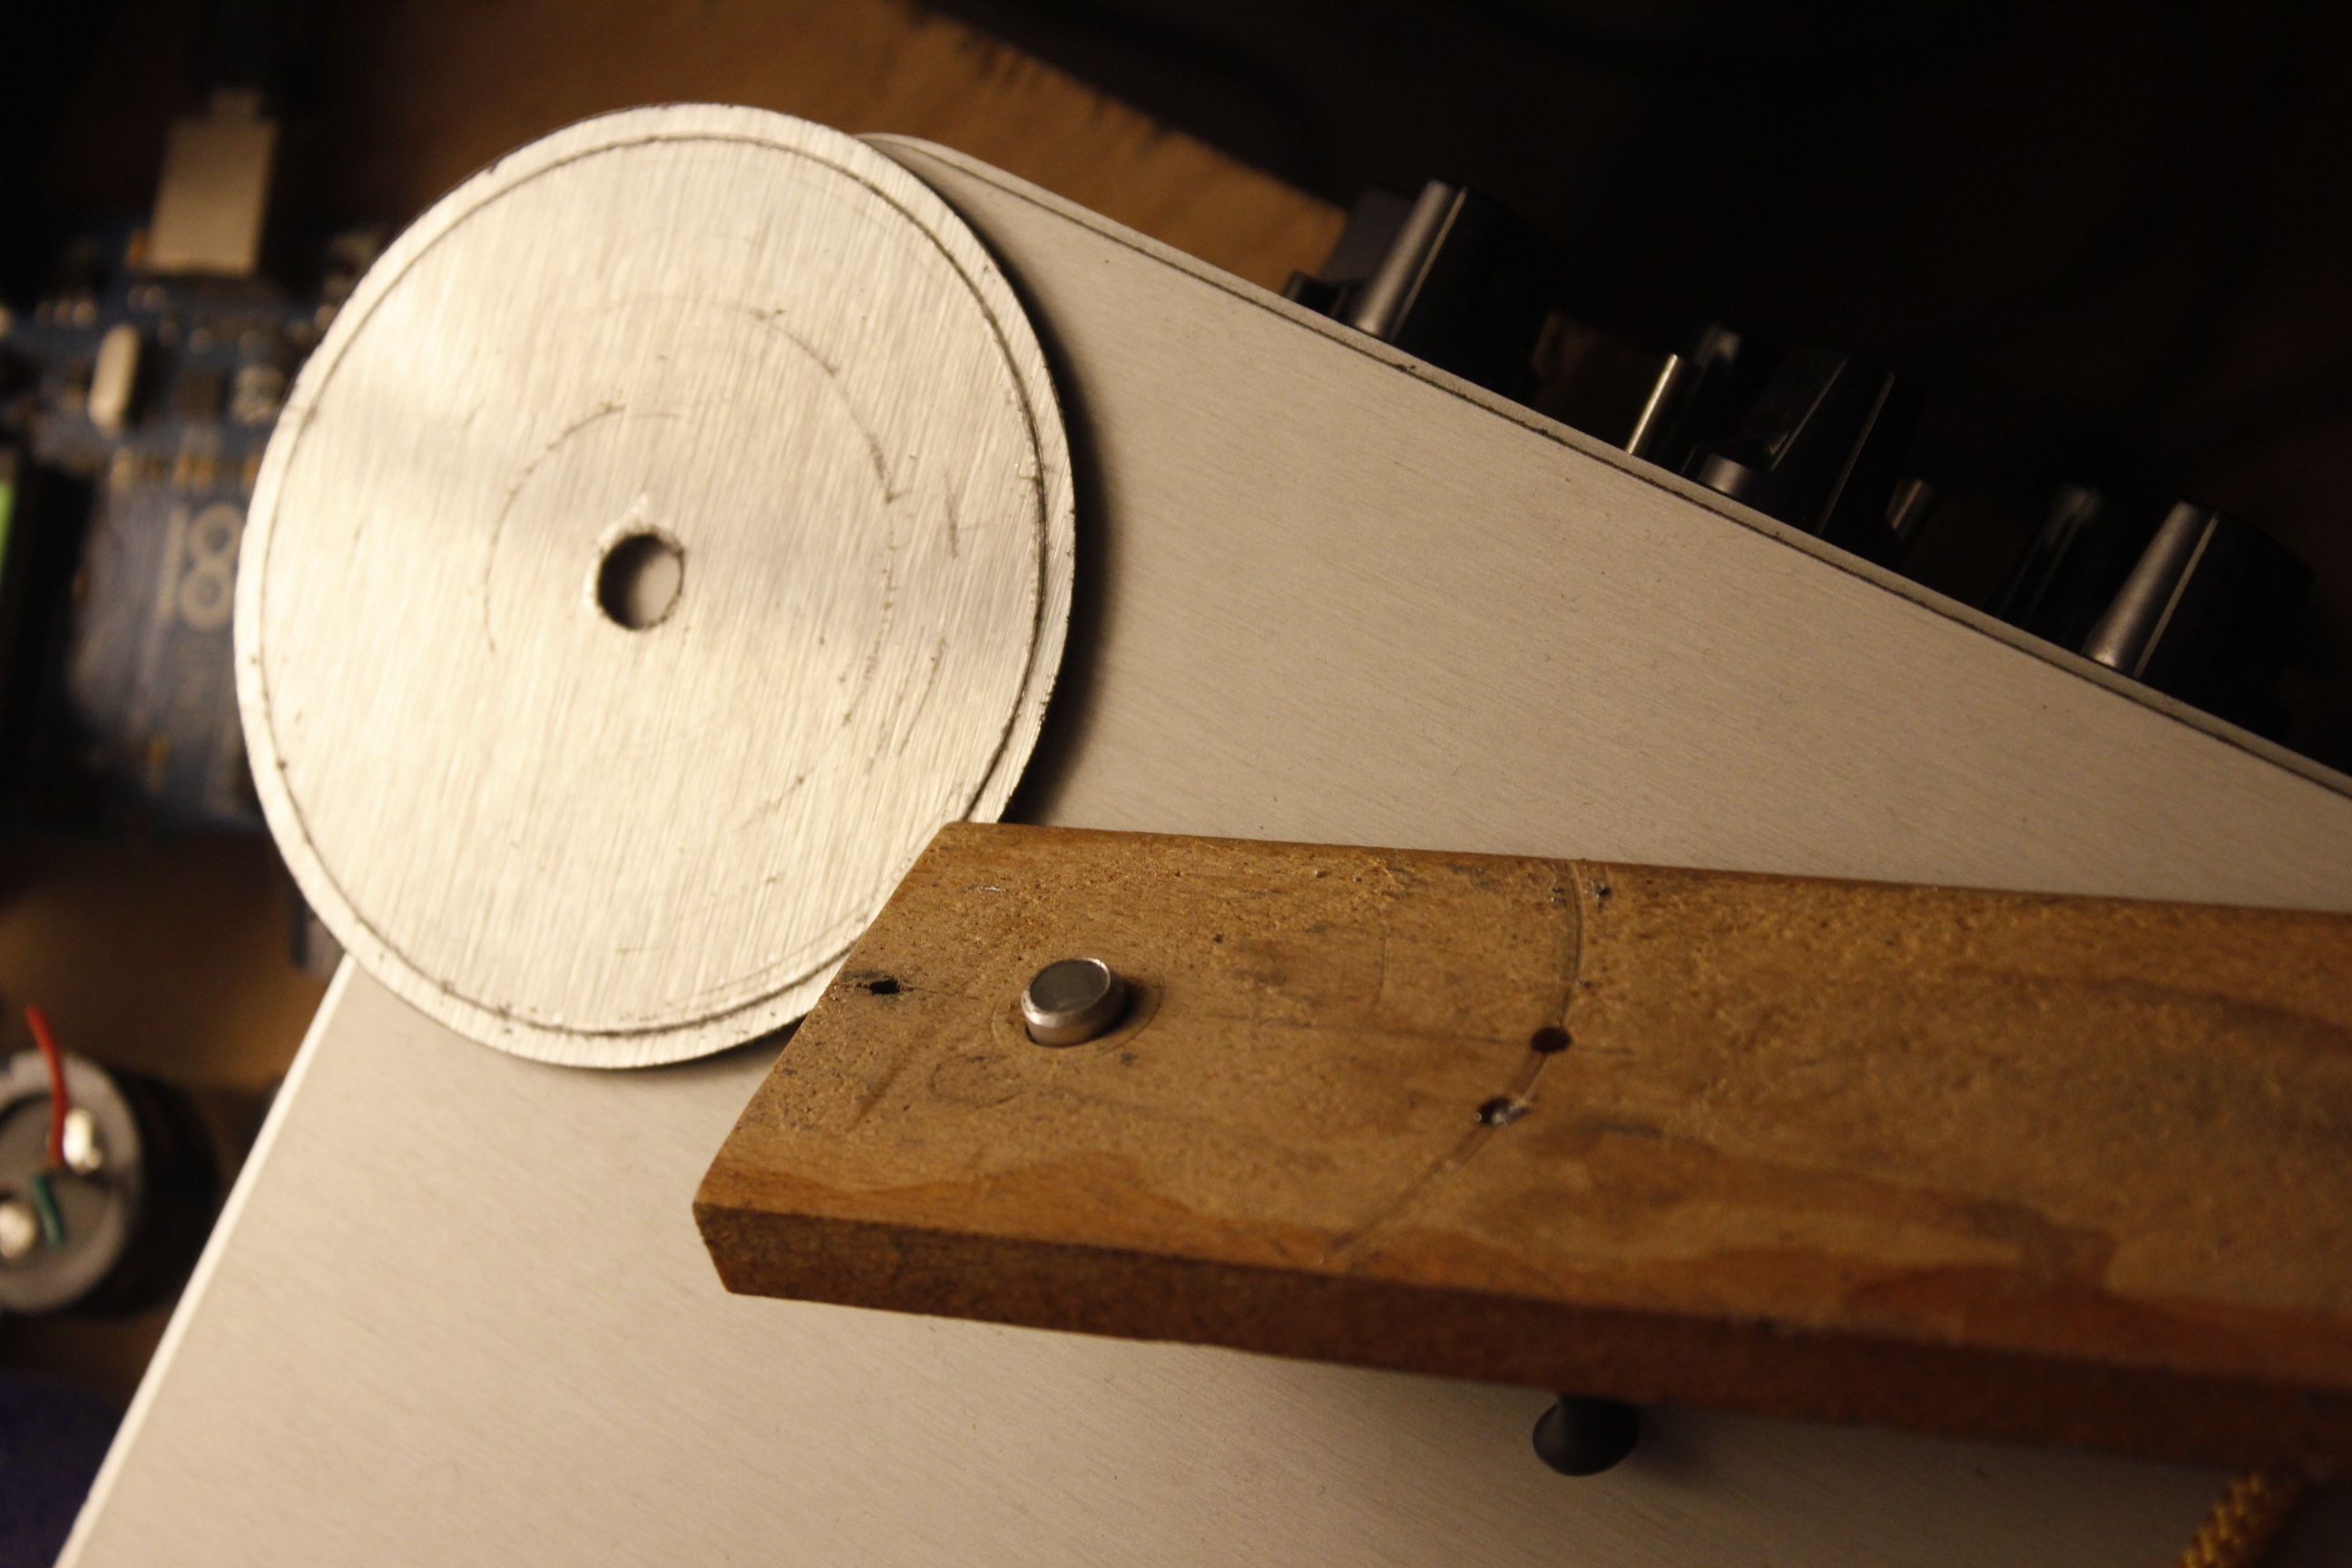
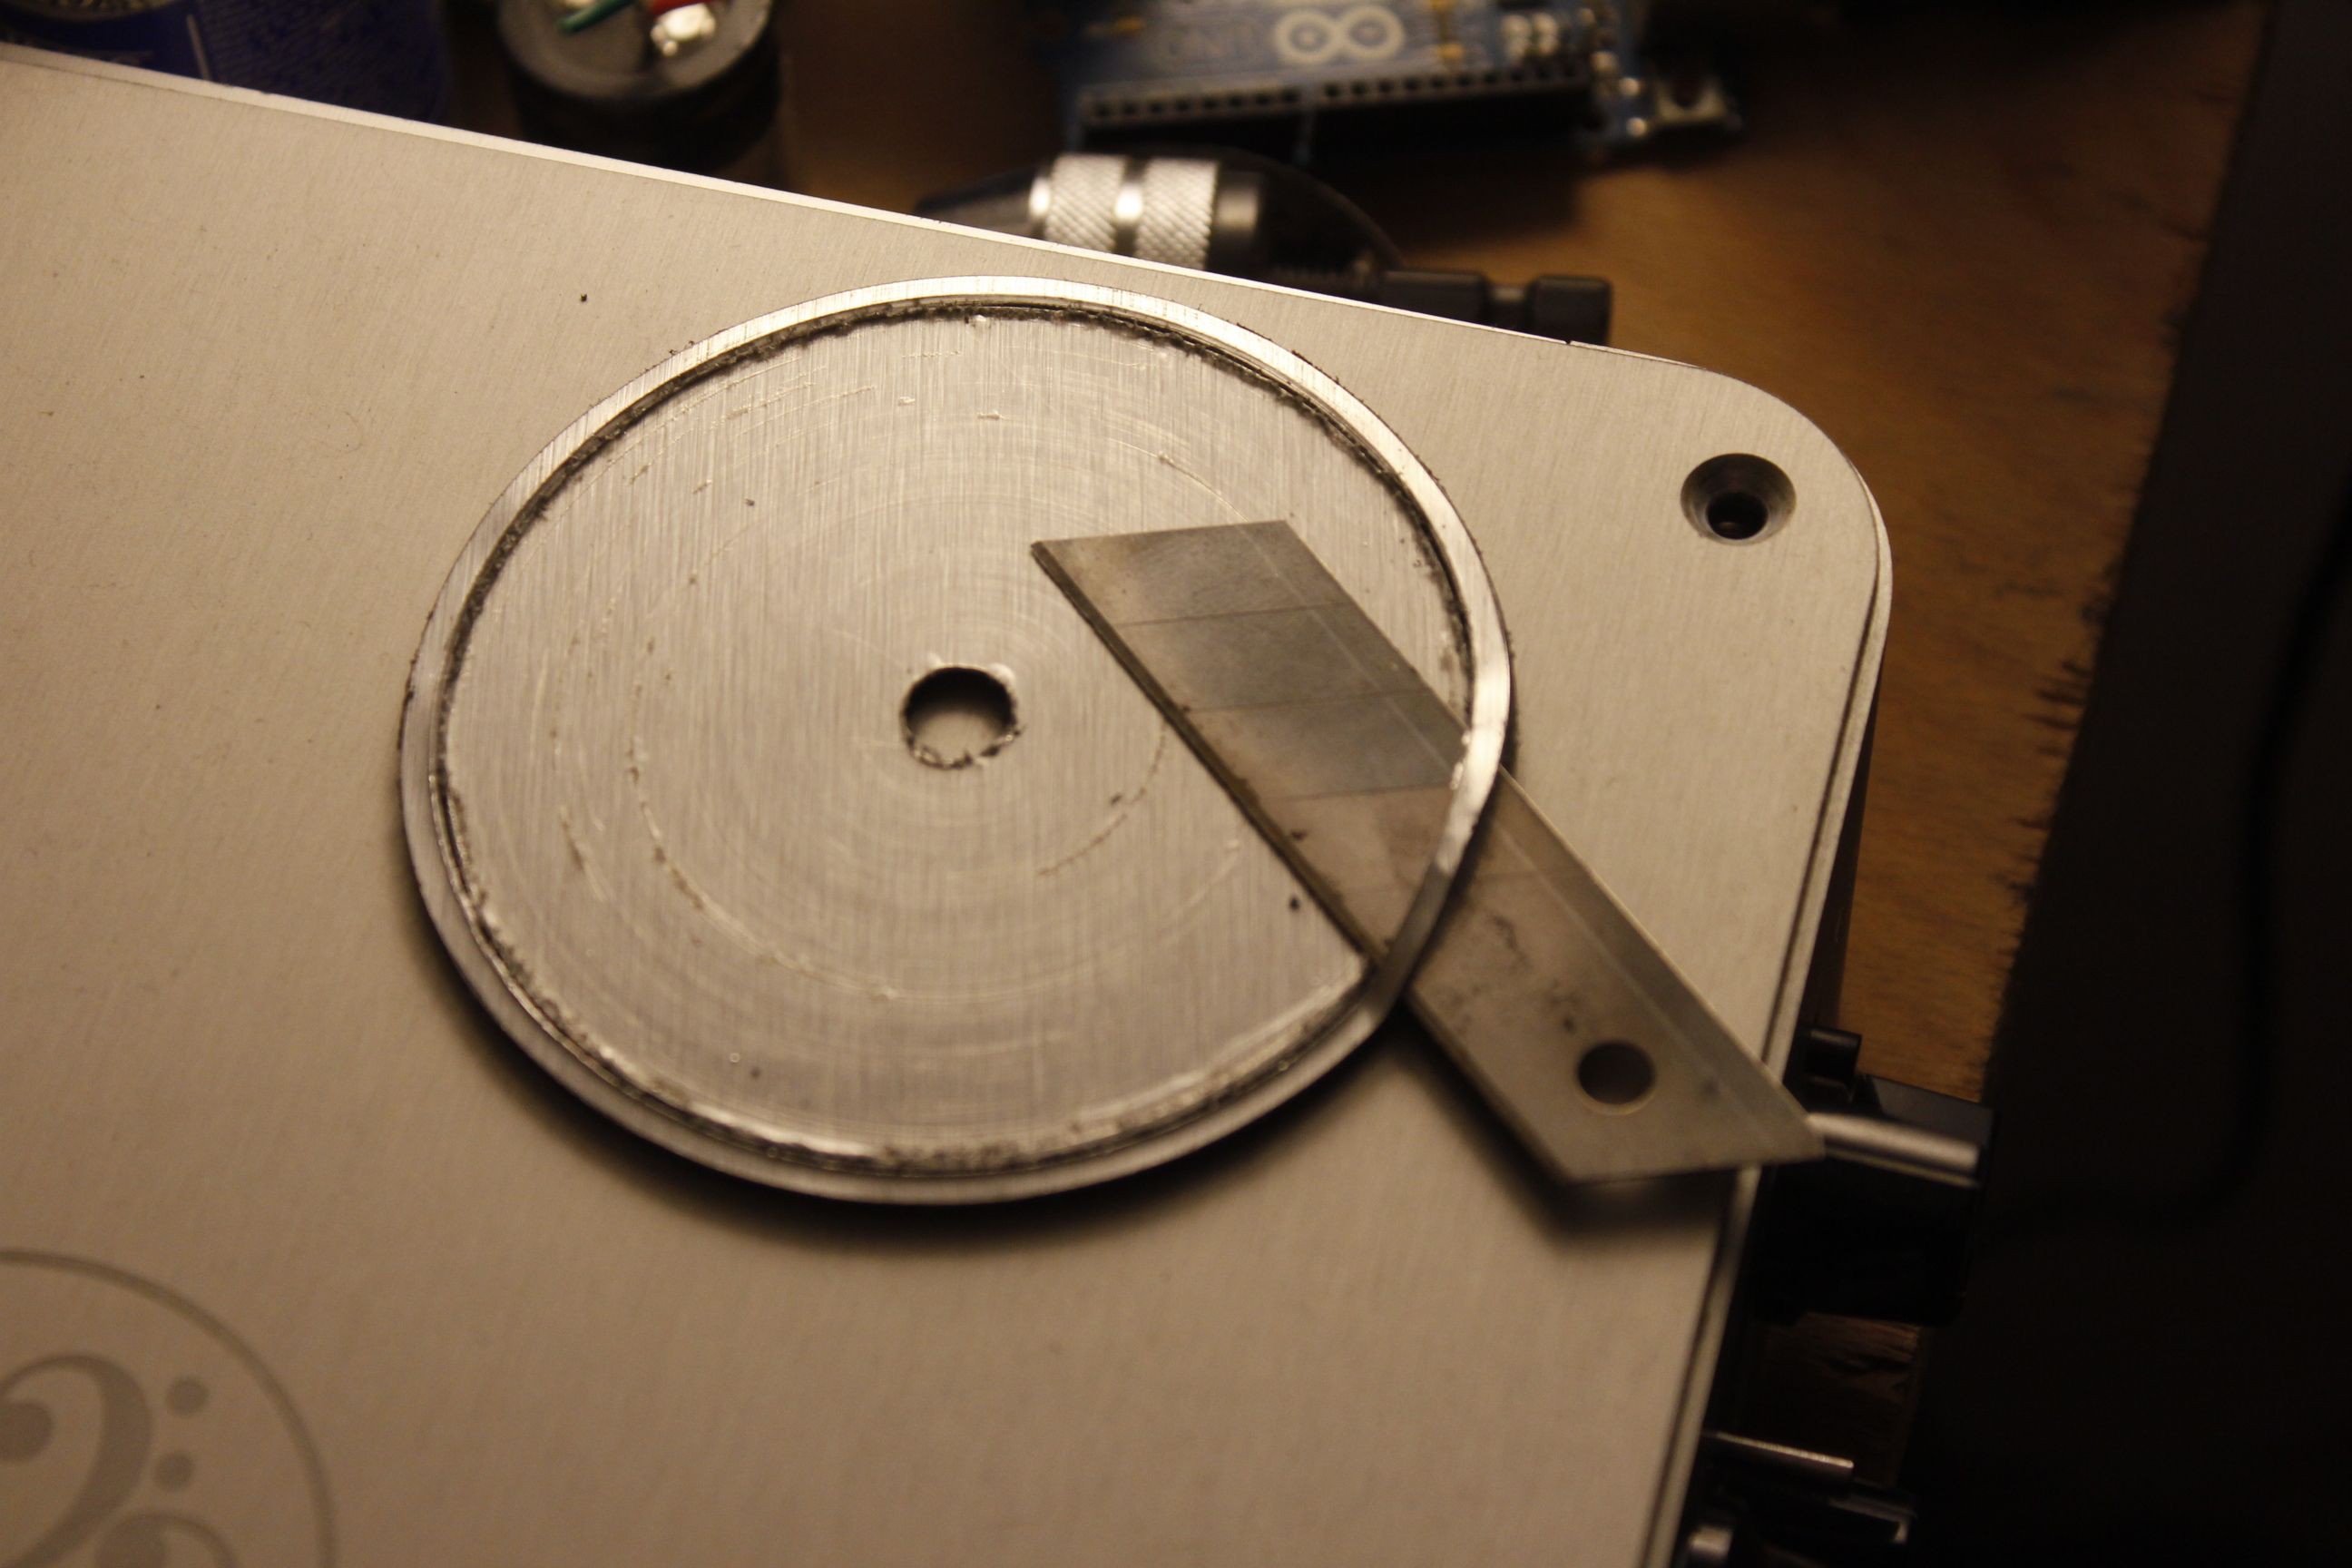
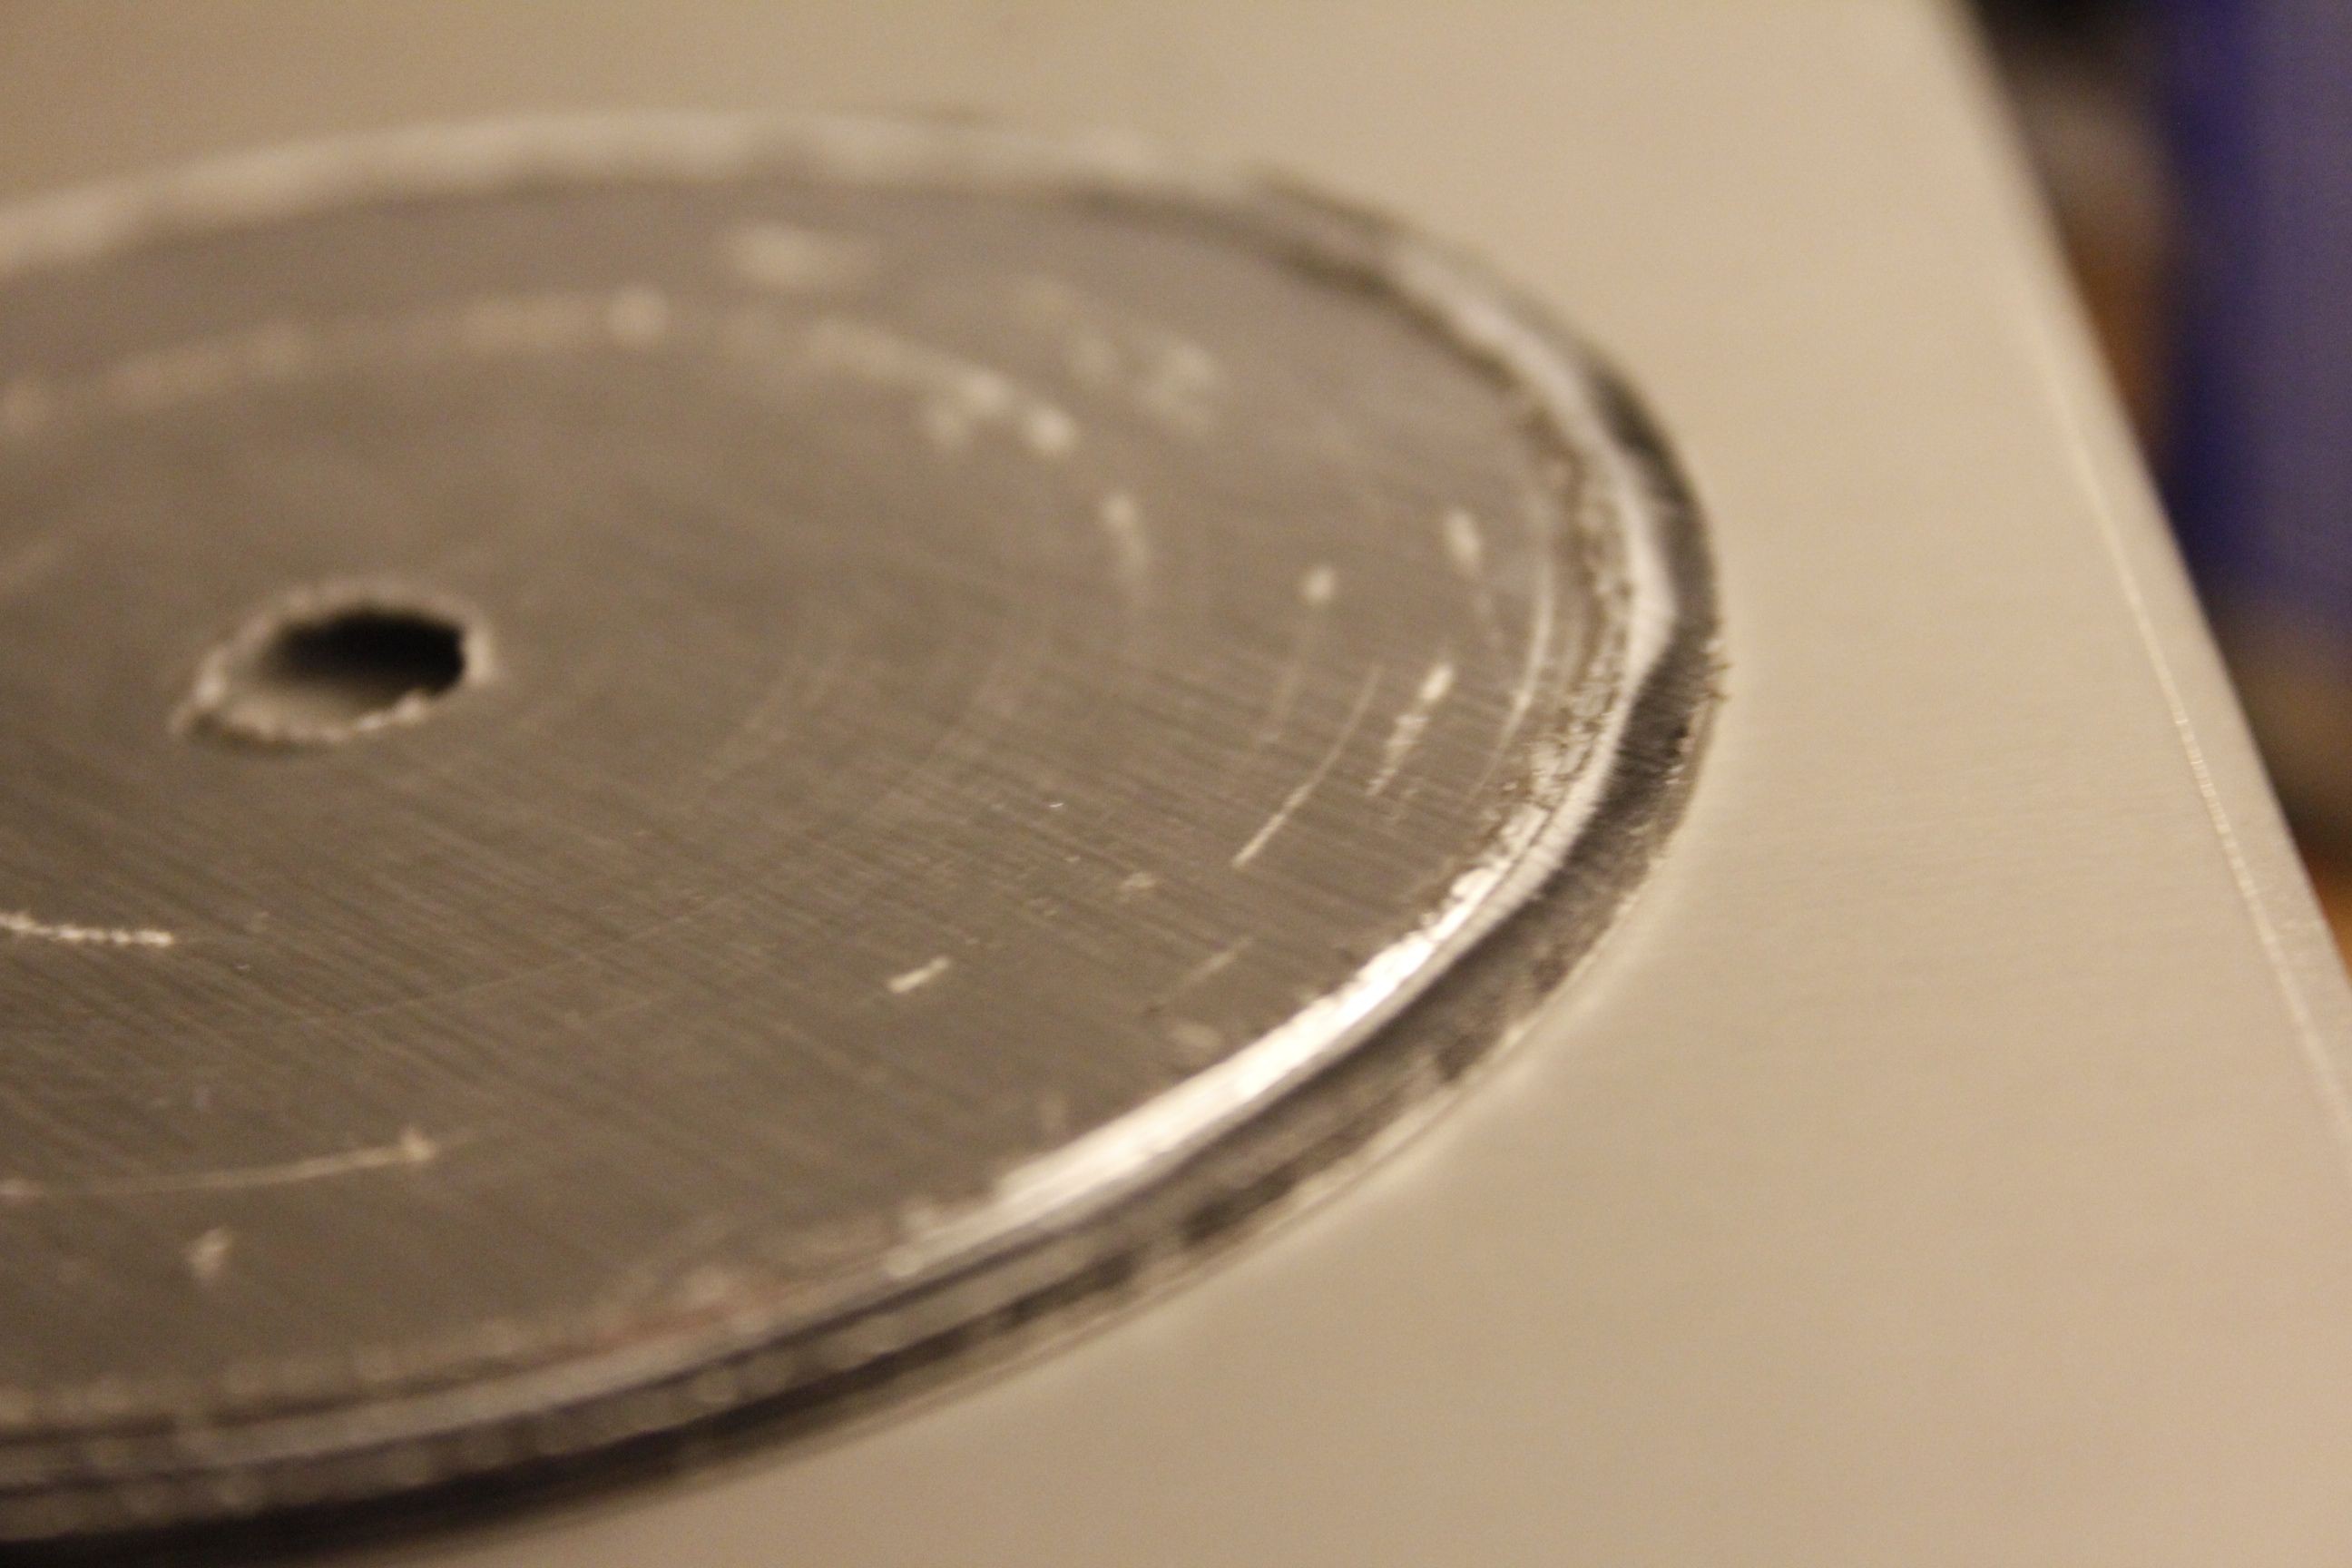
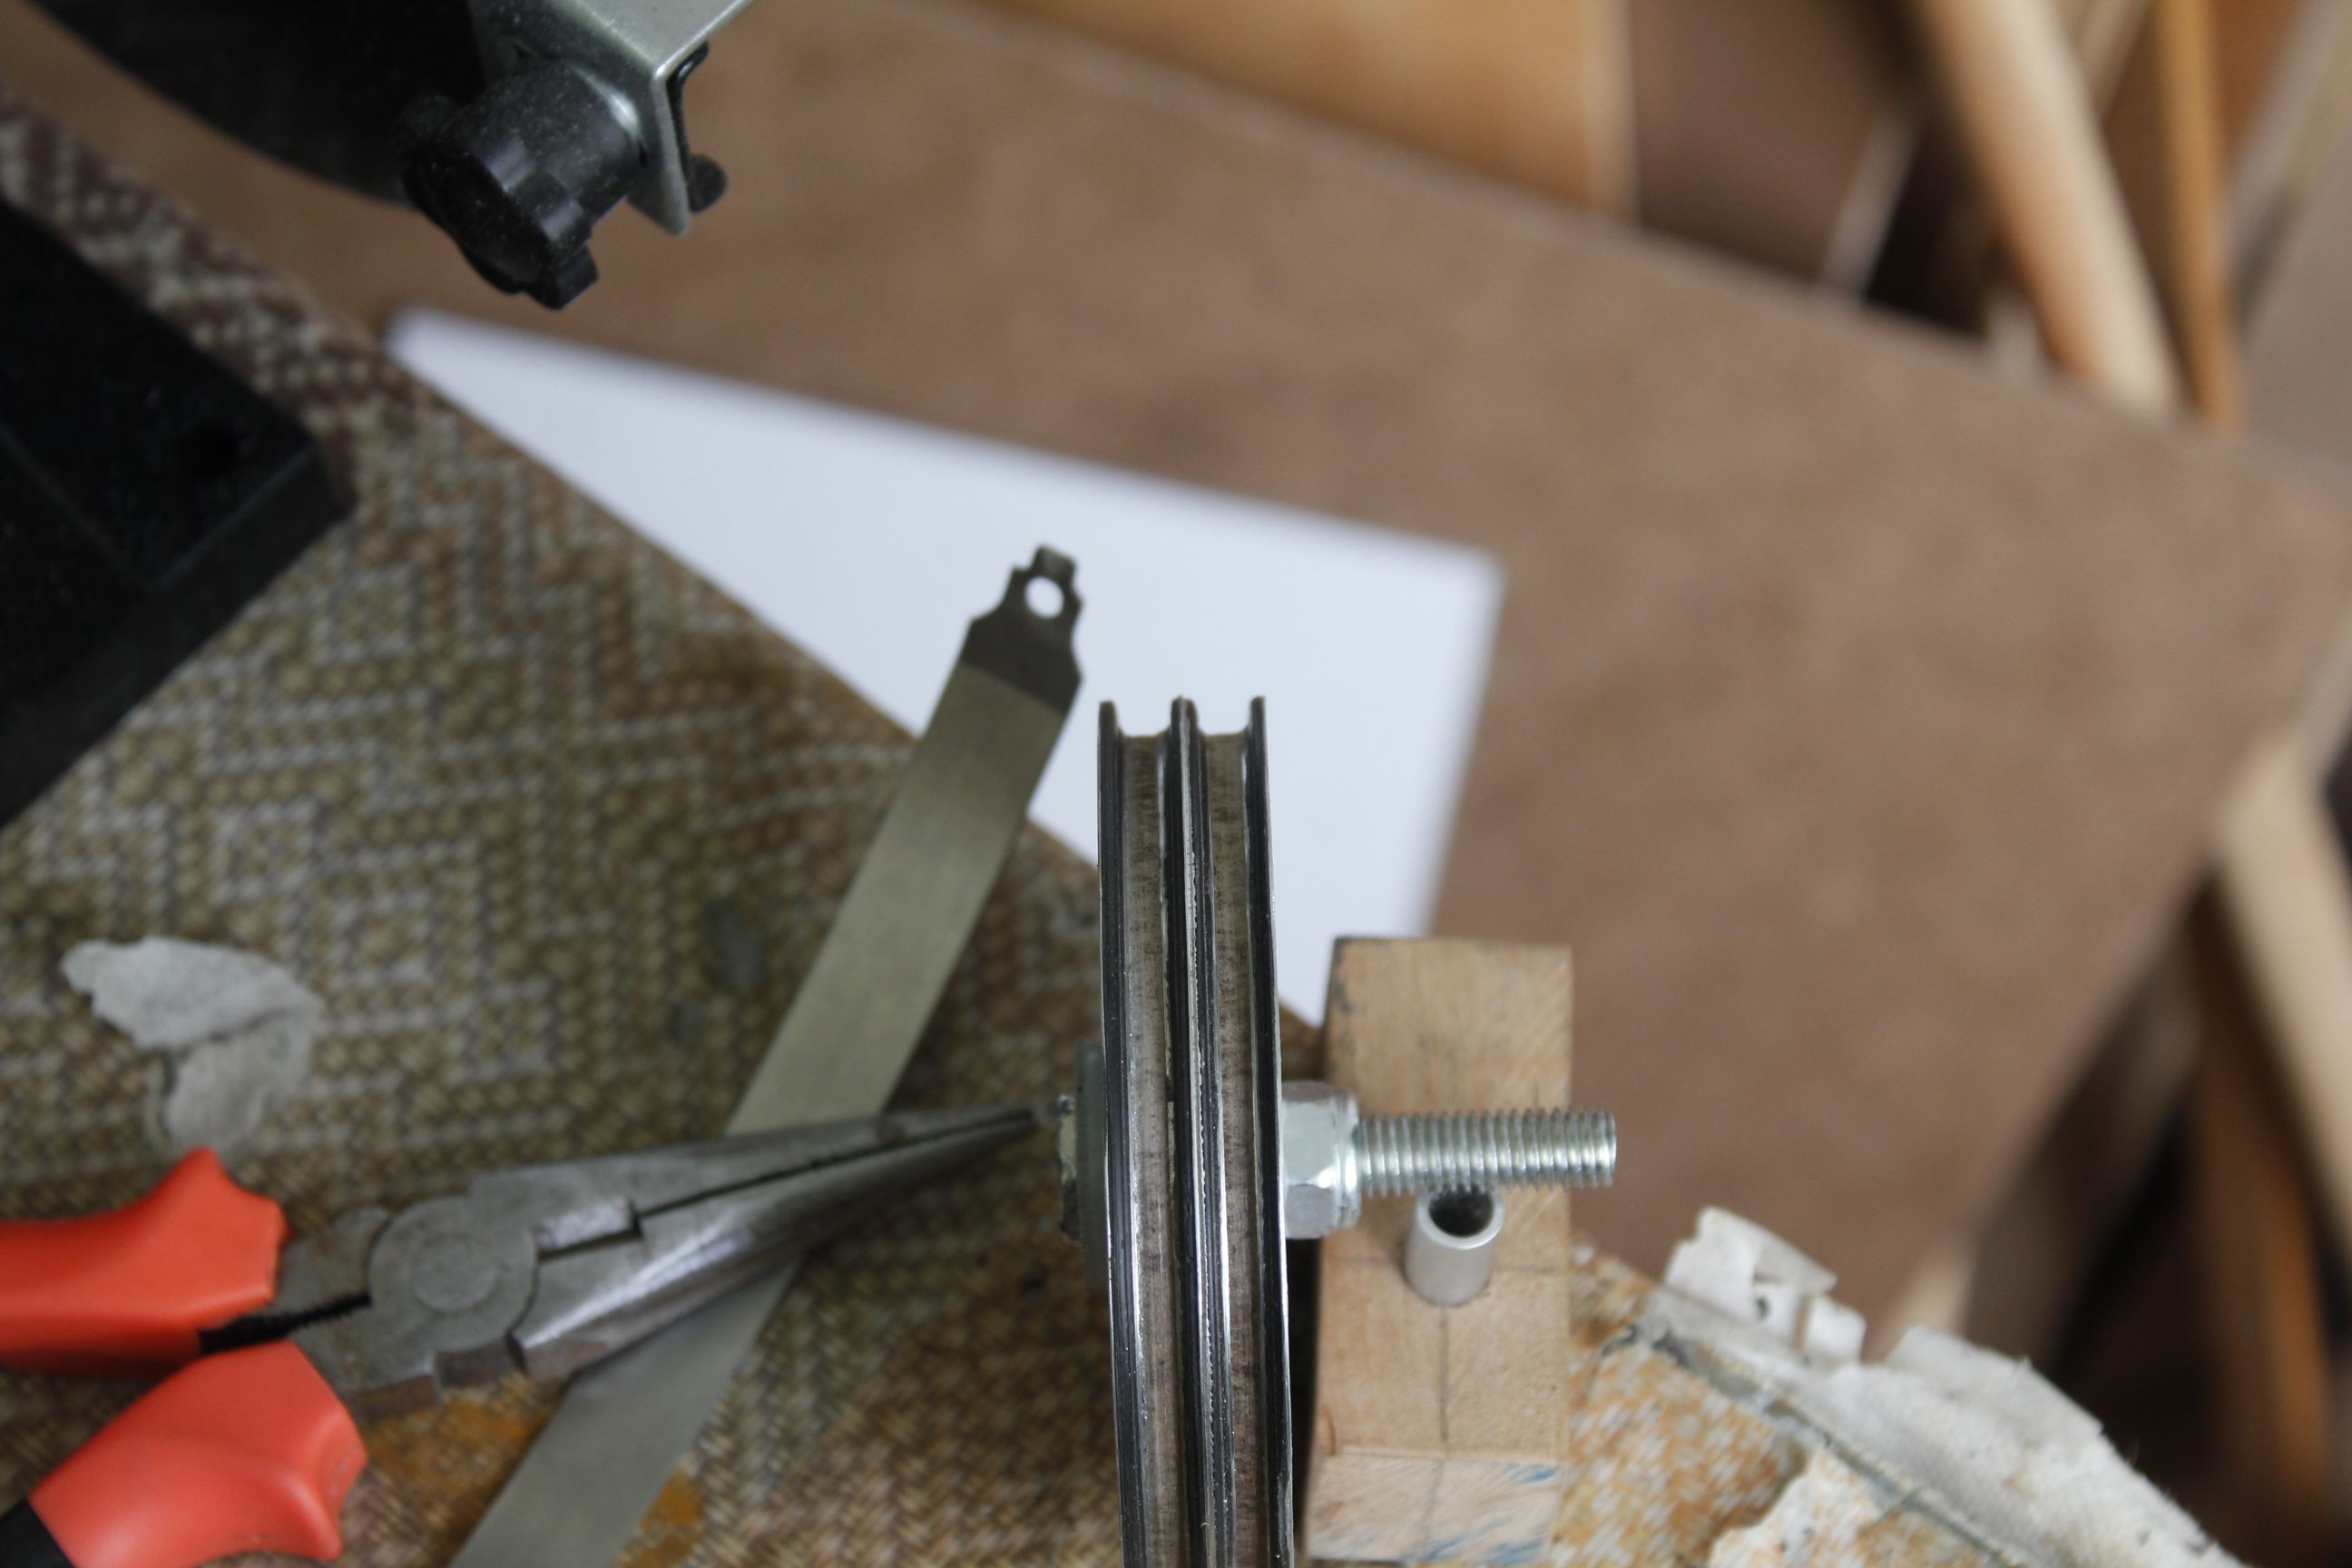
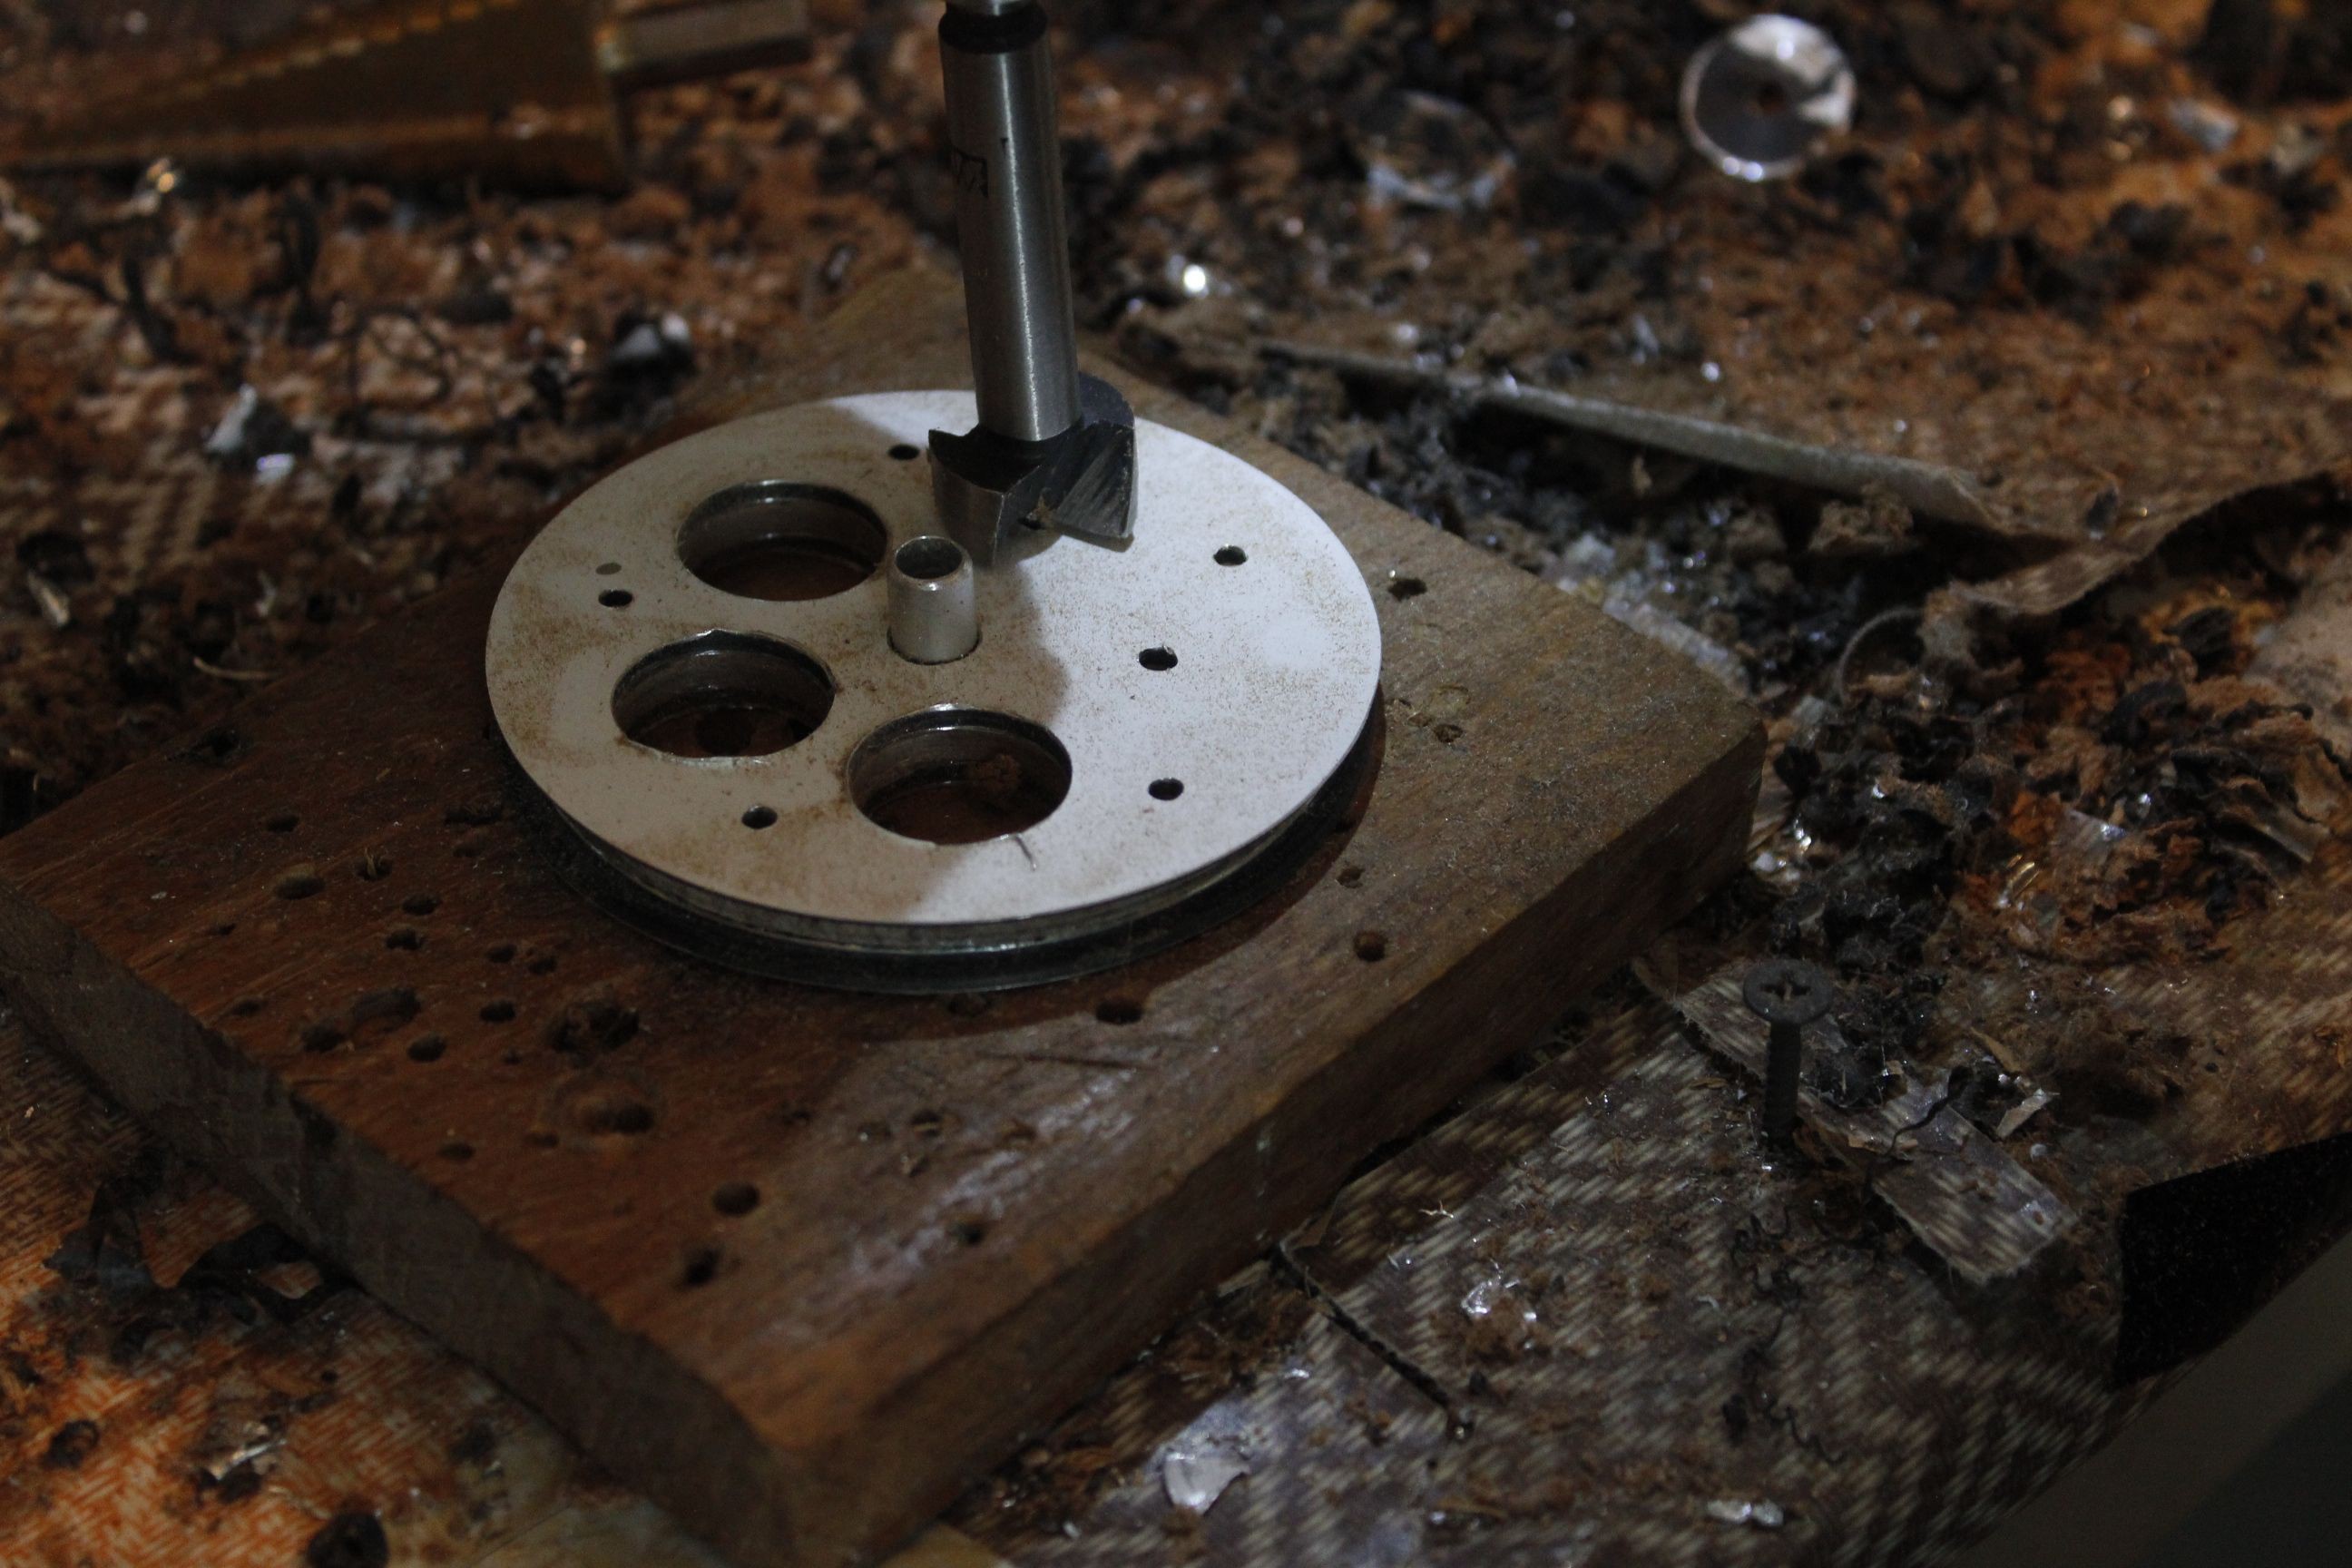
08/08/2019 at 23:53 • 0 commentsFabrication started with the cams, specifically the circular, bowstring ones. Each is constructed from a disc of 4 mm MDF sandwiched between two 2 mm Dibond type aluminium-plastic laminate sheet discs. These were cut with sheet metal scissors and ground using a small jig to ensure circularity. Space for the string tracks was first scraped using a wood screw and then filed to shape. Weight relief holes were drilled, then pop rivets and contact adhesive were used for final assembly.
Next the central spiral cam was cut from a piece of hardwood, then drilled and cut using a combination of sawing, bench grinding and hand filing. The cams are then connected through three long screws, after the cable is secured and some paint is applied.
AFD Nightstalker
21st century vampire hunting weapon: repeating electromagnetoelastic compound crossbow with night vision
 FiveseveN