 Gary Peng
-
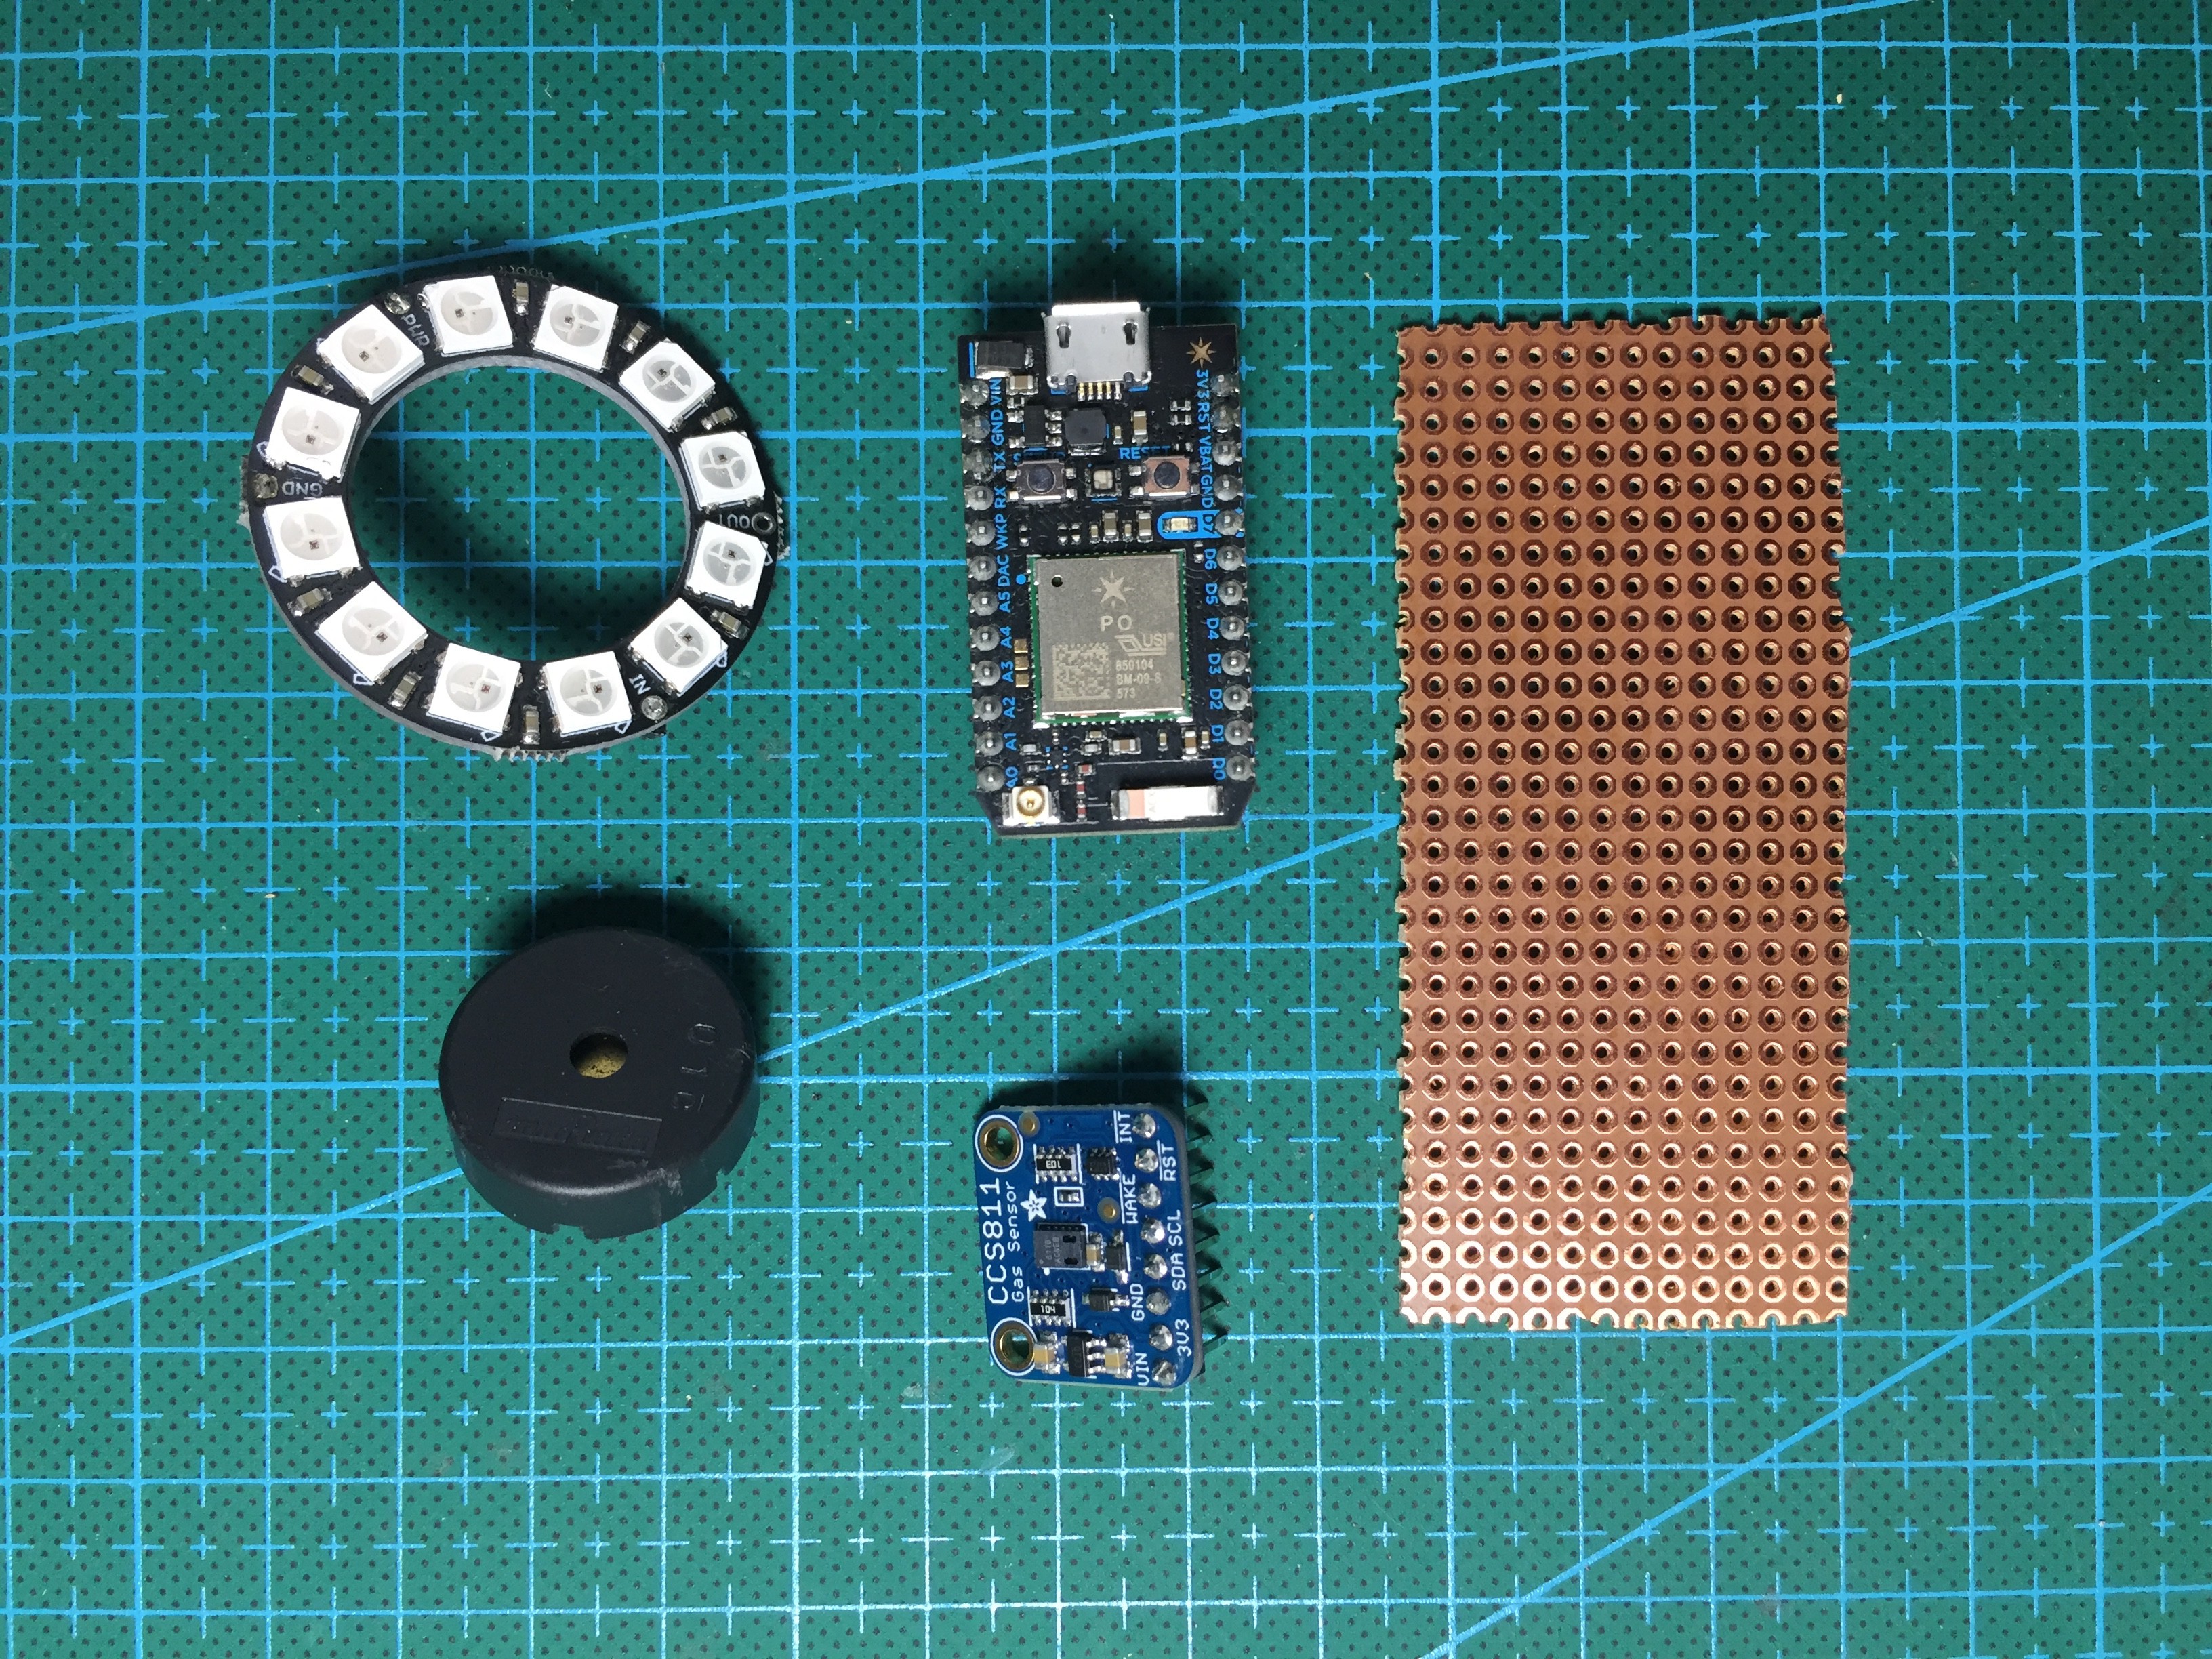
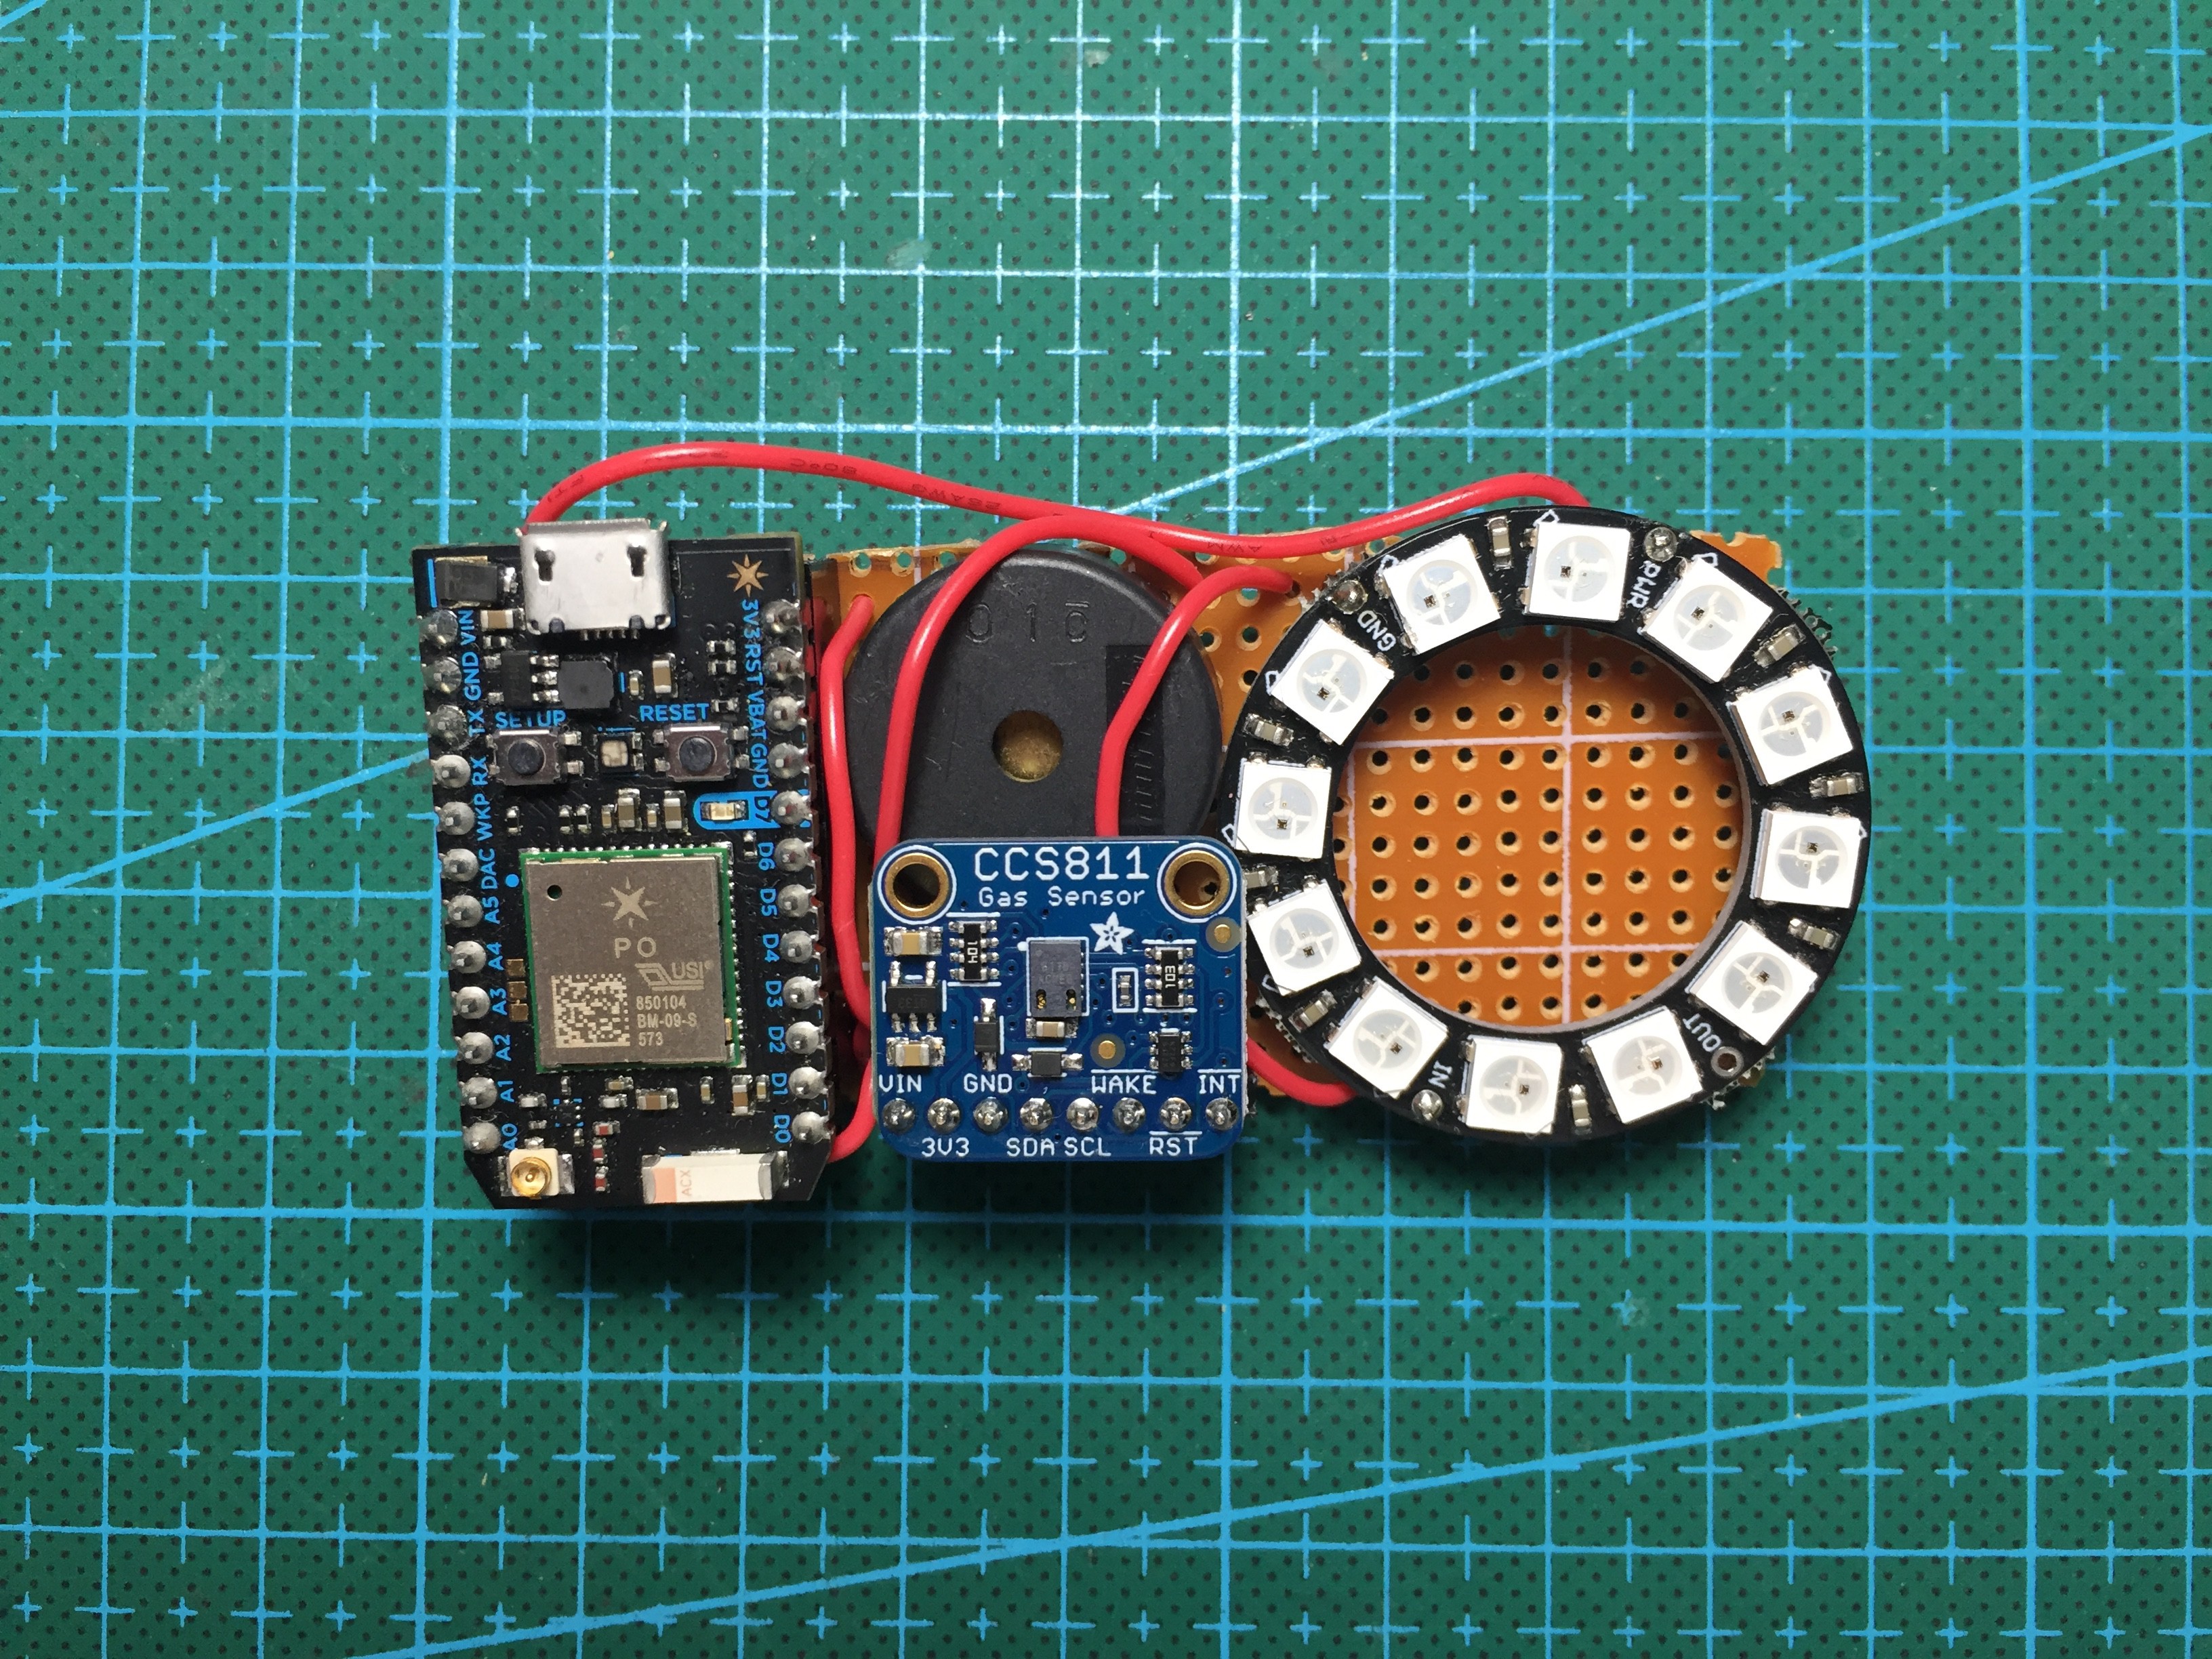
1Main Components

-
2Prepare the Components
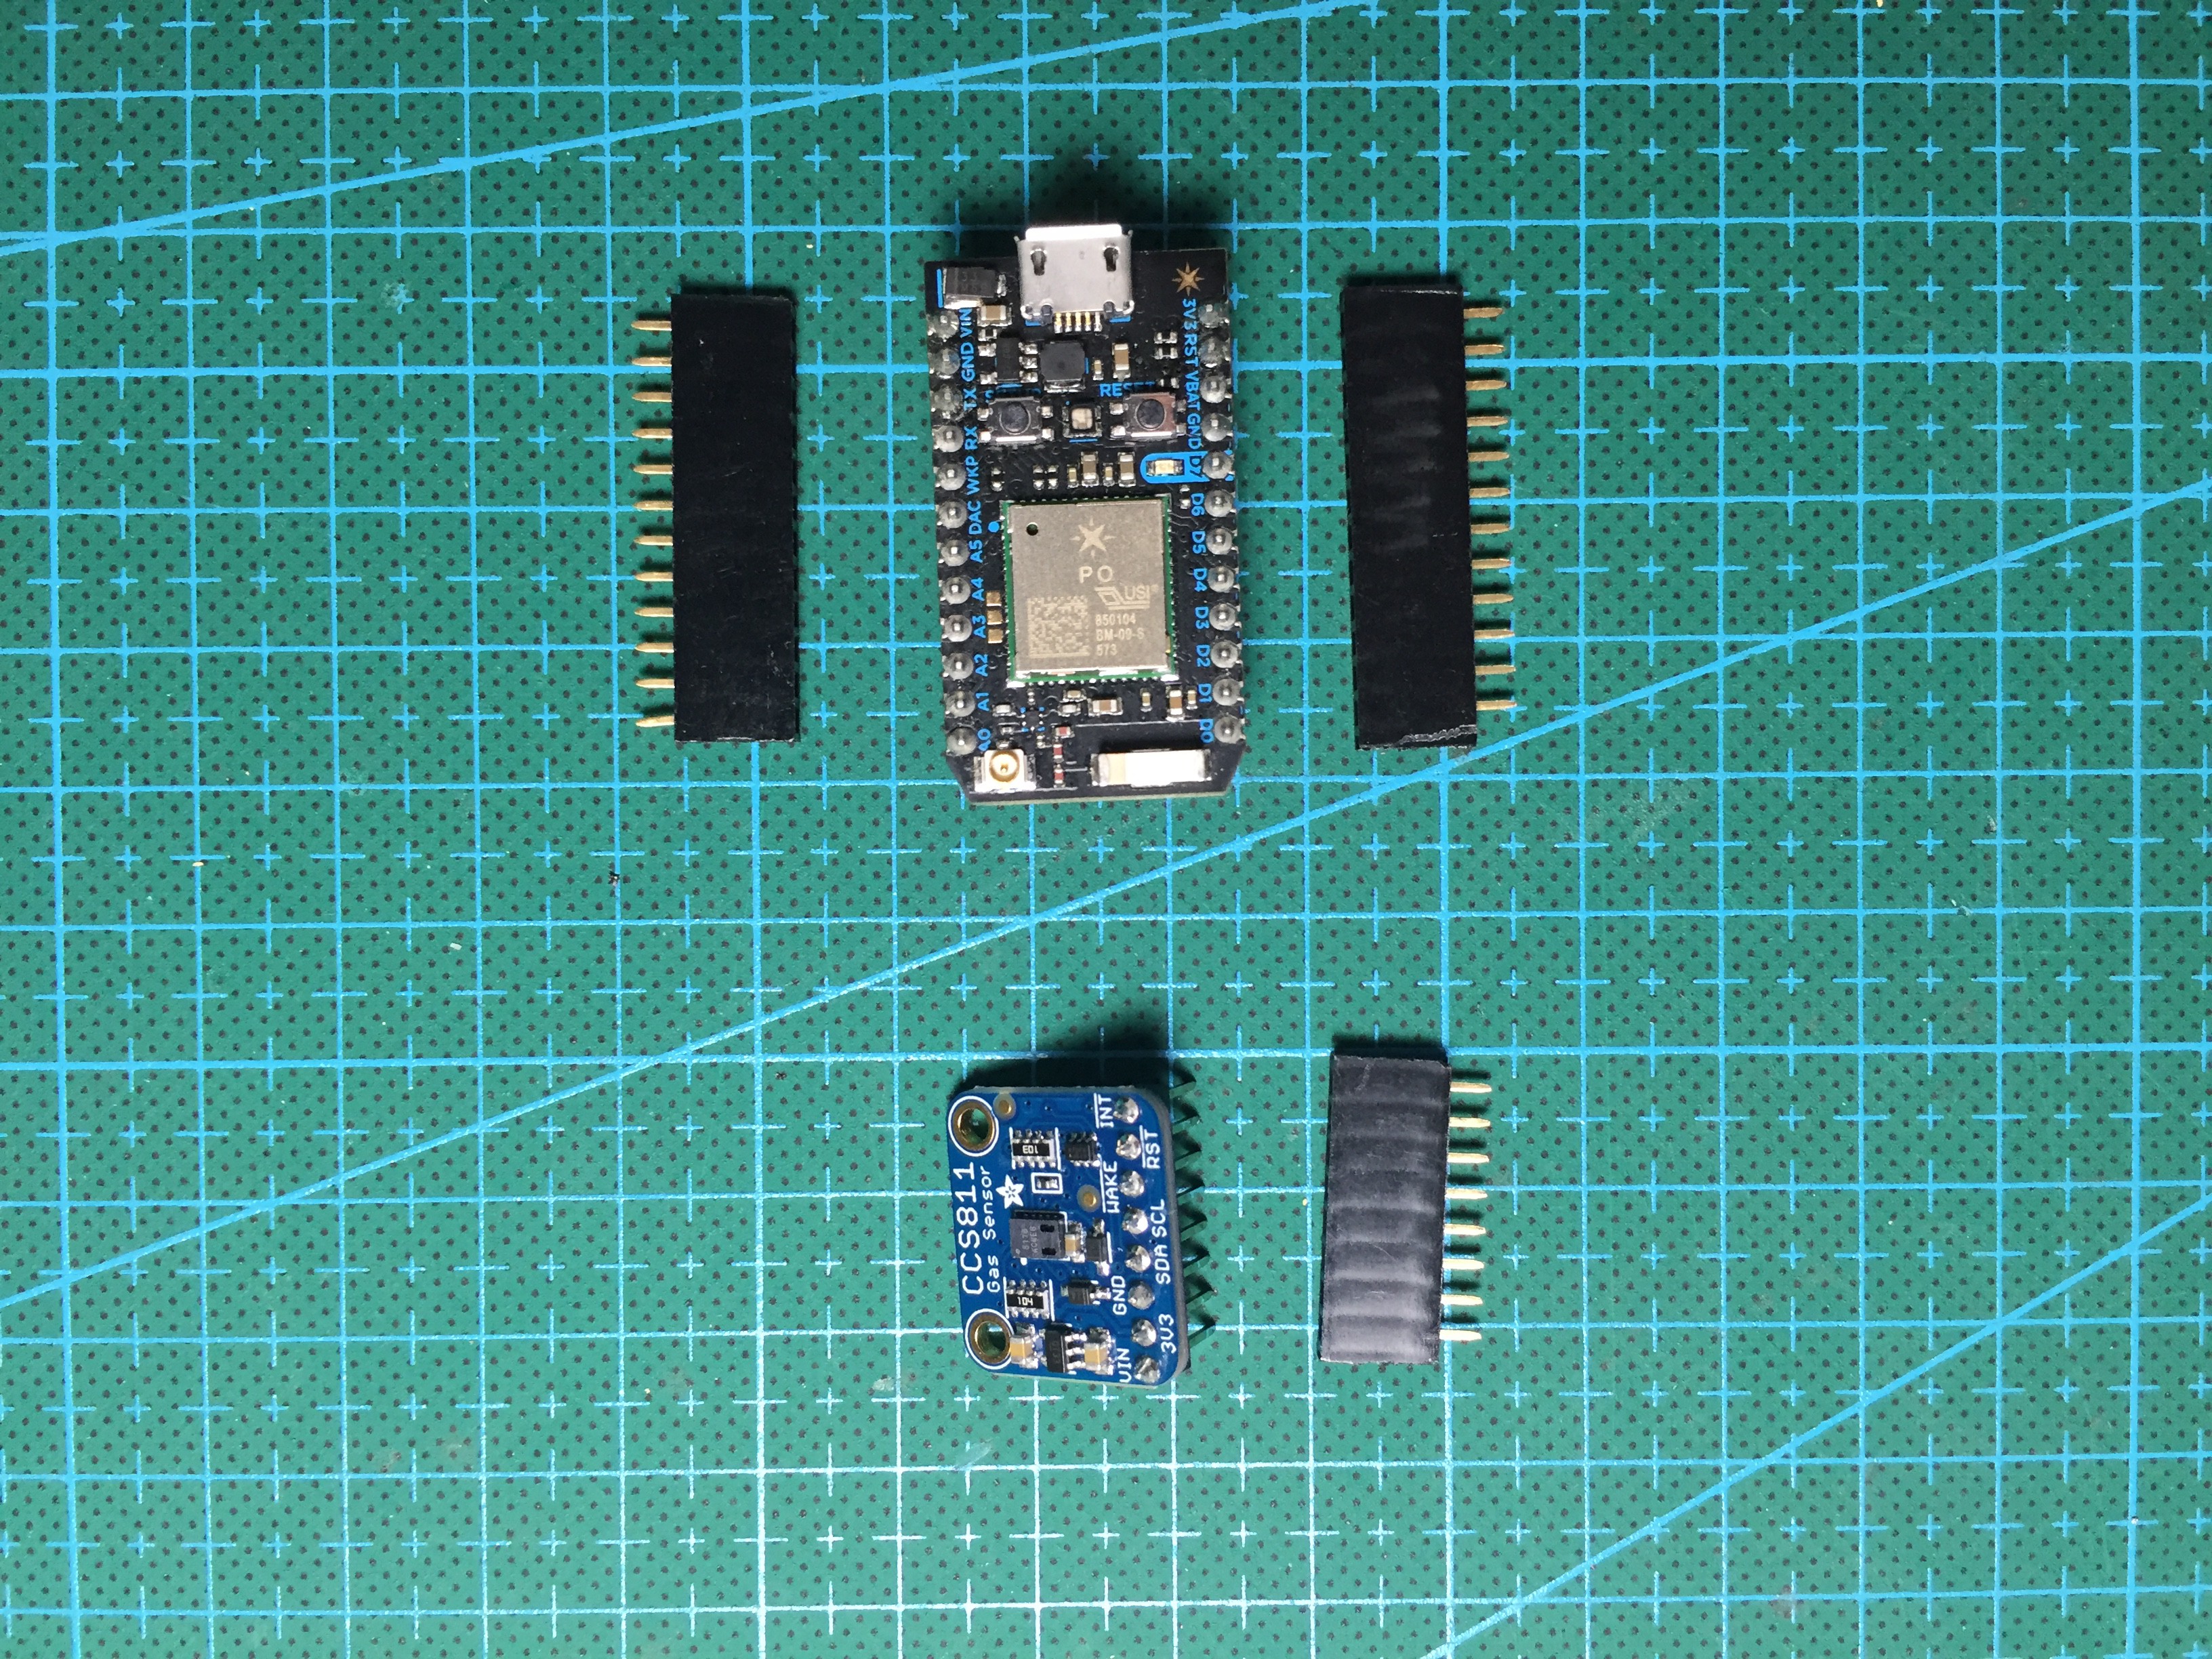
Cut out three male headers and solder them onto the GND, PWR, and IN pin.
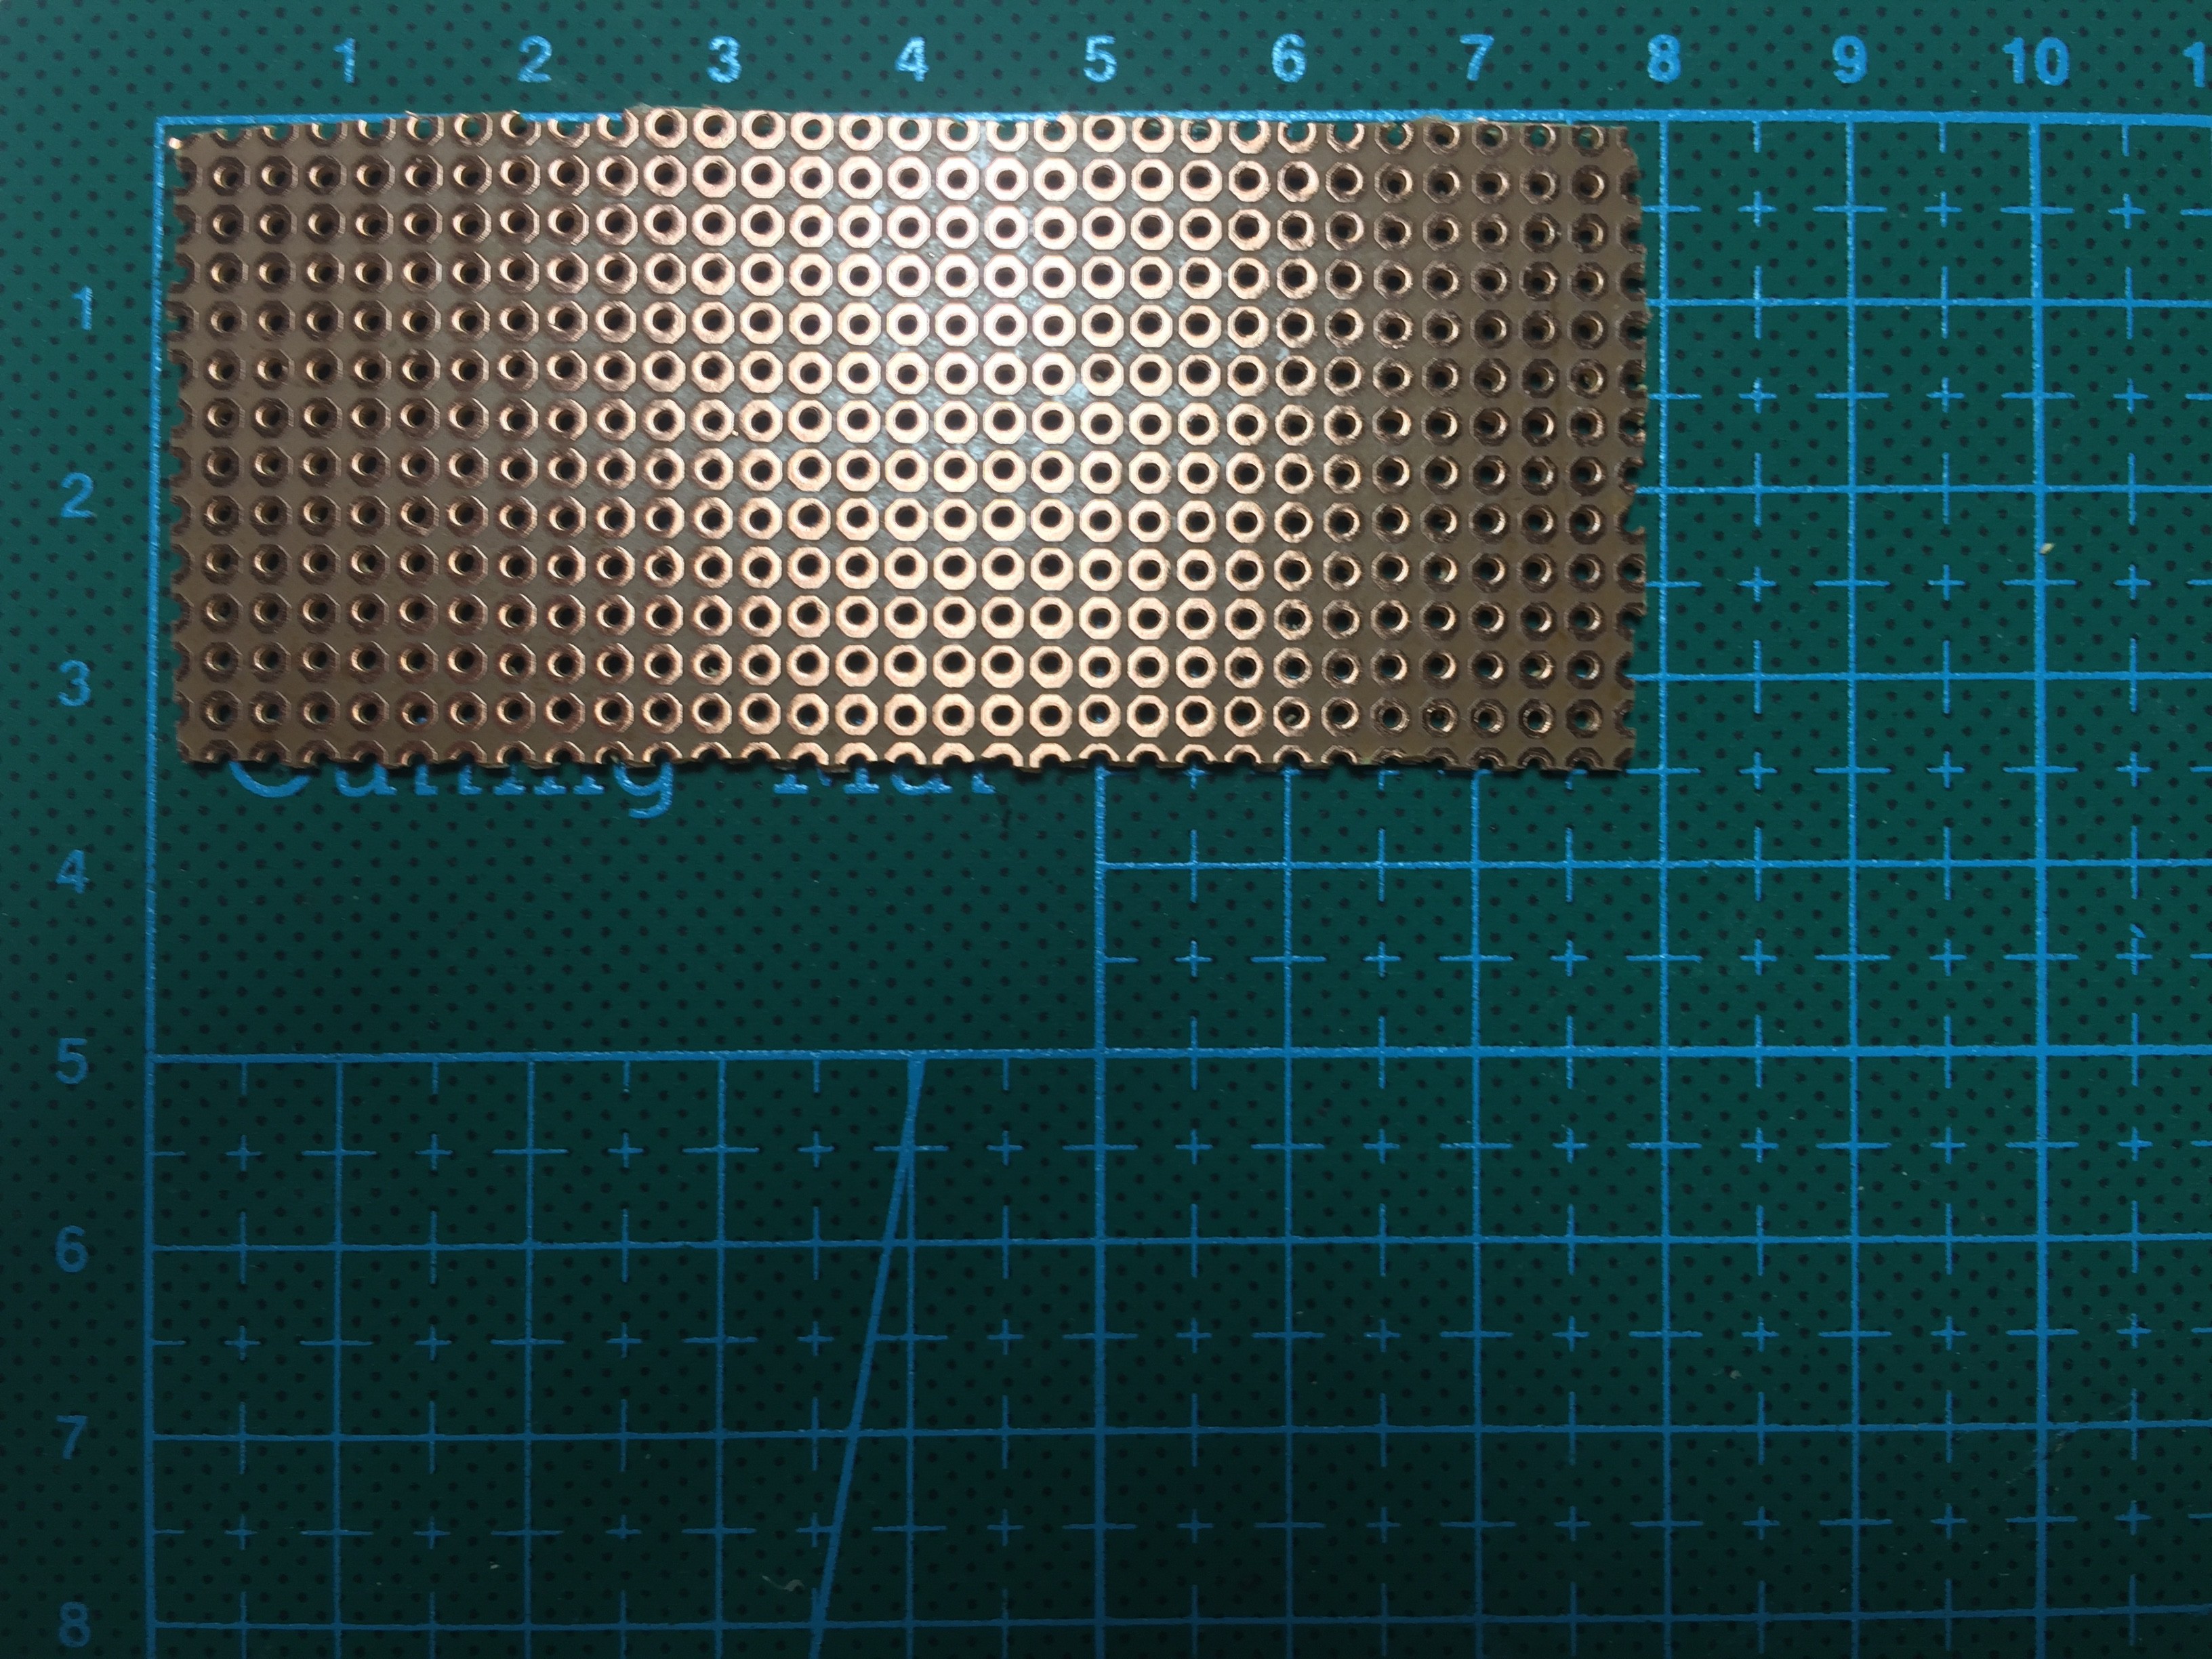
Trim the perf board to roughly 80mm x 35mm. I find it easier and cleaner to do this with a diagonal cutter instead of a saw.
Trim three female header pins to match the male header of the Particle Photon and CCS811.
-
3Wiring
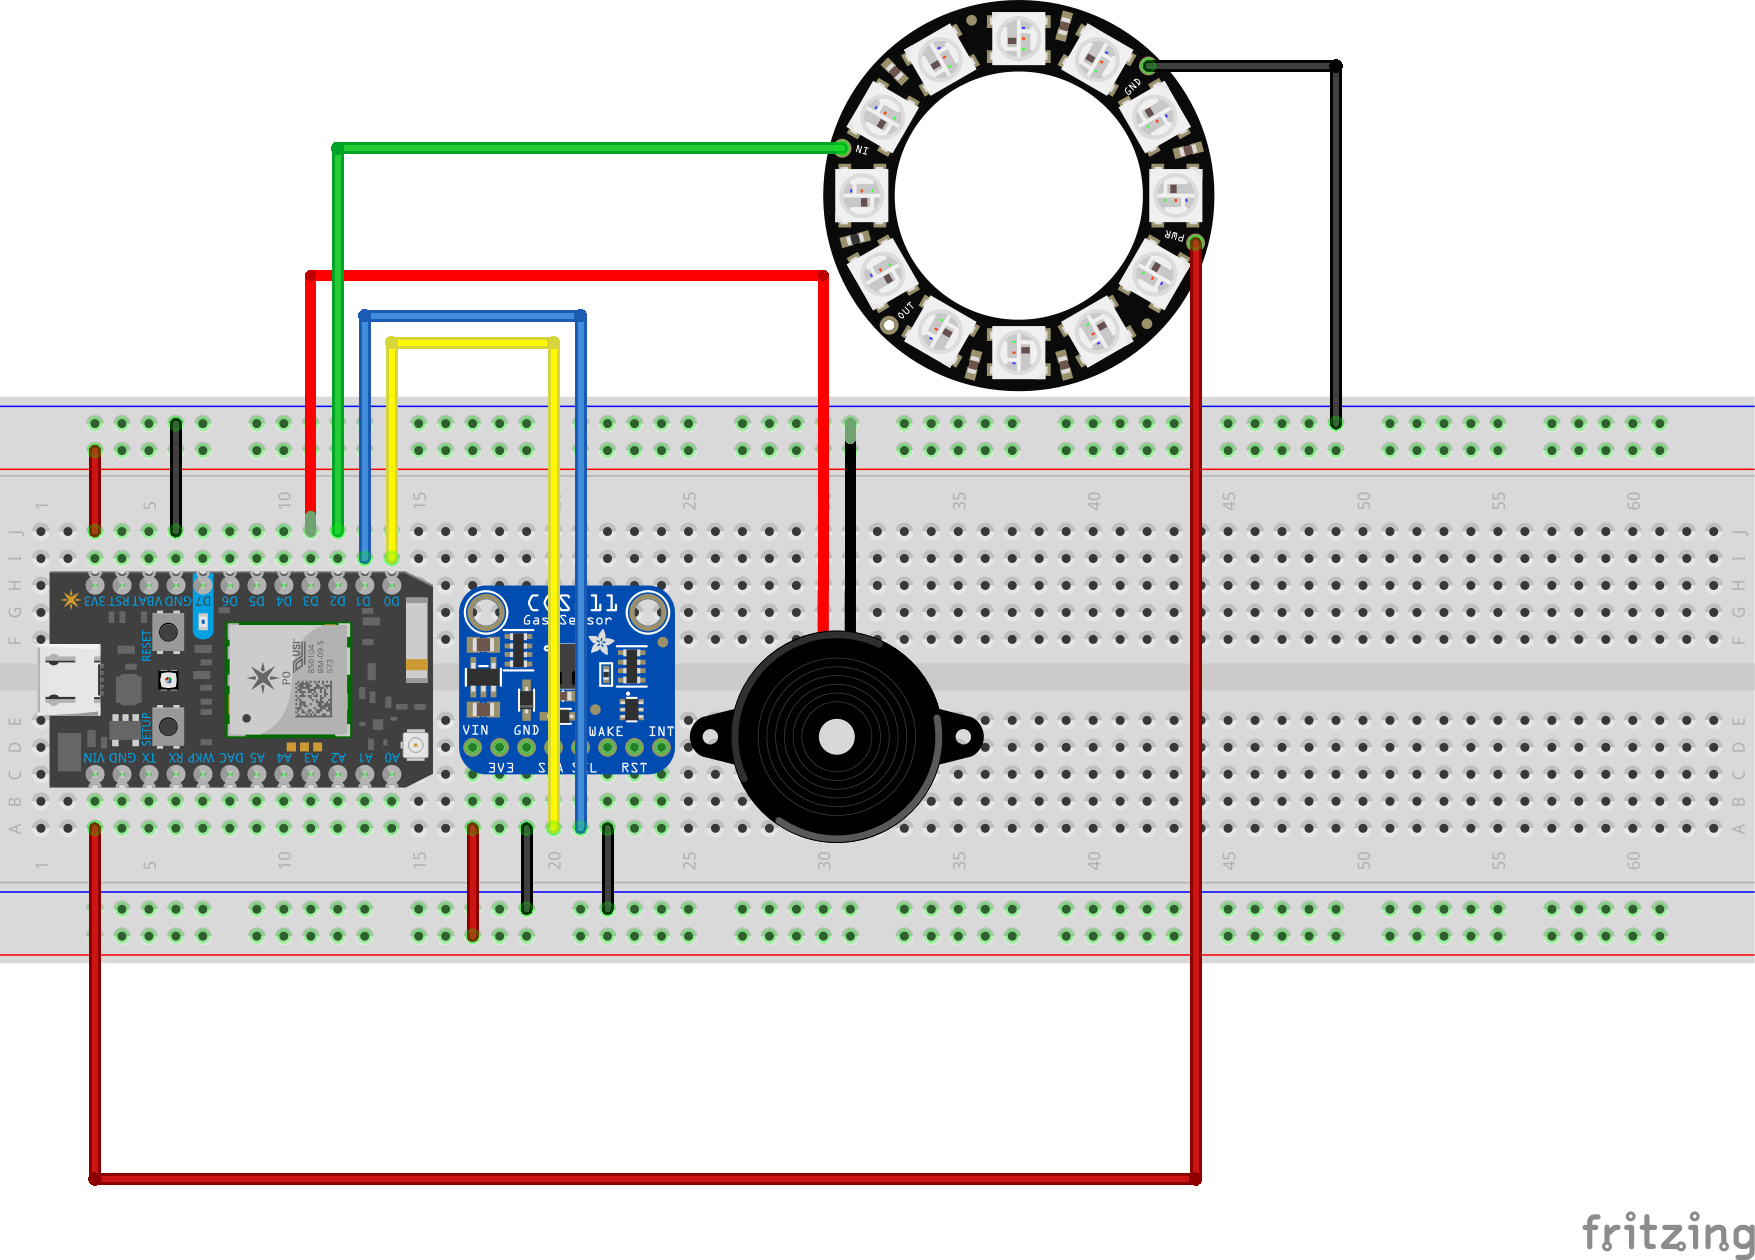
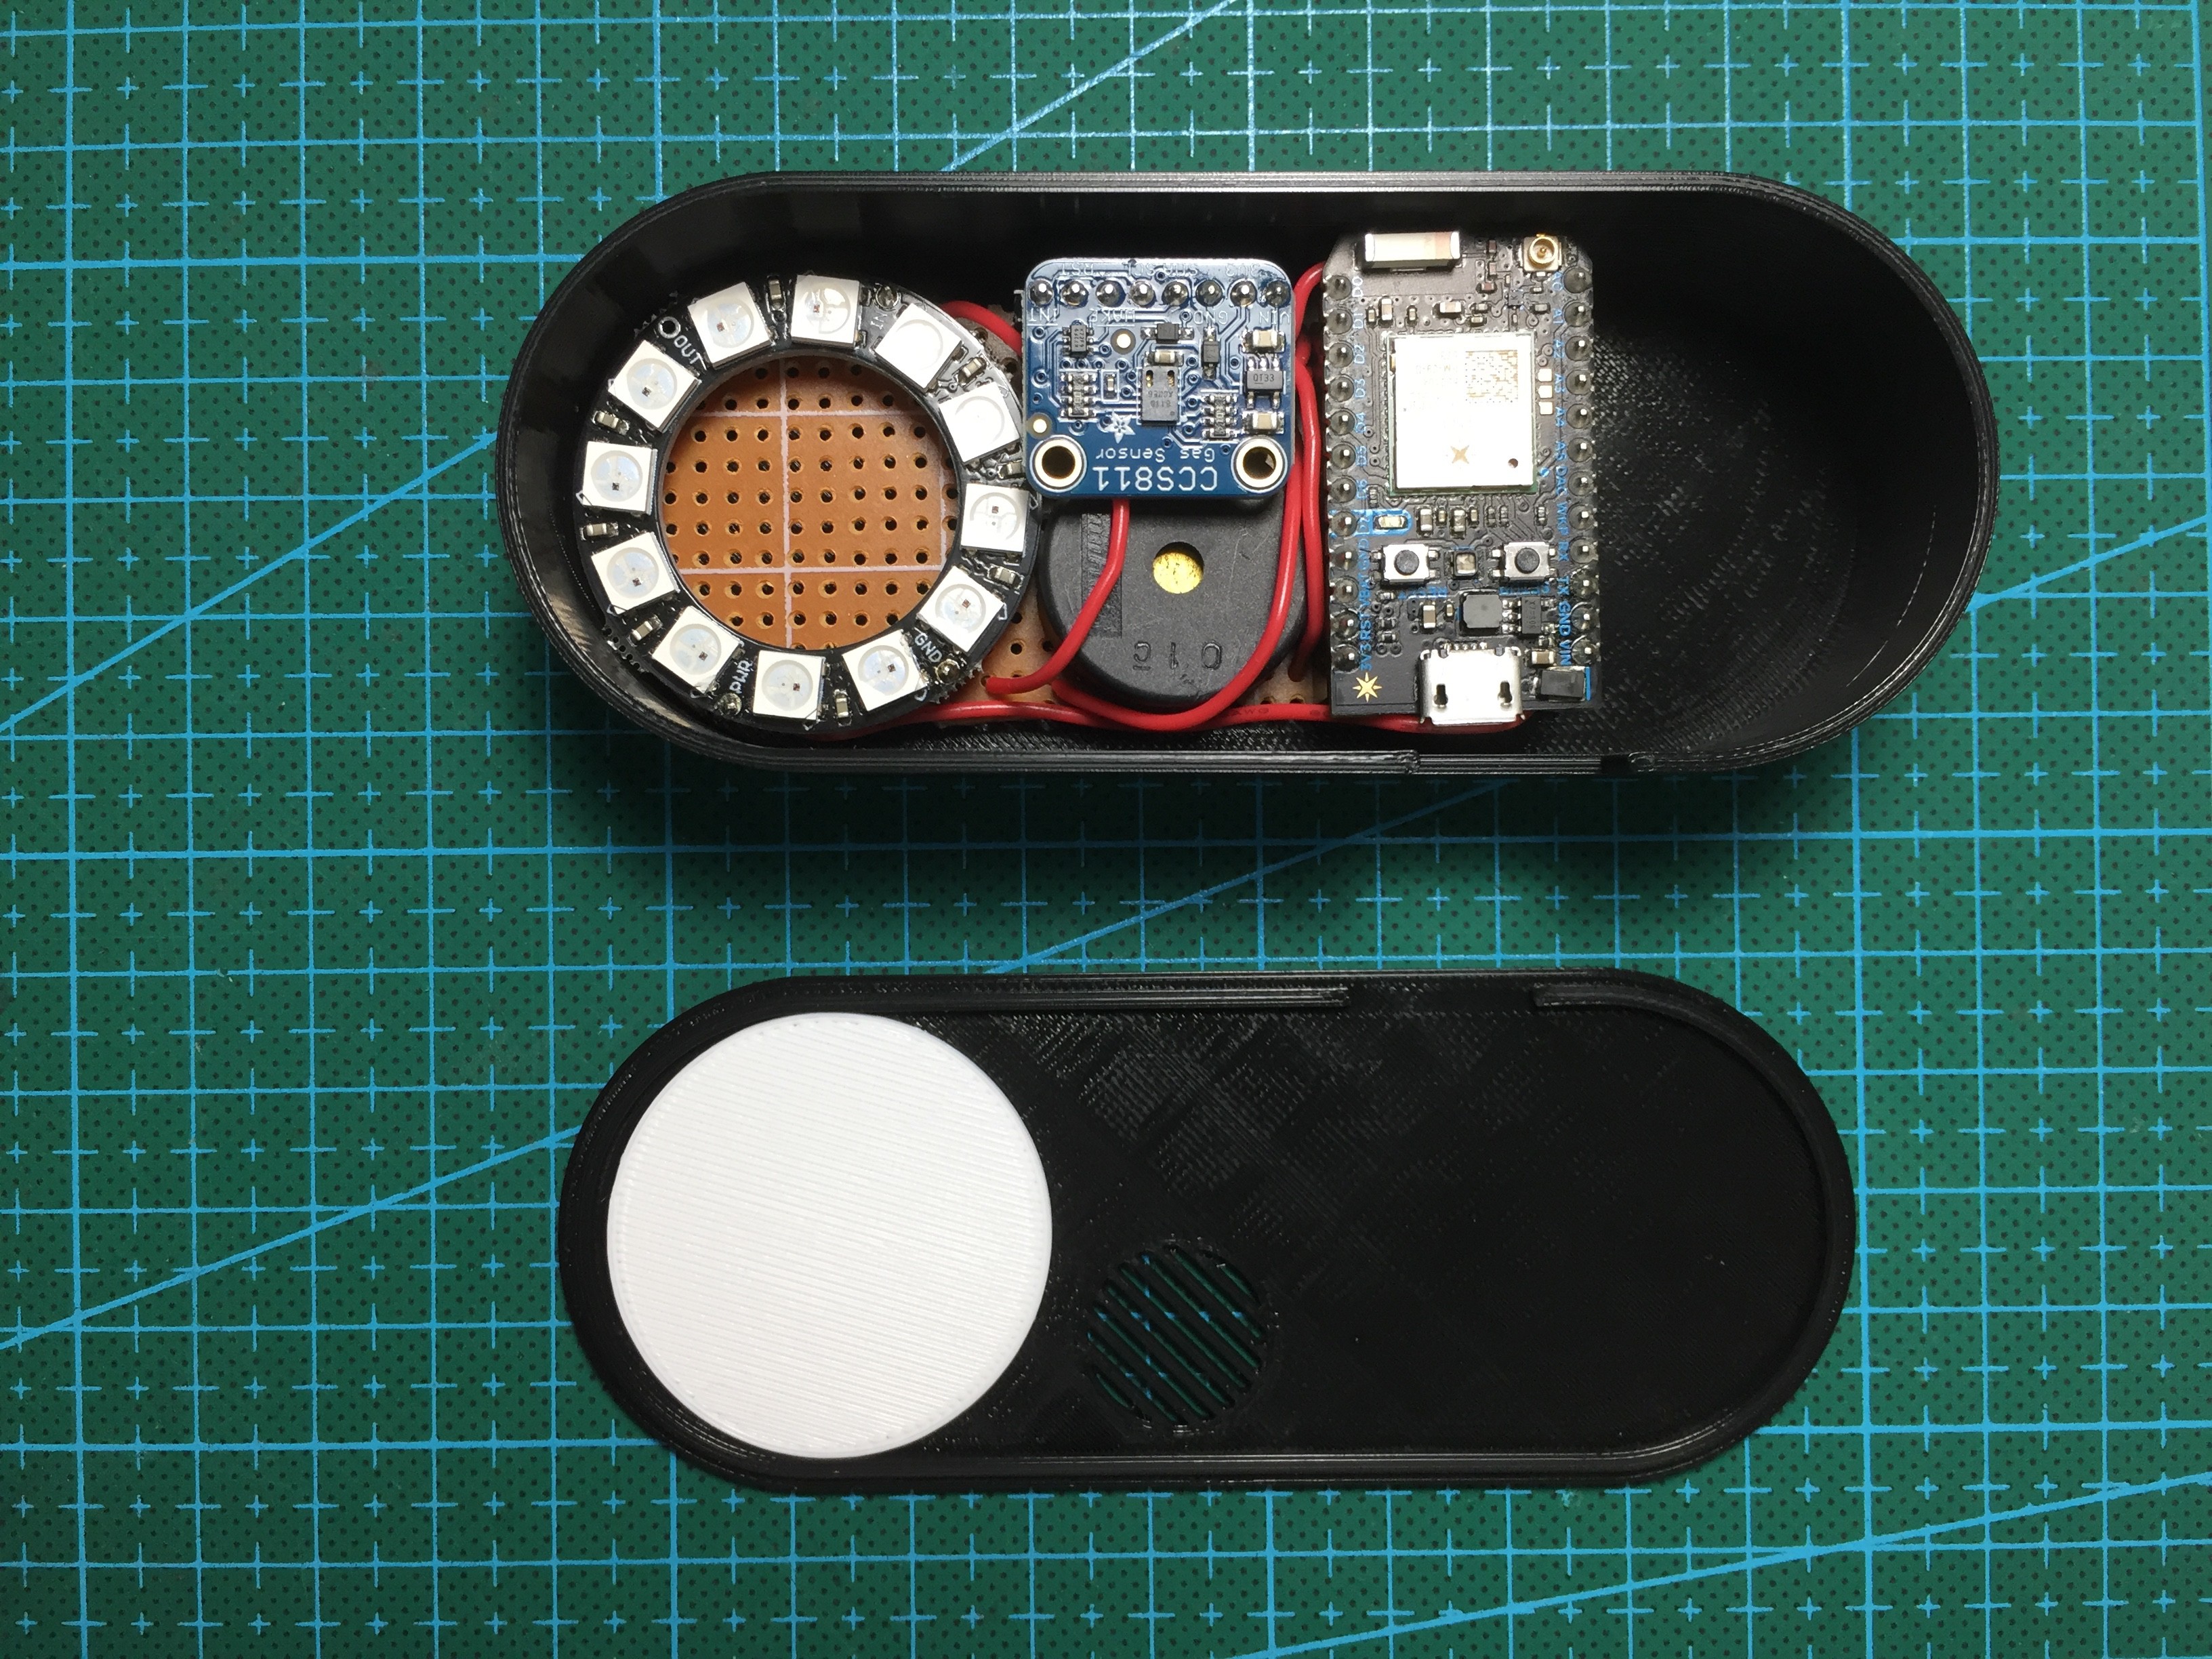
Place the components as shown. Note that the piezo buzzer should be underneath the CCS811.
Wire and solder according to the schematic.
-
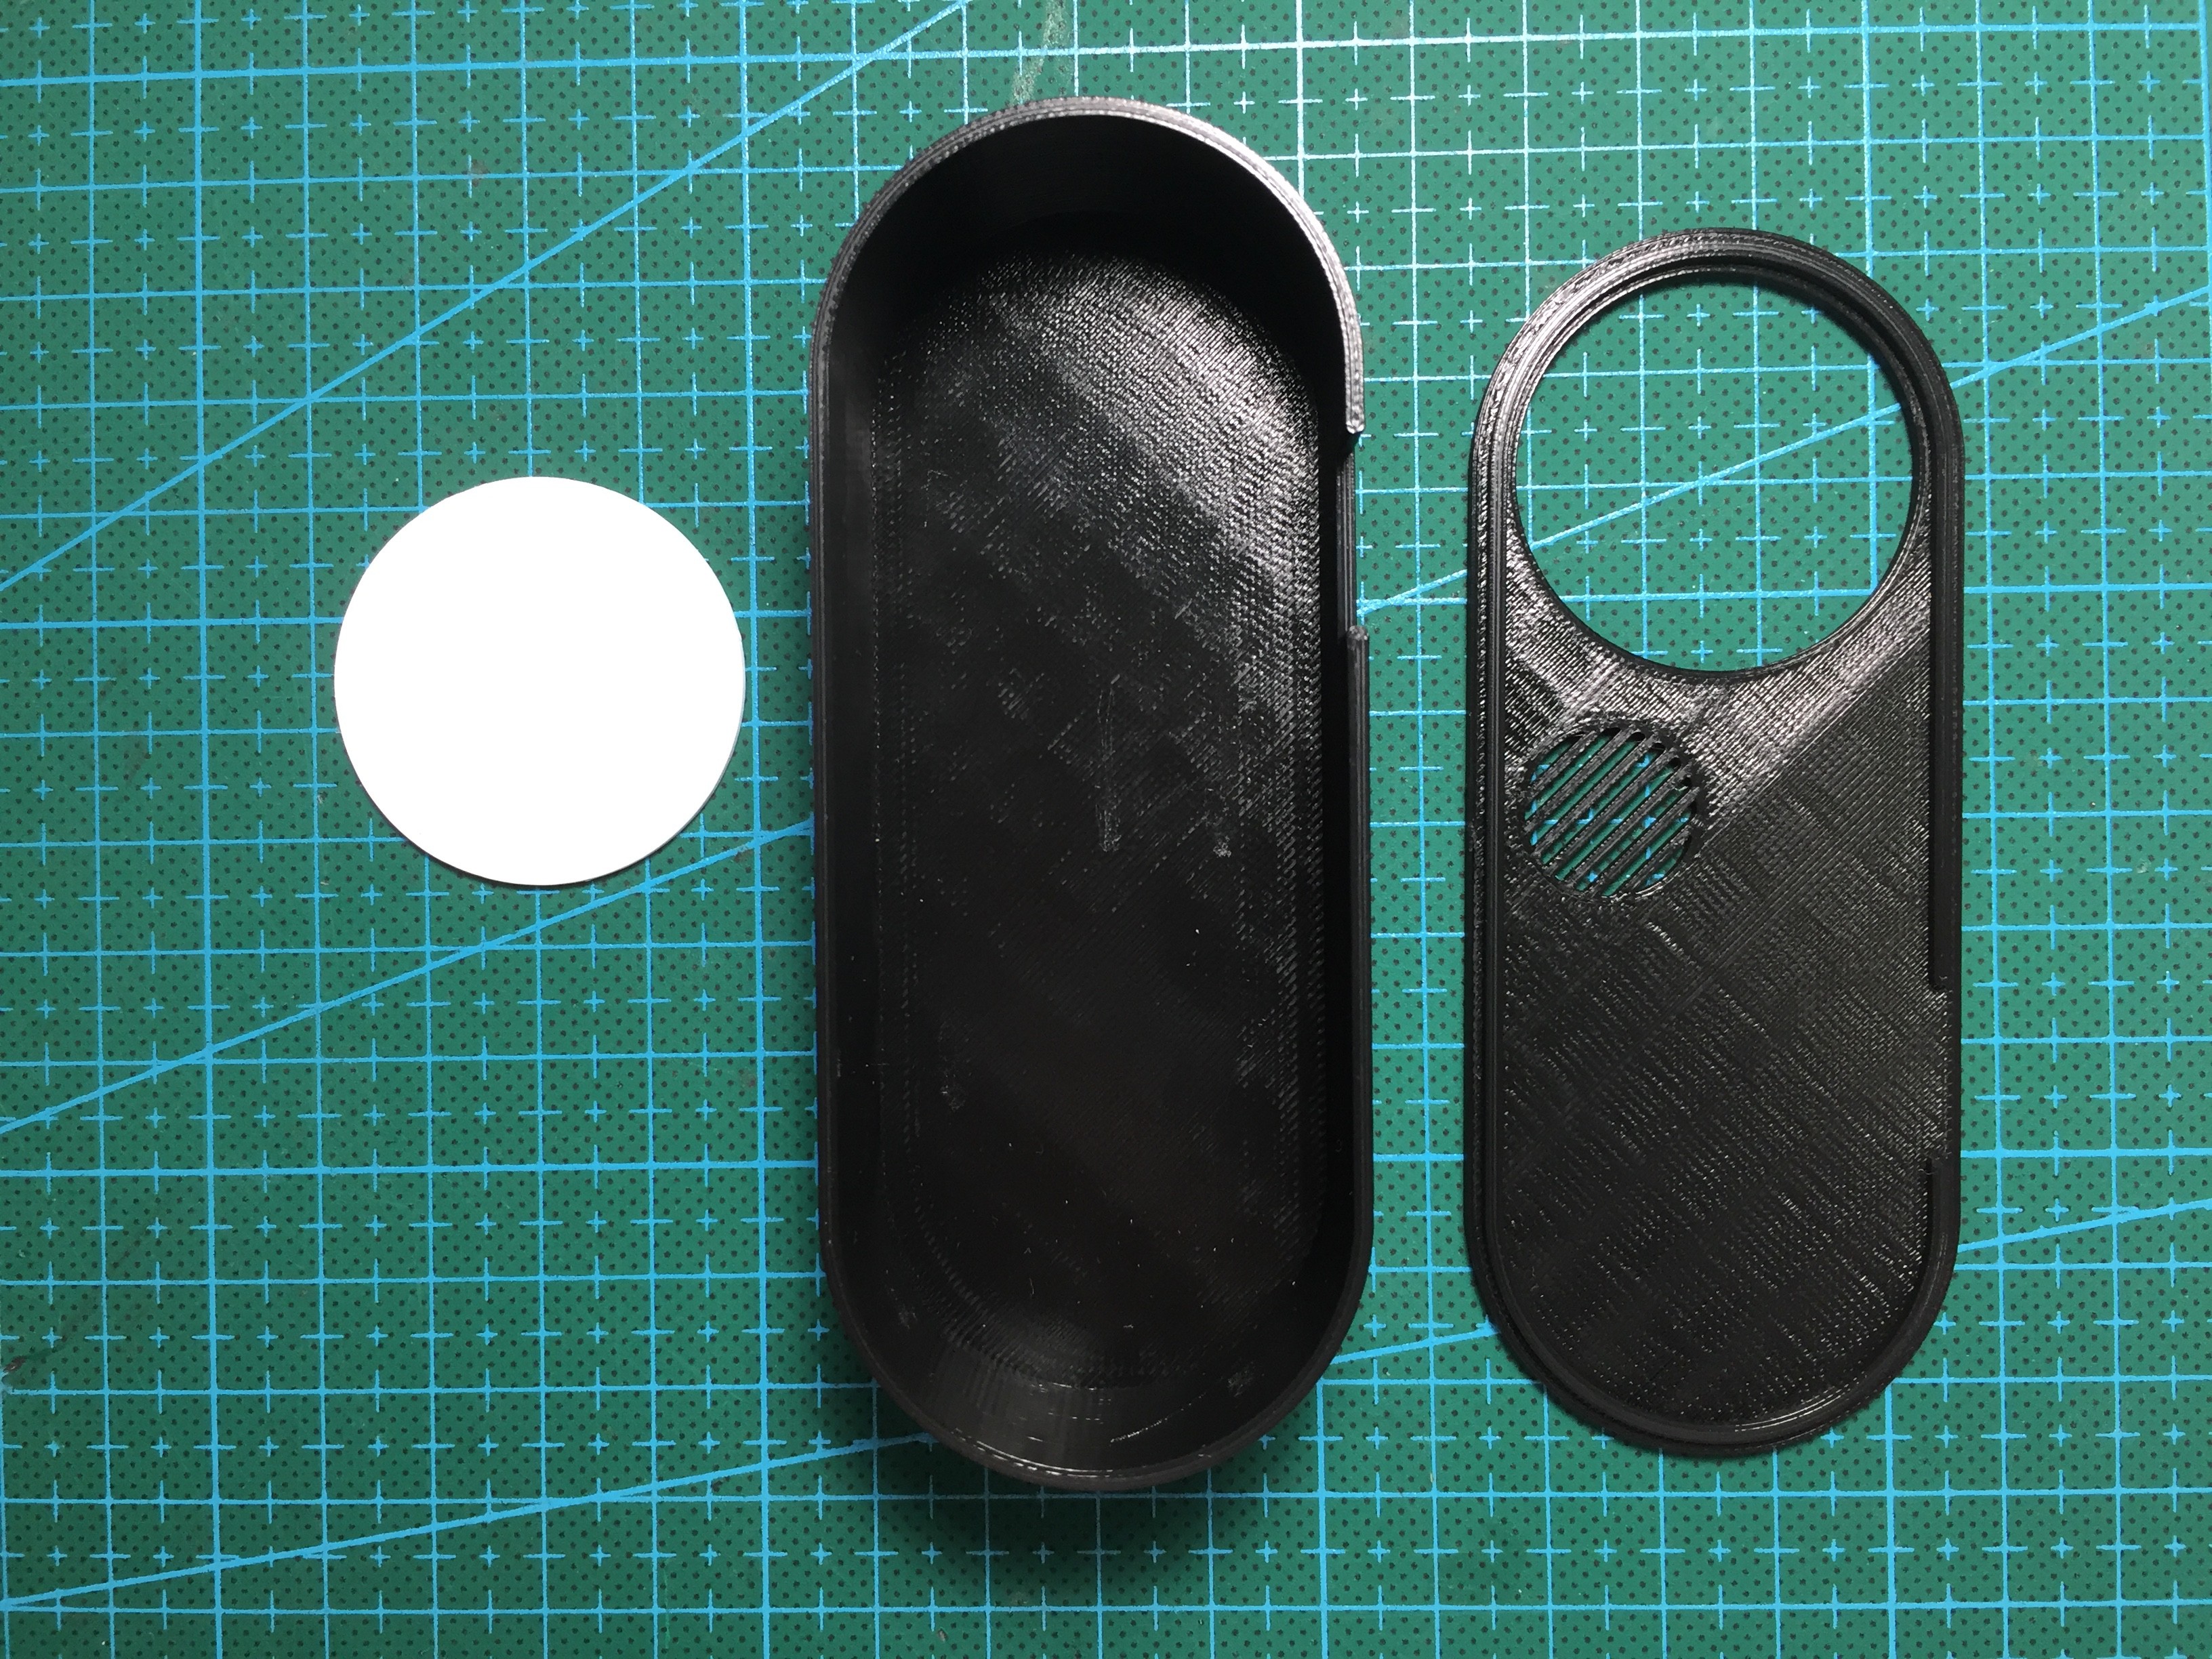
4Enclosure
3D printer the enclosure and the diffuser with the following settings (Files on Github):
Enclosure - Black PLA, 20% infill, 0.2mm layer height.
Diffuser - White PLA, 100% infill, 0.2mm layer height.
The whole print should take around 2 hours.
Secure the enclosure to the bottom of the enclosure with hot glue. Place the diffuser on the inside of the top cover cutout. The friction should hold it in place, but if it's a bit lose, use clear tape to secure it.
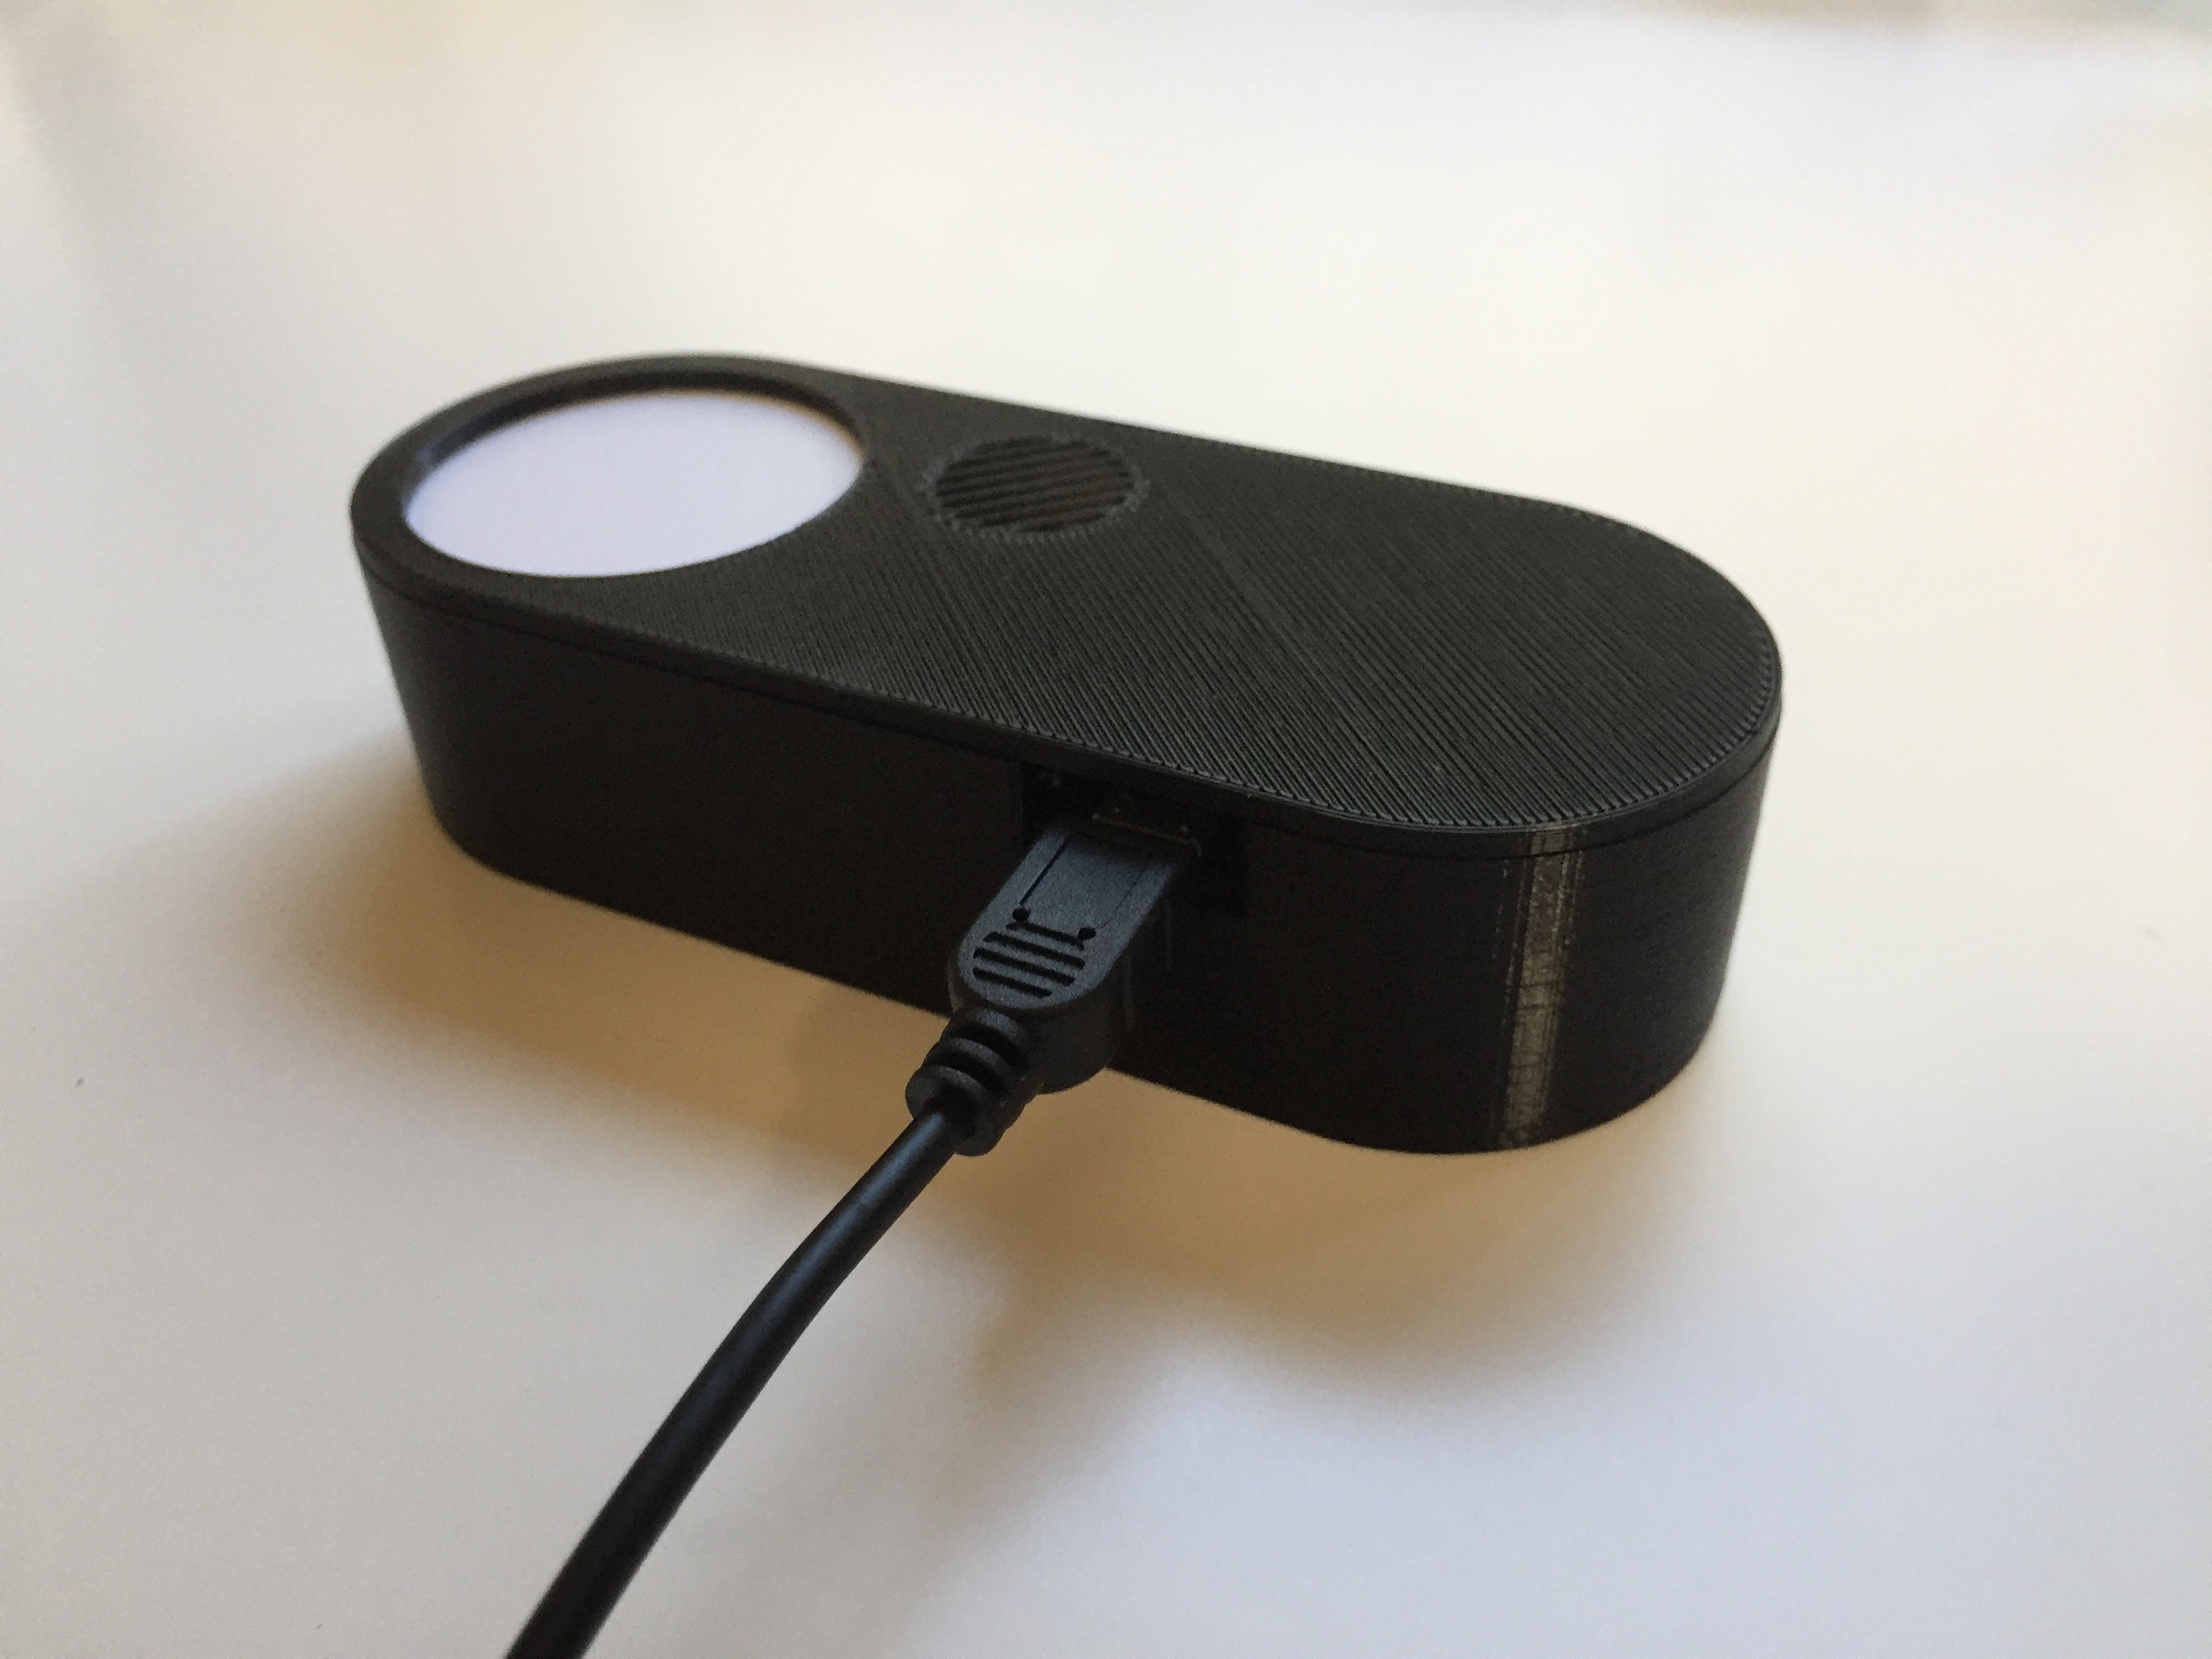
Pop on the top cover and connect the USB cord, you are now ready for coding.
-
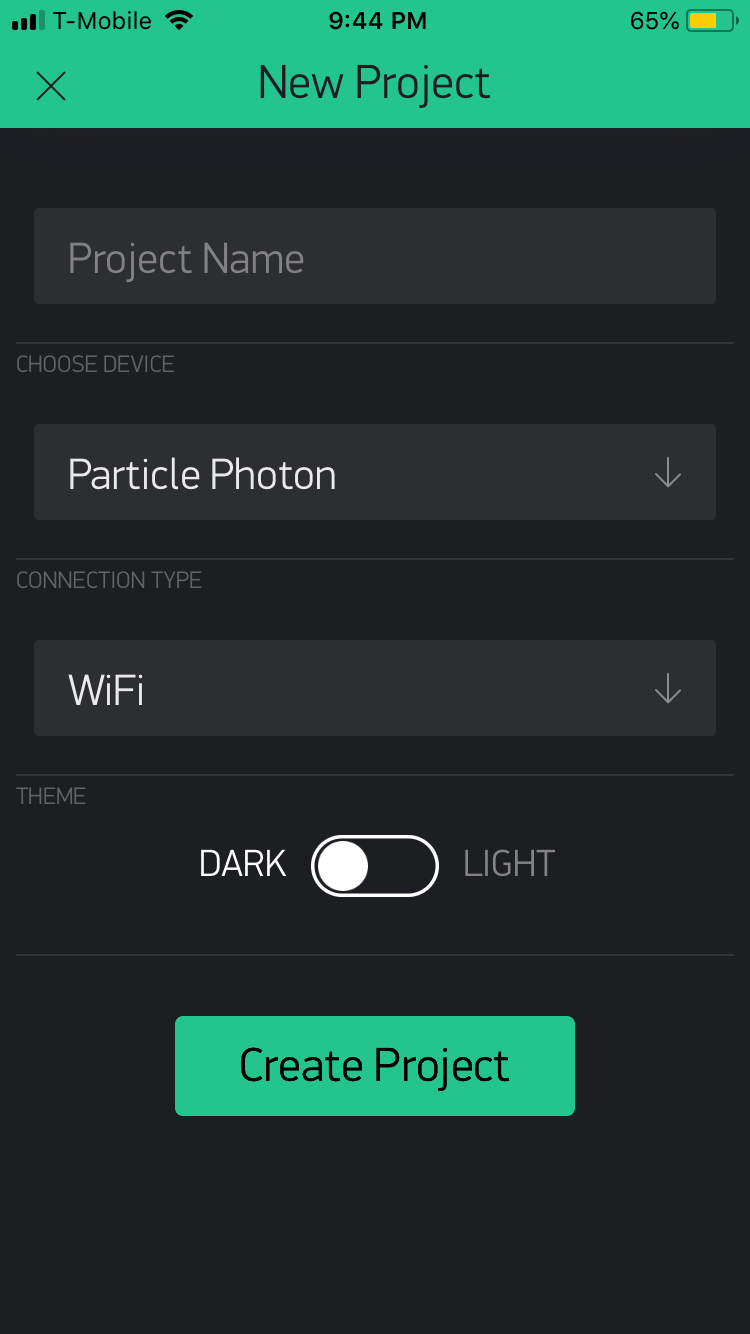
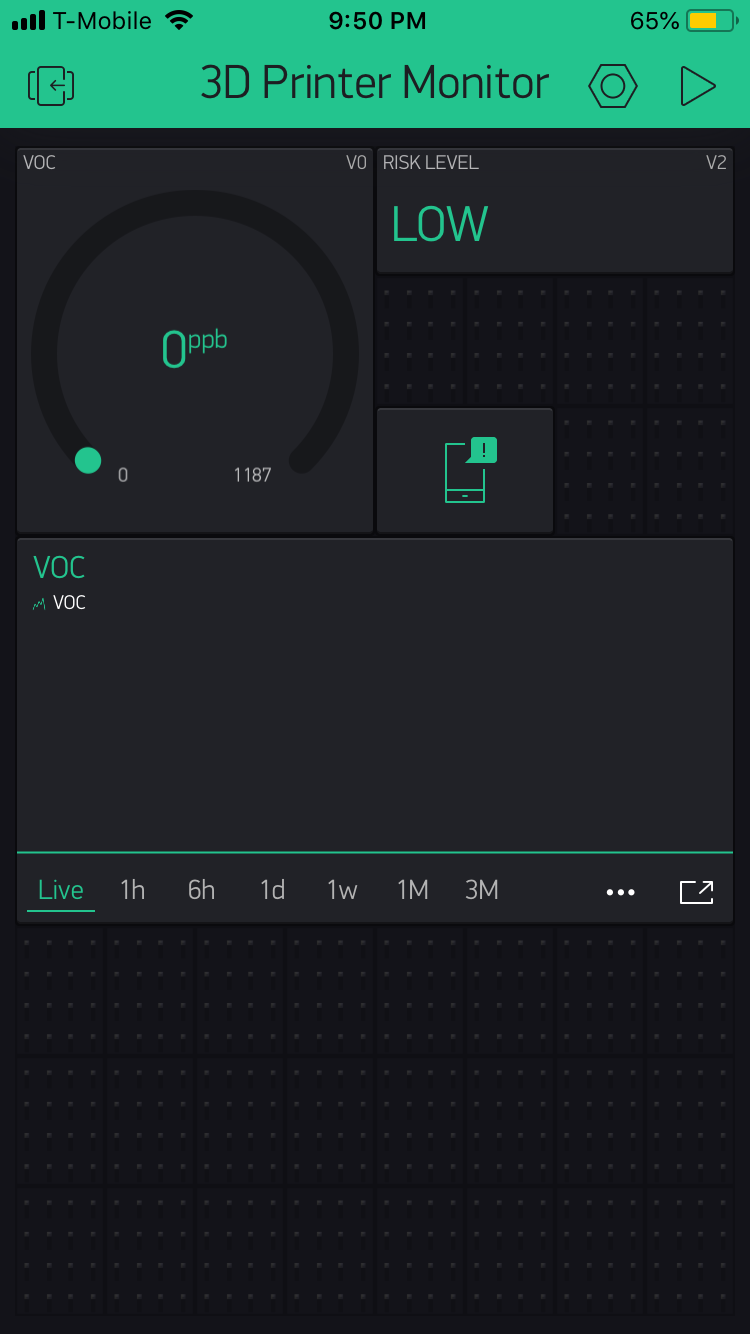
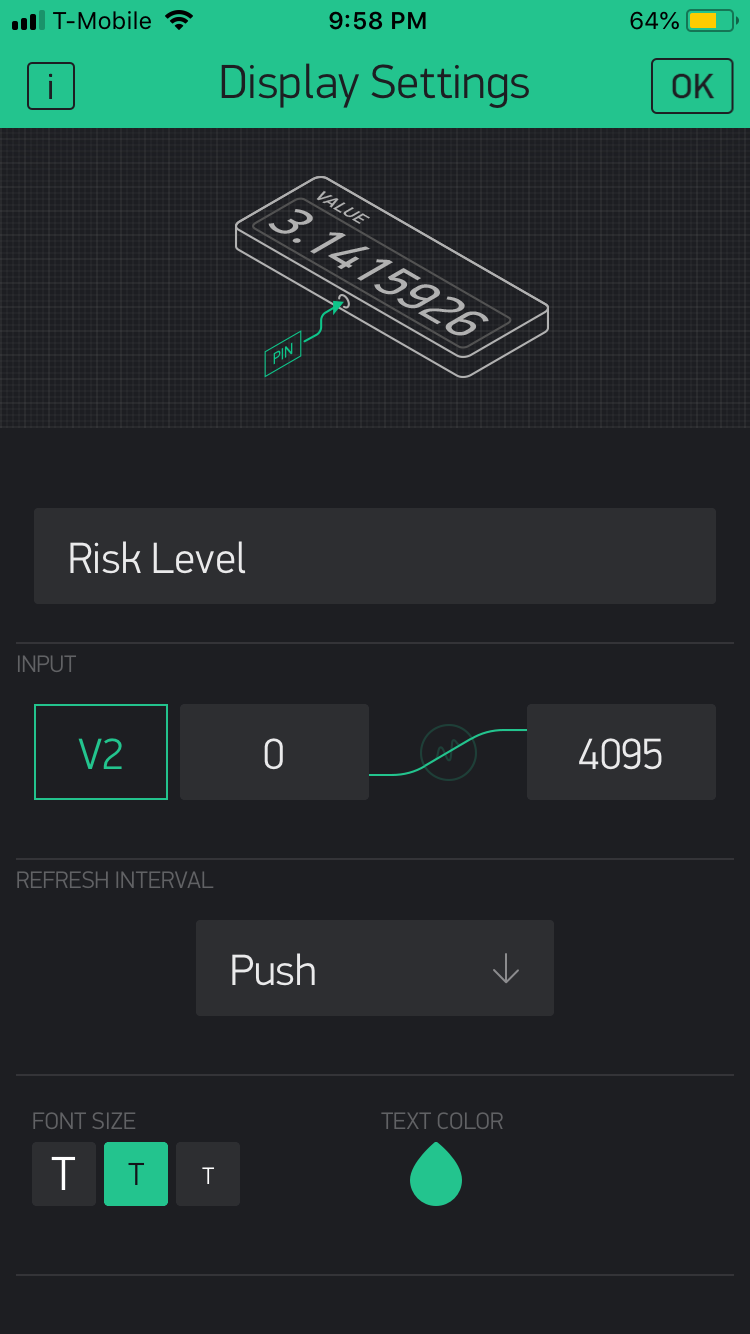
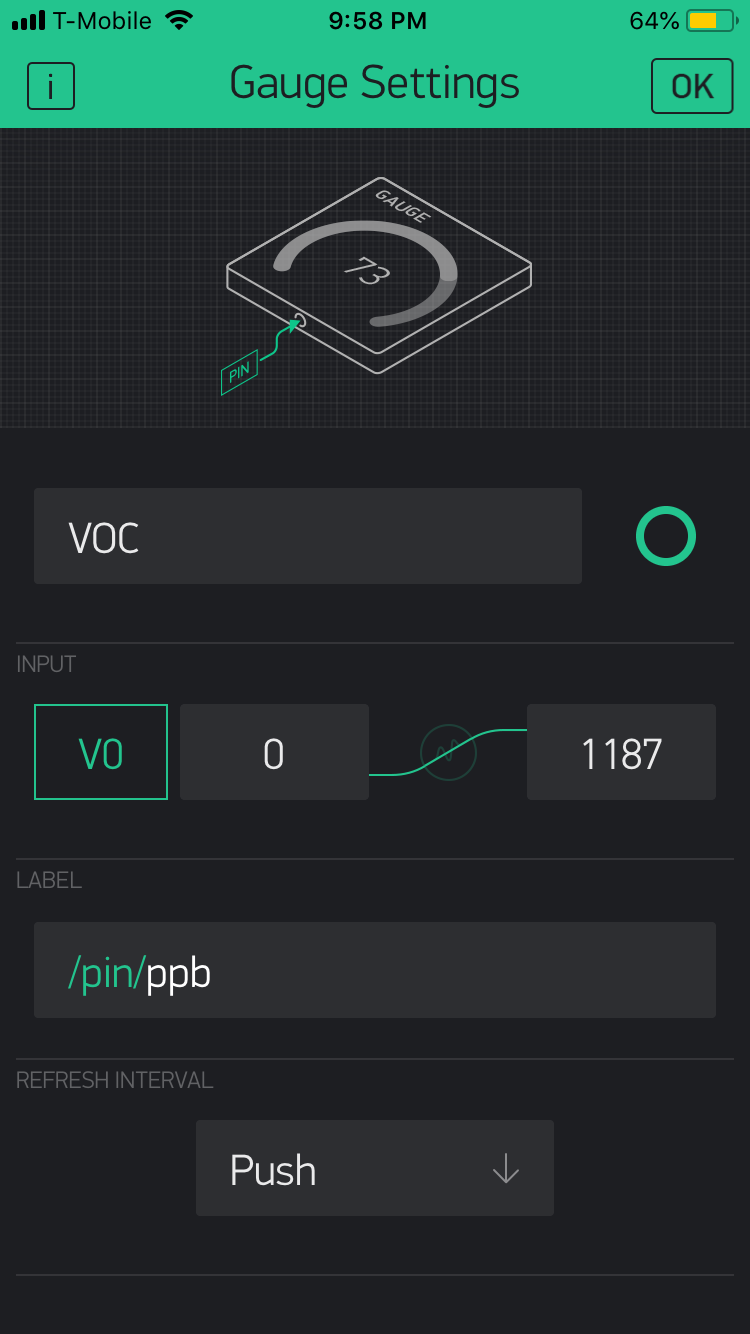
5Blynk
Create a new project in Blynk.
Setup the widgets as shown. The settings for the SuperChart will depend on your preference, but you can leave it on default to start.
-
6Code
The code for this project can be found on my Github. Since it works in the Particle Web IDE, you can just simply create a new project and paste the code in.
char auth[] = "Your Auth Token";The only thing you need to change is the Auth Token, which should be sent to your inbox when you created your Blynk App from the last step.
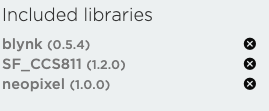
Here are the libraries you need to include in your project. I use the Spark Fun CCS811 library because I was having trouble getting the Adafruit one to work properly.
Now just upload the code to your Photon and you are finished. Happy printing!
Smart 3D Printer Emission Monitor
Monitor the emission of toxic chemicals from 3D Printing


Discussions
Become a Hackaday.io Member
Create an account to leave a comment. Already have an account? Log In.