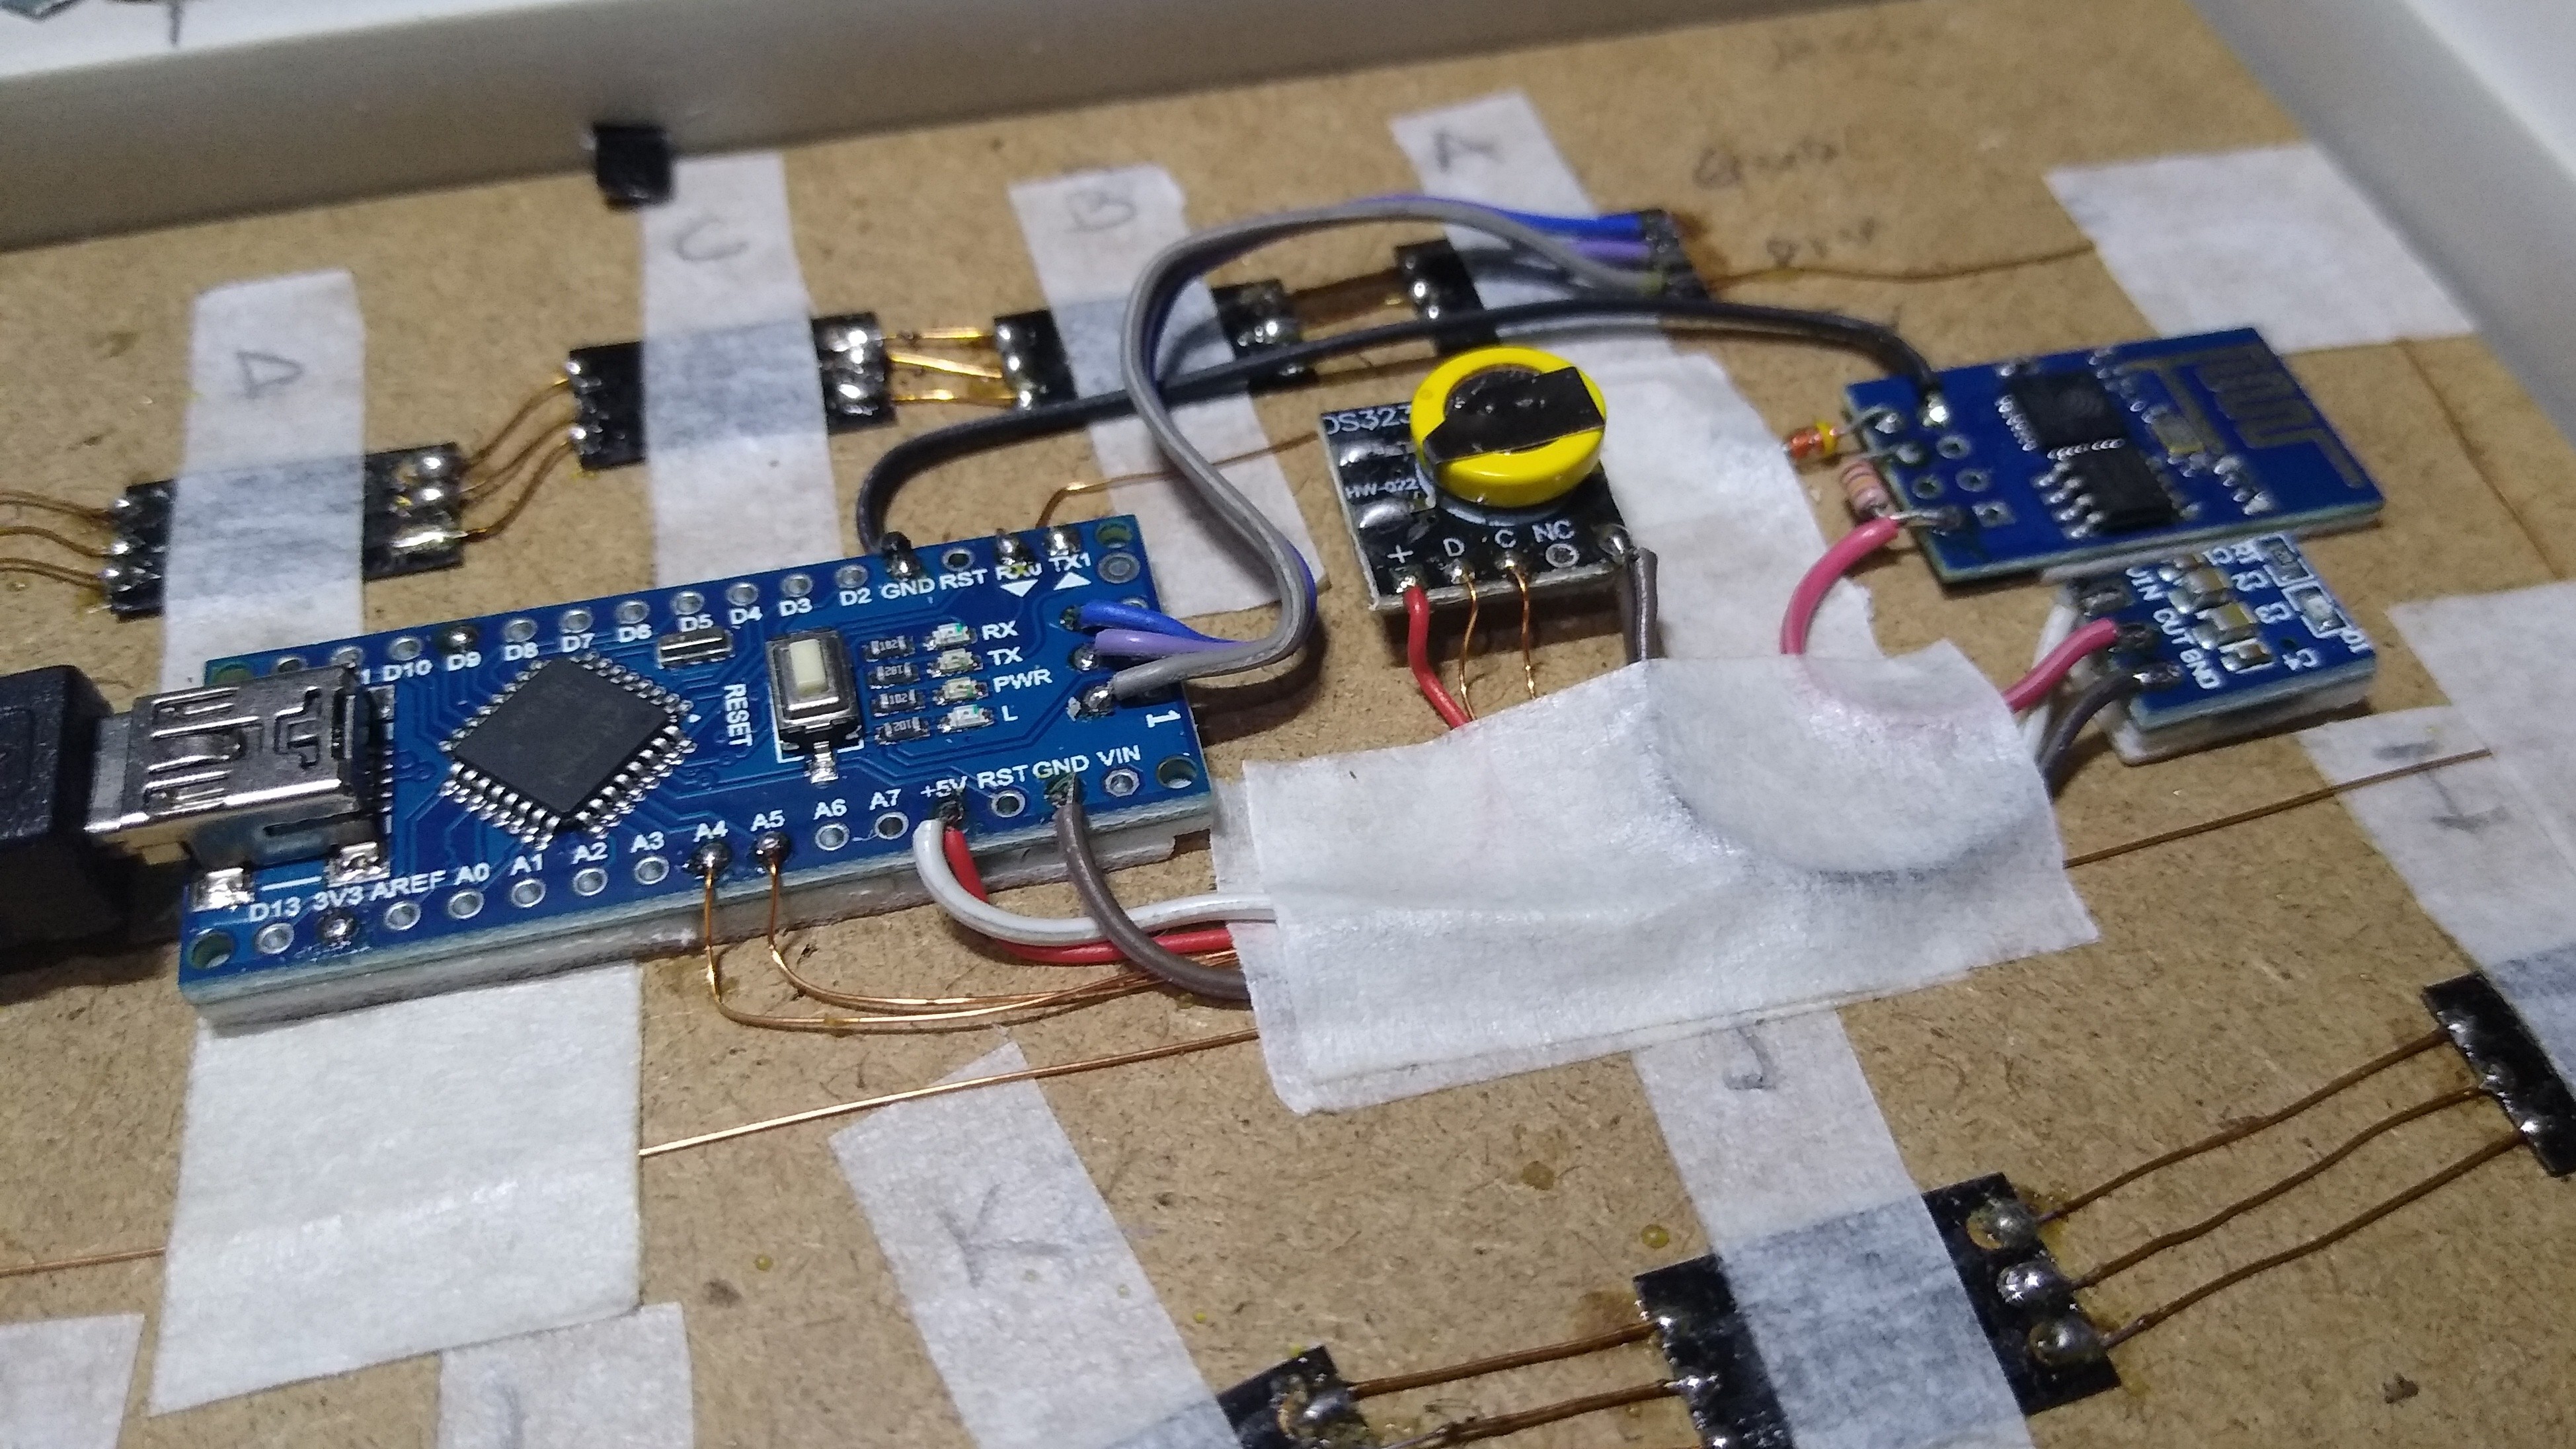
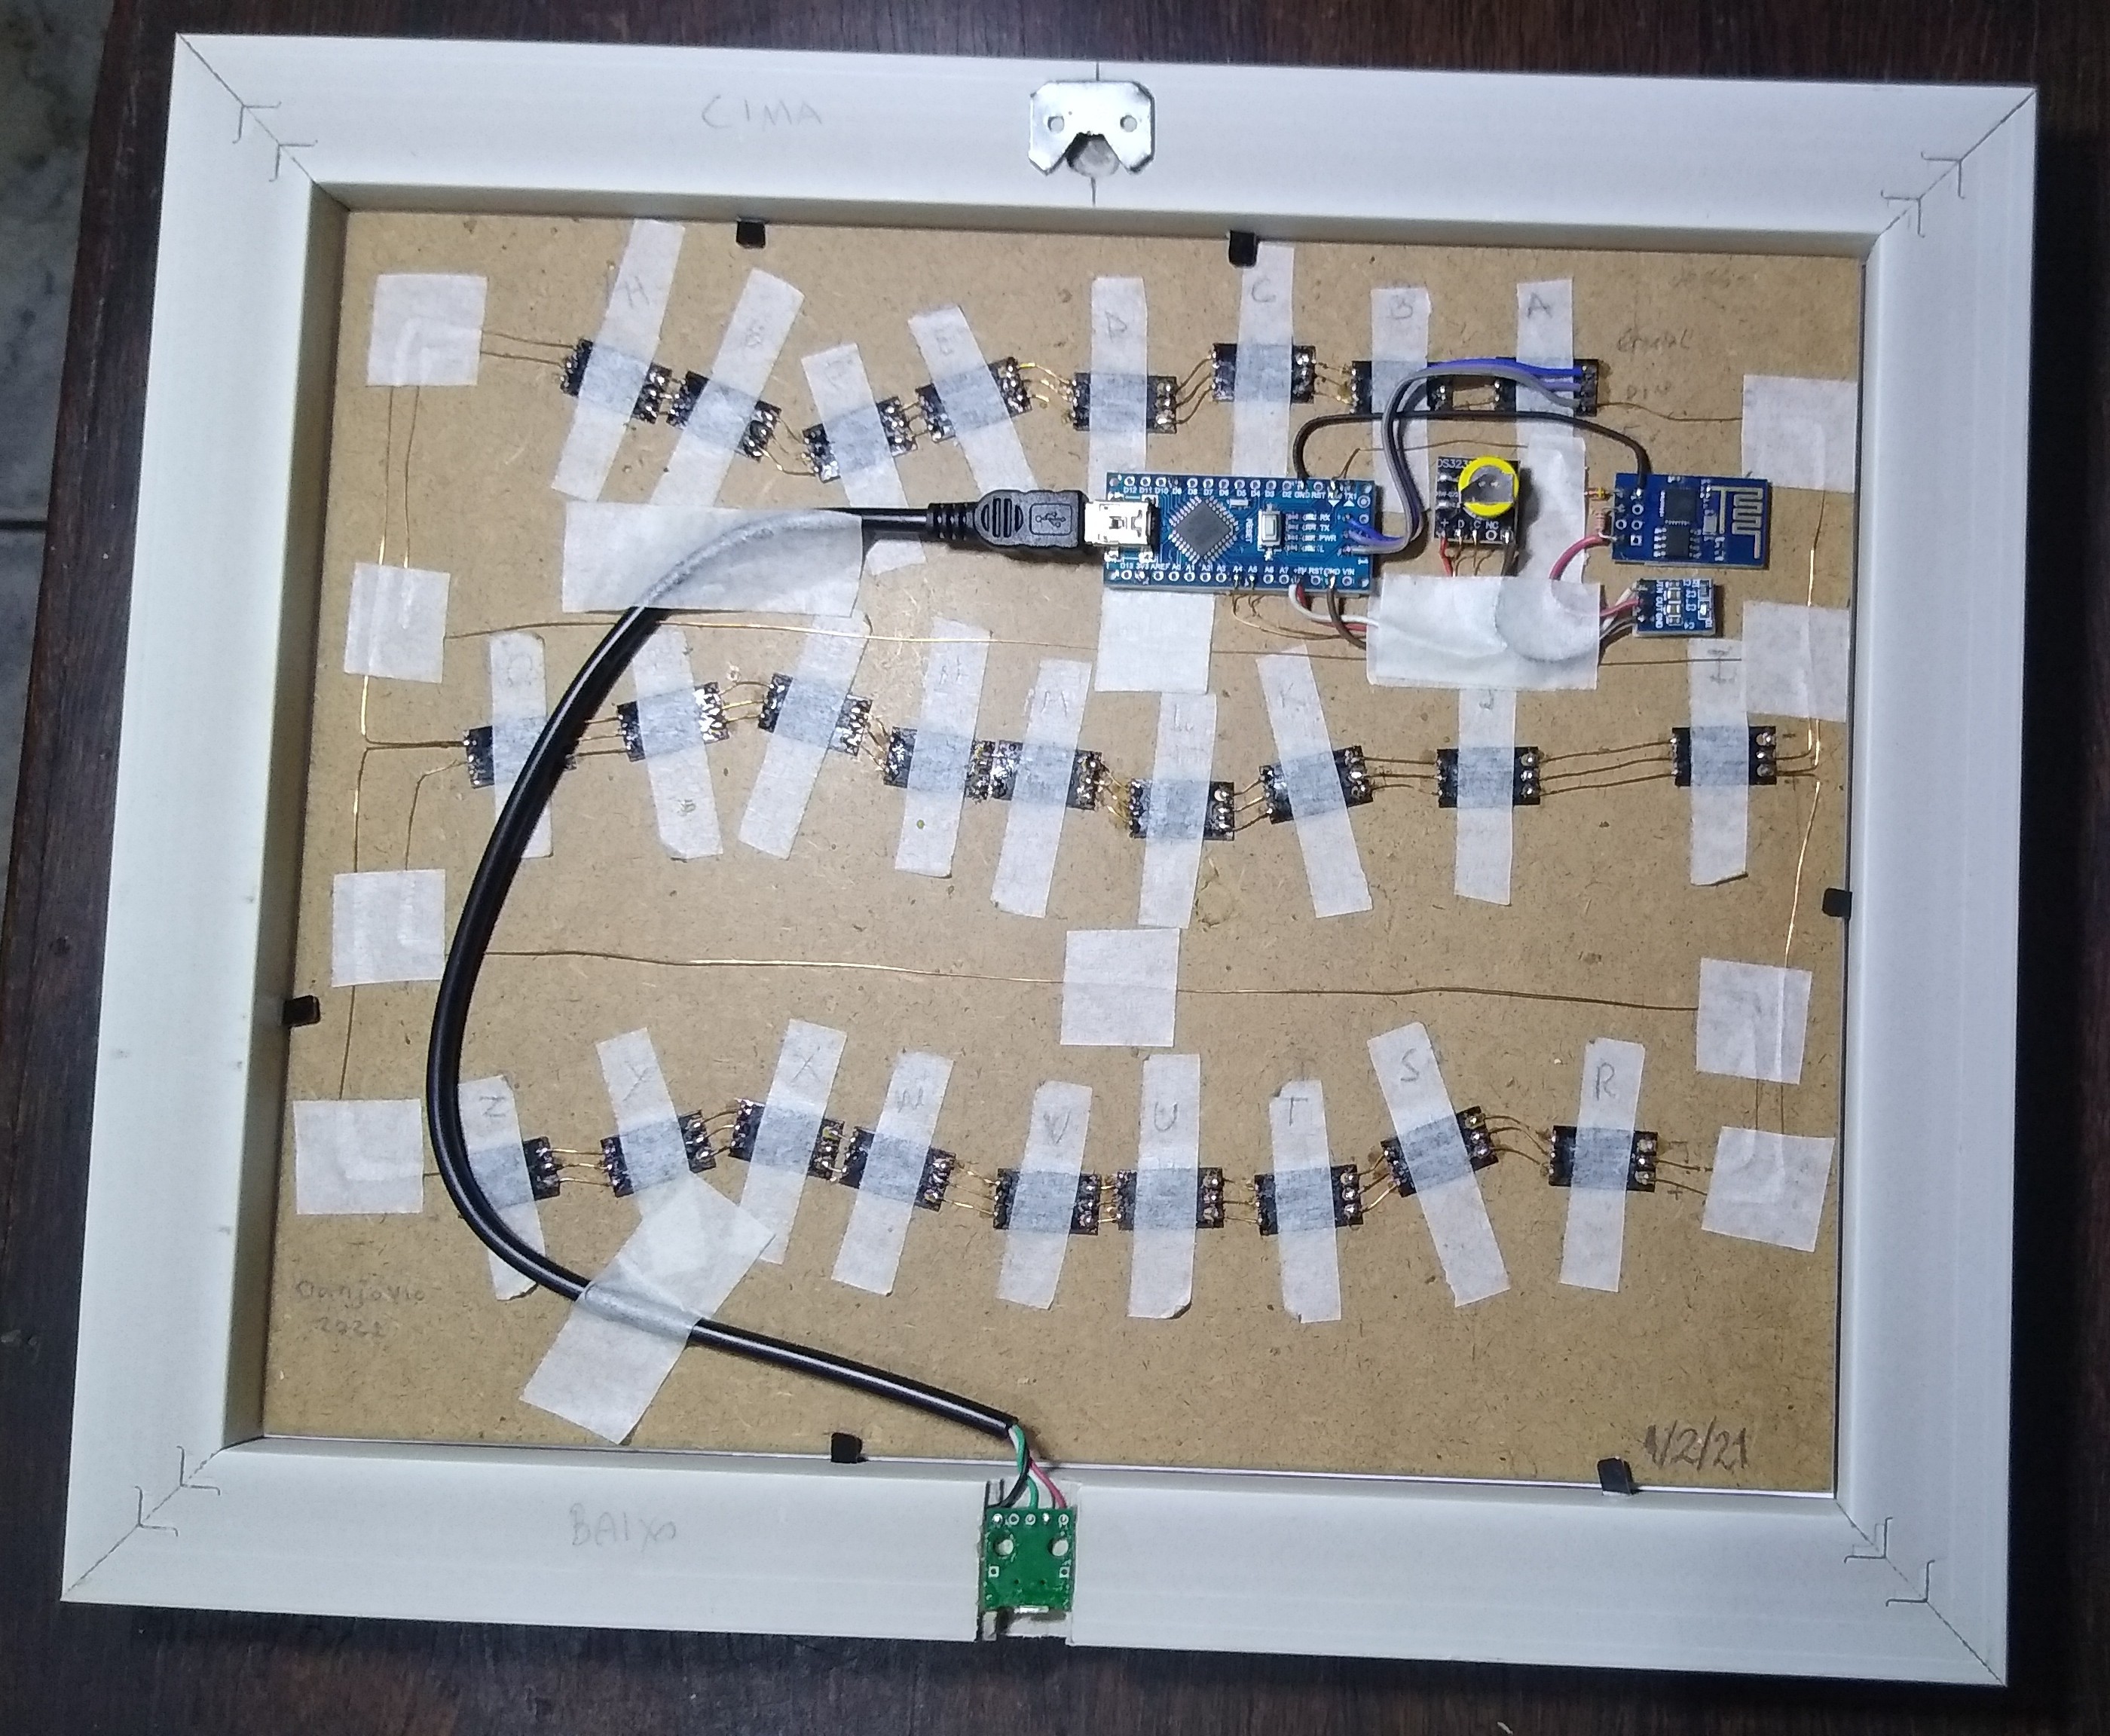
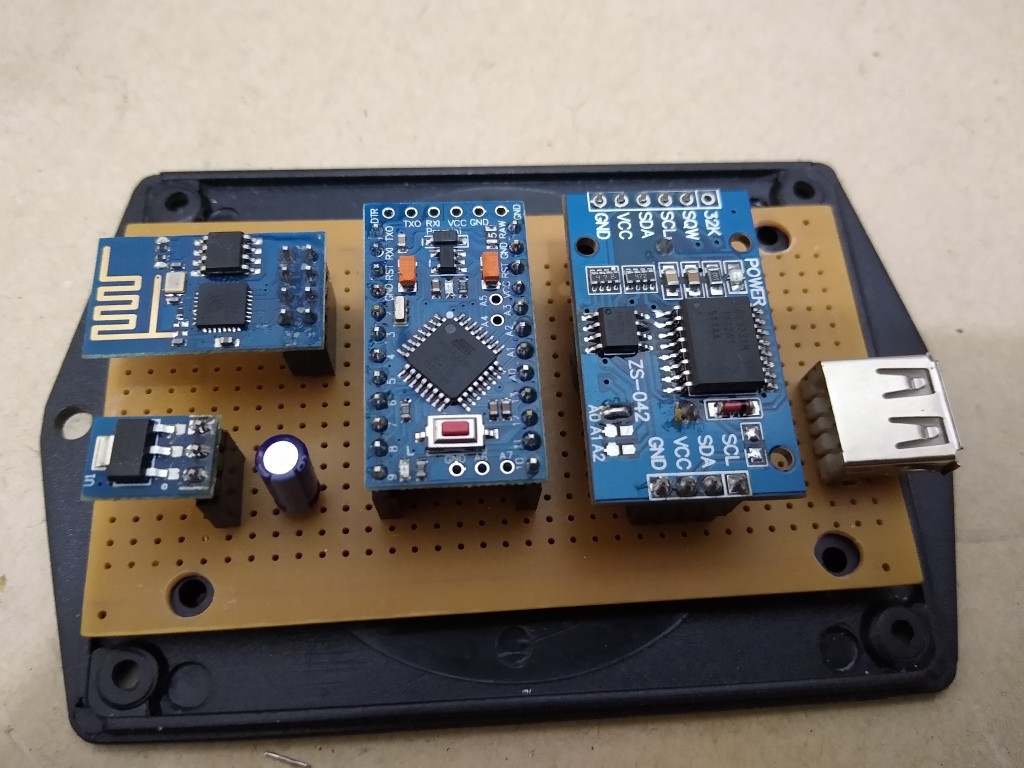
The project is wholly composed by off the shelf components:
- ESP-01
- Arduino
- DS3231 RTC
- NeoPixels
- 5V to 3V3 regulator
The ESP-01 creates a hotspot and serves a page with a form and a button
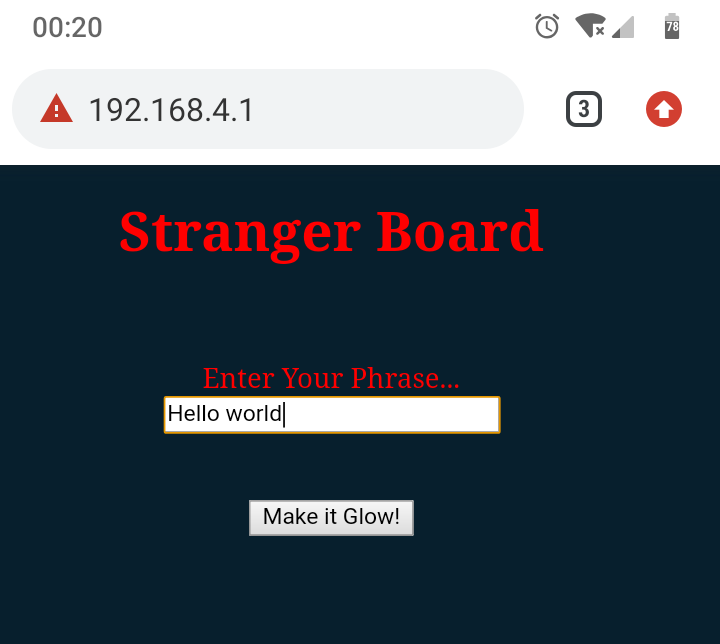
The Make it Glow button maskes the ESP01 send the string typed on the serial port.
void handleMessage()
{
String phrase;
   ...
   phrase=server.arg("myPhrase");
   Serial.println(phrase);
   ...
}
The Arduino boars listens to the serial port. As soon as a message arrives it lits each character using a special function
void strangePrint ( String s) {
  char *pStr = &s[0];
  if (*pStr != '\0')
    while (*pStr != '\0')
      putpixel (*pStr++);
  pixels.clear();
  pixels.show();
...
}
The putpixel function basically checks if the character is in [a..z][A..Z] then assign an index corresponding the position of the character in the alphabet (1..26).
Every pixel has a particular RGB color coordinate that was picked from a screenshot of the TV show;
const PROGMEM uint8_t lampColor[26*3]  =
{
    253 , 244 , 237  ,  //  A    Pre defined lamp colors picked from a snapshot
     26 ,  54 , 158  ,  //  B    of the TV series
    179 ,  10 , 144  ,  //  C
    174 , 230 , 221  ,  //  D
     21 , 191 , 219  ,  //  E
    255 , 198 , 61   ,  //  F
    214 ,  86 , 137  ,  //  G
      4 , 172 , 200  ,  //  H
     61 , 209 , 219  ,  //  I
    212 ,  77 , 131  ,  //  J
     75 , 193 , 219  ,  //  K
    200 , 239 , 239  ,  //  L
    240 , 195 , 31   ,  //  M
    219 ,  89 , 149  ,  //  N
    179 ,   1 , 160  ,  //  O
    214 , 232 , 235  ,  //  P
    235 , 109 , 209  ,  //  Q
    242 , 244 , 244  ,  //  R
    255 , 239 , 212  ,  //  S
    251 , 202 , 26   ,  //  T
      4 , 144 , 191  ,  //  U
    214 , 126 , 174  ,  //  V
     31 , 135 , 177  ,  //  W
    247 , 195 , 59   ,  //  X
    237 , 175 , 212  ,  //  Y
    239 , 186 , 214     //  Z
};
When in Idle, the arduino check if a minute as passed since the last call of the function:
bool aMinuteHasPassed() {
  static uint8_t lastMinute=0;
  uint8_t thisMinute;
  rtc.refresh();
  thisMinute = rtc.minute();

  if (thisMinute != lastMinute) {
     lastMinute=thisMinute;
     return true;
  } else
     return false;
}
Whenever the function above return true, the time is converted to words and lit using StrangeTime( ) function. Most of the code for this function mostly taken from a word clock code (link). Some function calls were adapted and the only change in logic was to use a flag to print the "O clock" after the hour (on a word clock the sequence the words are added to the board it does not matter).
void strangeTime(uint8_t h, uint8_t m) {
  uint8_t h2 = h;
  bool oclock=false;
  strangePrint("it is") ;
  // Minutes
  if (m == 0) {
    if (h == 0) {
      strangePrint(" midnight");
    } else if (h == 12) {
      strangePrint(" noon");
    } else {
      oclock=true;
    }
...
...
To make things simple, no button was used to set the Real Time clock, neither physical nor on the web interface. Instead a character based encoding was used.
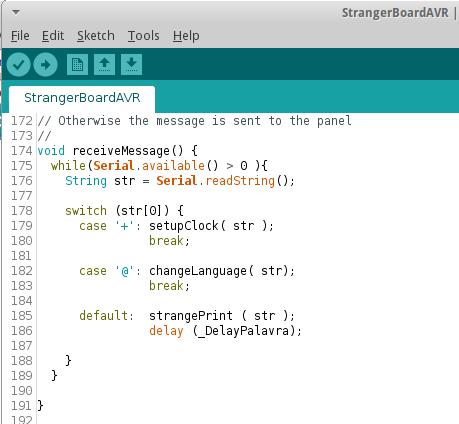
If the first character of the message begins with a "+" (plus signal) then the characters on the message received will be interpreted by a special function.
The same method can be used to expand the functionalities like display the temperature, mute/unmute, spell proverbs occasionally, etc
void receiveMessage() {
  while(Serial.available() > 0 ){
    String str = Serial.readString();

    switch (str[0]) {
      case '+': setupClock( str );
                break;

      default:  strangePrint ( str );
                delay (_DelayPalavra);
    } // switch
  } // while
}
The clock set commands are quite simple, basically you can advance hours, minutes, etc in one or 10 units:
// General
'R': // Reset time -> 00:00:00 sunday 01-january-2000

// Time settings
'H': // Advance 10 units of hour, round at 24:00
'h': // Advance  1 unit  of hour, round at 24:00
'M': // Advance 10 units of minute, round at :60
'm': // Advance  1 unit  of minute, round at :60
'S': // reset seconds
's':

// DATE Settings
'D': // Advance 10 days, round at end of month
'd': // Advance  1 unit  of minute, round at :60
'O': // Advance 10 units of month...
Read more »
 danjovic





 ziggurat29
 Tobias Rathje
You nailed the look and feel, that's for sure. This might be cool for Halloween...