 Jared
Jared-
1Installing the library
The Air Quality Wing has it’s own library! You can install it to your project using Particle Workbench’s library functionally.
Search for and install
AirQualityWing. As of this writing 1.0.2 is the latest version.Need more details on how to get it all working?
Here’s a step by step:
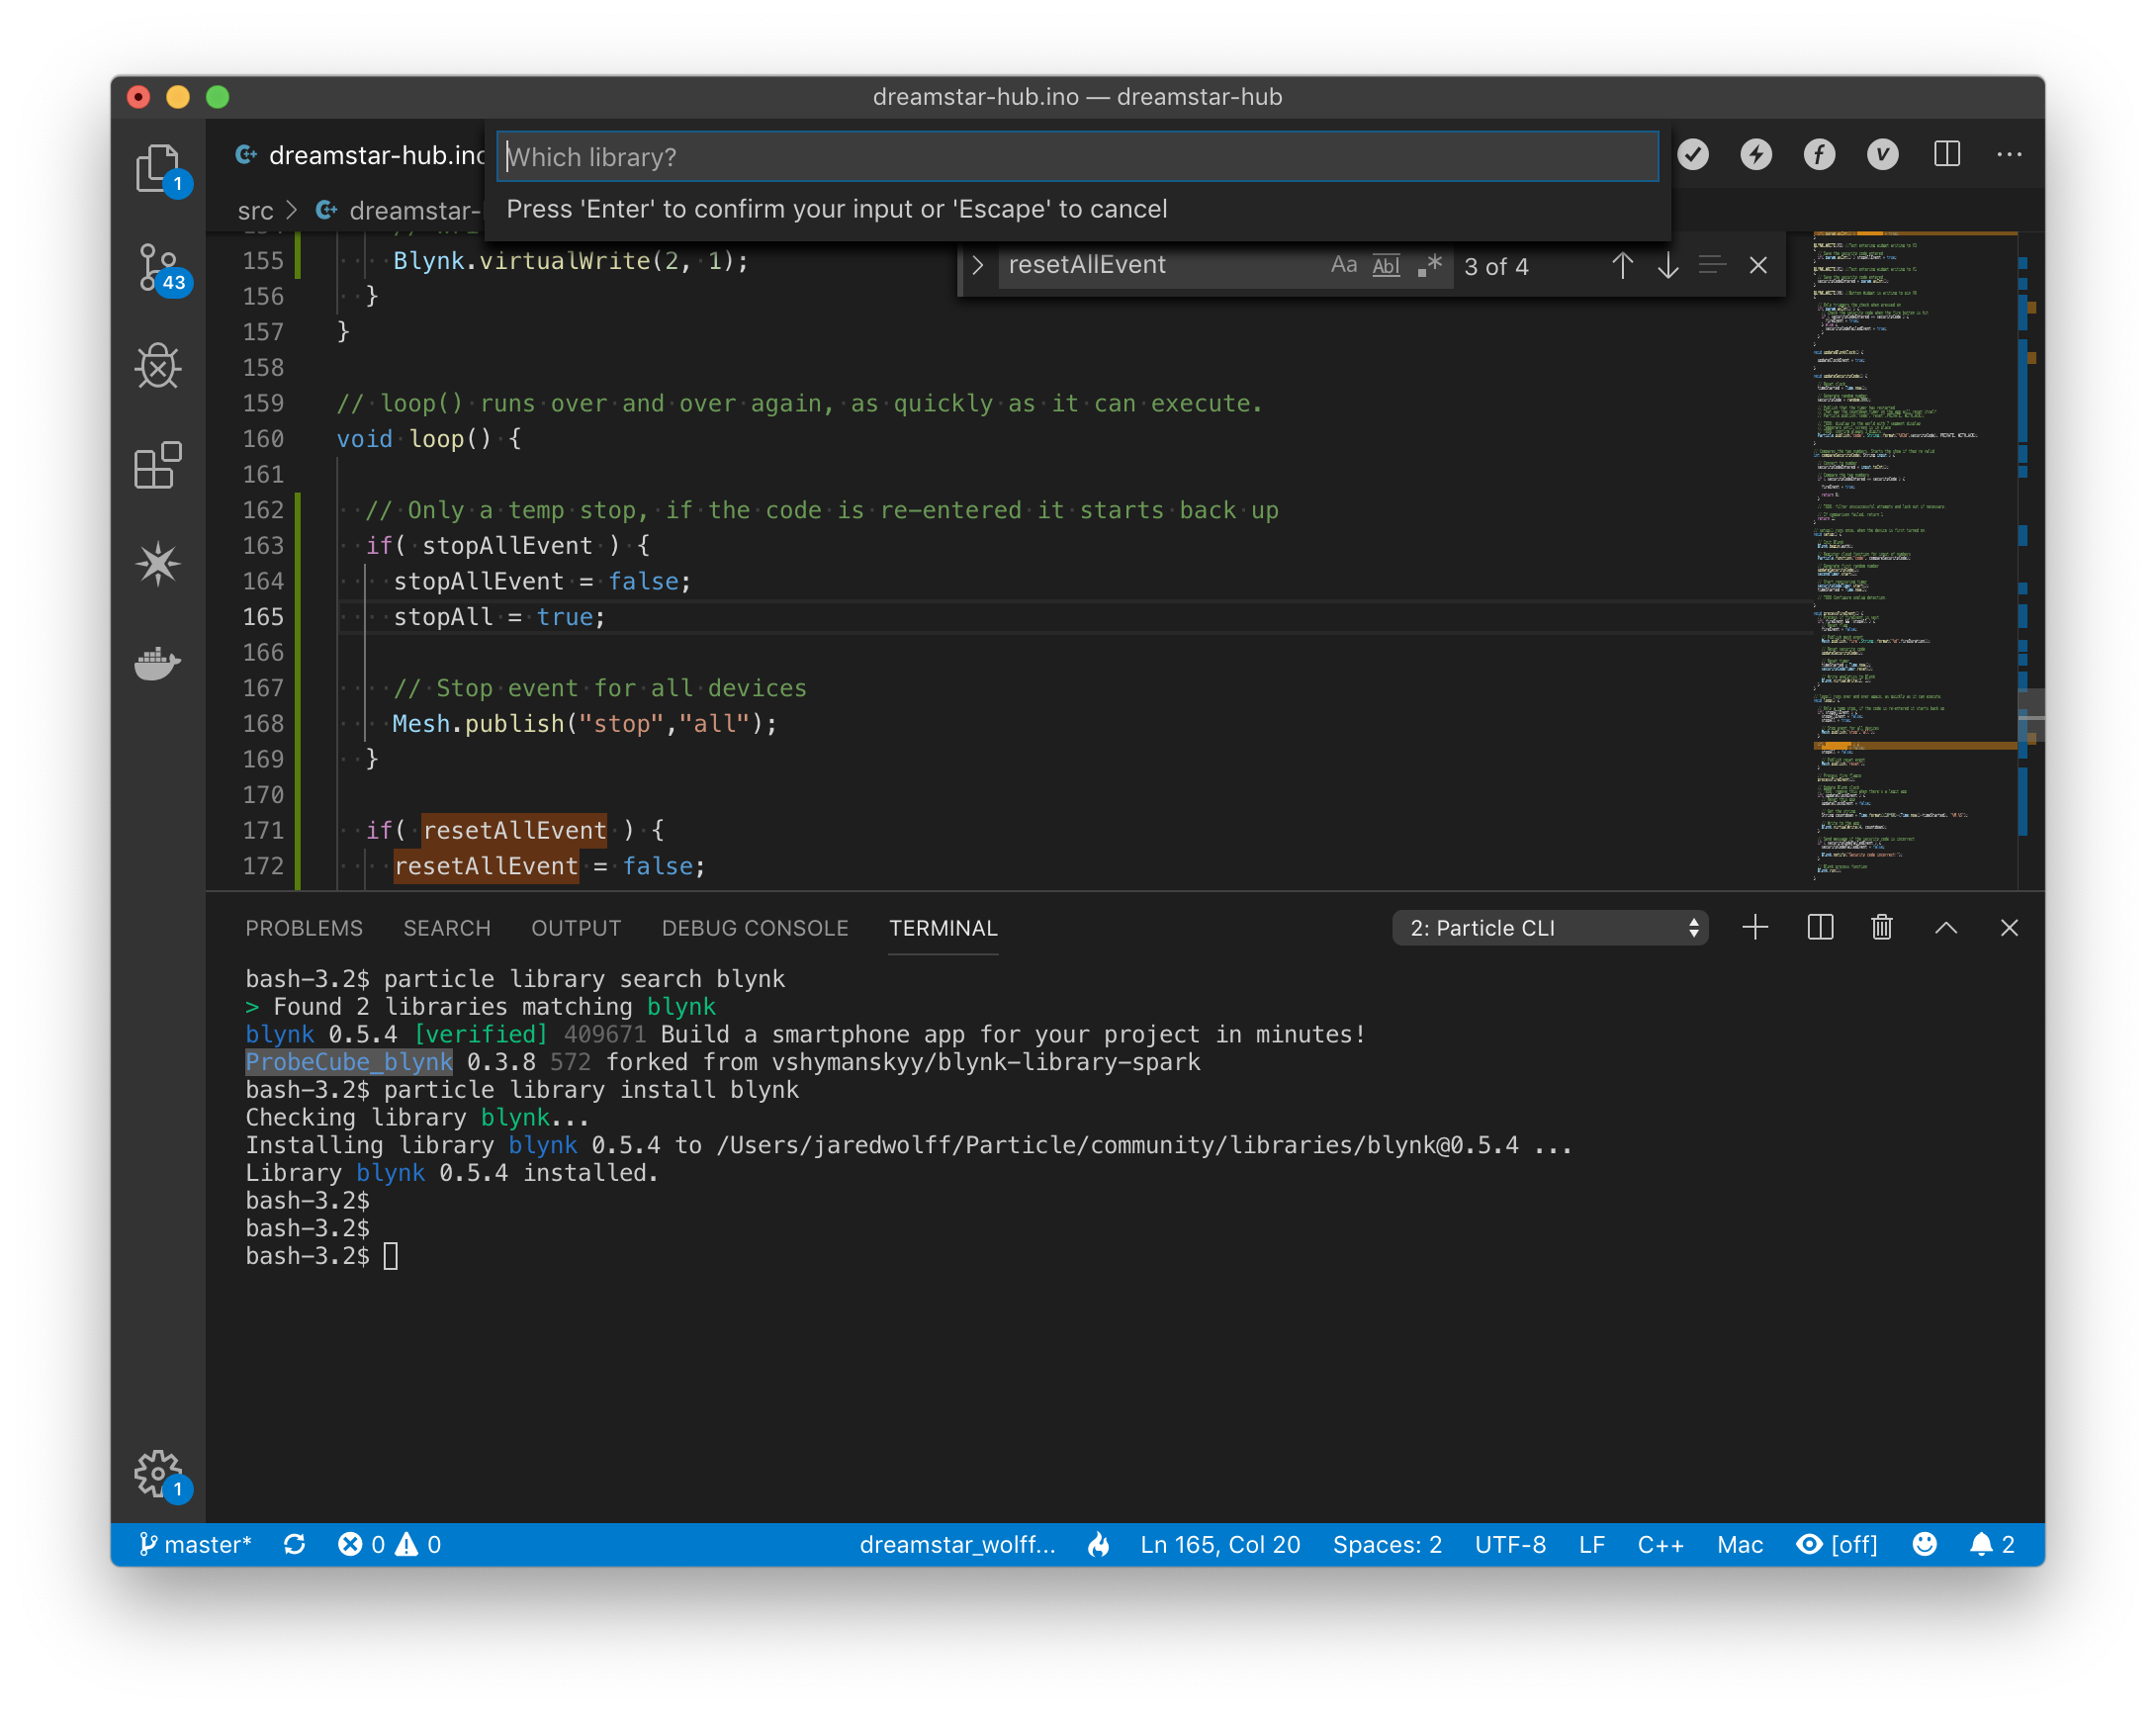
Open Workbench and the project you’d like to add the library to. Then, hit CMD + Shift + Pand type Install Library
![]()
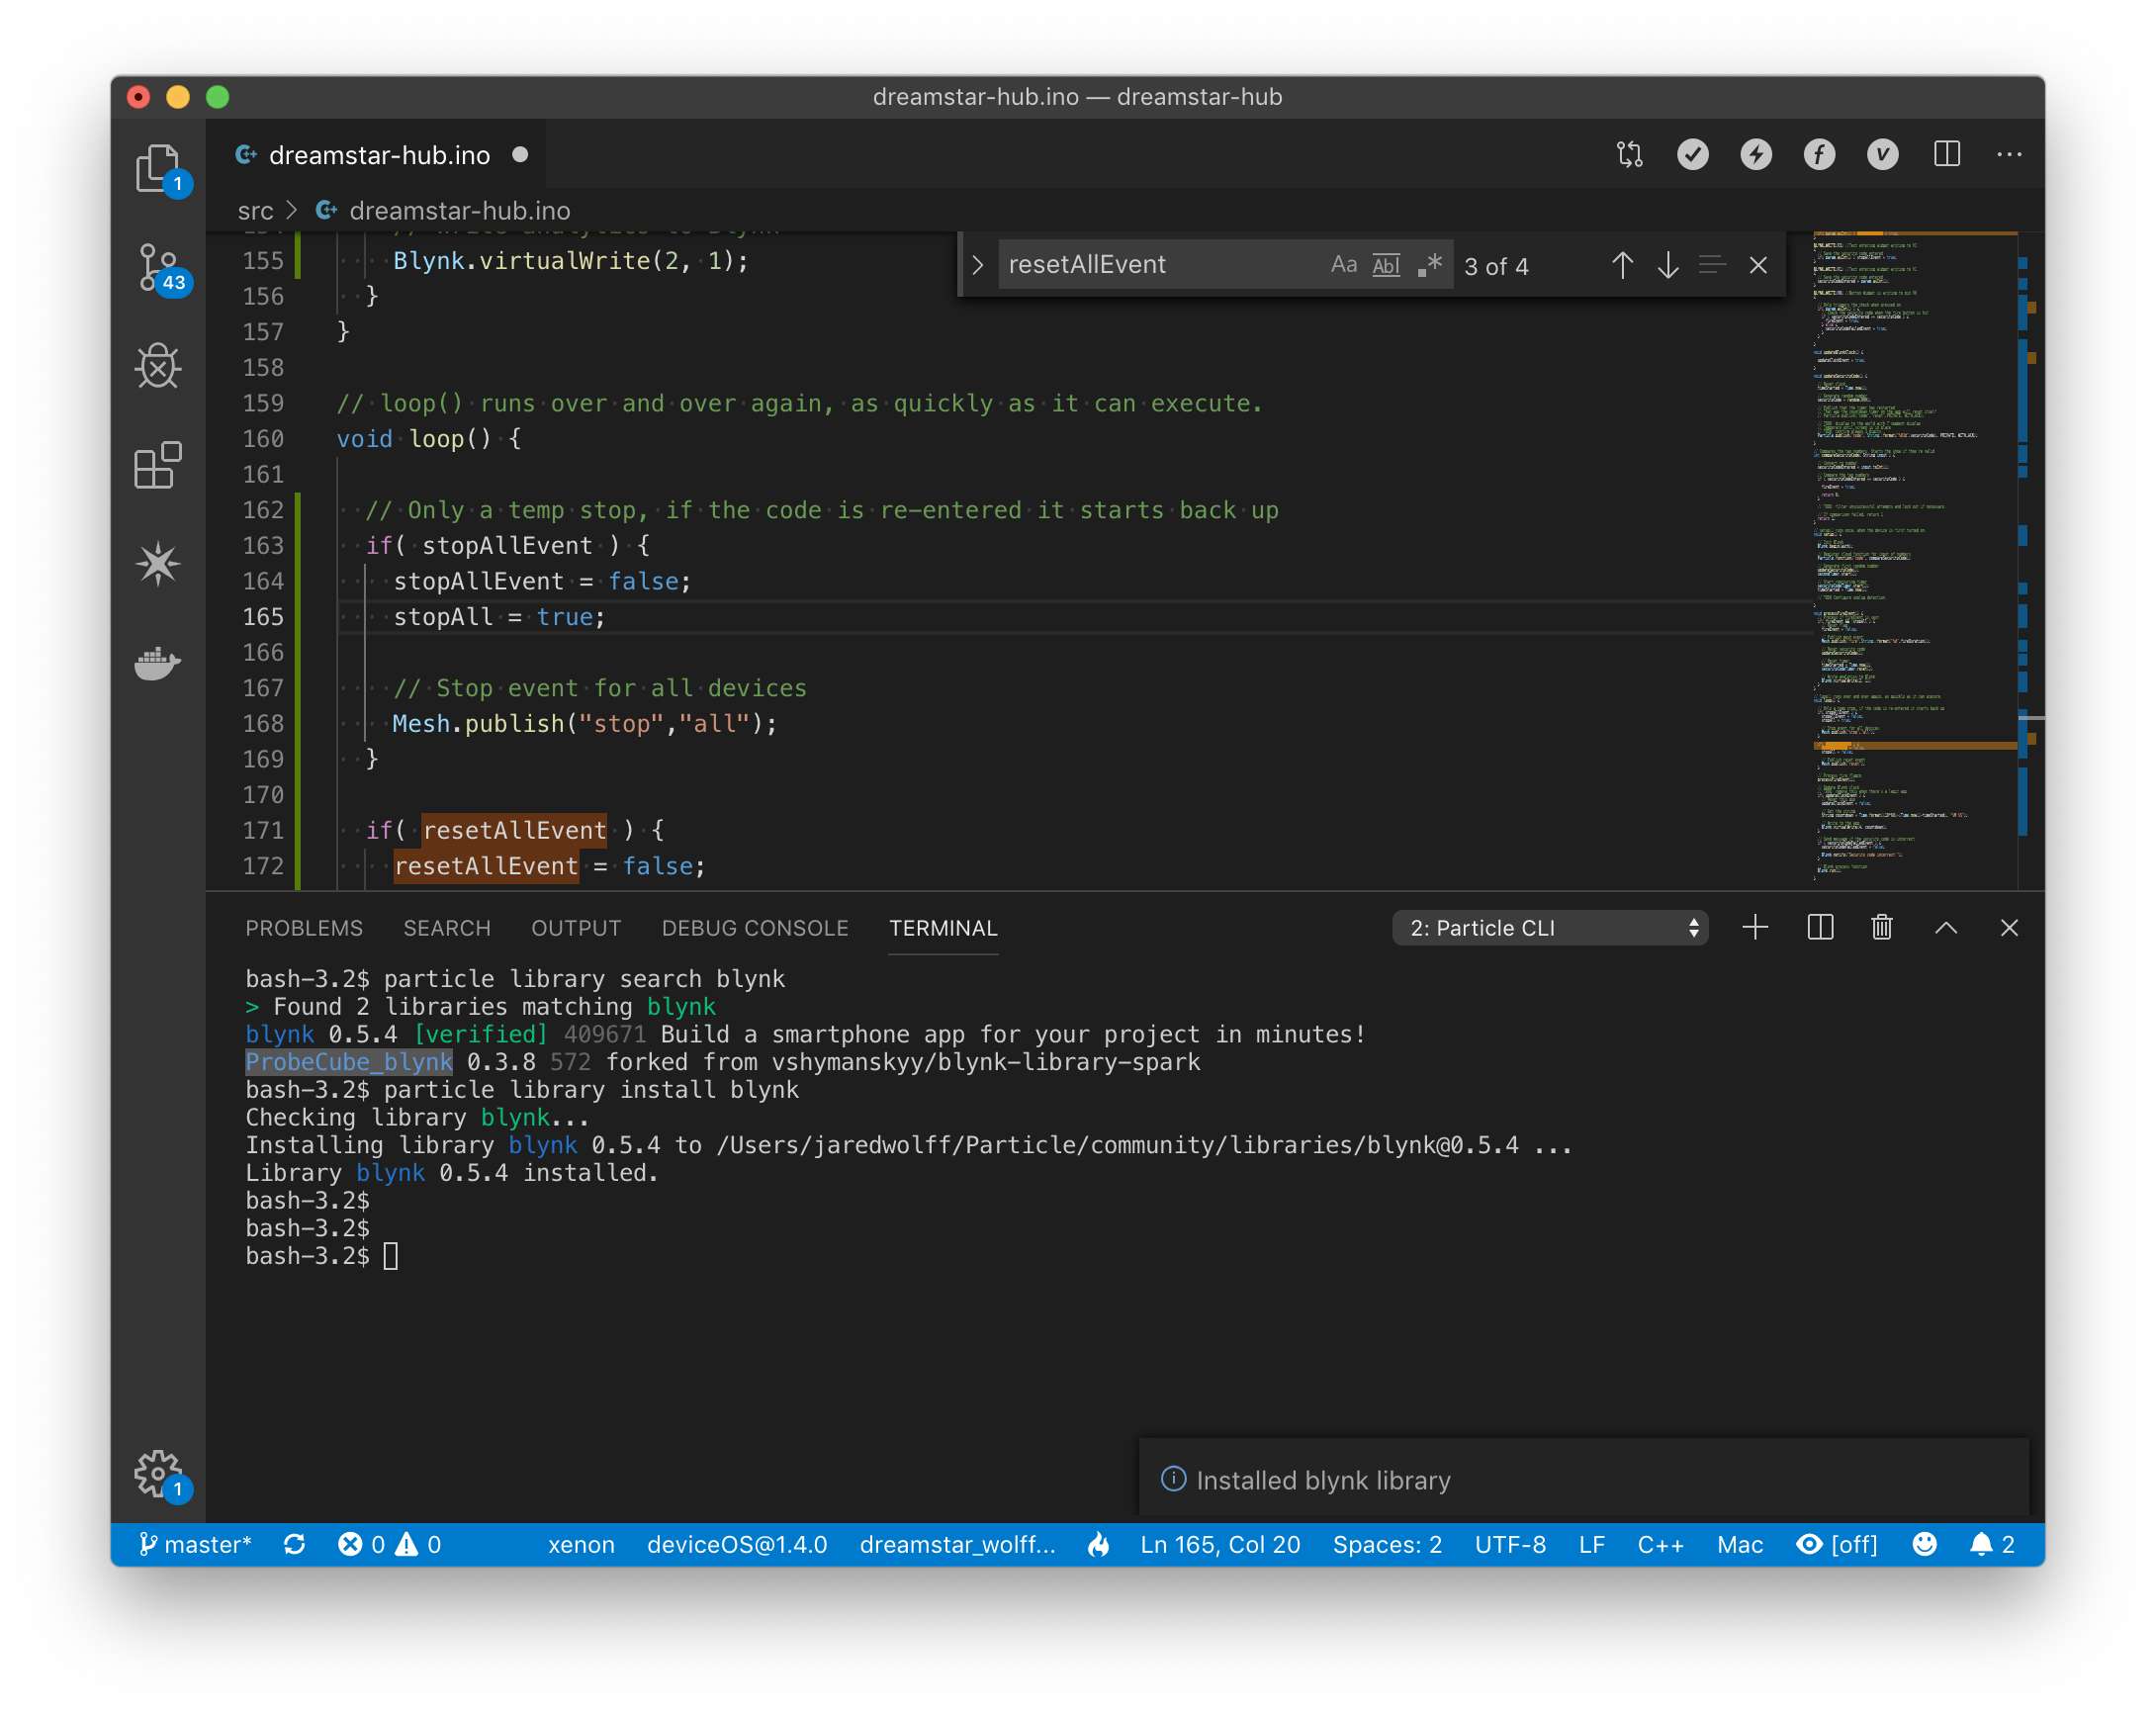
Type in
AirQualityWingand press enter. Particle Workbench should install the library to your project. Watch the bottom right hand corner for status updates:![]()
You can also use the CLI to accomplish the same task. Remember, for this command you’ll need to be in your root firmware directory for the library to be installed correctly!
particle library install AirQualityWing
Remember: this library only supports Particle Mesh. Photon, E-Series, etc are not supported.
-
2Using the library
The library has been designed to be as easy as possible to use. Here are some important points if you want to add it to your own projects.
First make sure that you create an
AirQualityWingobject.// AirQualityWing object AirQualityWing AirQual = AirQualityWing();
Setting up I2C must be done before setting up the library. This is as simple as invoking
Wire.begin()Wire.setSpeed(I2C_CLK_SPEED); Wire.begin();
Then, to initialize you’ll have to create an
AirQualityWingSettings_tstructure.// Default settings AirQualityWingSettings_t defaultSettings = { MEASUREMENT_DELAY_MS, //Measurement Interval false, //Has HPMA115 true, //Has CCS811 true, //Has Si7021 CCS811_ADDRESS, //CCS811 address CCS811_INT_PIN, //CCS811 intpin CCS811_RST_PIN, //CCS811 rst pin CCS811_WAKE_PIN, //CCS811 wake pin HPMA1150_EN_PIN //HPMA int pin };This is where you can customize the board to match your needs. Some of the most important functionality is the default measurement interval along with enabling and disabling a certain sensor. For the Air Quality Wing all devices should be enabled. The definitions for the pin assignments will be in
board.hlocated in the example code repository.AirQual.setup()will configure the drivers for all the different sensors. You also use it to configure a callback that fires after data collection.AirQual.setup(AirQualityWingEvent, defaultSettings);
Data collection begins once you call the
begin()function.AirQual.begin();
In the main
loop()run the.process()functionuint32_t err_code = AirQual.process(); if( err_code != success ) { switch(err_code) { case si7021_error: Particle.publish("err", "si7021" , PRIVATE, NO_ACK); Log.error("Error si7021"); case ccs811_error: Particle.publish("err", "ccs811" , PRIVATE, NO_ACK); Log.error("Error ccs811"); case hpma115_error: Particle.publish("err", "hpma115" , PRIVATE, NO_ACK); Log.error("Error hpma115"); default: break; } }As you can see above, you can also check for errors and report them if they happen.
Most importantly, you can use the
.toString()method to create a JSON string representation of the data. This can be used withParticle.publish()like the example below:// Handler is called in main loop. // Ok to run Particle.Publish void AirQualityWingEvent() { // Publish event Particle.publish("blob", AirQual.toString(), PRIVATE, WITH_ACK); }Once you’re publishing data, it’s time to collect and view it all. Check out the next section on integrations for more info.
The Air Quality Wing
Air Quality Featherwing with temperature, humidity, PM2.5, PM10, TVOC and eC02.
Discussions
Become a Hackaday.io Member
Create an account to leave a comment. Already have an account? Log In.