 schwarzrmsu
-
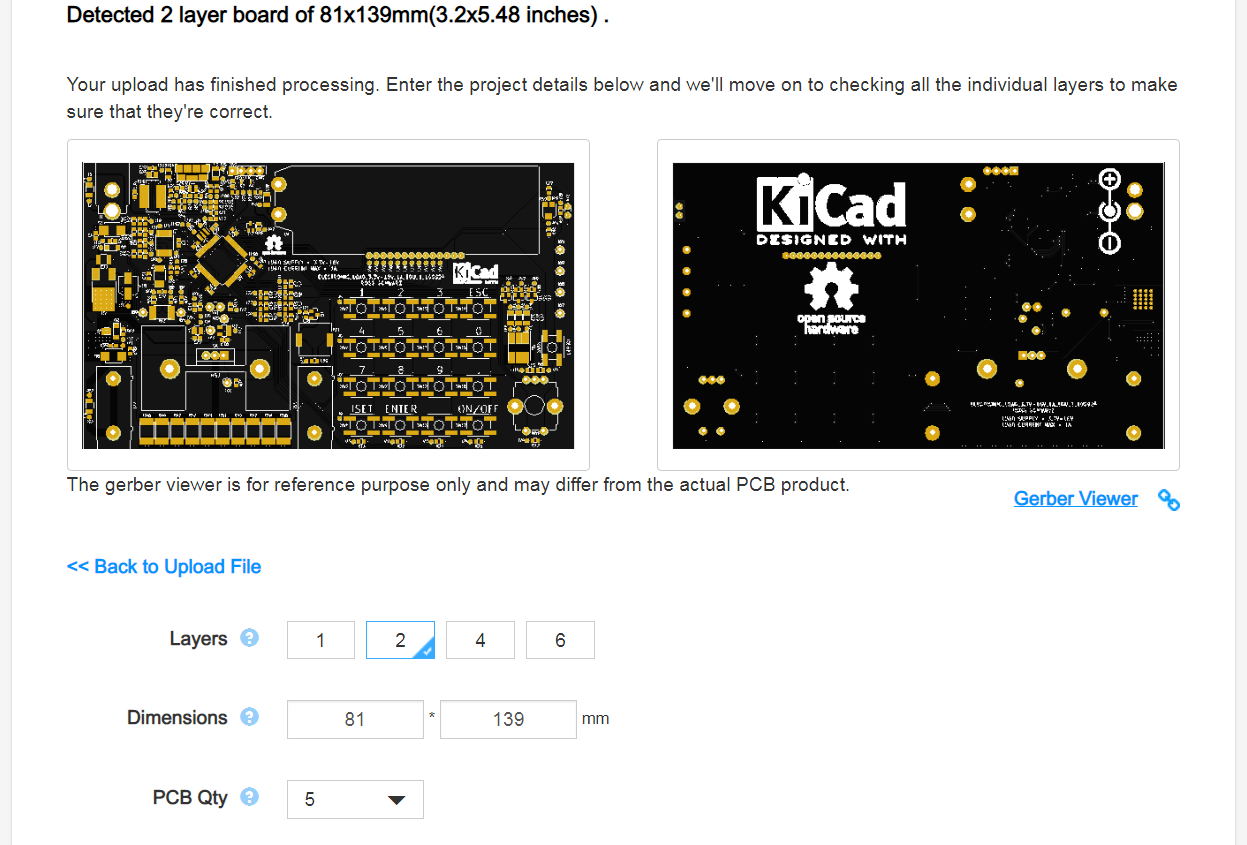
1Order PCB (Printed Circuit Board)
The PCB is a custom designed component, therefore you will need to order this part from PCB manufacturers like https://oshpark.com/ or https://jlcpcb.com/. The gerbers I have attached to this project are very conservatively designed in order to be directly compatible with these services. You should be able to simply drop the zip file into the website and select the necessary settings.
From JLPCB:
Track the production progress and shipping until the boards arrive:
-
2Order All Electrical & Mechanical Components
The rest of the BOM items are off the shelf devices, therefore you can purchase these from a number of sources like https://www.digikey.com/ or https://www.mouser.com/. The BOM I have attached to this project show Manufacturer, Manufacturer PN & Quantity:
Quantity Description Manufacturer 1 AUDIO PIEZO TRANSDUCER 12.5V SMD Murata Electronics North America 1 CAP SMD CER 0.1UF 50V 10% X7R 0603 FLEXSAFE AVX Corporation 1 CAP SMD CER 10UF 25V 10% X7R 1210 FLEXSAFE AVX Corporation 15 CAP SMD CER 0.01UF 50V 10% X7R 0603 Samsung Electro-Mechanics 1 CAP SMD AEC 10UF 35V 20% 105 Wurth Electronics Inc. 12 CAP SMD CER 0.1UF 50V 10% X7R 0603 Yageo 2 CAP SMD CER 47pF 50V 5% C0G/NP0 0603 Walsin Technology Corporation 1 CAP SMD CER 4.7UF 25V 10% X5R 0805 Samsung Electro-Mechanics 5 CAP SMD CER ESD 0.01UF 100V 10% X7R 0603 KEMET 2 TVS DIODE 33V SMB Littelfuse Inc. 1 DIODE SCHOTTKY 40V 1A SOD123 Diodes Incorporated 2 TVS DIODE 3.3V SOD923 ON Semiconductor 1 LED RGB 622NM 530NM 470NM 6SMD CREE Inc. 1 LED GREEN CLEAR 0603 SMD Lite-On Inc. 1 LED BLUE CLEAR 0603 SMD Lite-On Inc. 1 DIODE ZENER 17V 500MW SOD123 ON Semiconductor 1 FUSE 500MA 125VAC FAST 1206 Bel Fuse Inc. 1 FUSE 2A 125VAC FAST 1206 Bel Fuse Inc. 1 FUSE 250MA 125VAC FAST 1206 Bel Fuse Inc. 1 FERRITE BEAD 40 OHM 0805 1LN Laird-Signal Integrity Products 1 HEATSINK TO-220 W/PINS 1.5"TALL Aavid Thermal Division of Boyd Corporation 1 CONN PWR JACK 2X5.5MM 24V 2.5A SOLDER CUI Inc. 1 CONN HEADER VERT 4POS 2.54MM Harwin Inc. 1 CONN USB MICRO B RECPT SMT R/A Amphenol ICC (FCI) 4 TEST POINT PC MINI .040"D BLACK Keystone Electronics 1 Test Sockets SINGLE PCB SOCK RED Deltron 5 TEST POINT PC MINI .040"D WHITE Keystone Electronics 1 Test Sockets SINGLE PCB SOCK BLACK Deltron 1 MOUNTING KIT TO-220 Aavid Thermal Division of Boyd Corporation 4 MOSFET N-CH 2.5OHM 60V 0.25A SOT-23 Rohm Semiconductor 1 MOSFET P-CH 33mOHM 40V 3.3A DFN2020 Diodes Incorporated 1 MOSFET N-CH 24mOHM 75V 80A LINEAR TO-220AB IXYS 3 RES SMD 2K OHM 1% 1/10W 0603 Stackpole Electronics Inc 2 RES SMD 100K OHM 1% 1/10W 0603 Stackpole Electronics Inc 26 RES SMD 10K OHM 5% 1/10W 0603 Stackpole Electronics Inc 1 RES SMD 12K OHM 5% 1/10W 0603 Stackpole Electronics Inc 1 RES SMD 301 OHM 1% 1/2W 1206 Stackpole Electronics Inc 1 RES SMD 931 OHM 1% 1/4W 1206 KOA Speer Electronics Inc. 1 RES SMD 2.61K OHM 1% 1/4W 1206 KOA Speer Electronics Inc. 1 RES SMD 442 OHM 1% 1/4W 1206 KOA Speer Electronics Inc. 4 RES SMD 1K OHM 5% 1/10W 0603 Stackpole Electronics Inc 2 RES SMD 4.7K OHM 5% 1/10W 0603 Stackpole Electronics Inc 10 RES SMD 28.7 OHM 1% 1W 2512 Vishay Dale 1 RES SMD 47 OHM 5% 1/10W 0603 Stackpole Electronics Inc 3 RES SMD 0 OHM 1/10W 0603 Stackpole Electronics Inc 1 RES SMD 75m OHM 1% 3W 2512 Bourns Inc. 2 RES SMD 27 OHM 1% 1/10W 0603 Stackpole Electronics Inc 3 RES SMD 20K OHM 1% 1/10W 0603 Stackpole Electronics Inc 1 TRIMMER 100K OHM 5% 1/10W 1 TURN Bourns Inc. 17 SWITCH TACTILE SPST-NO 0.02A 15V Panasonic Electronic Components 1 ROTARY ENCODER MECHANICAL 24PPR Bourns Inc. 1 THERM NTC 10KOHM 3984K RING LUG Vishay BC Components 1 THERMISTOR NTC 10KOHM 3380K BEAD Murata Electronics 1 IC OPAMP GP 4 CIRCUIT 14TSSOP Texas Instruments 1 IC USB SERIAL FULL UART 20SSOP FTDI 1 IC REG LINEAR 3.3V 1A DPAK-3 ON Semiconductor 1 IC MPU SUPERVISOR 3.08V 20MS SC70-3 Microchip Technologies 1 LCD COG CHAR 2X20 WH TRANSFL 3.3V Newhaven Display Intl 1 IC MCU 32BIT 256KB FLASH 64LQFP STMicroelectronics 1 IC DAC 12BIT V-OUT SC70-6 Linear Technology/Analog Devices 1 IC CMOS 1 CIRCUIT SOT23-5 Texas Instruments 1 IC MONITOR PWR/CURR BIDIR 0.5% 10MSOP Texas Instruments 1 TVS DIODE 5.5V 10V SC88 ON Semiconductor 1 CERAMIC RES 8.0000MHZ 10PF SMD Abracon LLC Manually load these parts into a cart and purchase the components.
-
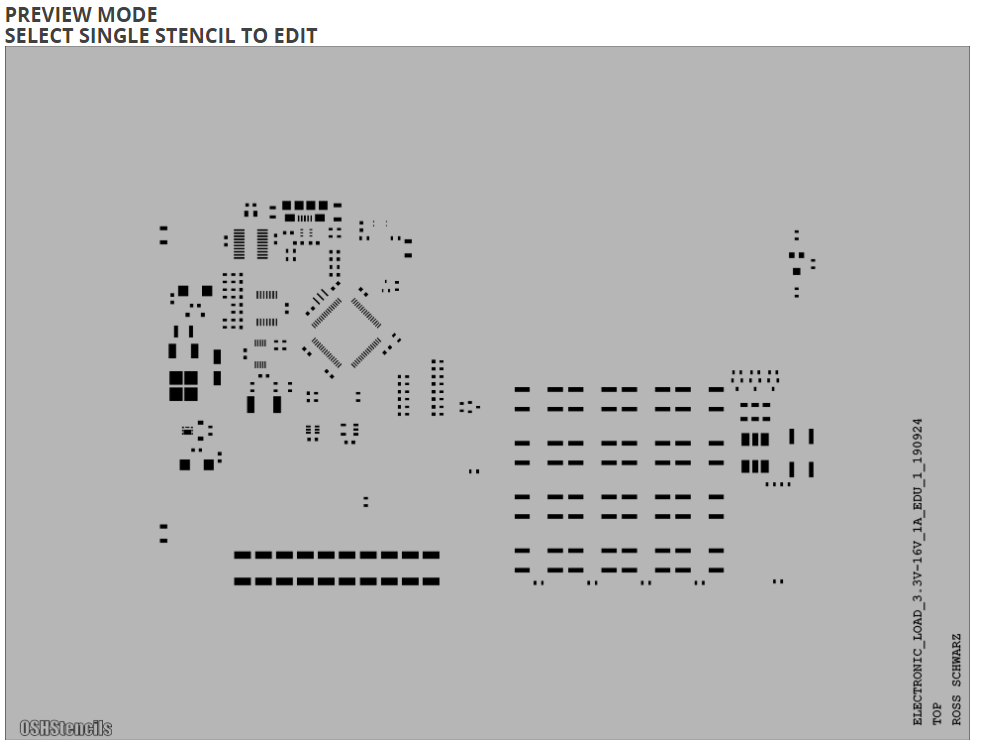
3Order Stencil & Solder Paste
Once your PCB & components arrive, you will be ready to start assembling. One critical custom tool will be the solder paste stencil which can be ordered using services like https://www.oshstencils.com/#%20. The gerbers I have attached to this project are very conservatively designed in order to be directly compatible with these services. You should be able to simply drop the zip file into the website and select the necessary settings..
From OSH Stencils:
Track the production progress and shipping until the stencil arrives.
Also you will need solder paste. I recommend using lead free, but be sure to investigate all of the usage warnings since it does contain chemicals. I usually purchase my solder paste through OSH Stencils during checkout, but you can buy solder paste through many sources:
-
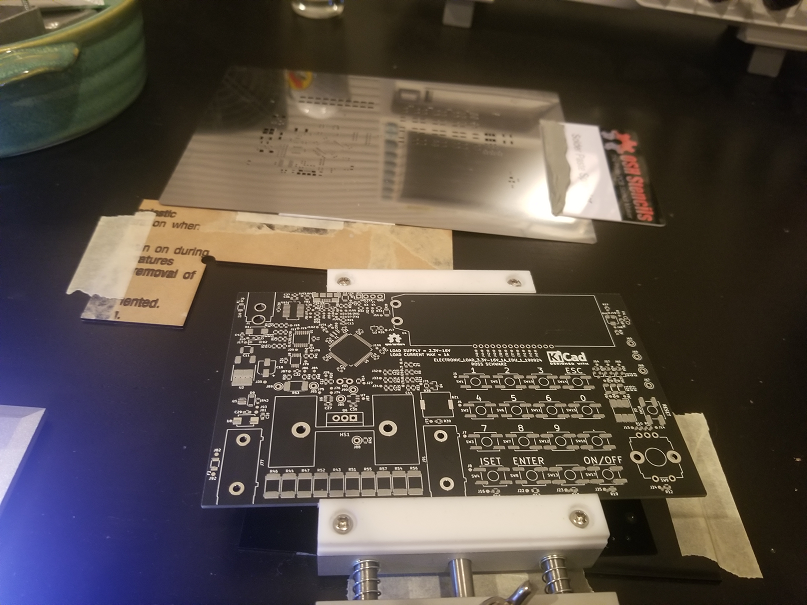
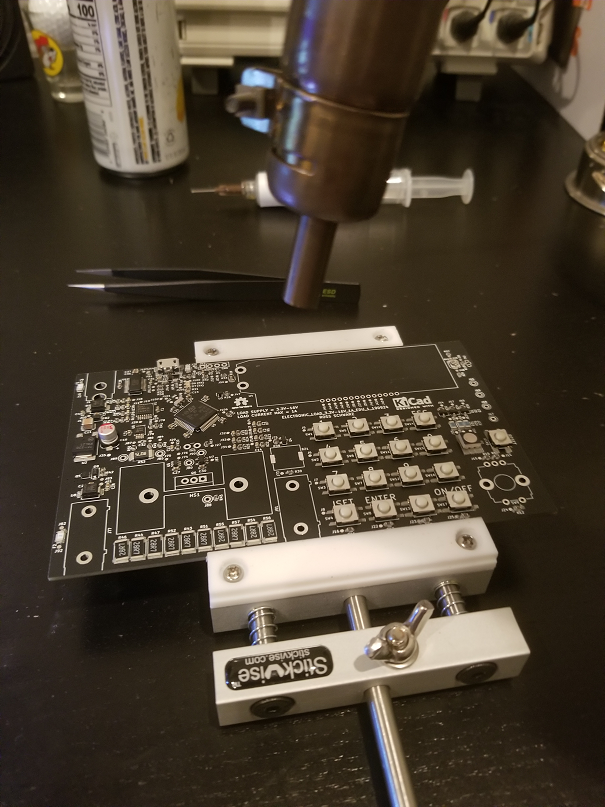
4Secure PCB To Flat Surface
The first step will be to secure the PCB to a flat surface in order to apply solder paste:
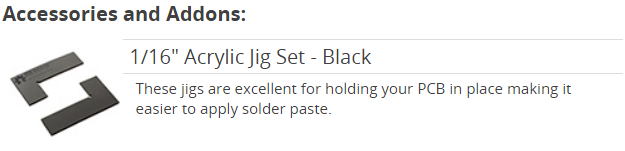
I highly recommend the Acrlyic Jig Set offered by OSH Stencils:
Keeping the PCB still while applying solder paste is going to be critical in order to ensure good paste application.
-
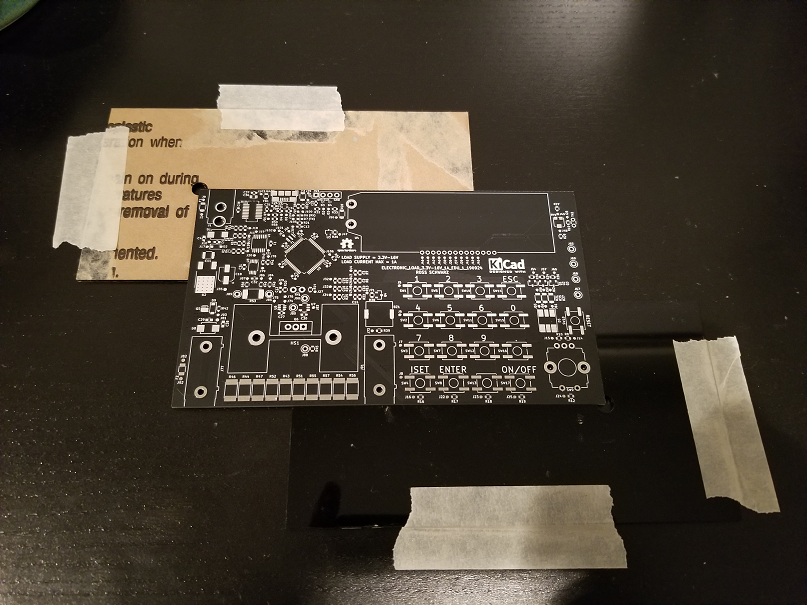
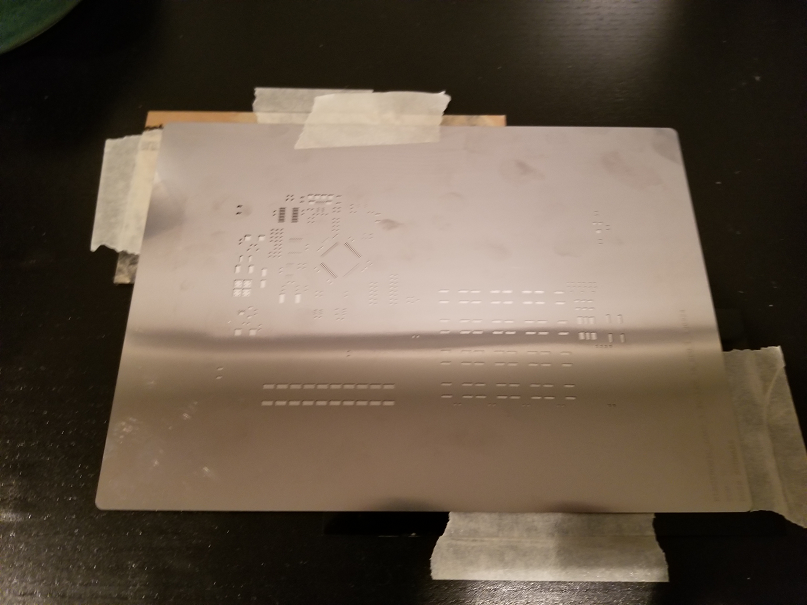
5Align Stencil To PCB
You are now going to align the solder paste stencil with the PCB and tape the solder paste stencil down using masking tape:
Take some time to review this alignment to ensure you get good paste application in coming steps.
-
6Apply and Inspect Solder Paste
There are many tutorials online on how to do this. Here is a simple explanation of what I did.
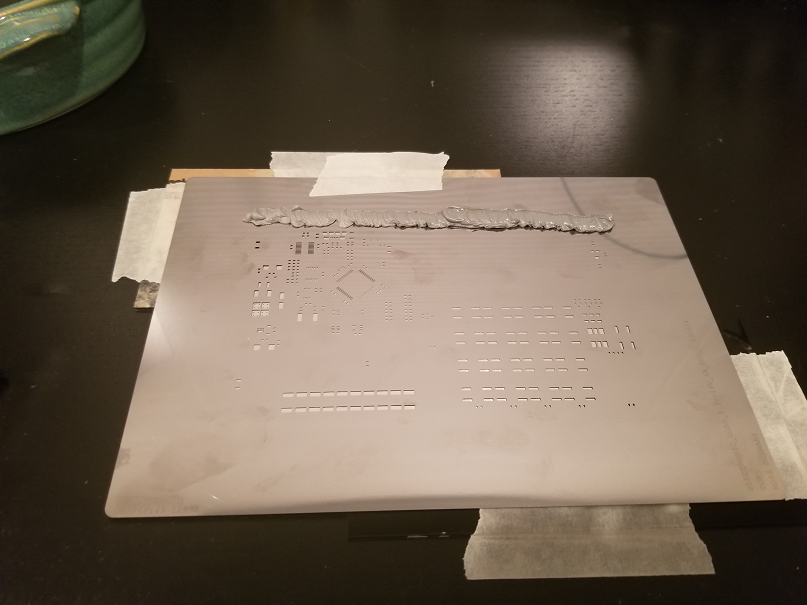
Start by applying a large bead of solder paste above all the openings:
Take an old credit car (or one supplied by OSH Stencils) and smear paste at an angel in a top to bottom direction. I have learned if you can do this in one solid pass you get pretty good results. Please refer to online tutorials for more information, this step comes with practice. Long story short you want to get adequate paste in all open apertures. Once you have done that, simply hinge the stencil away from PCB:
Take some time to review your paste application using a USB Microscope:
Make sure you have good alignment and paste quantity. If you have a few trouble areas you can either touch these up later, or start over by cleaning off board (or using new one) and repeating steps.
-
7Place All Surface Mount and Non Heat Sensitive Components
Now you will need to clear your nerves and grab some tweezers. You are going to have to manually pick and place all surface mount components onto the PCB. Use the reference designator on BOM to translate to the correct reference designator on PCB.
If the footprint has paste applied, then you are going to want to place this part now. If they footprint does not have paste applied, then you will want to solder these parts in the next step,.
Its worth noting that the placement does not need to be absolutely perfect. If each terminal is in contact with the right pad on the PCB, then any slight imperfection should be corrected during the reflow stage.
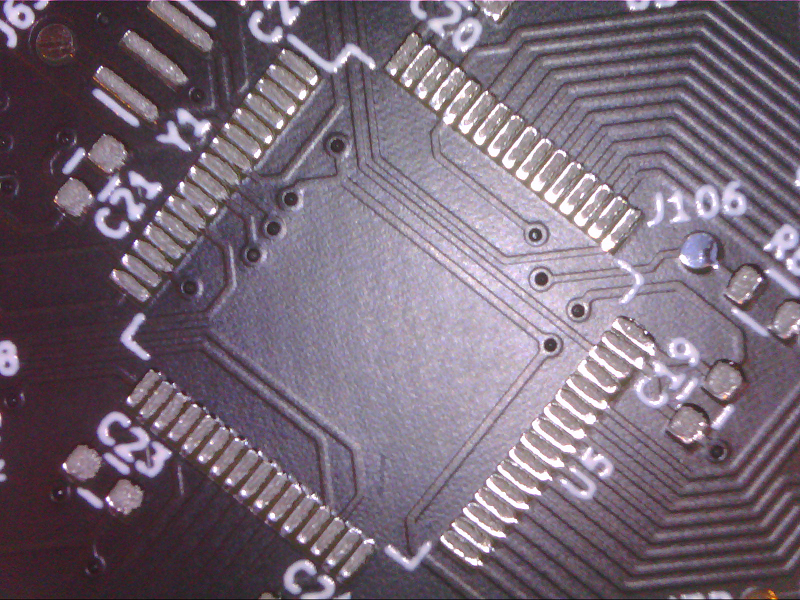
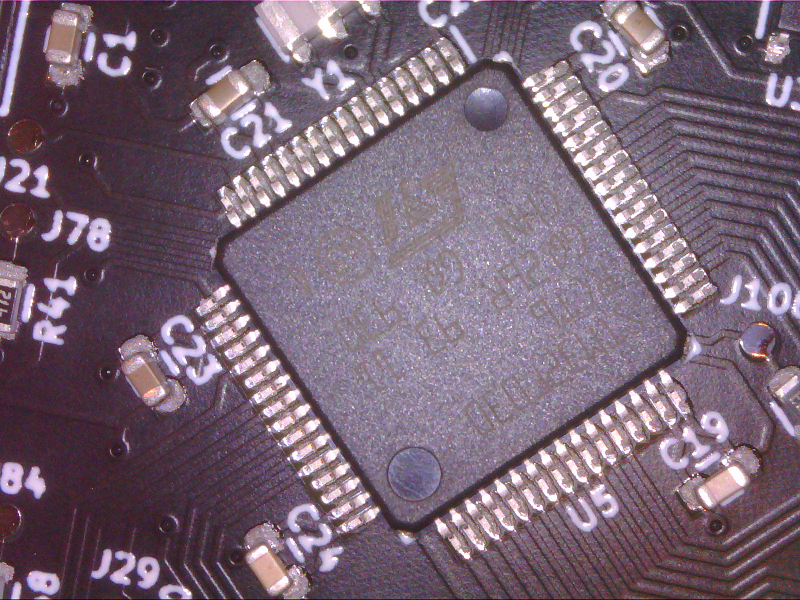
Your PCBA should look like this once all surface mount components are placed:
Once again use a microscope to review your component placement:
Feel free to nudge or replace parts if alignment is not adequate.
-
8Reflow Solder
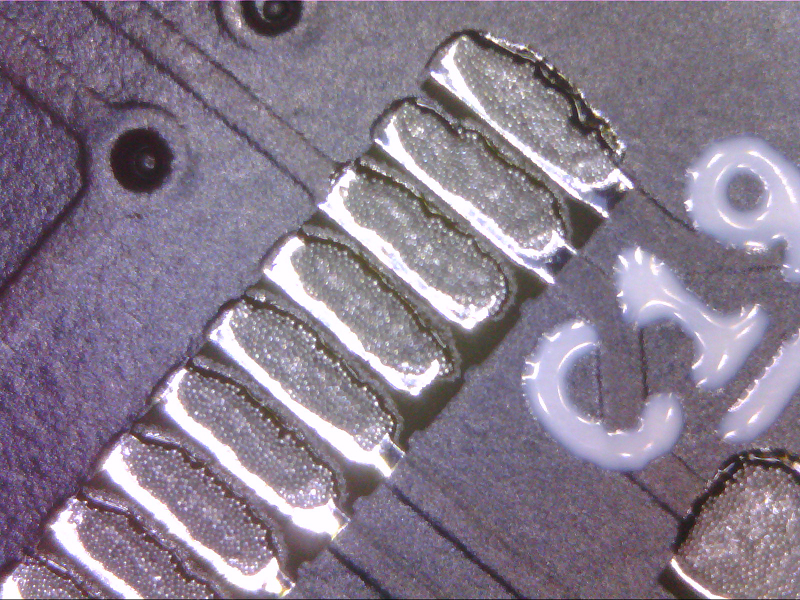
Reflow all solder paste using a hot air gun. There are many tutorials on this as well online. My main tip is to make sure air flow isnt too high where you have to worry about parts moving. Simply take your time and make sure all solder has reflowed and parts are soldered:
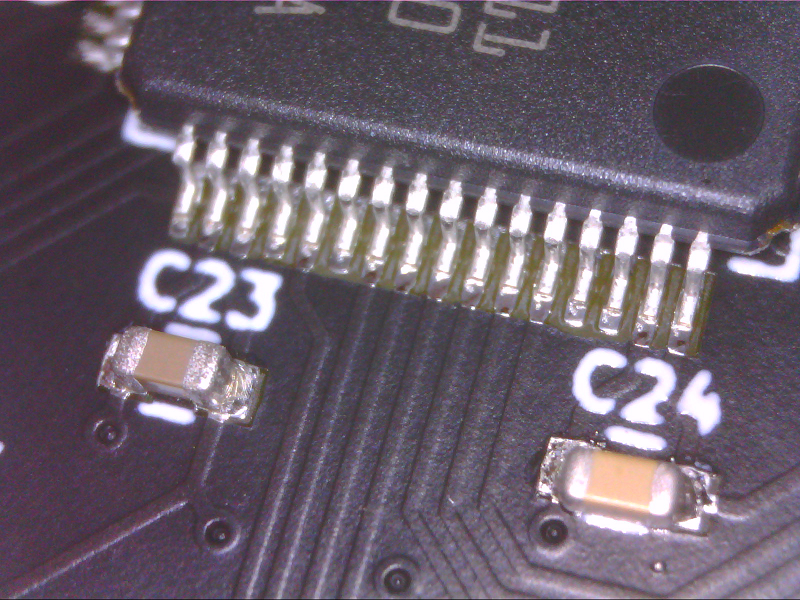
Inspect all solder joints using a USB microscope:
-
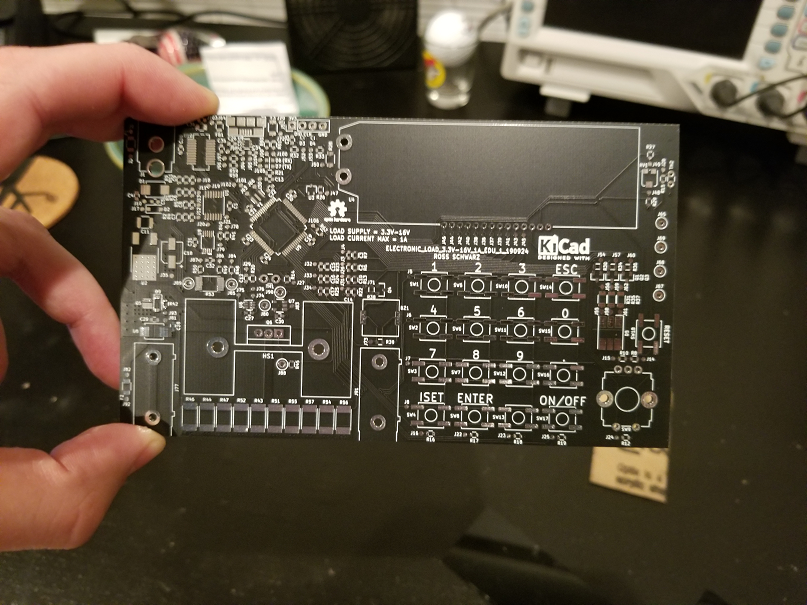
9Solder All Through Hole and Heat Sensitive Components
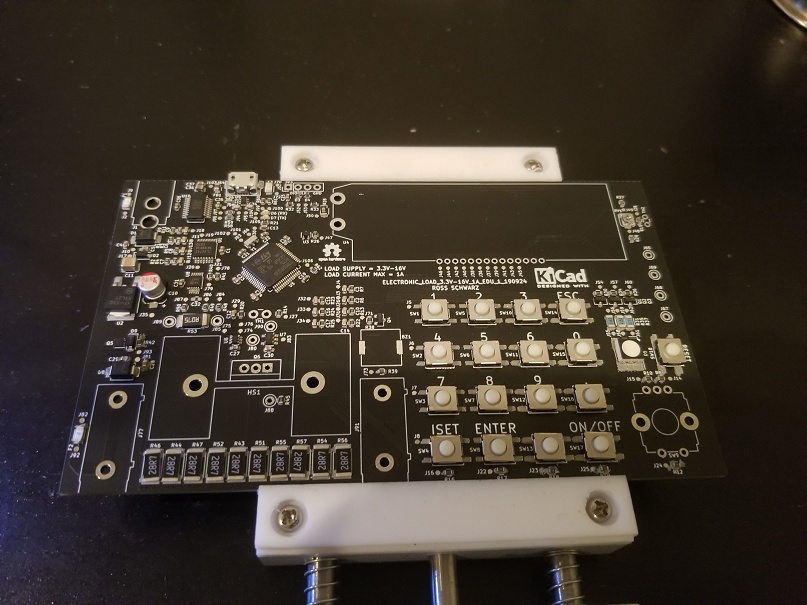
Locate all remaining materials and one by one hand solder each through hole and heat sensitive component to the PCB. Your PCB should look like this when complete:
Electronic Load 3.3V-16V 1A
Electronic load that supports 3.3V-16V at 1A of current. Equipped with keypad, LCD, rotary encoder, STM32 Microcontroller and more!

Discussions
Become a Hackaday.io Member
Create an account to leave a comment. Already have an account? Log In.