-
Voltage and Current settings
12/11/2019 at 20:19 • 0 commentsAs a leaflet, I am copying the resistor values for the voltage and current settings here:
-
Reminder to self: it works better when you do it right!
12/10/2019 at 23:12 • 0 commentsHere is the USB-C PD spec for maximum power:
Voltage Current Power 5V 3A 15W 9V 3A 27W 12V 3A 36W 15V 3A 45W 20V 5A 100W I had the maximum current set to 5A and testing with my power bank failed, because it can only deliver 5V or 9V with 2A max. Reducing the max current to 2A made everything work. Of course if I request higher voltages, negotiation still comes up with a disabled power switch, which makes sense now. I received a USB-C PD wall power supply in the meantime and it can and does deliver 20V at 5A and everything in between. Testing is done in very short cycles because my 100W 4 Ohm test load heats up really fast. I need a bigger heat sink. Also thinking about using light bulbs as load, what a bright idea.
-
Assembly
12/08/2019 at 20:54 • 0 commentsSo.....
Assembly of the QFN-24 parts were as simple as possible. A tiny bit of solder on the center pad on the PCB. Then hit it with hot air until the solder melts. Place the part, that all other pins line up. Once cooled, the part will not move any more and the external pins can be soldered by applying a liberal amount of flux, then dragging the iron tip with some solder on it, across the pins until all pin accepted some solder. Done!
All other components are easy to solder.
And then there was the 5-postion rotary switch. Unfortunately, the datasheet showed the pinout in bottom view. Luckily it is a through hole switch, so I can just solder it from the bottom and it is going to work but a revision 2 will happen very soon.
The mid mount USB-C connector is a thing of beauty. Through hole tabs make it really sturdy and the VBUS and GND pins are grouped together, which makes it easy to fan out a thick trace for the high current. And the profile height is very low.
-
PCBs arrived
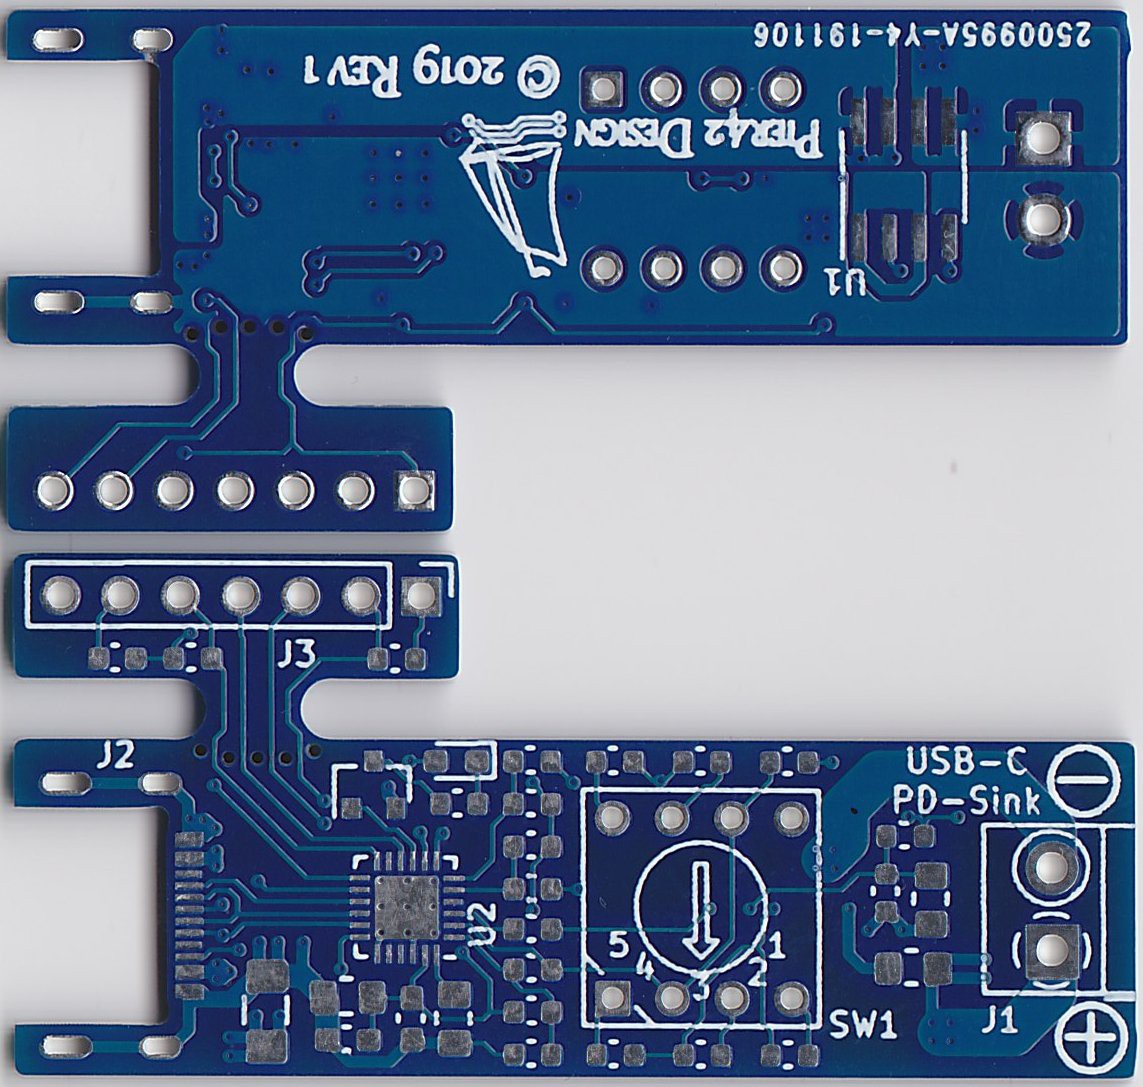
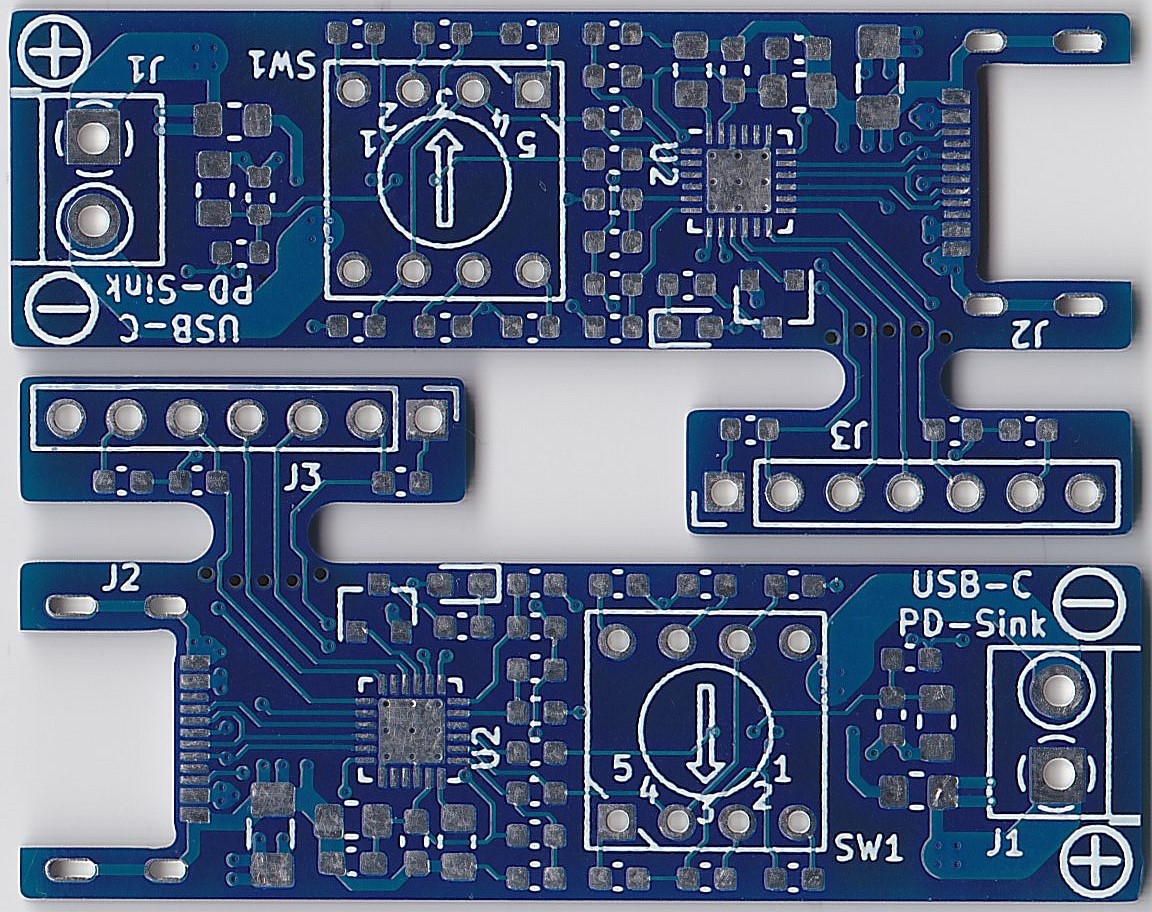
12/04/2019 at 19:49 • 0 commentsThe PCBs arrived from JLC. Optical inspection is a pass and I can clearly see the thicker traces with this 2oz copper layer design. I'll do some testing first before I am going to test the break-off tab feature.
All components are here also, so I am off to the workbench.
![]()
![]()
USB-C Power Delivery Sink - CYPD3177
A USB-C PD Sink up to 20V 5A based on the Cypress CYPD3177 USB PD Controller
 MagicWolfi


