Close
0%
0%

DIY MMOS ffb STM32 and servo drive servo motor

DIY MMOS ffb STM32 and servo drive servo motor force feedback wheel

Similar projects worth following
The servo I bought comes from China's ASDD 30A servo drive and MiGE servo motor 130ST-M10010

Recommended purchase
I personally recommend novices to buy a complete AC servo motor and servo drive kit
Package AC servo is fast and convenient

https://pt.aliexpress.com/wholesale?catId=0&initiative_id=AS_20210214134901&origin=y&SearchText=aasd+30a+servo+driver

Buy these AASD 30A and servo motor 130ST-M10010 they are complete
No need to change any encoder wiring
If you buy Mige servo motor and AASD 30 servo drive you need to change the encoder wiring
MiGE servo motor and AASD 30A I do not recommend novice purchase
So it’s better for novices to buy the complete package

https://www.alibaba.com/products/aasd_130st-m10015.html?spm=a2700.galleryofferlist.0.0.14331720YHWK9S&IndexArea=product_en&viewtype=G

If you support my project, please buy the steering wheel 3D I designed://cults3d.com/en/3d-model/game/porsche-911-gt3-cup-steering-wheel

My Facebook https://www.facebook.com/SimracingOS

Message on my Discord server:https://discord.gg/JHTkFwJ
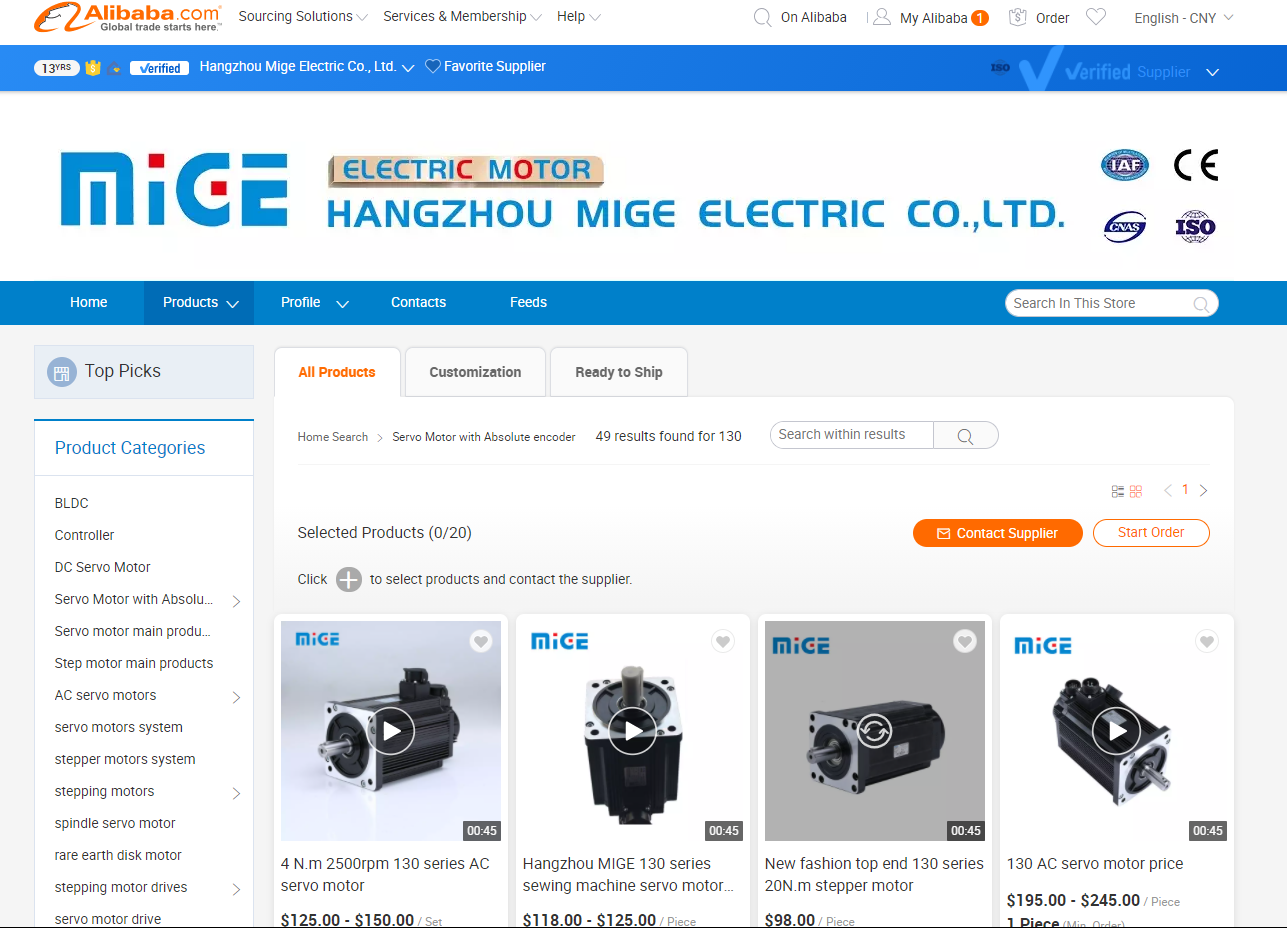
Mige Servo Motor Co., Ltd. Customer Service Email

hzmgdjlisa@outlook.com

Mige servo motor co., ltd Facebook customer service

https://www.facebook.com/profile.php?id=100073644768907

MiGE-130ST-M10010https://www.alibaba.com/product-detail/PM-Servo-Motor-130ST-M10010_256097611.html?spm=a2700.shop_pl.41413.32.37e37974fBAbtt

MiGE official website Alibaba storehttps://hzmgdj.en.alibaba.com/productgrouplist-218414670/130mm_series.html?spm=a2700.shop_index.88.48

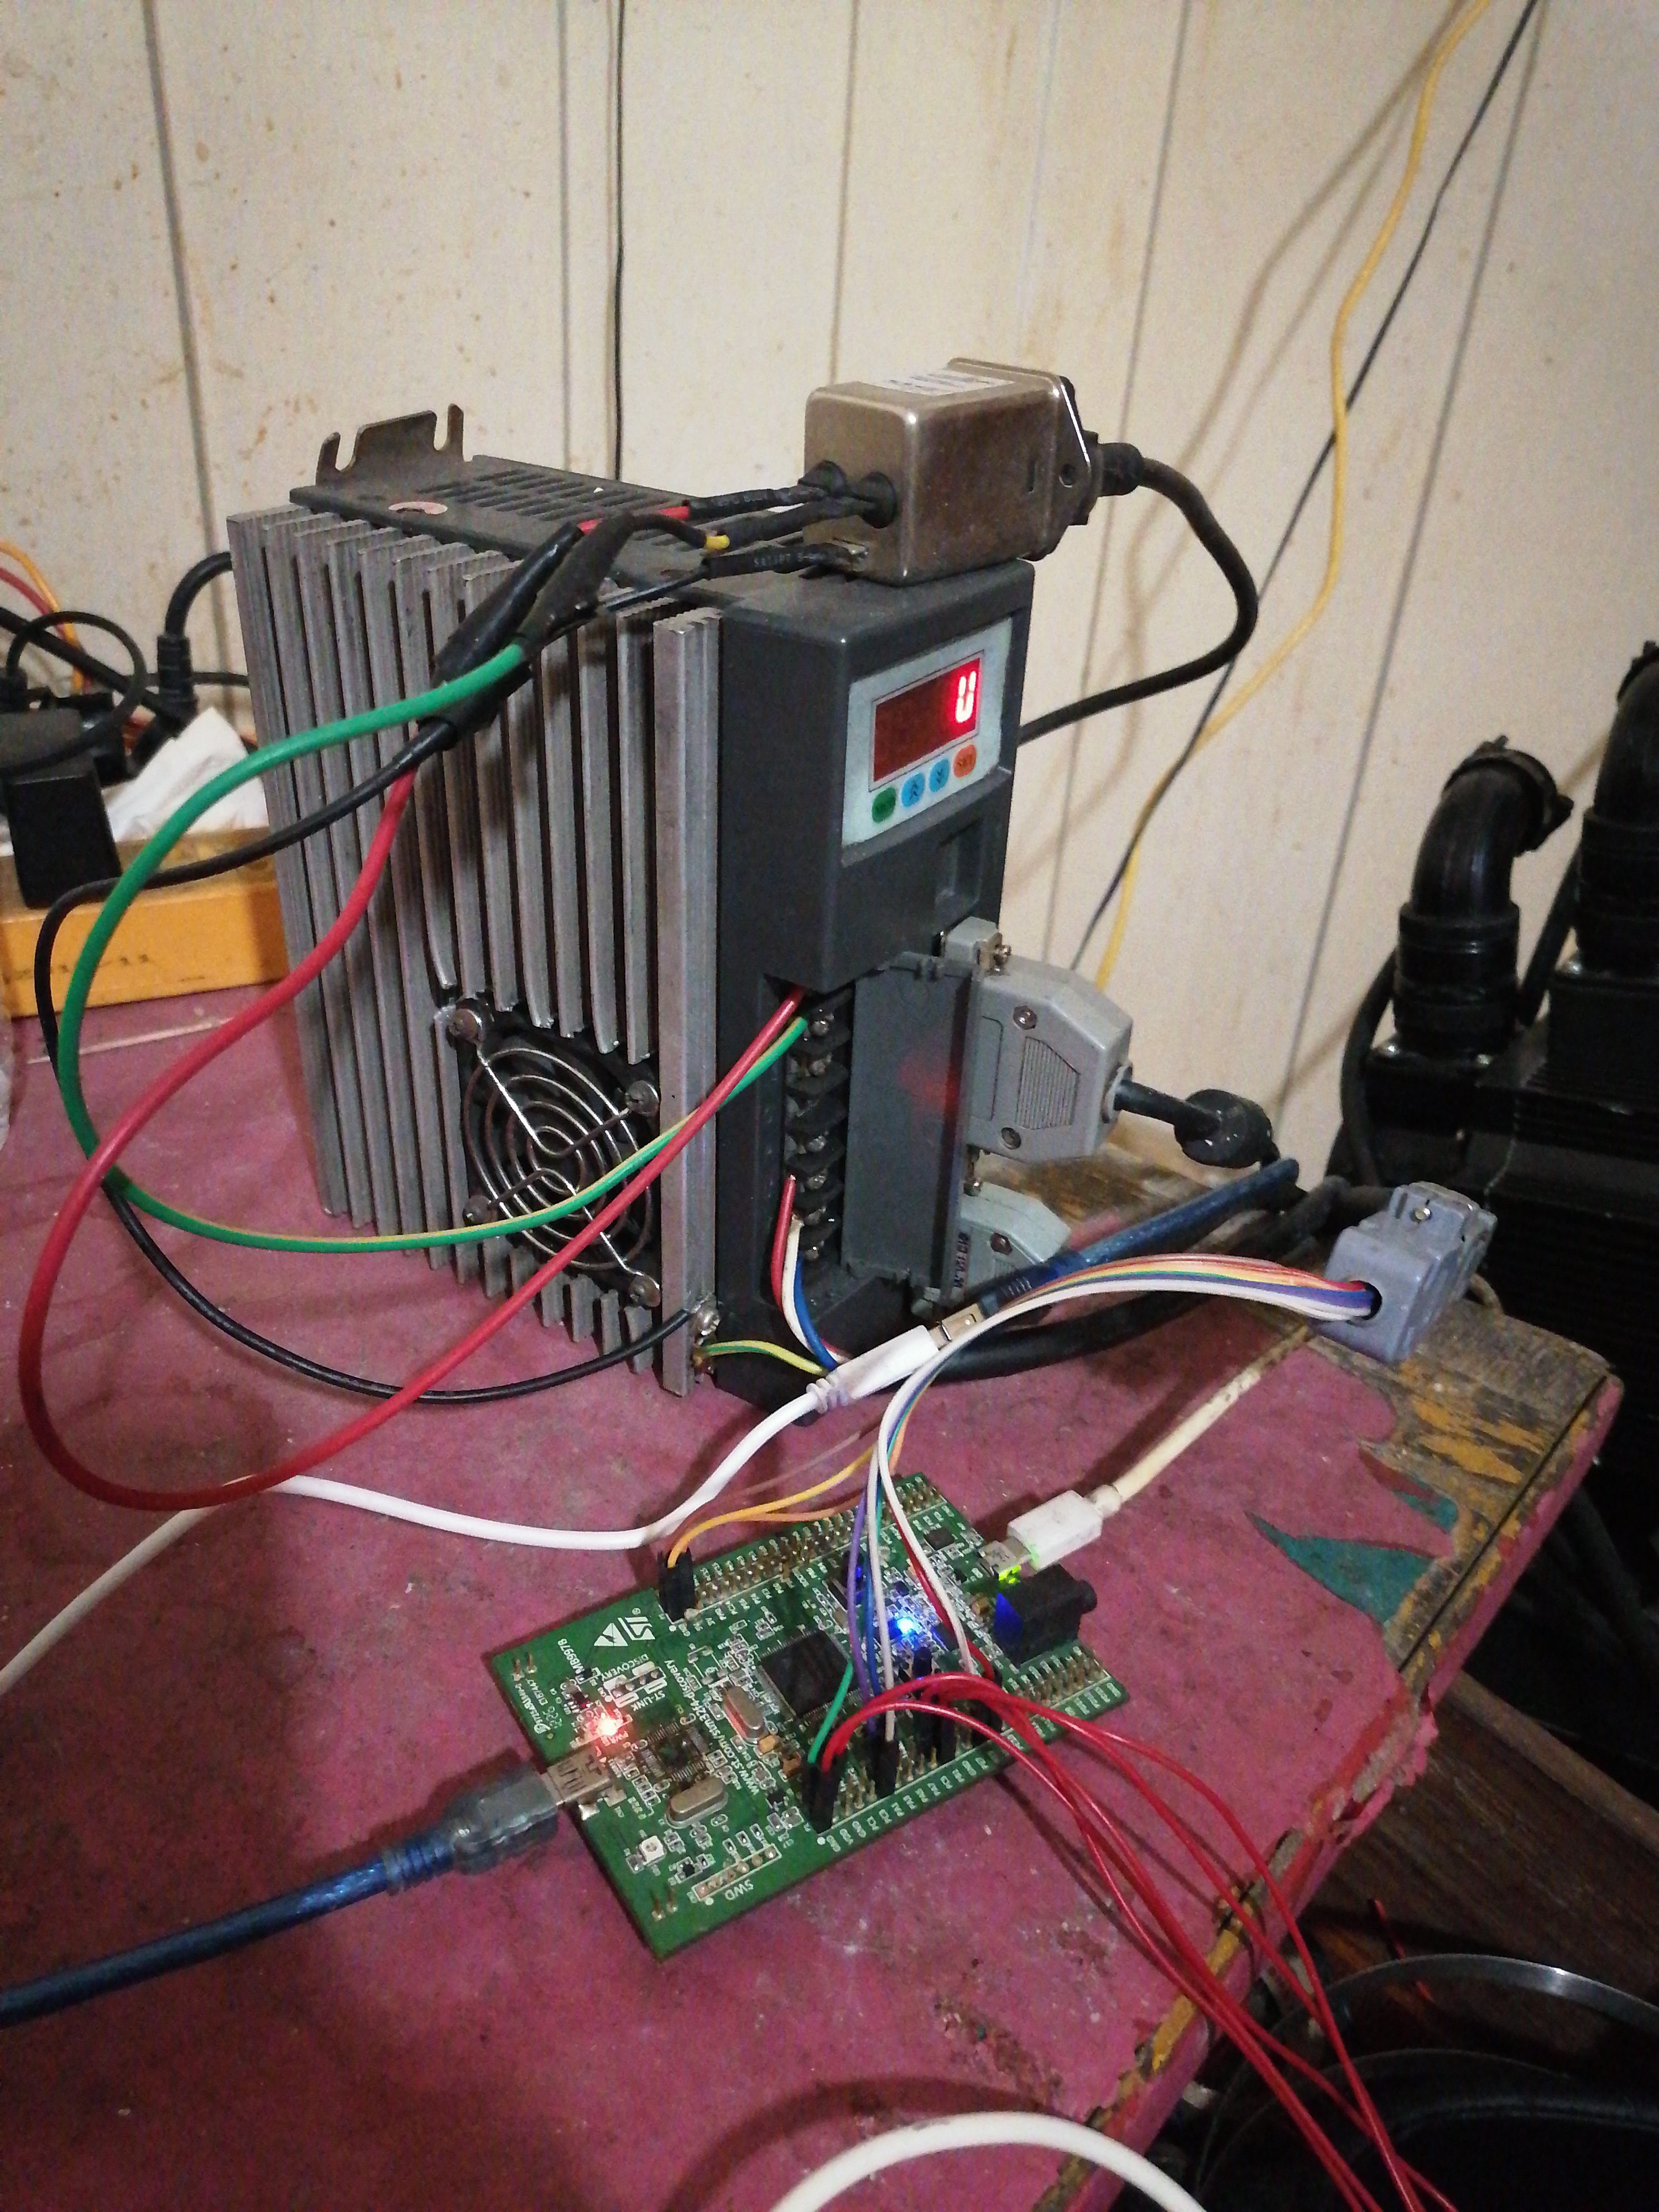
Choose one of TDD Micro-Direct driver board controller and STM32F407G-DISC1

Discovery kit STM32F407G-DISC1 for STM32F407VG MCUSTM32F4DISCOVERY)

STM32F4DISCOVERY(Buy connection)https://www.st.com/en/evaluation-tools/stm32f4discovery.html

Use the firmware flash tool STM32 ST-LINK utility ST website: https://www.st.com/en/development-tools/stsw-link004.html

STM32F4DISCOVERY All settings of the servo drive are as follows

Before plugging in anything, turn on the power and install the driver settings.
MiGE servo motor 130ST-M10010 set the motor model to 21
Each servo motor model is different according to the servo motor provider's instructions to set the number

PN001 = 21 (motor code, requires restart)5-10 seconds
PN002 = 0 (control mode - voltage mode, requires restart) 5-10 seconds
PN003 = 0 ( Servo enabled? - external)
PN018 = 0 (Take the encoder output pulse AB phase logic - 0-1)
PN051 = 1500 (Motor max RPM - see motor specs)motor specifications

PN053 = 18 (SigIn 2 port functional allocation  -27 - 27) - 58? "command reverse" function
PN188 = 159 (Analog torque instruction smooth filtering time - 1-500ms)
PN189 = 39 (Analog torque instruction gain 1-300 %/V)
PN190 = 0 (Analog torque instruction offset adjustment  -1.5v - 1.5v)
PN191 = 1 (Simulation of torque command direction - try 0 first)
PN198 = 120 (Torque control speed limit - 0-4500rpm)

Restart according to the settings. If there is no automatic saving, the settings will be saved manually
Save settings manually FN001 Save all settings manually

Connect STM32, motor and encoder to the drive
Use setting 16.8khz, 10000CPR to run MMOS, use encoder index, simulate axis -3
Use the App to see if the wheels are spinning in the correct way.
PN191 = 0-1 to change the direction as needed; and
Switch encoder wiring (encoder A + <-> PA0) (encoder B + <-> PA12)
You cannot reverse the encoder in MMOS
PN188 = 120-150 (analog torque command smoothing filter time-0-500ms)

Use the firmware flash tool STM32 ST-LINK utility ST website: https://www.st.com/en/development-tools/stsw-link004.html

Motion4sim servo motion controller 6DOF seat running dynamic simulation purchase link

https://www.tindie.com/products/motion4sim/advanced-servo-motion-controller/

YouTube video test
rfactor 2 and Assetto Corsa testing

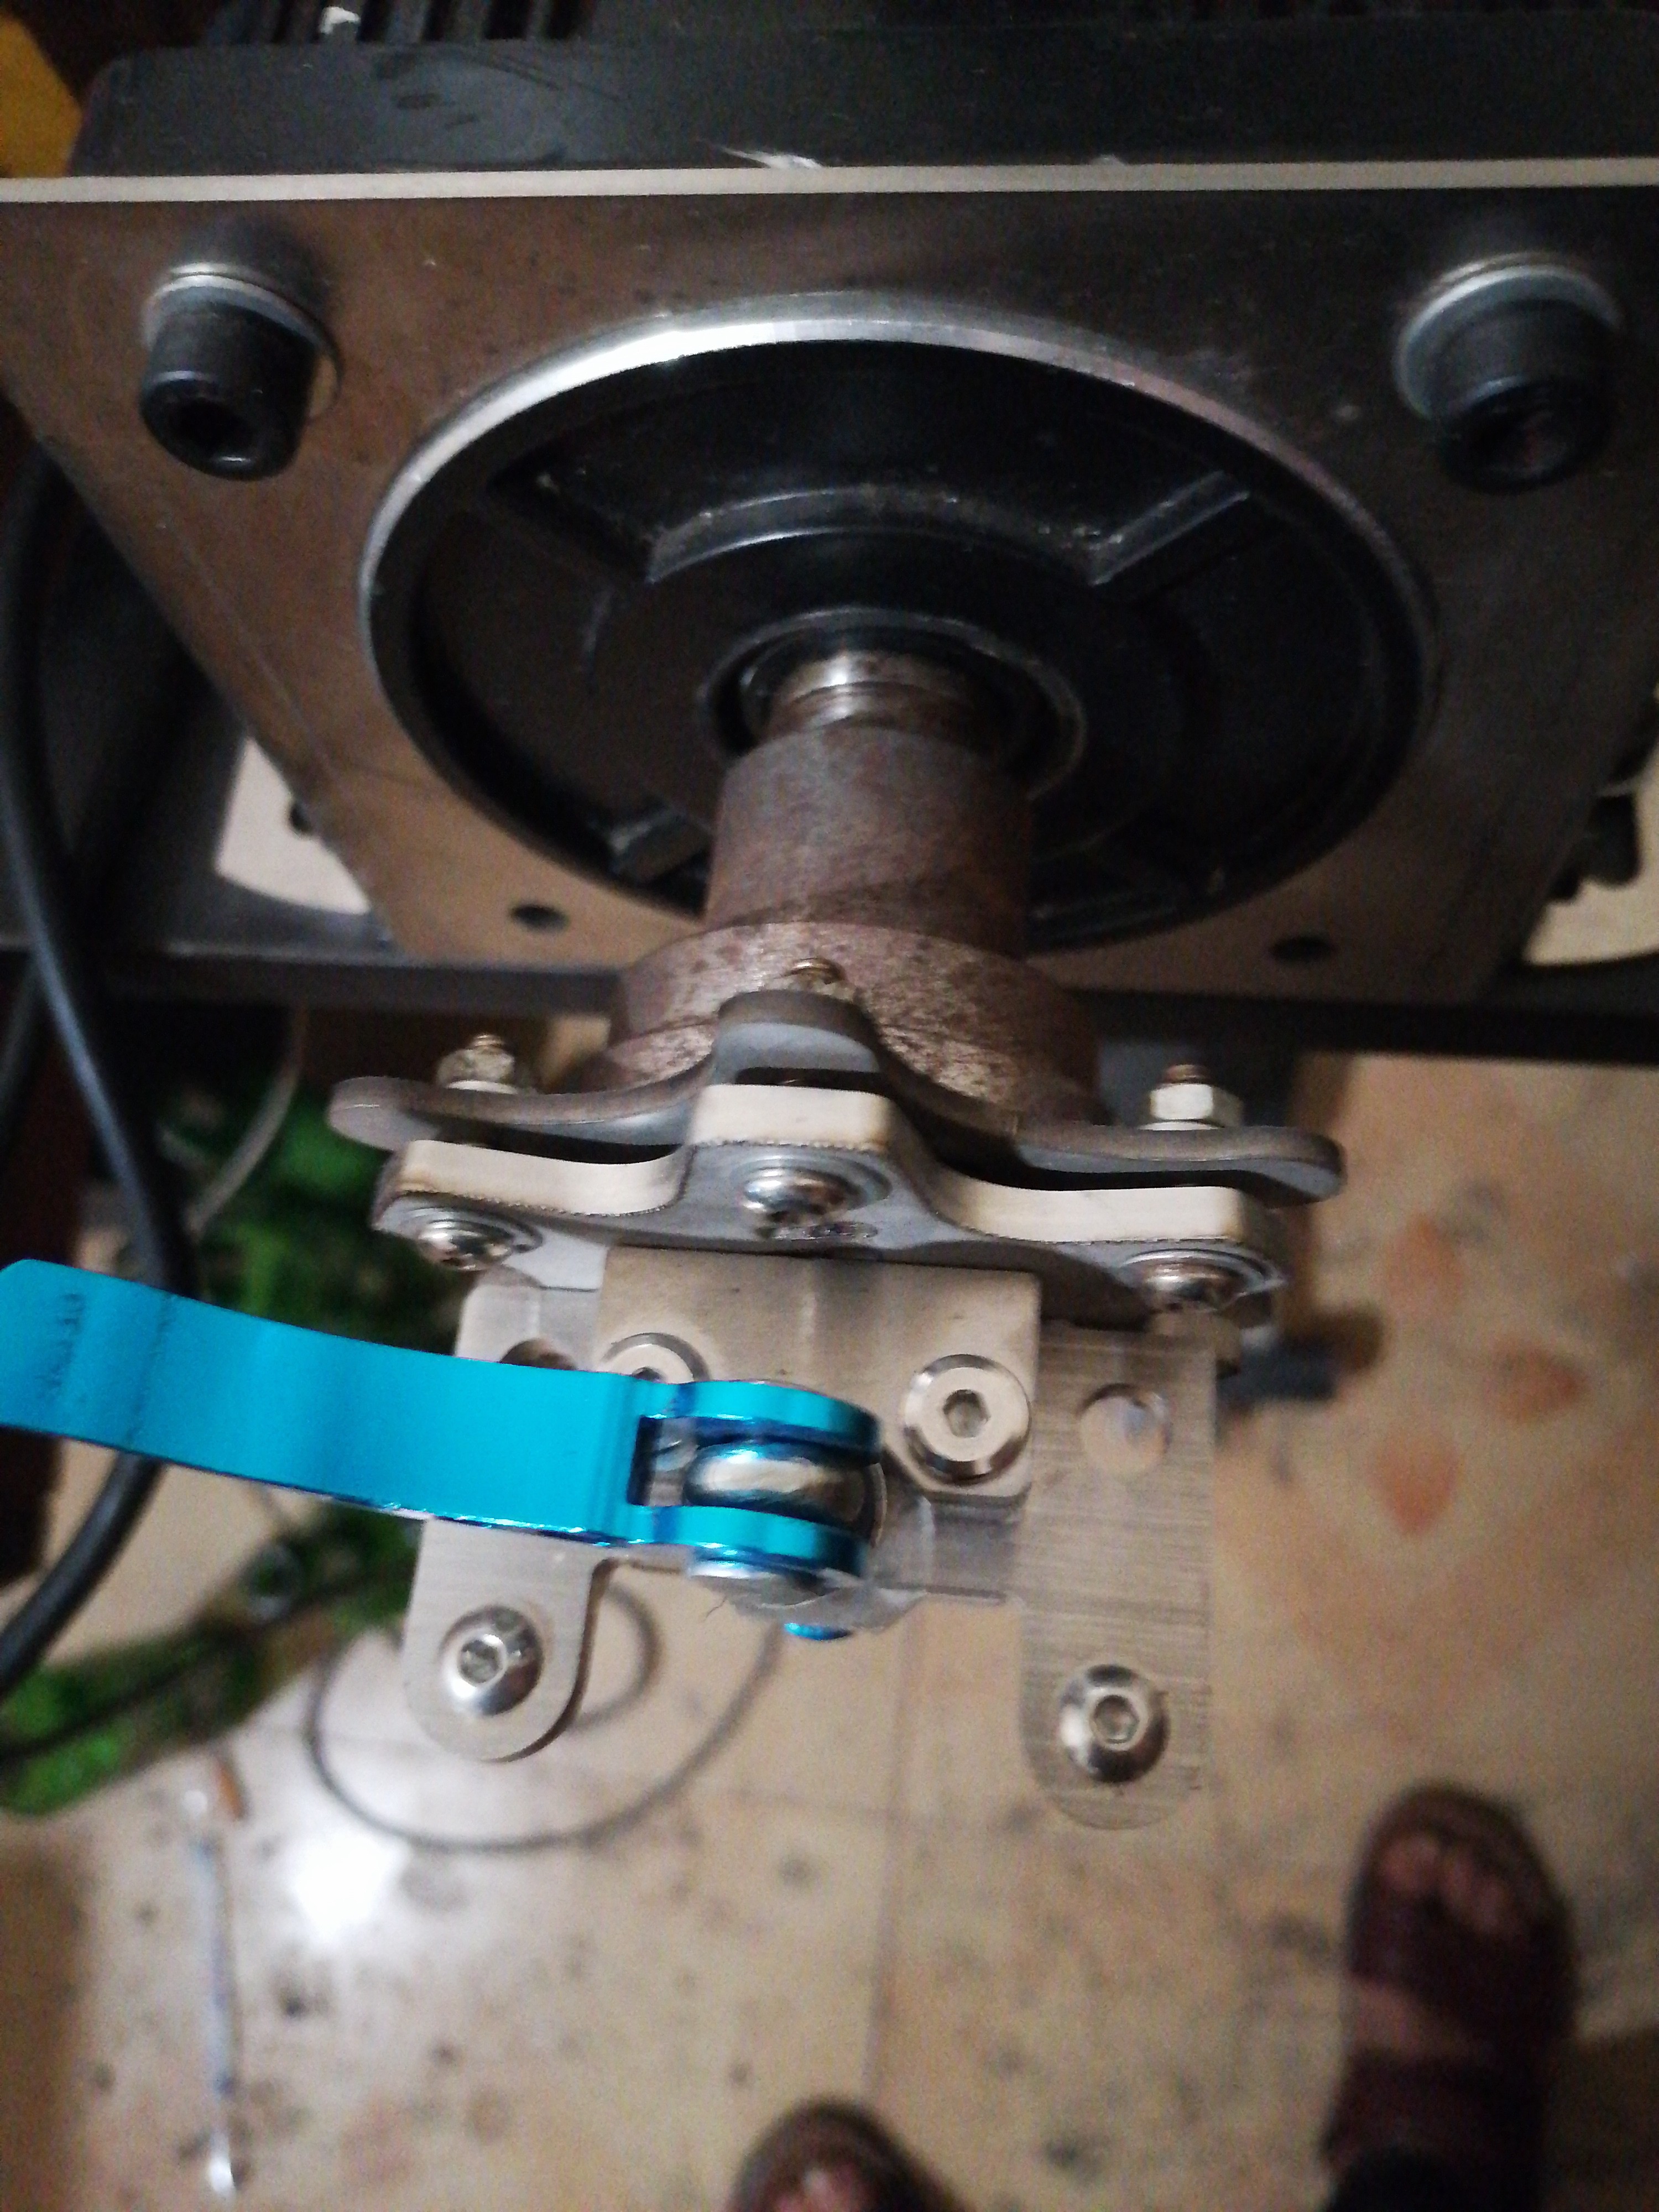
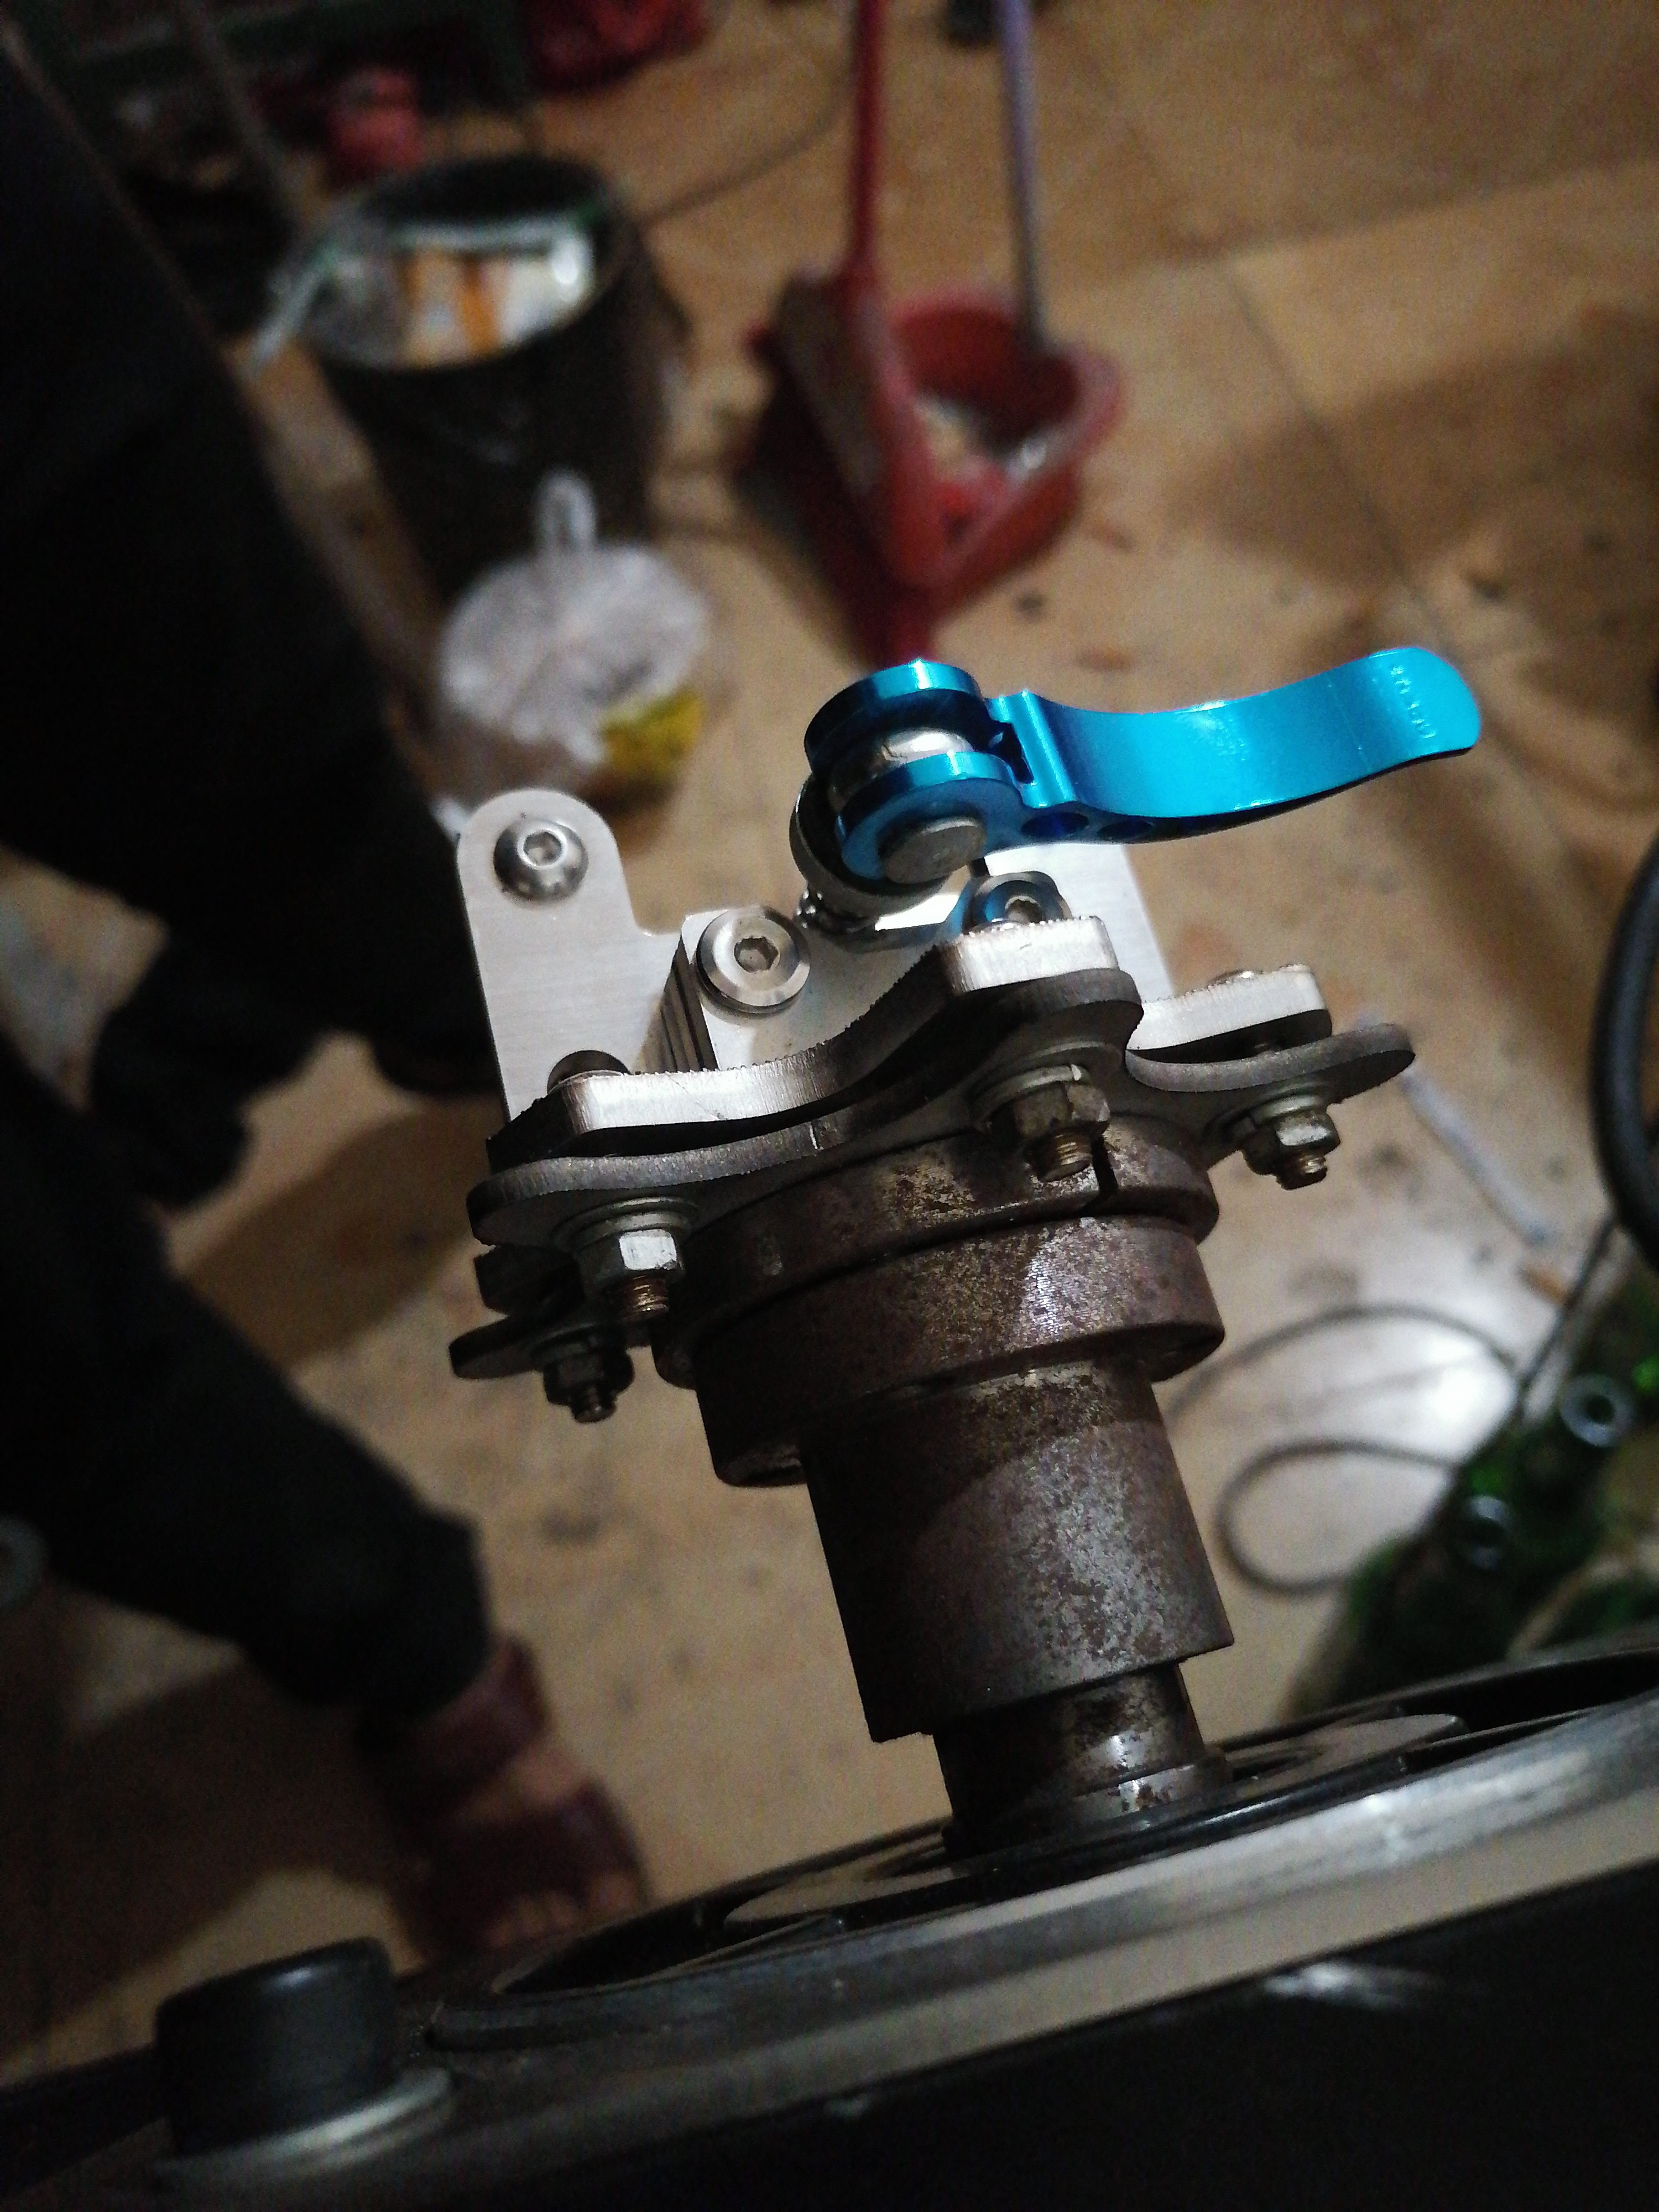
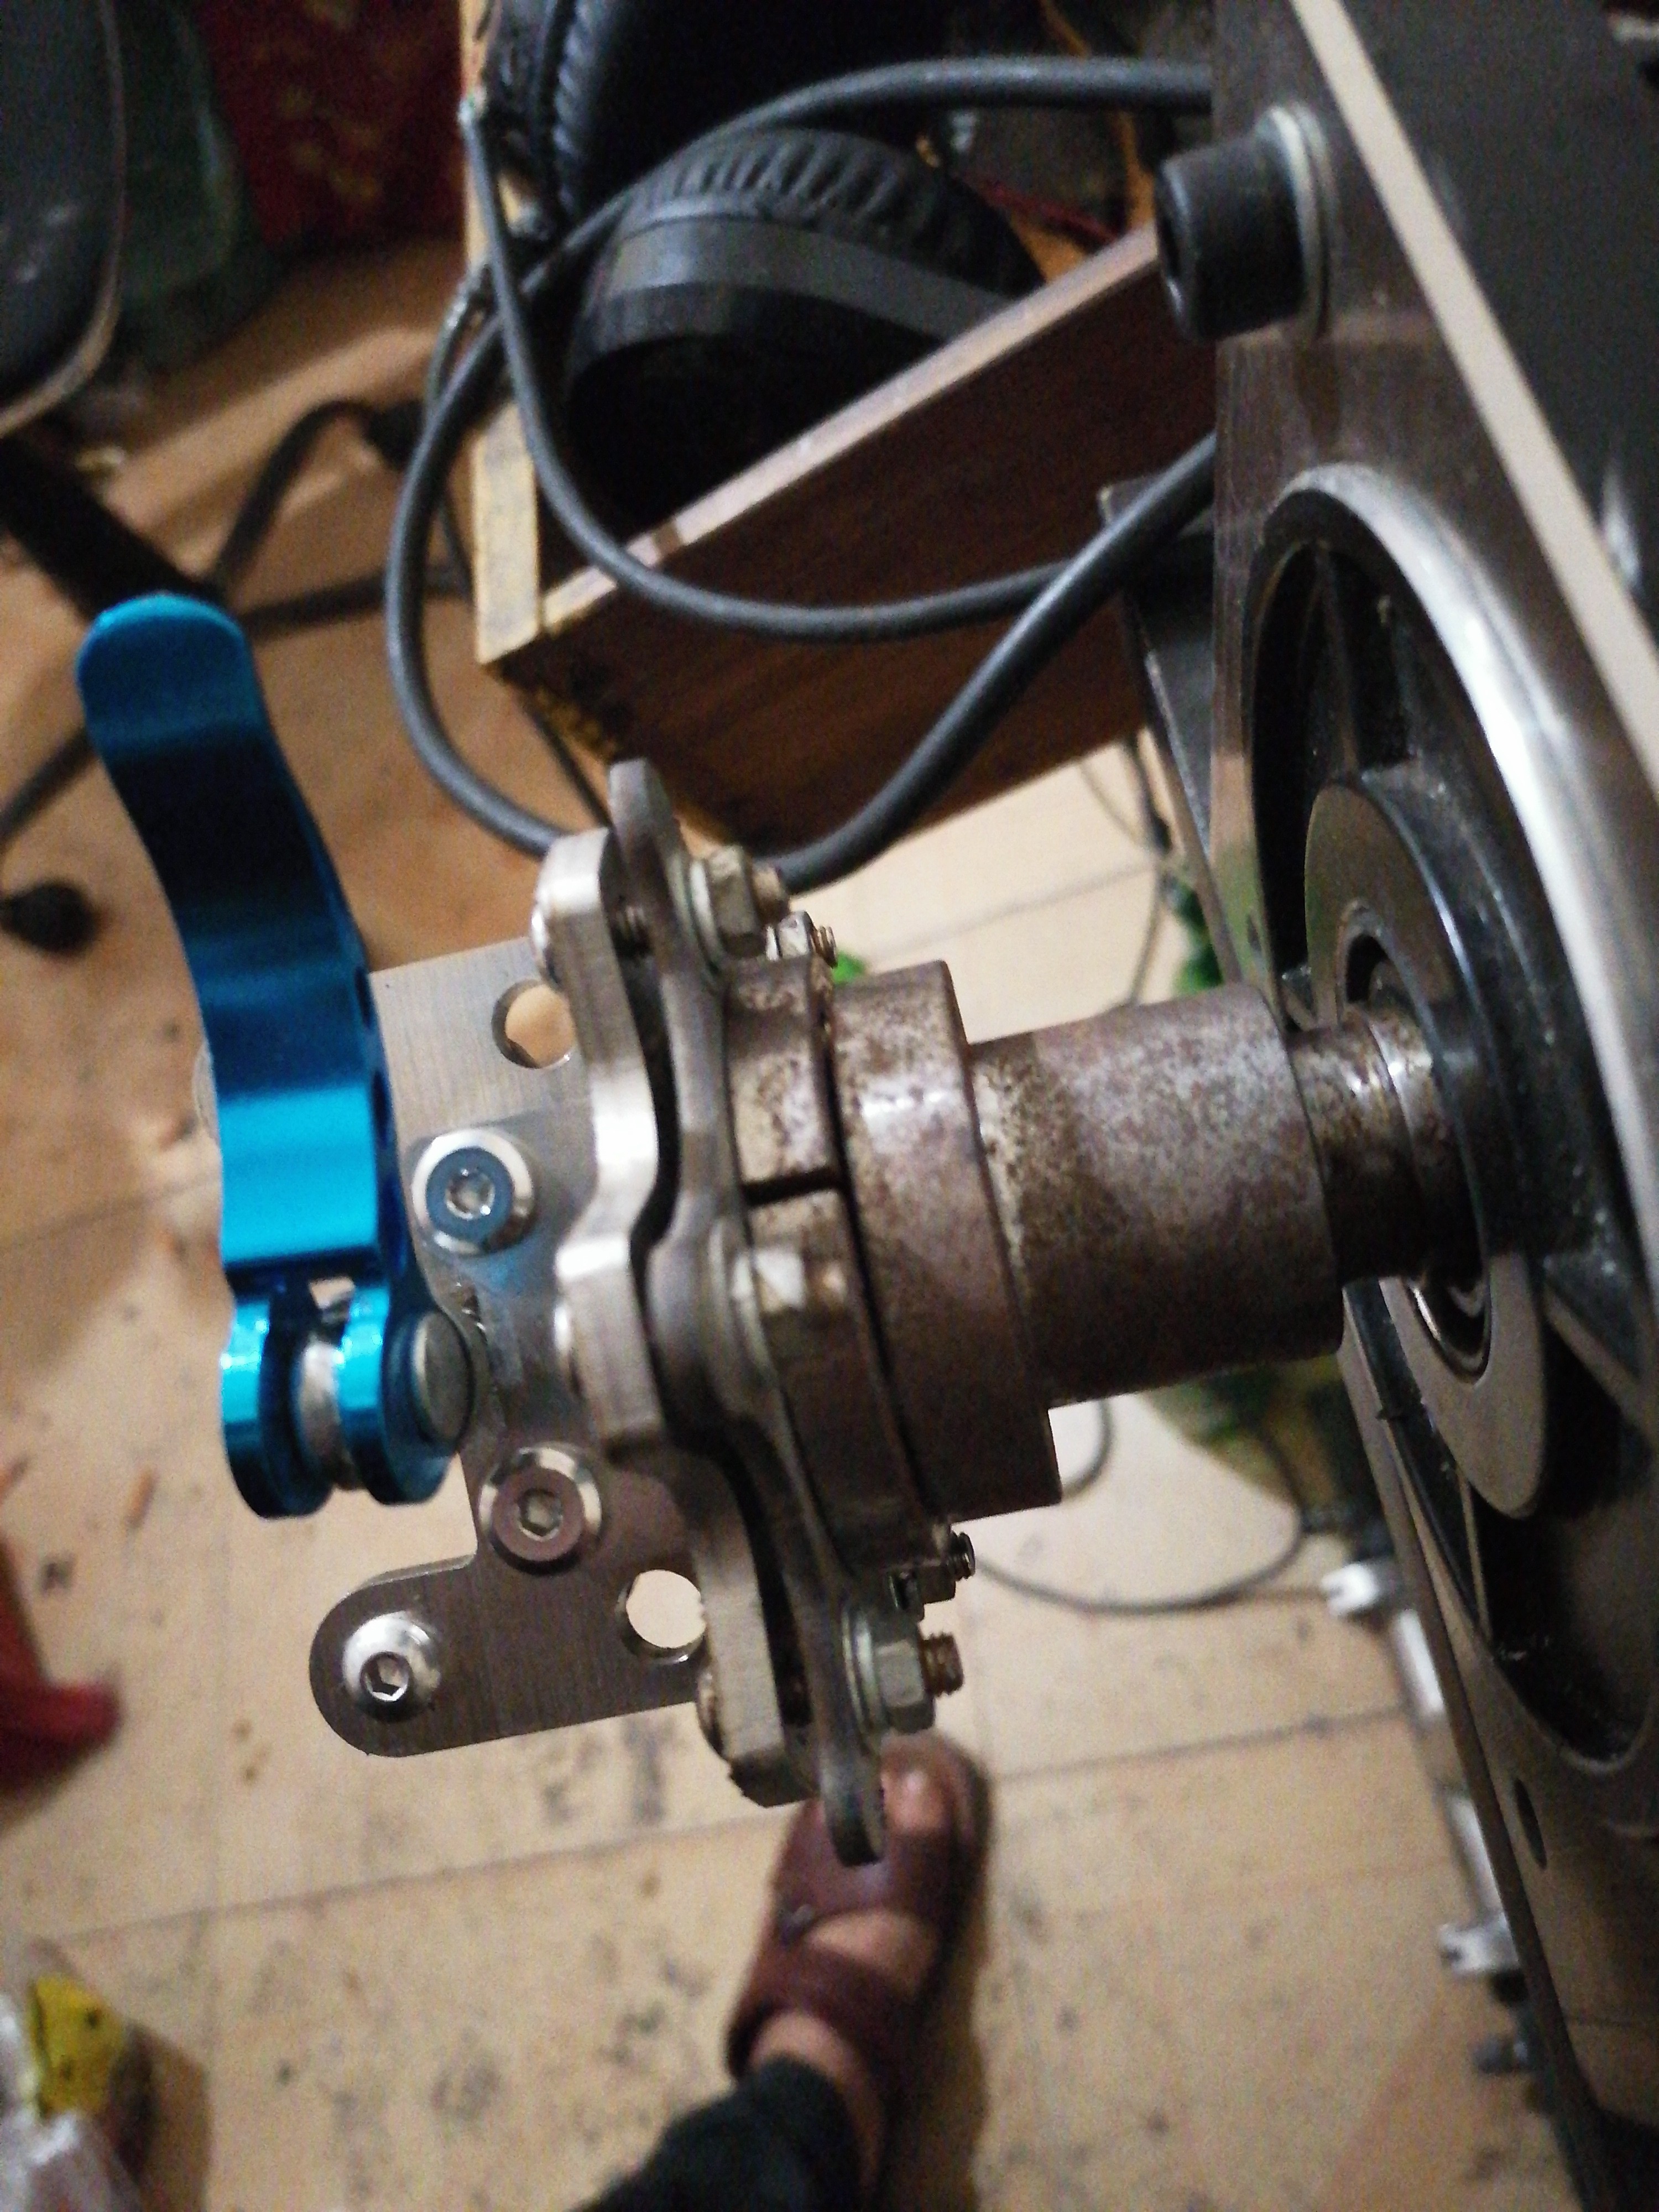
Servo motor shaft jacket MIGE-stainless steel

https://de.aliexpress.com/item/4000468585072.html
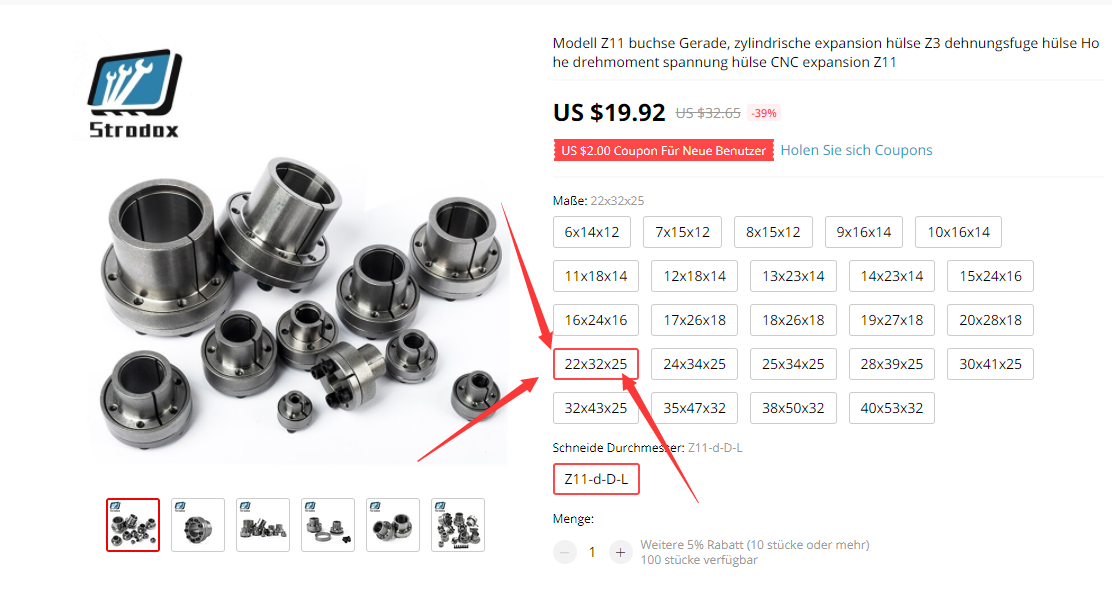
https://de.aliexpress.com/item/4000465168125.html

Clamp bushing MIGE – Billet Aluminium
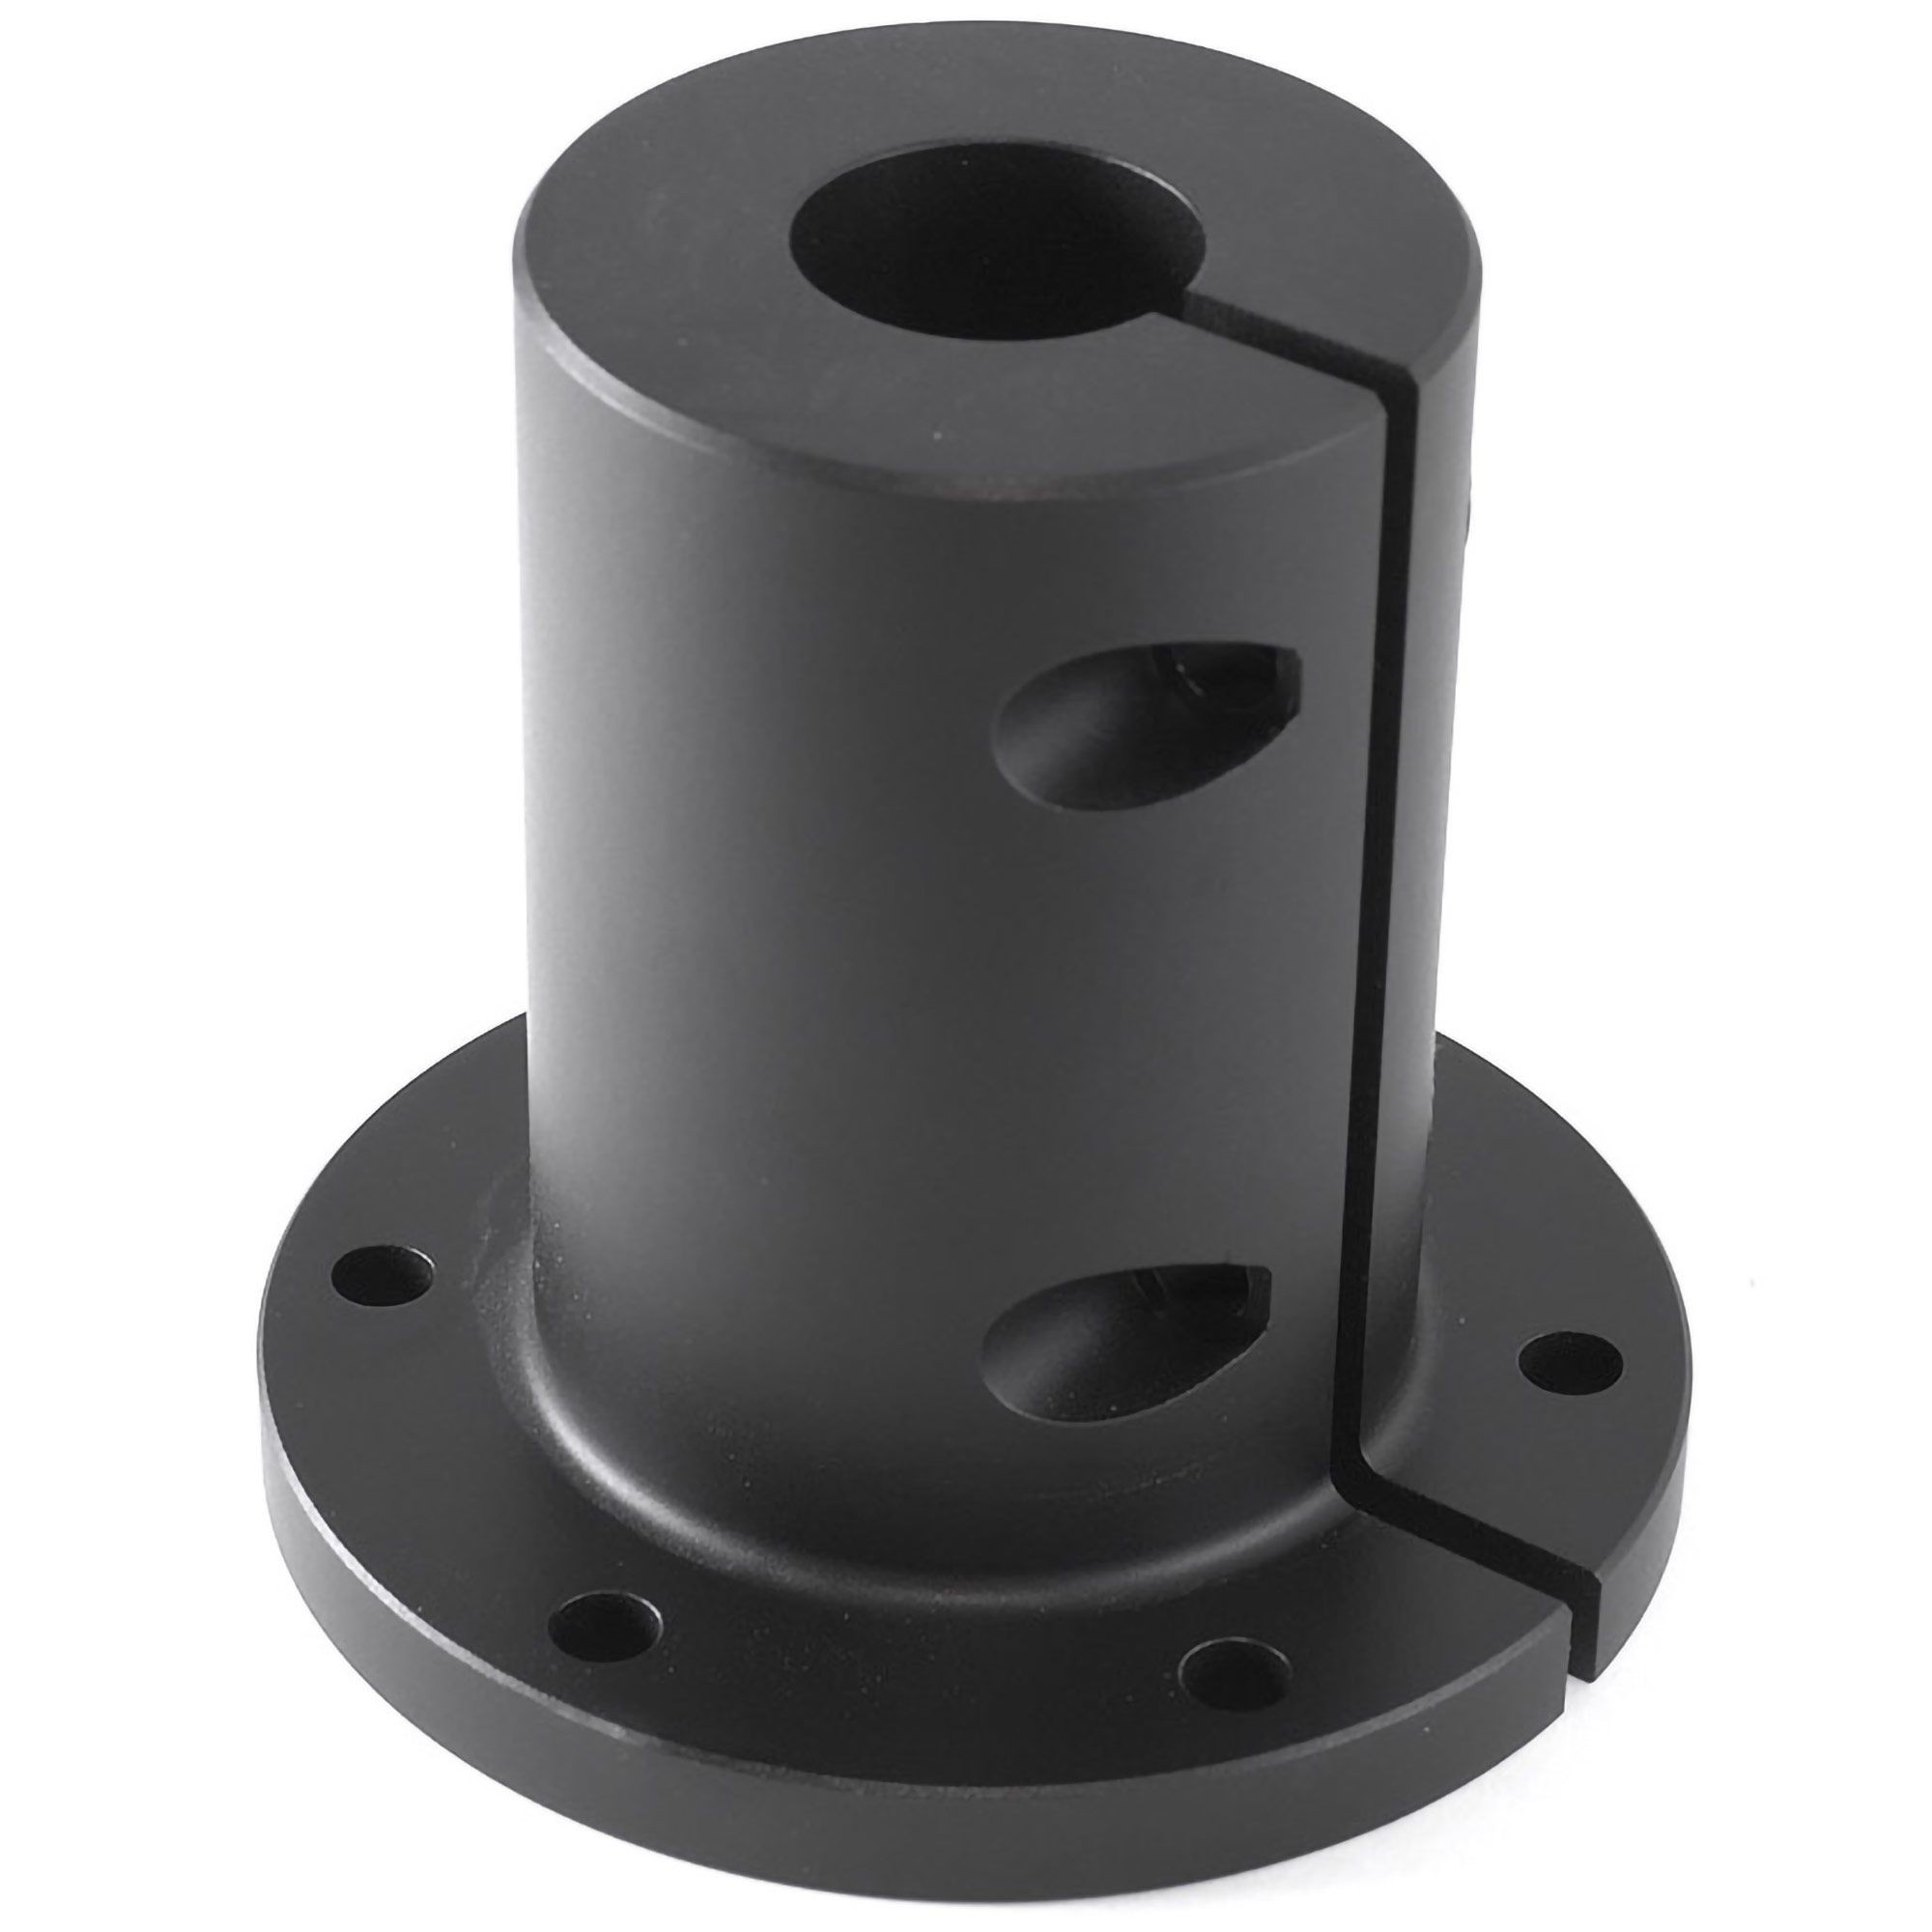
Clamp bushing MIGE – Billet Aluminium

https://sim-lab.eu/shop/product/sla009-clamp-bushing-mige-billet-aluminium-417?category=2#attr=

https://www.demon-tweeks.com/sim-lab-mige-wheel-adaptor-slbsl1220/
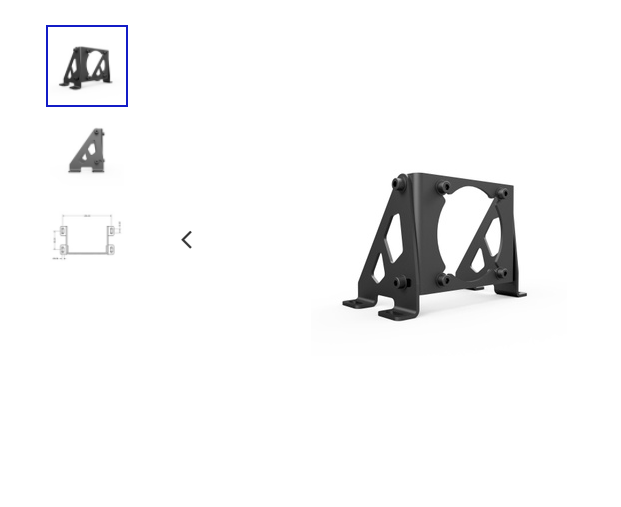
Servo motor holder – Adjustable version

https://sim-lab.eu/shop/product/sla053-servo-motor-holder-adjustable-version-641?page=2&category=2#attr=

FFB WheeMMOS software complete compressed packagel.zip

MMOS software complete compressed package

x-zip-compressed - 30.08 MB - 10/25/2020 at 18:37

Download

AASD Servo Manual V6.0.pdf

Adobe Portable Document Format - 4.22 MB - 12/06/2019 at 20:40

Preview

diy project complete picture.zip

x-zip-compressed - 6.11 MB - 12/06/2019 at 20:22

Download

View all 16 components

View project log

  • 1
    Detailed description of settings

    If you have any questions, please consult my email: huangjin169@gmail.com

    YouTube video test drive:https://www.youtube.com/channel/UCKOHWlPf_8TIHPGB0uo6Nrg/featured

    Motor and drive connection 1 First set up the servo drive. Do not connect MST32 to CN2. //////// First set the servo drive to 220V driver model is different from motor model

    I am using MiGE motor 130ST-M10010 set to 21 MiGE motor manual description or view ASD drive manual V6.0 description http://www.mege.cn/products_info.aspx?css=1&&id = 31

    After connecting the Stm32 cable, do not connect the servo drive. First set up the servo drive. After setting the MiGE motor 130ST-M10010 to 21 on Pn001, Turn off the power switch or unplug the power saving power for 2 seconds to restart the servo drive If you do not automatically save all settings, you need to manually save Servo starter code Fn001 needs to be held for 2-3 seconds to release, the next code will appear Continue to long press it to complete the code to save all settings After the drive restarts Pn02 is set to 0 voltage mode) Pn03 is set to 0 (external) to enable) Pn53 is set to 18 (Pn53) stands for Sigln2 port function), 18) is the "command reverse" function Value range name Pn190 -1500 ~ 1500mv is set to 0 Analog pointer instruction adjustment adjustment Pn191 manual 0-1 I set to 1 Analog scale direction Pn188 1-500ms I also set it to 159 Plasma simulation command

    The following notes

    Motor limit speed Pn198. Motor limit speed Pn198 0 ~ 4500 default value 2500 torque setting control function When the limit speed 120 is connected to the encoder and motor, the drive will be enabled internally. At this time, the motor rotates. Adjust the positive and negative offset according to the direction of motor rotation. In this case, please turn off the drive first. 2. MMOS MST32 has been connected to the CN2 control terminal of the driver, and then start the driver again

    About STM32 flash firmware Download tool brush firmware FFB2014-0.99.2.hex: https://www.st.com/en/development-tools/stsw-link004.html

    .MMOS enters the history download adverbial:https://forum.virtualracing.org/showthread.php/92420

    https://forum.virtualracing.org/showthread.php/92420

    Download MMOS unzip Open MMosForceFeedback2014.exe and set to MMOS directory Set the encoder to 10000 Please refer to the picture for more settings

    Edit firmware video

    Observe the rotation direction of the motor, and then adjust the command replacement again. In this step, it is best to enable it externally to prevent wiring errors and make the motor rotate randomly . Pn191: When receiving positive and negative command signals, please adjust the rotation direction of the motor. "0: positive (CCW), negative (CW) "1: Forward and backward (CCW), forward and backward (CW) If the servo motor rotates to the right or left, please switch PA0 and PA1 on the STM32 board Or change the code to 1 or 0 in the servo drive PN191 The two methods are the same The normally connected encoder A + is connected to PA0, and the encoder B + is connected to PA1. If the rotation direction of the steering wheel in the game matches the actual adjustment at this time, the wiring can be adjusted. At the same time, adjust the Pn191 settings. The reverse encoder cannot be set on MMOS. You can set replacements in the game. ..Pn188: High frequency adjustment setting noise The larger the value, the slower the input analog response speed and the better the effect of reducing high-frequency noise interference. The smaller the setting, the faster the response speed, but the interference noise will become larger. Variable value, the faster the speed. It is more appropriate to set the speed to 120 ~ 150. Then, when the game is controlled by the vehicle, the speed of the motor can be accelerated in 0.1 seconds. Adverbial clause: The electric motor will fly to the ground

    Message on my Discord server https://discord.gg/JHTkFwJ

    Z1 1 type expansion sleeve TLK100 expansion sleeve KTR250 expansion sleeve RCK80 expansion sleeve STK110 expansion coupling sleeve

    Servo motor 130ST-M10010 buy  Z1 1 22X32

    Complete package of software and instructions

    https://drive.google.com/open?id=1szklvVdJ3R_UgiG6nuSoo5OjDvgcZej2

    English manual

    https://docplayer.net/62361148-Technical-manual-for-aasd-series-servo-drive.html

  • 2
    New generation simulator

    The next DIY direct driving simulator
    For racing simulation fans please
    Follow my YouTube channel


    https://www.youtube.com/channel/UCKOHWlPf_8TIHPGB0uo6Nrg/videos?view_as=subscriber

View all instructions

Enjoy this project?

Share

Discussions

wu-hsing wrote 06/23/2021 at 17:16 point

Hello everyone! It seems I made a big mistake and bought the wrong bundle of equipment. Since I have to use a 1: 6 ratio, can I use a third party encoder?

Do I have to use a driver from Thanos?

Please help

  Are you sure? yes | no

Gustavo A. Lara wrote 12/30/2020 at 22:37 point

Hi, I have the same issue as @louis.f.newman . The enconder works well but I have no force feed back and no movements in the motor.... I have revised the wiring and check it with a multimeter, the AASD driver has the correct parameters too and all appears ok, but I said before, only the encoder works well. Any help or advices would be appreciated too! 

  Are you sure? yes | no

Huang Jin wrote 12/31/2020 at 09:08 point

Do not loosen the 6th line of the STM32 motherboard

  Are you sure? yes | no

Gustavo A. Lara wrote 12/31/2020 at 09:54 point

Thanks| My fault... The problem was the e-stop button that wasn't connected properly

  Are you sure? yes | no

Huang Jin wrote 01/02/2021 at 09:31 point

Is it in normal use now

  Are you sure? yes | no

louis.f.newman wrote 11/15/2020 at 16:50 point

Hi, I have wired it all up and set up the STM32 to run the MMOS firmware. I ran some tests and found that the encoder was being picked up, but there was no force feedback. I am not sure whether it is because I was using incorrect settings or because I had pin 6 of the DB25 connector open (not connected to GND). Any help/guidance would be more than greatly appreciated!

  Are you sure? yes | no

Huang Jin wrote 12/31/2020 at 09:10 point

Please join the discord discussion

  Are you sure? yes | no

hotdog295 wrote 09/21/2020 at 06:02 point

Can I use another servomotor drive?

  Are you sure? yes | no

paytufo wrote 06/18/2020 at 21:54 point

Can I use the AASD 20A? I found a bundle.

  Are you sure? yes | no

Chris Murray wrote 04/12/2020 at 06:05 point

Hi there! My motor and driver should be here this week hopefully and i have a couple questions for you as the google translate isn't 100% :)

is PN053 = 18? correct?

Also PN198 = 120, after testing direction do you turn this speed up a bit? i see people usually talk about 220-330rpm when discussing Small and Big mige capabilities at max torque.

Thankyou for your time and i will let you know if i get it working :)

  Are you sure? yes | no

Jack wrote 04/13/2020 at 01:39 point

Hi Chris, ive been going over this build a few times. Lets just say the chinese to english conversion leaves room to interpration but i think i got it figured out. Ive been slowly making a list of parts i plan to order to get going on building this, as well as downloading all the necessary files. The german website he links to seems like it requires registration, but i found the 2 important MMos zip files just by searching the net for the file names. Someone uploaded them to a google drive on a xsimulator.net post. If you cant find them, i can upload them for you.

For the build im planning on ordering a 130ST-M15015 motor with AASD-30A controller. This motor will put out a max of 15nm.. should give me a good workout lol

Also Google AASD-30A manual, and you should be able to find an english/ish translated manual. its not the best, but it gets the parameter settings more context.

Please keep myself and others updated on your success. Ive been doing a fair bit of research on these "STM32F407G-DISC1" powered sim board, and most of the info online relates to folks just using the servo motor with a universal standalone servo drive (simucube)/Ioni setups.. but i think tying the motor with a proper servo drive designed for its peak power outputs would be most beneficial..

Im a automation engineer and spend alot of my time working with Mitsubishi Mr-J2,Mr-J3 drives and setups. I really wanted to use one of them as i know the settings and setup software, but a 1.5+KW setup will cost me more then 4x this AASD-30A setup.. Plus it would be a waste to use such a good servo for this application, most "automation high end" drive/motor combos have significantly higher performance parameters then these AASD setups.. The mitsubishi's for example are rated for max RPM/s of 4000-6000... which is never needed in these operating parameters for a sim motor. lol

When i dig in, im tempted to do a detailed video overview so folks will have a better ideal of how this all comes together and "works"

Also regarding the "PN053 = 18?" yes he must of made a typo.. it should be 18 and not 58.. In the manual, "PN053" has multiple parameter options, option 18 is described as "CINV - Instrucitons in reverse... "The speed or torque control mode, take the speed or torque of the instruction"

Basically its reading the DIR output from the STM32 and telling it to invert the torque..  Kinda crude description, but thats how im interpreting it.

  Are you sure? yes | no

Chris Murray wrote 04/13/2020 at 10:01 point

Cheers for the reply mate! i have ordered the 130st-10015 (Not genuine Mige) with AASD-30A too ;) Cheaper and more RPM and torque! It's a no brainer. I have also been going through the manual, hence why i asked as 58 was out of range for that parameter. I'm just structuring all the info in a different document so its easier for me to understand and for when i put it up on Xsimulator etc.

I am also going to be doing a tutorial video of the whole process as this is an excellent entry price for a Mige FFB setup. I just got a 2500PPR (10000CPR) encoder for now and will try source a second hand 10000PPR encoder off someone in the forums as most of them have gone Biss-c or SinCos so they would just have them laying around doing nothing.. Worst case i can order from Mige for $89us delivered. But i want to get it up and running first and see how it feels. Over the span of the next year i will save up for a Simucube setup to run the better encoders and use their software as its meant to be a step above MMOS these days in terms of compatibility and tweaking options. Either way it will be a fun project and it will kick my G920's butt for the time being haha. 

If i have some troubles, I might be able to ask Thanos for some help as hes had a lot to do the the AASD drives since making his new 6dof controller for them and he seems interested but doesn't have the time to try it out. See how i get on but.

I will definitely keep yous posted on how it goes and post videos when its done. Hoping all my bits are here by the end of the week, maybe early next week for the motor.

  Are you sure? yes | no

karl wrote 04/27/2020 at 04:58 point

Hi Chris. Did you receive your motor and driver yet?

What did you pay and who are the suppliers? Some of the links posted here don't take you anywhere relevant.

Thanks,

Karl

  Are you sure? yes | no

Chris Murray wrote 04/27/2020 at 05:13 point

Hi mate, Motor was held up in Singapore for 10 days by DHL due to Covid19 madness i guess. It left this morning finally! So hopefully a couple days more to wait. Ordered from here: https://www.aliexpress.com/item/32868662195.html ($360US delivered to Australia) I have bought 6 motors from them before, good seller and products, might be cheaper from different seller depending where you're located...

As for the STM32 i used RS Components: https://au.rs-online.com/web/p/processor-microcontroller-development-kits/9107951/ its also couple days away as they said they had stock but ordered it in from overseas.. arrgh i hate waiting! lol. 

I'll be getting an upgraded encoder from Mige: https://hzmgdj.en.alibaba.com/company_profile.html?spm=a2700.galleryofferlist.0.0.1c0be93132Nive#top-nav-bar ($89US delivered) If all goes to plan, that is..

Cheers, Chris

  Are you sure? yes | no

karl wrote 04/27/2020 at 08:33 point

Thanks for your reply, Chris. From my research, the parts you've mentioned are the main parts, but you still need a power supply, case, adaptors, etc., right?

I'm referring to something like this as a reference: 

https://docs.google.com/document/u/1/d/e/2PACX-1vTQy16ufGB-Z_NdL0iEF7sJSbKFNdaM32F0TgrpiNuMok7VcSE8OHXncI_AoJOjg_rjSA6EBWzJ9FXk/pub

  Are you sure? yes | no

Chris Murray wrote 04/27/2020 at 08:47 point

The AASD Driver takes mains power 220v (can be used with 110v search thanos AASD on youtube and look through his channel) So you wire up a plug from mains power, connect it to the driver. the motor plugs into the driver. The driver comes with a db25 connector, you wire up those pins from the stm32 board to the correct pins on the db25 connector and plug it into the AASD driver. then usb to the computer from the stm32 and you're done! Run MMOS and set it up. 

You are referring to a Simucube setup which uses DC power so needs external power supplies and expensive ioni drivers etc. As for a case i have 6 AASD already mounted into a server cabinet so adding one more is easy for me.. you could mount it to anything really.. the wall.. piece of wood.. or make your own enclosure..

  Are you sure? yes | no

karl wrote 04/27/2020 at 09:04 point

Thanks Chris. So what you're talking about is less than US$500 for a setup that works similarly to a Simucube setup? That sounds amazing. Looking forward to your review.

  Are you sure? yes | no

karl wrote 05/04/2020 at 19:00 point

Hi Chris. Did you receive your motor yet? Are you up and running?

  Are you sure? yes | no

paytufo wrote 04/03/2020 at 11:01 point

Could be used another shifters and pedals? Any code is benn used or "simple" connect and used it as the diagram?

  Are you sure? yes | no

Ken Yap wrote 12/06/2019 at 20:31 point

Your description would be much more readable if you formatted it better, for example used tables and lists.

  Are you sure? yes | no

Similar Projects

Does this project spark your interest?

Become a member to follow this project and never miss any updates