 Cameron
-
1Download the files!
![]()
Here are the files: MinecraftOS, Etcher, and sdcardformatter
-
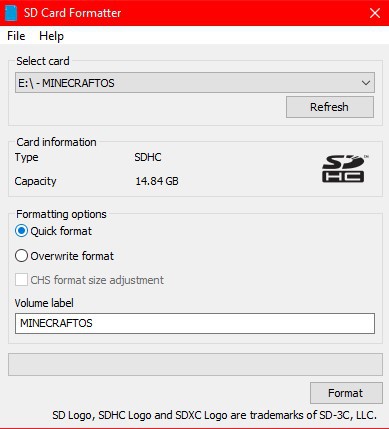
2Install the programs
![]()
![]()
Steps:
1. Install and run the programs
2. Start the programs.
3. In sd card formatter choose your drive and click format.
4. Exit the program.
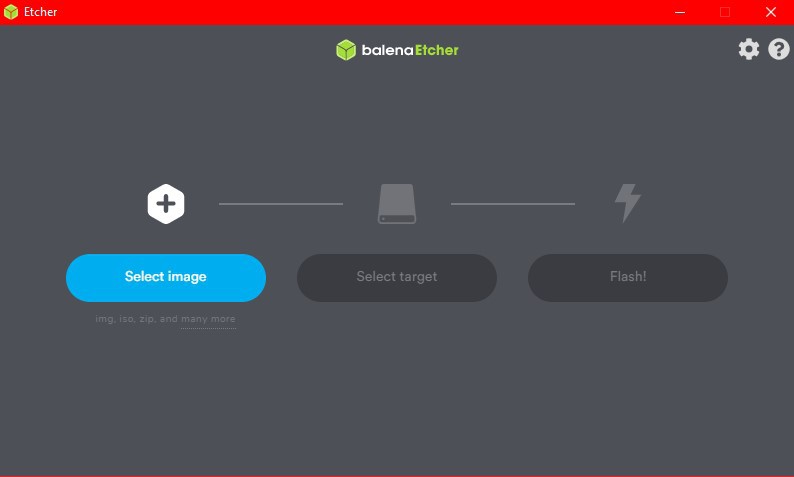
5. Once in Etcher, insert your sd card, then click the select image button.
6. Find and double click MinecraftOS.img
7. Insure you have the correct drive selected, unless you want your other drives wiped.
8. Click FLASH!!!
9. Accept the administrator prompt.
10. Leave your computer alone for a while.
11. Pull out the sd card.
Make sure the C: drive is never selected. If it is, it can ruin your pc. Also, never eject or remove your drive while it is flashing.
-
3Boot it up!
![]()
Simple! Plug in Ethernet and power!
-
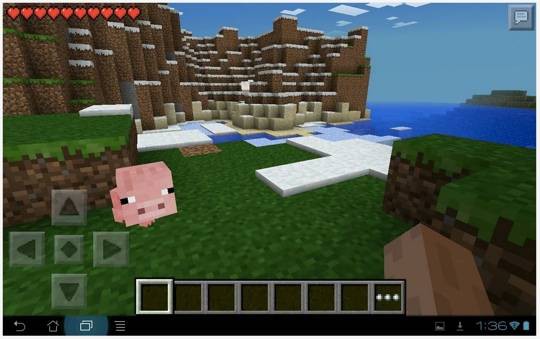
4Play!
![]()
![]()
Steps:
1. Go to your wi-fi routers website and find out your Raspberry Pi's ip address.
2. Open Minecraft PE and go to the add server screen.
3. Fill in the required fields
4. Click the add server button
5. Click the server!
-
5Going above and beyond
![]()
I hope you enjoyed this instructable! If you have any issues, suggestions, or just want to say "Good job!" feel free to leave a comment! Updates will come soon! Here are some things the next update will cover:
1. Wi-fi
2. Custom commands
3. The right balance of animals and monsters
BYE!!!!!!!
By the way, take a look at ~/nukkit/nukkit.yml and ~/nukkit/server.properties

Also, try port forwarding 19132


Hint:

USERNAME: pi
PASSWORD: admin
Super Easy Minecraft PE Server
This is a custom Minecraft PE server based on Nukkit.


Discussions
Become a Hackaday.io Member
Create an account to leave a comment. Already have an account? Log In.