kmatch98
-
Gotta Make You Understand
03/28/2020 at 03:10 • 0 commentsSpecial message
When delivering the cylinder to the programming team, I included a special message.
![]()
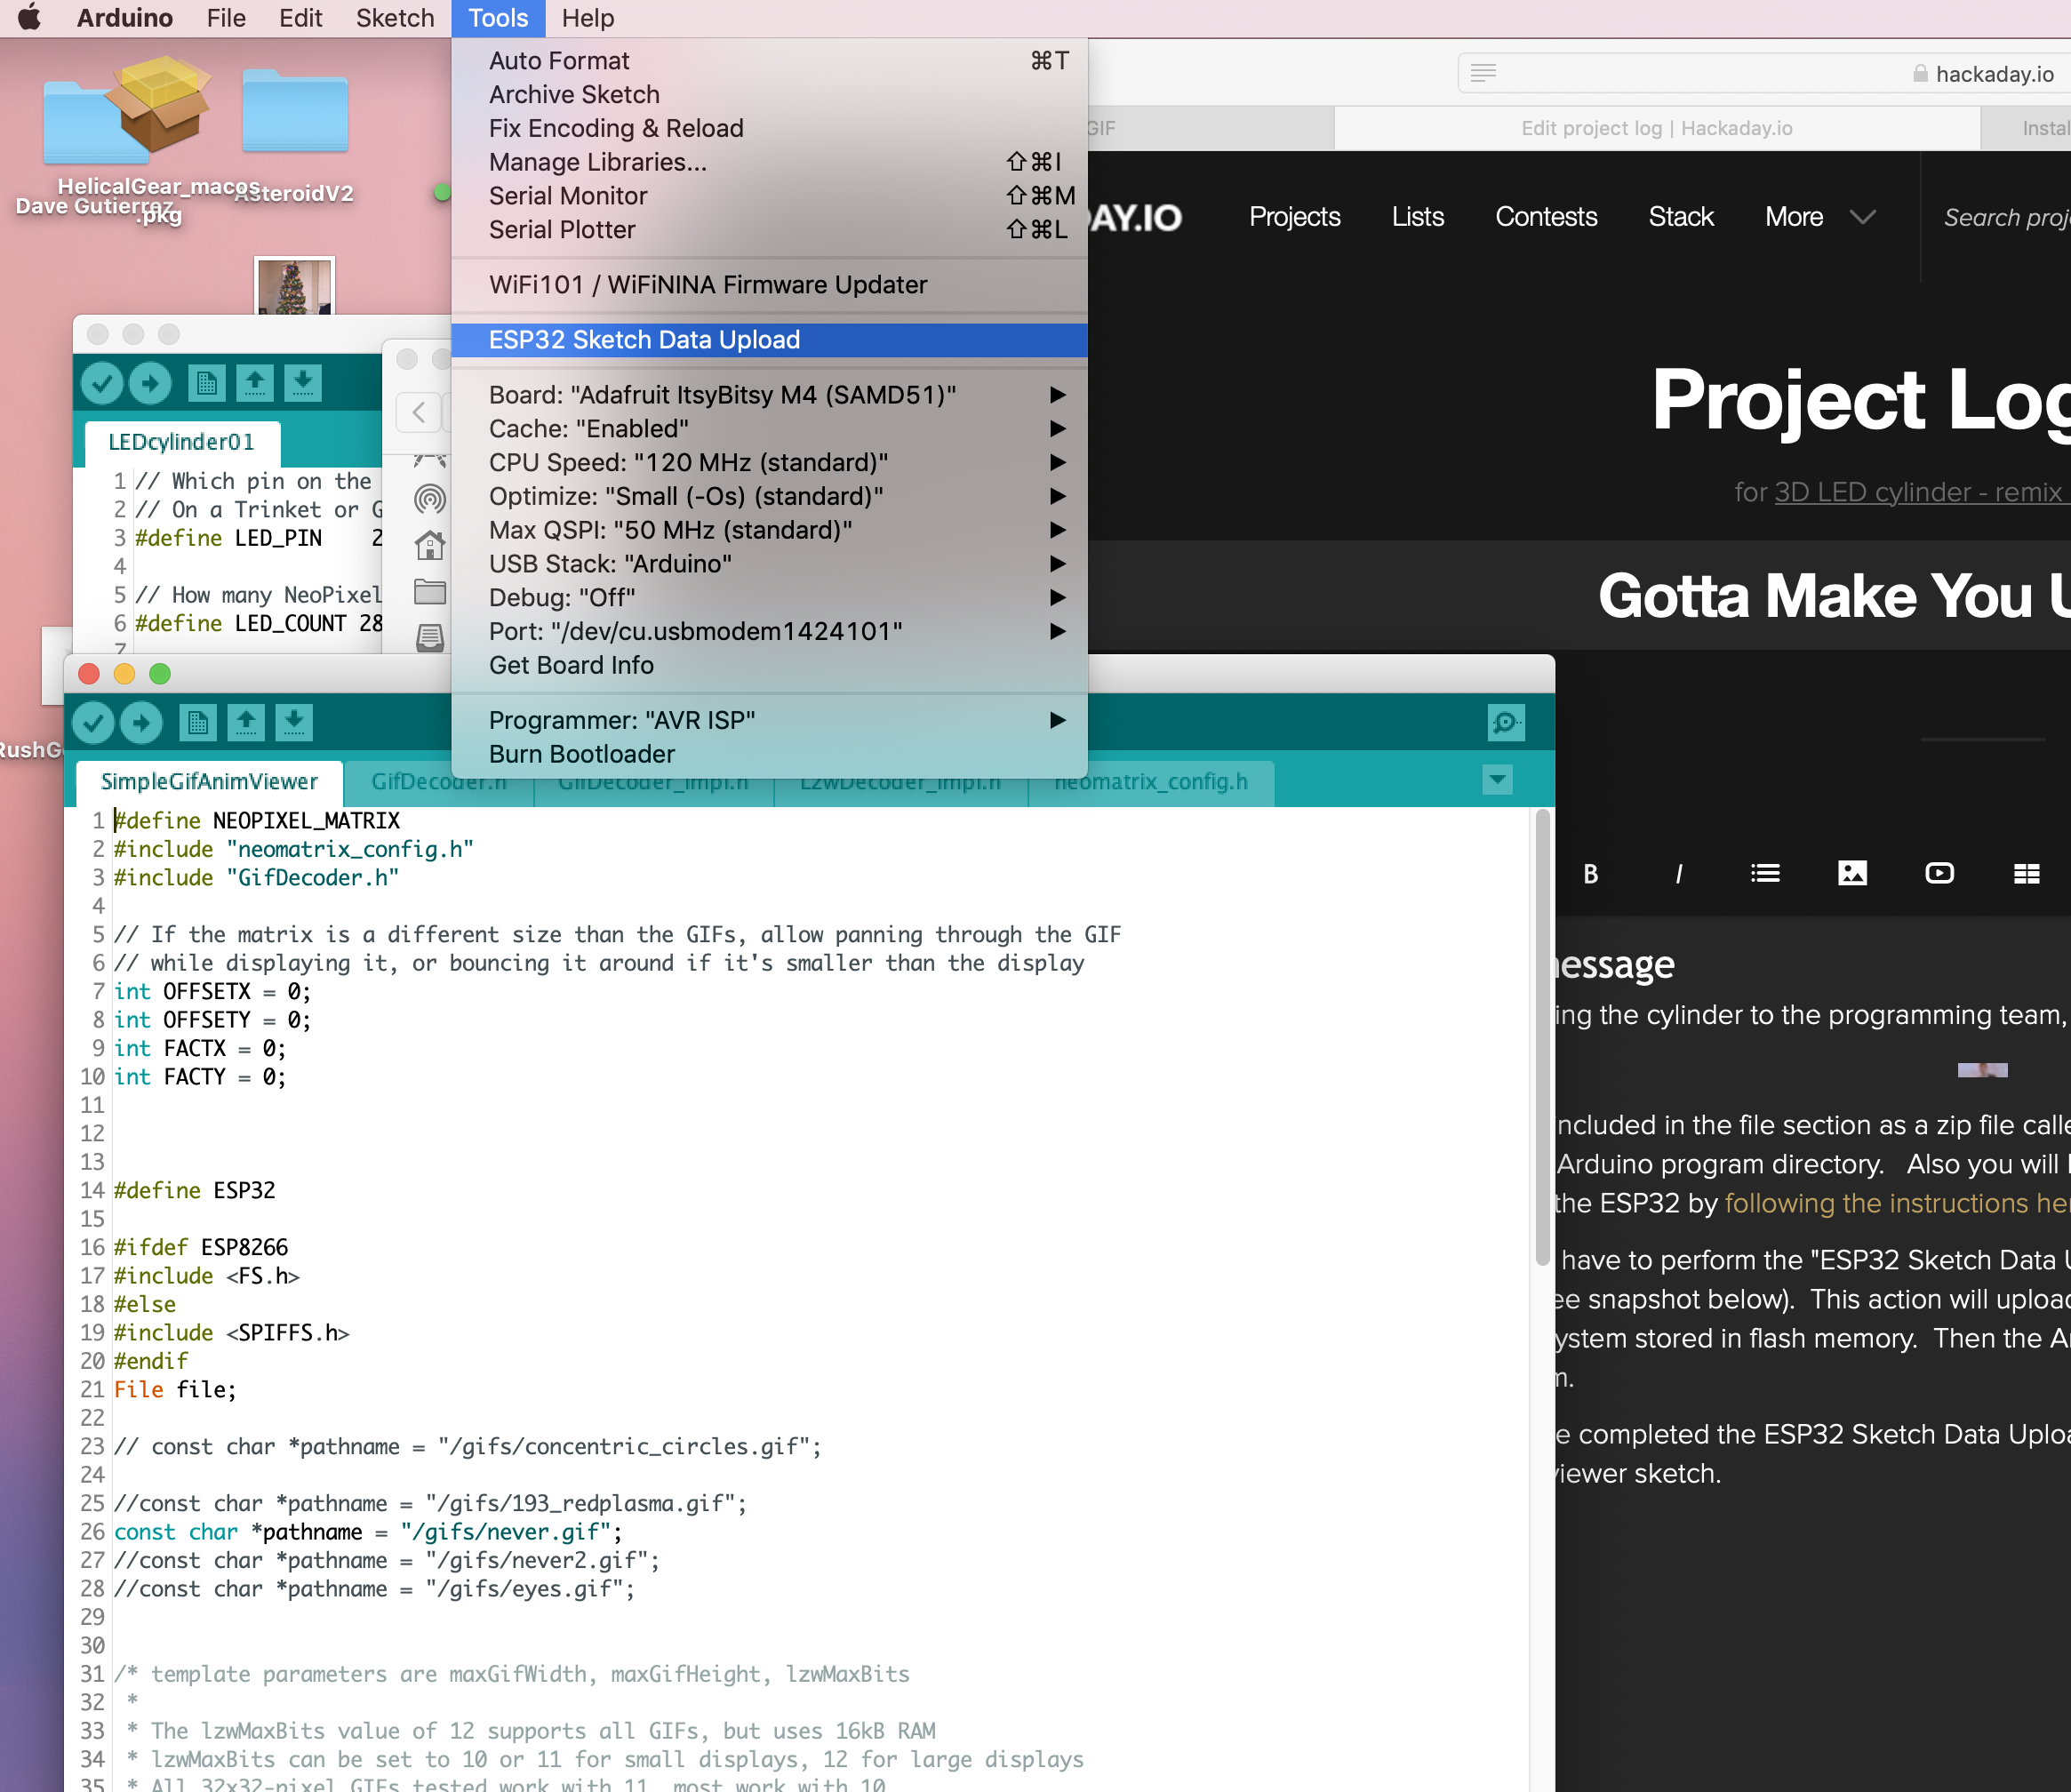
The Arduino sketch code is included in the file section as a zip file called "SimpleGifAnimViewer.zip". Unpack this into your Arduino program directory. Also you will have to setup Arduino to upload files to to SPIFFs on the ESP32 by following the instructions here.
Then you will have to perform the "ESP32 Sketch Data Upload" to get the files onto the SPIFFs file system (see snapshot below). This action will upload the files in the sketch's "data" subfolder onto the ESP32's file system stored in flash memory. Then the Arduino script can open these files from the file system.
After you have completed the ESP32 Sketch Data Upload, then you can compile and run the Arduino GIF viewer sketch (SimpleGifAnimViewer.ino).
If you want to add your own GIF file, use a utility like ezgif.com to crop and shrink them down to 8x28 pixels. With so few pixels, you will have to use your imagination, but clearly you guys have mad skills at decipering GIFs.
![]()
![]()
-
The Cylinder Lives!
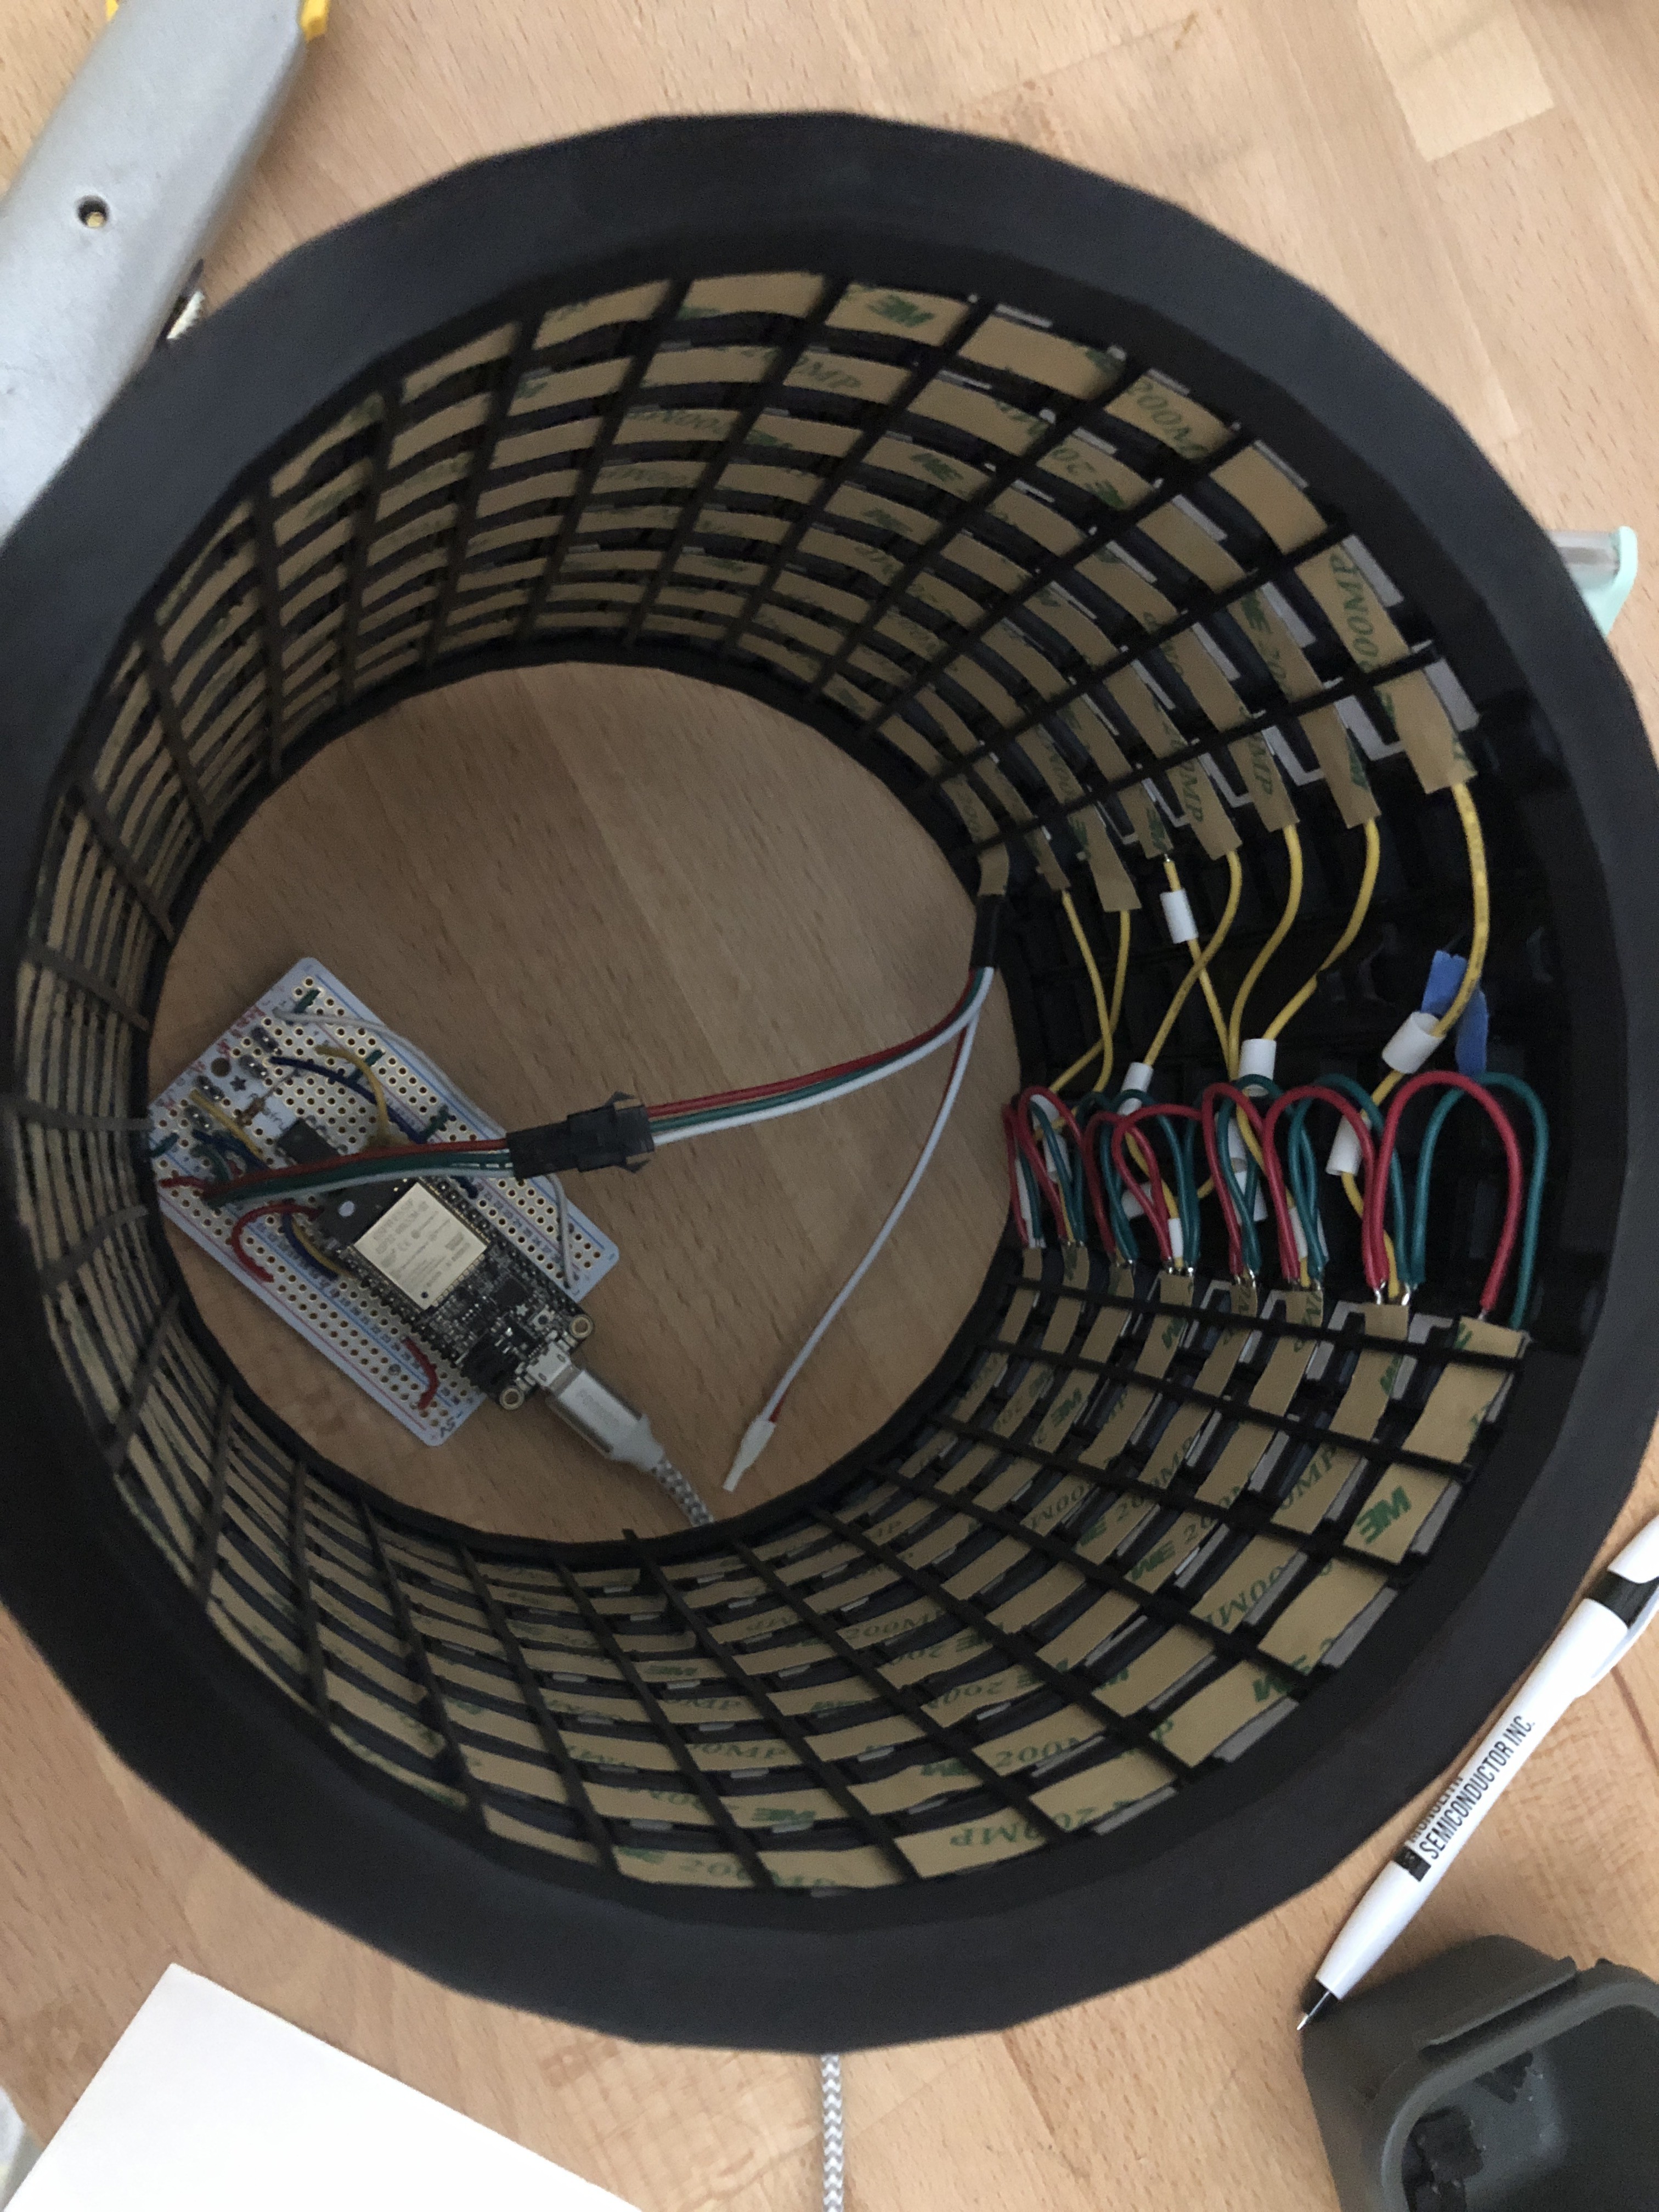
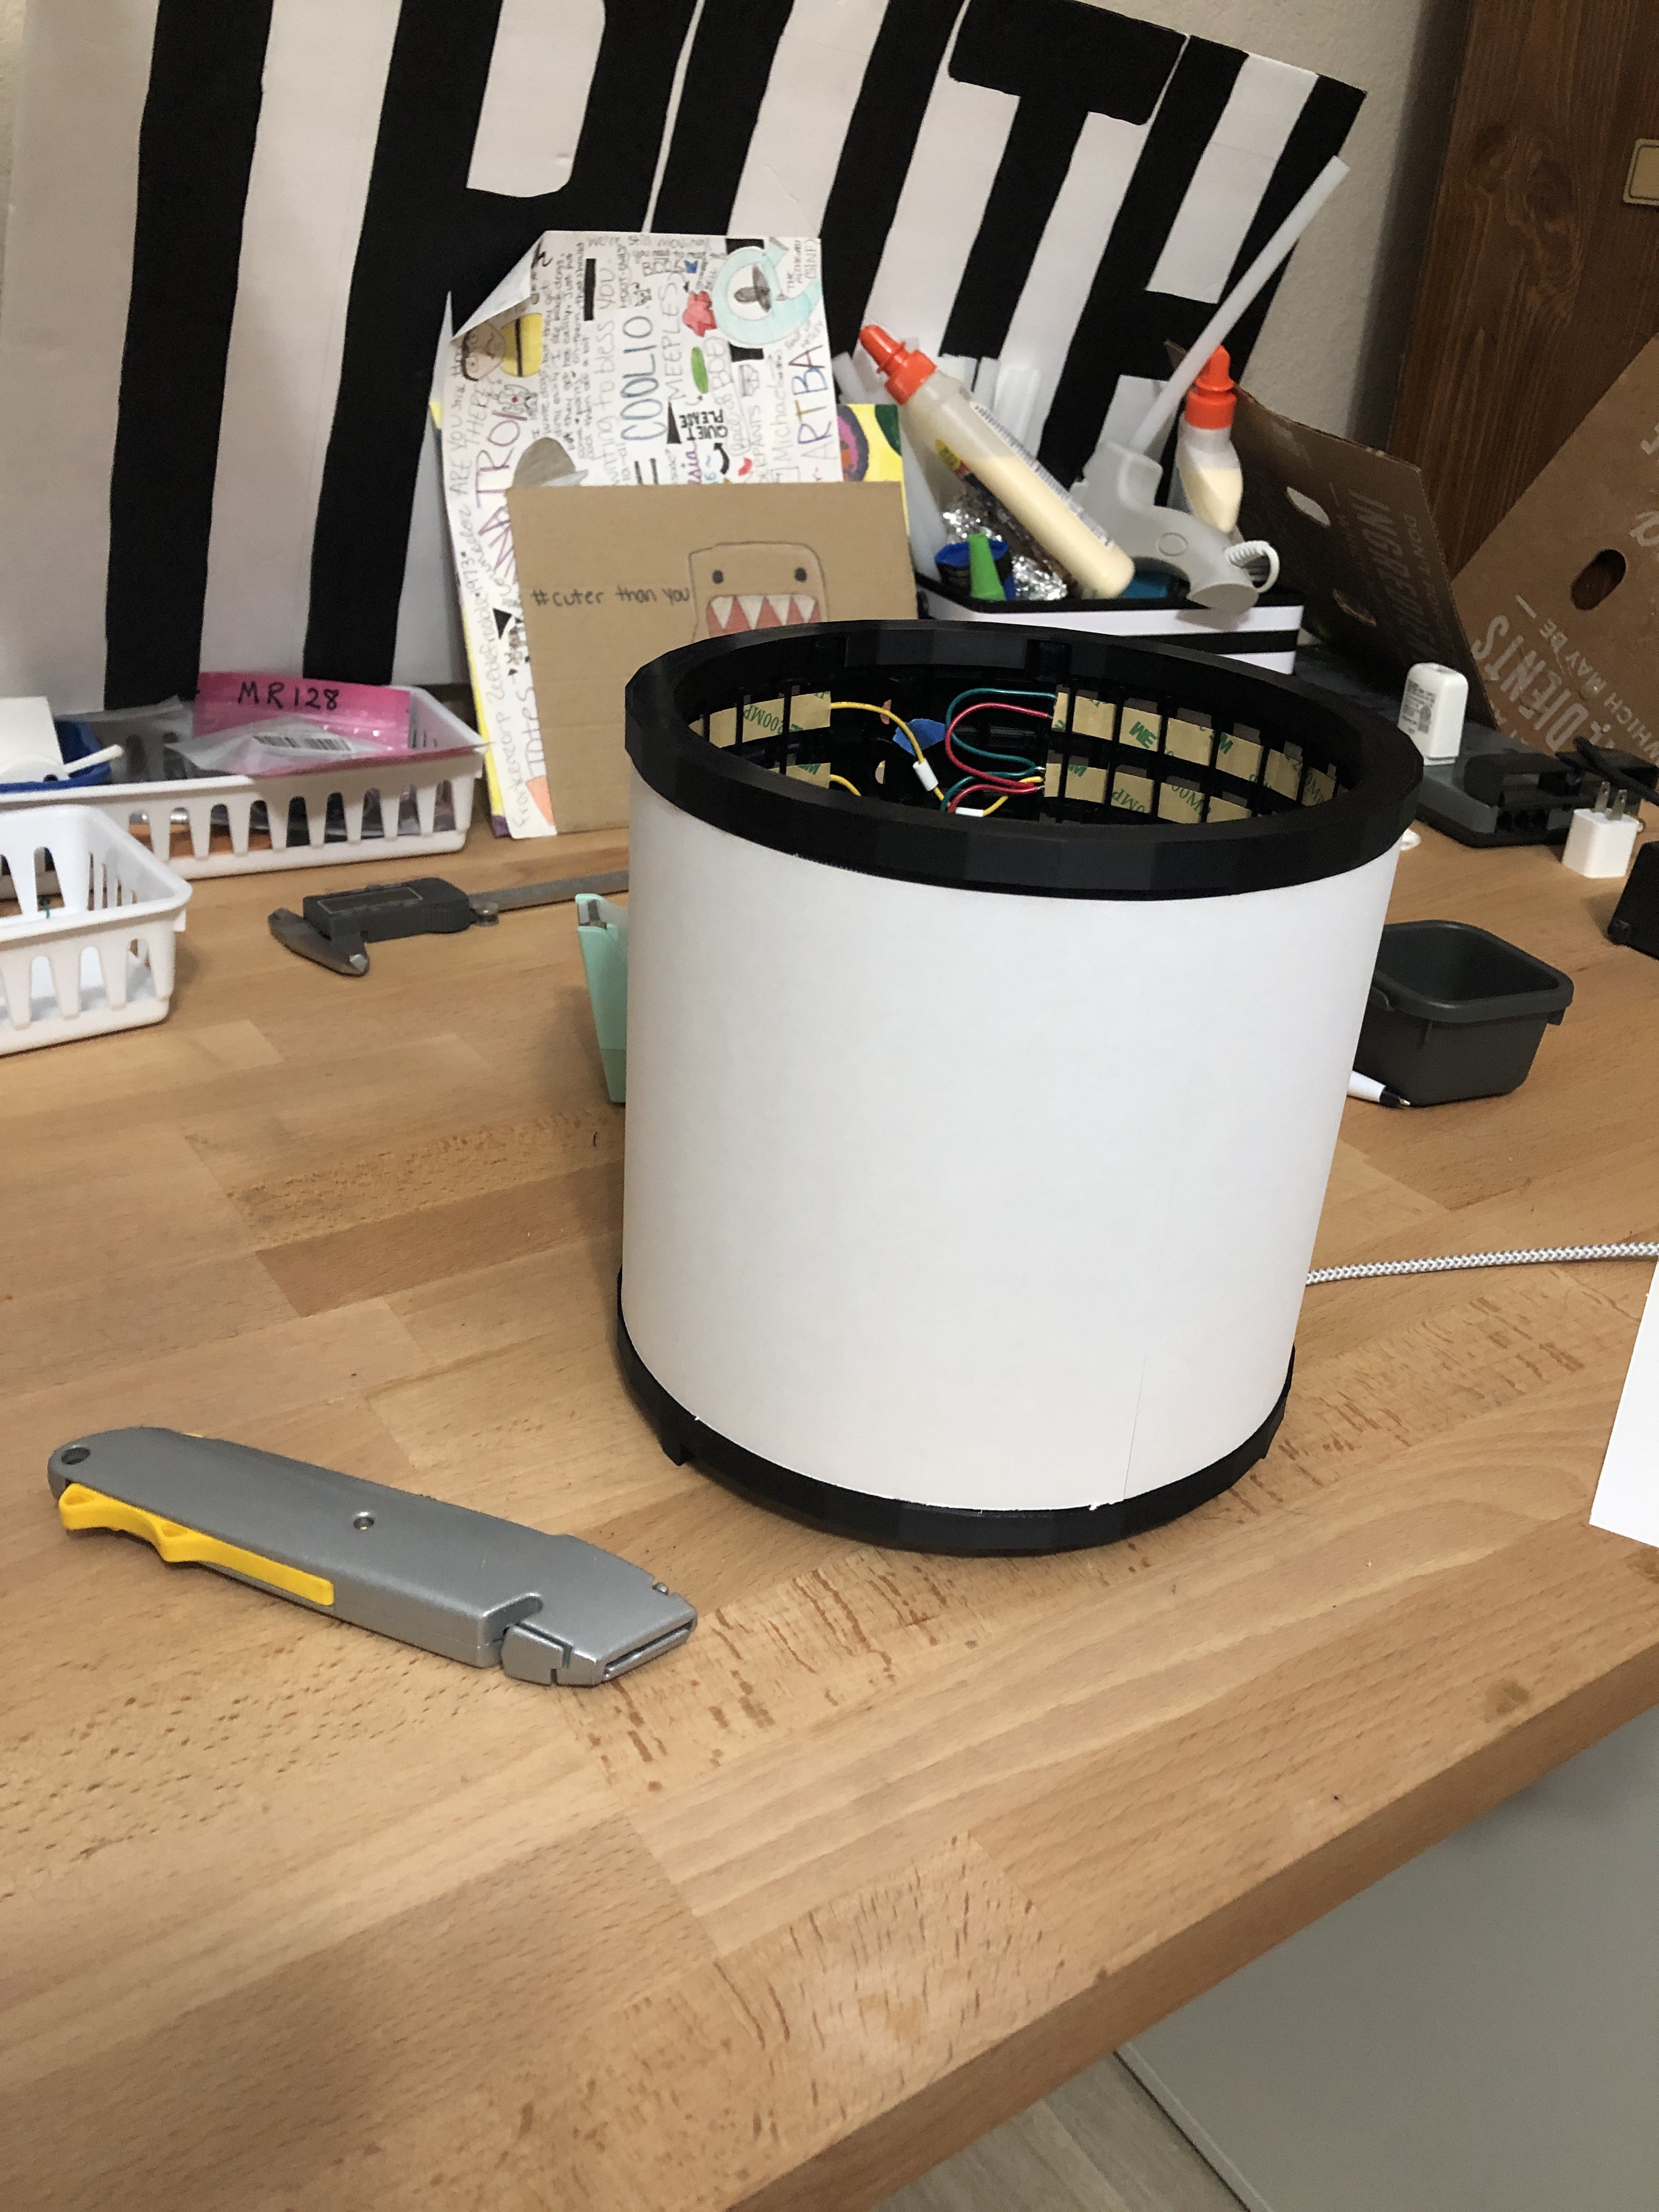
03/21/2020 at 02:00 • 0 commentsI got the LED strips soldered and inserted into the cylinder. I printed retainer strips to keep the LEDs in their slots. It’s now wired up to the Adafruit Feather Huzzah32 and now running a rainbow trial.
I taped two sheets of paper to make the diffuser. Not perfect but pretty effective as a diffuser.
![]()
![]()
I just need to wire up the buttons (awaiting delivery of the wires and connectors to connect to the two-pin headers include the breadboard to simplify disassembly/reassembly). -
Mechanical improvements. The Matrix has risen!
03/17/2020 at 02:40 • 0 comments![]()
I confirmed the pitch on the LEDs and printed out the two large arrays. Right now there are 8x28 LEDs in the array and 8x4 blackout spots in the back for a couple of buttons and the DC power input. I have printed a segmented cylinder base ring with a slot to hold the flexed matrix segments. Also, I will use some dovetail clips to hold the sections firmly together (right now the sections are held with gummy funk in the photo).
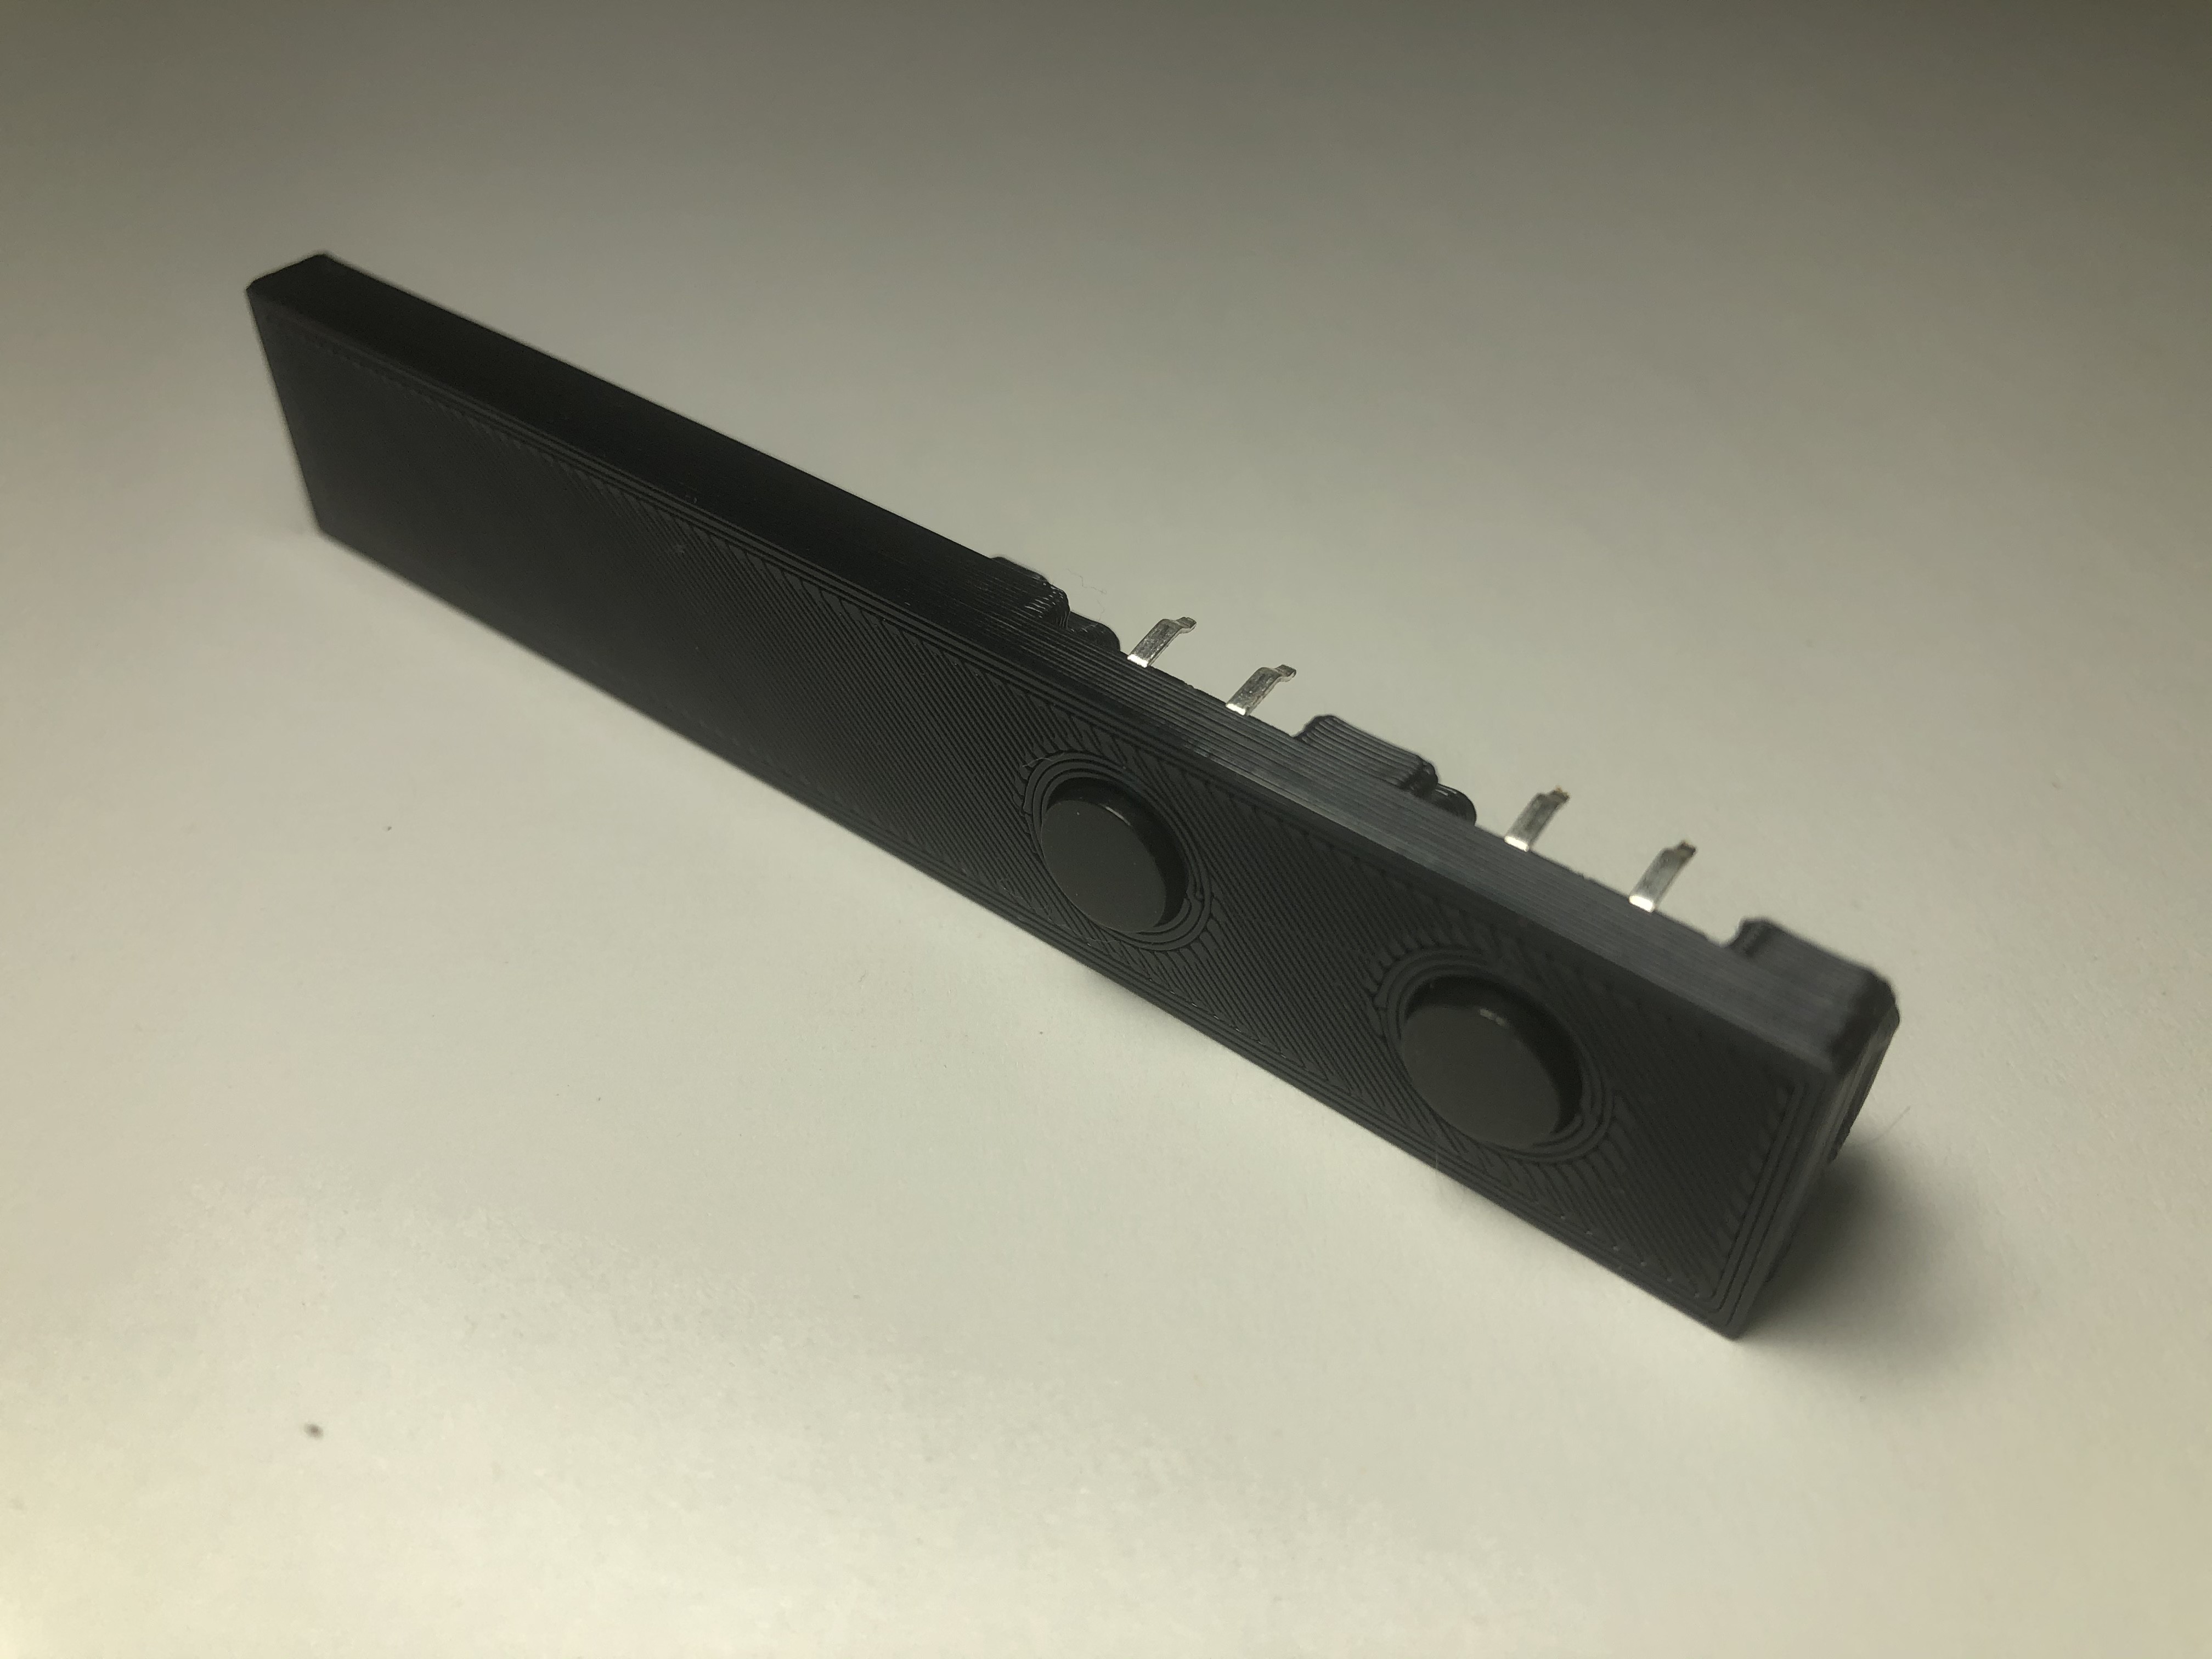
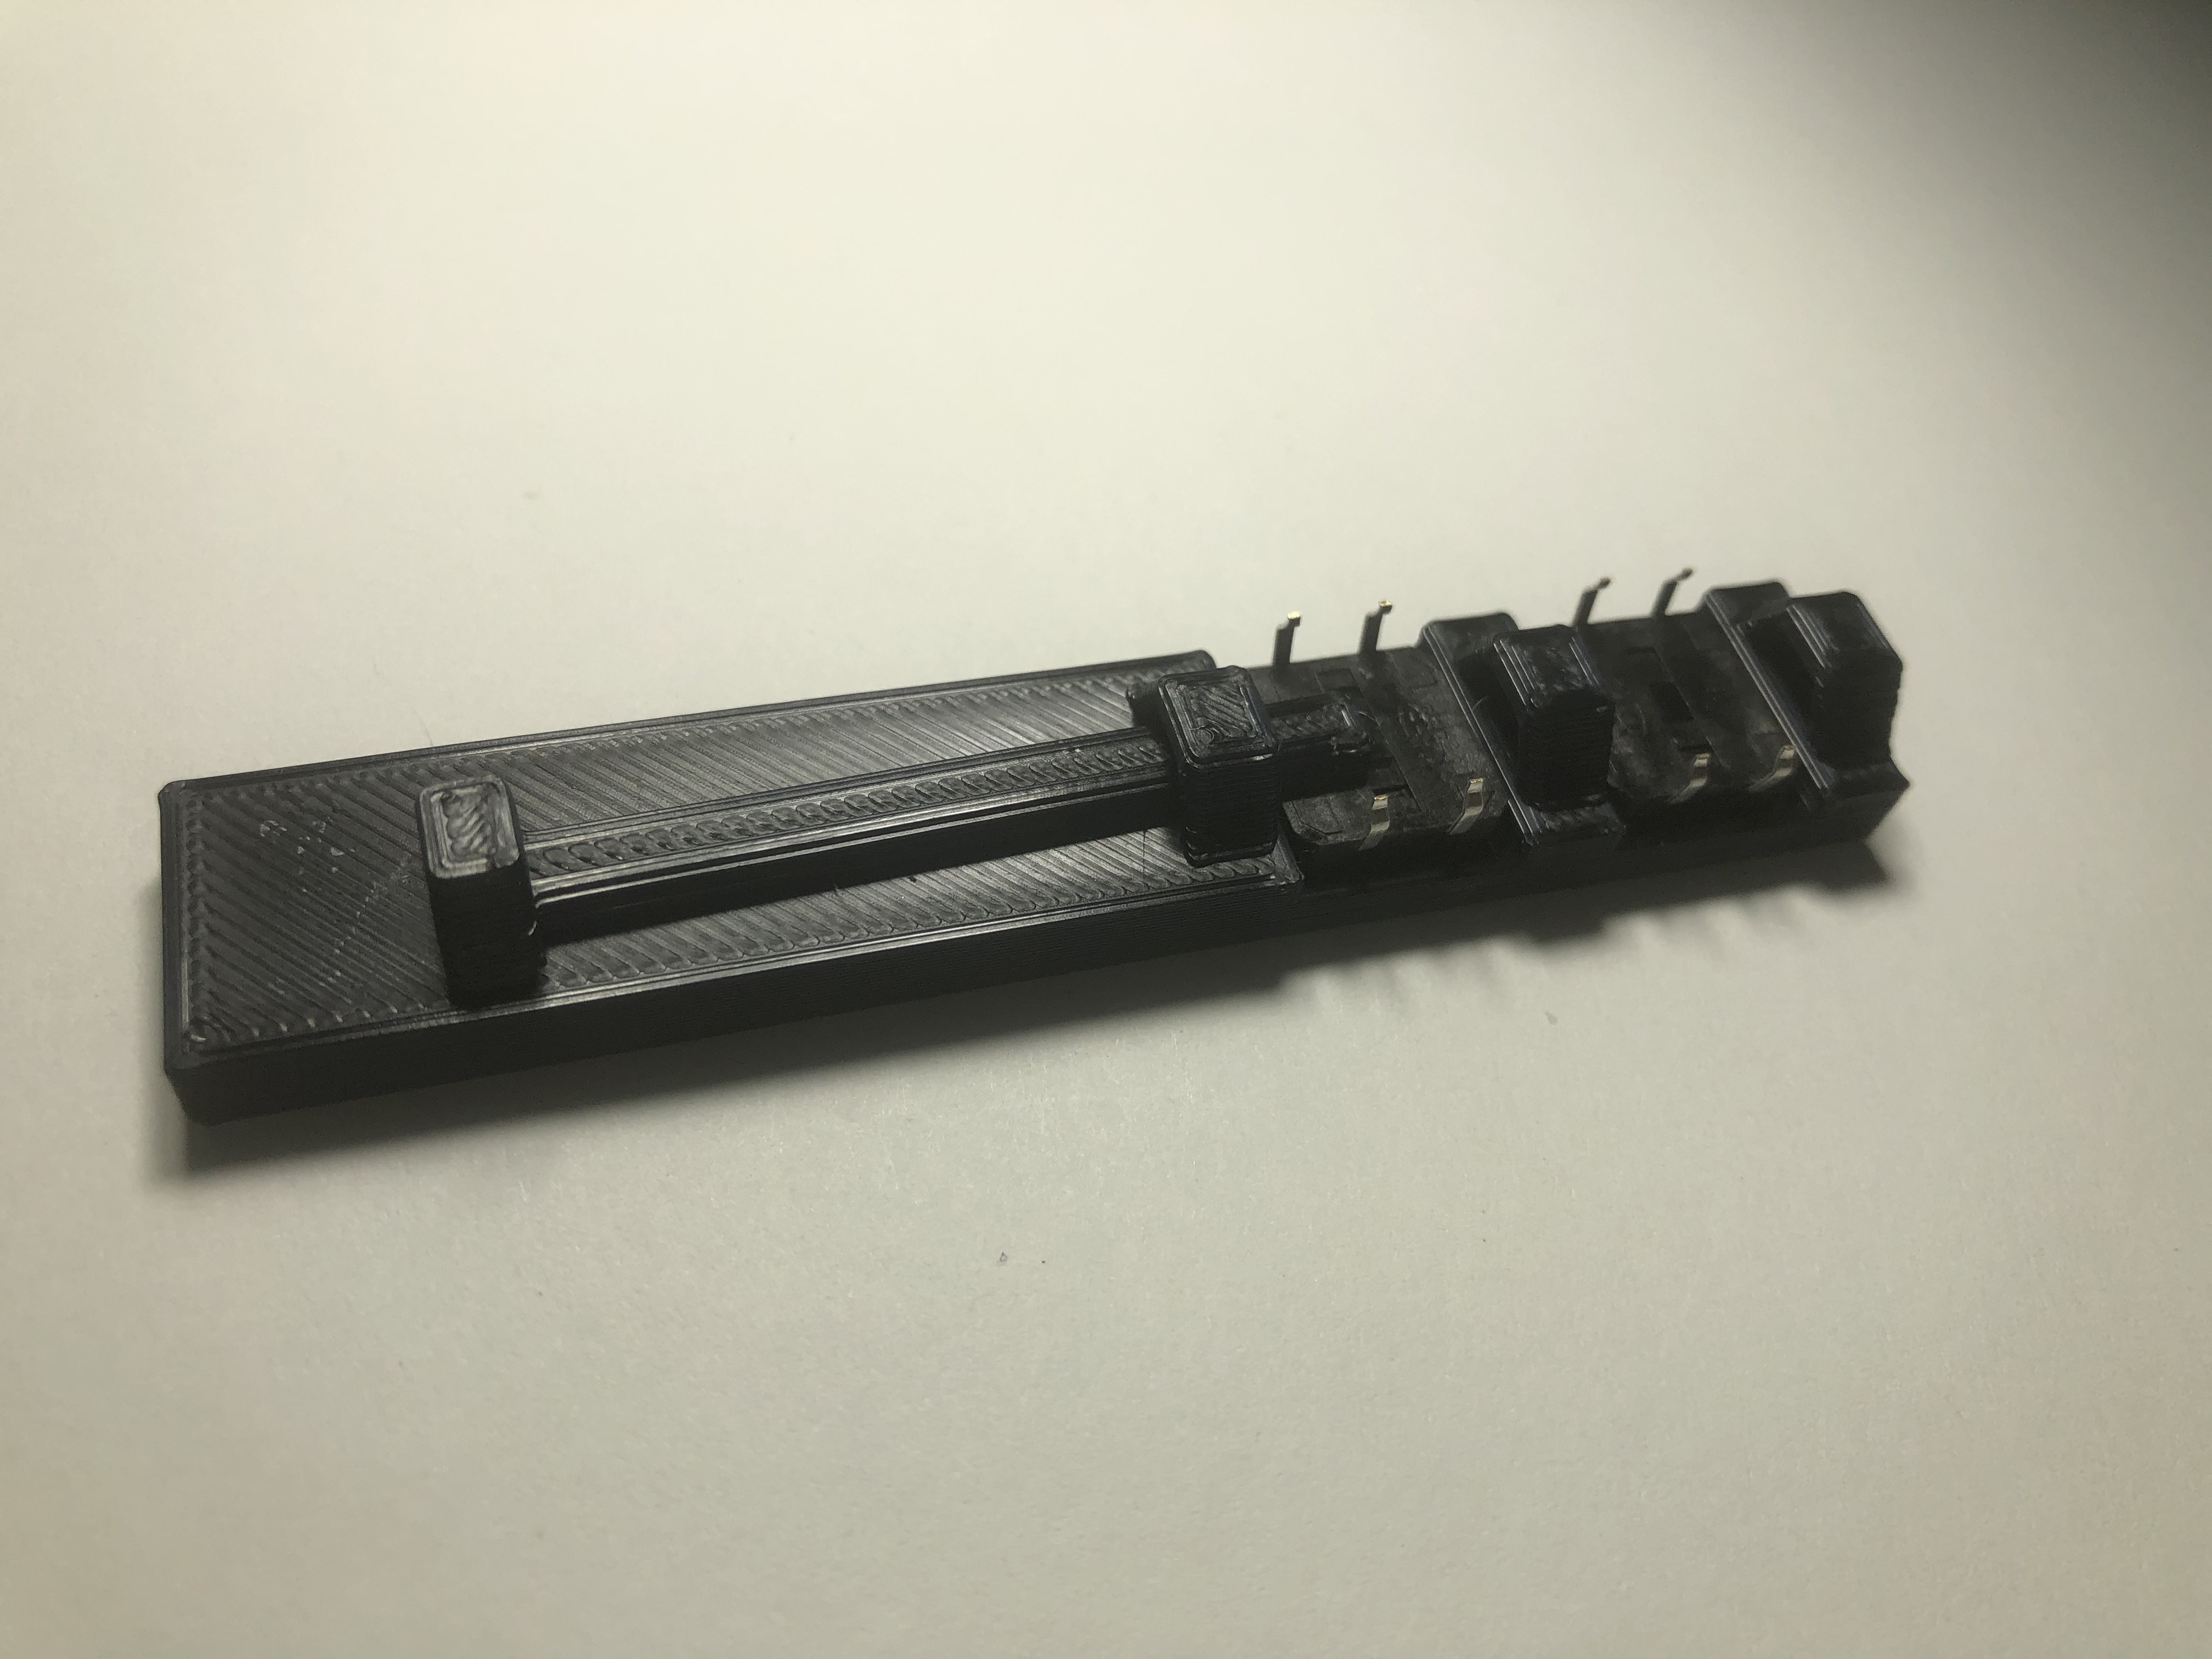
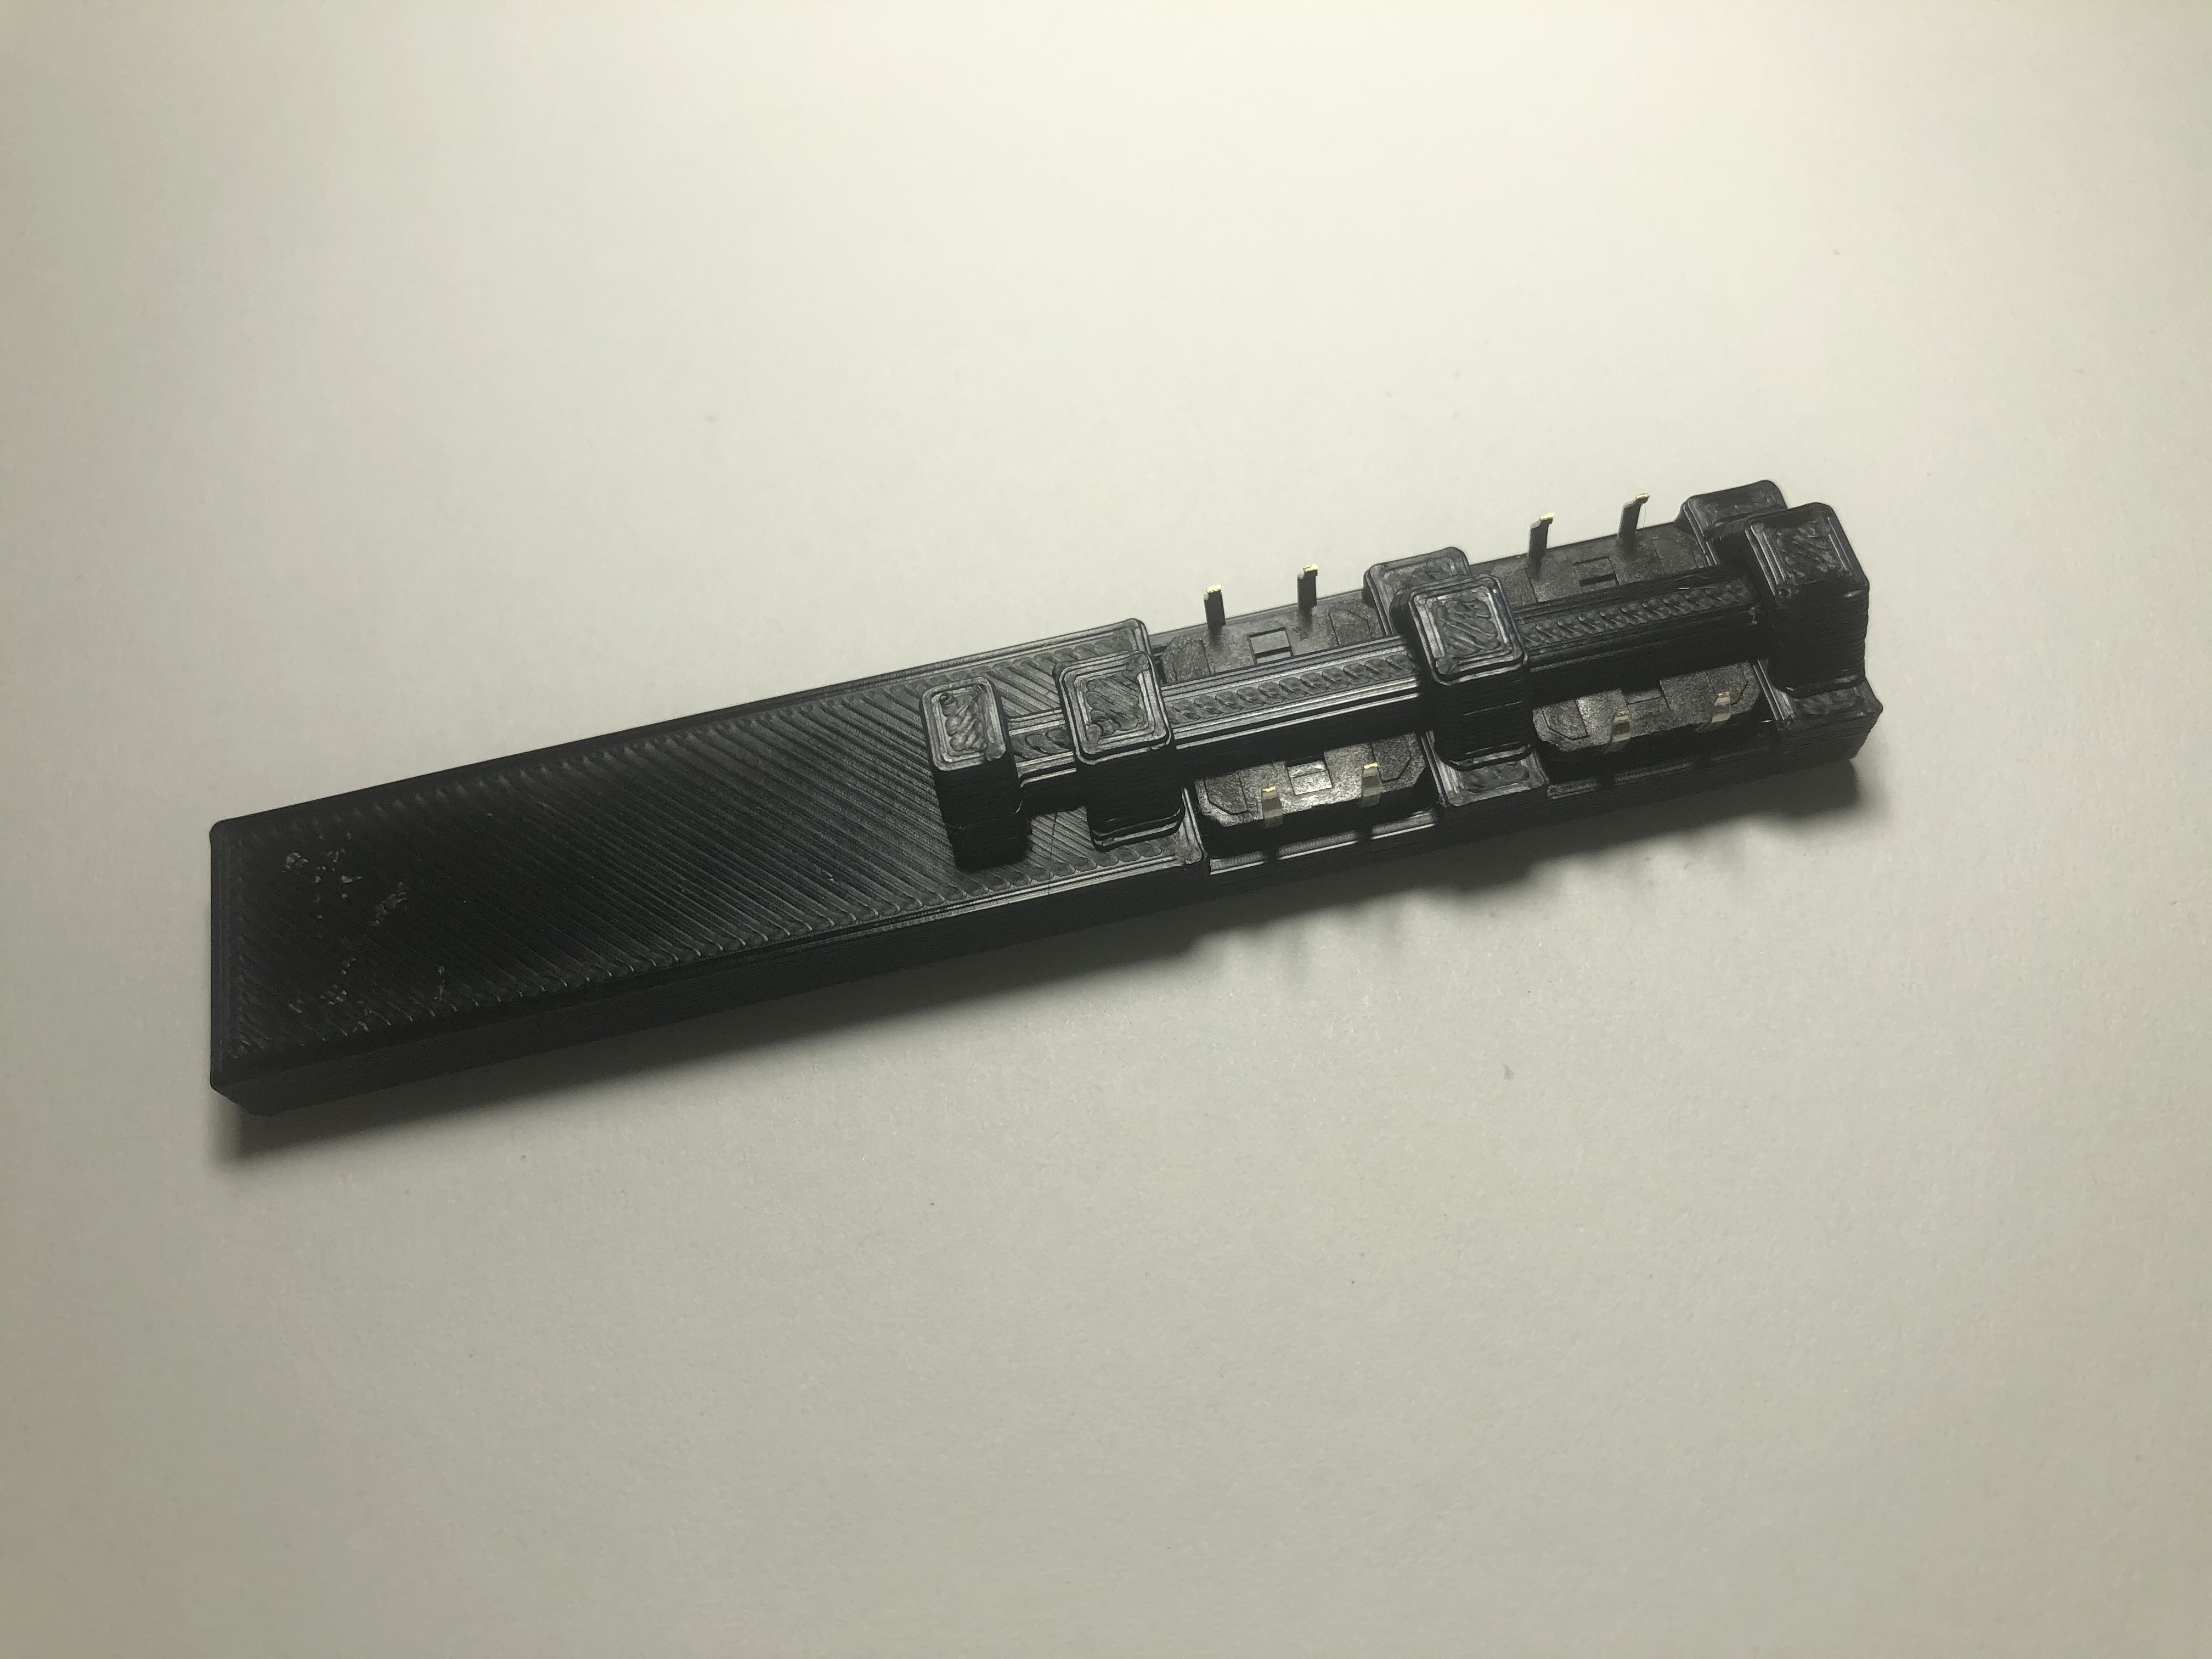
Also I mocked up the button connector. Inspired by ClockSpring , the switch holder has a print in place button retention slider.
![]()
![]()
![]()
-
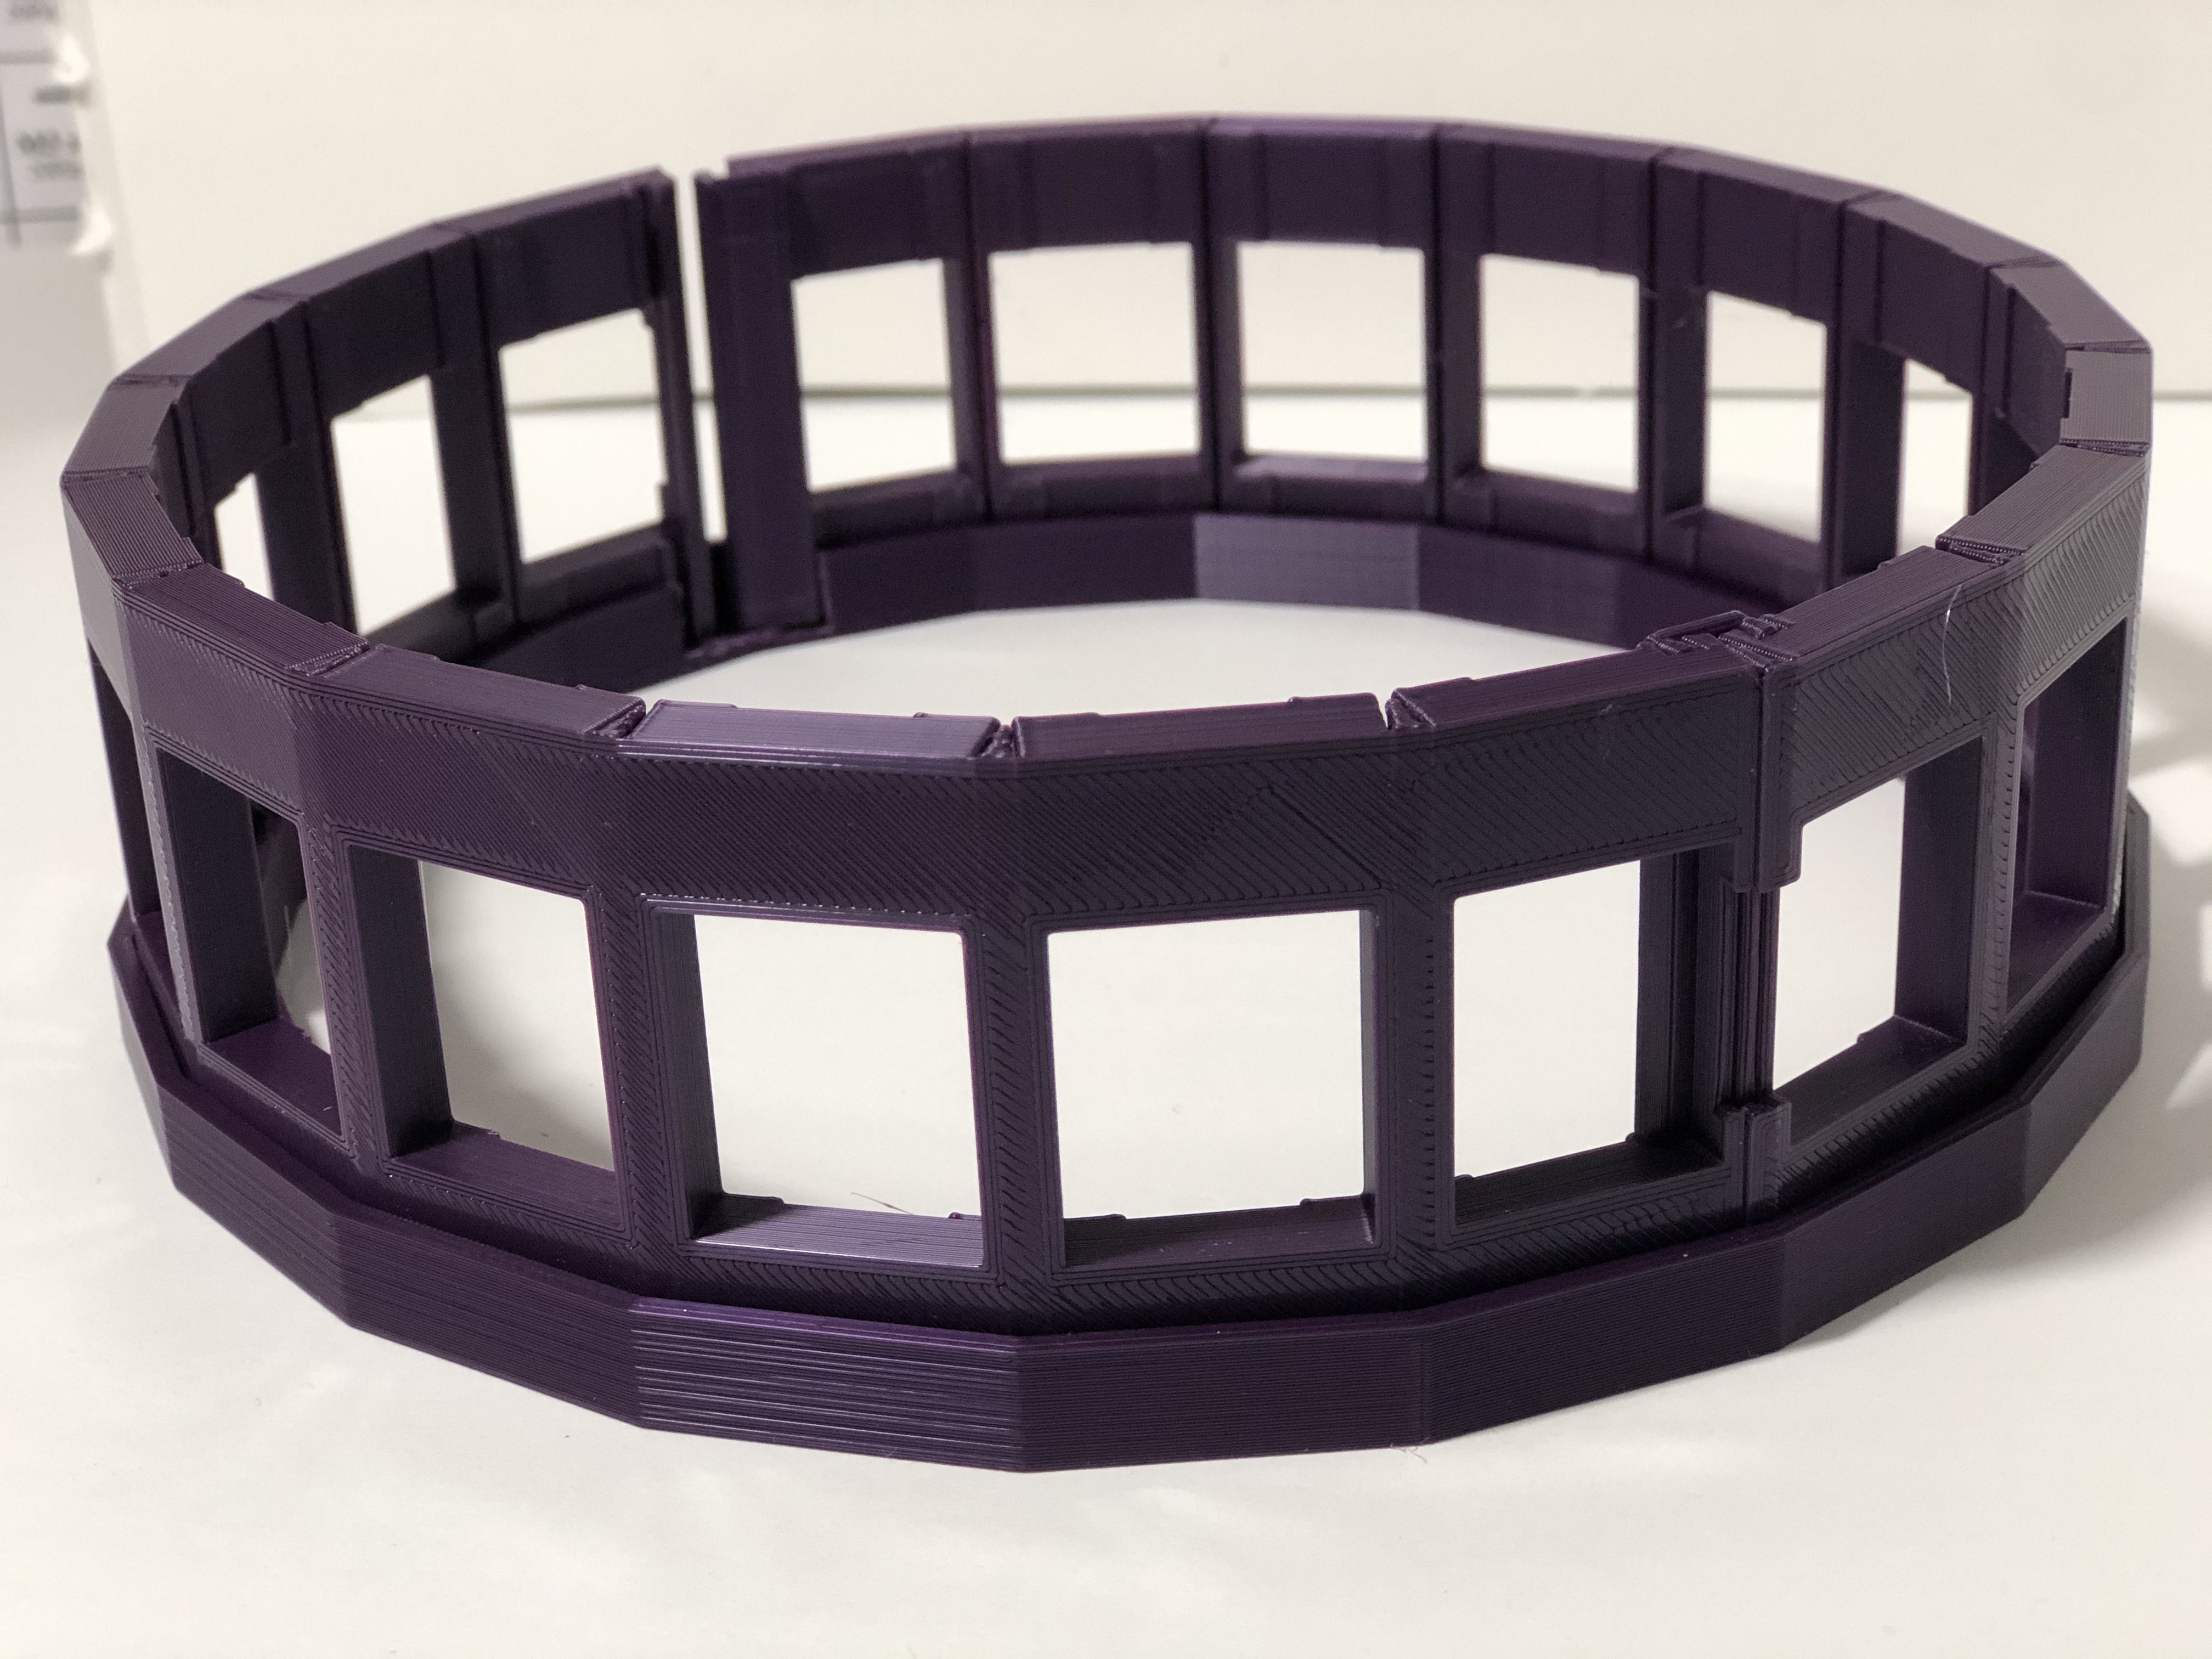
Mechanical Design - Round 2
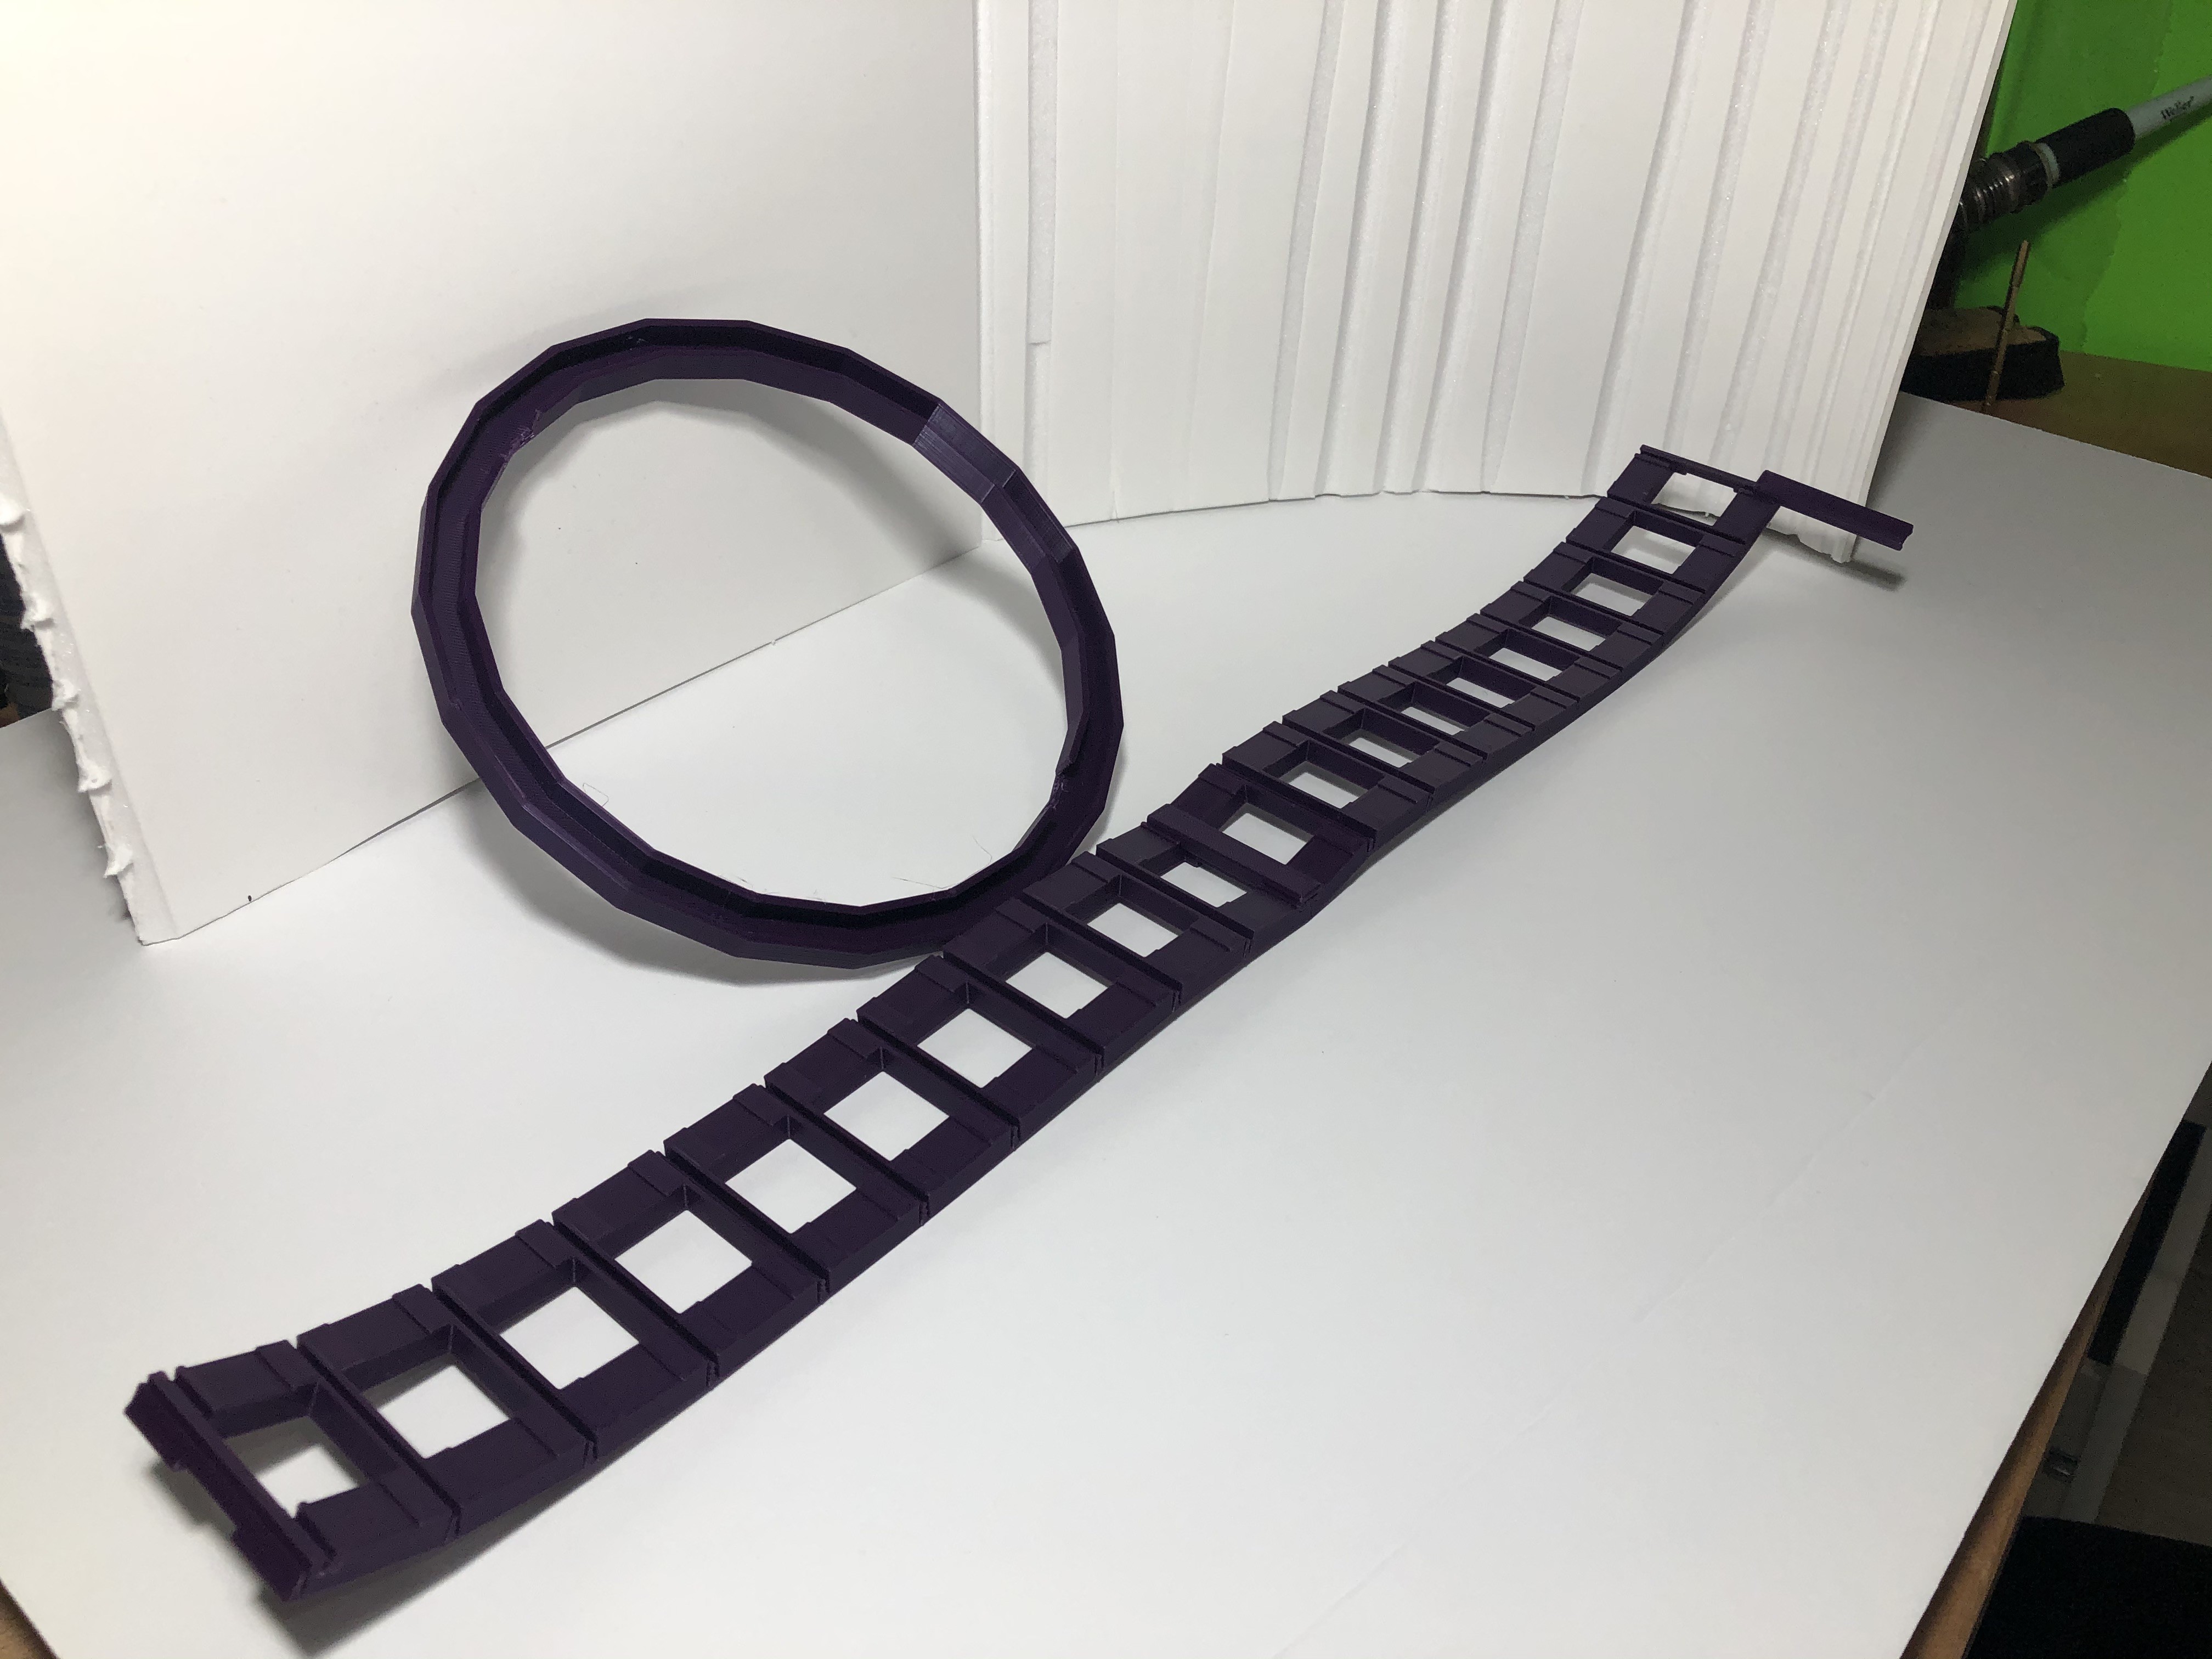
03/12/2020 at 23:46 • 0 commentsI printed another trial for the LED ring. The outer ring prints flat in two strips. These strips are then folded int a rough right and the sections connect using dovetail clips.
Also, there is a topper ring to hold the whole thing in a roughly cylindrical shape. I need to adjust the size of the ring so that the strips fit perfectly.
I ordered some 60 LED/meter strips (5 meters long). For 60 LEDs/meter, the LED repetition pitch is 16.54 mm. That will give 300 LEDs to make into an array. I'm currently thinking about an 8x32 array to make a satisfying 8-bit amount (256 LEDs).
![]()
Also, I will add 2-3 columns that are blacked out to hide the wires that interconnect the rows of LED strips. That will make effectively 35 colums. I am considering running the LED strips the long way (32 LEDs per strip) so that I will only have to wire up 8 ends. That will give a ring approximately 222mm in diameter (about 9 inches). More mechanical design is required to verify.
![]()
Things to figure out:
1. When rolling up the strip into a ring, need to keep the final size of 16.54mm pitch on the inside of the ring.
2. How to keep the LED strips in place?
- Hot glue (bleh!)
- Springy clips: How to keep them in place without coming off
- Clips that are then welded on with the soldering iron. I like this idea, but repairability will be low. Maybe that's a positive feature.