Close
0%
0%

Amateur Radio CAT/CI-V Interface Adapters

Interface to talk to numerous amateur radios.

Similar projects worth following
Several brands of Amateur radio (ICOM, Yaesu and Kenwood) use a similar 5V, open collector, half duplex, 2 wire interface to control them from an external computer. This is useful for running the newer "digital modes" or remote operating a radio. I have seen very simple designs on the web to go from an RS232 connector to the CAT or CI-V interface, so I decided to build a couple to see how it goes. The first board adapts a 9 pin RS232 connector to the CAT / CI-V interface and the second has a simple USB UART on it and it goes directly to the CAT / CI-V connector. Both boards also support RTS mic keying for a logic level key signal. Both boards have been tested with an ICOM 756 and work for control and mic keying. The RS232 to CAT adapter requires pretty faithful implementation of the 9 pin standard because it derives power from the DTR pin and keys the mic via the RTS pin. The USB version is less demanding.
Both PCBs are 2 layer boards.

The design for the RS232 to CI-V adapter was shamelessly copied from https://www.qsl.net/g3vgr/civ.html, thanks!

ICOM calls their communication system CI-V and Yeasu calls it CAT. The name CAT seems to be in wider usage for this purpose. Both interfaces use a similar physical layer design.

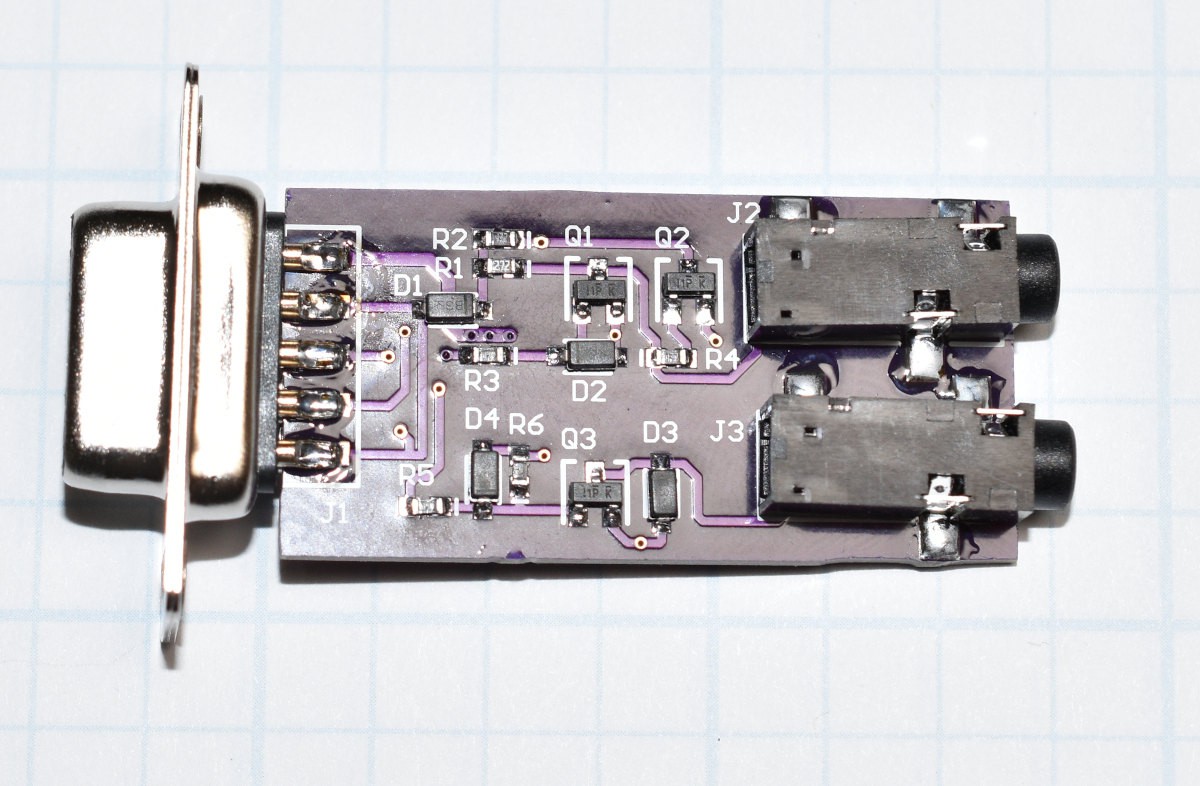
Looking at the schematic for the 9 Pin RS232 to CAT / CI-V interface, you can see that the board is powered from pin 4 (DTR) , so DTR must be set high for the board to operate. The diode D1 is used to prevent the positive power supply from going negative if the DTR signal goes low. The normal output voltage range for current USB to RS232 adaptors seems to be about -6V to +6V. The TXD signal (pin 3) drives an NPN transistor (Q1) to get the "open collector" aspect of the output side of the bus. It also logically inverts the RS232 levels before applying them to the COM_IO signal to the radio. D2 prevents the TXD signal from driving the base of Q1 below ground. The COM_IO signal is pulled up to about 5V by the voltage supplied by the DTR pin. When the host is not actively talking to the radio, the COM IO signal idles in the high state. Responses from the radio  go through Q2 to be inverted. Q2's output is also pulled up to about +5V and the resulting signal goes to the RXD pin on the 9 pin connector. The RXD signal never goes negative like a real RS232 signal, but it works as is. The DTR signal (pin 4) on the 9 pin connector is also used to pull up  the DSR (pin 6) and DCD (pin 1) on the D connector. The RTS signal (pin 7) is also driving the CTS input (pin 8). These extra handshake signal connections may help keep the UART happy but are probably not necessary.

The operation of the MIC-KEY is similar, the RTS signal (pin 7) drives the base of another NPN transistor (Q3) to pull the MIC-KEY signal to ground when the RTS pin goes high. DIODE D4 prevents the base of Q3 from being pulled below ground. Diode D3 prevents the MIC-KEY signal on the collector of Q3 from being pulled below ground. This logical convention works with existing software (WSJT-X), so it is apparently standard. One thing to be aware of is that some radios use considerably higher voltage for keying the microphone, so a relay should be used to drive such a radio.

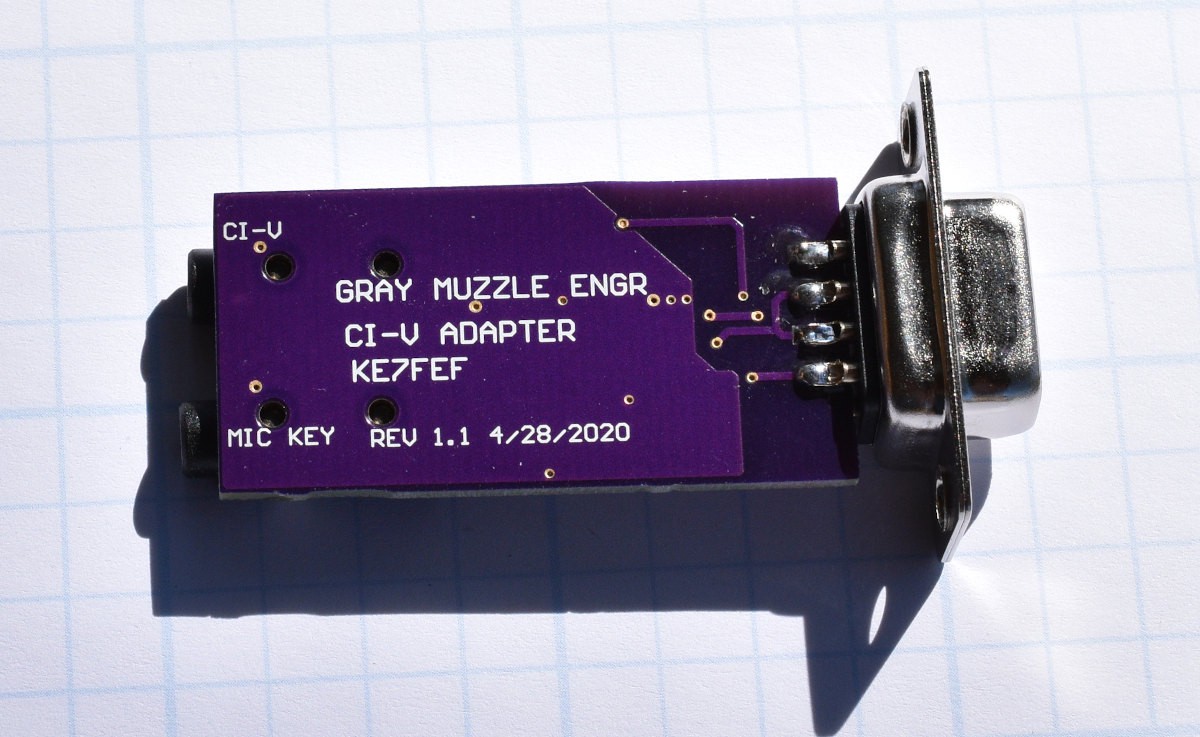
Both of the output connectors are just 3.5mm stereo sockets. The tip and the sleeve are used. The first rev PCB that I did had the tip and ring pins interchanged, hence the blue wires. Rev 1.1 of the boards have already been sent out to OSHPark. The ICOM radio that I am testing with has a 3.5mm connector for the CI-V signal, making the cable simple. Yaesu and Kenwood use mini-DIN connectors, so a different cable will have to be made to drive one of these radios.

The USB to CAT / CI-V adapter is my own design and uses an FT230X UART chip to go from USB to logic level UART signals. Both of the output signals have a second grounded emitter transistor to provide a second inversion. The logic level to RS232 level shifter chips in a normal serial port perform an inversion on each signal, so this second inversion is necesary to keep the logical sense of the COM_IO signal the same as the RS232 version of the adapter. The USB VBUS power (about 5V)  is used to pull up the signals in the output section.

Yaesu_Mic_Adapter_R1p1_6_22_2020.zip

PCB Layout for the Yaesu 857D Microphone fanout board.

Zip Archive - 11.90 kB - 03/27/2021 at 14:44

Download

Yaesu_Mic_Adapter.pdf

Schematic for the Yaesu 857D Microphone fanout board. This schematic was done from the Yaesu schematic that shipped with my radio. There is a Yaesu 857 schematic on the net that has the pinouts on the RJ45 connectors reversed. I don't know if there were any radios built like that.

Adobe Portable Document Format - 67.55 kB - 03/27/2021 at 14:39

Preview

Bill of Materials-Yaesu_Mic_Adapter.csv

Bill of Materials for the Yaesu 857D Microphone fanout board.

Comma-Separated Values - 553.00 bytes - 03/27/2021 at 14:39

Download

CIV_to_9Pin_Ext_Pwr.pdf

Schematic for externally powered (from Radio) RS232 to Cat/CI-V Adapter Board.

Adobe Portable Document Format - 100.37 kB - 05/29/2020 at 02:58

Preview

Bill of Materials-CI_V_to_9Pin_Ext_Pwr.csv

Bill of materials for externally powered RS232 to CAT/CI-V interface.

Comma-Separated Values - 1.30 kB - 05/11/2020 at 19:35

Download

View all 9 files

  • Rev 1.1 of the Microphone Fanout Board Arrived

    Bharbour07/06/2020 at 22:52 0 comments

    The revised  microphone fanout board for the Yaesu 857D radio arrived today. This one was designed from the schematic that shipped with my radio. All of the wierdness is gone with the interface. I can control the 857D radio via the Hamlib rigctl tool and read data back as well. This means that my USB to CAT/CI-V interface boards that have optional half or full duplex via a jumper are working too!

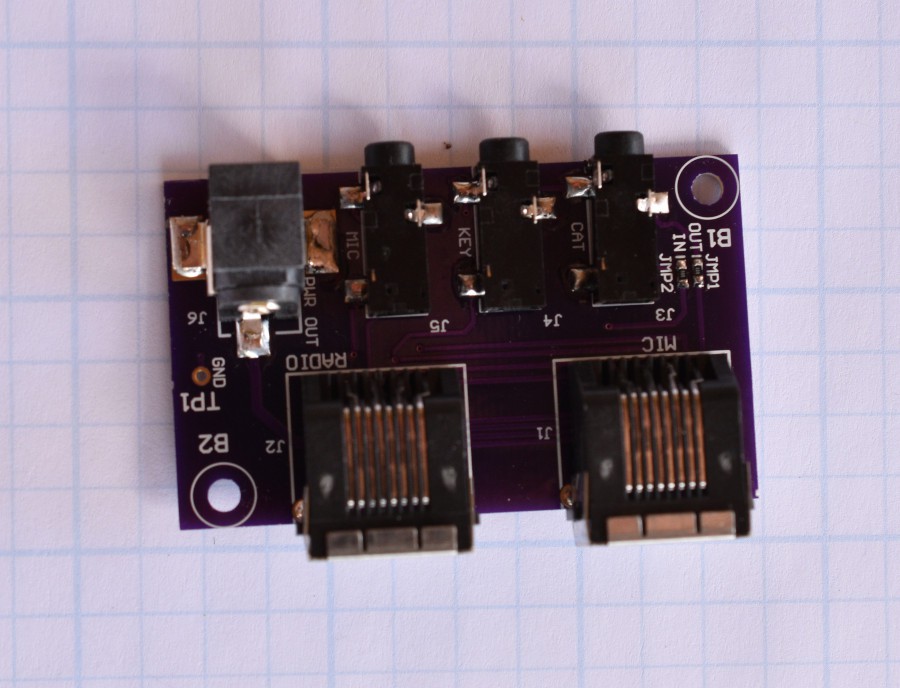
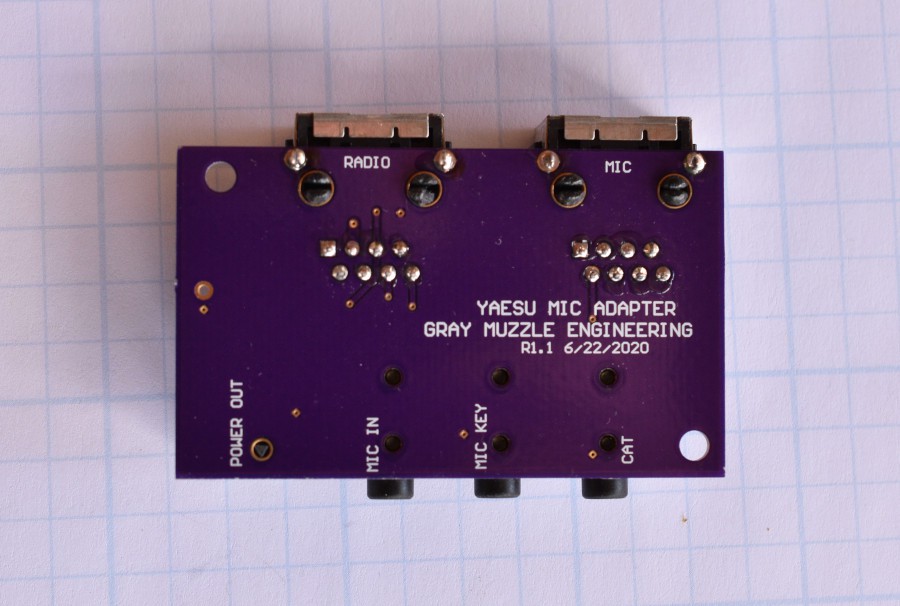
    Top Side of the Yaesu 857D Microphone Cable Fanout Board

    This is the built up fanout board. All of the connectors were re-used from the original, messed up board.

    Removing the surface mount components is quite easy. I put the old board on top of my re-flow hot plate and turned the heat up a little, and then picked up the free connectors with a pair of tweezers. The RJ45 through hole connectors were a little messier, requiring a pair of pliers to pull off the board.

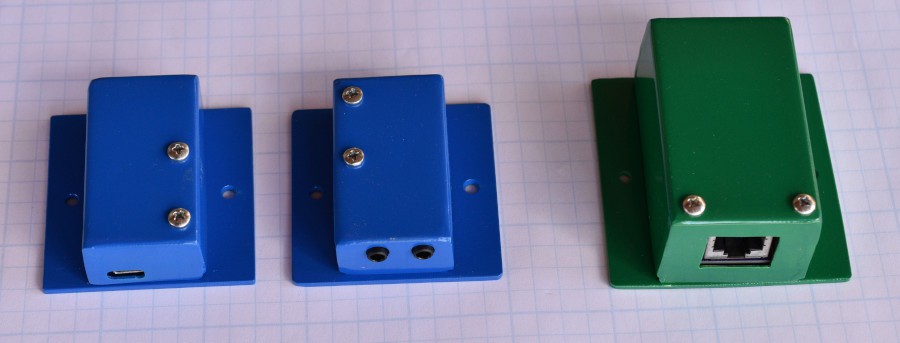
    Cleaning up another semi-related project, I got tired of handling a bare PCB whenever I went to use it. The USB to CAT/CI-V boards are pretty small and I wanted some protection for them, so I designed and fabricated enclosures for them. Now they are all powder coated and looking clean. The only thing missing are labels for the boxes.

    Here are two of the USB to CAT/CI-V boards in their new enclosures. The green box is the 2 channel RS232 to RJ45 project that motivated me to make the other enclosures. It is used to control the satellite antenna rotator.

    The tops of the enclosures were folded up from 0.030" 5051 aluminum and the baseplates are 0.090" 6061 aluminum. Figuring out how to transfer the dimensional data out of my PCB CAD system into the mechanical drawing CAD system has been interesting. I think that process needs some more work.

  • Problems Testing the Yaesu 857D Setup

    Bharbour06/23/2020 at 22:49 0 comments

    In order to simplify cabling and make the installation cleaner, I laid out a PCB that goes between the handheld microphone and the radio. It has a pair of RJ45 connectors on it and connectors for the CAT data, Mic Key, Mic input, and DC power out (+5V). I dug up a Yaesu service manual from the web and proceeded to design the board from the connector documentation shown in the schematics. The boards came back a while later and I went to test them yesterday. The voltages on several pins were showing negative 5V and weird things happened when I connected the computer.

    The schematic that shipped with the radio was handy when I got the radio out of it's box, and it turns out that the signal naming on my board was flipped according to the schematic that shipped with the radio. Hoping that I had not screwed up that severely, I compared the schematic from the service manual to the one that shipped with the radio. The schematic in the service manual had the signal naming reversed! From the voltages and behavior, I believe it is reversed. I was not expecting a discrepancy of that severity! When I laid out the board, I poured copper across all of the bottom side of the board to tie the grounds together. The cutting and abuse needed to blue wire this board for testing is just too much. I corrected the schematic and then the PCB and sent it out for fabrication. The bare boards are not terribly expensive ($16US) but it adds a couple of weeks to finishing this project.

    I did build up the modified USB to CI-V/CAT board that came back at the same time, and it works fine talking to the ICOM 756 that I have been using to play with FT8.

  • Connecting to a Yaesu Radio

    Bharbour05/30/2020 at 19:09 0 comments

    I was looking at doucmentation to hook up to a couple of different Yaesu radios. The FT60 handitalkie should connect to the boards without an issue, it uses one wire (and ground) to talk to the radio. The 857D mobile is a different beast. It has separate RxD and TxD lines. The open collector scheme looks valid still.

    Rather than pursue a separate PCB, I added a jumper and a couple of passives to allow the board to work in either configuration. The USB interfaced board design has been modified to verify operation with both configurations. When that is working correctly, I will update schematics and update the other boards. The 3.5mm jacks that were used on these boards are stereo jacks. In the existing board design and the "2 wire" jumper configuration, the data in and out are on the tip of the plug and the ring is left unconnected. In the "3 wire" configuration on the new board, the tip is the TX data out and the ring is the RX data in. The body of the connector in all configurations is ground.

    When the new boards come back from OSH Park and I can test them, I will post the new schematics. The existing schematics work fine for talking to any radio that only uses a single data wire.

  • Revised PCBs back

    Bharbour05/17/2020 at 17:39 0 comments

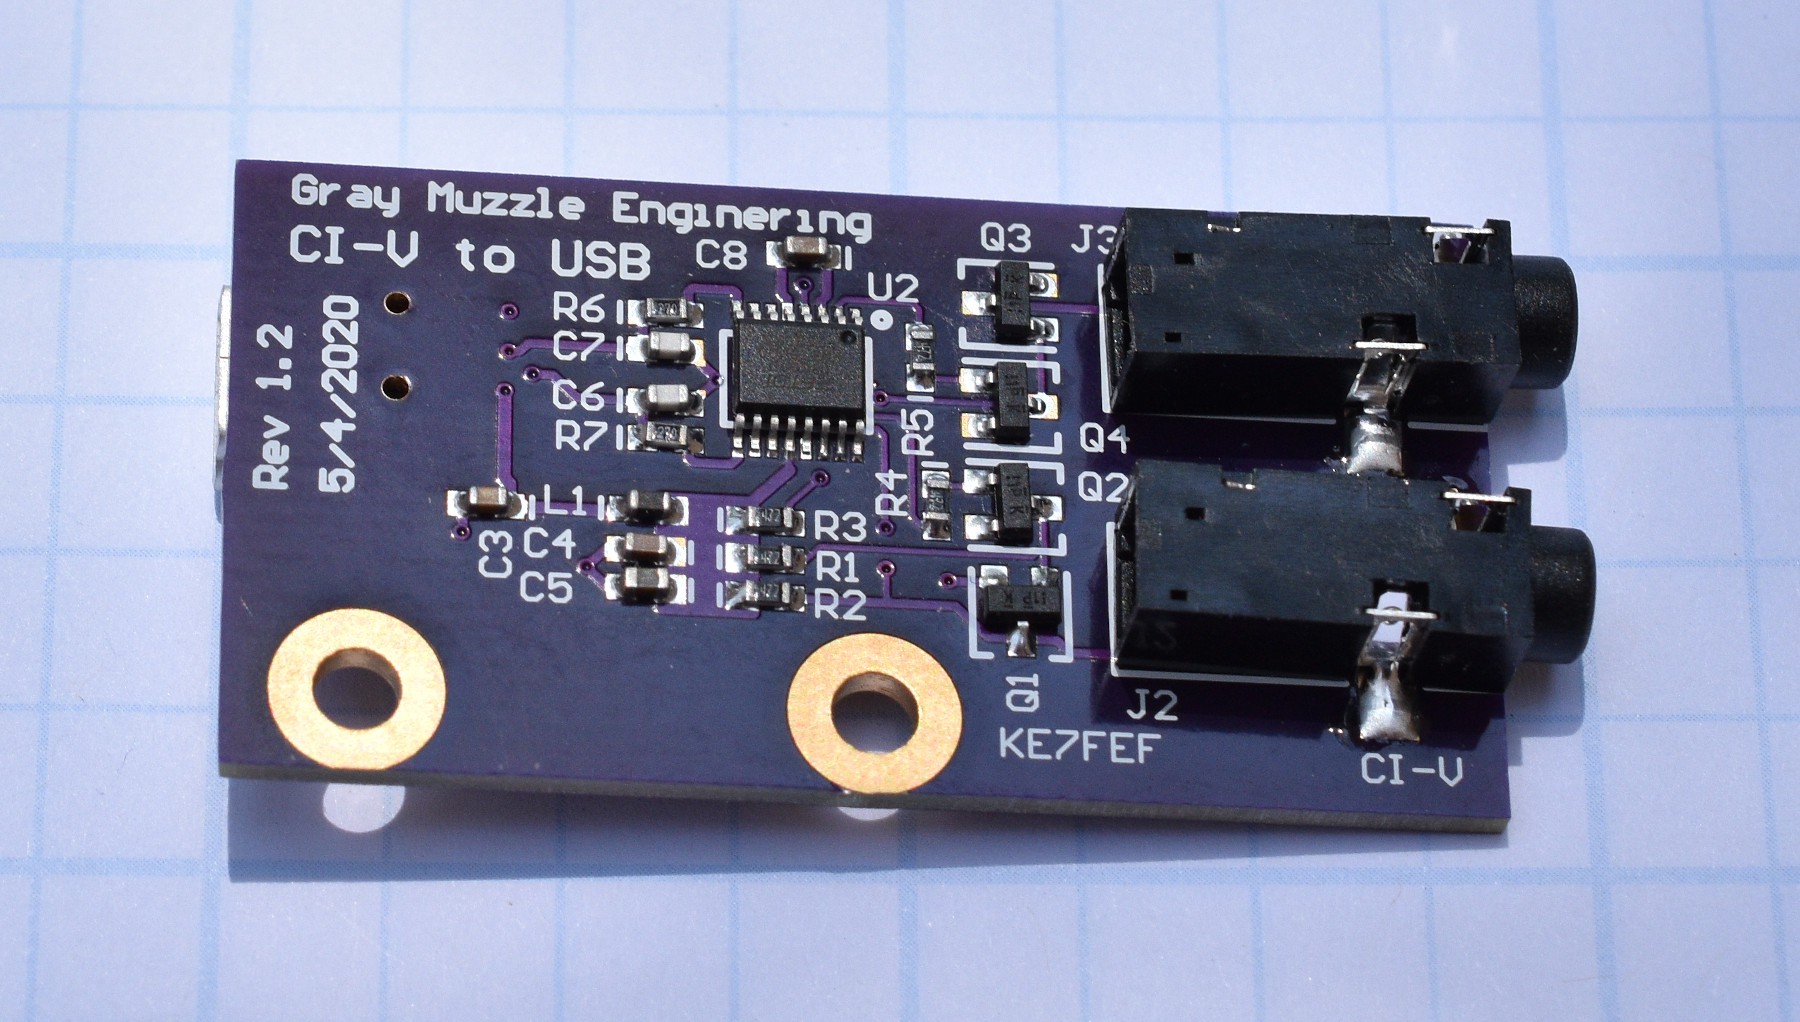
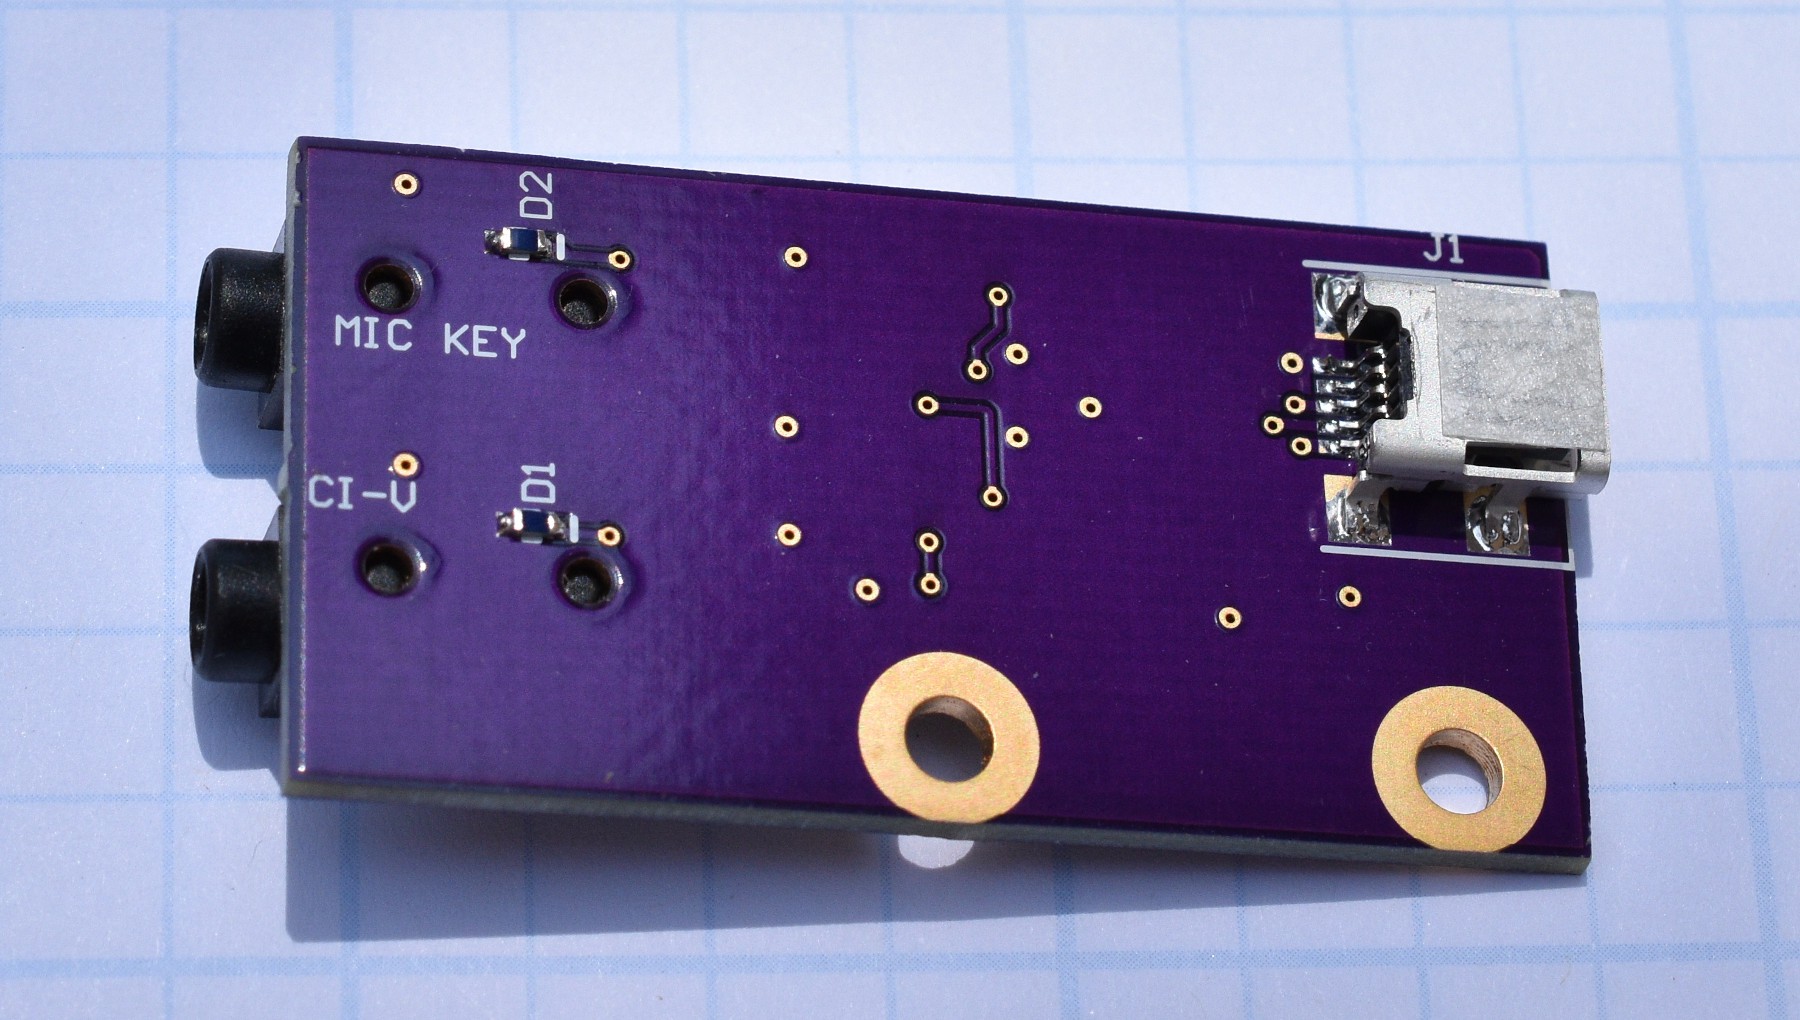
    The revised PCBs for both the RS232 to CI-V and the USB to CI-V units came in on Friday. Revision 1.1 of the USB board just had the wiring error fixed and never got sent to fabrication. Revision 1.2 is rip up and re-do on the component placement from revision 1.0 of on the USB board. On the initial PCB, the USB data + and - lines had to cross between the connector and the chip. Orientation of the chip did not work well with either the USB connections. The two 3.5mm jacks were close enough together that it was marginal to plug both in simultaneously. On Rev 1.2, the USB connector got moved to the back side of the board and the chip got rotated 90 degrees. Spacing between the 3.5mm jacks got increased. The rest of the components got re-distributed to work with those changes. Board size remained the same. The wiring error on the 3.5mm jack got corrected as well. I am not a big fan of connectors on the back side of a PCB, but it was the best choice with the connectors that I have. The new layout is much cleaner. Building the Rev 1.2 board went quickly, even with hand soldering the SMT USB connector to the back side of the board.

    I swapped the Rev 1.2 board for the 1.0 board on my FT8 setup this morning and it works fine.

    If anybody is interested in building one (or 3) of these boards, message me and I will send you the artwork. If people are interested, I will share the artwork on OSH Park. A run of 3 boards costs about $9.60US and the components to populate a board are about $10US for one board.

    I was planning to wait to build the revision 1.1 of the RS232 board, but the externally powered version PCBs will not be here until late this week and I got bored.

    The only changes on the 1.1 version are to fix the wiring error and add keying holes to the 3.5mm jacks. The new boards built up and work fine.

  • A little usage experience

    Bharbour05/11/2020 at 19:34 0 comments

    After using the USB board for a few days, I found that the other USB based UART chip (supporting the GPS receiver) sometimes enumerates before the one in the USB to CI-V interface. I have a 4 RS232 port board from a previous project, but it does not support the DTR signal that powers the RS232 version of the the CAT/CI-V interface. Most radios have a low voltage output available from the microphone connector or accessory connector. The ICOM that I am working with now supplies 8V at a few milliamps. I did a little rip up on the RS232 version and installed an LDO to make 5V out of the 8V and added a connector for the new DC input. The pullup resistor on the output transistor emitter was reduced to 2.7K from 4.7K to get a little bit more output voltage swing on the COM_IO line. I also pulled out the pin jumpering for the handshake pins because I think that they are un-necesary. The new PCB went out to OSHPark on Saturday morning. The schematic for the new design is titled: CIS_to_9Pin_Ext_Pwr in the files section.

View all 5 project logs

Enjoy this project?

Share

Discussions

John wrote 06/19/2020 at 21:08 point

I too have been exploring the use of the CI-V interface.  My original goal. was to create a 'simple' mechanism to add external buttons to my transceiver ( IC 7300 ).  Essentially that job's done (switching modes is now a dream), but there are some other things I can do e.g. get the S-meter value, VCO frequency, and mode info over the CI-V interface and display those on external devices.   The original rat's nest was built around an Arduino 2560 Mega, but I've kept the code small and have put an Arduino pro mini on the CI-V interface p.c.b.  Now pondering what to do next.

https://youtu.be/urFd8D0IUtM

  Are you sure? yes | no

Bharbour wrote 06/25/2020 at 19:23 point

I started down the rabbit hole to get FT8 operating, and satellite operations seem easier with the CI-V / CAT working. Now it is as much about finishing the project as any specific application.

  Are you sure? yes | no

Dan Maloney wrote 05/08/2020 at 20:34 point

Is there a standard command set that these devices listen to?

  Are you sure? yes | no

Bharbour wrote 05/08/2020 at 23:08 point

Unfortunately not. As far as I know, the message structure is not even consistant from vendor to vendor. The best option is an open source library called Hamlib. They have support for many radios, and some rotators. It accepts standard commands and has a method for discovering the capabilities supported by a radio or at least the hamlib driver for that radio. This is the method used by packages like Gpredict, WSJT-X and Fldigi. The individual drivers are not terribly difficult to write or debug.

  Are you sure? yes | no

Similar Projects

Does this project spark your interest?

Become a member to follow this project and never miss any updates