-
So yeah, this thing.
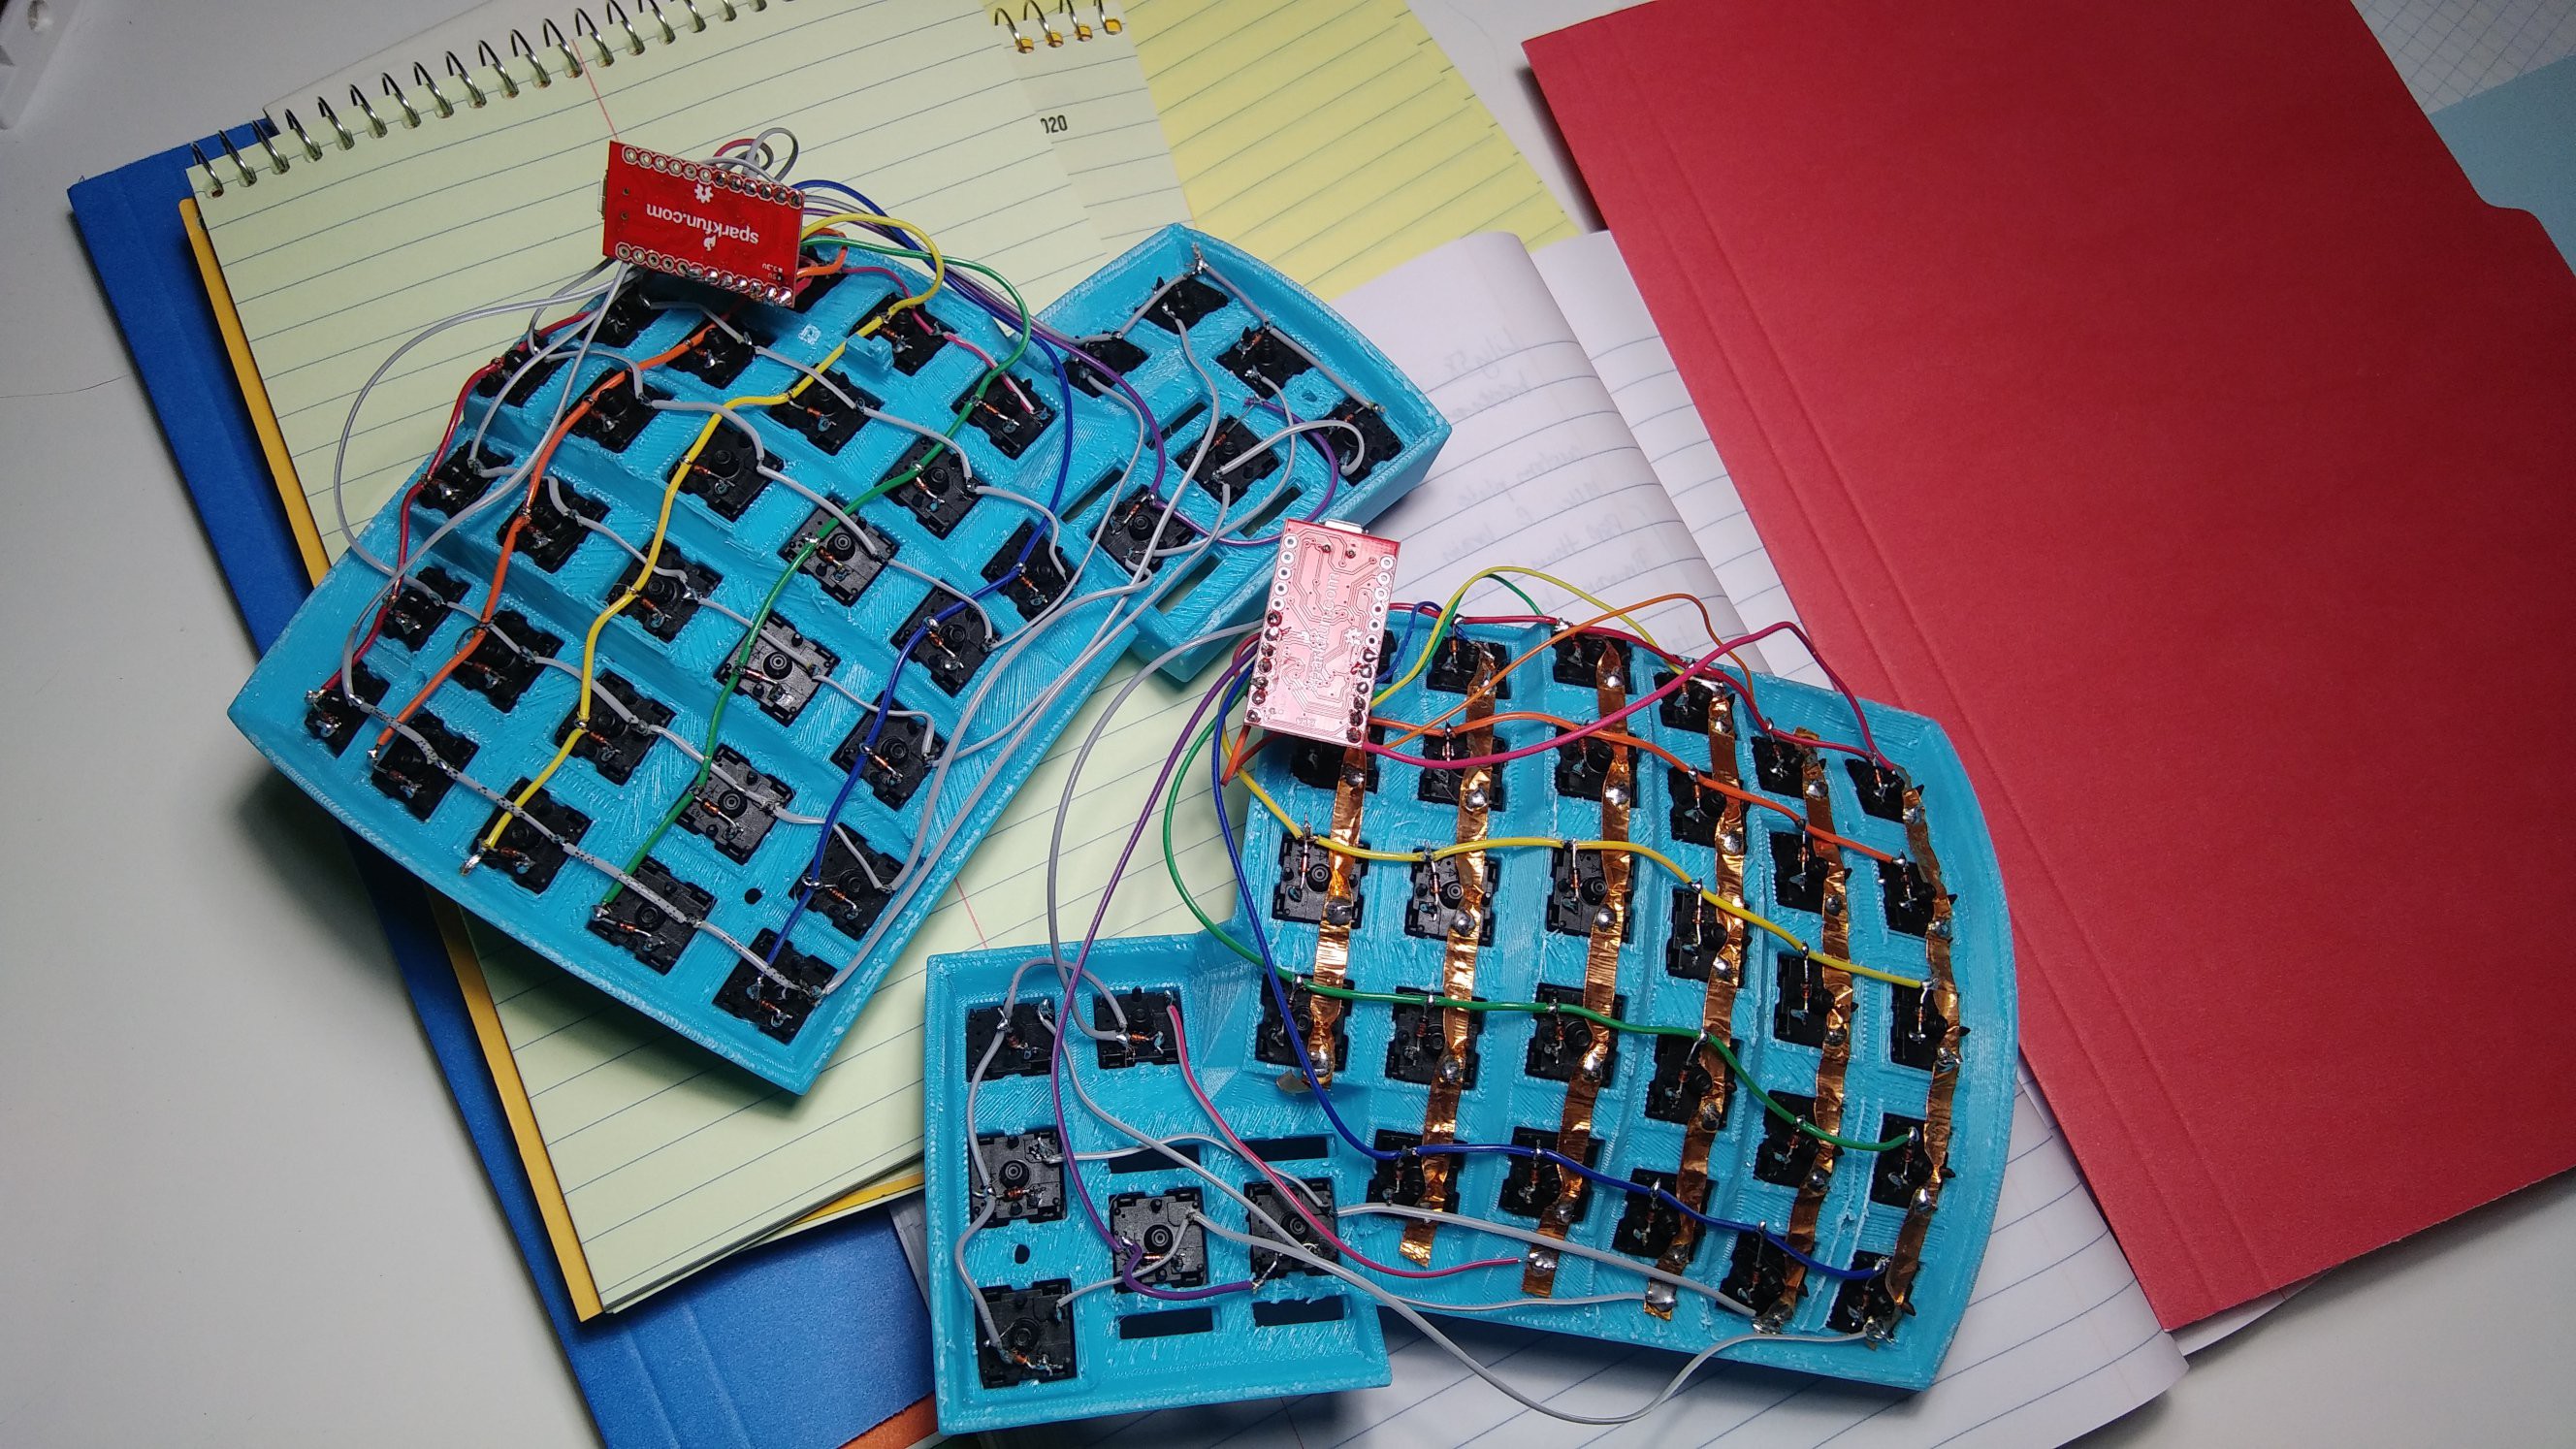
05/12/2021 at 19:03 • 0 commentsI just realized I never gave a final update. Well, semi-final update, because technically it's not finished, because only one half of it works.
After setting this project aside for several months, I am going to do a full continuity check and try to figure out what's going on. I may just replace the Pro Micro on the broken side (I did a dumb thing and didn't verify that the Pro Micros worked before using them).
-
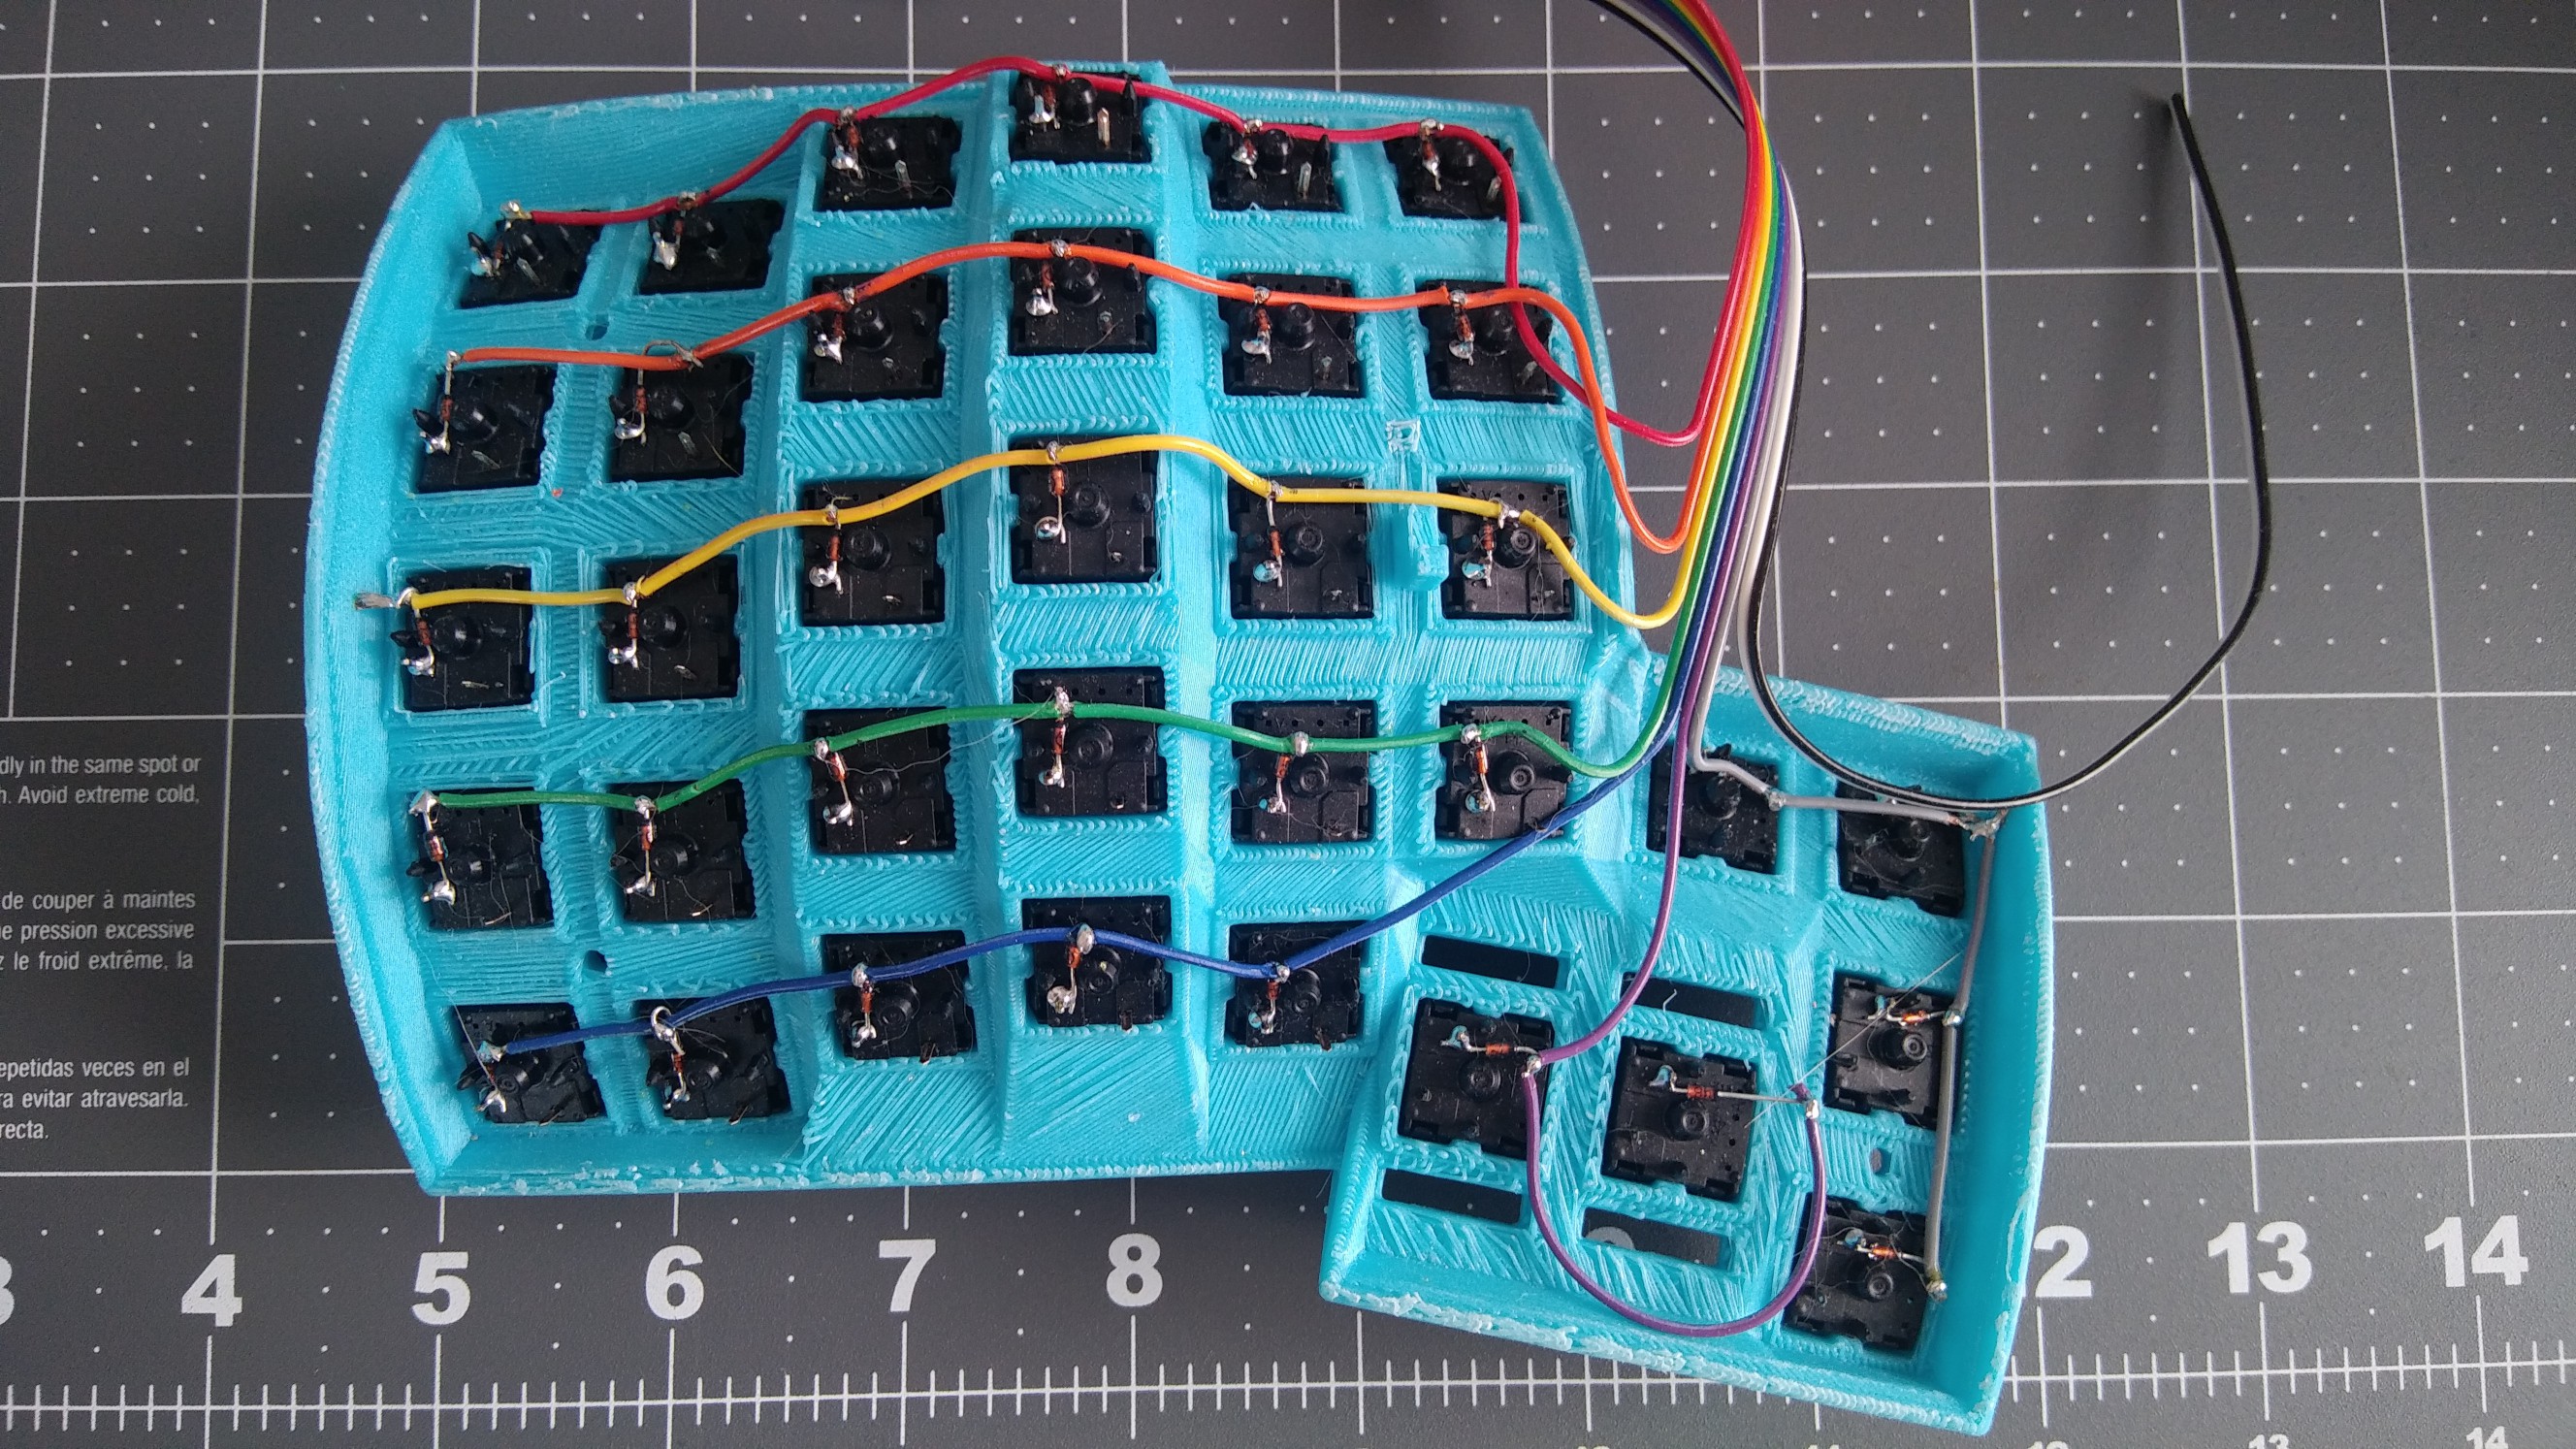
98% soldered!
09/26/2020 at 01:48 • 0 commentsAll that's left are the TRRS jacks.
![]()
-
A long-overdue update
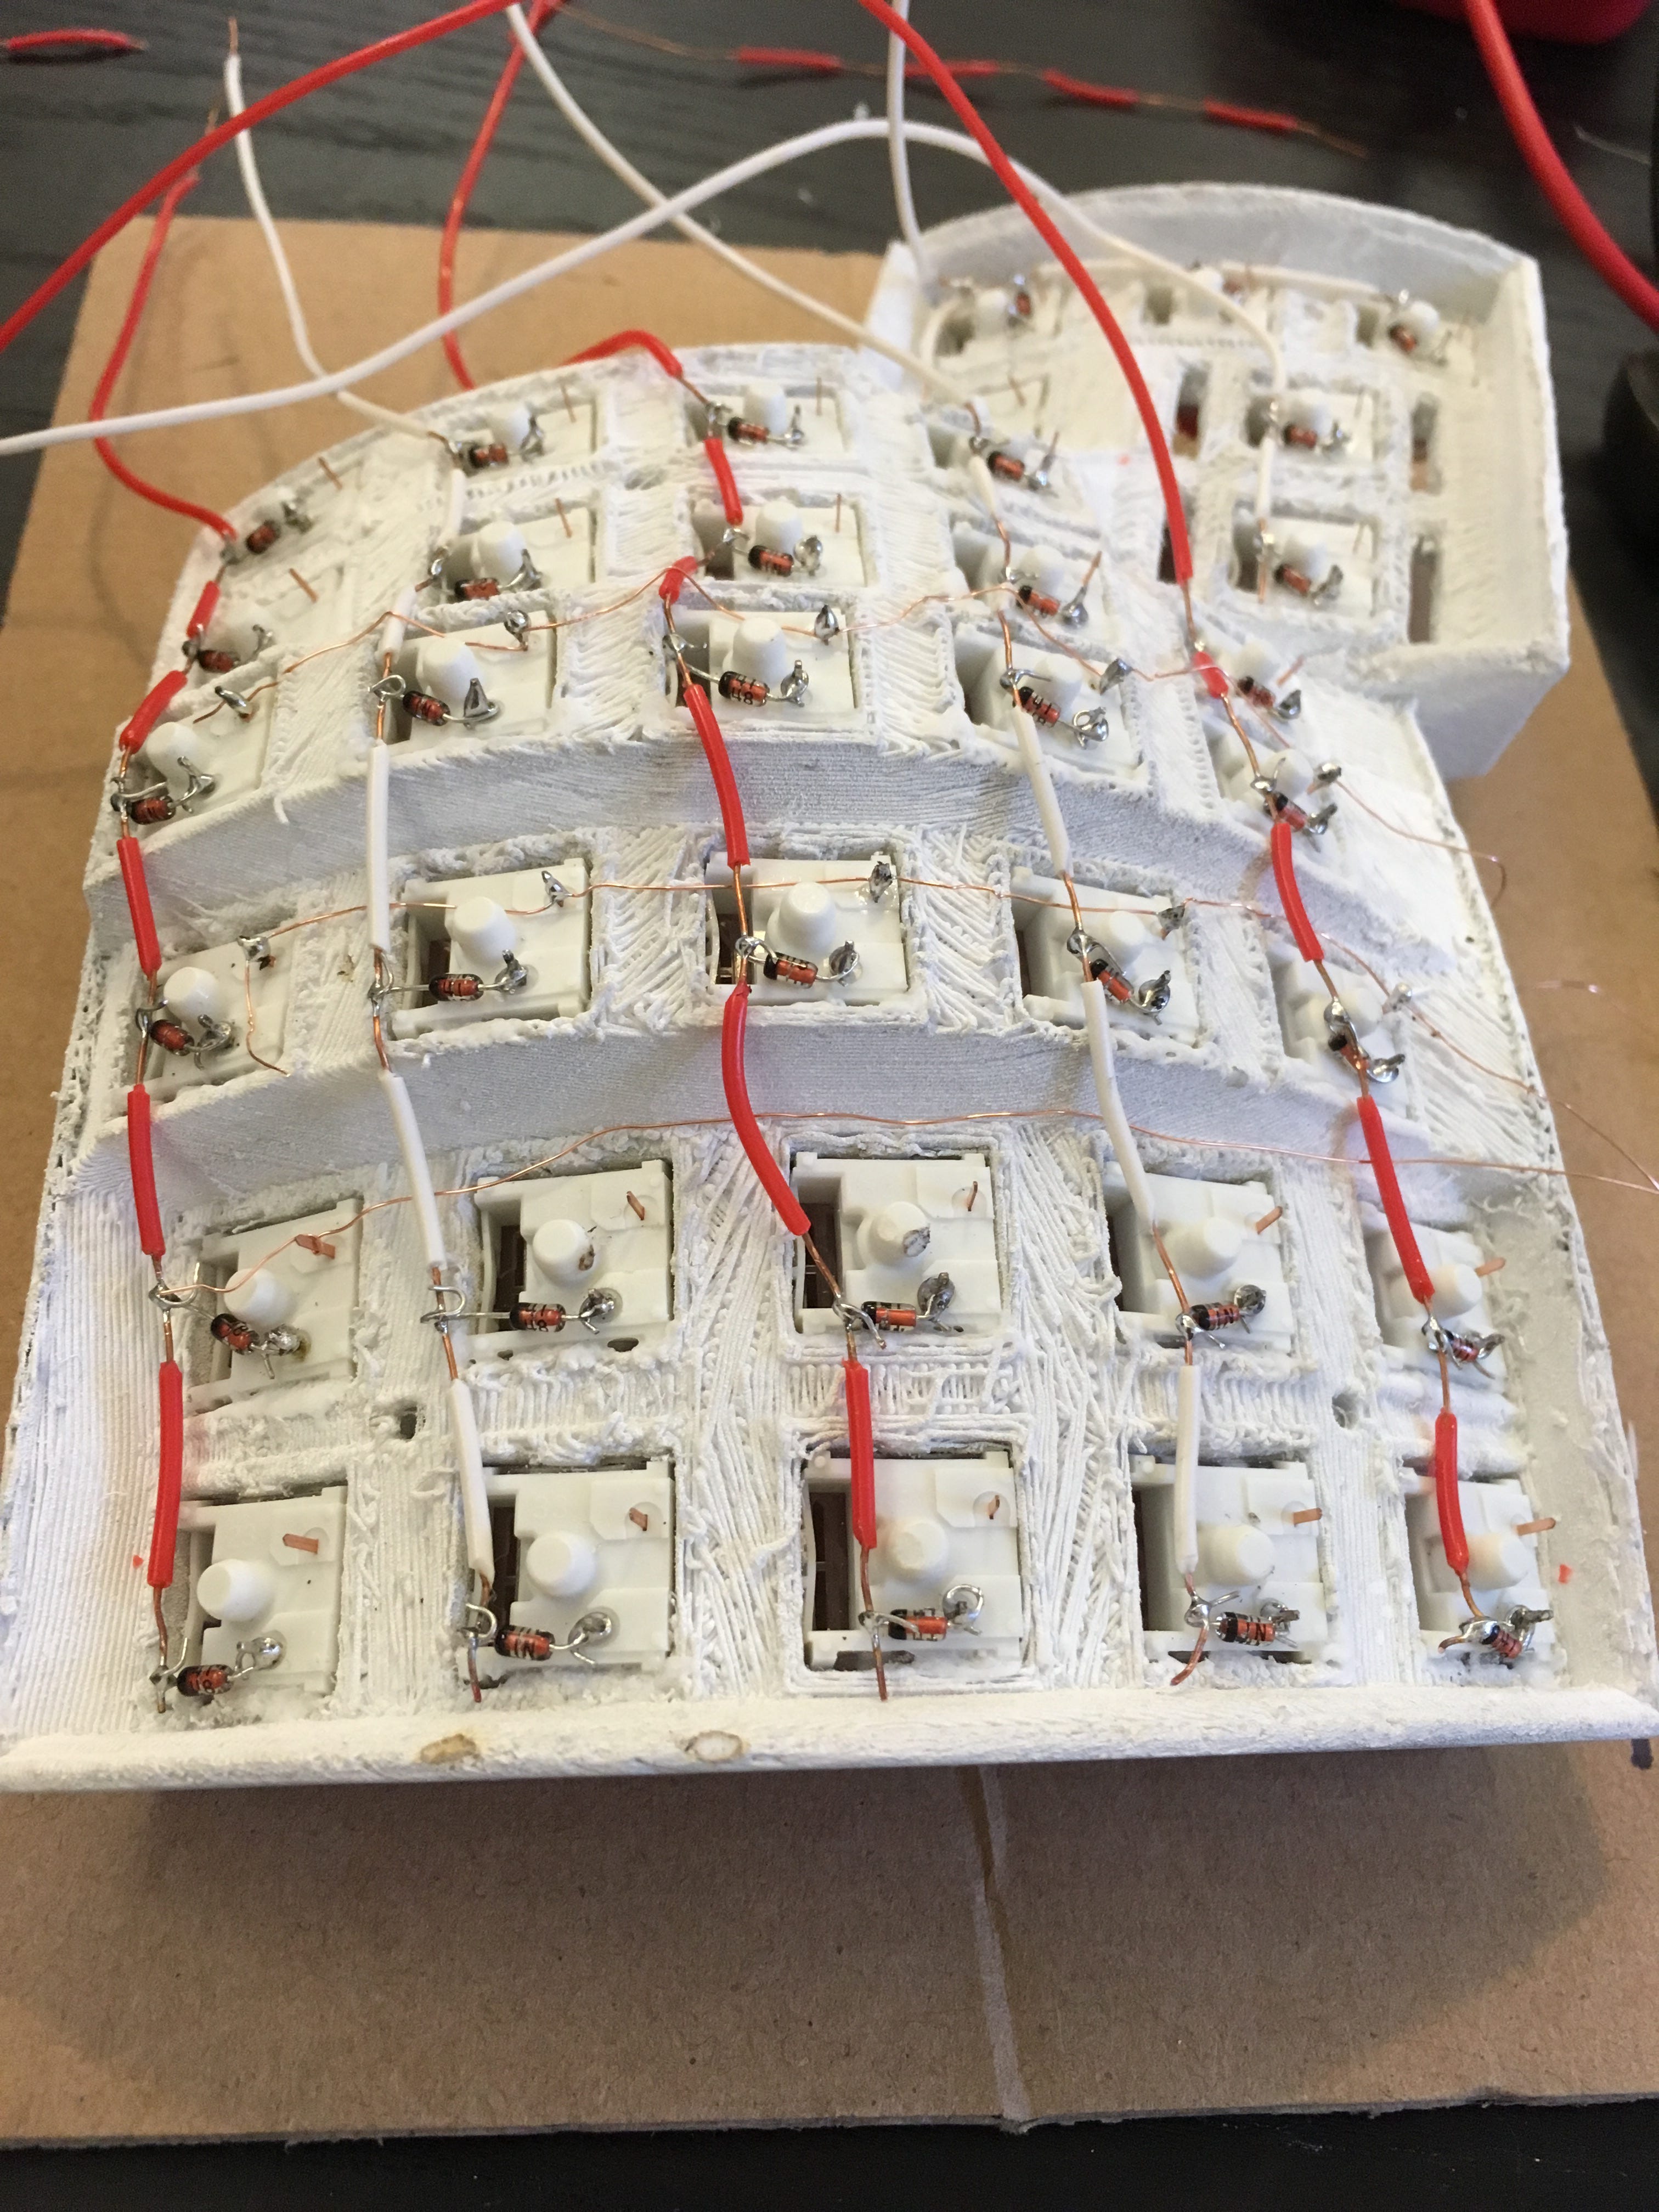
09/20/2020 at 13:40 • 0 commentsI can't even remember where I left off. Did I show you the rainbow row wiring on the right half? Because that's pretty much where I stopped.
Looks like I did, but none of it was soldered yet. Well now it's soldered, and it's still all stuck together in a rainbow. The problem is that I doubt it will fit inside the case like that. And that made me sad and/or scared to continue, and I stopped.
I've made the decision to just separate the damn wires and keep going.
![]()
-
Actual soldering has now taken place
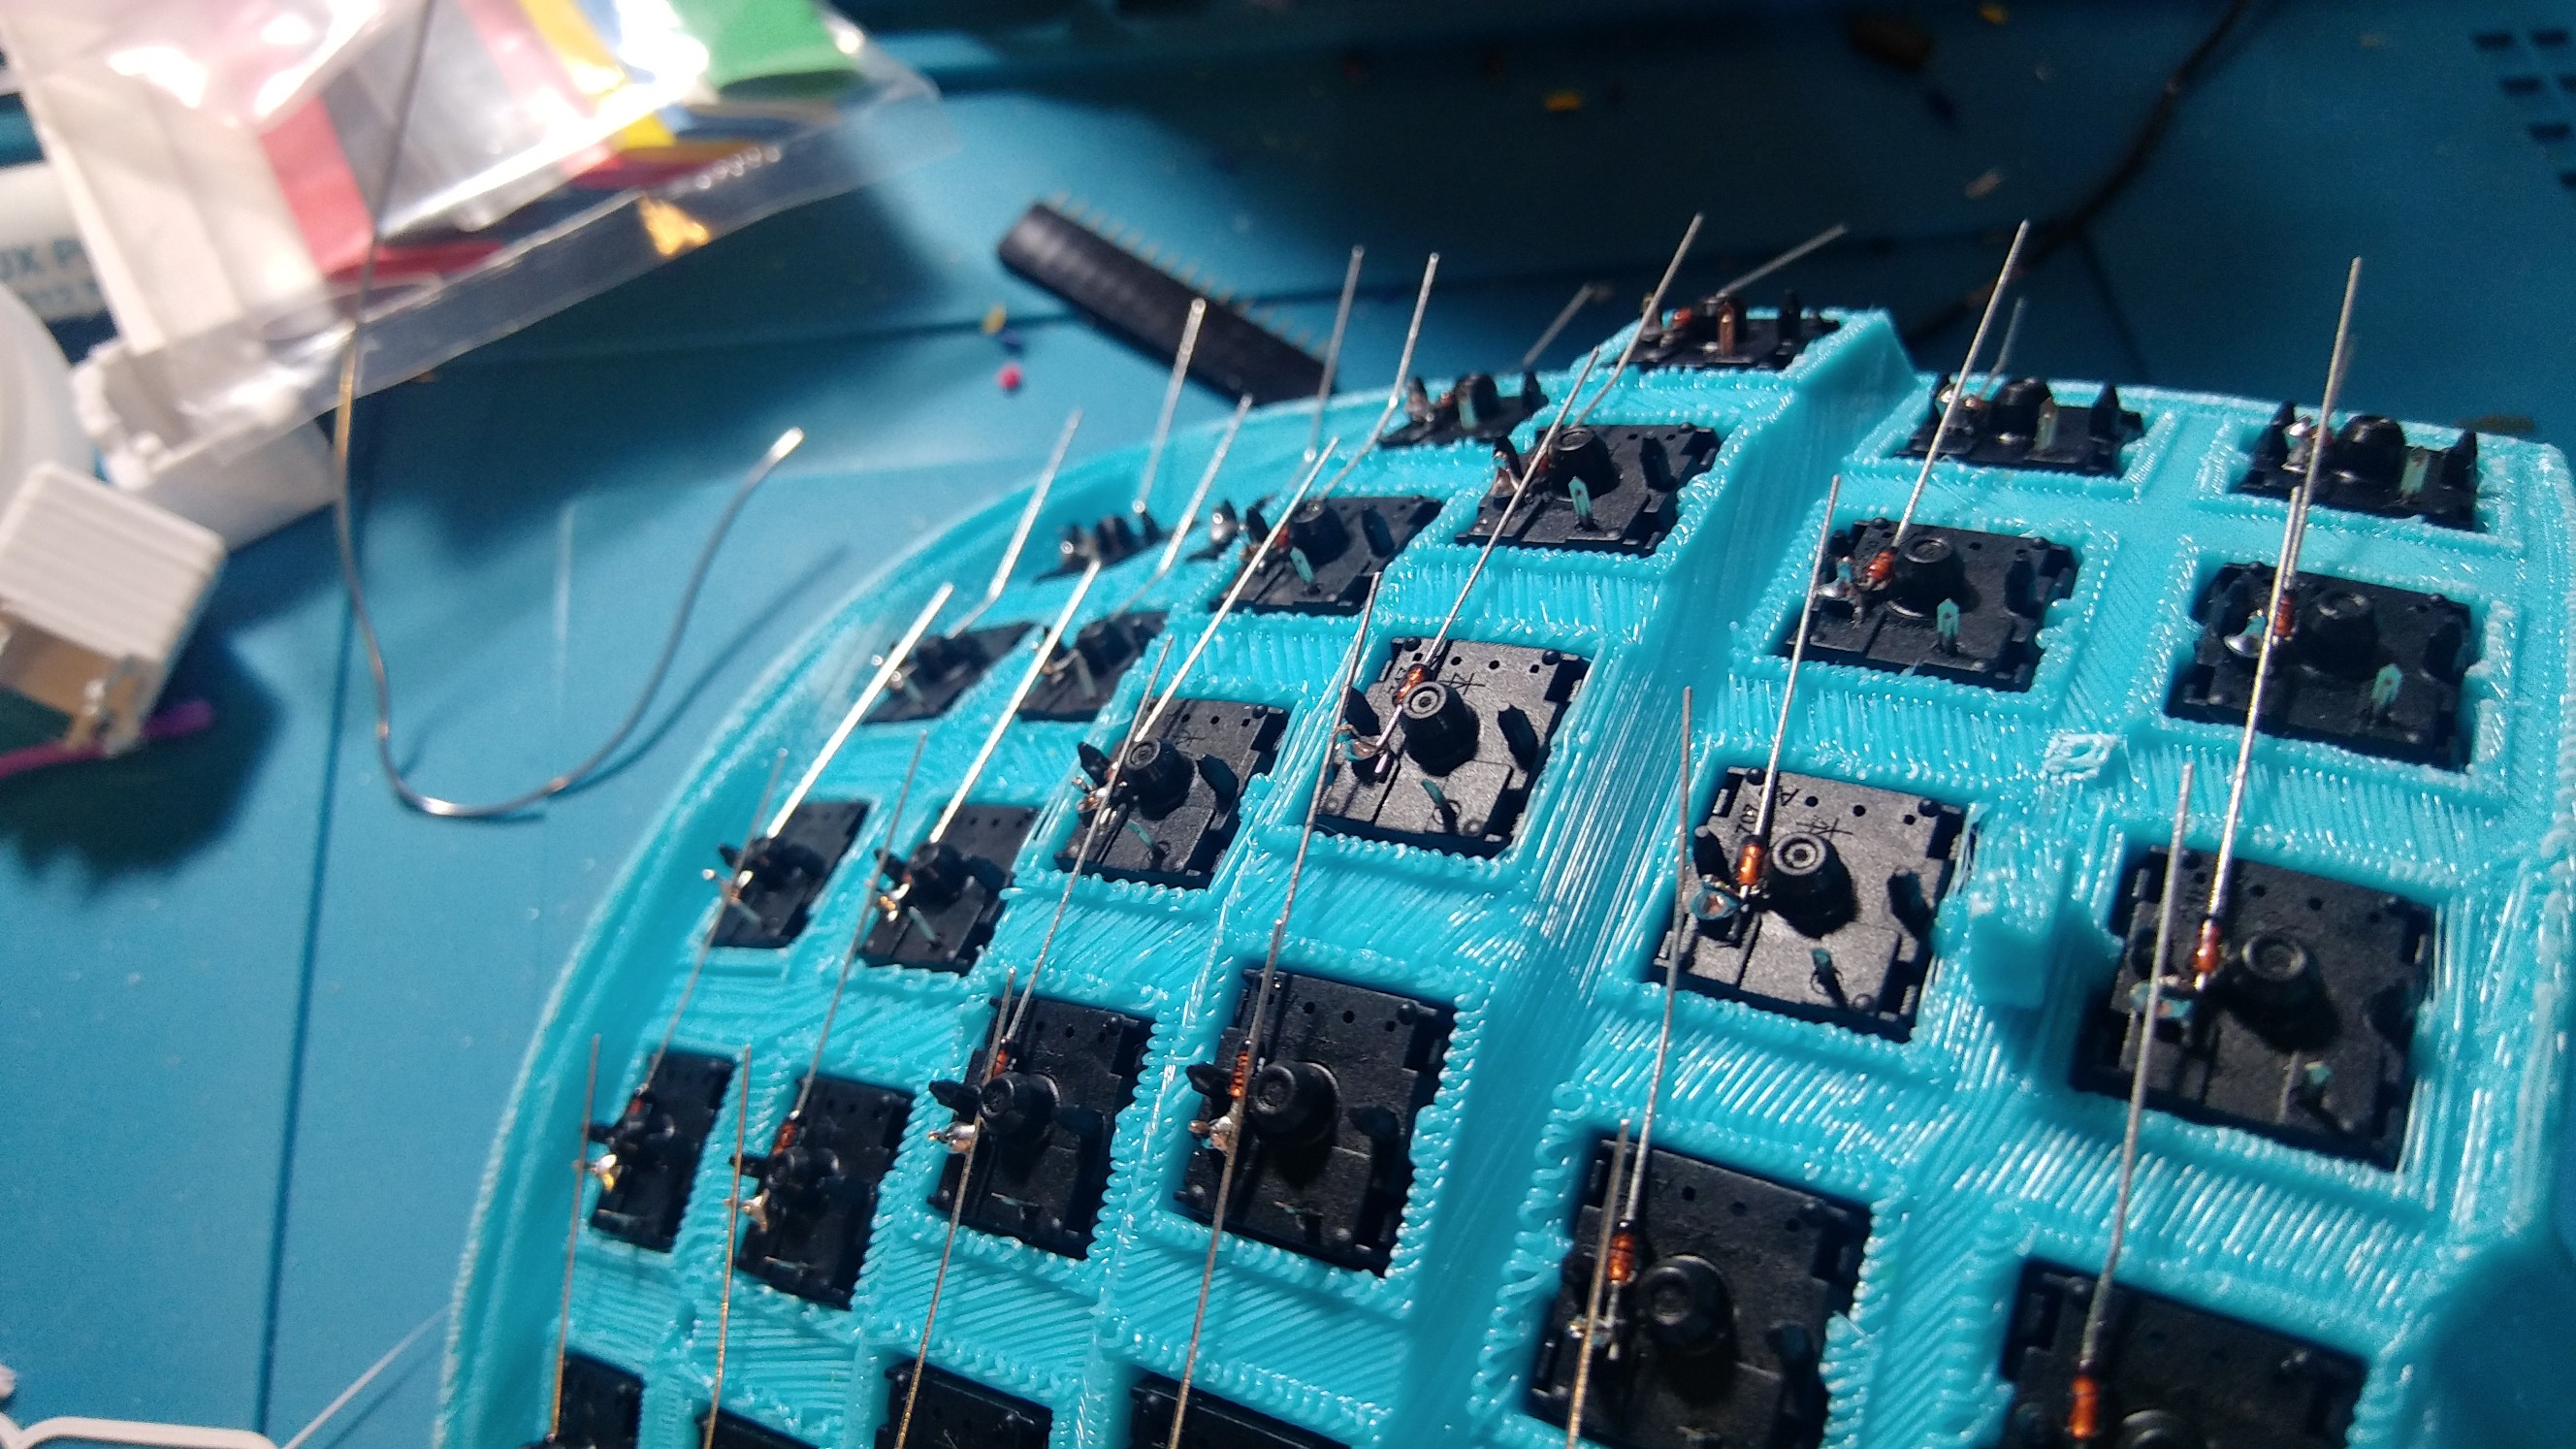
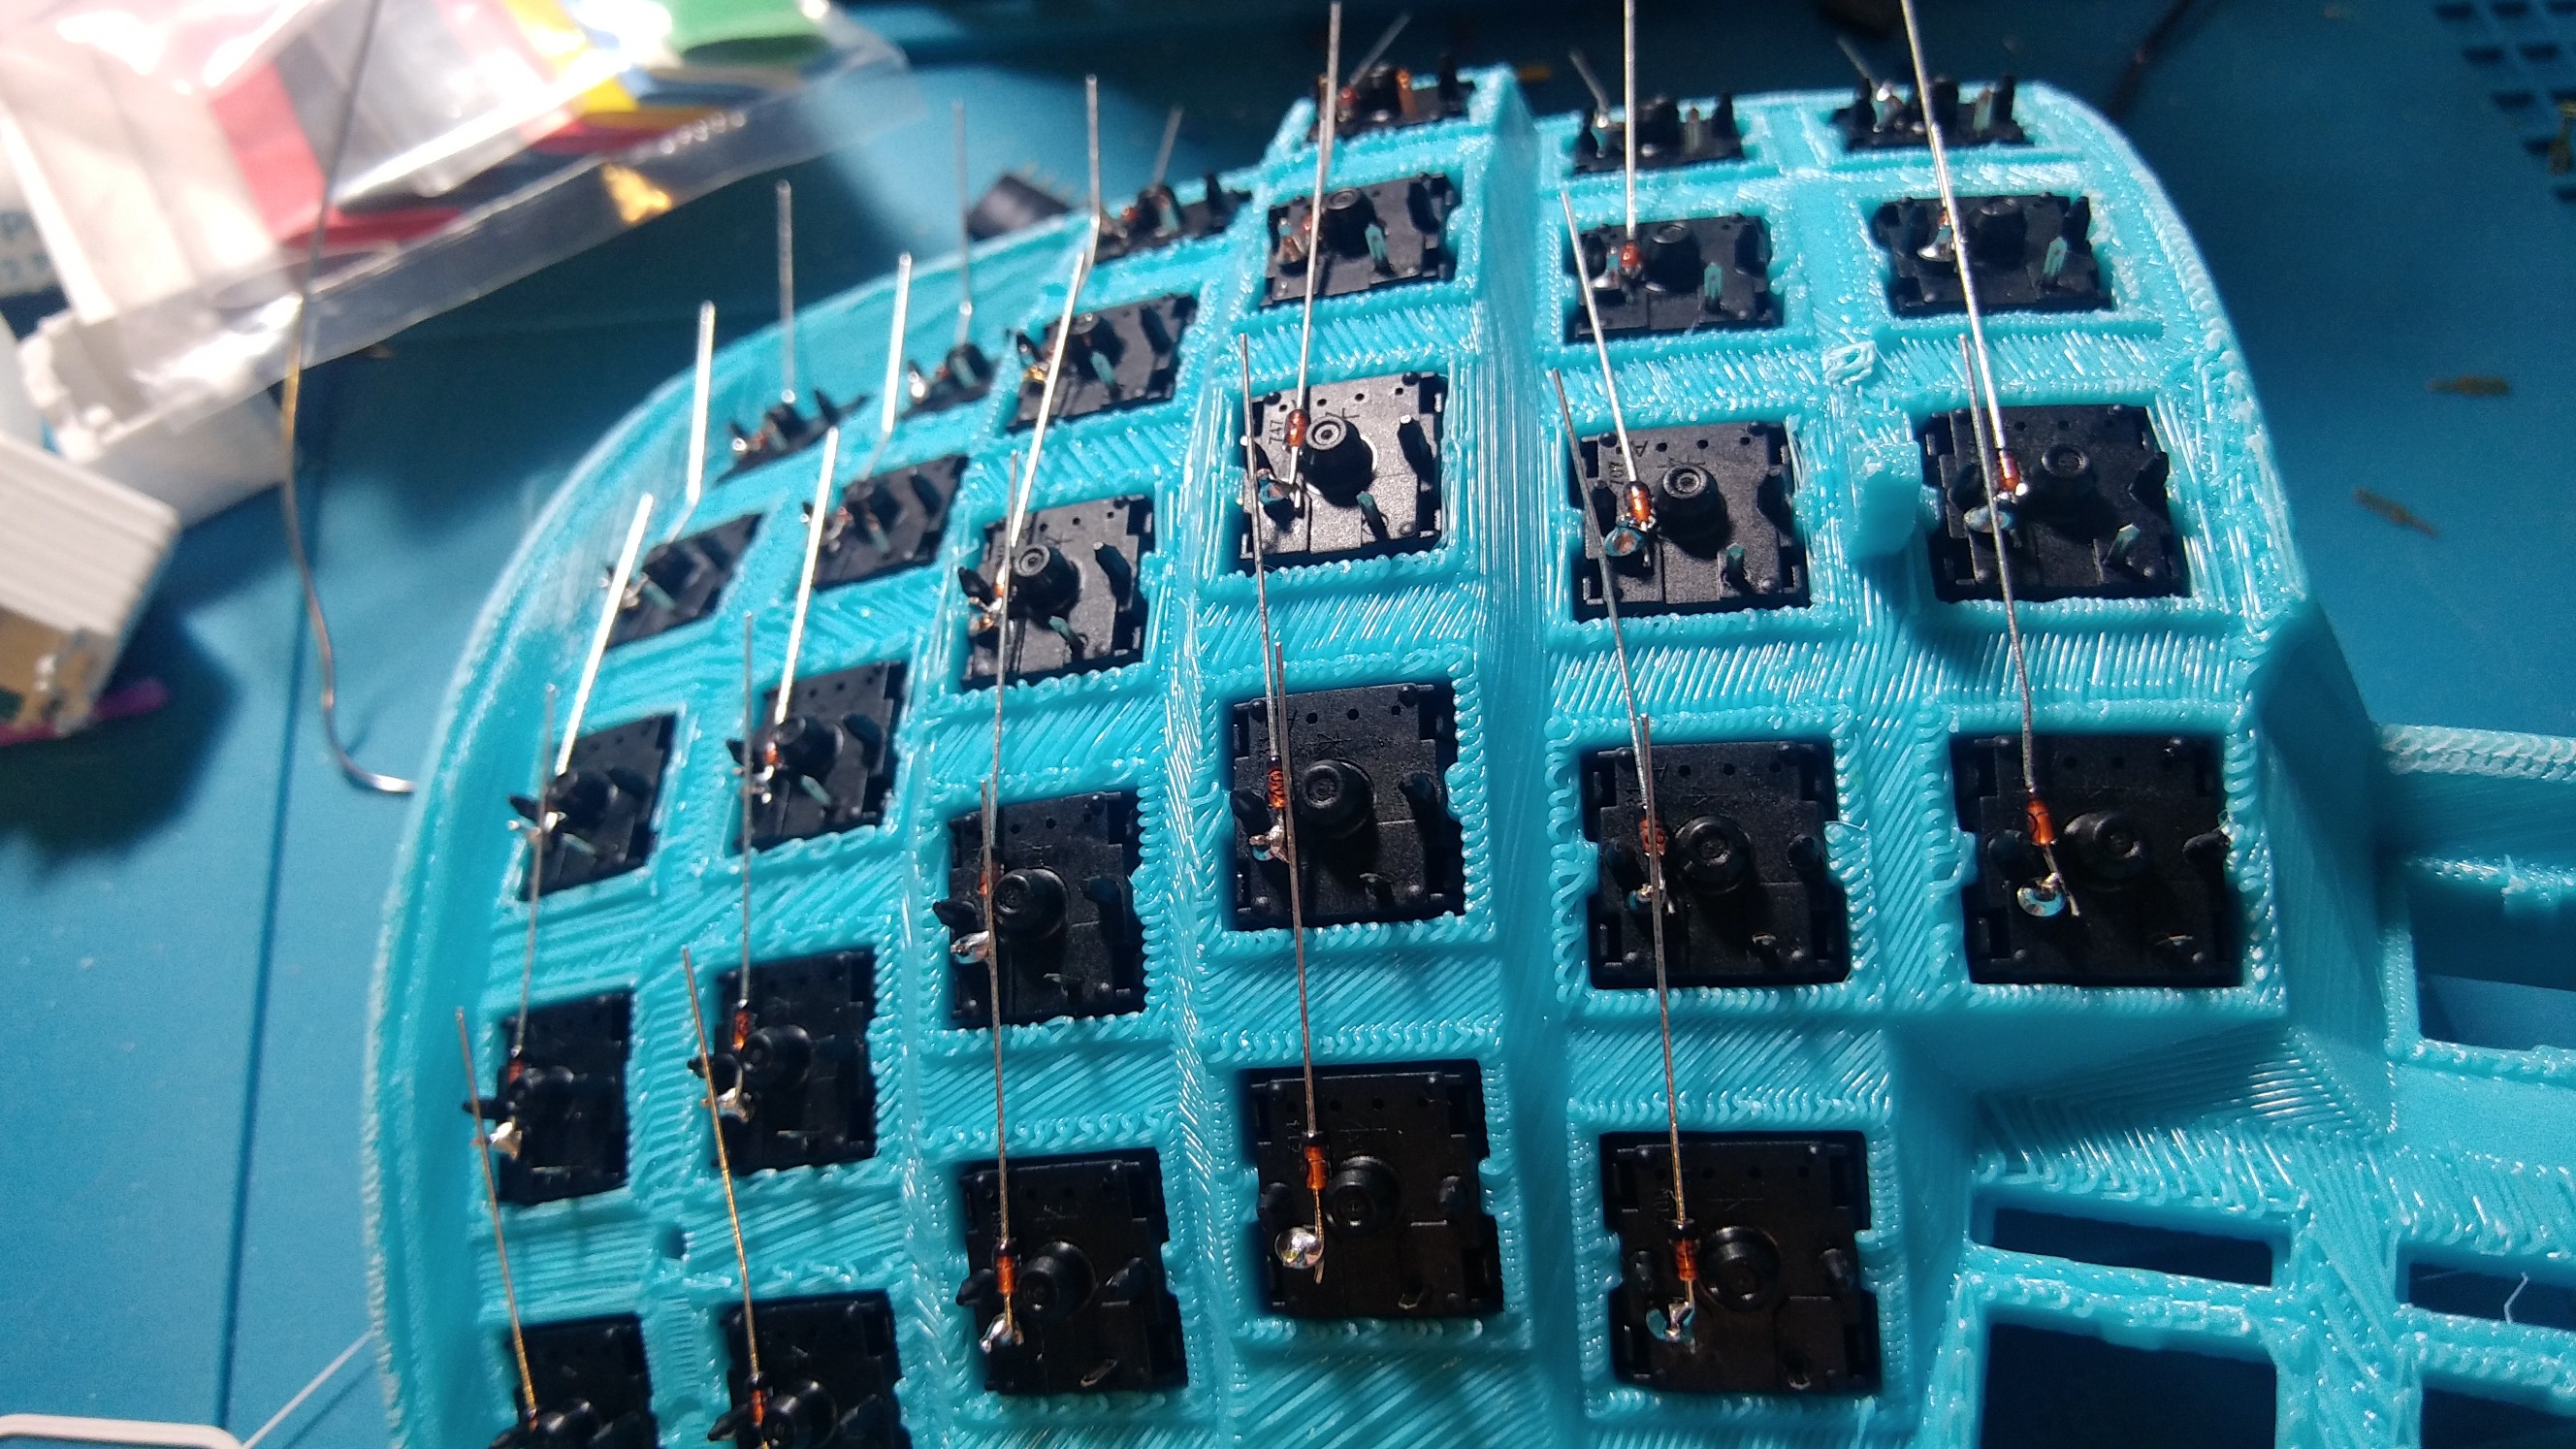
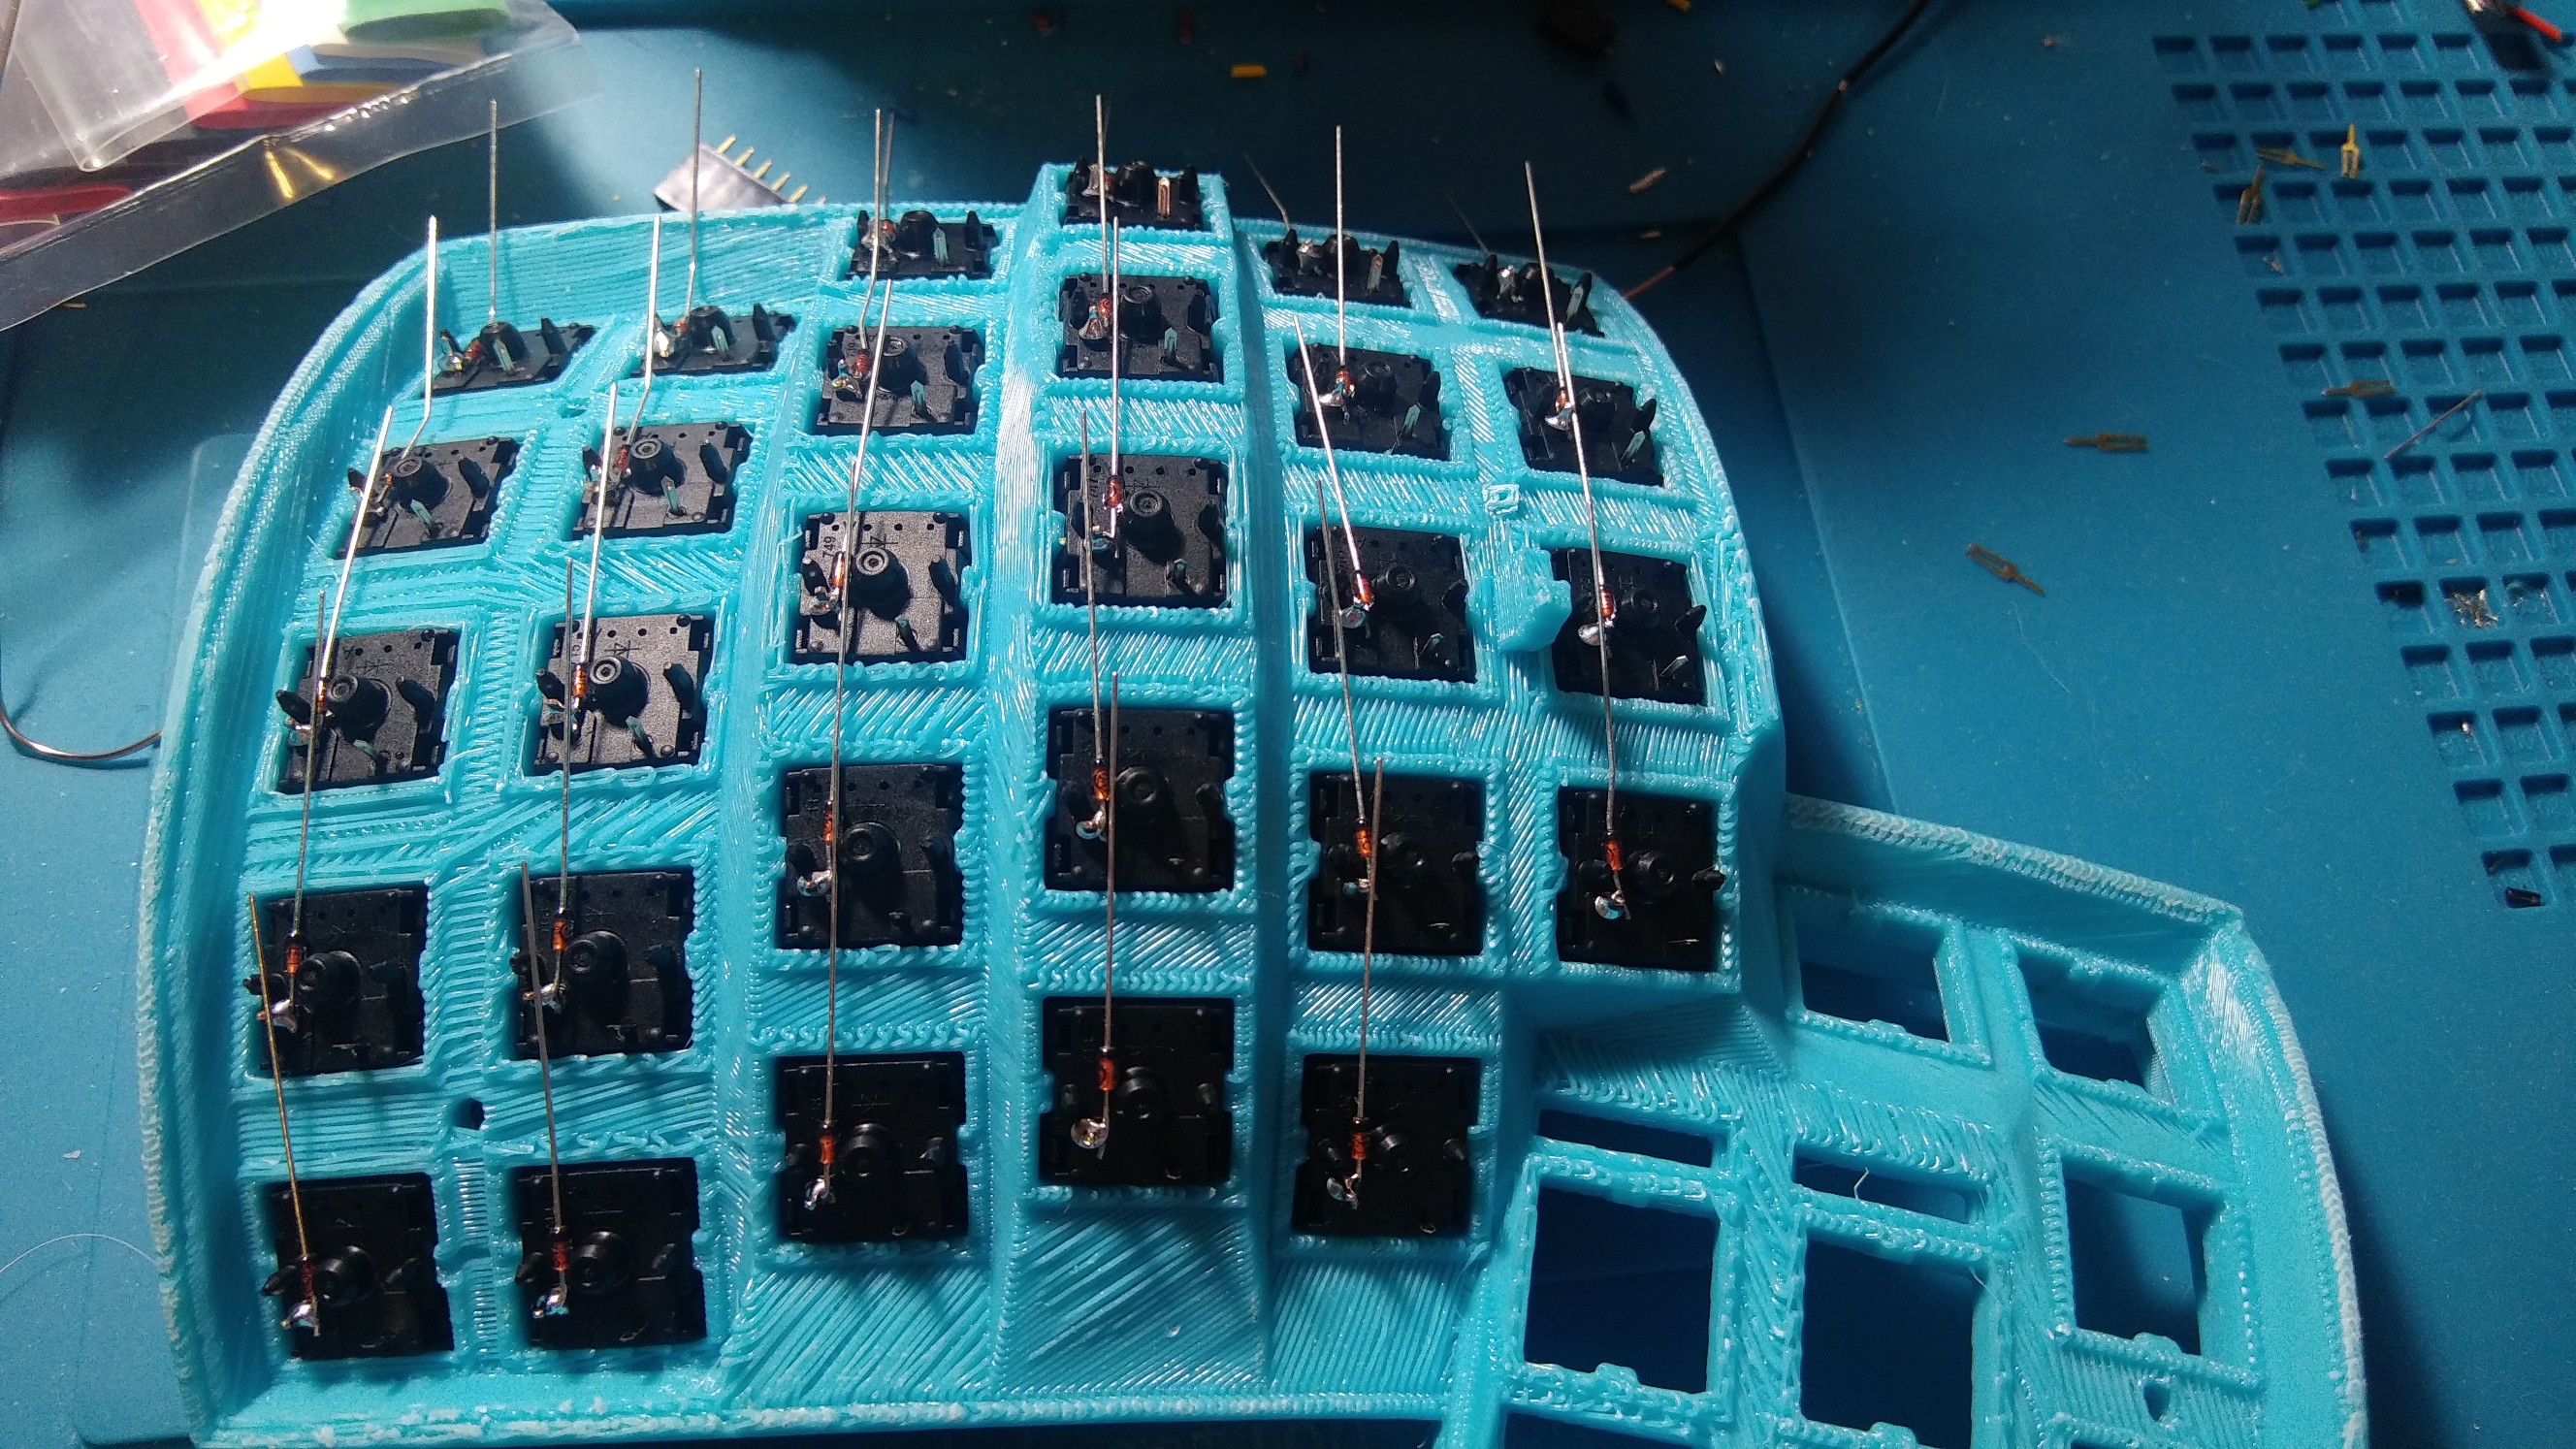
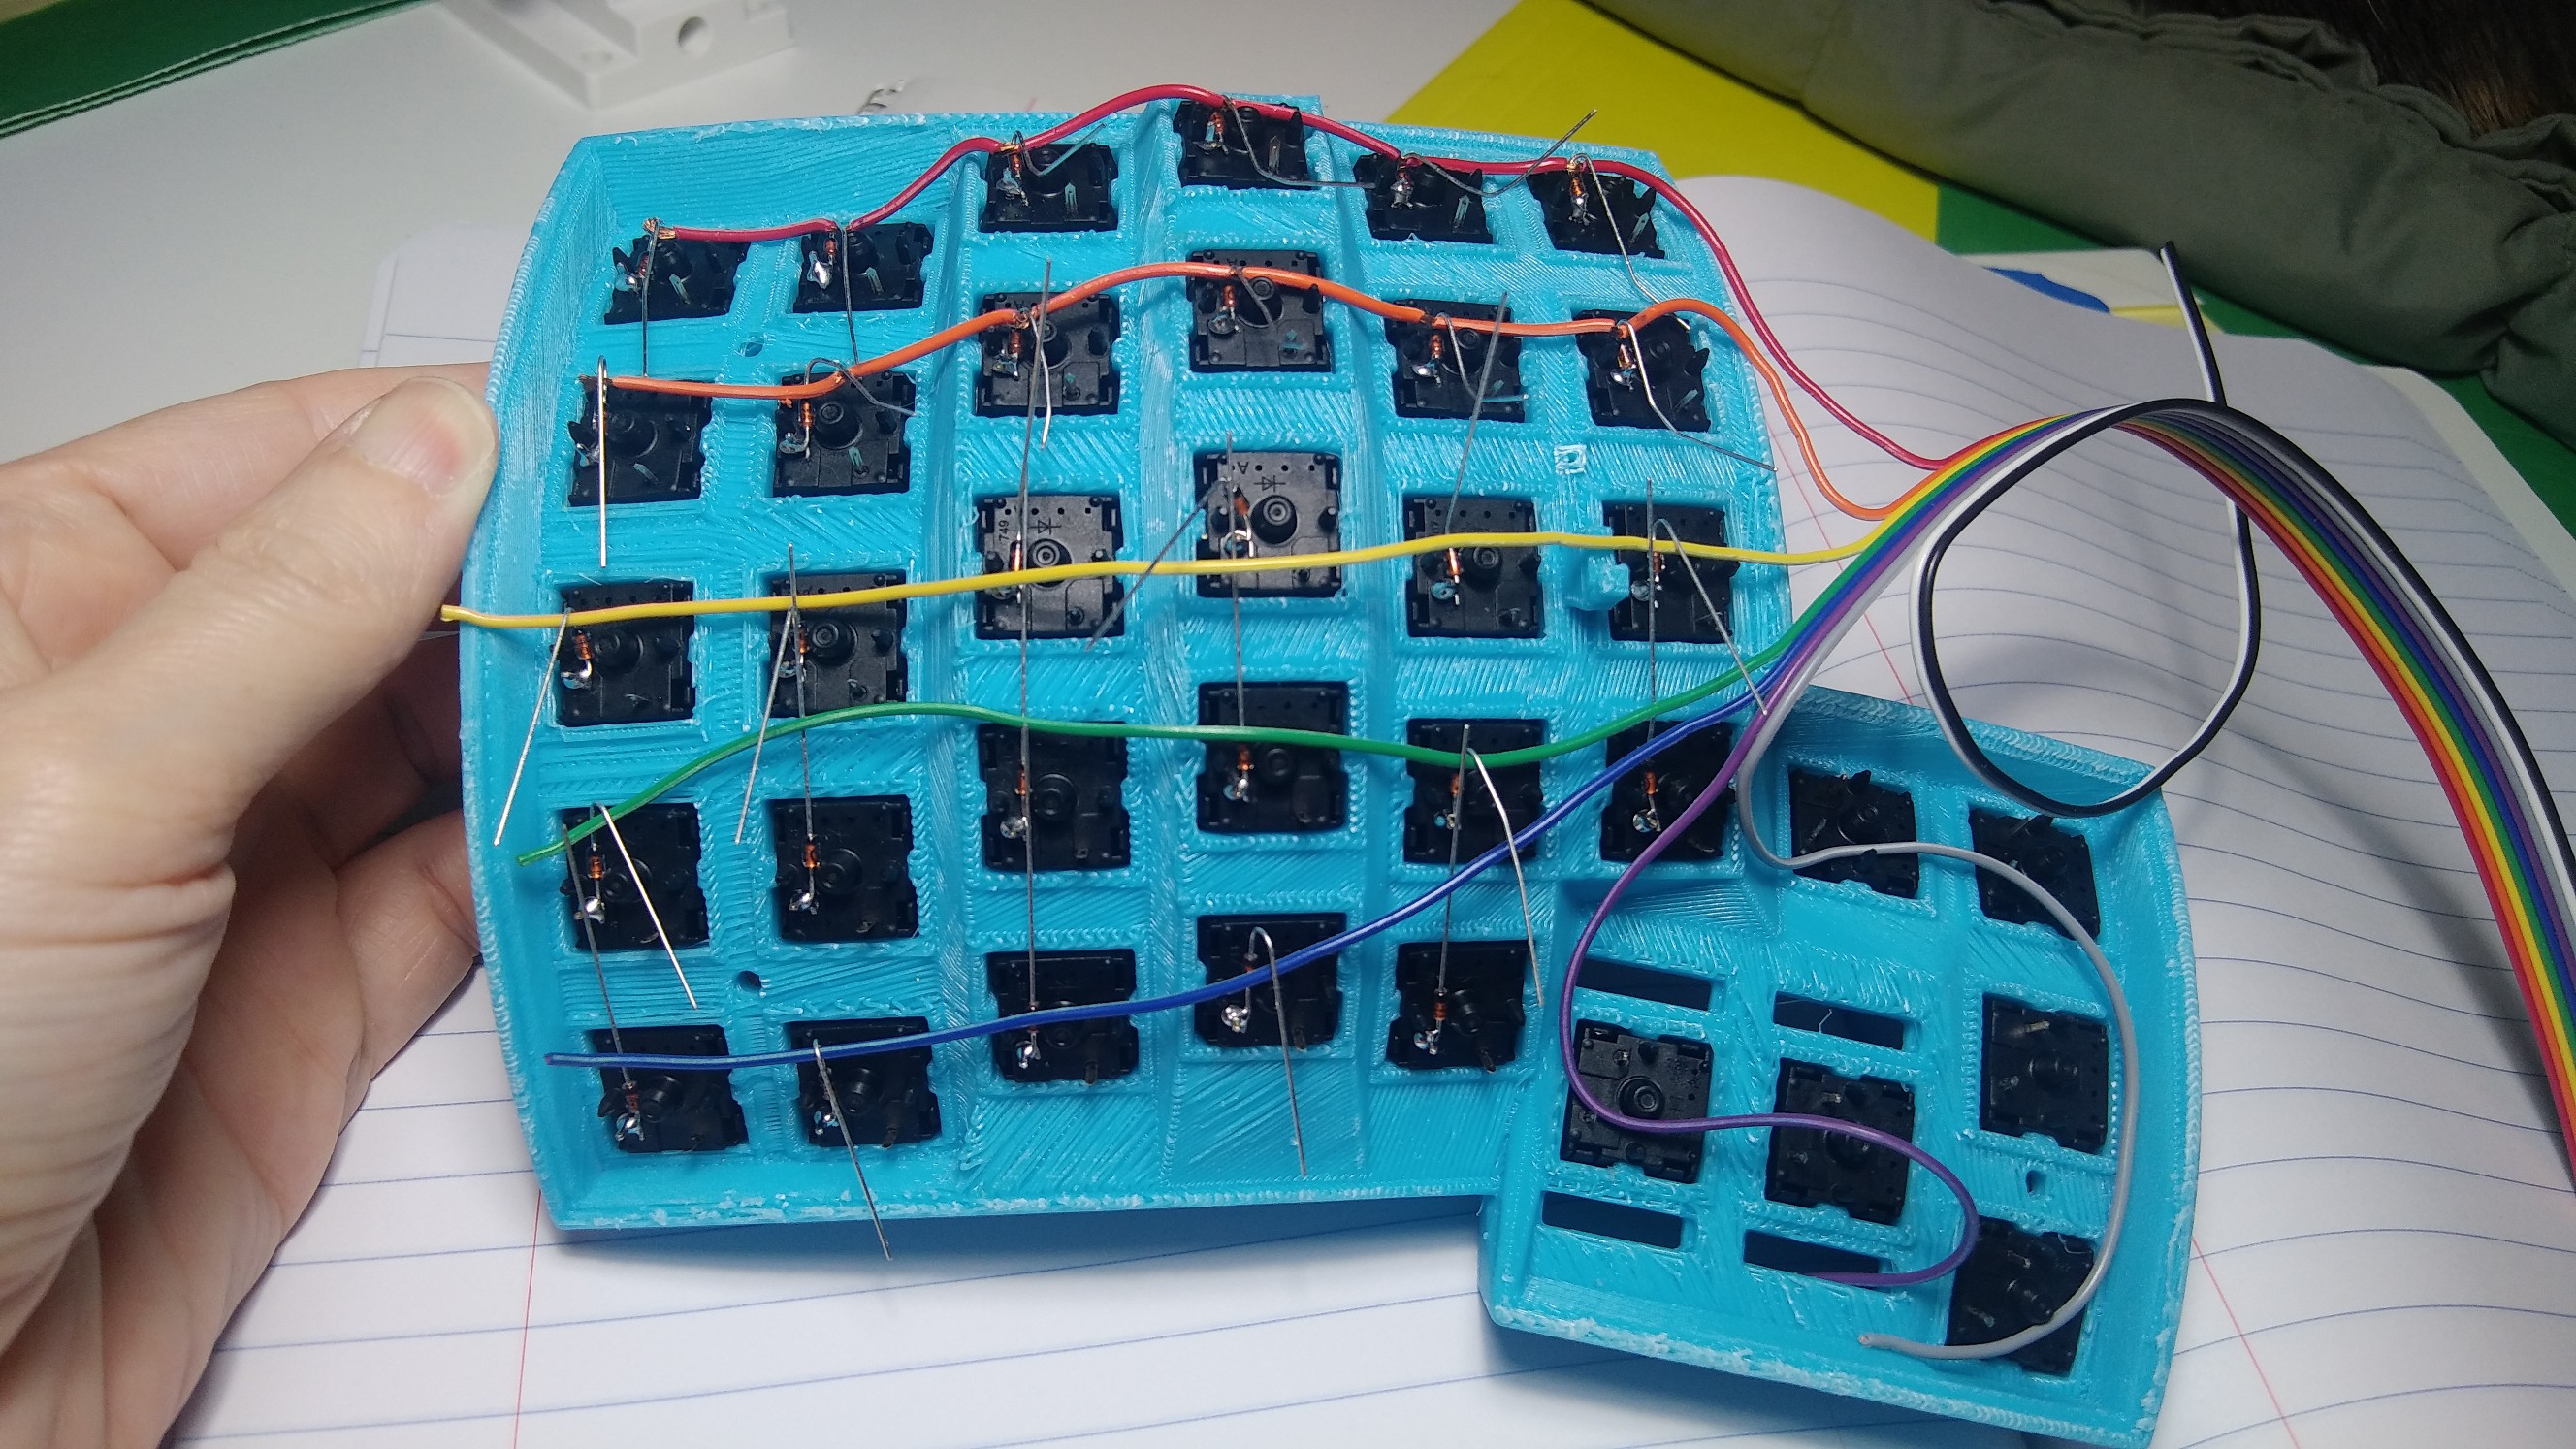
07/09/2020 at 14:12 • 0 commentsI did more on this last night than I thought I would. I found the bag of diodes, bent the positive leg of each one into a loop, and soldered up half the keeb minus the thumb cluster (wasn't sure yet which way I wanted the switches to go (they have to be sideways)). Then I started playing around with rainbow ribbon cable to see how that might go.
![]()
I'm going to try to get a better picture of the pre-solder diode loops for when I finish filling out the instructions.
![]()
![]()
![]()
None of the wire is soldered yet, just doing a dry fit.
-
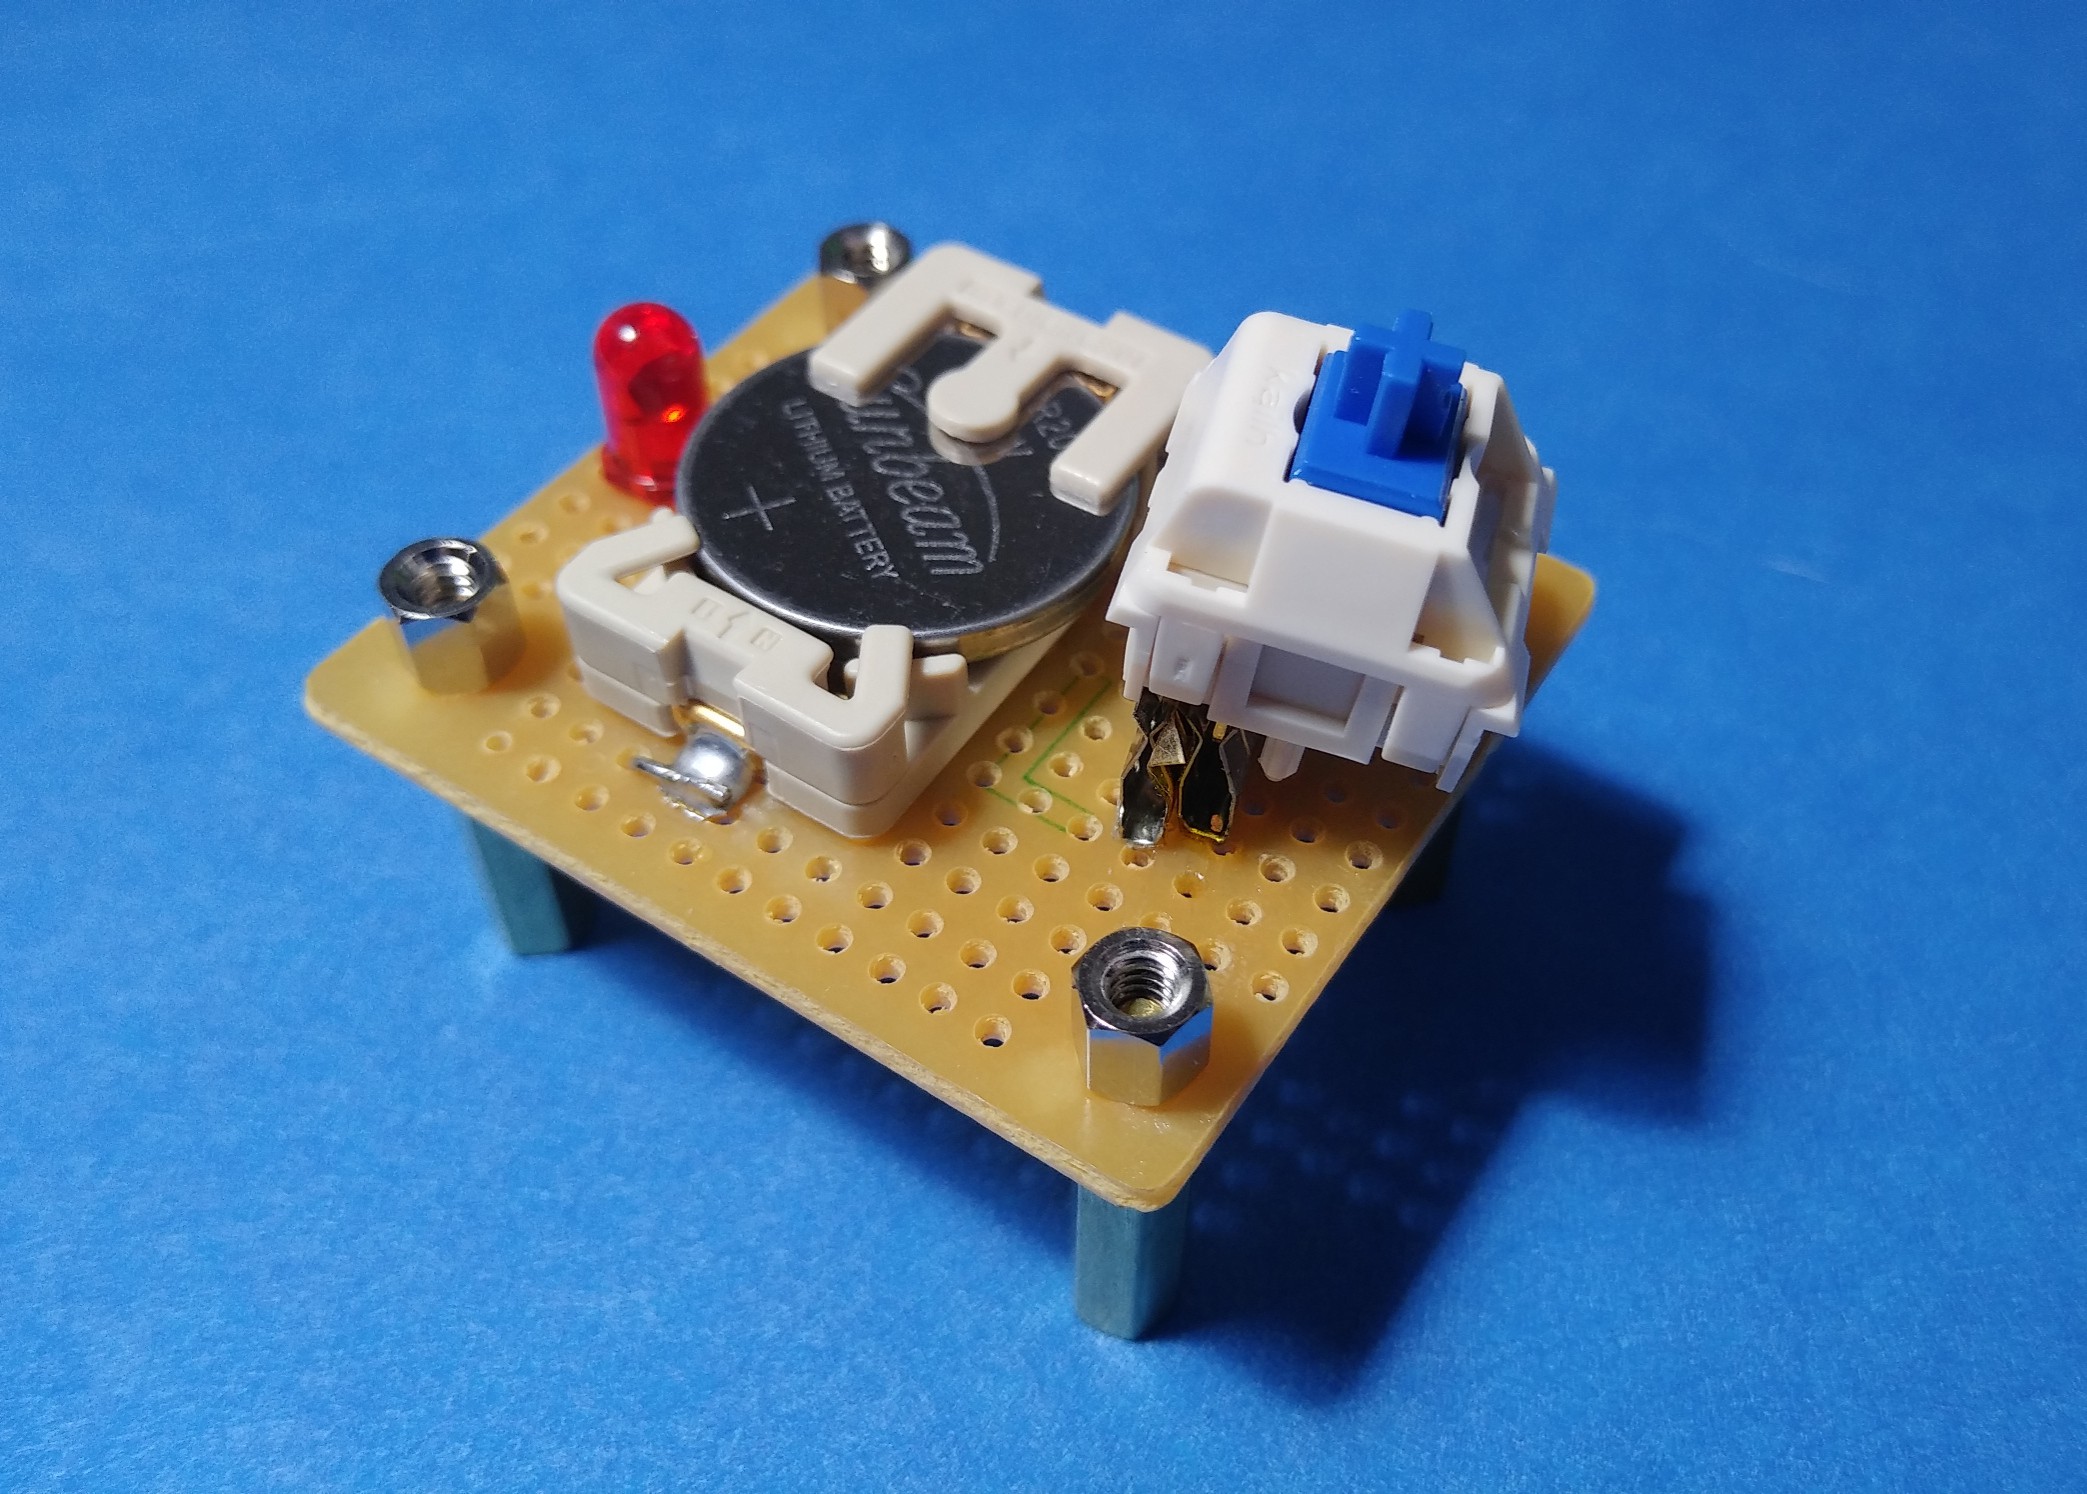
We have a quick & dirty switch tester!
07/03/2020 at 23:48 • 1 commentI was just about to order way more Kailh hot swap sockets than I need because it really is the ideal testing pad. But I really didn't want to pay essentially ~$12 for a single one and wait for a week plus.
I was just starting to breadboard the 4x4 practice matrix when it hit me. Breadboard guts! I tore the power rail off of a cruddy old breadboard and here we are.
![]()
![]()
![]()
-
Time to actually build this thing
07/01/2020 at 18:06 • 5 commentsOkay, so the prints are printed and the switches are lubed and re-sprung. Time to do the real work of turning it into a keyboard. But I'm not ready! So what needs to happen now?
- To glue or not to glue? Most of the switches snap in and stay put. A few of them come out way too easily when the keycap is removed. I'm tempted to glue them all in place, maybe a lil dot in all four corners under the top housing.
- But I should really test all the switches first. I haven't done that because I wanted to make a little testing rig so I can just plug in a switch and make sure it lights an LED or something. But man, those switch pins are weird. They only fit in female header at an angle, but you can't angle header into a protoboard. Last night I tried to make a tester with copper tape and a cardboard box.
- And really, I should probably wire a small practice matrix first. At least 3x3, but the bigger, the better.
I will tell you this: I have wanted automatic wire strippers for a long time, and I finally got some. They excel at stripping wire in the middle so you can wire up your switches like this instead of cutting a bunch of short wires. NOTE: the picture below is someone else's build.
![]()
-
Check out these keycaps
06/24/2020 at 19:22 • 0 commentsThe black set of keycaps showed up yesterday, and I couldn't resist trying them on. I think I still prefer purple thumb clusters.
![]()
-
Getting closer
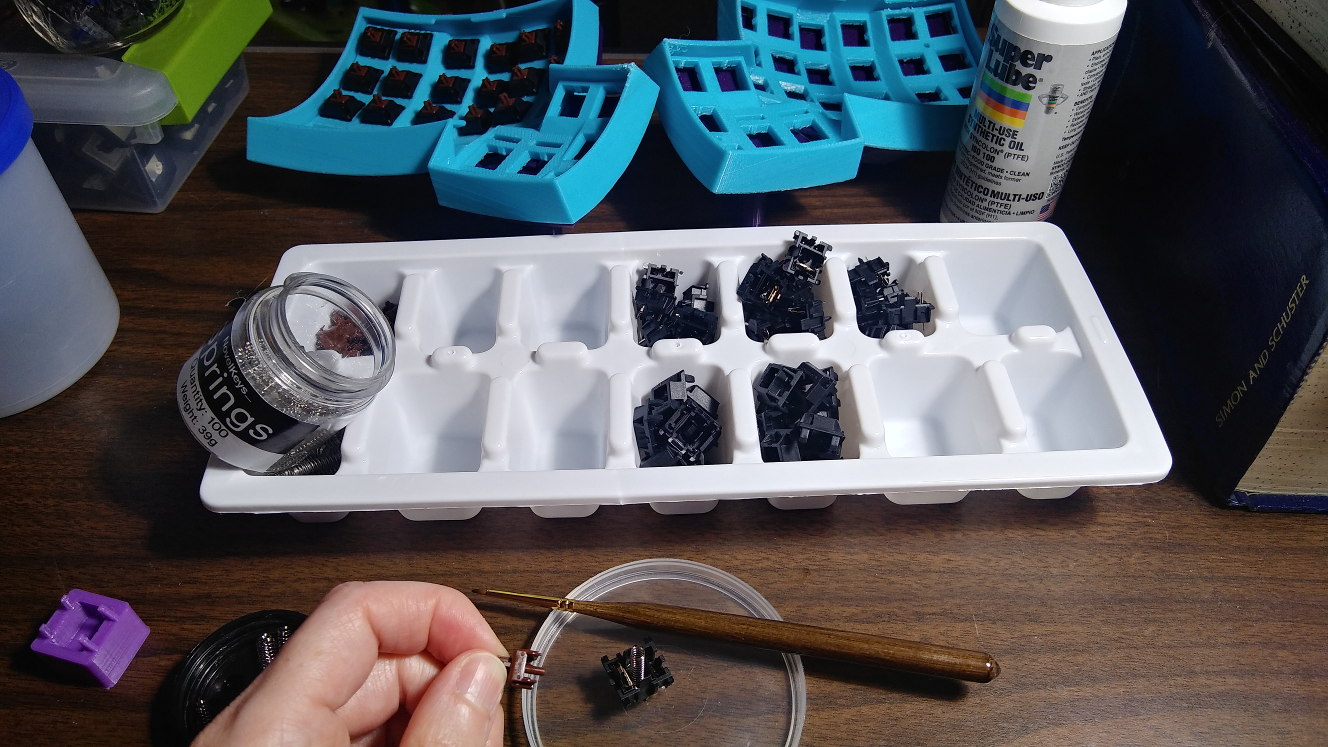
06/22/2020 at 22:42 • 0 commentsOkay, so I've got half of the switches lubed and sprung, and I still need to open about 25 more switches and part them out into my ice cube tray.
I had bought a set of blank white PBT keycaps from the Bezos Barn for doing some artisan keycap experiments. Since they feel so nice and are only $21, I bought another set in black so I can combine the two and checkerboard everything but the thumb clusters. I went to order blank purple PBT 'caps from PMK for the thumb clusters, but they aren't taking new orders until July 1st. There's probably no way I will have this keeb ready for 'caps by then anyway.
And since I hate to post an update without a picture:
![]()
-
Intricate Lube Job
06/19/2020 at 16:47 • 0 comments![]()
I'm doing two things to these Cherry browns -- lubing the business parts of the slider and its counterpart inside the housing, and replacing the springs.
Lots of people use Krytox, which is a somewhat expensive PTFE (Teflon)-based automotive lubricant. Super Lube is about 1/4 the price of Krytox. The brush is a 3/0 and is just a Michaels' store brand brush (Artist's Touch) that's about 1/8" wide. It fits quite satisfyingly inside the slider housing channels.
The new springs are 39g, which are lighter and shorter than the stock springs. I was going for lighter, and I'm just glad that shorter isn't an issue. Well, I won't really know that until it's built, but they actuate just fine in the lab.
Only ~50 more to go!
-
Let the updates continue!
06/01/2020 at 19:45 • 3 commentsAt this point, all four pieces are printed, but have not been fully cleaned up yet. Boy, a person can really spend a lot of time making prints look nice.
I have ordered and received most of the components, which reminds me that I need to update the components list.
I need to study up on key matrix theory and build a 'lil matrix on a breadboard before I wire this thing up. Does that deserve its own project? Sometimes I wish we could link projects together more obviously, or have space for sub-projects. I supposed I could make a Page for it instead.
 kristina panos