Limit switches are not included in the 1419 kit, and you probably can live without it.
However as I am a very beginner with CNC and I am kind messy I already crashed the axis several times...
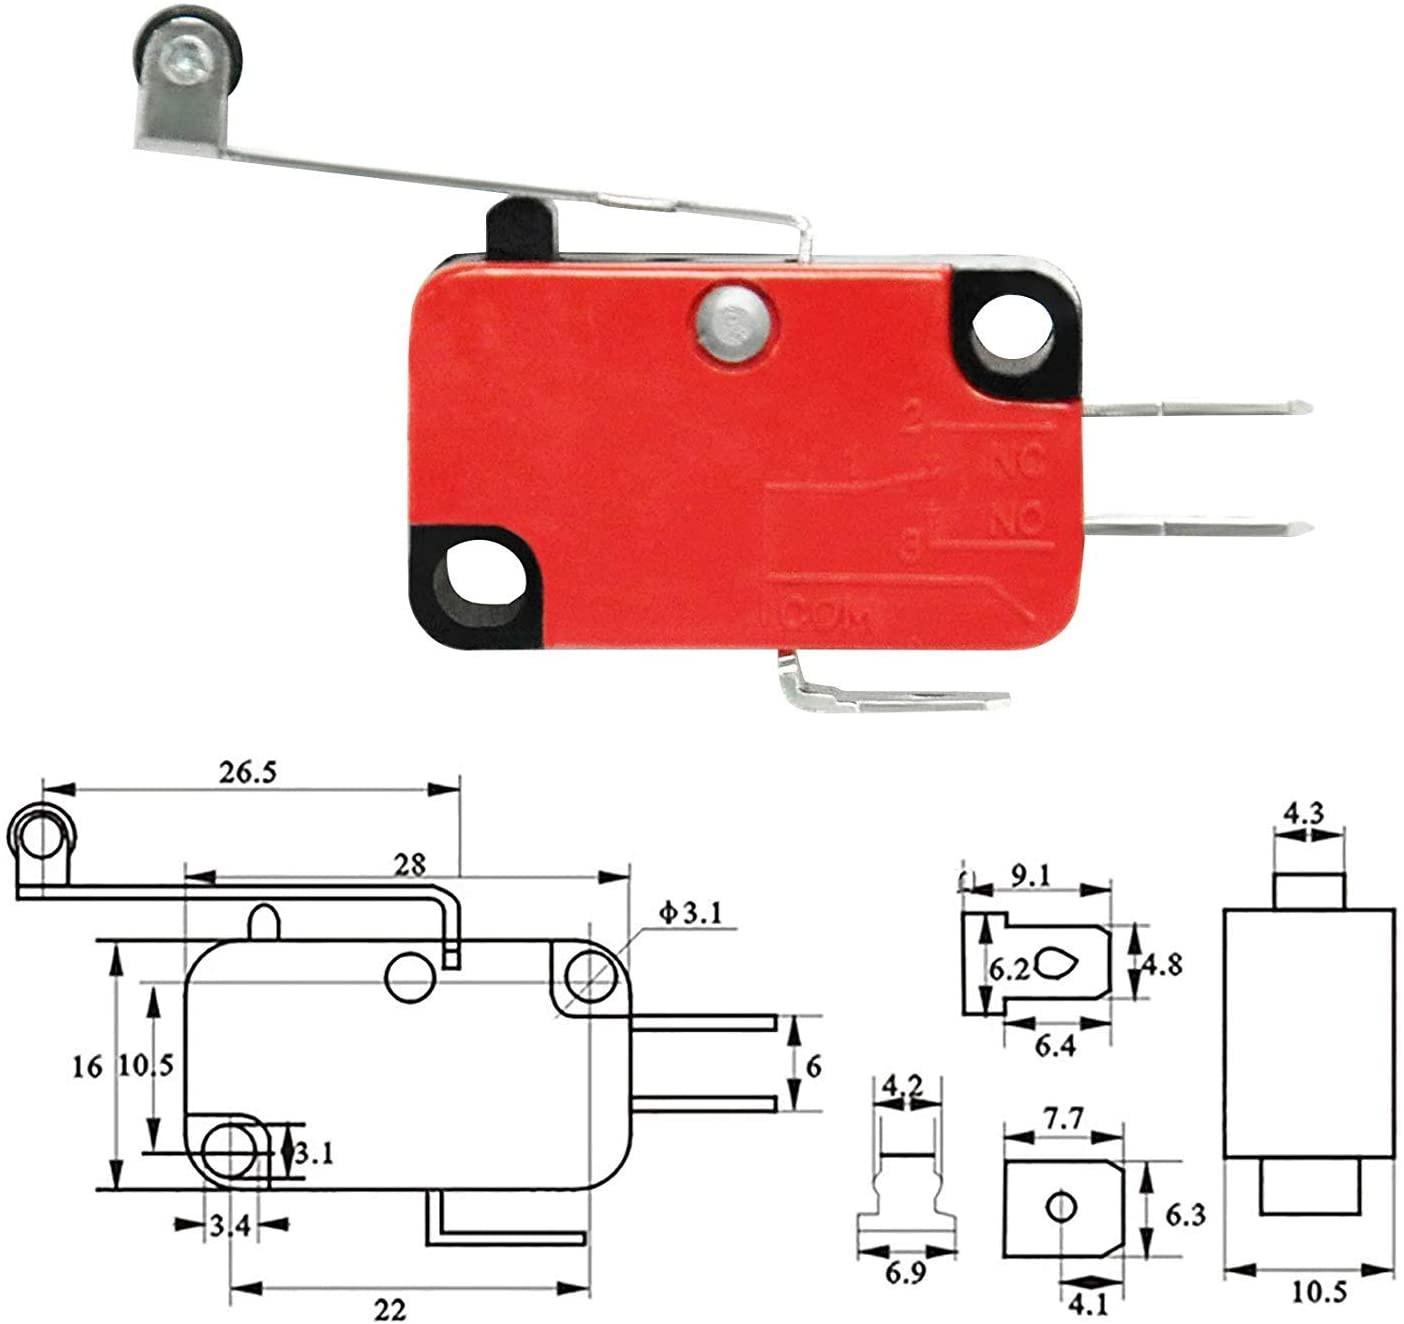
So I decided to buy some random limit switches from amazon (I chose the HiLetgo V-156-1C25 mostly due the fast shipping option).

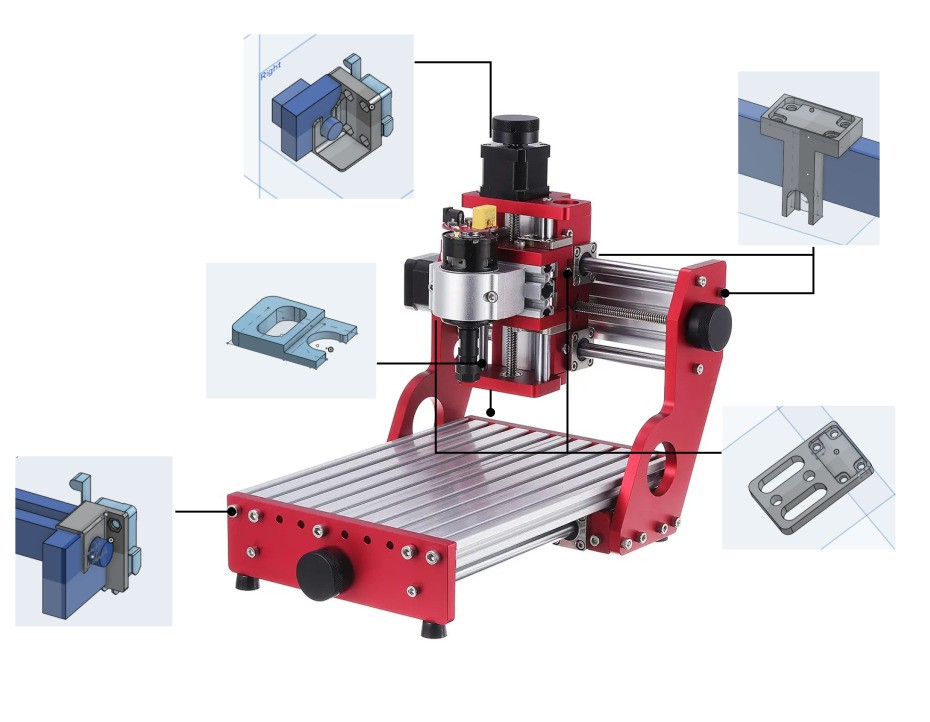
The 1419 GRBL control board already support limit switches for X, Y and Z axis so for the electronics and software side it is quite simple, however the CNC itself does not have (at least I did not found) any placement for the limit switches and I do not want to use some hot glue and glue it permanently to the frame...
So I made few 3D printer adaptors that I mounted to the frame:

The design is not final and in particular for the axis Y I will make a new design in the future and I would like to make a new design for the Z axis with the two switches on the same adaptor.
You can find the original design on onshape (I created different version for each axis).
I will upload the final design in the next days in thingiverse (and here as well)!
For the wiring I choose the normally closed configuration and follow the GRBL wiki that explain very well how to do it.
However I am not happy with this configuration as the accuracy is low and I also misused the micro-switch that should have been paired with a slope. So I will probably end up to replace the set-up in the following days...
 Martino Ferrari
Discussions
Become a Hackaday.io Member
Create an account to leave a comment. Already have an account? Log In.
Thanks for the project! I recently bought the same CNC and I would like to add limit switches. Did you finally improve the design? Can you share the link to thingiverse?
Are you sure? yes | no