 Julien OUDIN
-
1Warning
The following instructions are for the current version of the Open assistive robotic arm for meal prototype's. This version is not fully functional and does not comply with the regulations in force.
It is shared for research purposes.
When the development is more advanced, and the passage before certification bodies successful (electrical safety, electromagnetic compatibility) we will publish instructions and a list of detailed equipment for a functional and secure Open assistive arm for meal.
-
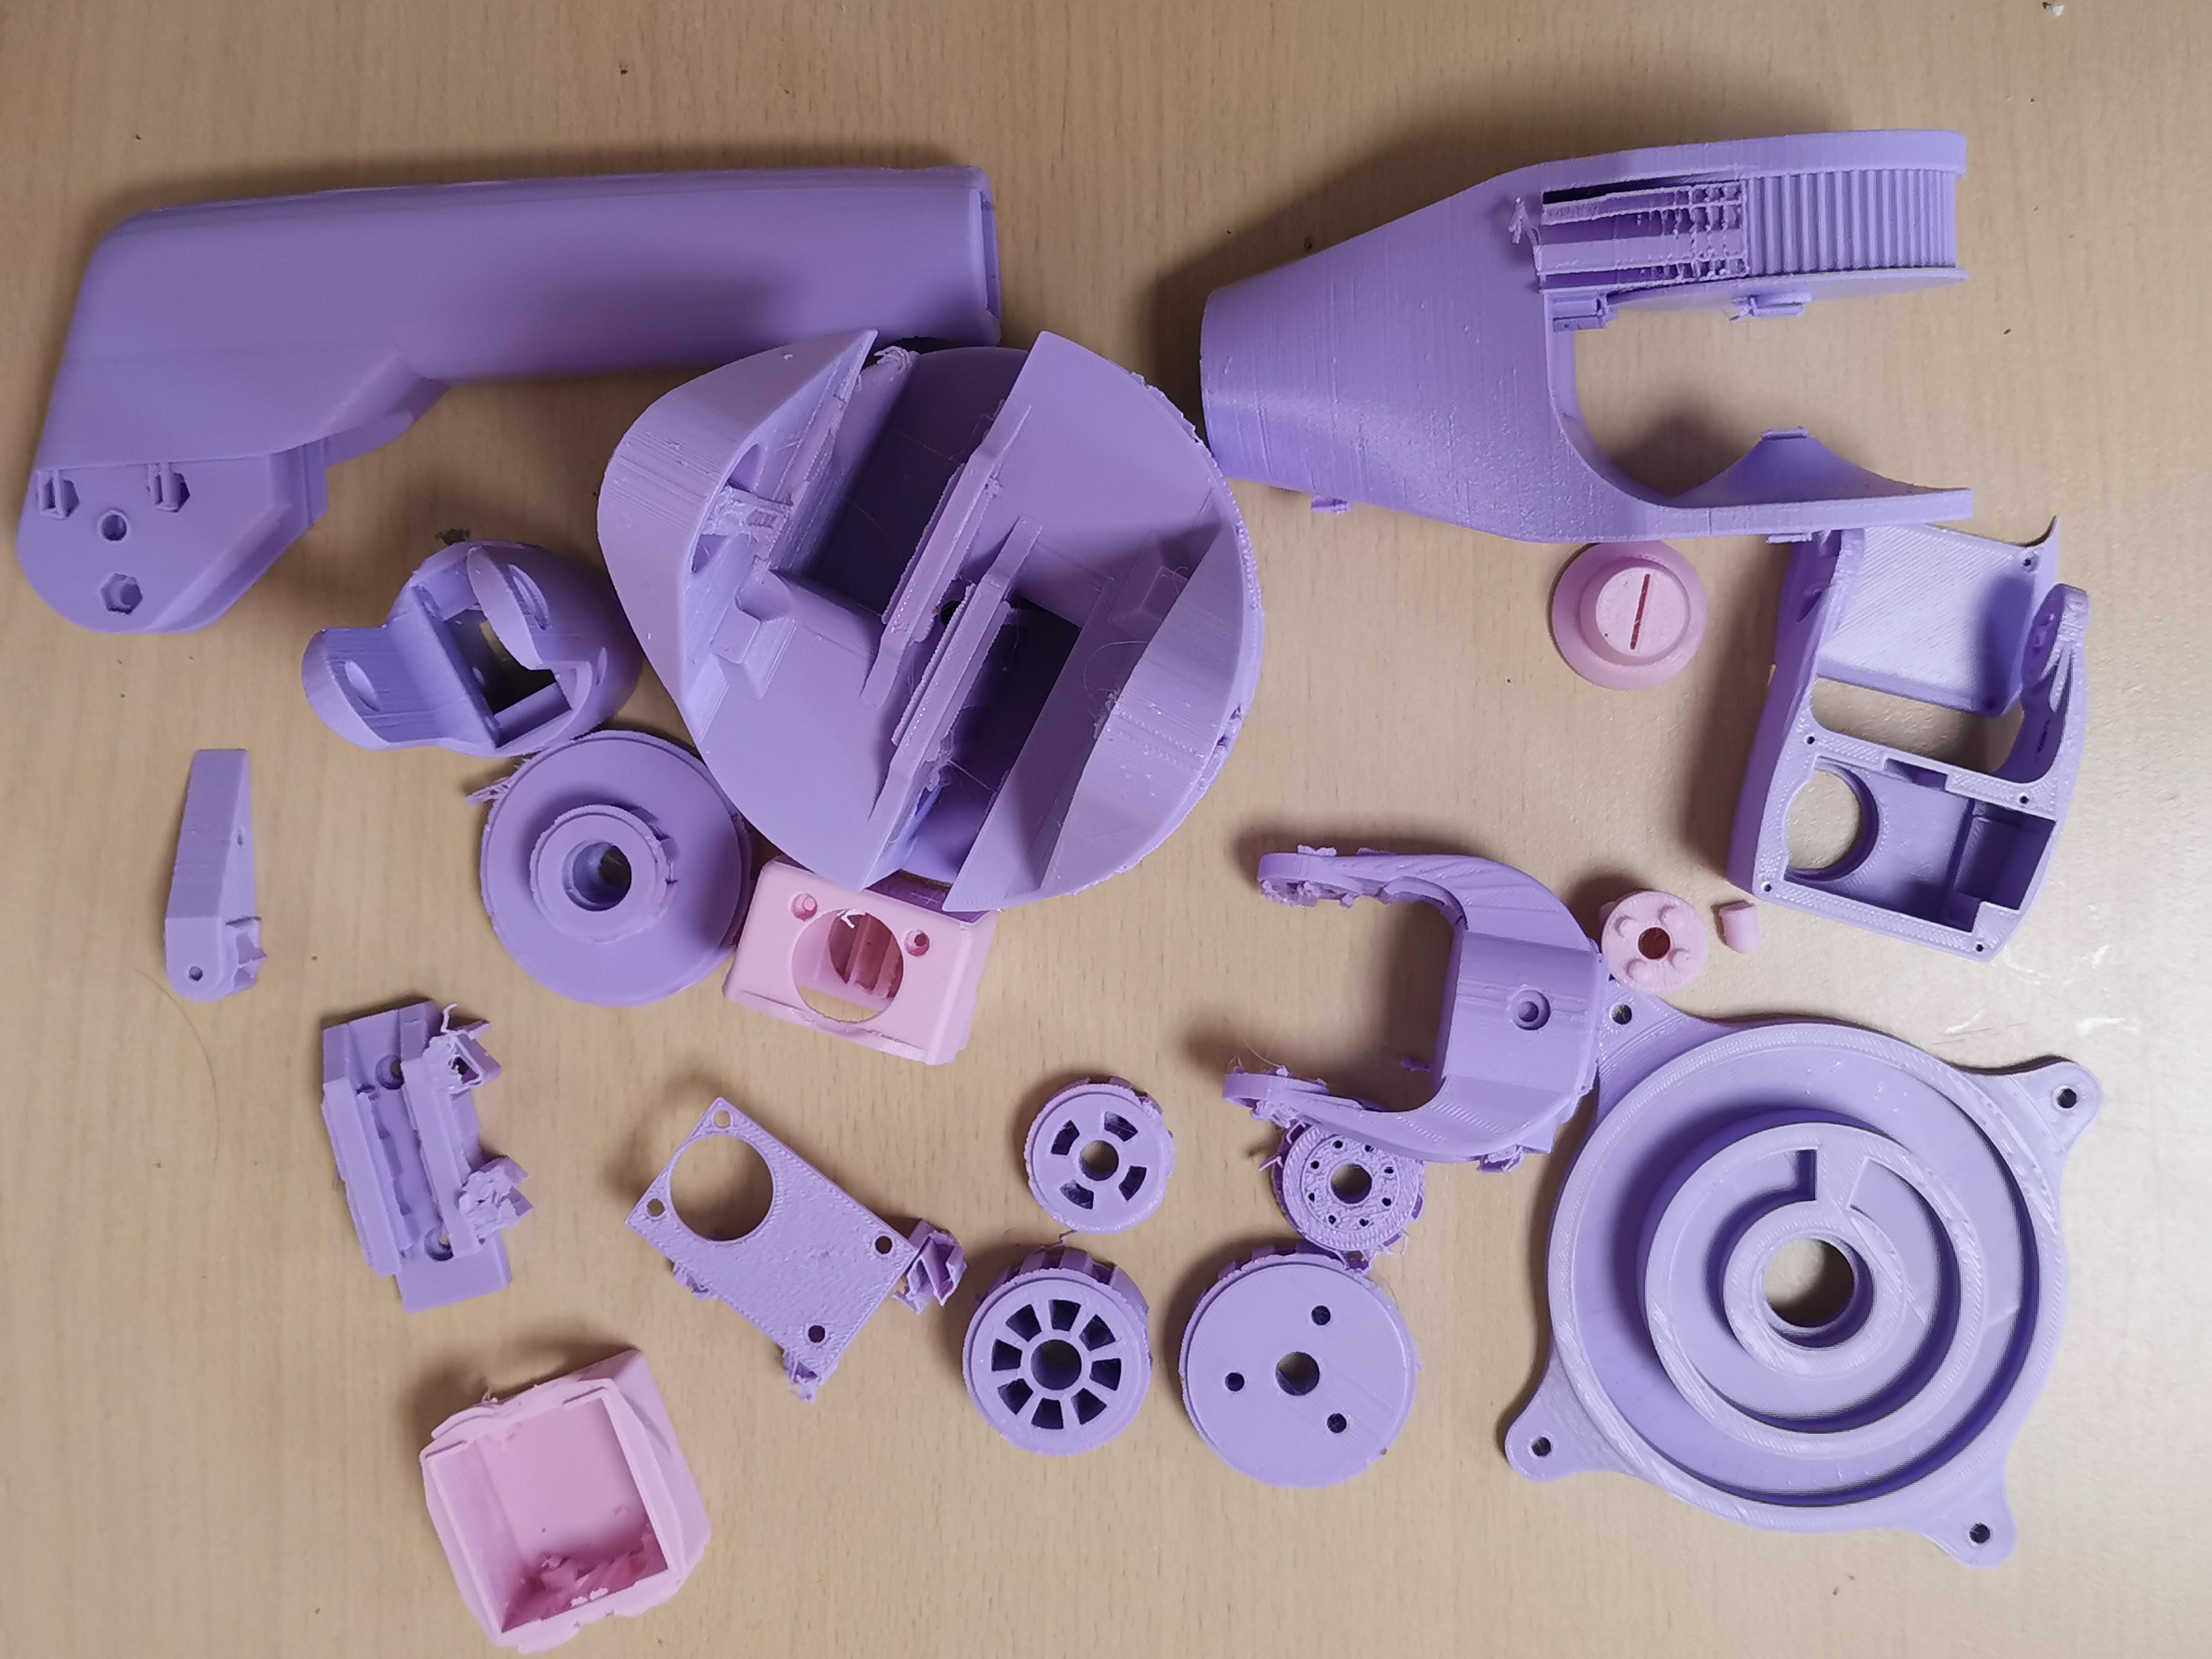
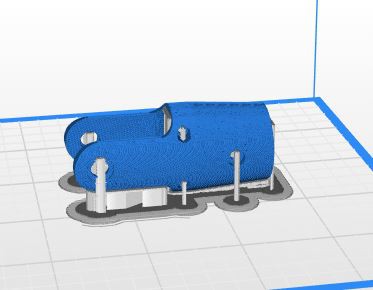
23D Printing
![]()
Download and print the .stl files. The parts parts are designed for a standard printer plate 20*20 cm.
We have use an ABS like filament for is robustness but you can use PLA for prototyping purpose.
1kg of filament is required
![]()
-
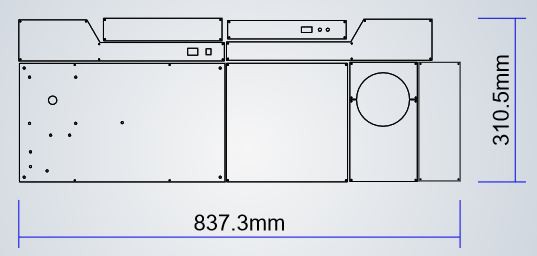
3Laser cutting
![]()
Download and cut the .DXF files on a laser cutter.
The material should have a 3 mm thickness. We've used acrylic an POM plastic, but you can also use plywood for prototyping.
![]()
-
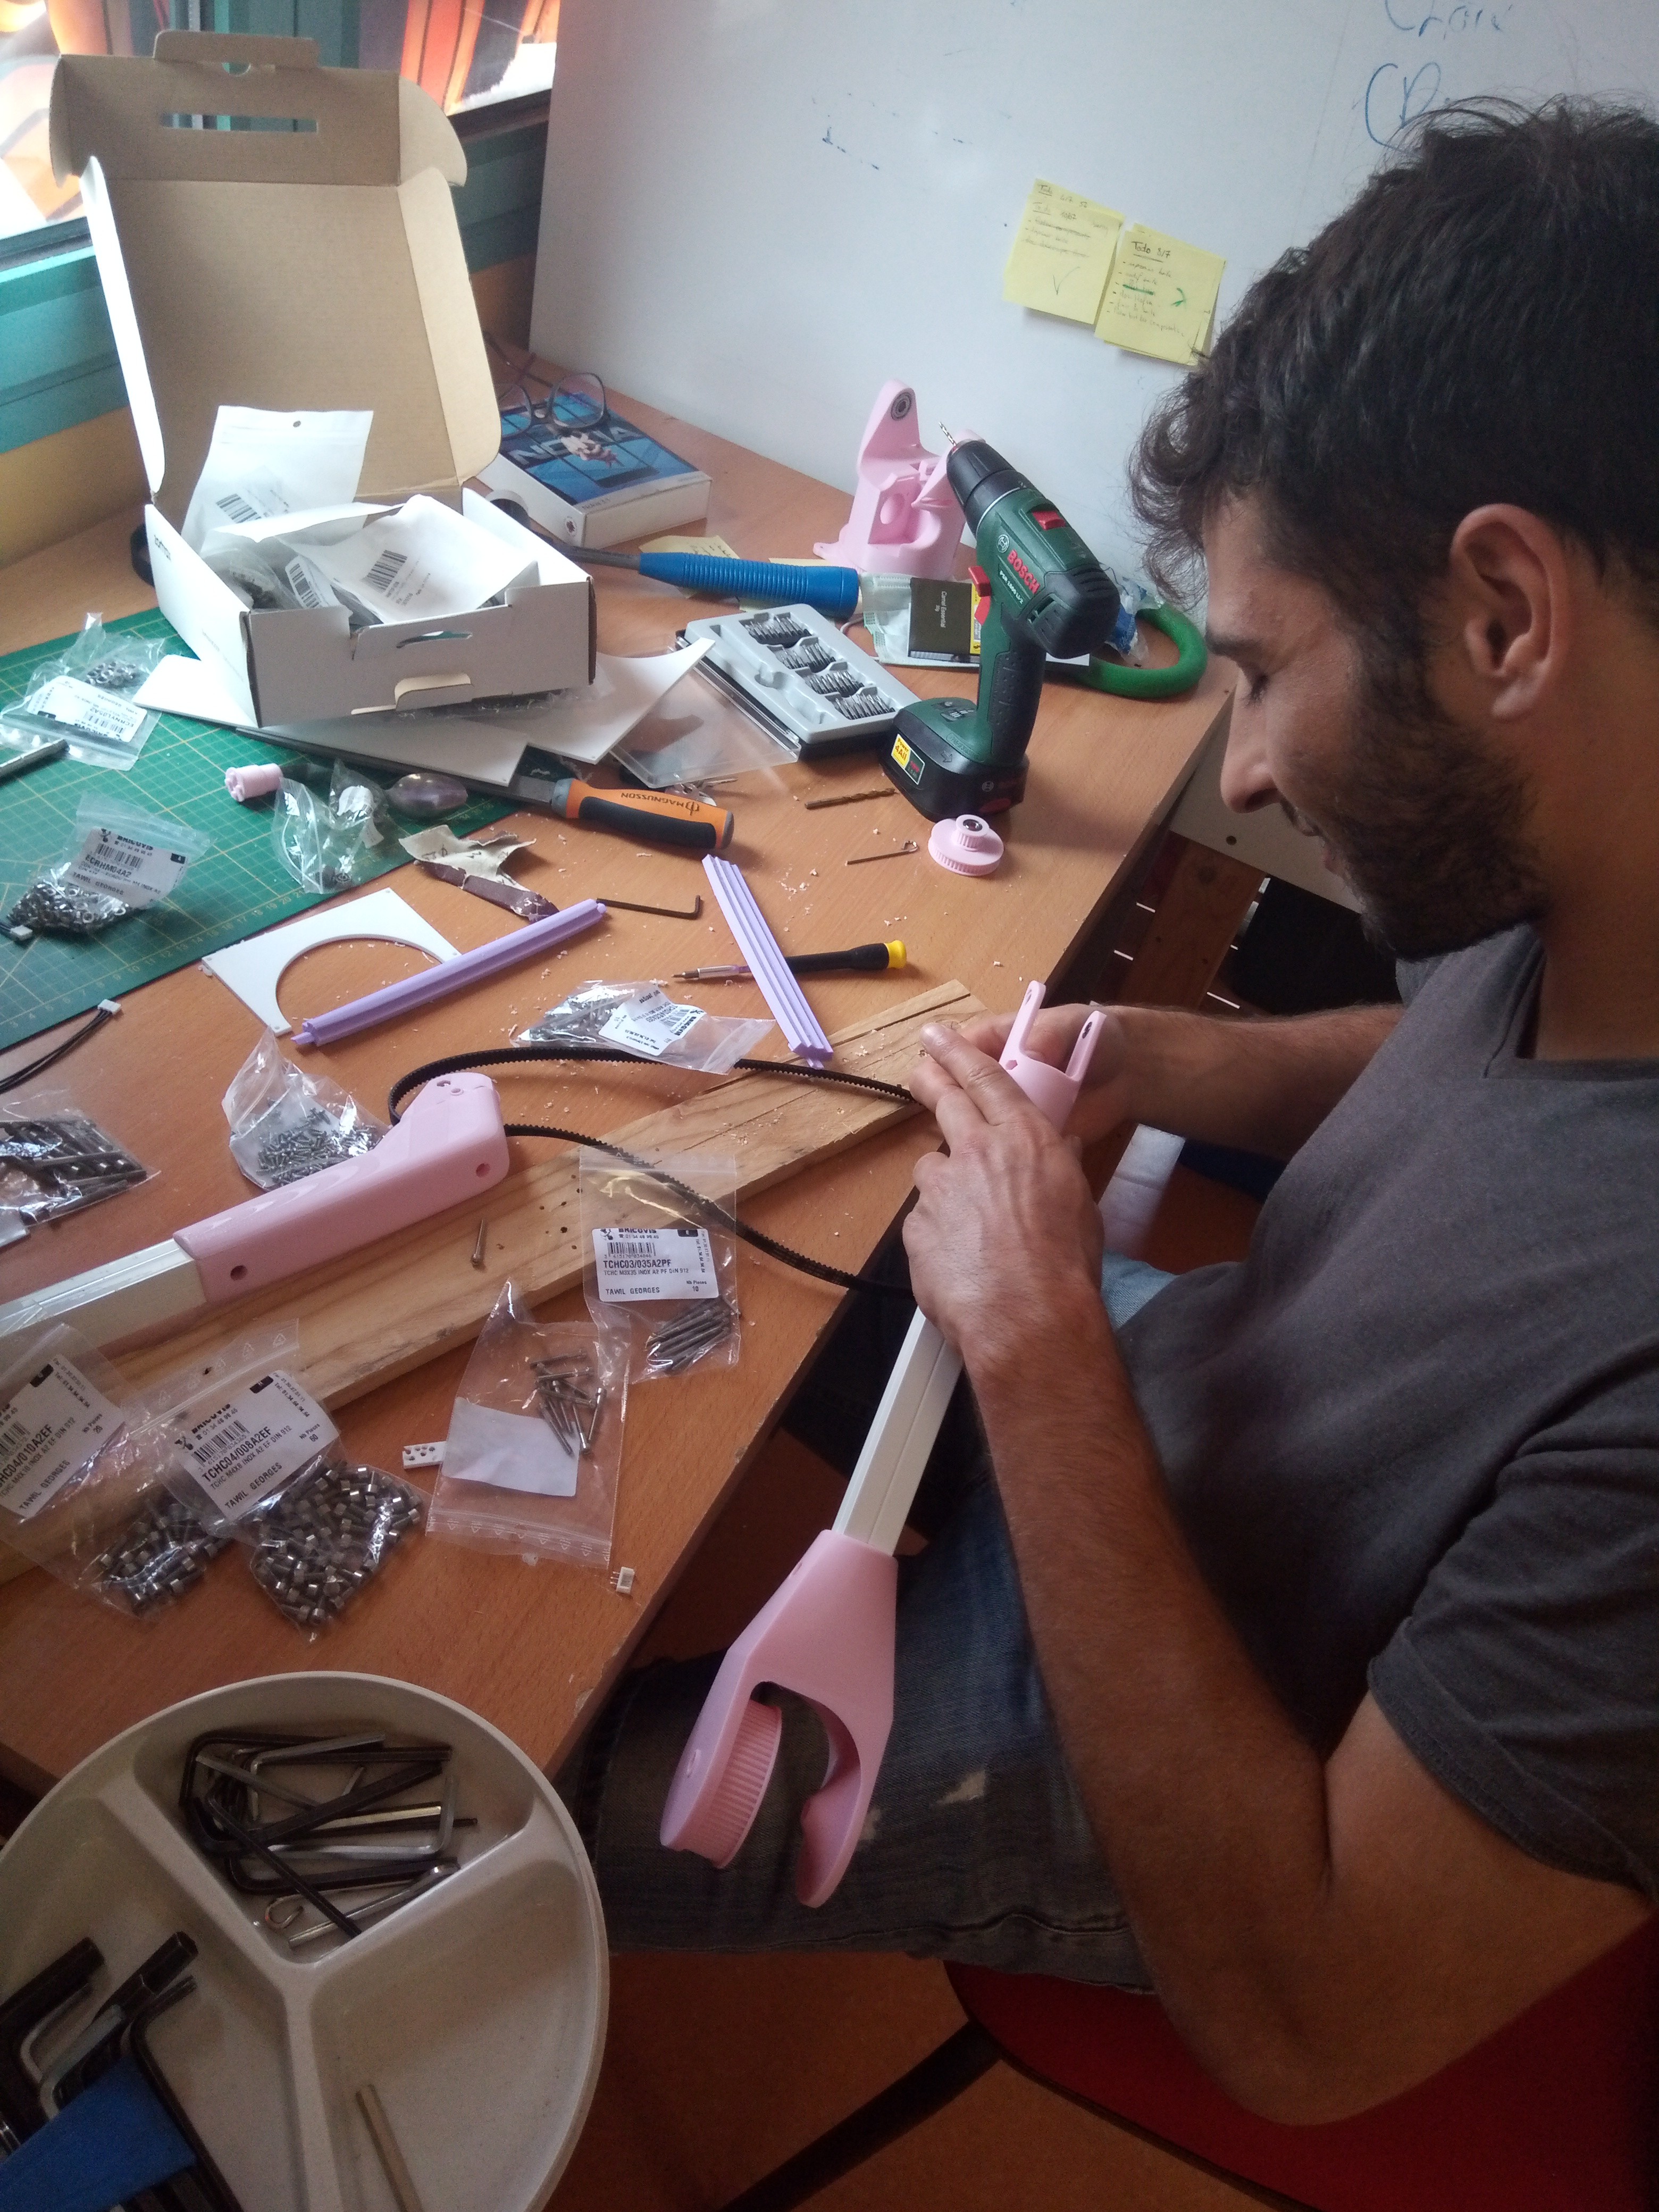
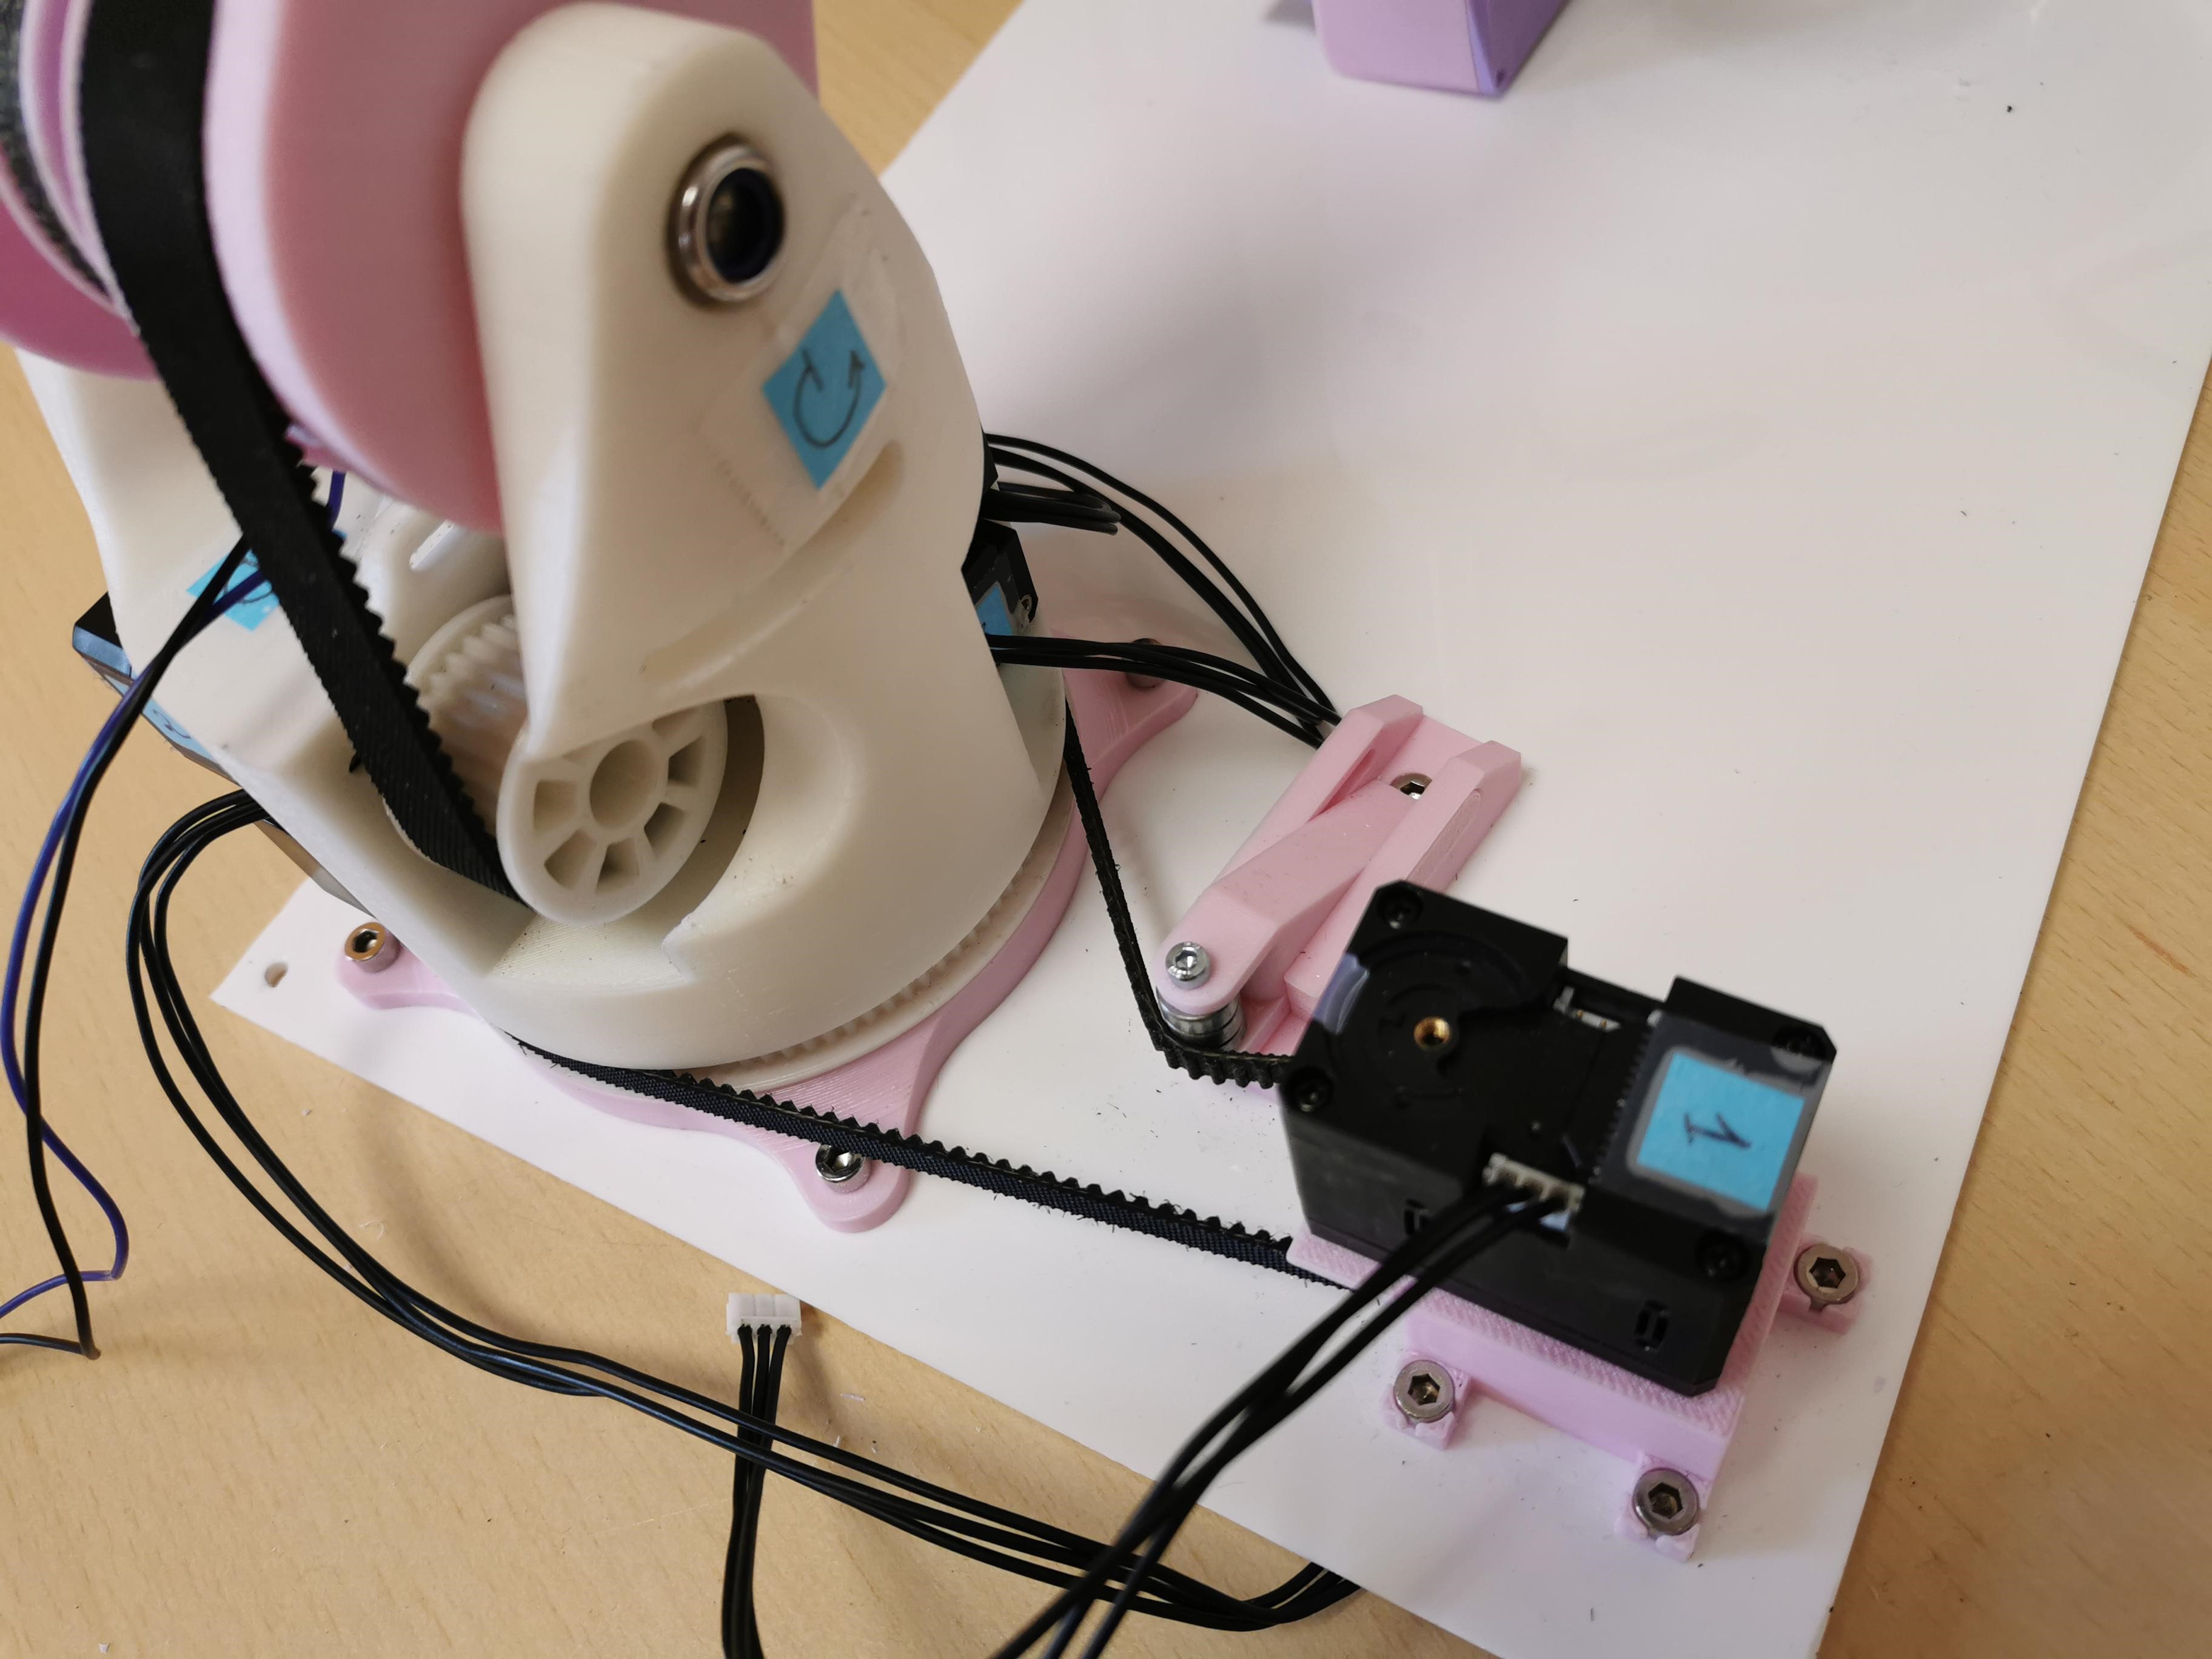
4Assembly
Assembly instructions are not detailed because they are subject to change.
For more detail contact us.
Basically, you have to proceed these following steps :
- Assemble the robotic arm starting from the distal end (3D printed parts, axle, screws, motors, cables,electronic components)
![]()
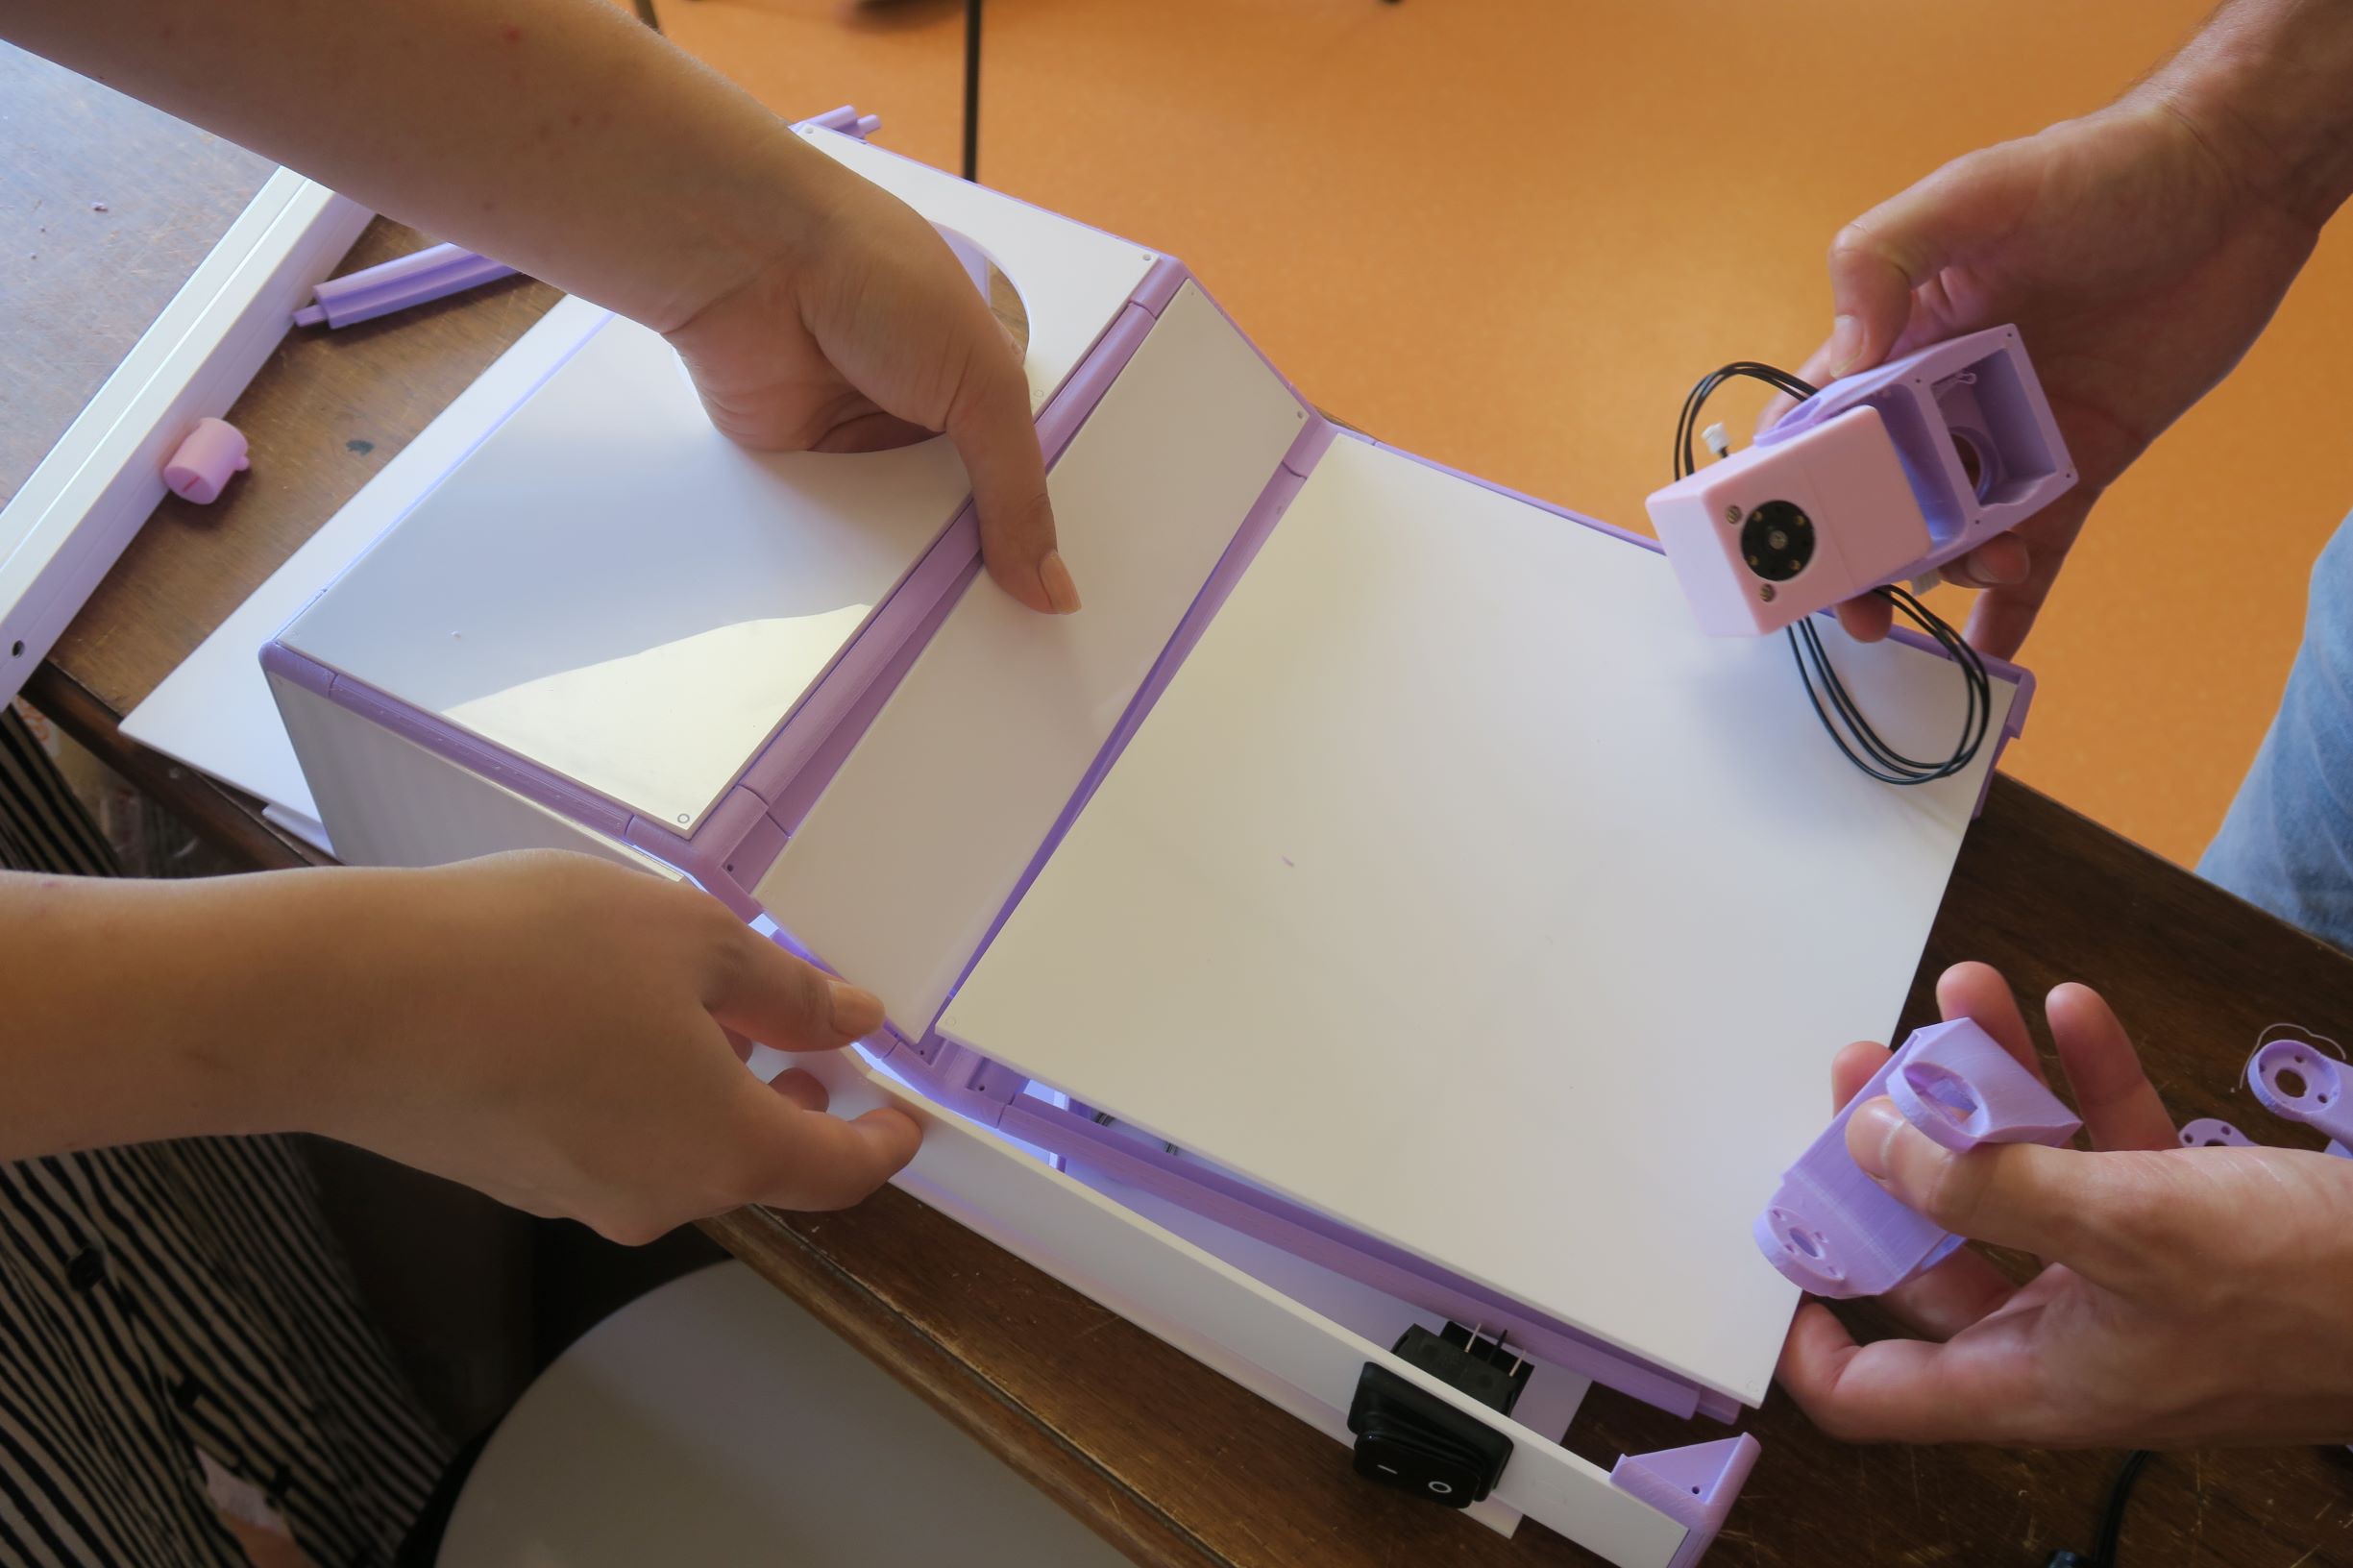
- Fix the arm and motor on the base with screws
![]()
- Prepare the electronics by wiring the microcontroller with the motor shield and the various components. Making the connections
- Assemble the box using the laser cut parts and 3d printed junction profiles and screws
![]()
-
5Program
Upload the firmware on the arduino mega, proceed to calibration
Open assistive robotic arm for meal
An accessible robotic arm designed to help people with special feeding needs.

Discussions
Become a Hackaday.io Member
Create an account to leave a comment. Already have an account? Log In.