Fabian
-
WinDIY's hub - Oh my god mechanics
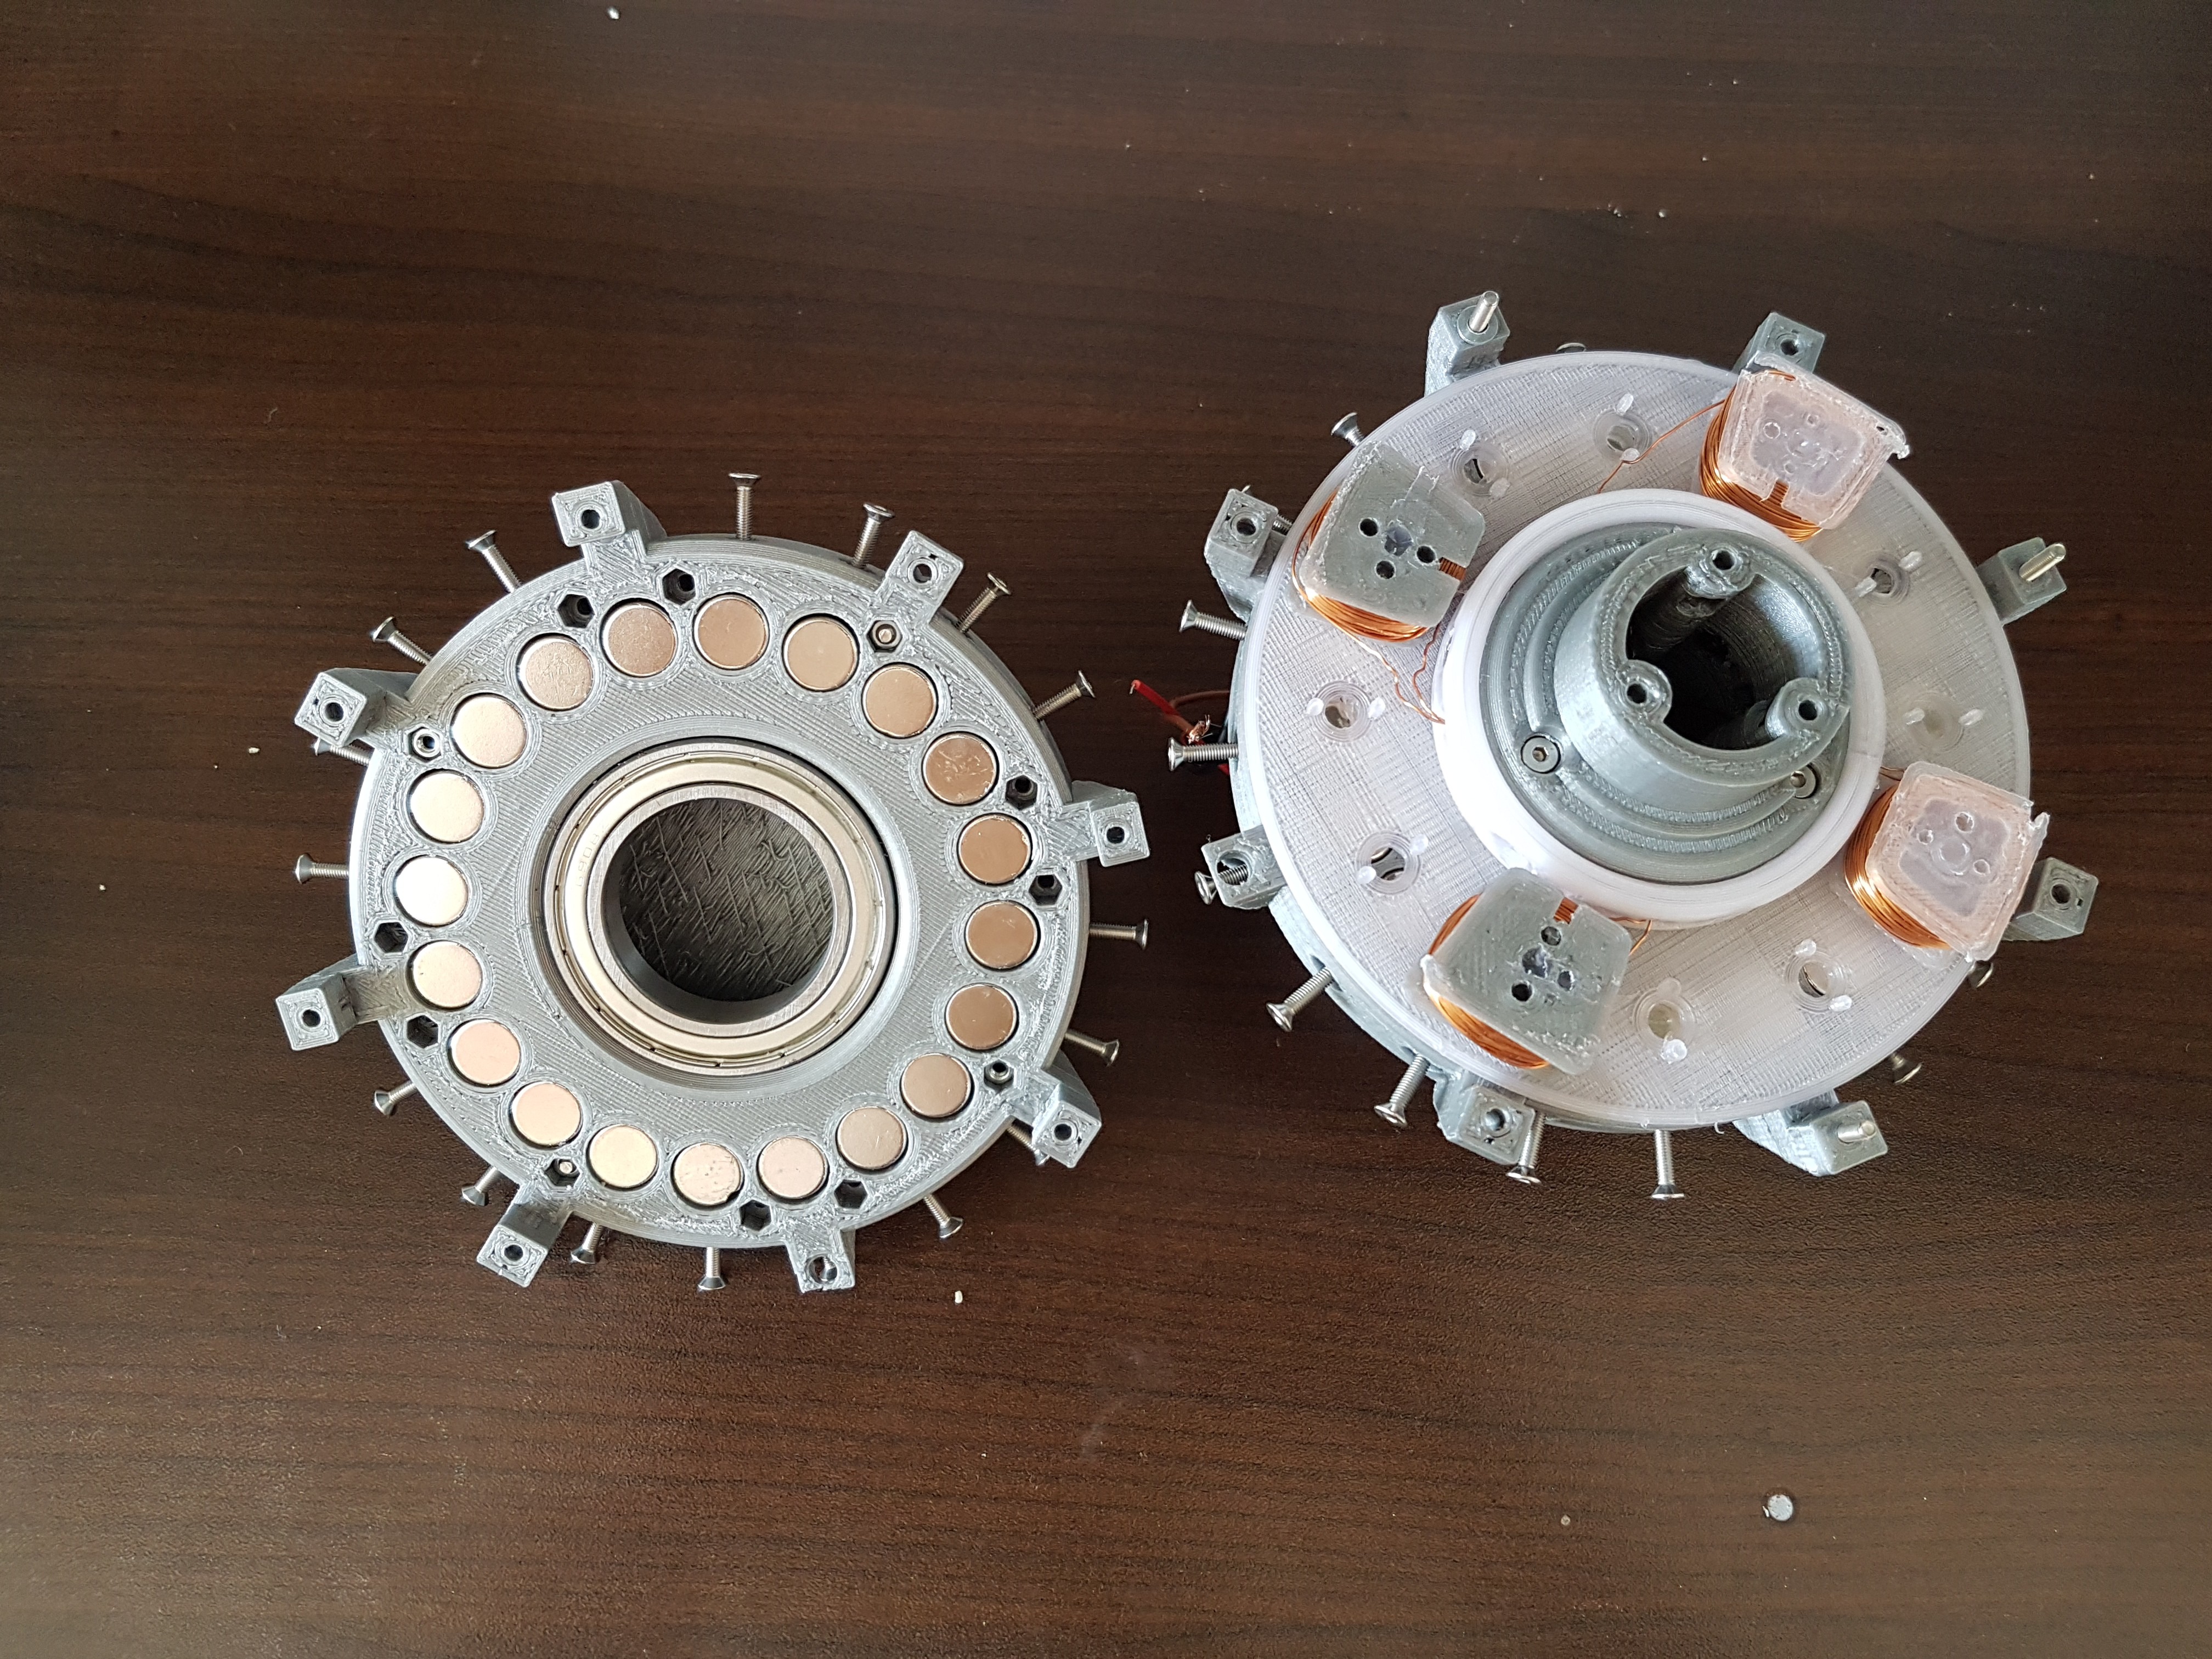
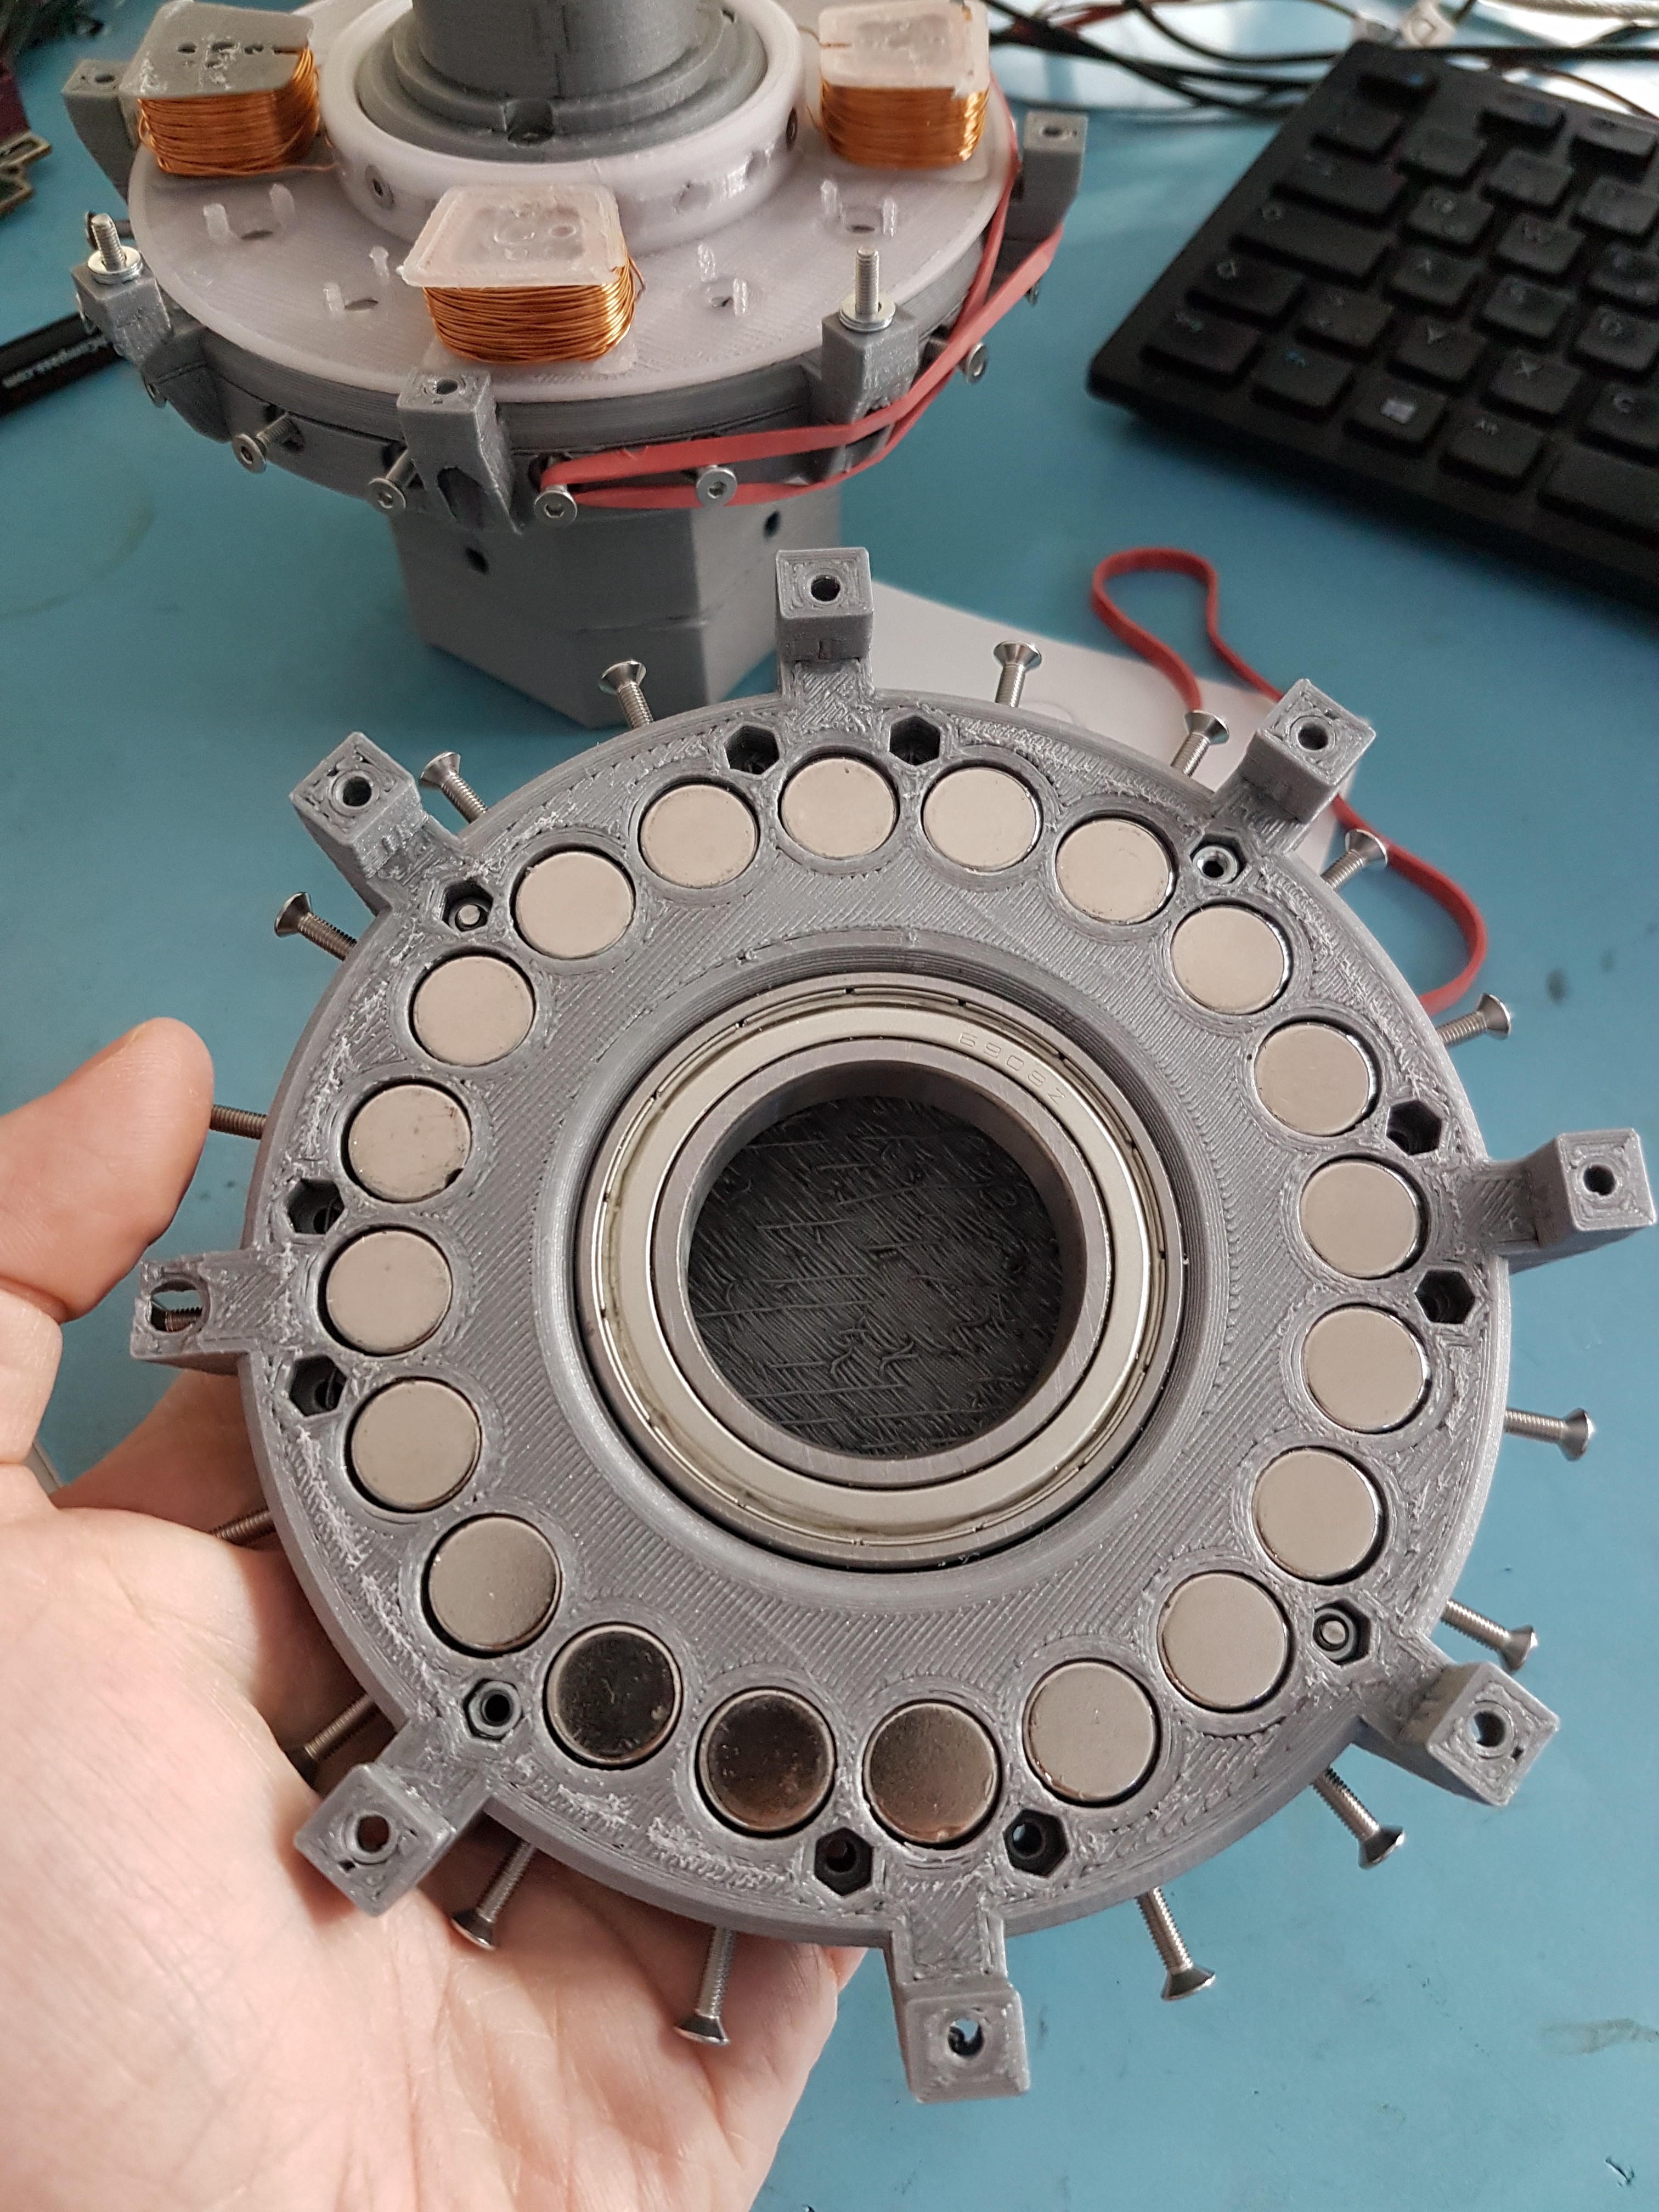
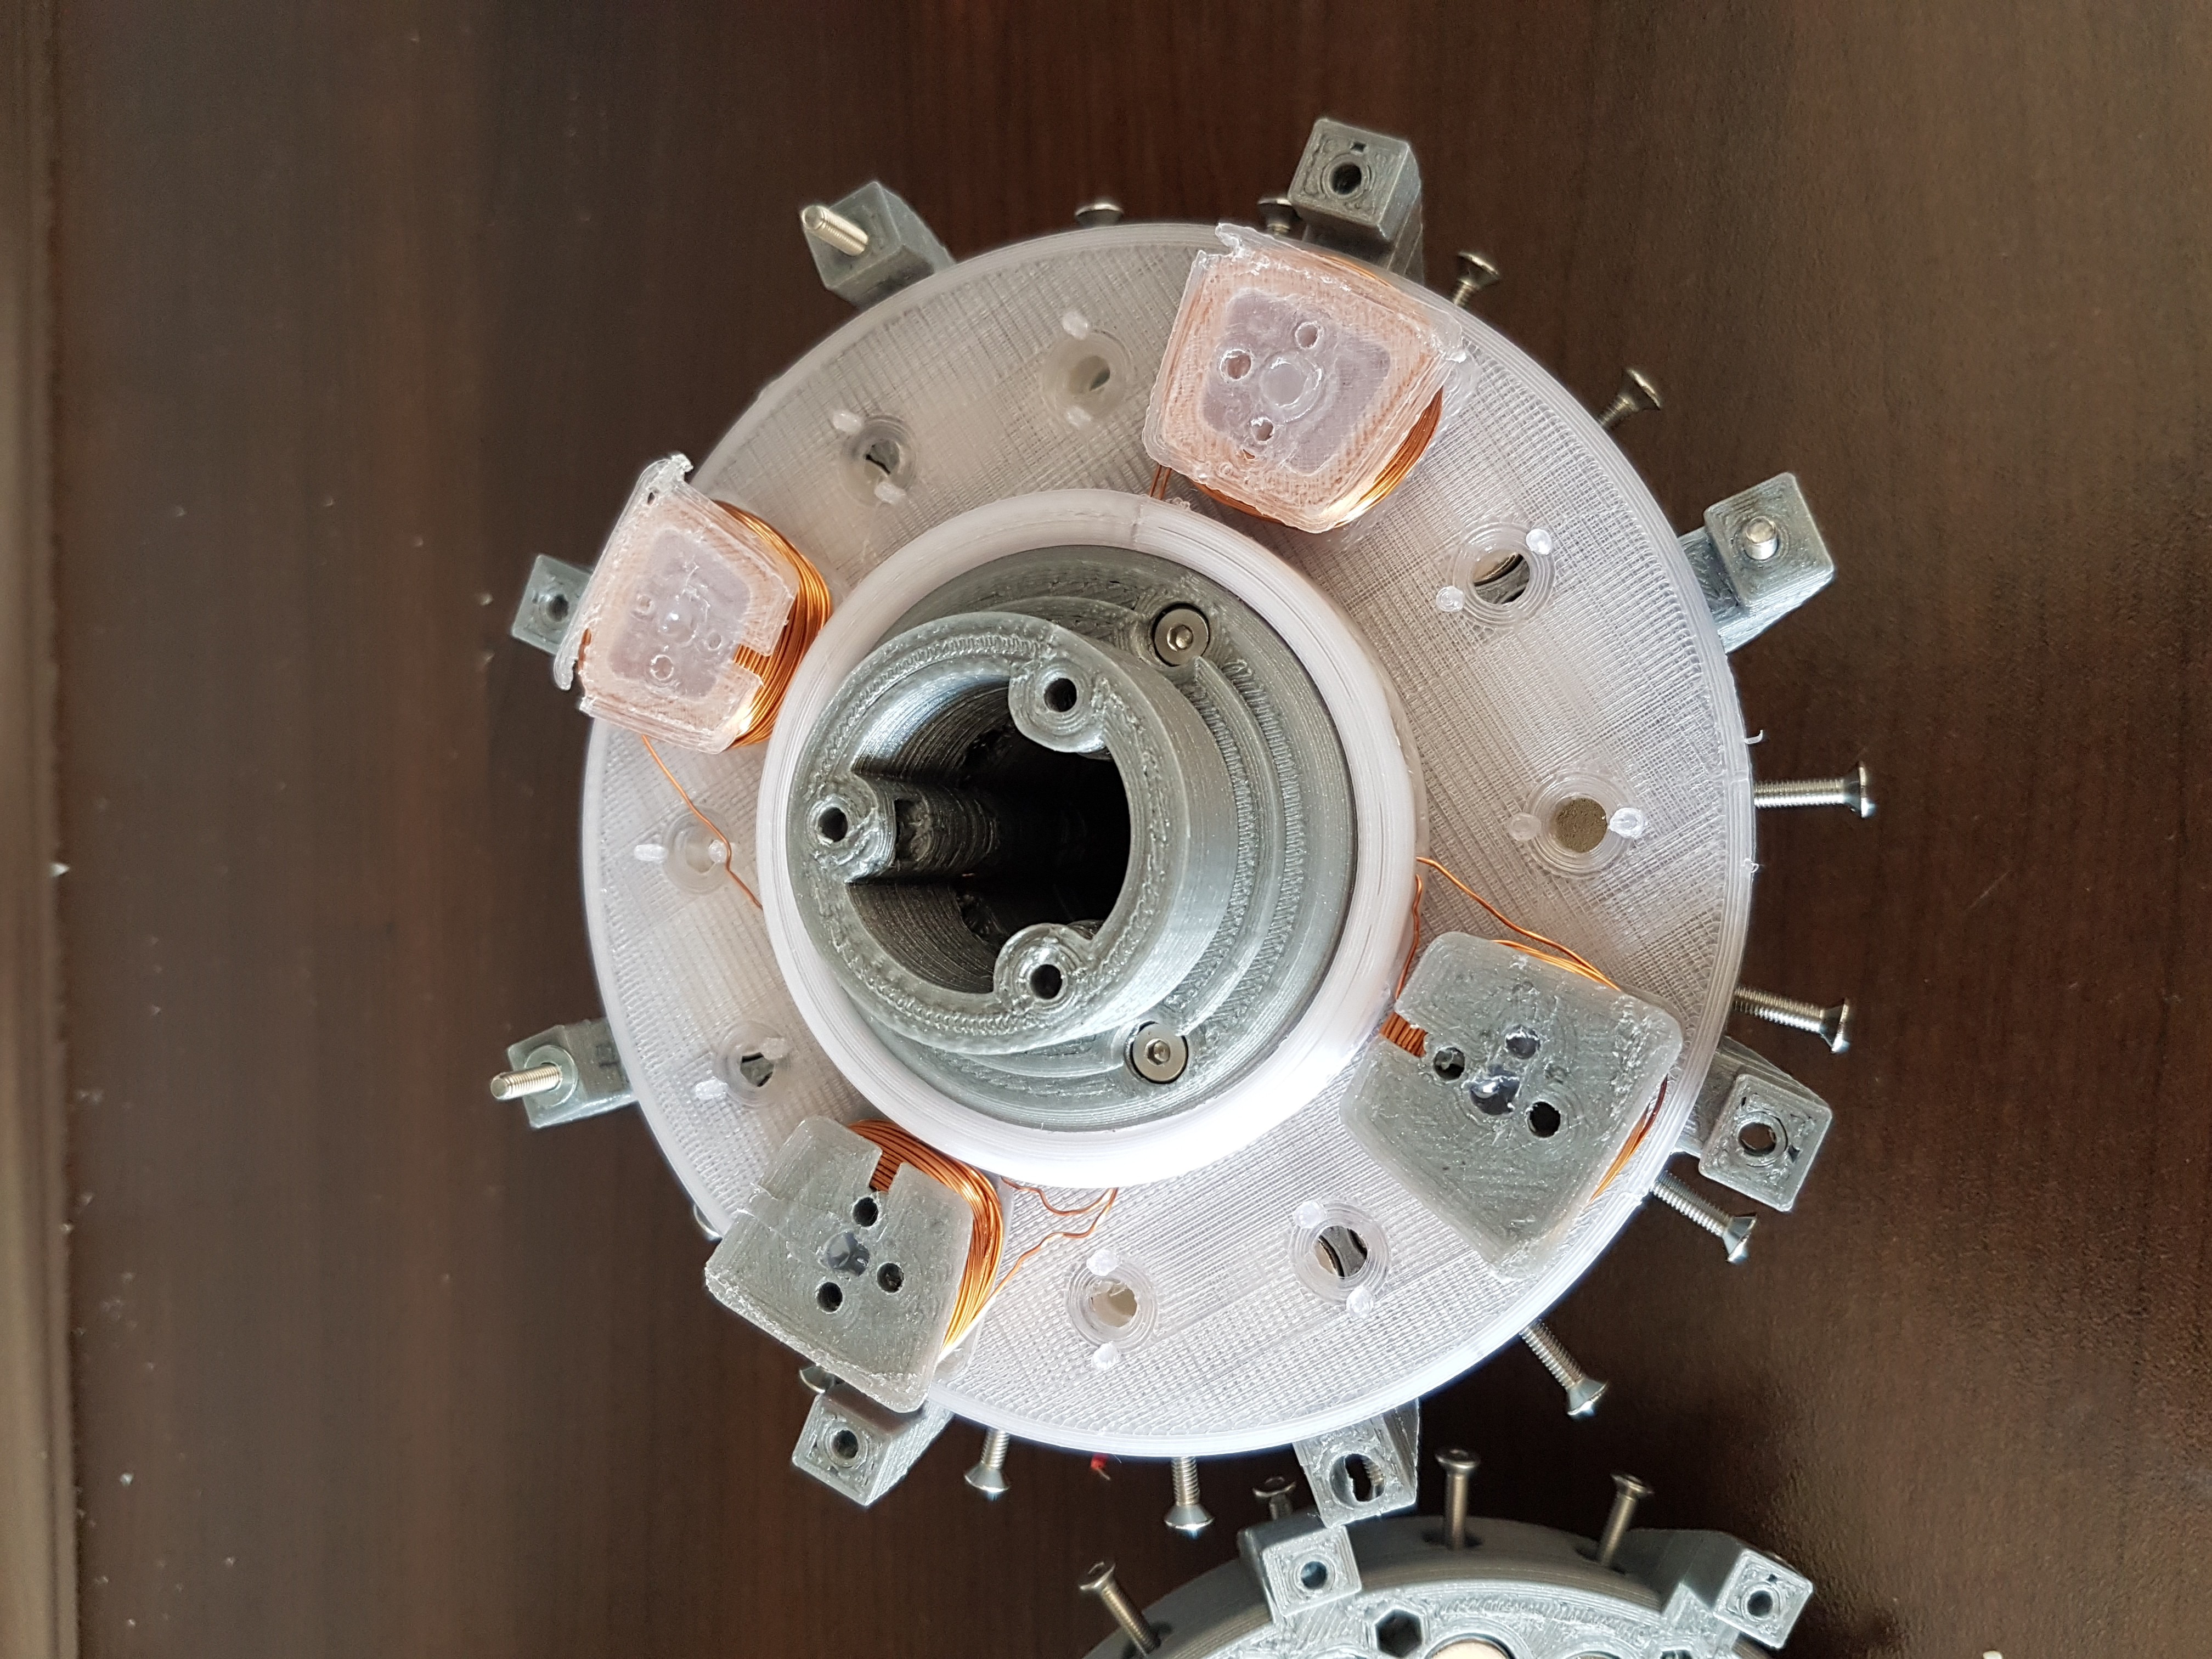
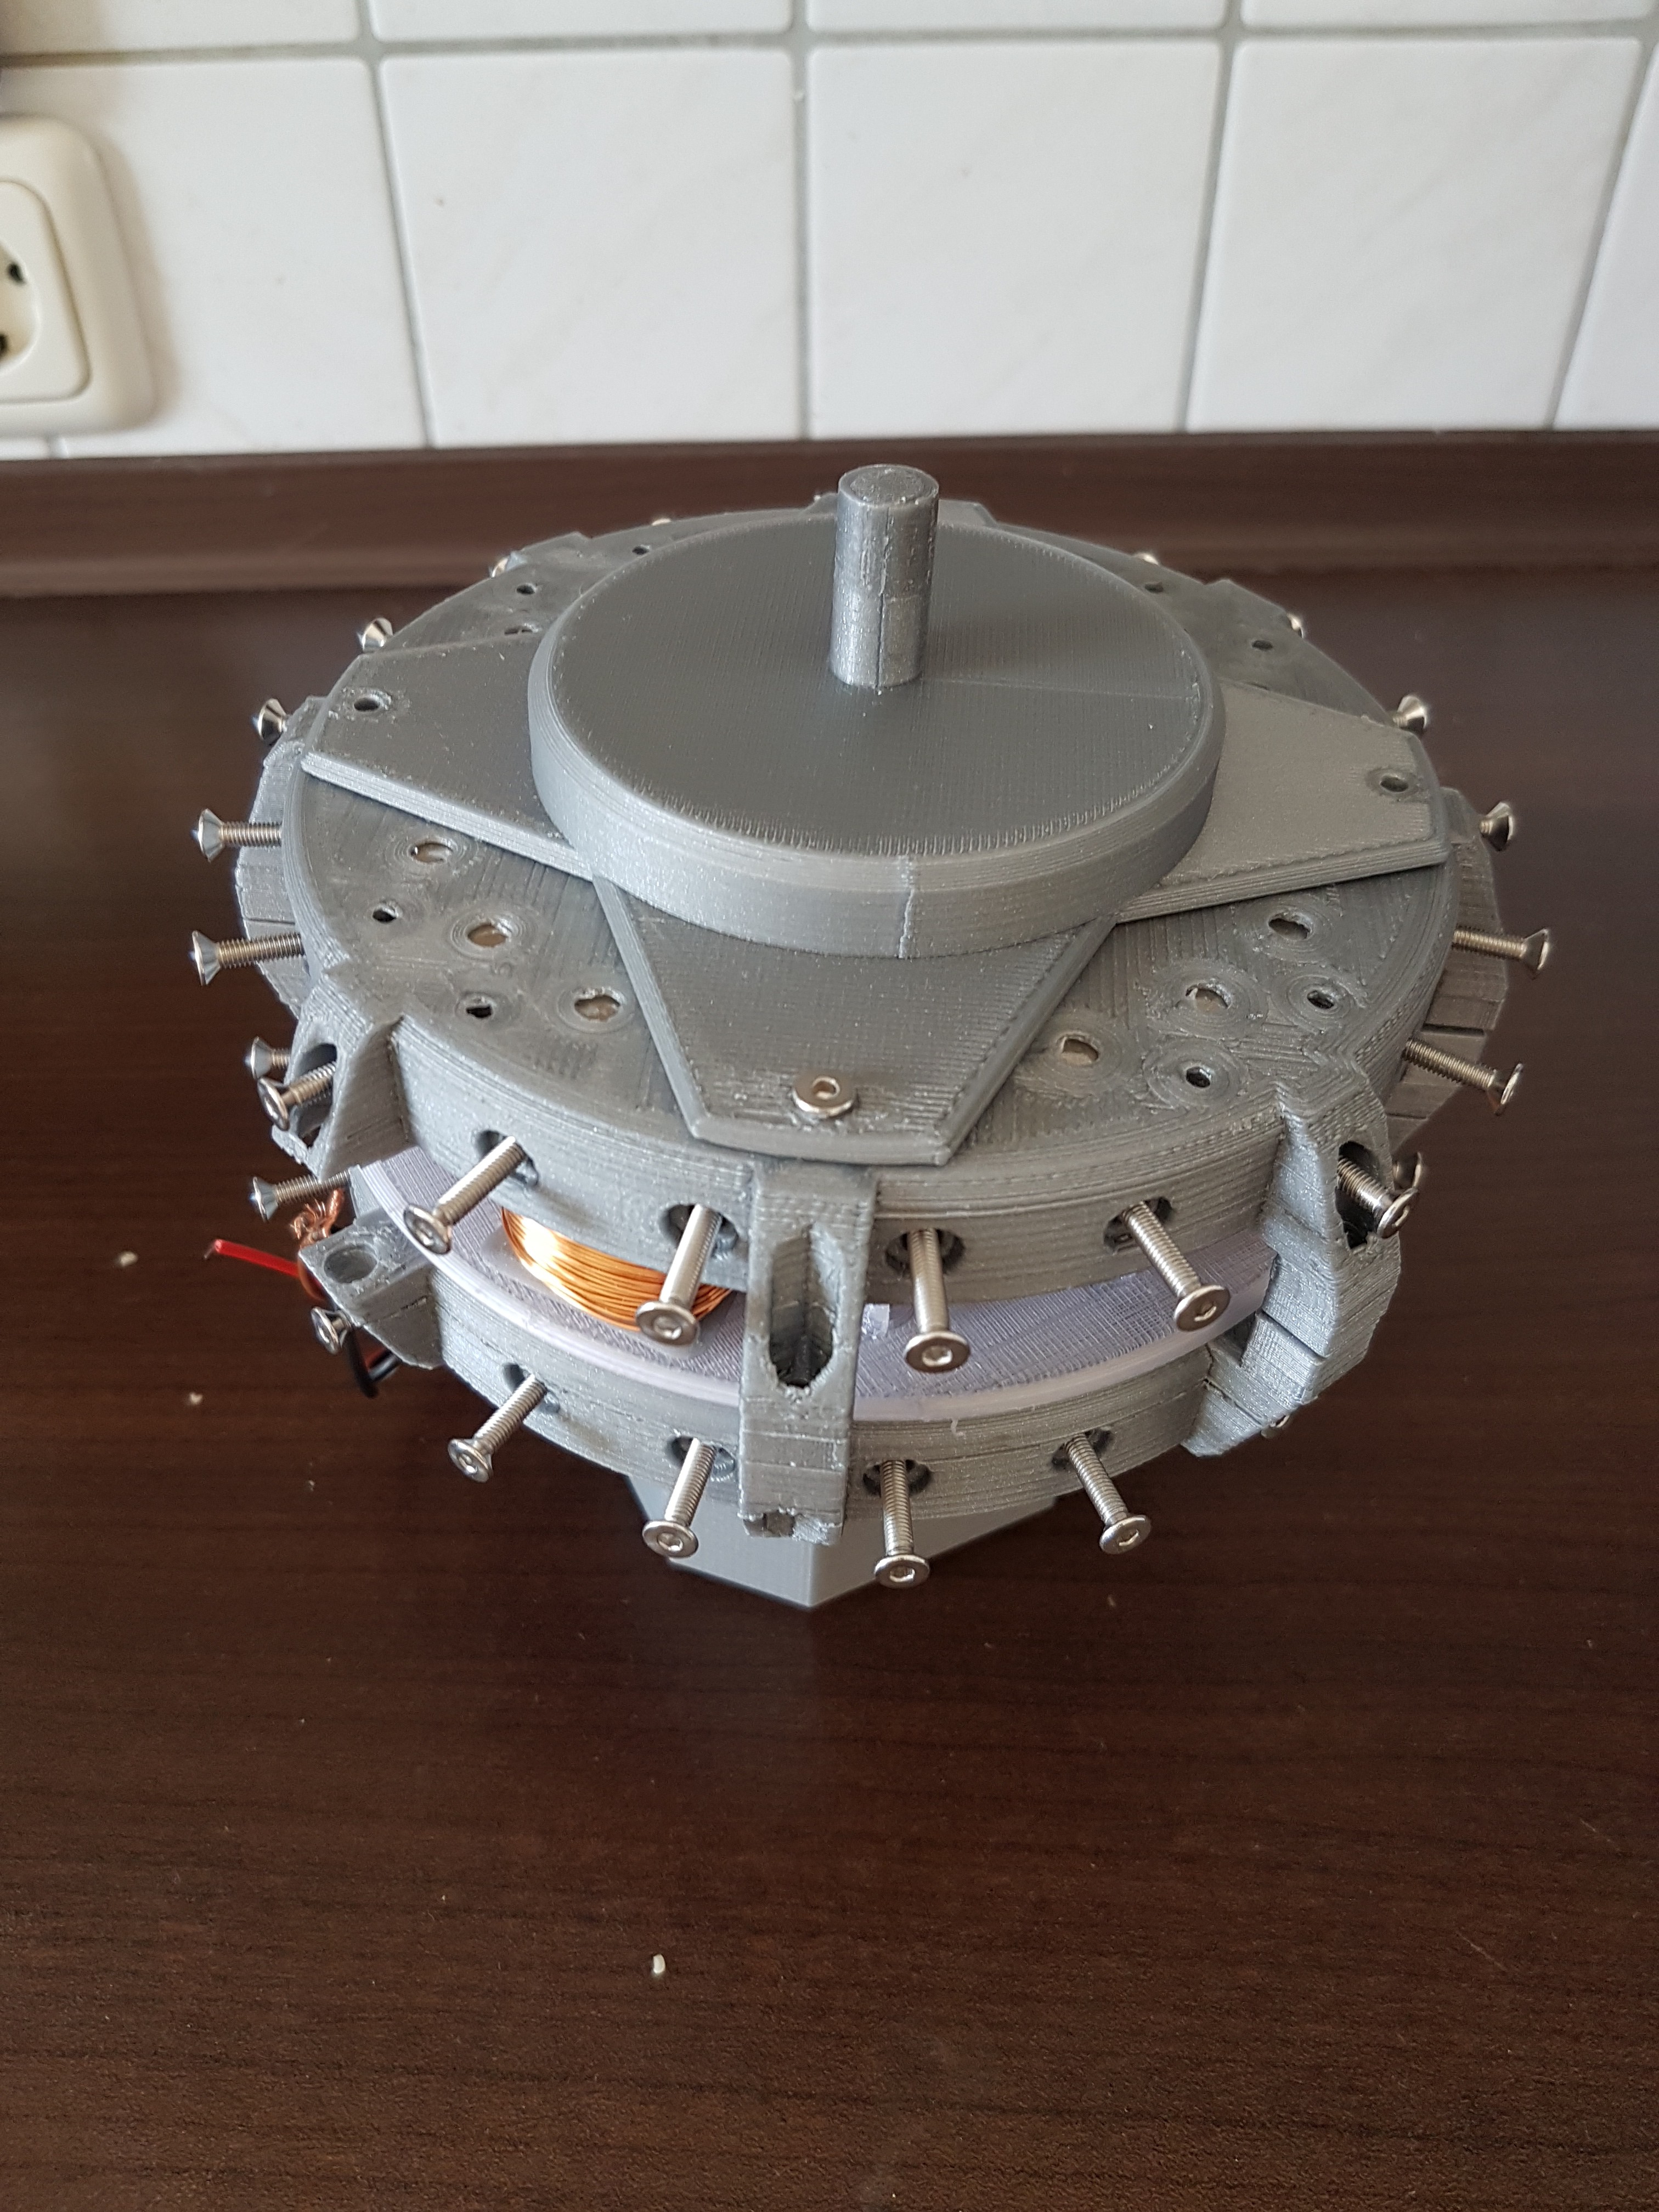
06/11/2020 at 11:37 • 0 commentsThe hub for WinDIY initially gave me a real headache. As a pretty central part, the hub is super important and should be as stable as possible, but light and symmetrical at the same time (without an imbalance or something similar).
In addition, it has to absorb the force of the wind in the axial direction, the centrifugal force of the rotating blades and of course the rotation of the blades should be as smooth as possible. Obviously, it must also bear the static weight of the wings.
In addition, I had also considered to include a mechanism to adjust the wing's angle of attack (during rotation). This principle is also known from large wind turbines.
This has two advantages.
- The wings can be adapted to the "apparent wind" (ie the combination of "true wind" and "wind due to the rotation"). As a result, you should always be able to extract the maximum energy from the wind.
- The main advantage in my opinion, however, is that if strong winds occur, the turbine can be protected from self-destruction caused by high rotational forces.
When high winds occur, the angle of attack of the blades can be adjusted so that the blades are aligned unfavorable to the "true wind". The turbine does not stop rotating, but will definitely lose speed of rotation. :)
Well, long story short: The hub has to enable the control of the blade angle while the hub itself rotates.
I have worked on this problem for a long time. You can see the result in the video. :)
-
WinDIY Wing "Mark2"
06/11/2020 at 11:18 • 0 commentsIn the meantime, I had also dealt with the wings again. After "Mark1" fit quite well in terms of weight, the wing was not so stable that I thought it could hold out really long. Especially with strong bends, the PLA (printed with 10% infill for weight reasons) already cracked dangerously.
That's why I started developing "Mark2". In my opinion, the two M3 threaded rods were clearly too fragile to support the construction properly.
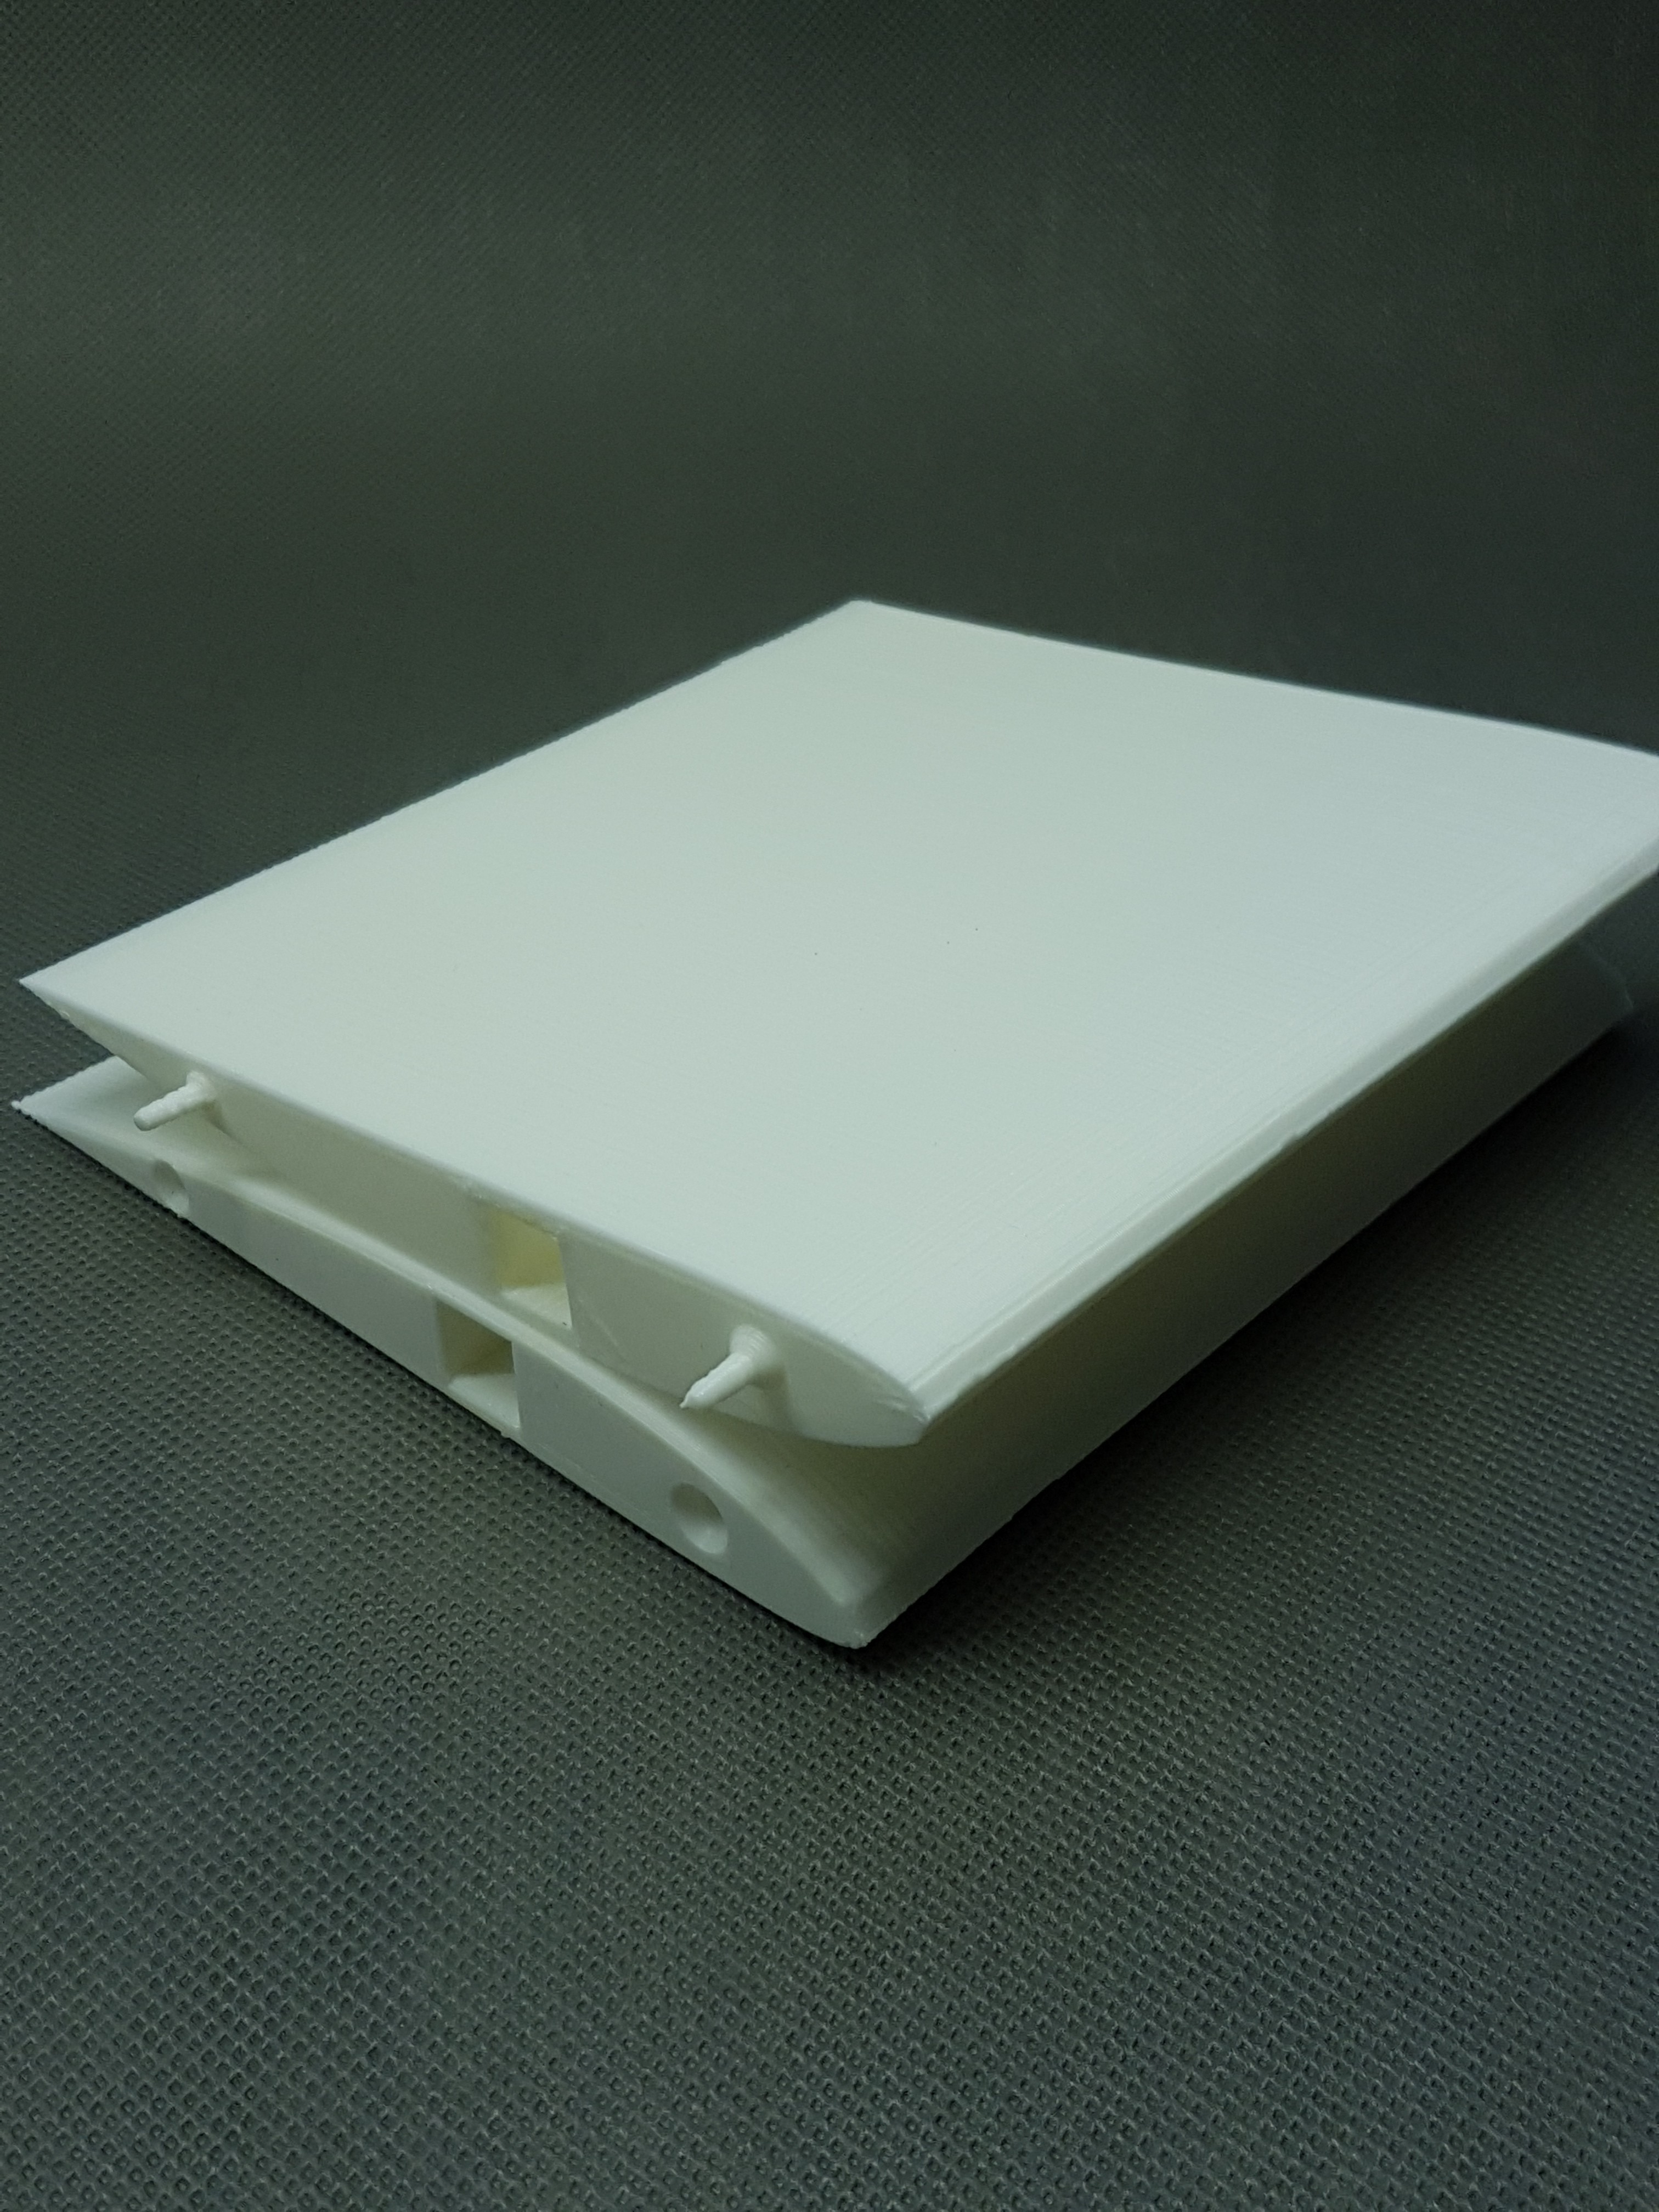
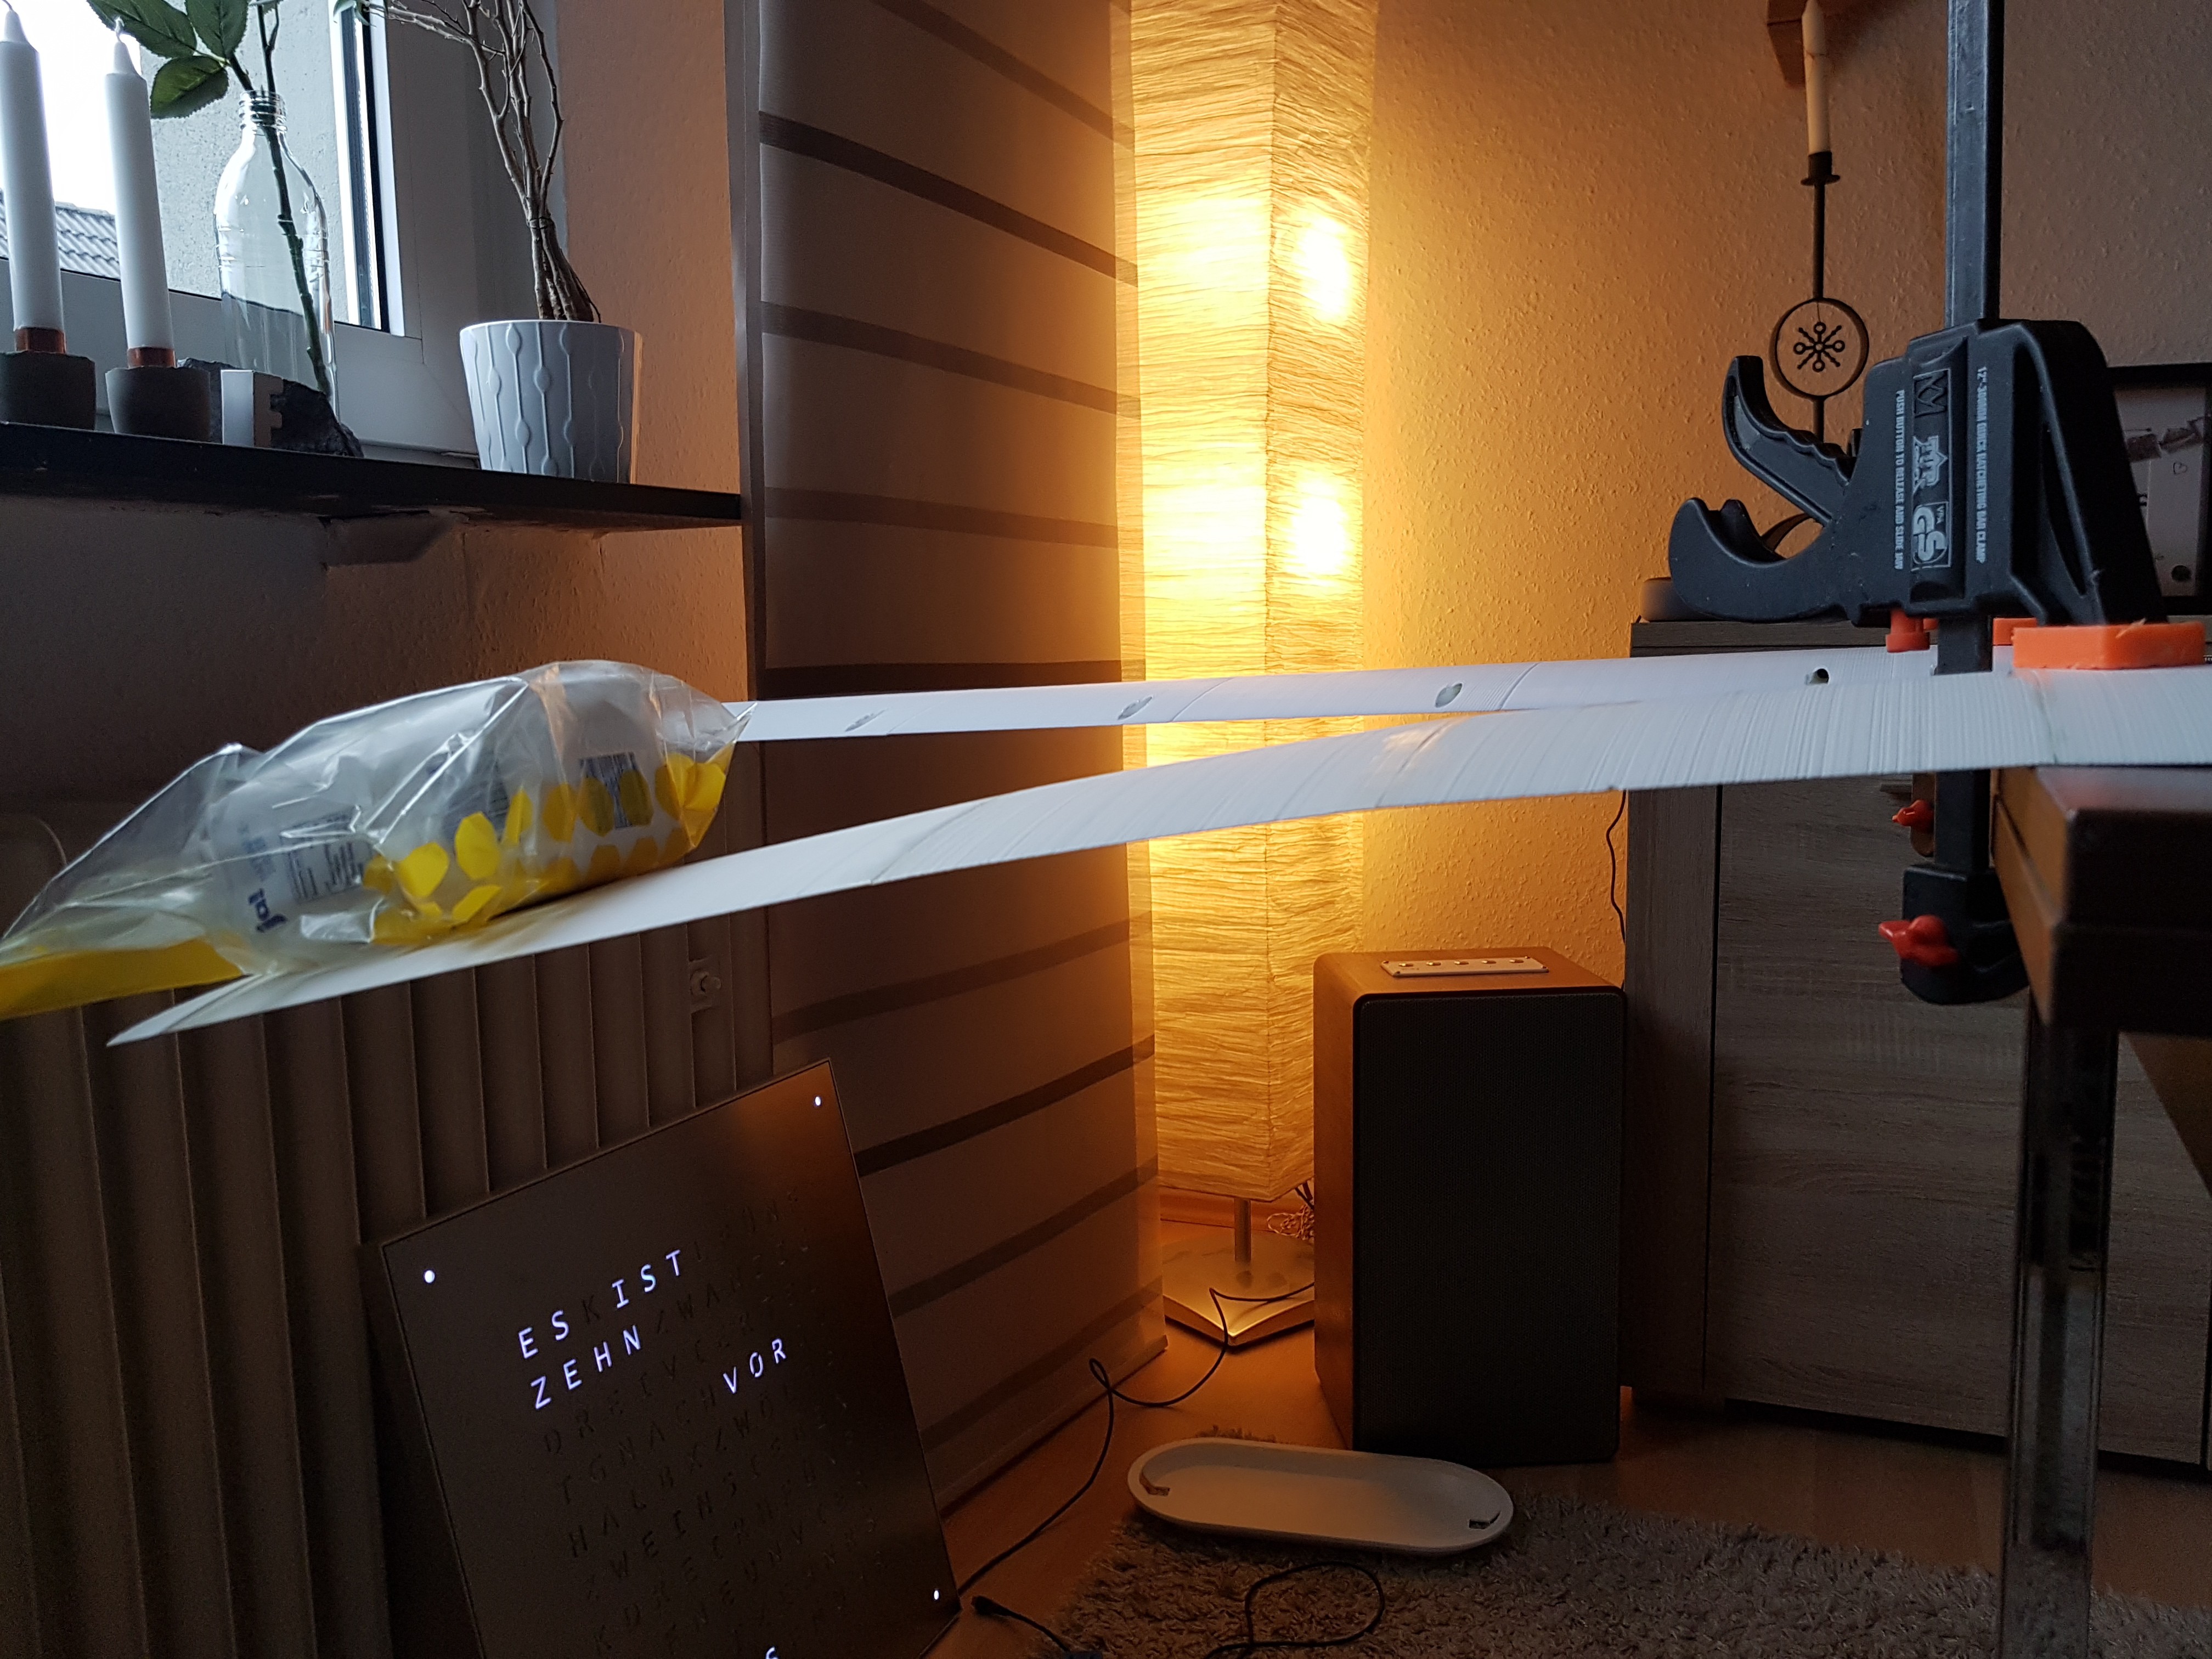
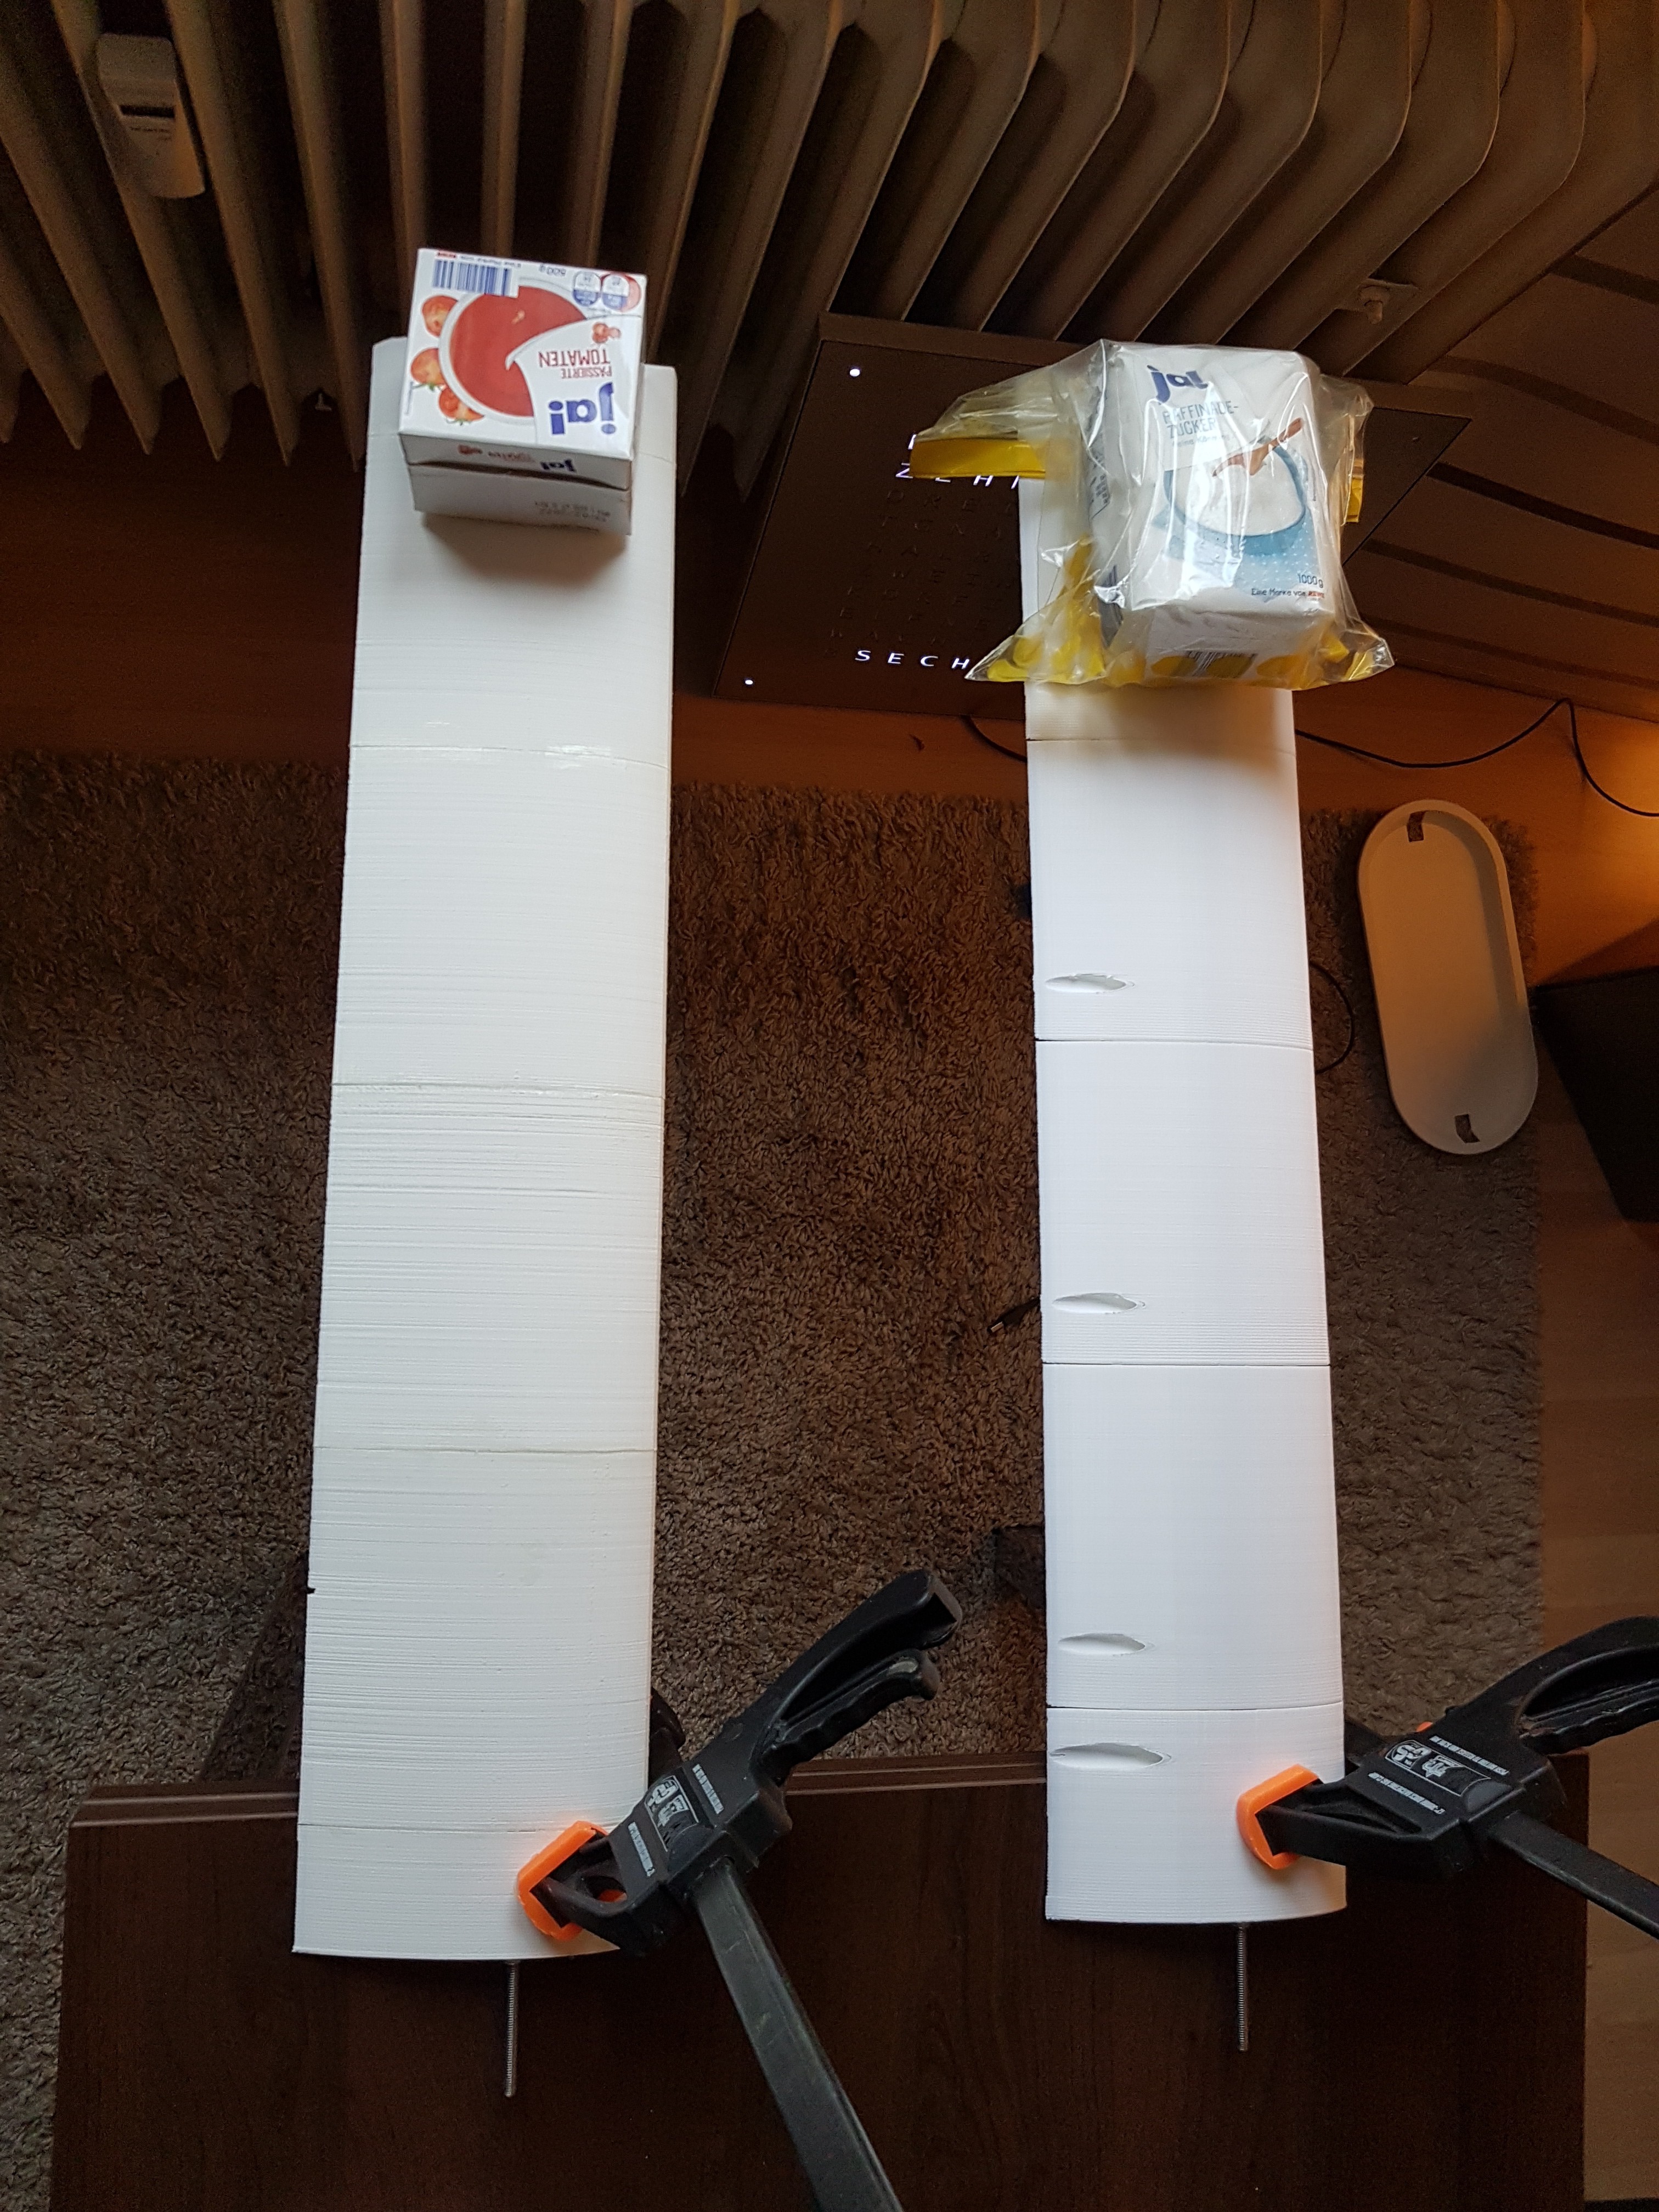
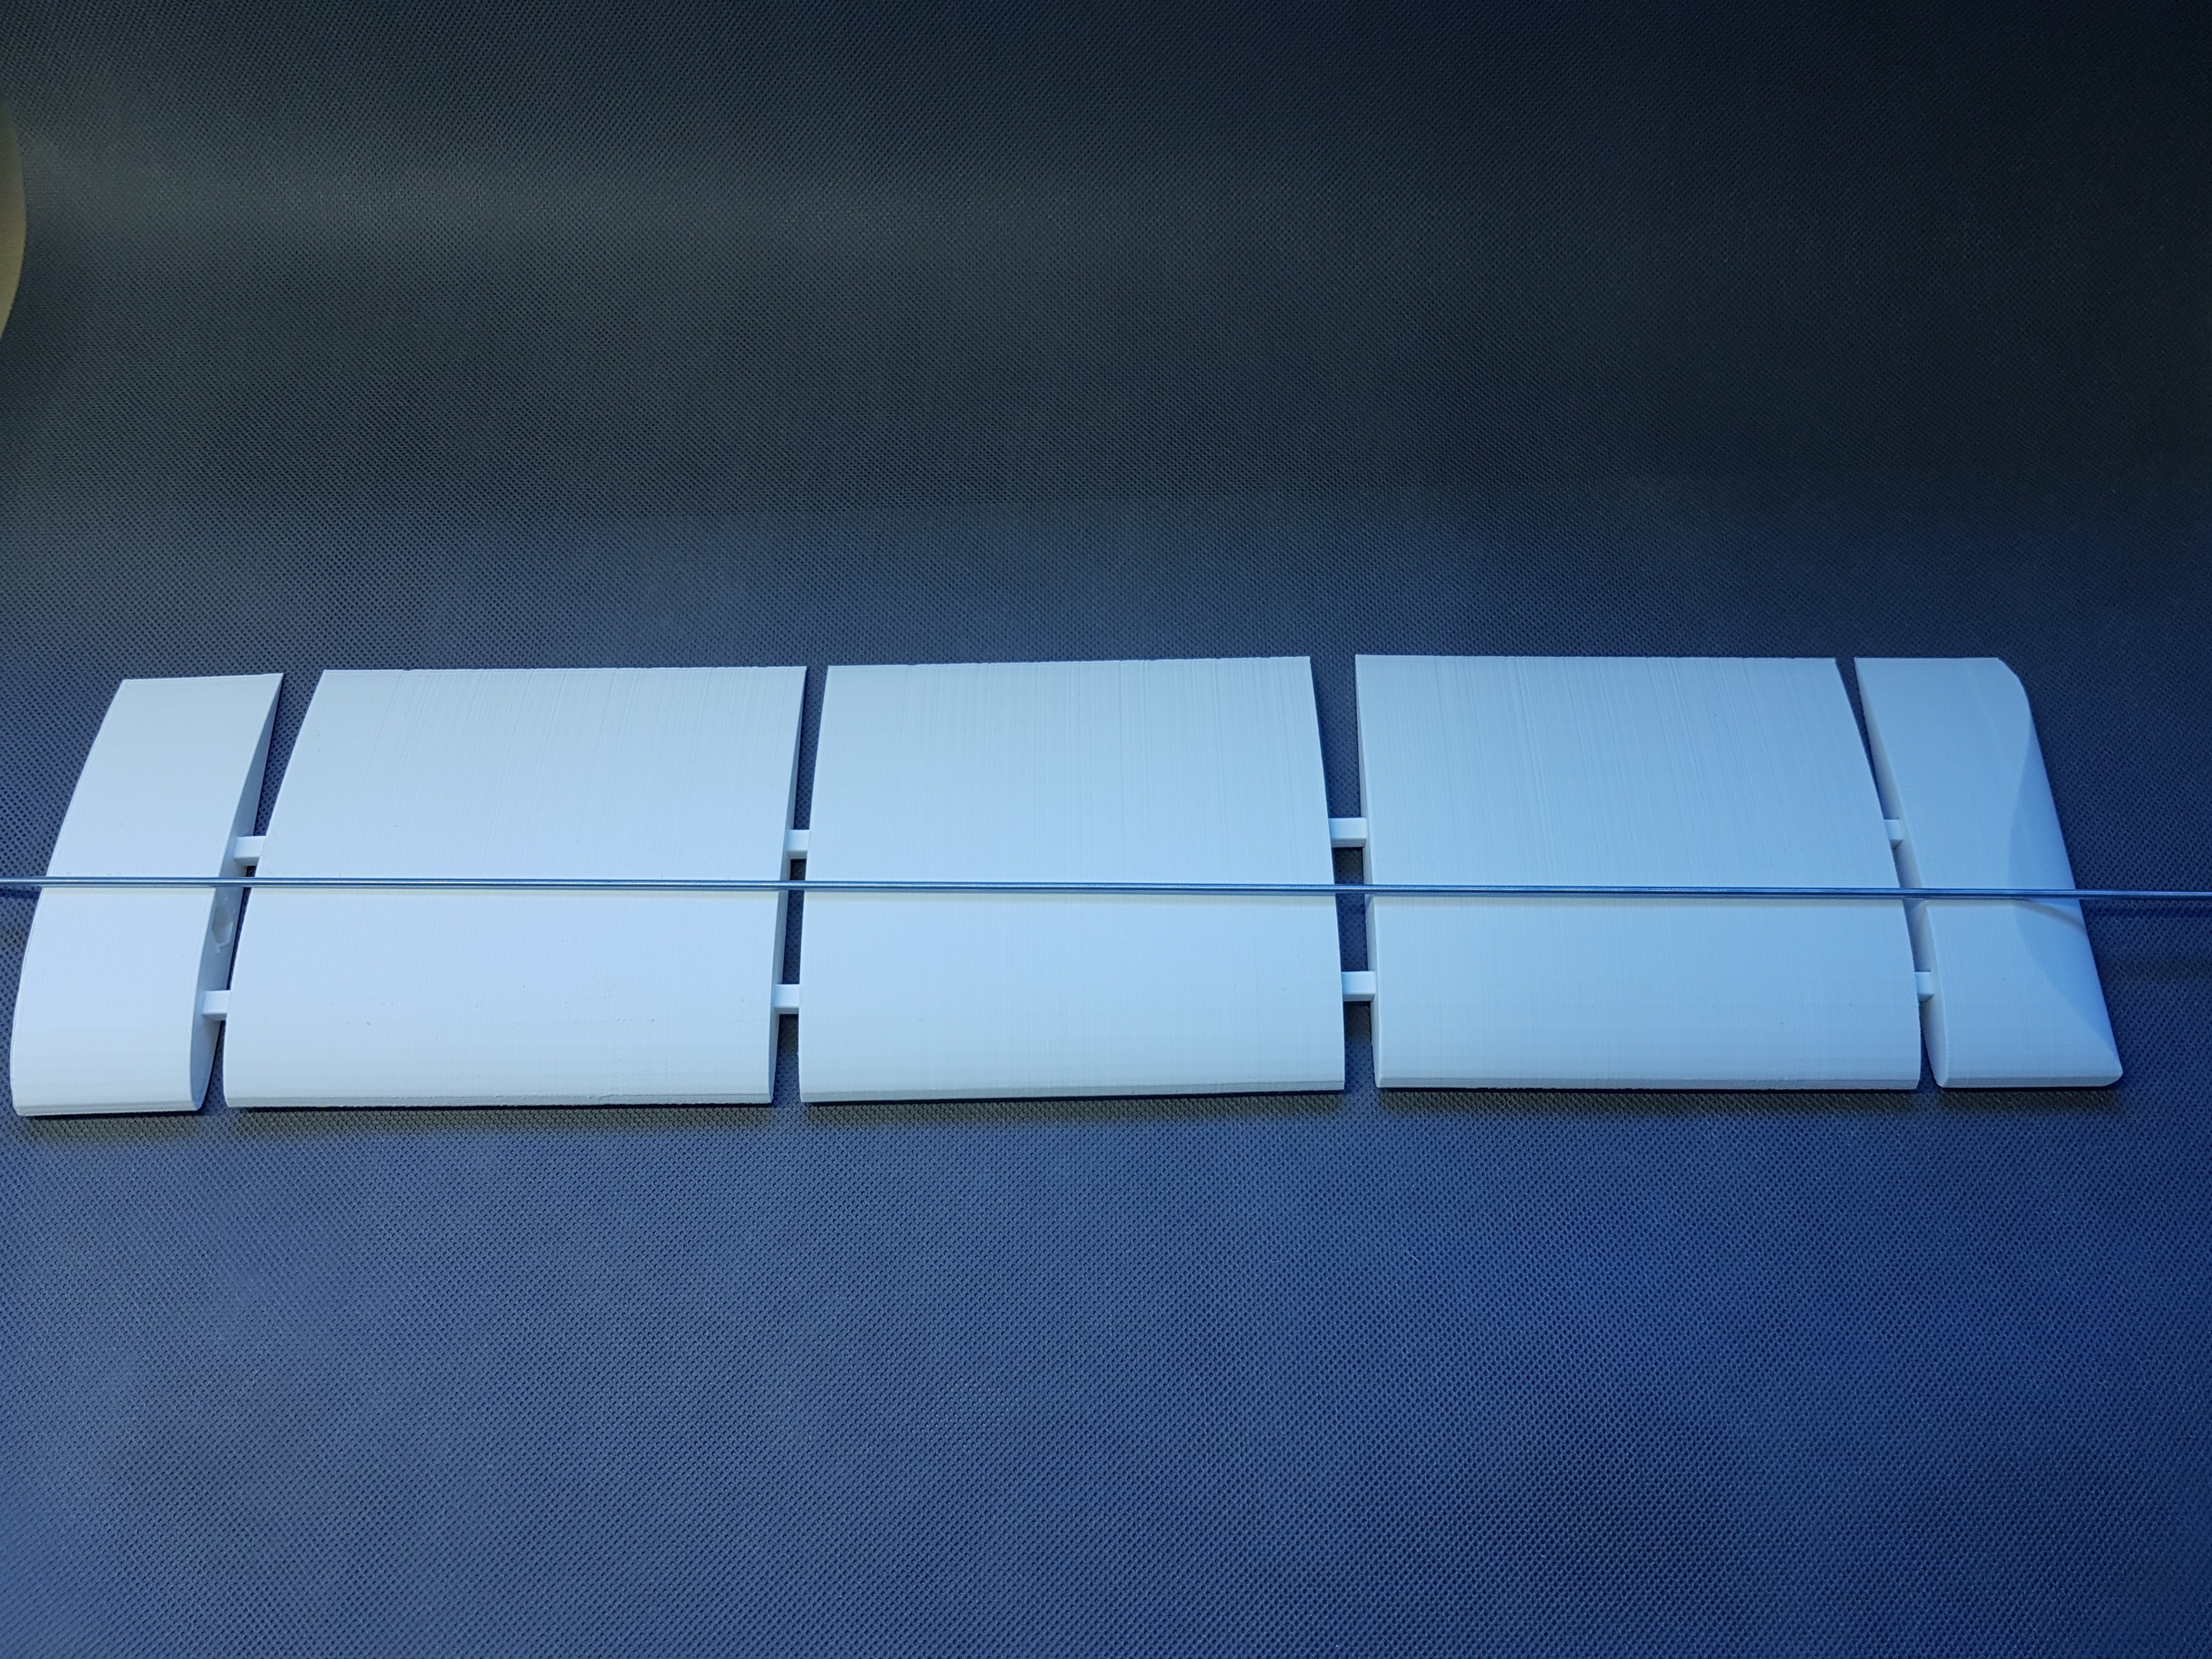
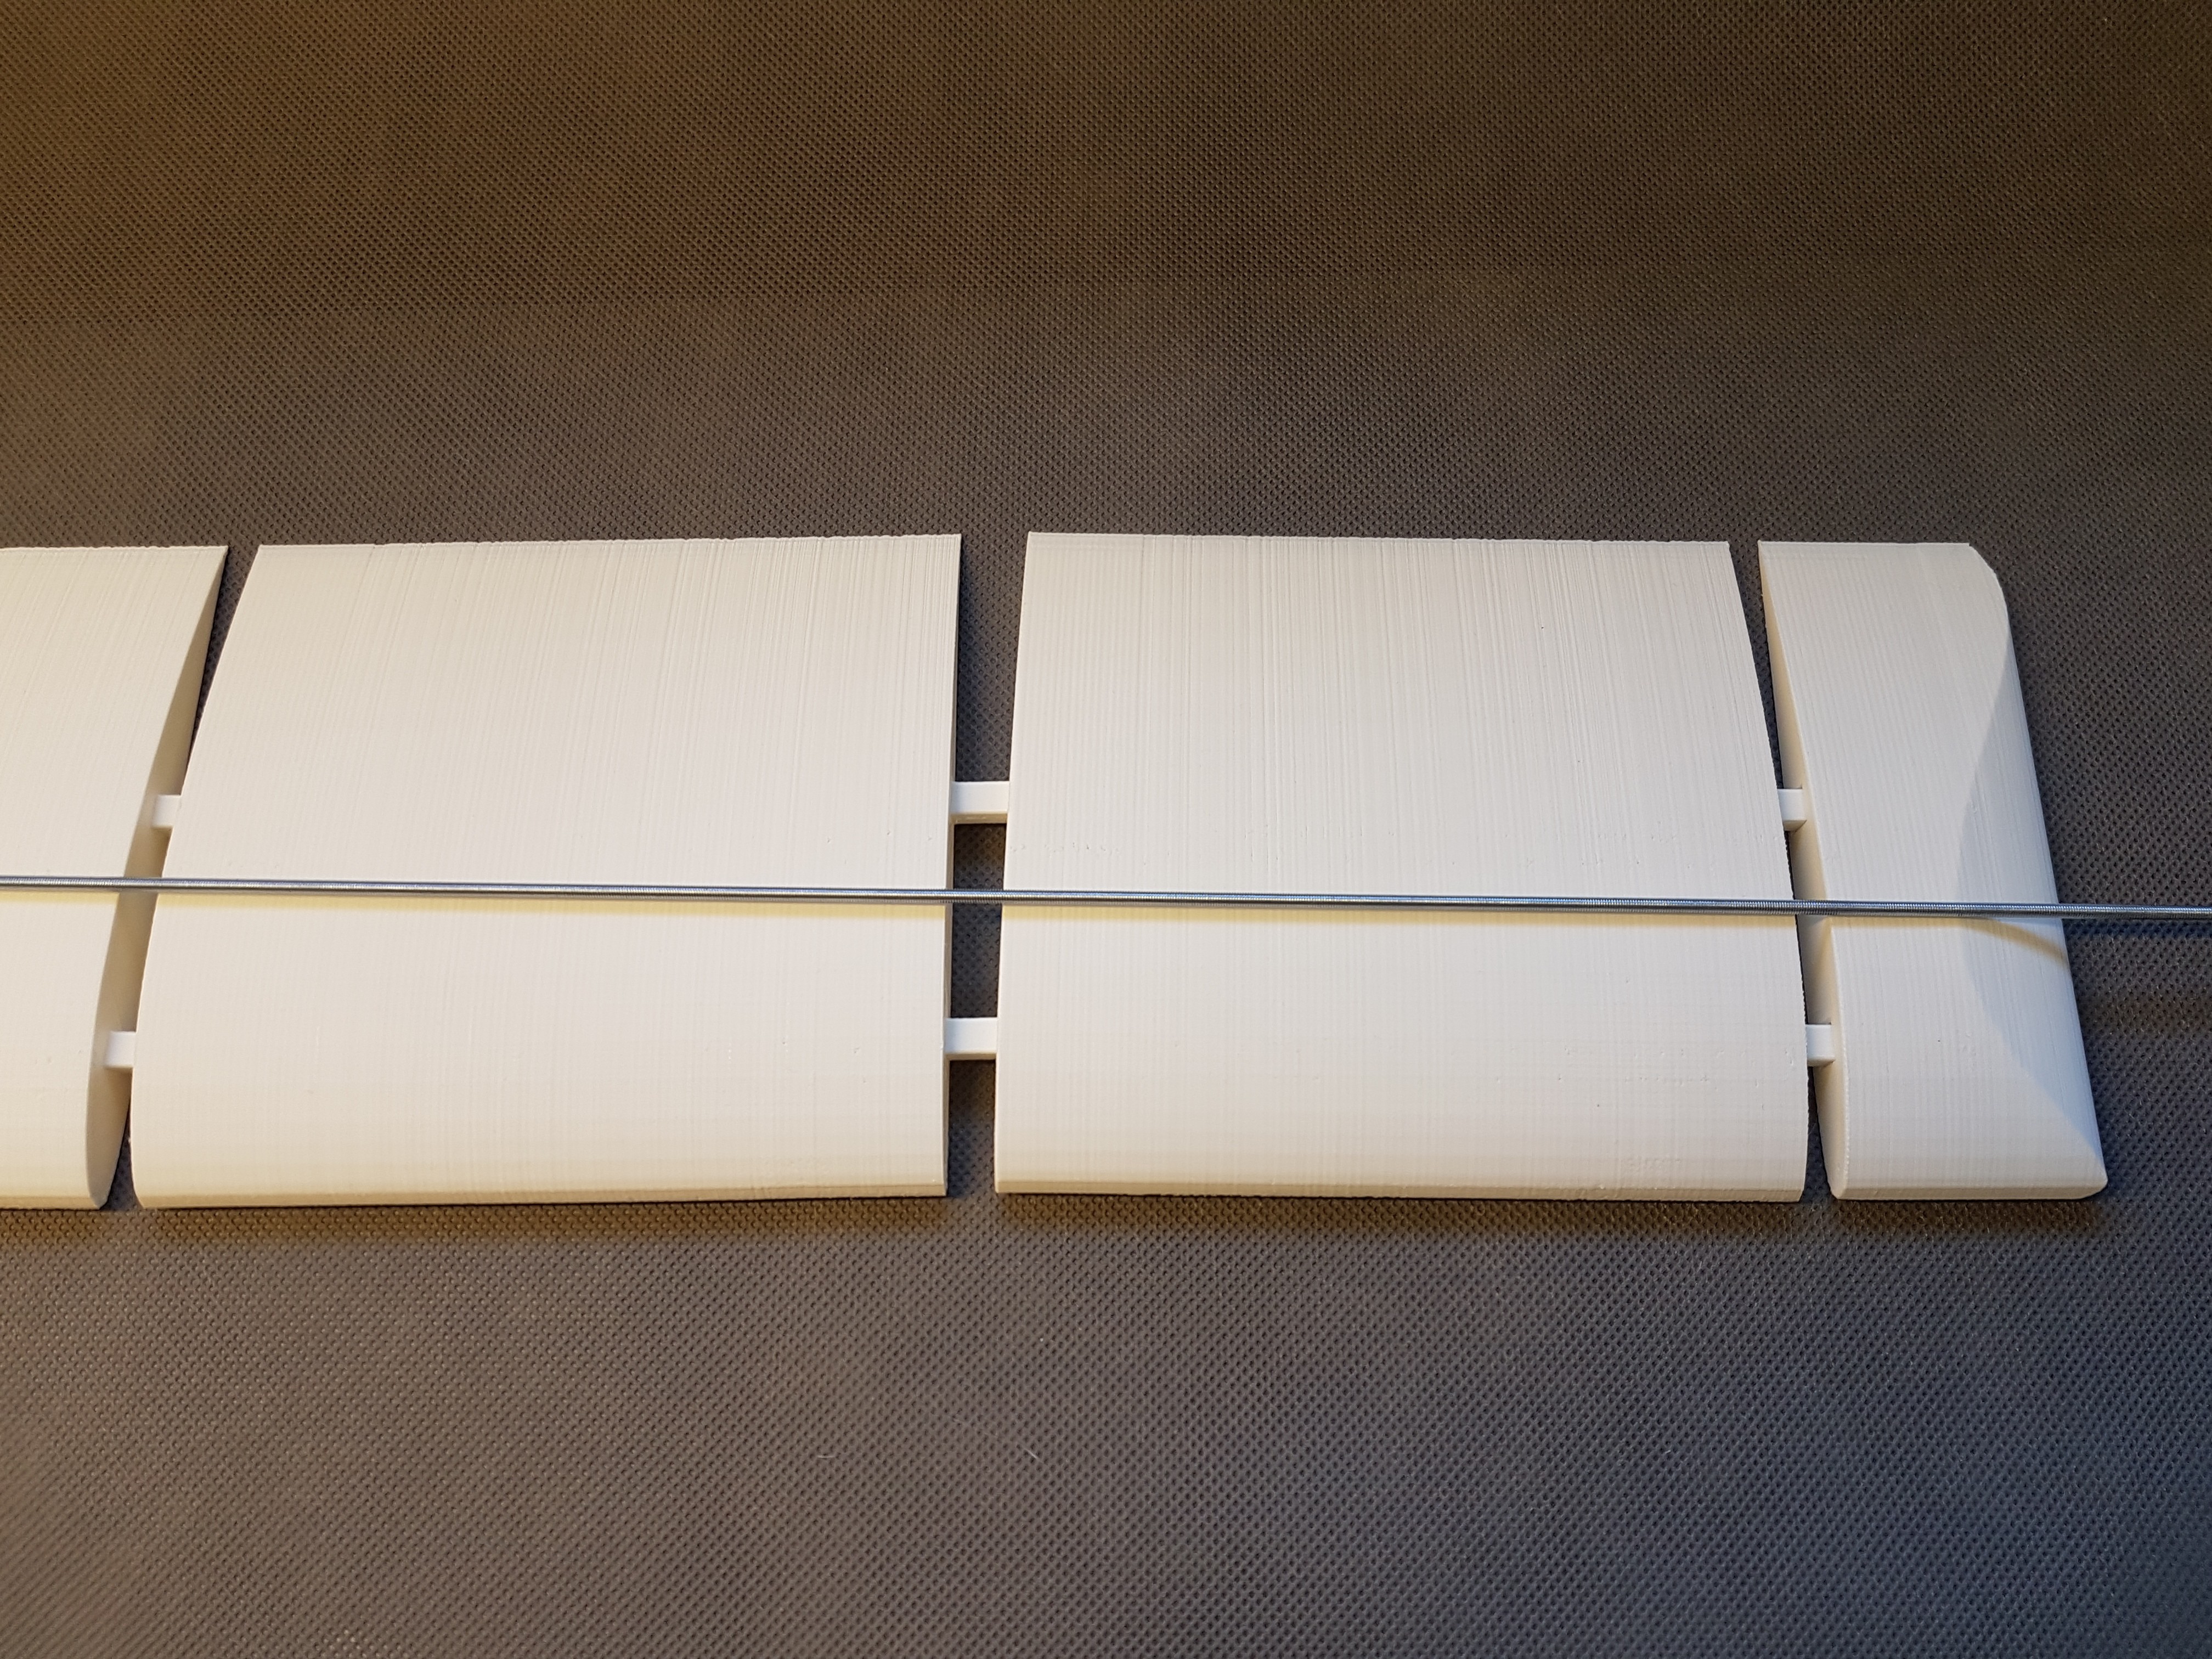
That's why I exchanged the two threaded rods for an aluminum profile. The individual elements of the wings remained almost unchanged. The wing was now clearly more stable.
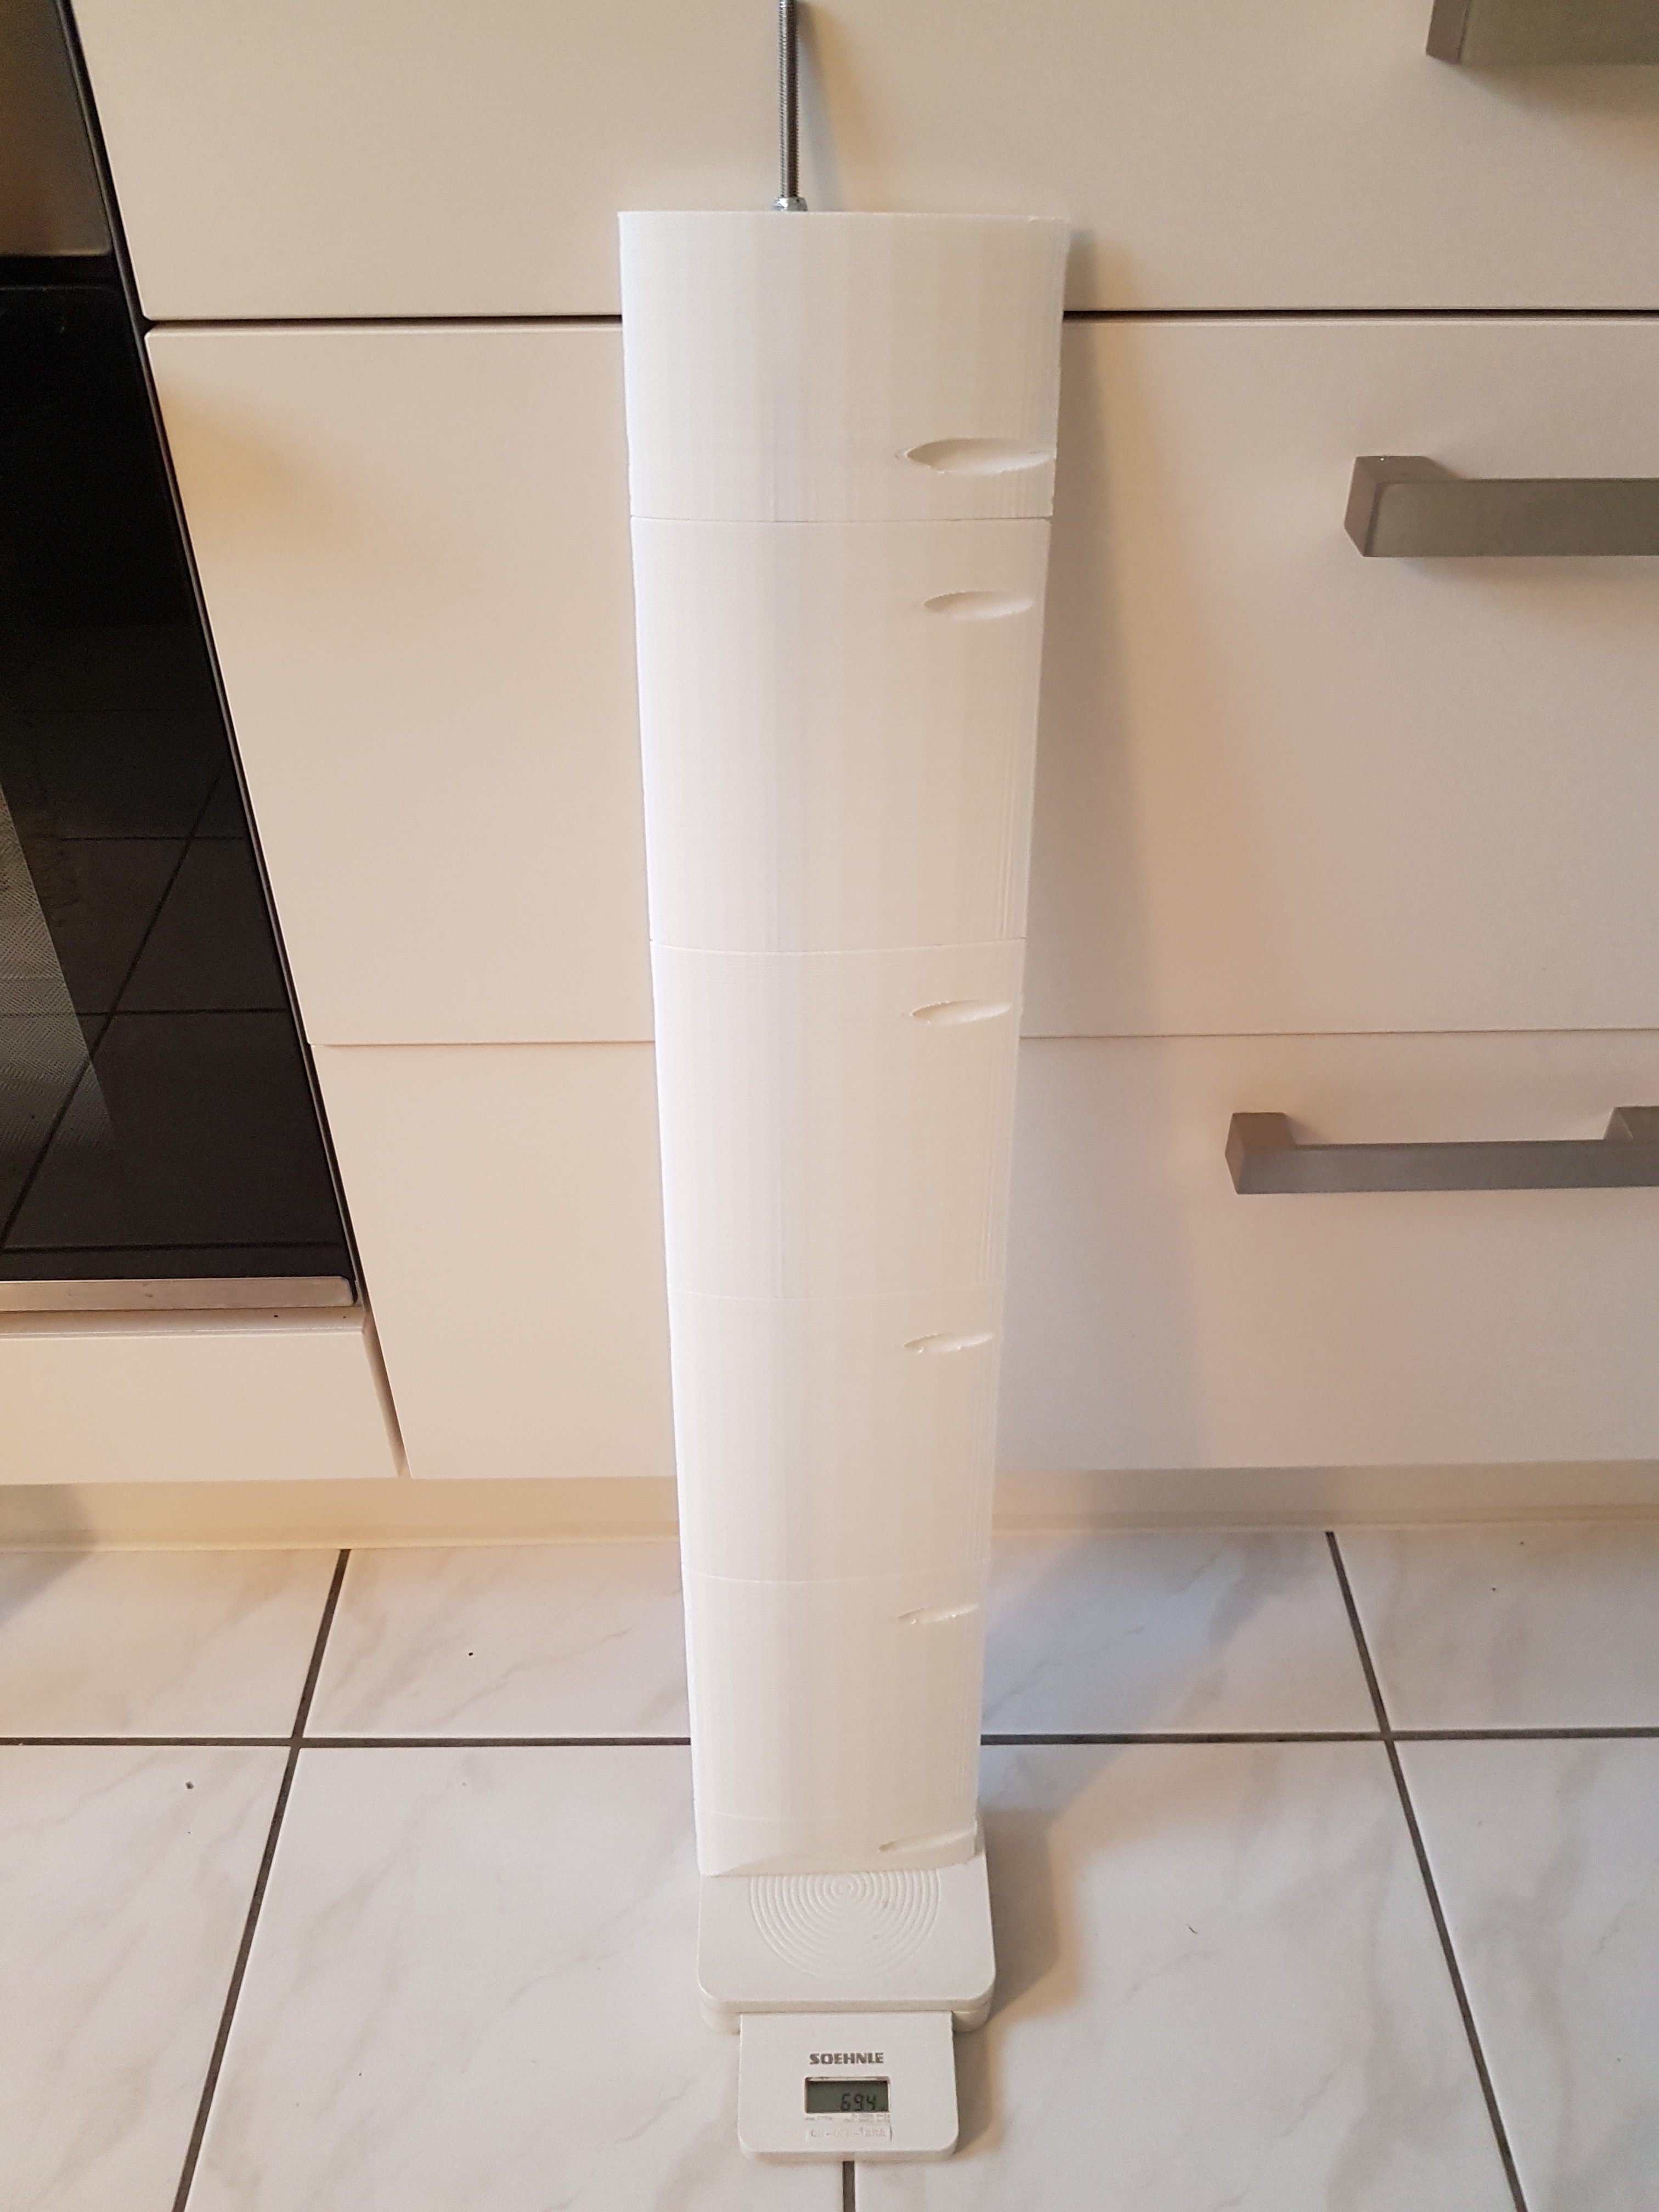
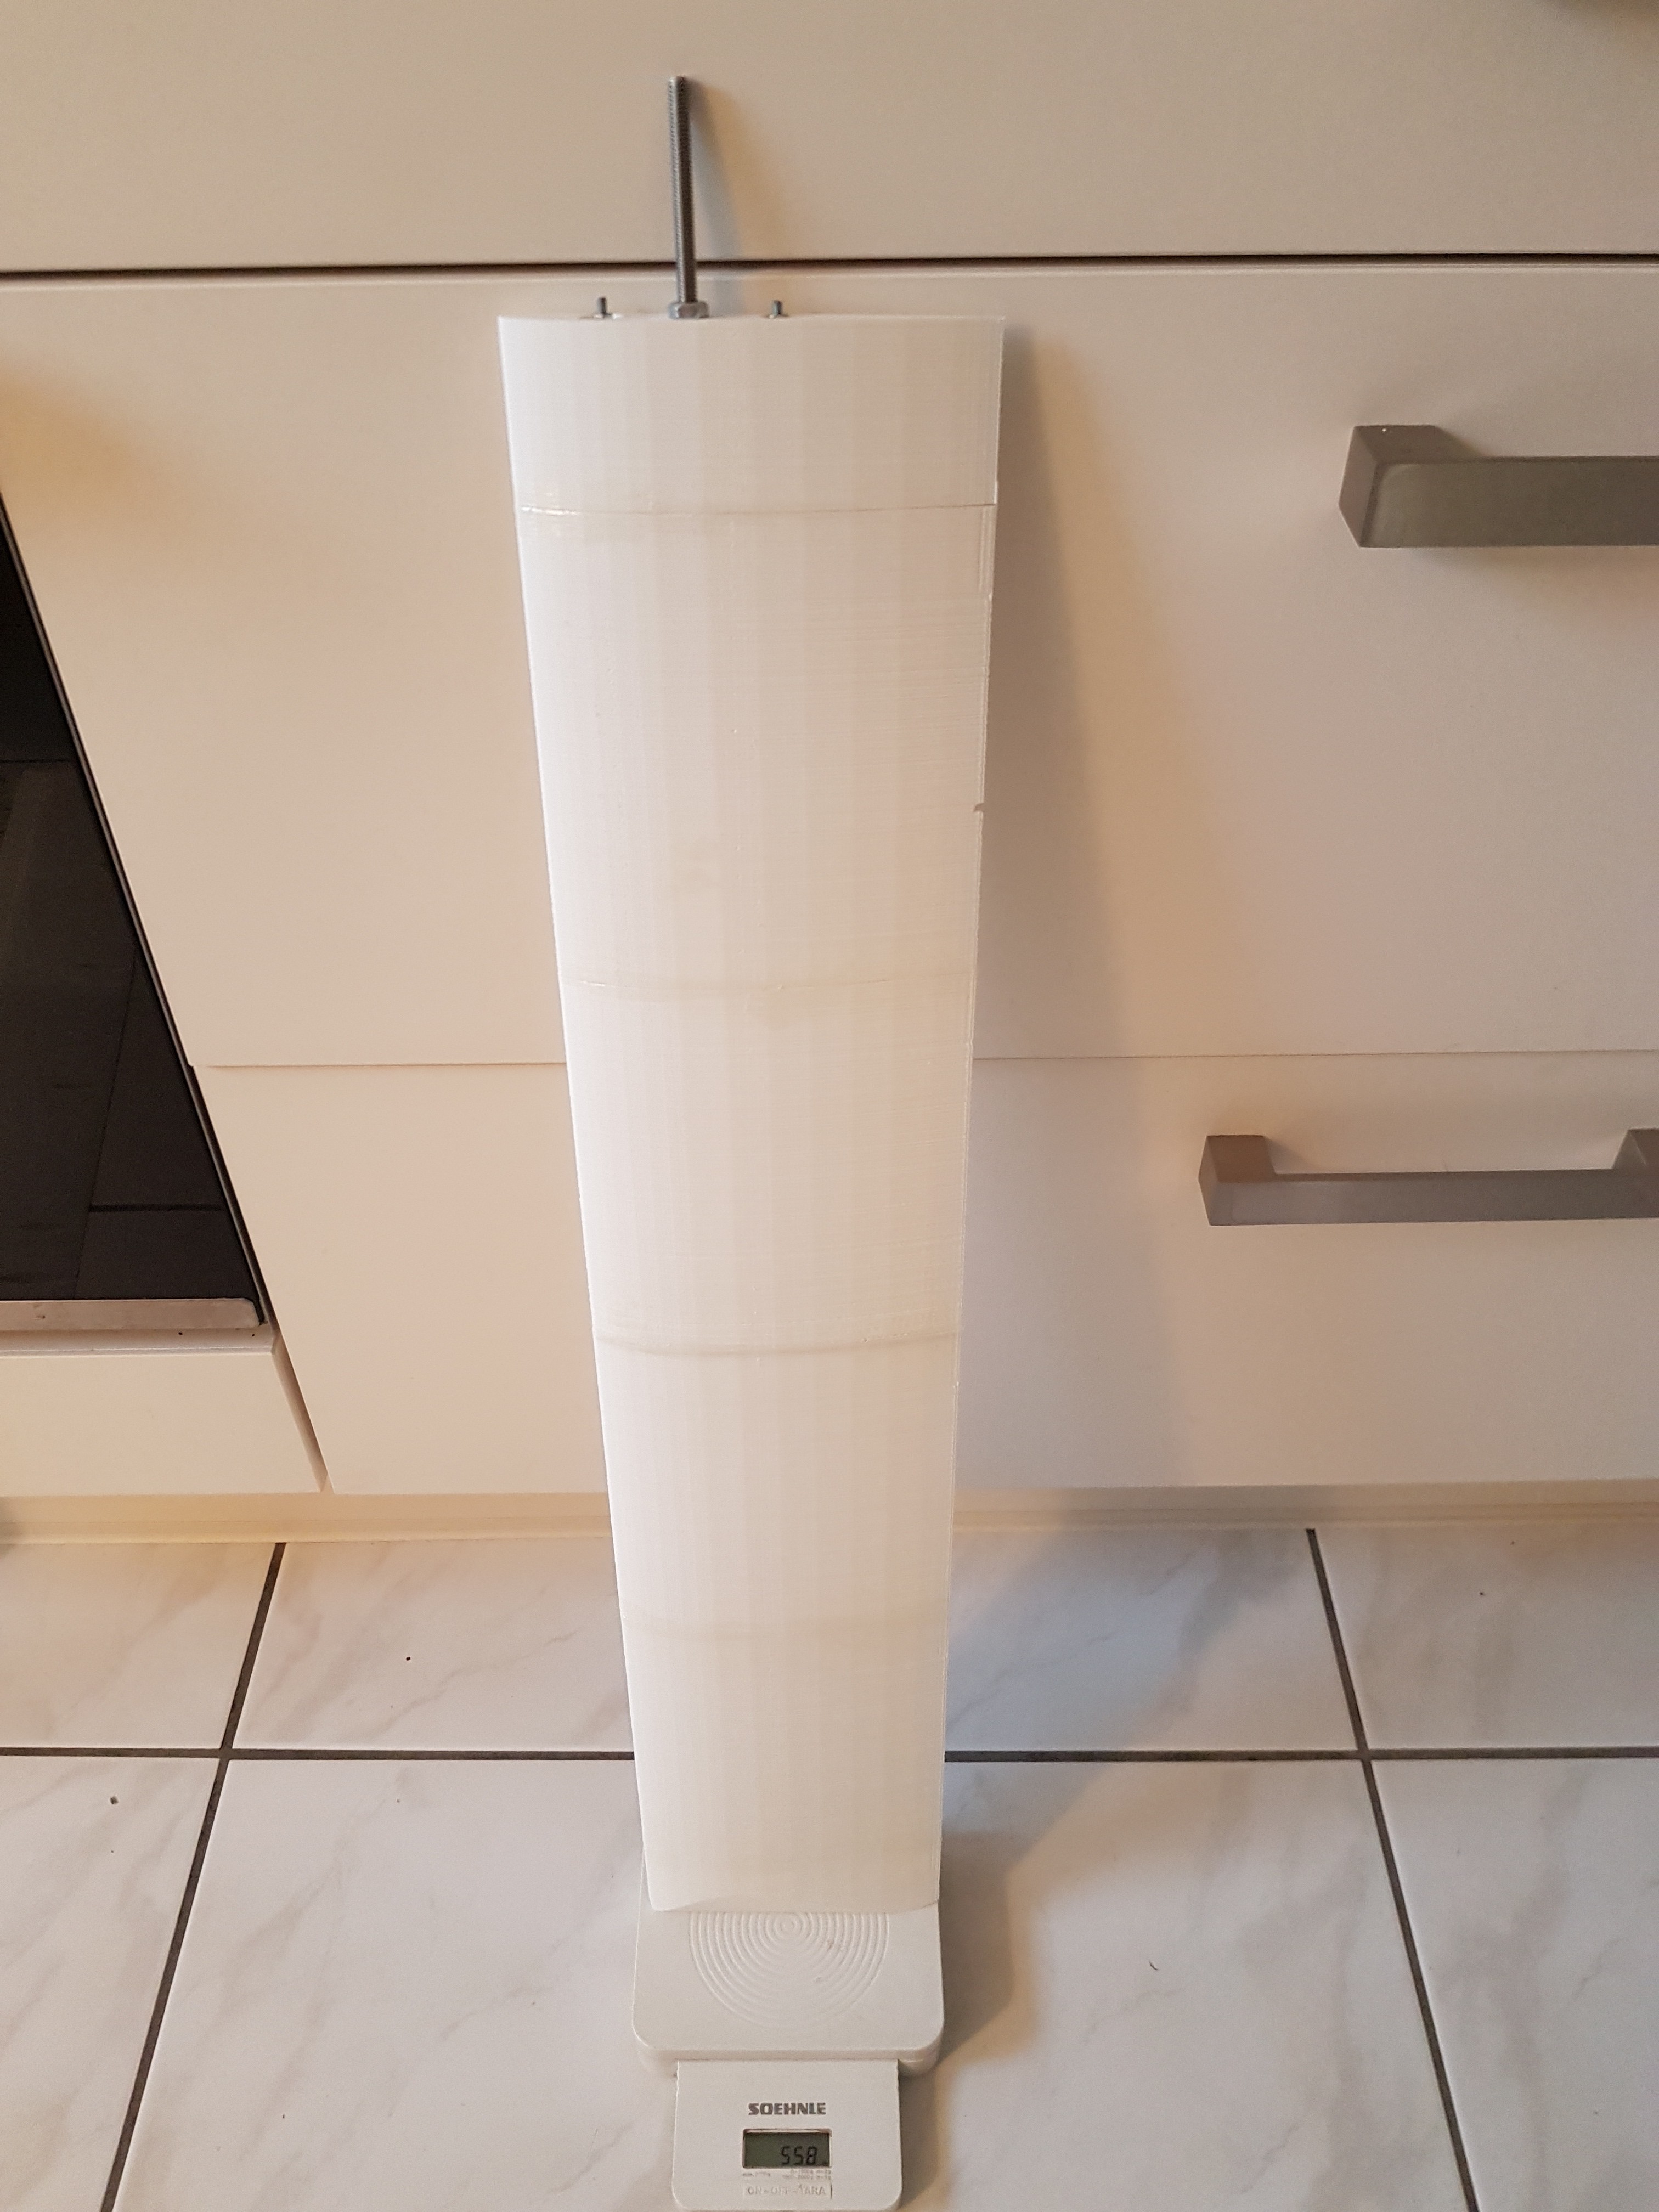
As you can see in the photos, I did a small (scientifically correct) load test with 1kg flour packages. In fact "Mark1" was more stable than I thought. At least he didn't break. However, he made alarming noises. In summary, "Mark2" clearly won this small casting. :)
Disadvantage: The aluminum profile increased the weight of the wing quite a bit. Now the whole wing weighed almost 700 grams, about 150 grams more than "Mark1". Since later three of them should hang on the hub of the turbine, including the mechanics of the pitch adjustment, this would be close to the 3 kg limit. But since there will definitely be a few unbalanced ones, I actually wanted to keep this "rotating mass" as small as possible.
In addition, I noticed that in combination with the (meanwhile created) prototype for the hub of WinDIY there was no possibility to separate the wings from the hub without completely disassembling the entire hub. Actually, I wanted to design the wings to be easily interchangeable. So you could easily remove or replace the wings for transport and repair. :)
Small teaser: There may still be a Mark3. : D
![]()
![]()
![]()
![]()
![]()
Above picture shows the cracking slit between the parts of "Mark1" during the load test. :/
![]()
![]()
![]()
![]()
-
First prototype of the stator for the "Nerdiskerator"
06/11/2020 at 10:51 • 0 commentsI decided to document the "Nerdiskerator" in a separate project log. I think that way you can keep a better overview of the respective projects. :)
Please see the Project log here: https://hackaday.io/project/172445-nerdiskerator-a-3d-printed-disk-generator
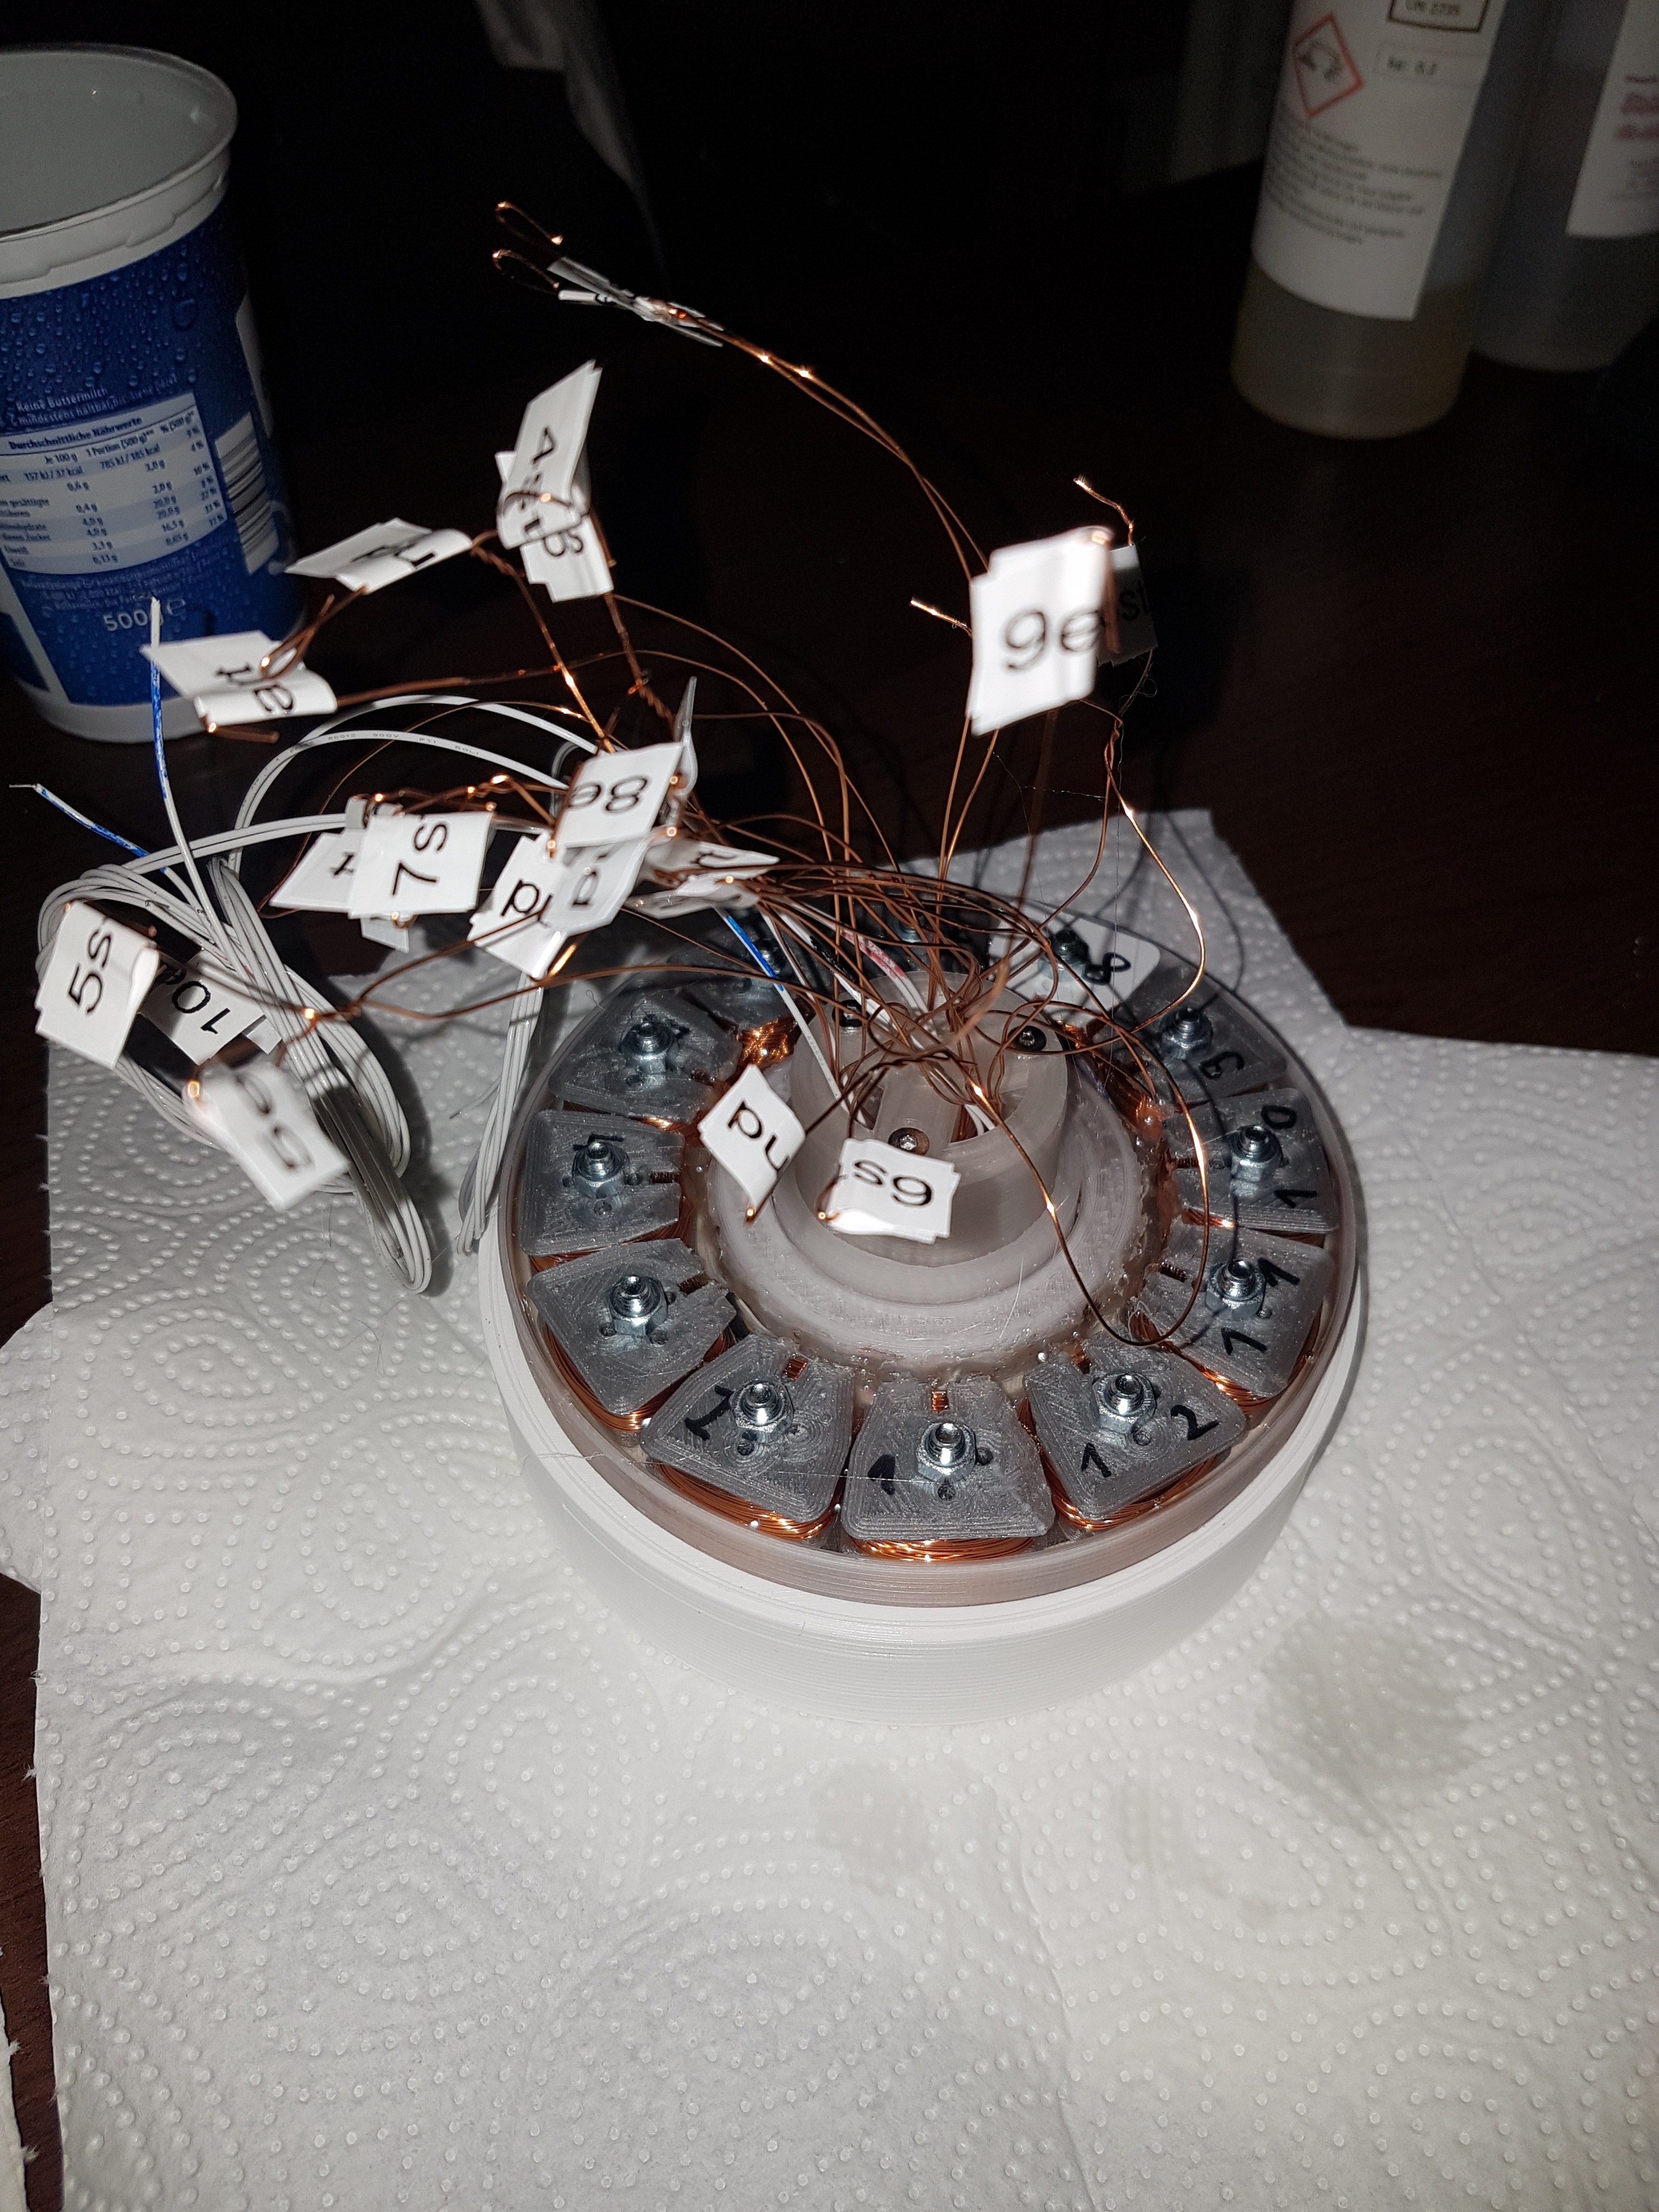
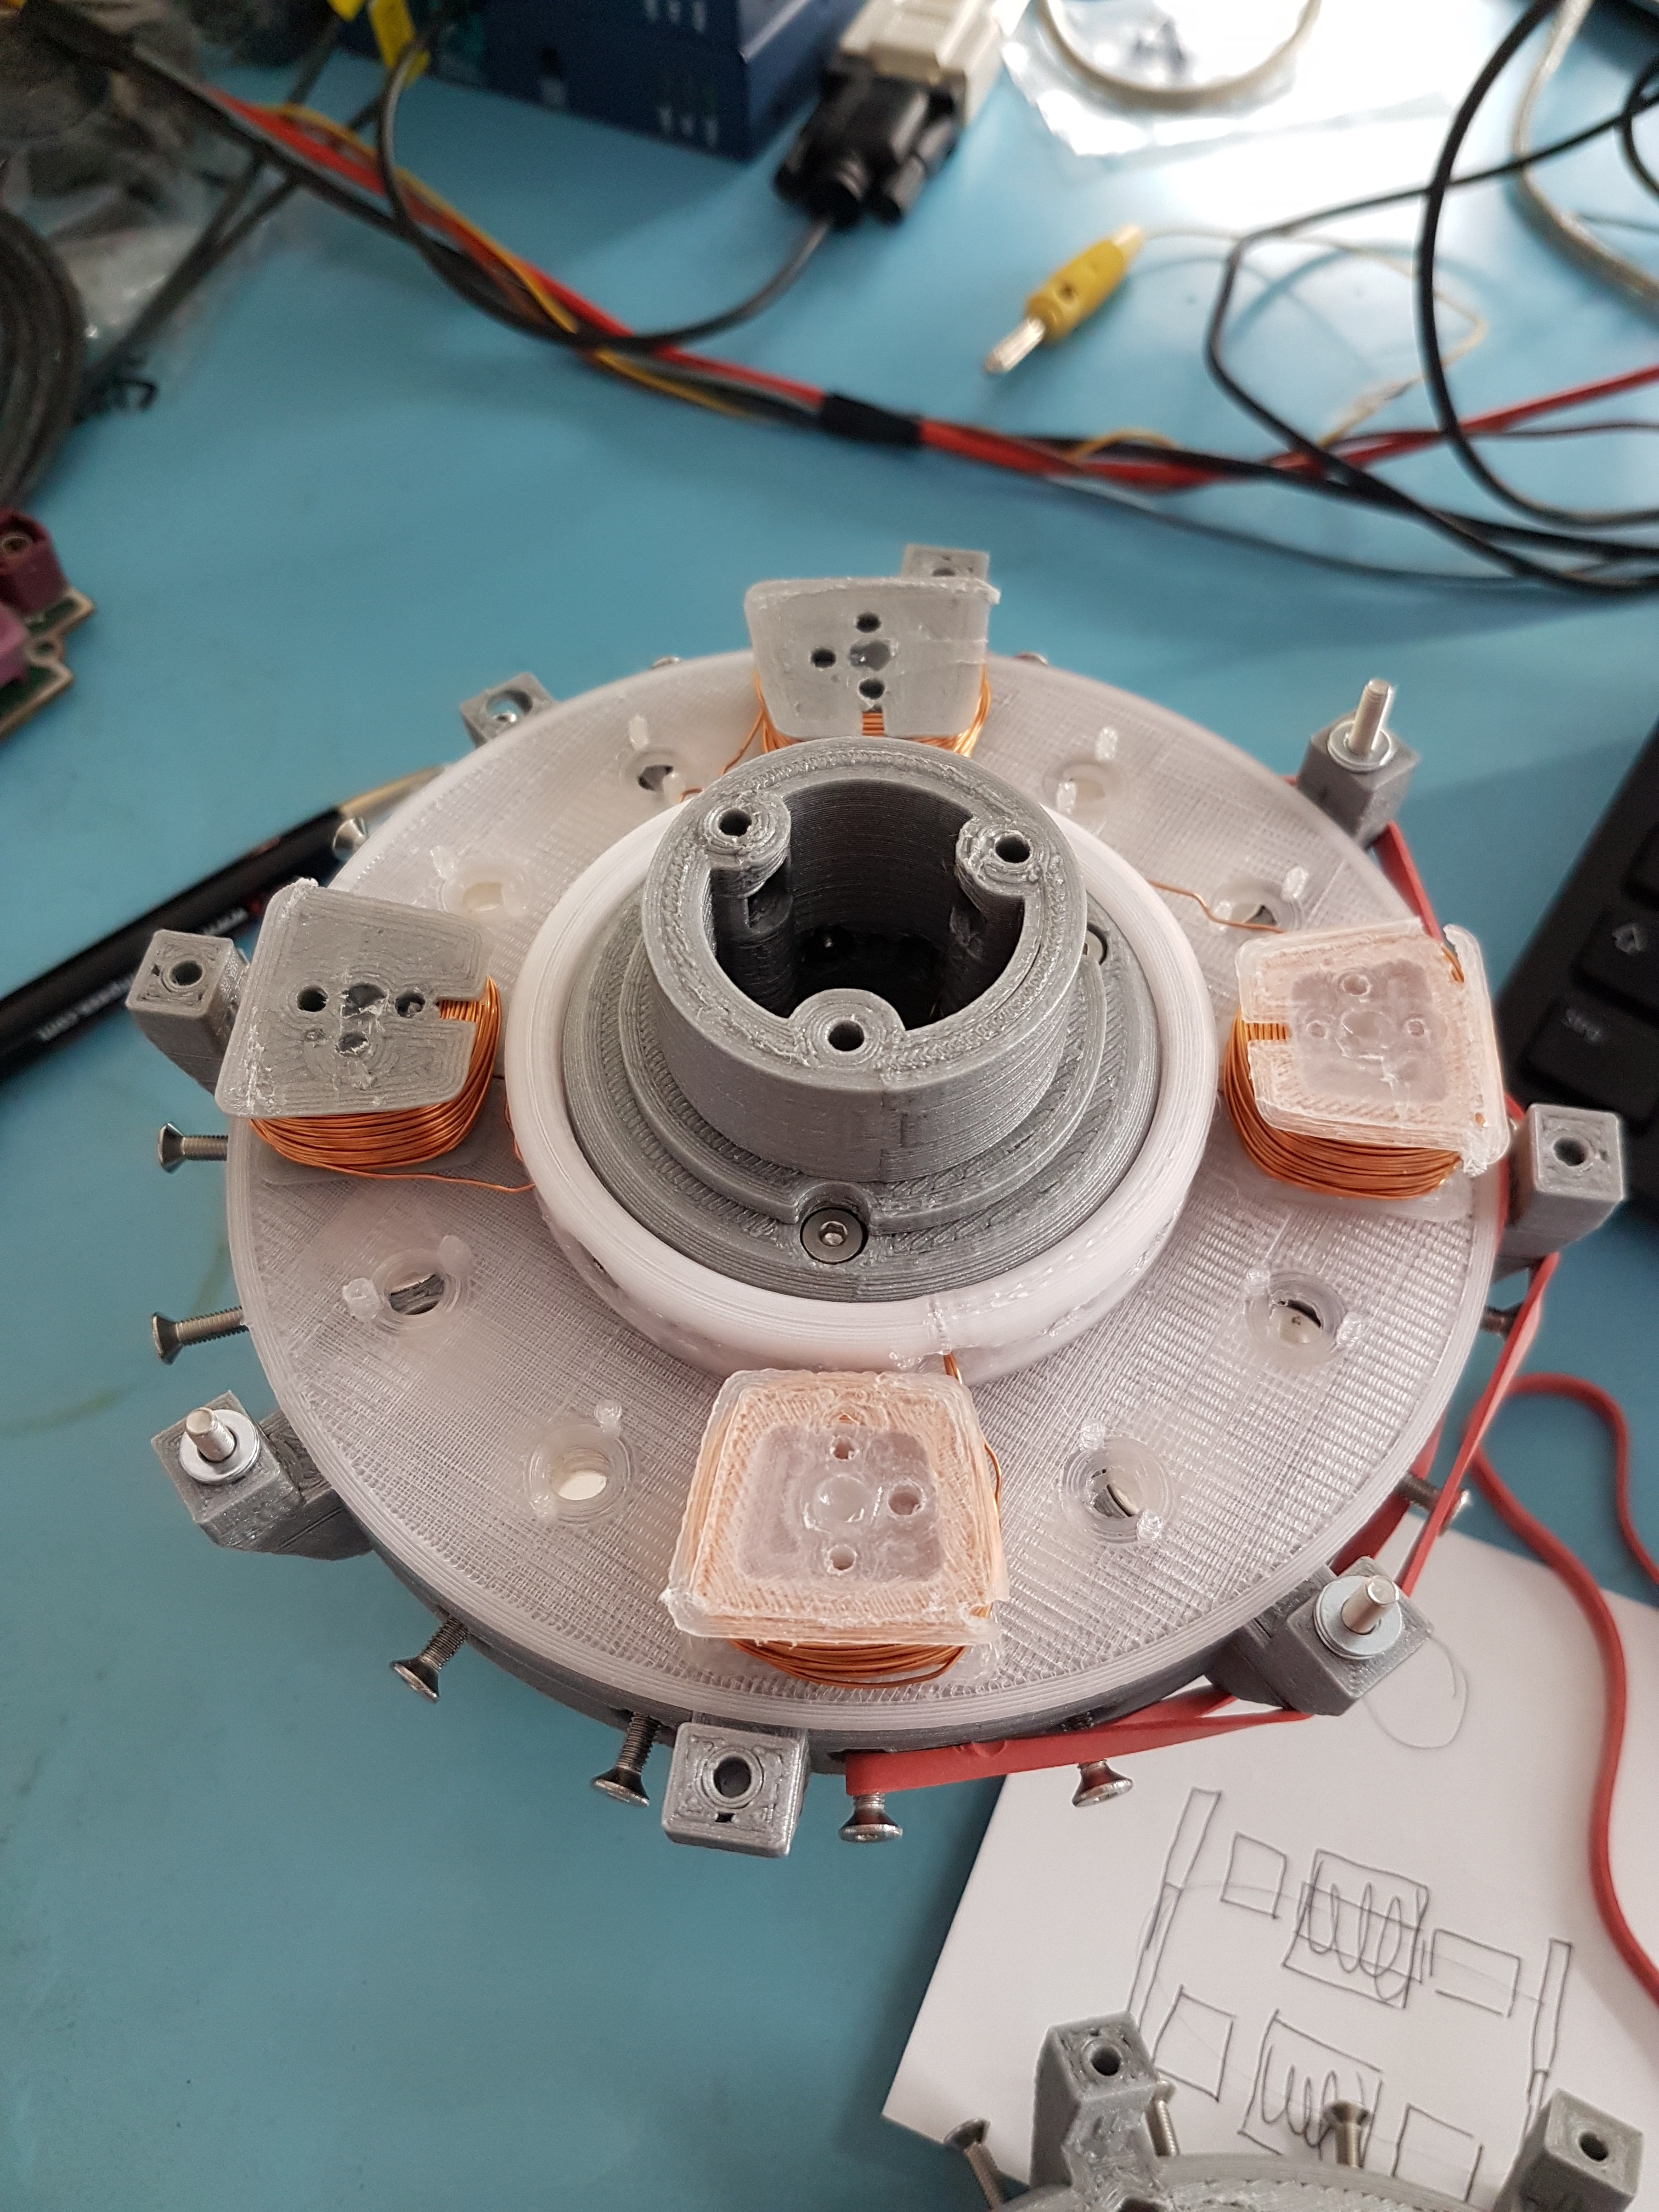
Unfortunately I don't have that many photos from the first construction of the stator for the "Nerdiskerator". (I will add new ones as soon as I have built the second version) Back then, when I cast epoxy into the coils in the stator, I worked with epoxy for the third time in my life. That's what my table looked like, and especially my hands and gloves. So I didn't want to touch my camera so much. : DIn the photo you can see the twelve wound coil cores, which were cast with epoxy in the stator shell. So that they stayed in place for the time of assembly, I first fixed each coil with a screw.
These screw holes could also be used later to expand the generator coils with an iron core. However, because of the resulting strong cogging torques (the magnets of the rotor always turn over the coil cores) I wouldn't use these iron cores at WinDIY.
But if you later want to use the "Nerdiskerator", for example in combination with a water turbine (which should have significantly more initial torque), you could increase the energy yield with the help of the iron cores. :)In the video you can see the first tentative turns of the "Nerdiskerator" prototype. the two rotor disks are each held by a ball bearing.
![]()
-
Coil cores for the "Nerdiskerator"
06/11/2020 at 10:07 • 0 commentsI decided to document the "Nerdiskerator" in a separate project log. I think that way you can keep a better overview of the respective projects. :)
Please see the Project log here: https://hackaday.io/project/172445-nerdiskerator-a-3d-printed-disk-generator
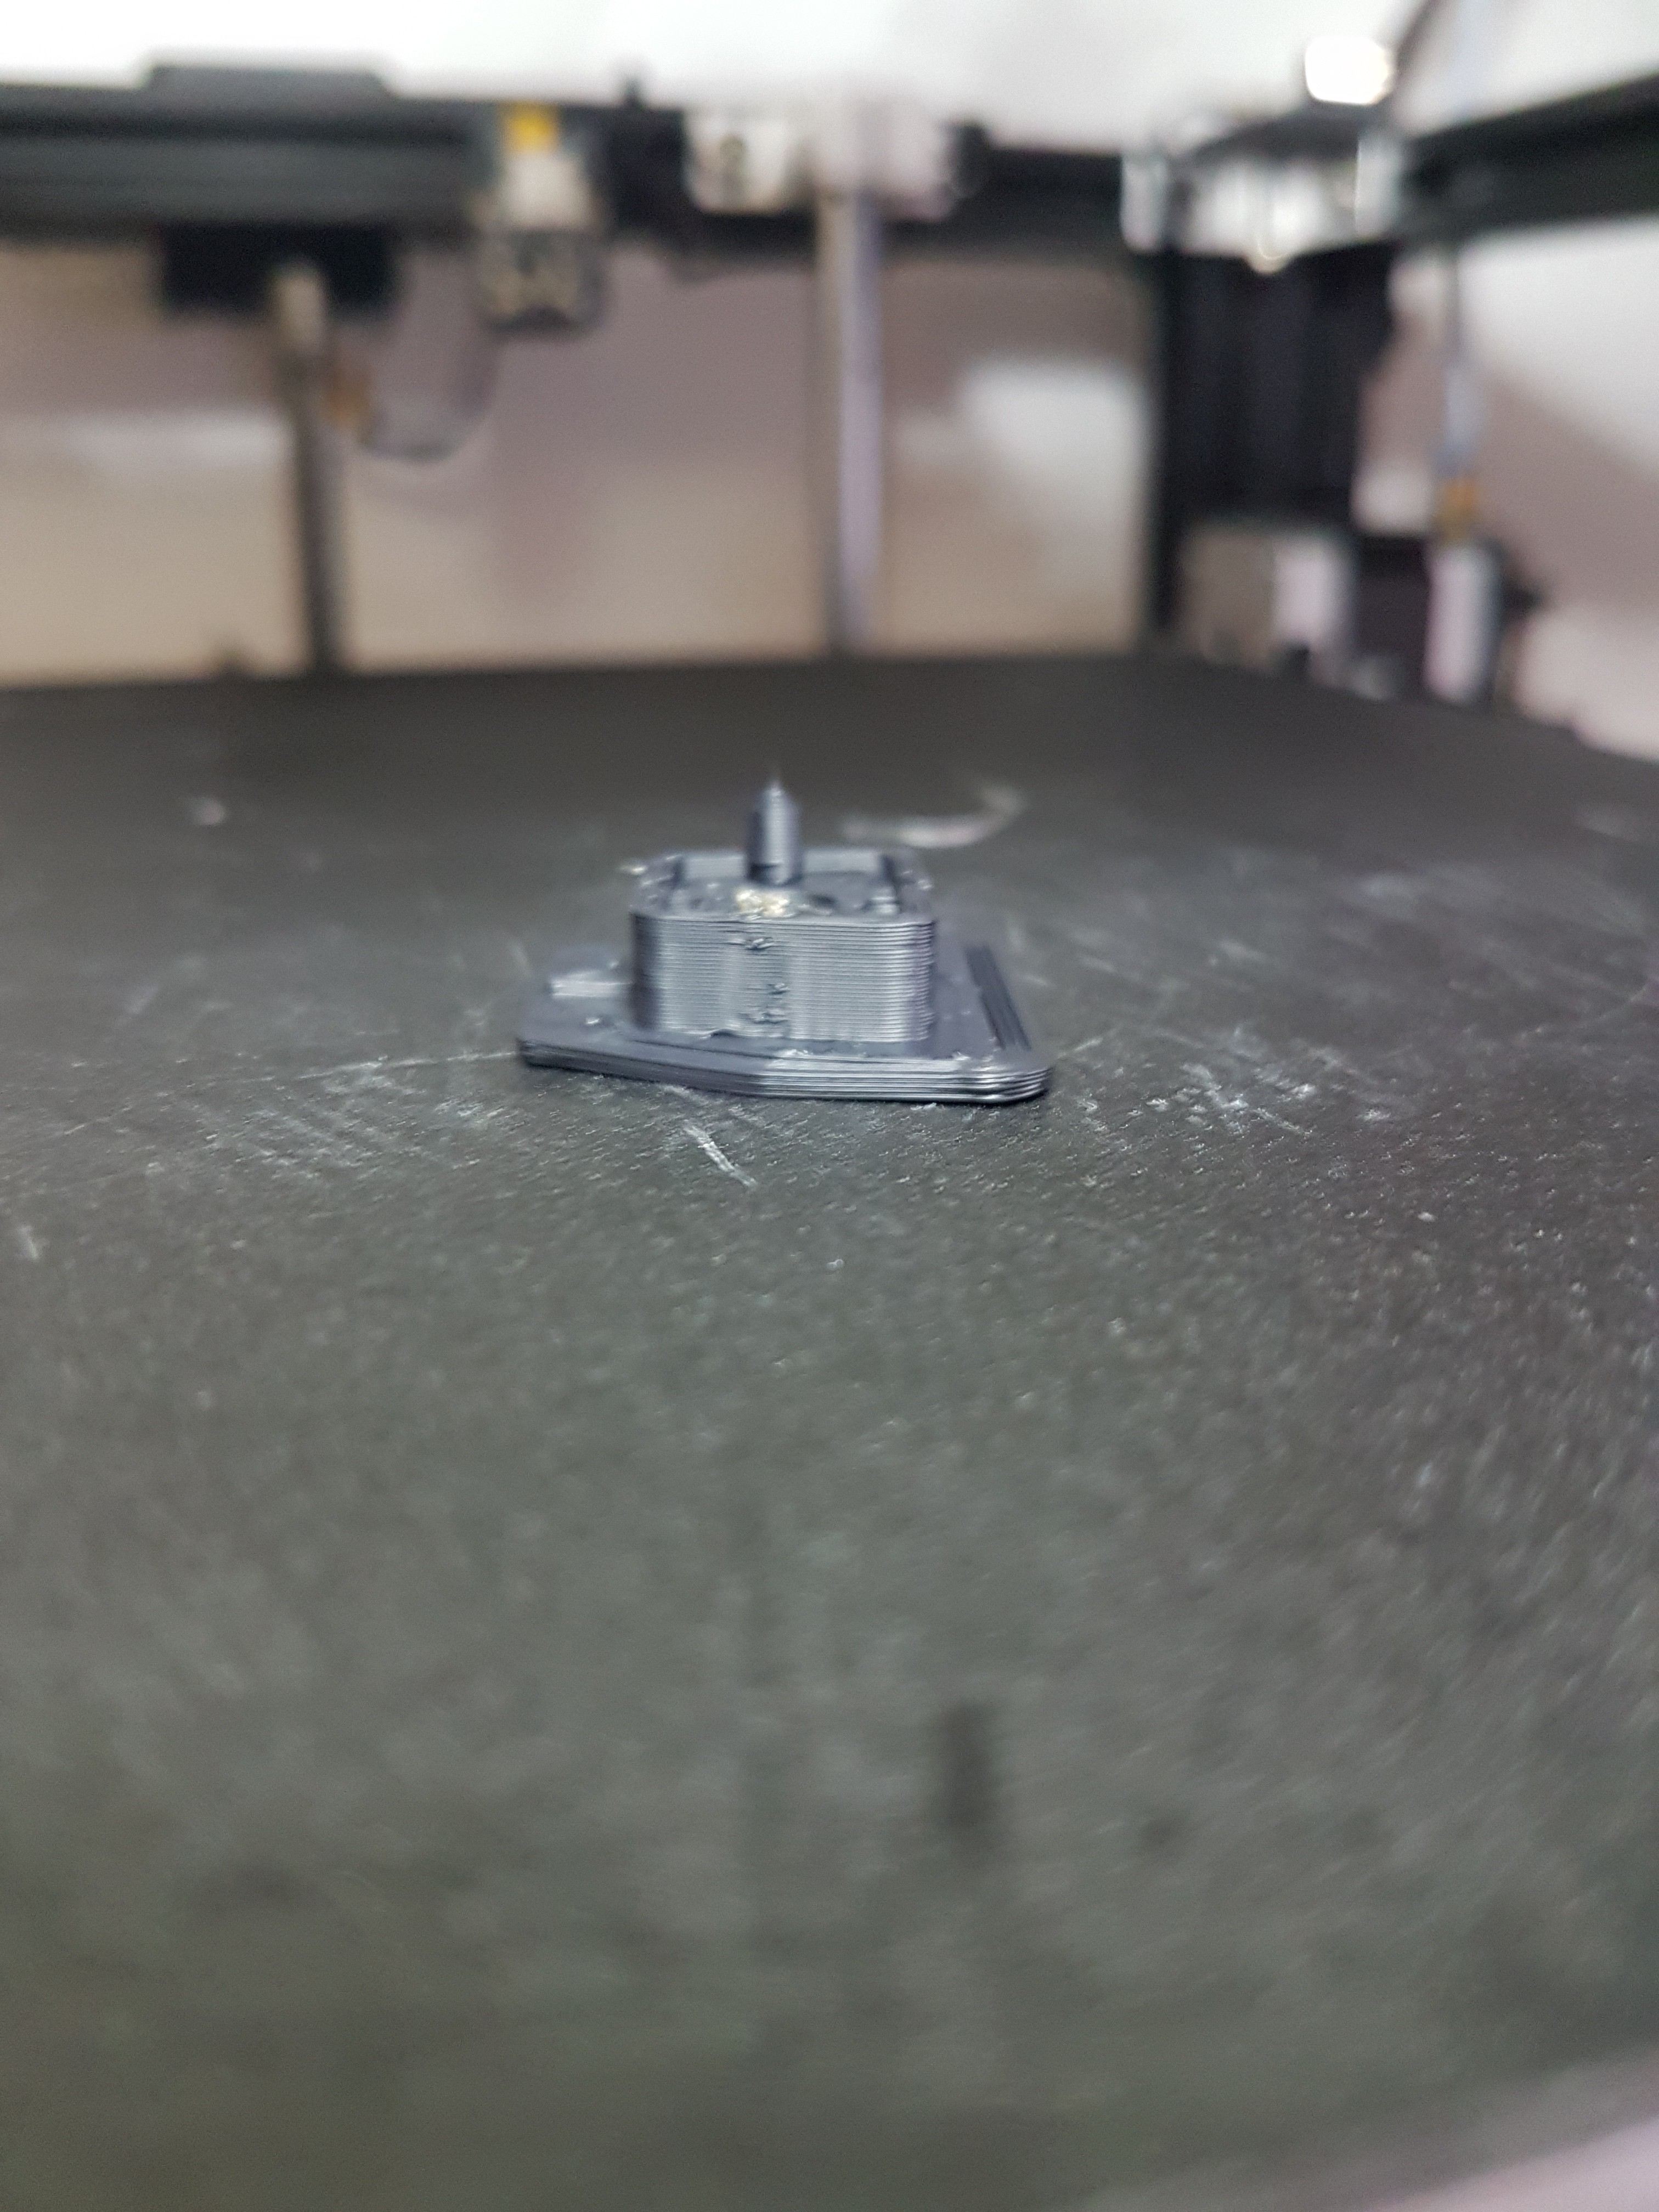
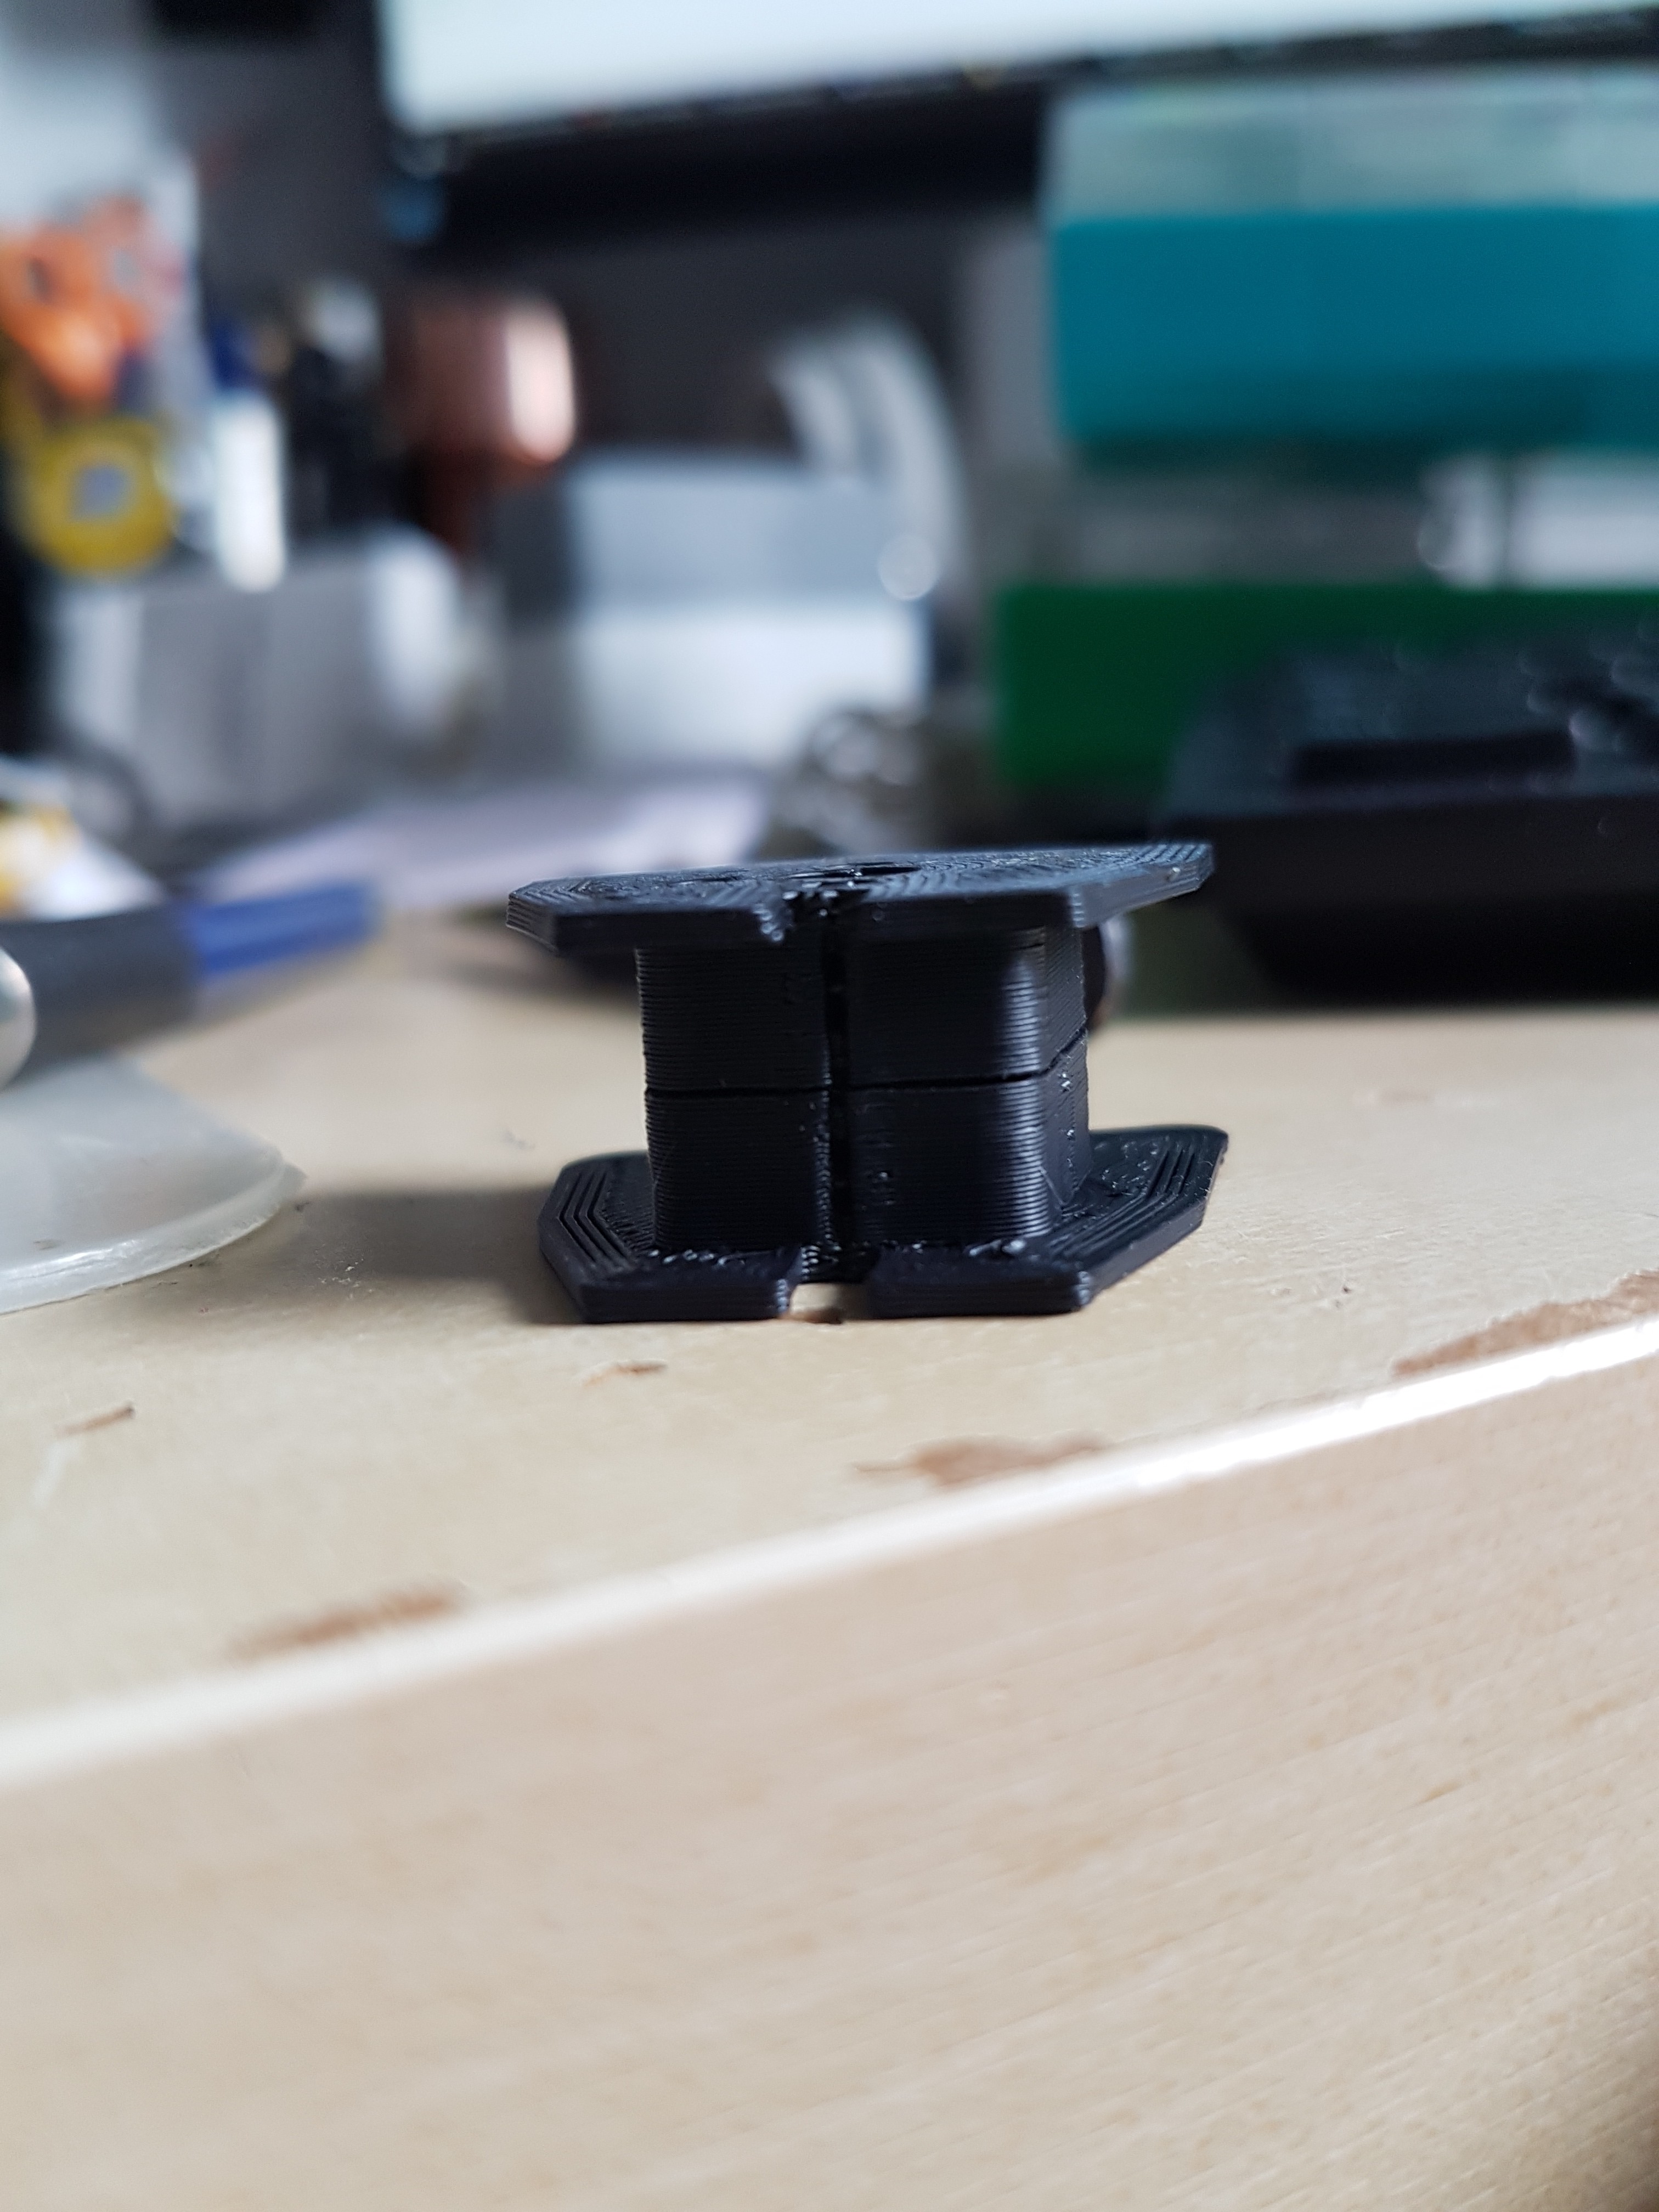
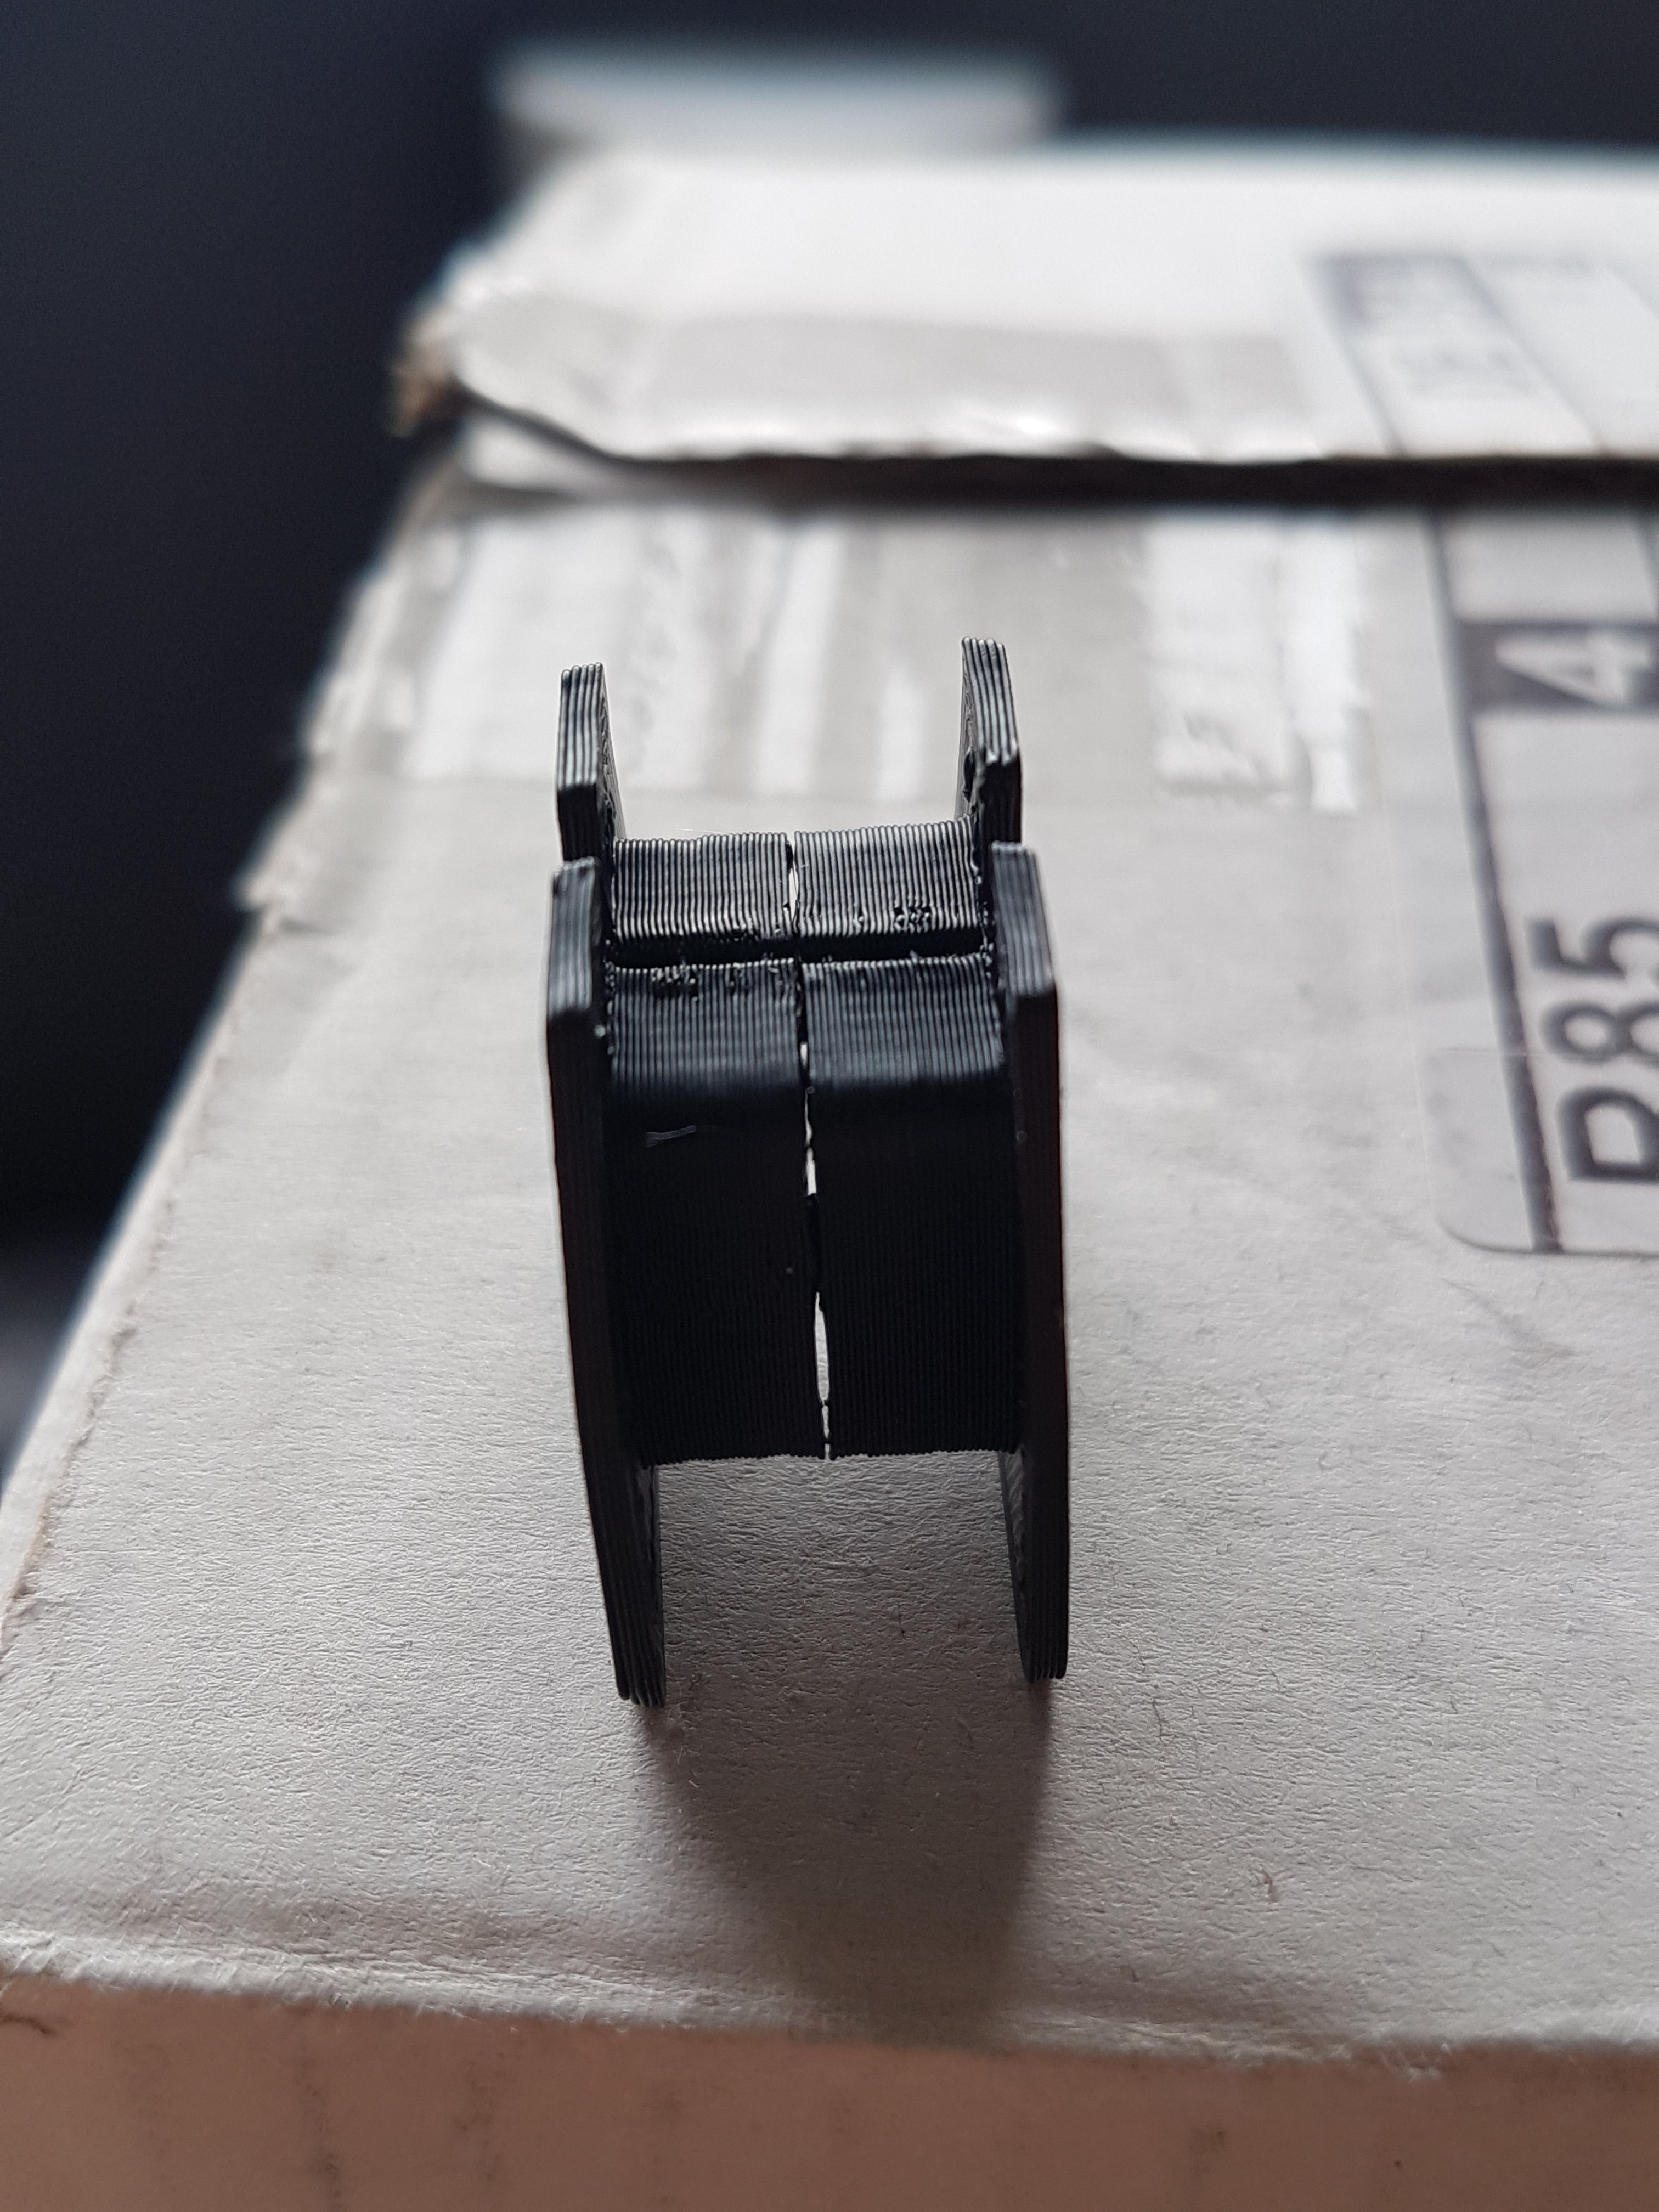
With the coil cores for the "Nerdiskerator", I struggled a bit with the disadvantages of FDM printers with overhanging structures. Because even with support material, the overhanging structures were never so precise. That's why I finally decided to produce the coil cores from two individually printed halves. These are put together after printing and temporarily held together with some adhesive. Since they are later cast with some epoxy in the sator, the adhesive only has to hold the two halves together up to this point. But more on that later. :)At filament, I experimented with ASA filament for the first time. I usually print with PLA. However, I am afraid that with higher power the temperature in the coils could rise and thus deform the PLA. To prevent this, I want to use the ASA filament for the coil cores and maybe also for the stator.
Thanks to the significantly higher melting temperature and the generally higher strength, this should prevent the stator from deforming at higher powers.In order to be able to monitor this during operation, three additional NTCs for temperature monitoring are cast between the coils in the stator. :)
![]()
![]()
![]()
-
Birth of the "WinDIYingThing" to make the coils for the "Nerdiskerator"
06/10/2020 at 18:58 • 0 commentsI decided to document the "WinDIYingThing" in a separate project log. I think that way you can keep a better overview of the respective projects. :)
Please see the Project log here: https://hackaday.io/project/172442-windiyingthing-automatic-coil-winder
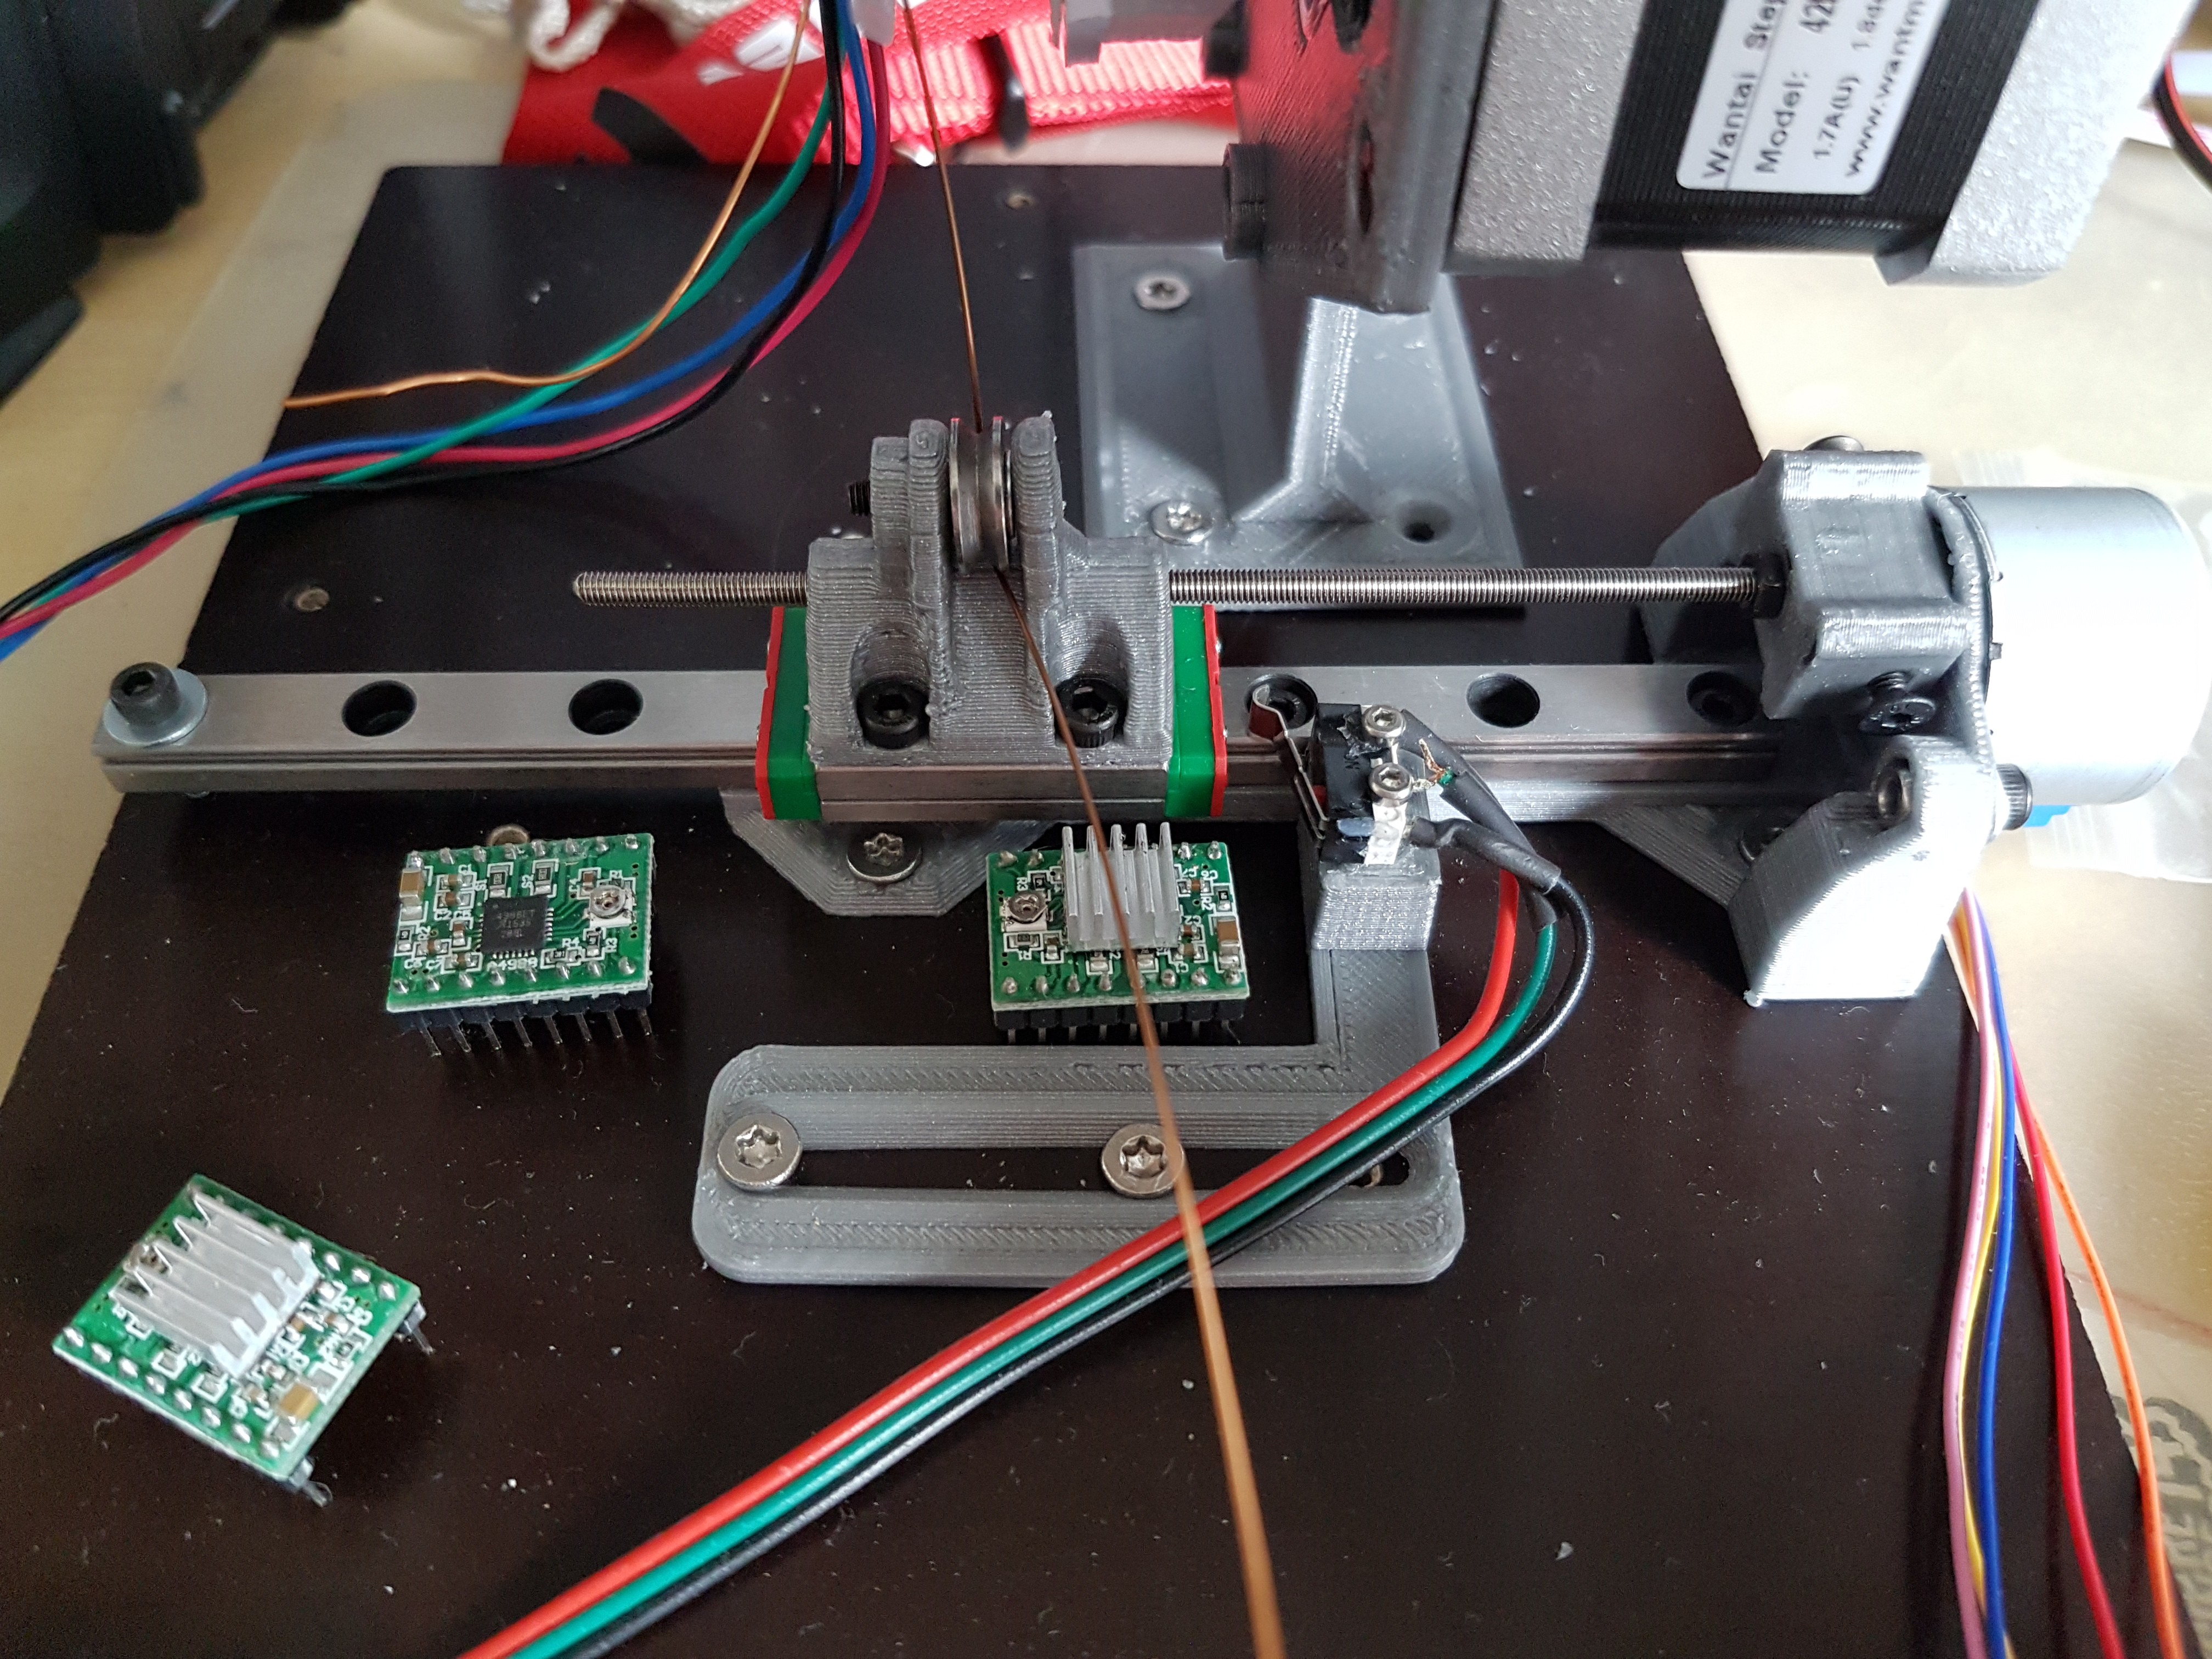
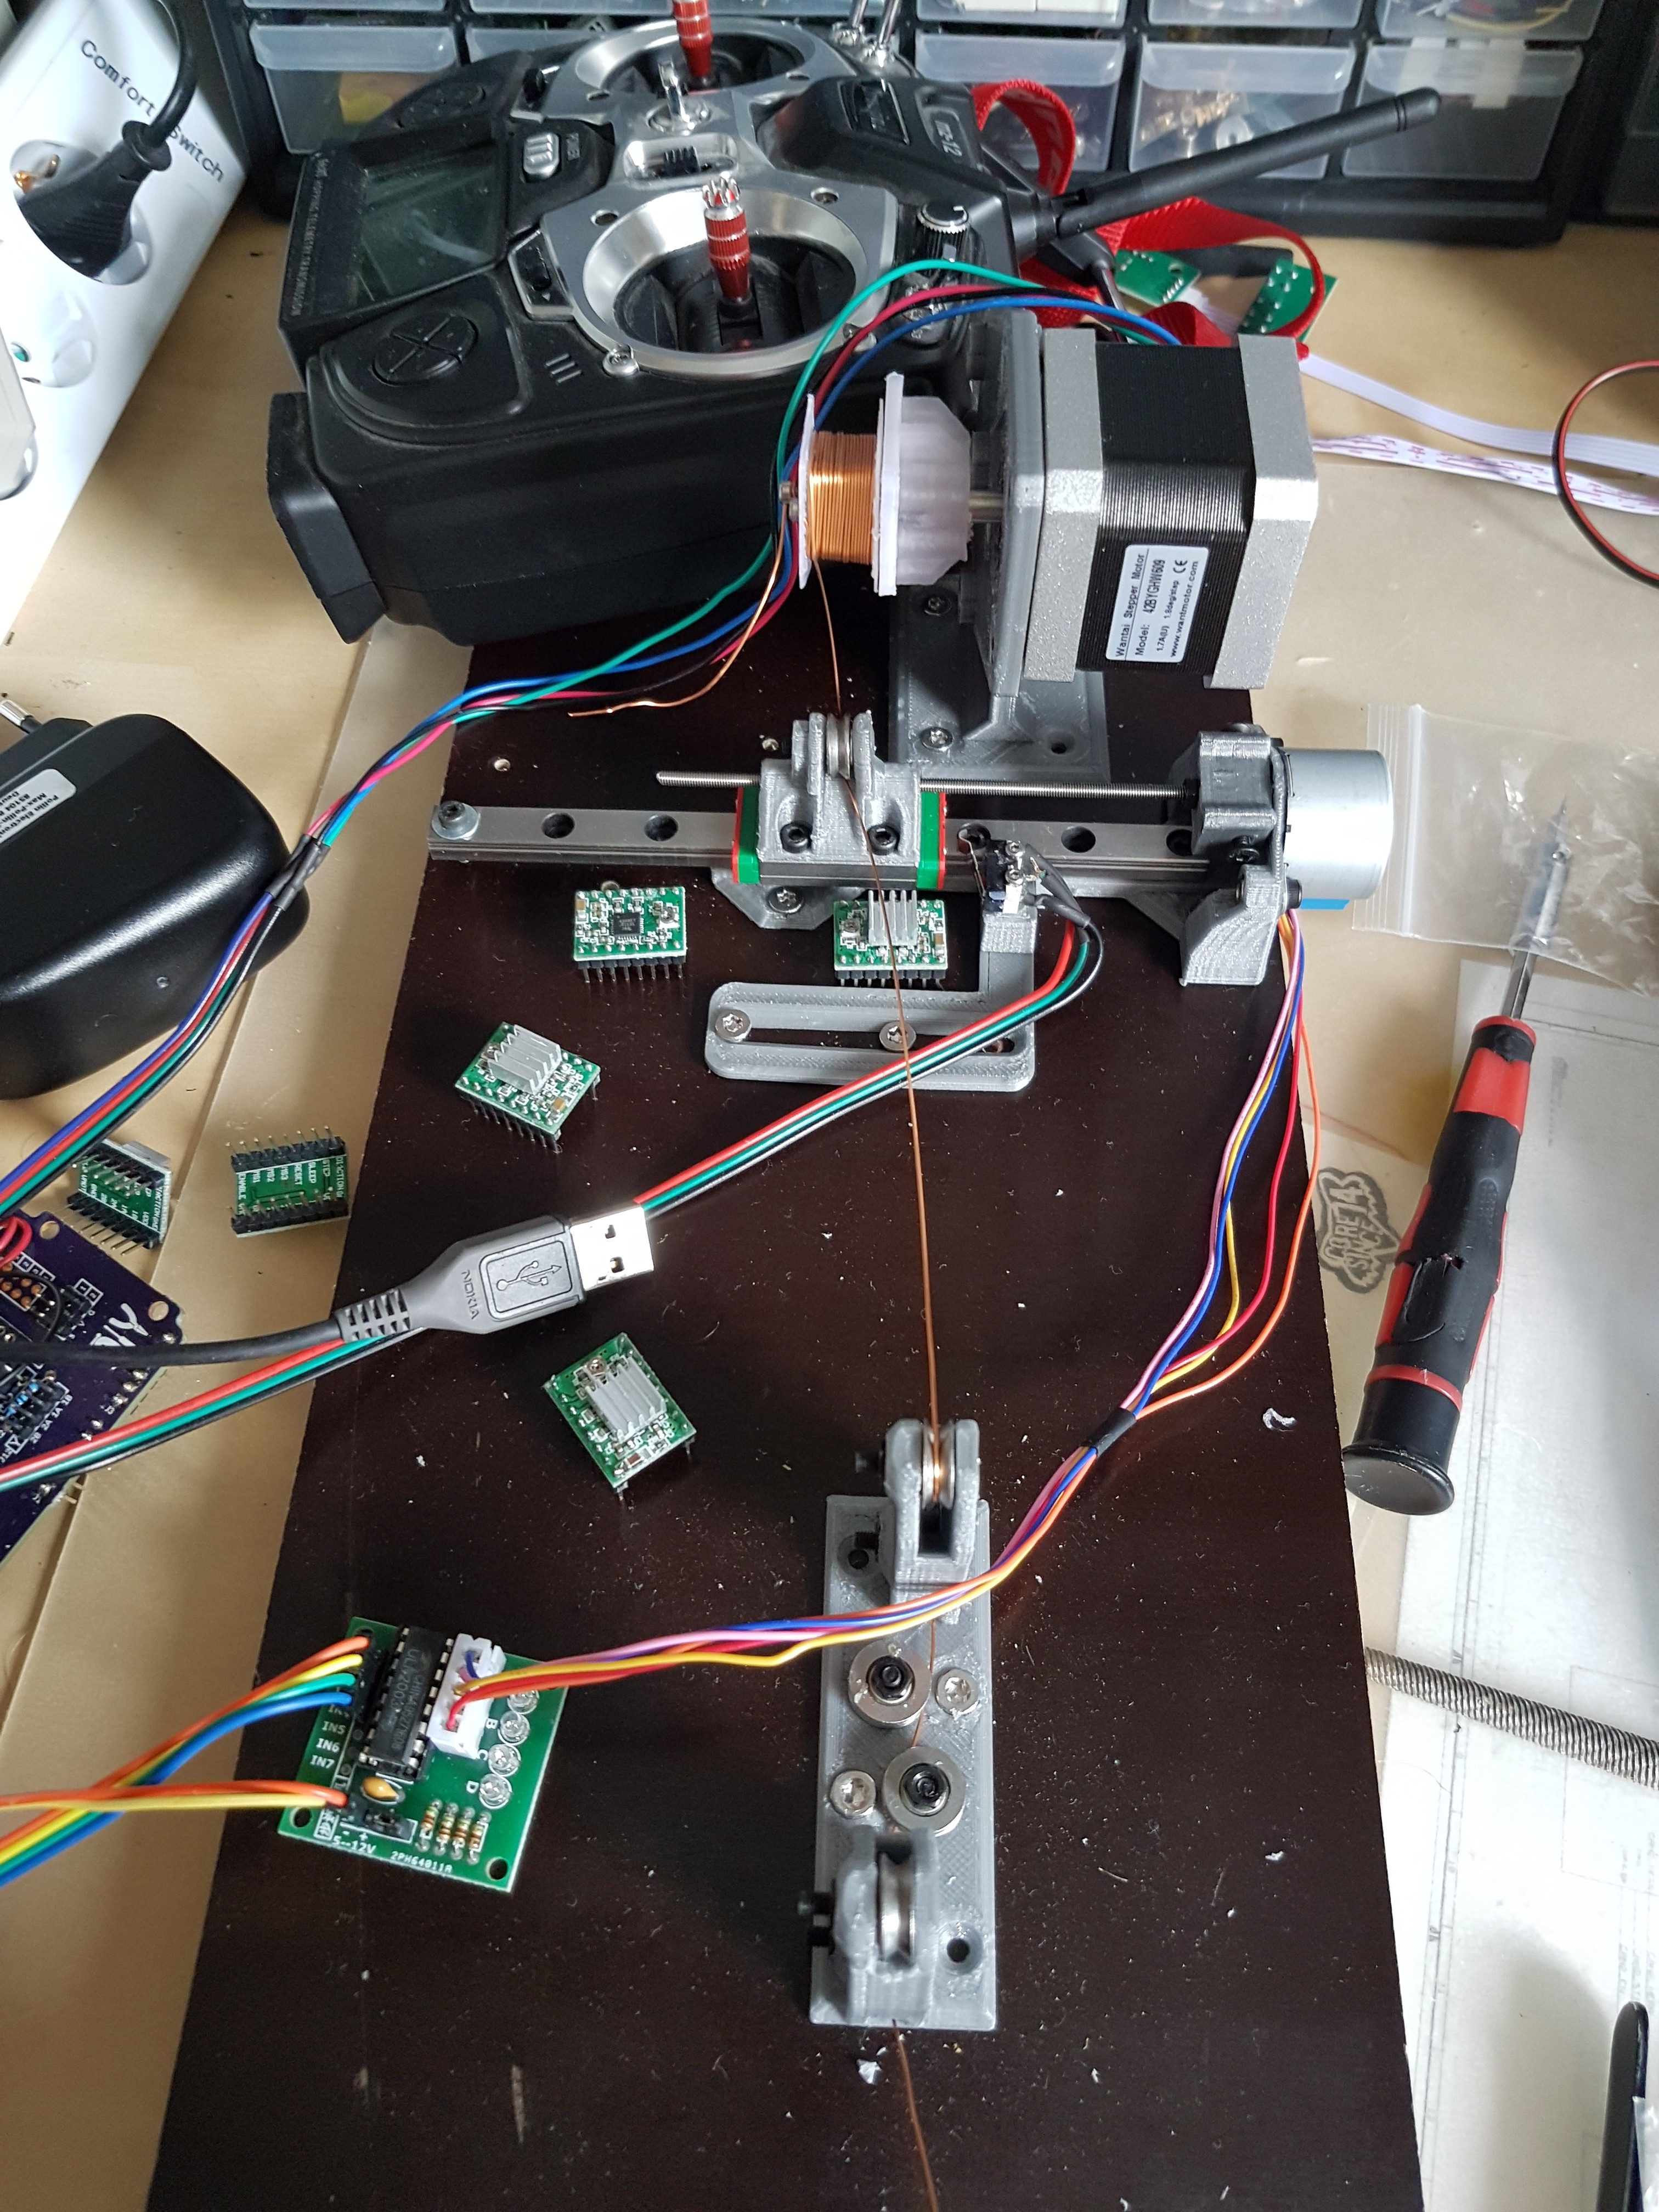
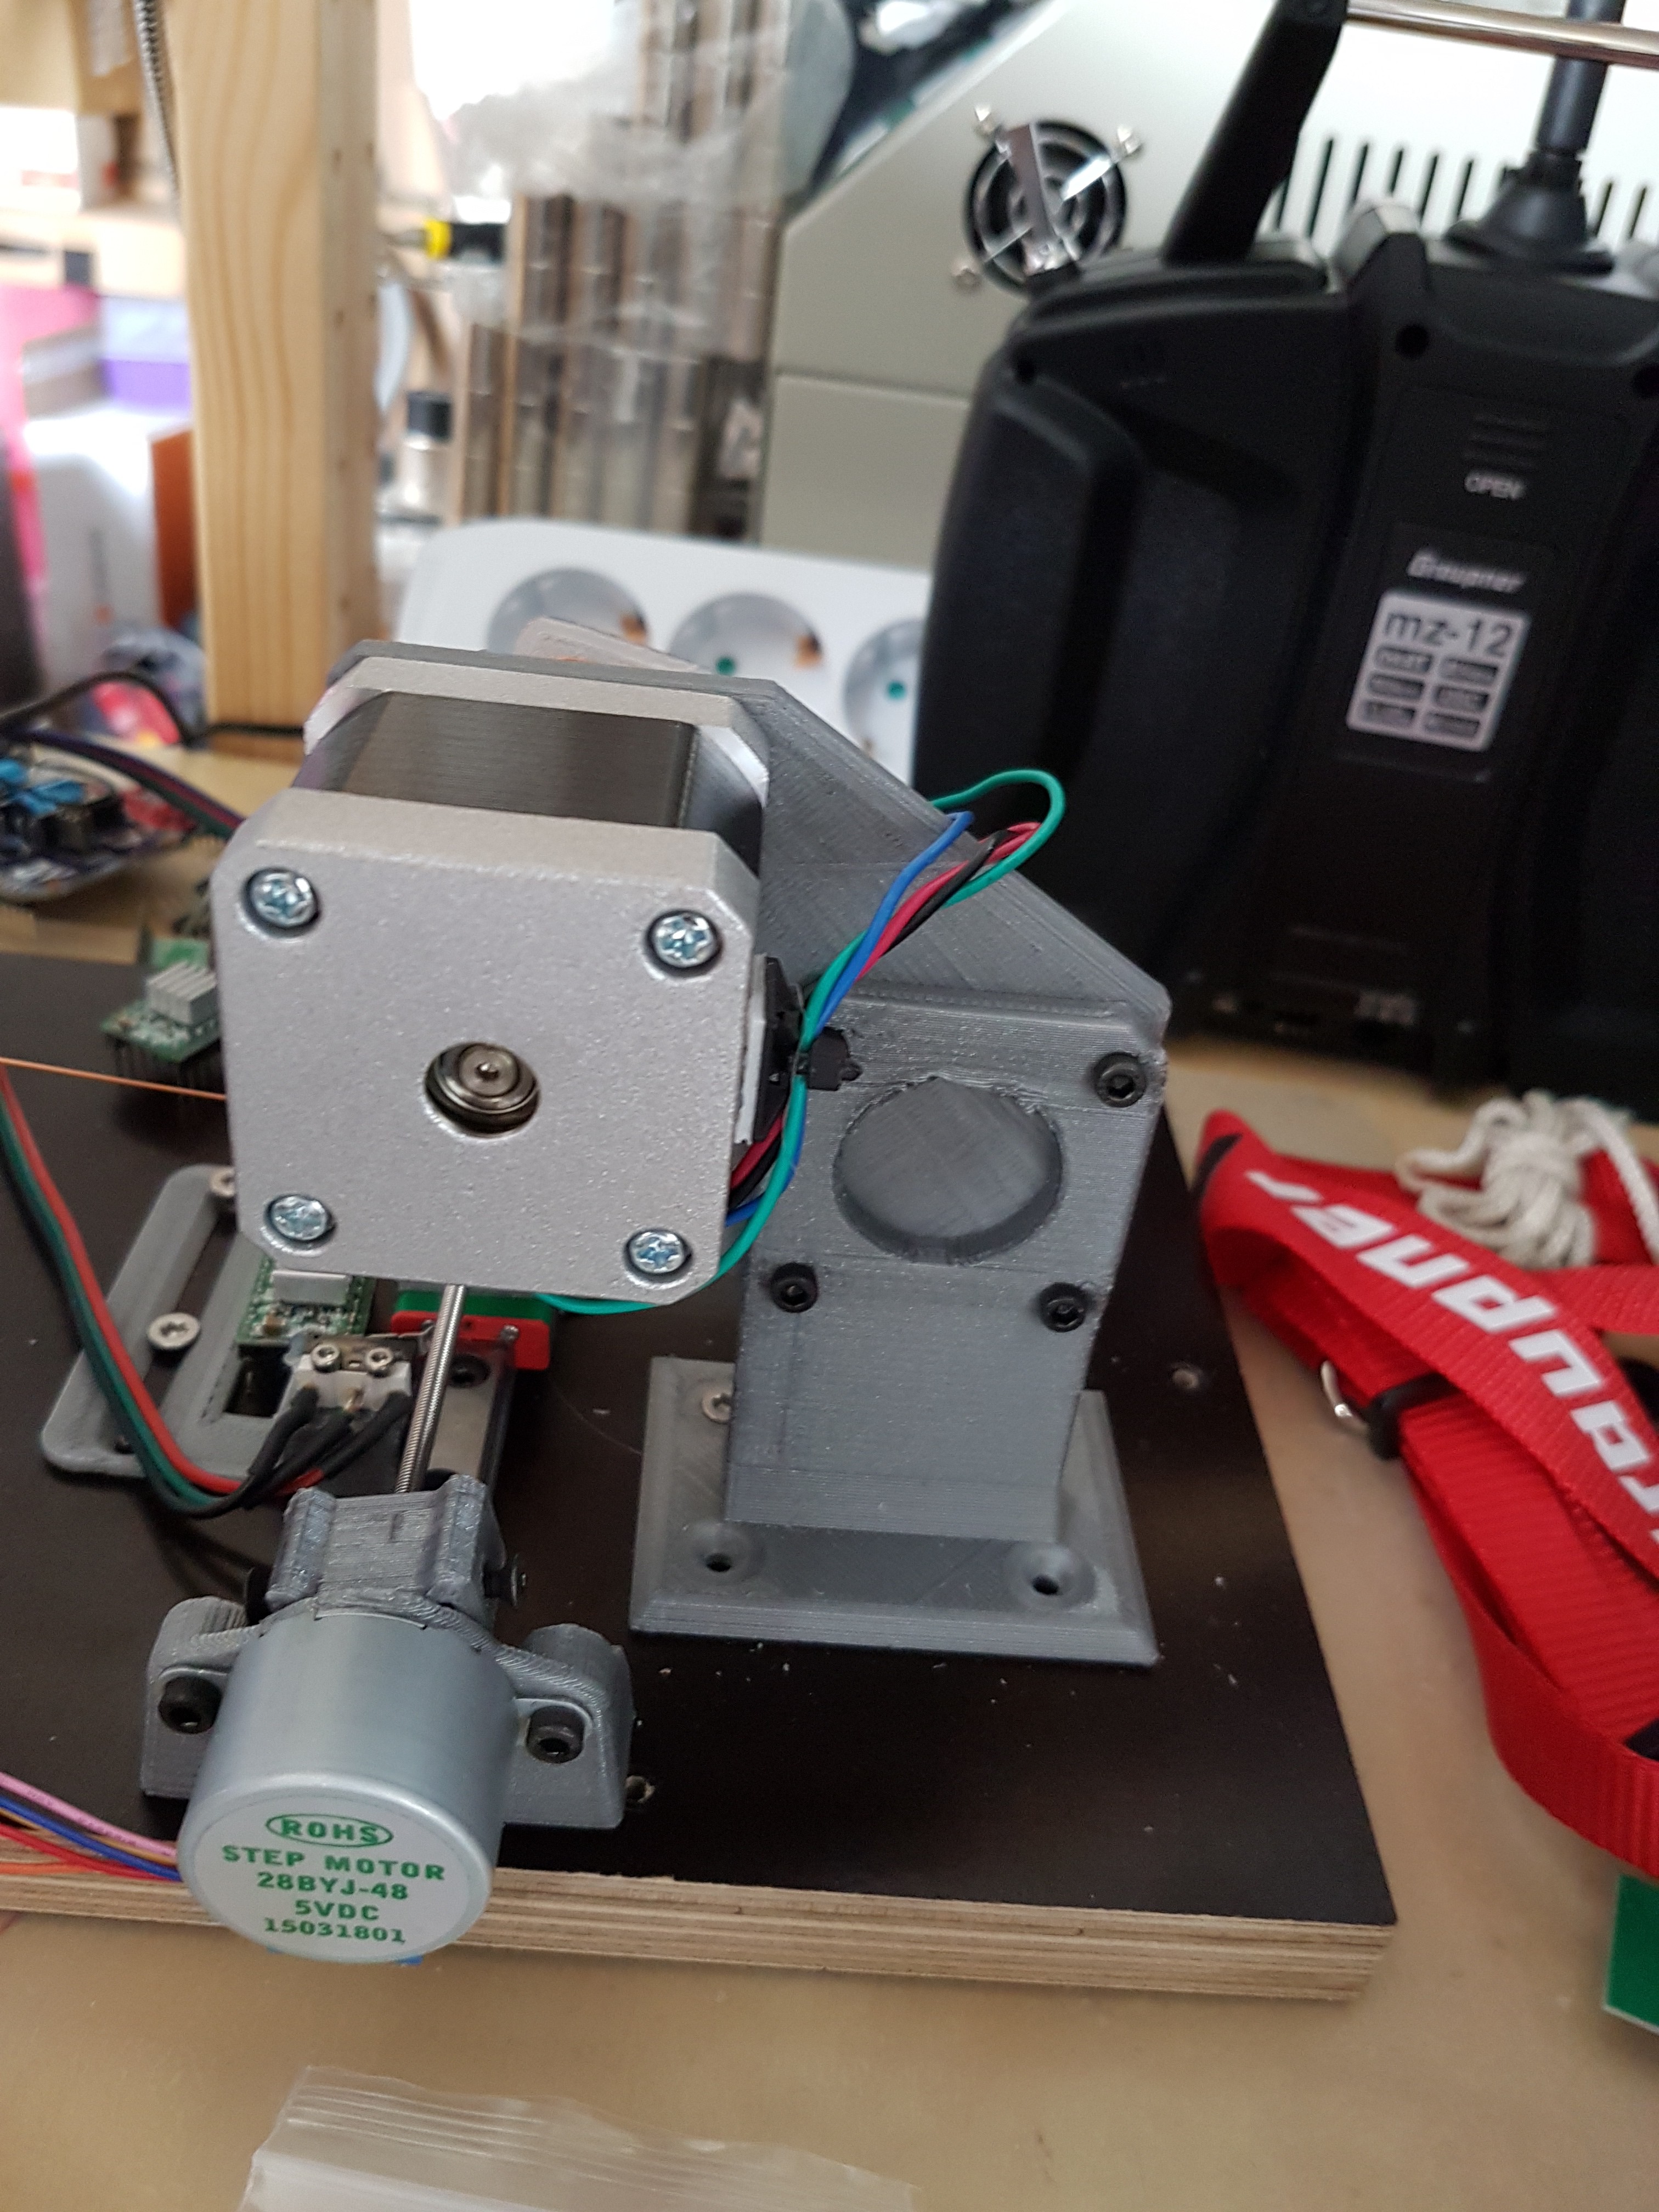
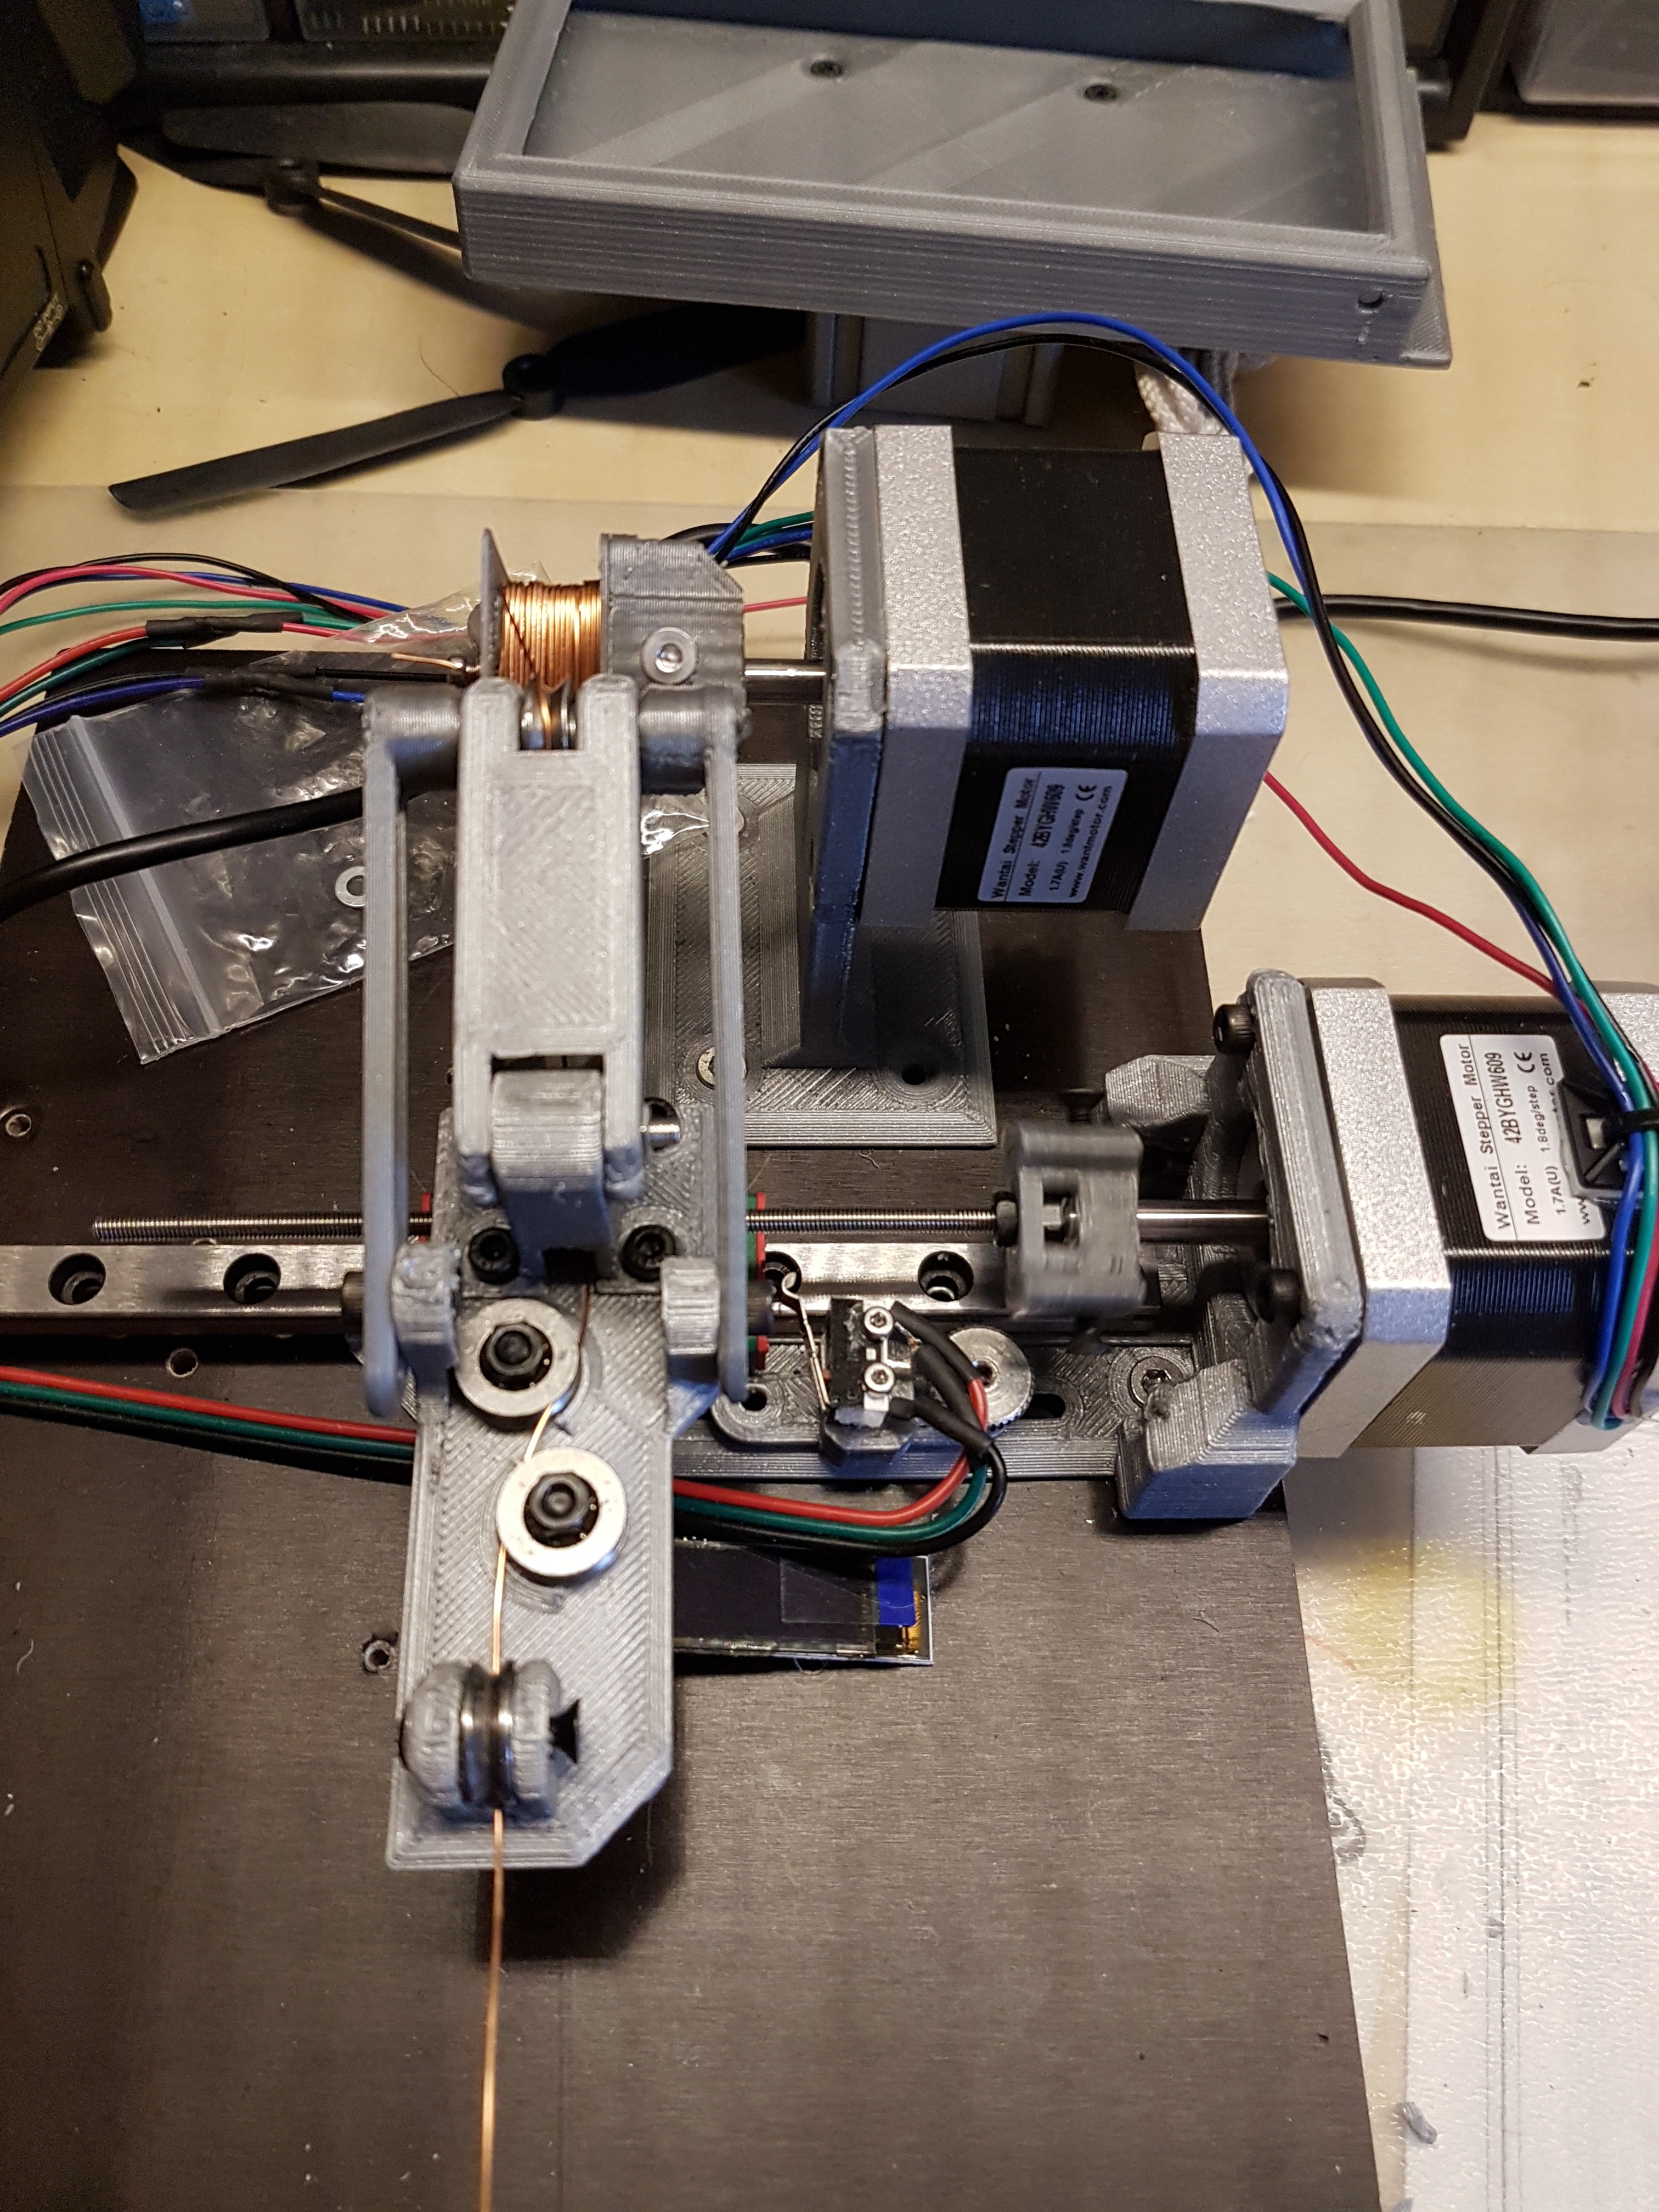
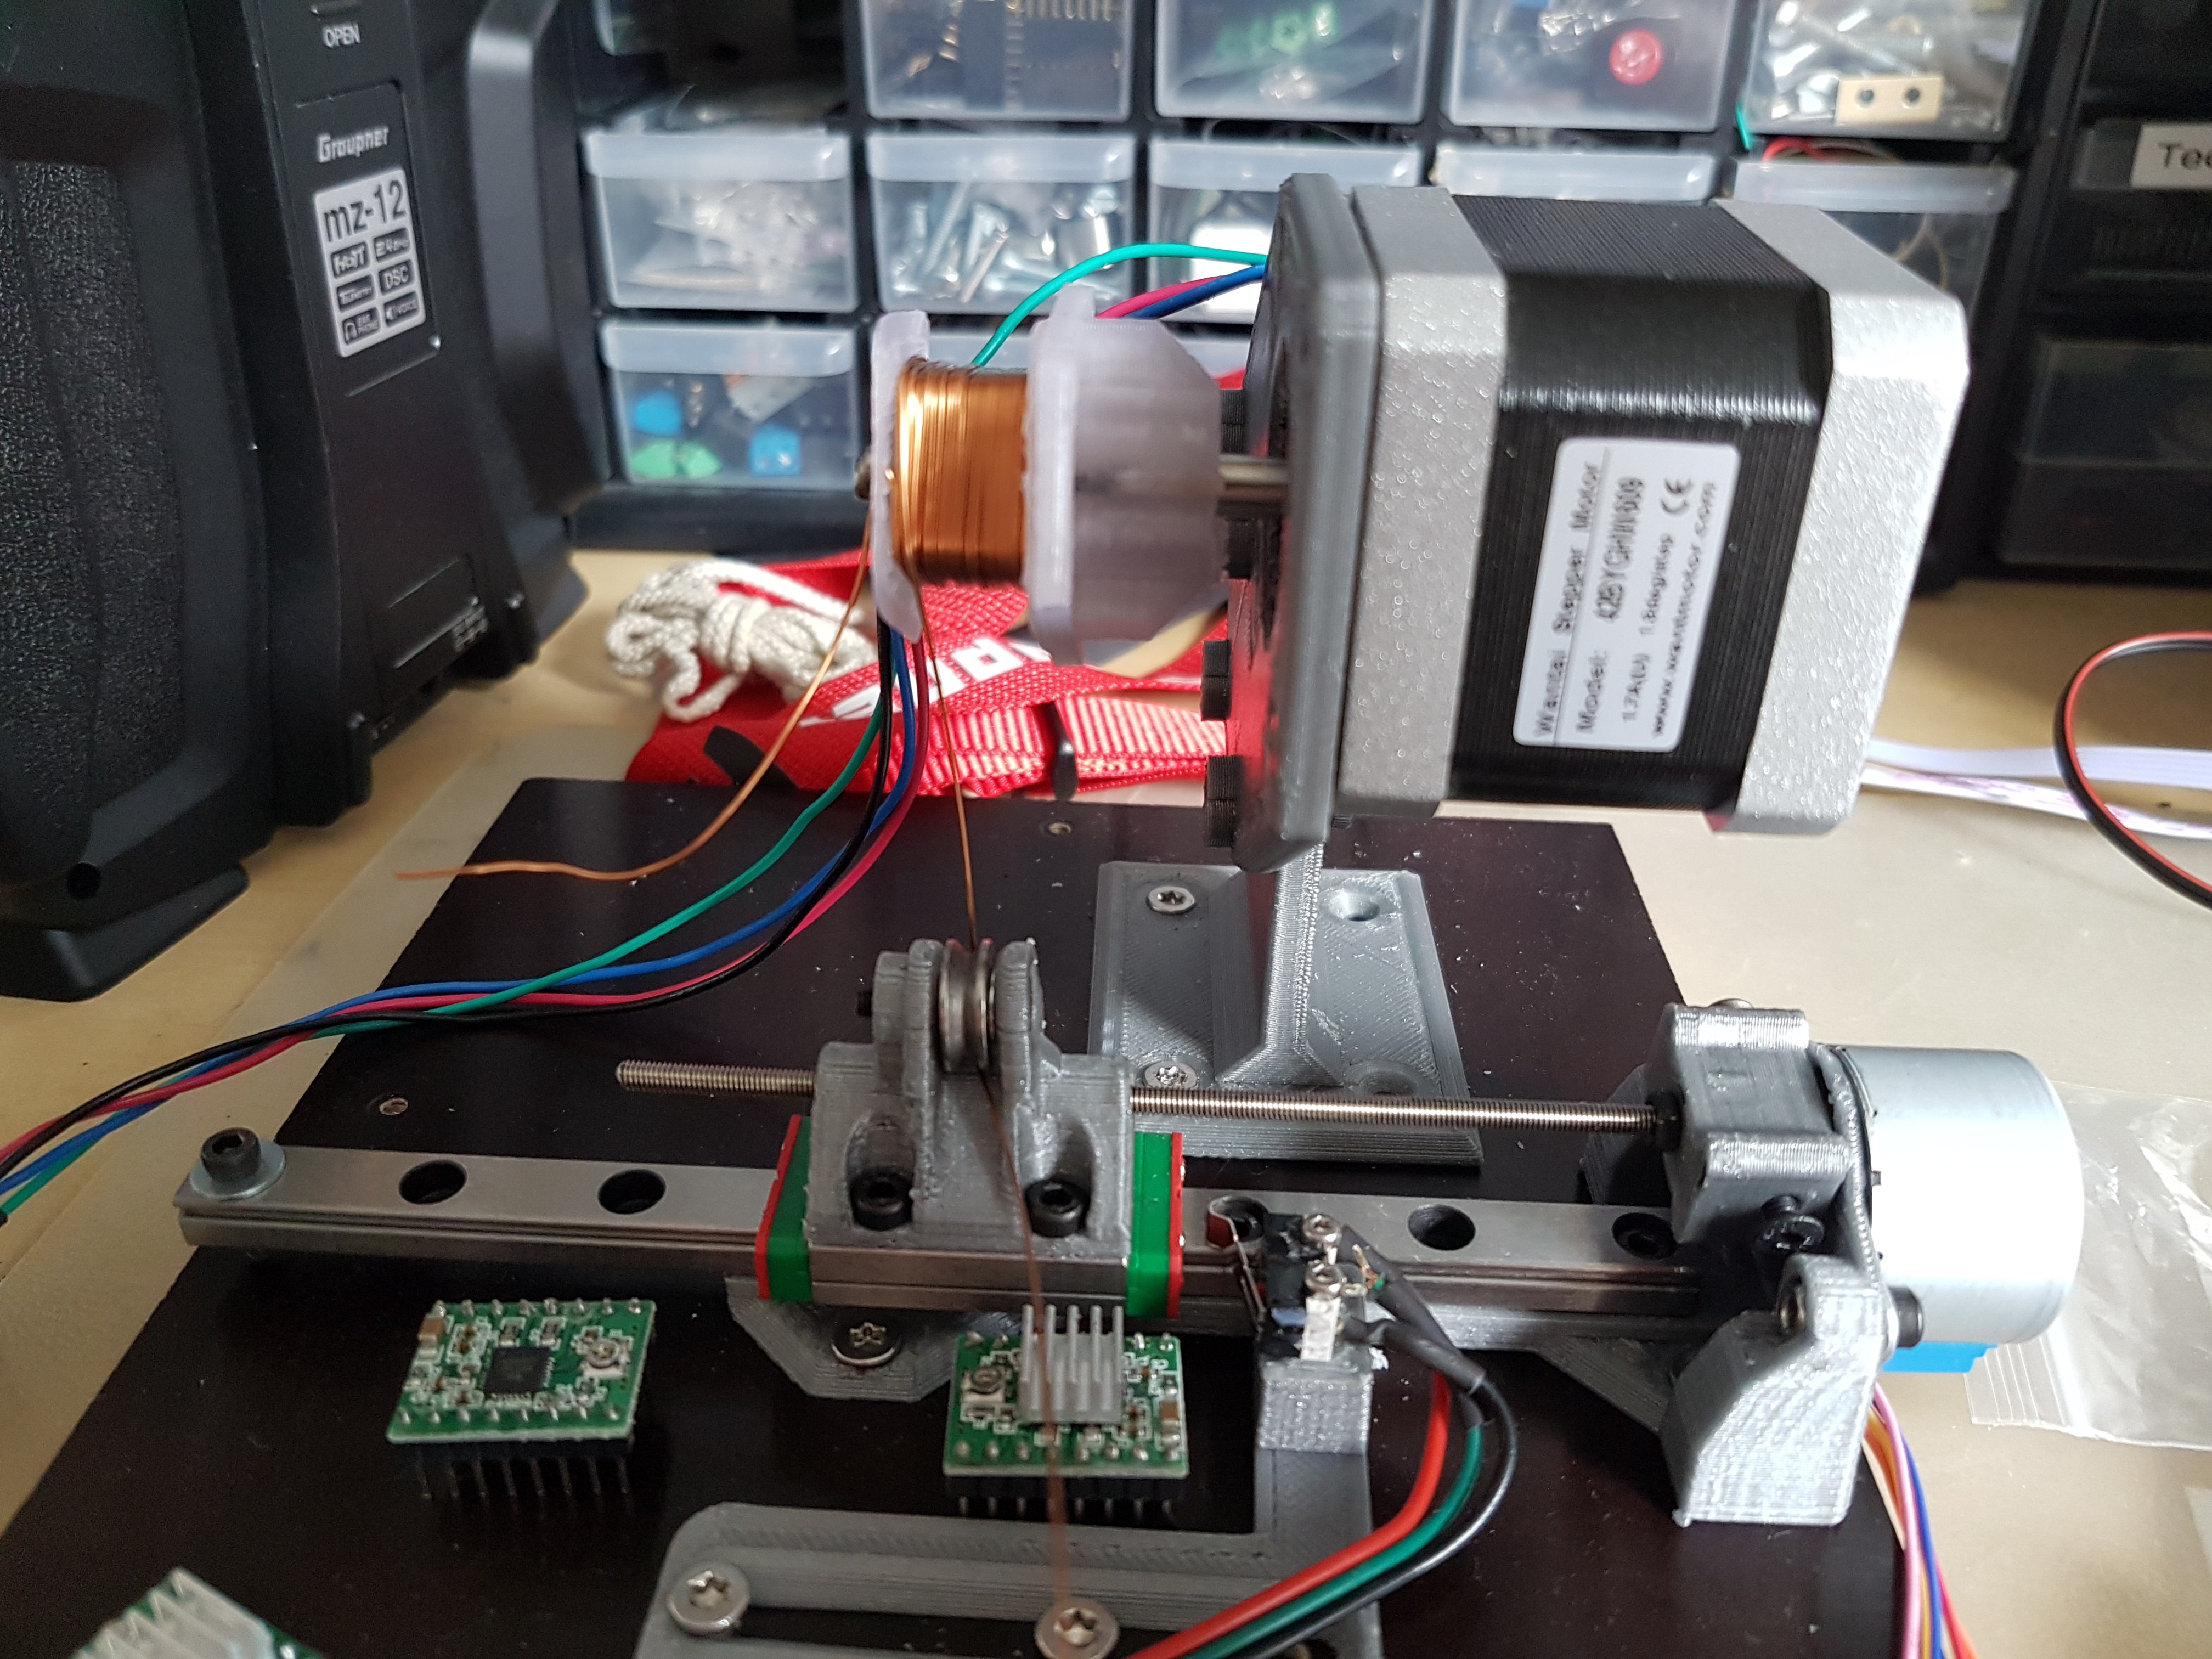
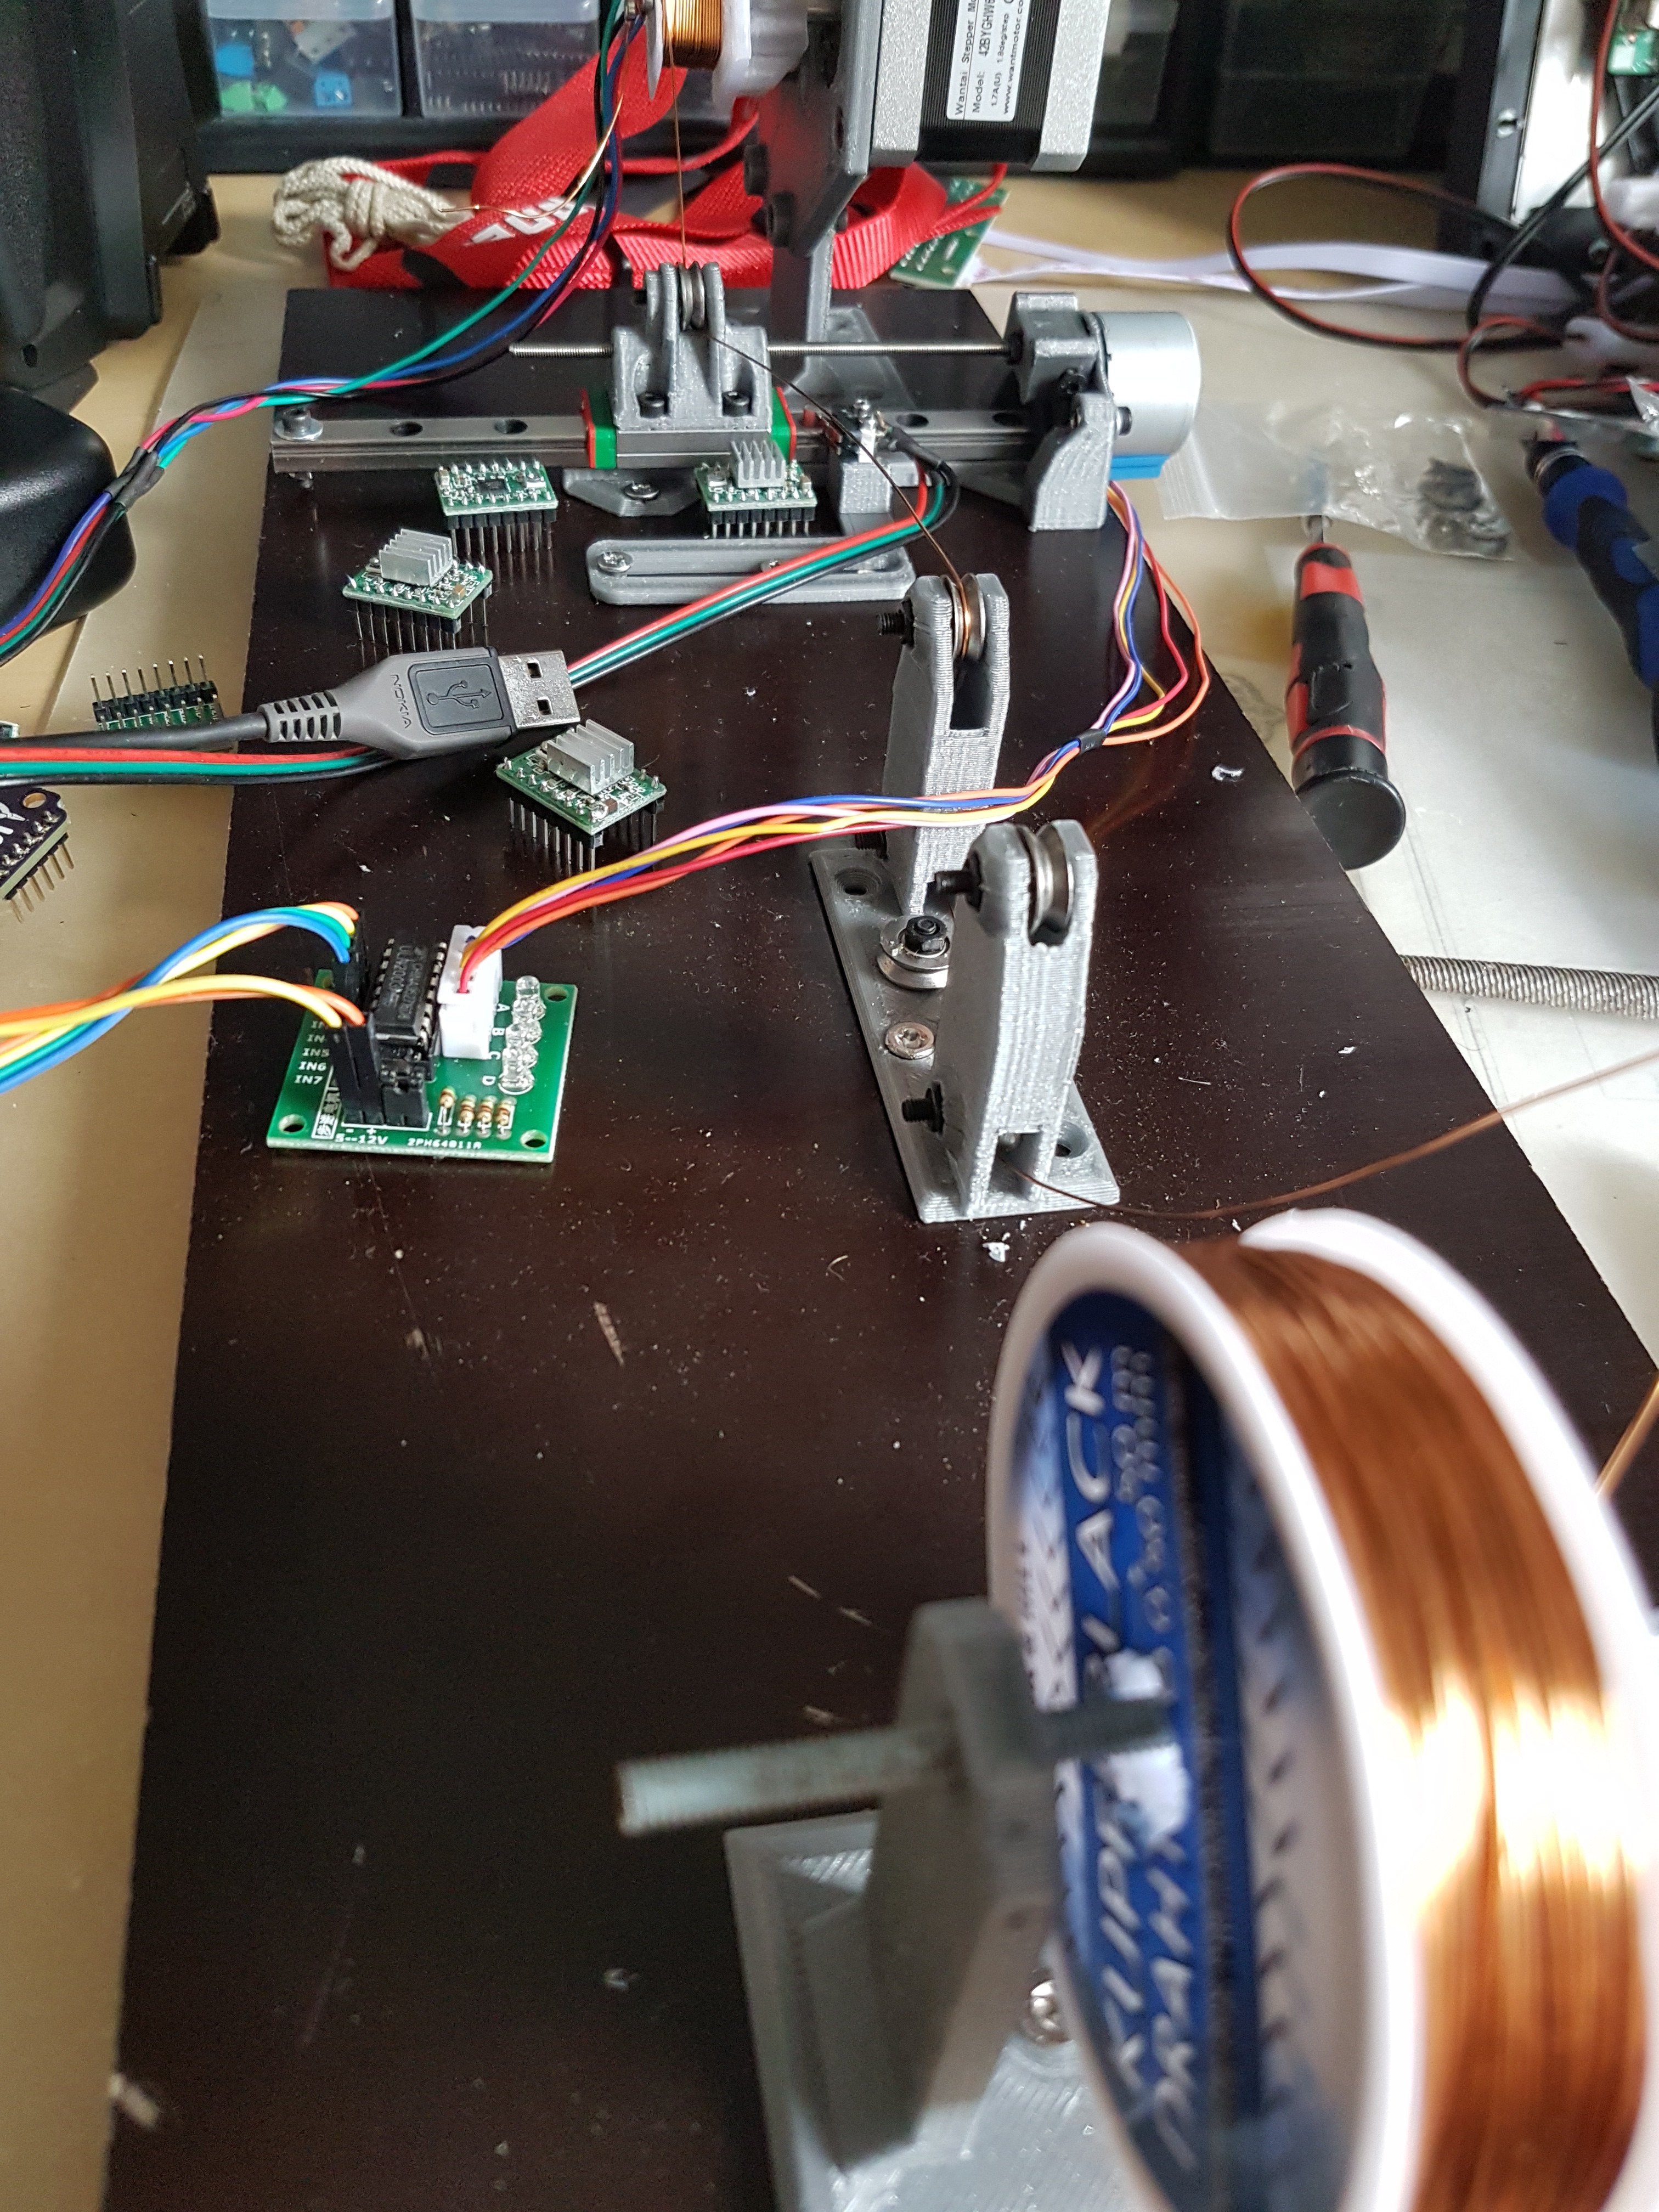
When building the nerd discerator I came across an annoying problem relatively quickly: winding the coils by hand is very time-consuming. Because not only the number of windings must be correct. The positions of the individual windings should also be as uniform and parallel as possible on the 3D printed coil core.After I tried this (admittedly only once), it quickly became clear to me that it would be faster, easier and of higher quality if you let a machine do this for you.
This is how the idea (and later the implementation: see photos) of "WinDIYingThing" came about (yes, maybe I use the "DIY" tag too often: D).
Thanks to this small machine, I can now adjust how many windings are wound around the coil core. If you specify the diameter of the coil wire, the position of the wire guide must be calculated automatically. The principle can best be seen in the video below. :)
![]()
![]()
![]()
![]()
![]()
![]()
![]()
-
"Nerdiskerator" = NERdiys DISK genERATOR -> The 3D printed disk generator
06/10/2020 at 18:35 • 0 commentsI decided to document the "Nerdiskerator" in a separate project log. I think that way you can keep a better overview of the respective projects. :)
Please see the Project log here: https://hackaday.io/project/172445-nerdiskerator-a-3d-printed-disk-generator
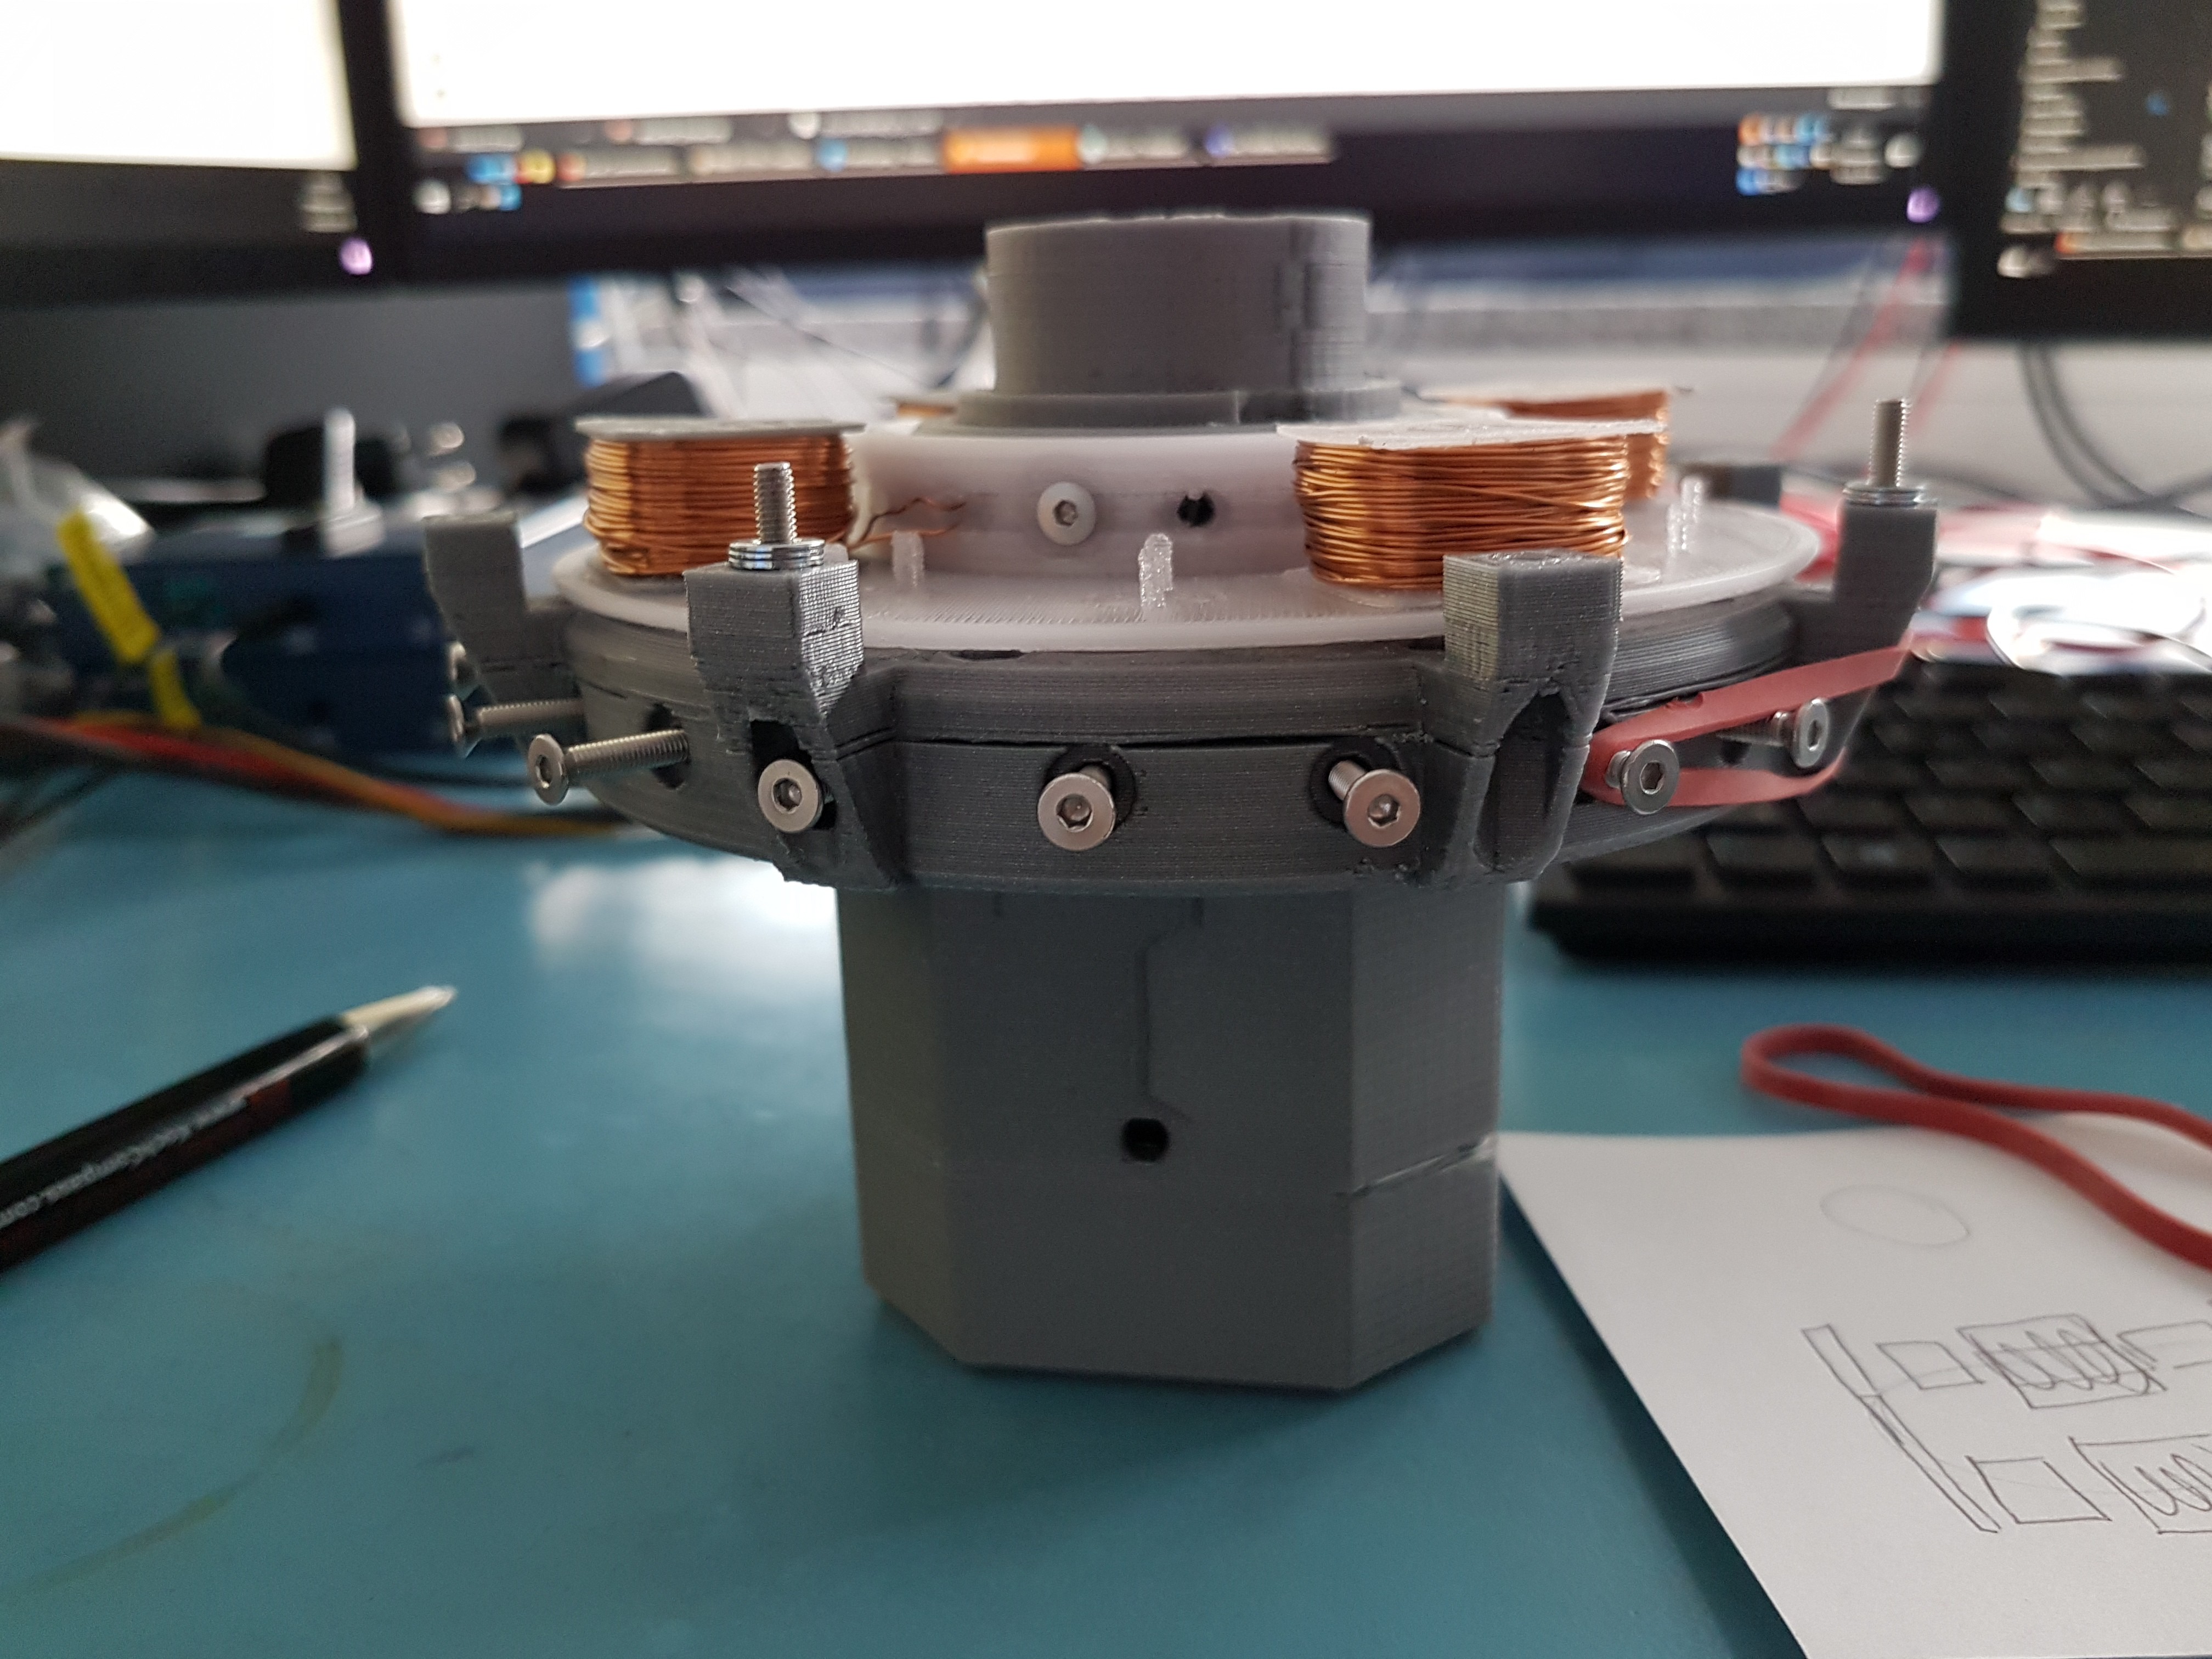
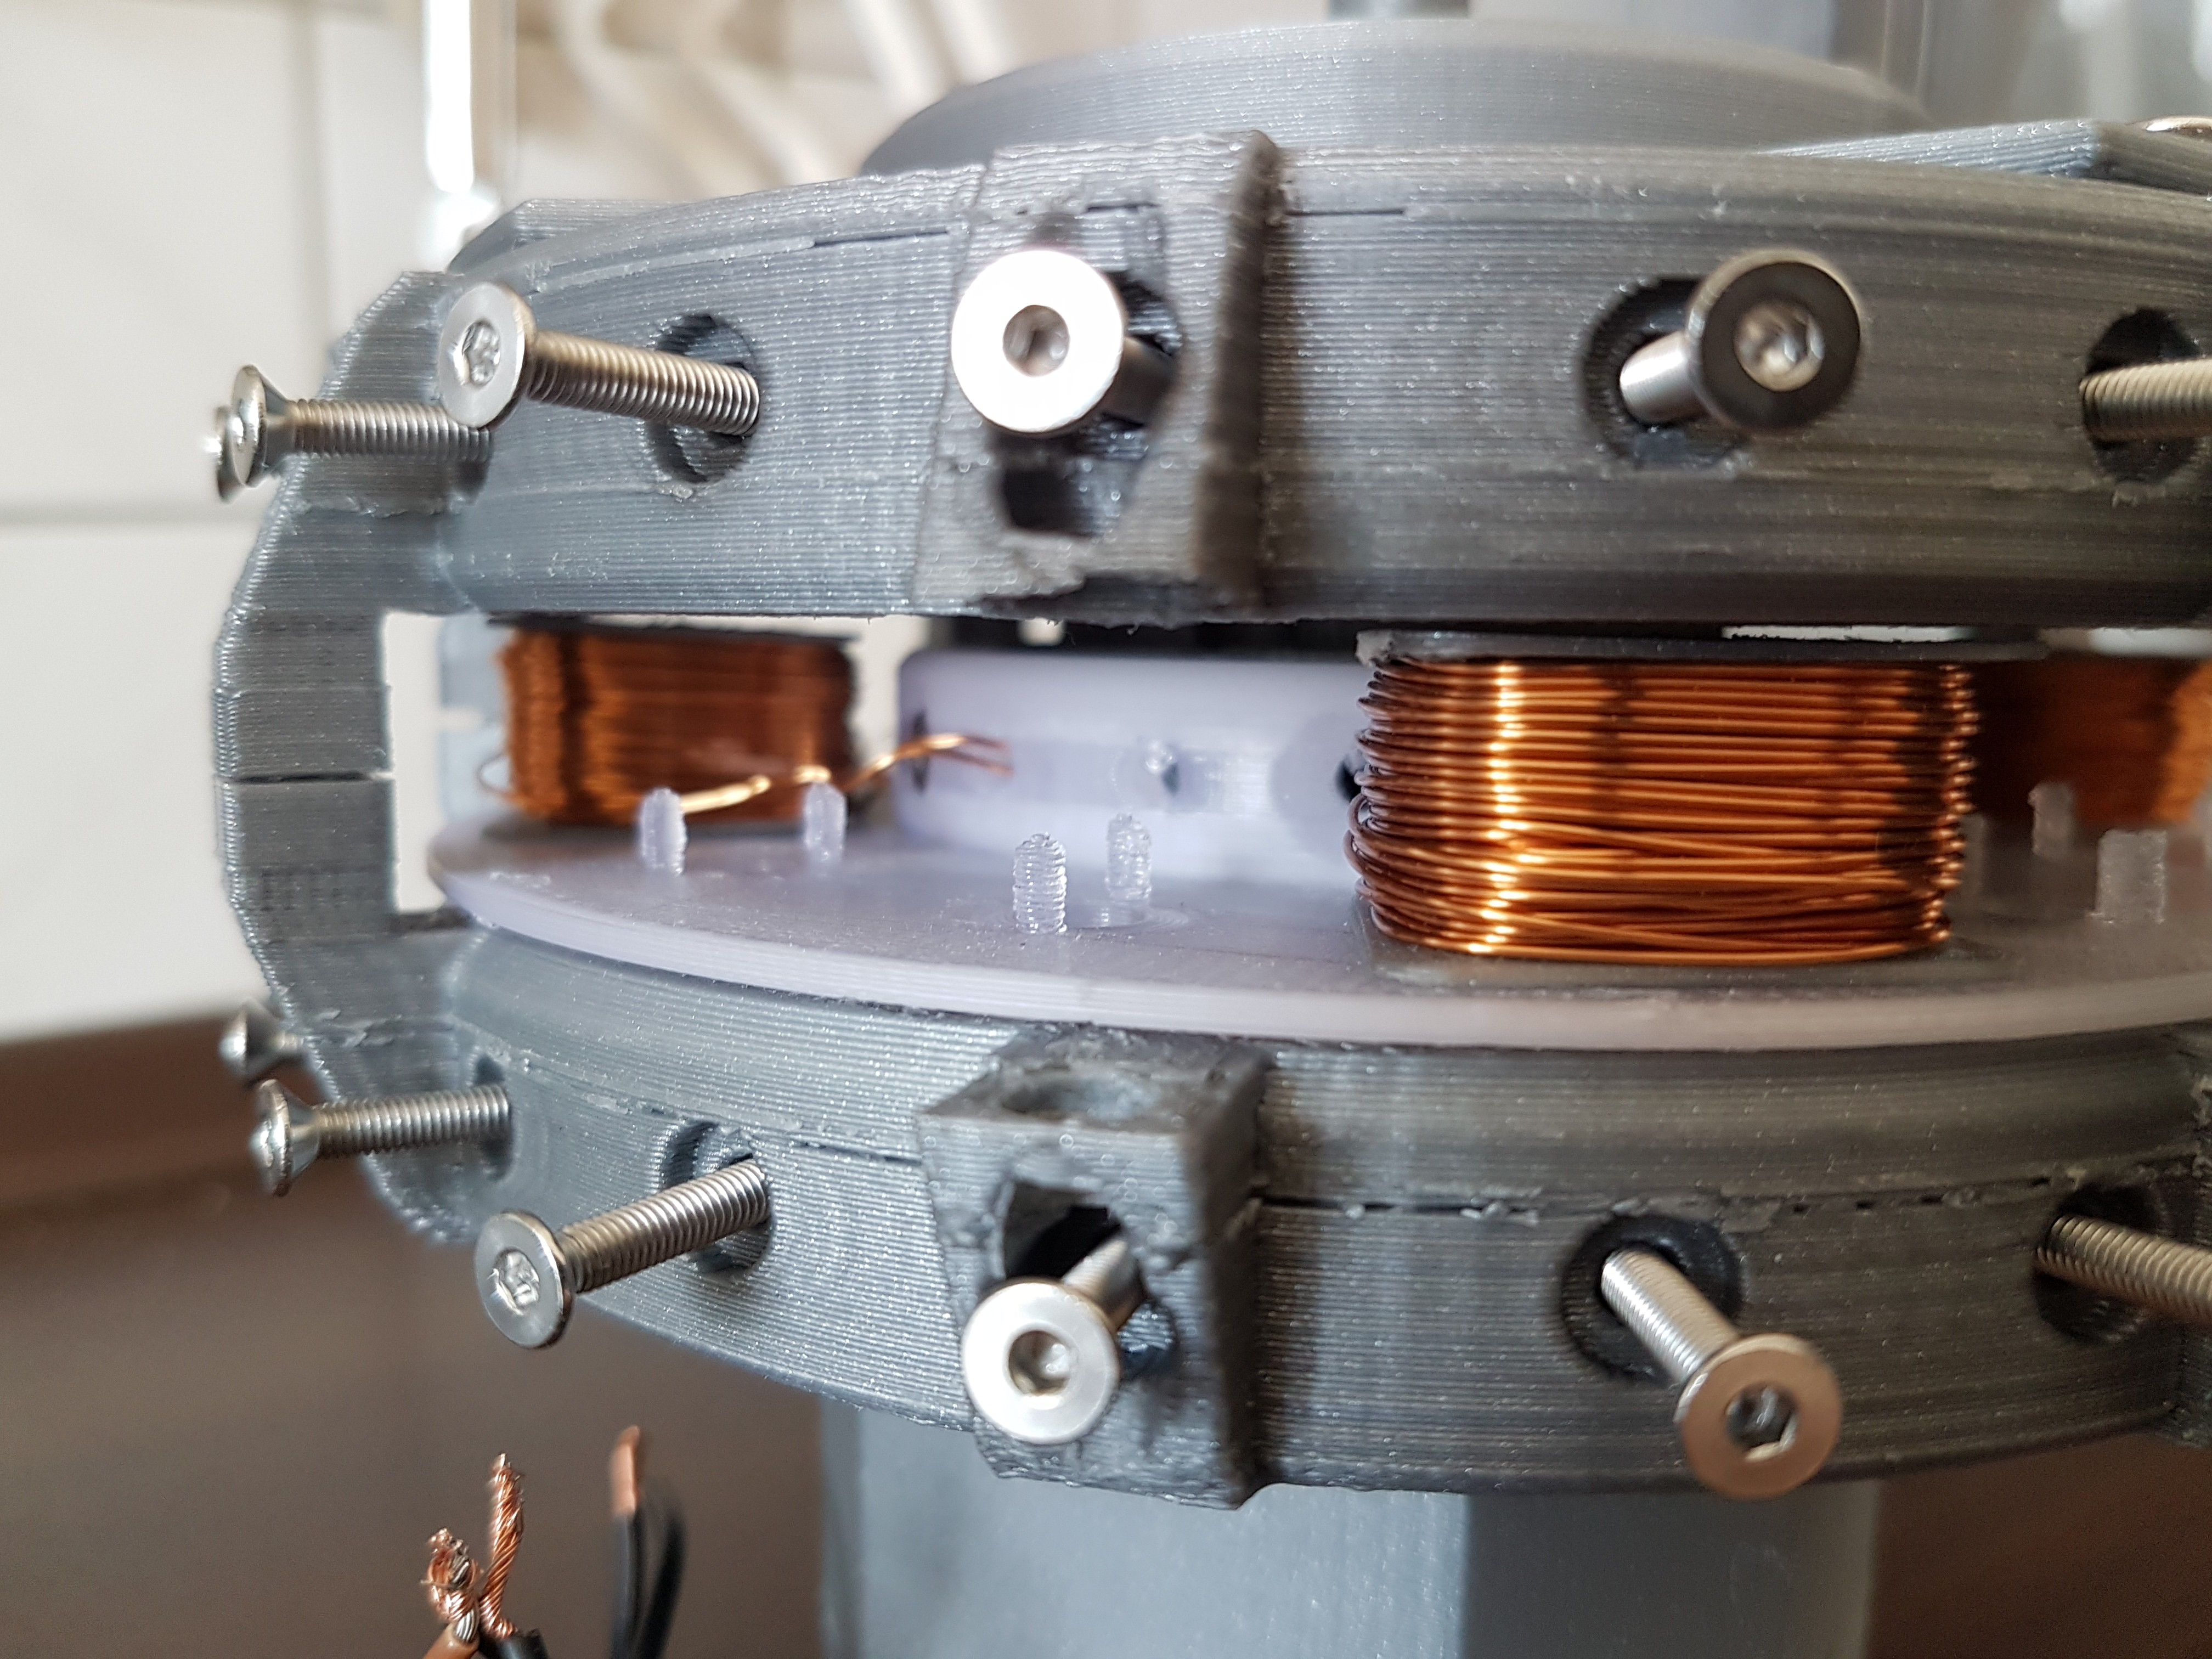
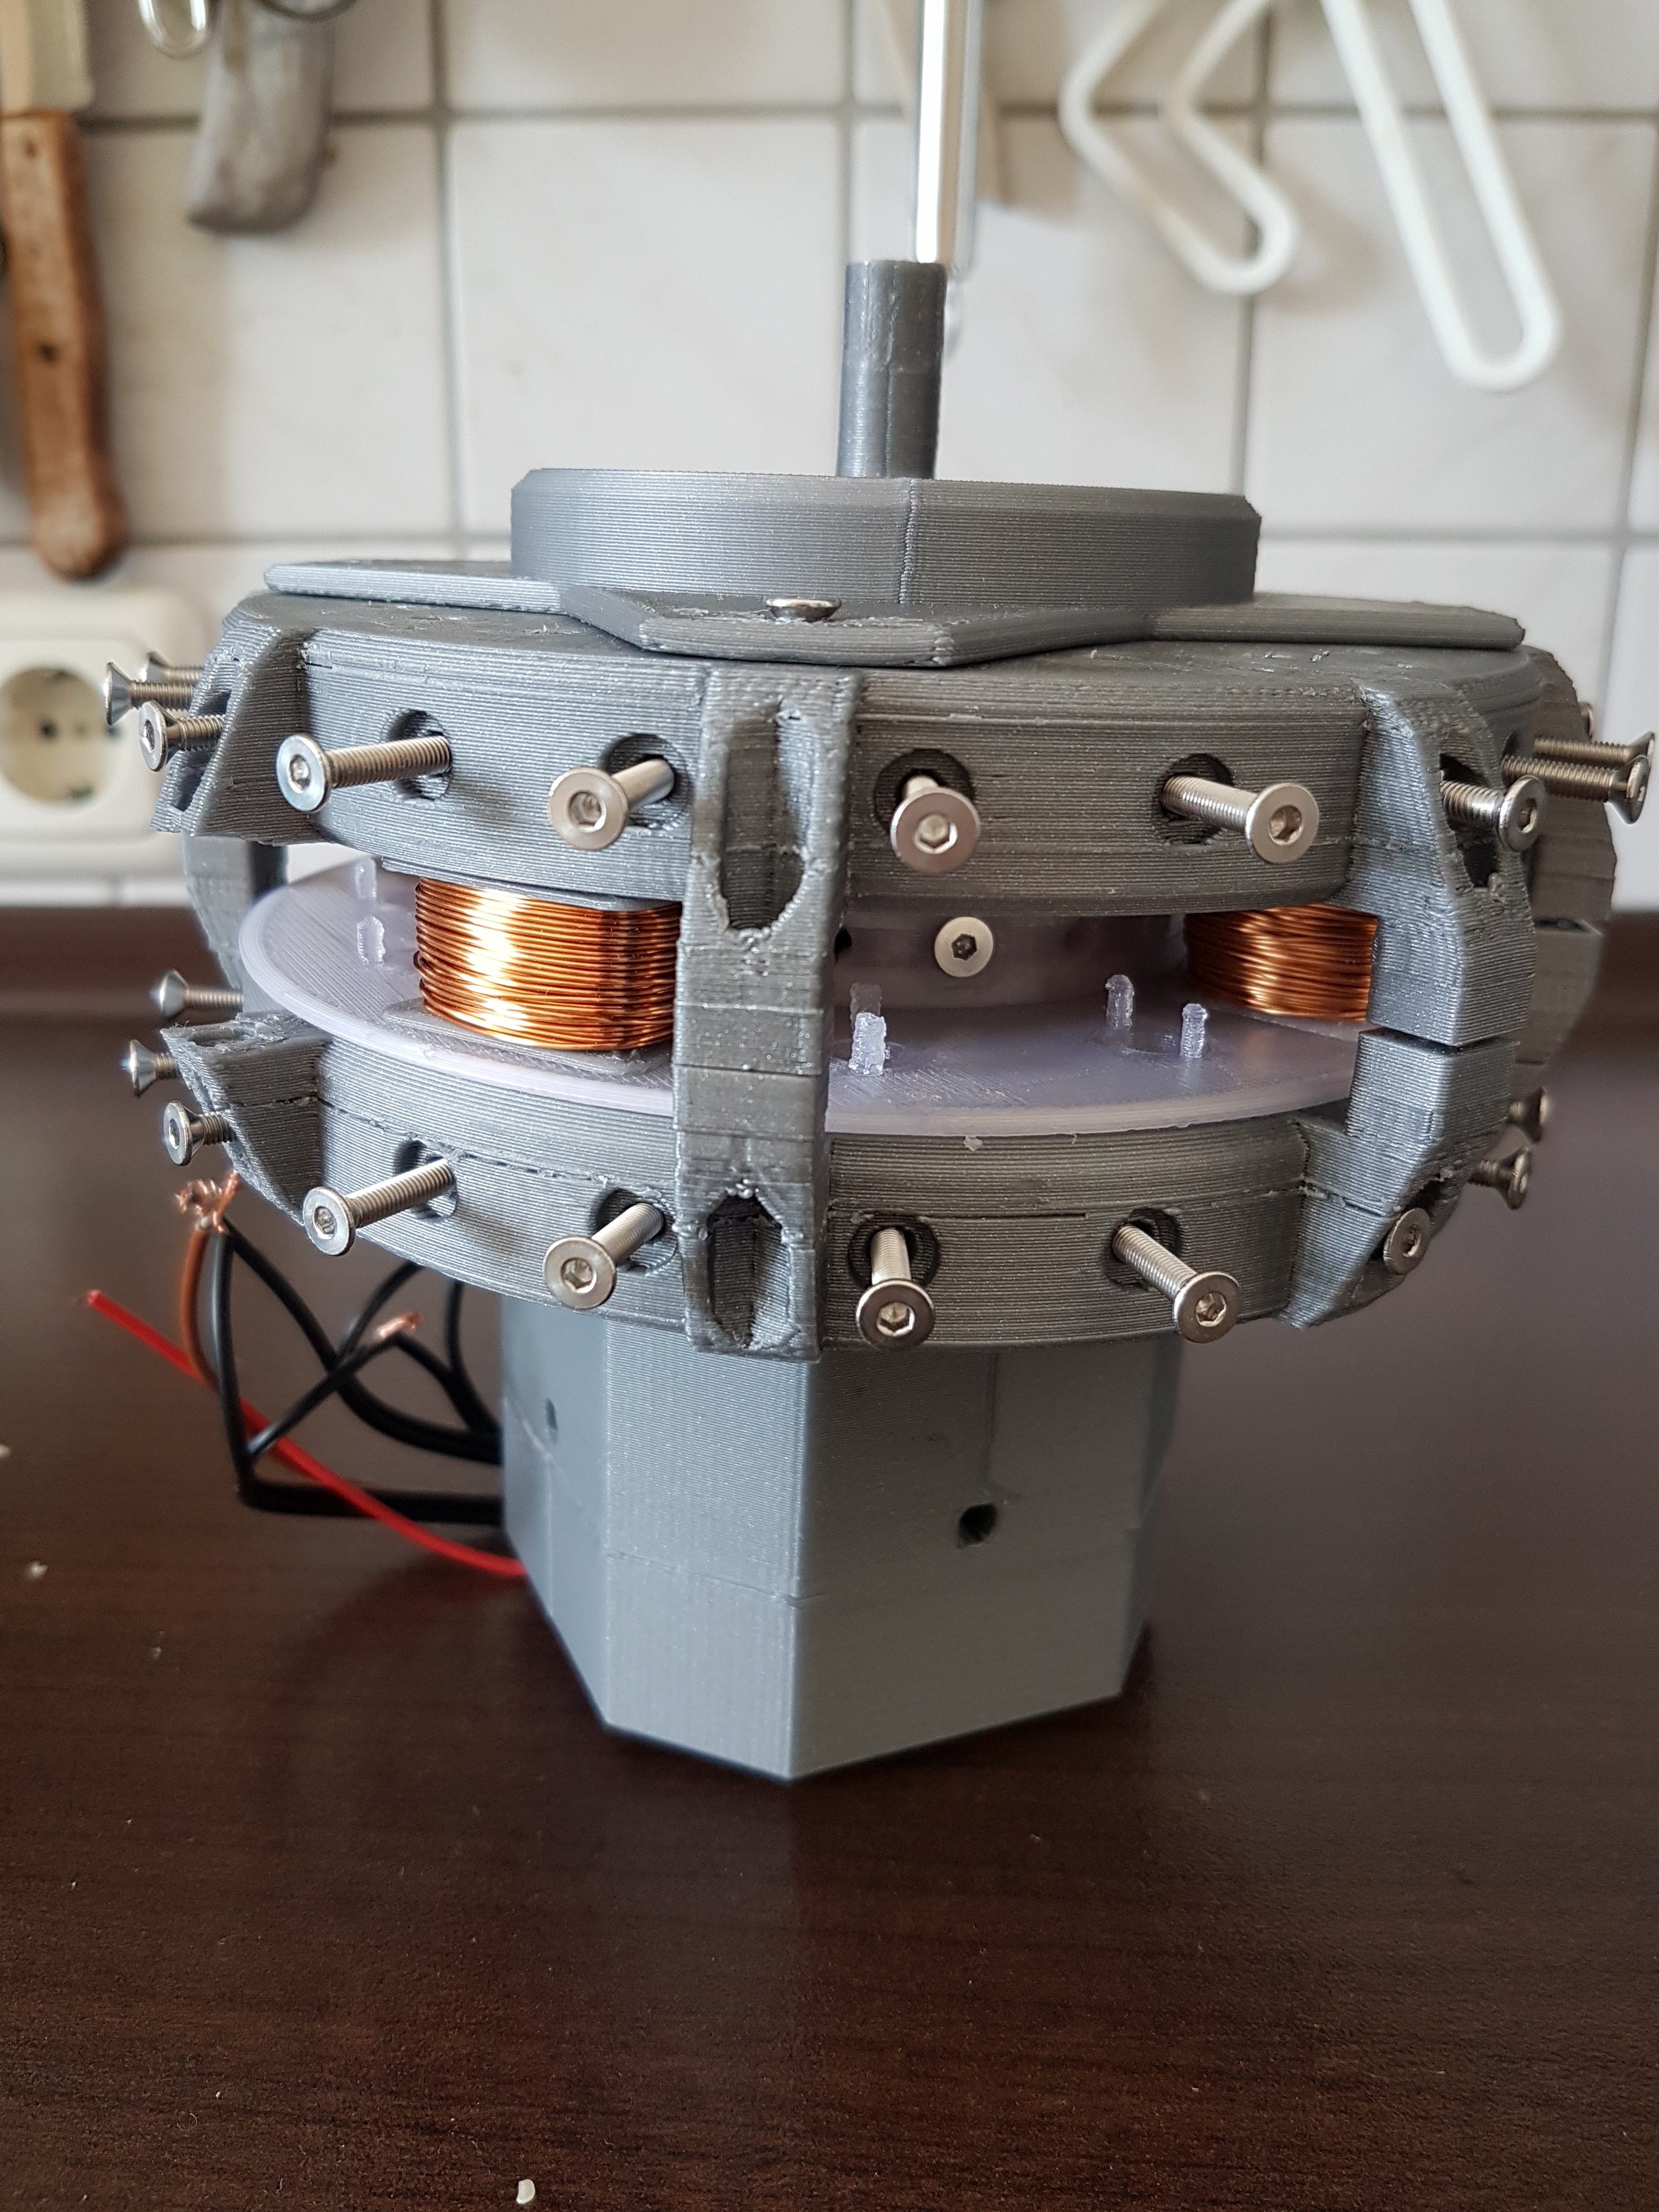
At the same time (or whenever I got stuck with the wing), I had already started developing the associated disk generator. I wrapped it around the neodymium magnets that I already had at home. With a length of 13mm and a diameter of 13mm (cylindrical shape), these do not actually correspond to the typical magnetic shape for disk generators. But back then I still thought that this would be a small weekend project for which I would not need to buy extra magnets. : DFor the first design, I only fixed the magnets in the rotor with screws. For this purpose, the rotor did not get all twelve but only four coils. So at least I had already set up a test phase.
A first test with the cordless screwdriver already showed an electrical output power of ~ 23W. There is certainly more here. But I think that the cordless screwdriver can no longer deliver mechanical power. Here, the cordless screwdriver is the limiting factor. :)
![]()
![]()
![]()
![]()
![]()
![]()
![]()
![]()
-
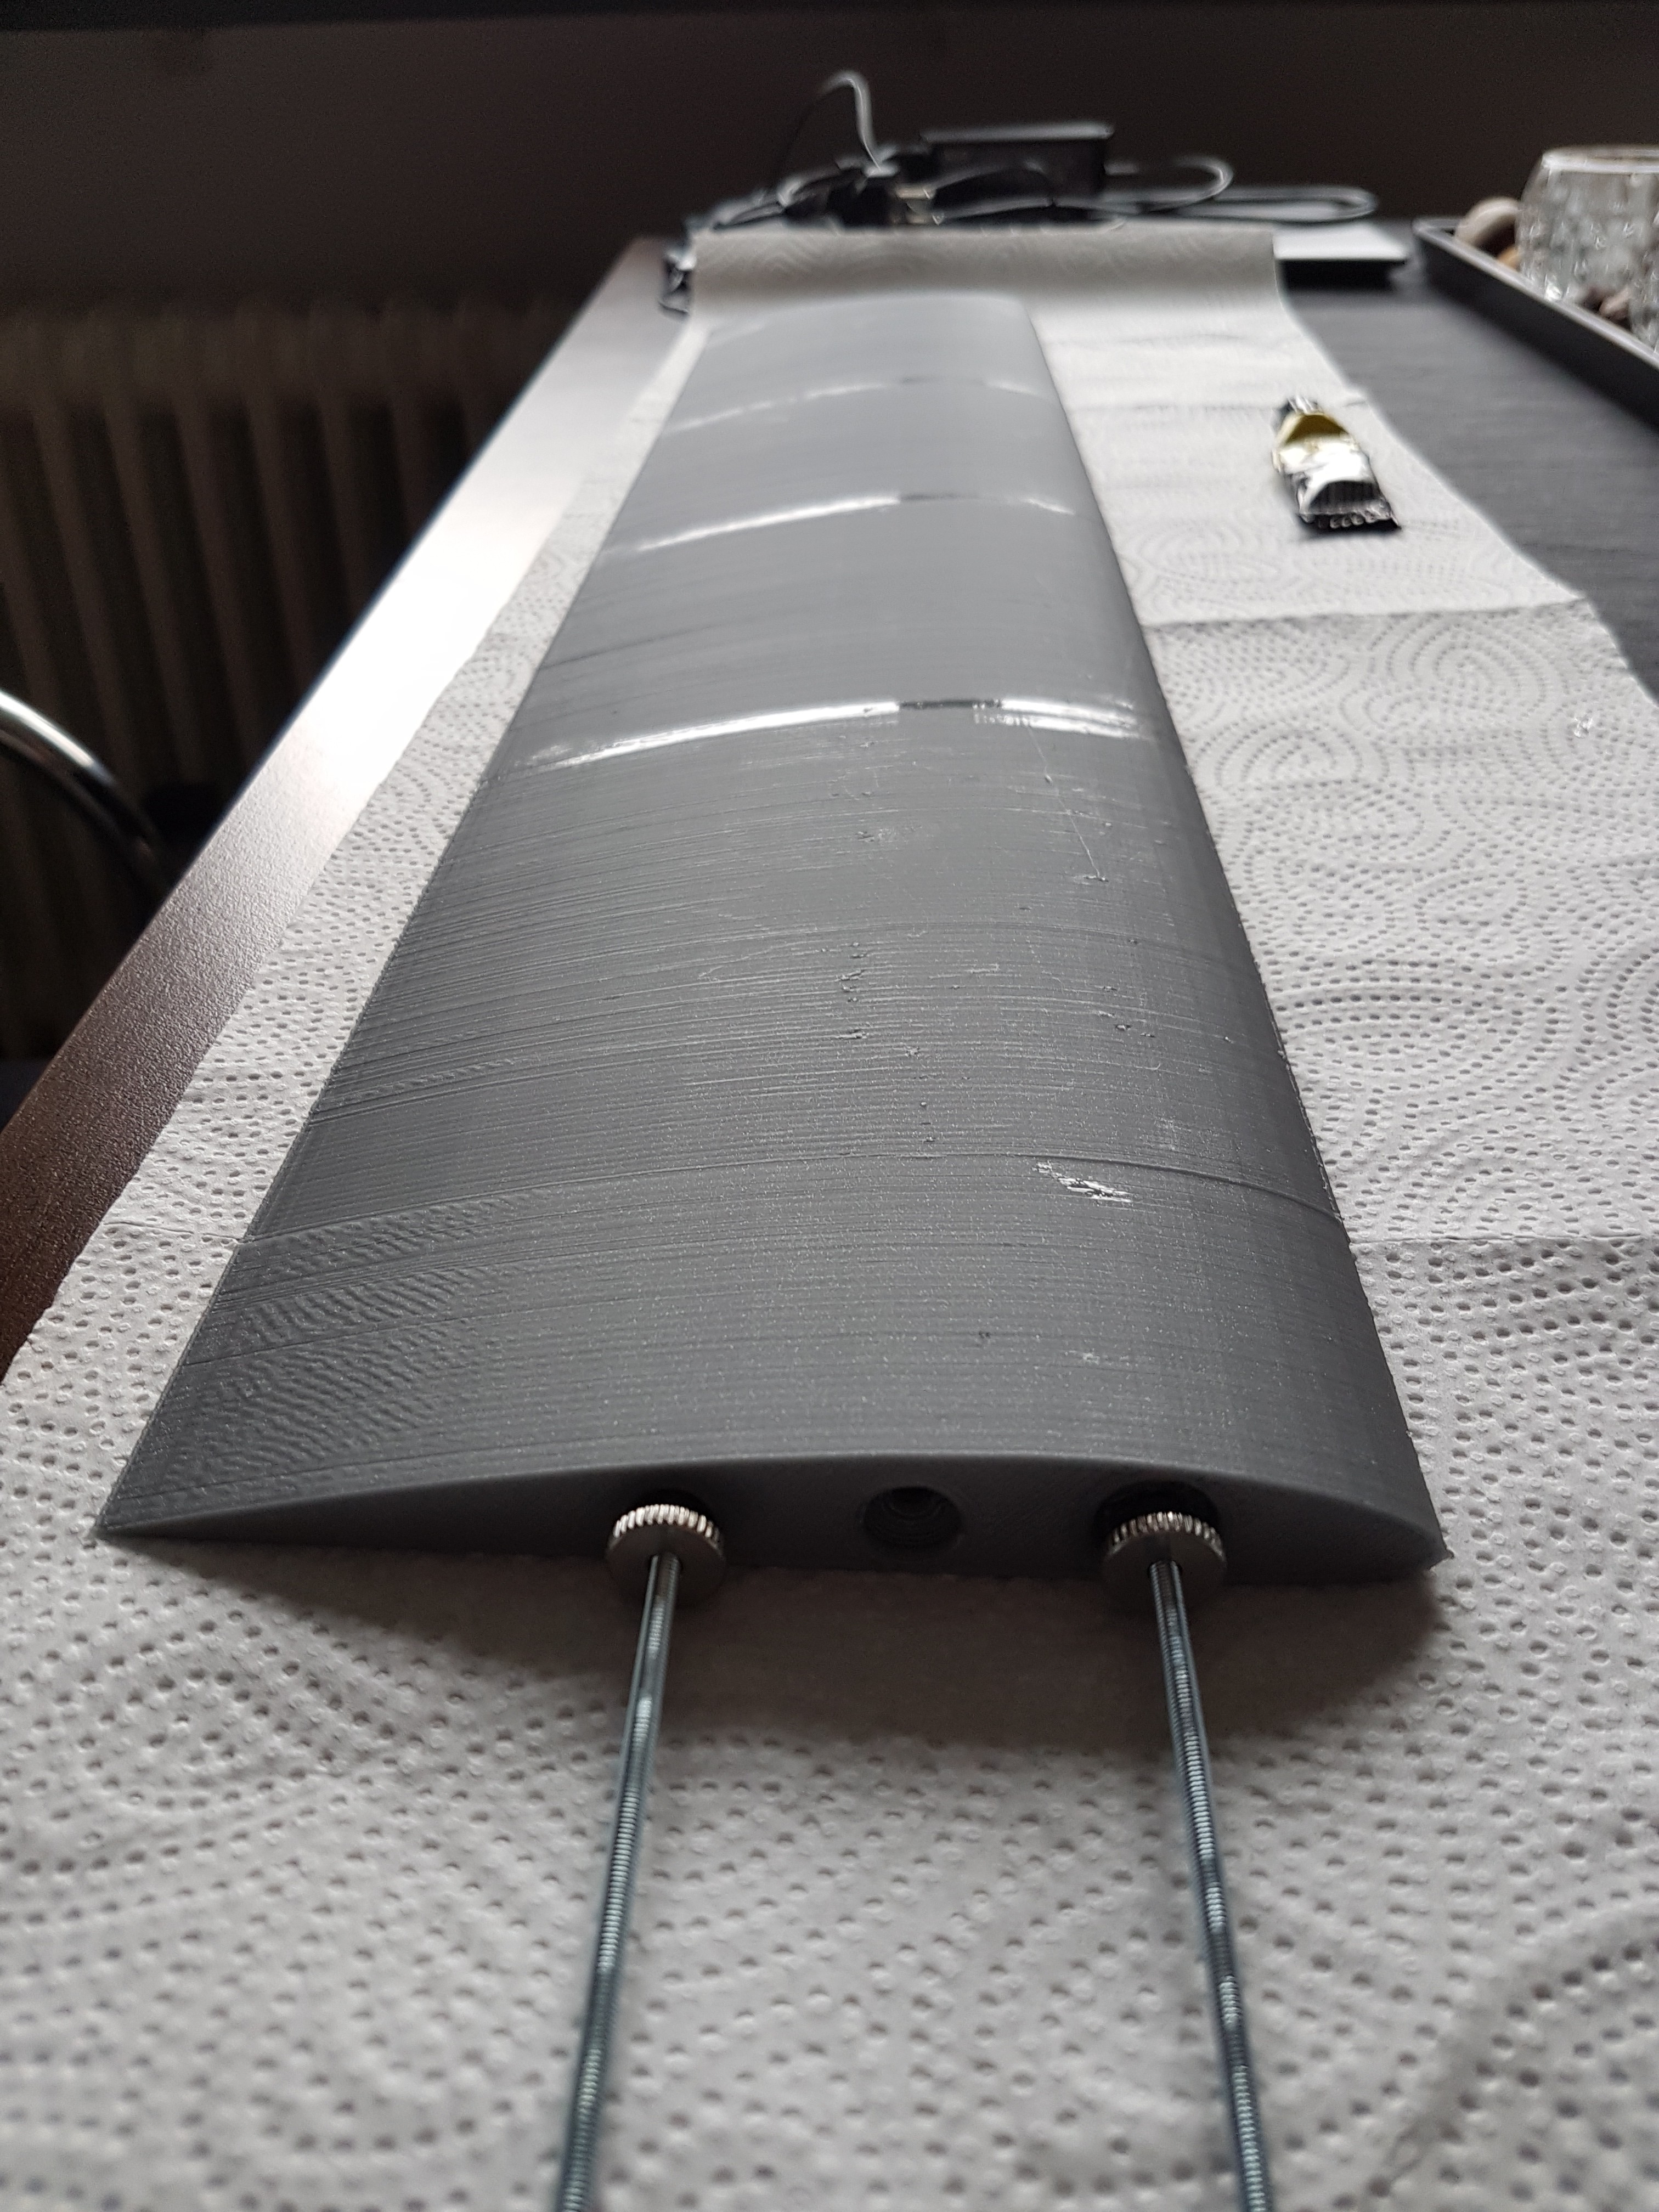
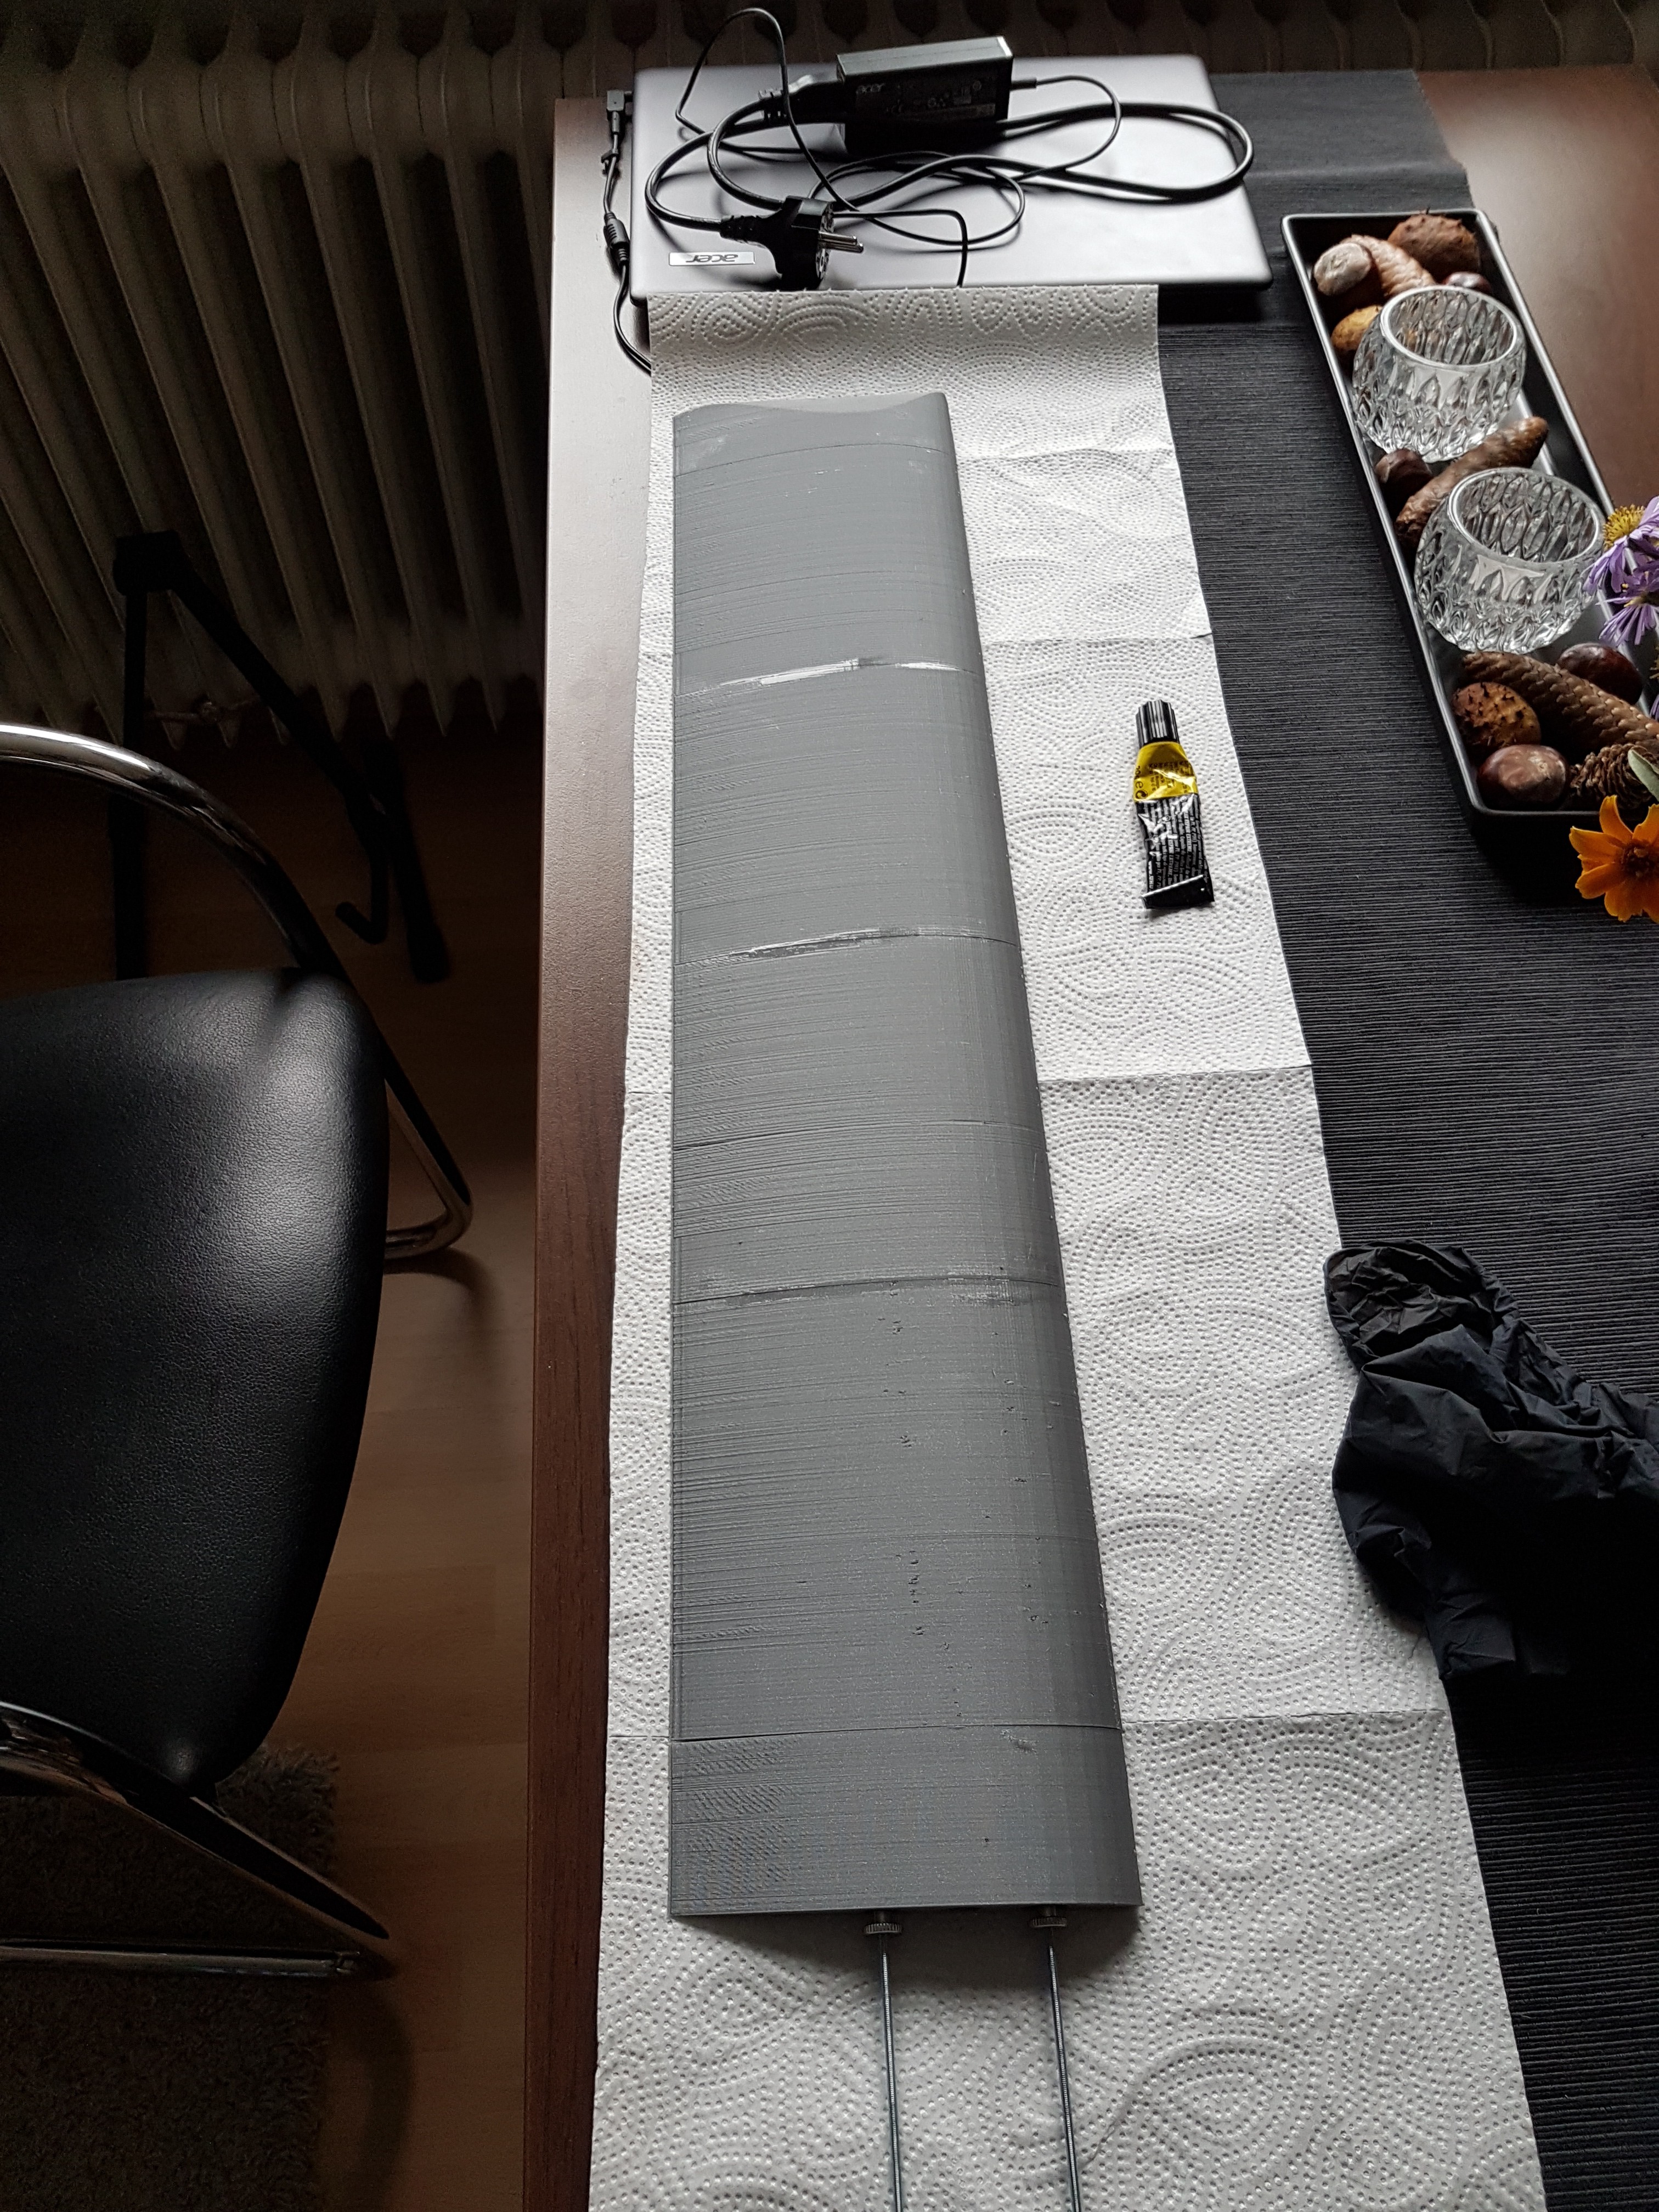
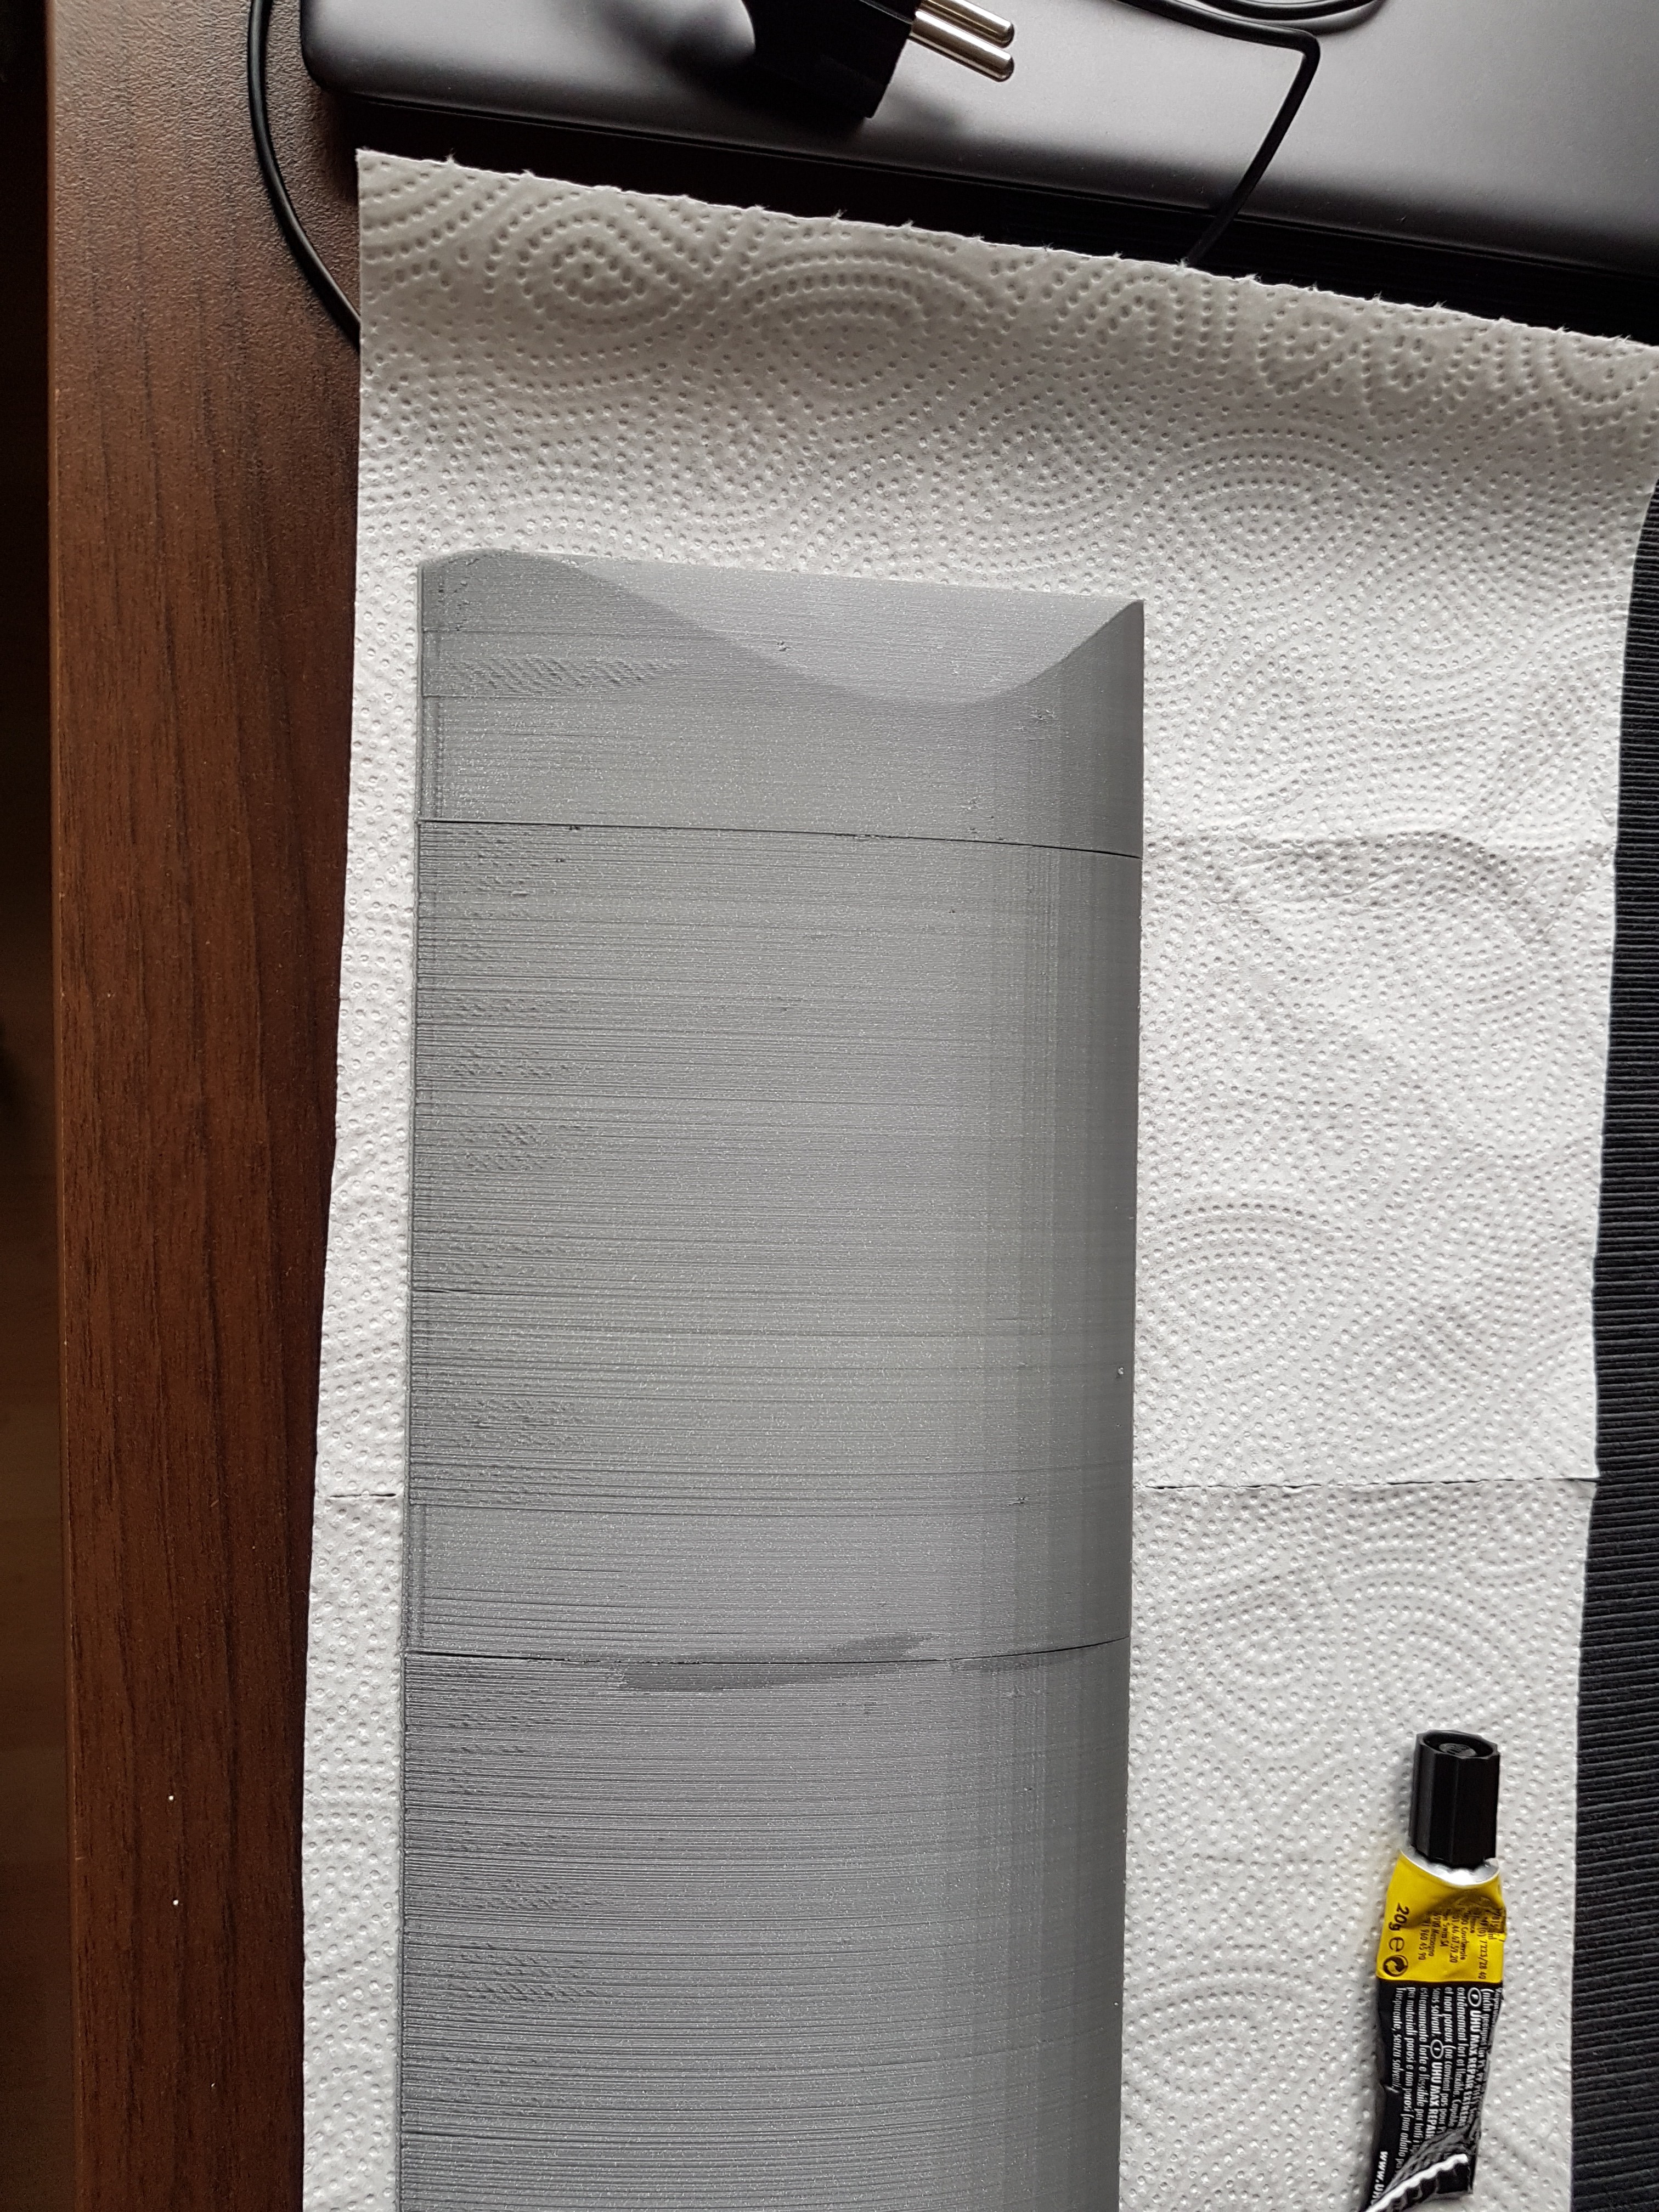
WinDIY Wing Mark1 construction
06/10/2020 at 18:23 • 0 commentsI was already very satisfied with the weight of the "WinDIY Wing Mark1". A little over 500 grams was less than I initially expected.
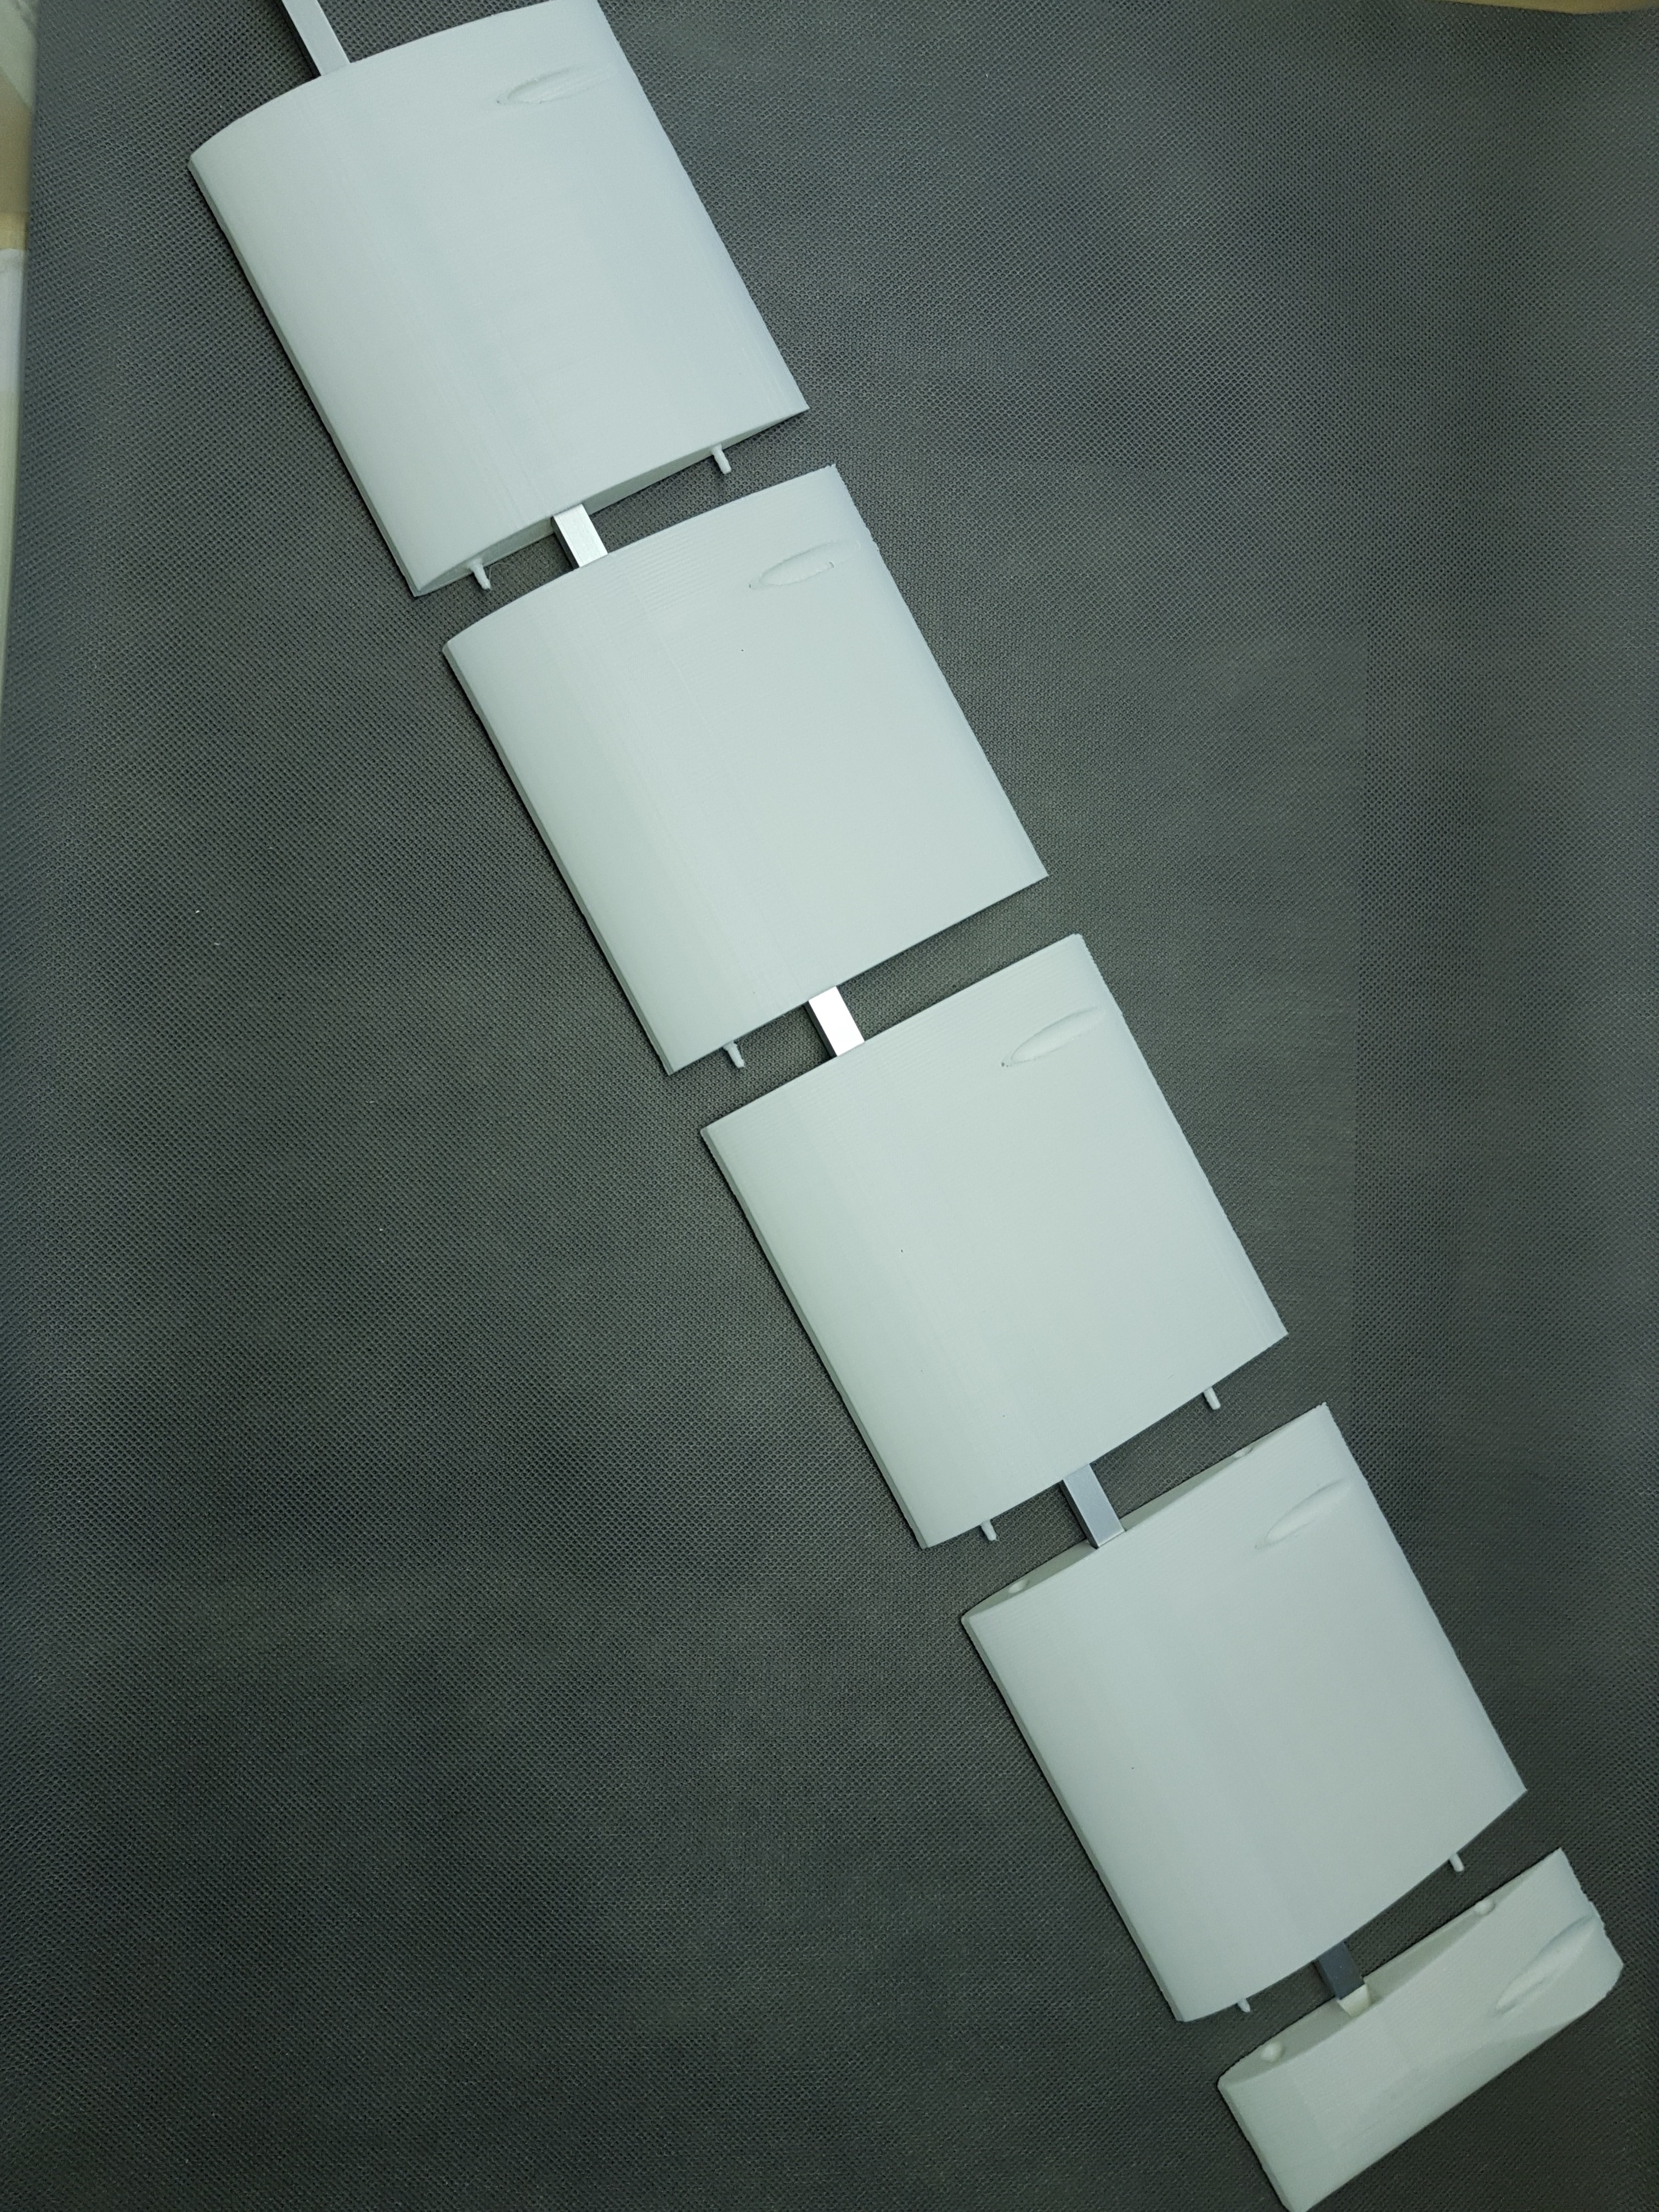
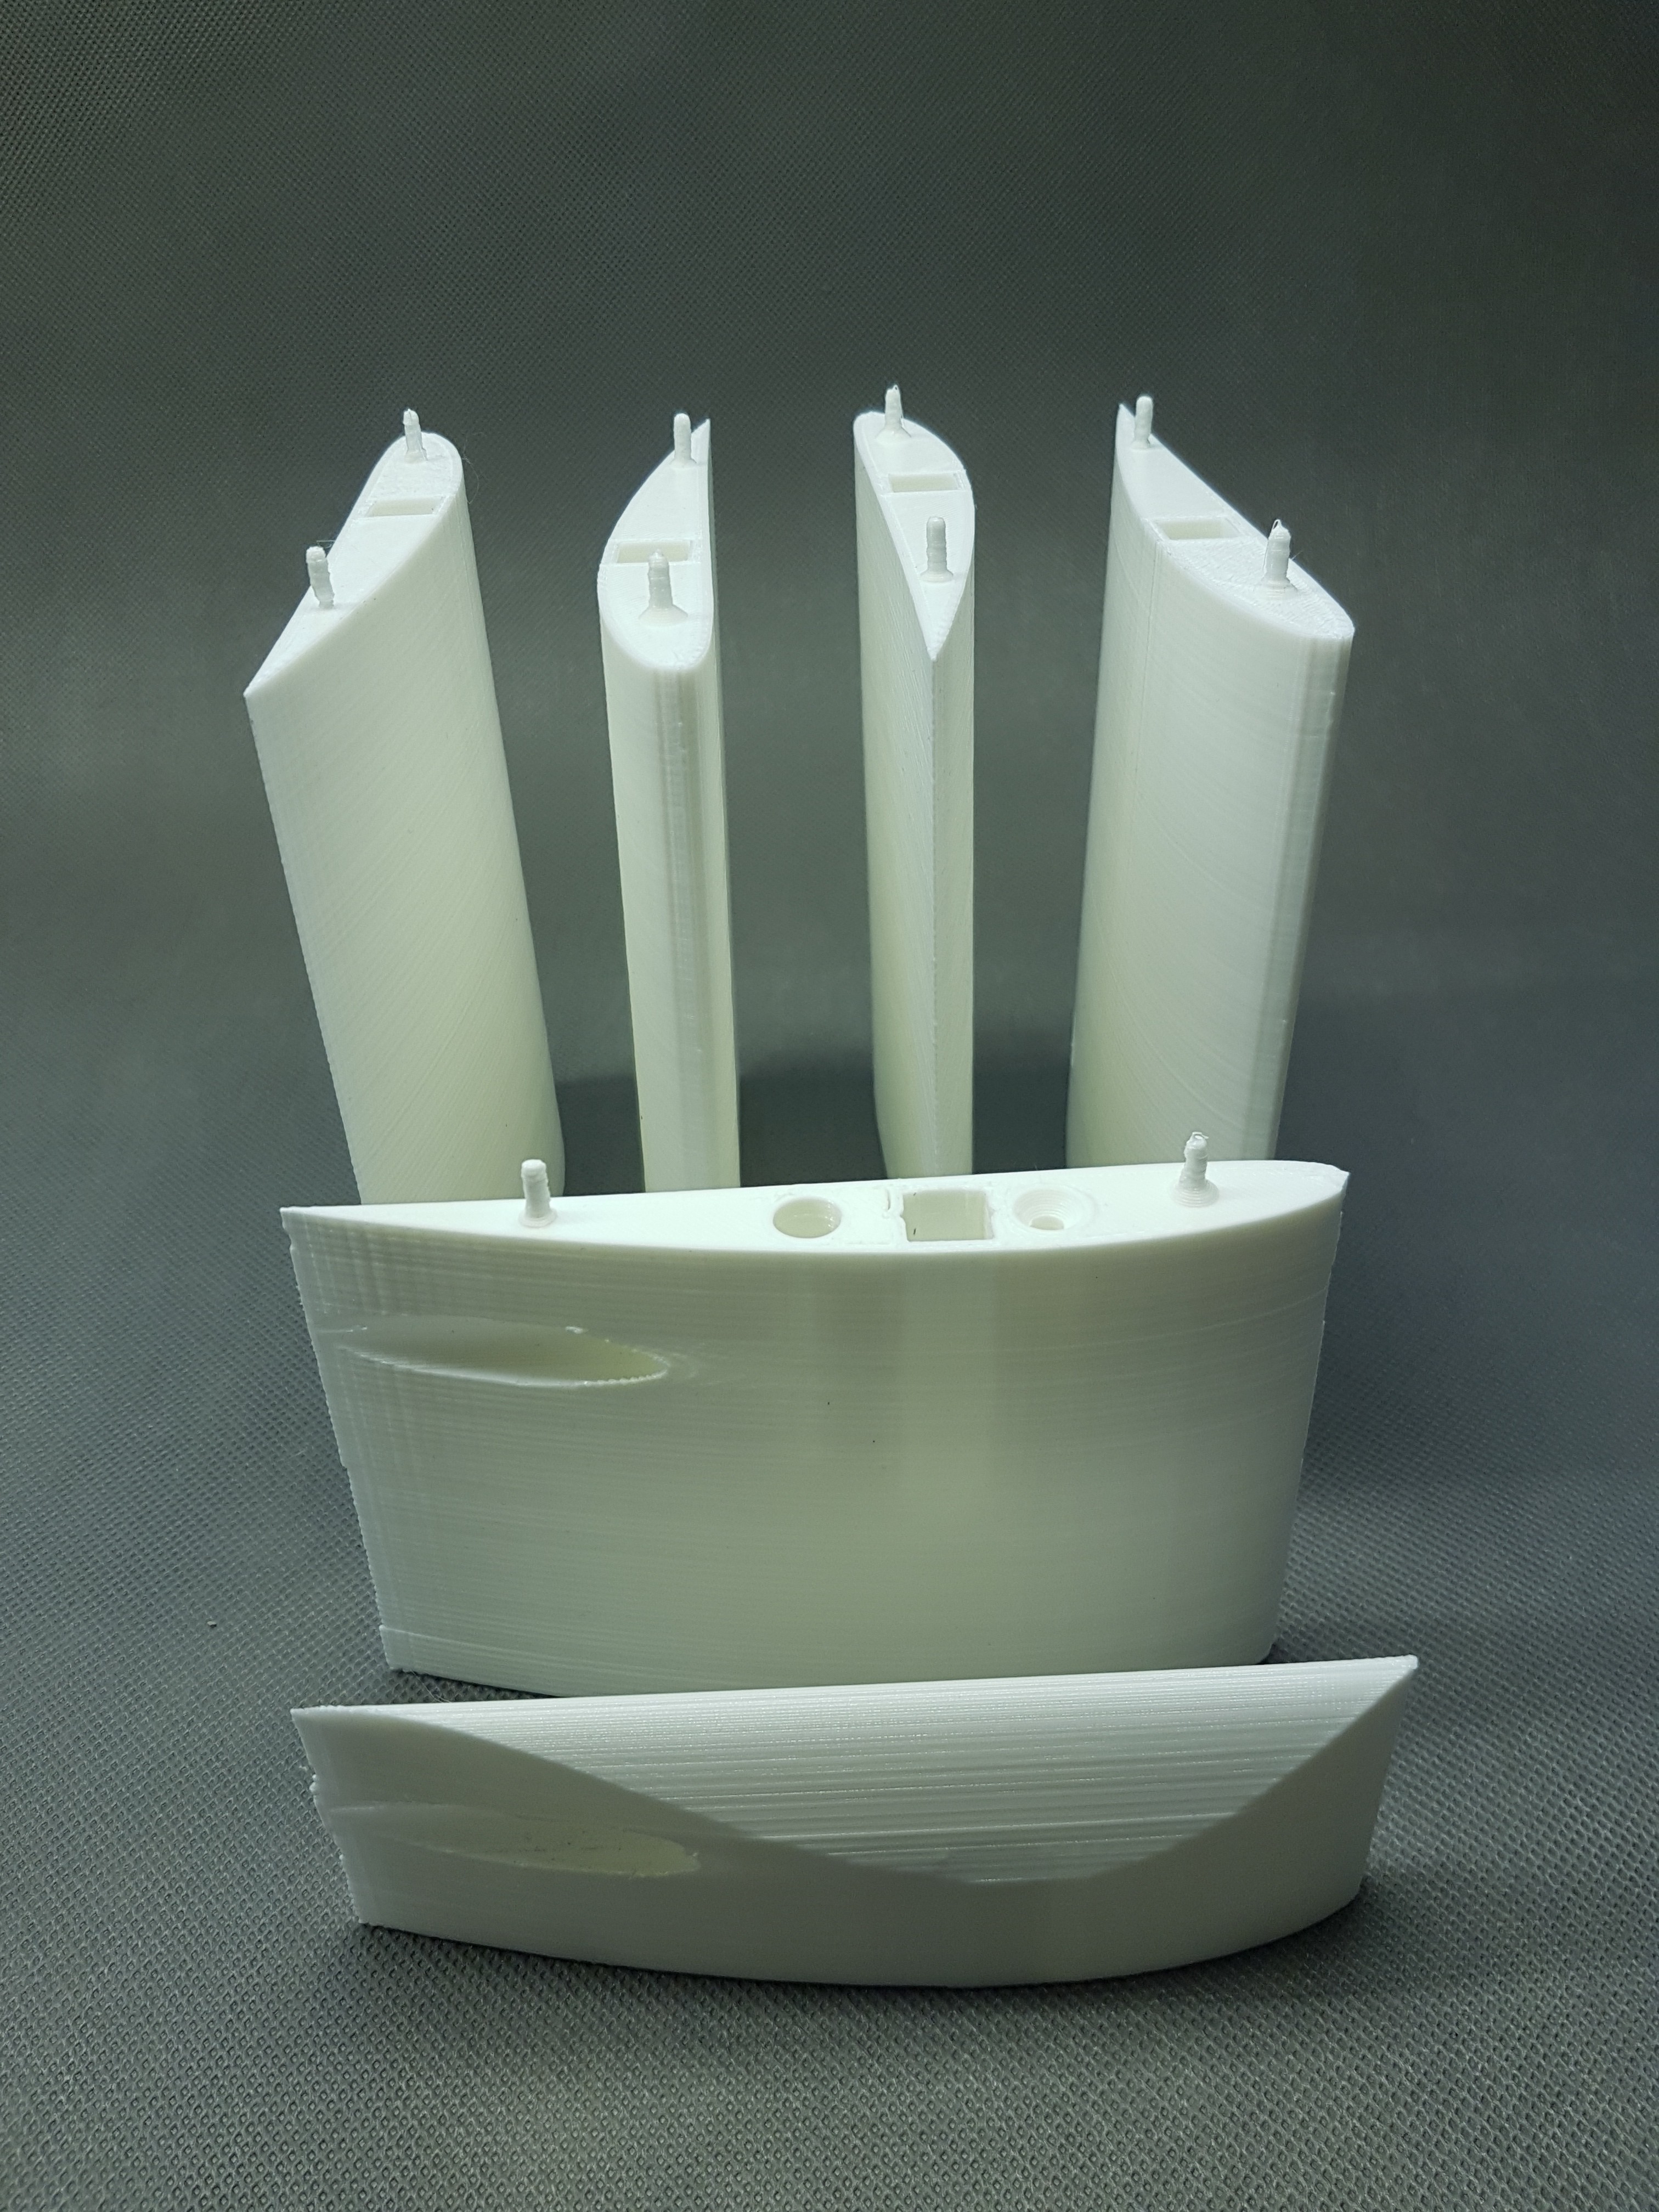
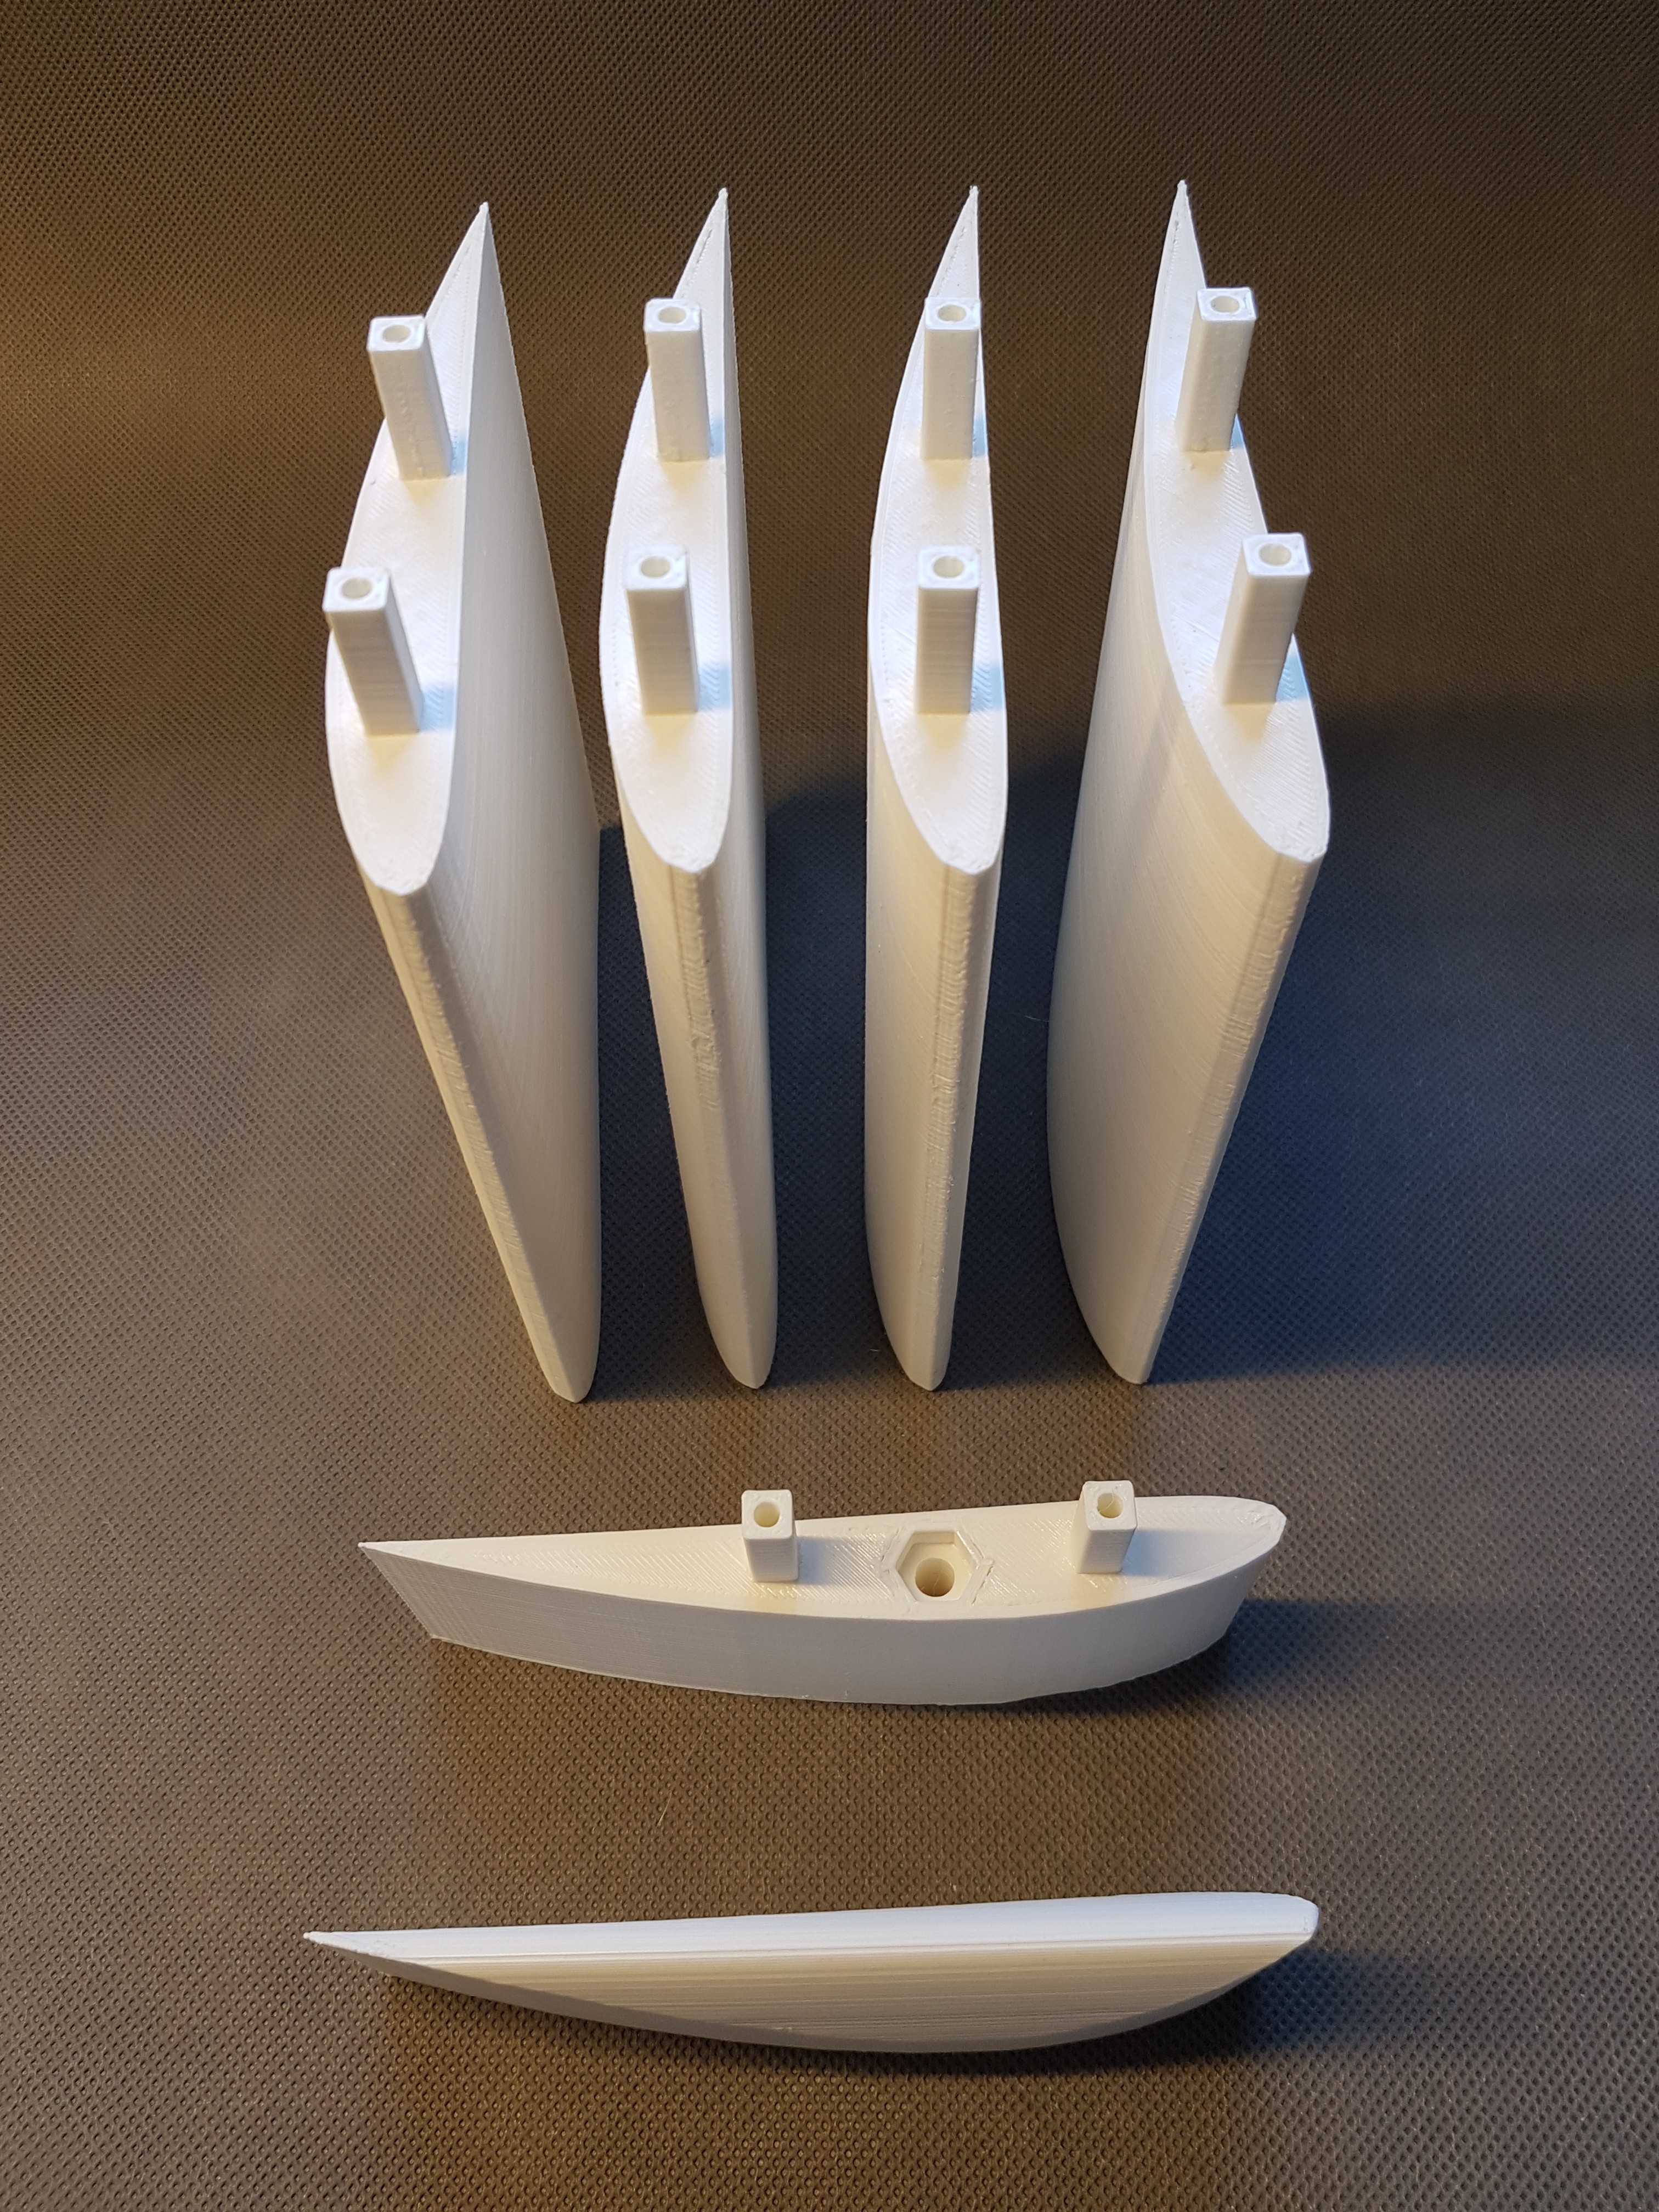
The whole construction consisted of four 15 cm long middle parts, an end cap and the base piece with which the wing was later to be connected to the hub. The whole is held together by two M3 threaded rods. The connection to the hub is made using a 10cm M6 screw.
This screw is part of which I am still not quite sure whether it is correctly dimensioned. Because it doesn't just have to endure the power of the wind from the front. In addition there is the centrifugal force due to the rotation. In addition, the angle of attack of the wing should also be adjustable via this screw.
![]()
![]()
![]()
![]()
![]()
-
WinDIY Wing Mark1
06/10/2020 at 18:15 • 0 commentsI have worked my way up to the current status for WinDIY over a few iterations. I started with the wings. Relatively quickly, I decided on the wing profile shown. In the beginning it was the plan to connect the individual 15cm long elements with M3 threaded rods and thus to build a stiff wing. The individual elements were also glued.
![]()
![]()
![]()
![]()
WinDIY - HAWT Wind turbine
Mostly 3D printed HAWT windturbine incl. 3D printed disk-generator and brake system.