-
1Prepare the case
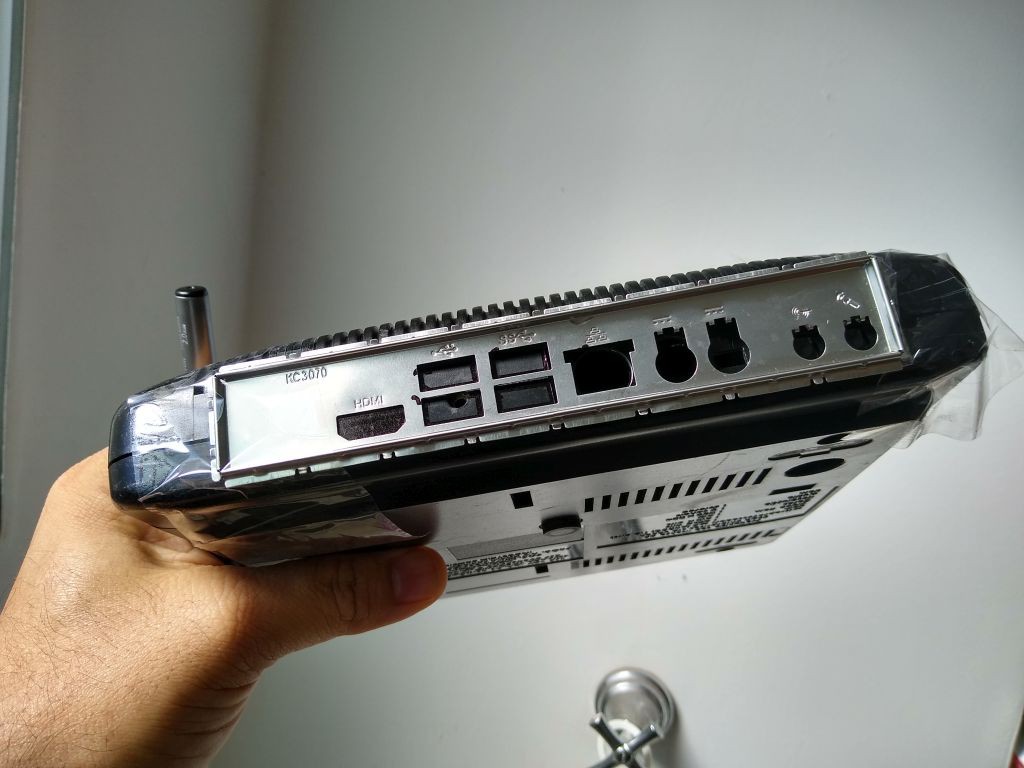
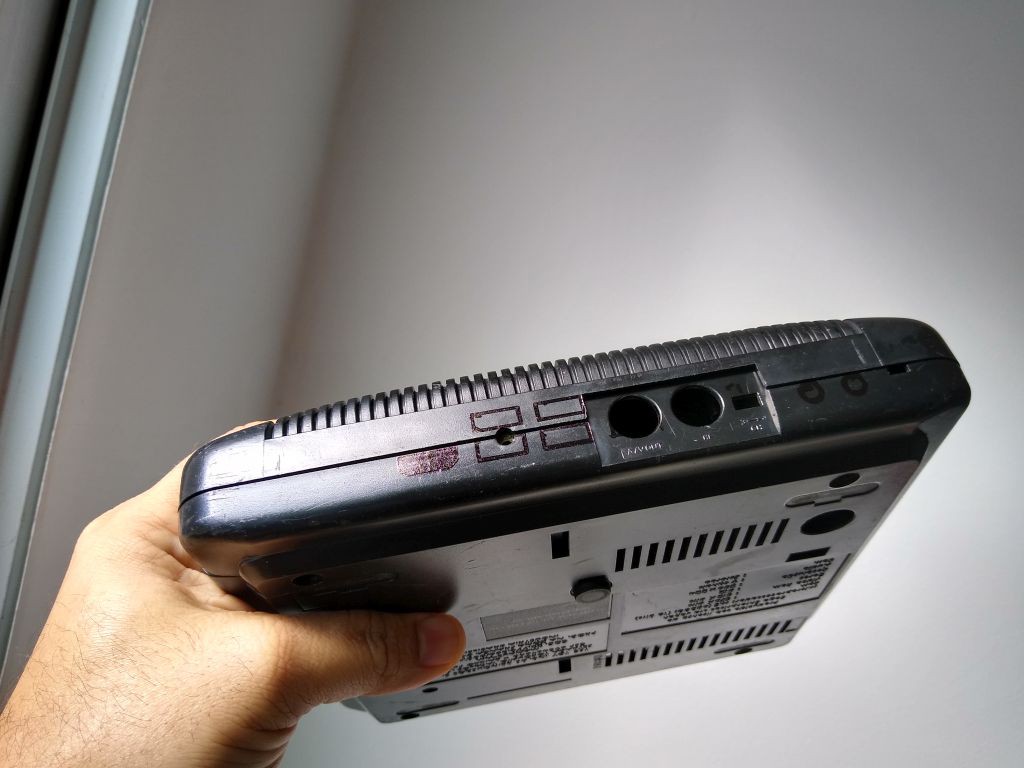
Use the metal cover that comes from the motherboard to mark where to cut.
![]()
![]()
-
2Cut The case - Bottom
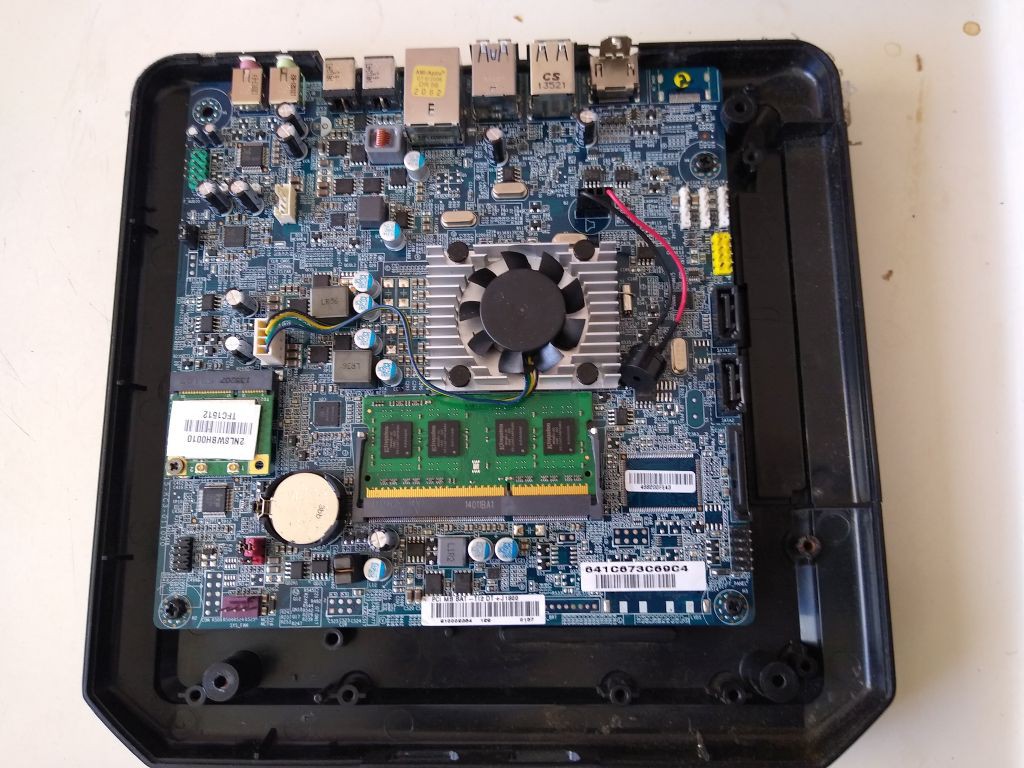
Cutting the case is an iteractive task. All the time you have to check if there's something jamming the motherboard. Try to cut as minimum as possible, specially the parts used to hold the case together with screws. For this project one mounting pole was sacrivfied leaving the other 3 to be used to hold the case.
![]()
![]()
![]()
-
3Cut the case - TOP
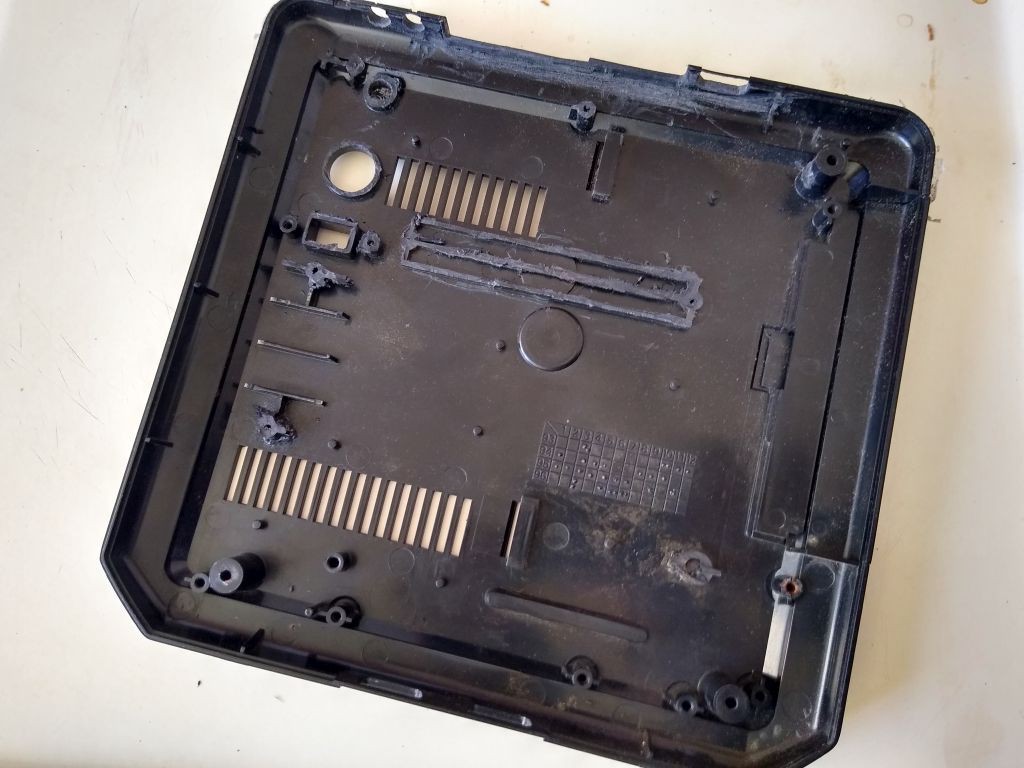
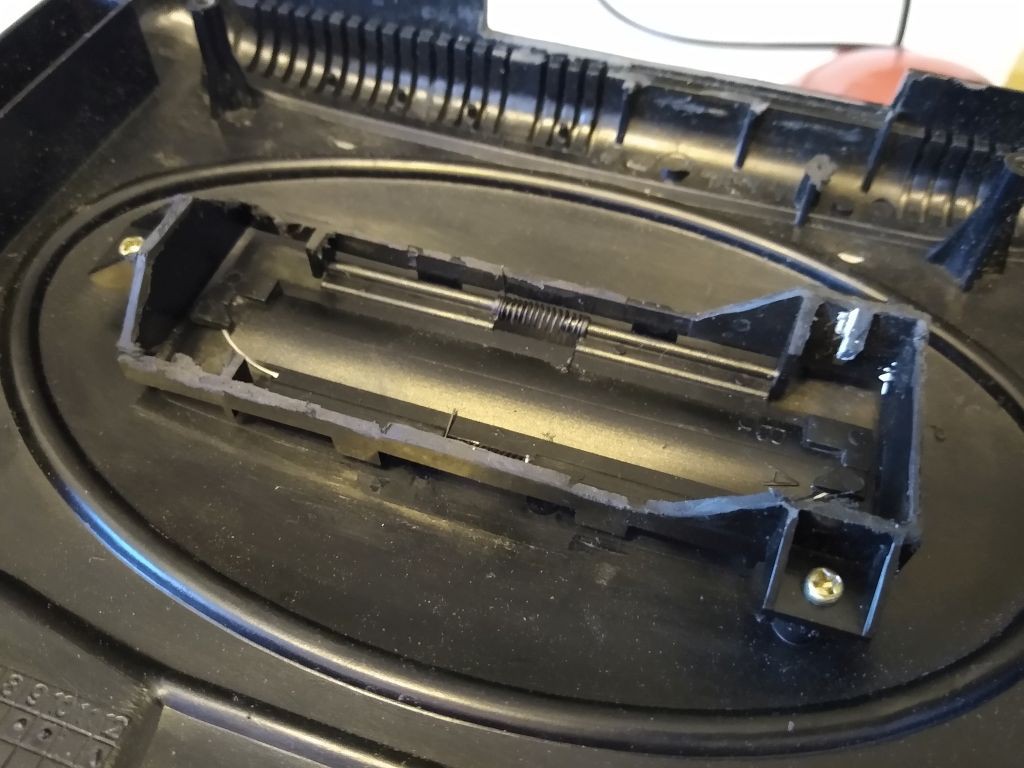
With the motherboard was fixed on the bottom of the case (using superglued plastic hexnuts/standoffs) it is time to remove any plastic piece that touches the motherboard preventing the case to close. As before remove the minimum amount of plastic as necessary.
![]()
![]()
-
4Power and Reset Switches
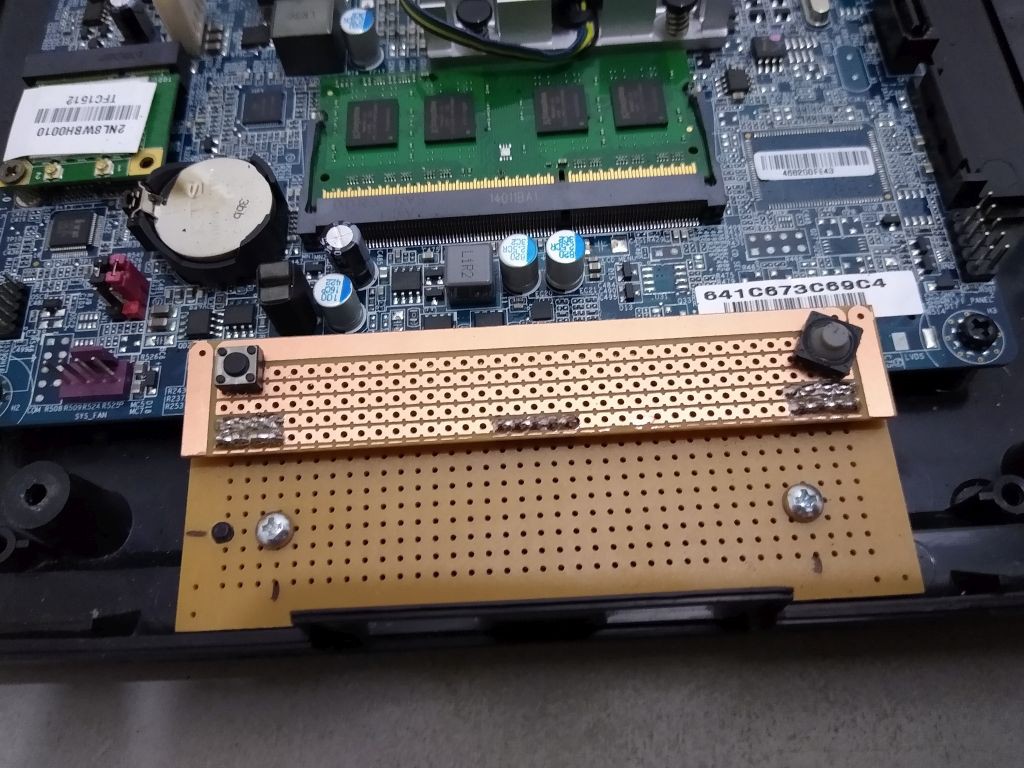
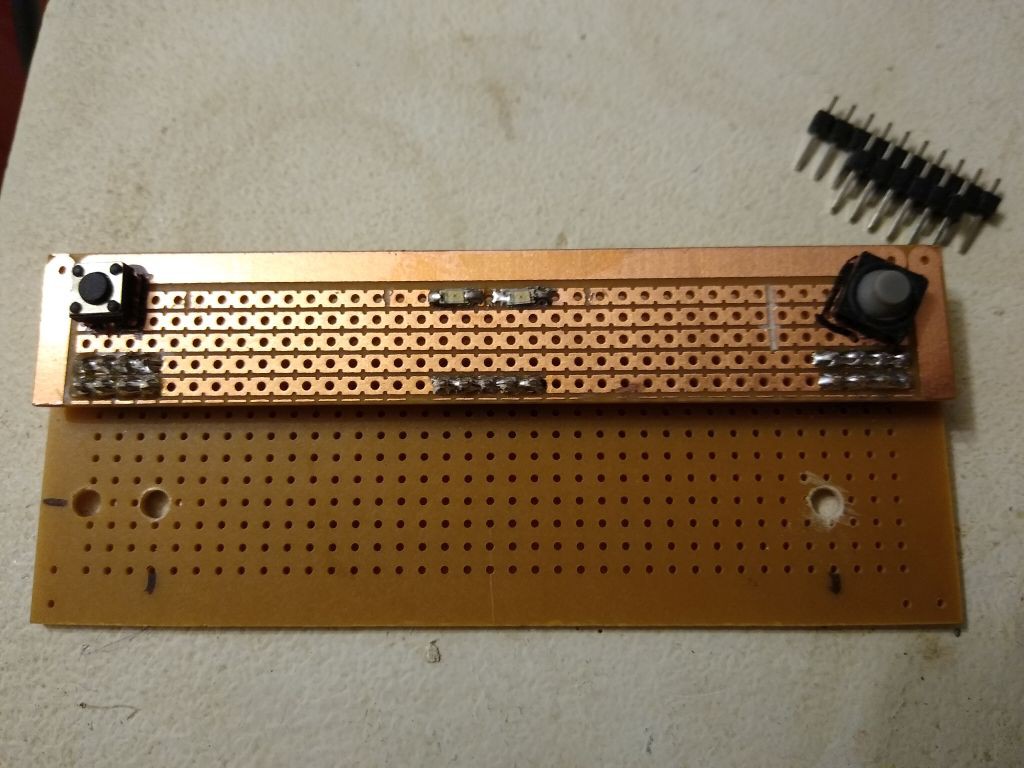
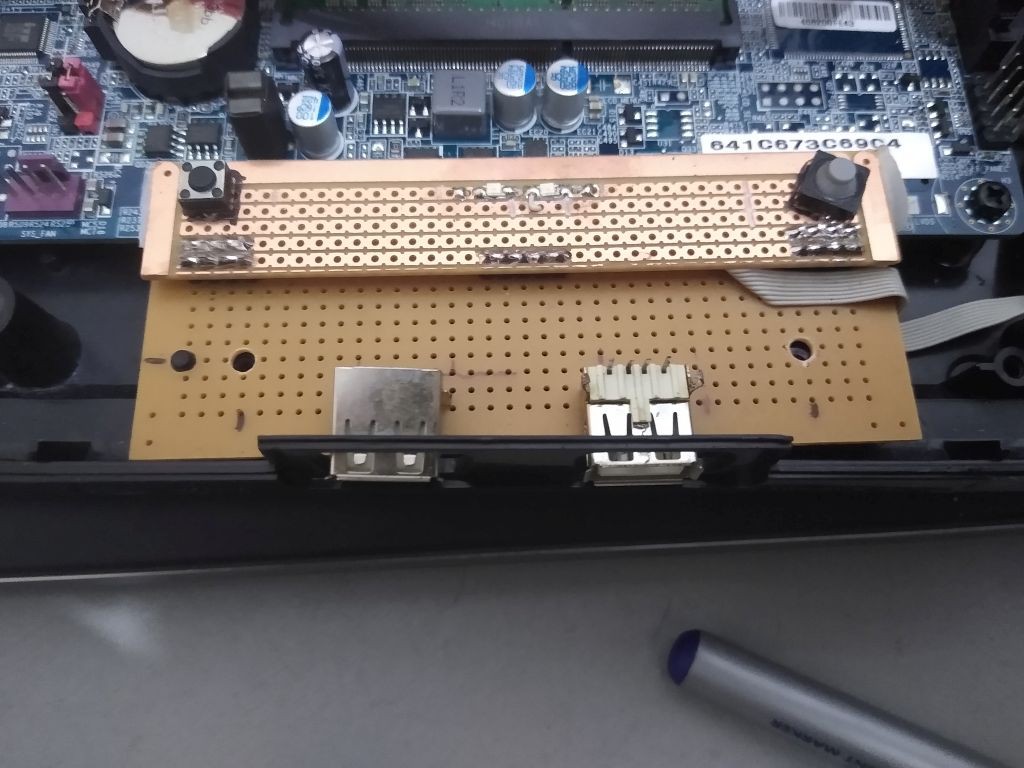
As the power and reset switche caps on the case were located above the motherboard, a couple of pieces of veroboard were used to raise the push buttons and place them right below the caps. The two pieces of veroboard were together held by 0.1" pin headers and attached to the bottom case using screws.
The power/reset button caps were removed and the top cover was installed to mark center of the push buttons on the veroboard, then the pushbuttons were positioned to best match the centers yet using the existing veroboard holes to pass through their terminals.
I would normally design a custom PCB for that but in times of Covid-19 I've sticked to the parts I have in home. The same apply to the pushbuttons, I didn't have both with rubber caps, but nevermind, the one from the left was replaced after by a push switch because the power buttons was too loose (wobbling).
![]()
-
5Power and HDD activity LEDS
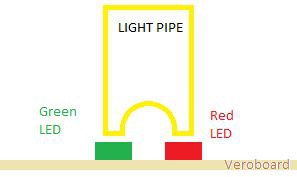
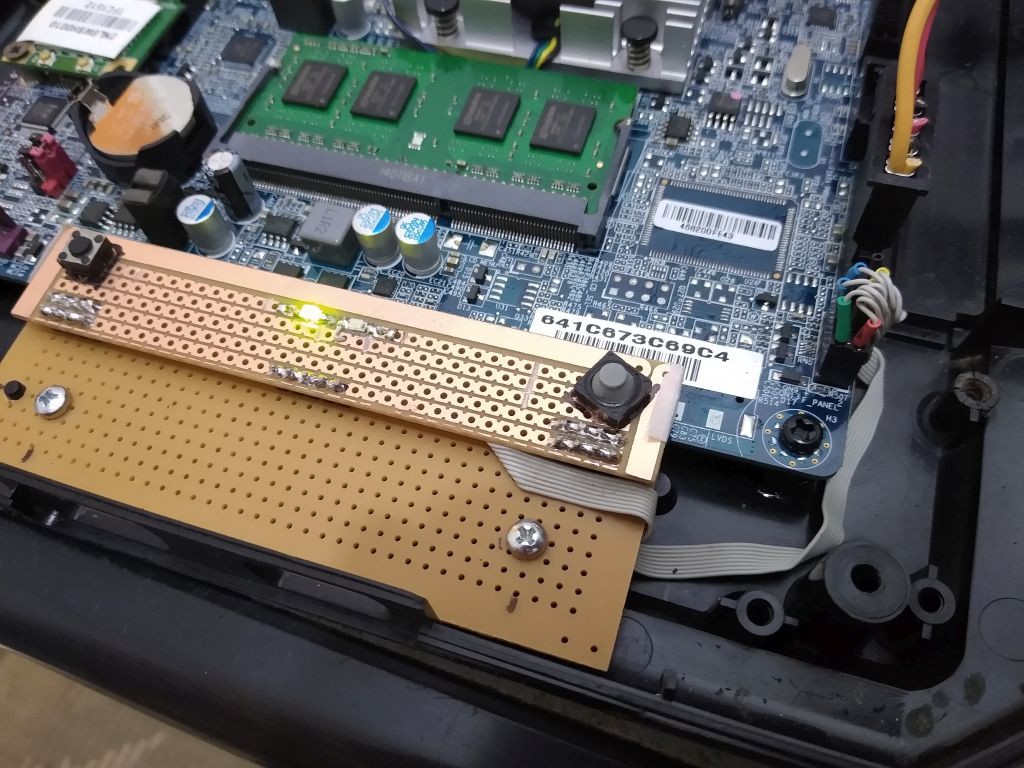
Two SMD LEDs were soldered to the veroboard using the plastic optical pipe from the case as a mounting reference.
![]()
![]()
-
6Push Button and LED Wiring
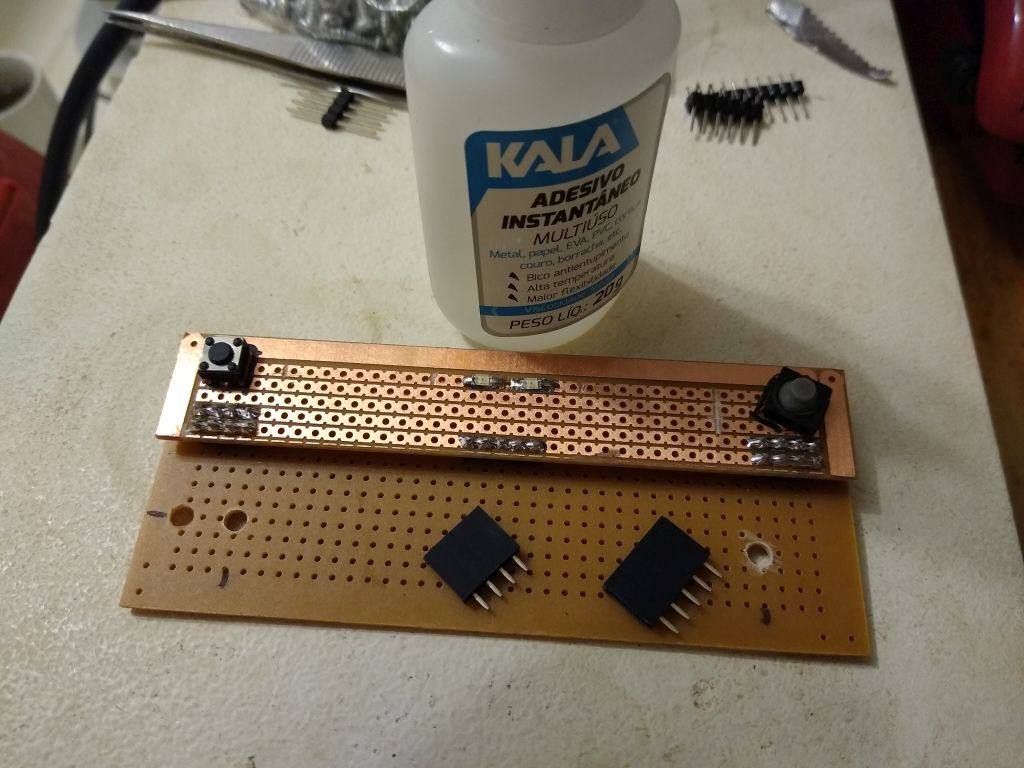
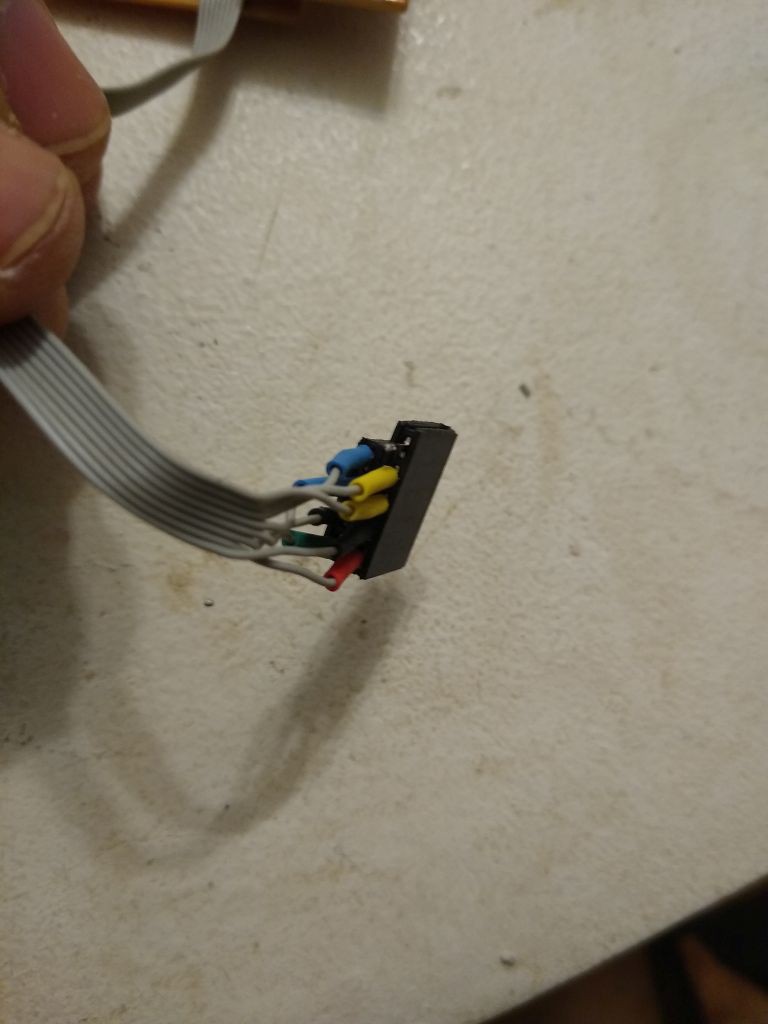
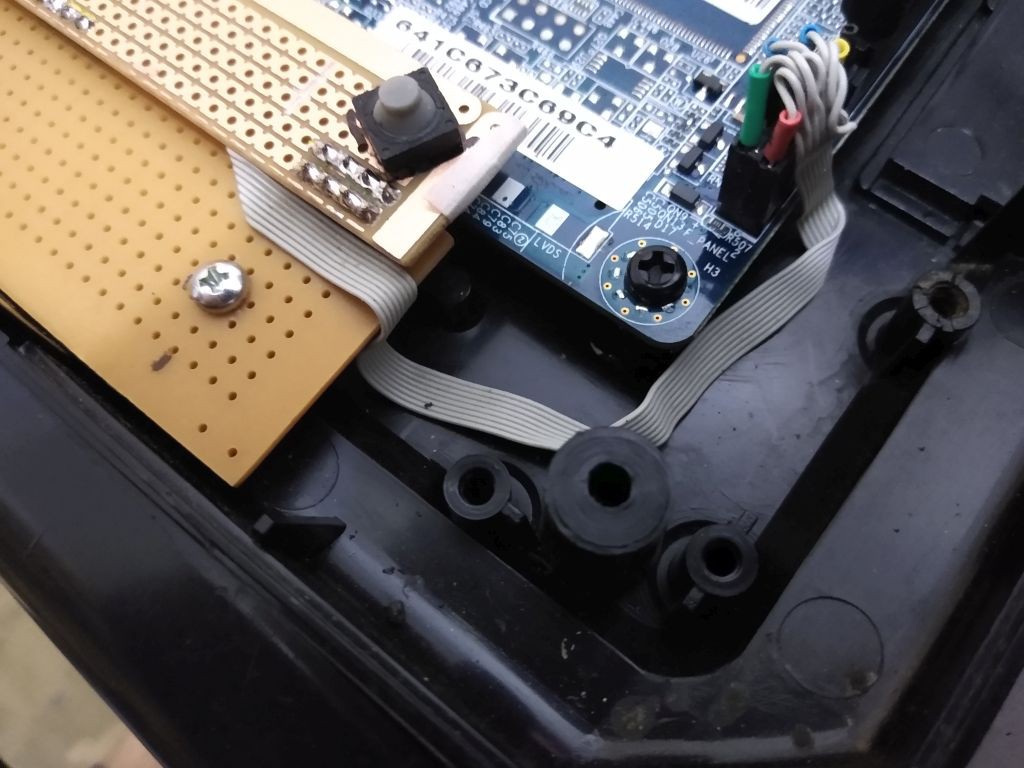
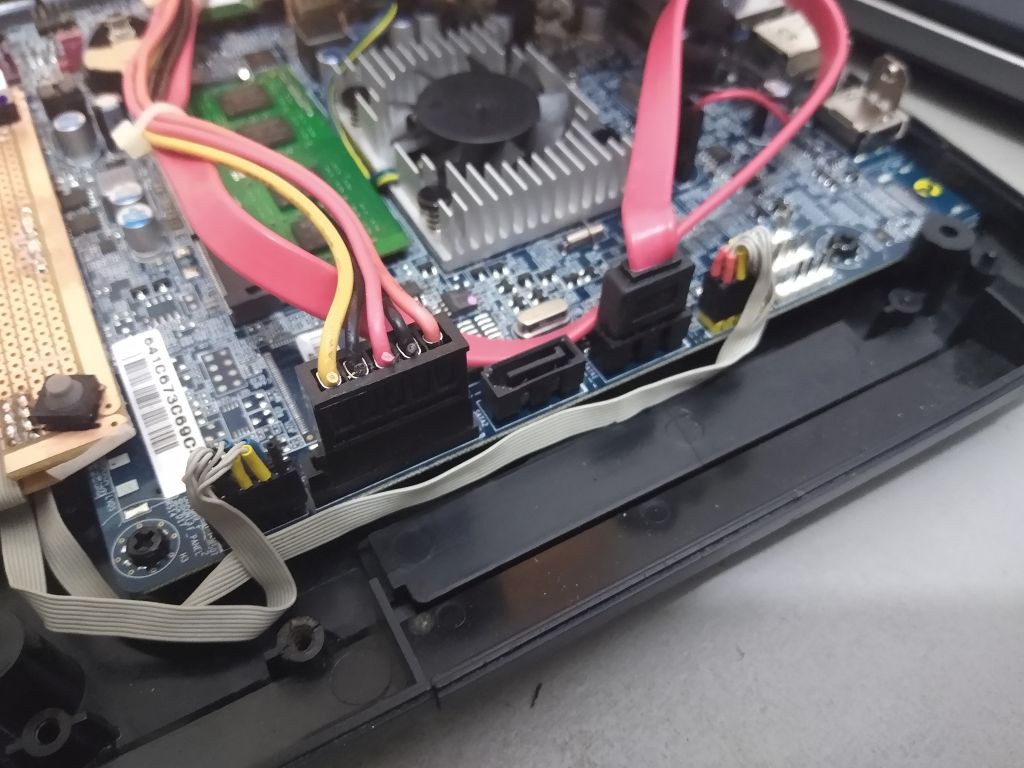
Two pieces of couple of 0.1" socket strip pieces were superglued and the motherboard pinout as a reference to build a custom cable to connect the switches and LEDs. The RED color was used for HDD activity and the GREEN was used for power.
![]()
![]()
![]()
![]()
-
7Front USB connectors
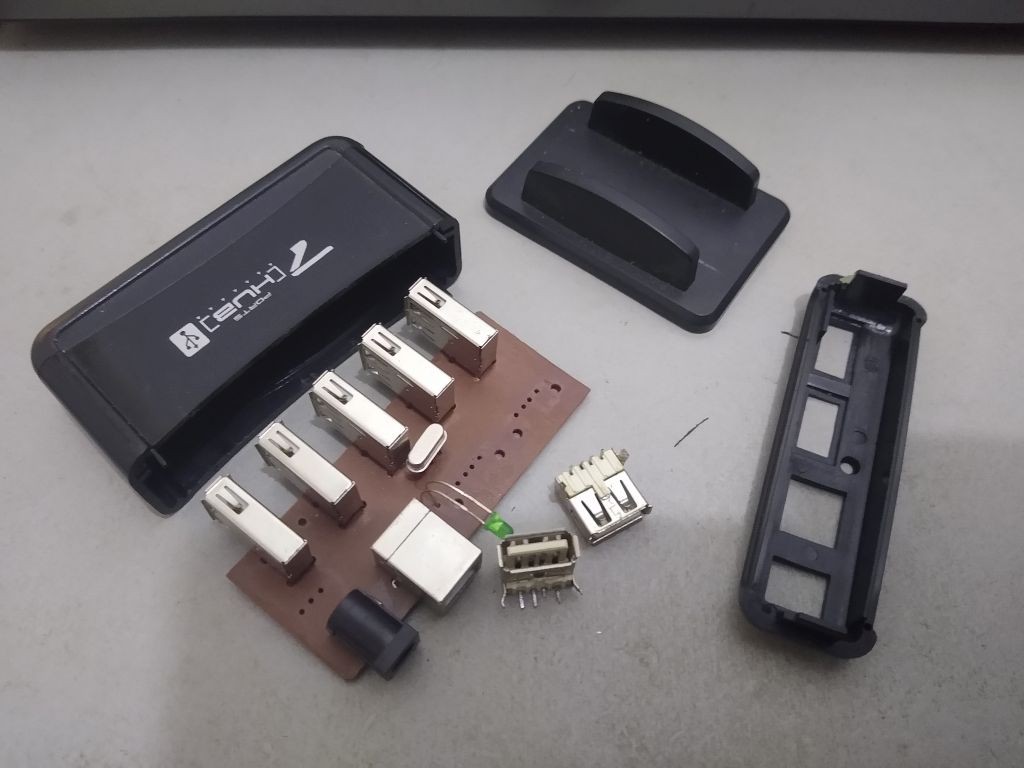
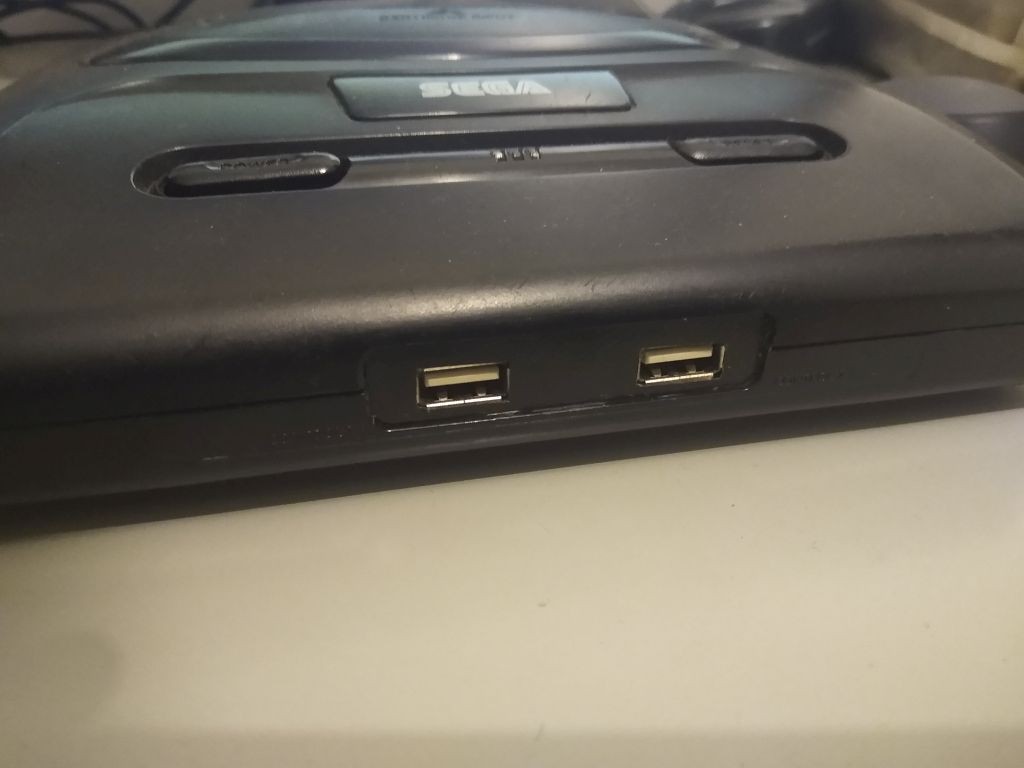
The front USB conectors were taken from a damaged USB HUB that I had i my scrap bin. They have been positioned to match as close as posible to the center of joystick inputs yet having their terminals aligned to the veroboard holes.
![]()
![]()
-
8USB wiring
USB wiring was also custom made using 0.1" socket strip.
![]()
![]()
![]()
-
9Final touches to the case
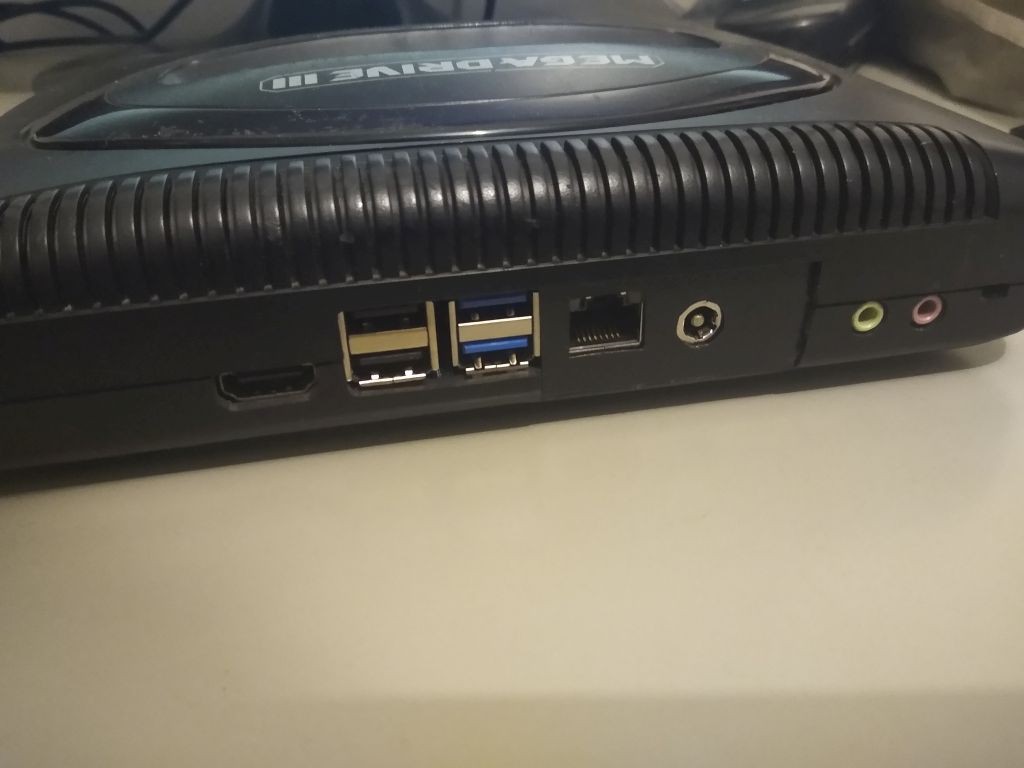
A finishing plate were custom build for the front USB connectors and for the rear connectors on the back of the case. The holes were marked using a translucent plastick sheet that were in turn used to guide the cuts that were done on a black plastick sheet. The finishing plates were glued using contact rubber.
![]()
![]()
-
10Installing Operating System and Drivers
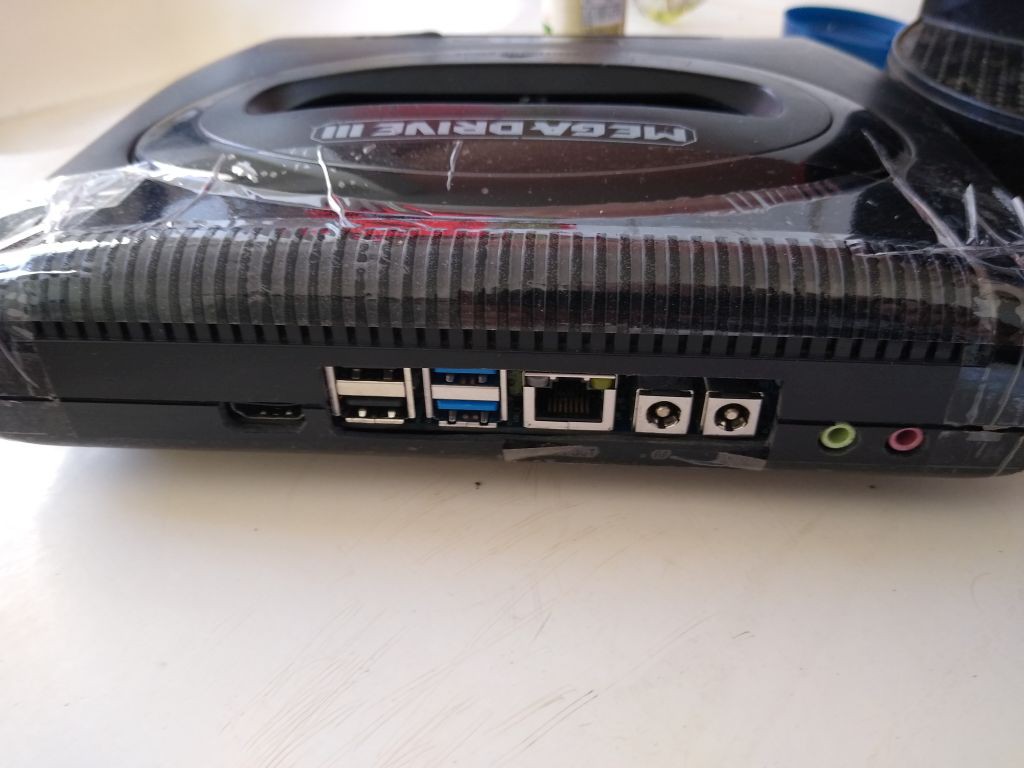
The installation of Windows 7 on such motherboard was a challenge due to the fact that Windows 7 does not support natively the USB engine from the motherboard which has no PS/2 connectors as well.
That required Windows to be installed using the HD on another computer along with Auto-It that is a scripted automation tool.
A script to install the USB drivers were written and added to the windows Startup folder. The script launched the USB driver installer and simulate the mouse and keyboard actions necessary to went the installation process.
As the Intel Driver only works on the target machine, it was necessary to iterate about 10 times, moving the HD back and forth between the machines to get the script running up to the point that the drivers were installed.
The final script
Run("C:\Users\MyUser\Desktop\Intel\BayTrail\Setup.exe")
Sleep(2000)  ; pause 2 second
MouseMove(600, 300)
MouseClick($MOUSE_CLICK_LEFT)
Sleep(2000)  ; pause 2 second
send ("{ENTER}")
Sleep(2000)  ; pause 2 second
send ("{LEFT}{ENTER}")
Sleep(2000)  ; pause 2 second
send ("{ENTER}")
And the final script run can be seen on the video. On the next boot the USB drivers for the mouse and keyboard have been installed and working so far (I am writing it using the Megadrive PC computer):
 danjovic



Discussions
Become a Hackaday.io Member
Create an account to leave a comment. Already have an account? Log In.