-
Making boards with 3D printers
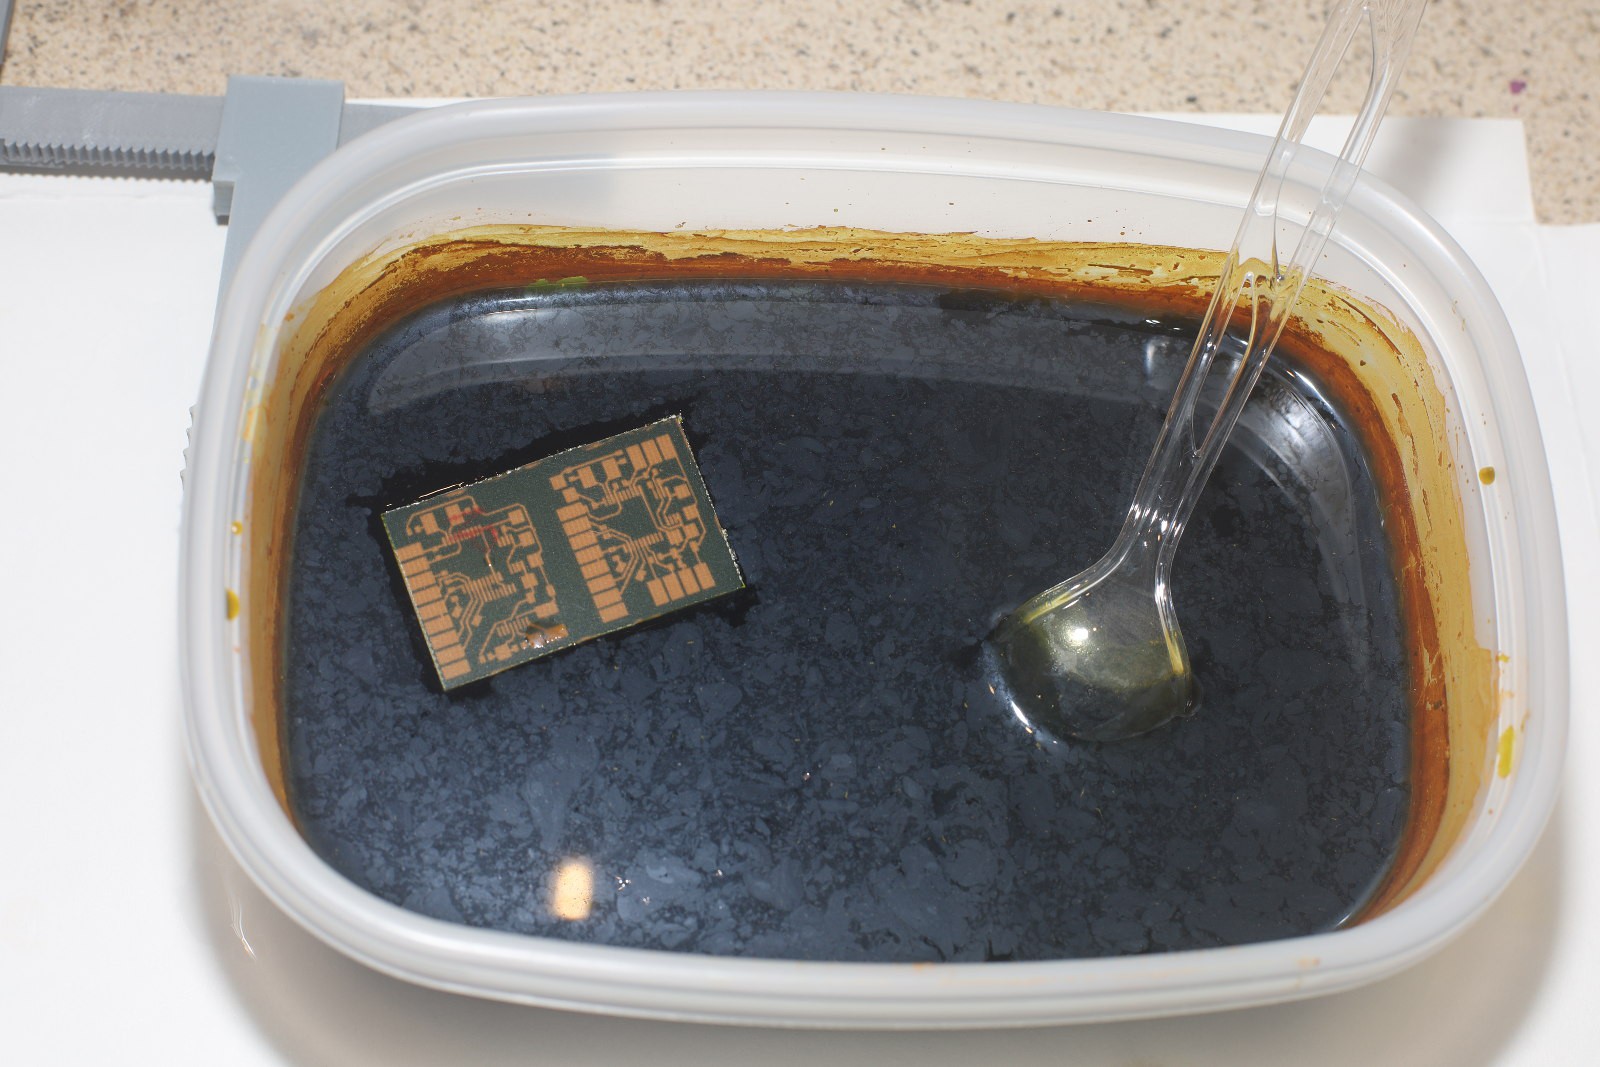
12/29/2021 at 06:34 • 0 commentsThere are a few new methods of etching boards with resin printers. 1 method is to create a single protective layer of resin on top of bare copper. The mane challenges are evenly spacing the copper from the LCD, completely cleaning the uncured resin, & then removing the cured resin after etching. The mane advantage is it doesn't require any NaOH & it might be cheaper than photosensitized copper.
Another method places a photosensitized board directly on the LCD & exposes it to the UV with no resin. This still requires the good old NaOH stage but is the most promising. Transparencies for laser printers aren't going to be made forever & are a pain to print & stack.
Unfortunately, resin printers are extremely expensive for lions. The crummy resin printers are slightly under $200.
Finally, there was a guy who used an FDM printer to print a protective layer on bare copper. The trick with this is getting the filament to adhere to copper. Only TPU worked. It takes some doing to remove the TPU after etching. It would also require a .2mm nozzle to get any reasonable precision. It probably isn't good enough for a .4mm QFN.
After etching boards for 12 years, lions would say the biggest problems are getting the right NaOH concentration & creating 2 laser printouts which can be stacked, both of which 3D printing offers some hope of solving. It just isn't there yet. A better solution might be printing a filament which dissolves in alcohol, but it just shows how optimized UV photoresist is for the task.
-
Board pliers MK 5
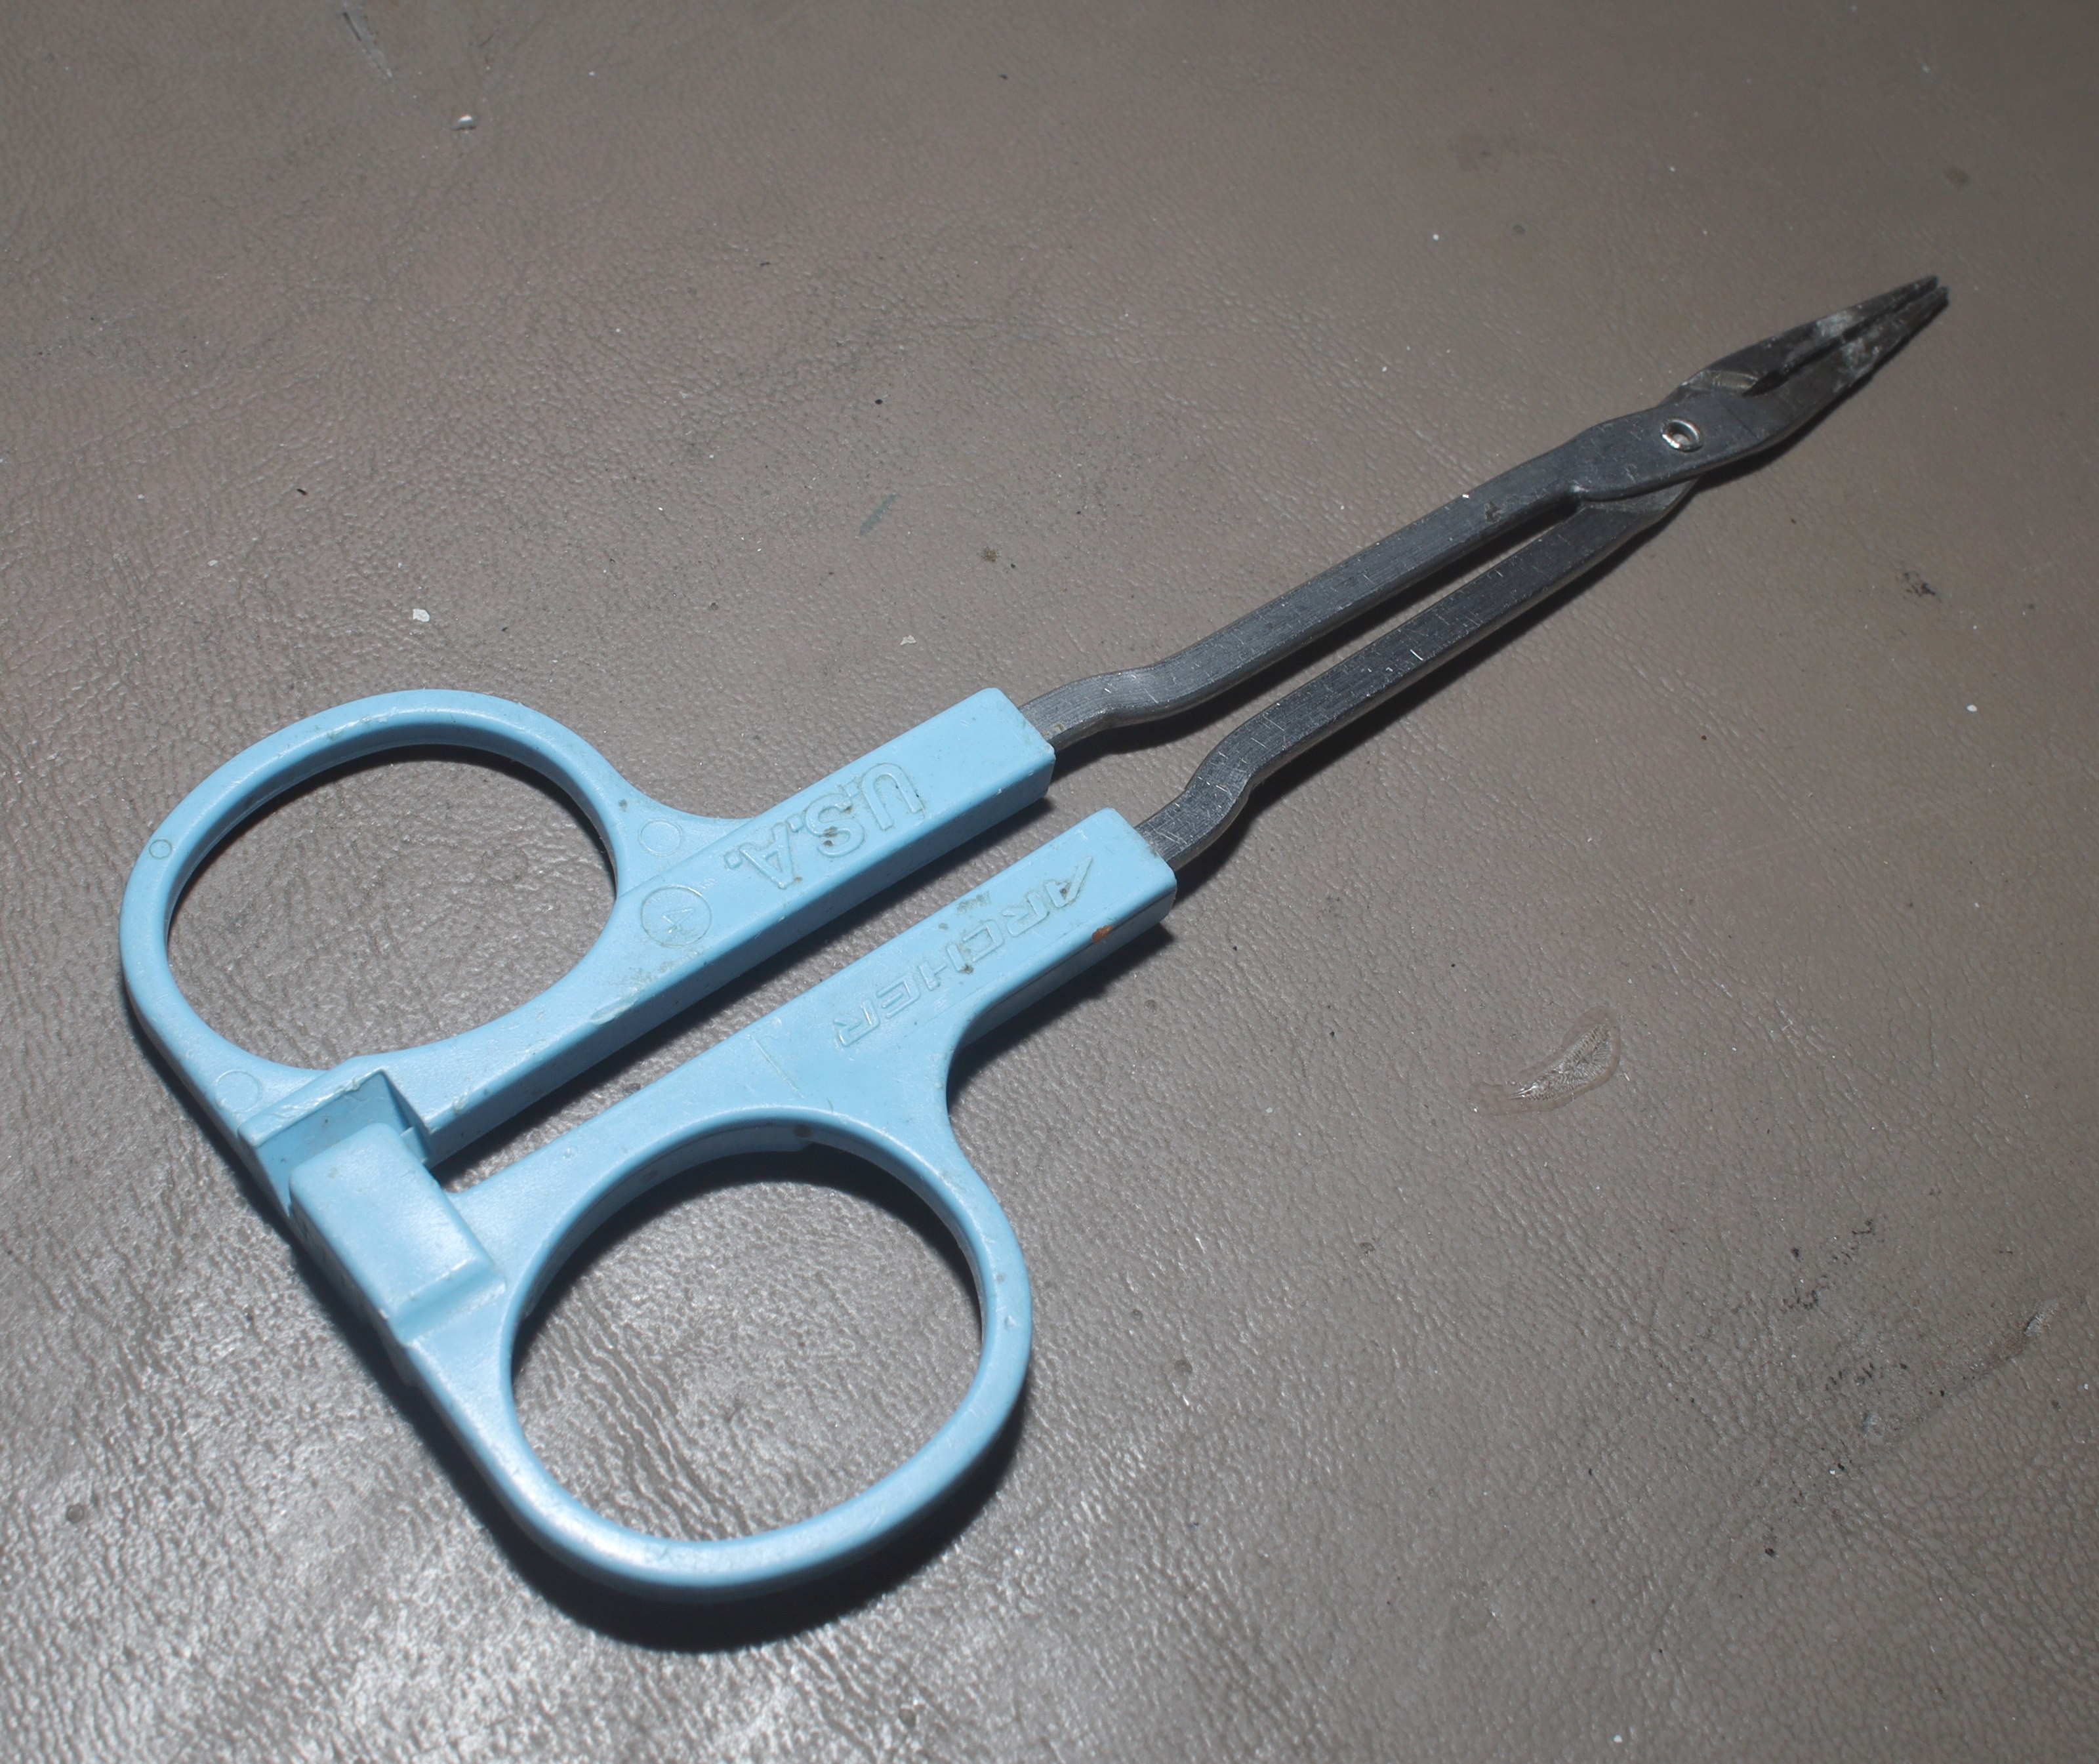
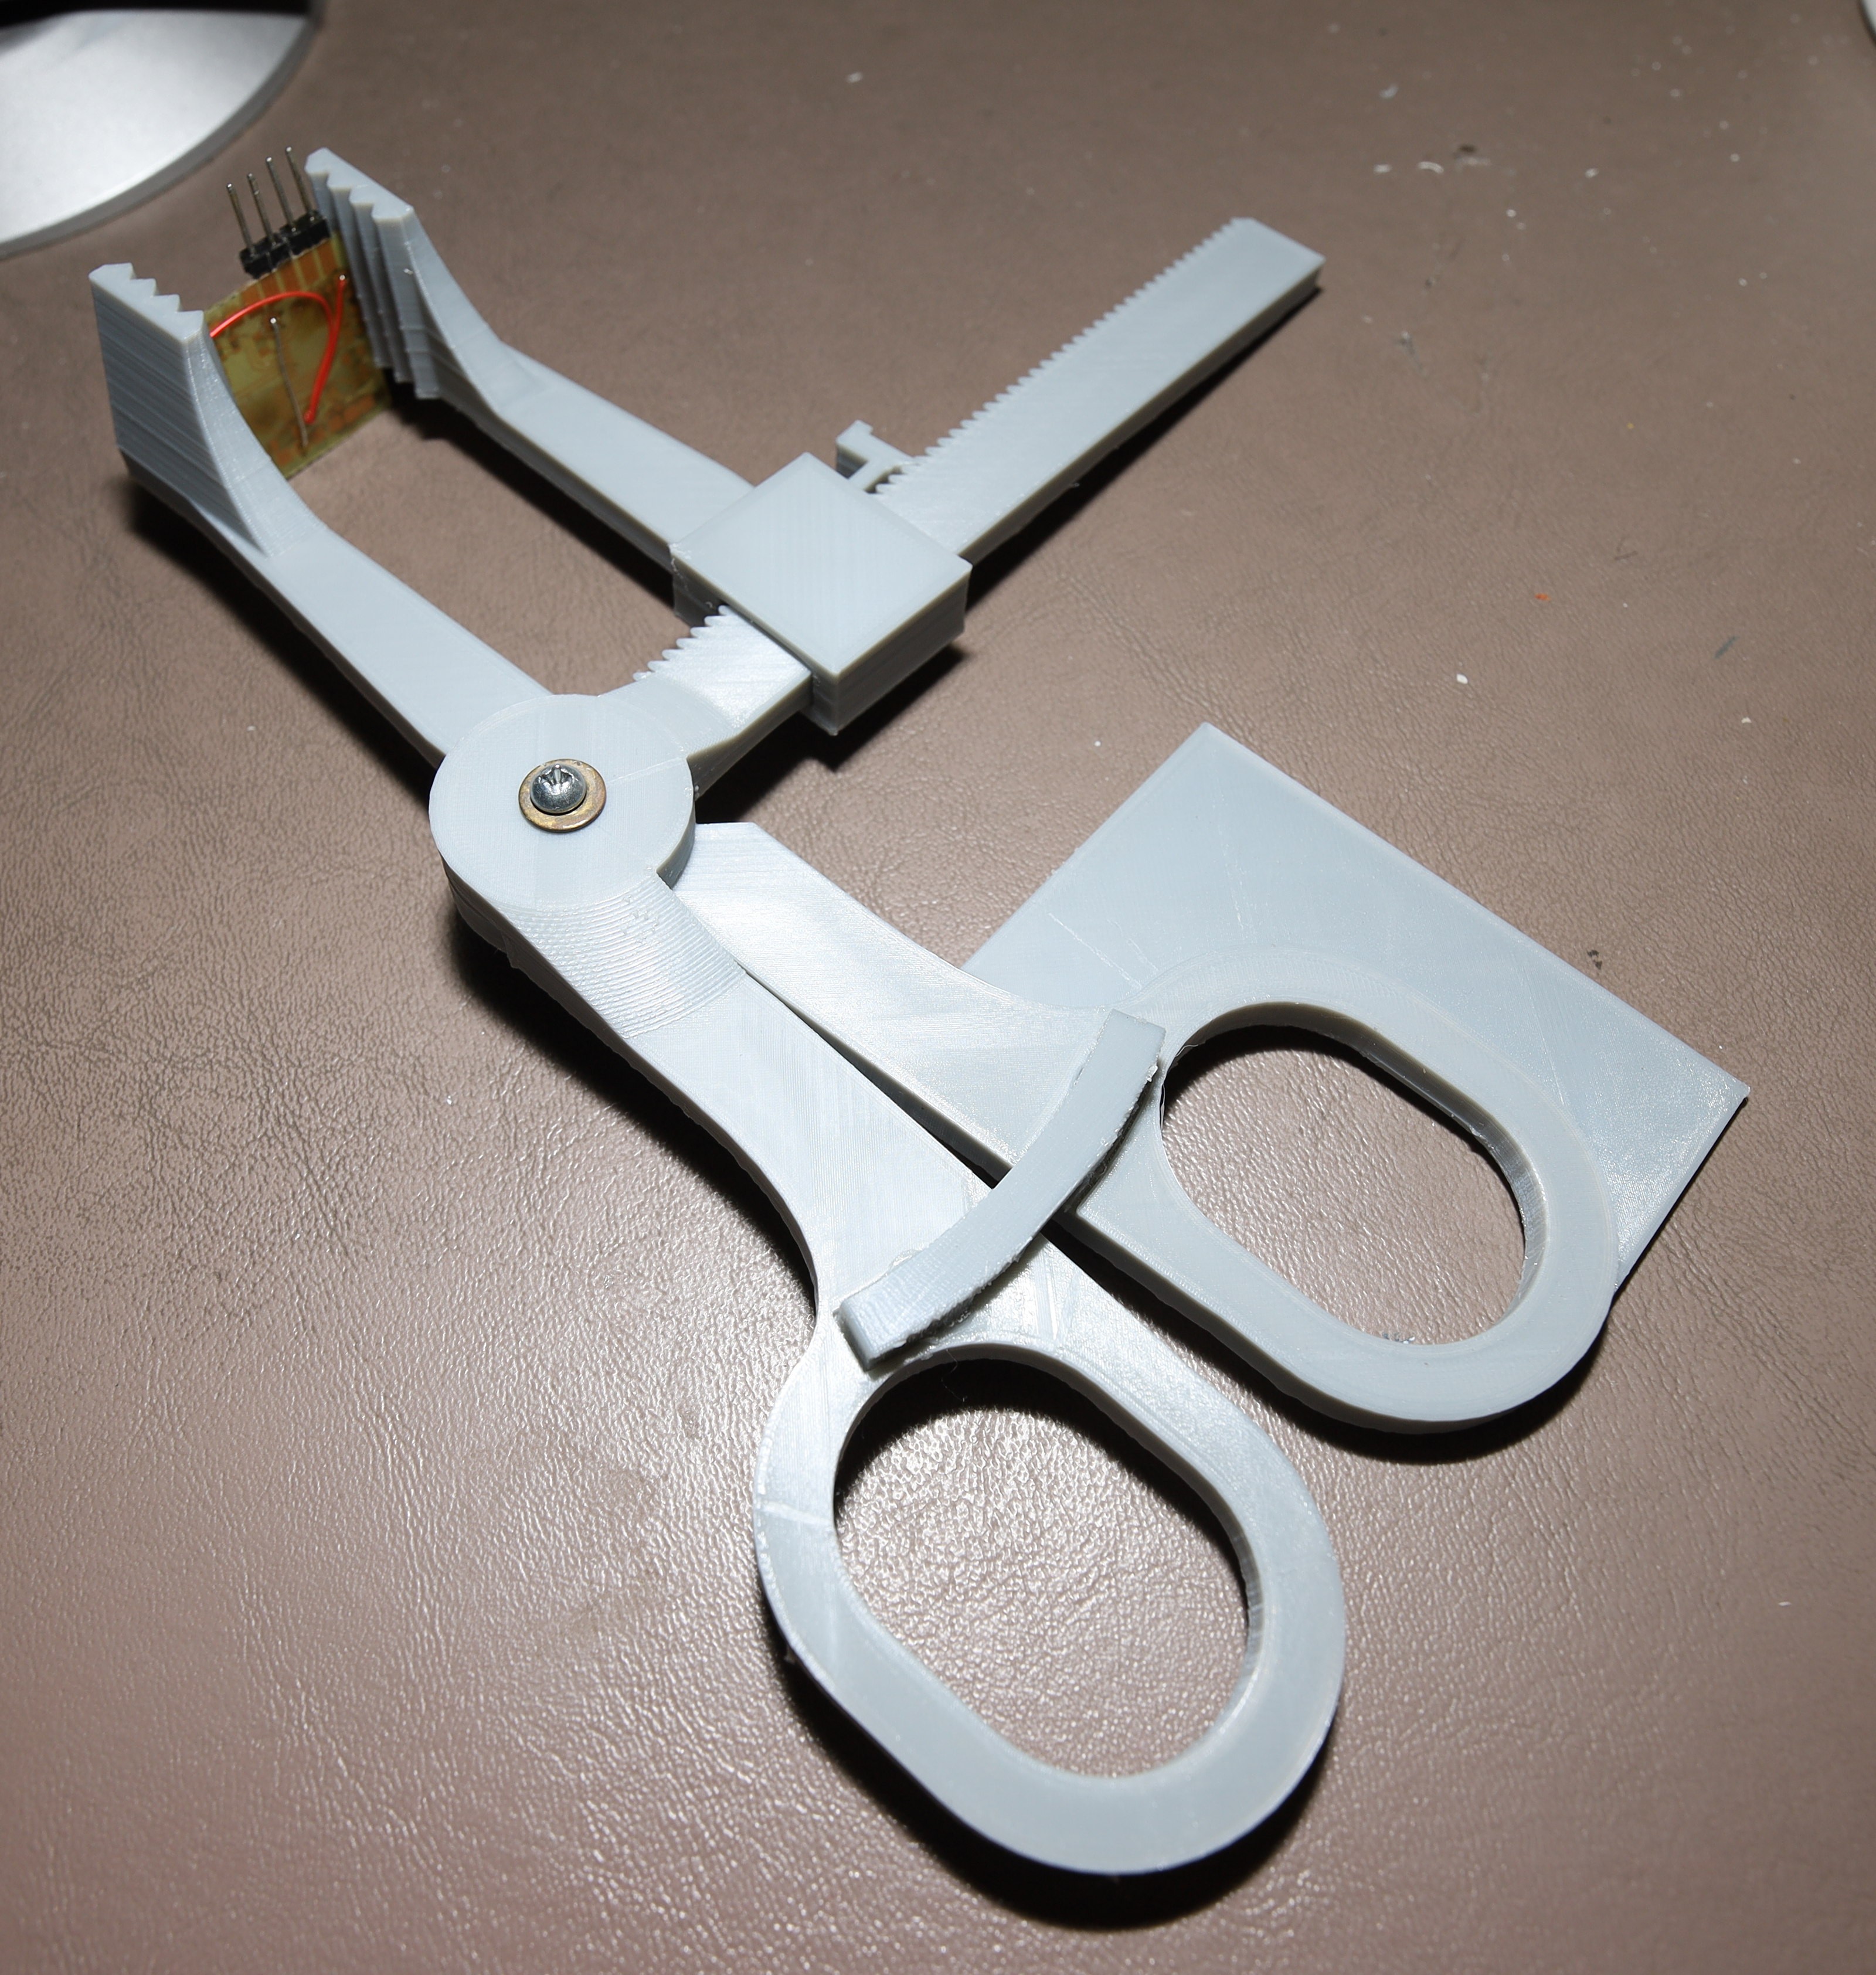
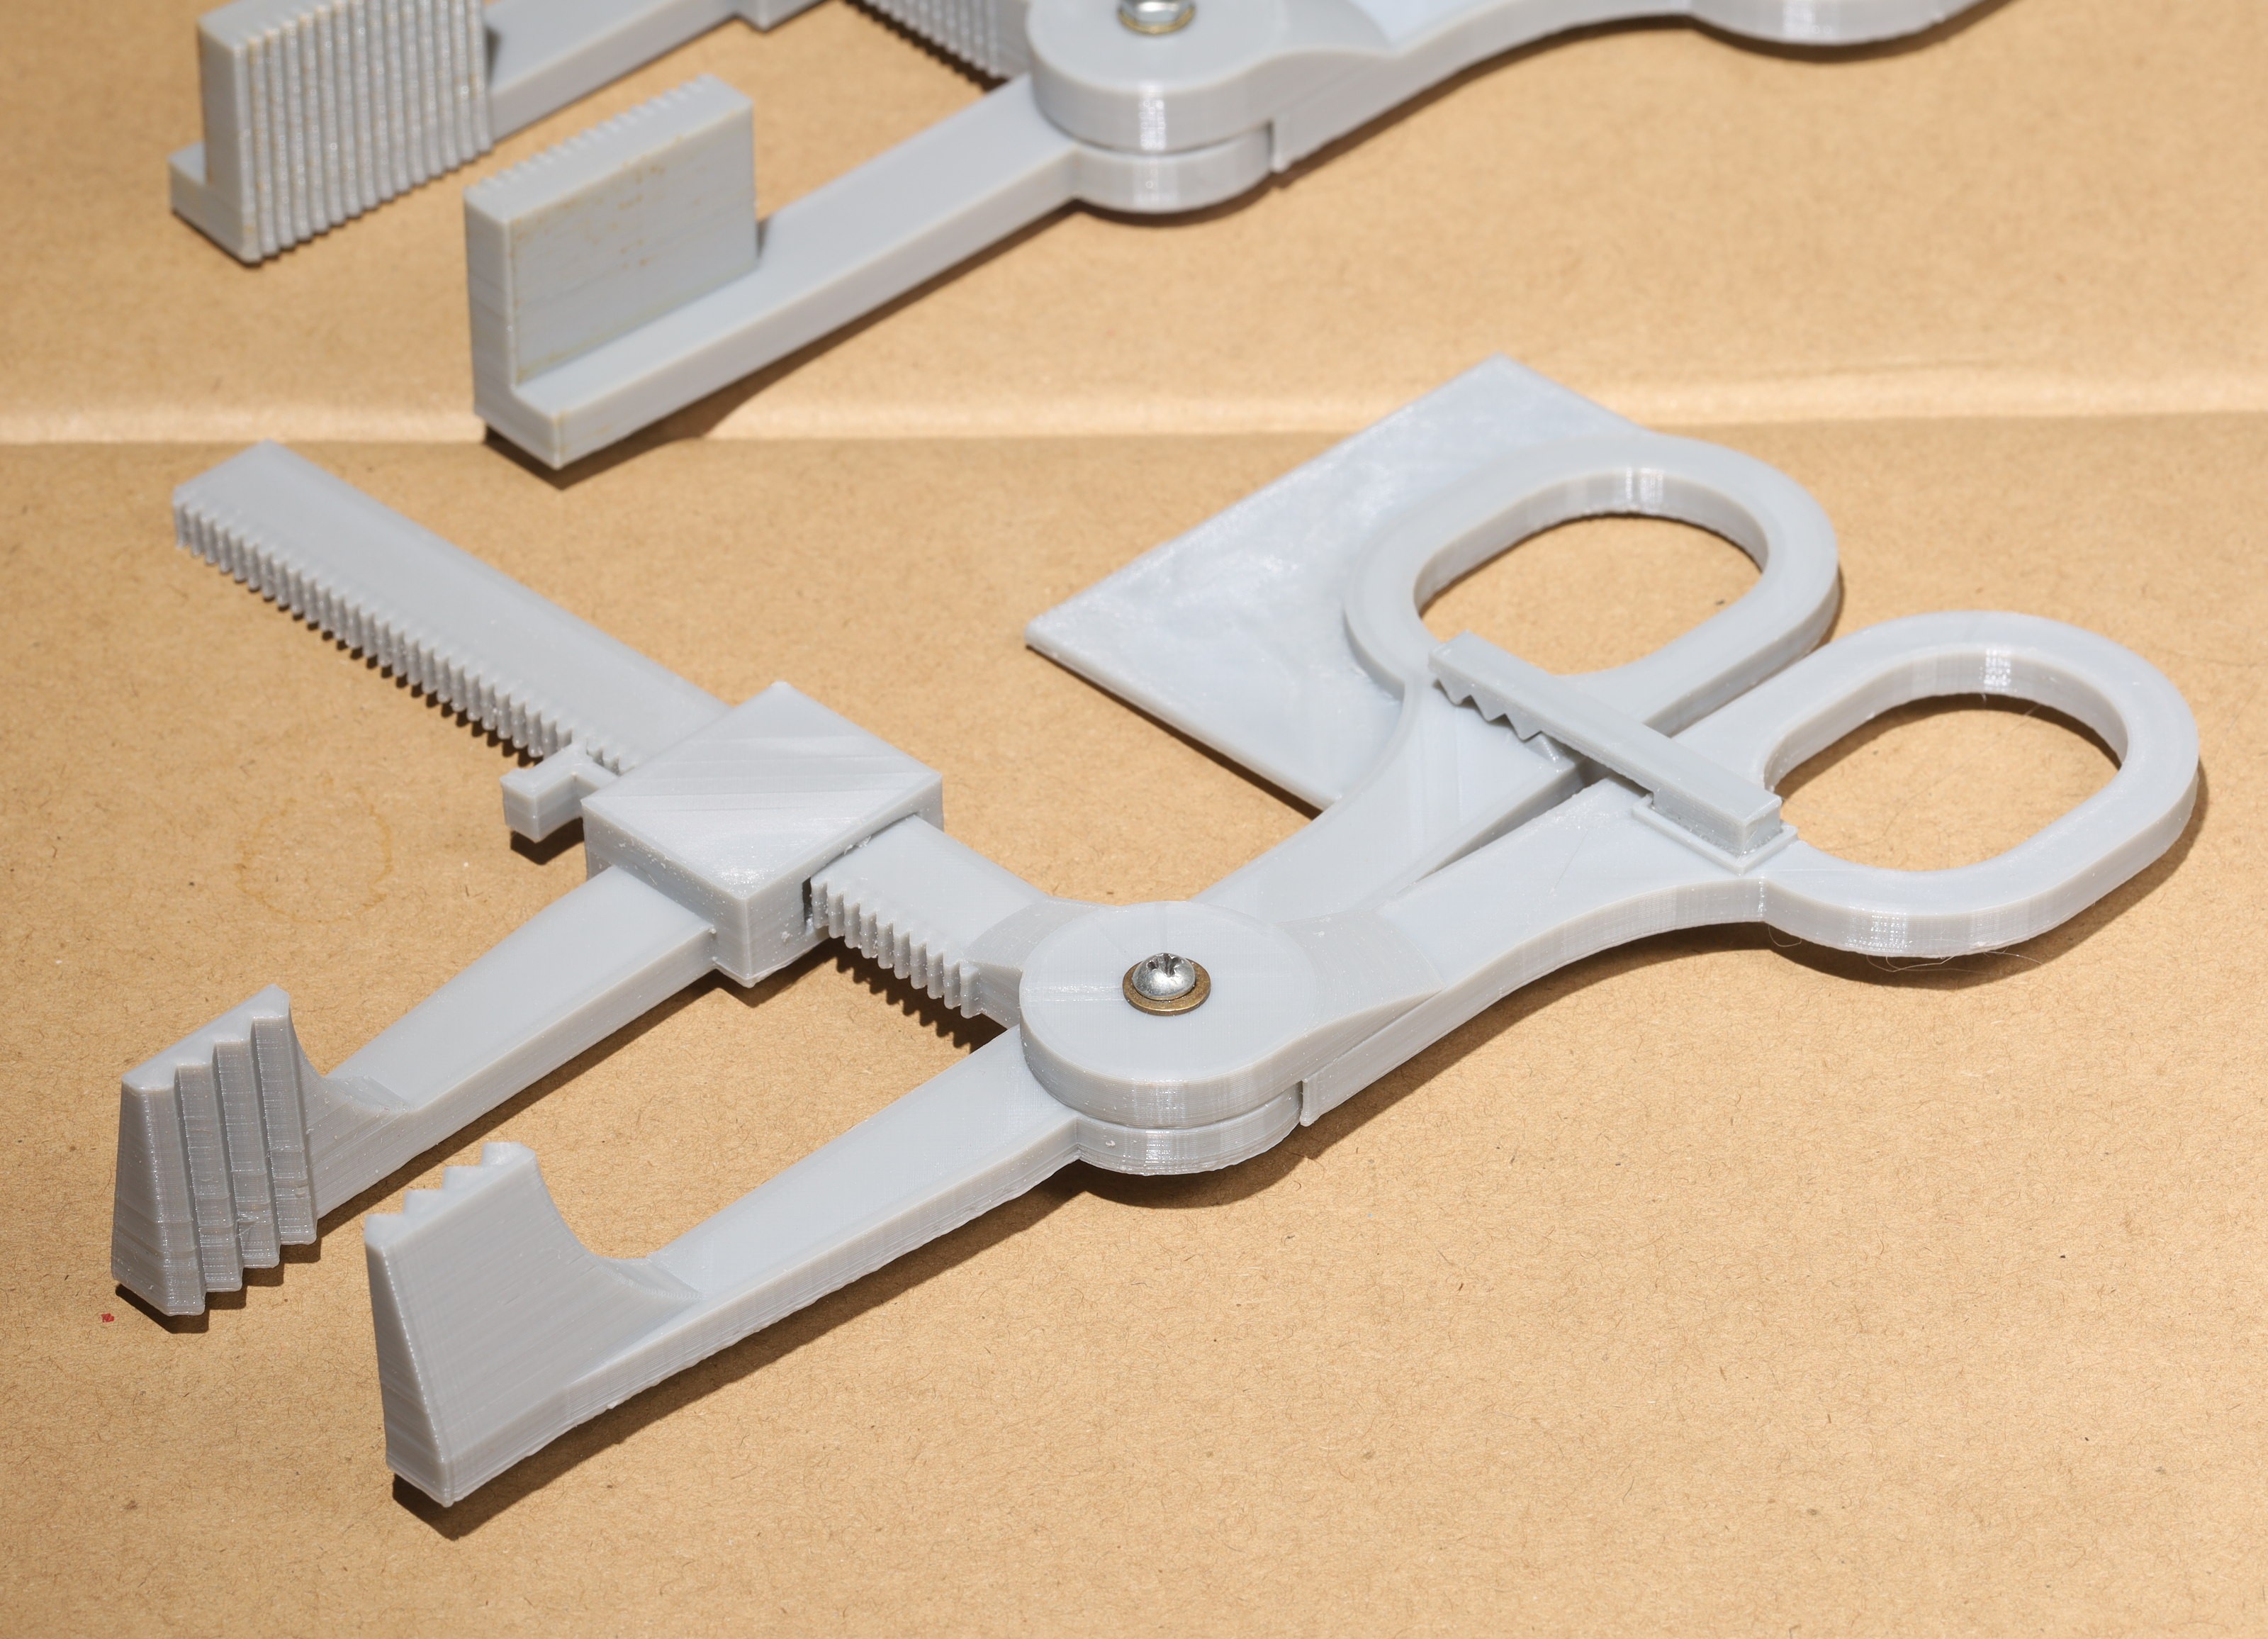
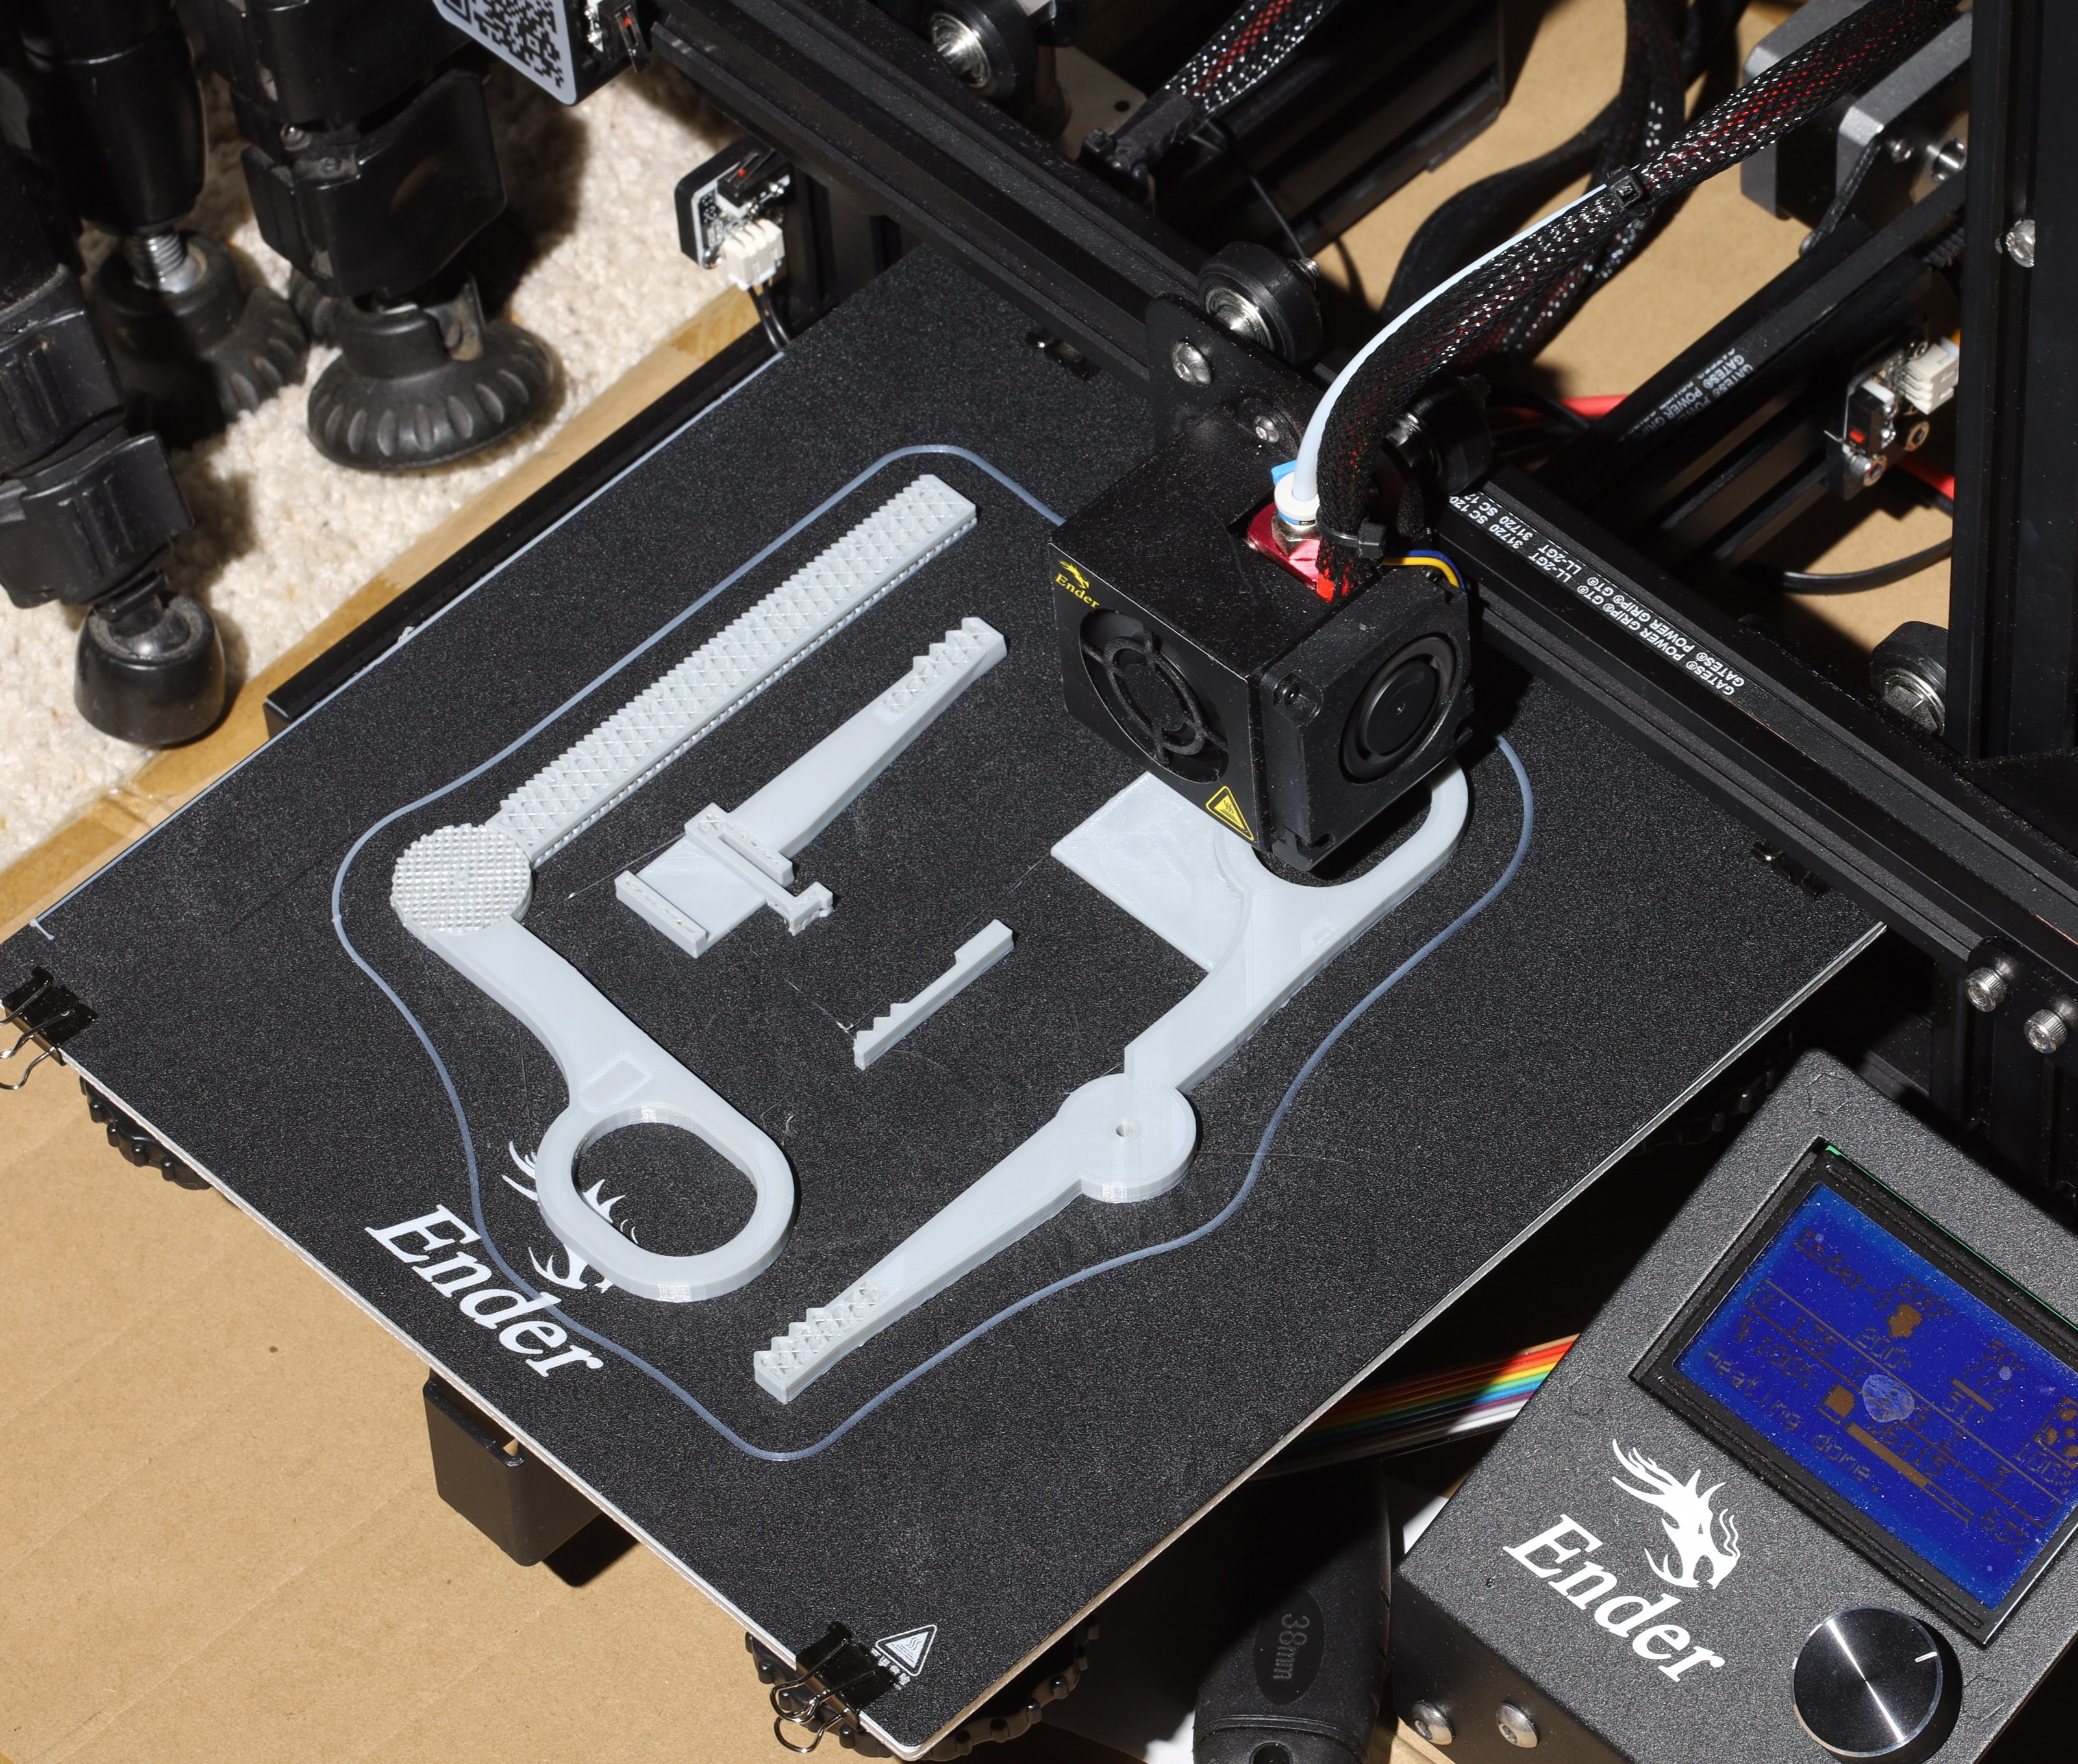
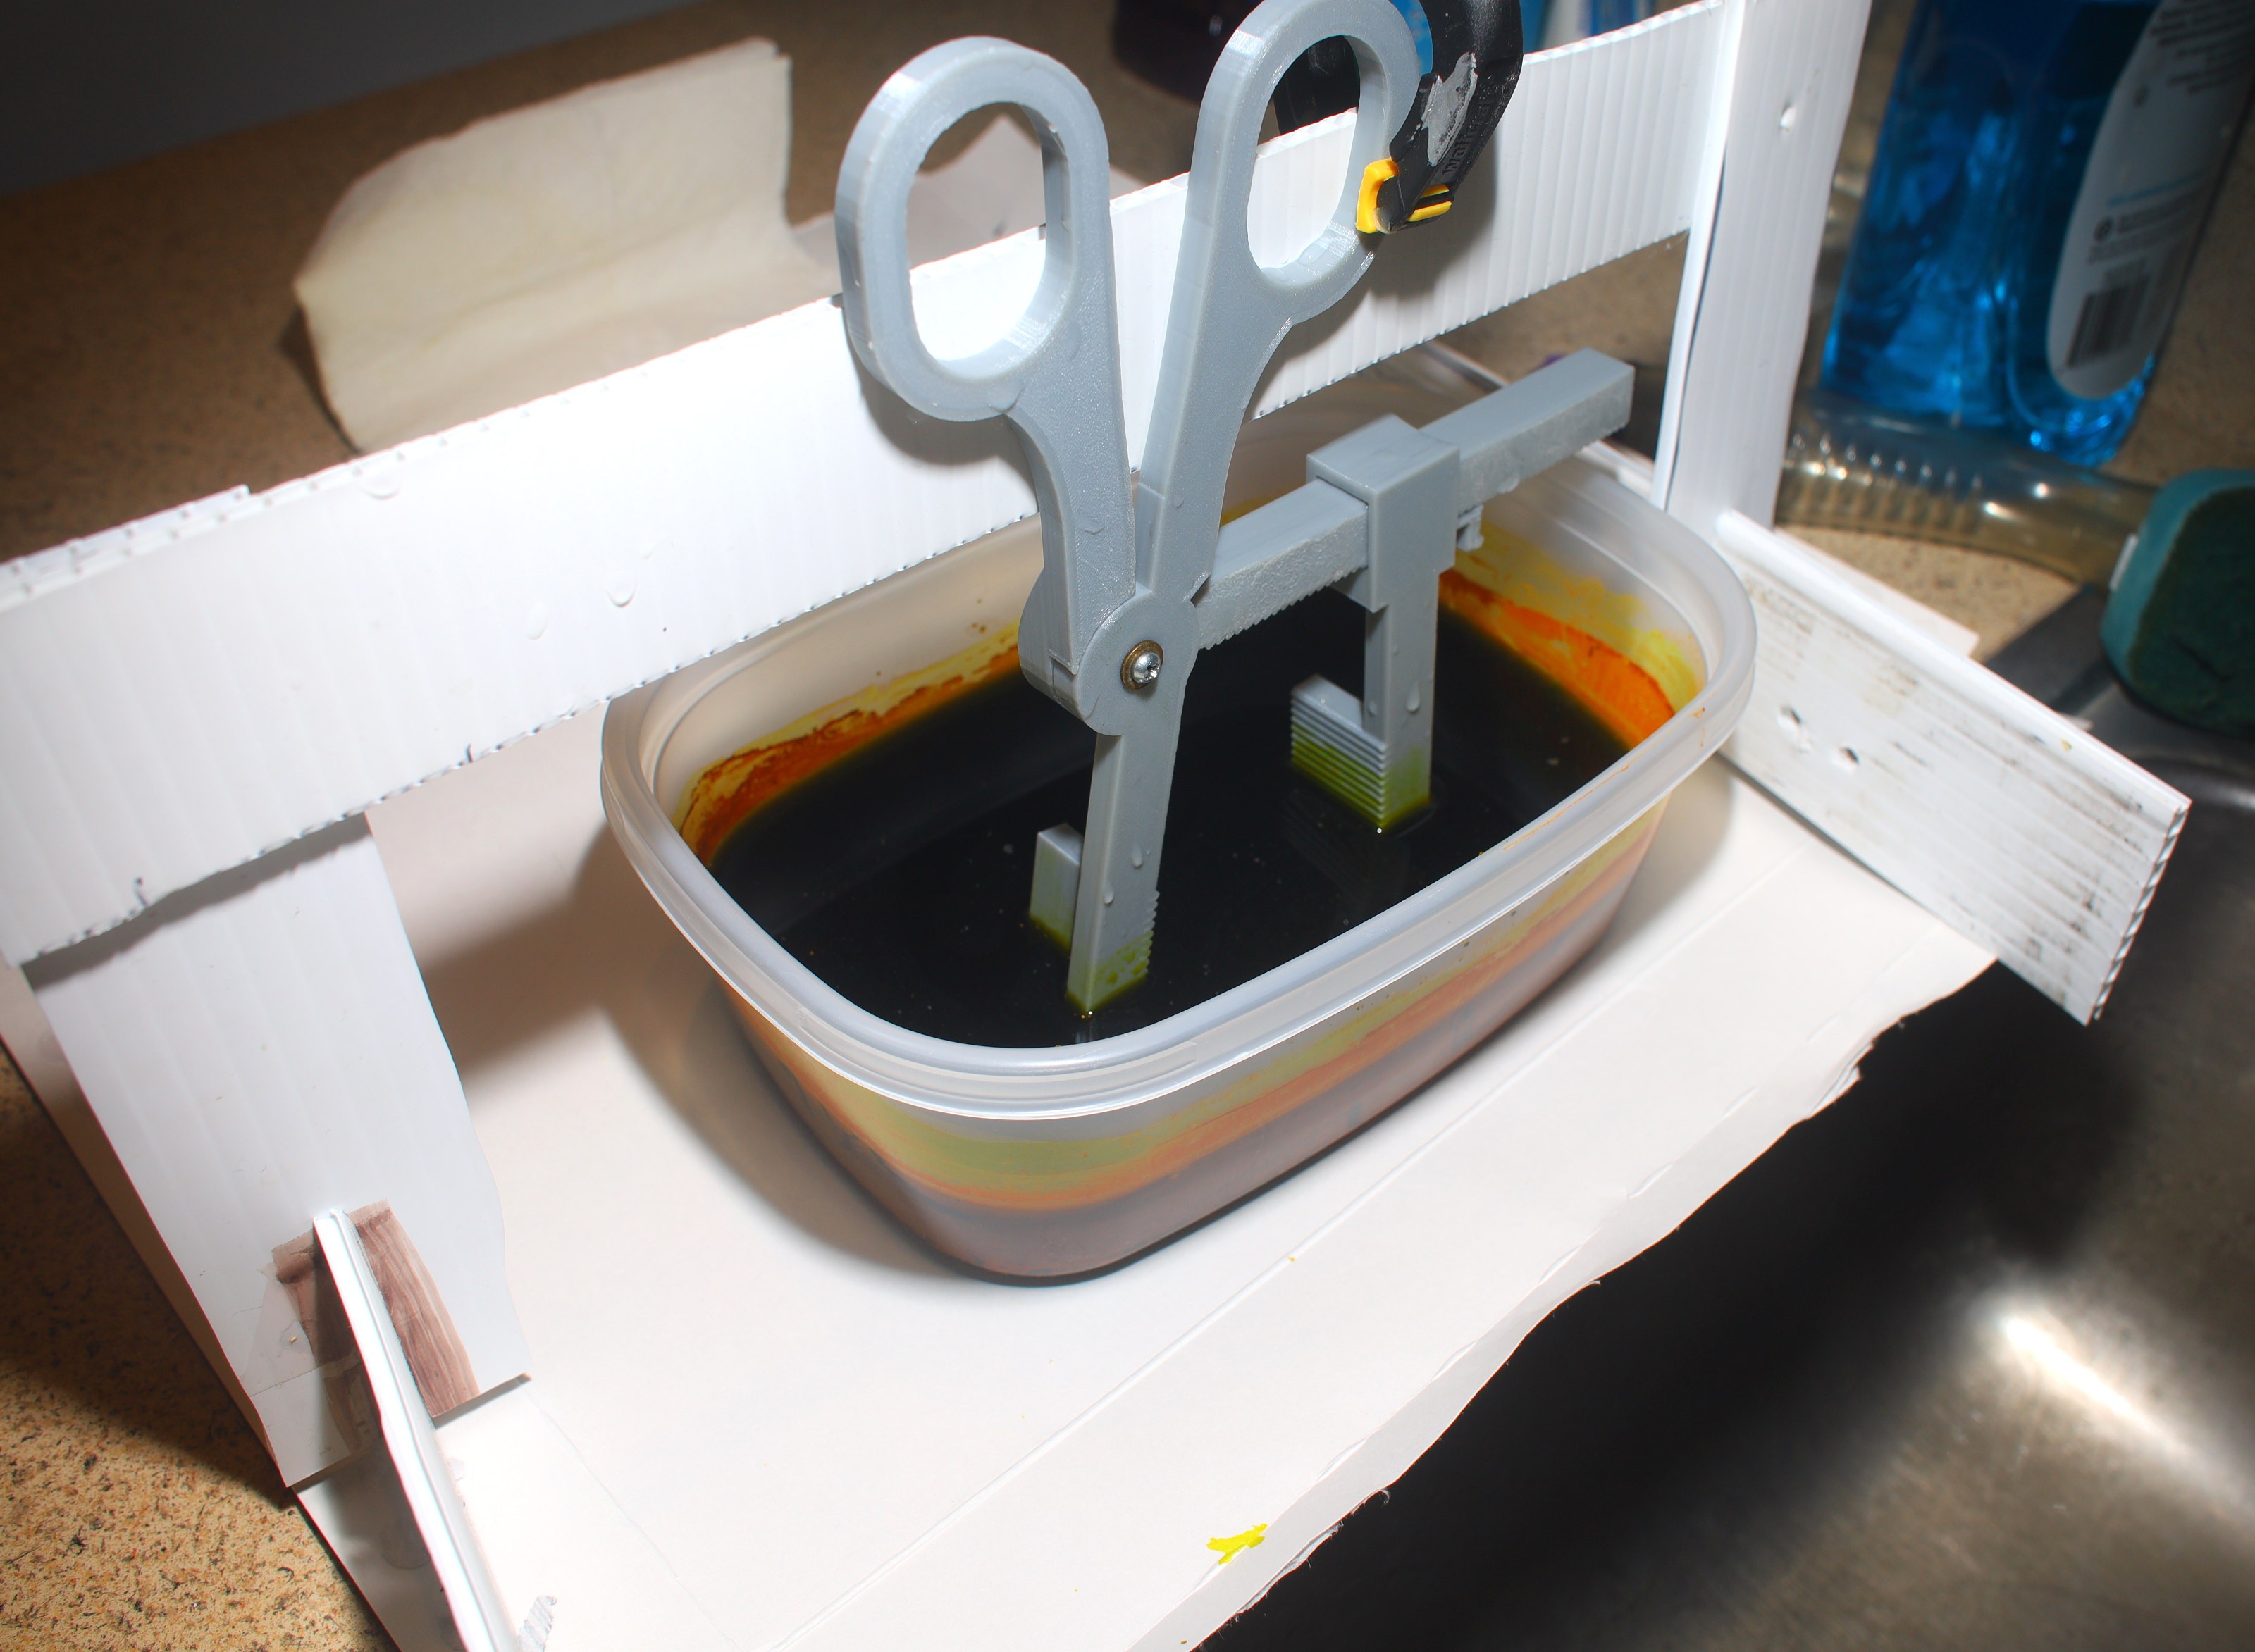
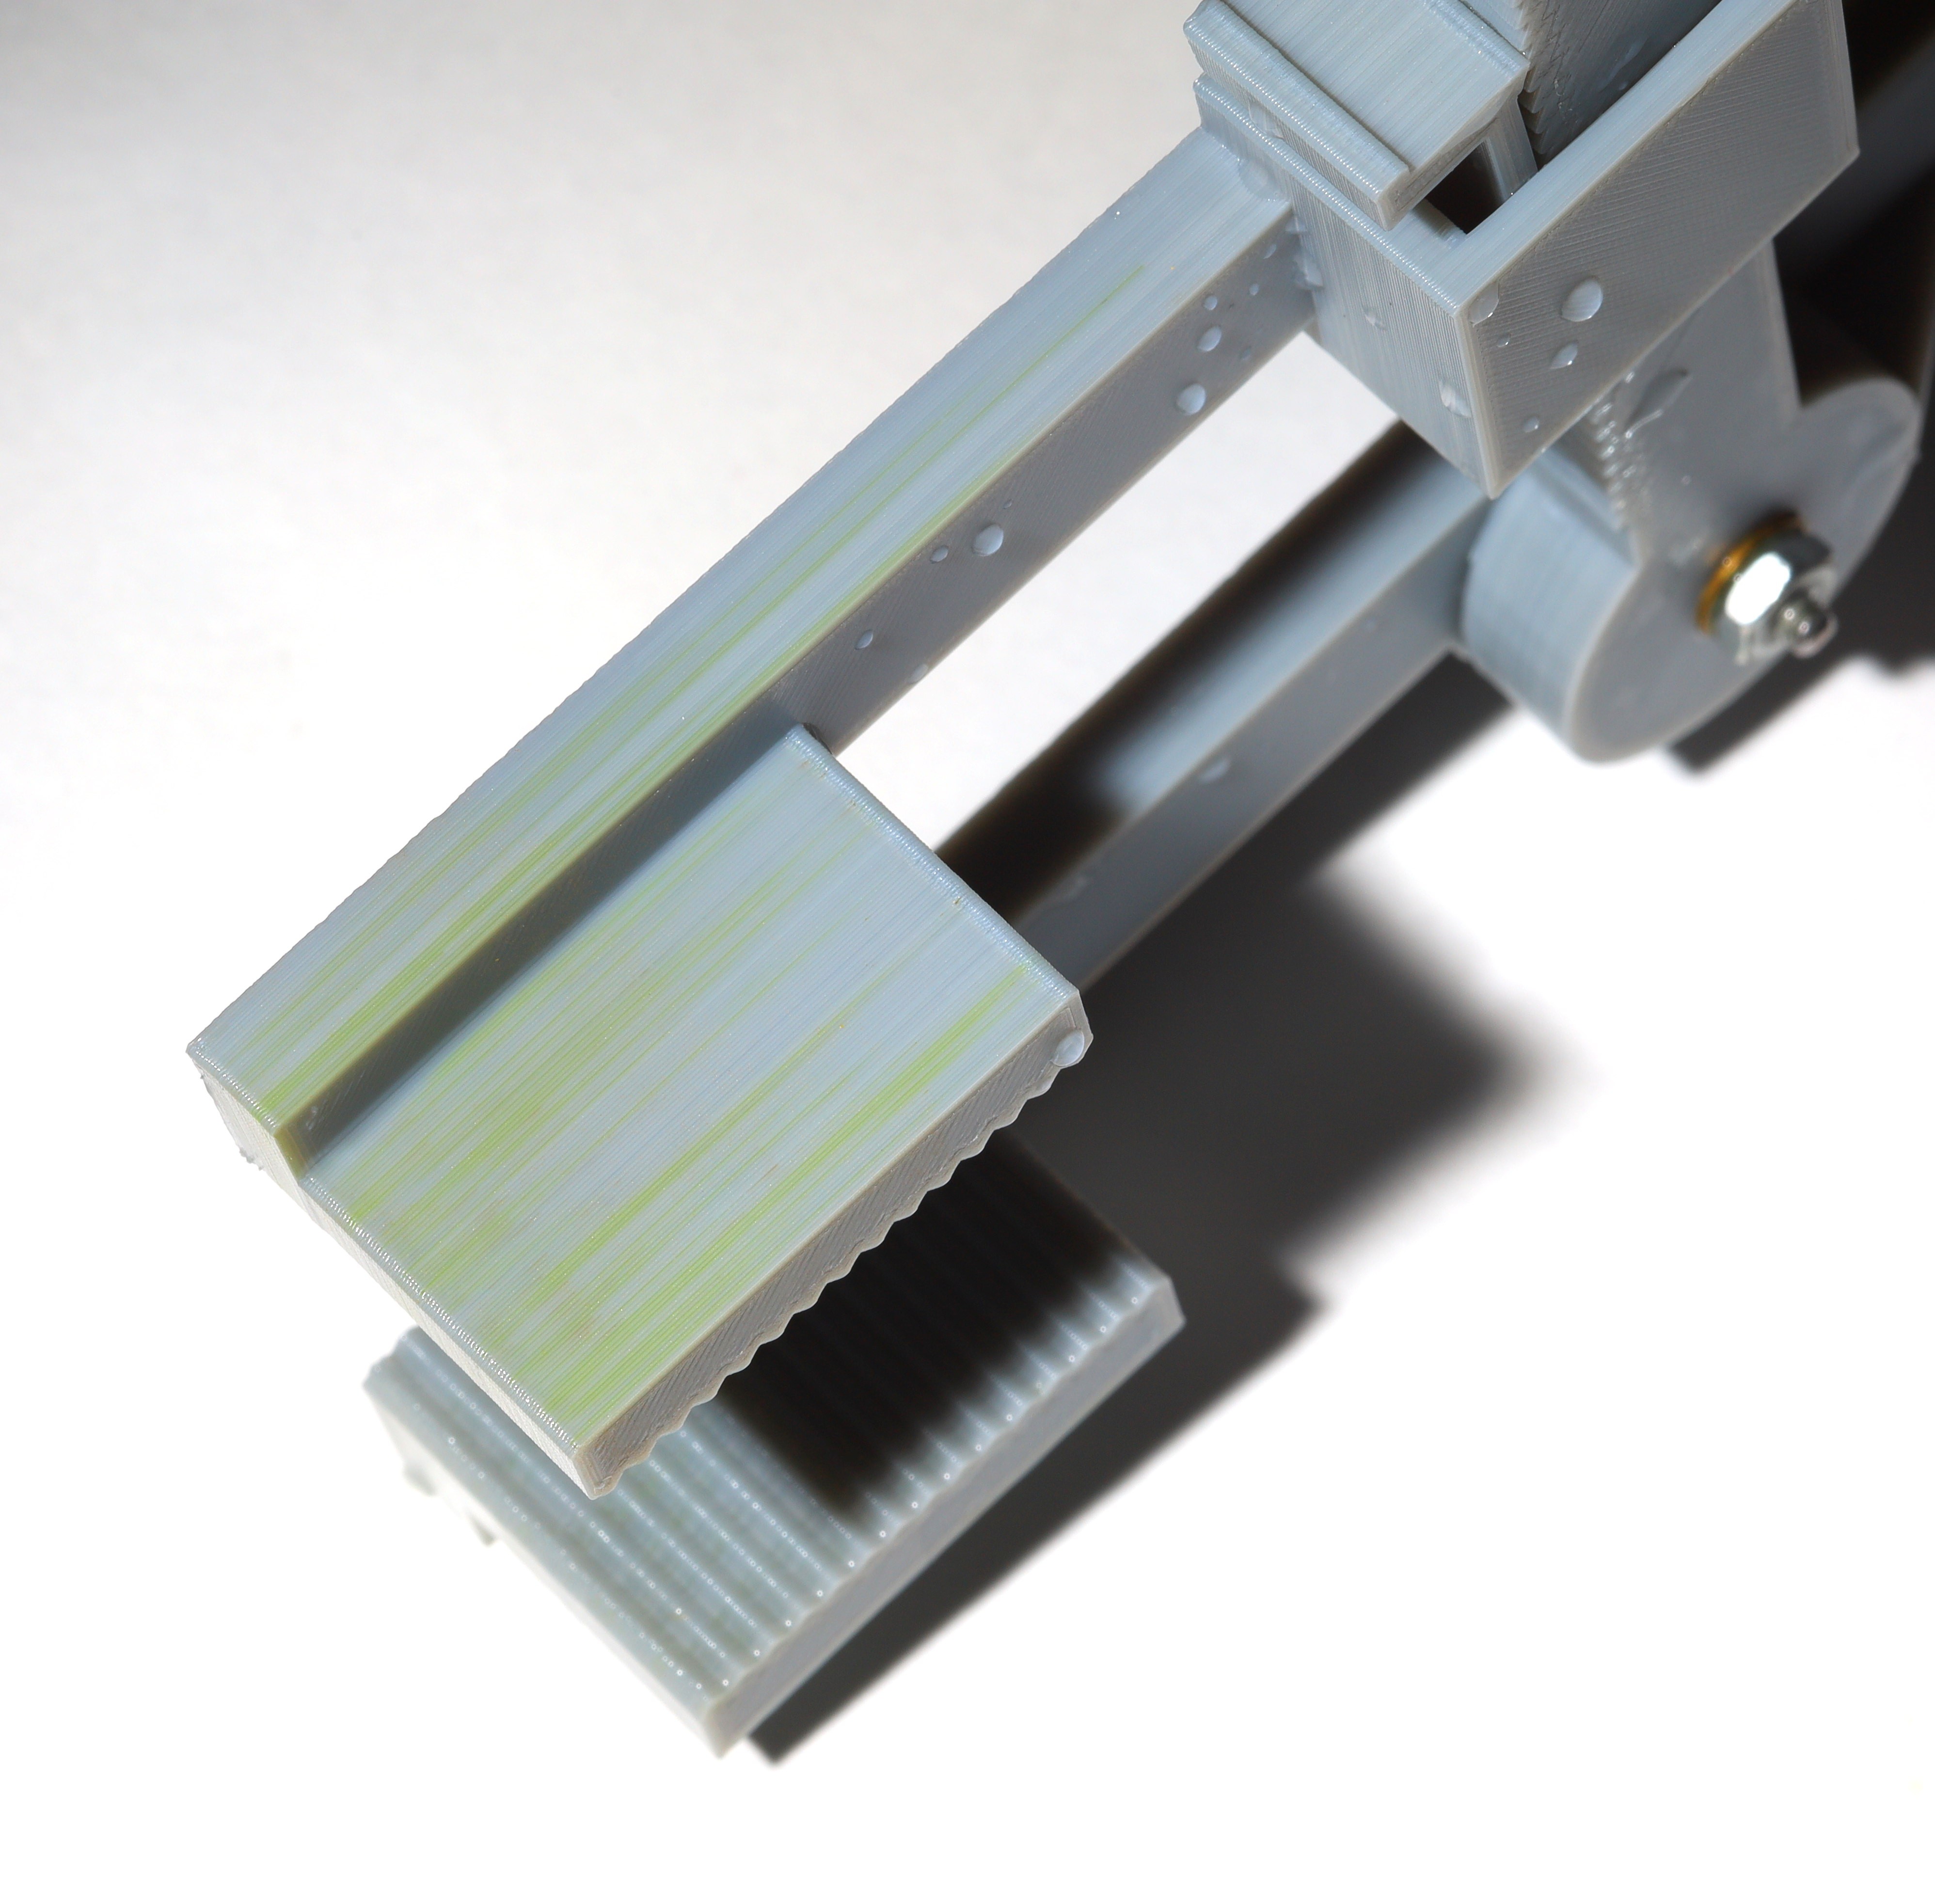
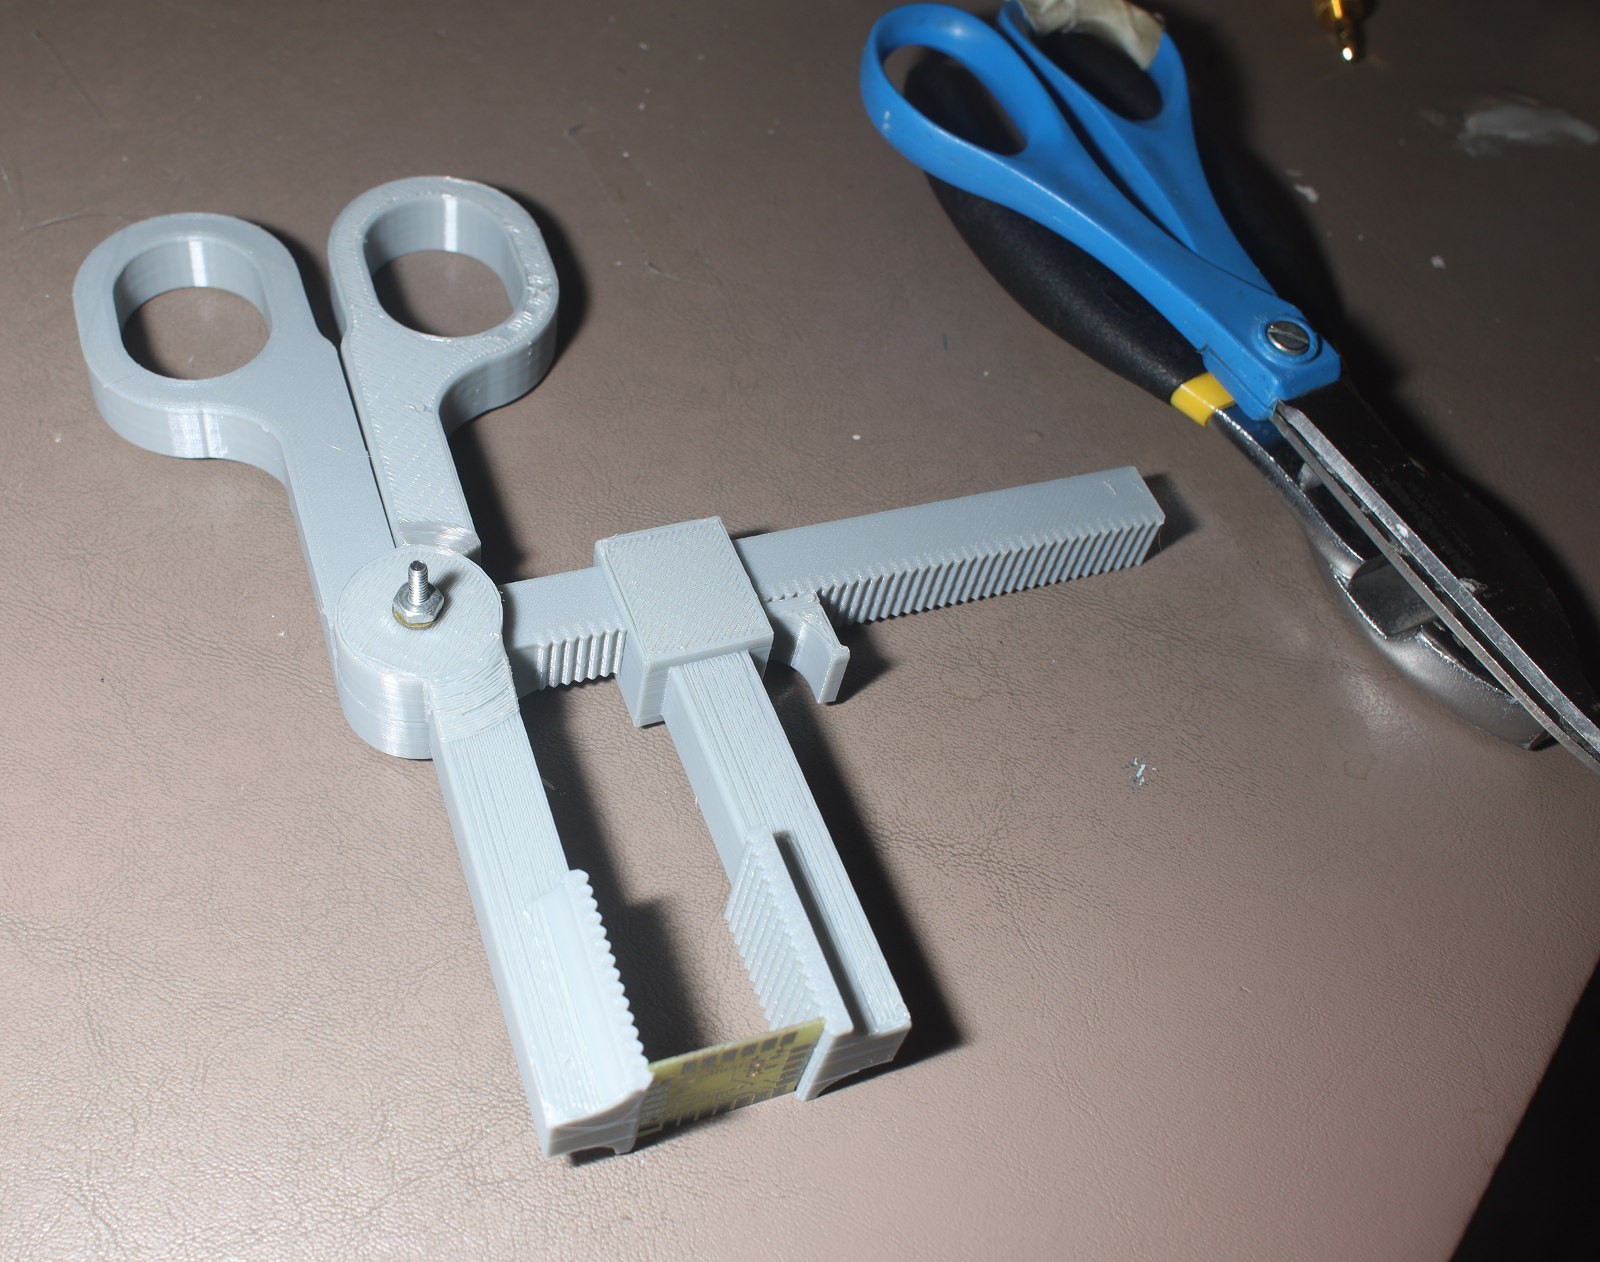
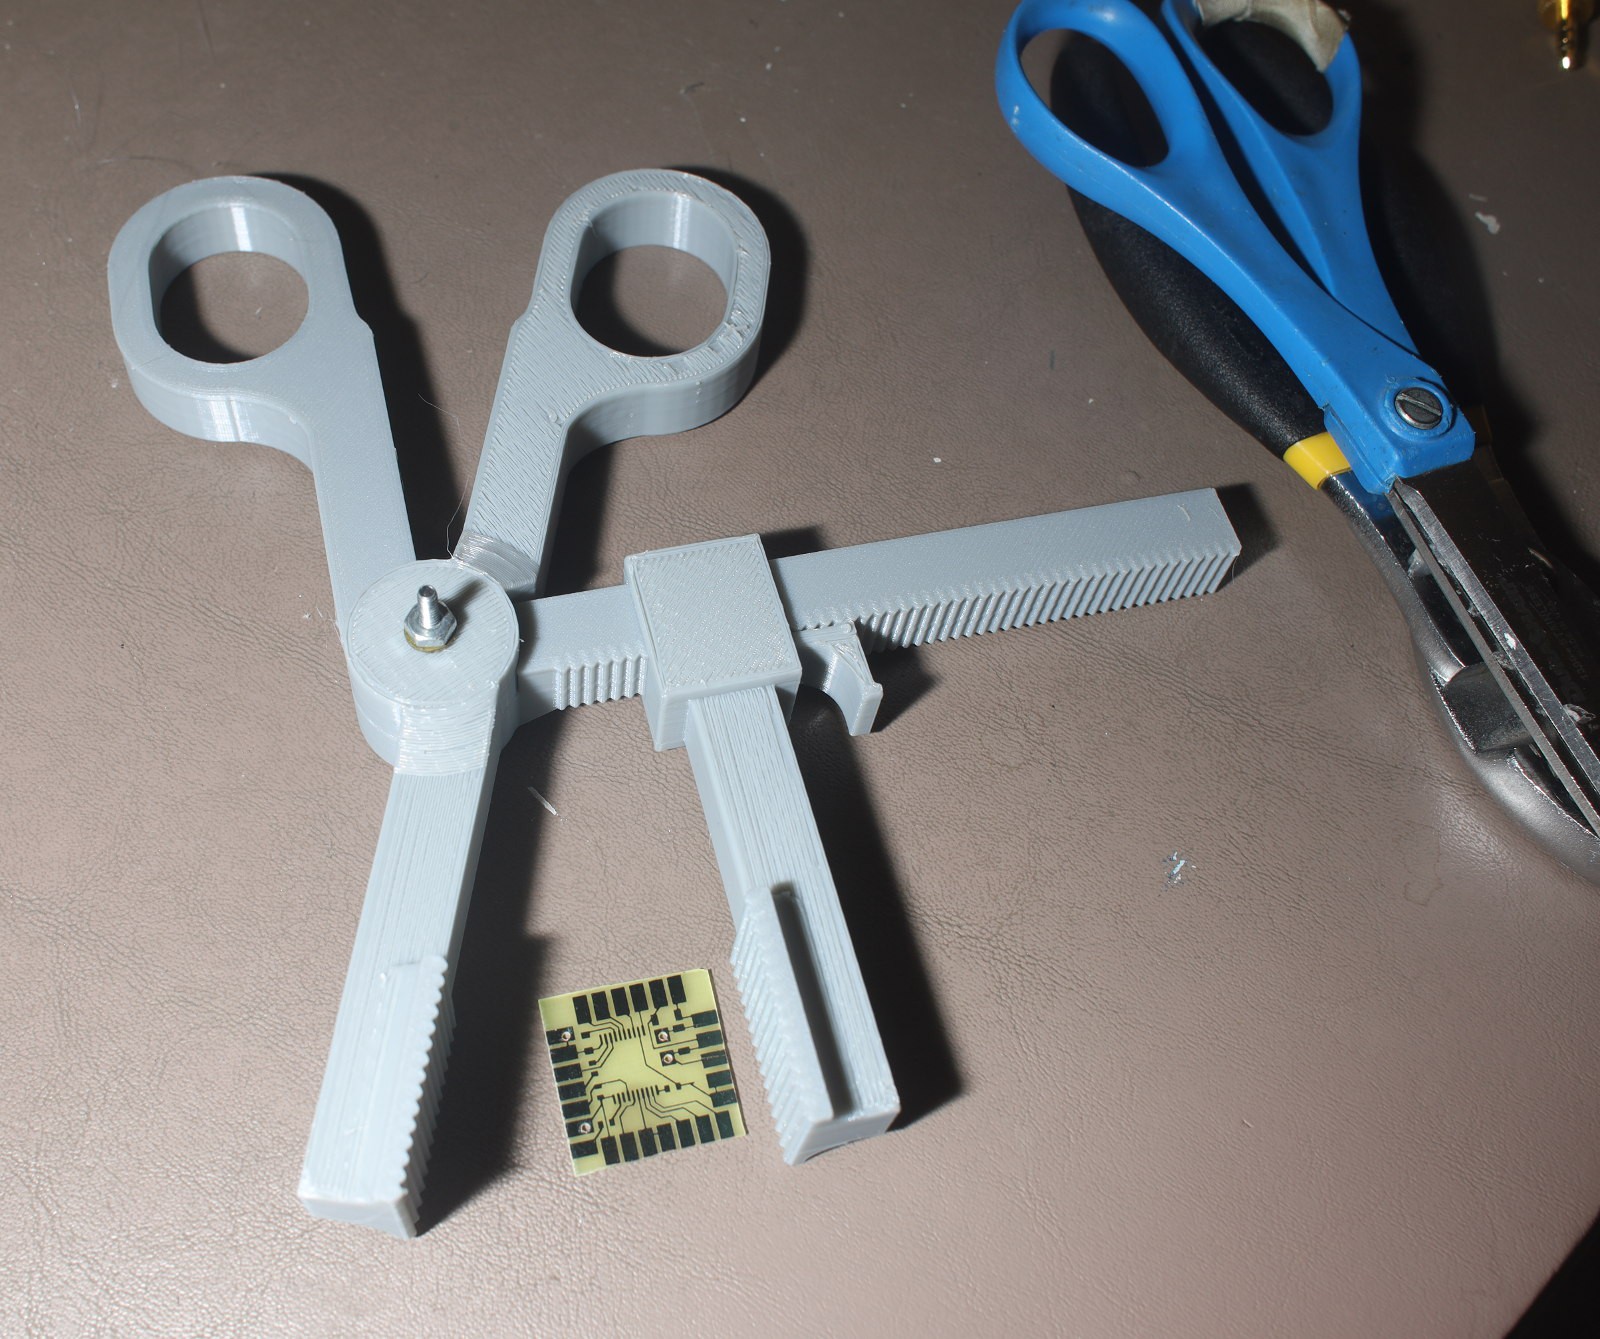
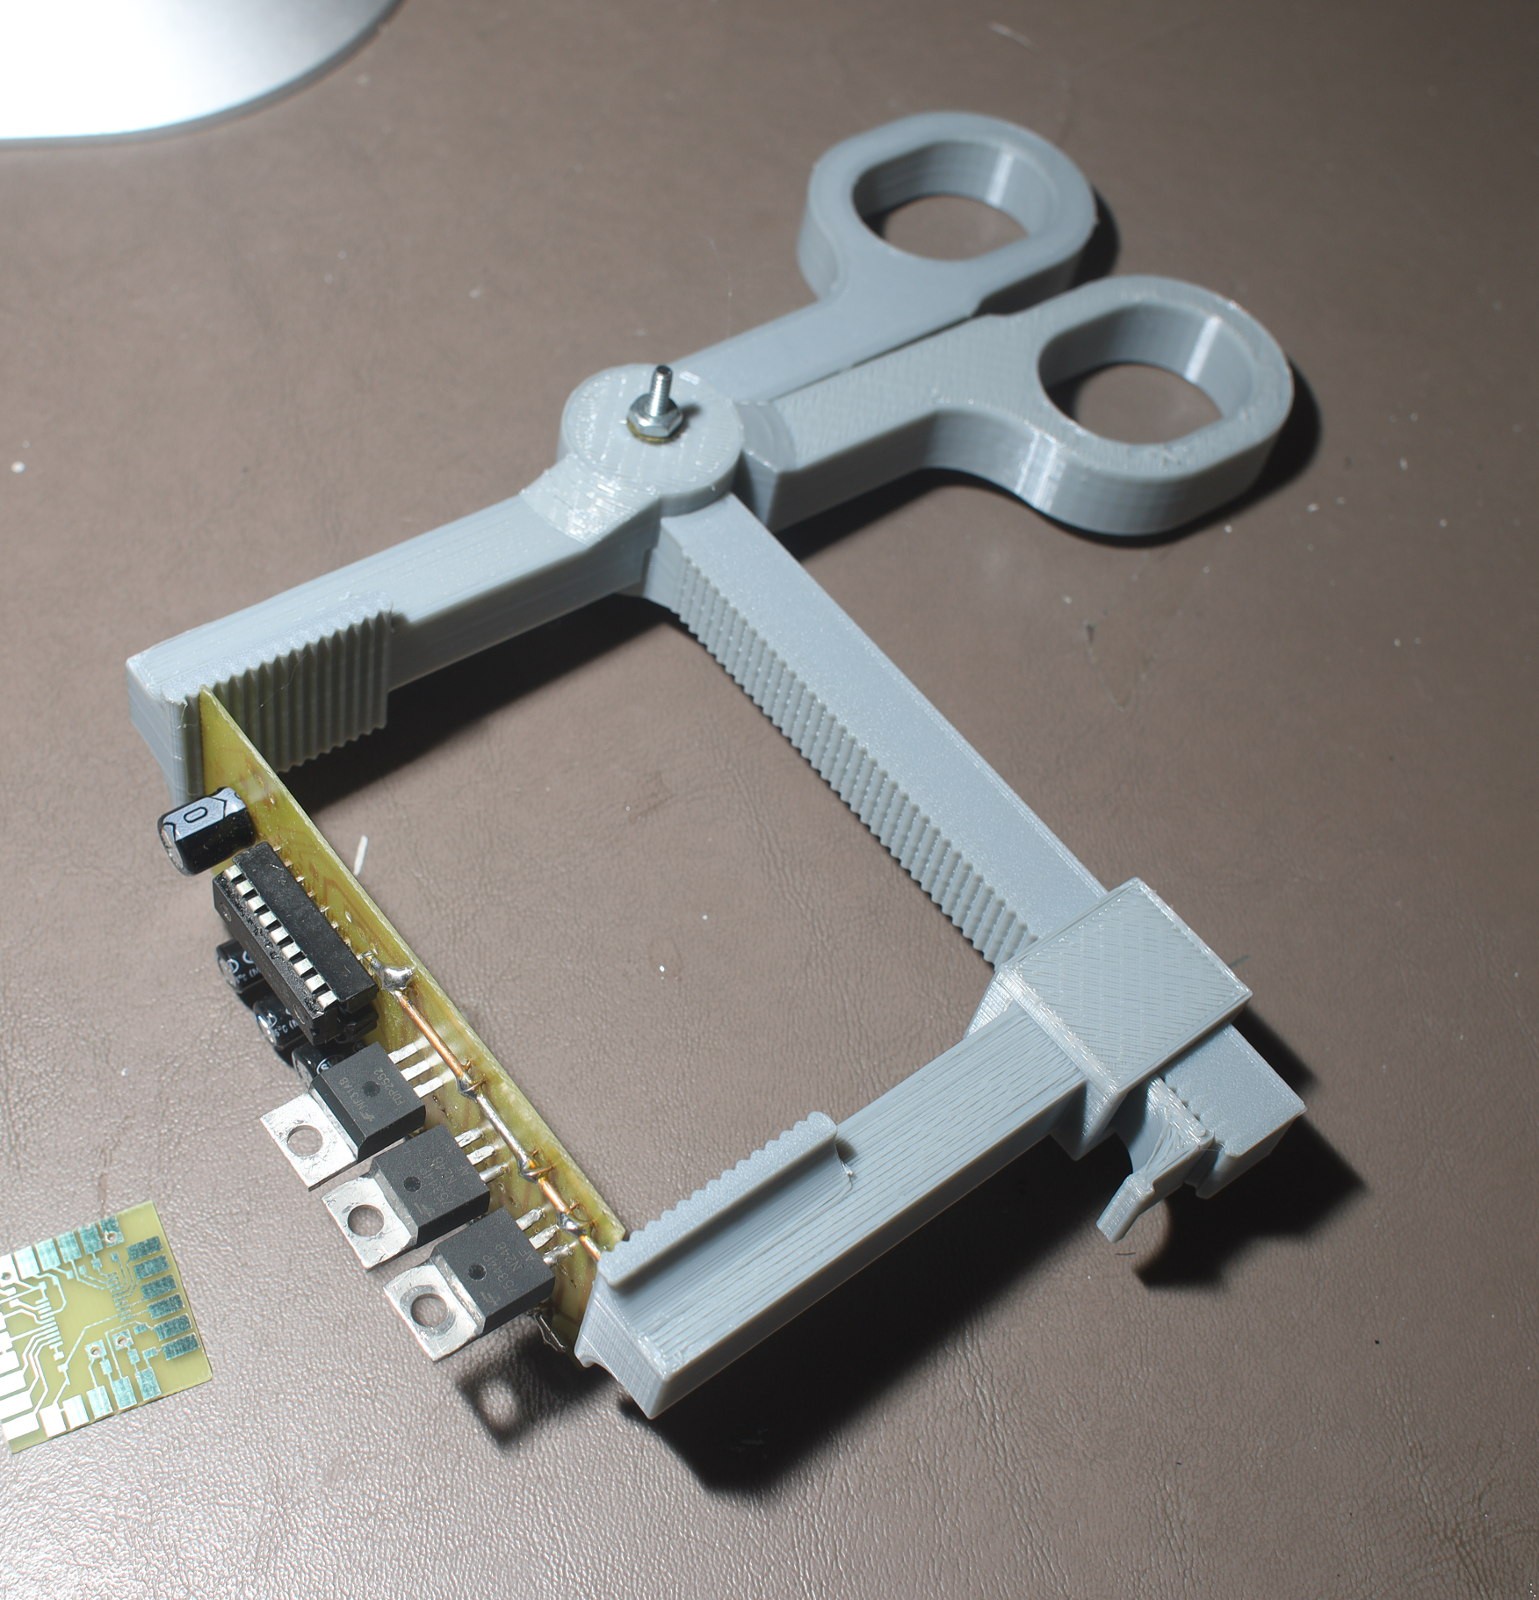
06/27/2021 at 05:54 • 1 commentPliers MK 5 were another step down in material, up in strength, & more closely related to the venerable Archer.
![]()
![]()
![]()
![]()
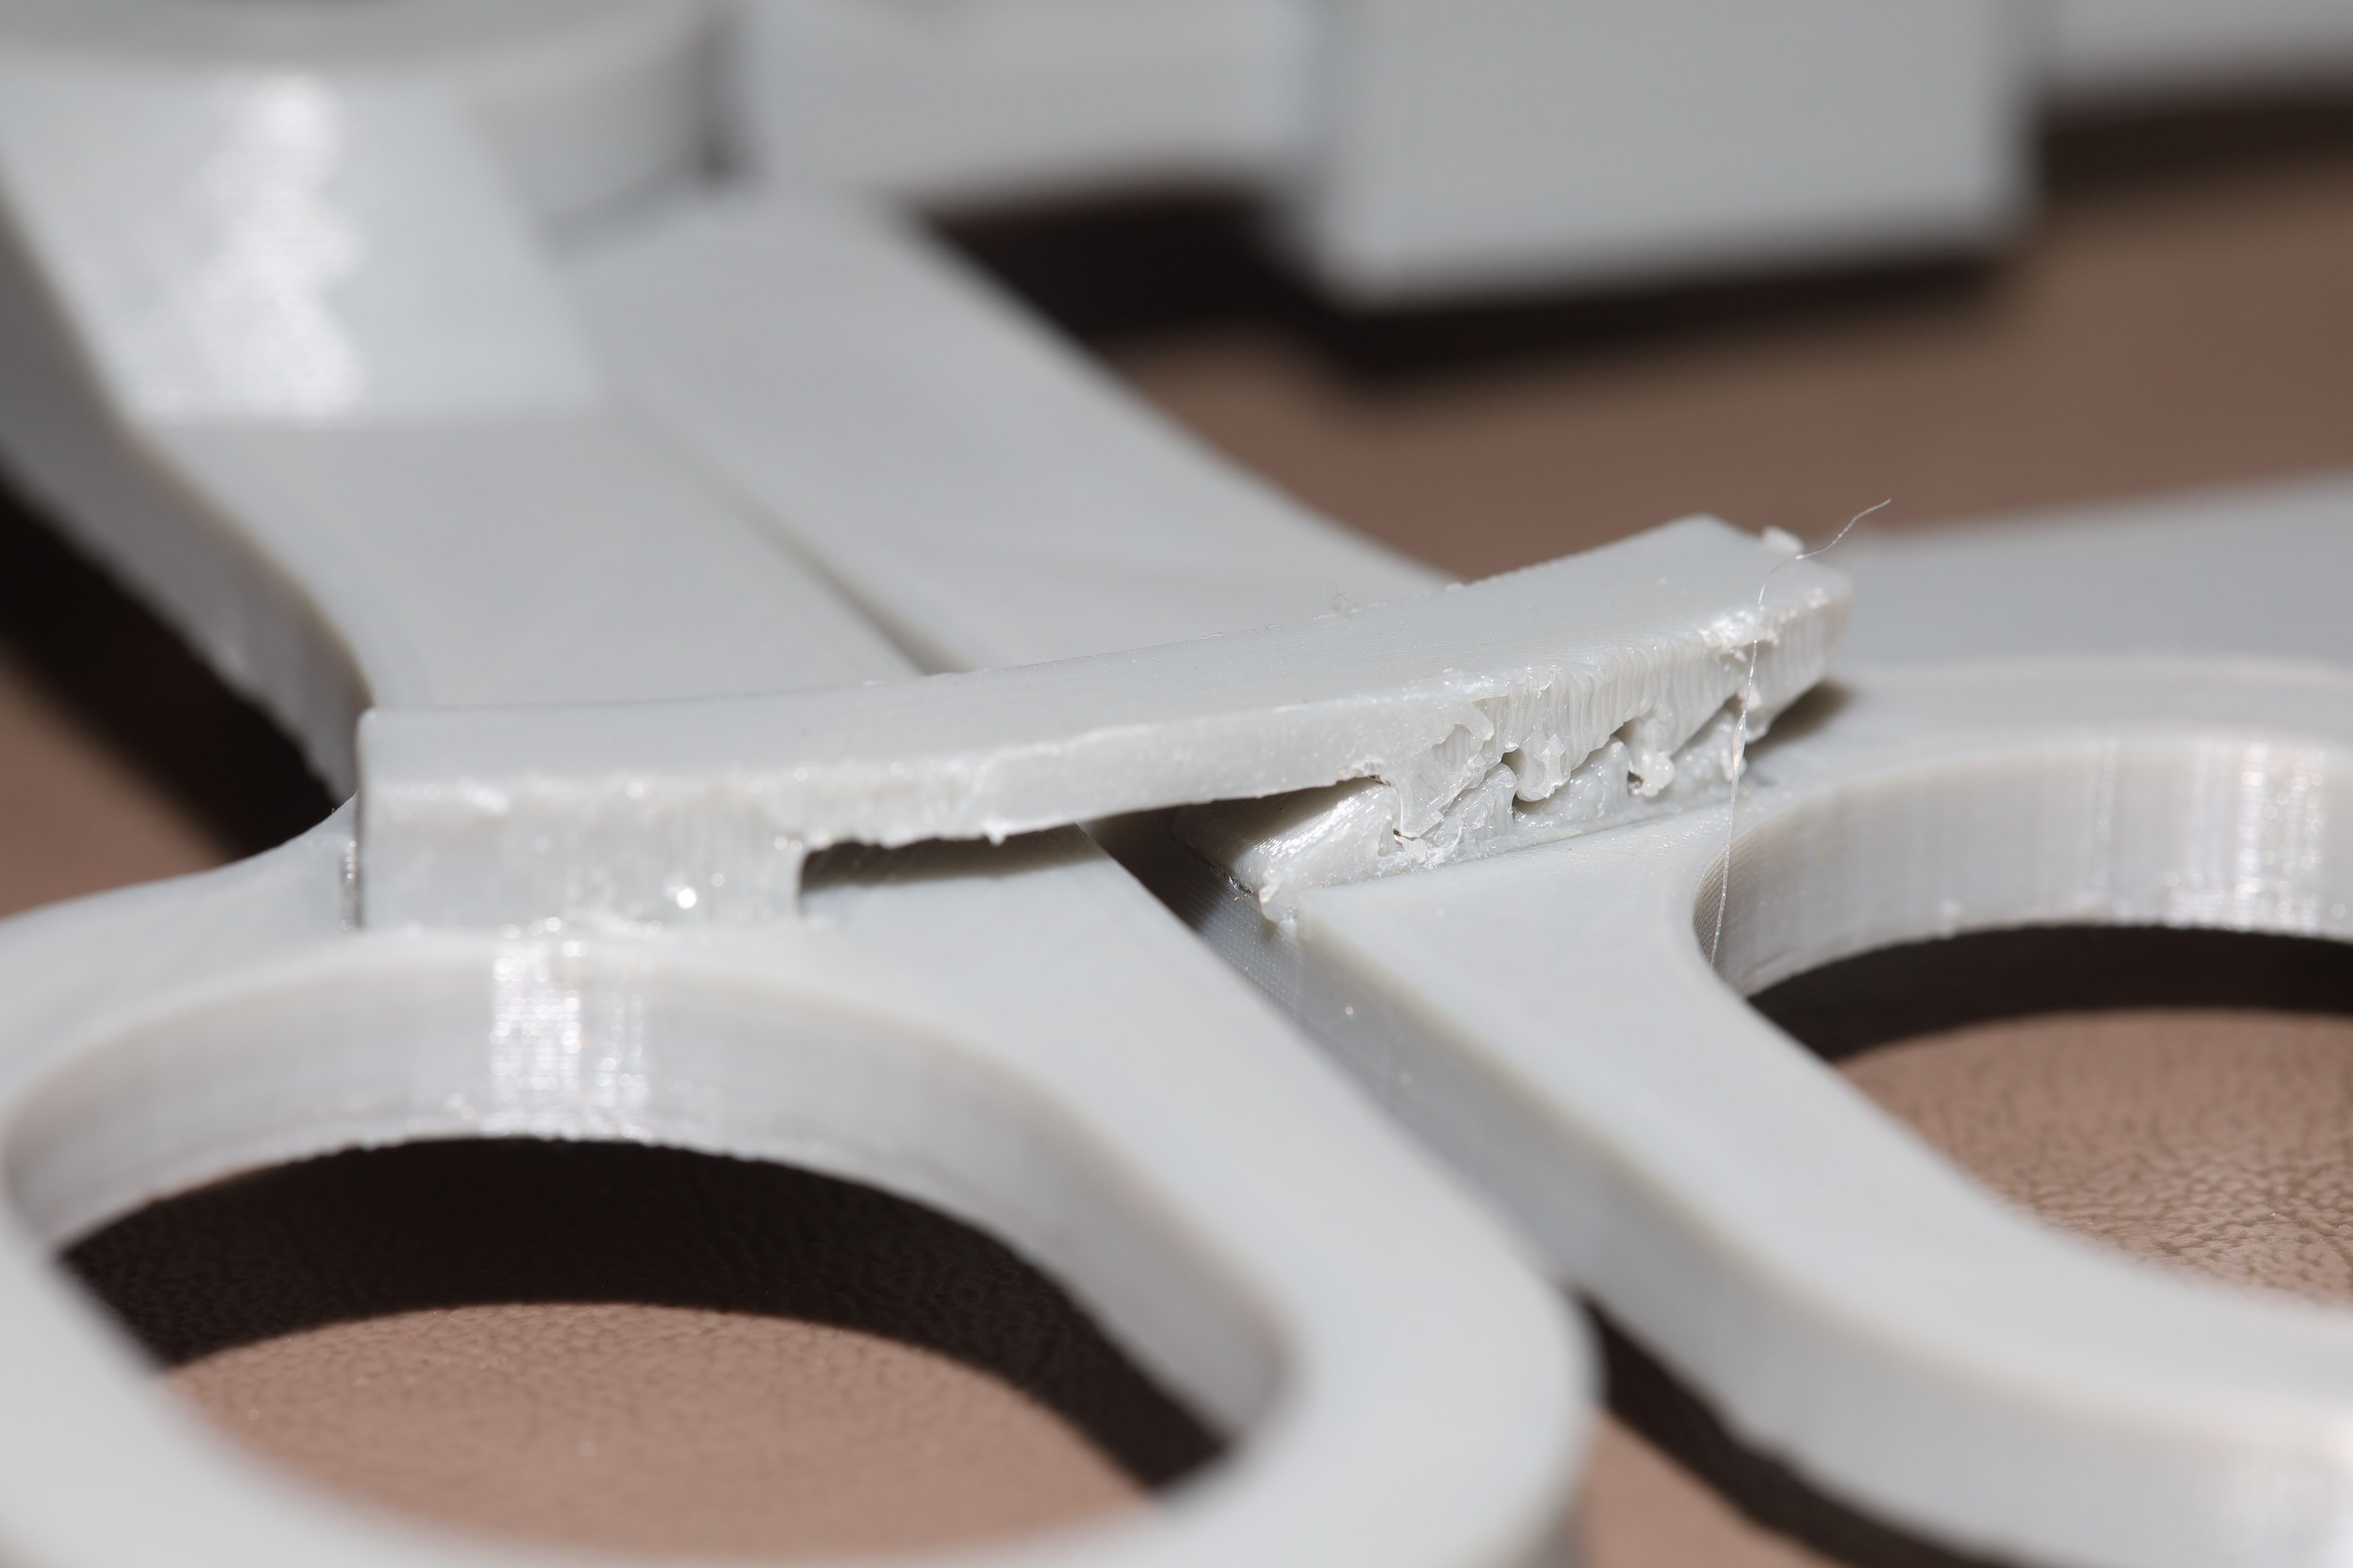
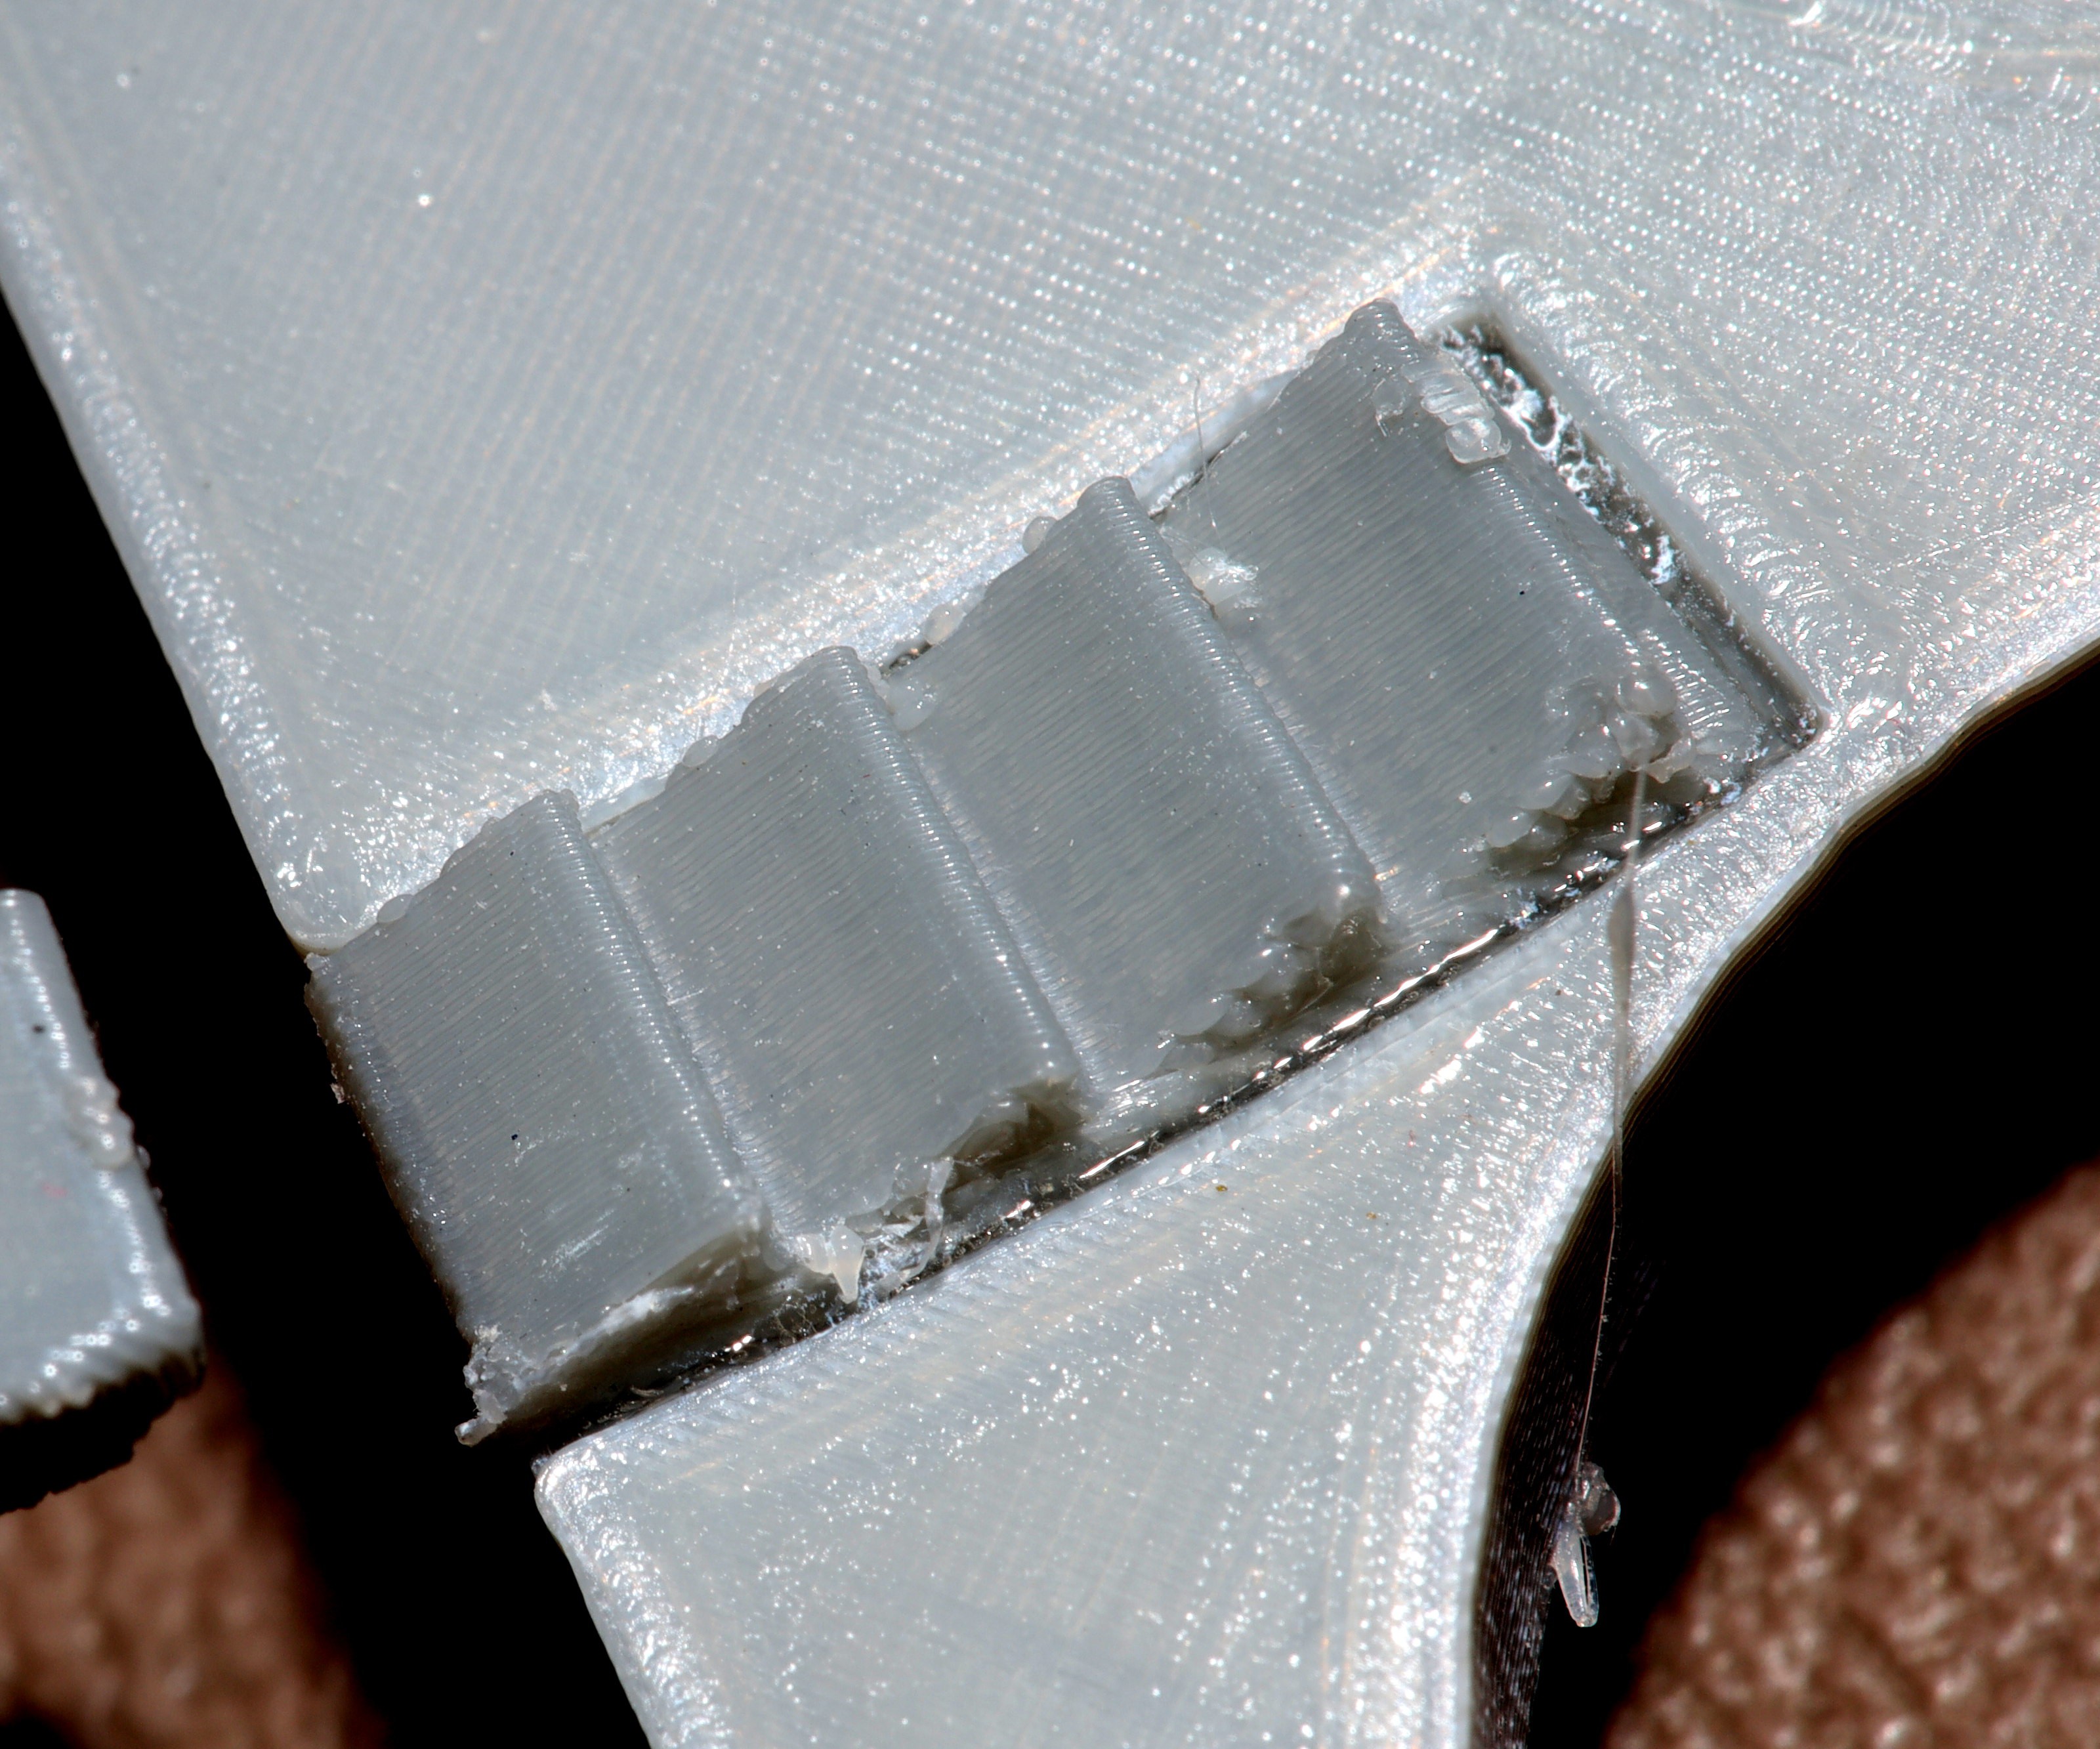
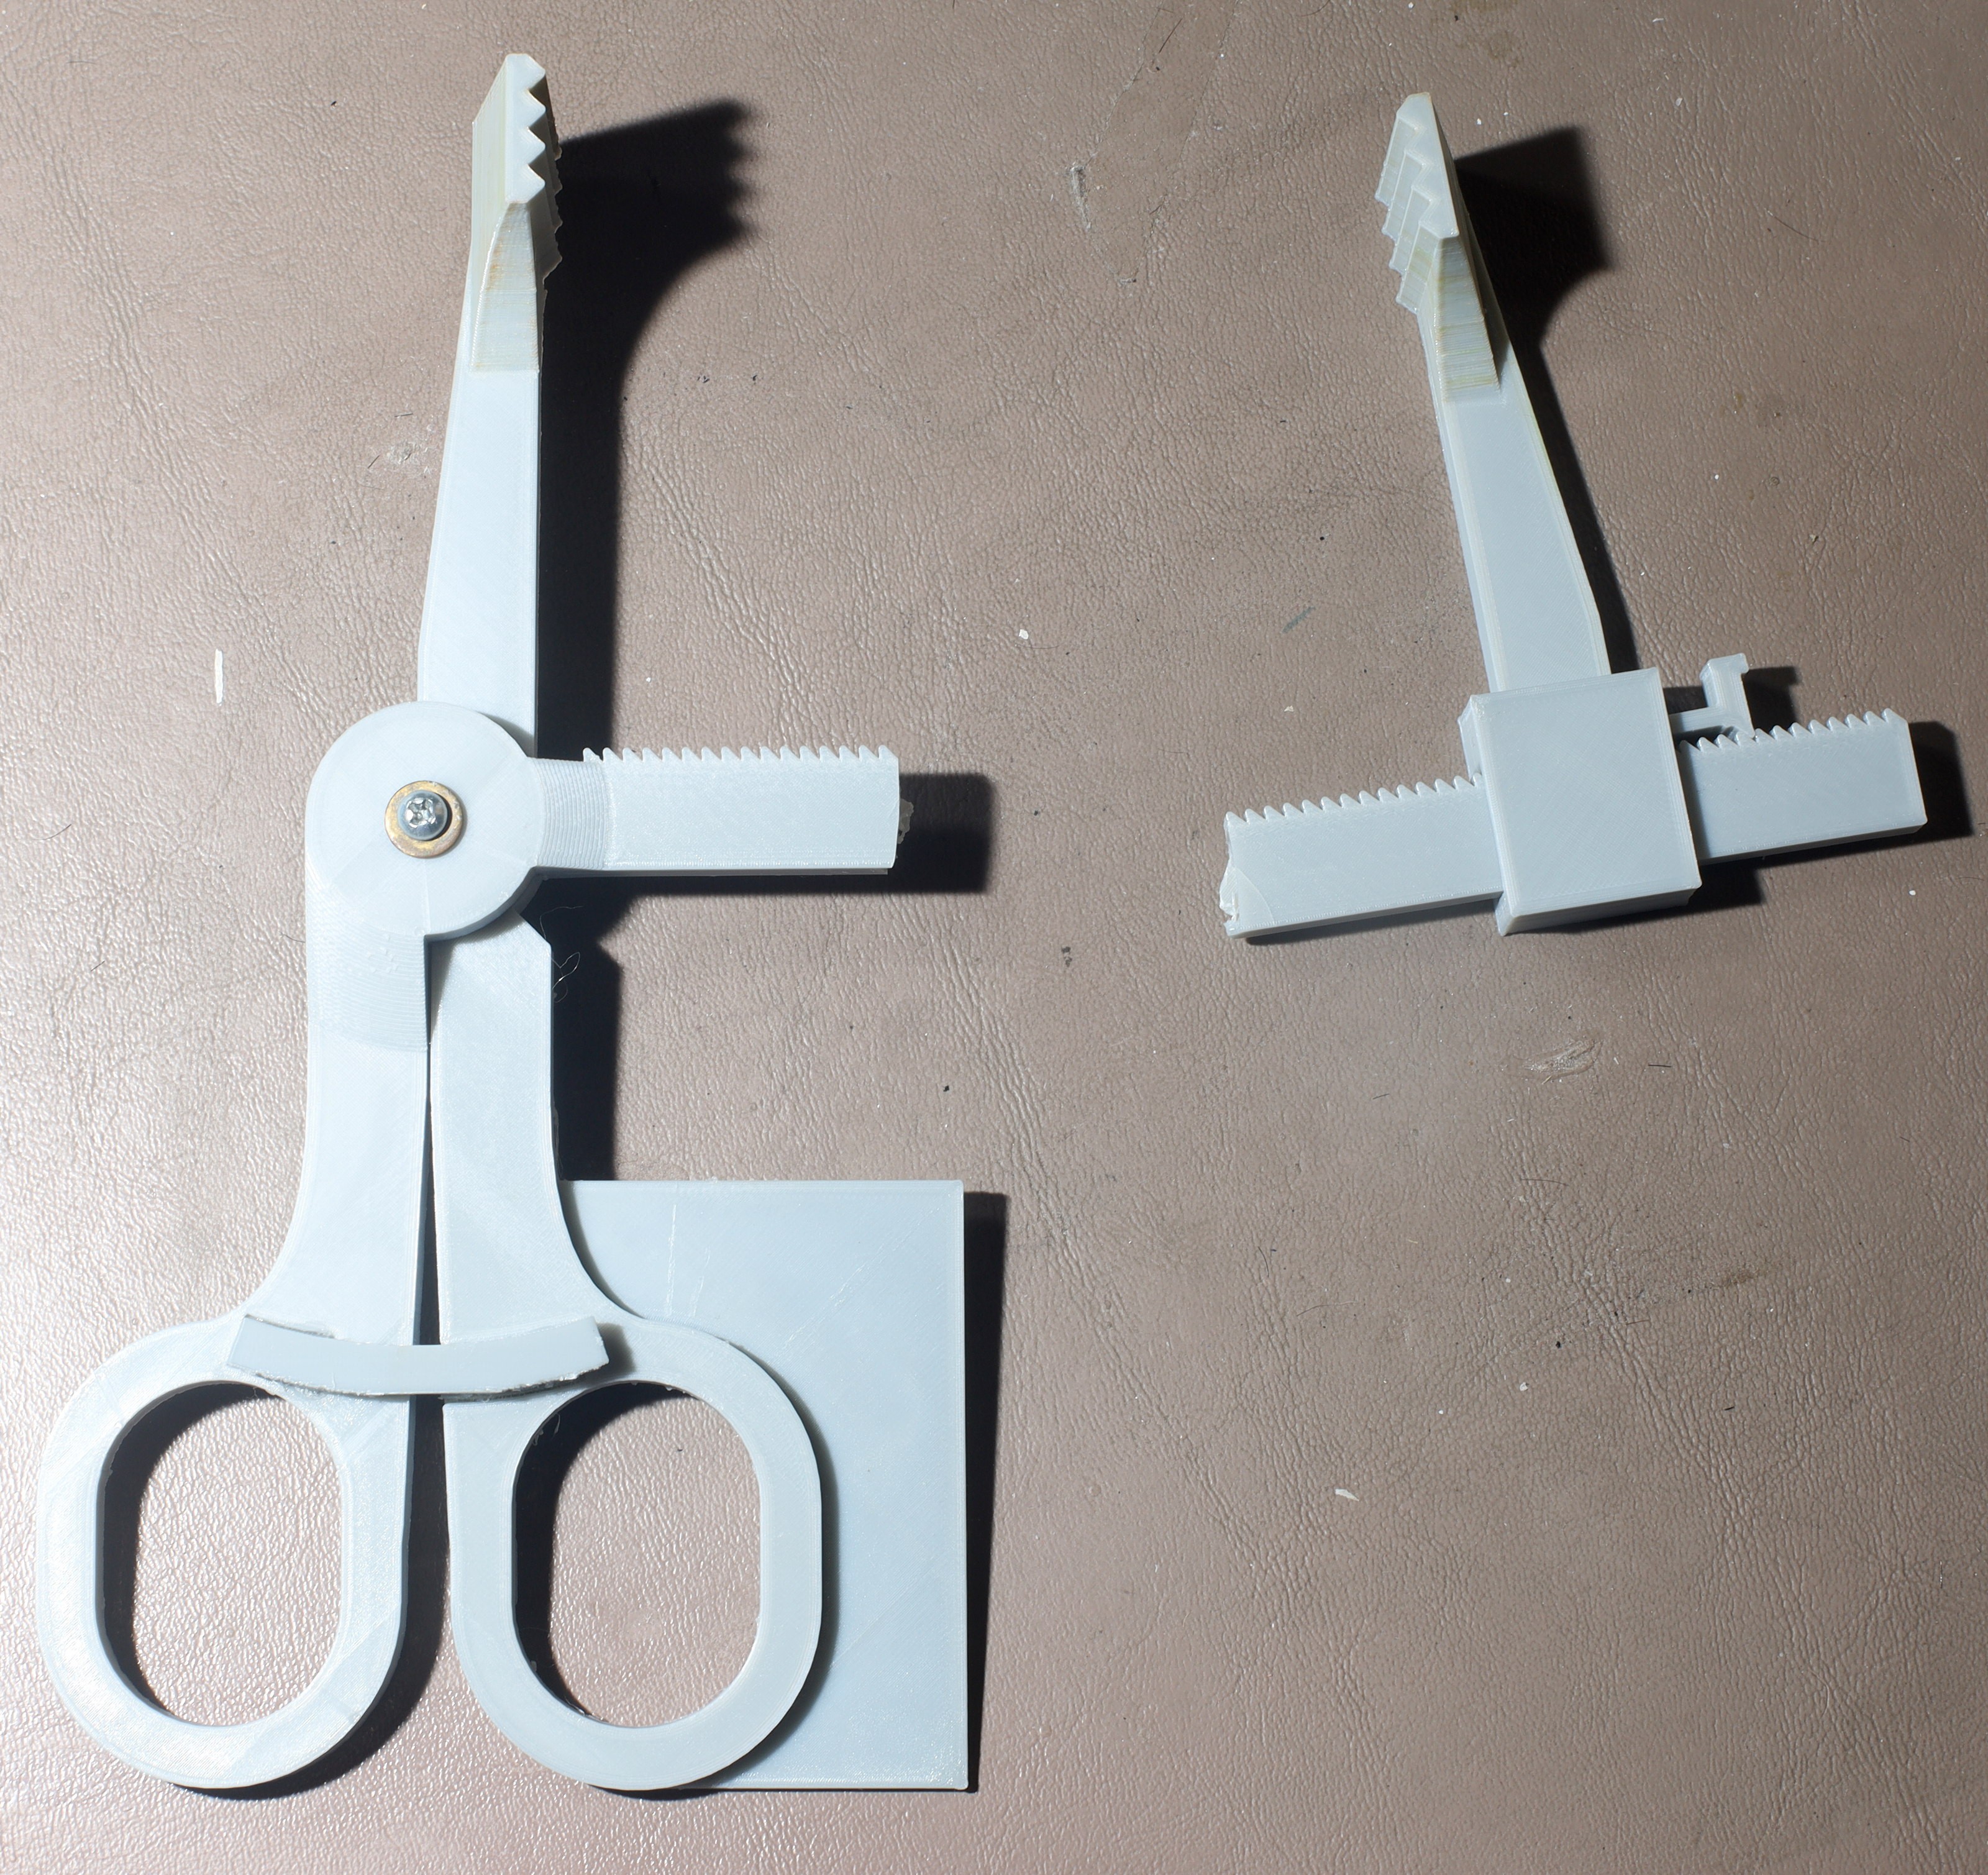
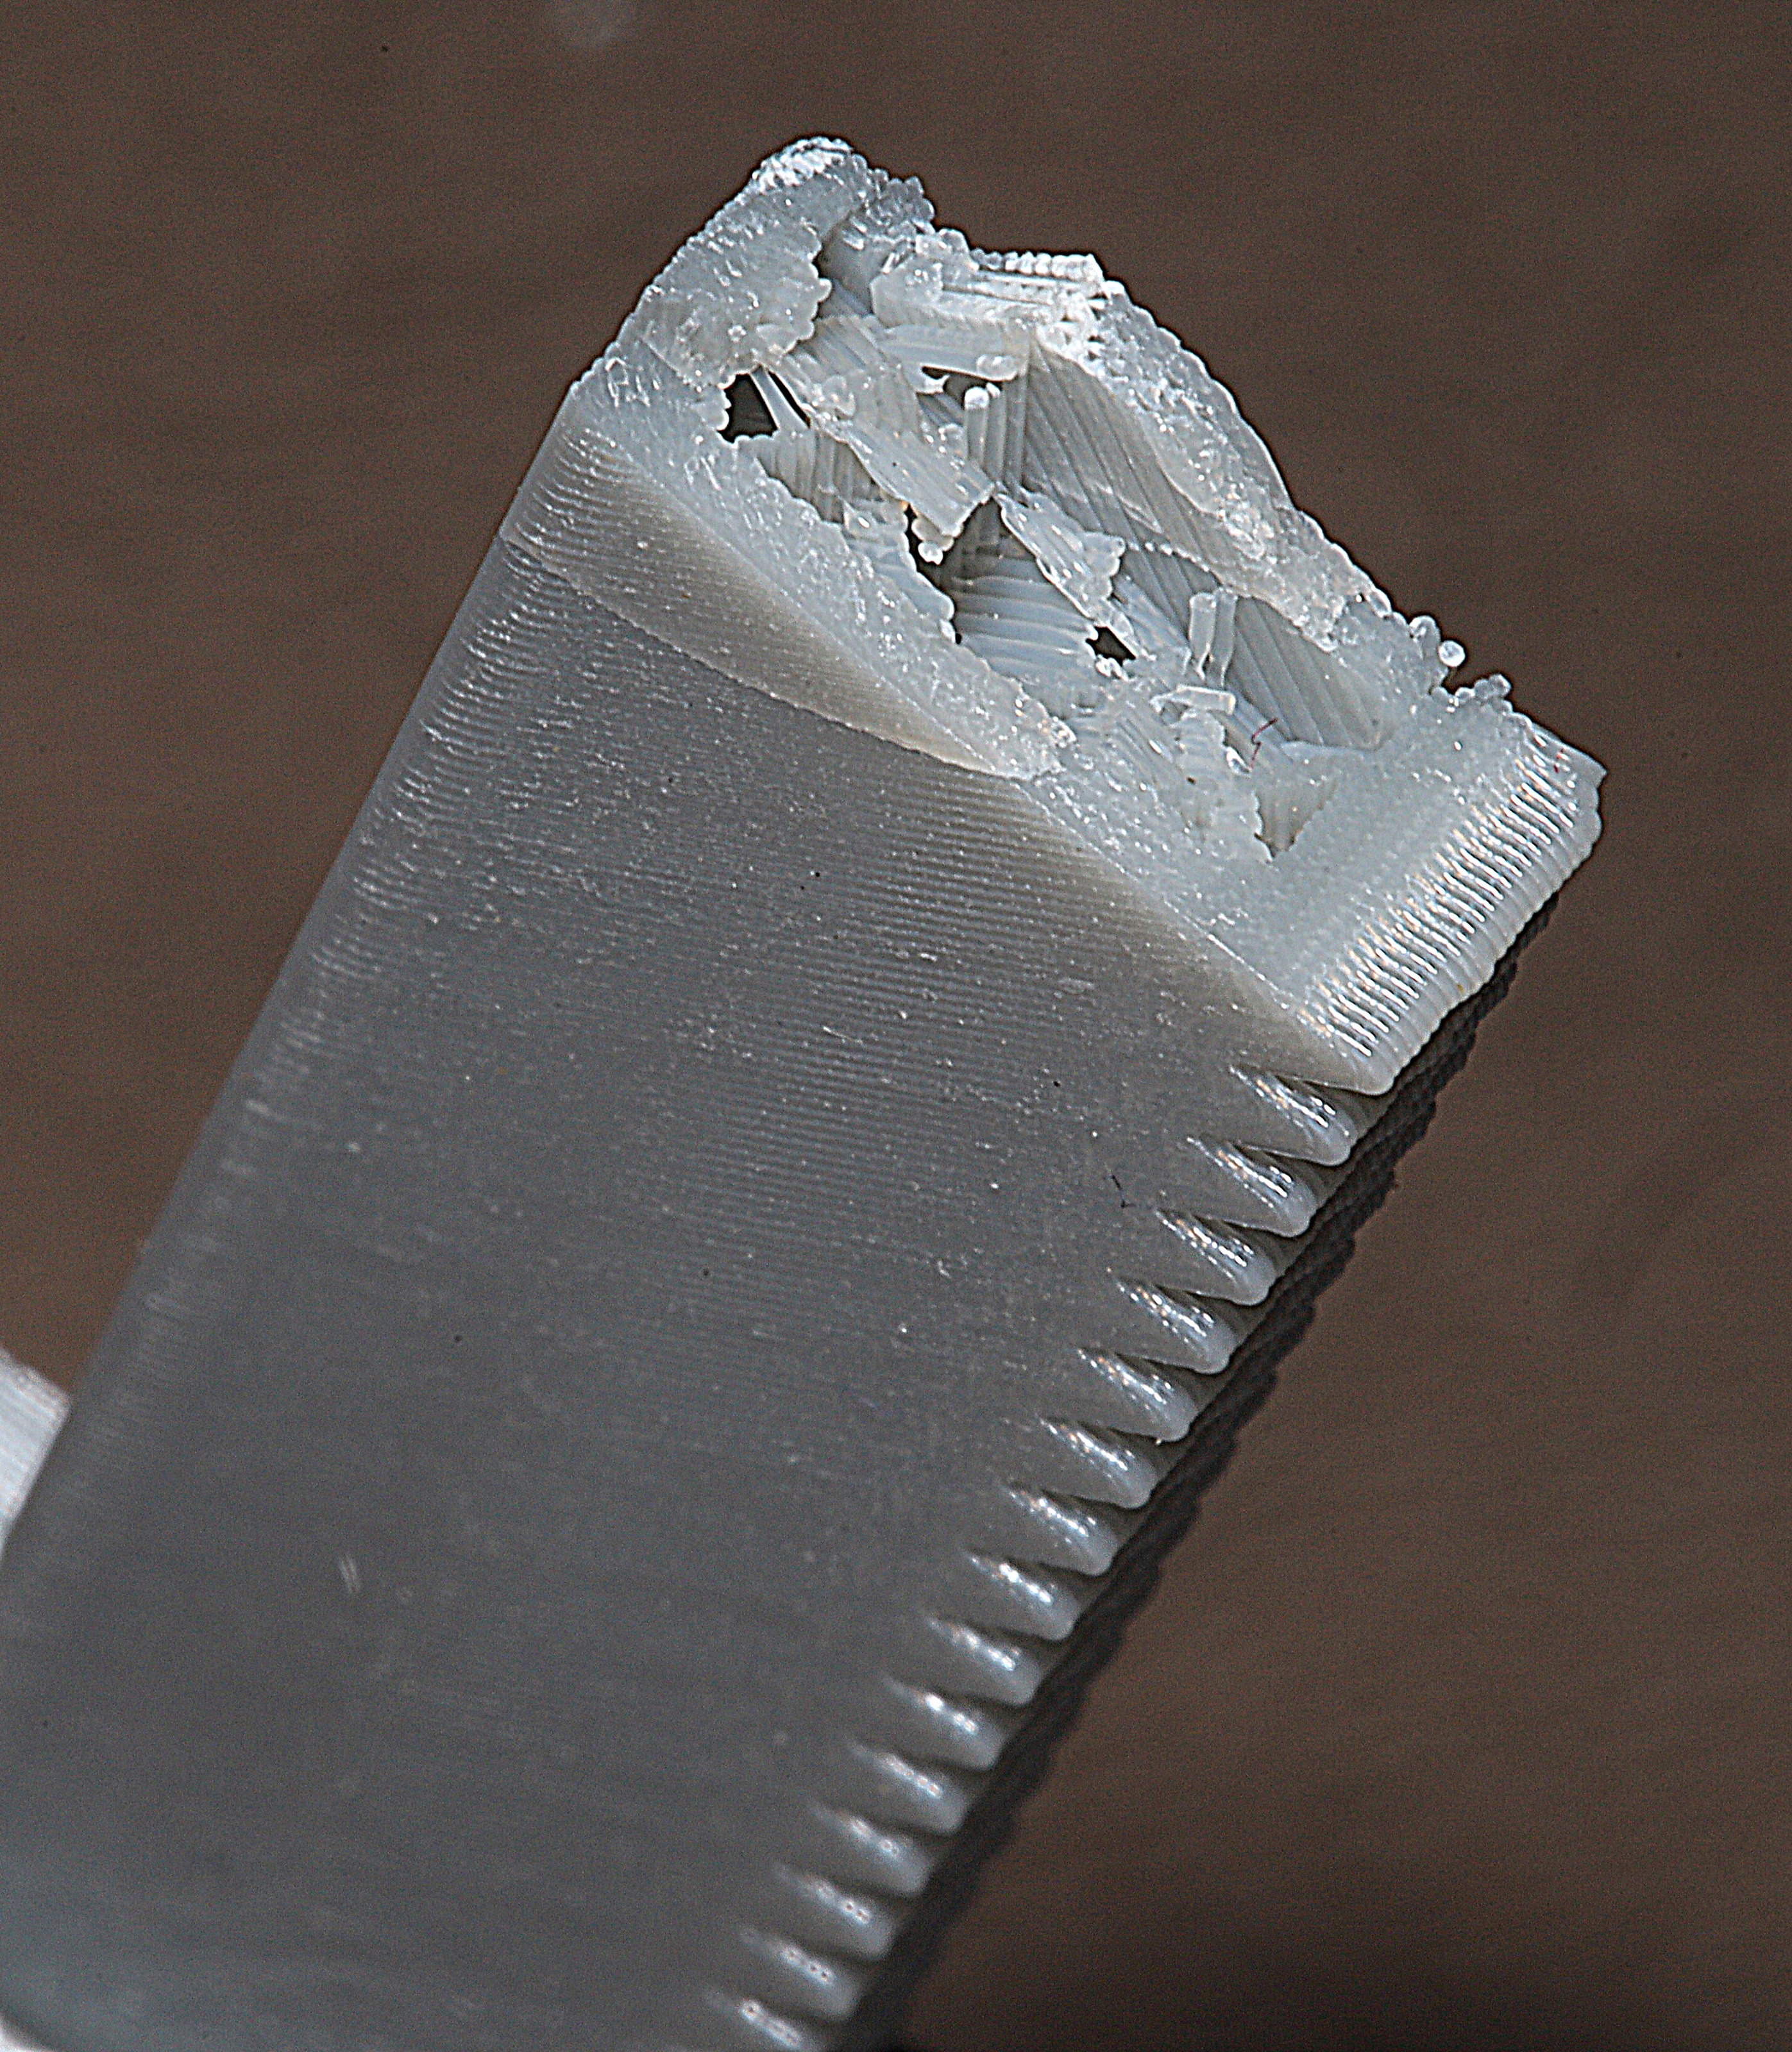
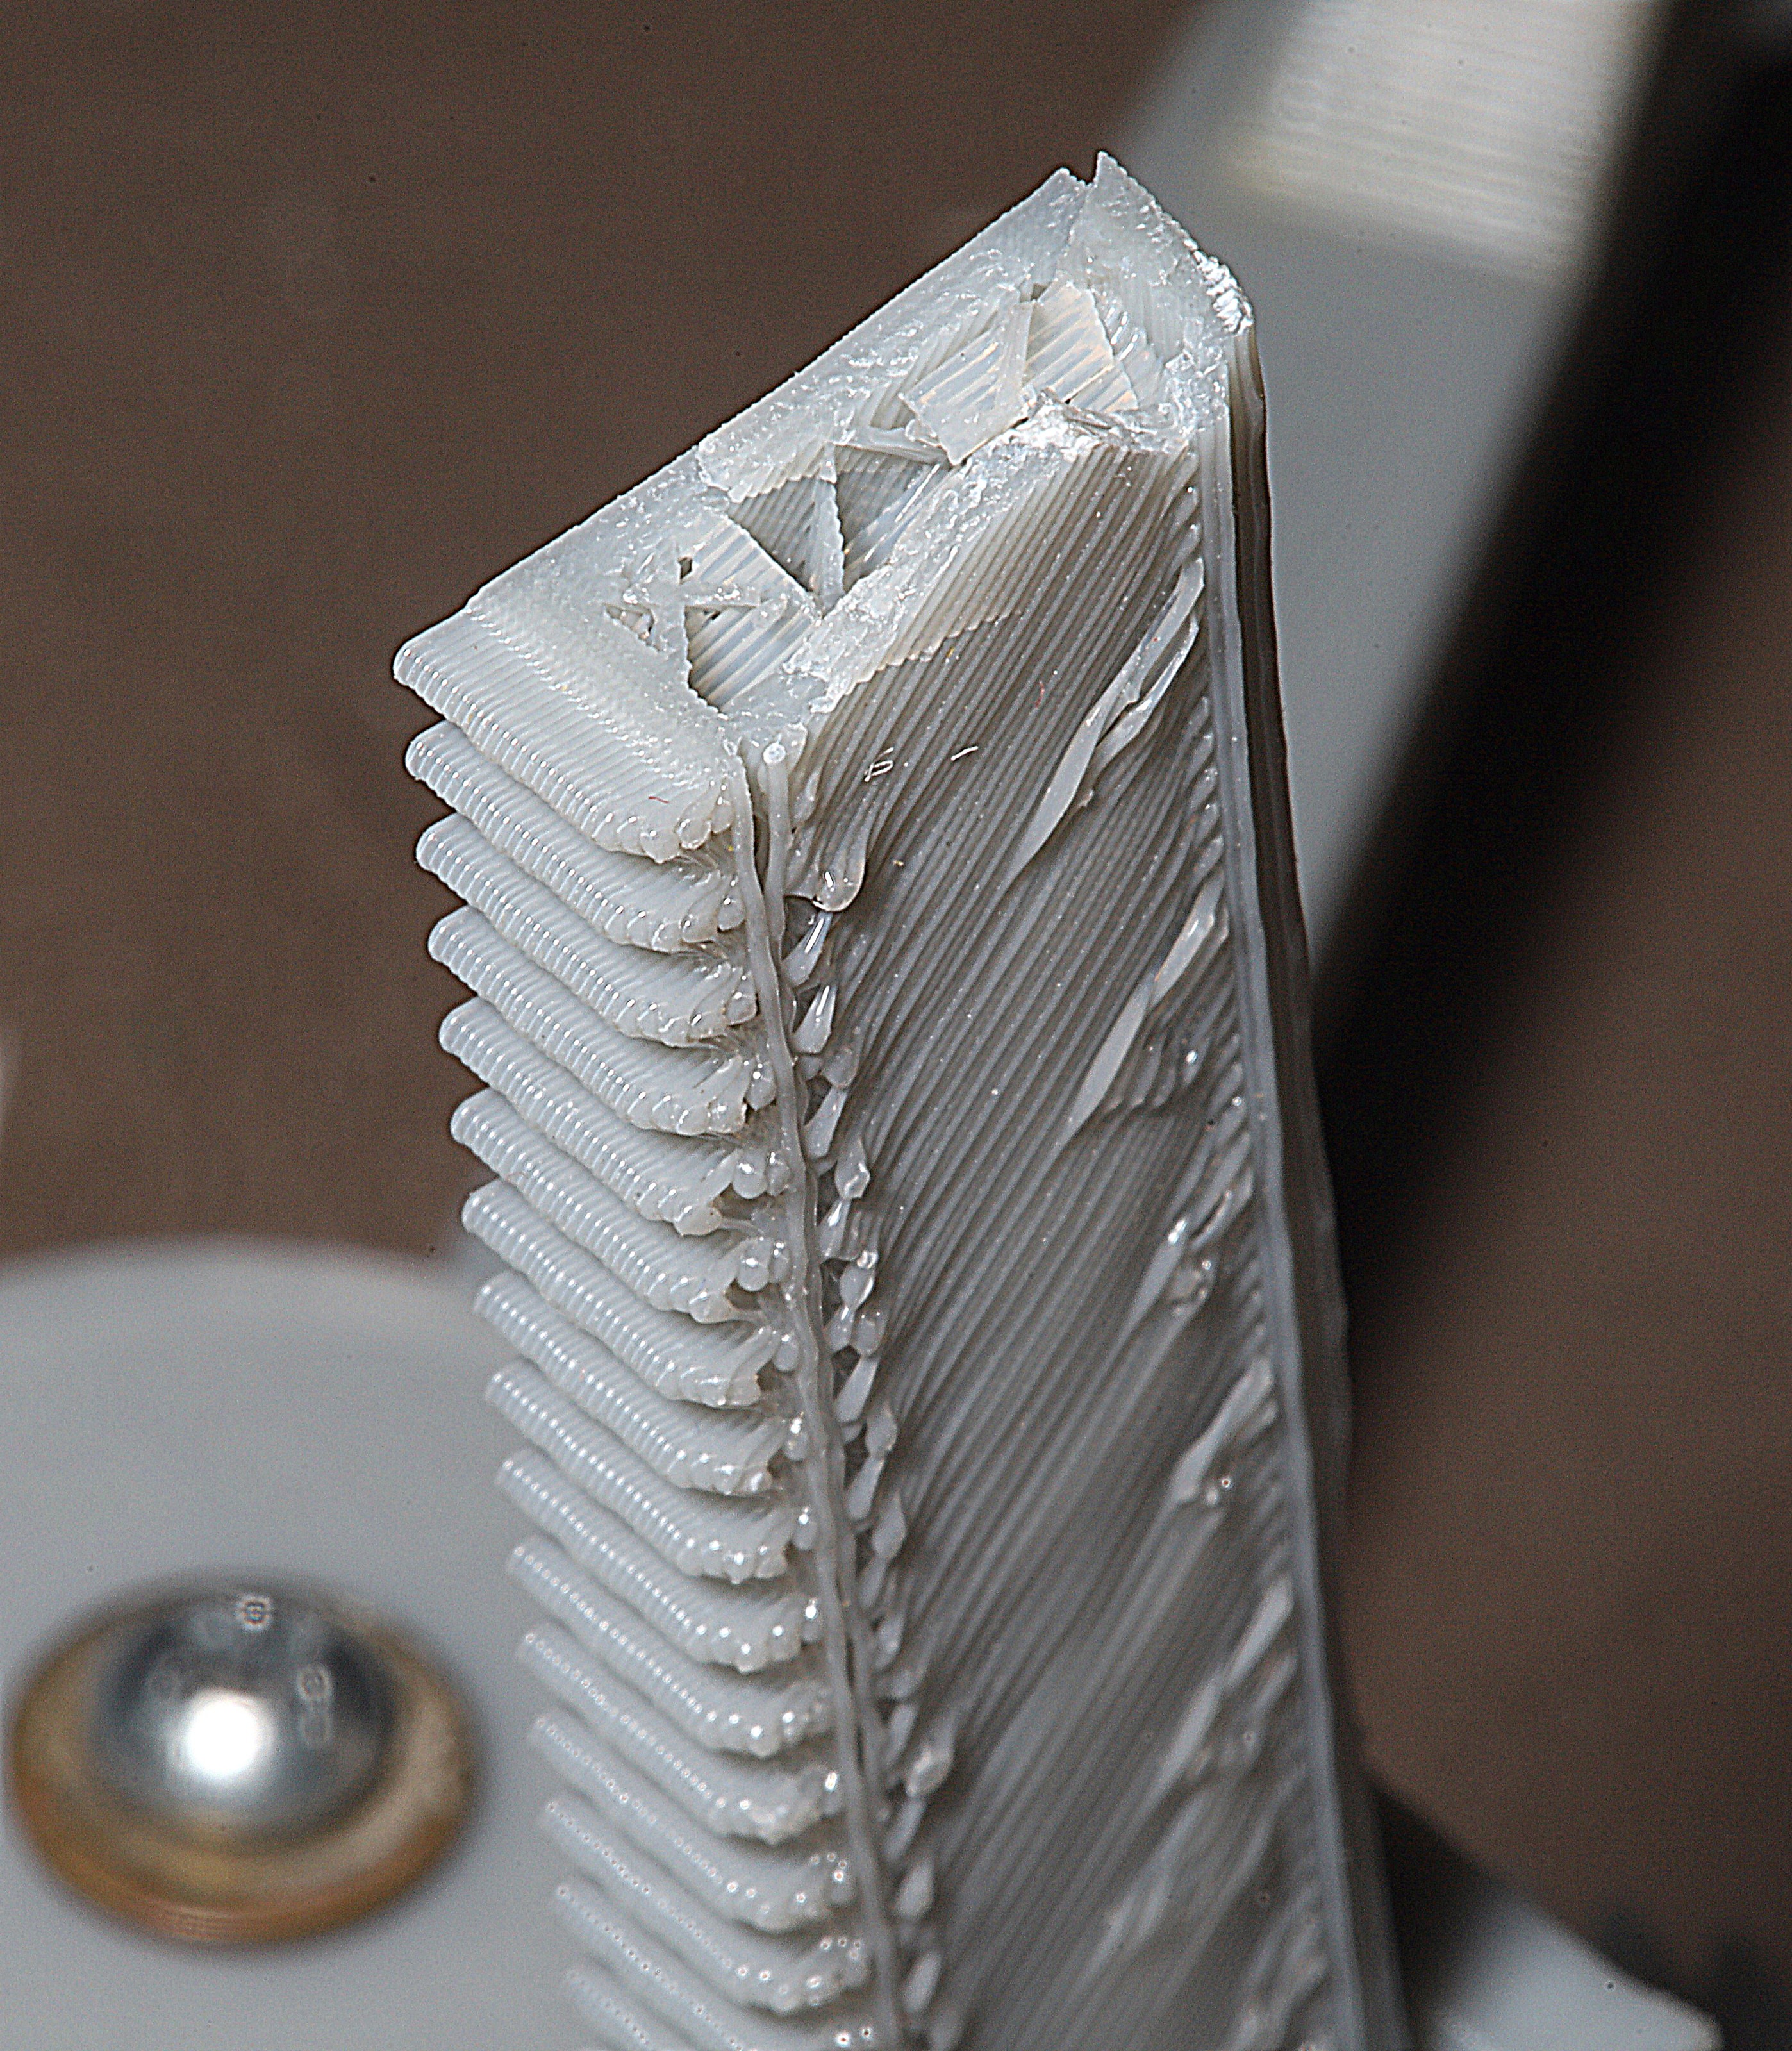
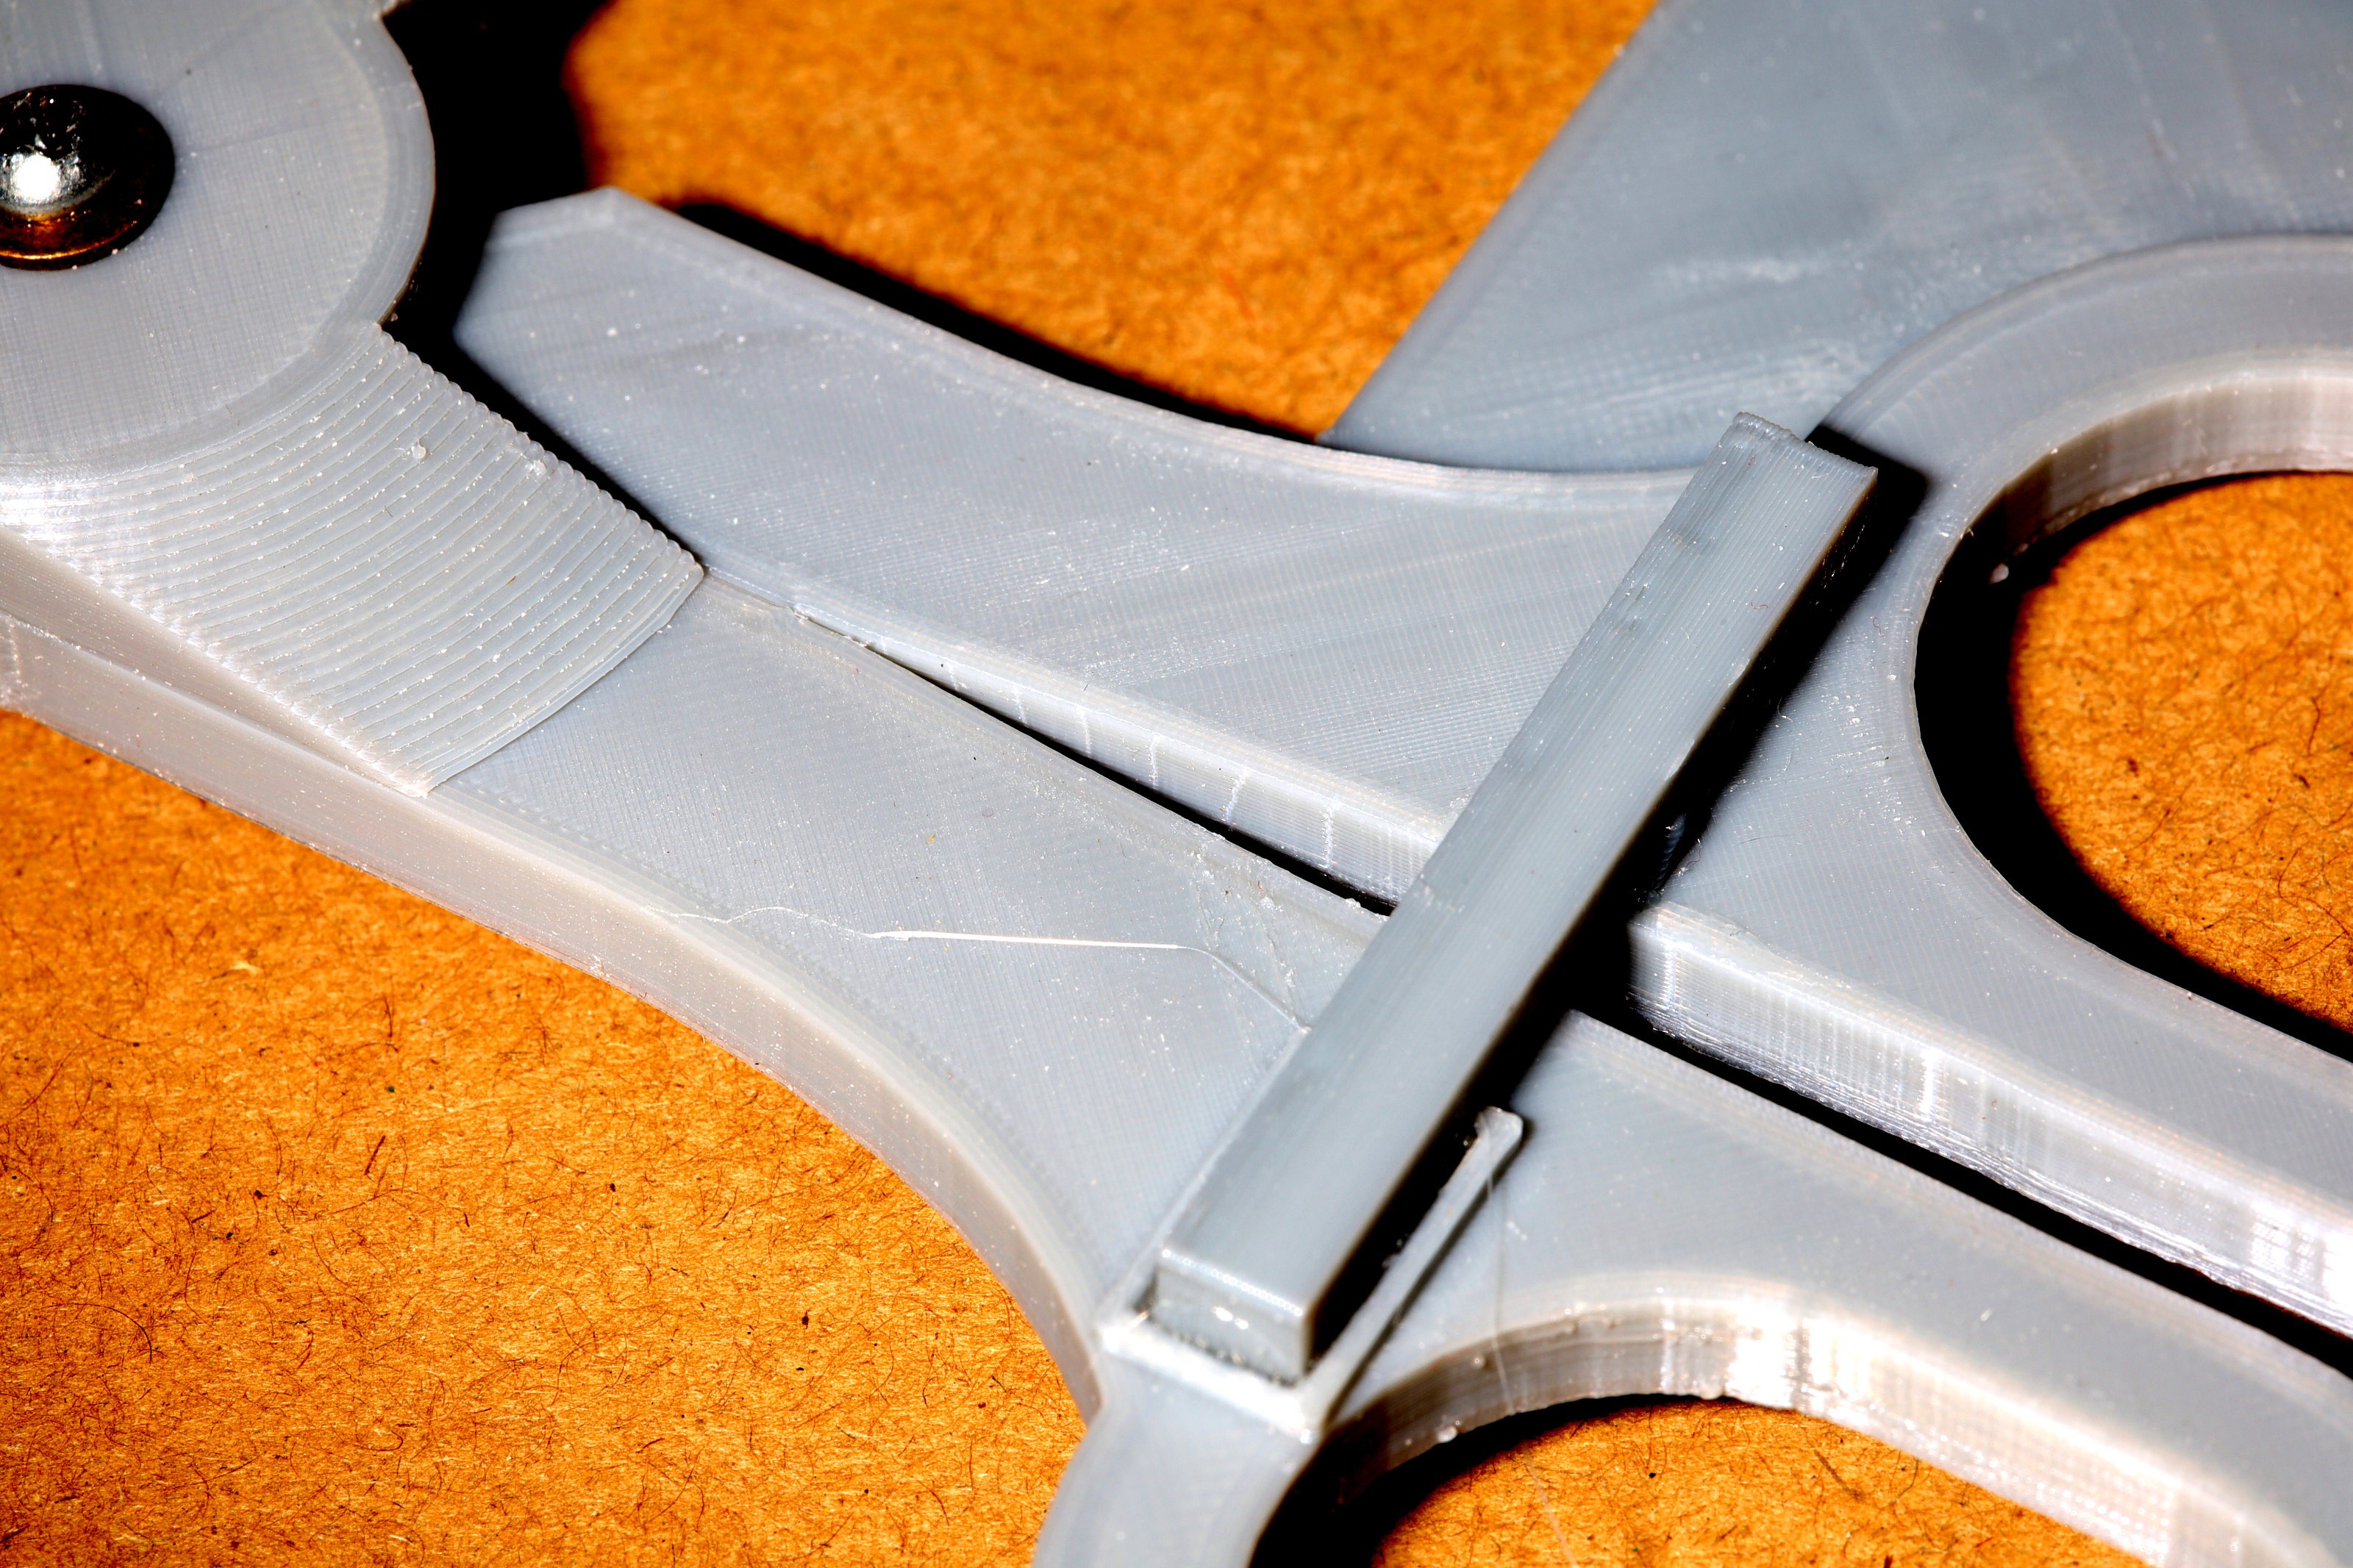
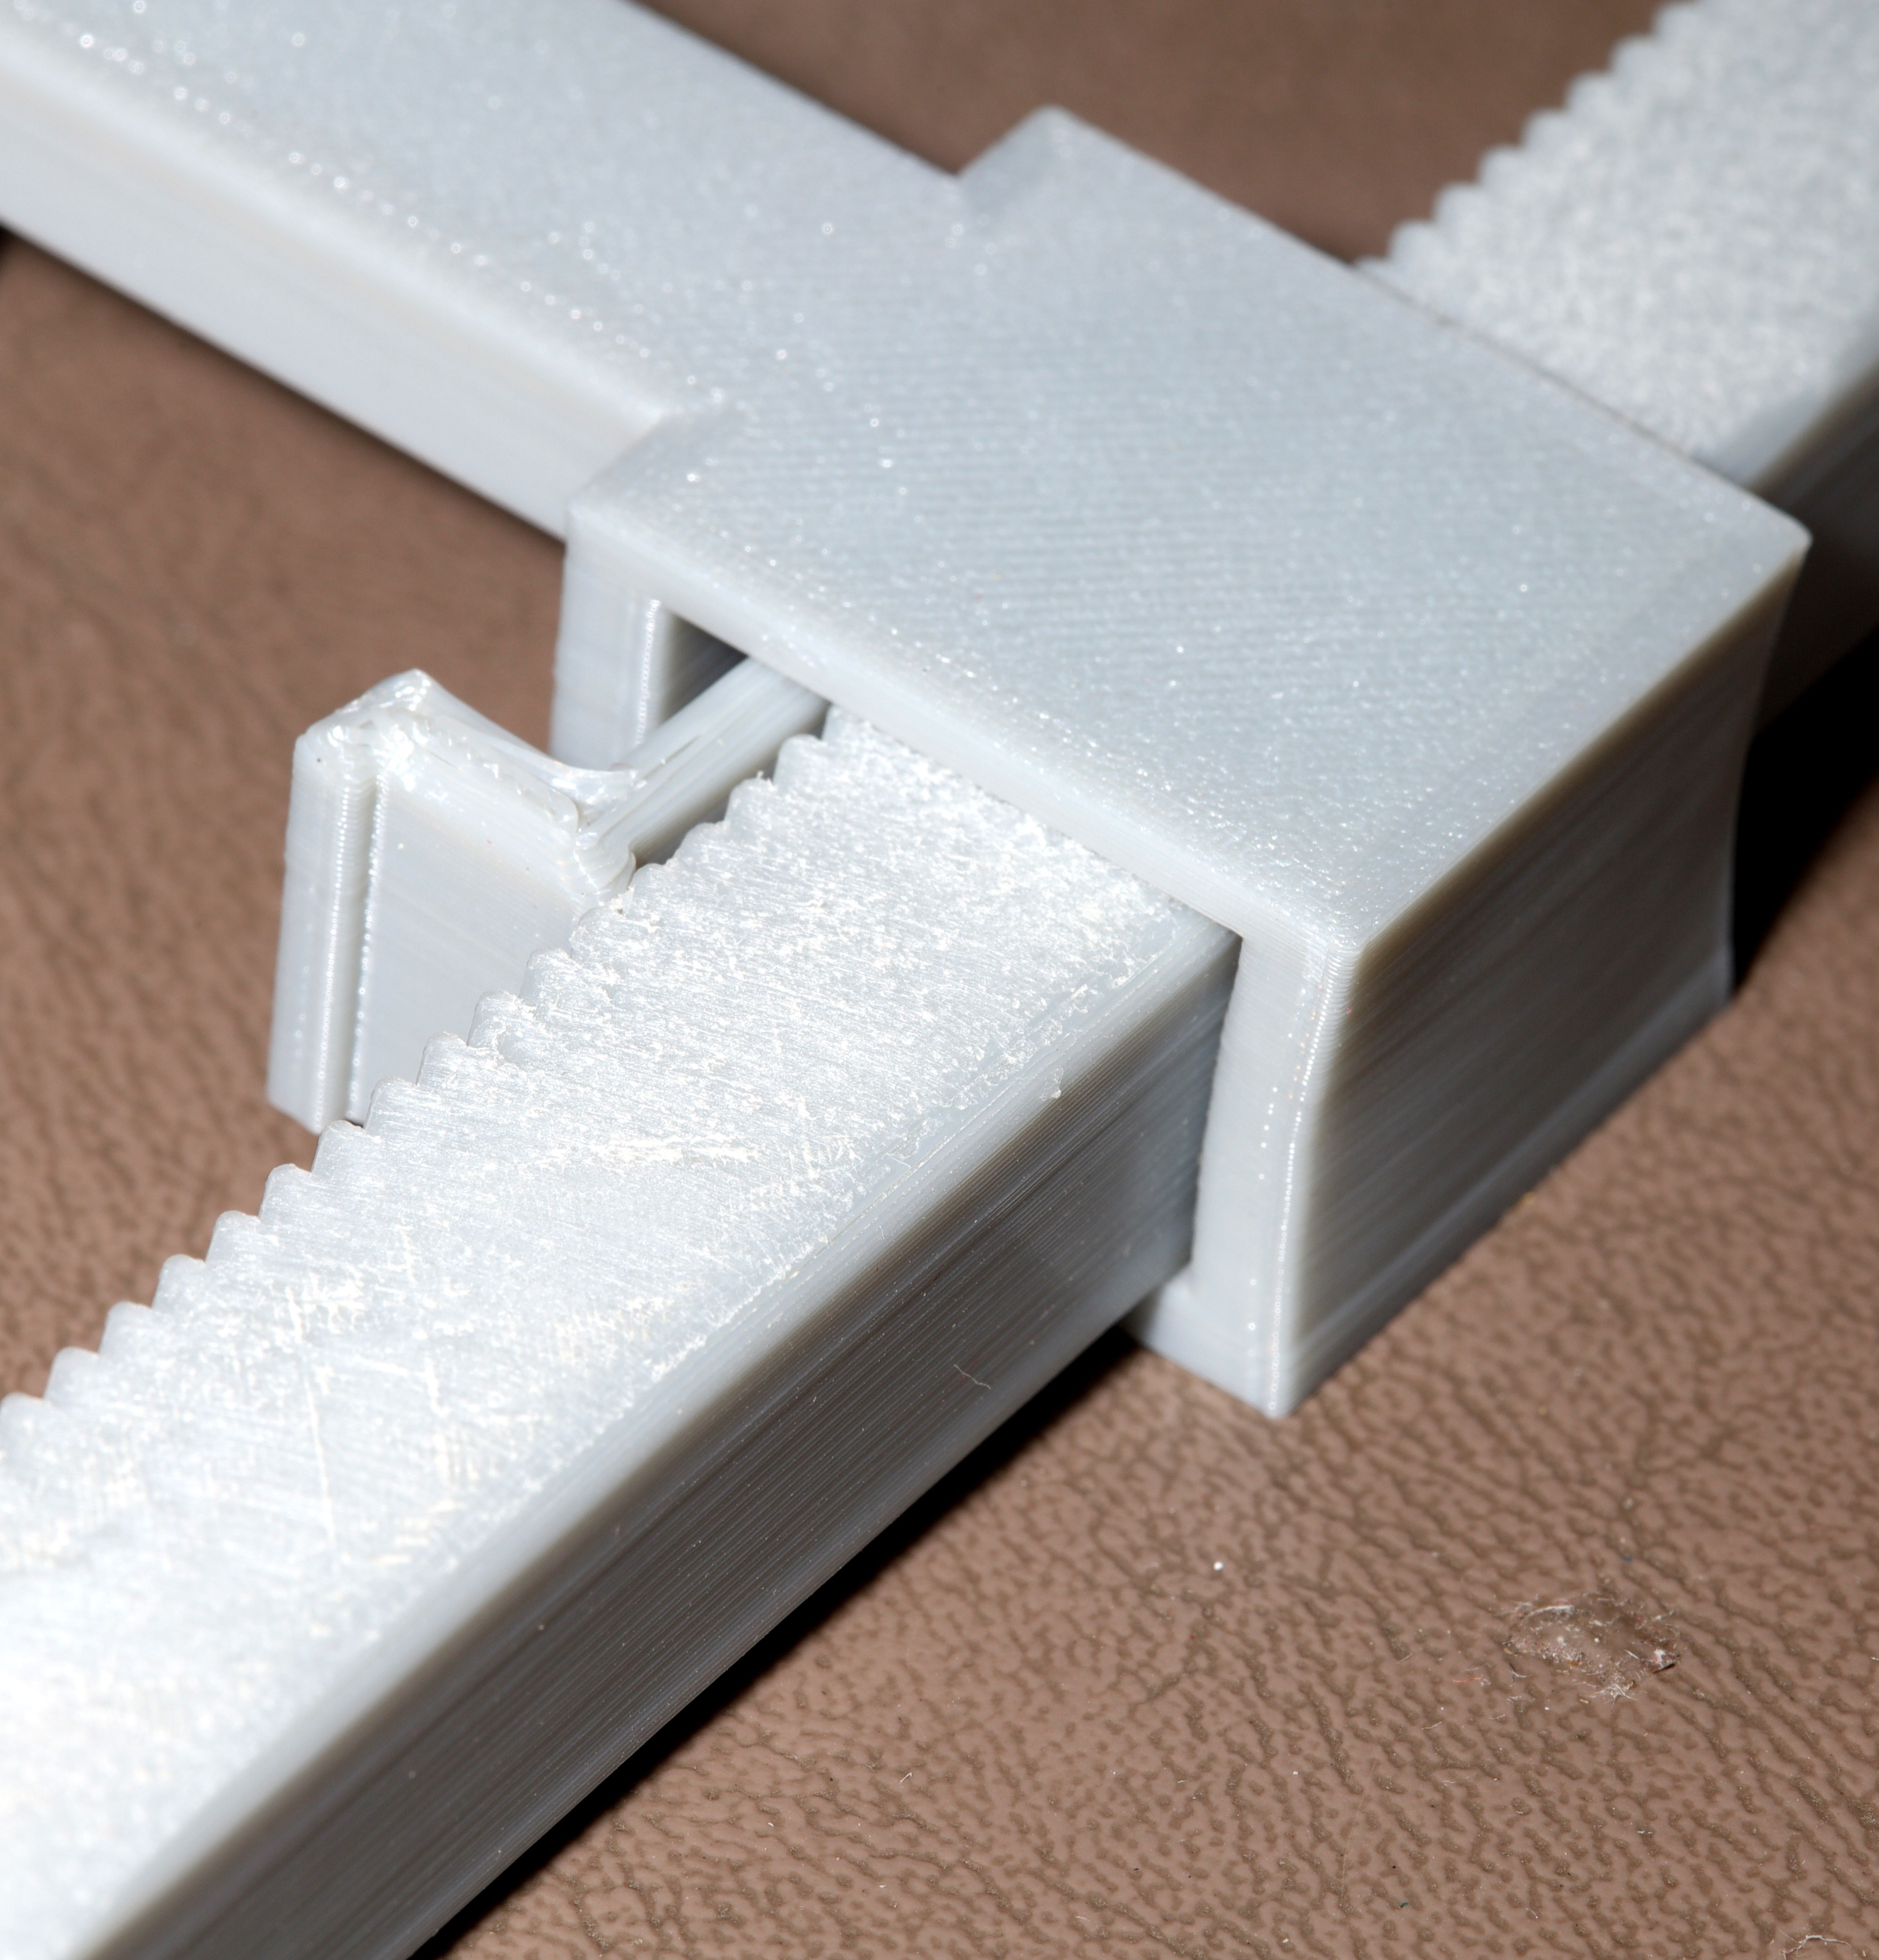
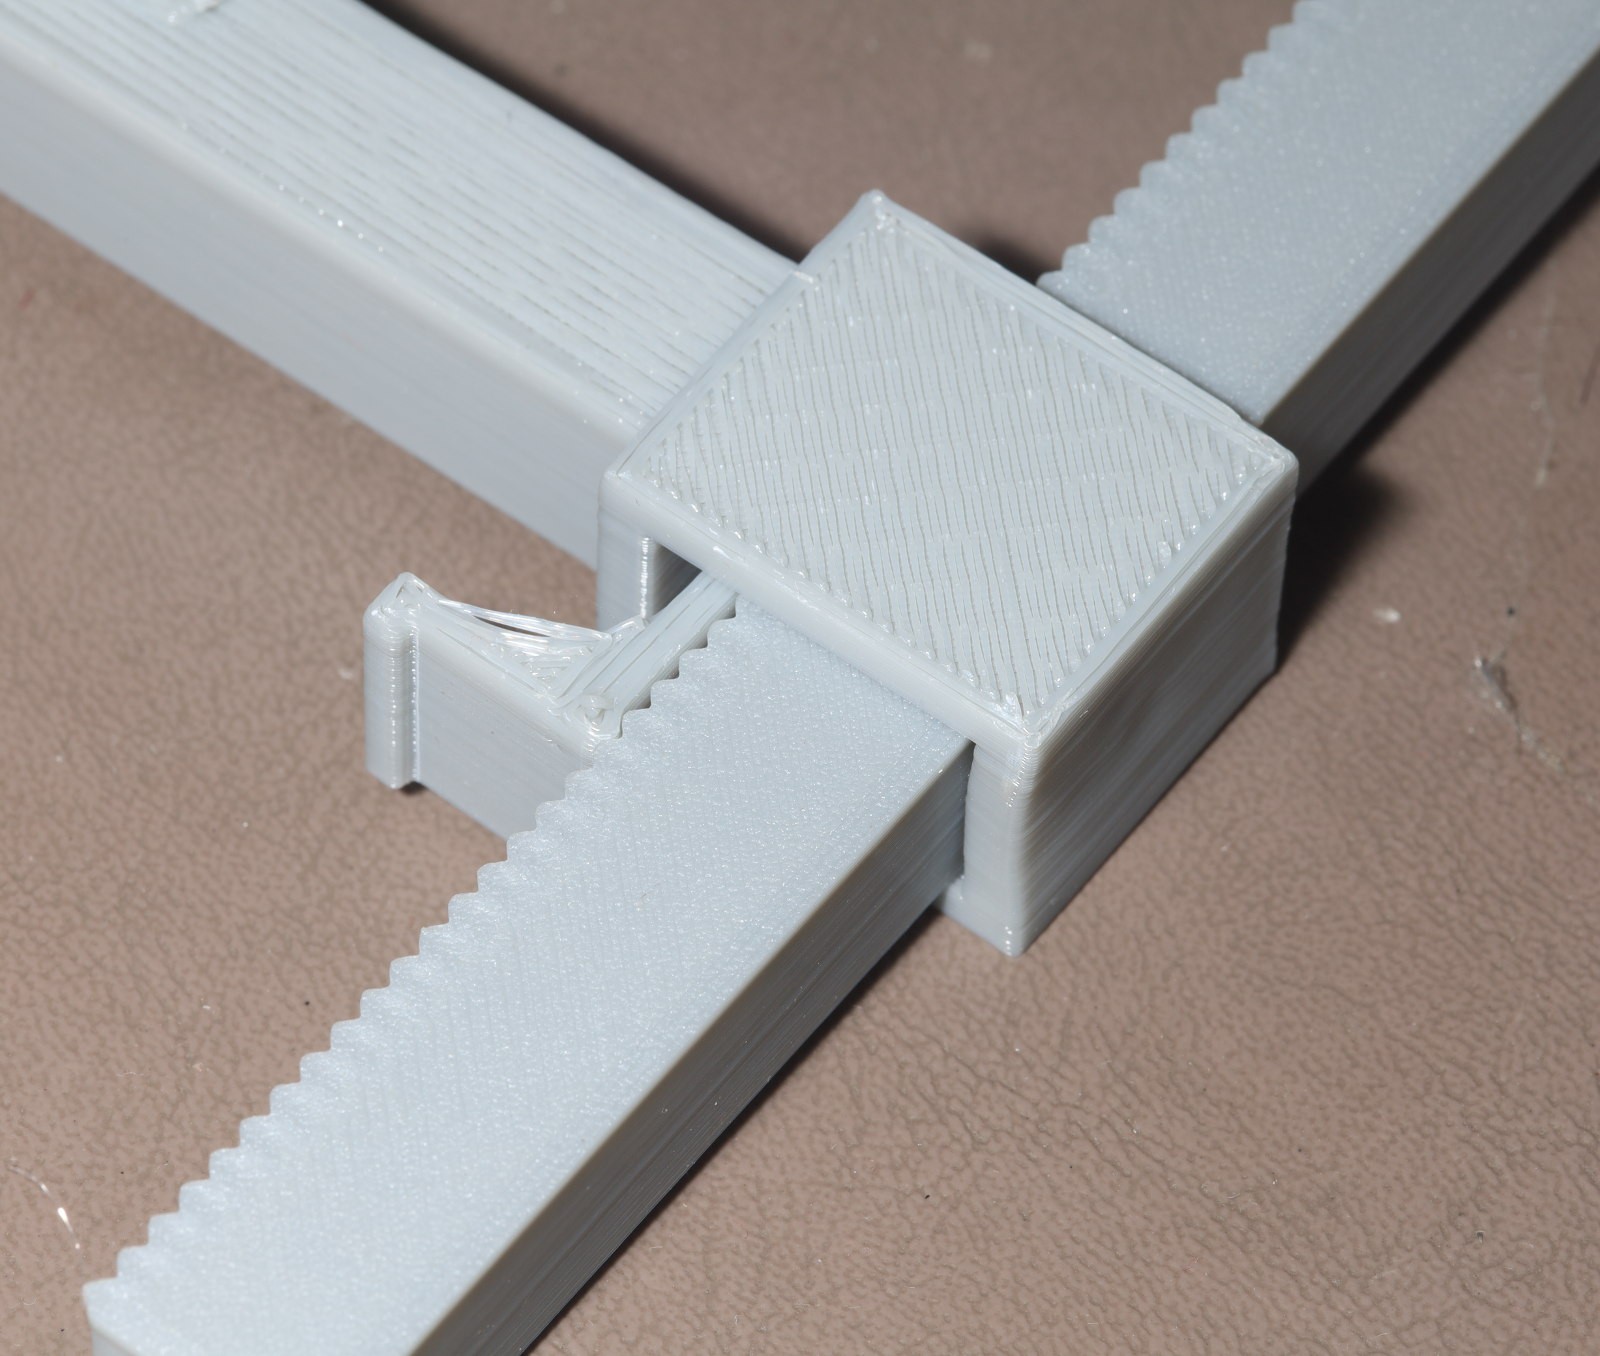
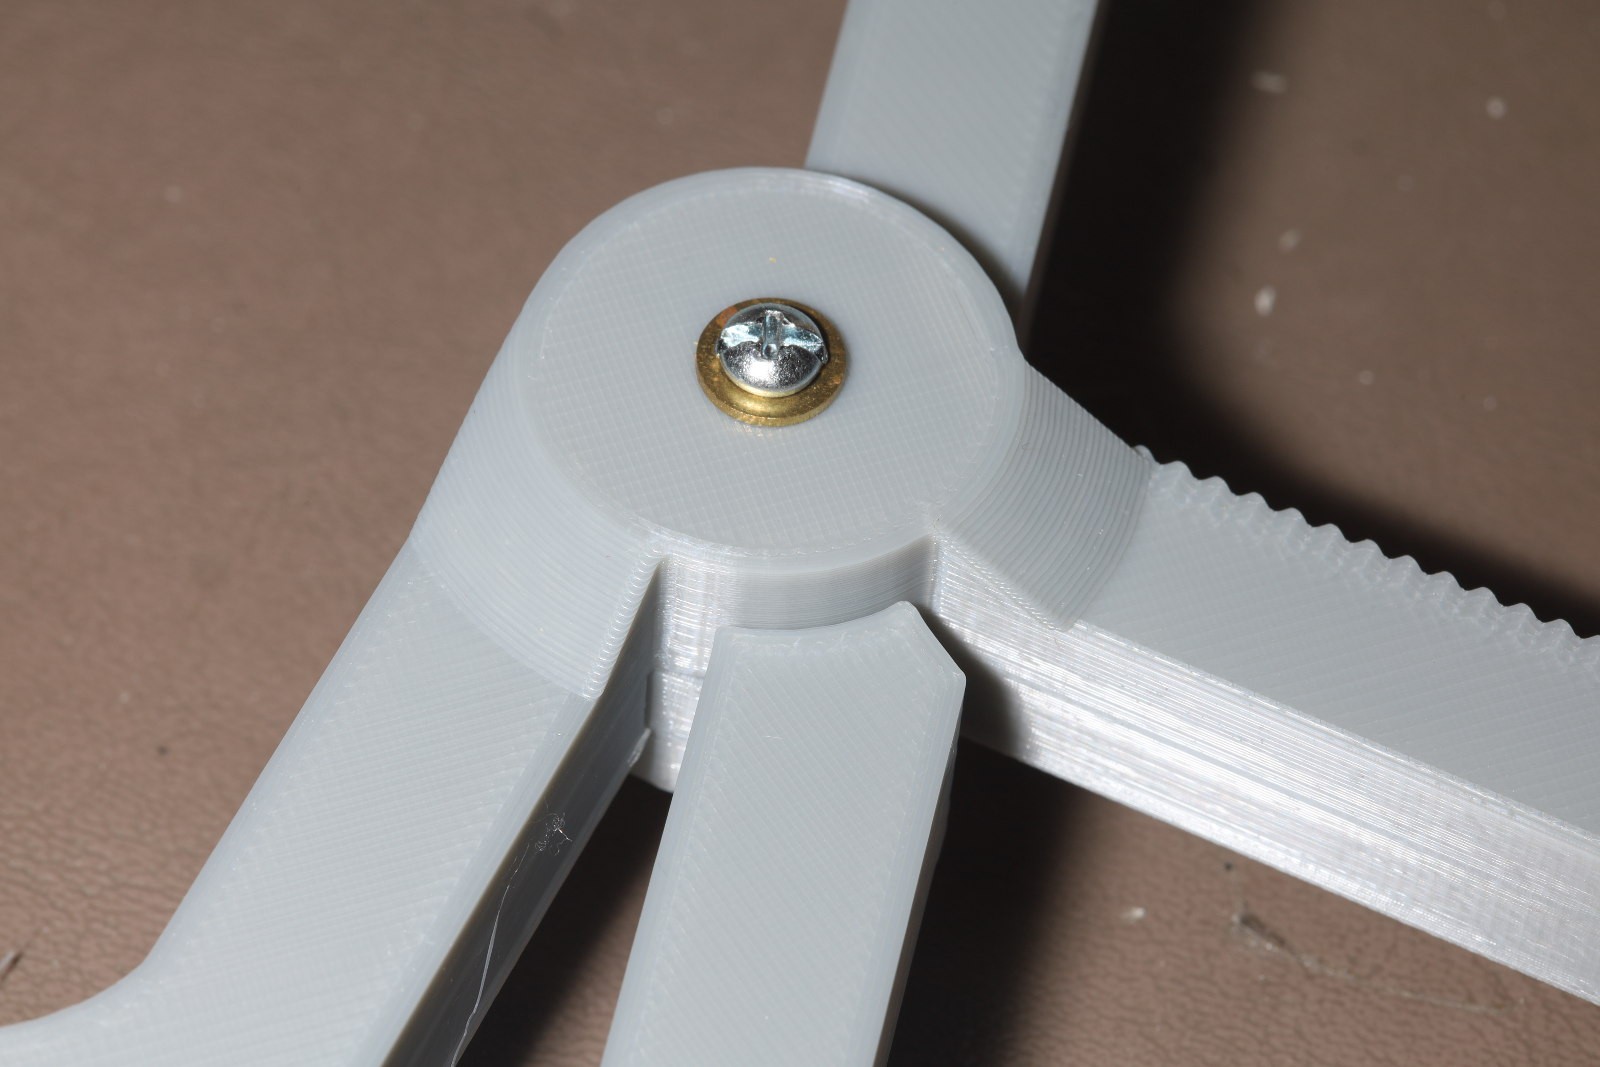
The mane problem is the ratchet doesn't passively lock & doesn't have enough clearance. It hasn't been worth printing another pair though.
![]()
![]()
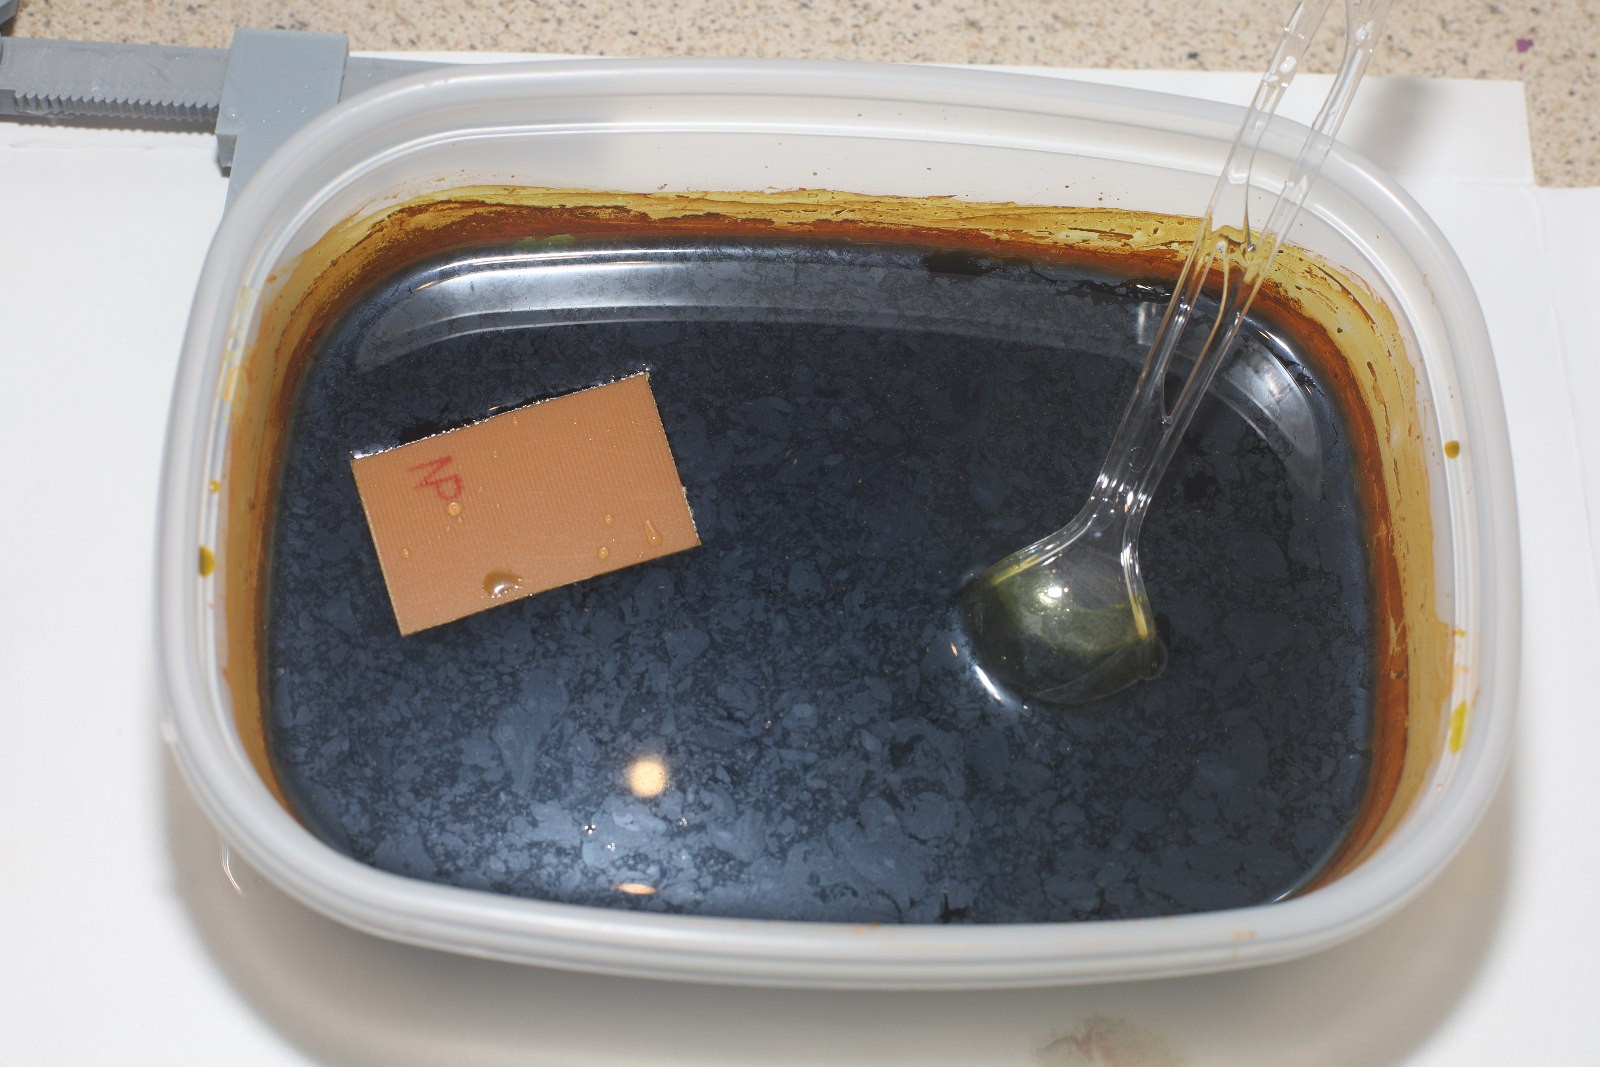
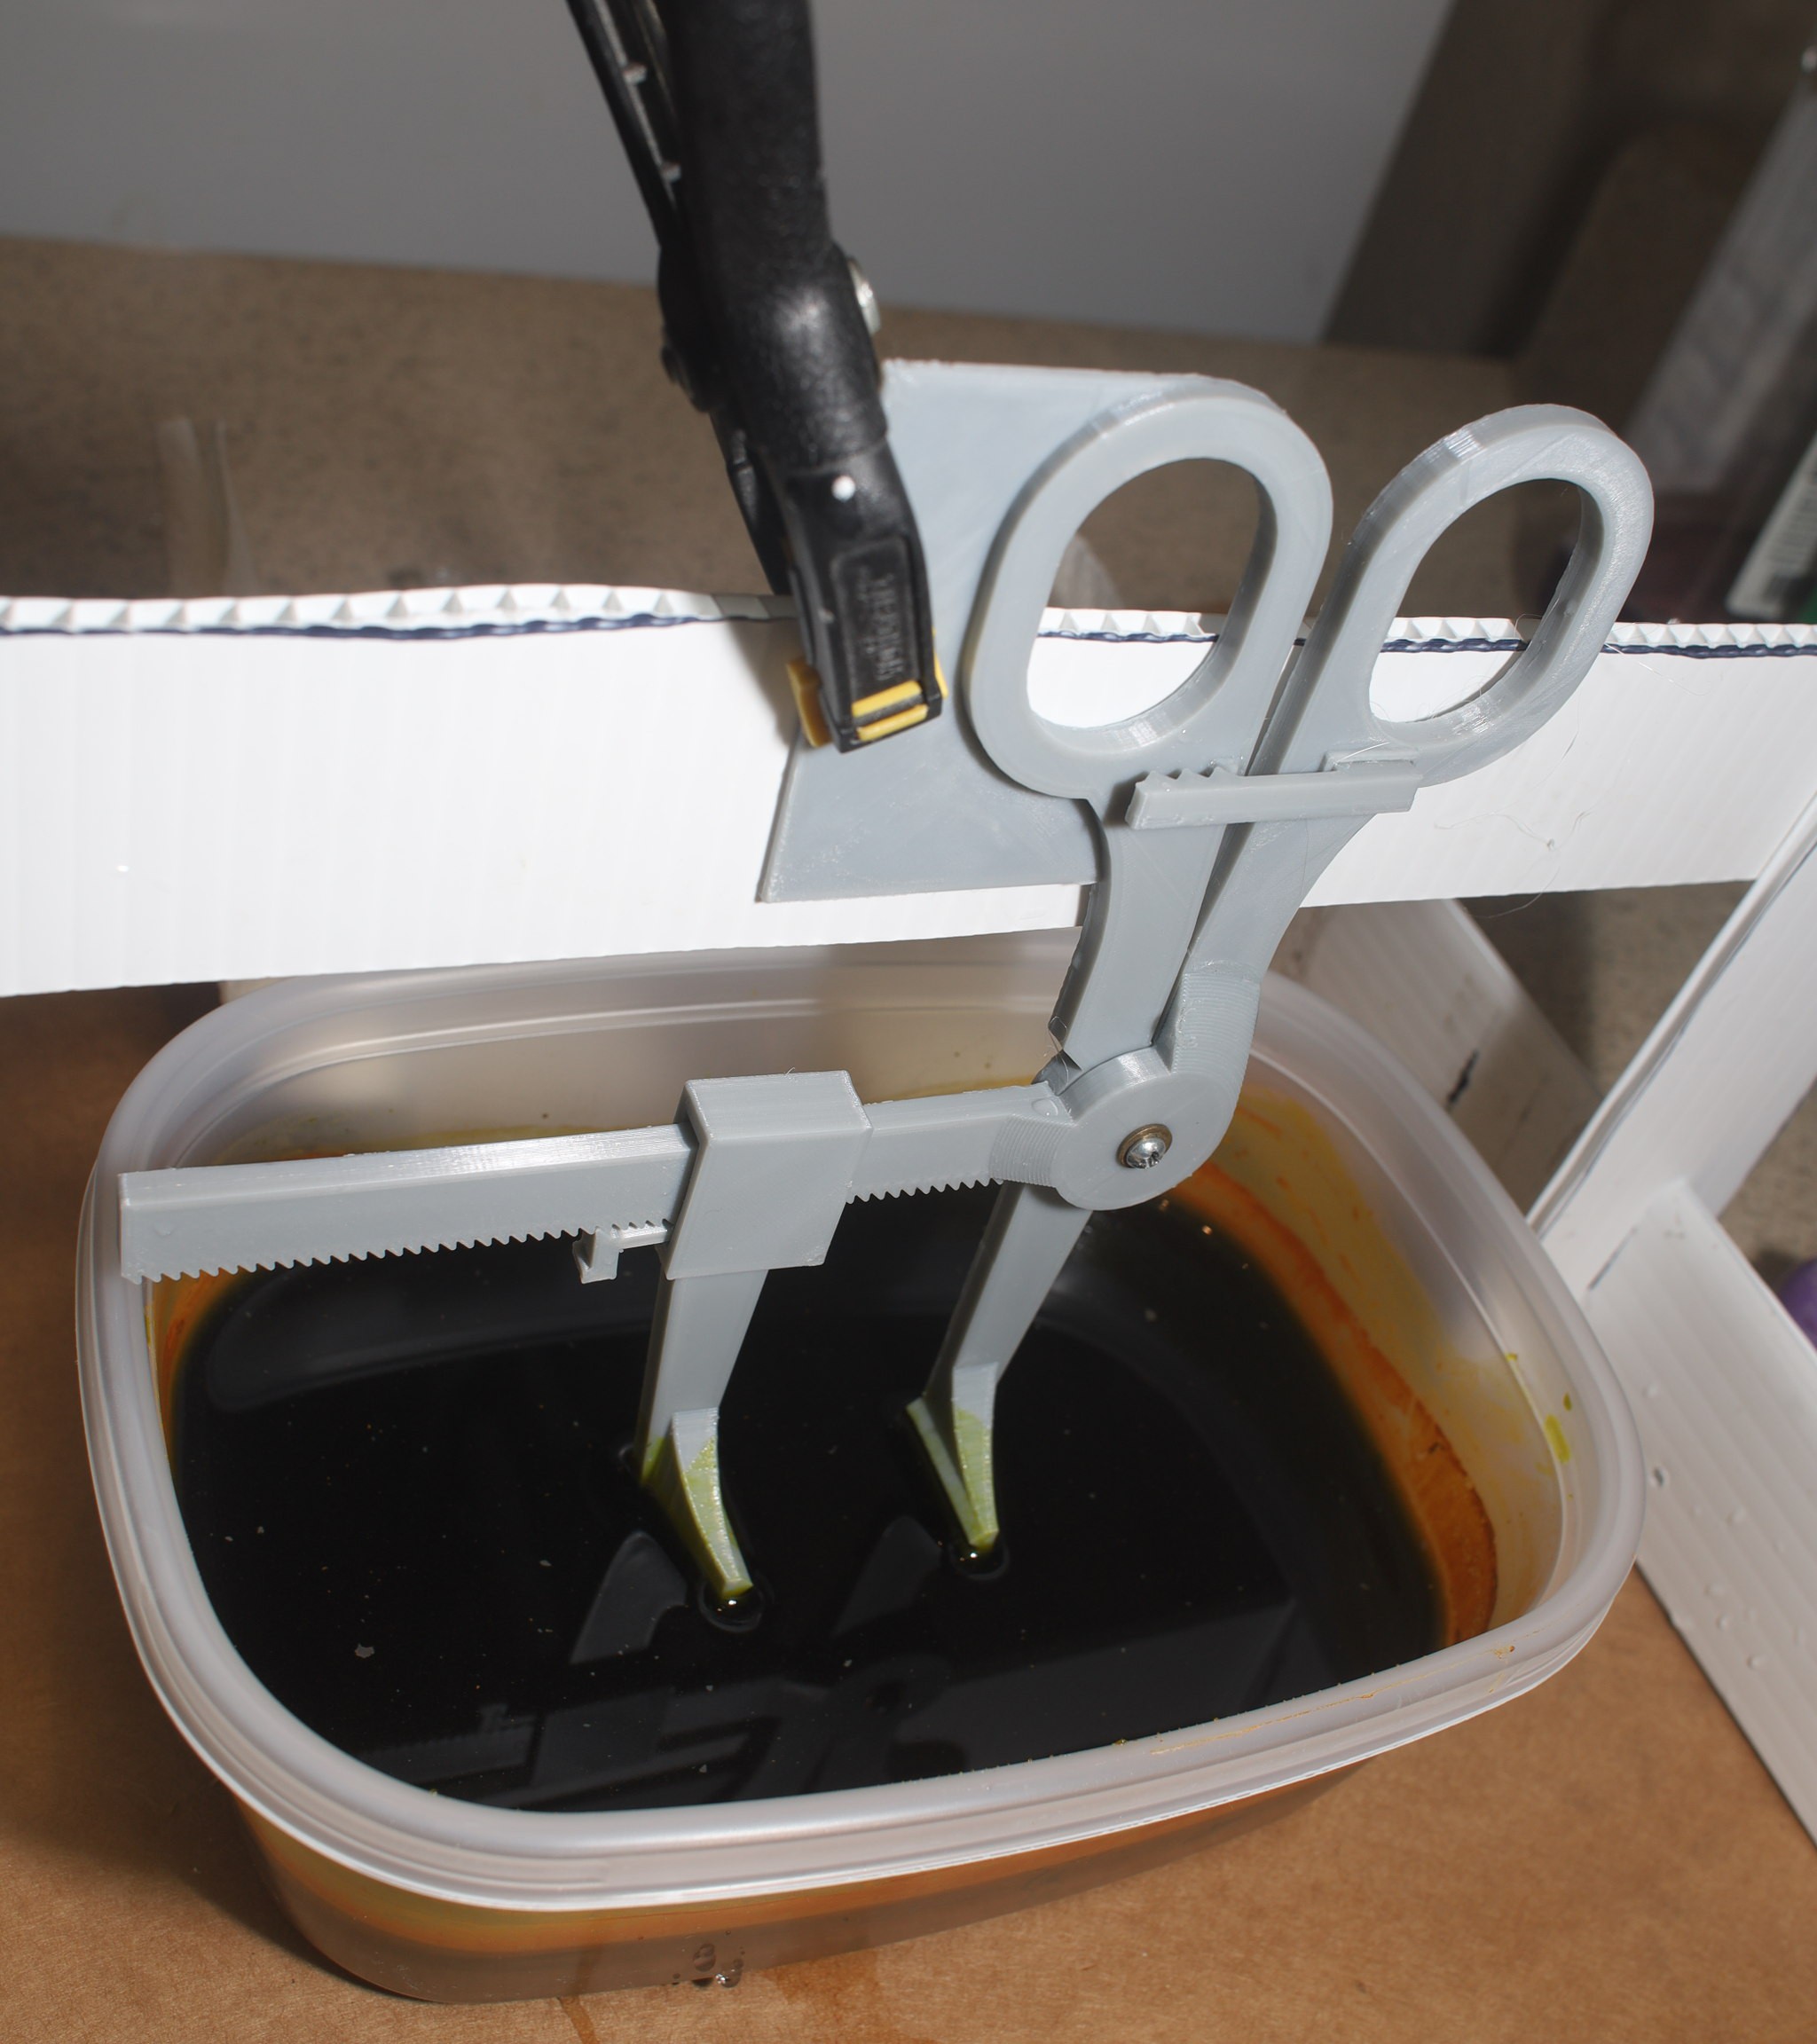
Helas, it's proven easier to float the small boards upside down & just use the pliers for picking them out. The pliers are still essential for moving the boards.
-
Board pliers MK 4
10/10/2020 at 07:48 • 0 comments![]()
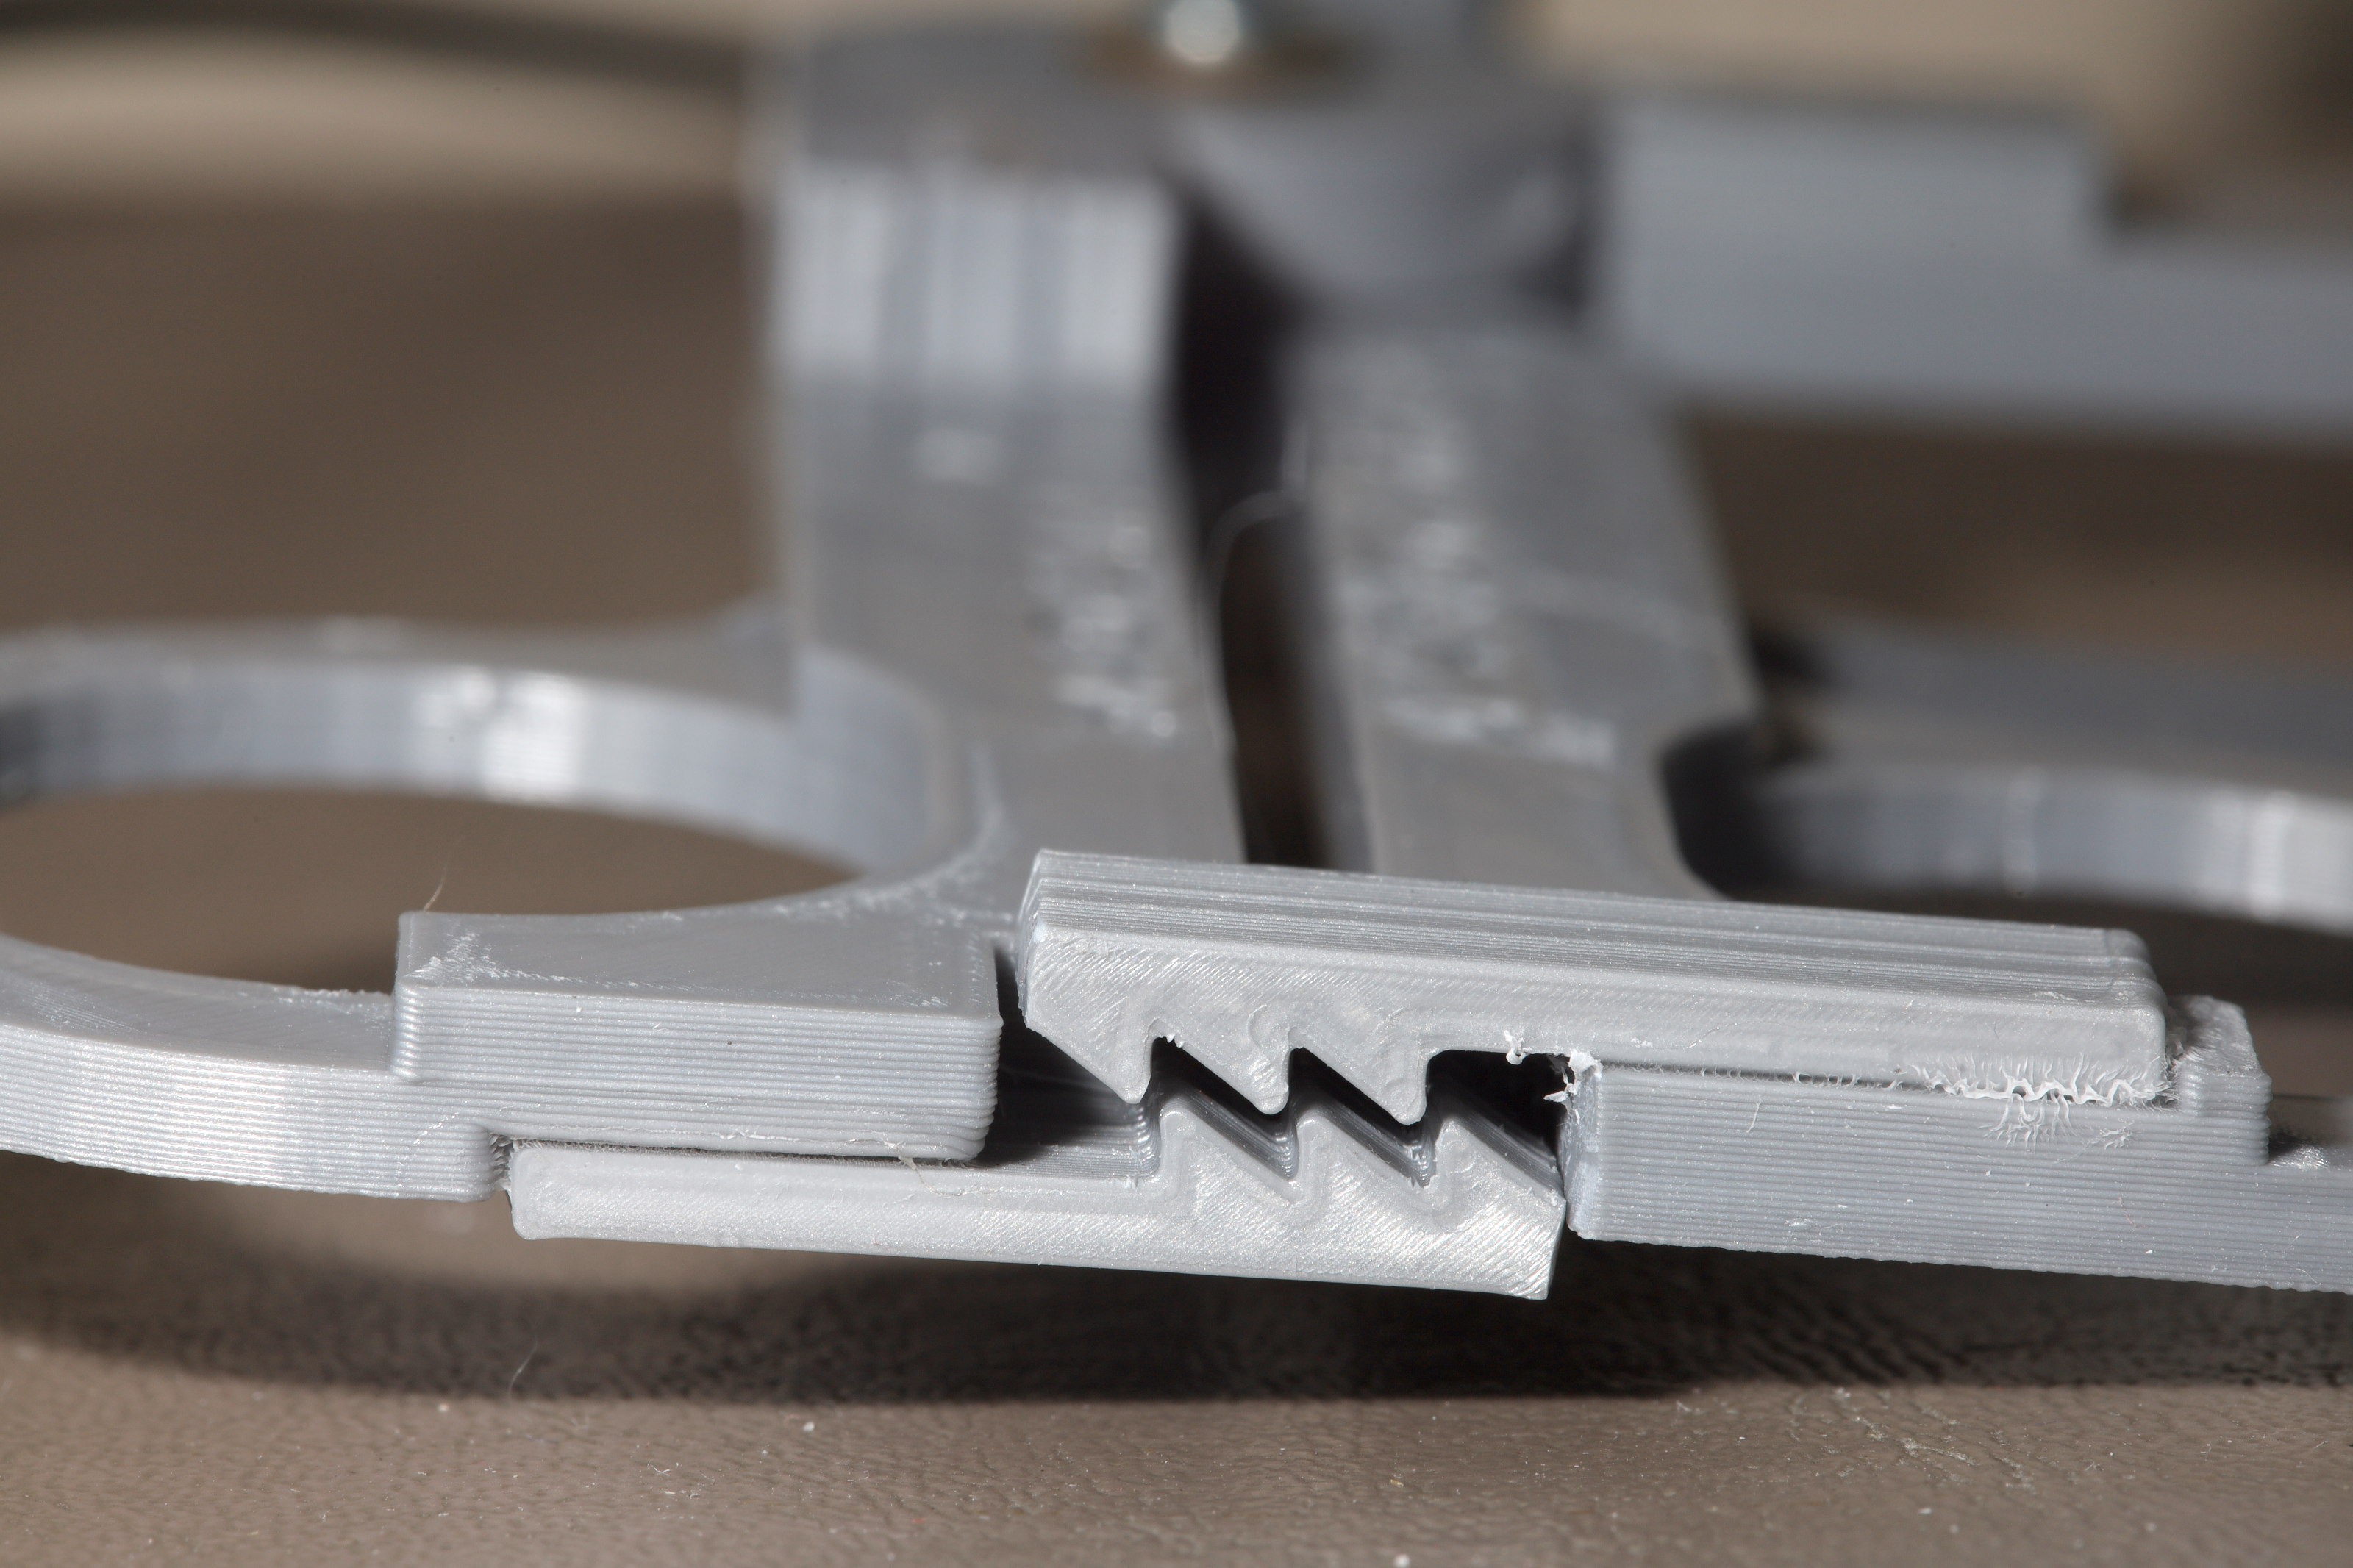
The best of the best was liberated from the filament. These incorporated all the improvements from MK 3. The newest handle ratchet does indeed hold when it's new & the PLA hasn't stretched, but
![]()
![]()
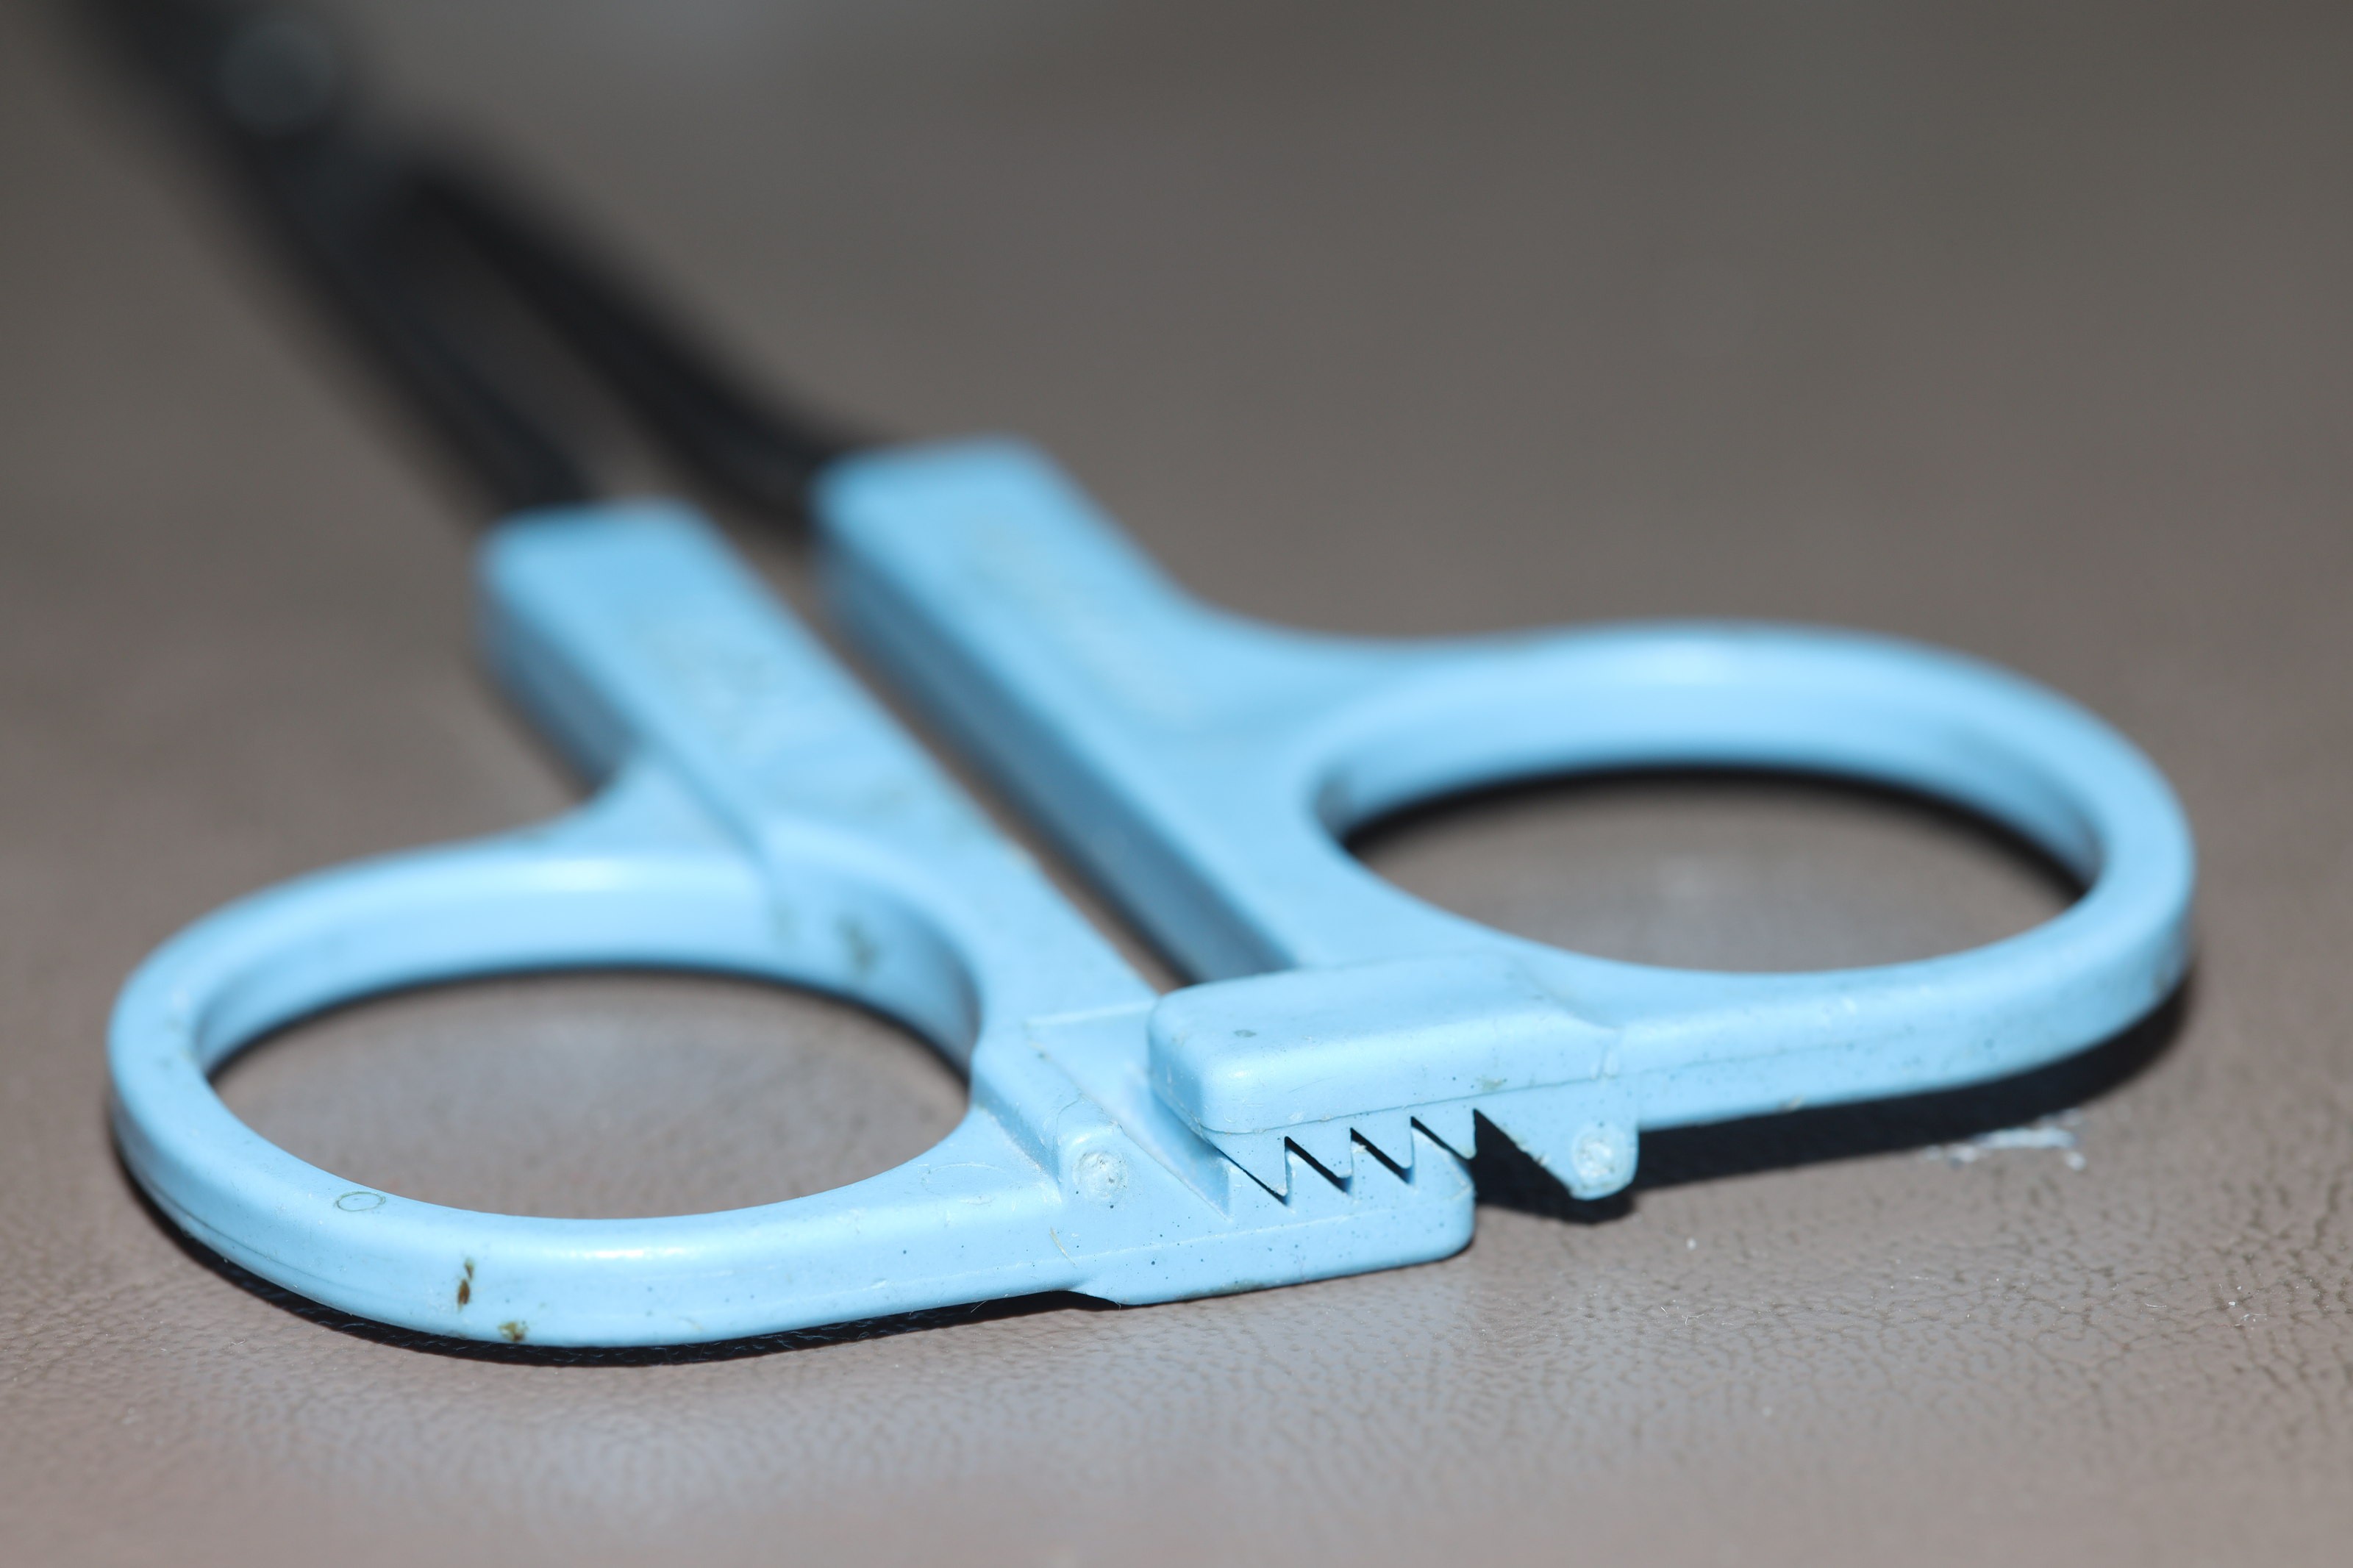
the lion kingdom quickly noticed the handle ratchet was the opposite orientation of all forceps, especially the 30 year old radio shack ones which are no longer made. They all have the thumb push & the fingers pull.
![]()
At least the laminations are the right direction in all the ratchets.
![]()
Helas, these pliers didn't etch many boards before paying the ultimate price.
![]()
![]()
![]()
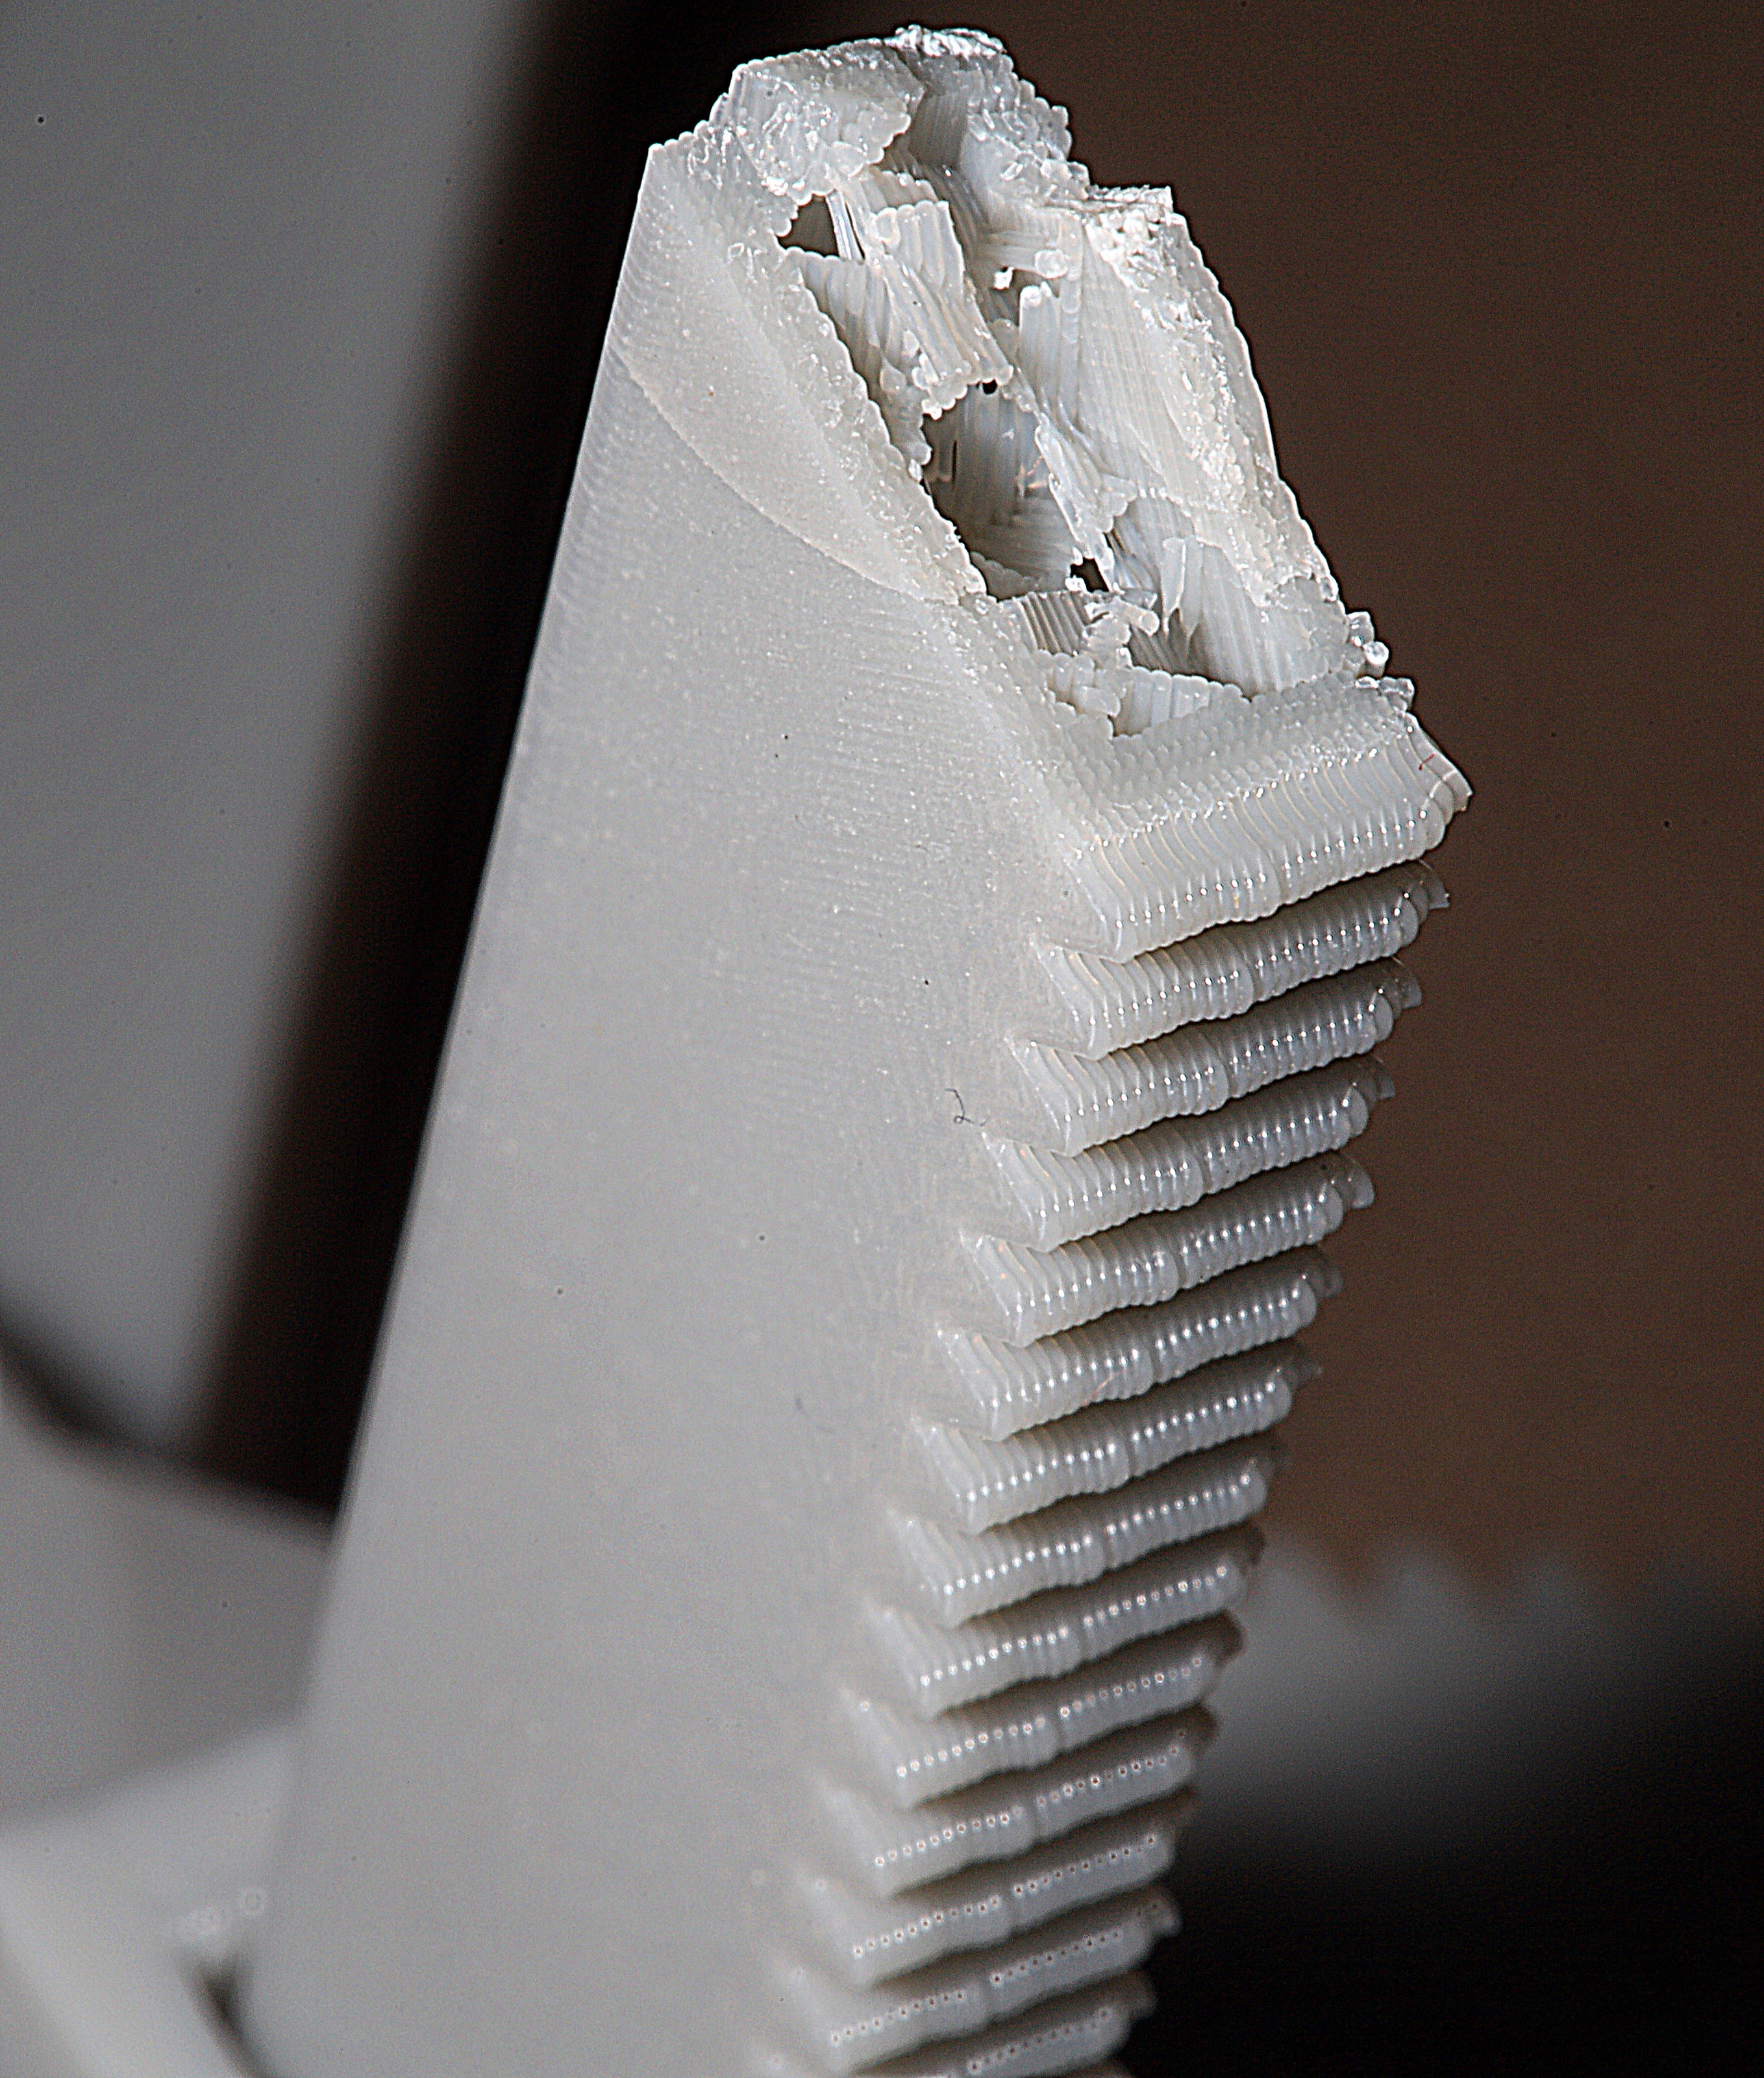
It seems the use of support didn't allow the layers to fuse. More wall thickness & more infill would be required. It may have to be printed as a separate part.
TODO:
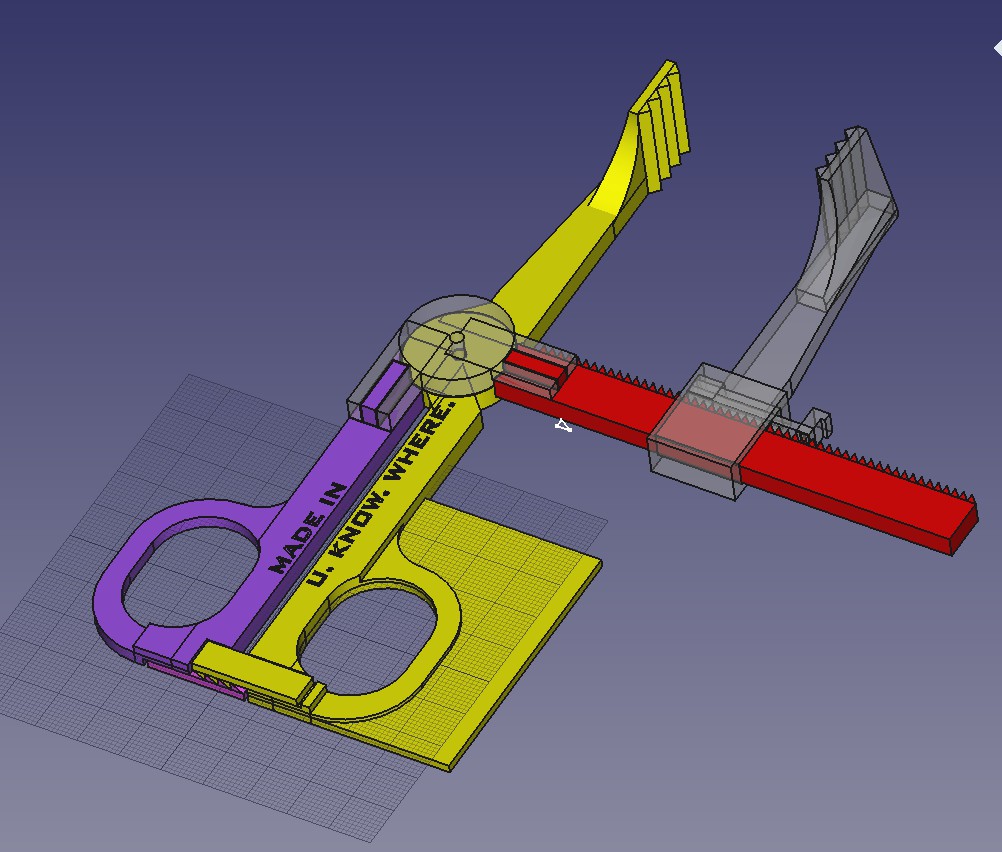
make the handle ratchets with curved teeth betwen straight edges to simplify fabrication.Make the slider as 3 separate parts to avoid the unsupported overhangs.
It also needs the country of origin, wherever that is.
-
Board pliers MK 3
10/01/2020 at 06:21 • 0 comments![]()
![]()
![]()
![]()
![]()
![]()
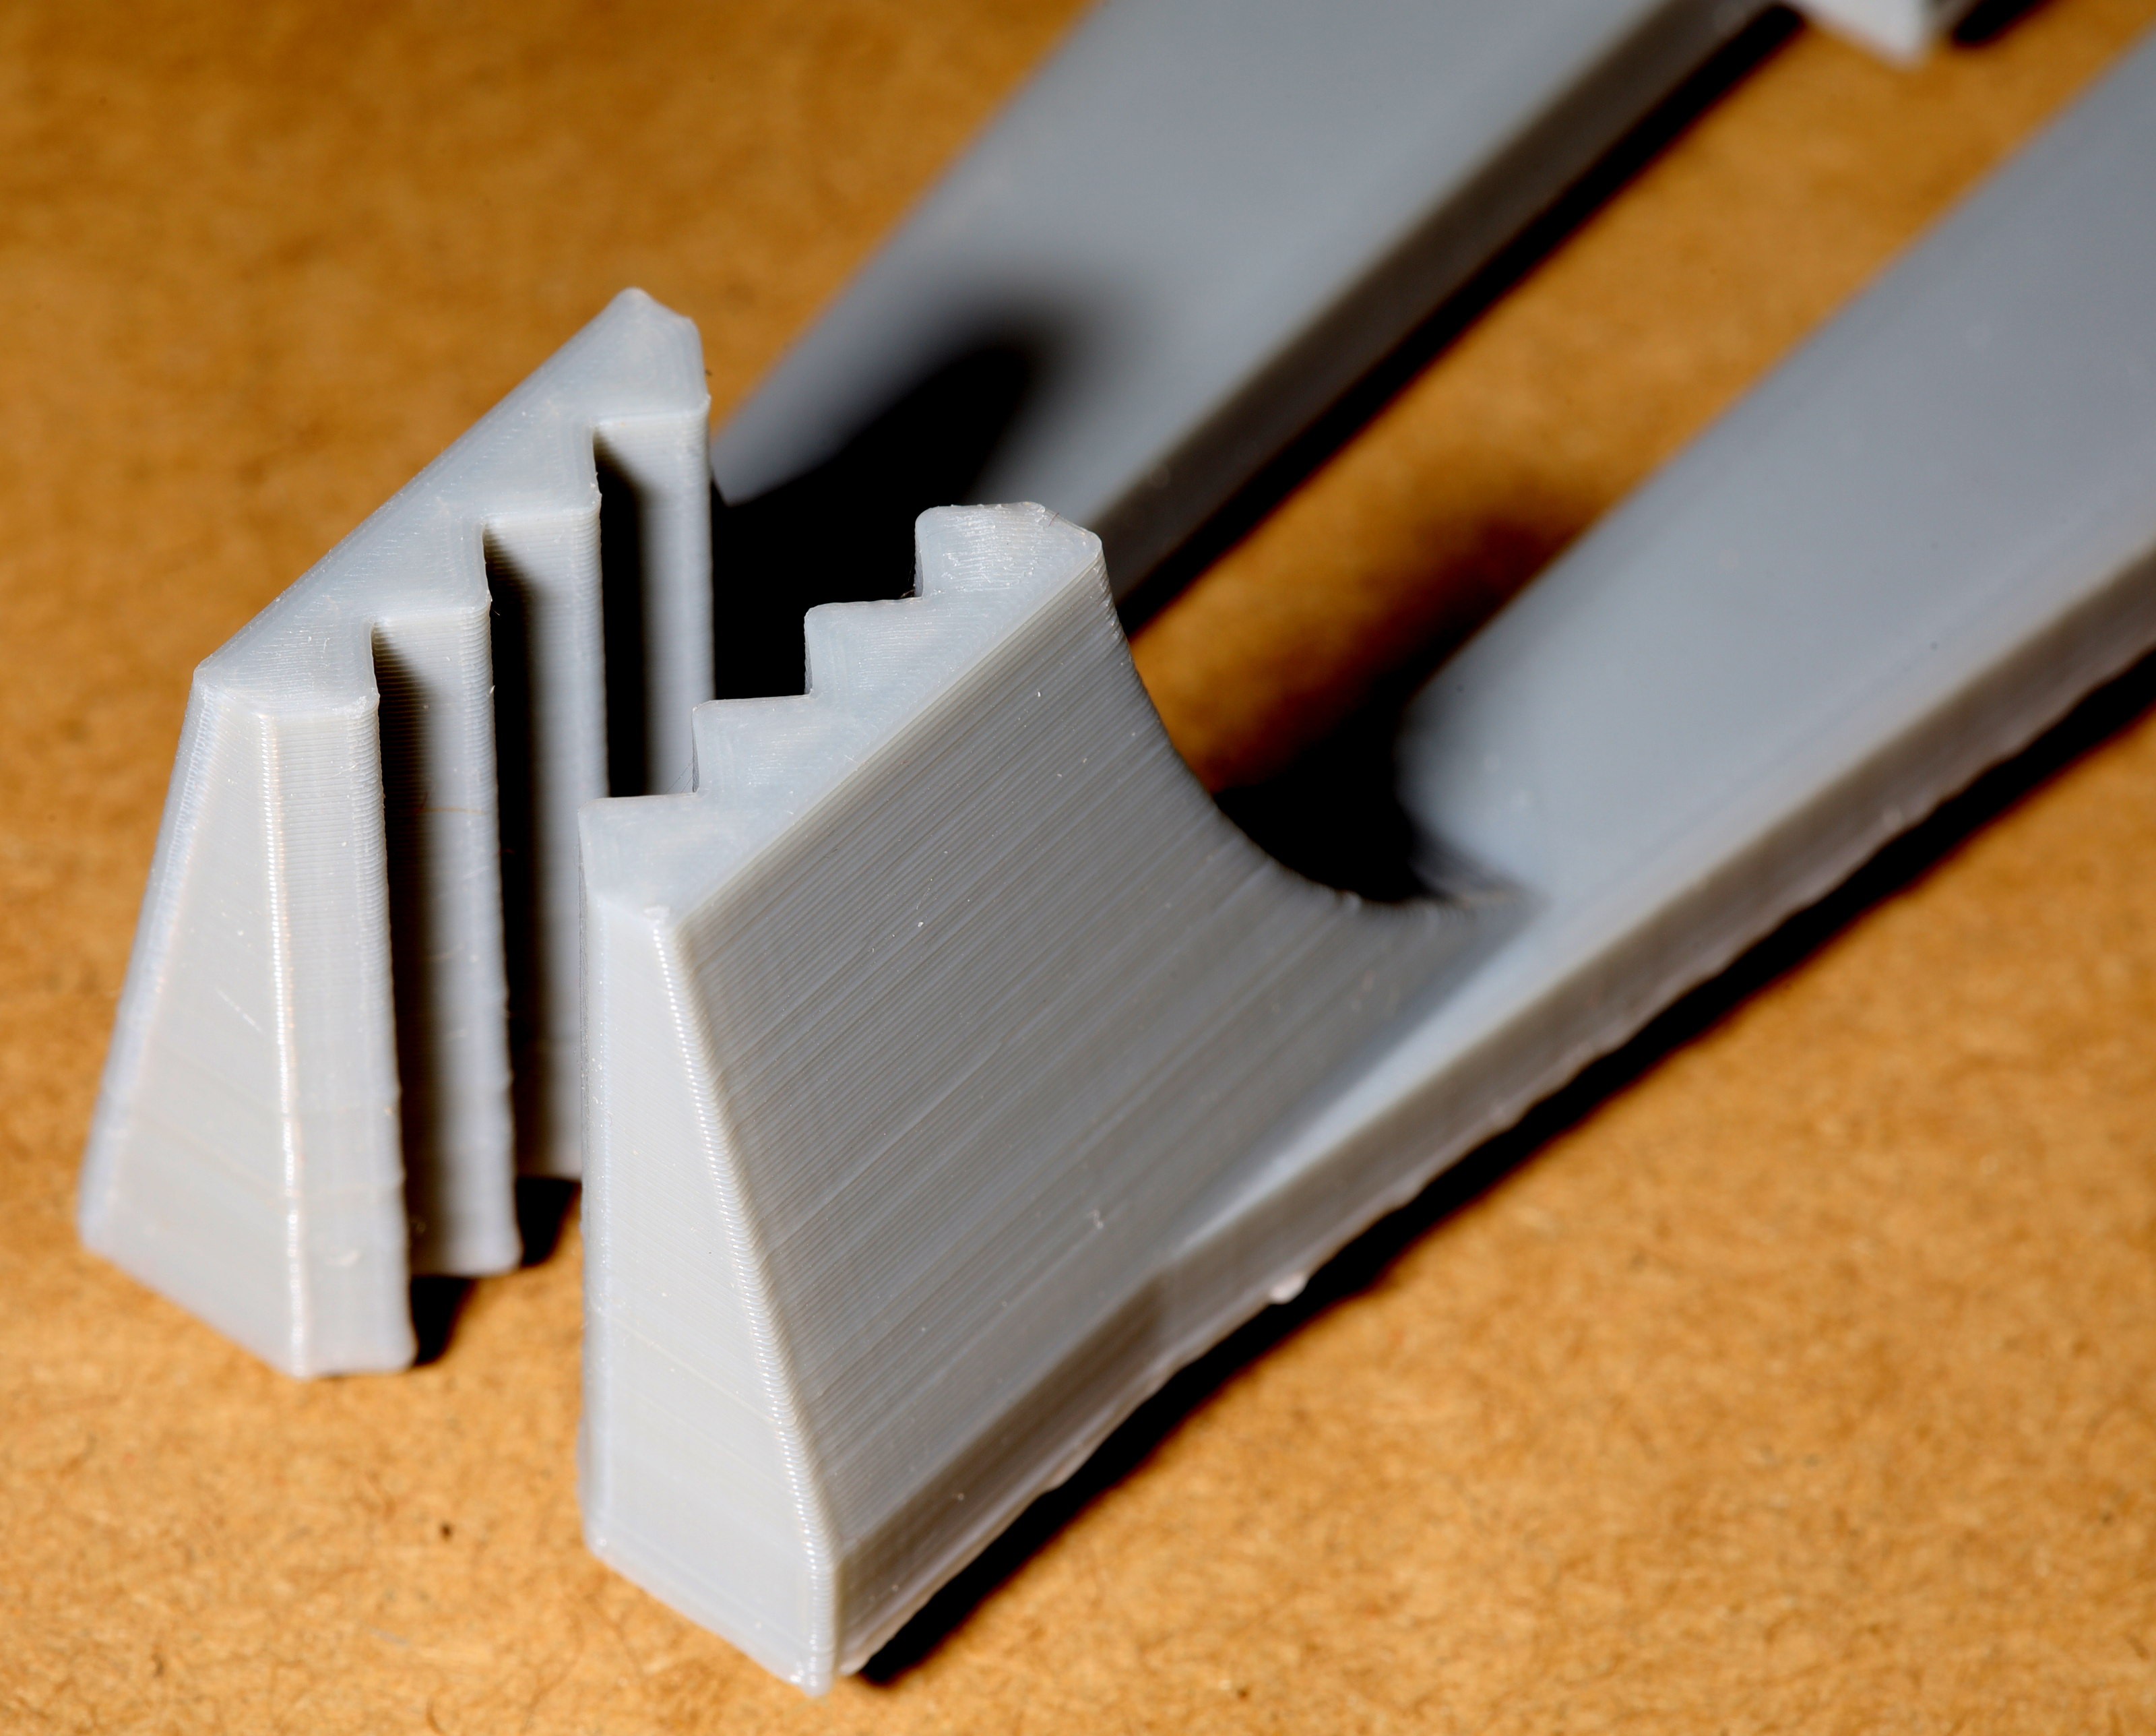
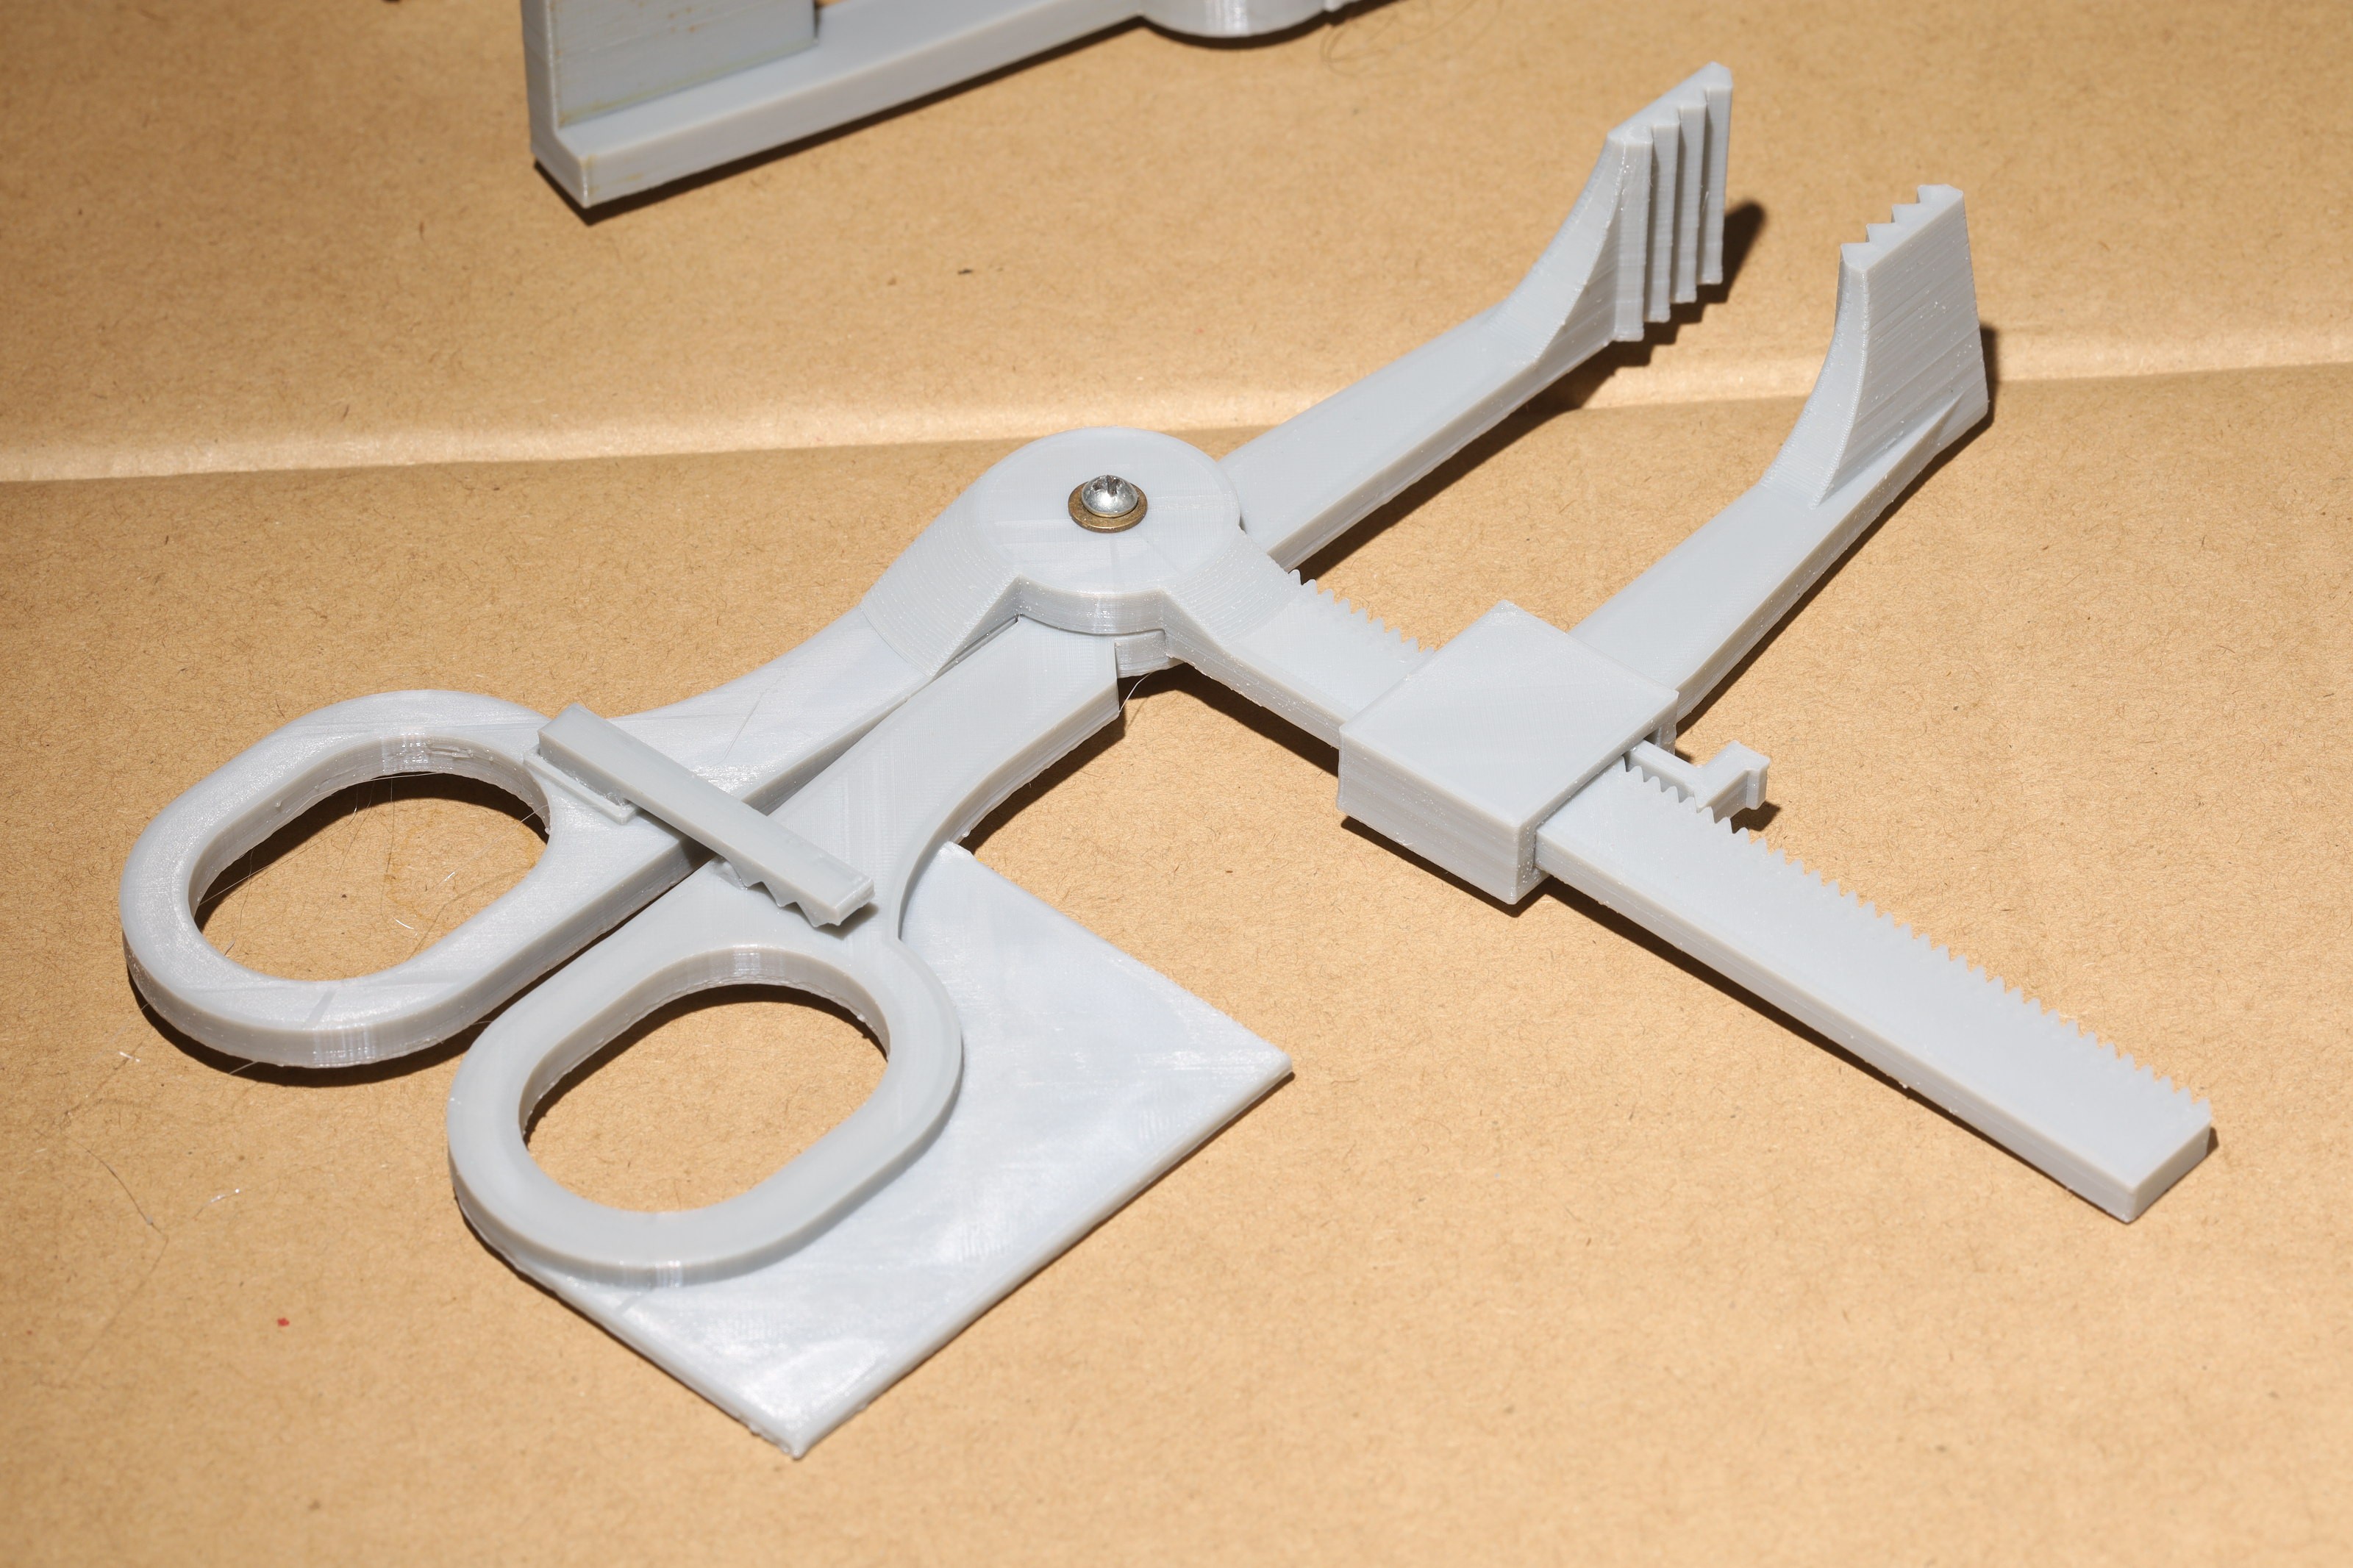
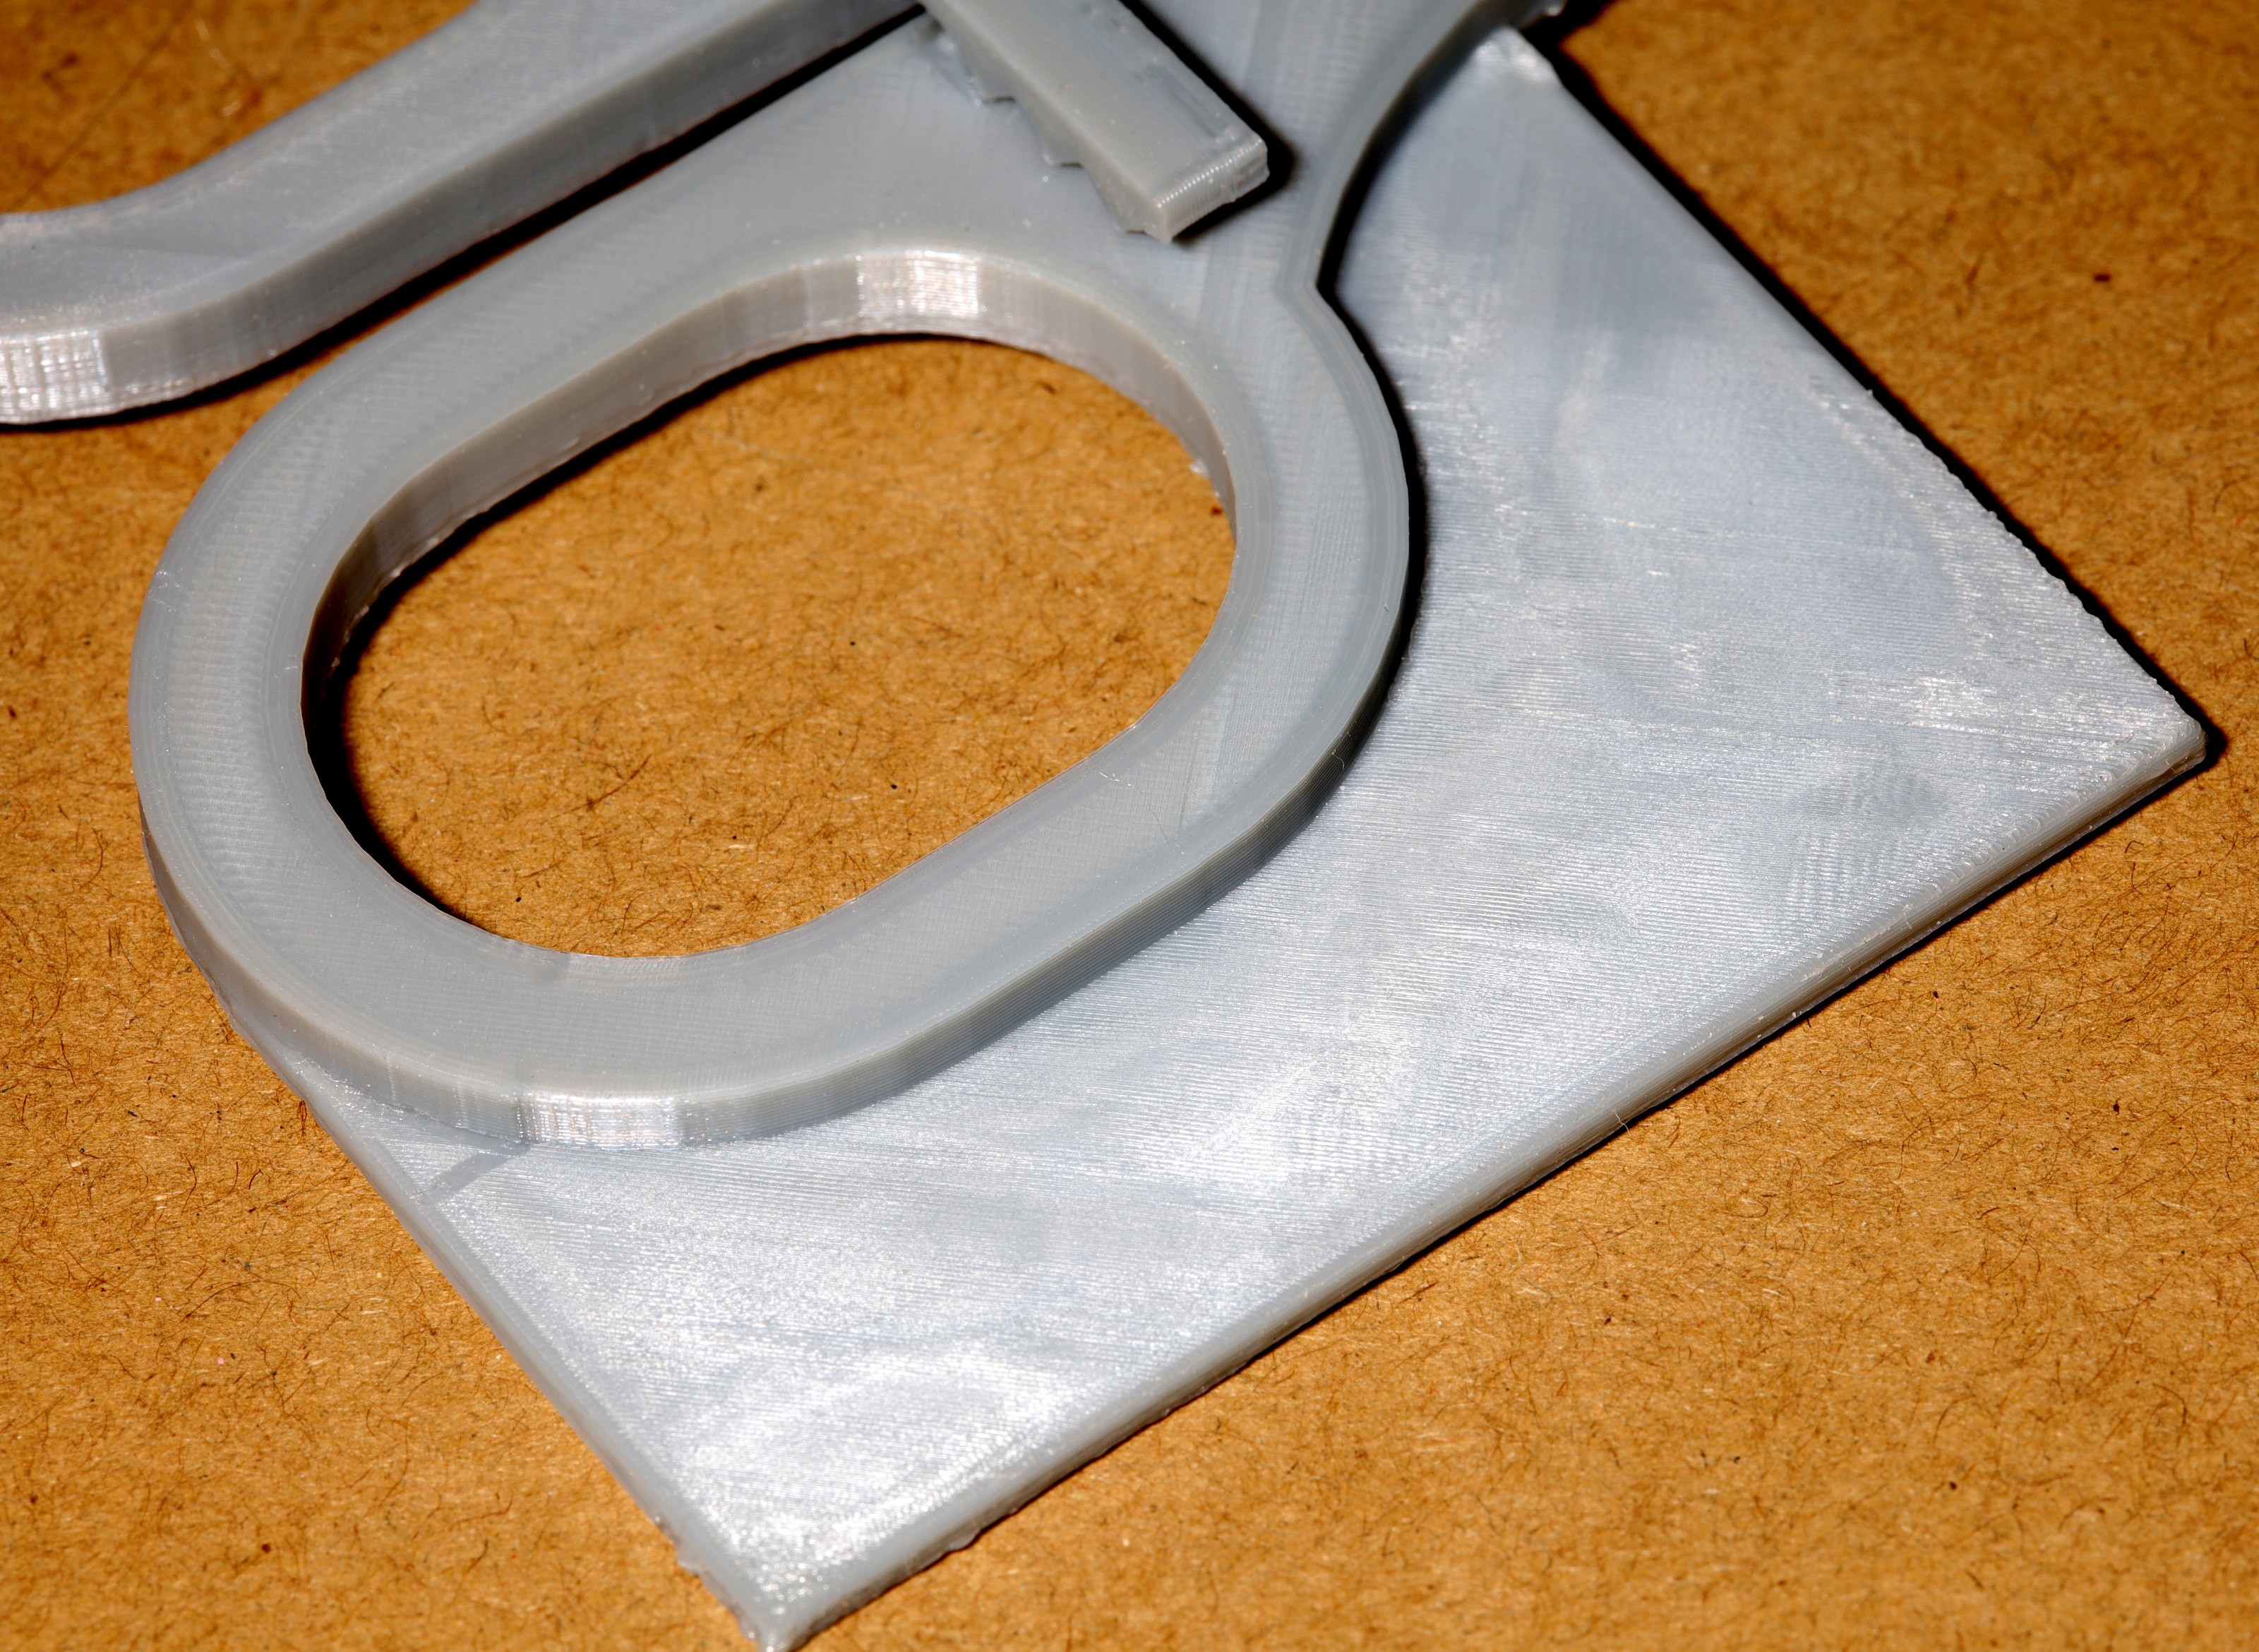
Then came board pliers MK 3, featuring bigger grip teeth, a handle ratchet, more aggressive slider ratchet, more curves to aid cleaning, a handle extension to clamp onto a stand, 5mm thick pieces. The ironing process yielded a marble like finish on the top surfaces. These will replace MK 2 for acid duty while MK 2 is dedicated to just base.
Lions have now made more pliers than all the boards they may ever make. MK 3 should do everything they need, but lions are just obsessive.
![]()
They did the business. Would be nice if the teeth had markings showing how far below the liquid the board was, but with only 4 teeth, this can now be estimated from how many teeth are above the surface.
Changes for MK 4: The sliding section is still too narrow to fit around the slider ratchet without a lot of sanding. The handle ratchet needs a sawtooth, 3 teeth on both sides & a curved alignment. Laminations on the bottom tooth are wrong, so it needs to be glued as a separate part. Only need 2 teeth on the grabbing part since the board is never released or grabbed when it's in the fluid, but having 4 teeth still allows the need to fish it out of the fluid. Seam in a joint fillet was floating.
-
new plier problems
09/27/2020 at 08:04 • 0 comments![]()
![]()
![]()
The 1st etch with PLA pliers was successful in that it was a lot easier to massage a large board, but unsuccessful in that there were still air bubbles & the pliers absorbed acid between the laminations. The acid leached up to the handle through capillary action. Washing them in hot water deformed them. Those right angles were hard to clean & splashed. Would be best to dedicate another pair just to the acid stage & add some curves.
TODO:Curved nose
2mm ratchet teeth
2mm grip teeth
Clamping area
Rubber band or spring holder
-
Plier stand
09/22/2020 at 03:44 • 0 comments![]()
![]()
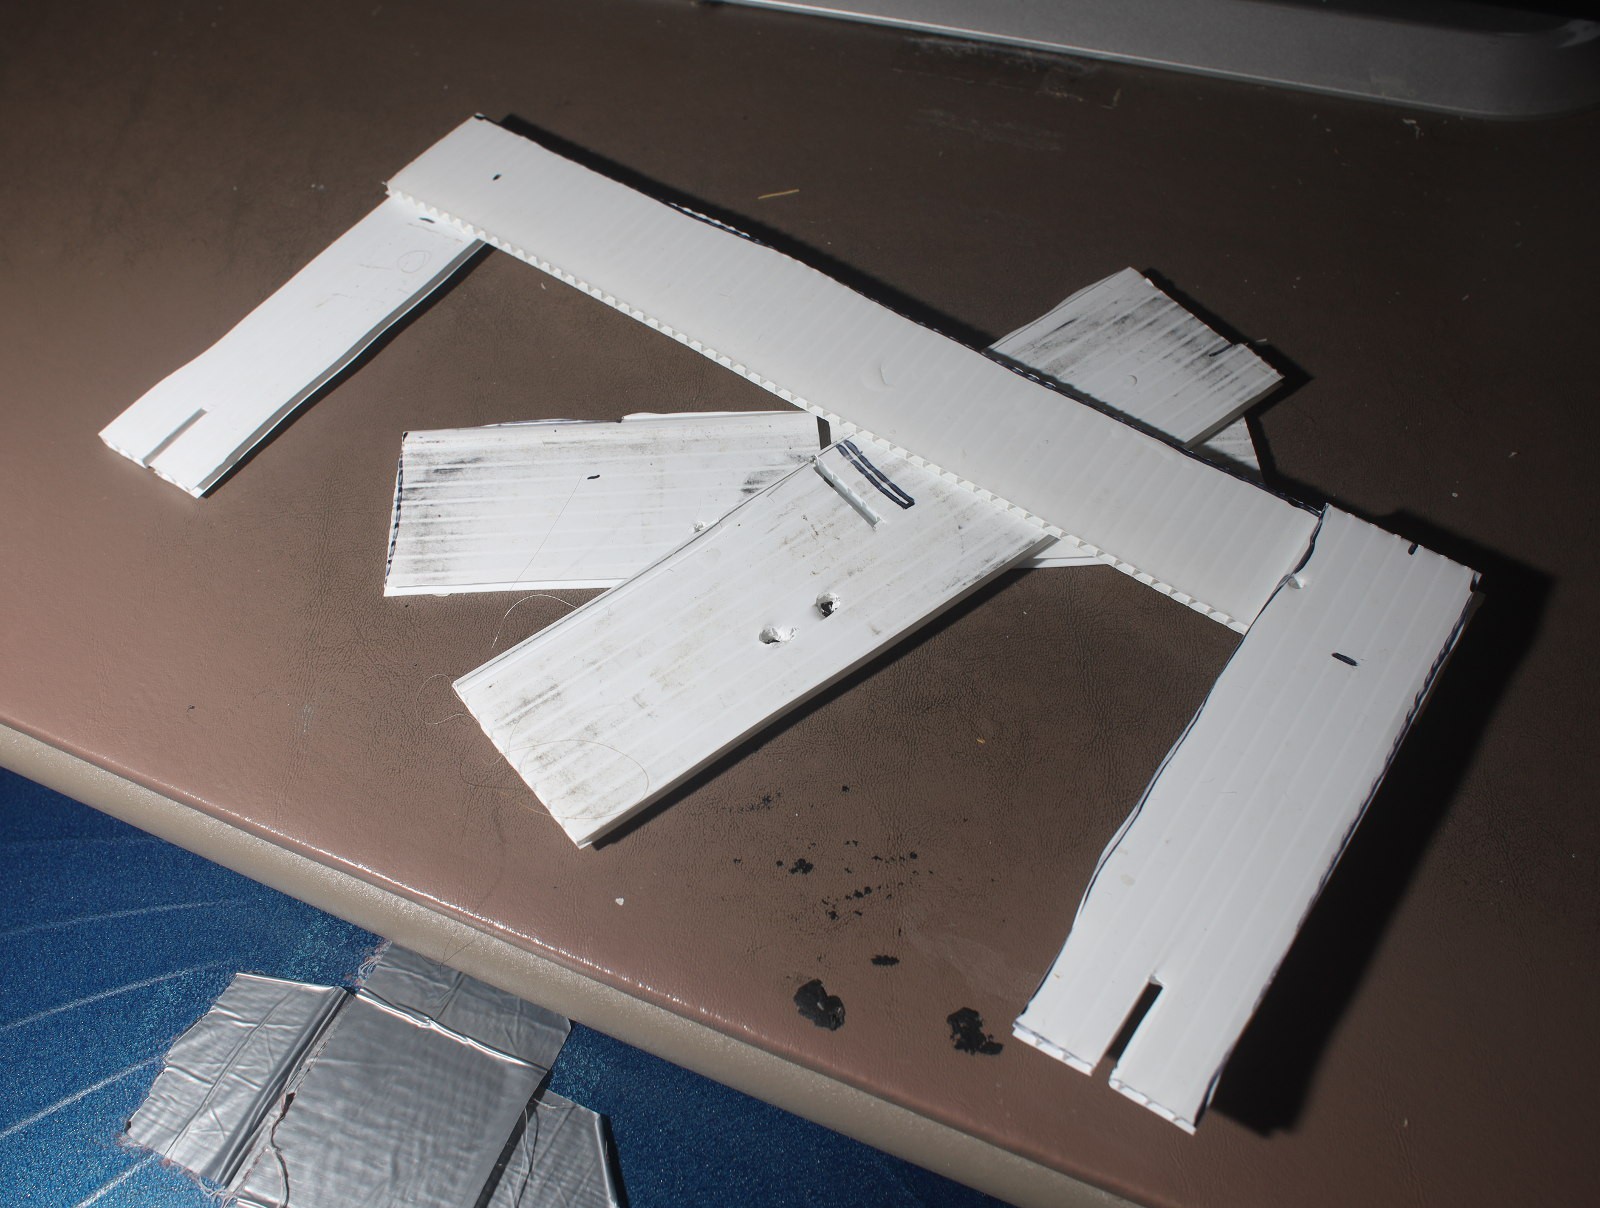
Even better than PC board pliers is a stand for dunking them. Lions always used surface tension to float the boards on the acid, but this should eliminate air bubbles. Helas, the pliers now need a place to put a rubber band & a place to clamp onto the stand.
Also, it's become clear that PLA being stressed eventually conforms to whatever shape it's being forced into, so the ratchet spring eventually loses its tension. The locked position needs to be without any tension. Some prototype ratchets are needed, with a variety of sawtooth depths. Maybe 2mm x 2mm teeth with only 1.5mm overlapping.
-
Pliers 2
09/21/2020 at 17:59 • 0 commentsPliers 1 were immediately scrapped & pliers 2 began. The mane problem was the nose needs to be as smooth as possible to avoid chemical intrusion. There can't be any supports under the nose or diagonal overhangs, just right angles. Making it print without supports under the nose was a complete redesign.
![]()
![]()
![]()
![]()
![]()
![]()
![]()
Pliers 2 were a bit more satisfying. Printed with .26mm line spacing which appeared to seal up more of the leaks. The ratchet had to be sanded down to 11.8mm wide. There was a lot more expansion with .26mm line width. The sliding bit needs a slightly wider hole & the grips don't line up.
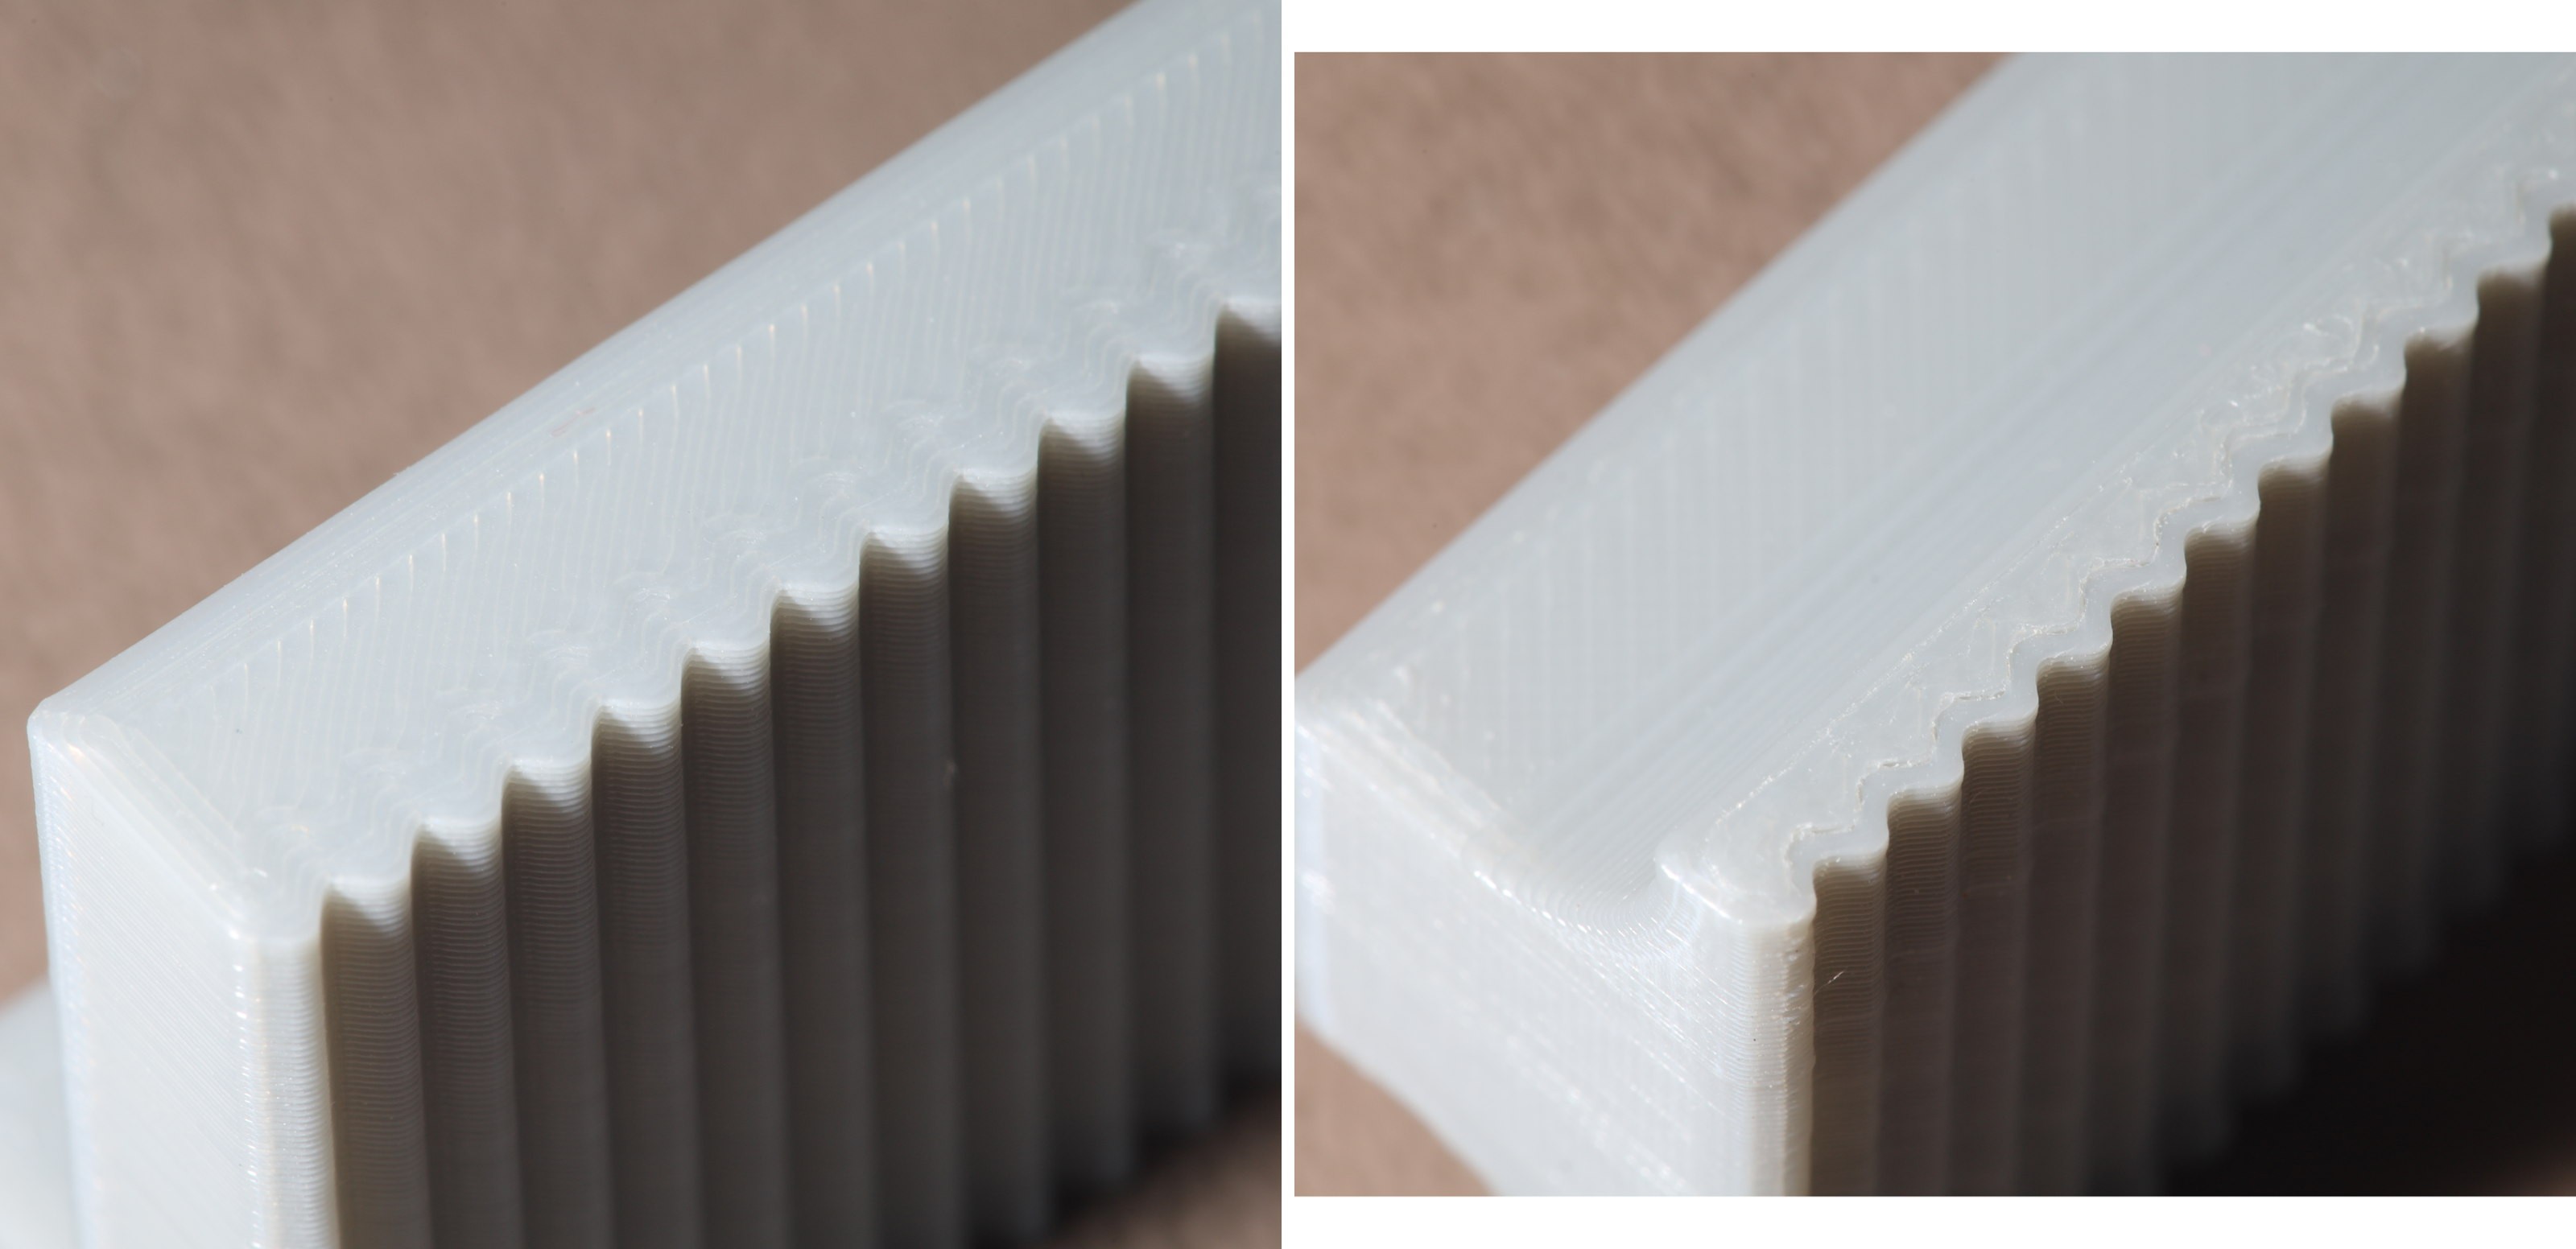
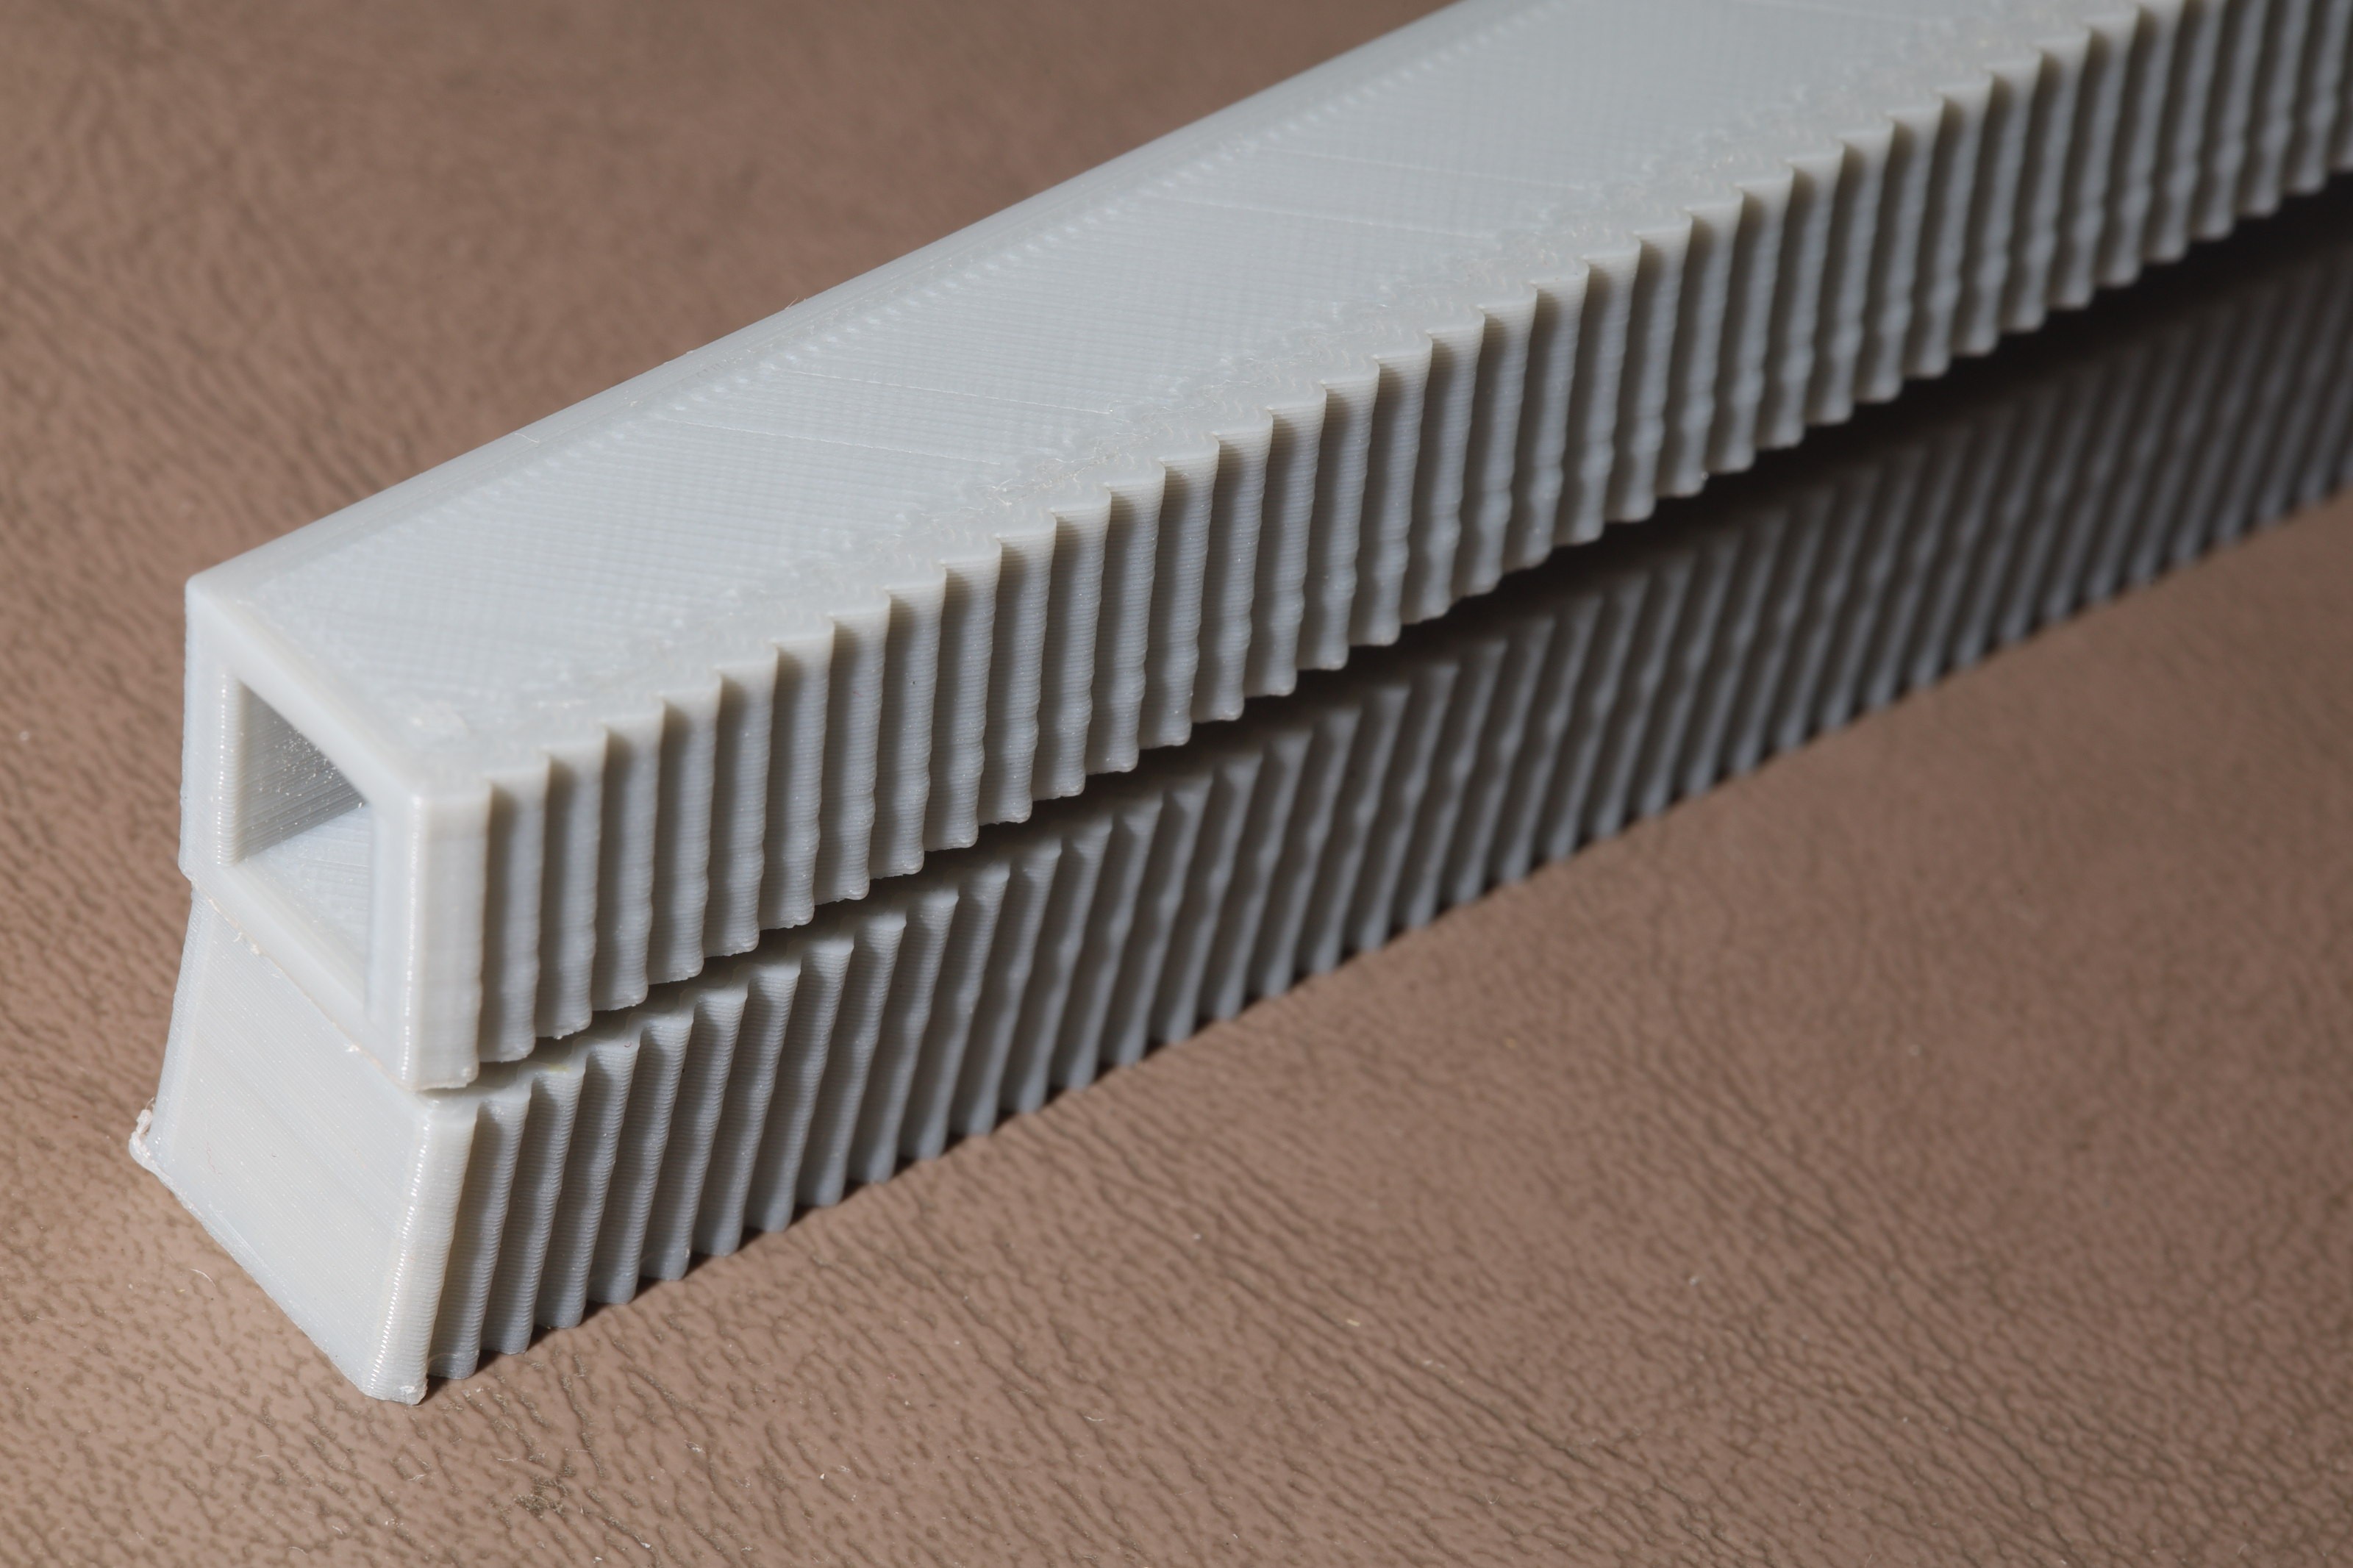
The sawtooth ratchet wasn't as satisfying as the triangle ratchet because the printer can't print a sharp edge. Still needed a lot of melting to get the ratchet to stay in place. We don't make junk that flops around. The ideal ratchet might be just 1mm squares. Really need to print unit tests.
Couldn't get the glass bed to work, but the top is never going to be as smooth as glass anyway. Despite all the niggles, it's just a board etching tool, not something lions live with every day. -
PC board etching pliers
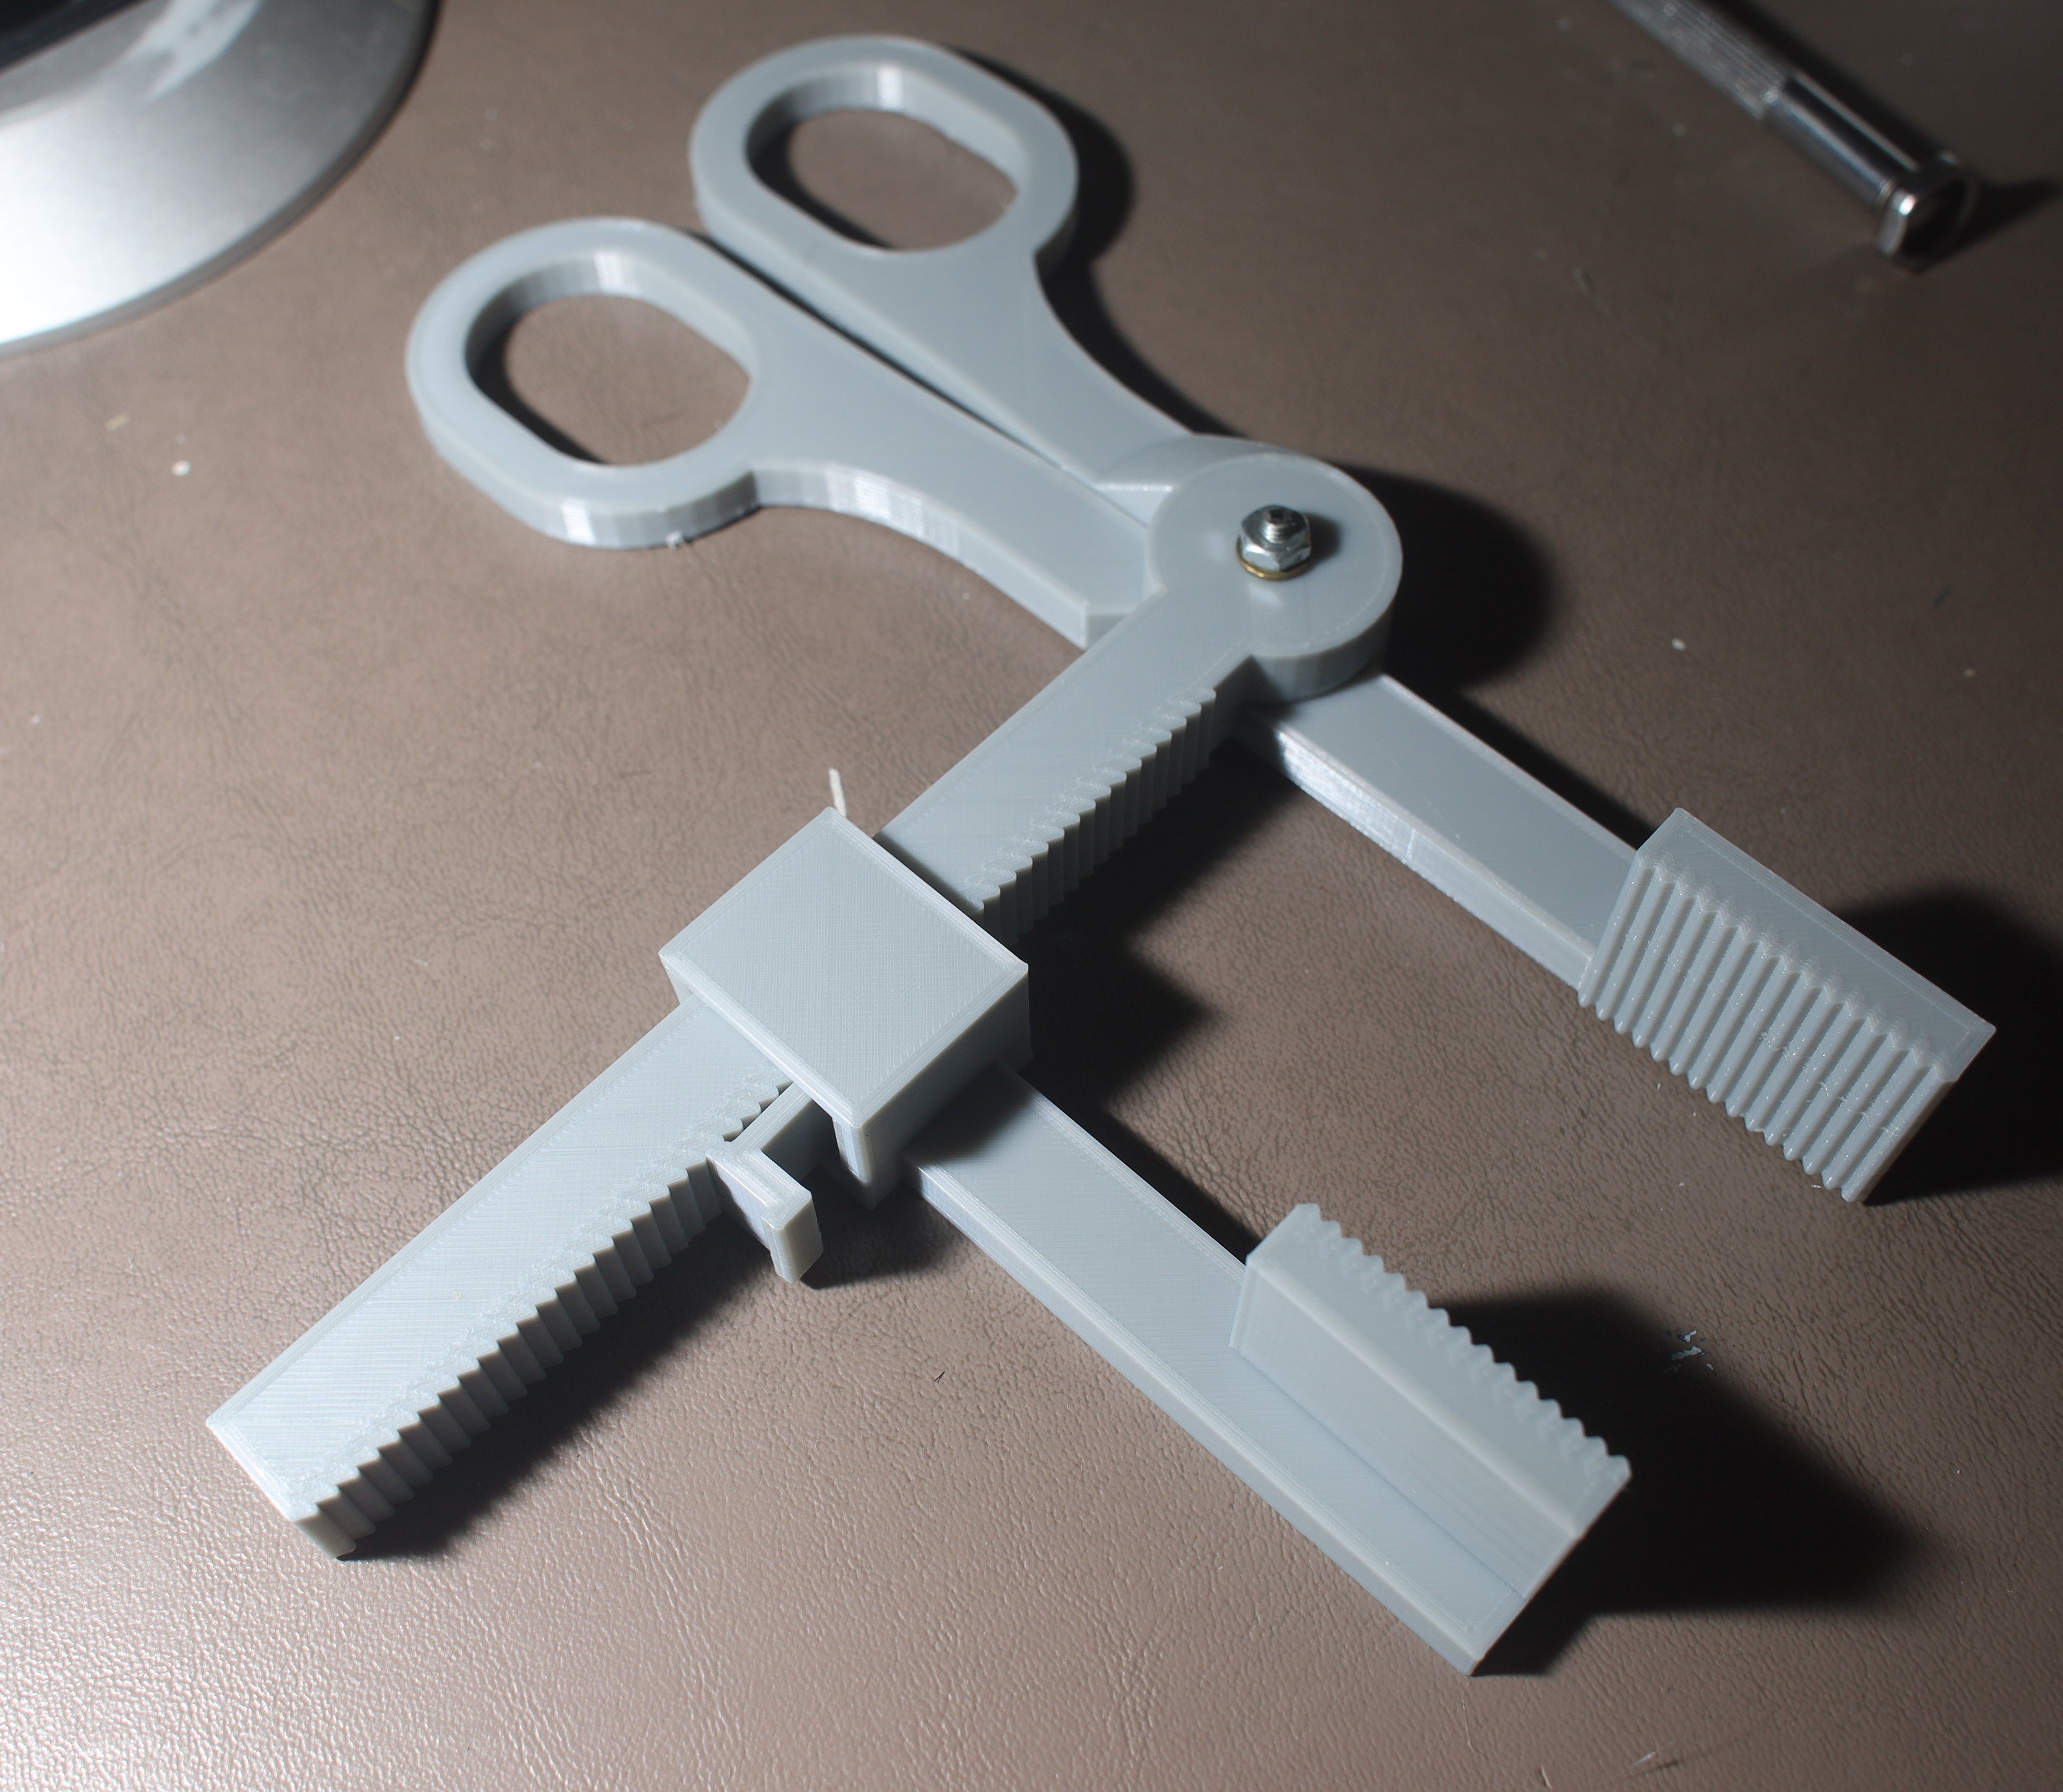
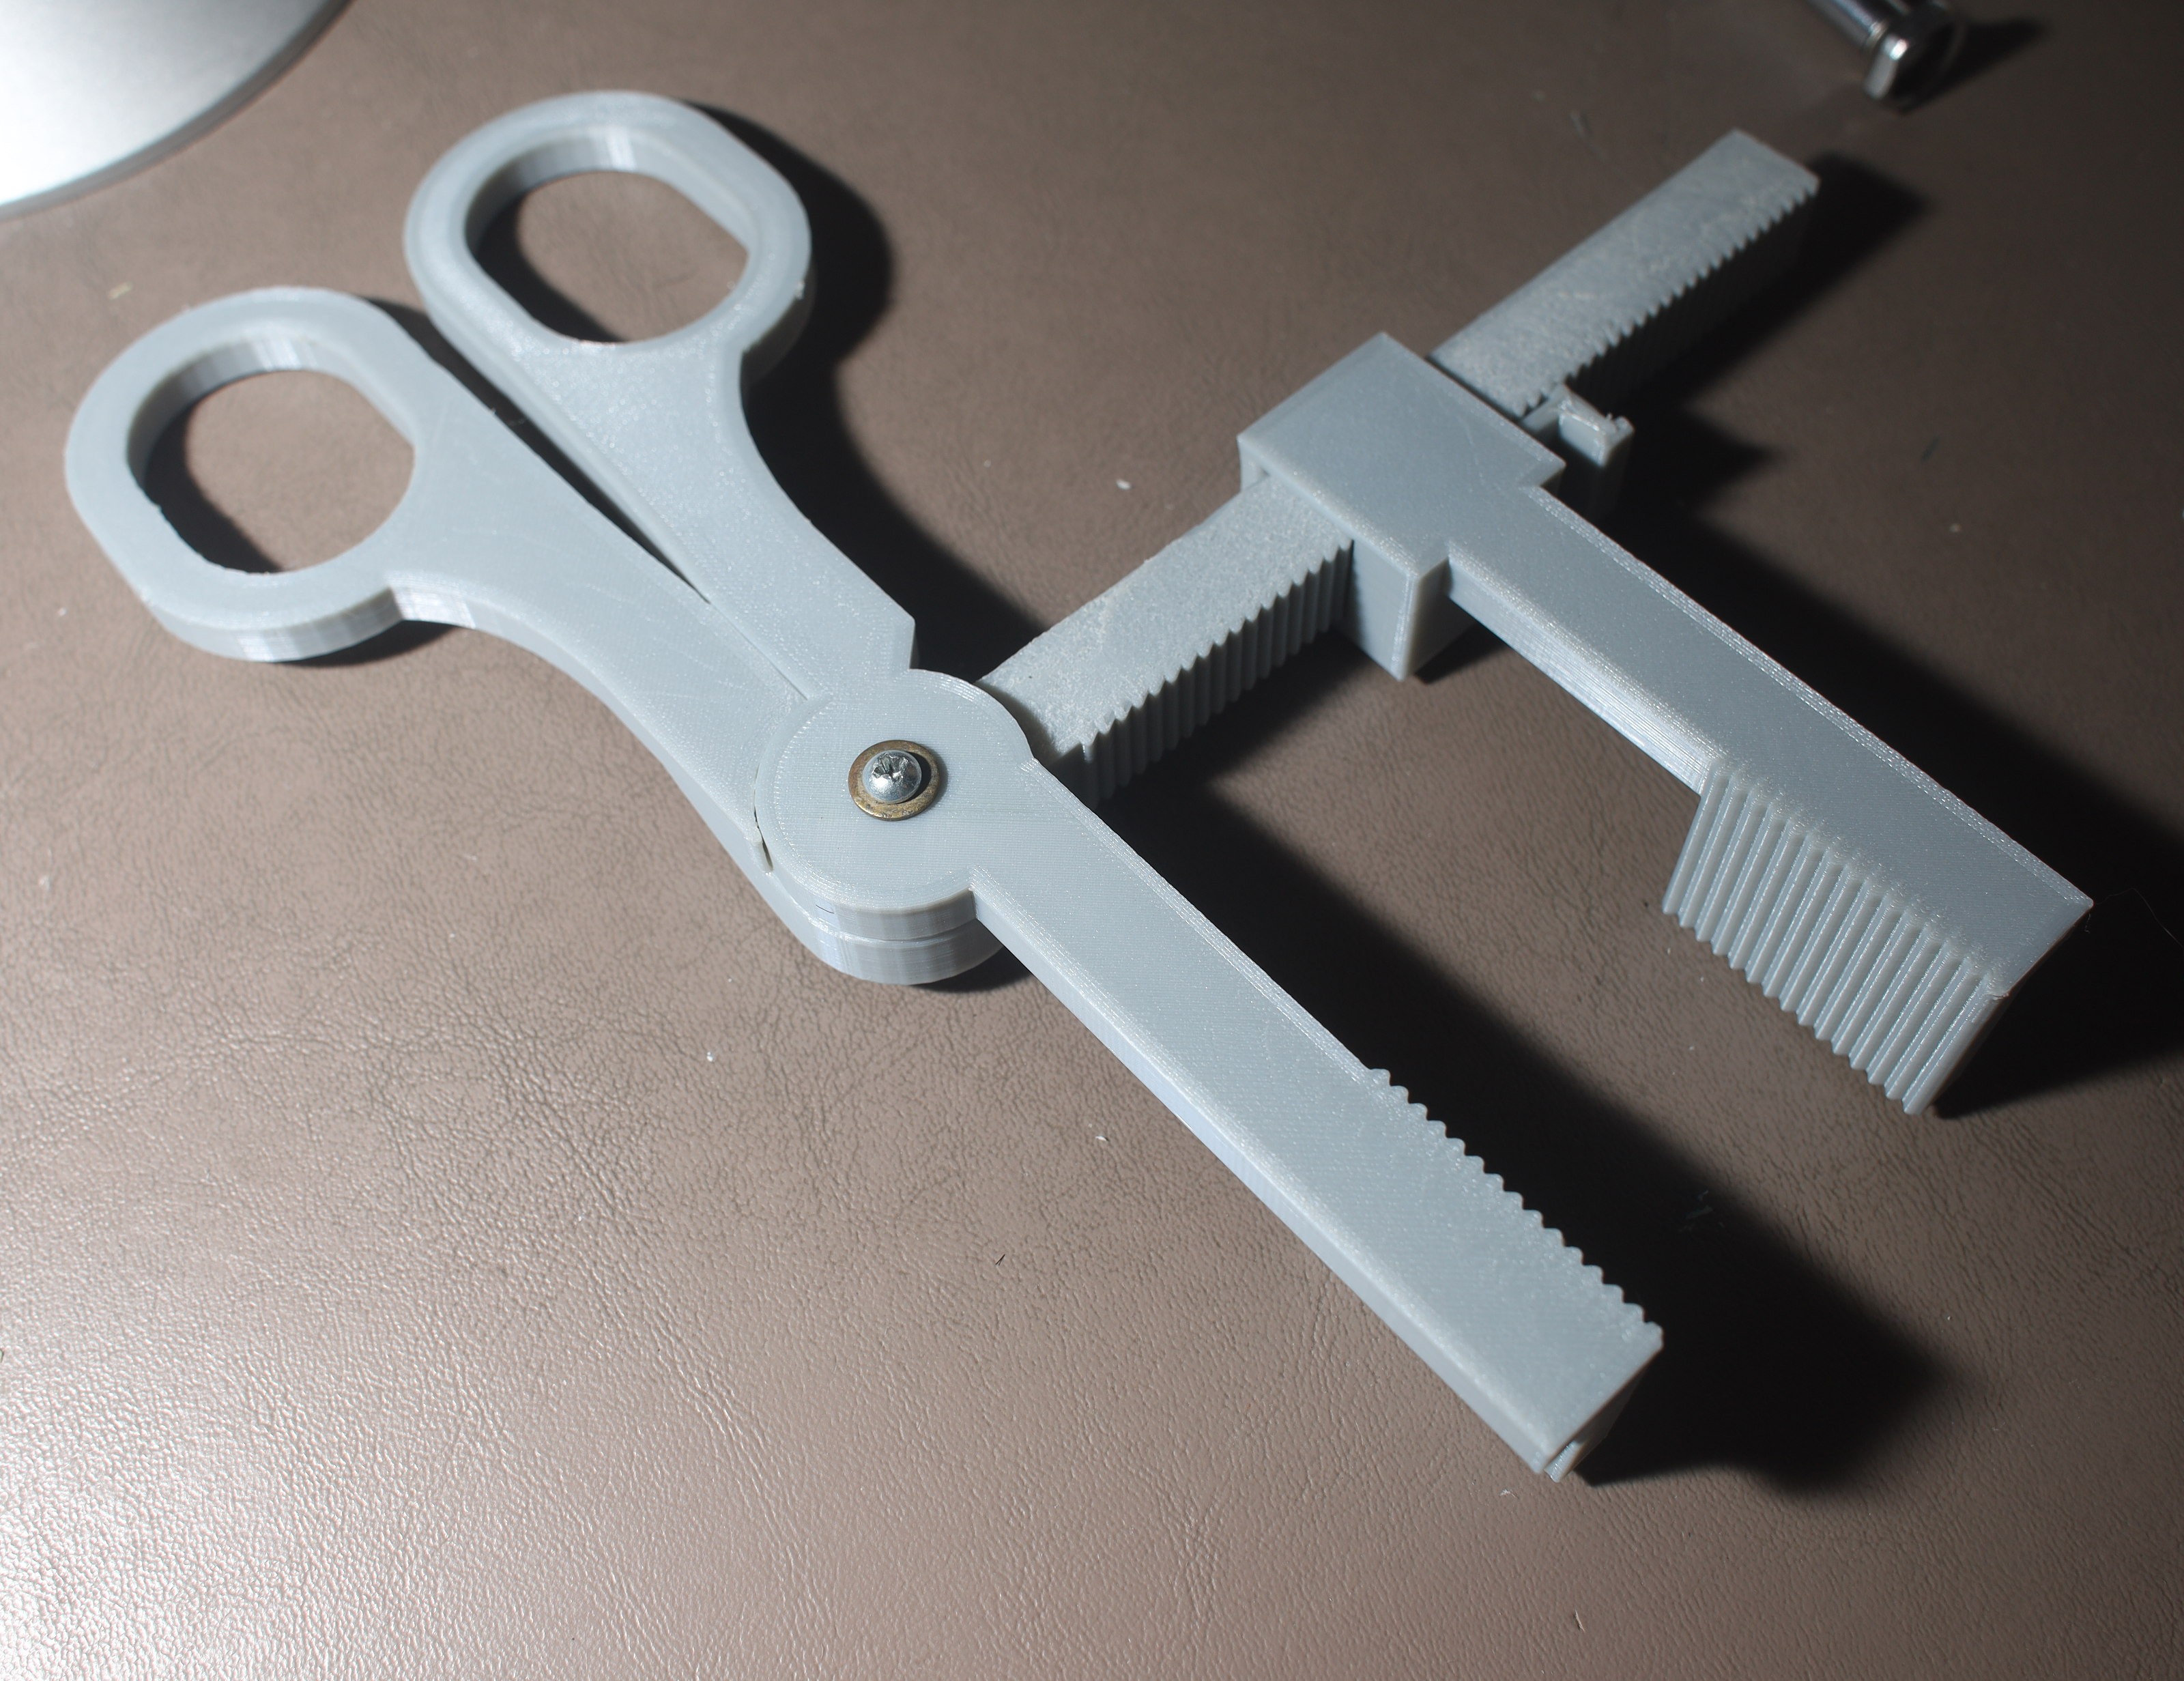
09/20/2020 at 19:24 • 0 commentsThese PC board etching pliers should make the process a lot easier & allow bigger boards.
![]()
![]()
![]()
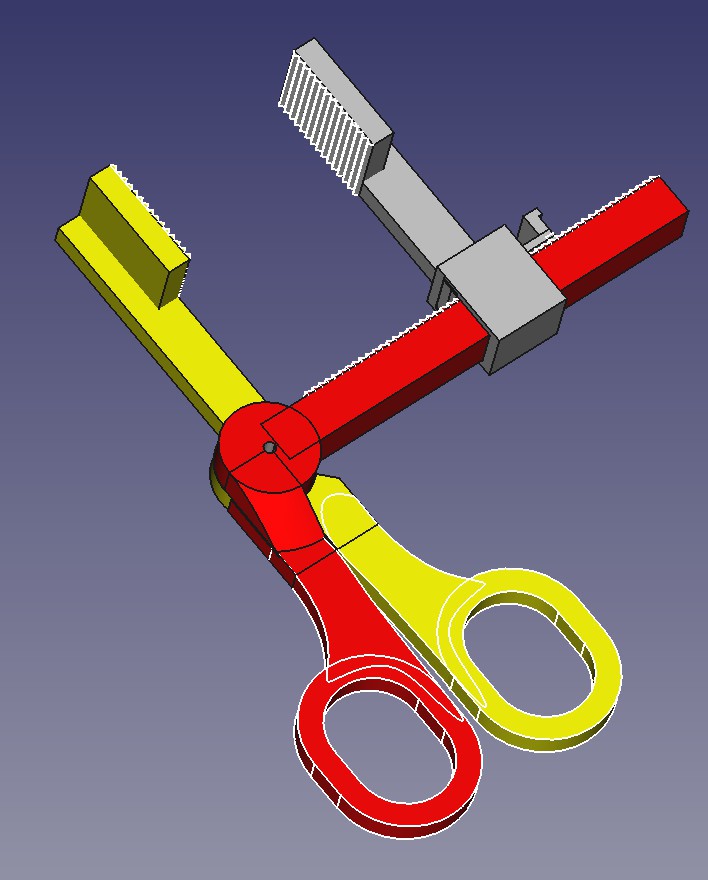
They were based on the size of normal scissors to keep the operator's paws away from the chemicals. The range of the slider motion & the size of the largest boards dictated 2 dimensions. Maybe the scissor handle could be smaller & the rods thinner.
![]()
The key challenge was the ratchet mechanism. It could be improved with sawtooth teeth & a slightly smaller spring handle. Making it snug enough required heating the PLA & nudging it just a mane hair. In CAD, the solution would be not providing any clearance between the teeth while providing a 0.2mm expansion clearance between the sliding parts.
![]()
The printer managed to span the sliding part without supports.
![]()
The hinge worked well.
TODO:Taper & round the grabbing ends so they slosh less fluid
Use sawtooth ratchets
Shrink the spring handle
Shrink the ratchet clearance
Add a ratchet to the scissor handle. Just tightening the mane bolt may be good enough.
Thinner sliding rods that taper into the same ratchet surface.
Make the bottom completely flat instead of using fillets with support to make it smooth & prevent chemicals from leeching into the spagetti.
 lion mclionhead