Close
0%
0%

M&M Dispenser (for research use only!)

Push a button, get a treat!

Similar projects worth following
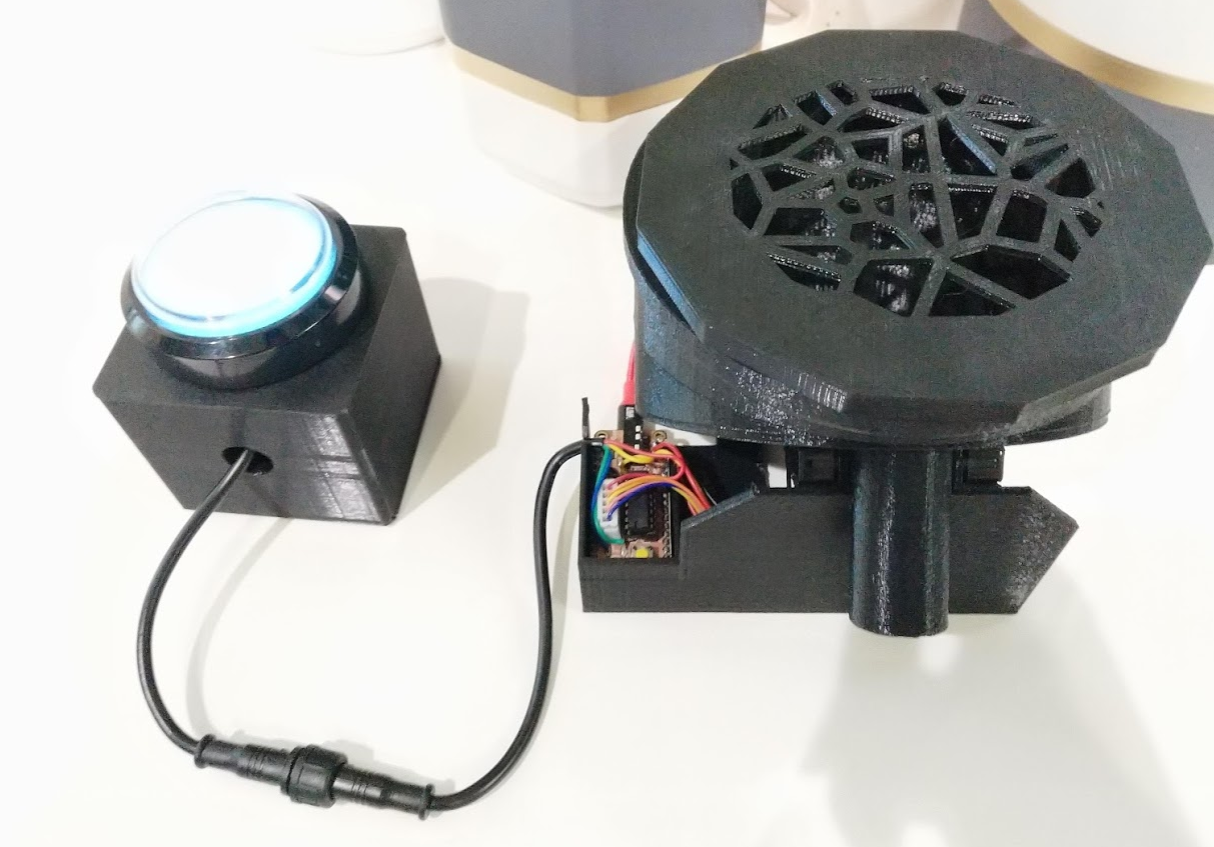
This is an M&M dispenser that was made for a research study to test human motivation and attention for food rewards. It uses the Adafruit Feather M4 express for control, and a ULN2003 Feather board (https://hackaday.io/project/173995-feather-uln2003-stepper-wing) to control the dispensing motor. Also includes a beam-bream to detect when the M&M is dropped, as well as a TRRS jack to enable computer control via the GPIOs.

This  M&M dispenser includes:

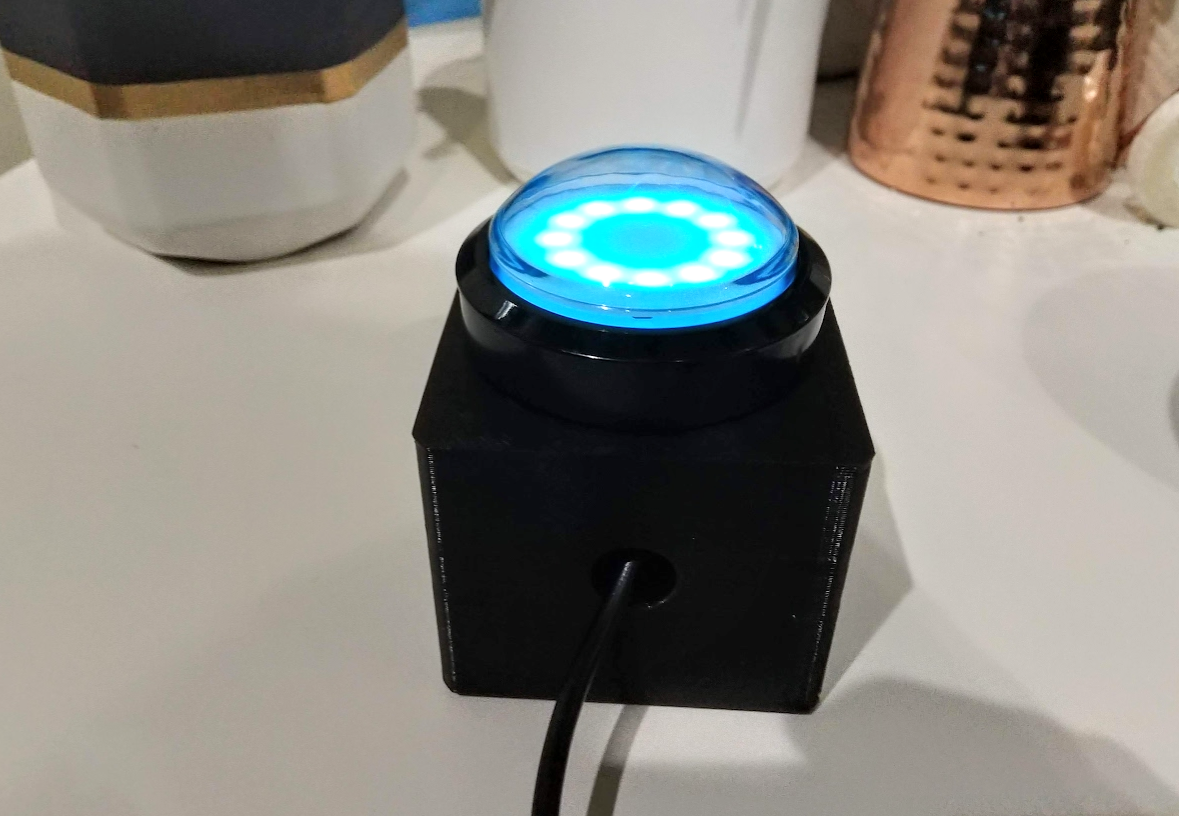
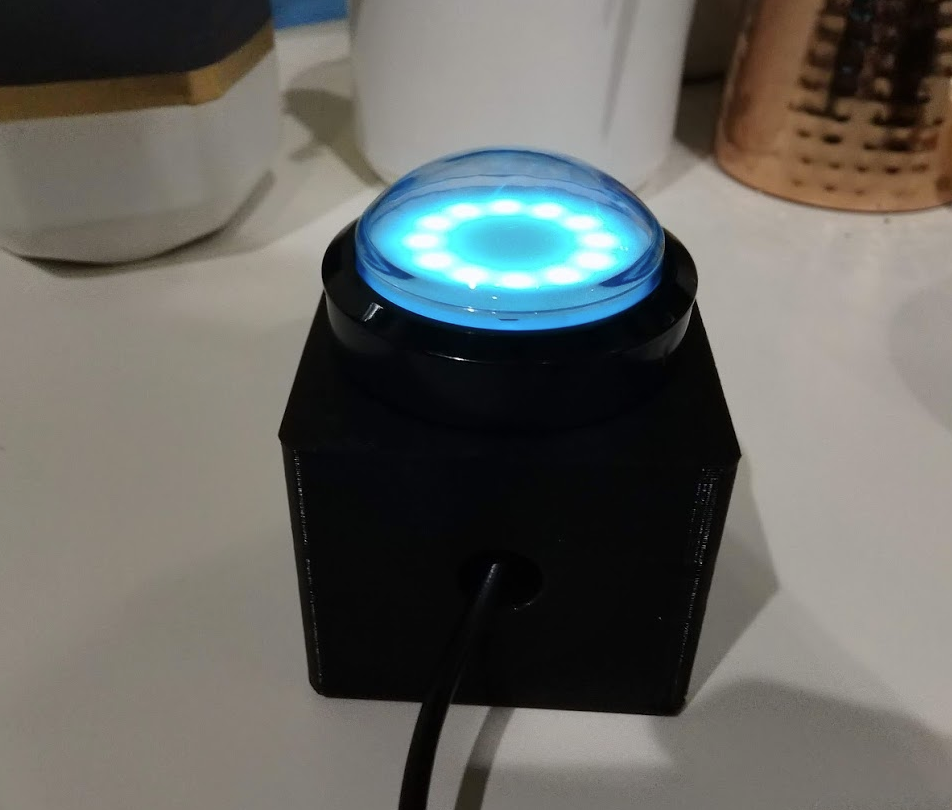
1) A large light up button with 12 Neopixels that can display patterns of color to provide instructions and feedback to the subject

2) A hopper to dispense M&Ms

3) An output jack to connect the M&M dispenser to other research equipment such as an eye tracker or a doomsday device

M_M_dispenser_080520.zip

This code was written to run on an Adafruit Feather M4 Express with the ULN2003 stepper wing.

x-zip-compressed - 3.67 kB - 08/06/2020 at 03:08

Download

M&M_Dispenser.stl

Standard Tesselated Geometry - 843.83 kB - 08/06/2020 at 03:10

Download

M&M_Disk.stl

Standard Tesselated Geometry - 176.25 kB - 08/06/2020 at 03:10

Download

M&M_DispenserLid.stl

Standard Tesselated Geometry - 84.75 kB - 08/06/2020 at 03:10

Download

ButtonHousing.stl

Standard Tesselated Geometry - 46.96 kB - 08/06/2020 at 03:10

Download

View all 6 files

  • Assembly

    Lex Kravitz08/06/2020 at 03:22 0 comments

    Here are photos from the assembly.  If anyone is interested in replicating this I can write up more detailed instructions.

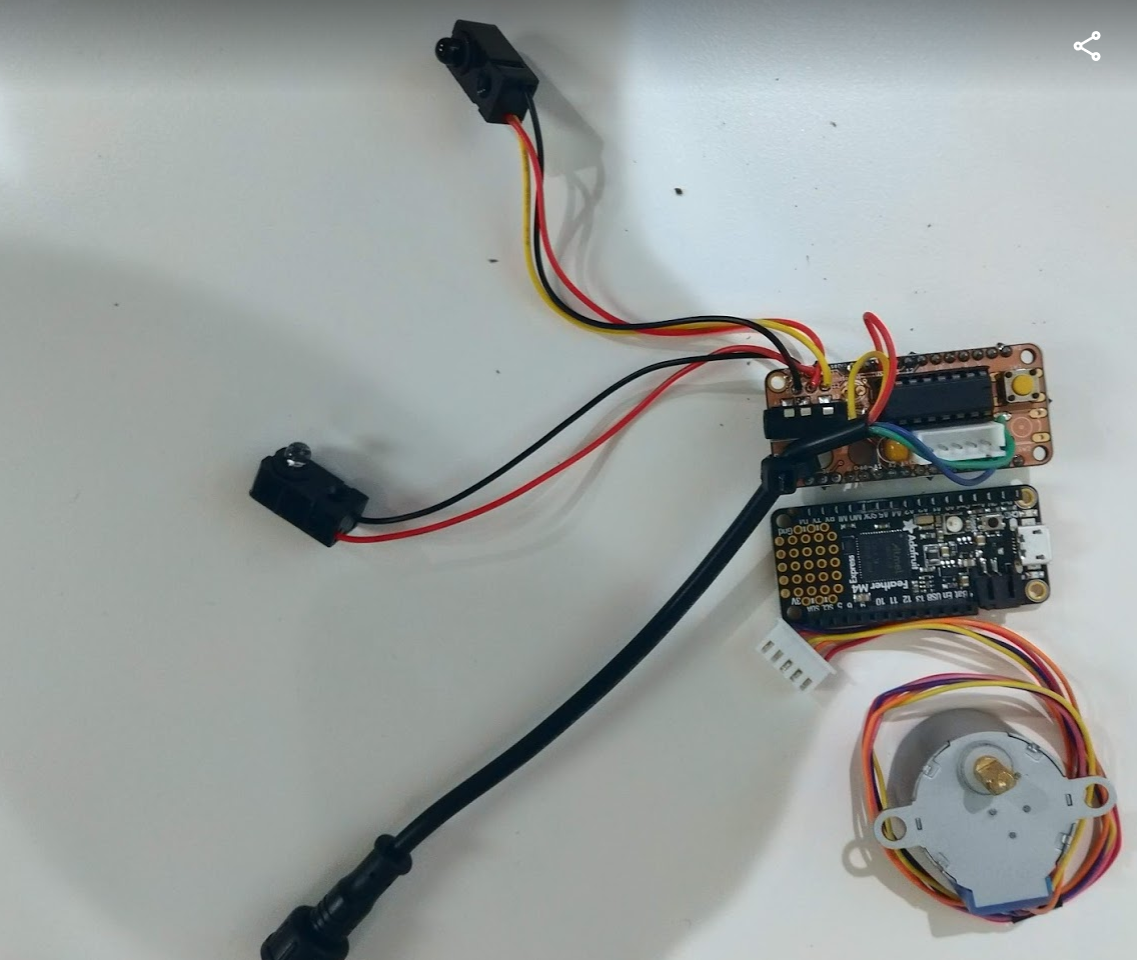
    Assembled ULN2003 stepper wing with IR beam-break (for detecting pellets) and 4-pin circular connector attached (for connecting to light-up button)

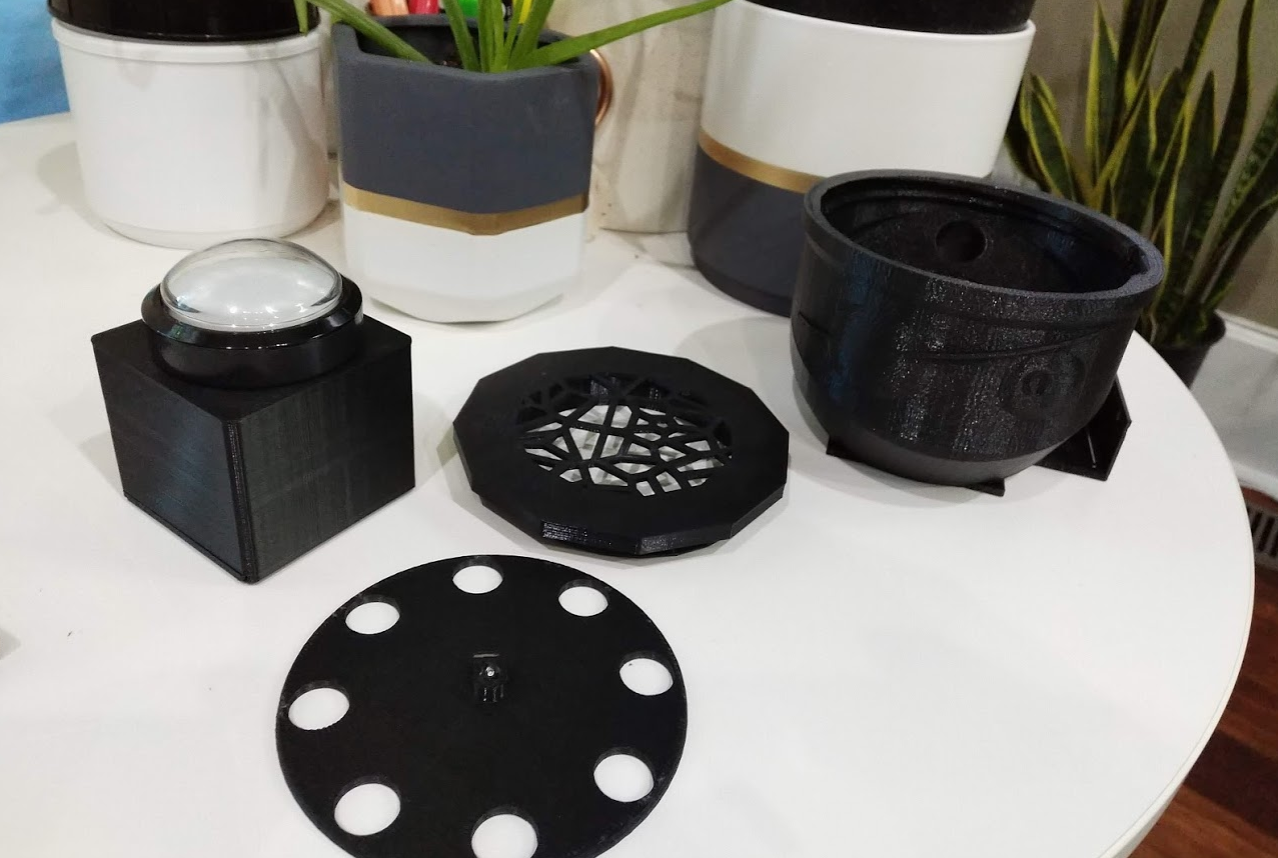
    3D parts, assembled button, and plant:


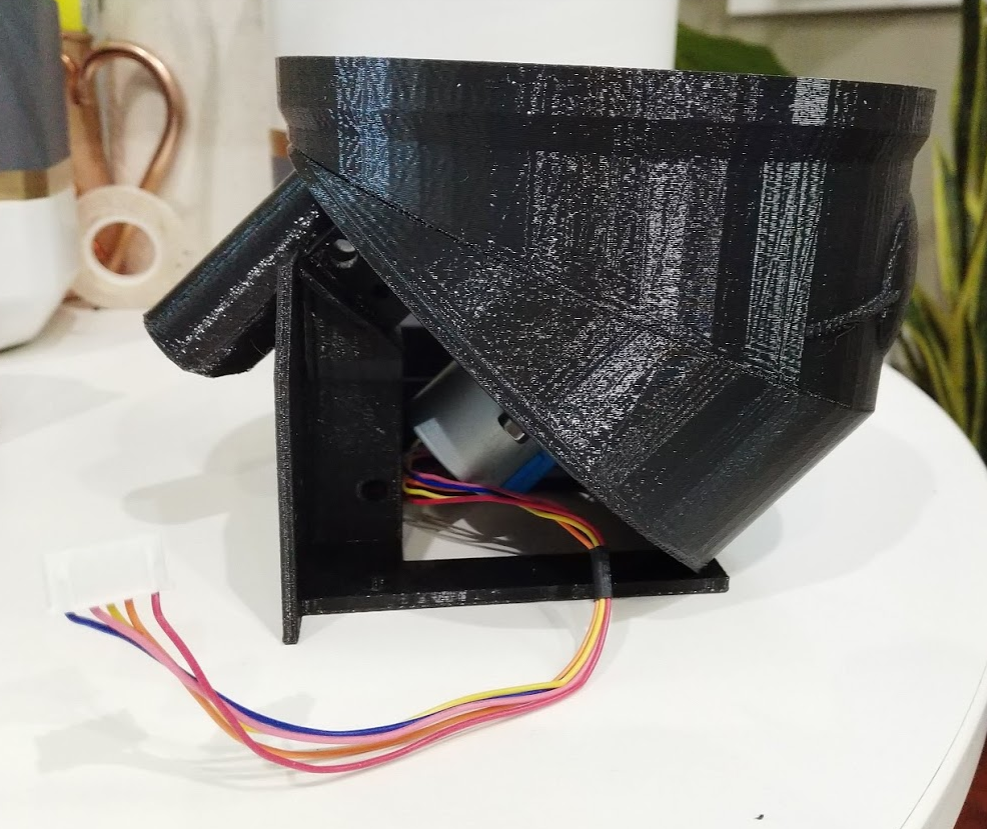
    Installed stepper into 3D housing:
    Dispensing disk attaches to stepper with an M3  brass insert and set screw:
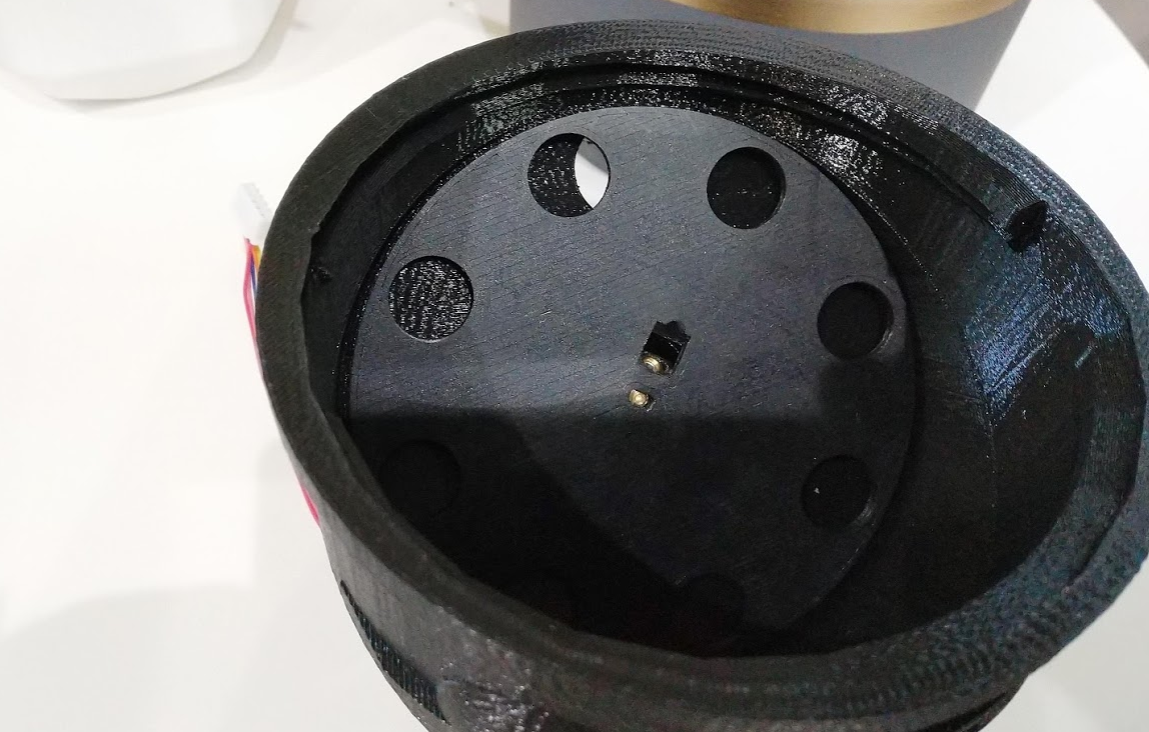
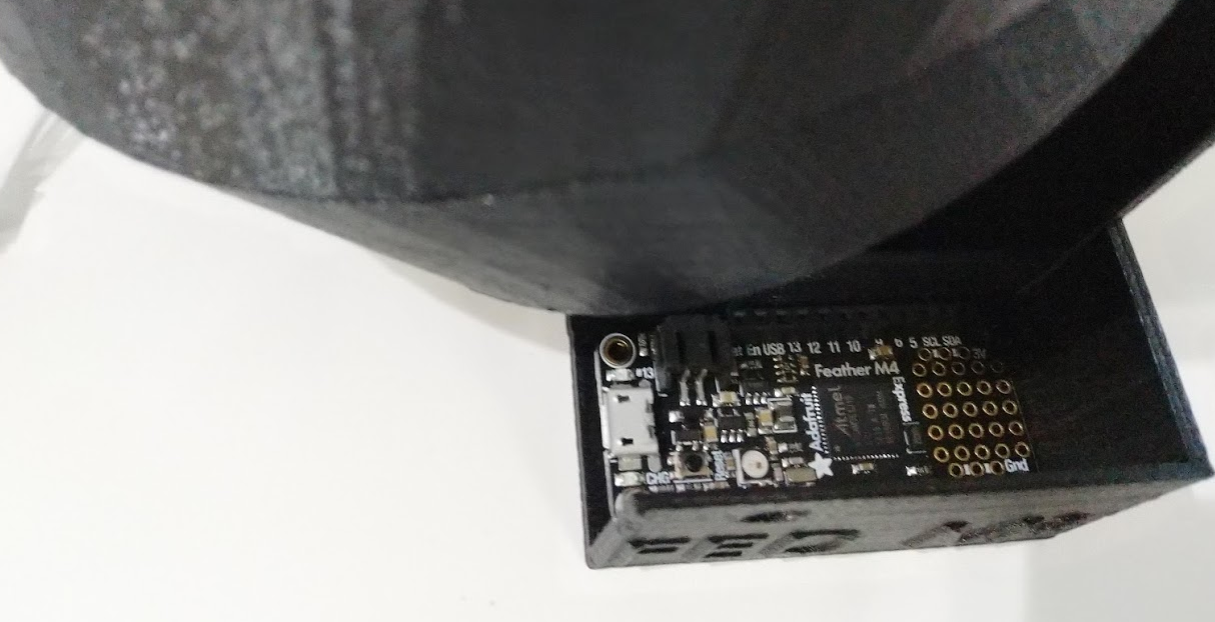
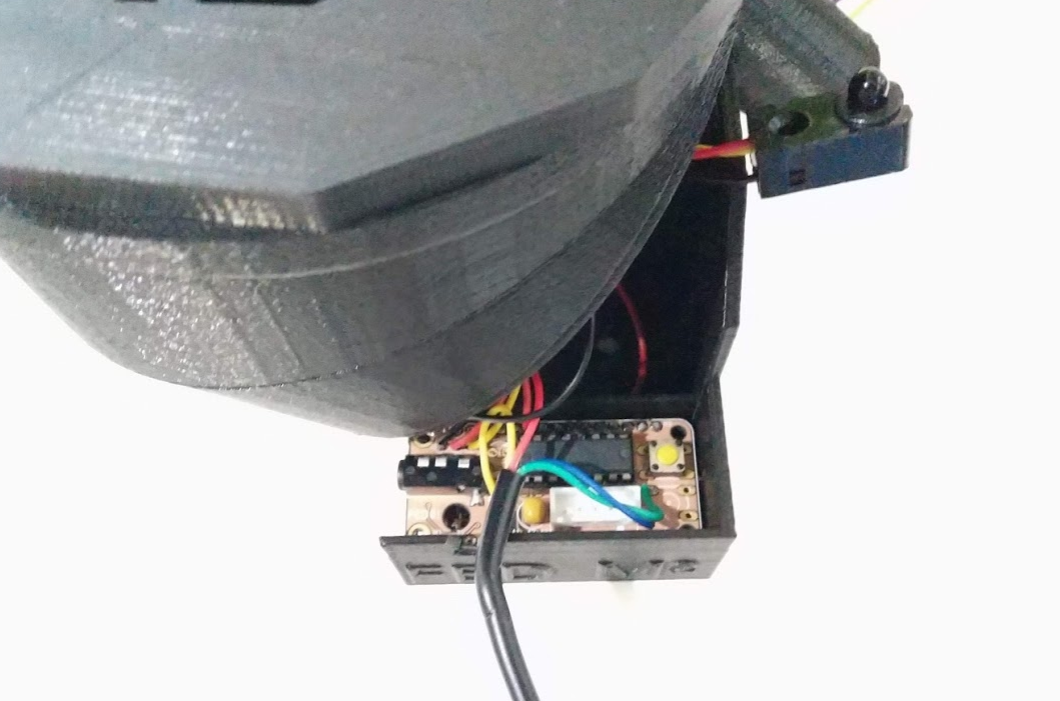
    Feather board goes here:


    ULN2003 stepper wing goes on top:

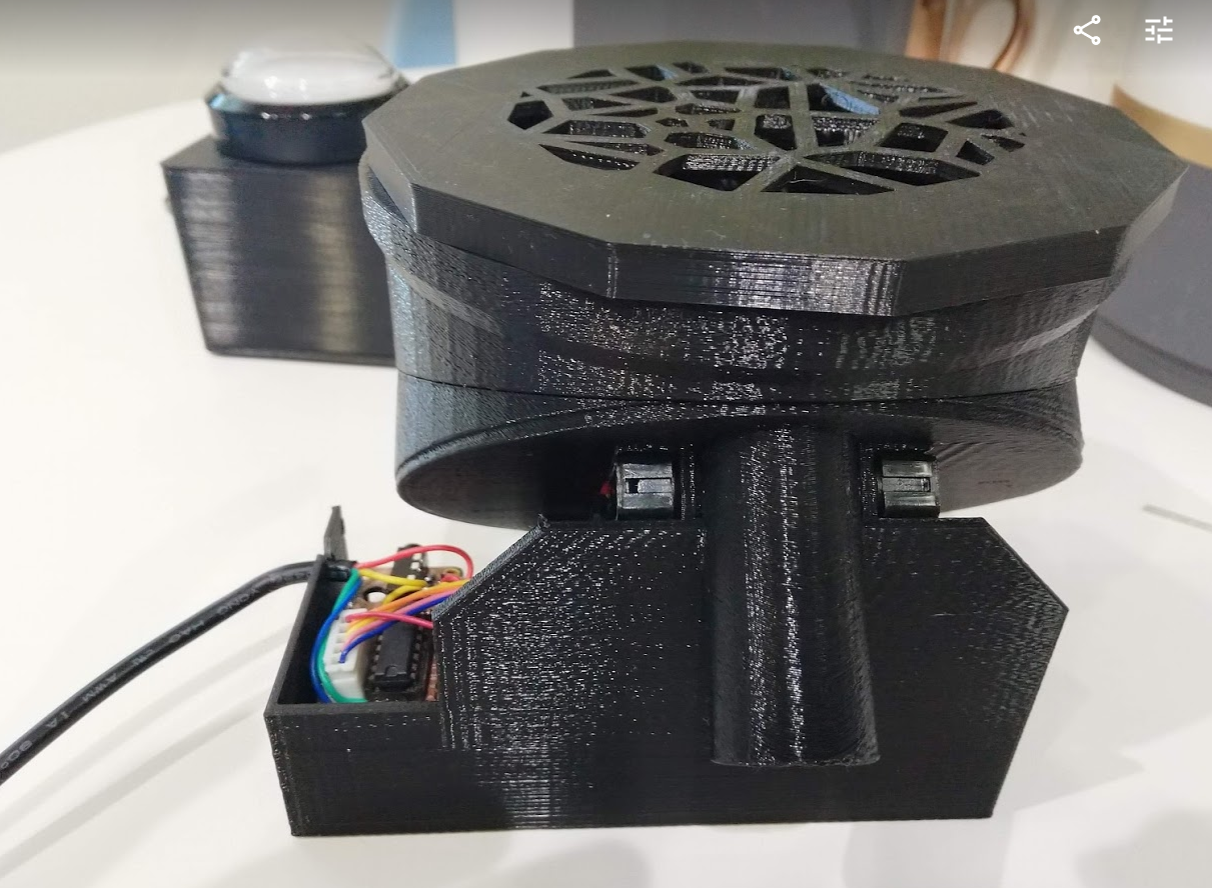
    Front view showing photobeam clicked into the 3D housing (there are screw holes but they aren't really necessary):

    Final assembly

  • 3D parts

    Lex Kravitz08/06/2020 at 03:07 0 comments

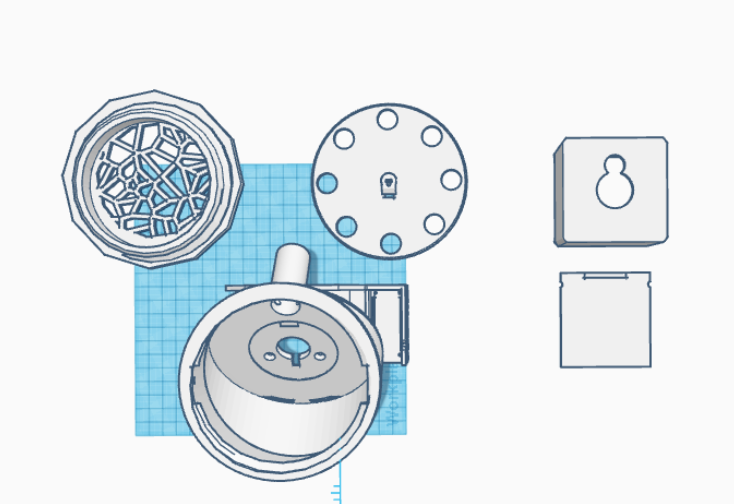
    There are two main parts to the M&M dispenser, the button and the dispenser itself.  Editable TinkerCAD3D files for both parts are available here.  The button contains a simple housing and sliding cover.  The dispenser contains a large base, a pellet disk, and a lid.


  • Hacking an arcade button to insert a neopixel ring

    Lex Kravitz08/06/2020 at 02:56 0 comments

    I bought a cool 60mm diameter white arcade button that came with a single LED inside to light it up but there were two issues with using the built in LED to light it up:

    1) This only allows it to light up in one color (white)

    2) The brightness of the LED was underwhelming when I powered it off of 5V from a microcontroller.  In an arcade cabinet this would be powered with 12V, but to keep it simple I wanted to power everything directly from the microcontroller.

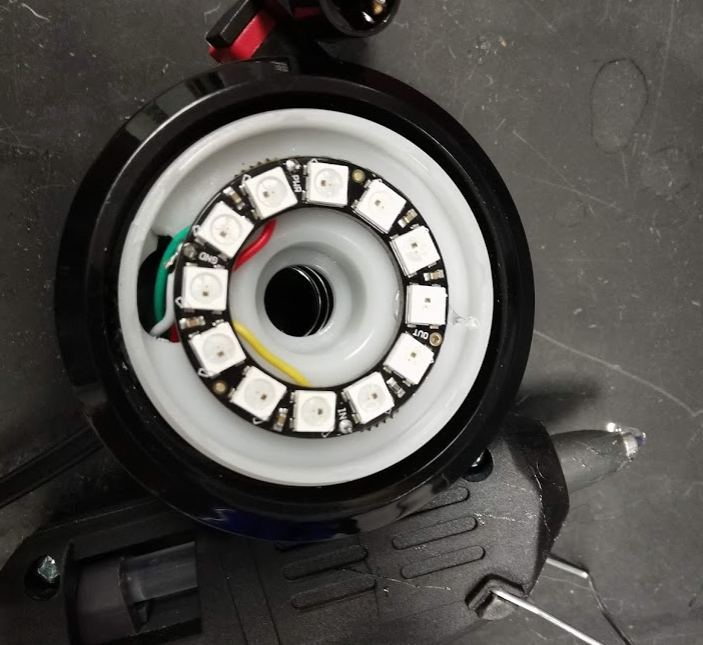
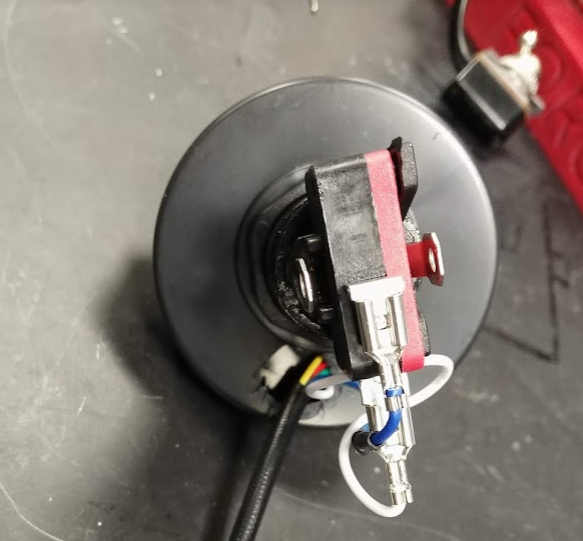
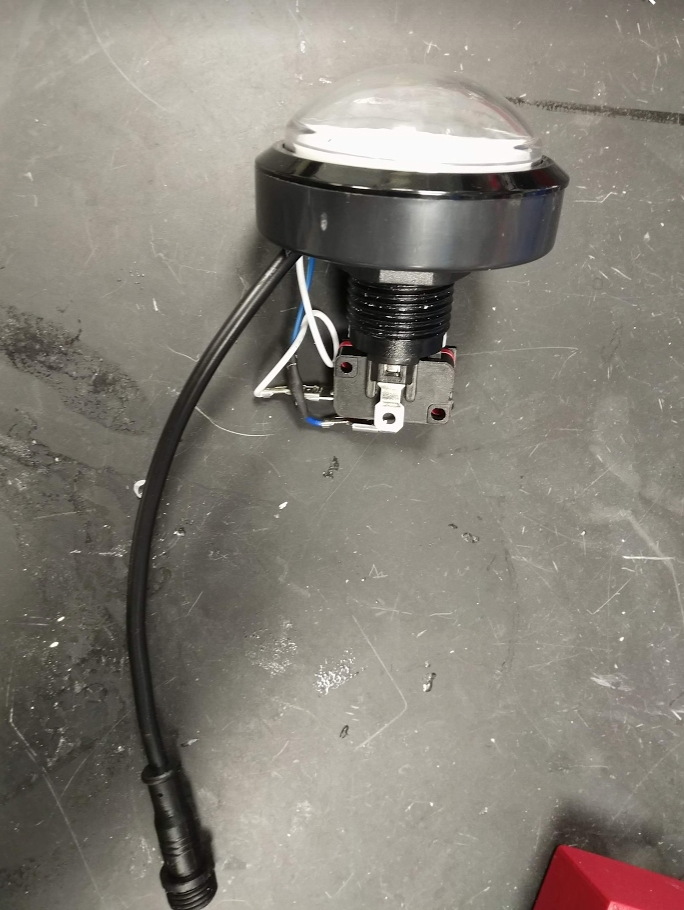
    Enter.... NEOPIXELS!  I've used these in several projects and I really like them.  They're super simple to control and they're beautiful.  I found this Instructable describing how to put a Neopixel ring into a similar button and found it pretty easy.  The biggest issue I had was drilling a hole in the back of the button housing to accommodate my output cable. The plastic of the button cracks easily and I didn't have the right size drill bit so the hole I made isn't the prettiest.  But it is all covered up when I mounted it in the 3D printed box. 

    I used a 4 conductor keyed circular connector I found on Amazon, with the following connections from the button to the Feather board:

    1) USB (to power the Neopixel at 5V)

    2) GND

    3) Neopixel data line (this takes a single GPIO)

    4) Button input (another GPIO)

    This allows the button to display any color combination or animation, while also sending button press responses back to the microcontroller.

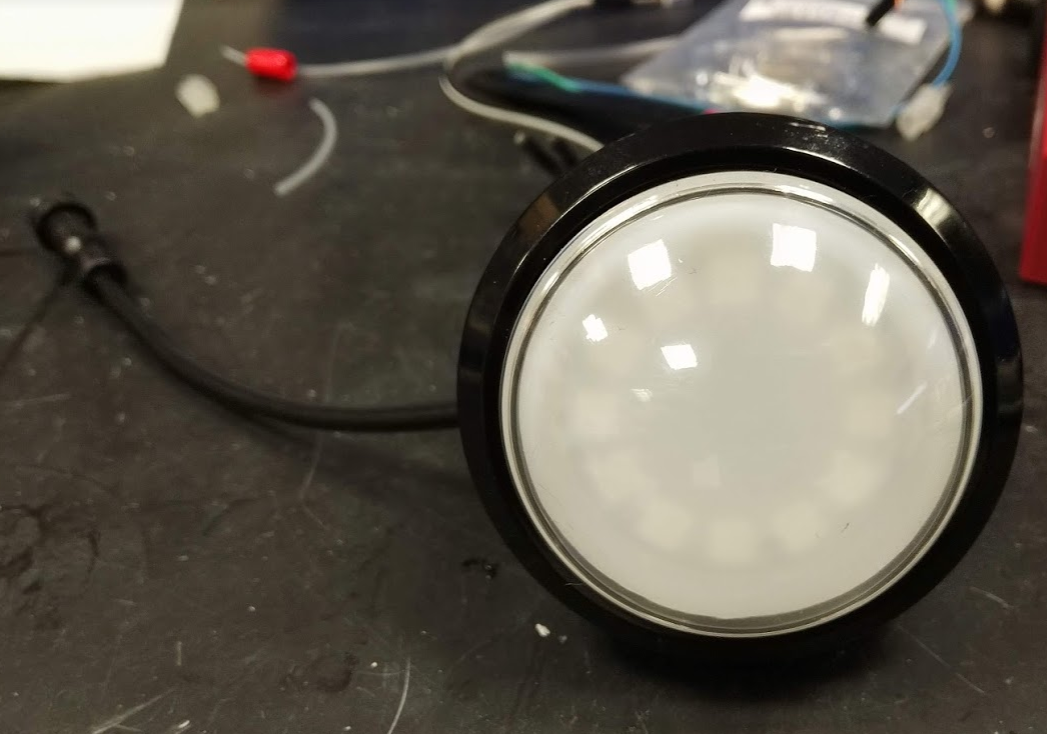
    Some photos from my hack-job to get the Neopixel into the button:


    You can see the neopixel in there if you look carefully!
    Final thing!

View all 3 project logs

Enjoy this project?

Share

Discussions

ssvenn wrote 09/29/2020 at 12:29 point

Thank you for the great design, I printed a copy and stuck an esp8266 in it for wifi control :) 

https://www.youtube.com/watch?v=1WX6Xi6UPiY

  Are you sure? yes | no

Lex Kravitz wrote 09/29/2020 at 16:49 point

Sweet! (heh heh)  Thanks for posting the video!

  Are you sure? yes | no

Lex Kravitz wrote 08/16/2020 at 18:22 point

Thanks Mike!  Here it is in action: https://www.youtube.com/watch?v=I8eJRGklcsc

  Are you sure? yes | no

Mike Szczys wrote 08/17/2020 at 19:47 point

So satisfying!

  Are you sure? yes | no

Mike Szczys wrote 08/14/2020 at 16:53 point

I love it! Button looks great with the neopixel ring inside.

Any chance you have a video of slapping the button and getting candy?

  Are you sure? yes | no

Similar Projects

Does this project spark your interest?

Become a member to follow this project and never miss any updates