 CarbonCycle
-
1Prepare media
I found the Raspberry Pi Imager - Utility to work best.
1. Use the Ubuntu 21.10 64bit version for the MSD device.
2. Mount the system-boot partition and -
A: Use "touch" to create a file named "ssh" in /boot/firmware directory
B: Modify the /boot/firmware/cmdline.txt file to:
dwc_otg.lpm_enable=0 console=serial0,115200 console=tty1 root=LABEL=writable rootfstype=ext4 elevator=deadline rootwait fixrtc systemd.unified_cgroup_hierarchy=0 cgroup_enable=cpuset cgroup_enable=memory cgroup_memory=1 swapaccount=13. After booting with these changes - ssh into the node.
ubuntu:ubuntu ( you will be required to change PW on first login )
4. Install the needful
sudo apt update
sudo apt install linux-modules-extra-raspi
sudo apt upgrade -y
5. The node is now ready for Microk8s install
sudo snap install microk8s --classic --channel=1.21/stable
-
2Install additional nodes using the same process.
Building a cluster a node at a time in the initial stages is a good thing. Once you have a quorum in the control plane - and HA, adding nodes is less risky.
Then follow https://microk8s.io/docs/clustering
microk8s add-node
My nodes have been up for awhile.
ubuntu@node1:~$ sudo microk8s kubectl get nodes
NAME    STATUS   ROLES    AGE    VERSION
node3   Ready    <none>   42h    v1.21.6-3+c853fab6e22413
node4   Ready    <none>   106m   v1.21.6-3+c853fab6e22413
node2   Ready    <none>   40h    v1.21.6-3+c853fab6e22413
node6   Ready    <none>   93m    v1.21.6-3+c853fab6e22413
node1   Ready    <none>   40h    v1.21.6-3+c853fab6e22413
node5   Ready    <none>   41h    v1.21.6-3+c853fab6e22413
The rest of the project should work, as is.
-
3Enable DNS and add some tools
Enable DNS. Note that if you have all three nodes up, they will all have DNS enabled.
microk8s enable dnsThe first three nodes are the core minimal requirement for HA. This provides a voting logic quorum to ensure there is at least one sane node.
You may want to monitor CPU temp.
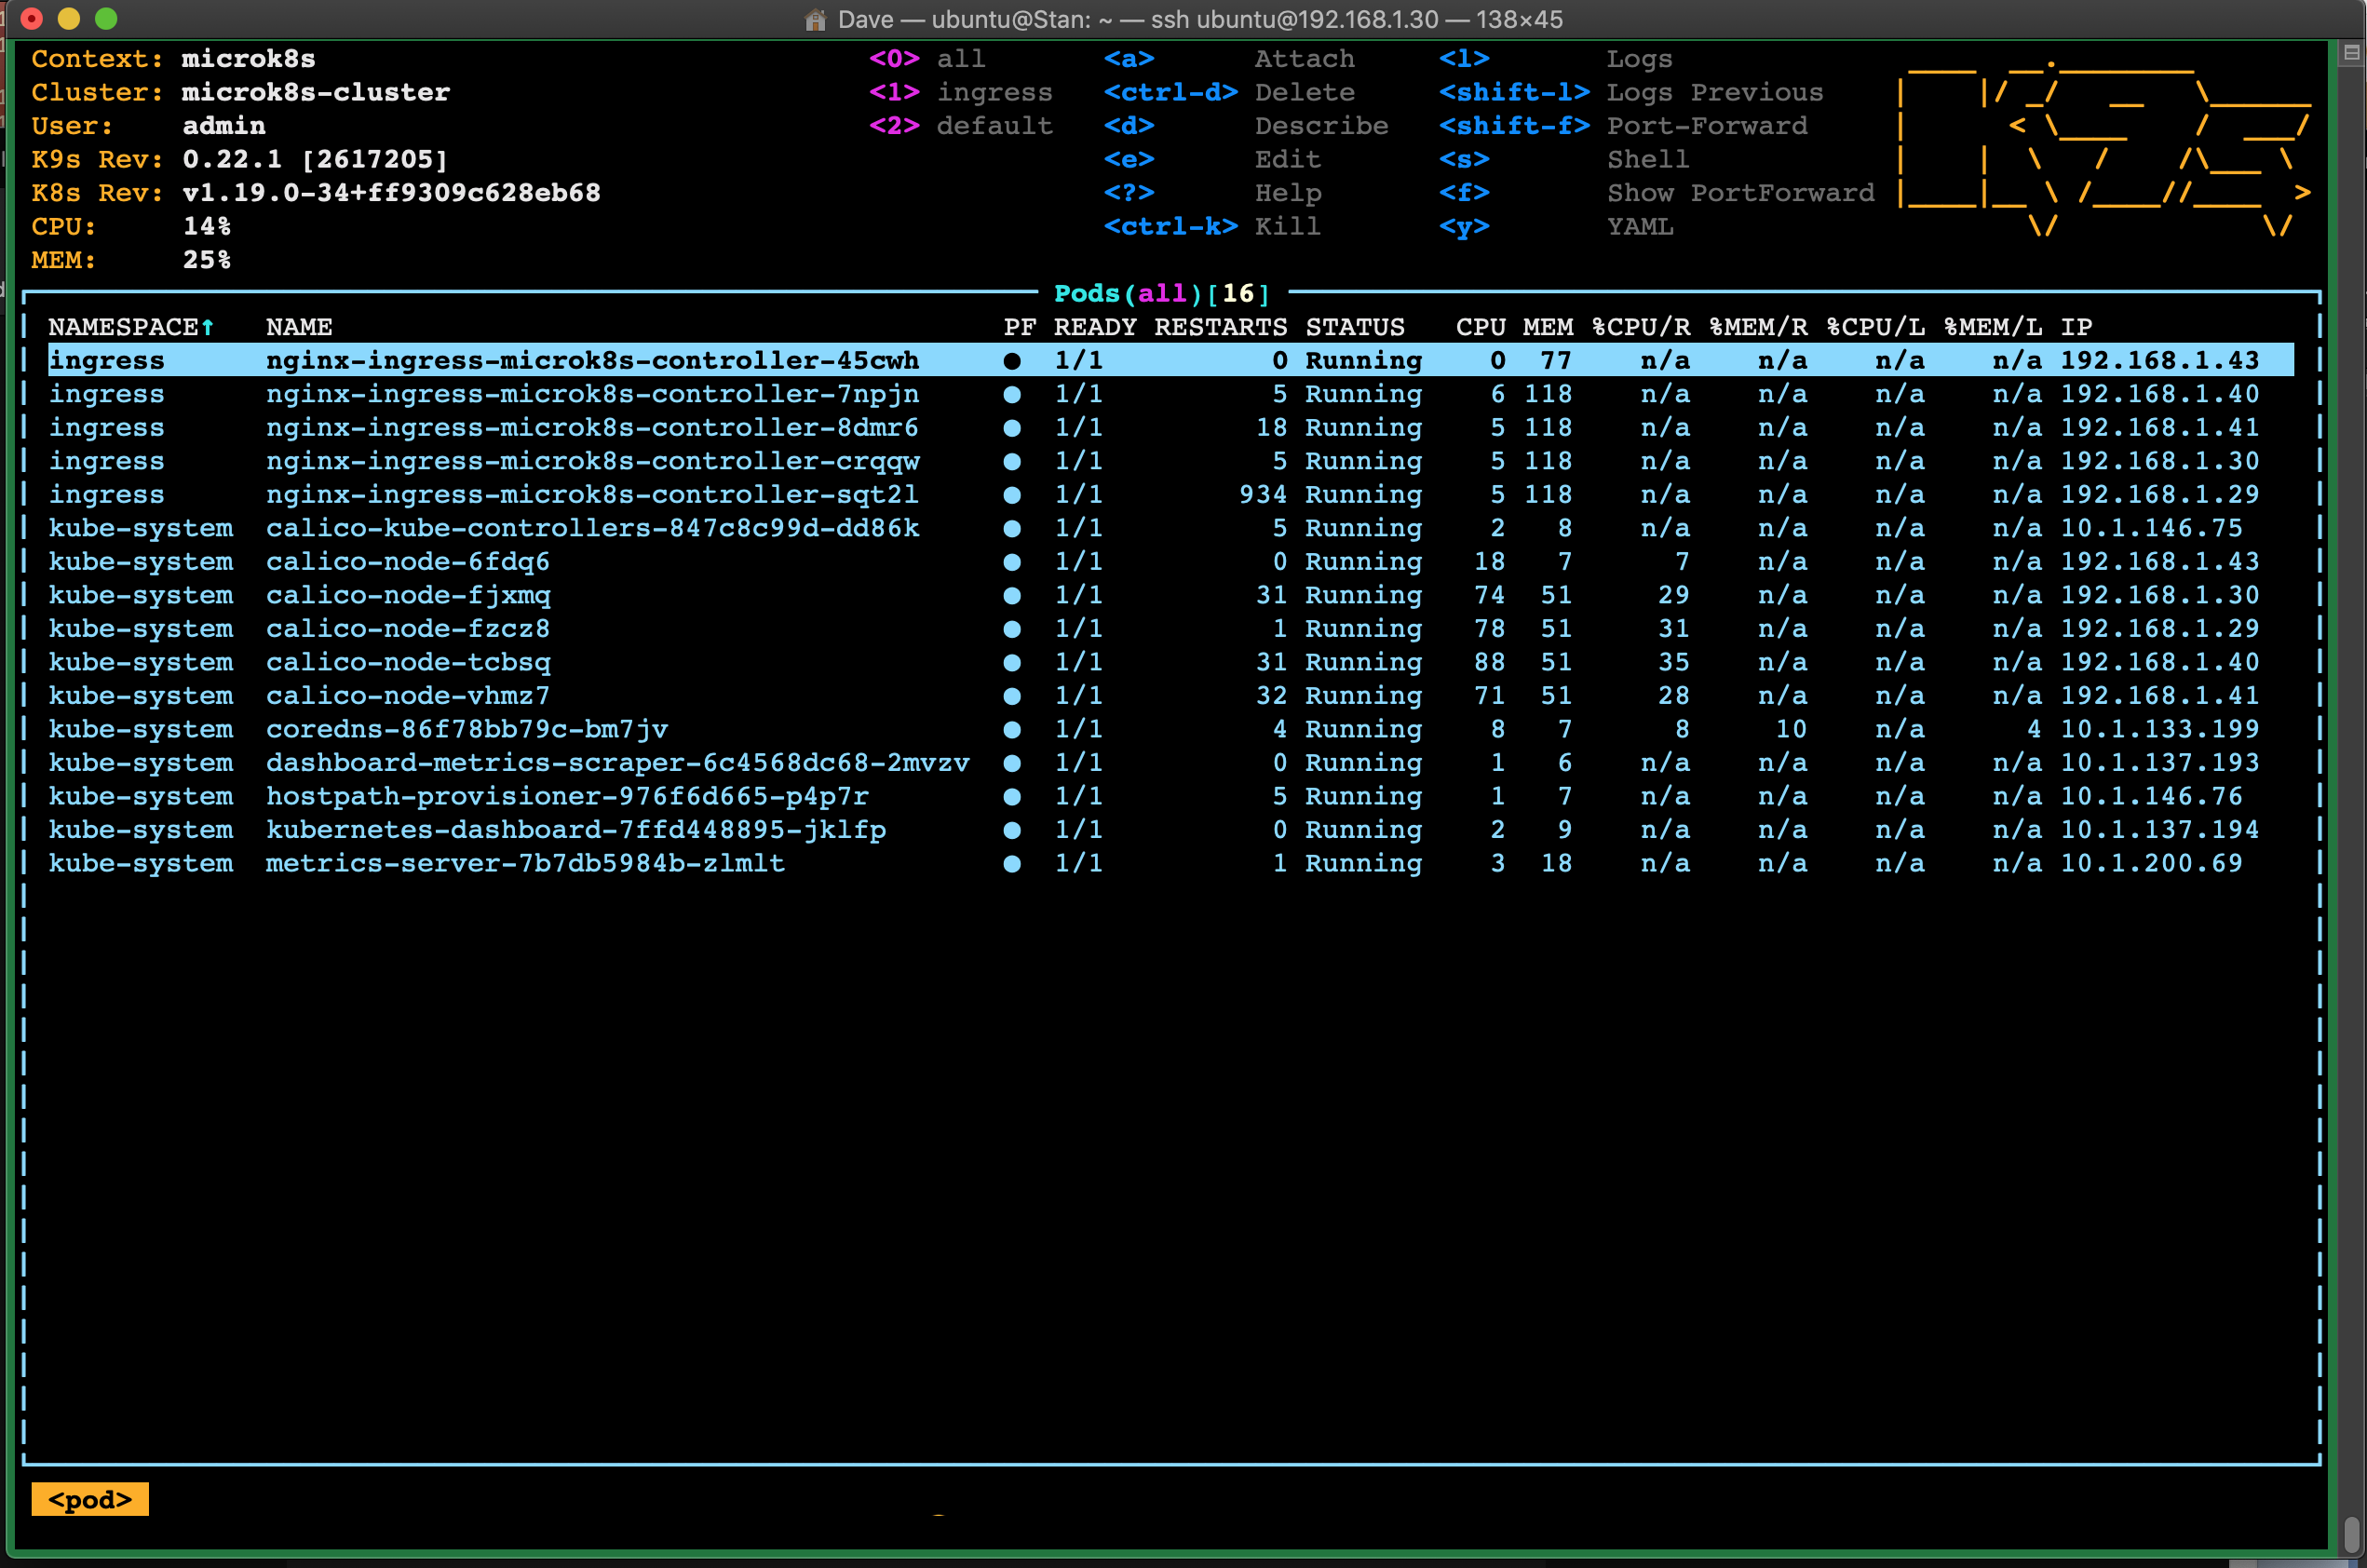
sudo apt install lm-sensors

The command to get CPU temp is "sensors"

ubuntu@ike:~$ sensors
cpu_thermal-virtual-0
Adapter: Virtual device
temp1:        +54.0°C

rpi_volt-isa-0000
Adapter: ISA adapter
in0:              N/A

ubuntu@ike:~$
A great tool for using with your cluster is K9s. Install on at least one of your cluster nodes. I install on all the nodes - because I can run this on a console!
You will need to create a ~/.kube/config file for K9s to use to interact with your cluster. There should already be a ~/.kube directory. Check the permissions on this directory - they may need to be changed from root/root to ubuntu/ubuntu.
cd $HOME
mkdir .kube
cd .kube
microk8s config > config
wget https://github.com/derailed/k9s/releases/download/v0.22.1/k9s_Linux_arm64.tar.gztar xfz k9s_Linux_arm64.tar.gzThe interface is helpful to those who are new to Kubernetes and useful for experienced cluster drivers.
![]()
-
4Installing EFK stack on Ubuntu 20.10 arm64 / Pi 4/4G
Download the arm64/aarch64 version of Elasticsearch and Kibana. A requirement of the stack is the two components ( elasticsearch and kibana ) should have identical levels to be optimal. Kibana startup checks will fail if the version difference is too great.
I have selected version 7.9.3
wget https://artifacts.elastic.co/downloads/elasticsearch/elasticsearch-7.9.3-arm64.deb

wget https://artifacts.elastic.co/downloads/kibana/kibana-7.9.3-linux-aarch64.tar.gz
Install Elasticsearch
sudo dpkg -i elasticsearch-7.9.3-arm64.debI modified a couple of the elasticsearch config files -
/etc/elasticsearch/elasticsearch.config
cluster.name: SodoSopa
node.name: ike
network.host: 192.168.1.44
http.port: 9200
cluster.initial_master_nodes: ["ike"]
/etc/elasticsearch/jvm.options
# Xms represents the initial size of total heap space
# Xmx represents the maximum size of total heap space

-Xms2g
-Xmx2g
Start Elasticsearch and test the endpoint.
sudo /bin/systemctl daemon-reload
sudo /bin/systemctl enable elasticsearch.service
sudo systemctl start elasticsearch.service
sudo systemctl status elasticsearch.service

curl -X GET "localhost:9200/?pretty"
Unzip and untar the kibana distribution
tar xfz kibana-7.9.3-linux-aarch64.tar.gz
If you want to access Kibana from an external host ( not localhost ) then edit the kibana config file and set these variables to match your install.
kibana-7.9.3-linux-aarch64/config/kibnana.ymlserver.host: "192.168.1.44" server.name: "ike" elasticsearch.preserveHost: trueWhile in the kibana-7.9.3-linux-aarch64 directory, run the following to start Kibana in the foreground - this way you can observe the startup messages to address any configuration issues.
./bin/kibana
Point a web browser to the server address and port 5601 ( default port configuration )
http://192.168.1.44:5601This should bring up the Kibana interface.
![]()

Discussions
Become a Hackaday.io Member
Create an account to leave a comment. Already have an account? Log In.