MaBe42
-
Playing CoViano
11/04/2020 at 20:38 • 0 commentsPlaying the CoViano. Or is there a better way of embedding an uploaded video file (perhaps with thumbnail)?
-
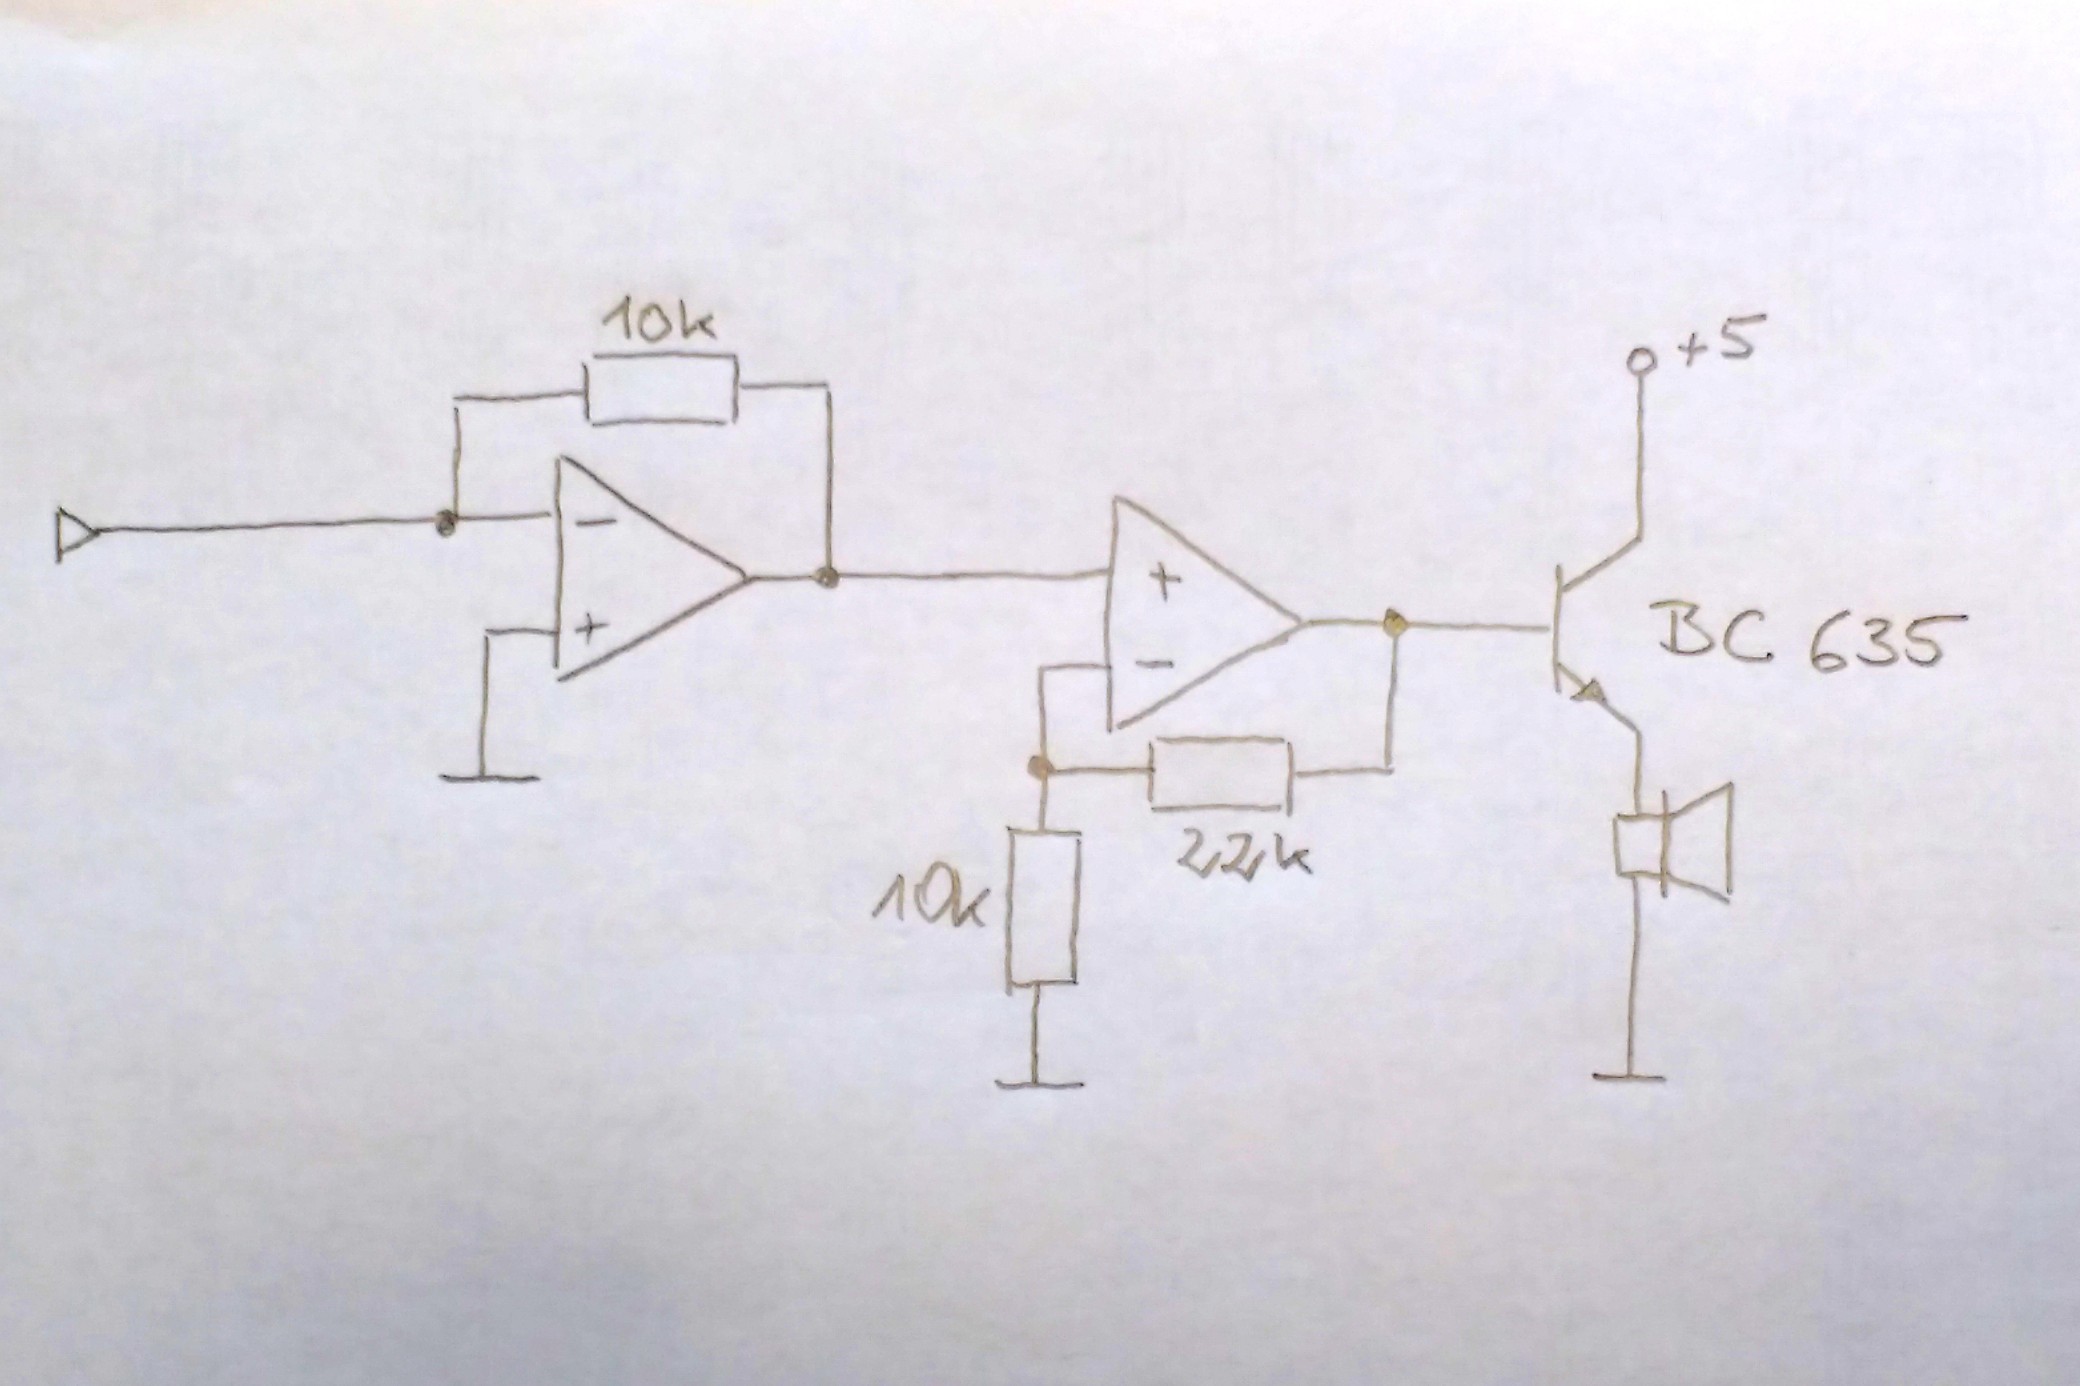
The output stage
11/04/2020 at 20:34 • 0 commentsVery simple amplifier using again a LM358 and finally a BC635 to drive the speaker.
![]()
Definitely no high end audio. But it works.
-
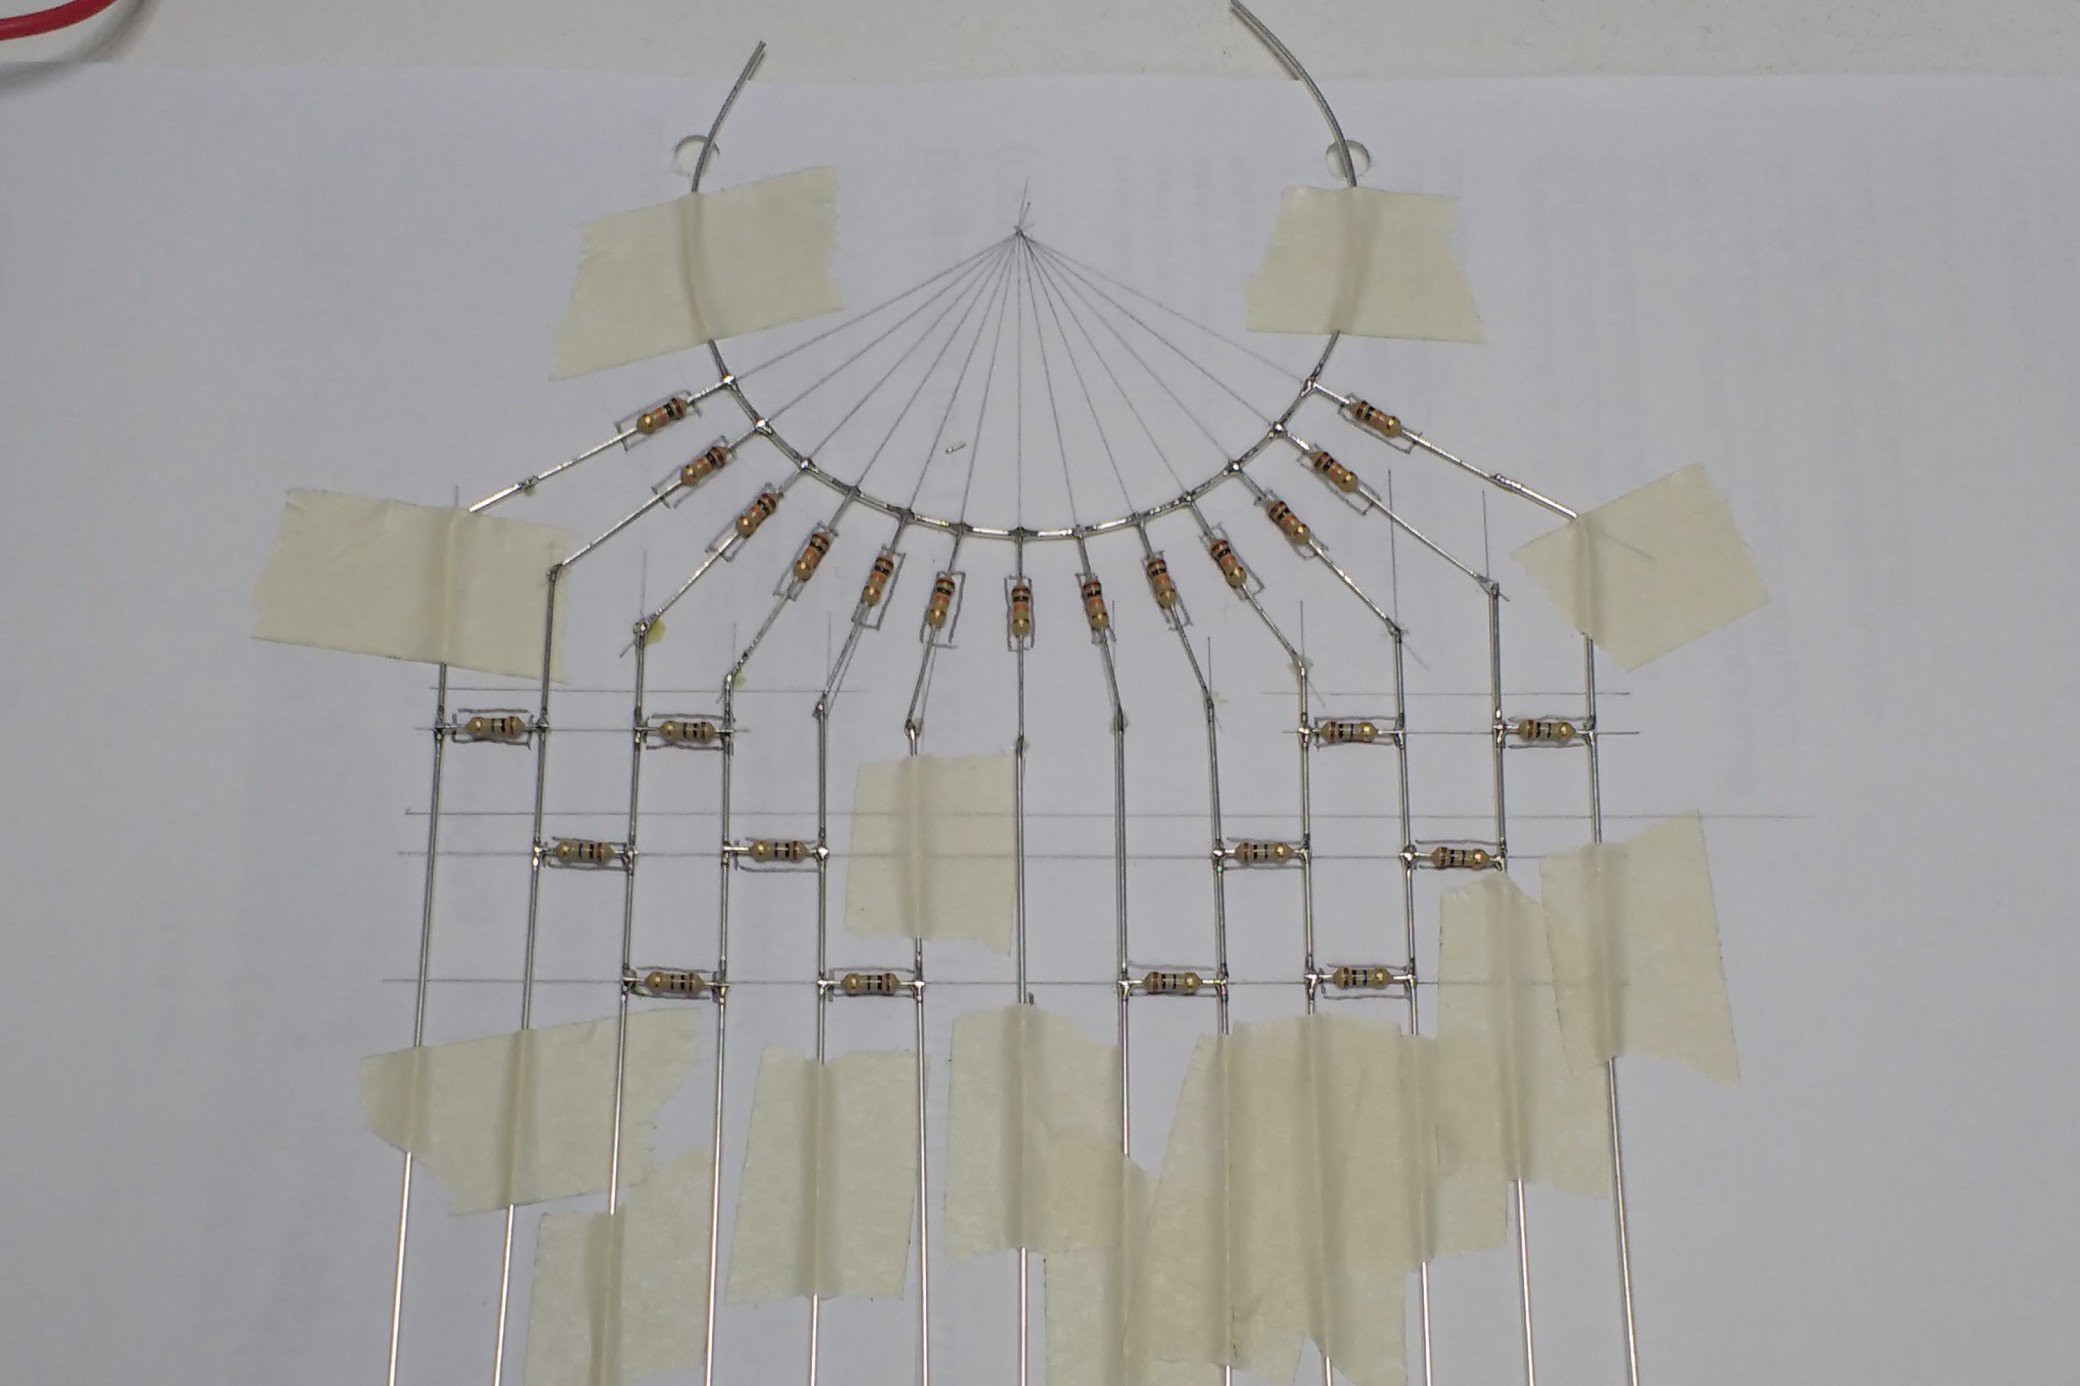
The mixer
11/04/2020 at 20:31 • 0 commentsBuilding an audio mixer with 13 inputs is not so easy and I wanted it to look nice. I came up with the idea of mounting the speaker kind of in the center of a ring-segment of resistors.
![]()
I added some horizontal 10M resistors for stability.
-
Building a tone generator
11/04/2020 at 20:26 • 0 commentsNext step - next jig (again printed from PLA):
![]()
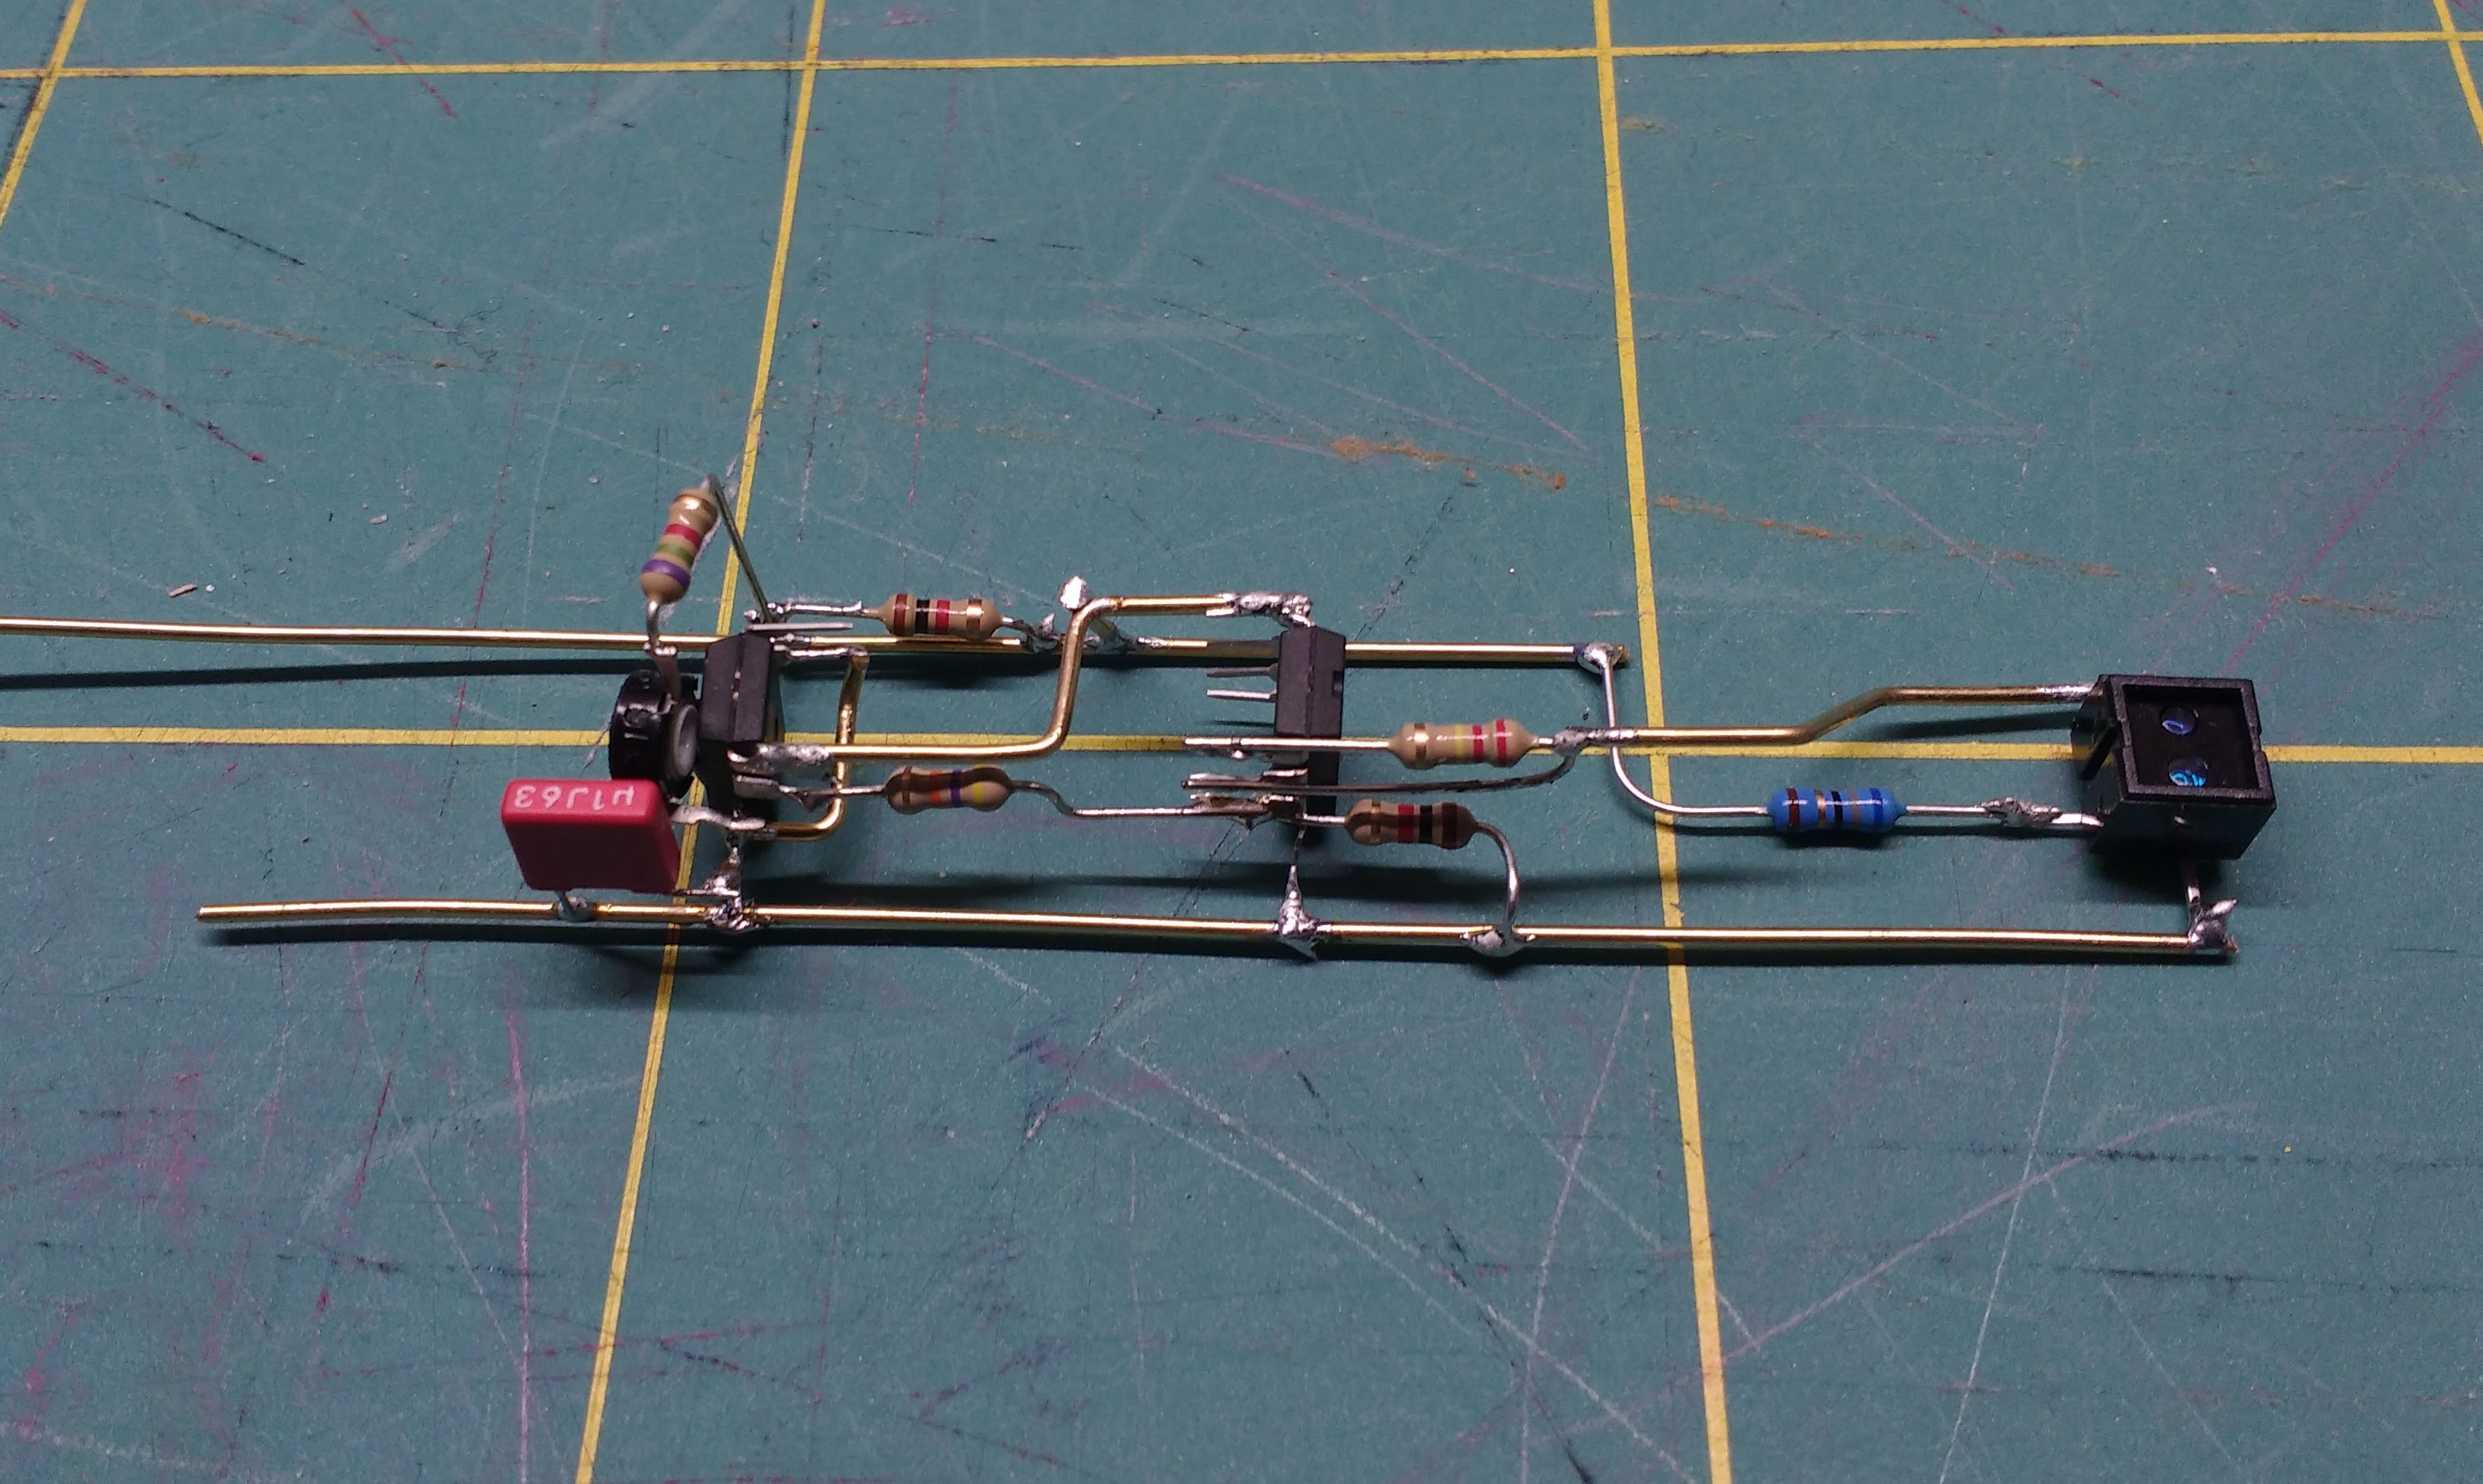
This jig helped soldering the components of the tone generators a lot. After some practice I managed to solder between 3 and 4 in an hour. Compare this to the prototype!
![]()
![]()
![]()
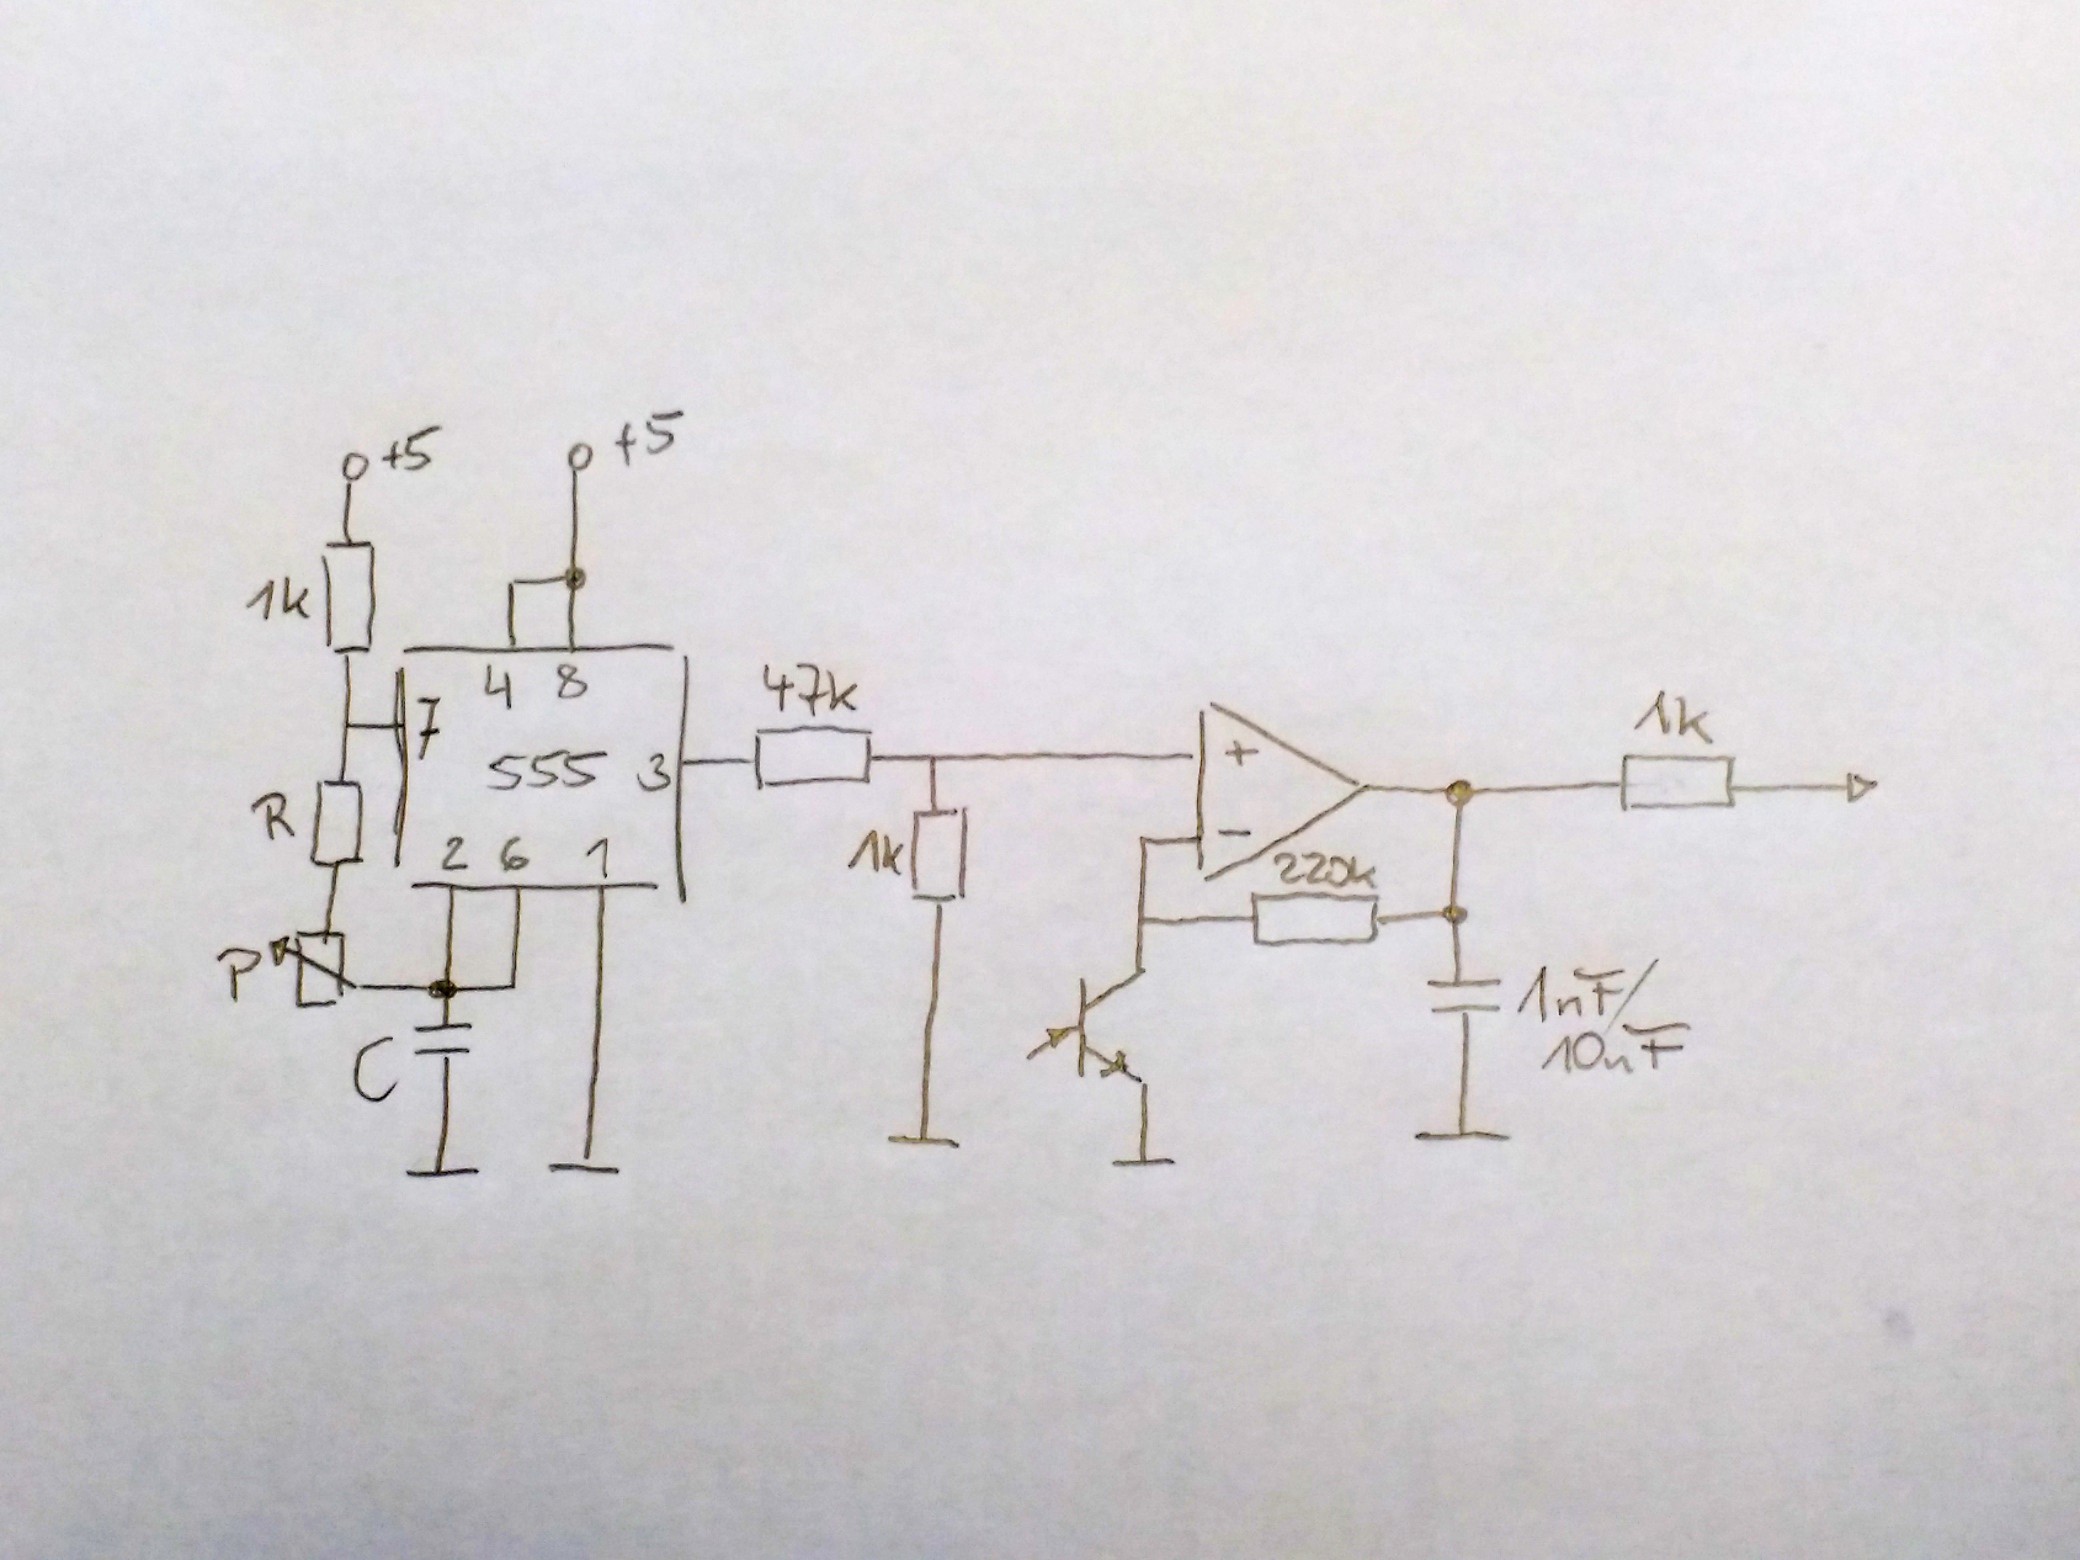
And of course the circuit:
![]()
The CNY70 and the 1k resistor at the output were added later. I mostly connected LEDs of two CNY70s in series with 33R to my +5V supply voltage. If this was not possible, I used 68R.
The capacitor at the output was added much later. After I had soldered everything together the sound was much noisier than before with individual tone generators. So I added the capacitors. However, since everything was already soldered together this was not easy. Some are therefore really askew. But I was happy when I had managed to solder them without damaging some other parts.
-
Preparing the 555s
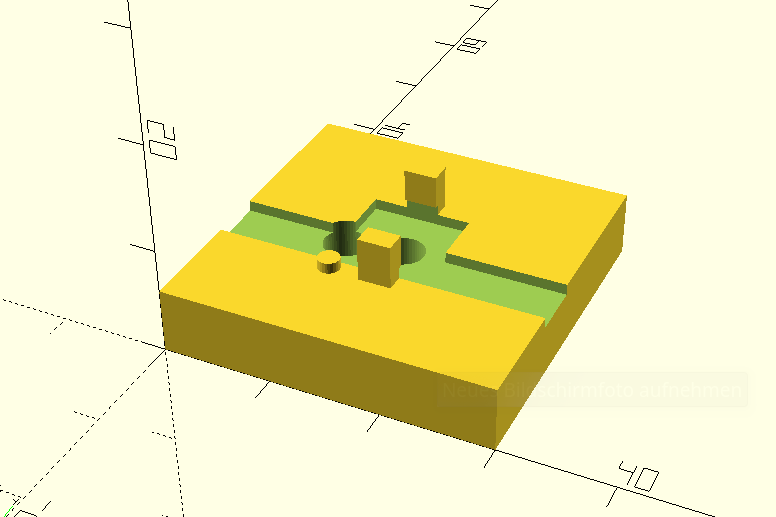
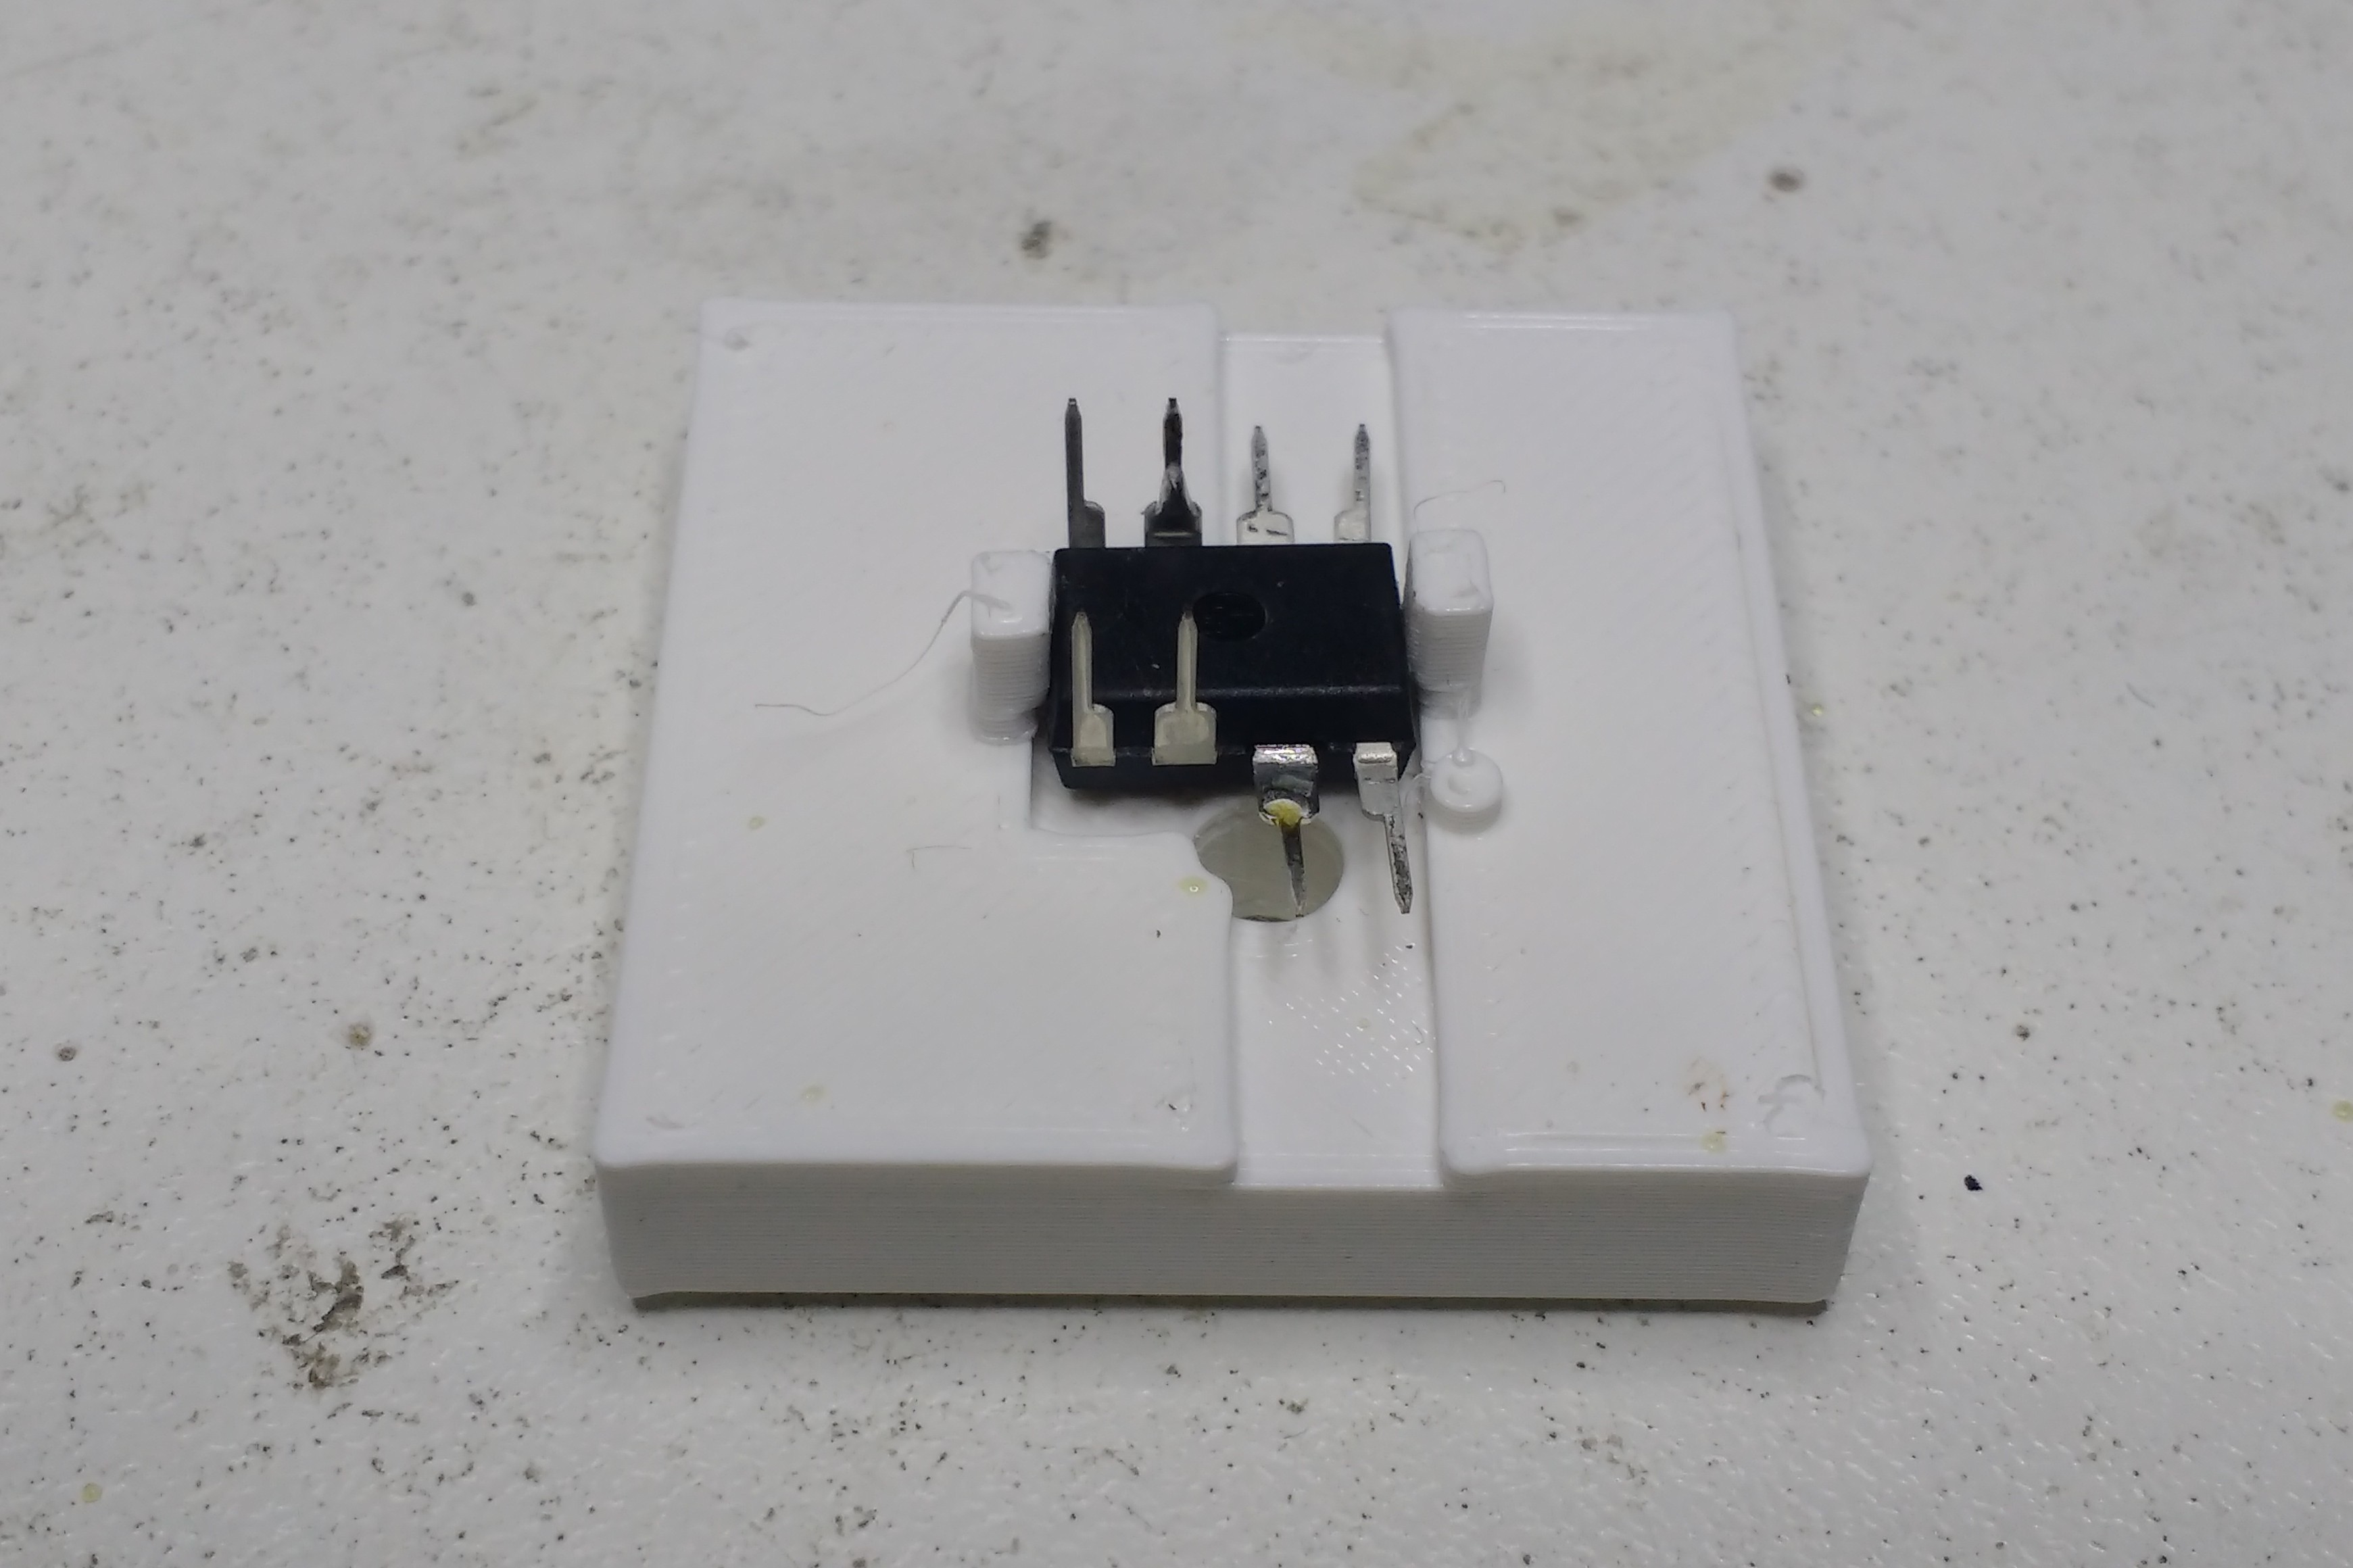
11/04/2020 at 10:30 • 0 commentsFor the astable use pins 2 and 6 of the 555 need to be connected. I designed a jig in OpenSCAD and printed it in PLA.
![]()
![]()
I happened to have pliers which had the perfect width for the wire to be bent for this task. Quickly, the wire was bent for a lot of these wire bridges.
![]()
I fixed the jig to my desk using adhesive putty (the yellowish dots on the bottom of it). In this way, I could easily move it to a different position and it stuck again to the desk. This adhesive putty is one of my favourite tools.
![]()
Finally, I had a lot of prepared 555s.
-
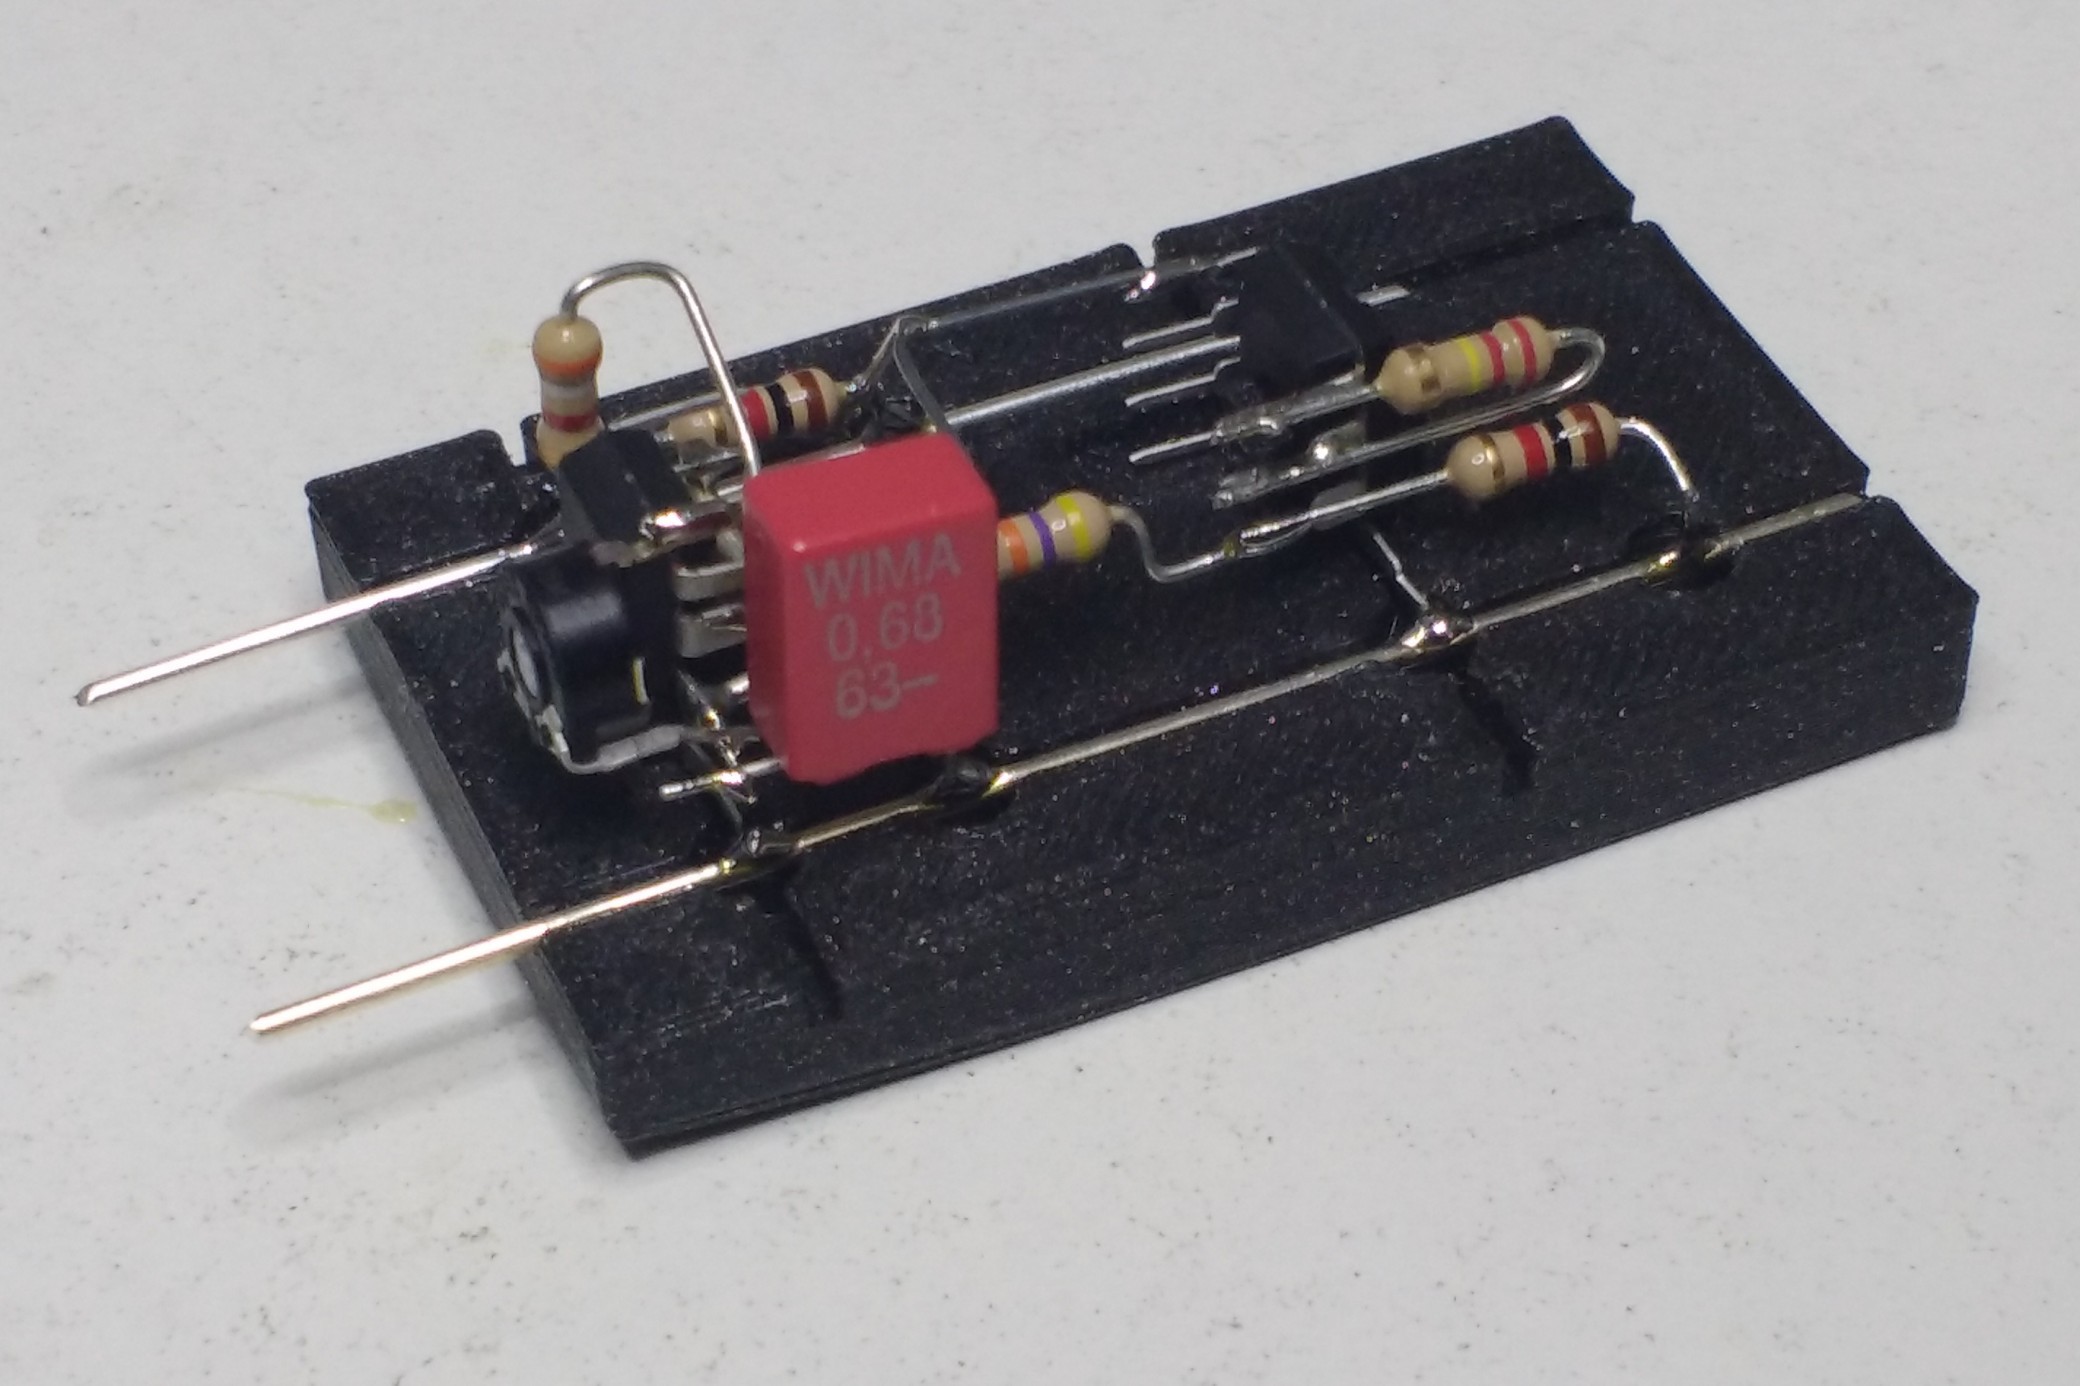
Prototyping
11/04/2020 at 08:03 • 0 commentsI started on a breadboard with the simple 555 circuit to find out roughly which R/C pairs would be suitable for the frequency range. Initial calculations using the information from the datasheet helped, too. Adding a LM358 and a CNY70 I found a way of implementing a variable gain amplifier such that the signal at the output was low enough that I could not hear it on the speaker when nothing was close to the CNY70. Choosing the 220k resistor a got some dynamics and finally saturated the amplifier. Working with square waves is easy. A sine wave would require much more work.
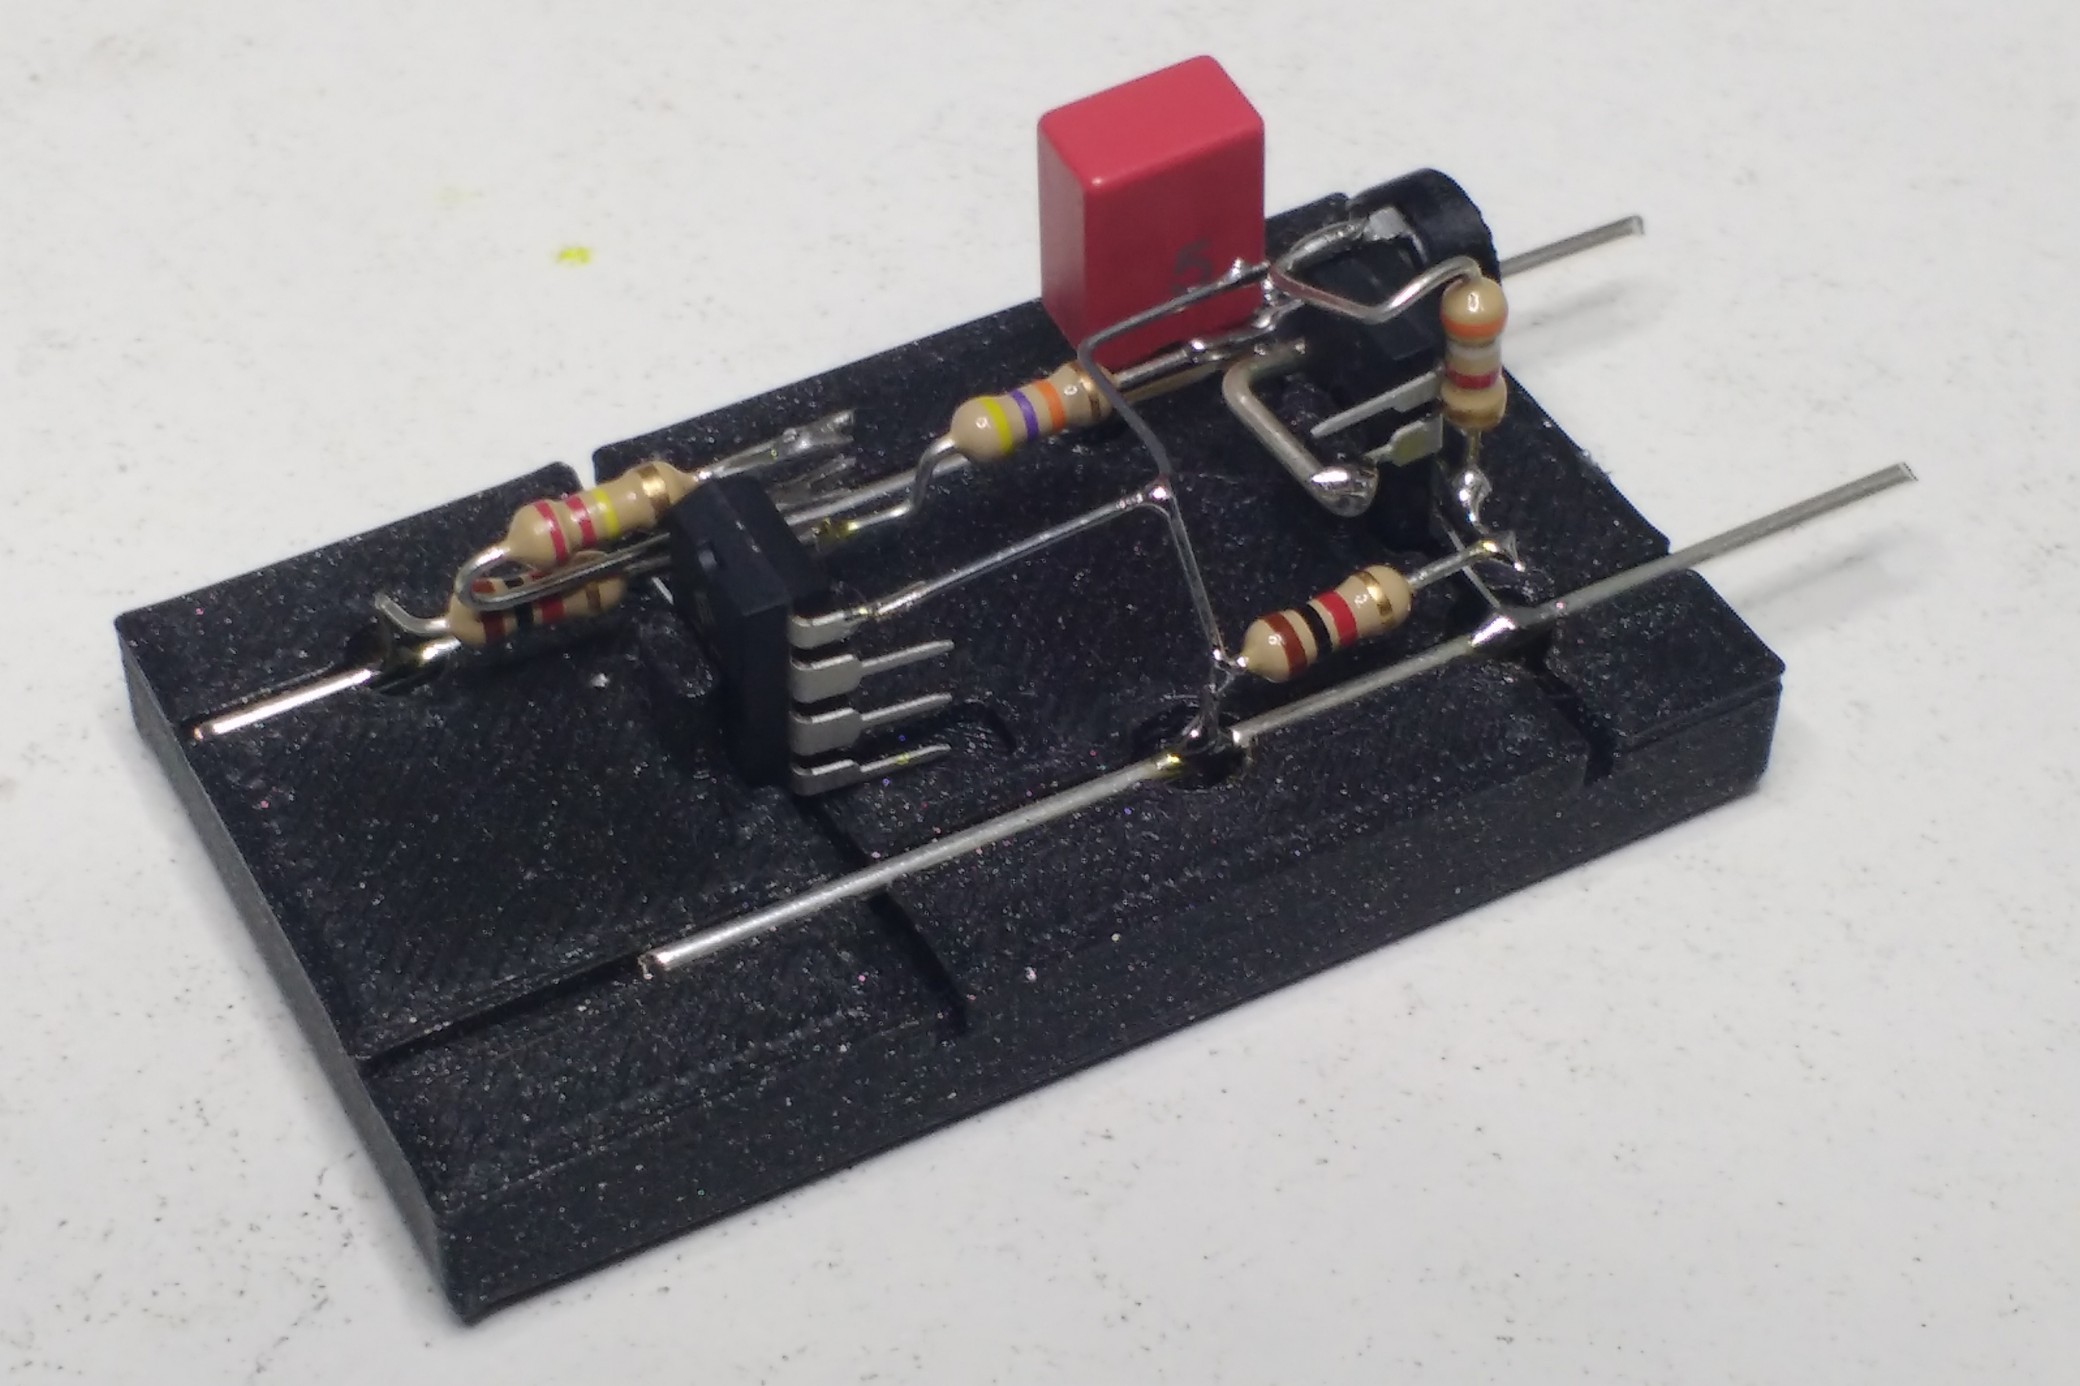
With the circuit being finalized, I built a first prototype. It took me more than two hours to build. But it worked. There's a video of the testing in the files section. The design was somehow resembling a piano key. However, I figured out that it would be rather difficult to implement many of it into the final circuit (output near the CNY70, supply and ground in the same plane).
![]()
So keeping basic arrangements of the components I developed another design.