David Tucker
-
Downcut bit
12/24/2020 at 00:33 • 0 commentsIn an effort to improve the finish on my cuts I picked up a Hozly 1/8" two fluted down cut bit from Amazon. They came in today so I made a few sample 30 mm boxes to test them out on from a piece of poplar I had on the machine.
From left to right is using a piece of double sided tape, triangular tabs with a finishing pass, and square tabs with no finishing pass (the fastest).
- The double sided tape was a complete failure, it broke loose before the part was finished and left crud on the bit. It also put a gouge in the side when things came loose.
- The square tabs were a huge problem still causing shudders when the machine plunged. And you can't see it well in the picture but the surface finish is much rougher as well.
- Adding in a 0.5mm finishing pass and using 10x6 mm triangular tabs had the best effect, with a nice finish everywhere that would need minimal sanding. These bits were able to cut the triangular tabs with no noticeable shuddering, much better than the single fluted 1/8" upcut bit.
These bits need to be run faster, I ran them at 800 mm/min and 12000 rpm but I could probably have run it even faster (or slowed down the rpm's. It cut well but the chips were very thin, maybe a mm in width but the full height of the cut. It may be worth while to run these really fast and add in two finishing passes, at a slower speed so there is plenty of room if the bit wanders a bit on the fast moves.
Anyway they are an improvement over the single flute upcut bits I have been using, but not a huge one. I will probably keep these as my primary bit for now, but I would still recommend starting on the others. They are more forgiving, and the cost is so low you can break one a day without worry.
I'm not super eager to revisit double sided tape. It did not stick well enough and it was really a pain to put down, tending to bunch up at the cut line (probably part of the problem). Maybe the blue tape and crazy glue idea would work better. Anyway I would only consider using it for things like circuit boards that need to be very flat, and for much larger pieces where you can keep the tape far away from the cutter.
![]()
-
Stress test
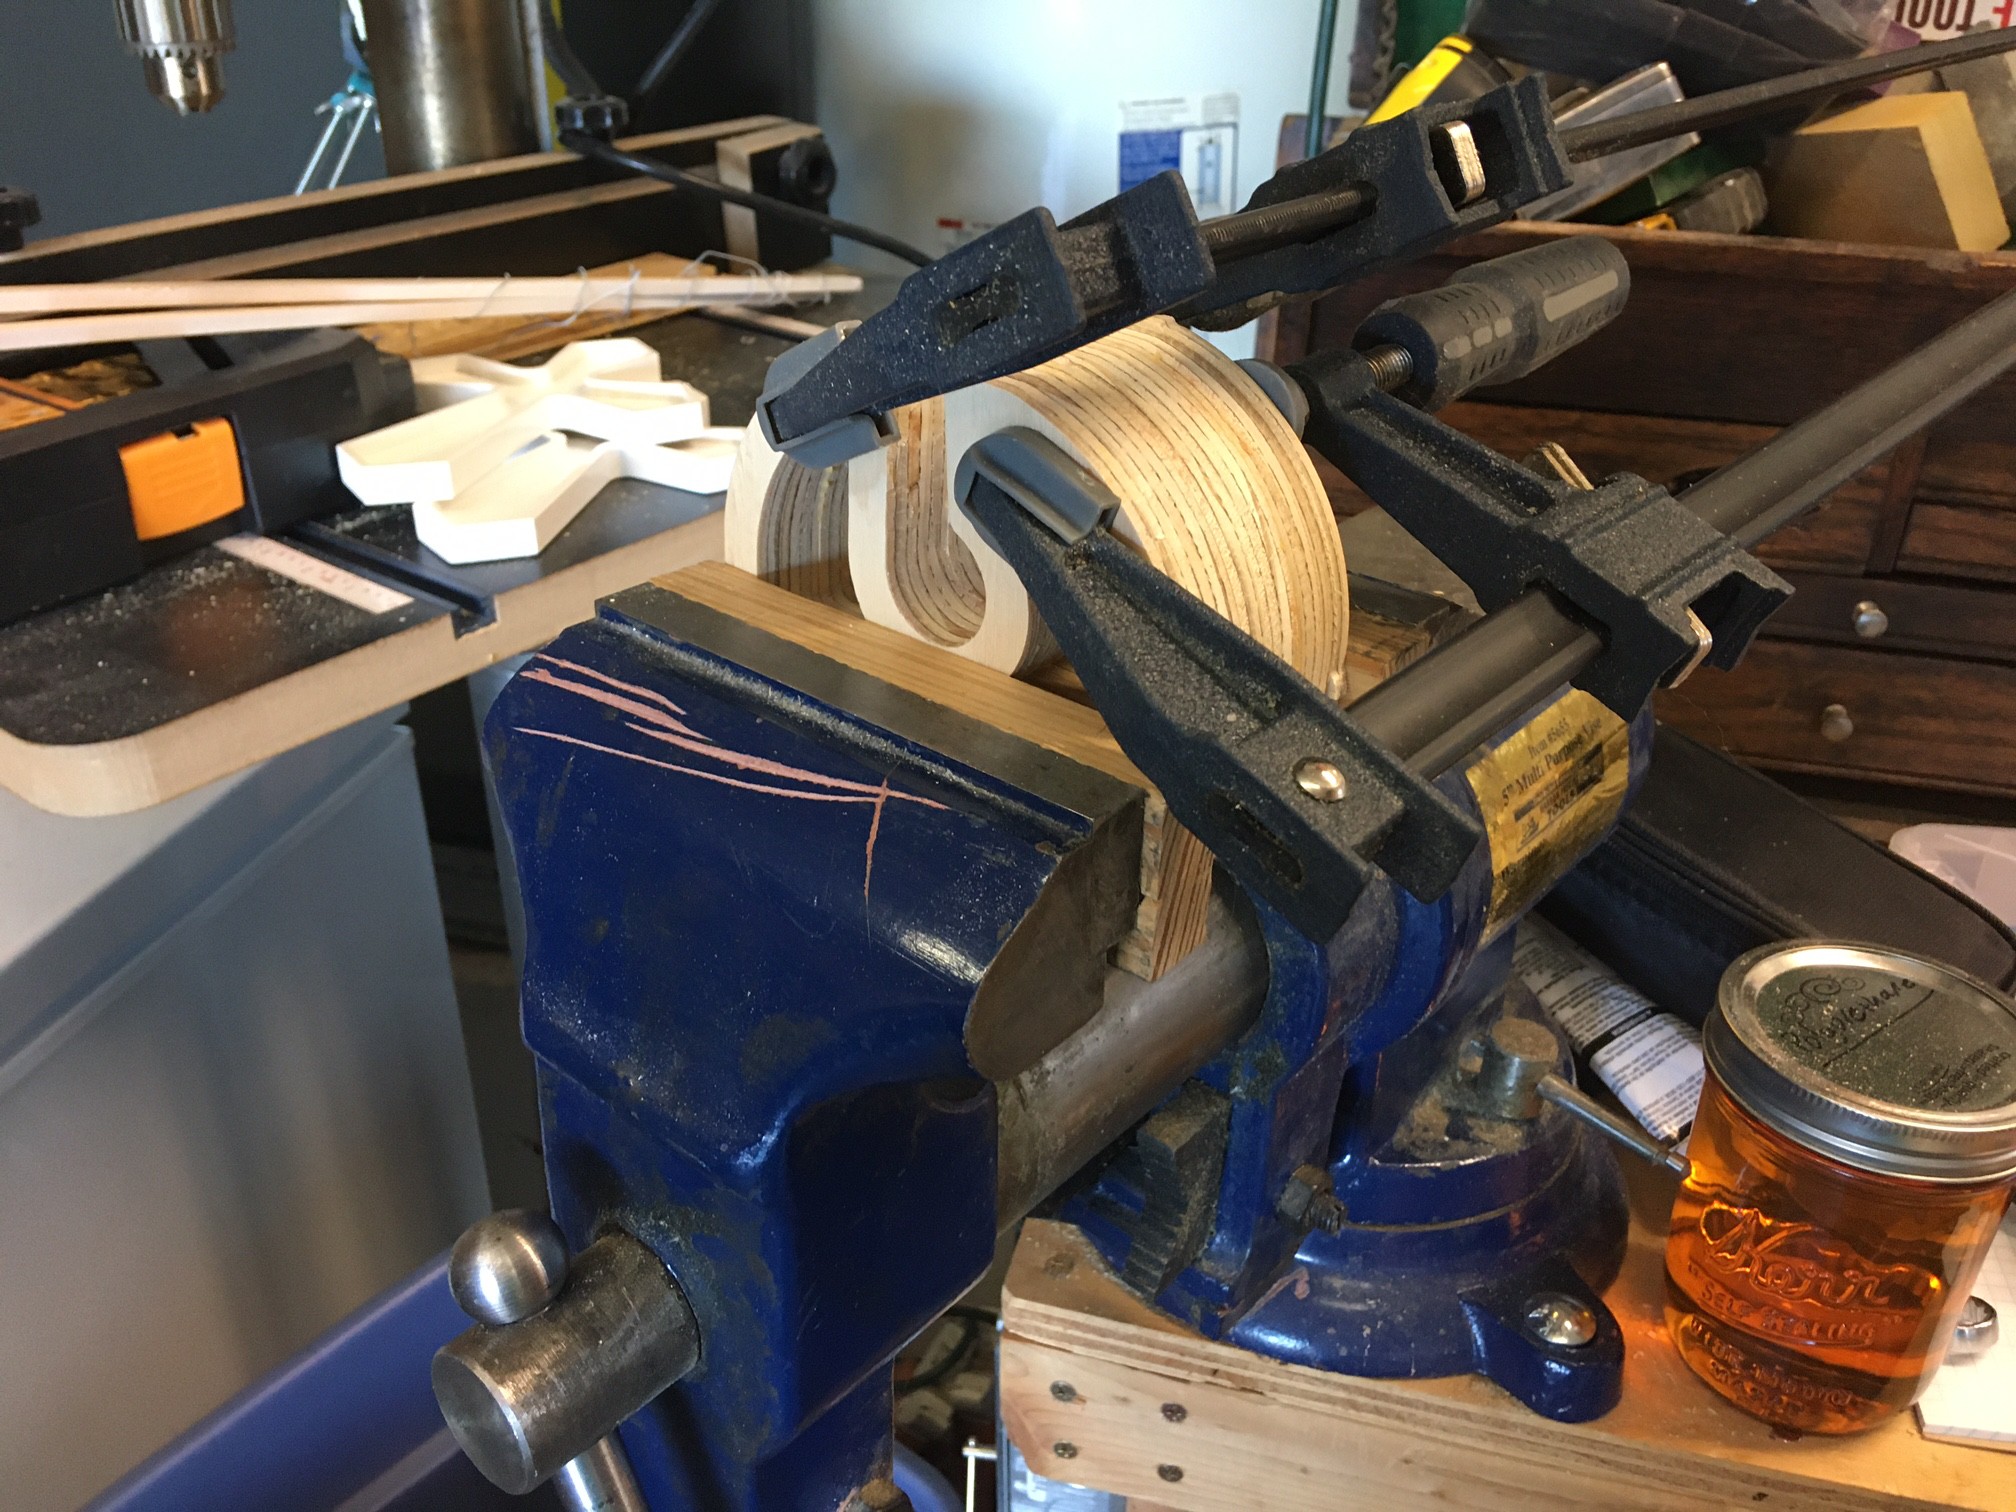
12/23/2020 at 19:15 • 0 commentsI'm always on the hunt for a new way to measure the stiffness of my setup. I find that testing the flex of individual parts does not translate that well to the overall flex in the system. It captures the upper bound but the end result is usually stiffer.
Here is my latest attempt to visualize it. I blocked the end of my spindle against a block of wood and zeroed out the system, then moved the axis against the block till the steppers started to slip. That point should be around 12 kg of force on the axis. I can tell you that is well more than the force needed to snap a 1/8 bit!
Anyway by taking a photo before and after the motion and creating a gif we can visualize the flex in the system. On the X axis you can see there is some flex on the Y rails, and it appears most of the flex is in the bearings on the X axis. In the Y direction you can see that most of the flex is between the Z rails and the motor mount.
In both directions the motors stepped 2 mm before skipping a step. That should be fairly accurate, one step should work out to 0.04 mm if my calculations are correct, and we should not be able to get more than one step off before the motor fails. So the max flex in the system under loads well beyond what my normal bit can handle is less than 2mm. That is still quite a bit of flex but I don't know that it is too far beyond what a shapoko or other hobby machine can handle.
I may work up the nerve to sacrifice a router bit to see what the flex is at the limit right before the bit breaks. That would be a more realistic test, and it would be nice to know what real world forces the bit can handle. However I'm not in a hurry to break a bit...
Interestingly enough the right most Y stepper failed long before the left stepper. I could continue to jog the left axis another mm after the right would not move any more. I suspect there is a power imbalance on the motors, or it is possible the z carriage is shifted just a bit to the right. Anyway something to think about. I suspect it does not matter that much. As long as the machine is strong enough to rapidly decelerate without skipping steps it is strong enough. The actual cutting force is small in the grand scheme of things.
![]()
![]()
-
Fusion 360 Cad/Cam
12/22/2020 at 22:32 • 0 commentsI wrote a simple guide to getting started with Cad/Cam in Fusion 360. Hopefully someone finds it helpful.
![]()
-
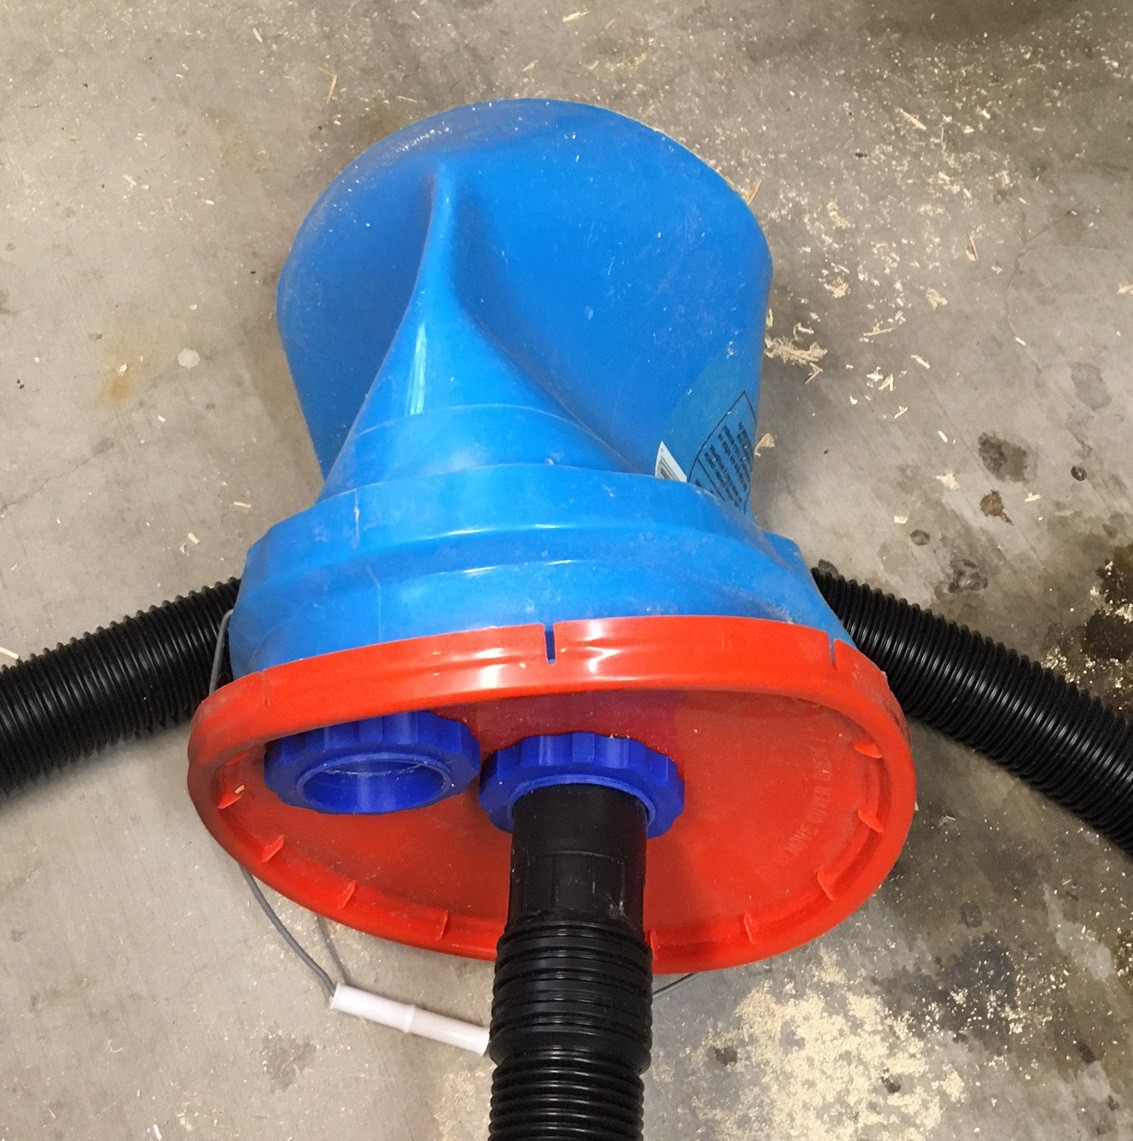
Rise of Dusty 2.0
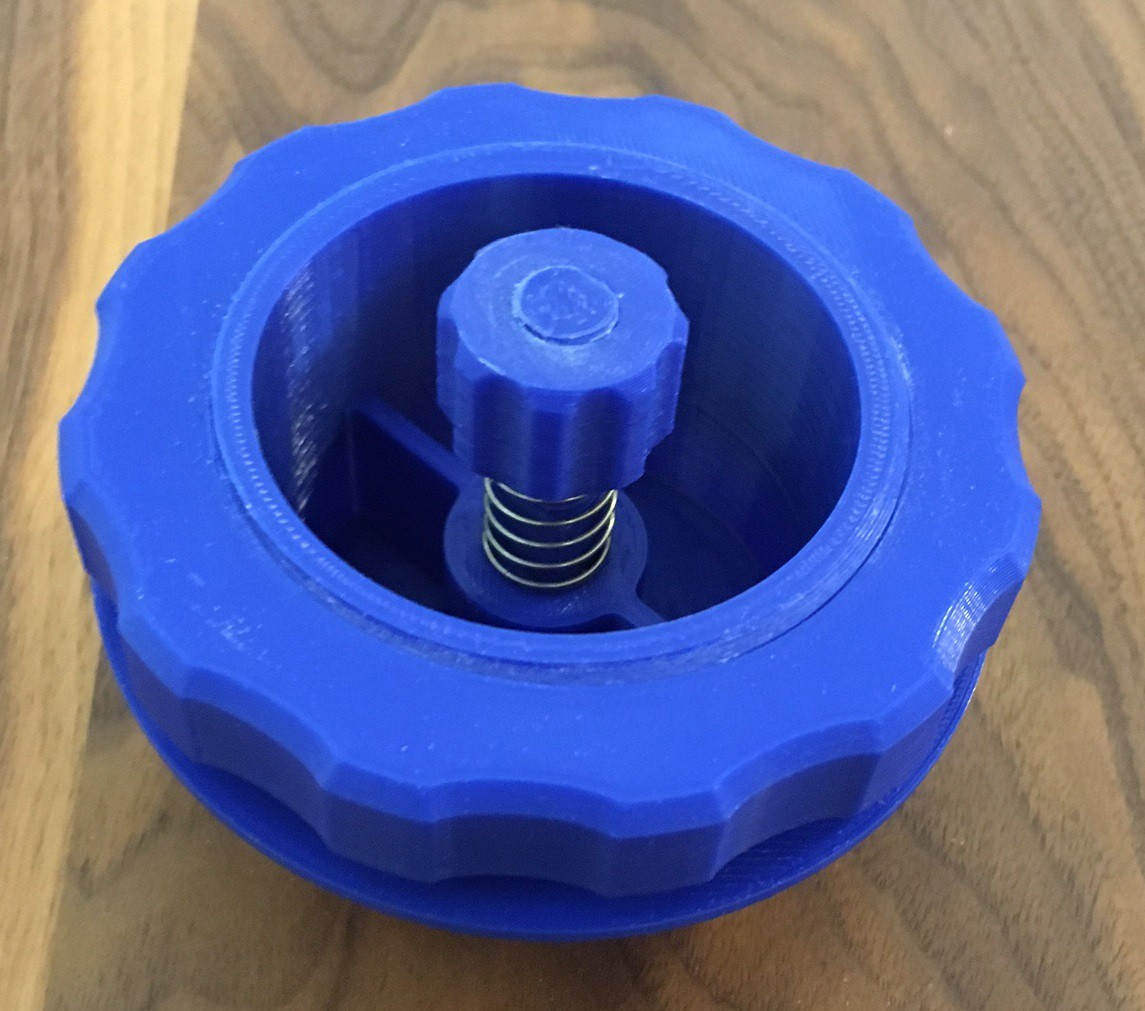
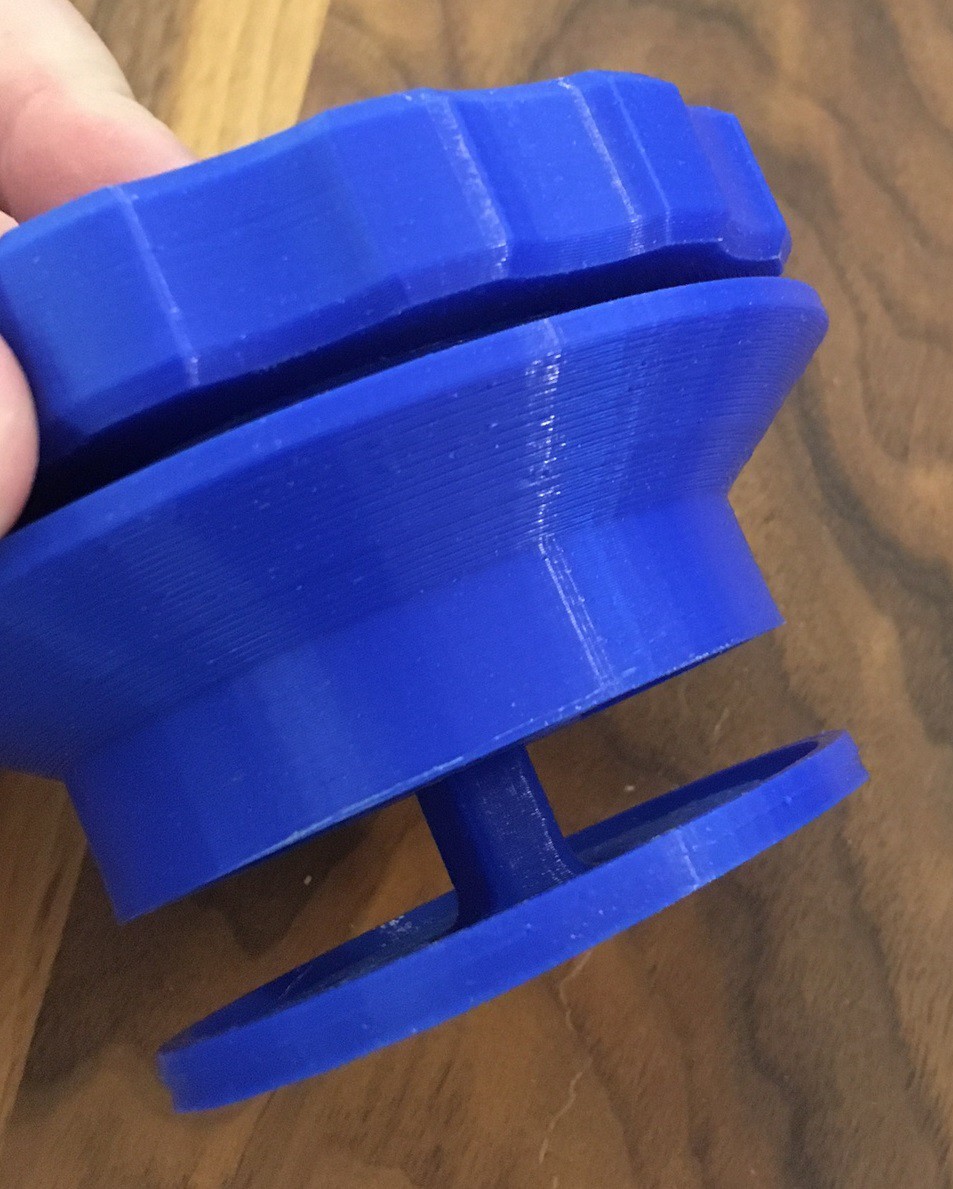
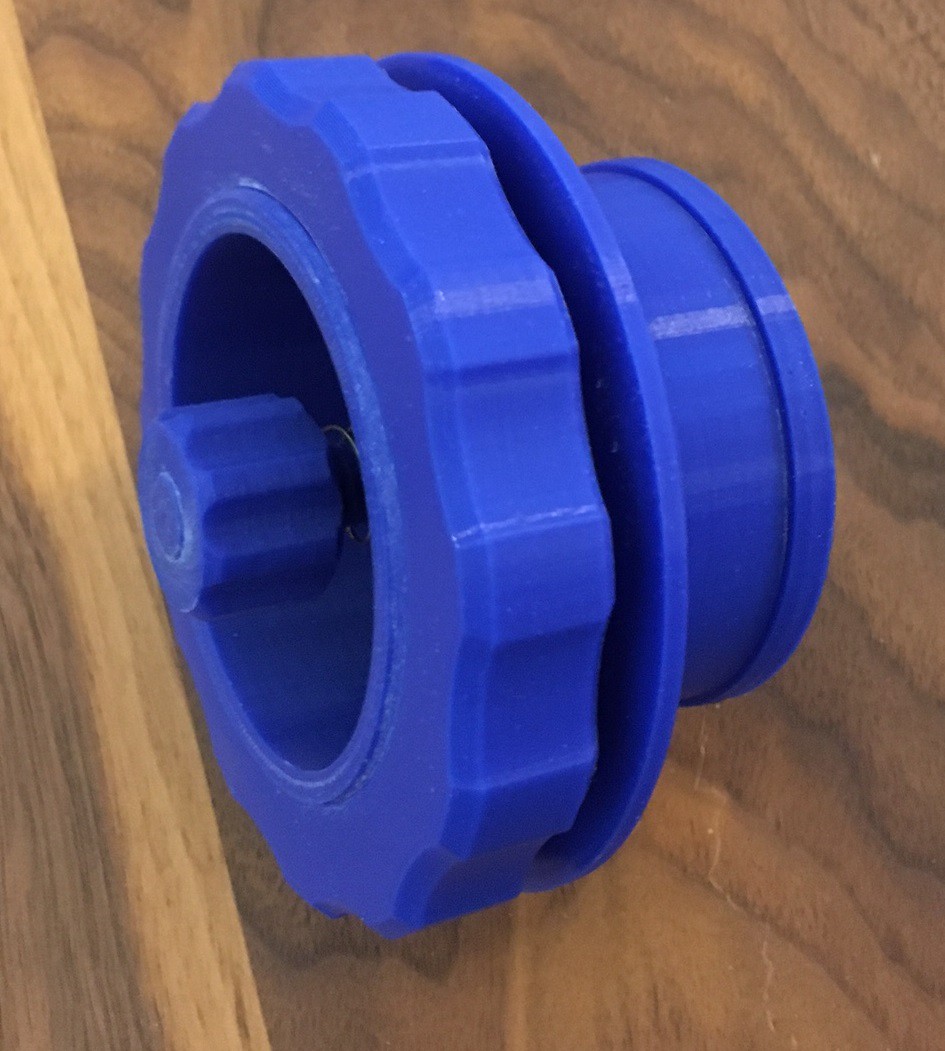
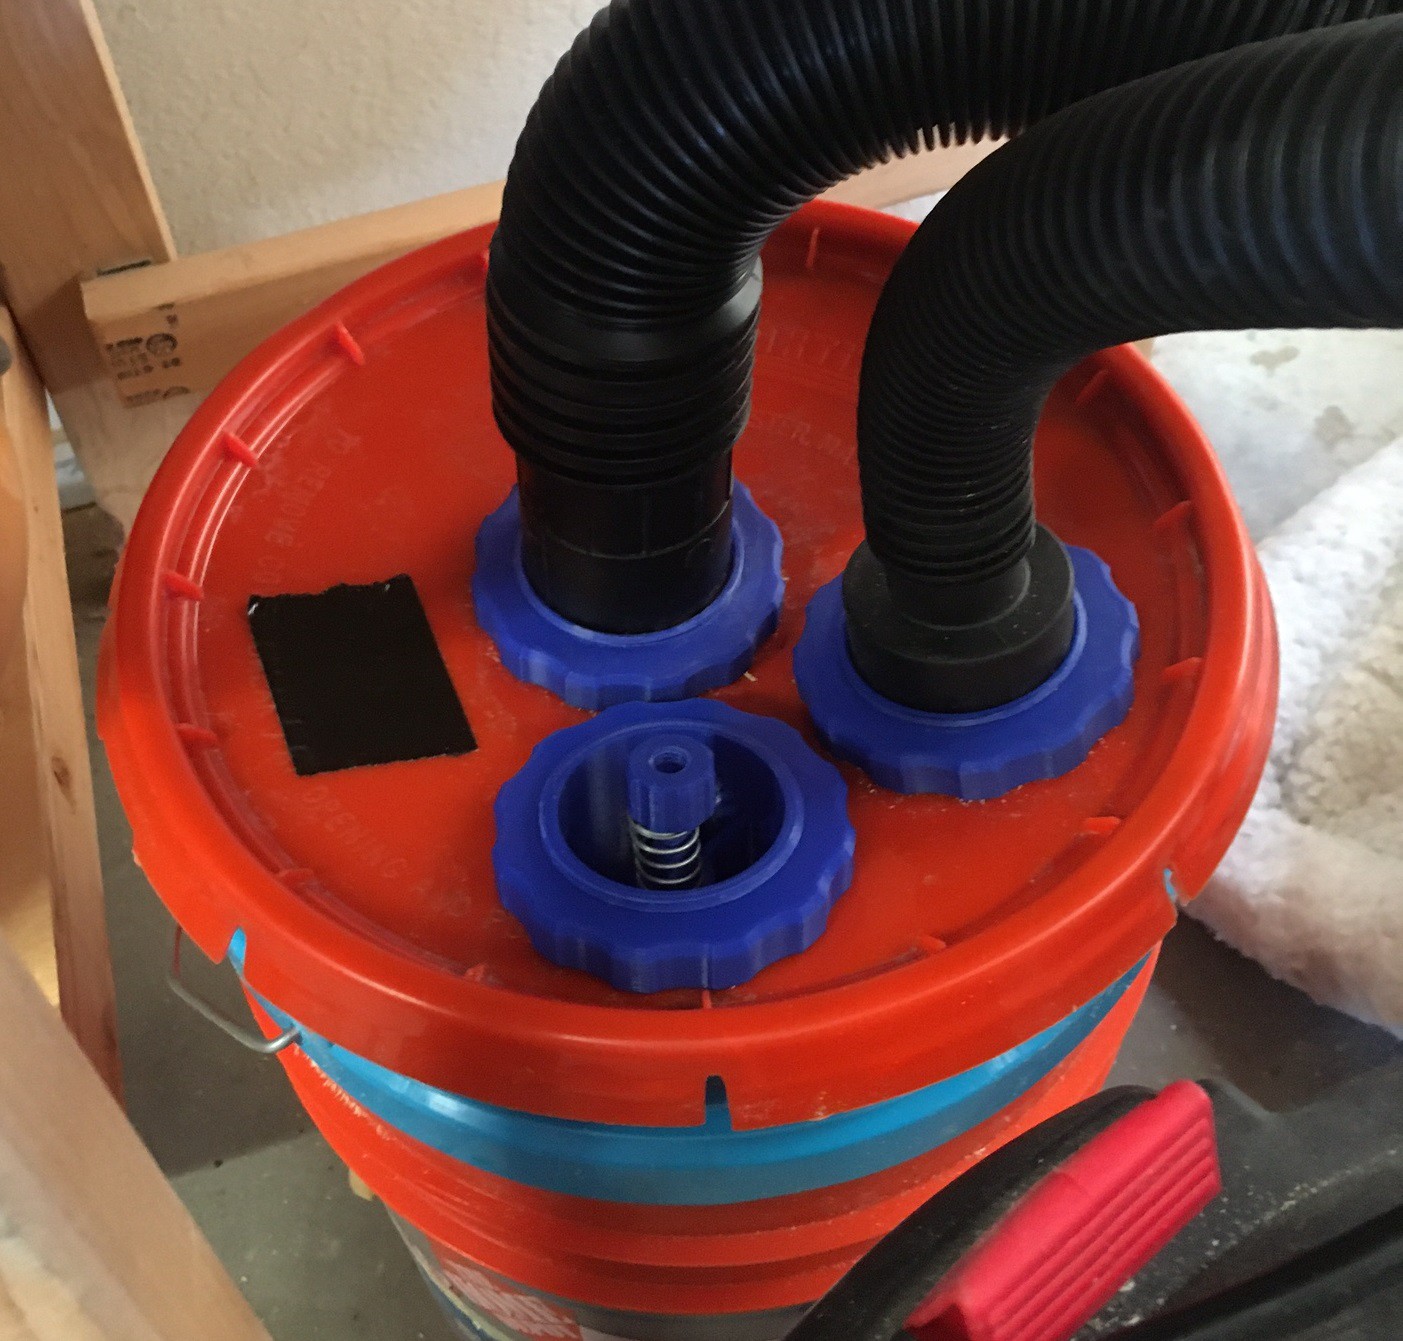
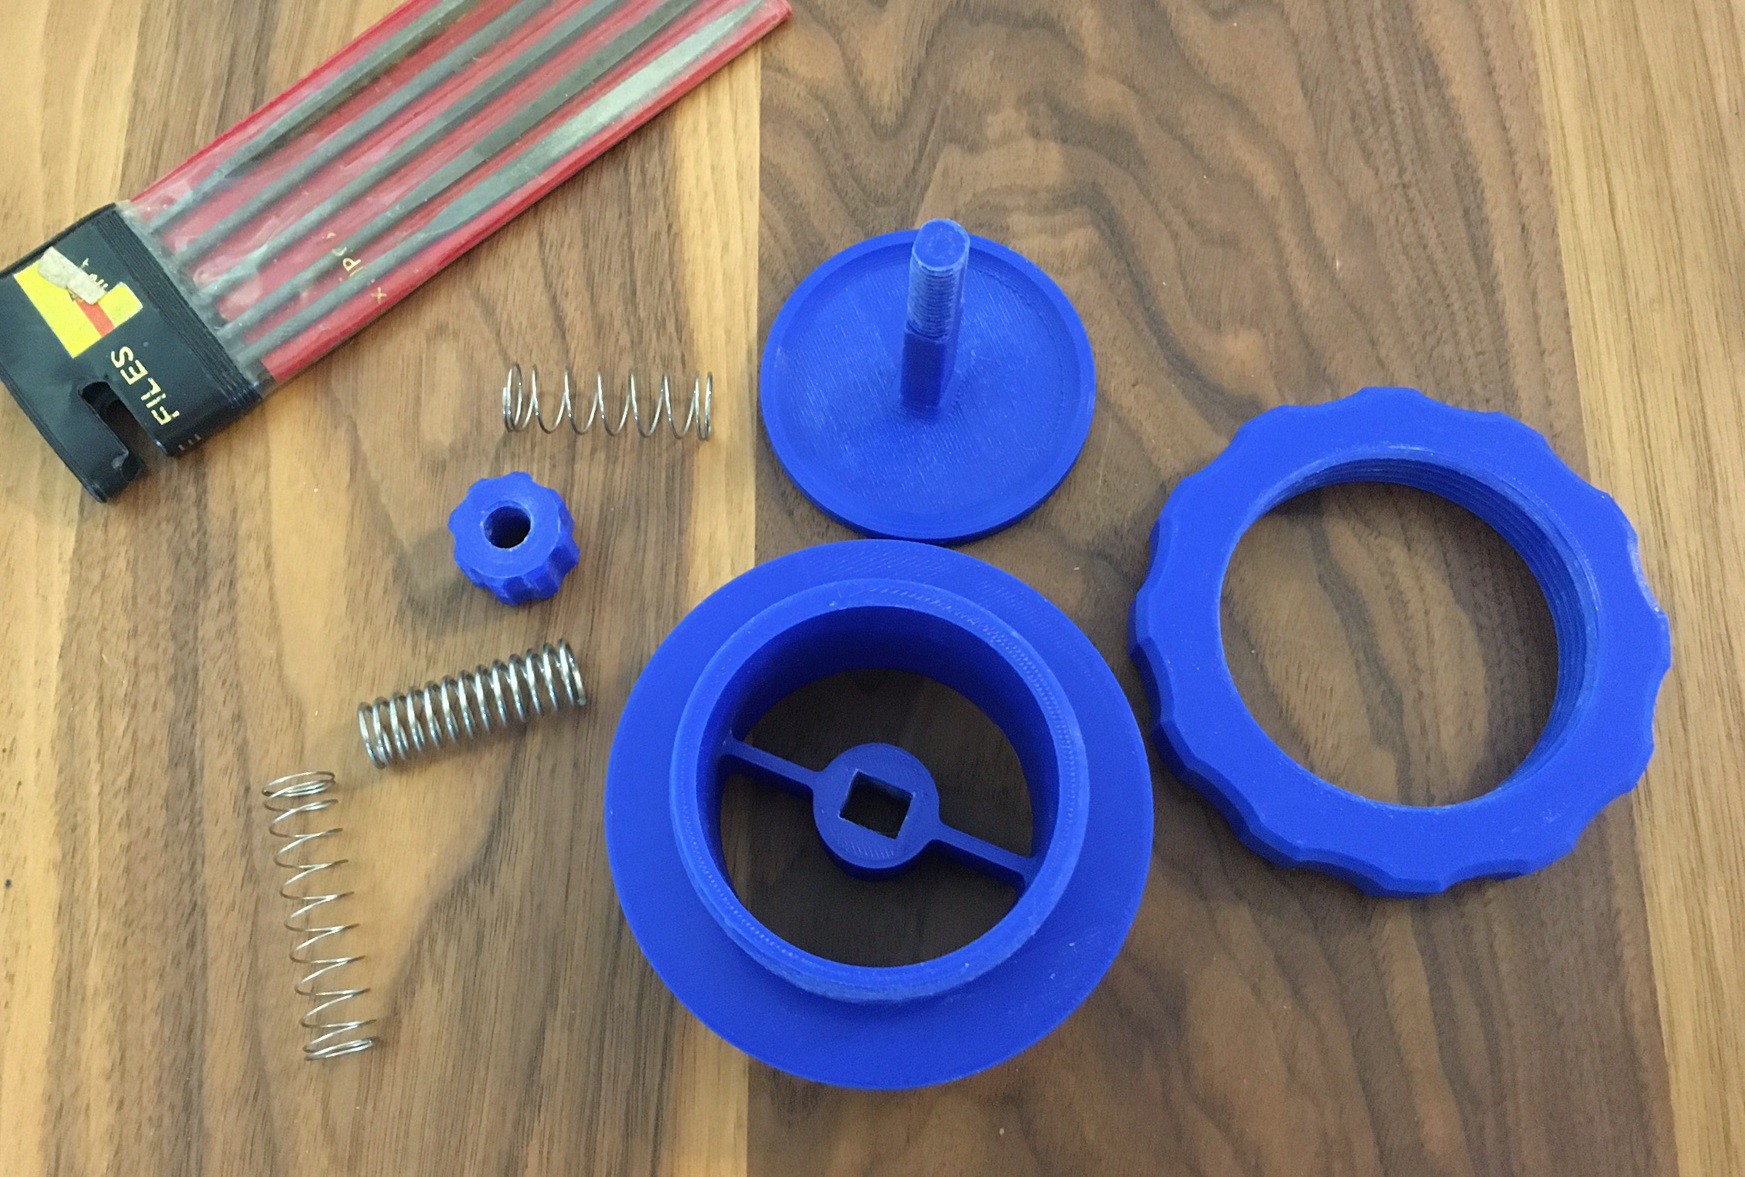
12/21/2020 at 23:18 • 0 commentsAfter the untimely death of Dusty I have been thinking of a way to add a vacuum pressure release valve to the setup. I finally came up with the idea below and it seems to be working well. The trick is to get the spring tension just right. I ended up trying several different springs and only have things close. I need to look into modifying a spring to change its tension.
Anyway it is working, and in the process of testing this out I discovered that a piece of wood was wedged in my hose and that in turn is what caused the increase pressure that killed dusty. If that happens again dusty will be saved by the release valve.
You can grab the new files on Dusty's Thingiverse page.
The plunger (pressure relief valve) needs special care when printing, with my default fast print It was trivial to break. I went with a 2mm wall and top/bottom as well, upped my print temp by 5 degree and went with a 50% infill and that seemed to help a lot. You may want to also lightly sand the plunger shaft (including the threads) to help it slide smoother and to make it easier to thread the nut on.
![]()
![]()
![]()
![]()
![]()
![]()
-
Larger frame
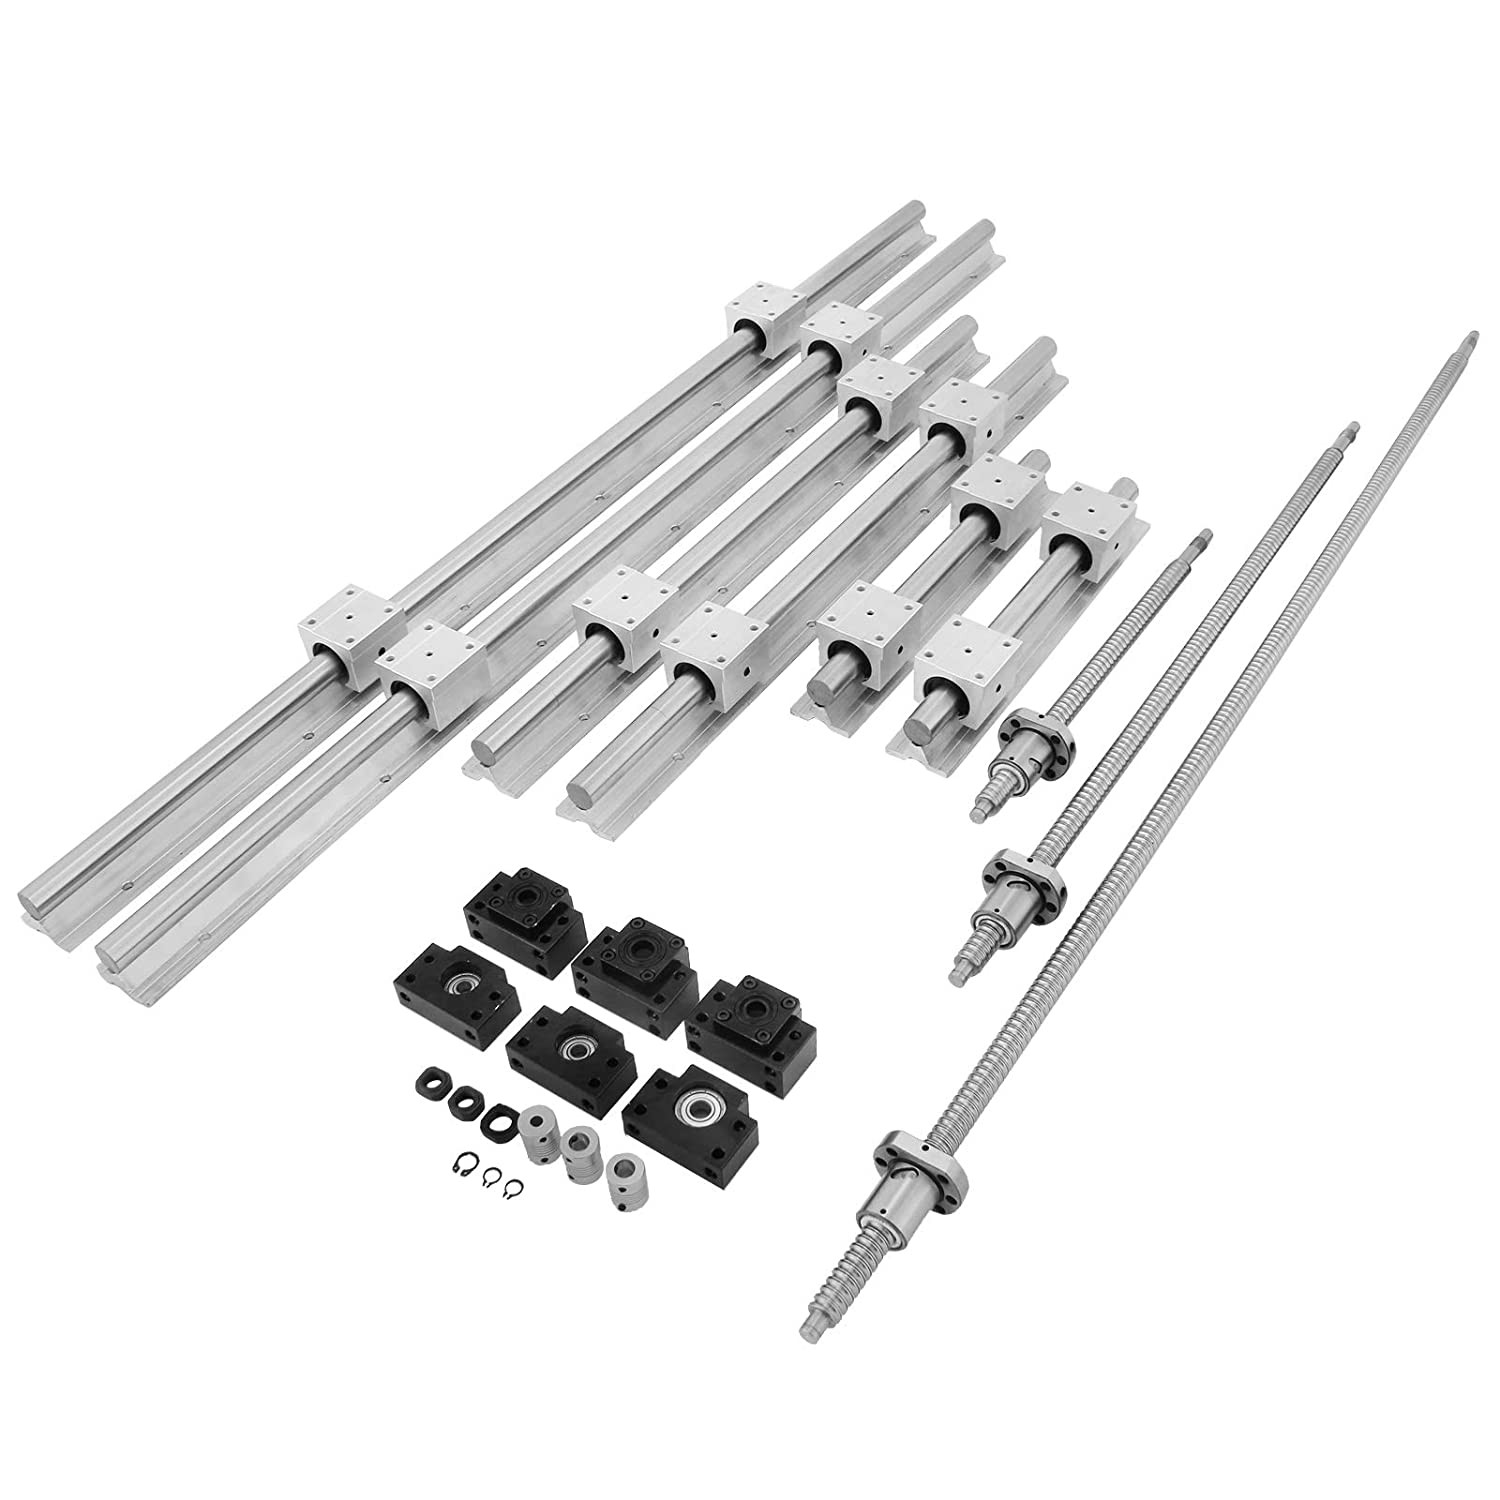
12/21/2020 at 05:32 • 0 commentsI was browsing Amazon and came across this 20mm linear rail kit for $200. It is a great deal for such large rails, I could not come close to the price looking on AliExpress. It makes me wonder what the catch is! Anyway my linear motion cost around $140, so this is only $60 more and would be the basis of a larger and stiffer machine, assuming it works as described.
Of course it is not designed for 3D printed parts, you would need to do some work to come up with a different frame system, probably plywood or aluminum sheets. That cost would need to be factored in as well, and you probably want to up the stepper motor and controllers as well since were going bigger. Chances are by the time your done your in for another $300, but you would have a larger and stronger setup.
It may make a good upgrade path to incrementally grow the MultiBot into a more serious machine.
---
Here is another similar offering for almost the same price.
![]()
-
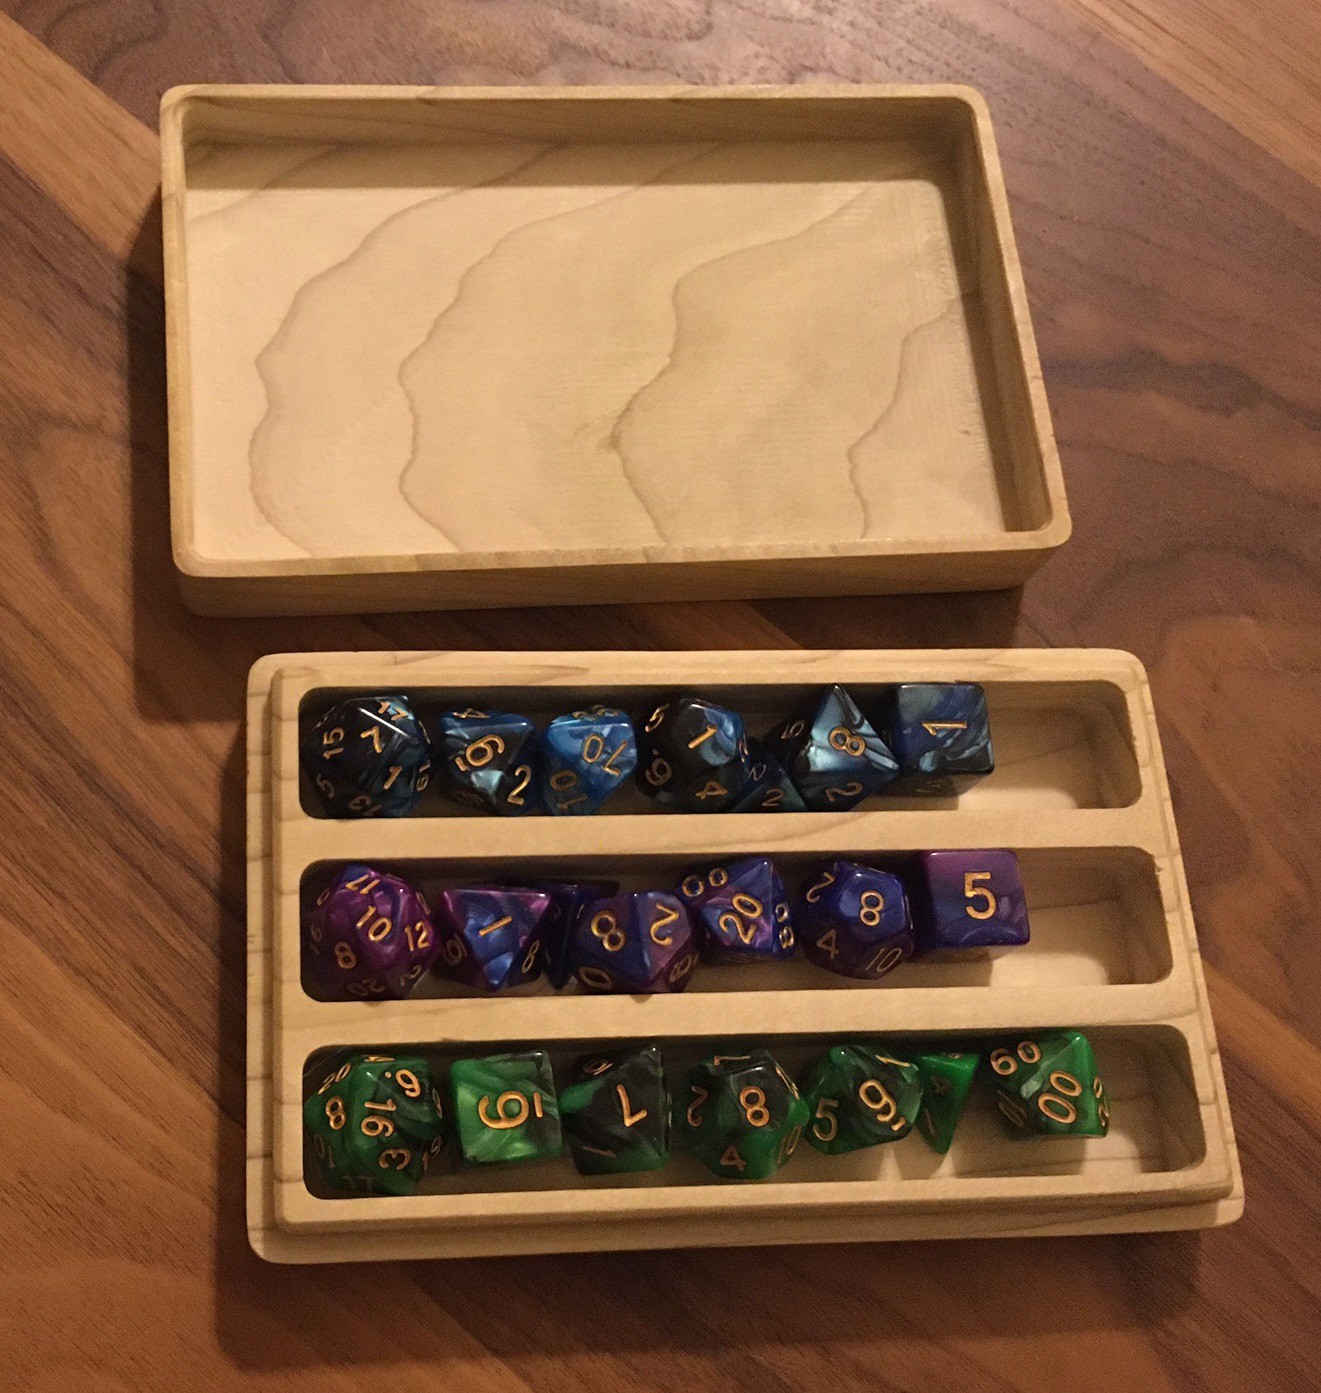
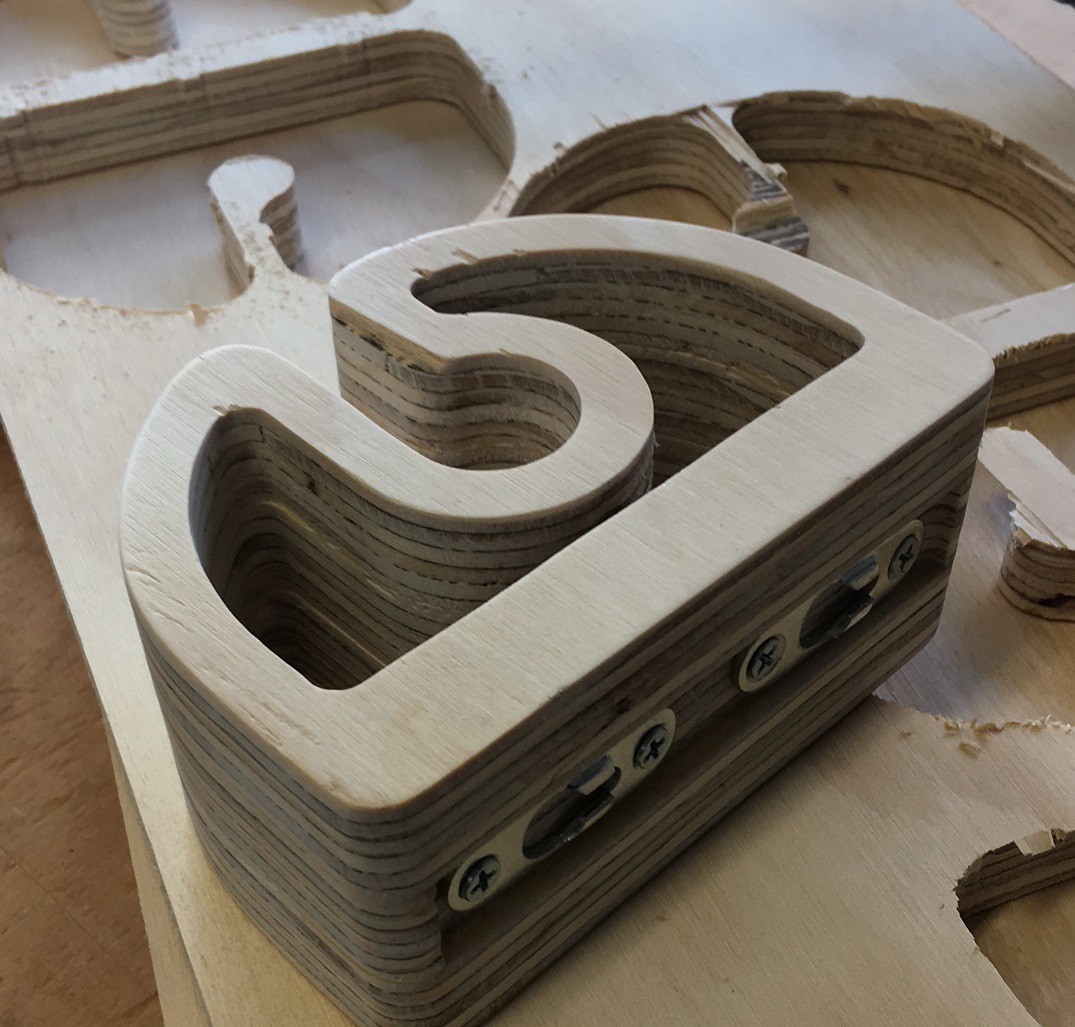
Dice Box
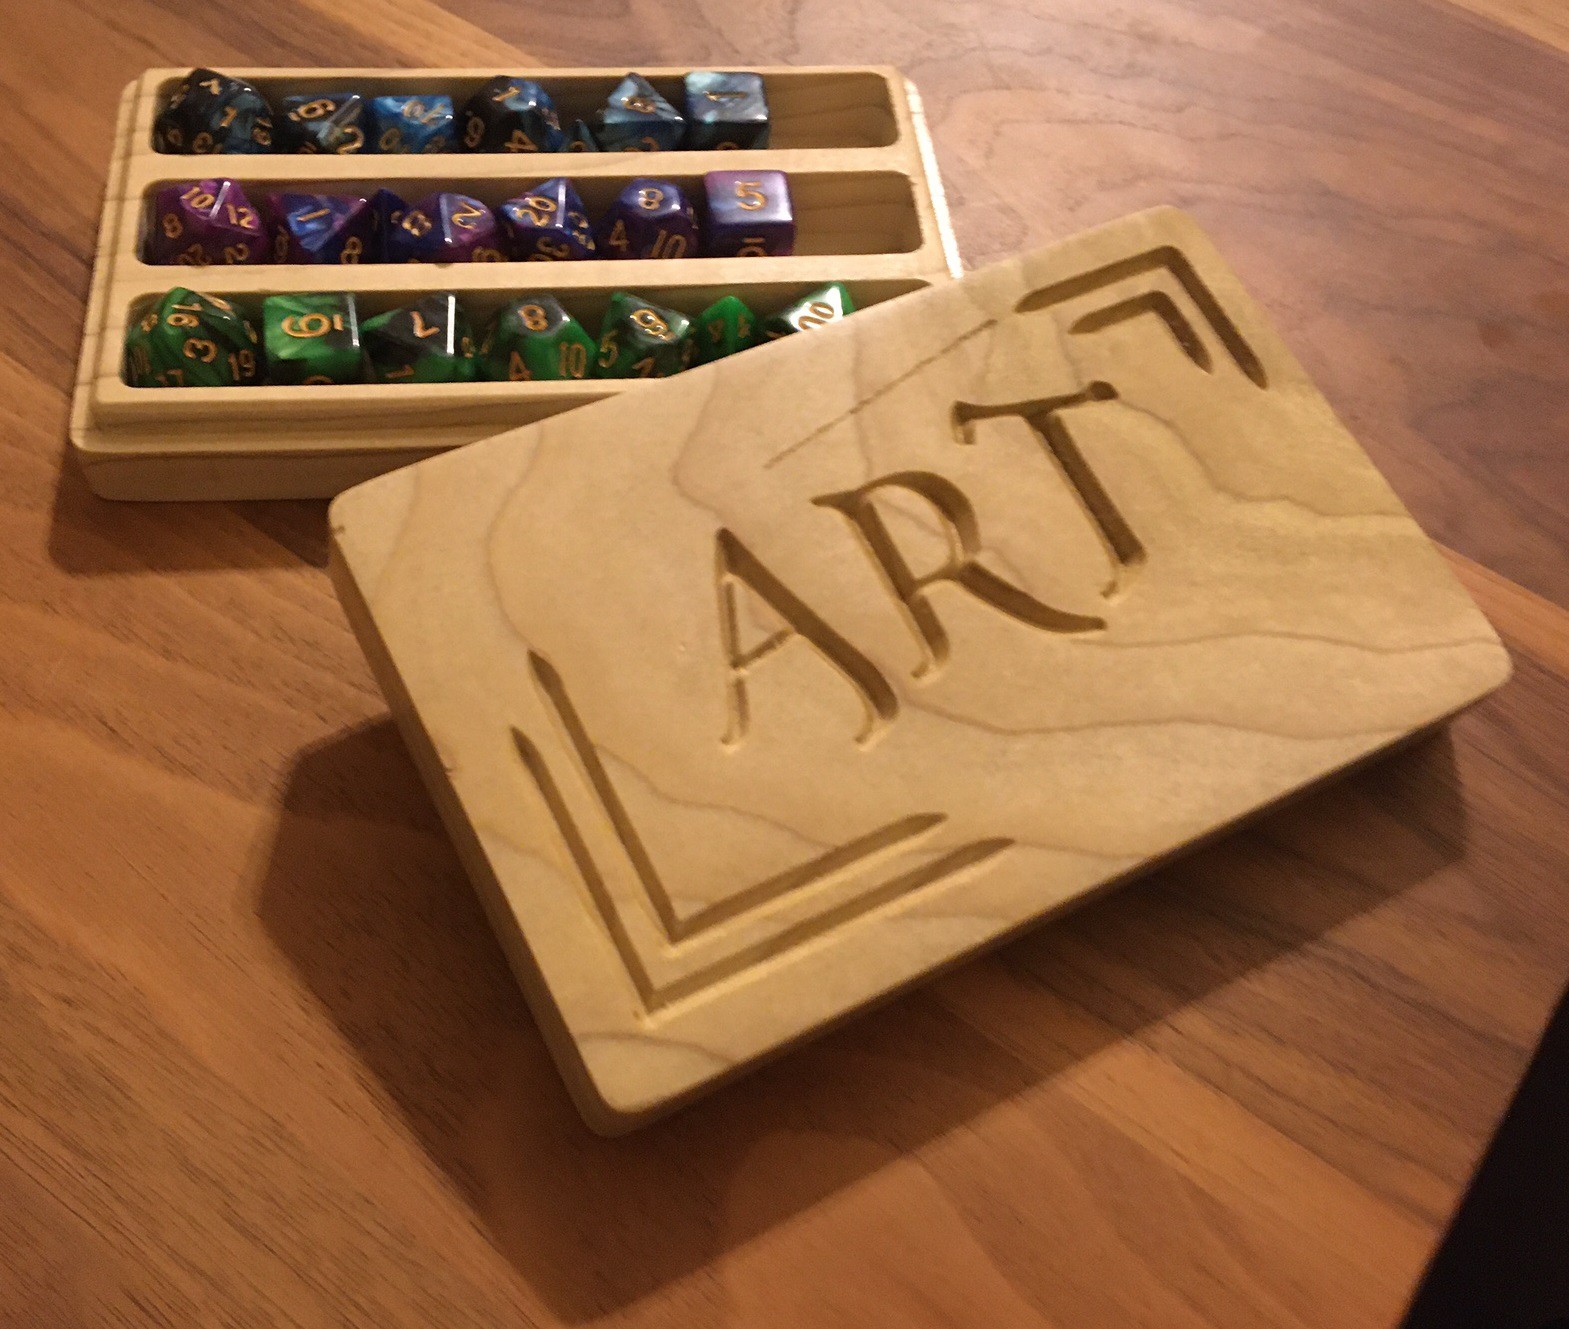
12/21/2020 at 04:55 • 0 comments![]()
Here is my attempt at a dice box I made for my son. This was my first time doing a tool change, and attempting a multi sided carve. It turned out fairly well considering. However I left a nasty scratch on the top when I accidentally tried to jog the v-bit without raising it off the work first.
This was using a piece of poplar I got from a big box store. It is harder to cut than MDF, but I slowed everything down to 600 mm/min at 12000 rpm and had no issues after that. And on top of that it is really easy to finish this wood, much simpler than trying to paint MDF.
This is using a press fit for the lid, it came in a bit tight but some sandpaper and elbow grease seems to have fixed things up.
![]()
![]()
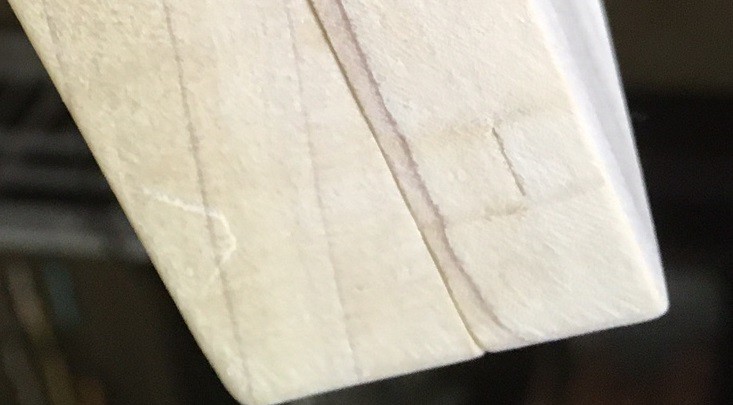
I'm struggling to get rid of tool marks from the side of my projects. Part of the problem is that my 1/8" single flute spiral up cut bit is not capable of doing a plunge cut. It shutters fairly bad when you plunge and I think that is causing it to flex a lot as well, leaving the marks.
I'm experimenting with ramping in all my cuts, that seems to help, but not around the tabs. For that I tried using a triangular tab, that helps some but it still leaves a small mark no matter how much filing and sanding I do.
I ordered a 1/8" dual flute down cut bit to see if that will help at all. I will report back once it shows up.
![]()
-
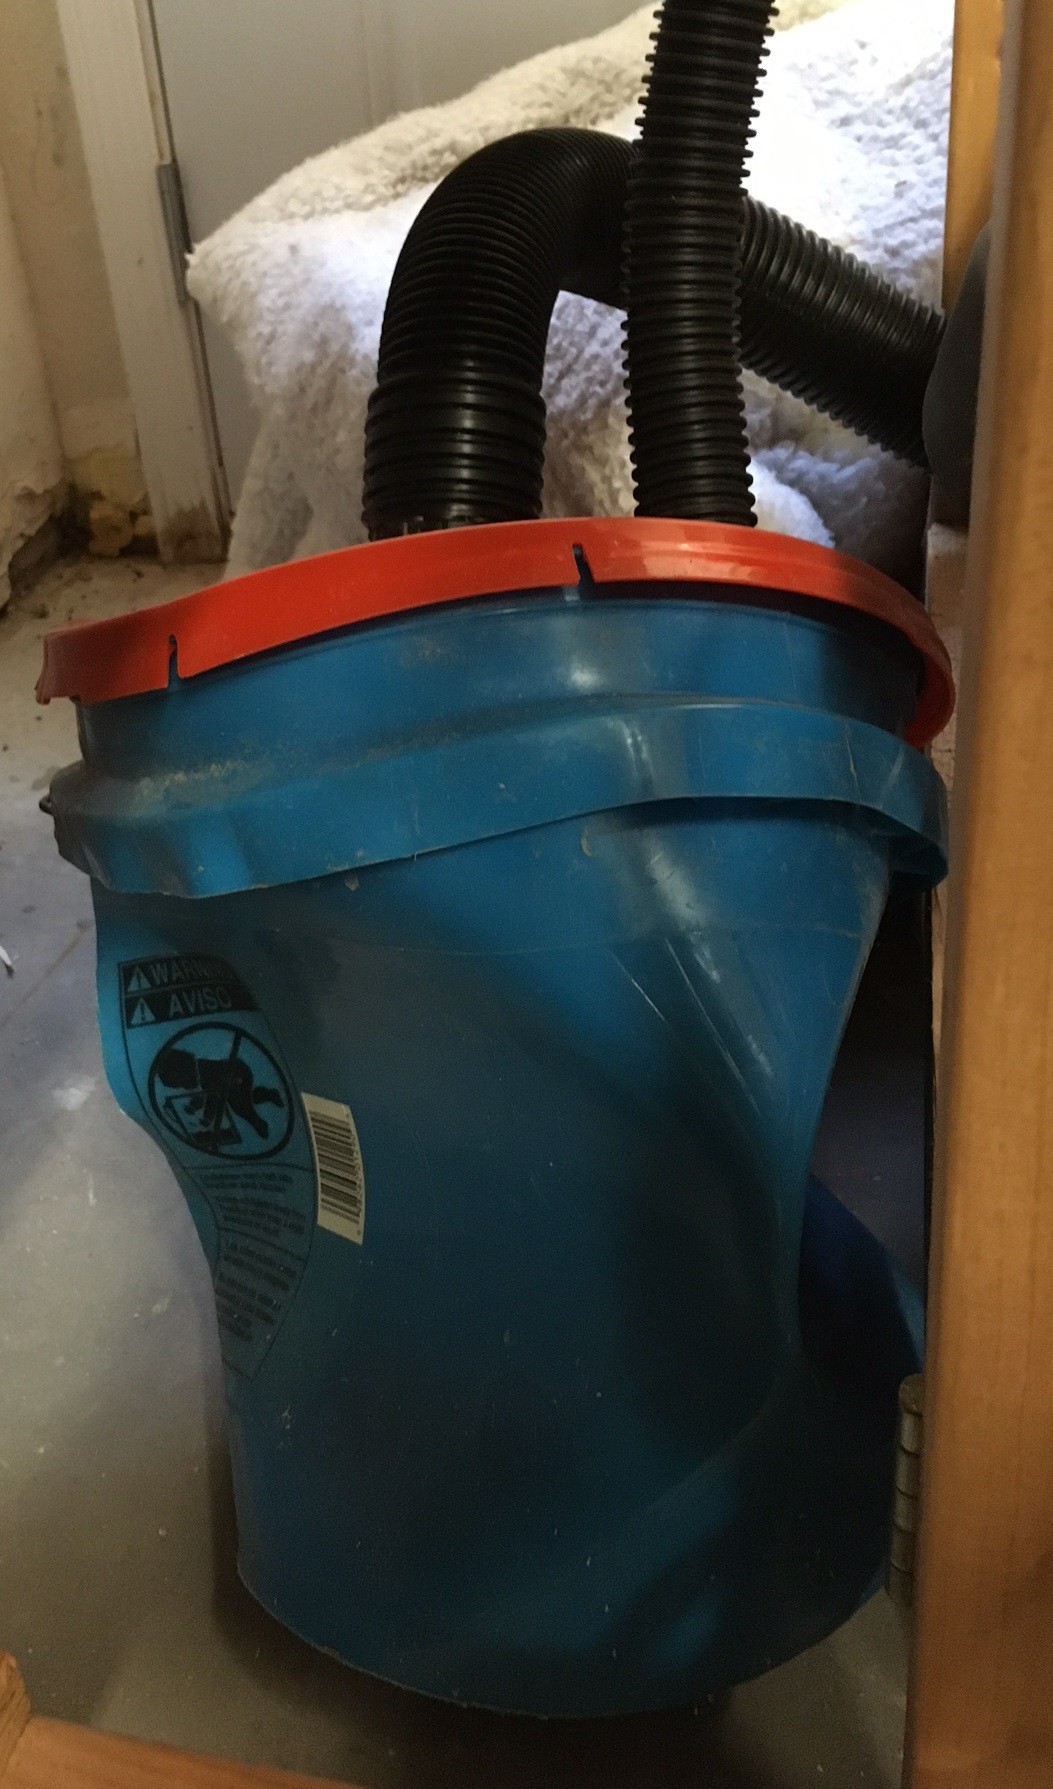
Death of Dusty
12/17/2020 at 03:44 • 0 commentsSad news, Dusty had a catastrophic implosion today, I'm afraid there is no hope for survival.
![]()
I guess the vacuum is too strong for the bucket to handle. It is probably made worse by the two different sized hoses I'm using causing a stronger vacuum draw on the bucket. I'm also using a lid with a seal on it, things may be better using a cheaper lid with no seal so some air can leak.
Anyway I'm going to use two buckets stacked together to try and add strength. If that does not work then I may drill a small hole in the lid to reduce the vacuum draw by a bit.
![]()
![]()
-
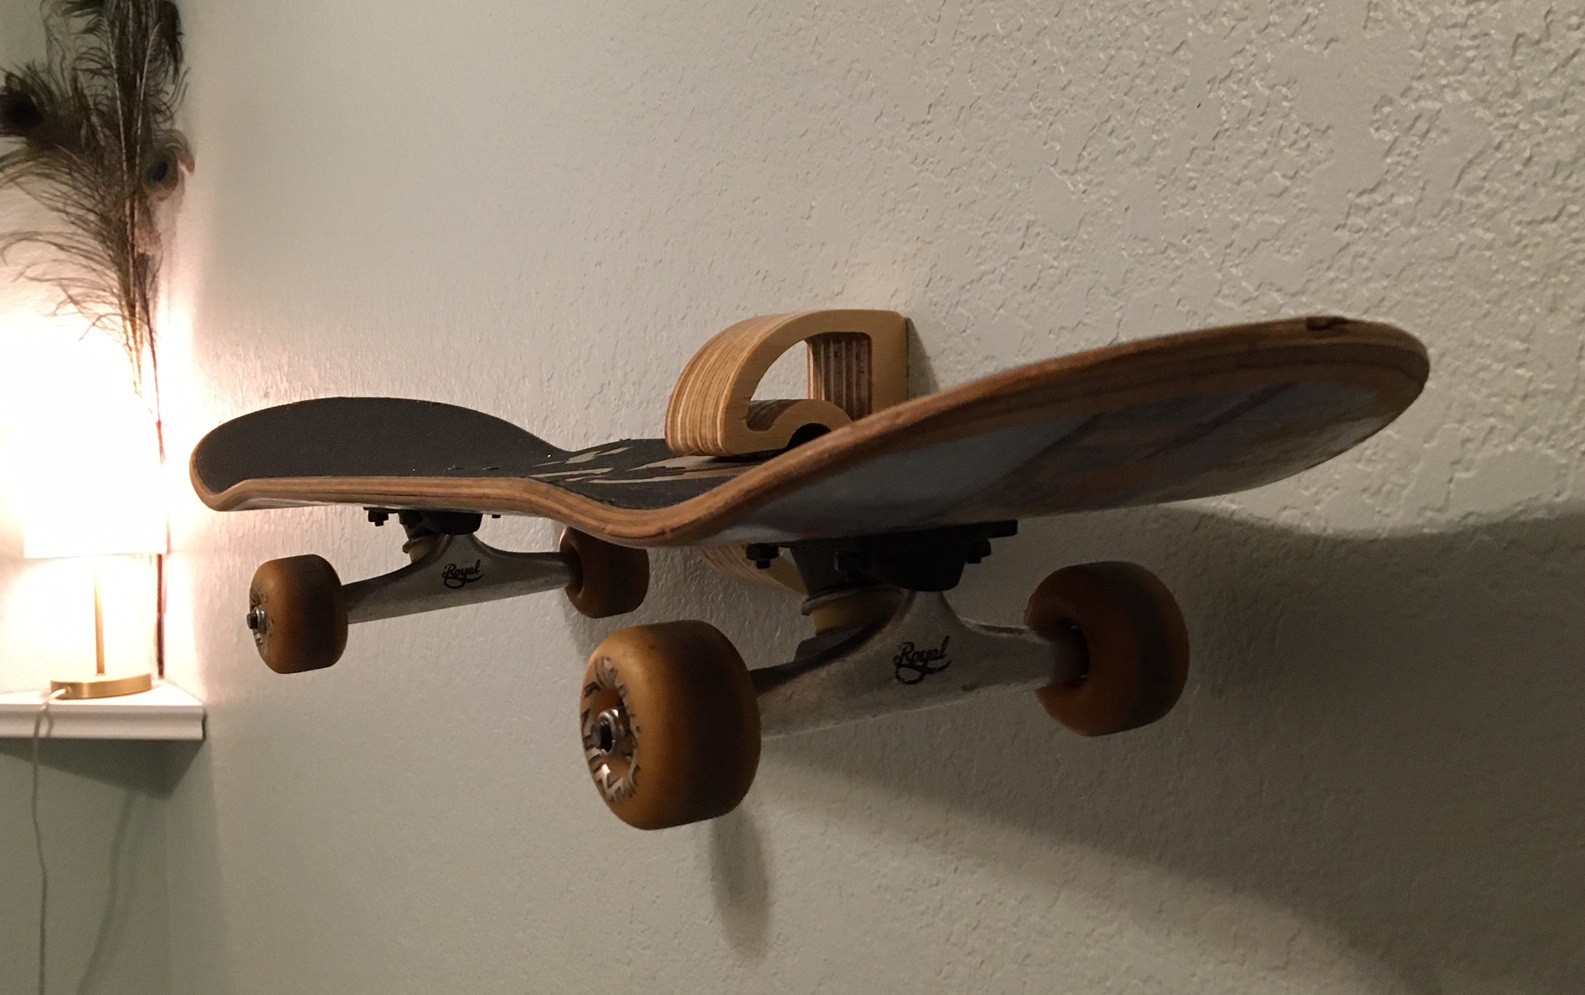
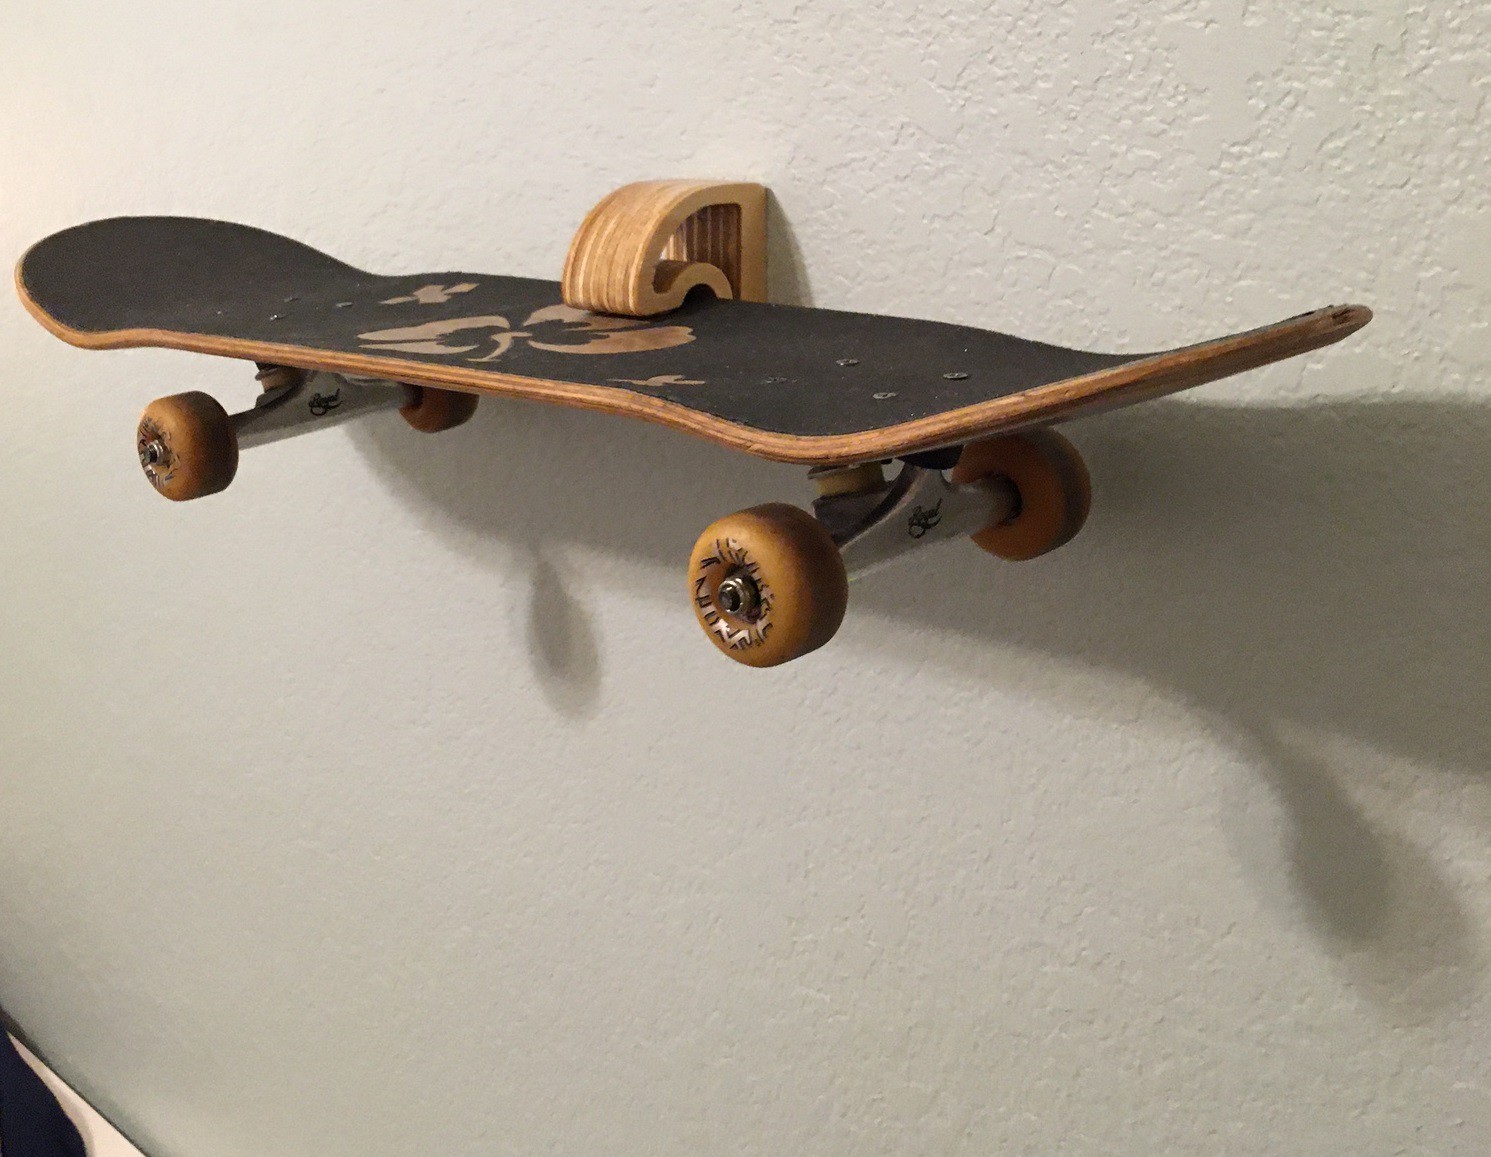
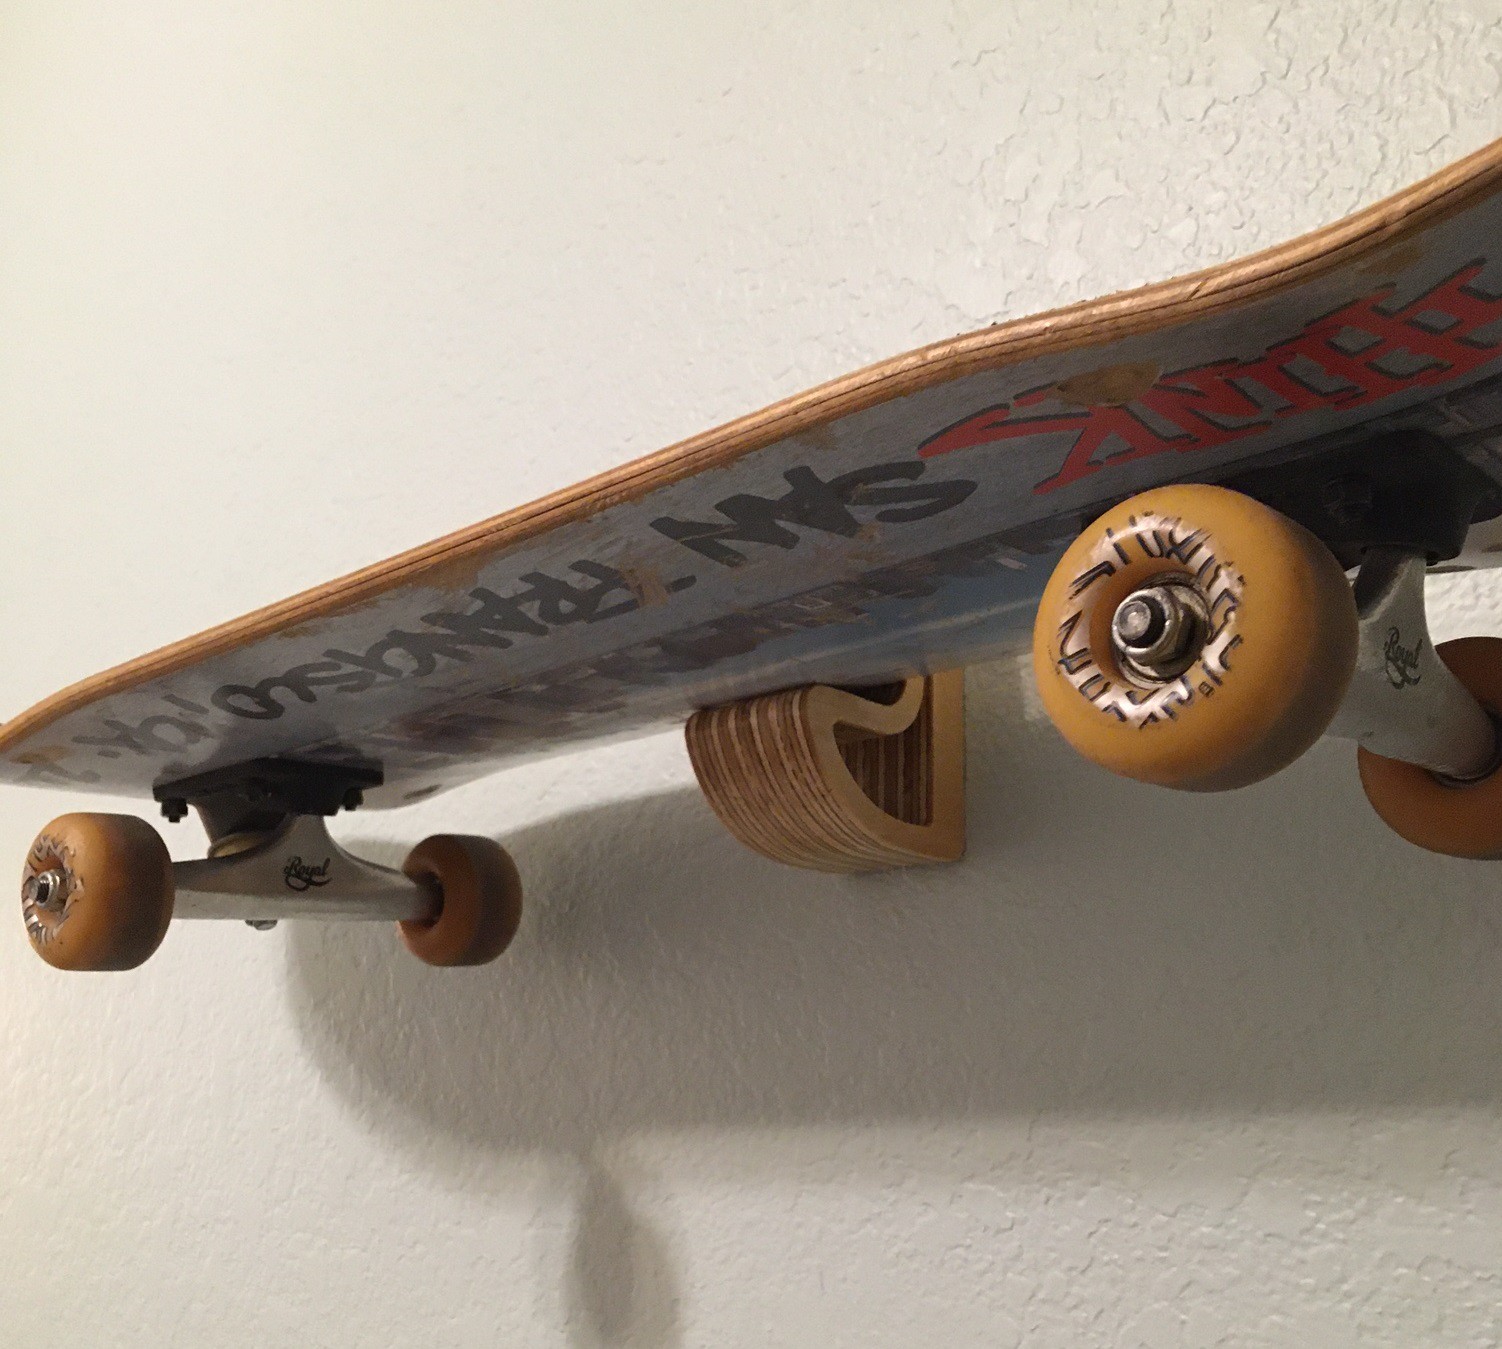
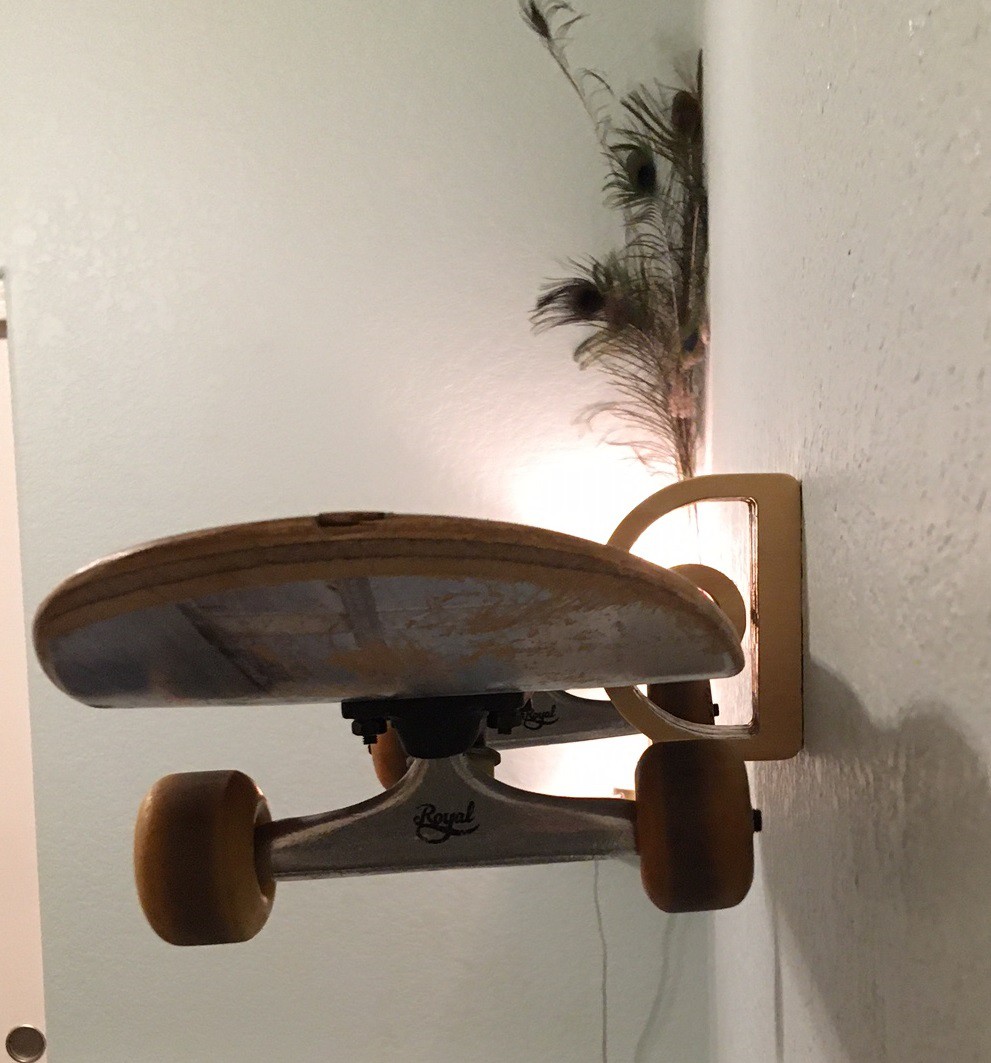
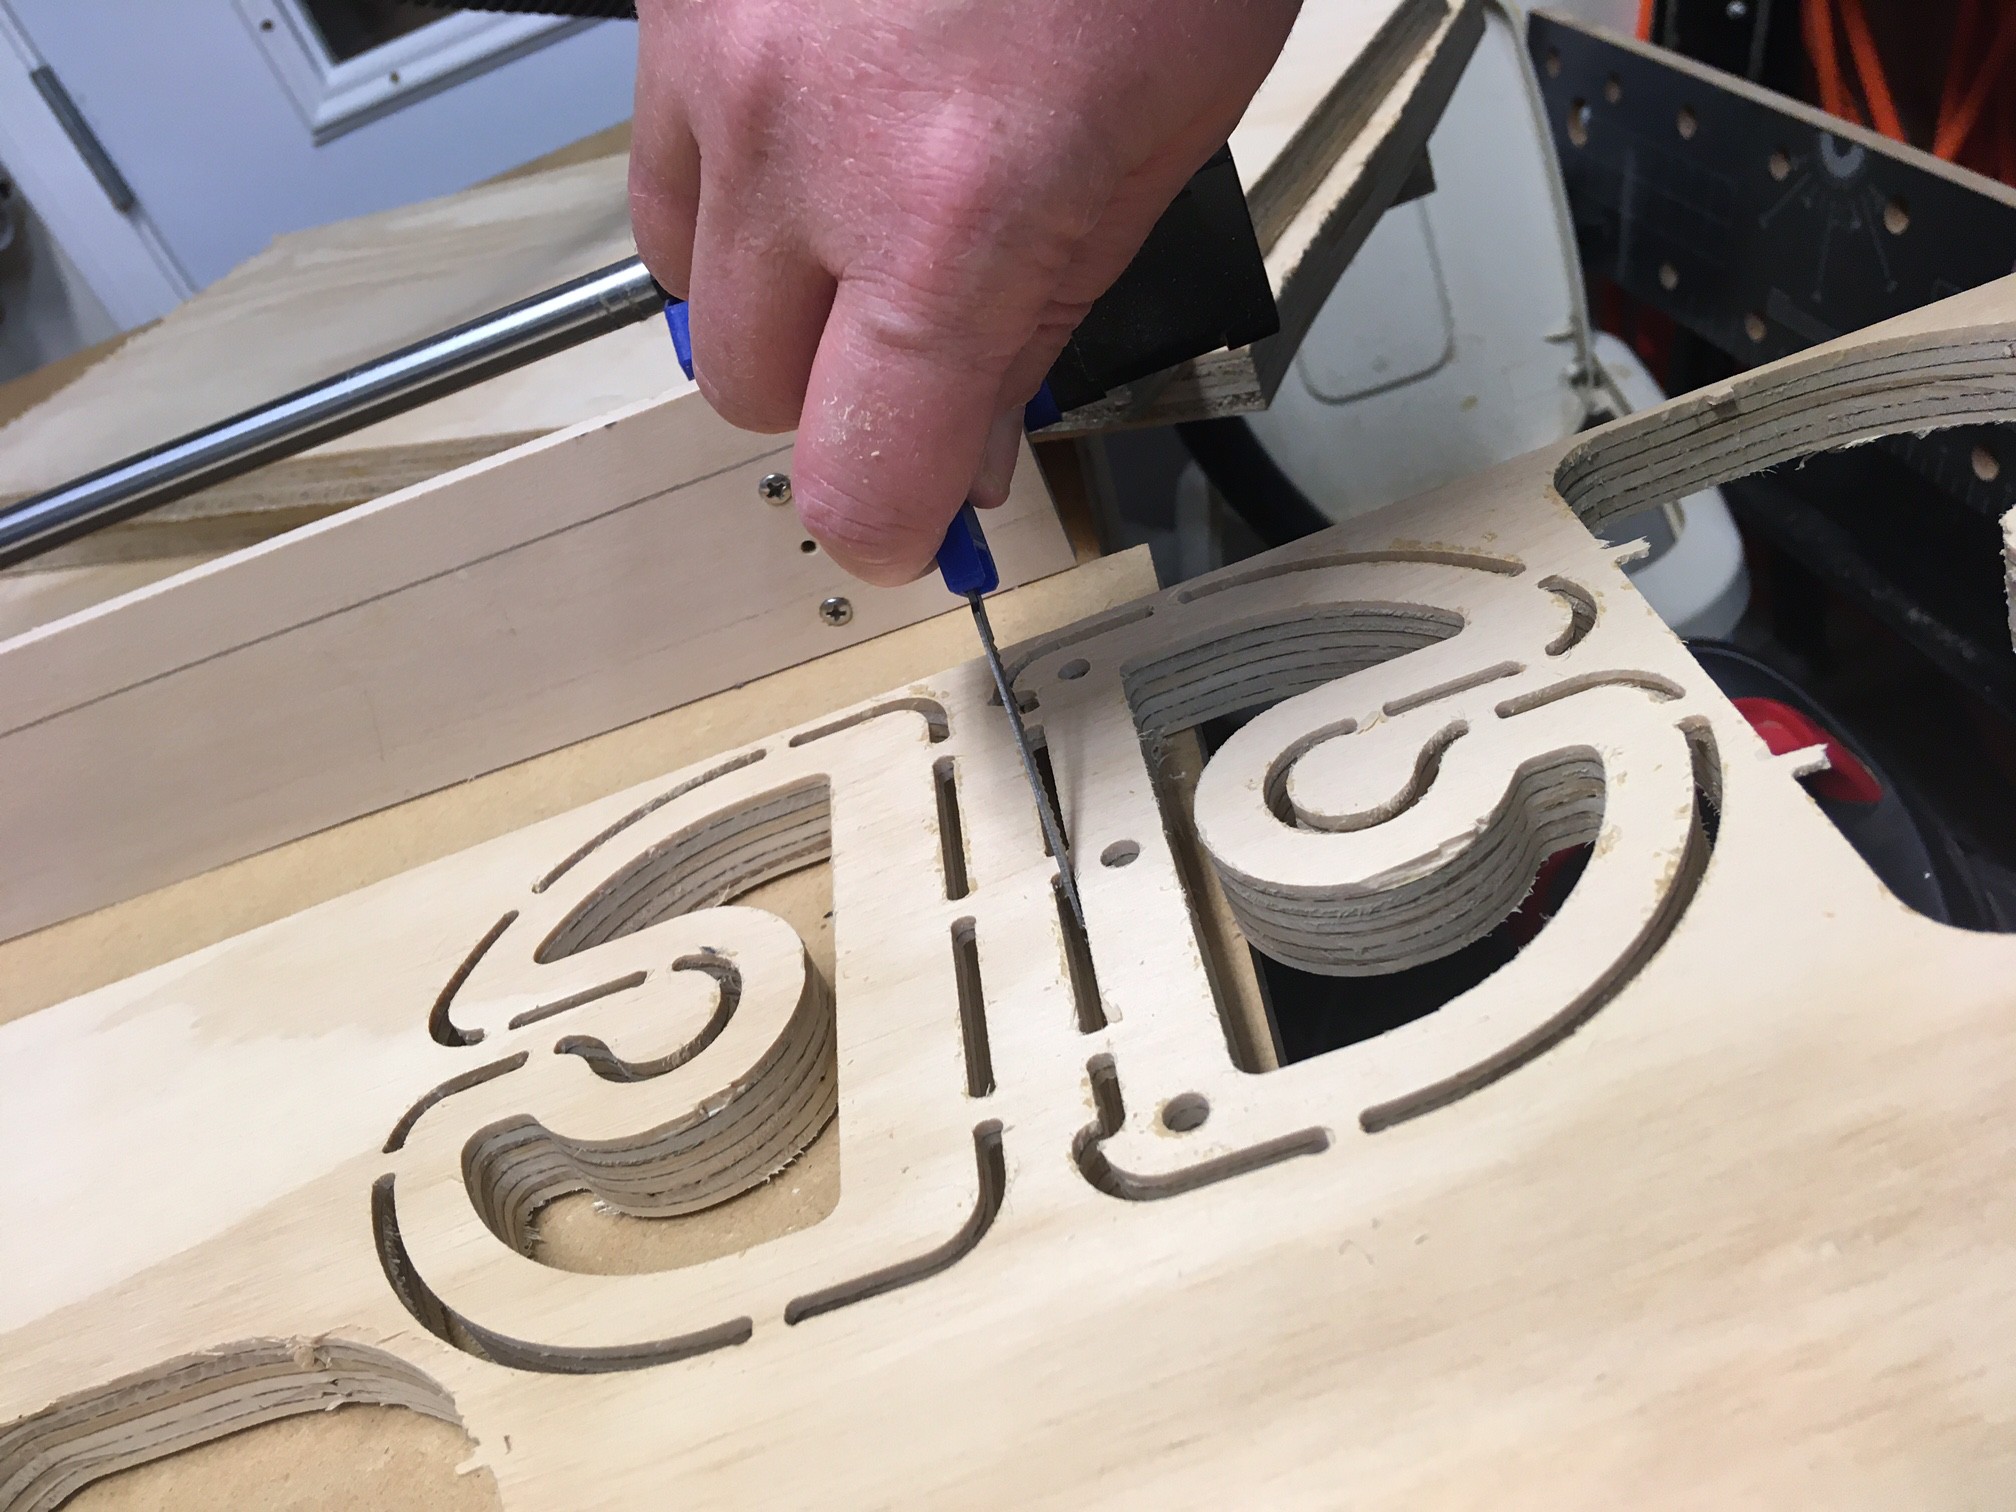
Skate Shelf
12/15/2020 at 03:20 • 0 comments![]()
Here is my latest project, a skateboard holder for my daughters room. I decided to try my hand at carving plywood with some cheap big box store wood I had laying around from a previous project. My first attempt was a disaster, but after dialing in the settings a bit I managed to get through it with minimal issues.
I was going for a bit of an artistic look, and I wanted something that would not bash a hole in your forehead if you ran into it. Also, for some reason my daughter wanted it to double as a shelf.
Cheap plywood is tough to work with but I found a few tricks:
- Add a roughing pass to your profiles, leave around 1mm of space for the final cut. The wood is going to split, this minimizes the chances of the split ending in the final part.
- Take warping into account. This is not MDF, the wood will be higher in some areas than in others. I added an extra mm of depth to my cut and that seemed to be enough.
- Oversize the tabs, I made mine 4mm wide and 6mm high. The plies are very soft, you want to hit more than one for sure or they will snap.
- Round the corners to minimize splitting.
- Conventional cut seems to give a better finish, but I'm not 100% positive on this one. I made a lot of changes between my first and second attempt, this may be a red herring.
I just got some Baltic birch in today, hopefully it carves better than this wood, but still this was passible.
![]()
![]()
![]()
![]()
![]()
![]()
![]()
-
Heat set inserts
12/13/2020 at 05:33 • 0 commentsSomeone pointed out that the heat set inserts I was originally using were thicker than the ones I linked to in my parts list. The place I got my inserts from is a local seller in the US and the are not consistent with there stock so I decided to remix my parts to match the AliExpress inserts. I moved the original parts into an 'insert large.zip' file and now the base parts should be sized right for the aliexpress inserts. I also updated my parts list to fully specify what insert to buy.
I'm sorry if you already printed the parts, hopefully it is not too much trouble to reprint.
-
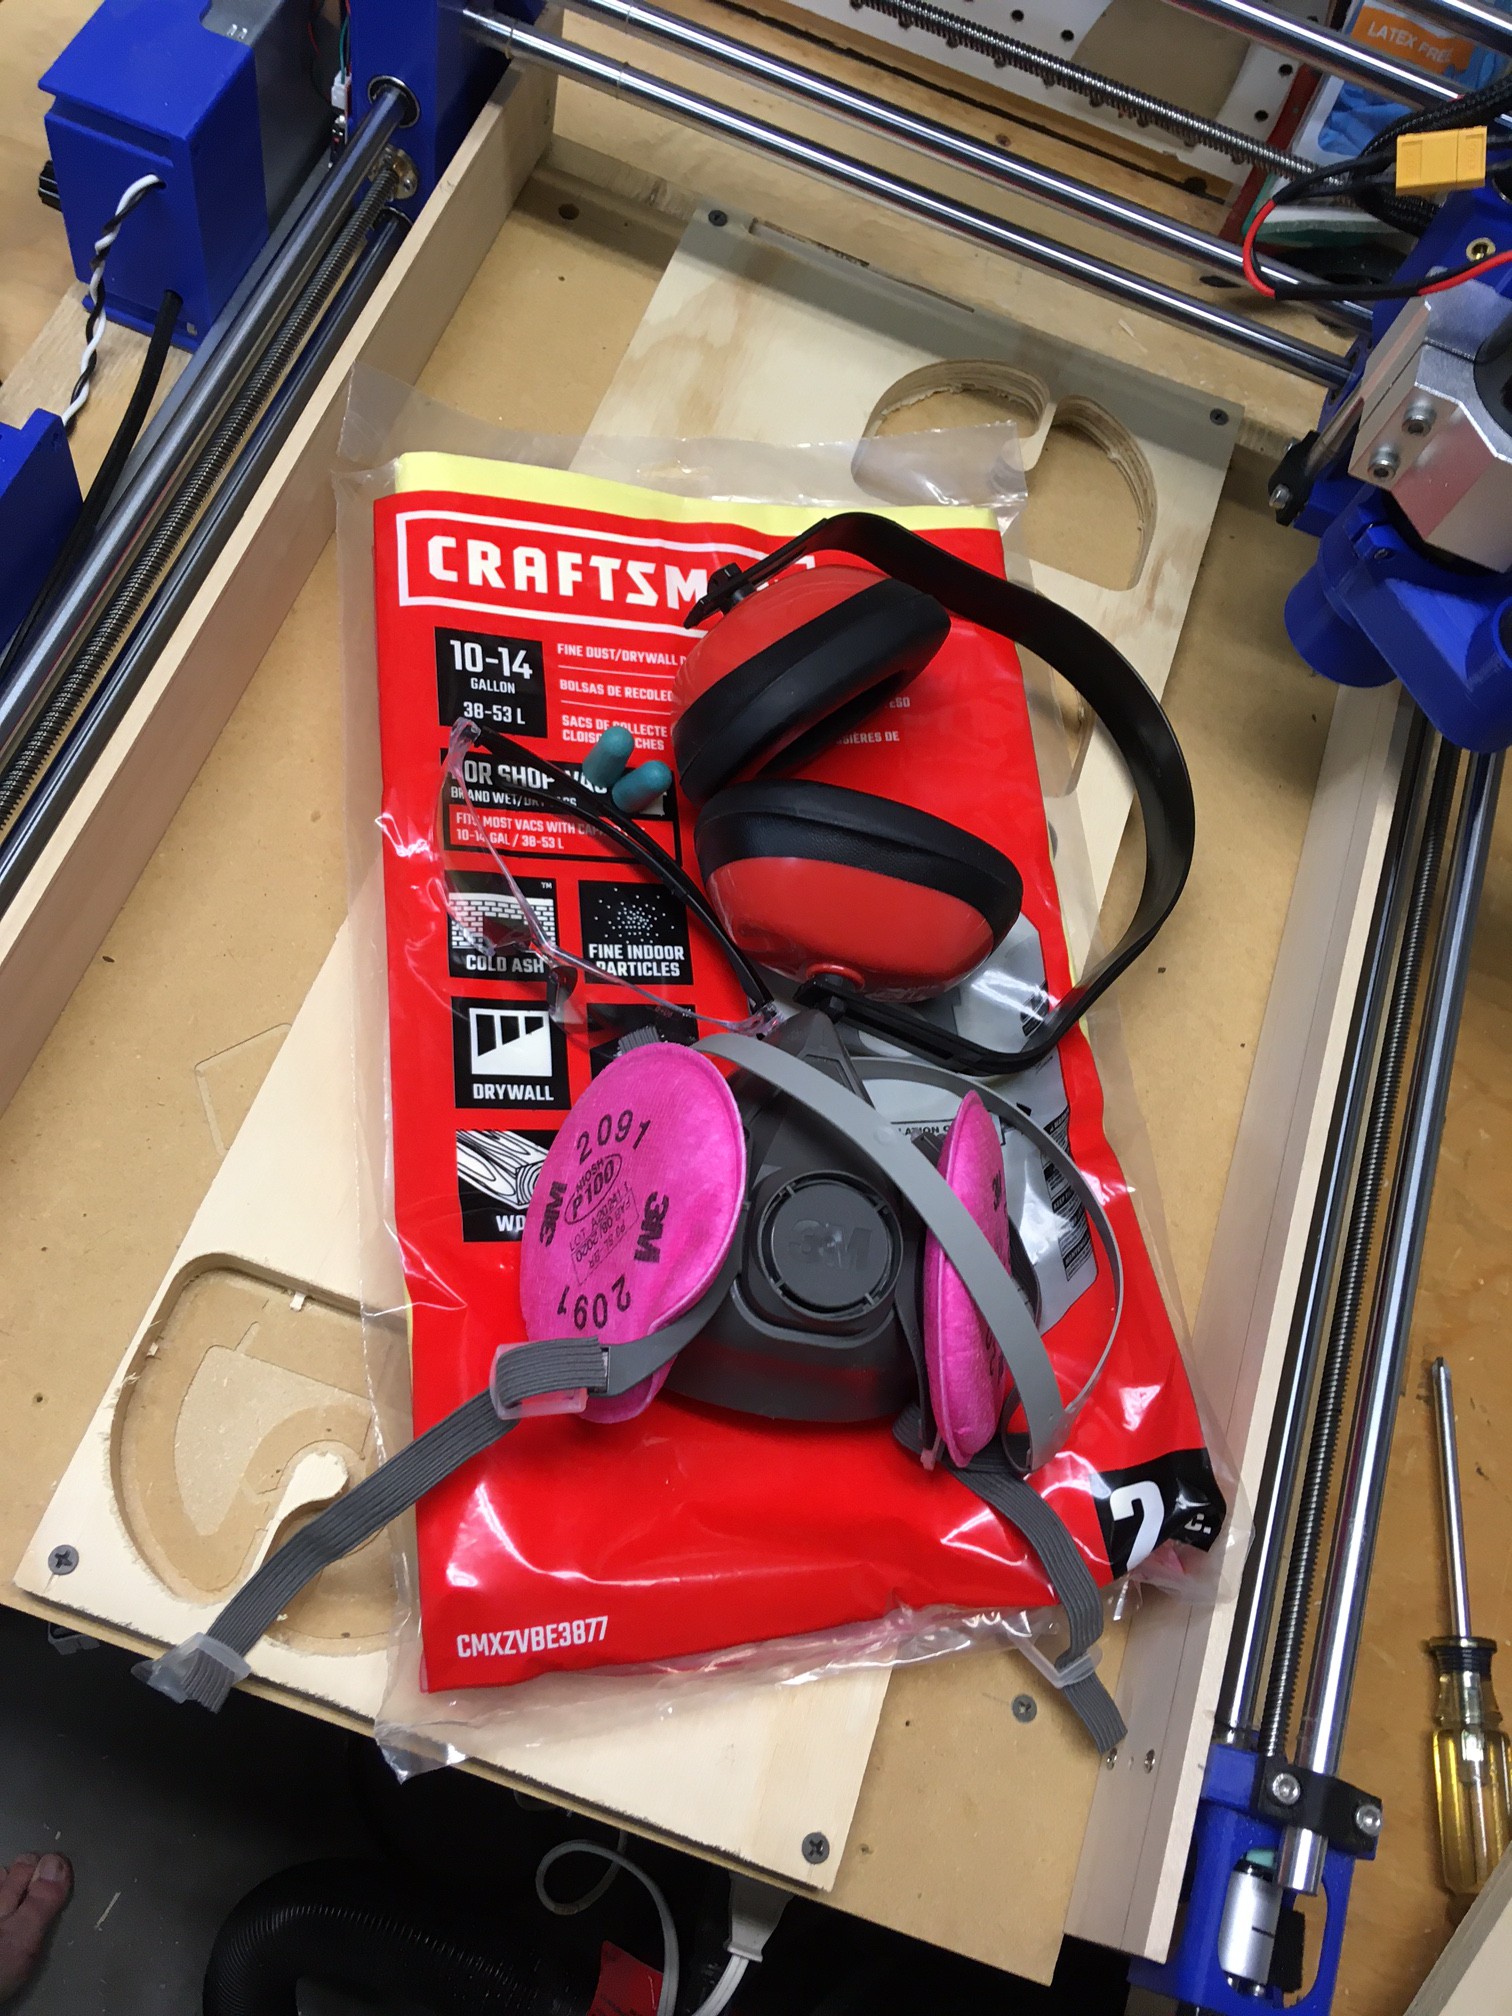
PPE 4 Me
12/12/2020 at 05:22 • 0 commentsI have been using a regular old paper shop mask with my machine for a while now. But recently I started experimenting with plywood using some crufty old wood from my local big box store and the dust has been making me cough for hours afterwards. To save my lungs I decided it was time to invest in some proper safety equipment.
I picked up a medium grade dust bag for my shop-vac, new safety glasses with flexible frames, and most importantly a new 3M respirator with particulate filters installed on it. The respirator is working great, it is comfortable and forms a tight seal even with my beard, and most importantly no more coughing. The shop-vac is running hotter than I remember it, but that may be because of my longer cuts rather than the bag.
![]()
MultiBot CNC v2
A low cost 3D printed CNC that can be built with minimal tools yet is capable of great things.