-
1Acrylic Box Assembly
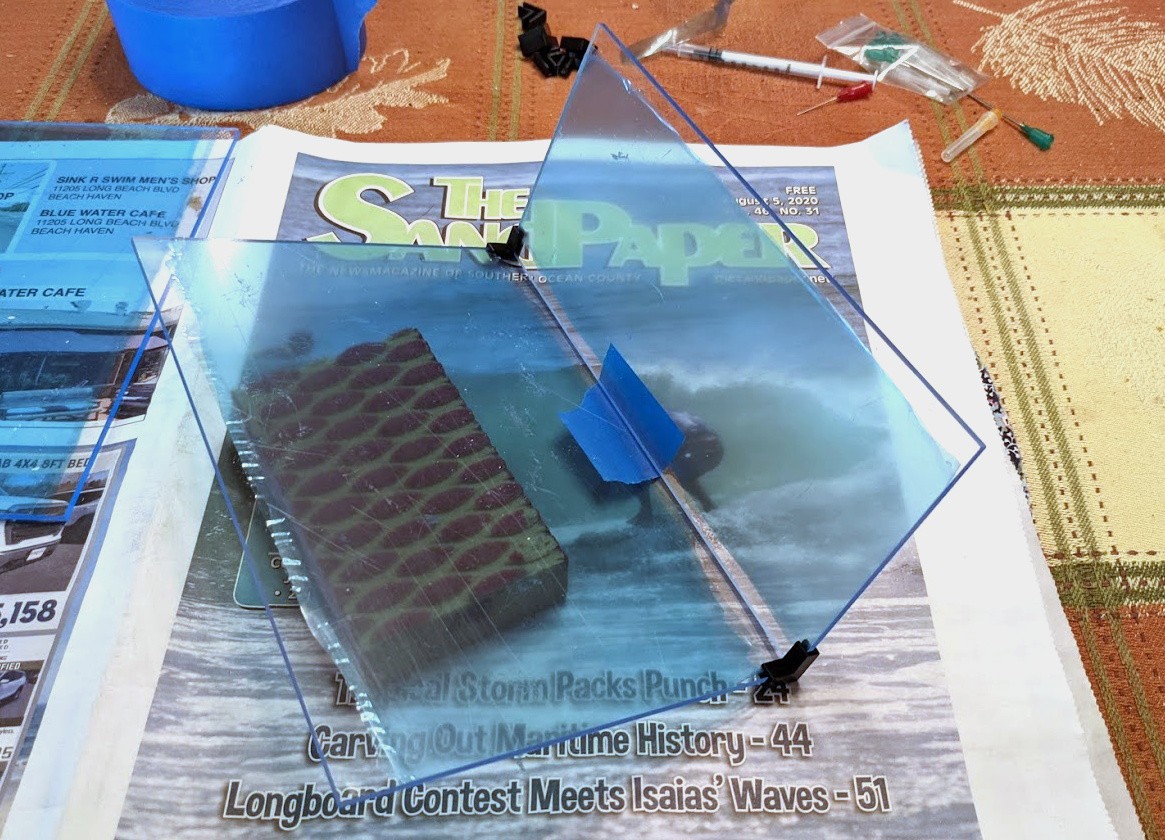
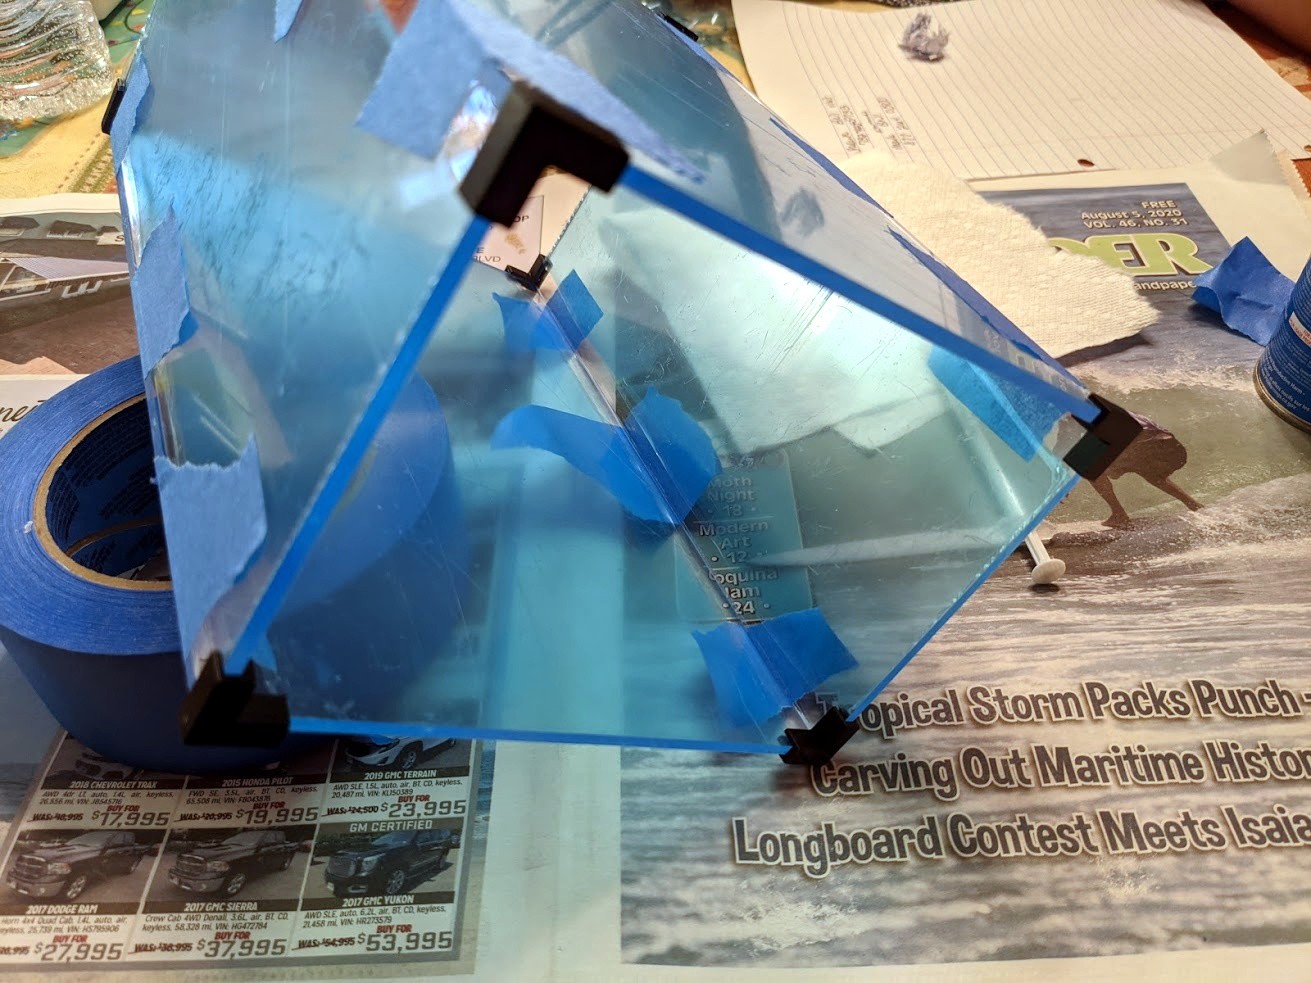
I designed small 3D printed corner pieces to hold the acrylic sheets at a perfect 90 degree angle, and used blue painters tape to pull them together tightly. Using a syringe, I ran a small amount of Weld-On 4 down the length of the joint from the inside. You only have a few seconds before the pieces are permanently bonded, and it's important to make sure the ends are flush or else the caps won't fit properly.
![]()
To make it easier, I suggest focusing on one joint at a time and slightly elevating the longer end so that the solvent cement naturally flows into the corner. It's also a good idea to keep the protective plastic on the sheets until the end, so that any accidental drops of cement don't mar the surface.
![]()
With all the corners were cemented, I would set the box (with the printed corner pieces still attached) vertically for about 30 minutes before disturbing it. The Weld-On 4 documentation says it can take 72 hours for the bond to reach 80% strength, but I found they were solid enough to handle after just a few minutes. I usually waited overnight before adding the end caps.
-
2End Cap Assembly
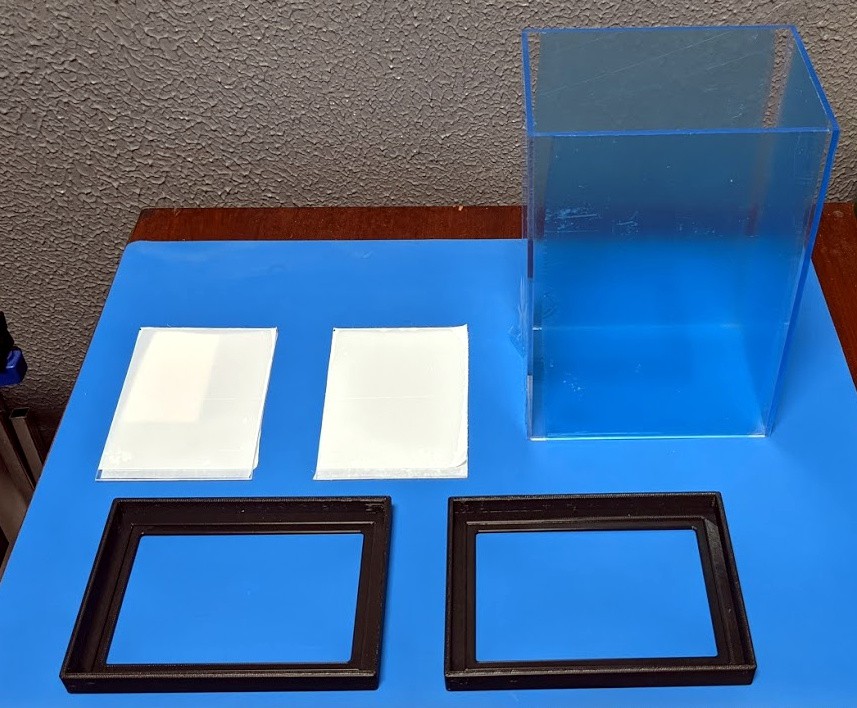
As mentioned in the description, I put a window in each end cap as it saved approximately an hour of print time per cap. To fill in the void, I hand-cut pieces of 1 mm acrylic and glued them into place. Because of the way the cap is designed, the magazines are not actually supported by the acrylic in the window; so there's no problem to go thinner here. It's really just to keep out the dust.
![]()
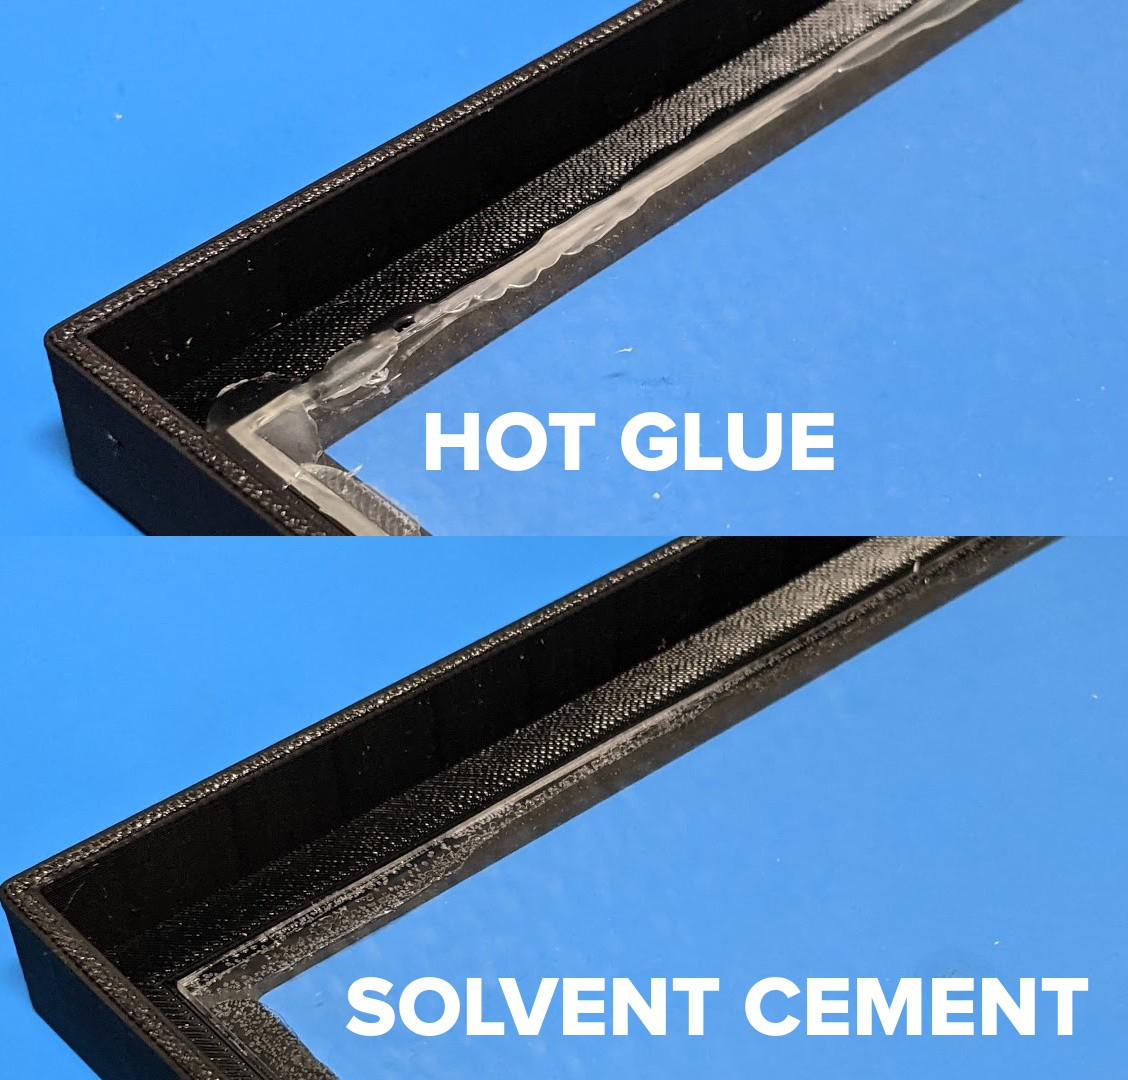
For most of the boxes I used hot glue to hold the window in place, but it was a bit of a mess. Towards the end of the project I realized that the Weld On solvent cement used to hold the acrylic sheets together will also melt the PETG used to print the end caps, which meant I could run a bead of solvent on the lip of the window opening and just drop in the acrylic. This was not only faster than using the hot glue, but made for a stronger and cleaner looking installation. I was half-tempted to go back and redo the hot glue end caps, but even I'm not that crazy.
![]()
Once the windows are installed in the end caps, one of them needs to be glued onto the bottom. I used hot glue for all of these, even after I switched to solvent cement for the windows, because the mating surface between the printed PETG and smooth acrylic sheet has too many voids.
This process has to be done very quickly so I never got a picture of it, but essentially I ran a bead of hot glue around the entire inside of the end cap, keeping it close towards the open end. That way, when the acrylic box was pushed down into the end cap, it would pull the glue down with it.
2600 Magazine Storage System
I could never find a good way to store issues of 2600, so I made one.
 Tom Nardi


Discussions
Become a Hackaday.io Member
Create an account to leave a comment. Already have an account? Log In.