Close
0%
0%

An animated Saturn V launch pad and gantry

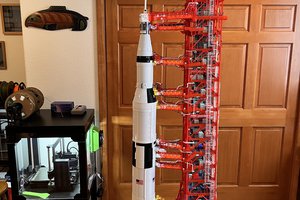
An launch pad and gantry for the LEGO Saturn V model. Crane, crew arm, gantry arms, service arms and model itself are animated for liftoff.

Similar projects worth following
A fully animated launch pad and gantry for the LEGO Saturn V. Controlled by an Arduino Uno, servos and stepper motors move the crane, sway bar, crew walkway, gantry arms, service arms, and the model itself to simulate a liftoff. Strings of Neopixels light up the exhaust plume as the model lifts about four inches off the pad. The gantry is a scaled version of the Farscape Saturn V gantry model, with modifications for the addition of custom designed animatronics.

This movie illustrates the launch sequence of the model. After pushing the launch button, the crew arm swings back, pulling up the sway arm on threads. Next the crew walkway retracts. At T-8 seconds Neopixels light up the F5 engine plume tubes. At T-0 the gantry arms swing back, the service arms at the base lift up, and the entire model lifts up about four inches. All controlled by a finite state machine in an Arduino. After a few seconds everything resets back to the orginal positions.

  • 1 × Arduino Uno
  • 3 × Lead Screw Nema 17 Linear Actuator Tr8x8 Lead Screw Nema 17 Integrated Linear Actuator Stepper Motor
  • 5 × mg92B Servo Motor
  • 1 × MP3 Music Maker shield
  • 1 × CP23017 Arduino I/O expansion shield

View all 8 components

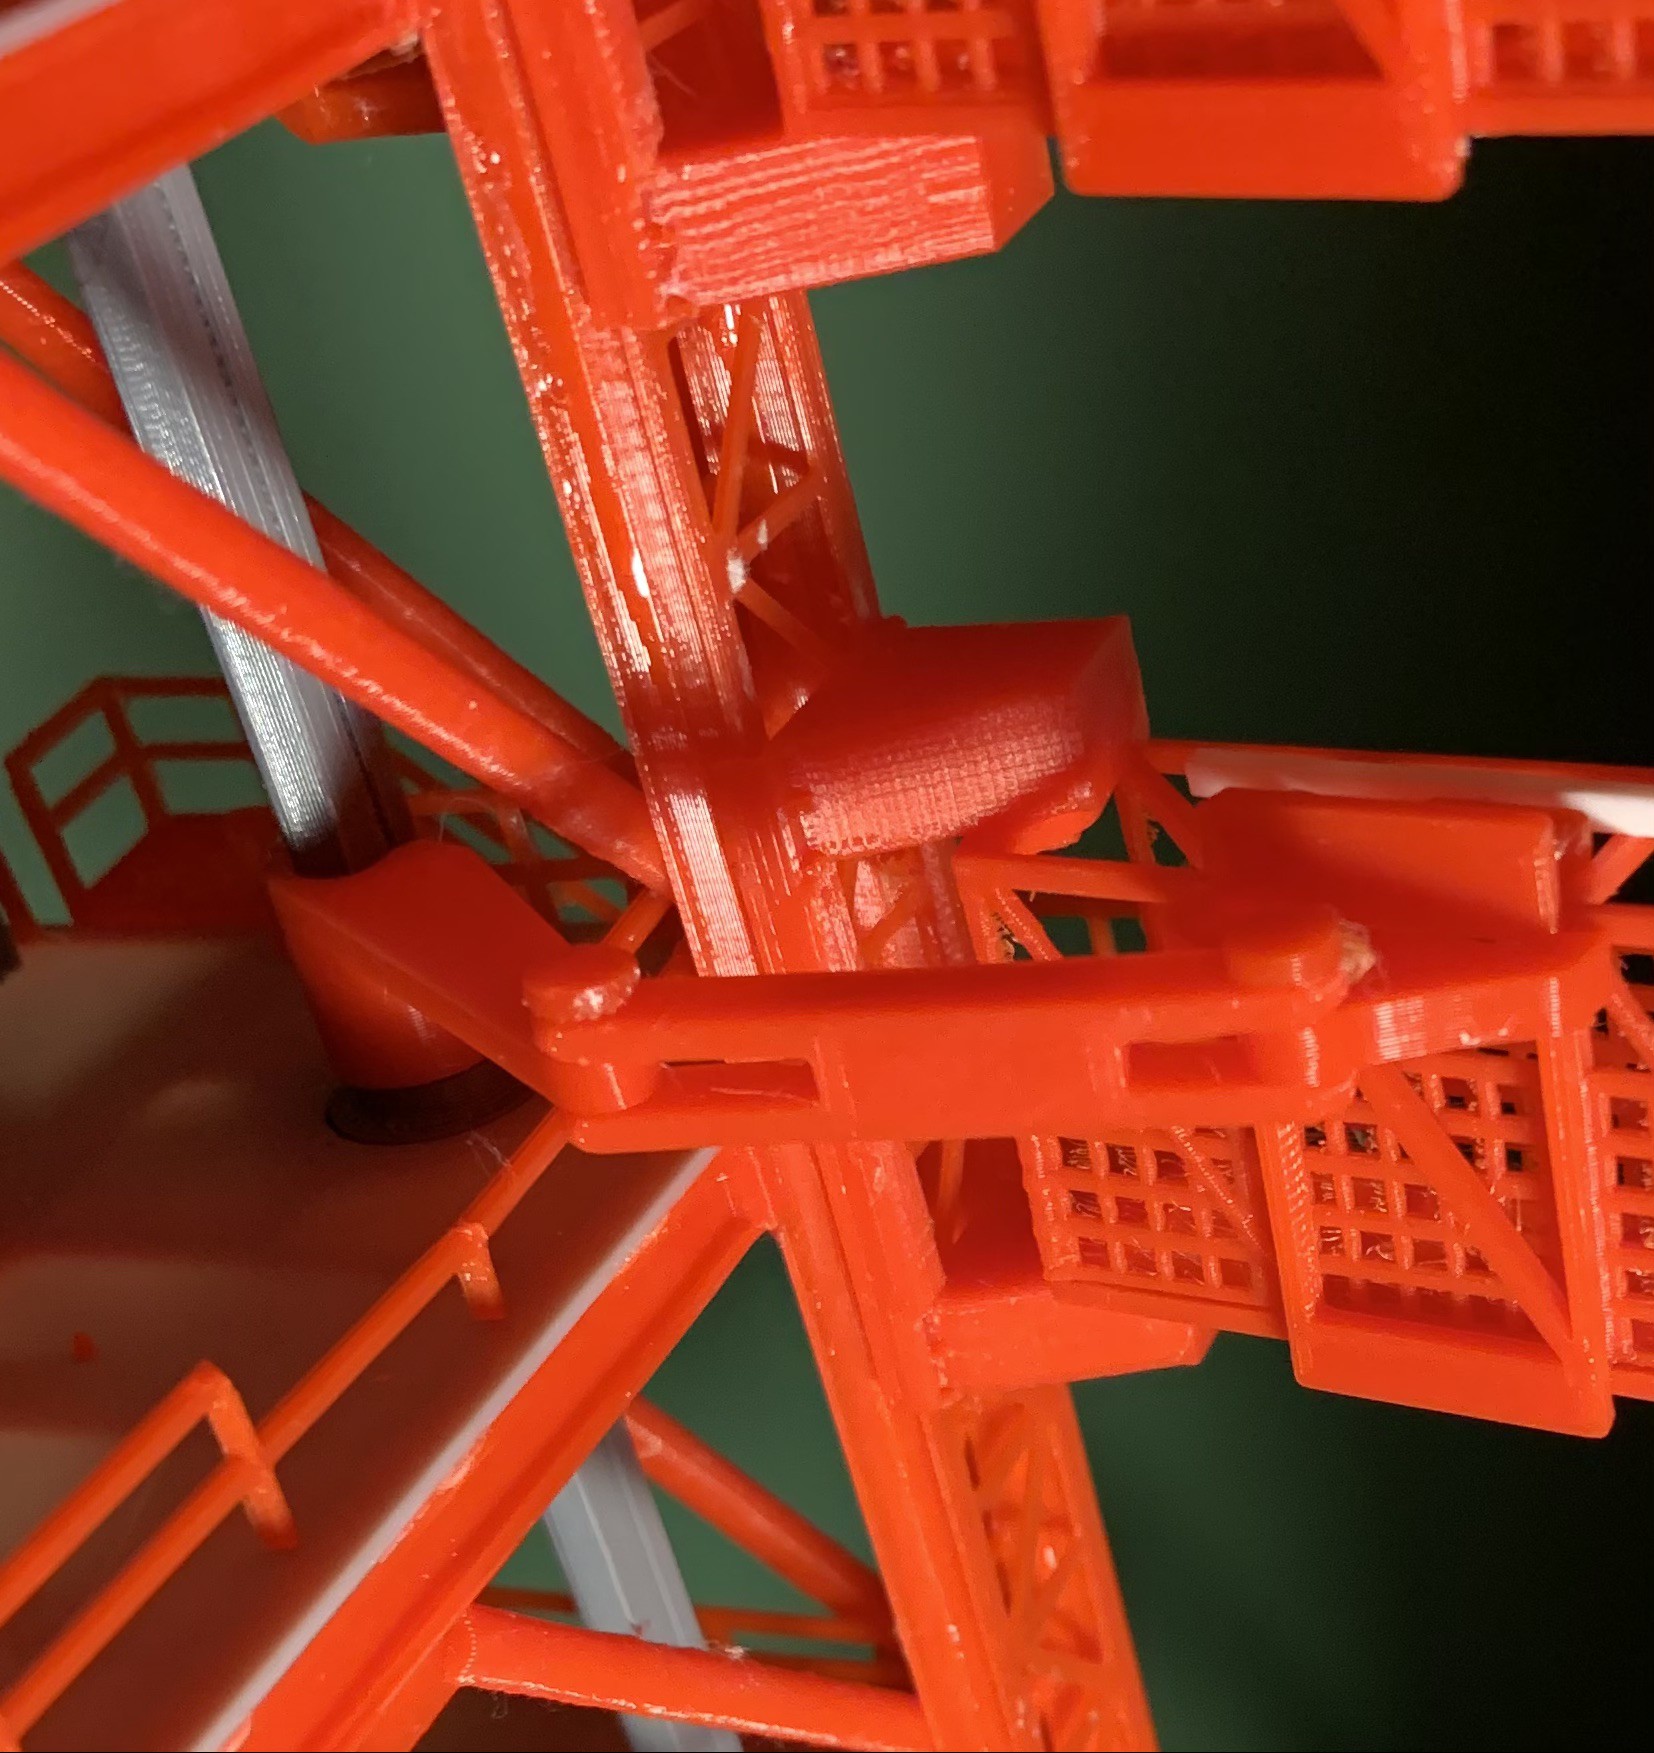
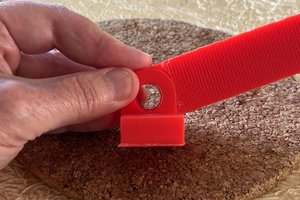
  • Crew Swing Arm Linkage

    Mark Howe12/16/2020 at 16:21 0 comments

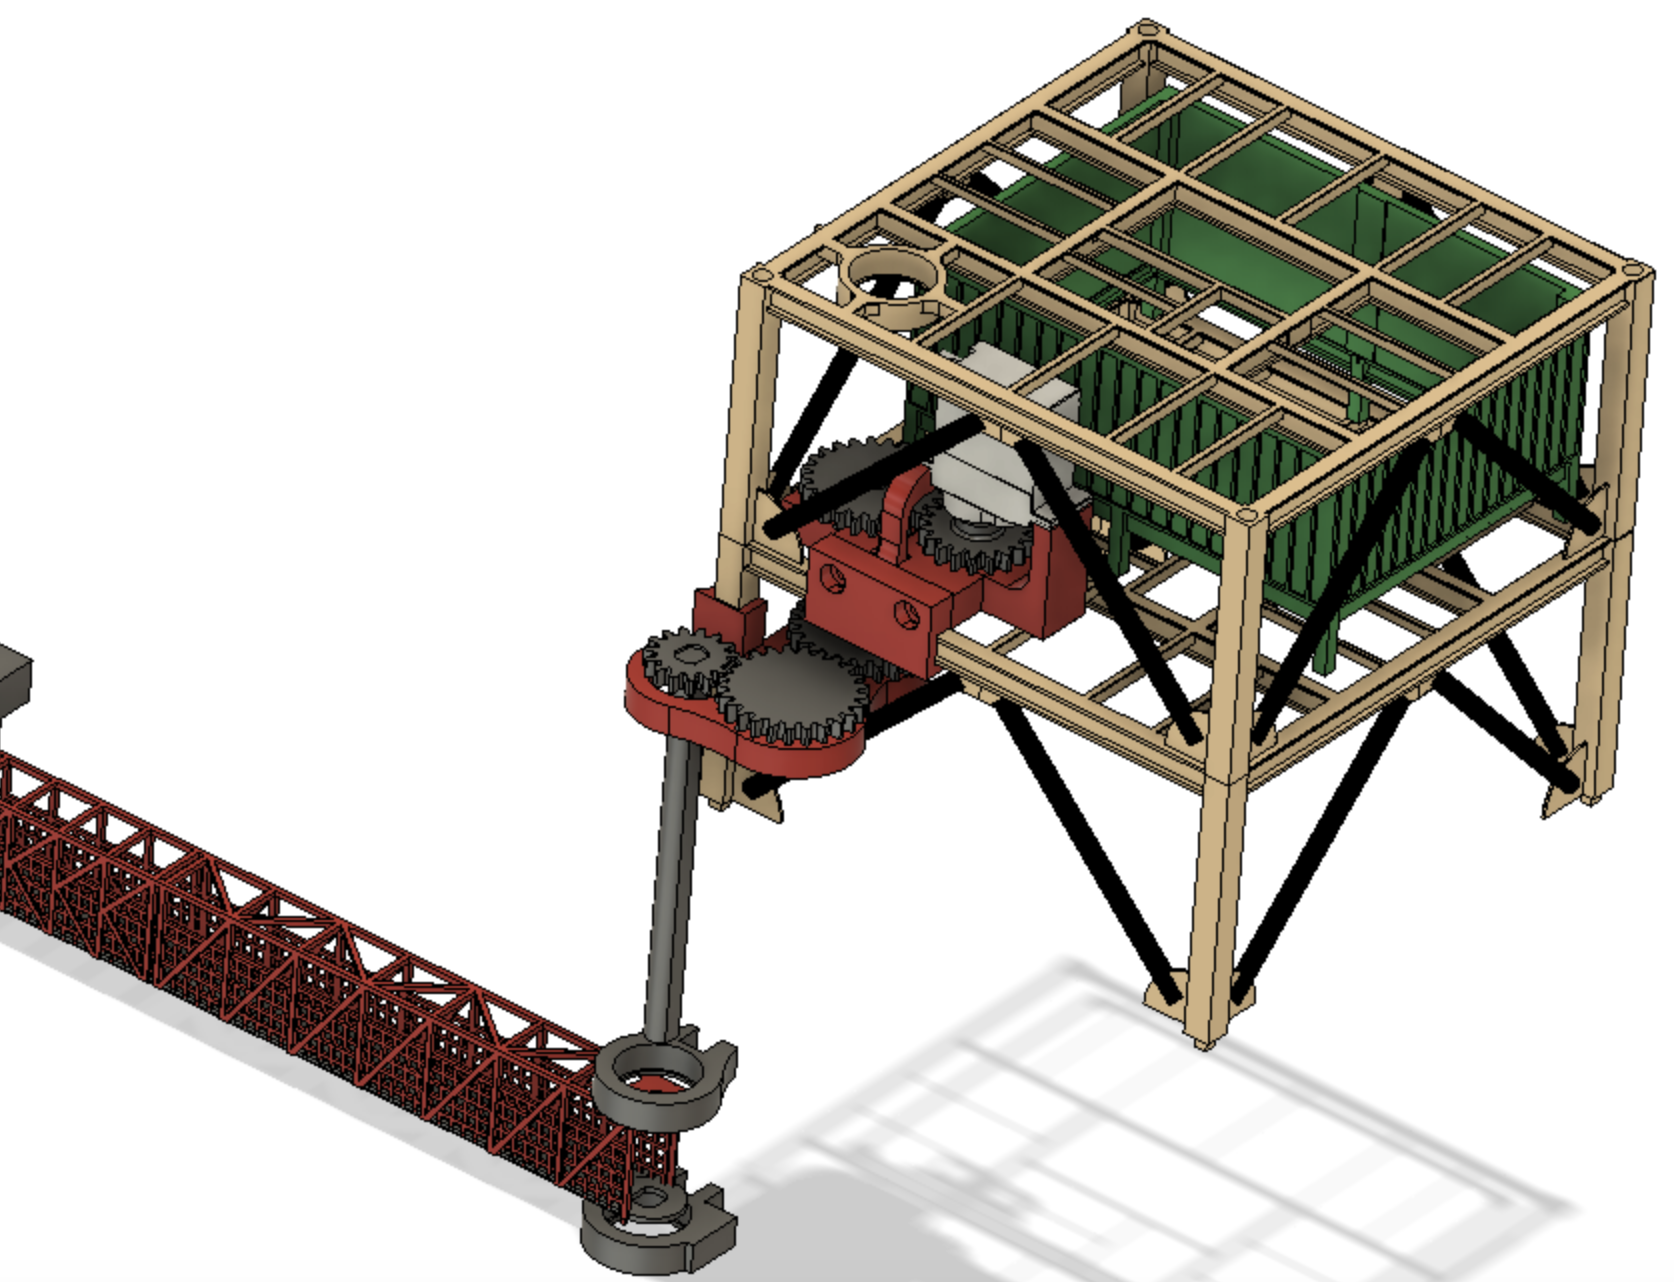
    Screen shot of the CAD model for the crew walkway servo gearing and linkage.

  • Detail at the top

    Mark Howe12/13/2020 at 18:34 0 comments

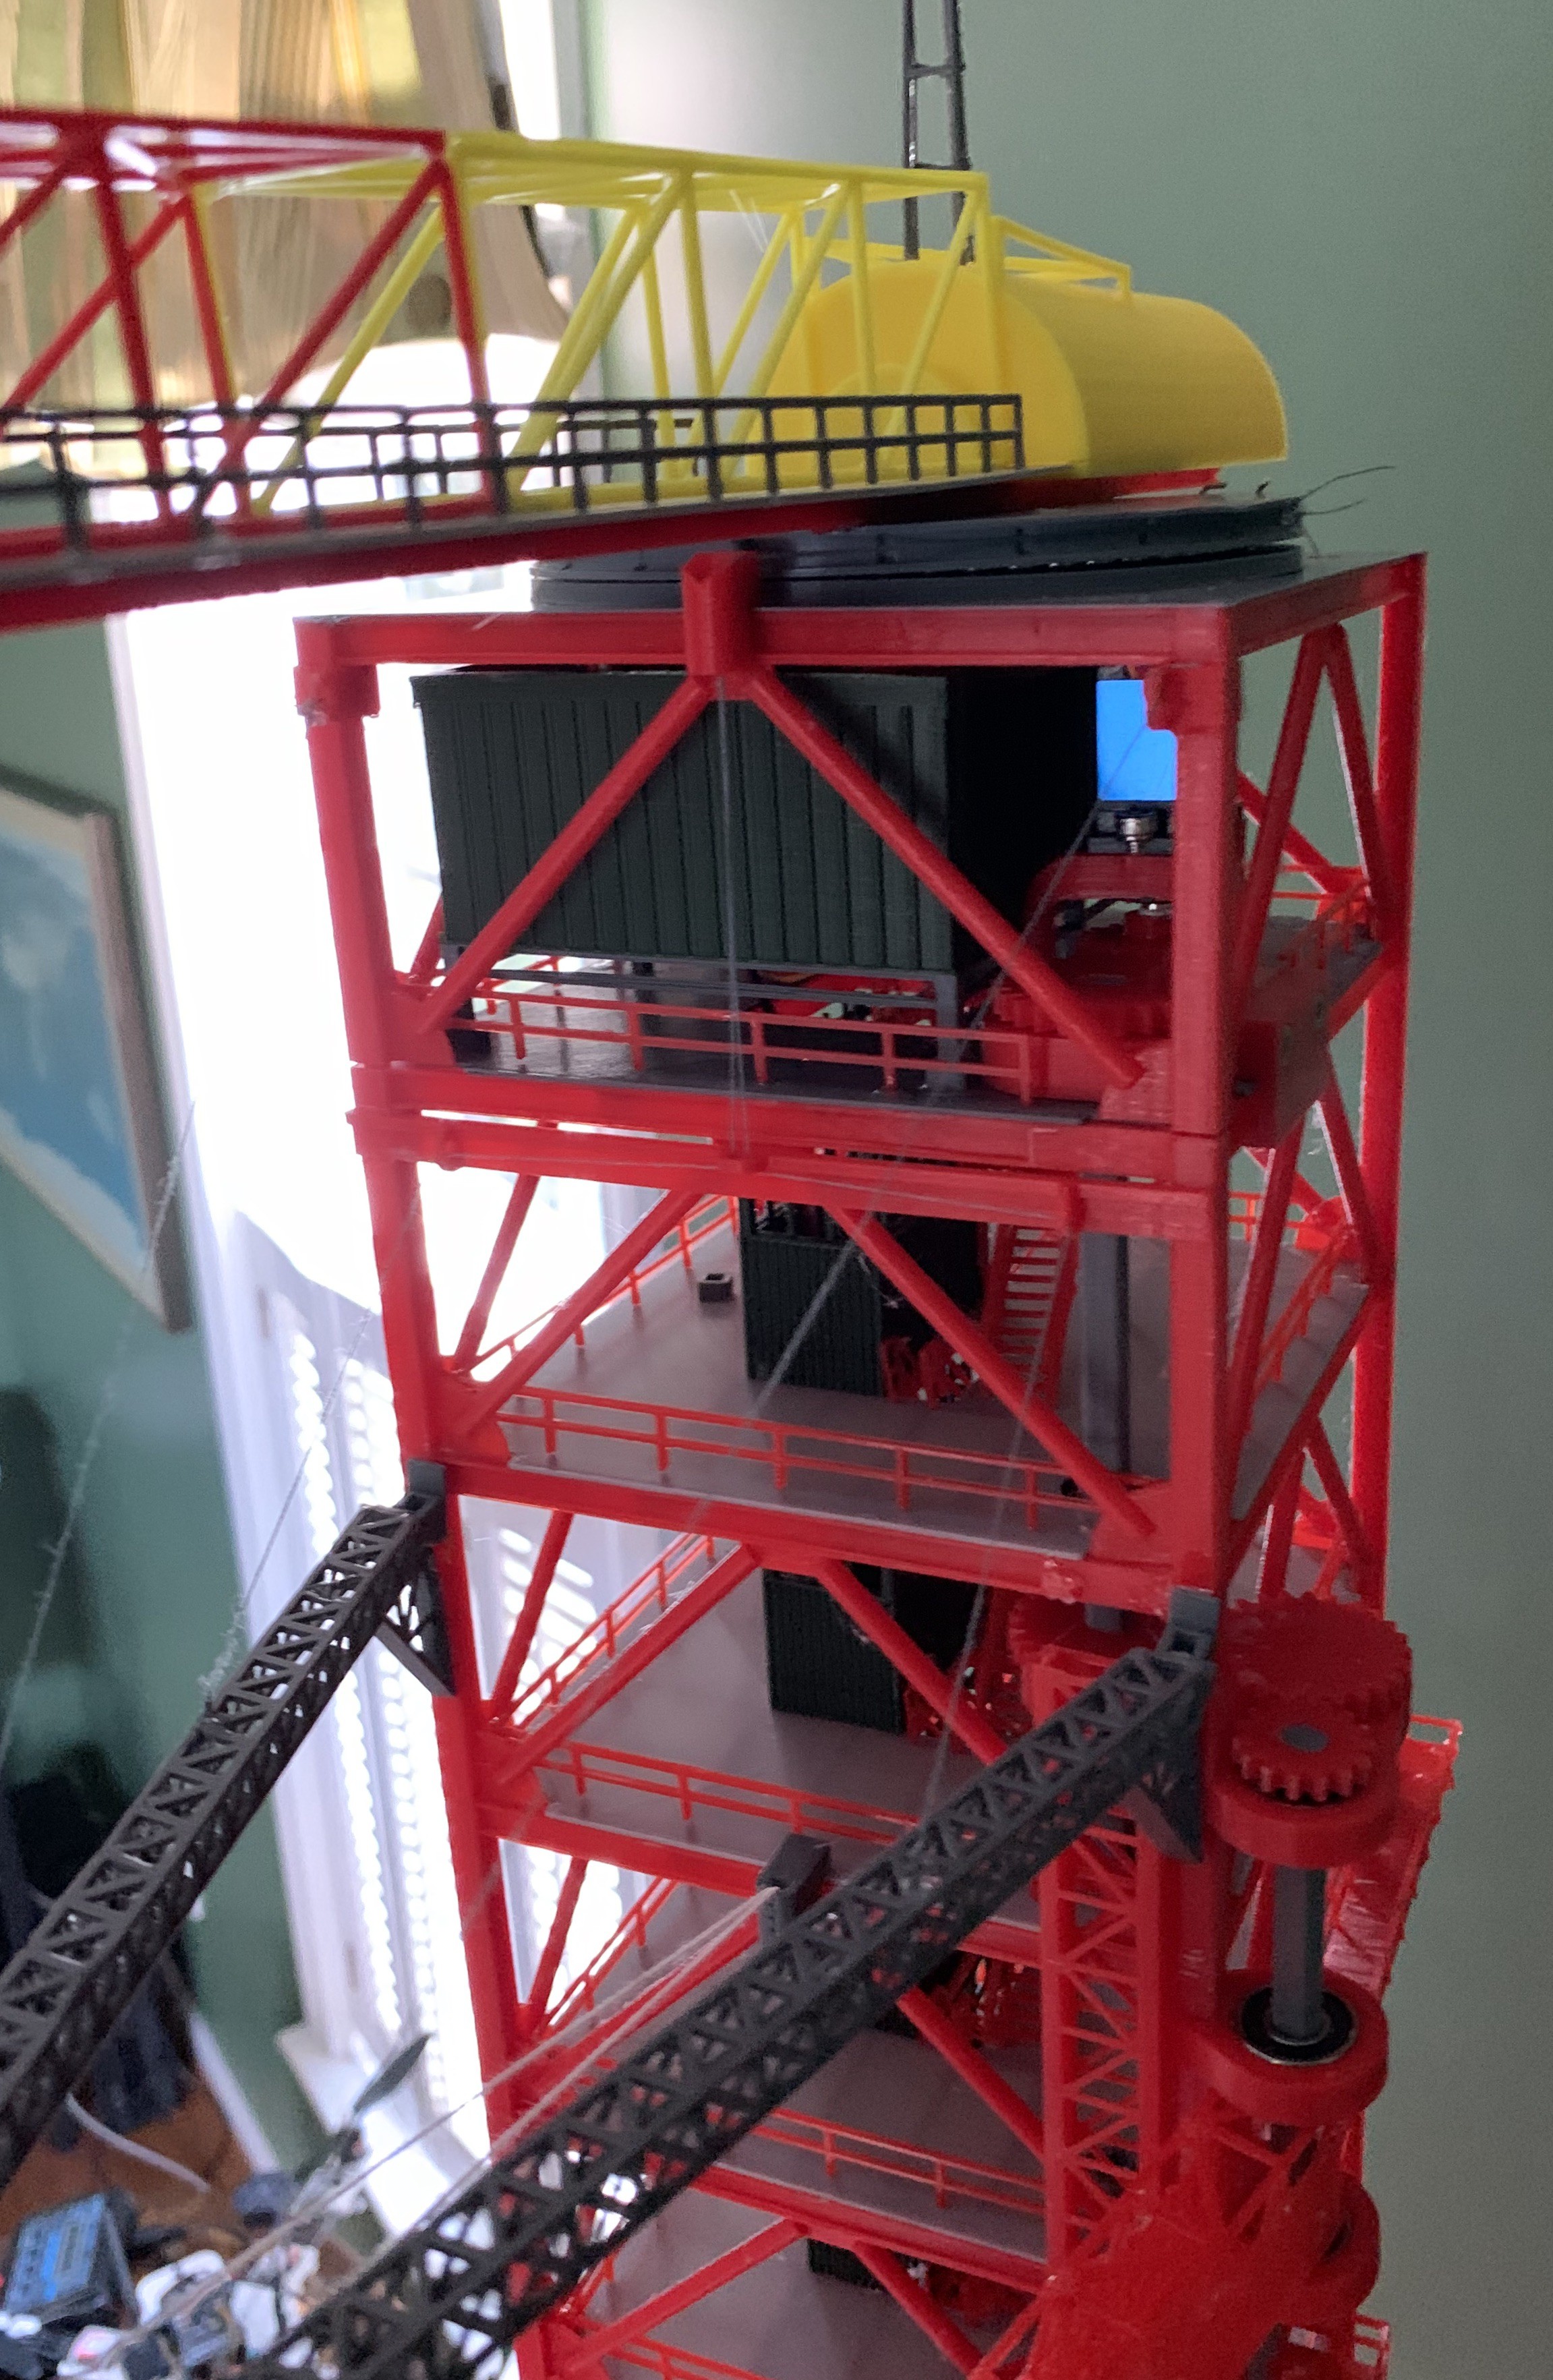
    A little hard to see the final threads installed to lift the sway arm when the crane rotates.  A elastic thread below ensures that the arm falls back into the down position. On the right, the drive chain for the crew walkway is visible. The servo for the crane is hidden in the upper mechanics room. A ring of 5mm ball bearings help support the crane since it is connected directly to the servo.

  • Work Progress

    Mark Howe12/13/2020 at 17:58 0 comments


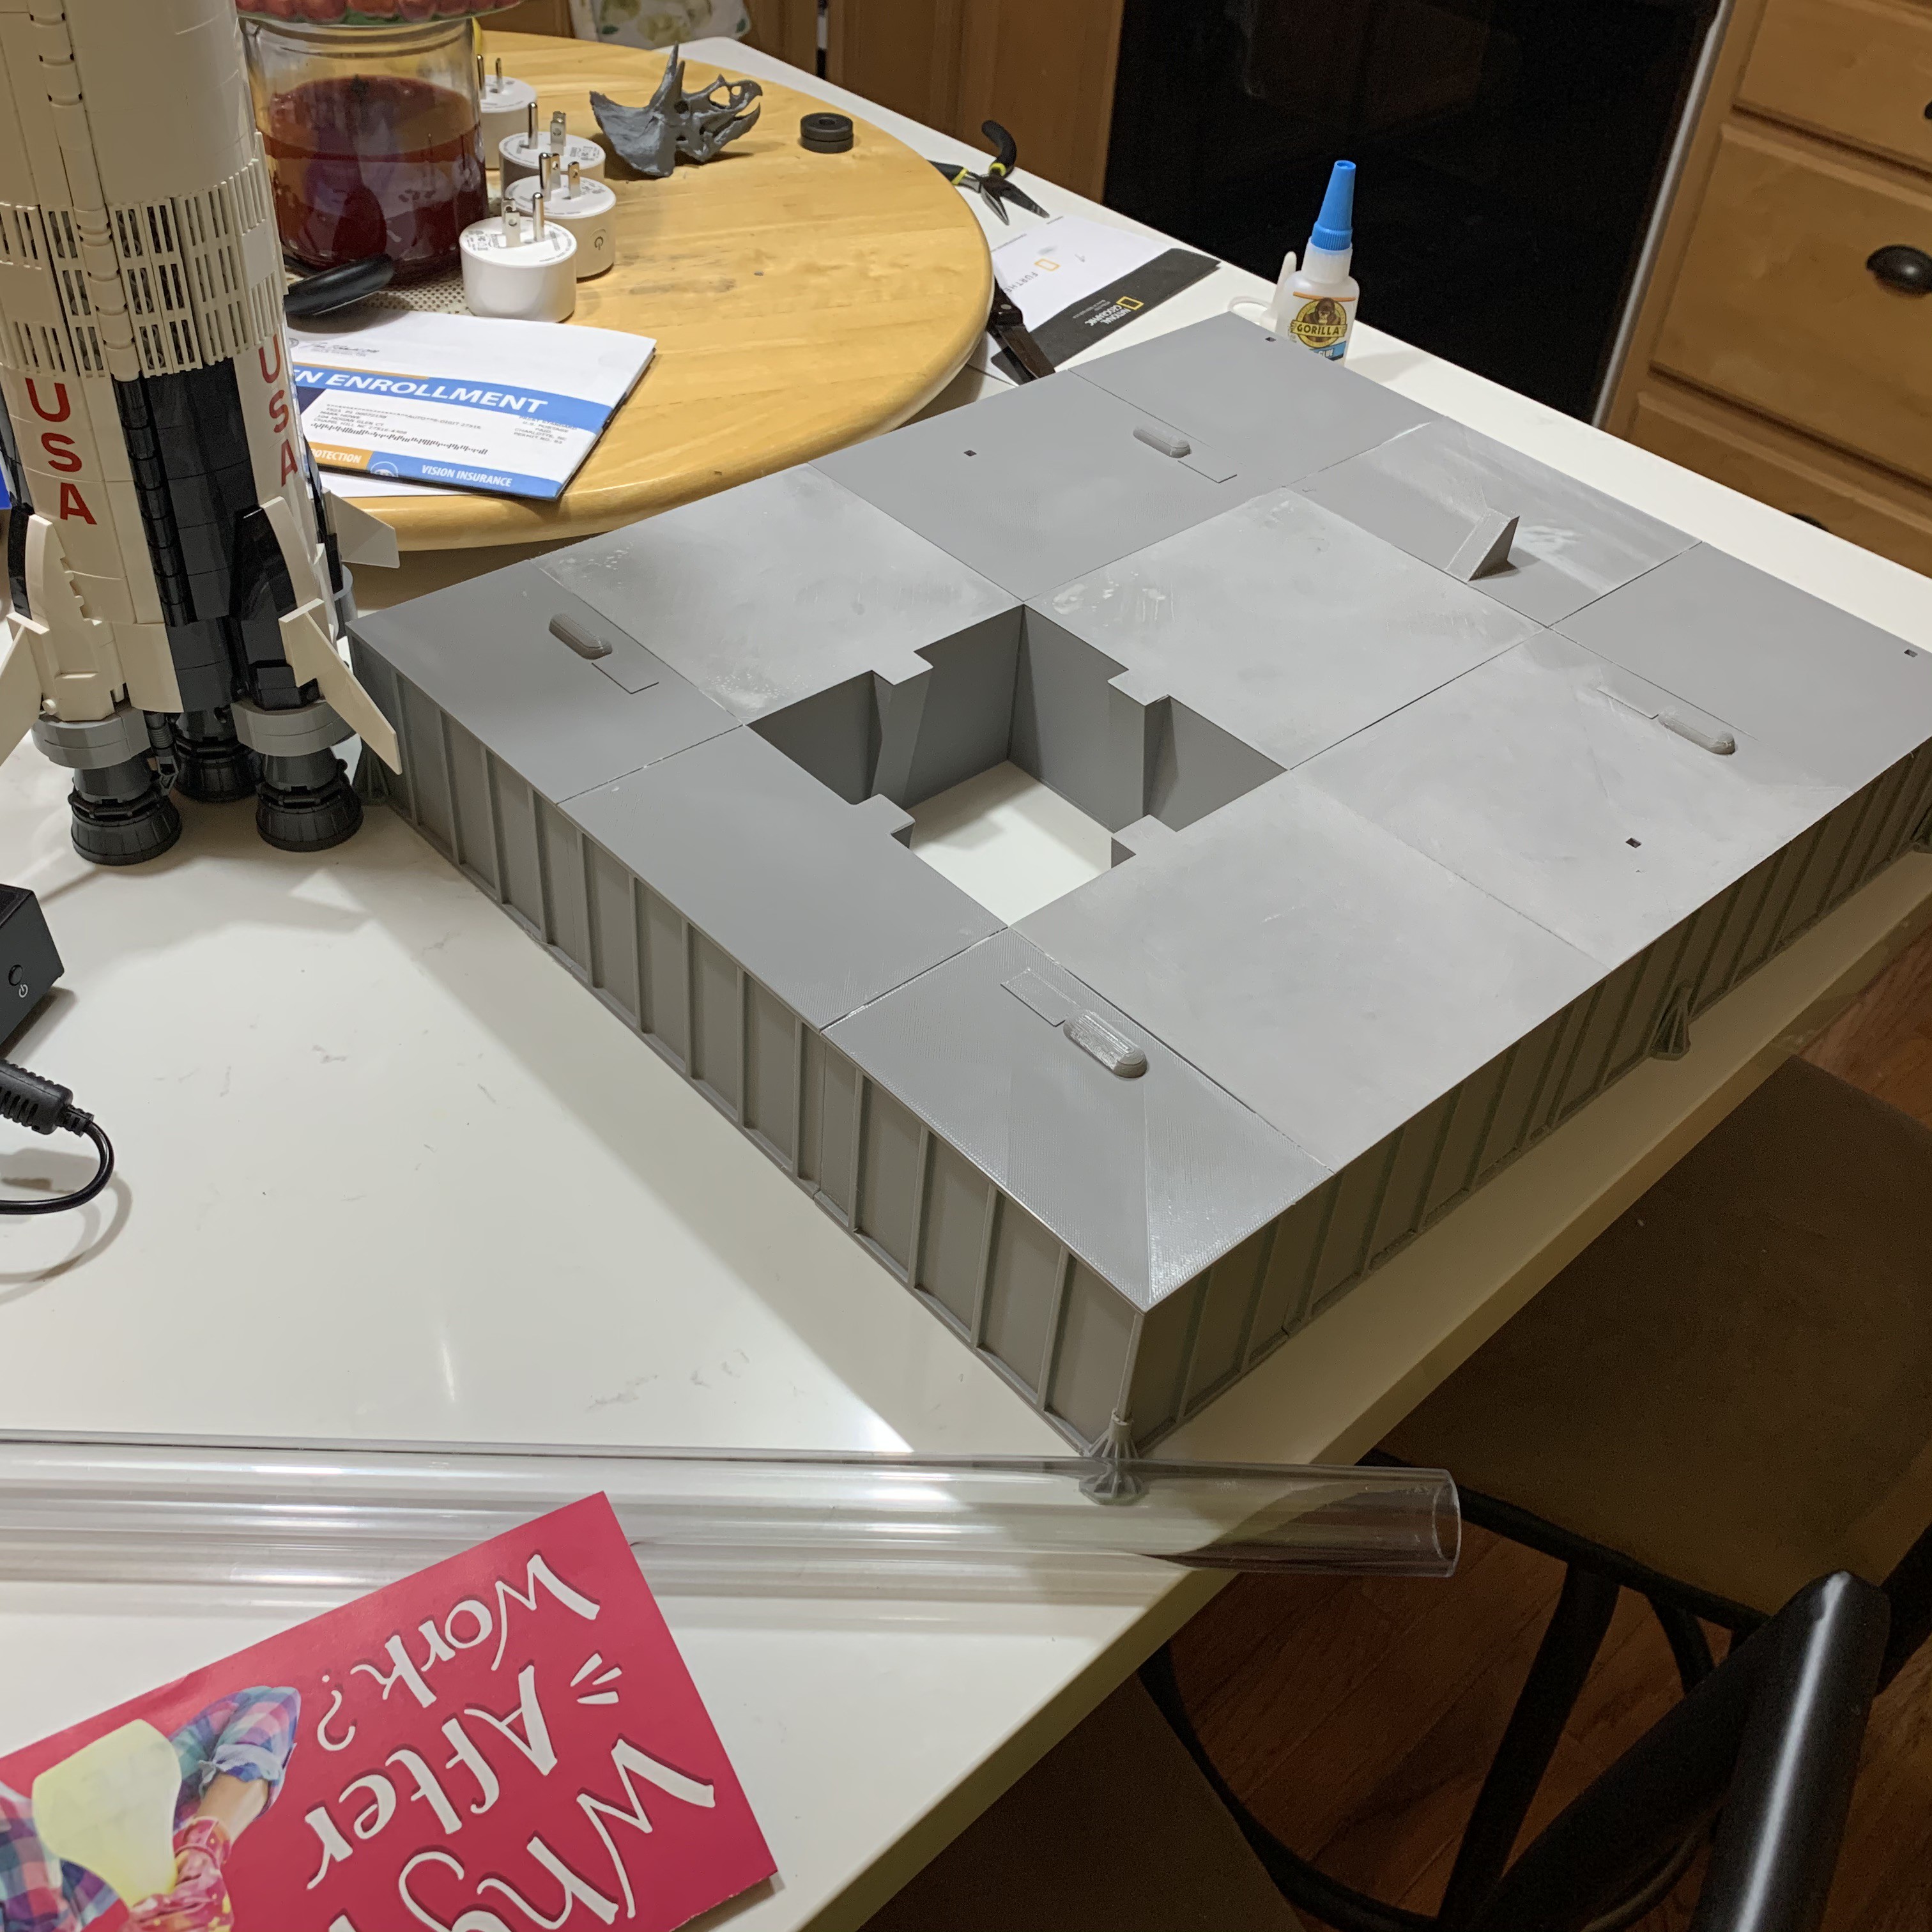
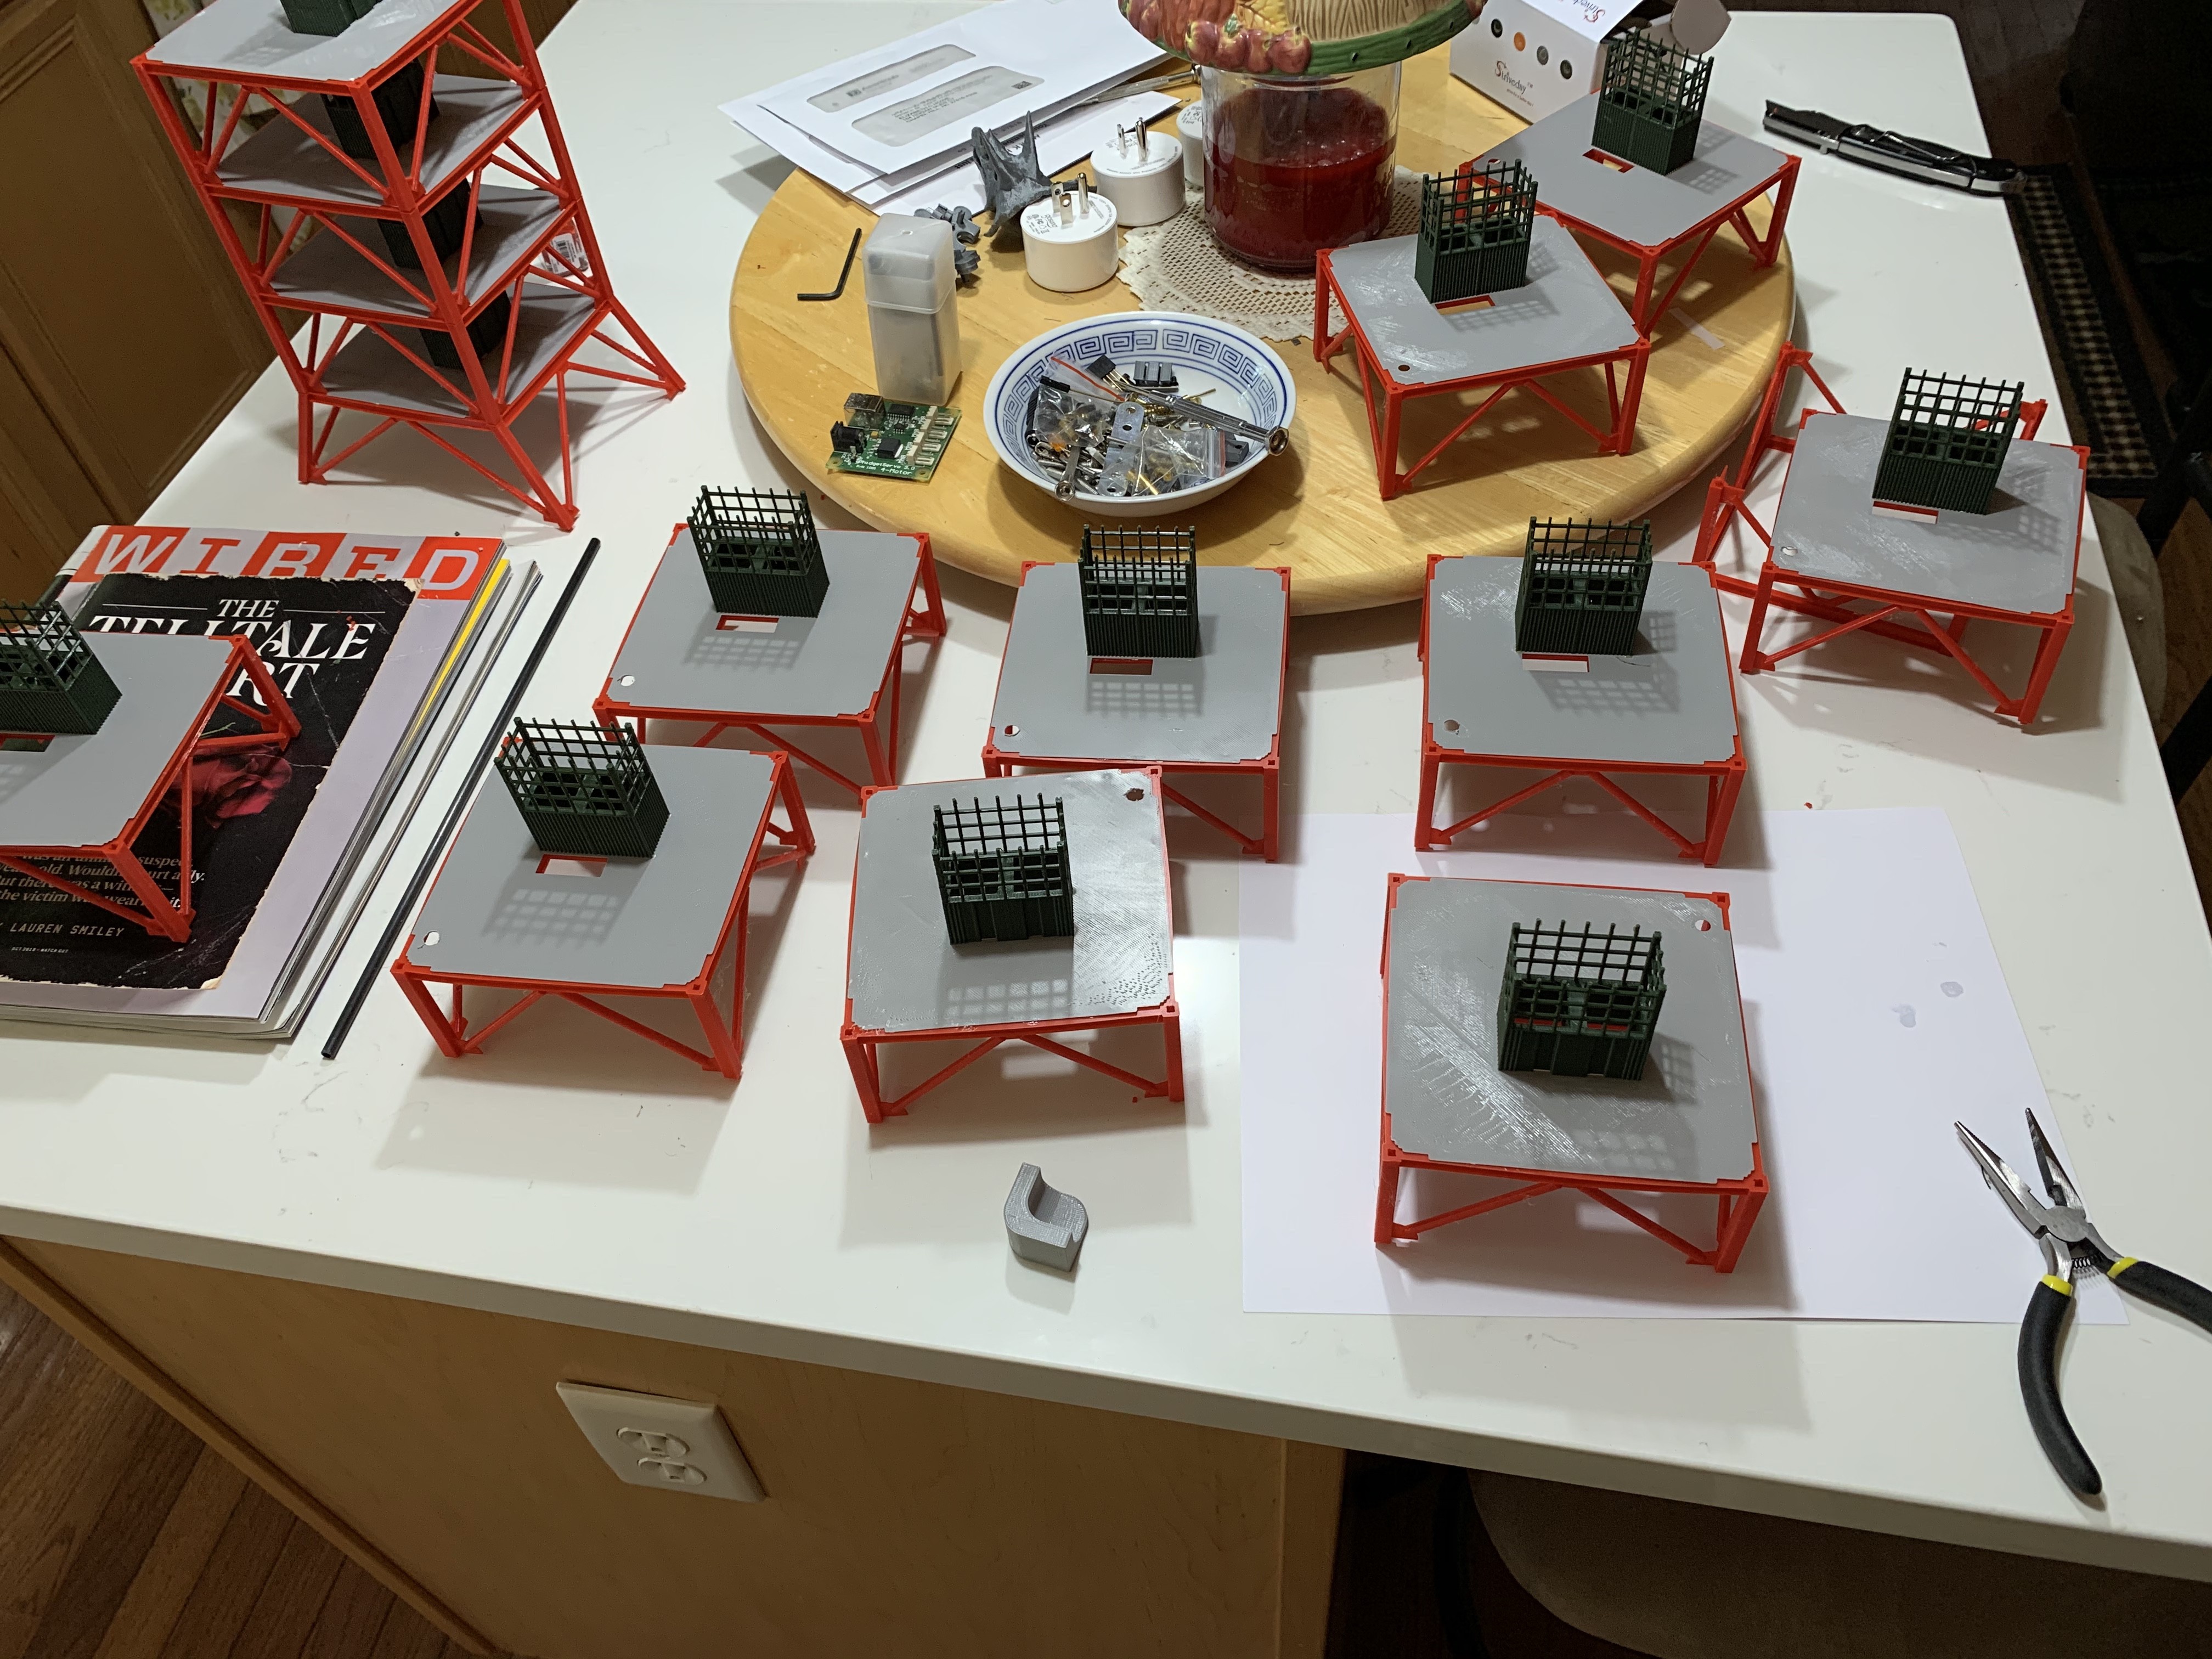
    First was printing the base. The Farscape model was scaled by 0.054054 in Fusion 360. Each of the eleven sections was modified to be hollow, without dividers so there would be room to install the lifter, electronics, power supplys, etc . Each section was glued together with extra support at each junction to make everything rigid. Ultimately a little Bondo, some sanding, and a little paint would make the top look like a single piece.


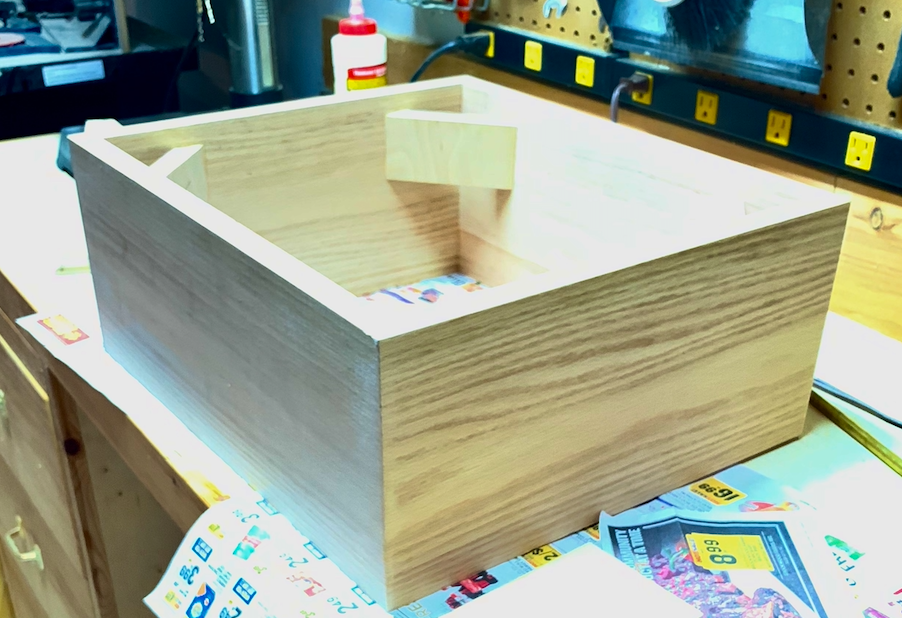
    Once the exact size of the pad was known, I built a nice oak stand for holding everything that was going to overflow the base.

    Each level was assembed in Fusion to minimize the part count. The floor and elevator is printed in as one piece, as well as the framework. That meant one glue step per floor. Eighteen floors total.

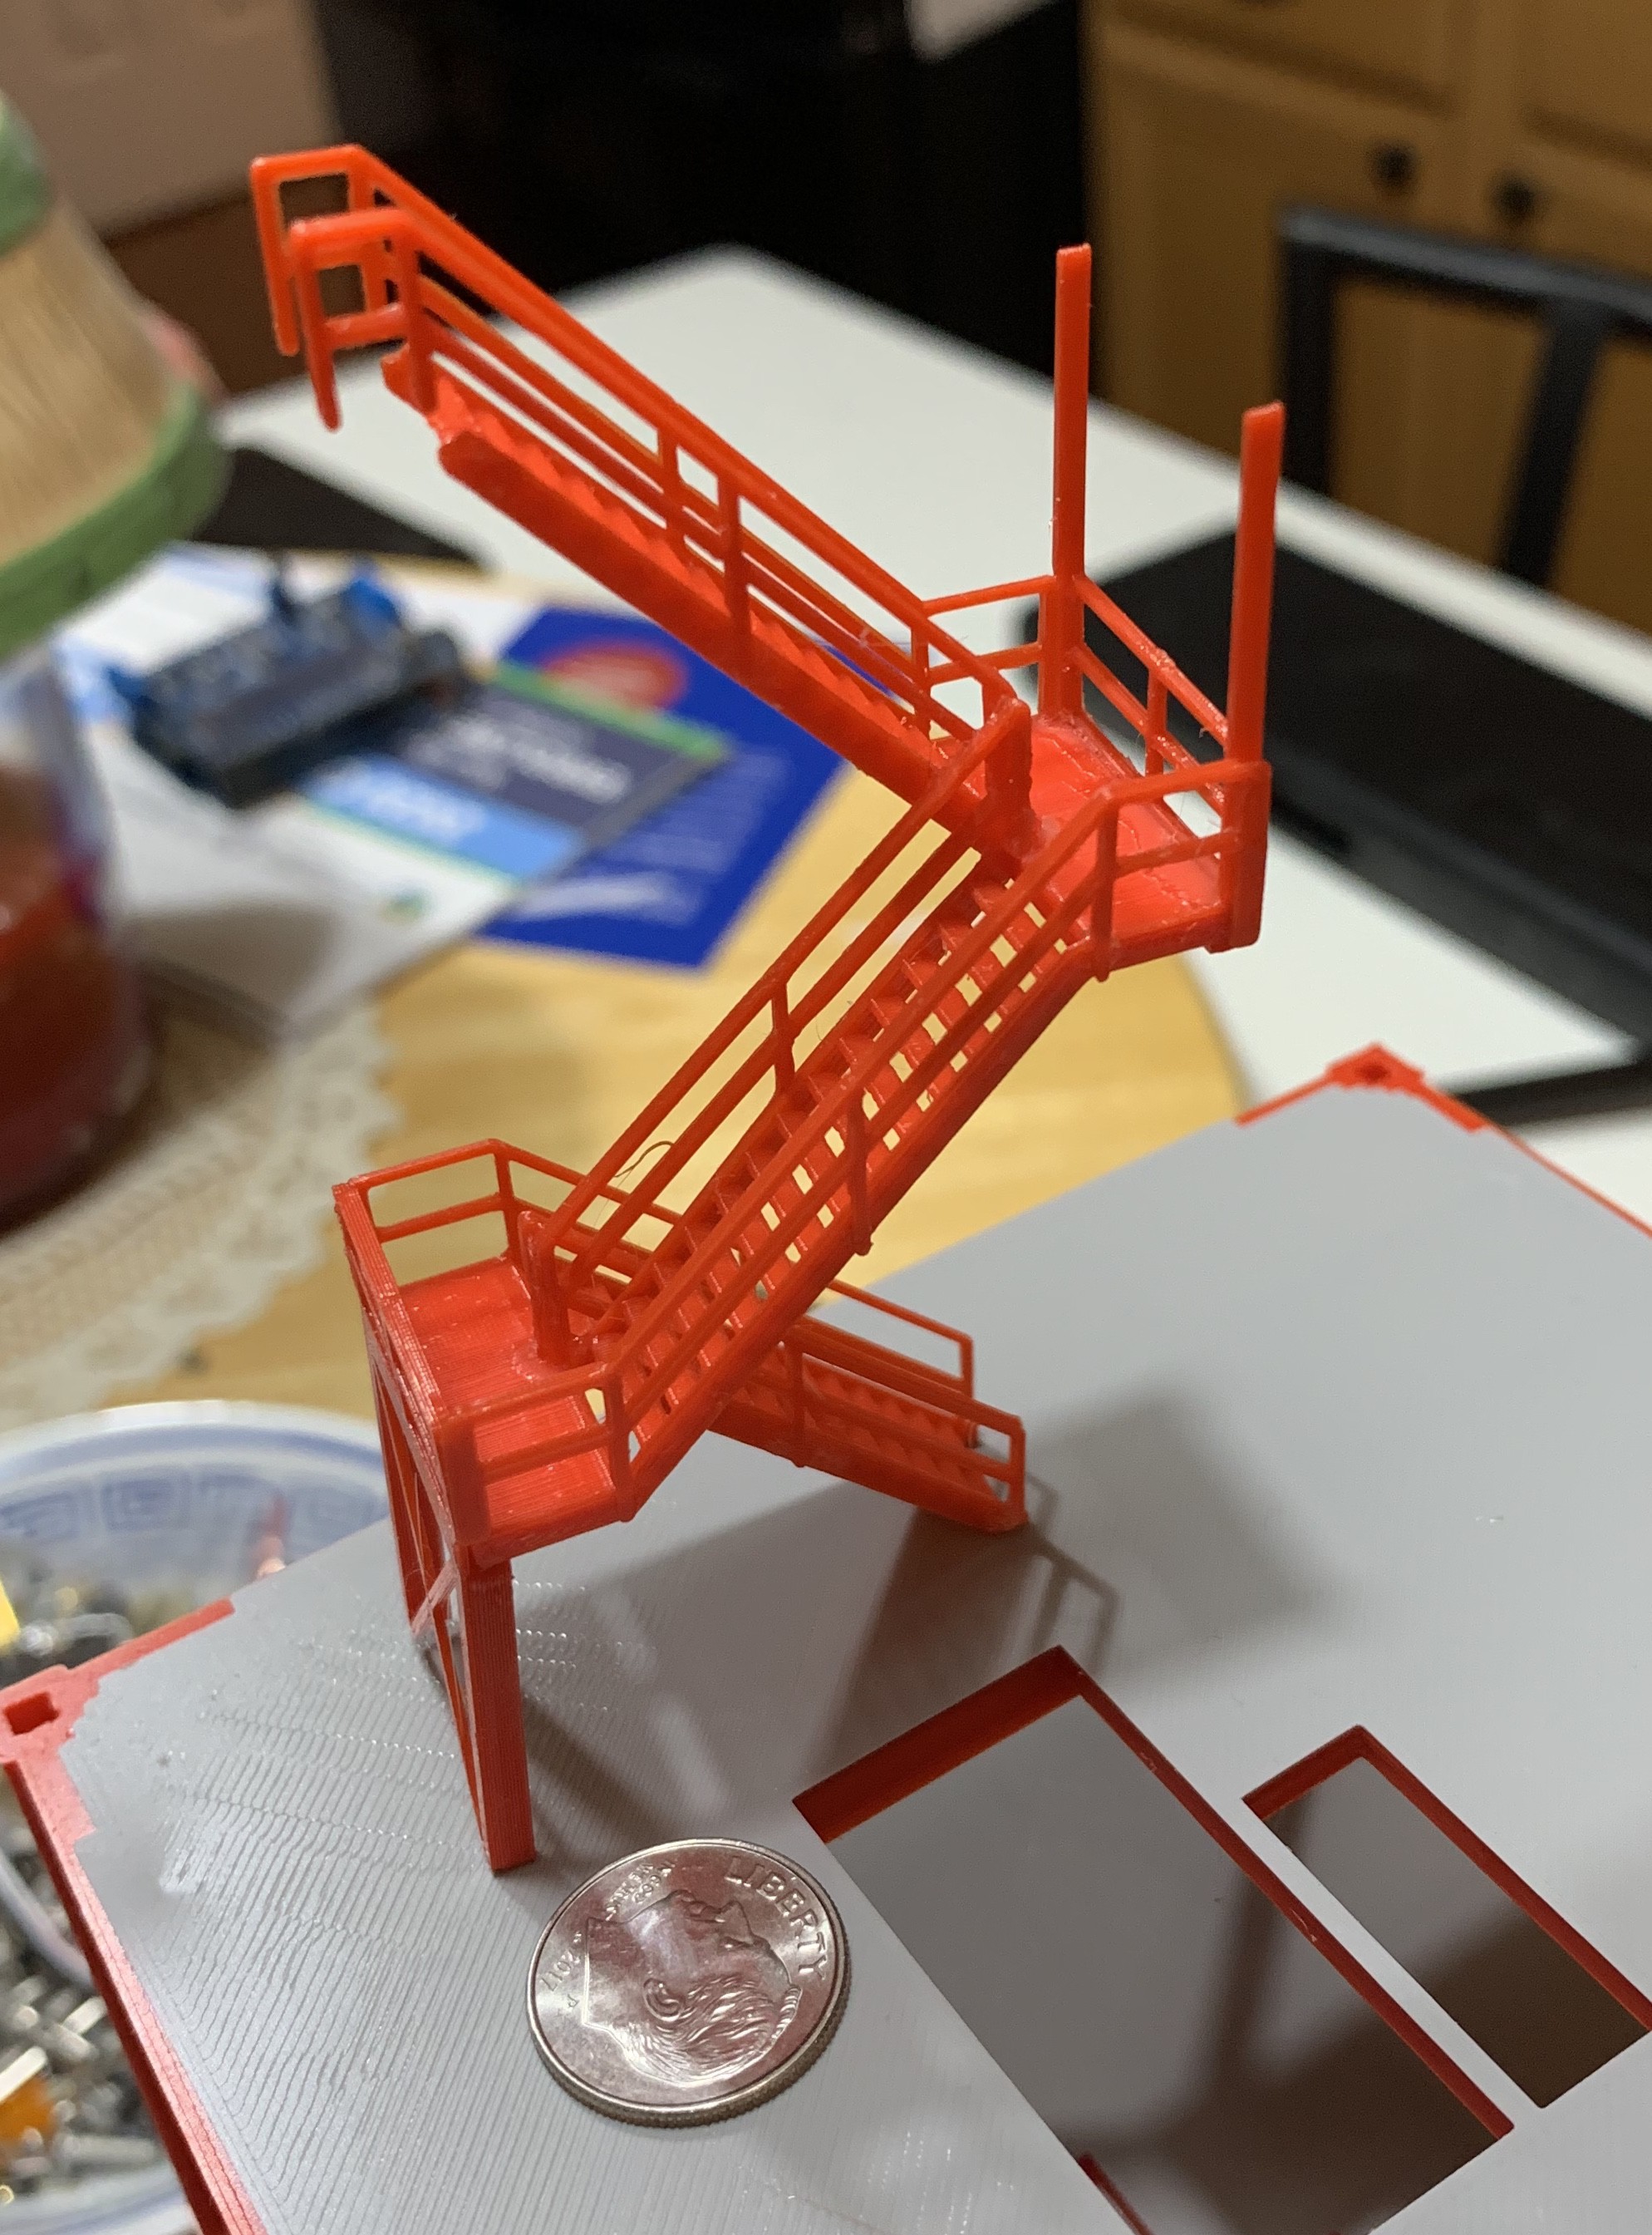
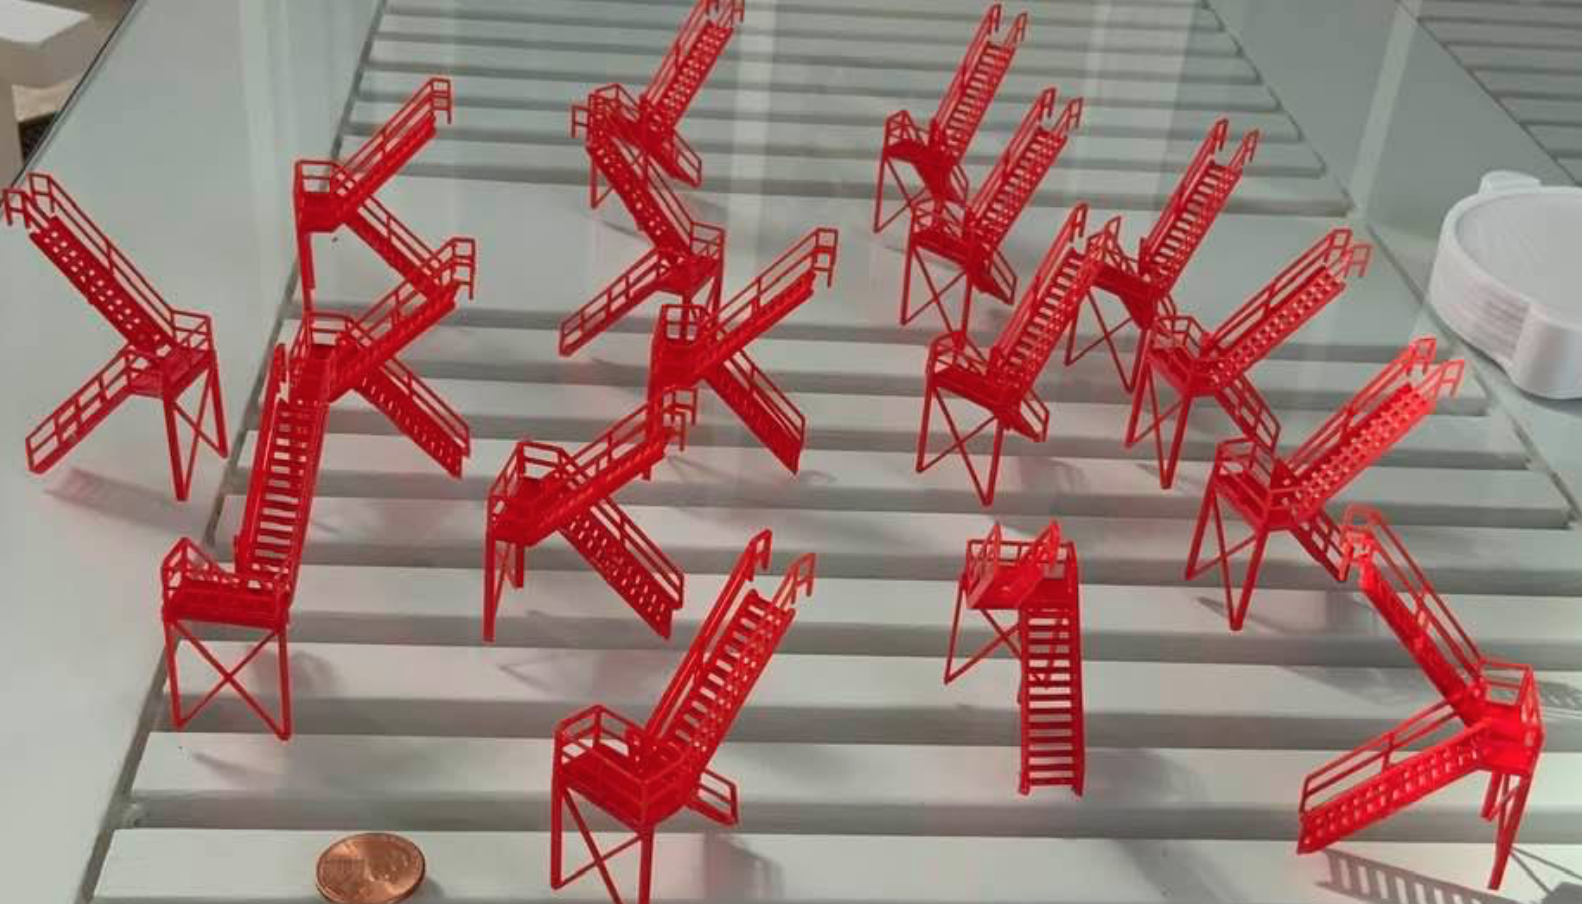
    The stairways were a bit of a pain. By some careful assembly in CAD the stairs and some of the railings were printed as a single piece. The remaining rails were modified to self-align making gluing the small parts easier..

    Lots of little stairways.

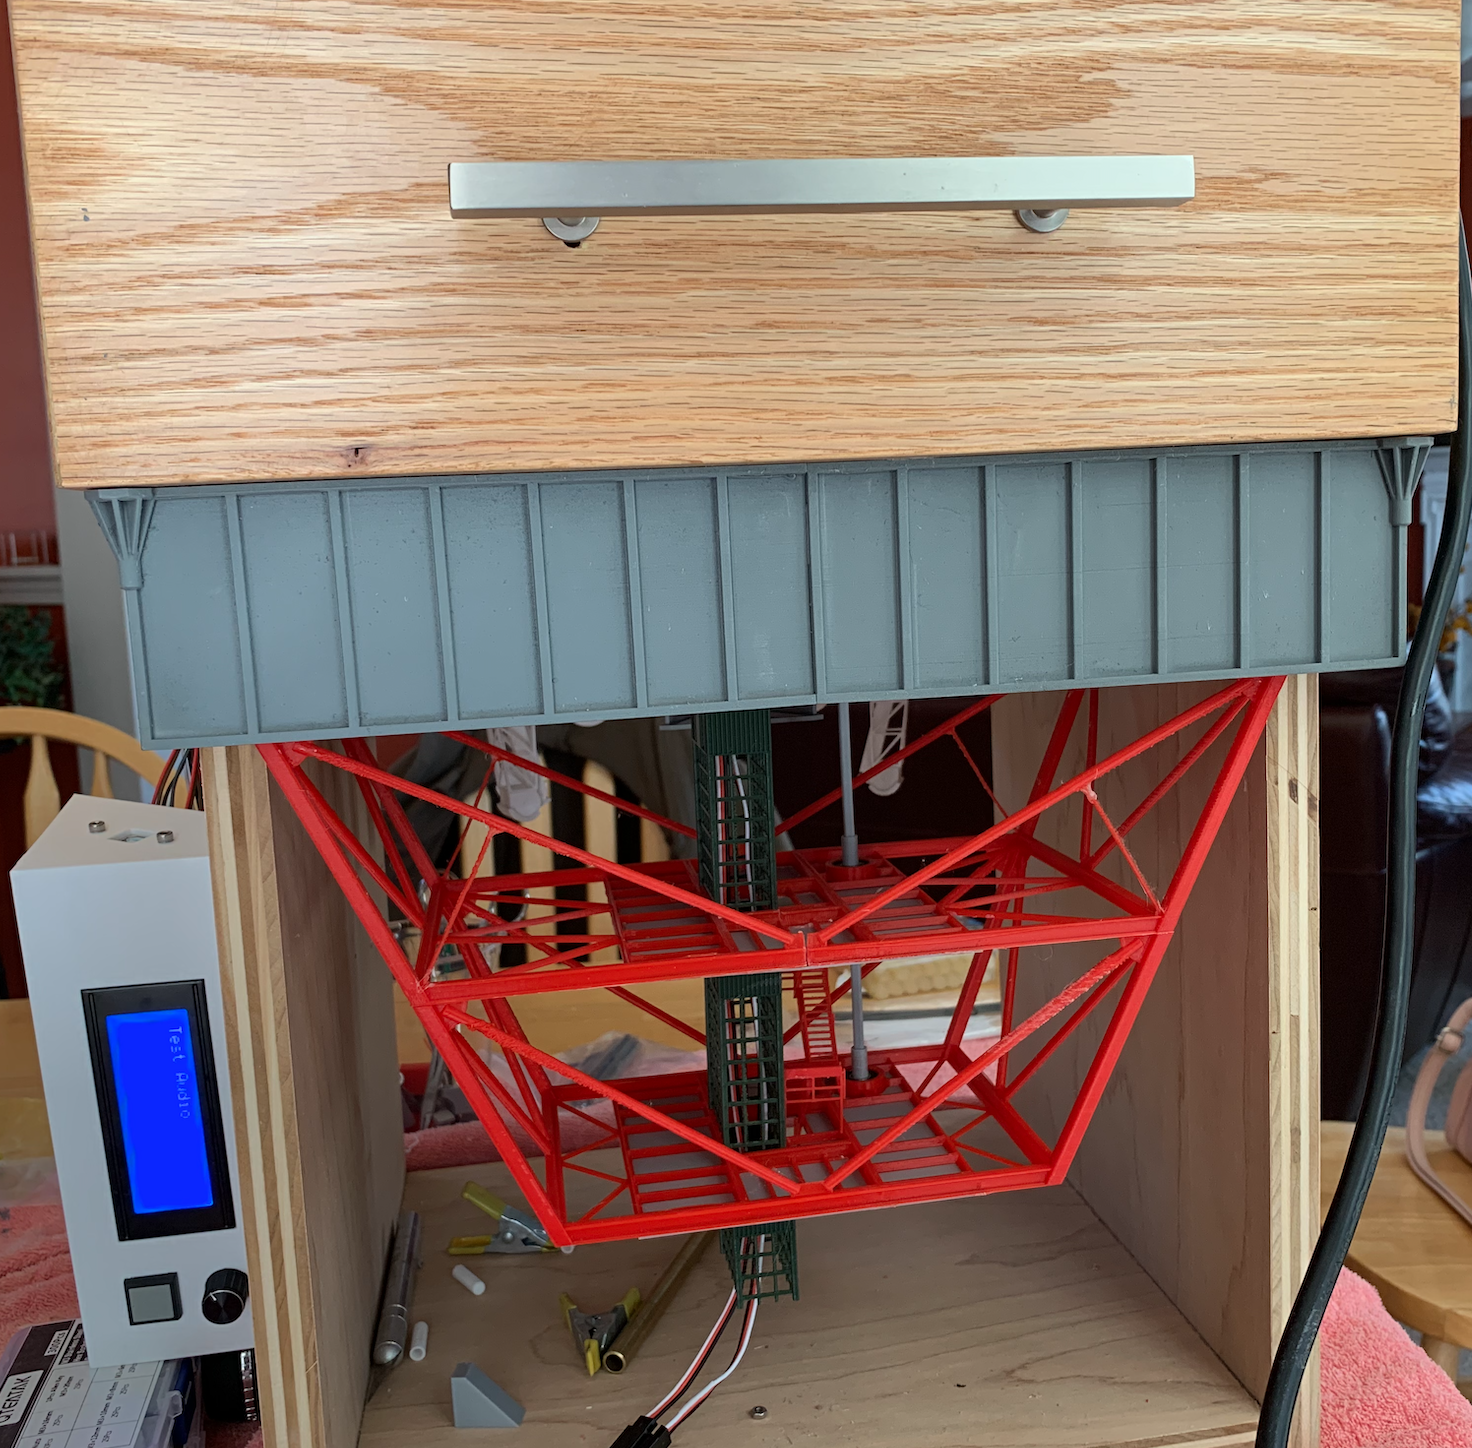
    After some progress, a jig was made to get access to install the electronics and the mechanical parts in the base. The control panel is just hanging for now. Note the servo cables that will be threaded all the way to the top for the crew and crane servo motors.

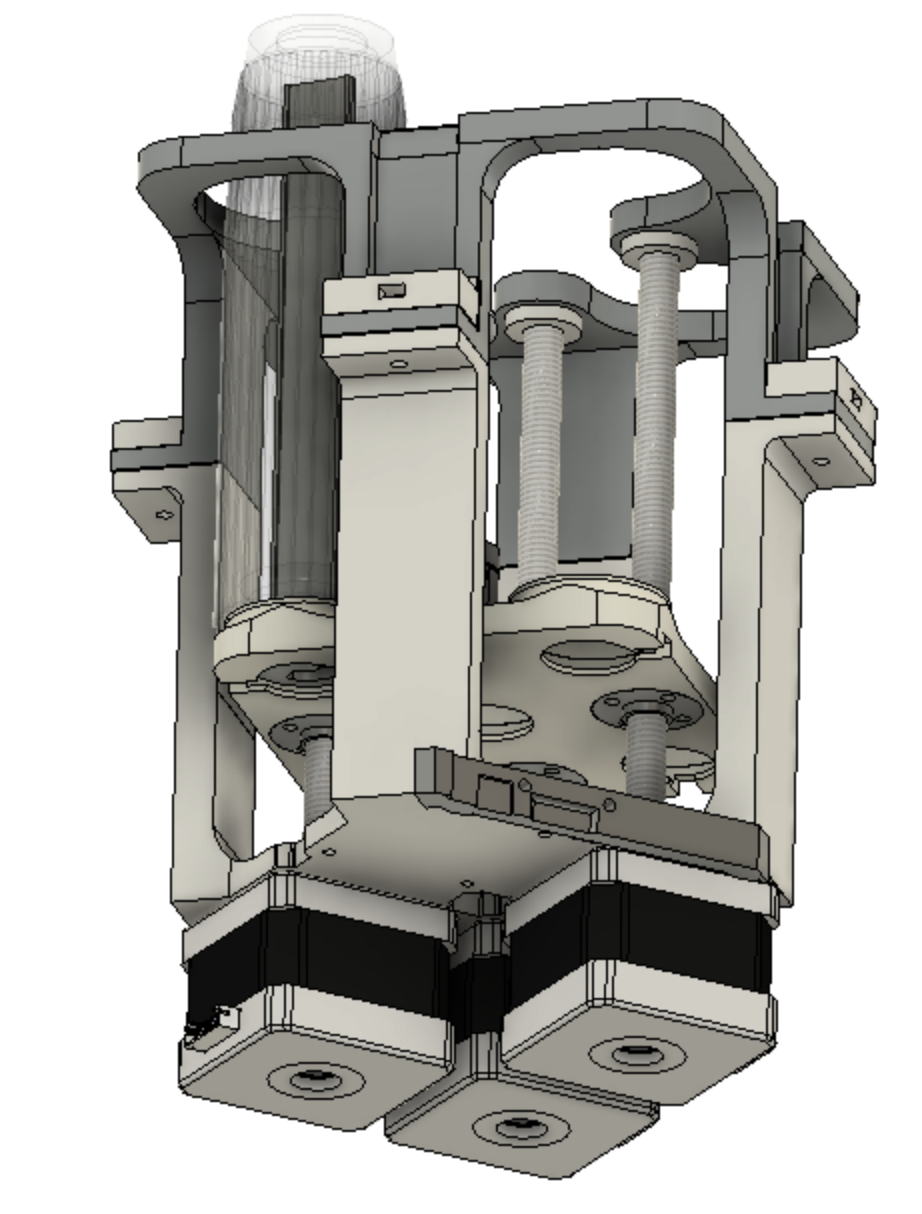
    The lifter is three stepper motors with linear actuators. The tripod arrangement makes the base stable and very rigid. The Saturn V sits on five 'flame tubes' printed in clear PETG with strings of NeoPixels on the inside. Not visible here: the Saturn V is secured with a copper tube was embedded in the Lego model (between the center engine and the two rear engines )vwith the end that sticks out sliding into another tube that is fixed to the lifter.

    A first test of the lifter

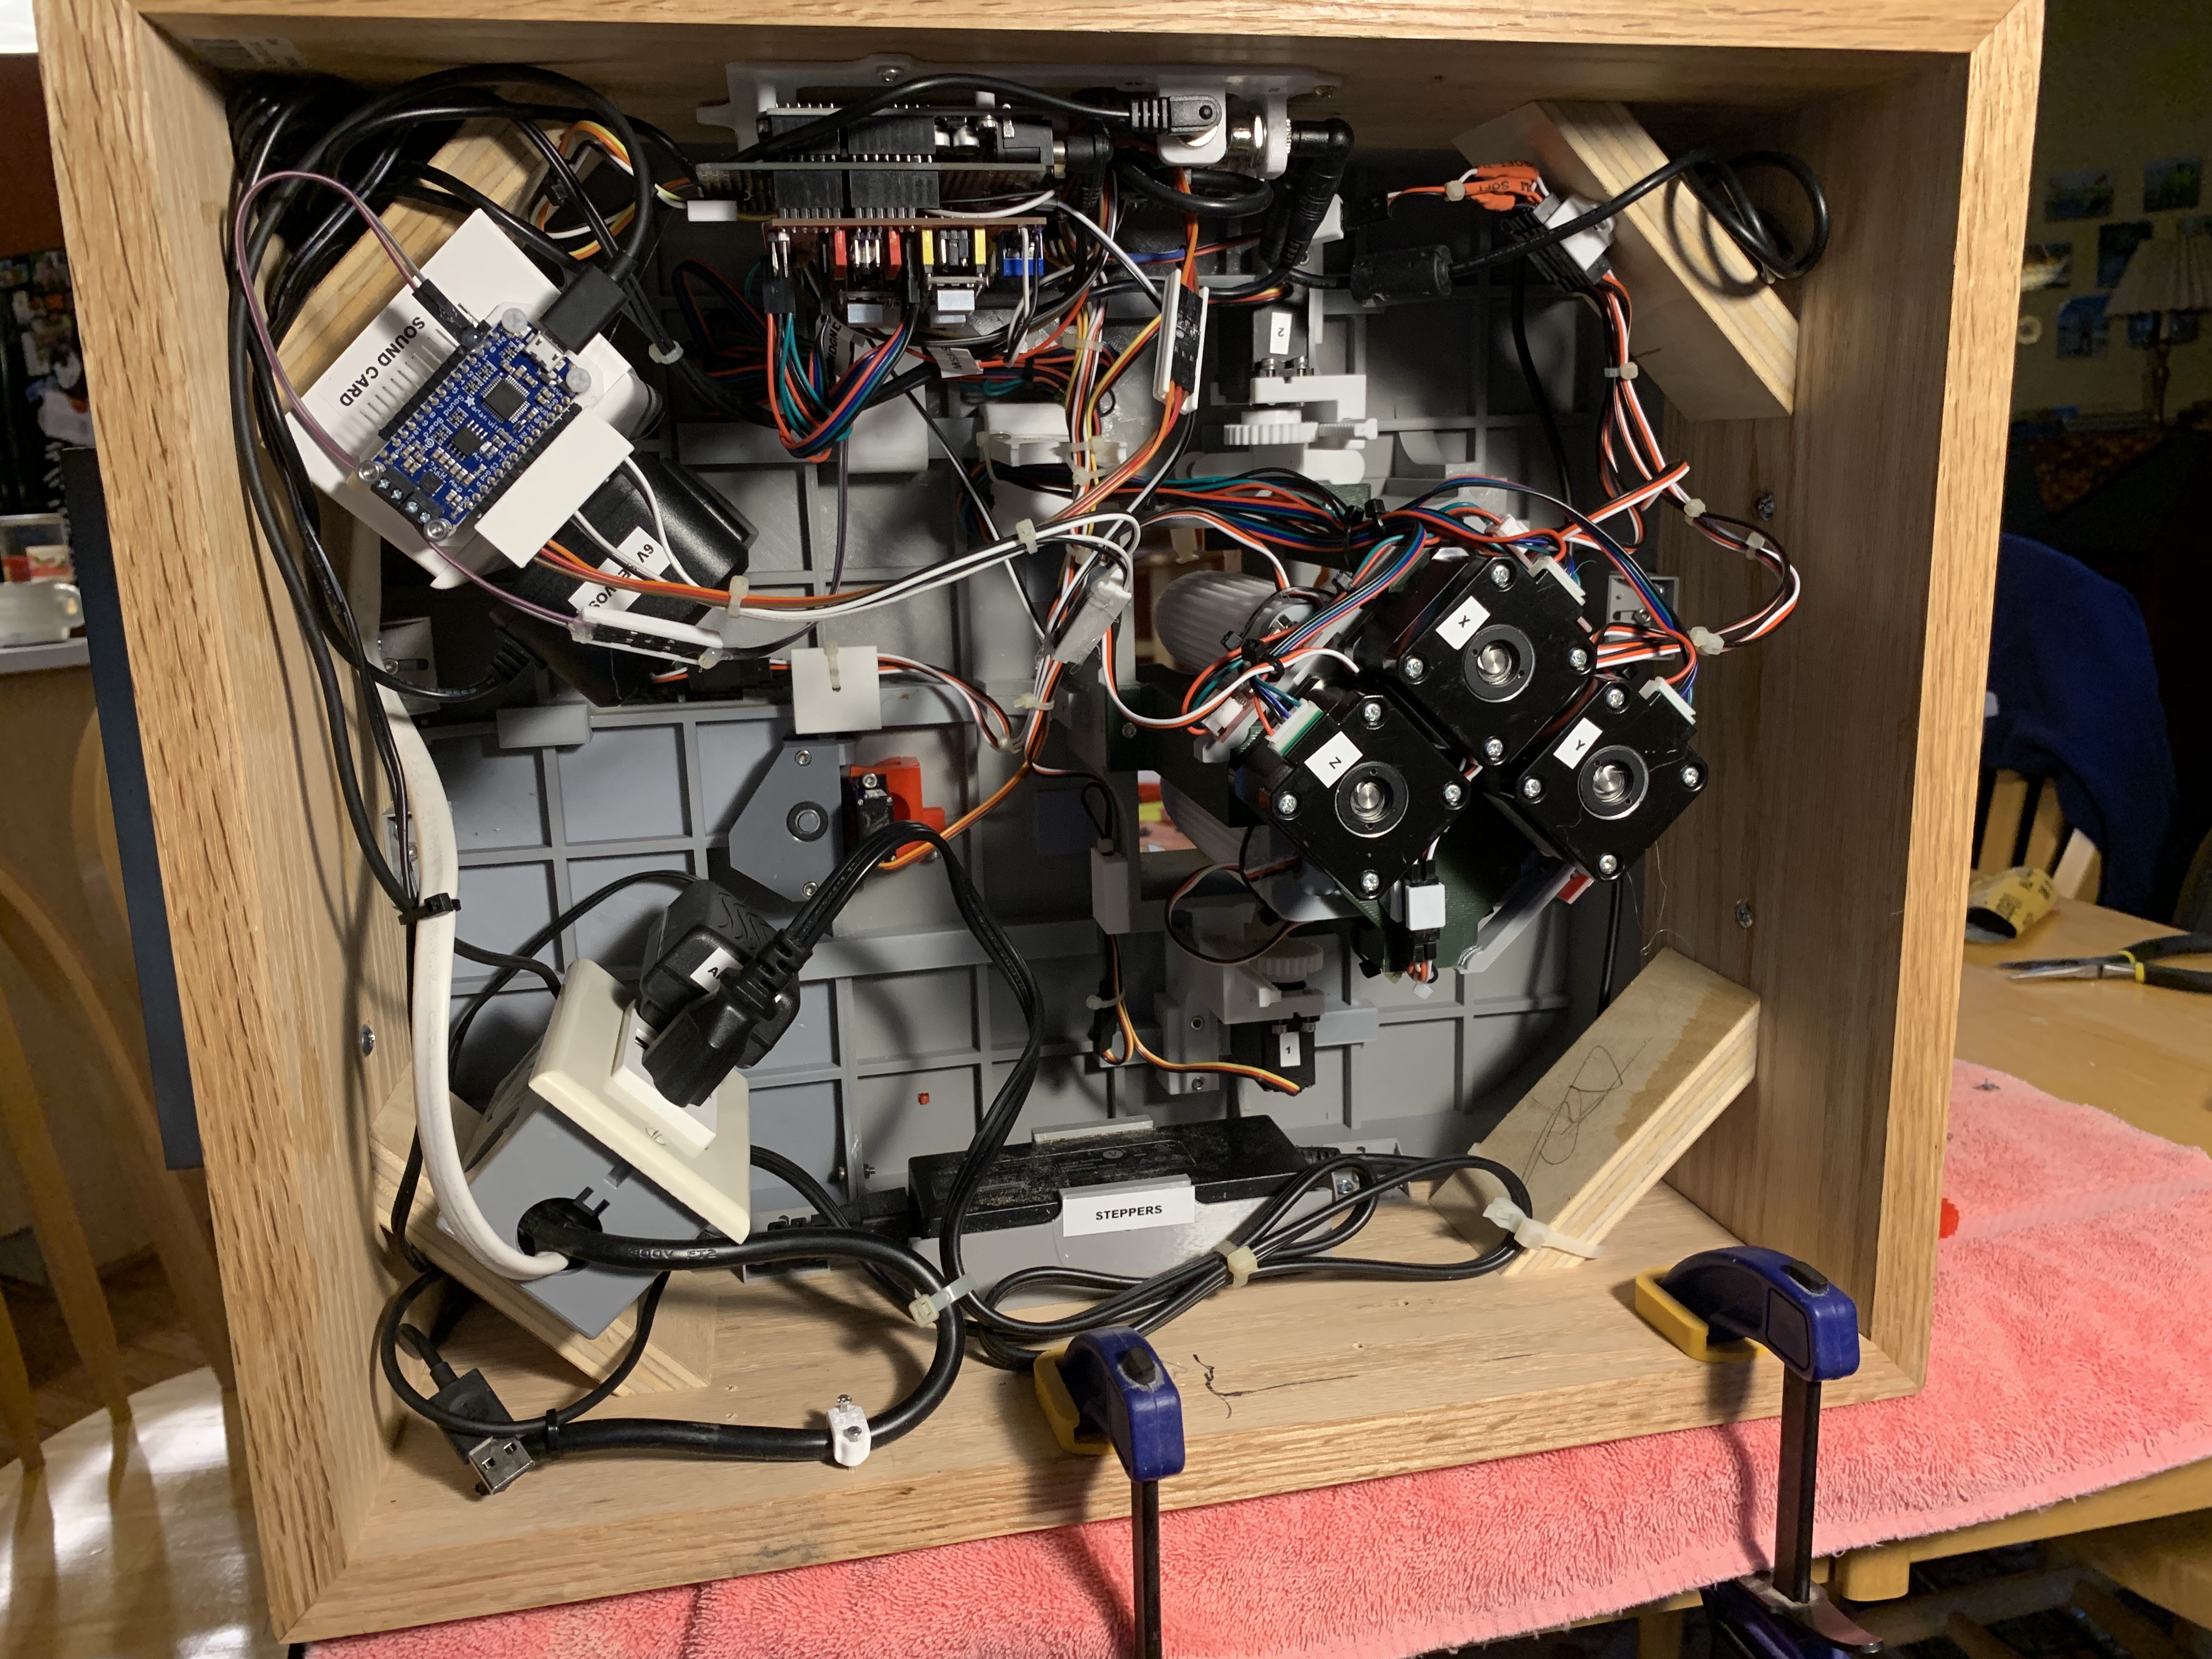
    A jump in time.... the lifter with its three nema-17 stepper motors has been installed. Limit switches limit the travel of the lifter. The servos on each side of the lifter move the service arms up and down. The servo near center with the red frame turns the rod that extends thru the structure to swing the gantry arms back and forth. Also seen at top center is an Arduino Uno with a stepper motor controller hat. Top left is a audio board from Adafruit. 

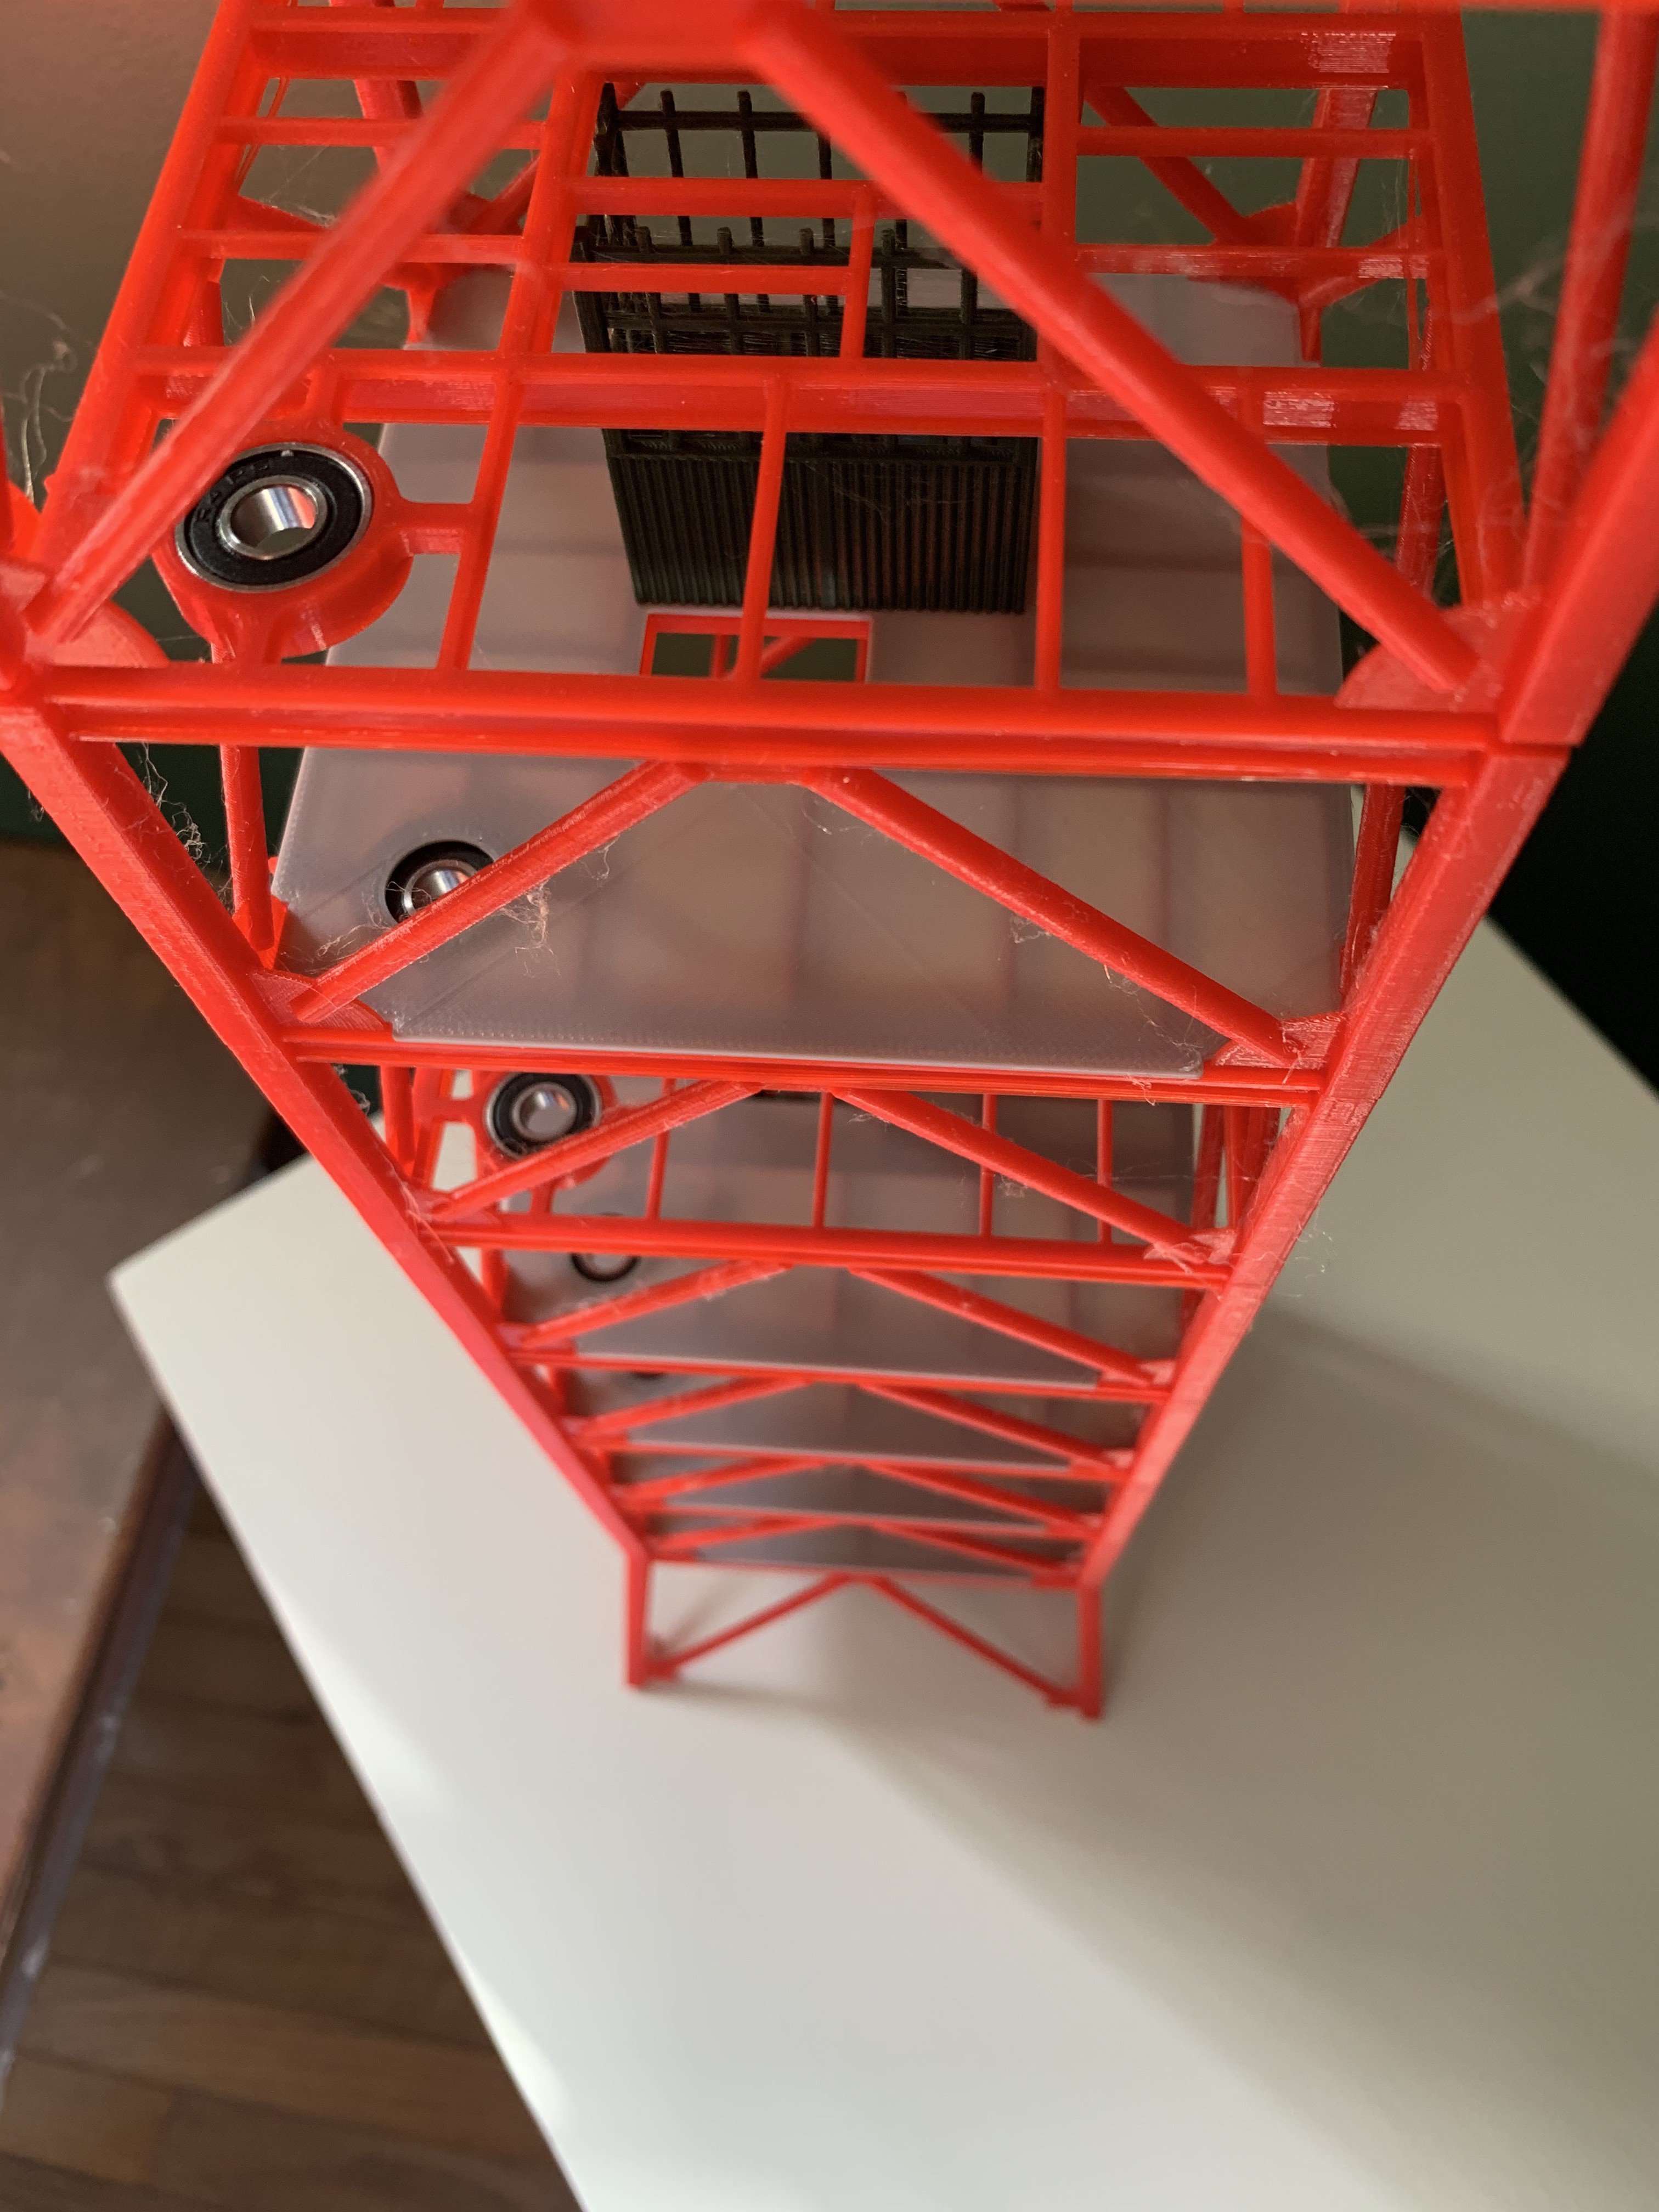
    Note the bearing installed in each floor for smooth action of the gantry control rod.

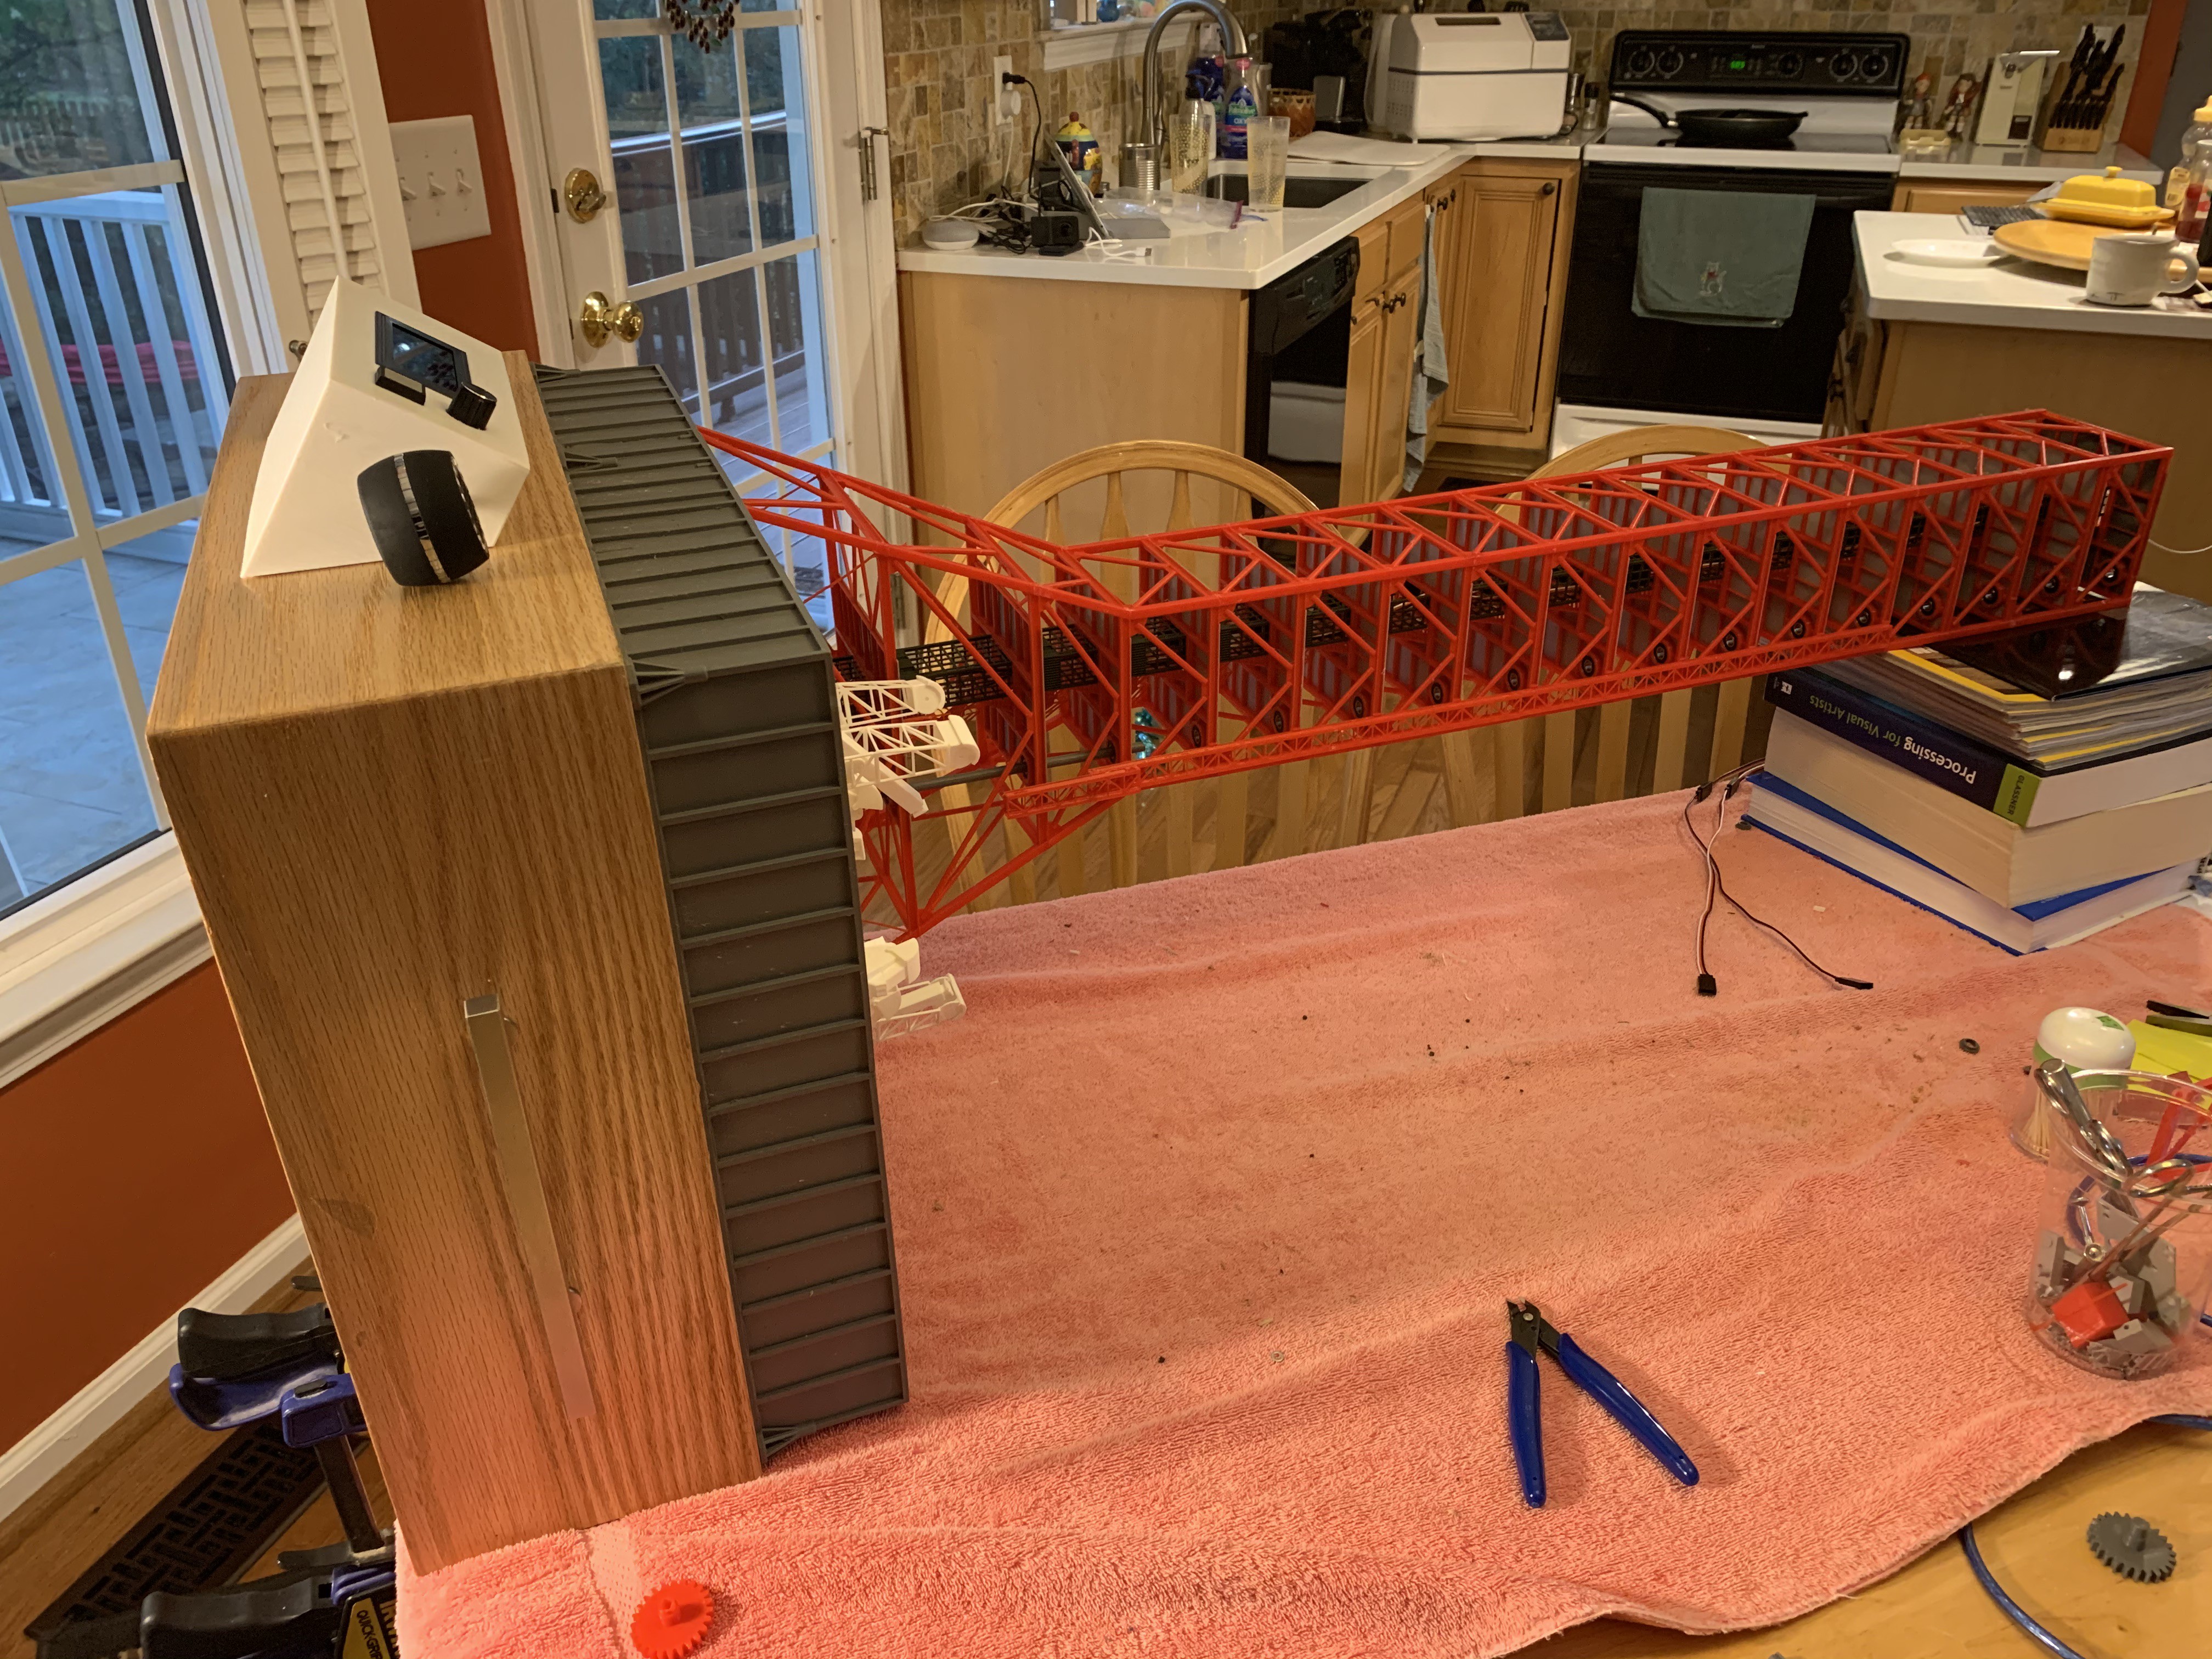
    Quite a ways into the project, I decided that the gantry control rod was not going to work as designed, so it was cut out for a replacement with different gearing.  At this point the project was getting unwieldy, but it was not hard to lay it over for access.

    Detail of the final gantry movement linkage.

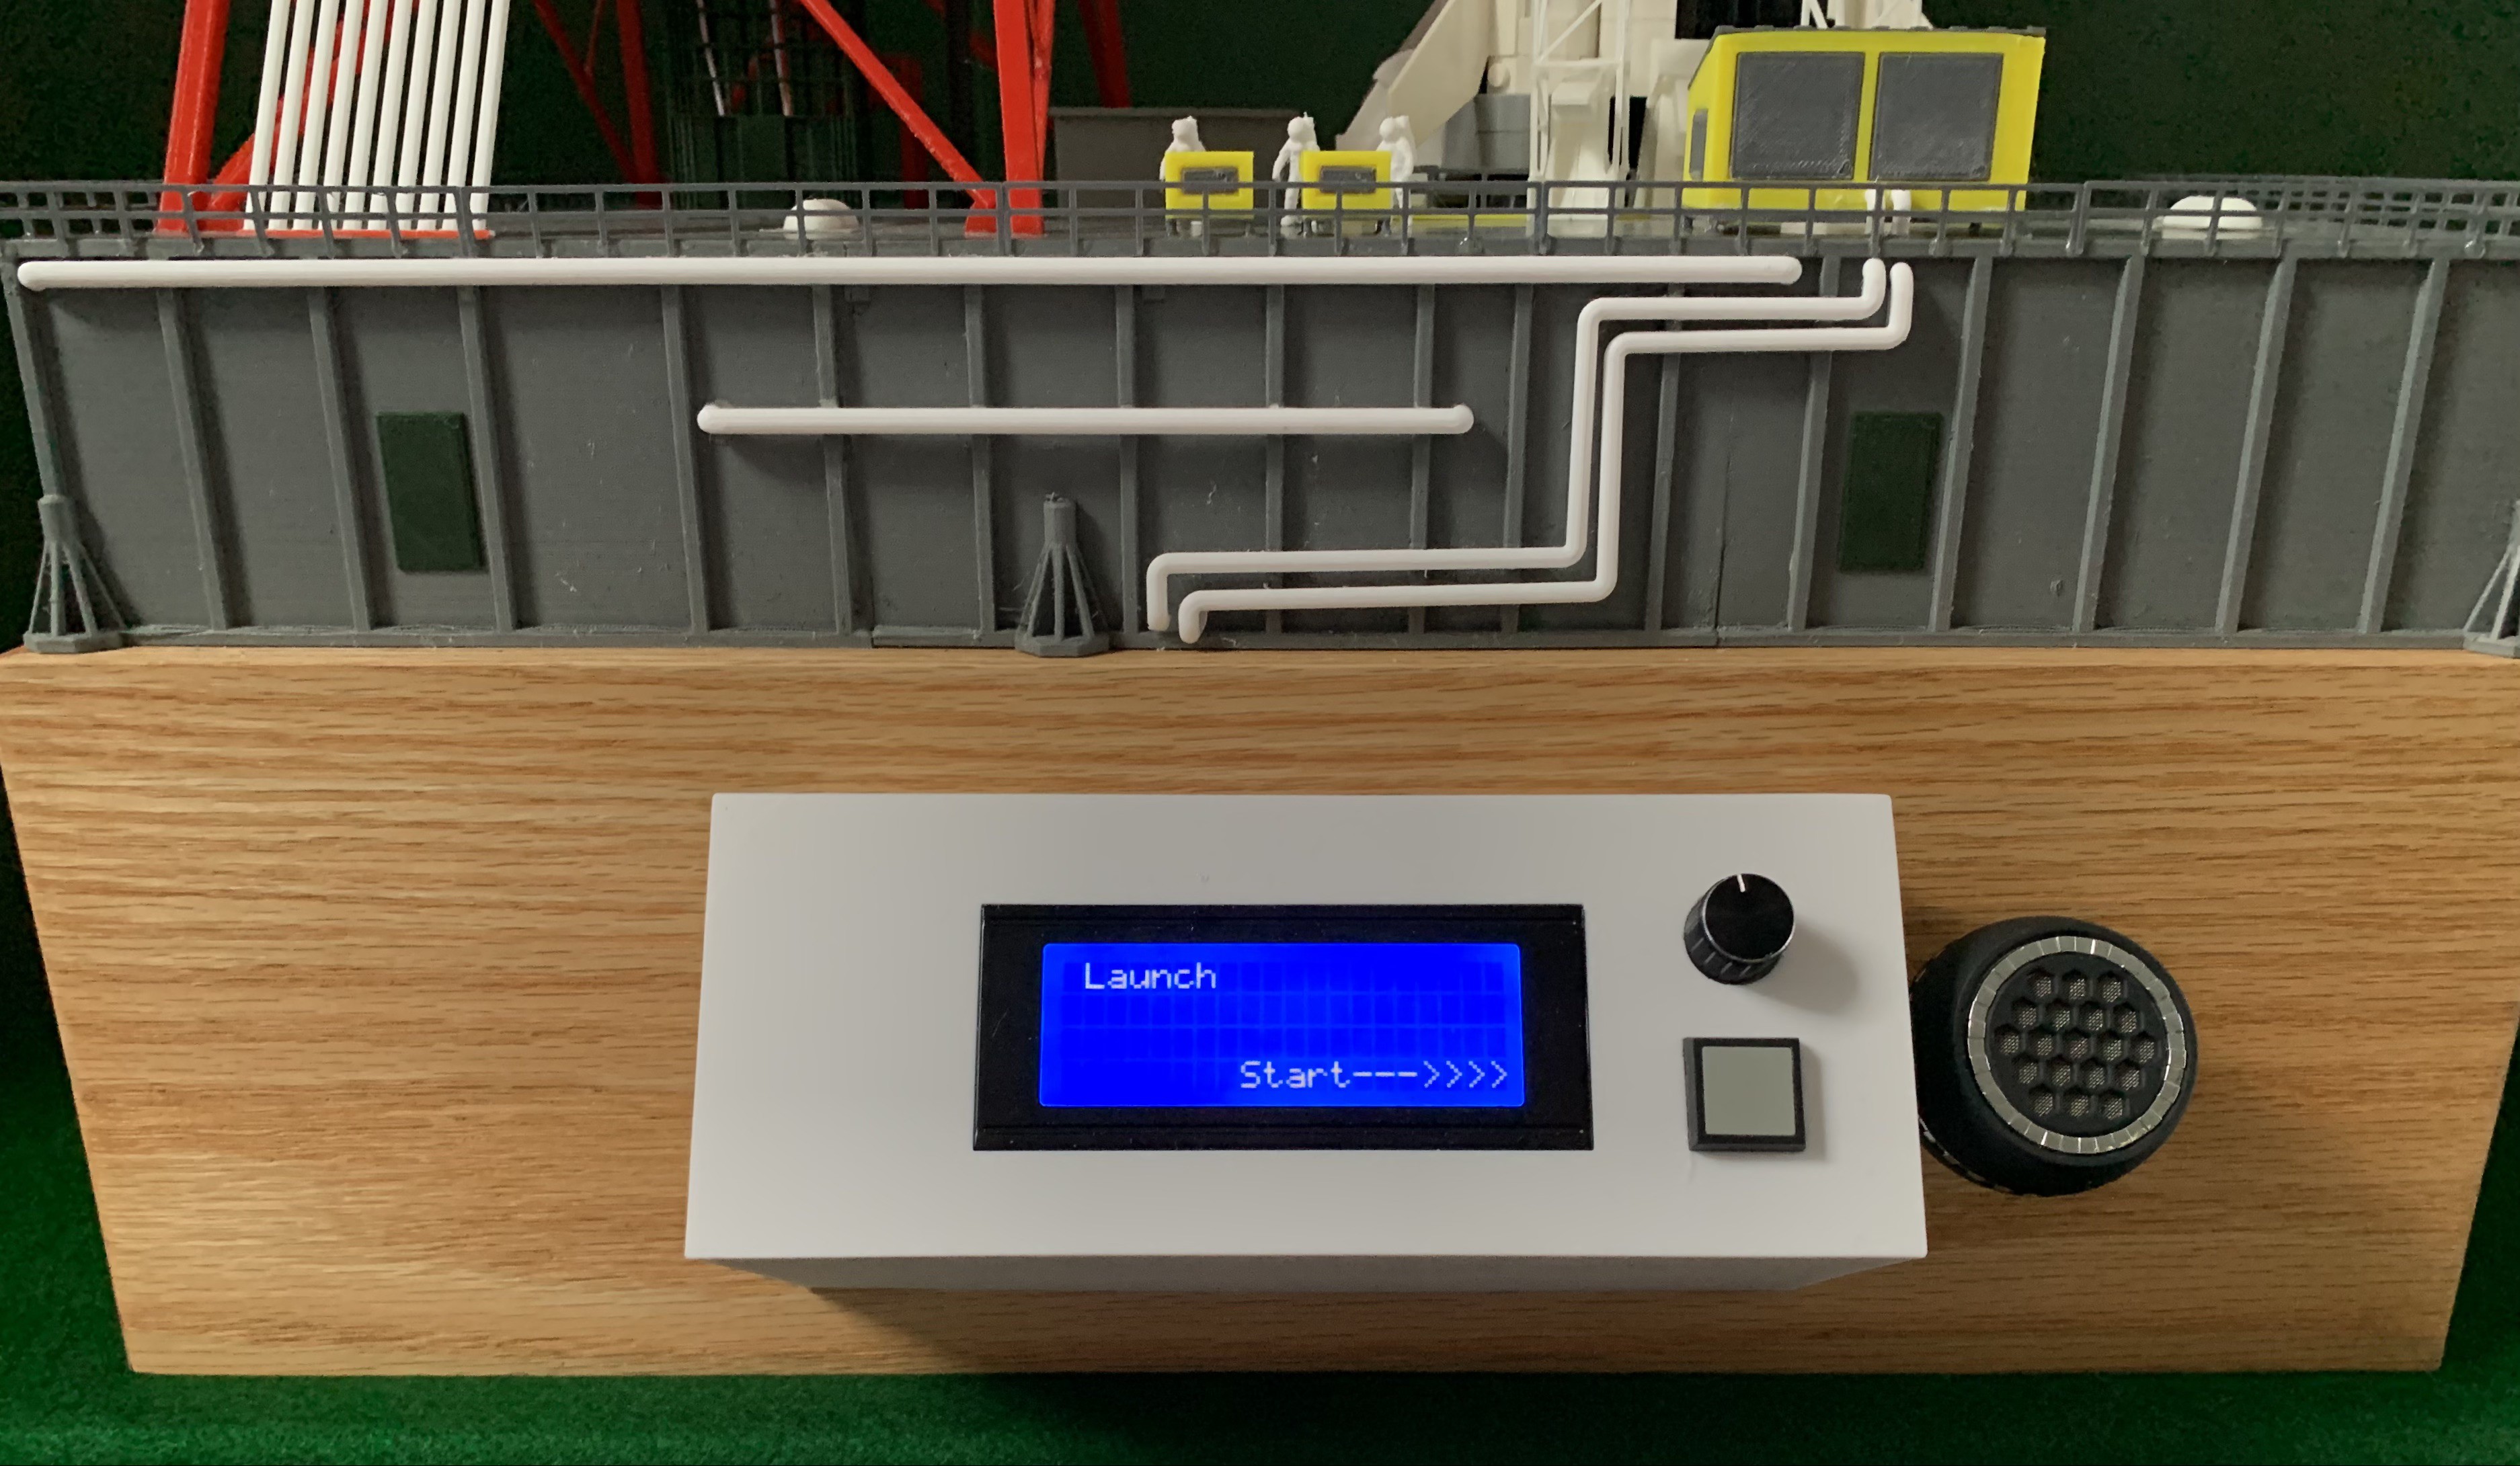
    Control panel. Rotary switch to select options to do a full launch/abort, or to test each subsystem. Speaker on the right for the Apollo 11 count down audio.

View all 3 project logs

Enjoy this project?

Share

Discussions

mark.piatowski wrote 12/12/2023 at 14:13 point

Great work ! ... Would love to get this set up in our College entrance to inspire students further into Aerospace Engineering. As someone who has just been asked to come up with ideas to inspire young people, this is excellent. Are the modified models available for print? I work with an Arduino expert and I do the CAD stuff myself, so putting together is not a problem.

  Are you sure? yes | no

corey.graft wrote 12/23/2020 at 17:18 point

Honestly, this was worth showing up for just to watch the video you made.   Nice!

  Are you sure? yes | no

Dan Maloney wrote 12/17/2020 at 17:50 point

Very cool, I wrote this up for the blog and I think it just published. Great work!

  Are you sure? yes | no

Jeremy Cook wrote 12/16/2020 at 15:14 point

Wow, that is really incredible. So all the arms, base supports, etc are actuated by servo motors, and it rising is controlled by the three steppers?

  Are you sure? yes | no

Mark Howe wrote 12/16/2020 at 15:33 point

Yes,  one servo is geared to a rod that runs up the LUT thru bearings to swing the arms using four bar linkages. Two servos raise the little service arms at the base. One servo is at the top swings the crew walkway using a gear box and connecting rod. One servo under to crane with a thread to raise the sway bar. Three steppers in the base are used to raise the model using linear actuators (like in a 3D printer). Three were used so the base would be as rigid as possible.

  Are you sure? yes | no

Daniel.suarez wrote 12/16/2020 at 13:46 point

Excelent !! Congratulations.

  Are you sure? yes | no

Greg Zumwalt wrote 12/16/2020 at 02:51 point

This is absolutely astounding and unbelievable!  Congratulations!

Greg

  Are you sure? yes | no

Similar Projects

Does this project spark your interest?

Become a member to follow this project and never miss any updates